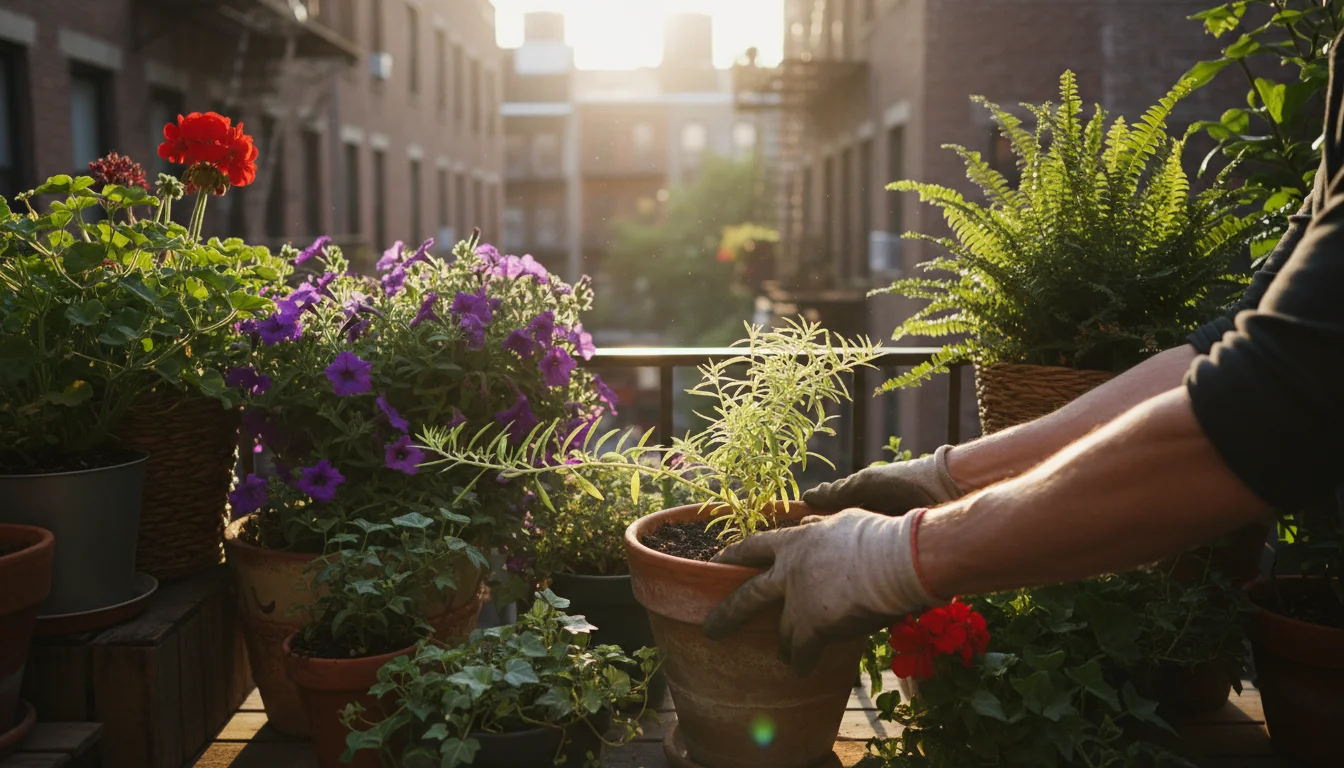
Do you notice your skin feeling tight and your houseplants showing crisp, brown edges, especially during winter months? You are not alone. Many indoor gardeners grapple with the challenge of dry indoor air, a common consequence of modern heating systems and naturally lower humidity. This dry environment not only affects your comfort but also severely impacts the health and vitality of your beloved houseplants.
Selecting houseplants that thrive in dry heat can also help you maintain a green oasis when the furnace is running.
You probably spend a lot of time and effort caring for your green companions, only to see them struggle. The good news is you do not need to invest in expensive gadgets to create a more hospitable atmosphere for your plants. A simple, natural, and free solution exists right within your plant collection: strategic grouping. By understanding a bit about how plants interact with their environment, you can transform a dry room into a thriving, miniature ecosystem that benefits both your plants and your personal comfort.
Understanding Your Dry Indoor Air: Why Humidity Matters for You and Your Plants
Humidity simply refers to the amount of water vapor in the air. While invisible, its presence, or lack thereof, profoundly influences your indoor environment. Ideal indoor humidity levels for humans and most houseplants typically range between 40% and 60%. However, during colder months, when heating systems run continuously, indoor humidity can plummet to as low as 10% or 20%. This significantly lower percentage creates a desert-like atmosphere inside your home.
If your plants aren’t responding to humidity boosts, use this checklist for yellow leaves to rule out other winter issues.
Beyond low moisture levels, it is important to watch out for common winter care mistakes that can unintentionally harm your indoor garden.
Several factors contribute to this pervasive problem of dry indoor air. Central heating systems, whether forced air, radiant, or baseboard, warm the air without adding moisture. In fact, heating air reduces its relative humidity. Additionally, cold outdoor air naturally holds less moisture, and when this air infiltrates your home, it further contributes to a drier environment once warmed. You also have appliances like dryers and ovens, which, while beneficial, do not actively contribute to air moisture and can even slightly decrease it by circulating dry air.
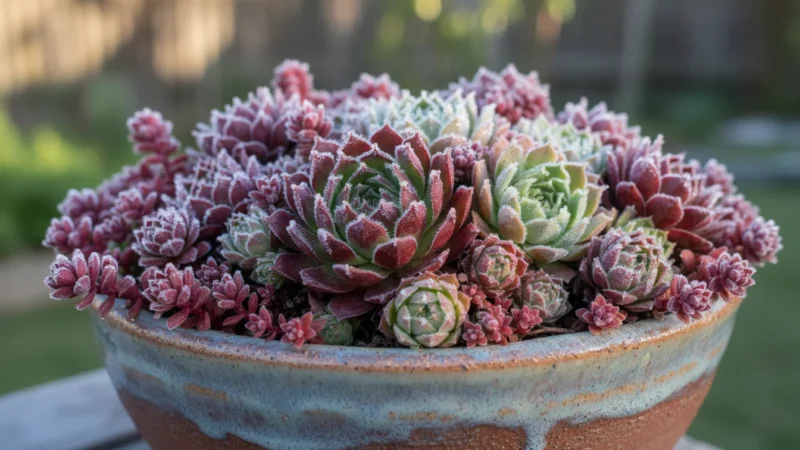
For you, the consequences of persistently low humidity can manifest as dry, itchy skin, chapped lips, static electricity shocks, and even an increased susceptibility to respiratory discomfort. Your plants experience similar, often more severe, issues. Many popular houseplants, such as ferns, calatheas, and even pothos, originate from tropical or subtropical regions where humidity levels consistently remain high. When these plants encounter arid indoor conditions, they struggle to thrive. You will notice visible signs of stress: crispy or brown leaf edges and tips, especially on new growth, stunted overall growth, and a dull, lackluster appearance. The lack of moisture in the air can also make your plants more vulnerable to common houseplant pests like spider mites, which notoriously flourish in dry conditions. Therefore, addressing your houseplant humidity levels is not merely about aesthetics; it is about ensuring their fundamental health and vigor.
The Plant’s Secret: How Transpiration Naturally Boosts Humidity
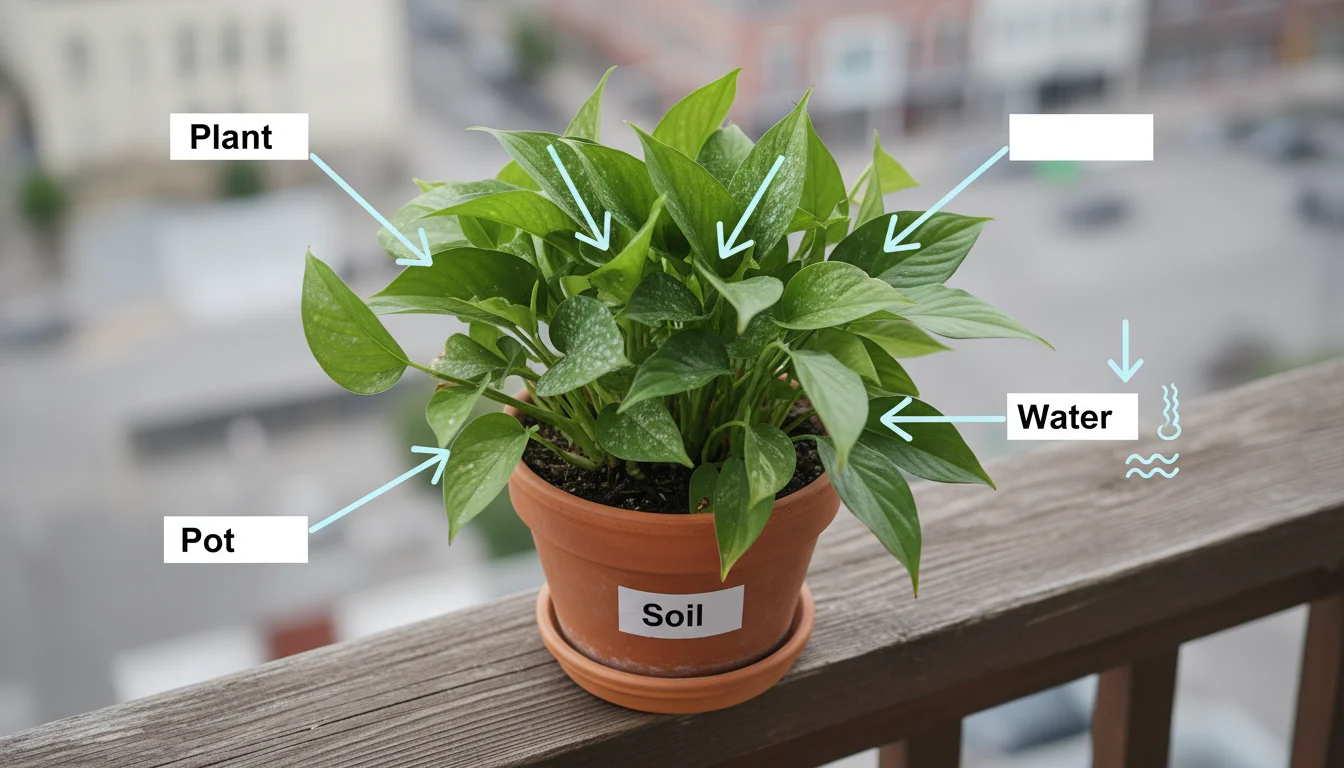
Plants are remarkable living systems, and one of their most vital processes, transpiration, holds the key to naturally increasing your indoor humidity. Think of transpiration as a plant’s way of “breathing” and “sweating.” It is the process where water absorbed by the roots moves up through the stem and evaporates from tiny pores, called stomata, primarily located on the undersides of their leaves.
This concept of group therapy for plants is a highly effective way to let your greenery support each other during the coldest months.
Here is how it works: Your plant absorbs water from the soil through its roots. This water then travels through vascular tissues, similar to your circulatory system, all the way to the leaves. As sunlight hits the leaves, or simply through natural atmospheric conditions, water vapor exits these stomata into the surrounding air. This constant release of water vapor is what makes plants natural humidifiers.
You might wonder, “Do plants create their own humidity?” The answer is a definitive yes, through transpiration. While a single plant releases a relatively small amount of water vapor, the cumulative effect of several plants working together becomes significant. Consider a single human breathing: you release moisture with every exhale. Now imagine a room full of people; the air quickly becomes noticeably warmer and more humid. Plants operate on a similar principle, but their “breathing” and “sweating” are constant, albeit subtle, contributions to the moisture content of the air around them. This process is not just a passive release, it is an active, essential function for the plant, helping to draw water and nutrients up from the soil to nourish the entire organism. By understanding this natural phenomenon, you can leverage it to create a more beneficial environment for all your indoor plants.
The Power of Proximity: Why Grouping Plants Works for Humidity
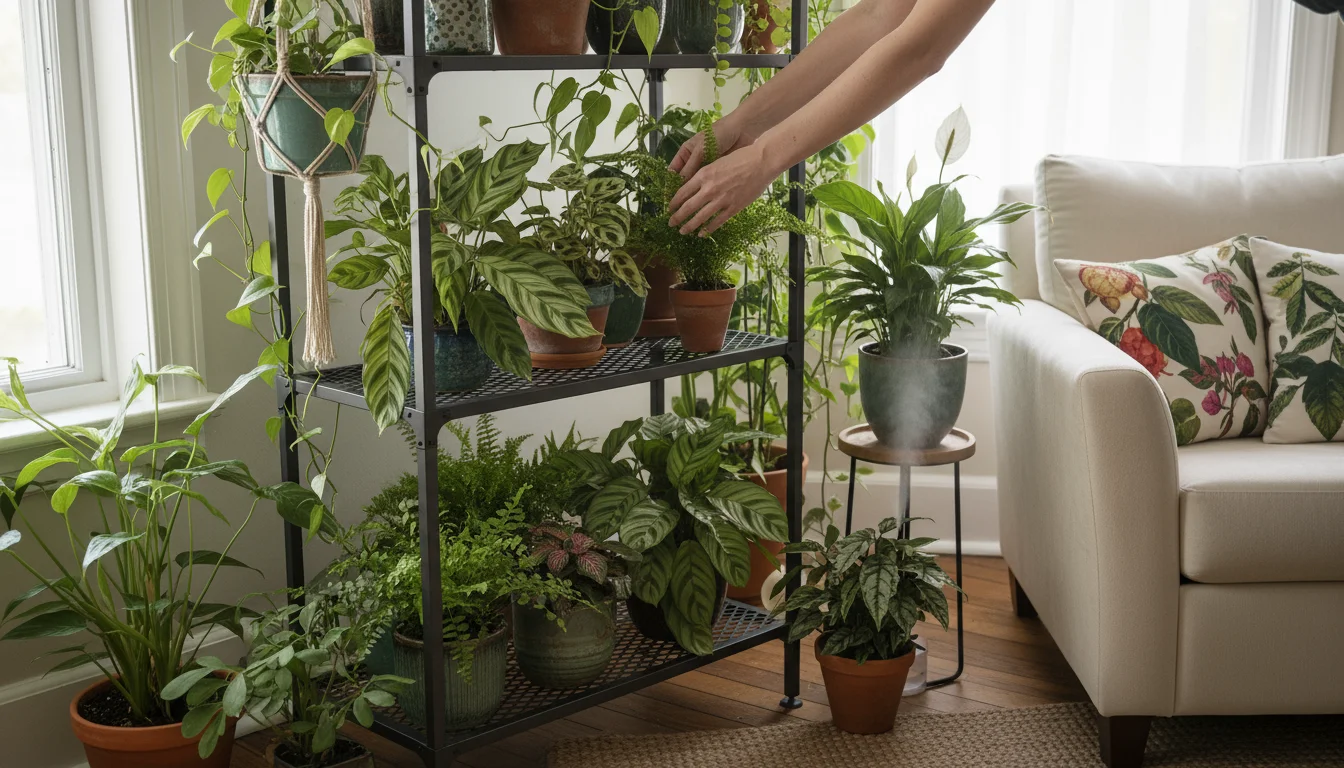
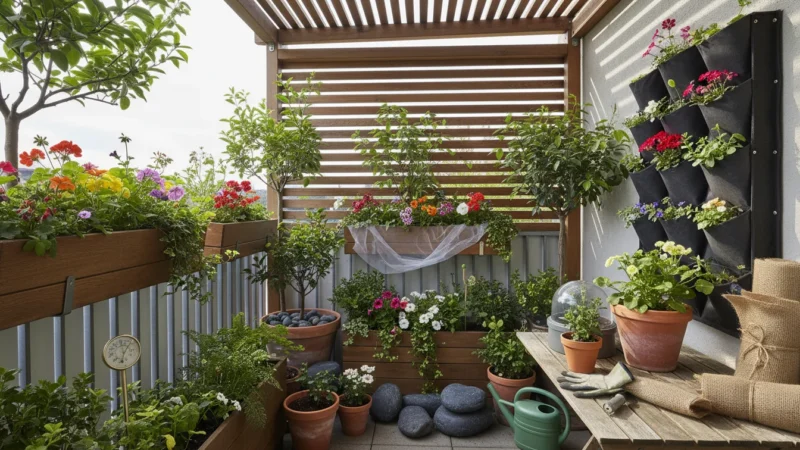
Now that you understand transpiration, let us explore how you can harness this natural process to combat `dry indoor air`. The answer lies in the simple, yet highly effective, strategy of `grouping plants`. When you place several plants close together, the water vapor released by each plant’s transpiration collects in the immediate vicinity, creating a localized pocket of higher humidity. This creates a miniature microclimate that is significantly more humid than the surrounding room air.
Arranging your pots in clusters also helps you achieve a lush winter jungle look that makes any room feel warmer.
Imagine a single plant sitting on a shelf. The moisture it releases dissipates almost instantly into the vast, dry air of your room. It is like trying to humidify a large auditorium with a single glass of water. Now, picture five or six plants clustered together on a small table. Each plant is actively transpiring, and that moisture now has nowhere to go but to accumulate in the air around the group. The leaves of one plant might even slightly shade the soil of another, further reducing evaporation directly from the soil surface and keeping the overall environment more moist.
This “power of proximity” is an incredibly efficient way to increase `houseplant humidity without a humidifier`. The benefits extend beyond just the air quality. This humid microclimate reduces the rate at which your plants lose water, meaning they experience less stress and maintain better turgor (the internal water pressure that keeps leaves firm and upright). You will see fewer crispy leaf tips, more vigorous new growth, and an overall healthier appearance. It also creates a visually appealing display, transforming a collection of individual plants into a cohesive, lush green statement in your home. This natural strategy is environmentally friendly, sustainable, and costs you nothing beyond your initial plant investment.
Designing Your Humidity Oasis: Practical Steps for Grouping Plants Effectively
Creating your own natural humidity oasis through `grouping plants` is a straightforward process. You simply need to consider a few practical aspects to maximize the benefits for your plants. Follow these steps to set up your ideal humidity cluster:
Learning how to create microclimates for houseplants is a fundamental skill for keeping your greenery safe from the drying effects of central heating.
Step 1: Choose Your Location Wisely
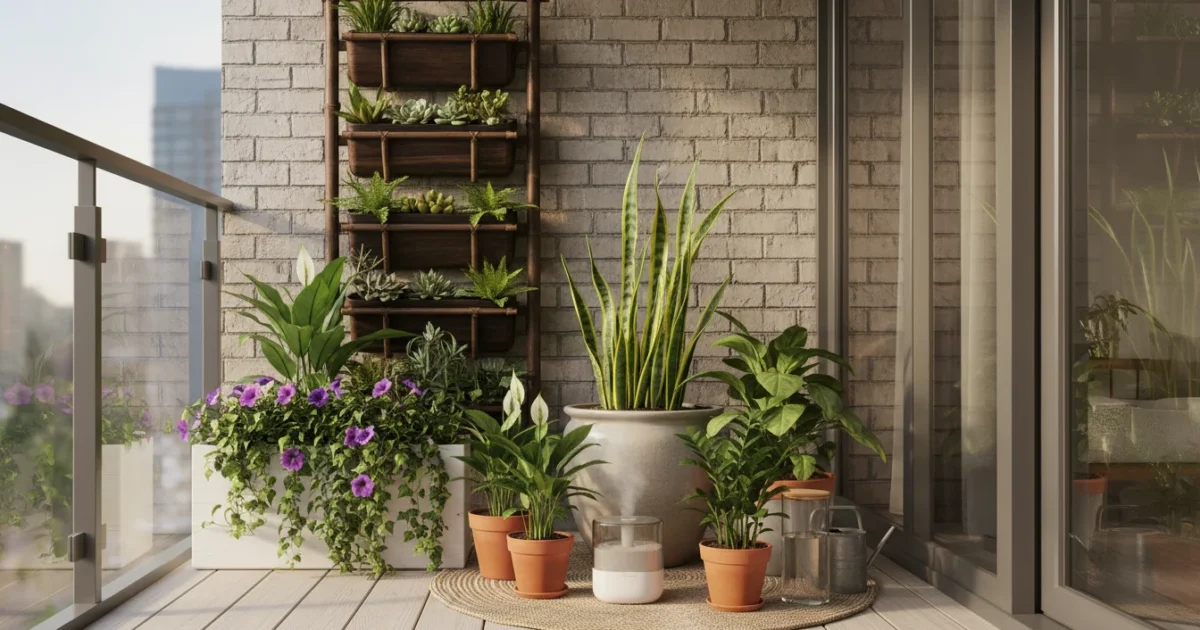
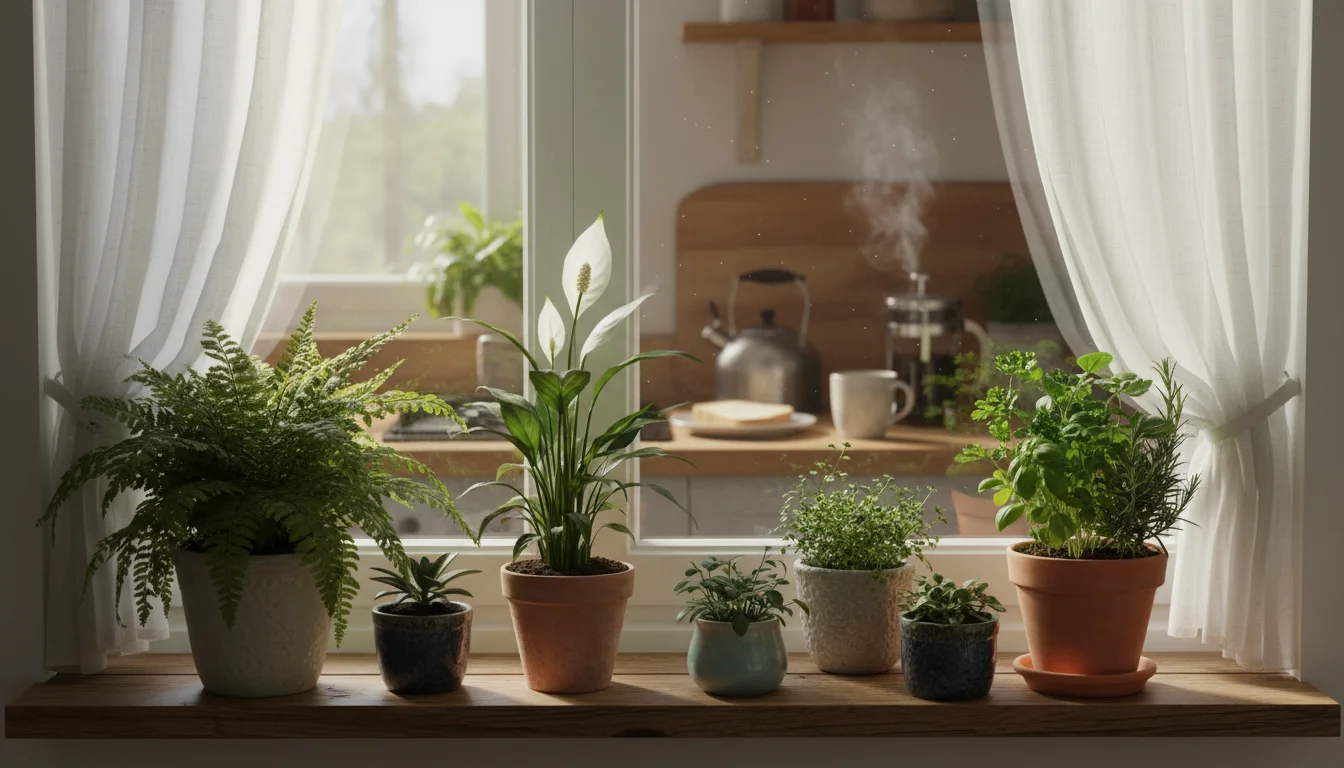
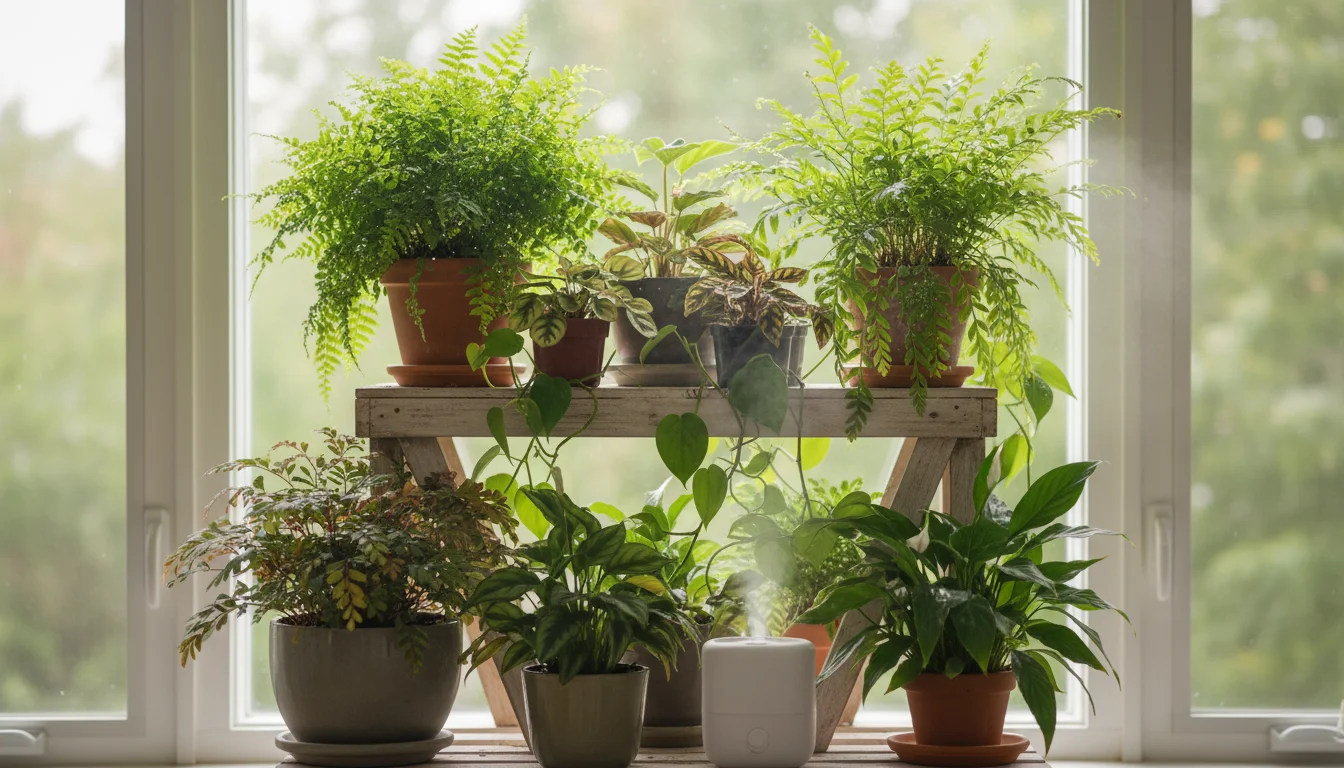
The success of your plant grouping starts with the right location. You want an area that receives adequate light for your chosen plants, but you must also consider environmental factors. Avoid placing your grouped plants directly in the path of cold drafts from windows or doors, or, critically, directly above or next to heating vents. These spots will counteract your efforts by constantly drying out the air around your plants. A spot near a bright window, but not in intense, direct afternoon sun that could overheat them, is often ideal. Consider rooms like a bright bathroom or kitchen if available, as these areas naturally tend to have higher ambient humidity from showers or cooking.
Step 2: Select Compatible Plant Companions
While the primary goal is humidity, you need to ensure your grouped plants can coexist. Group plants with similar light and watering requirements. Placing a shade-loving fern next to a sun-loving succulent will lead to problems for one or both. Aim for plants that all prefer medium to bright indirect light and generally consistent moisture. This simplifies your care routine and ensures all members of your group thrive. Additionally, consider plants that are known for their humidity preferences, as these will be the biggest contributors to the humid microclimate.
Step 3: Arrange for Optimal Microclimate Creation
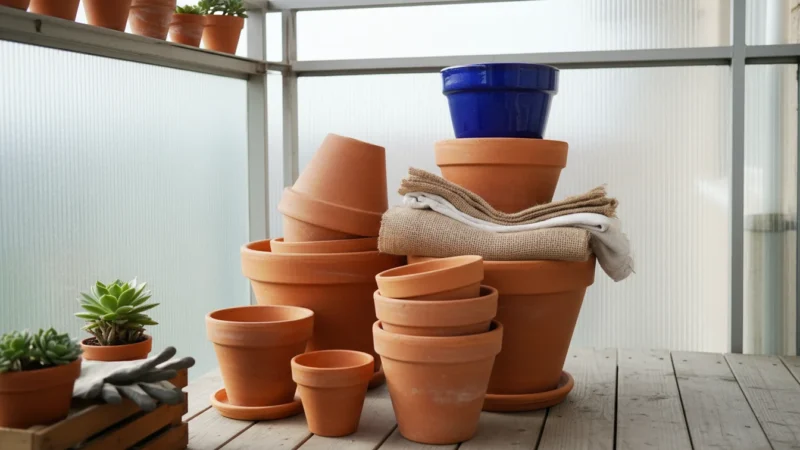
The arrangement is crucial for `how to increase humidity for houseplants without a humidifier`. You want your plants close enough for their transpiring leaves to create that shared humidity pocket, but not so close that airflow is completely restricted. Good air circulation around and through the foliage helps prevent fungal diseases. Aim for leaves that are almost touching, or just an inch or two apart. You can also use cachepots, which are decorative pots without drainage holes, to hold your potted plants. Placing a layer of pebbles and a bit of water in the bottom of the cachepot (ensuring the plant’s pot is not sitting directly in the water) can further contribute to localized humidity through evaporation. Alternatively, use a large, shallow tray filled with pebbles and water, placing several potted plants on top of the pebbles. This achieves a similar effect, increasing the surface area for water evaporation.
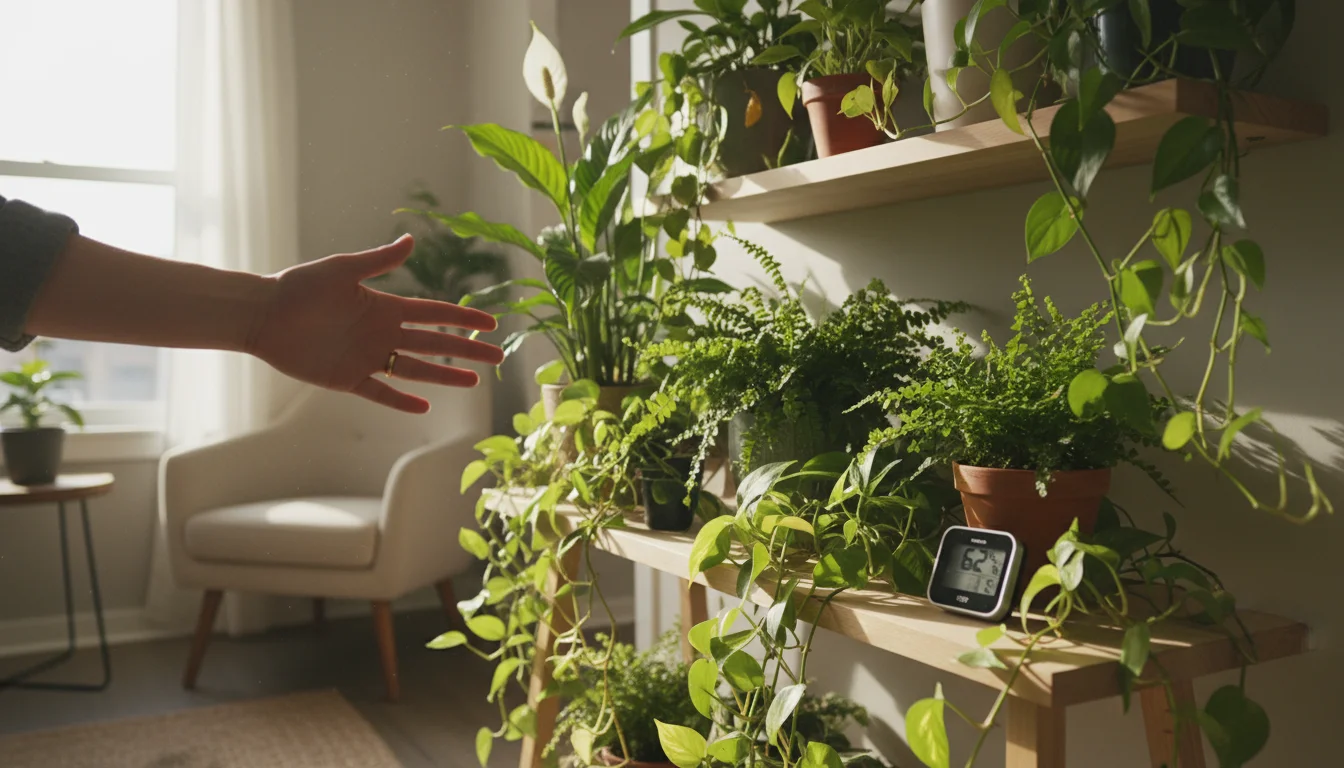
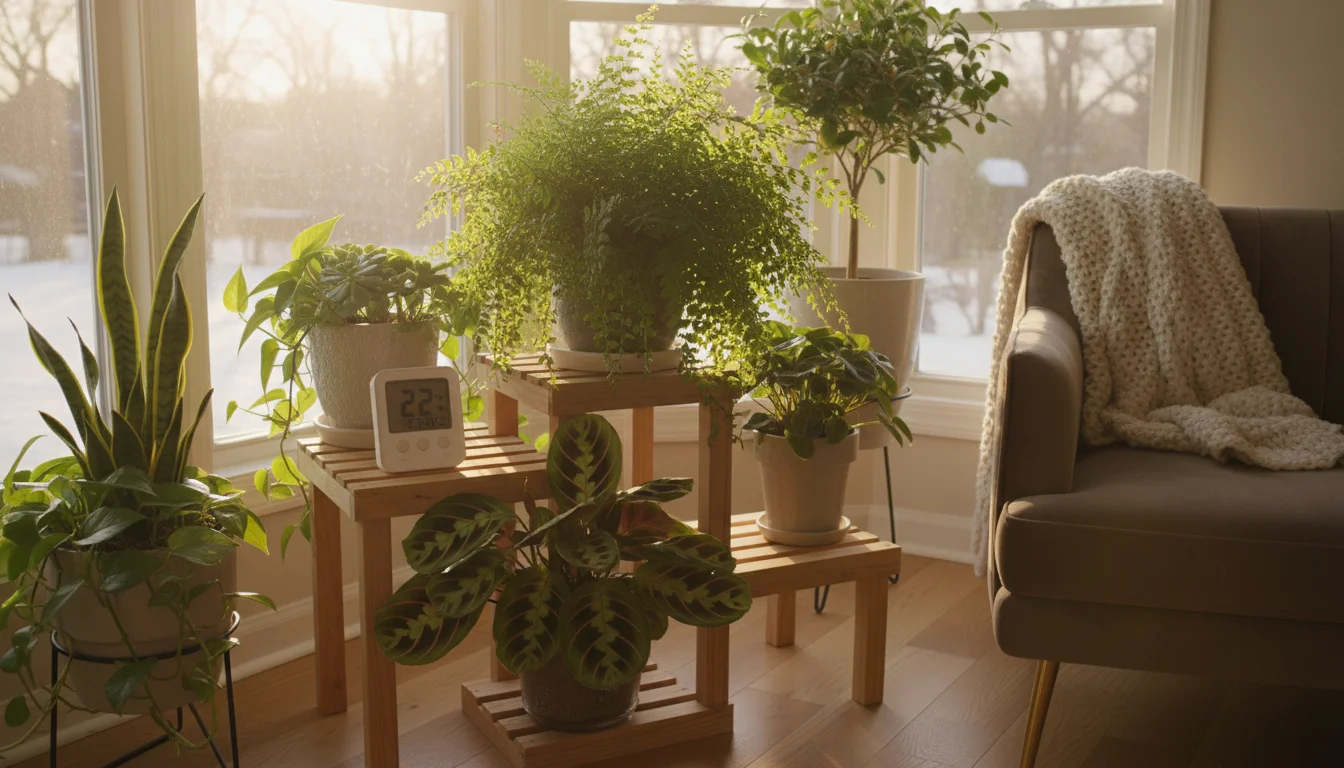
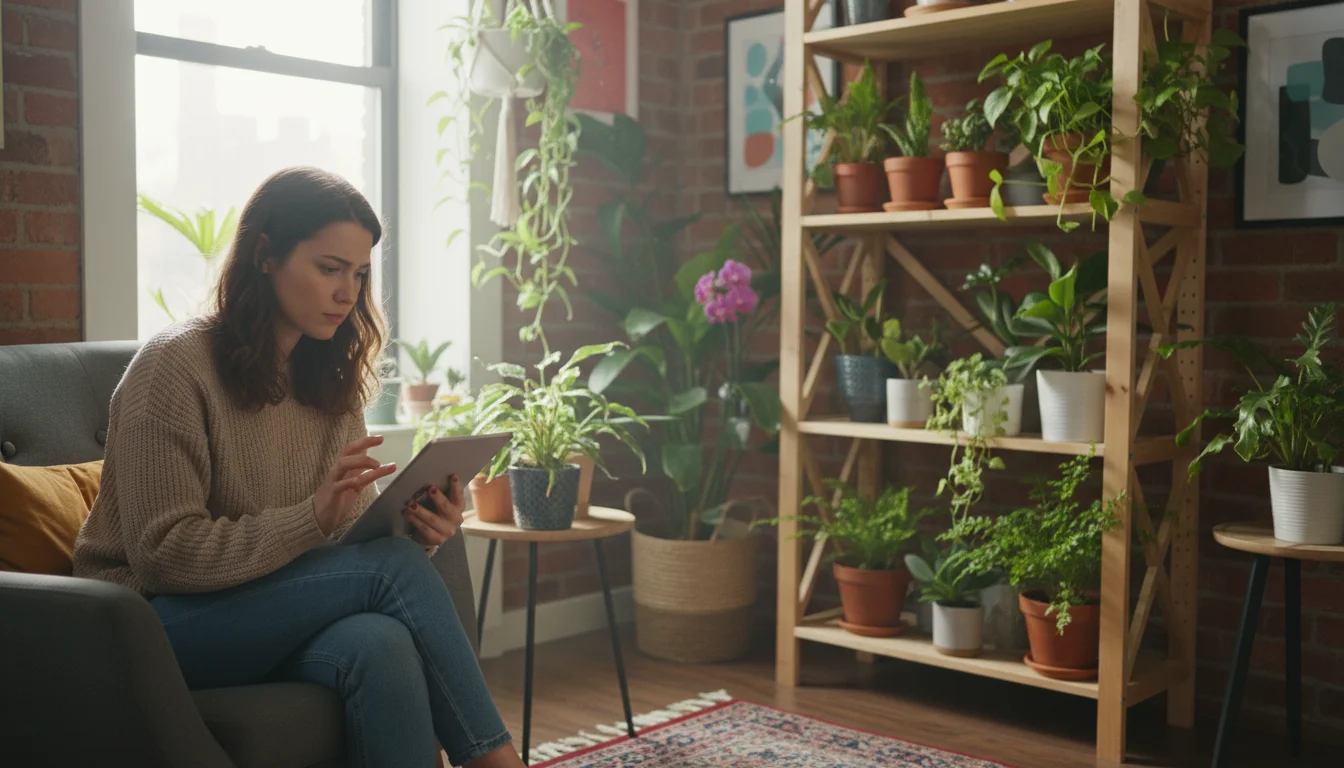
Step 4: Monitor and Adjust
Once your plant grouping is established, observe your plants closely. Look for signs of stress, either from too much dryness or, conversely, from too little airflow. You can also use a small, inexpensive hygrometer placed within the plant cluster to get a quantitative reading of your `houseplant humidity` levels. This provides immediate feedback on the effectiveness of your grouping strategy. If levels are still too low, consider adding more plants, adjusting their proximity, or incorporating a pebble tray. If you notice signs of overwatering or fungal growth, ensure better air circulation by slightly increasing the space between plants or improving room ventilation.
By following these actionable steps, you are not just arranging plants; you are actively engineering a better environment for them, transforming your space into a more humid, plant-friendly haven.
Top Plants for Your Humidity Cluster: Choosing the Best Companions
When you are looking to create a thriving humidity cluster, choosing the right plants makes a significant difference. You want plants that actively transpire and also genuinely appreciate the higher moisture levels. Focusing on `best plants to group together in winter` means selecting species that tolerate typical indoor conditions while benefiting from the increased humidity you provide. Here are some excellent choices for your natural humidity boost:
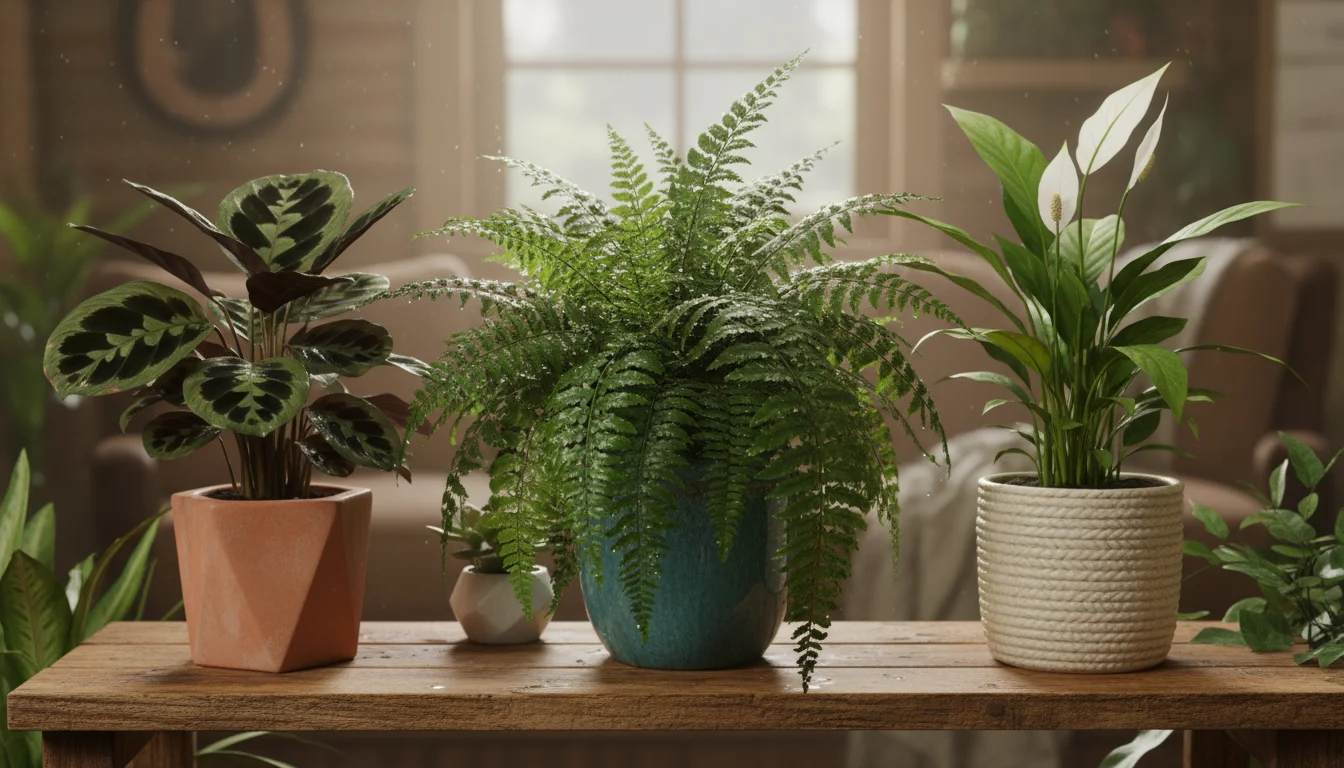
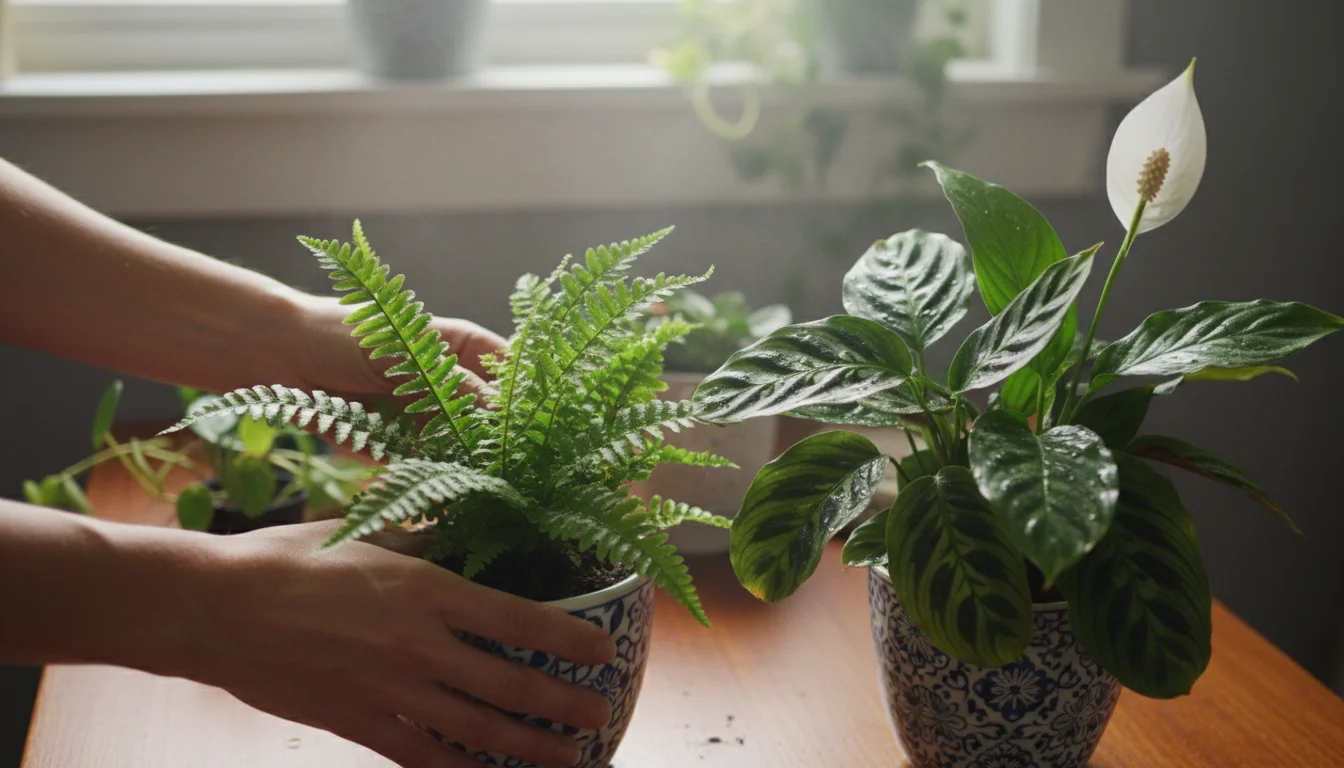
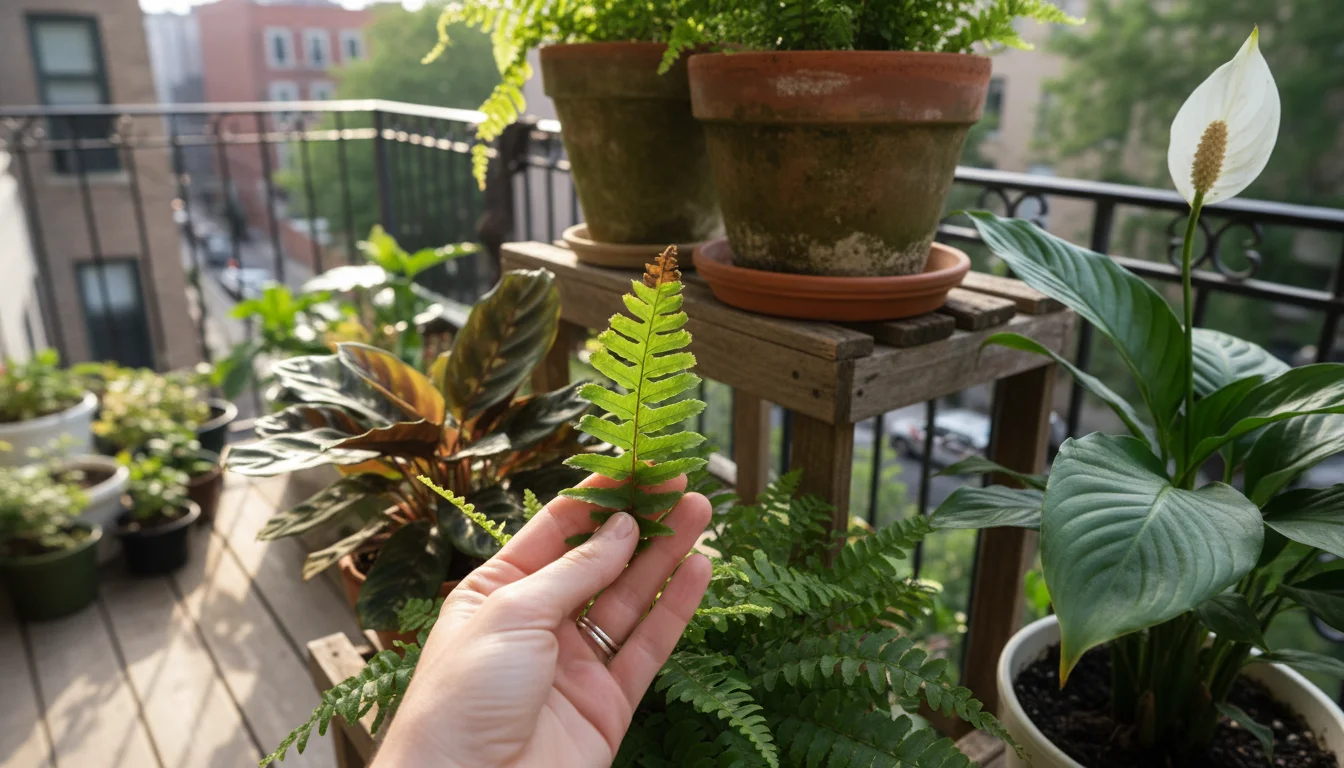
- Ferns (Maidenhair, Boston, Kimberly Queen): Ferns are quintessential humidity lovers. Their delicate fronds often crisp and brown in dry air. Grouping them helps maintain the lush green appearance you desire. Maidenhair ferns are particularly demanding of high humidity.
- Prayer Plants (Maranta, Calathea, Stromanthe): Known for their beautiful, intricate foliage and habit of folding their leaves at night, these plants hail from tropical rainforests. They absolutely thrive in high humidity, and their leaves will thank you by unfurling perfectly. Brown leaf edges are a classic sign of insufficient humidity for these beauties.
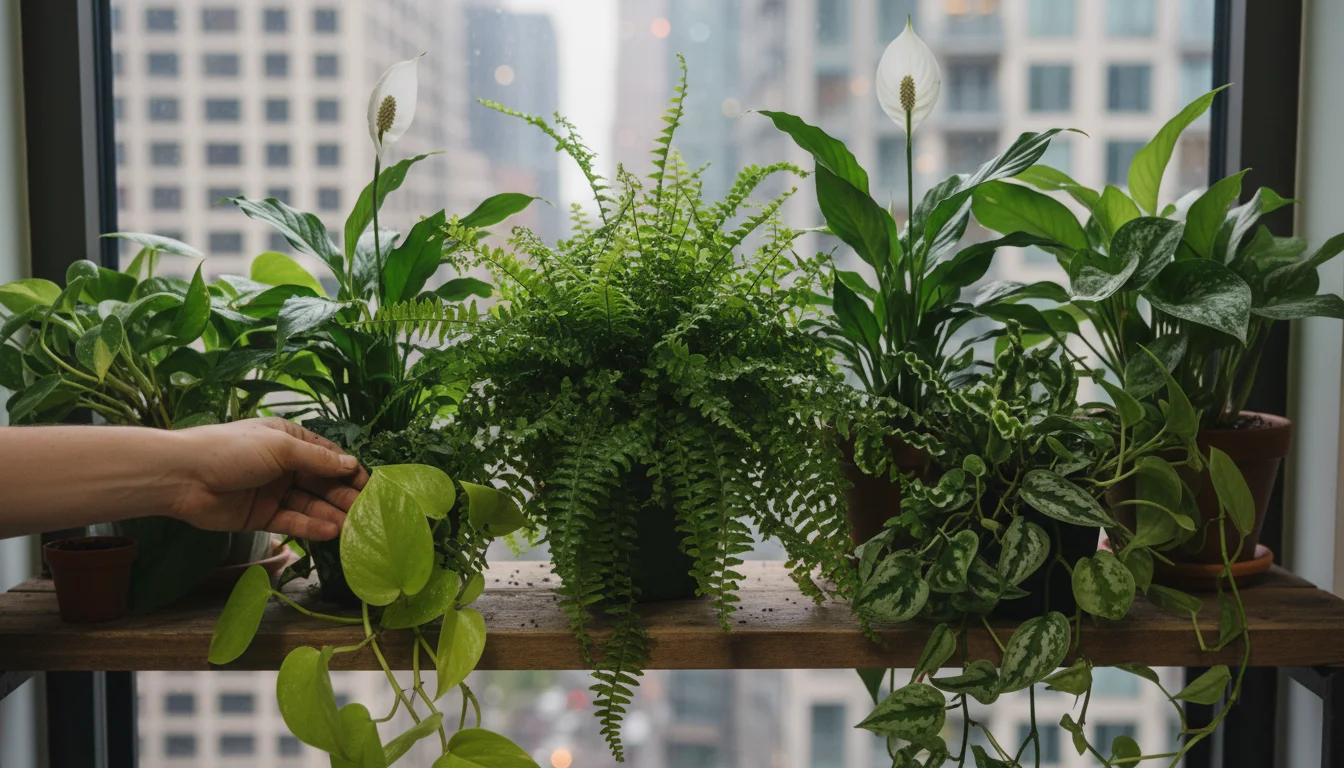
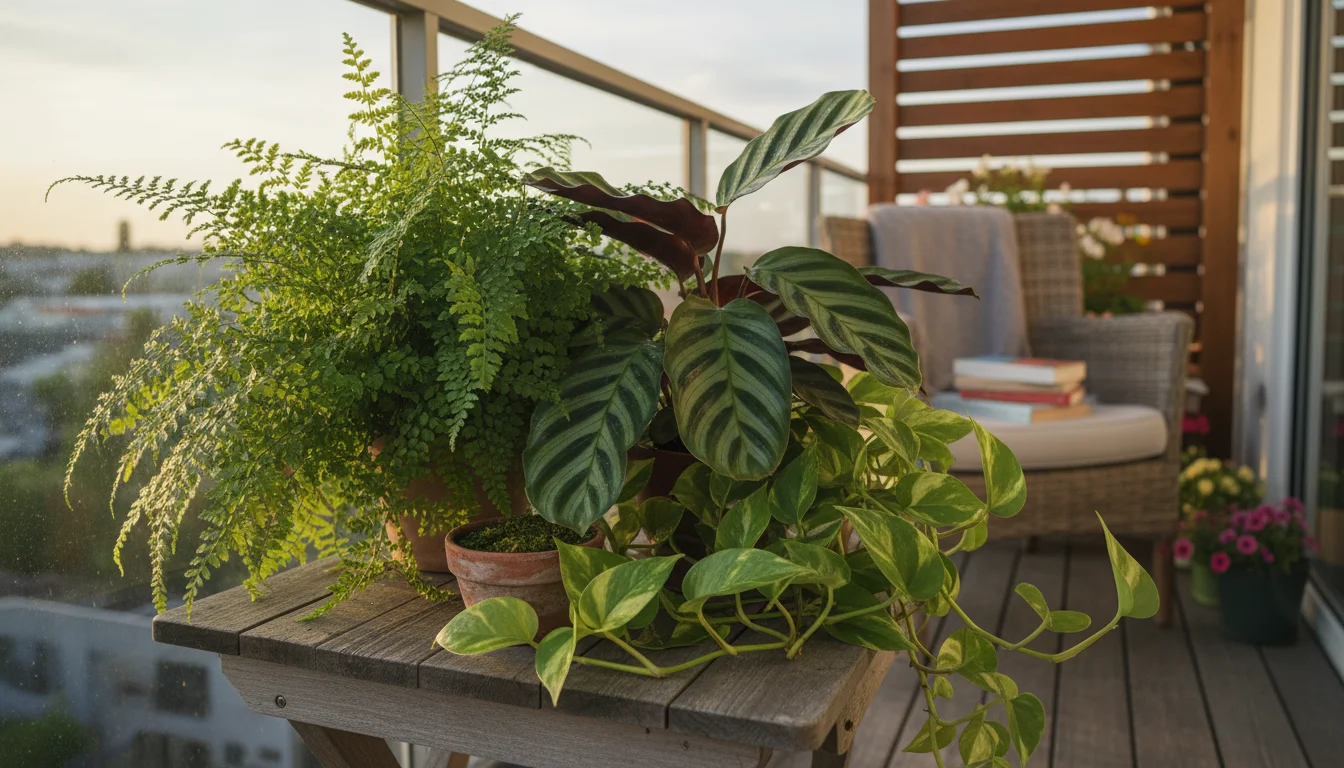
- Pothos (Epipremnum aureum): While relatively tolerant of lower humidity, pothos benefit immensely from grouping. They transpire quite readily, contributing to the overall humidity, and in turn, their leaves grow larger and lusher. They are also excellent for cascading over the edge of your grouping.
- Philodendrons: Similar to pothos, many philodendron varieties appreciate and contribute to increased `houseplant humidity`. Their broad leaves have ample surface area for transpiration, and they will reward you with robust growth.
- Spider Plants (Chlorophytum comosum): These classic, easy-care plants are fantastic additions to a humidity cluster. They are efficient transpirers and will appreciate the extra moisture, often producing more “spiderettes” when conditions are ideal.
- Peace Lilies (Spathiphyllum): Peace lilies love consistent moisture, both in their soil and in the air. Grouping them helps prevent their leaves from drooping and browning, especially on the flower spathes.
- Orchids (Phalaenopsis): While often considered challenging, common Phalaenopsis orchids actually do very well in a humid plant grouping. They require high humidity, often 50-70%, to prevent flower bud blast and leaf desiccation. Ensure they are potted in orchid bark mix and not sitting in water, but the surrounding moist air will be highly beneficial.
- Fittonia (Nerve Plant): These small, colorful plants are notorious for wilting dramatically if they do not receive enough water or humidity. They are perfect for tucking into the front or edges of your grouping, signaling when the environment might be getting too dry.
When selecting your plants, remember to consider their individual light requirements. Grouping a full-sun succulent with a low-light fern will not work. Aim for a collection of plants that generally prefer similar light conditions, typically bright, indirect light, to ensure everyone in your humidity oasis thrives.
For trustworthy gardening information, visit: Arkansas Extension — Yard & Garden, Kansas State University Extension — Horticulture and Oklahoma State University Extension — Lawn & Garden. These organizations provide expert, research-based advice for gardeners at all levels.
Beyond Grouping: Other Simple Ways to Enhance Houseplant Humidity
While `grouping plants` stands as the most effective and natural strategy for boosting `houseplant humidity`, you can combine it with other simple, low-maintenance methods to further enhance your indoor environment. These techniques complement your grouping efforts, creating an even more hospitable space for your plants without relying on electric humidifiers.
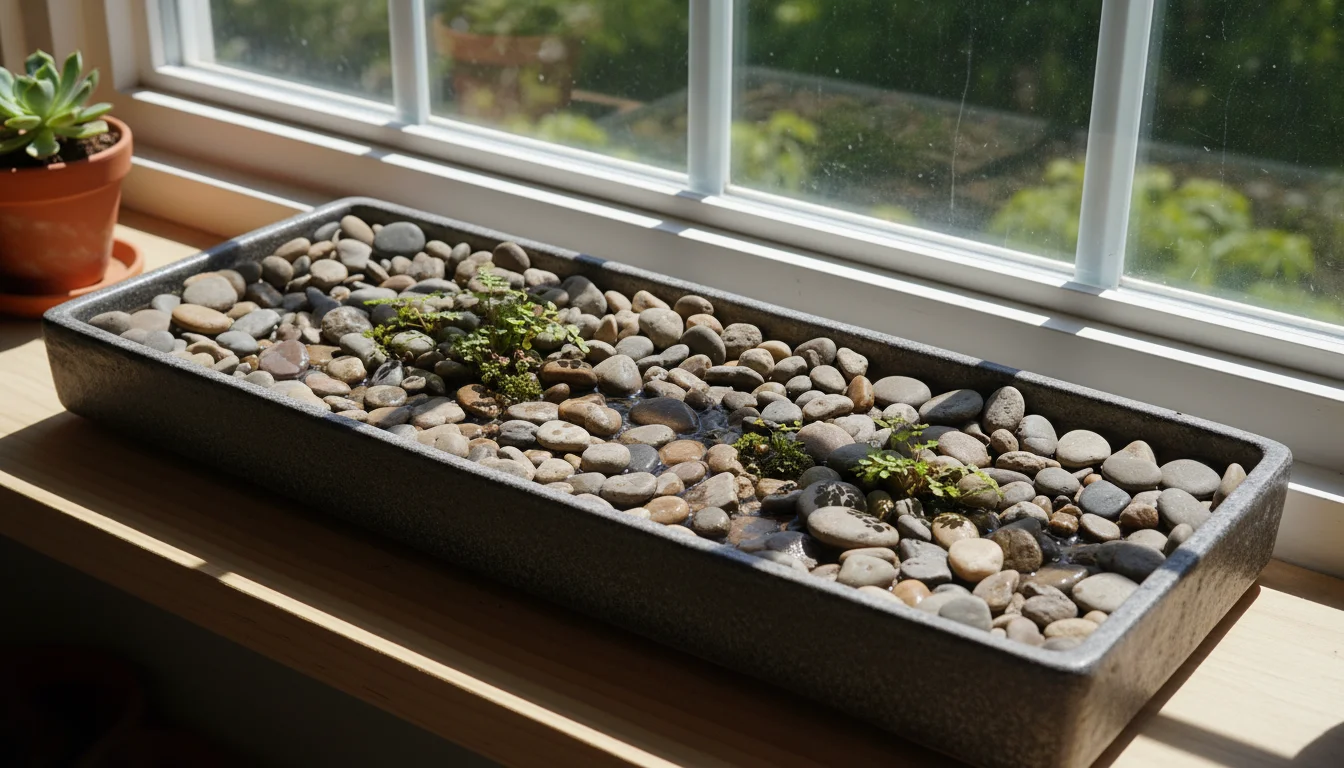
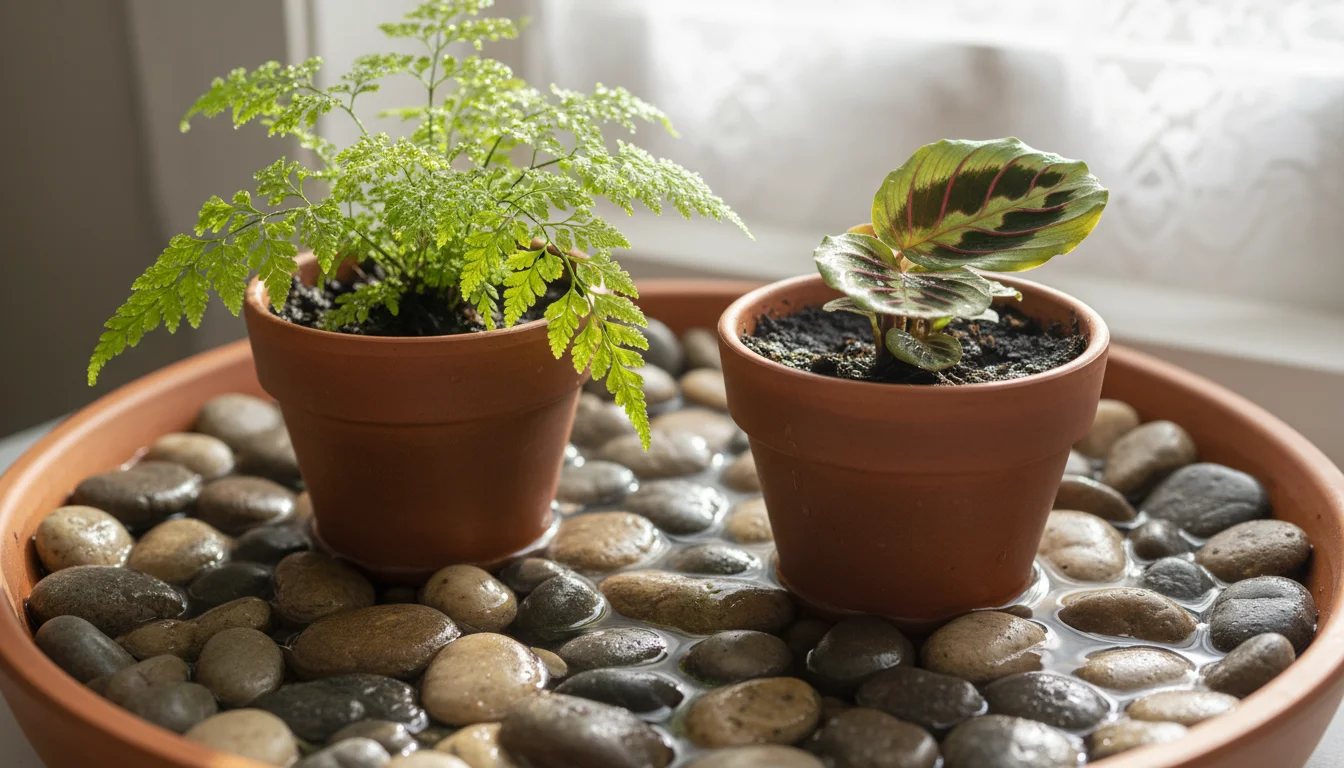
Pebble Trays for Localized Evaporation
Pebble trays are a classic and effective method. You need a shallow tray, a layer of pebbles or gravel, and water. Simply fill the tray with pebbles and add water until it sits just below the top of the pebbles. Then, place your potted plants on top of the pebbles, ensuring the bottom of the pot never sits directly in the water. As the water in the tray evaporates, it increases the humidity in the air immediately surrounding your plants. This is especially beneficial for plants that require very high humidity. You can integrate a large pebble tray directly into your plant grouping, placing several pots on a single tray.
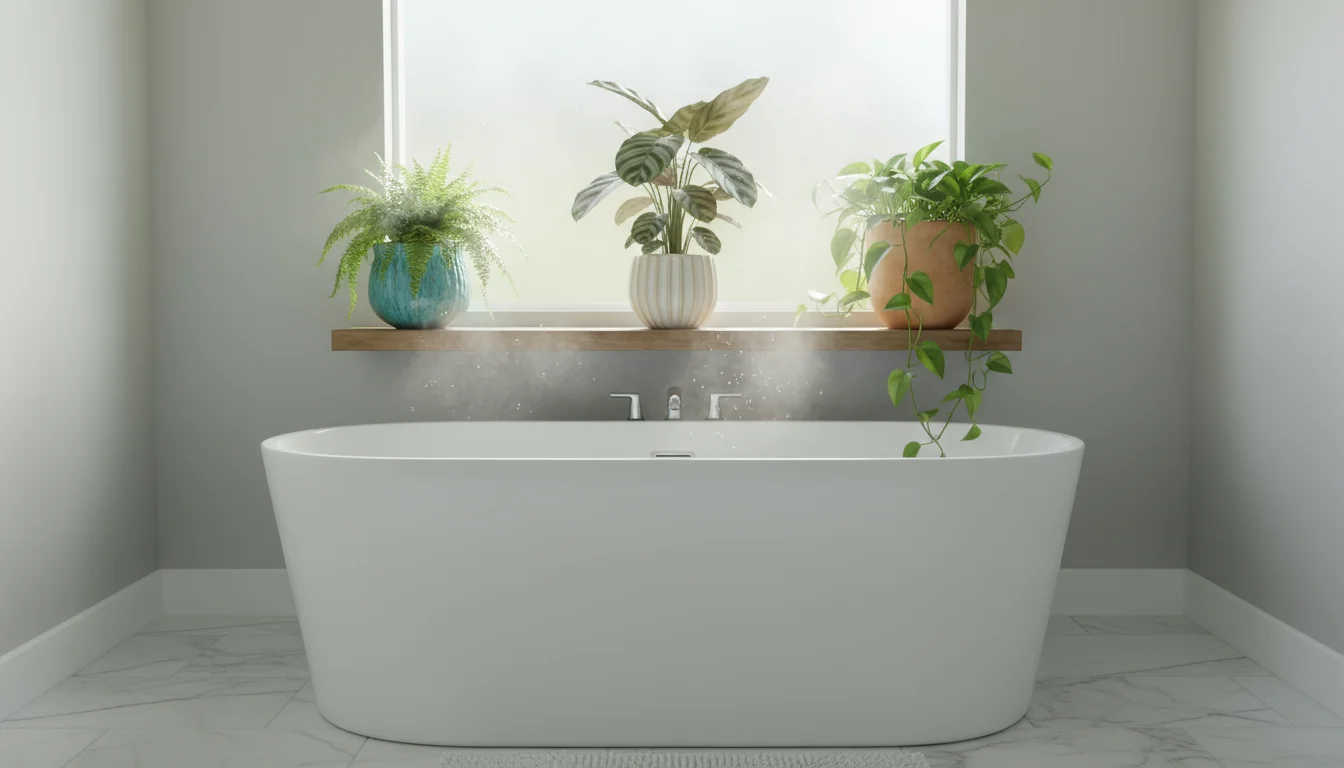
Strategic Placement in High-Humidity Rooms
Some rooms in your home naturally have higher humidity levels than others. Bathrooms, especially those with showers, and kitchens, where steam from cooking can add moisture, are prime candidates for humidity-loving plants. Placing your grouped plants in such locations can provide a significant, consistent humidity boost. Just ensure these rooms also offer adequate light for your chosen species.
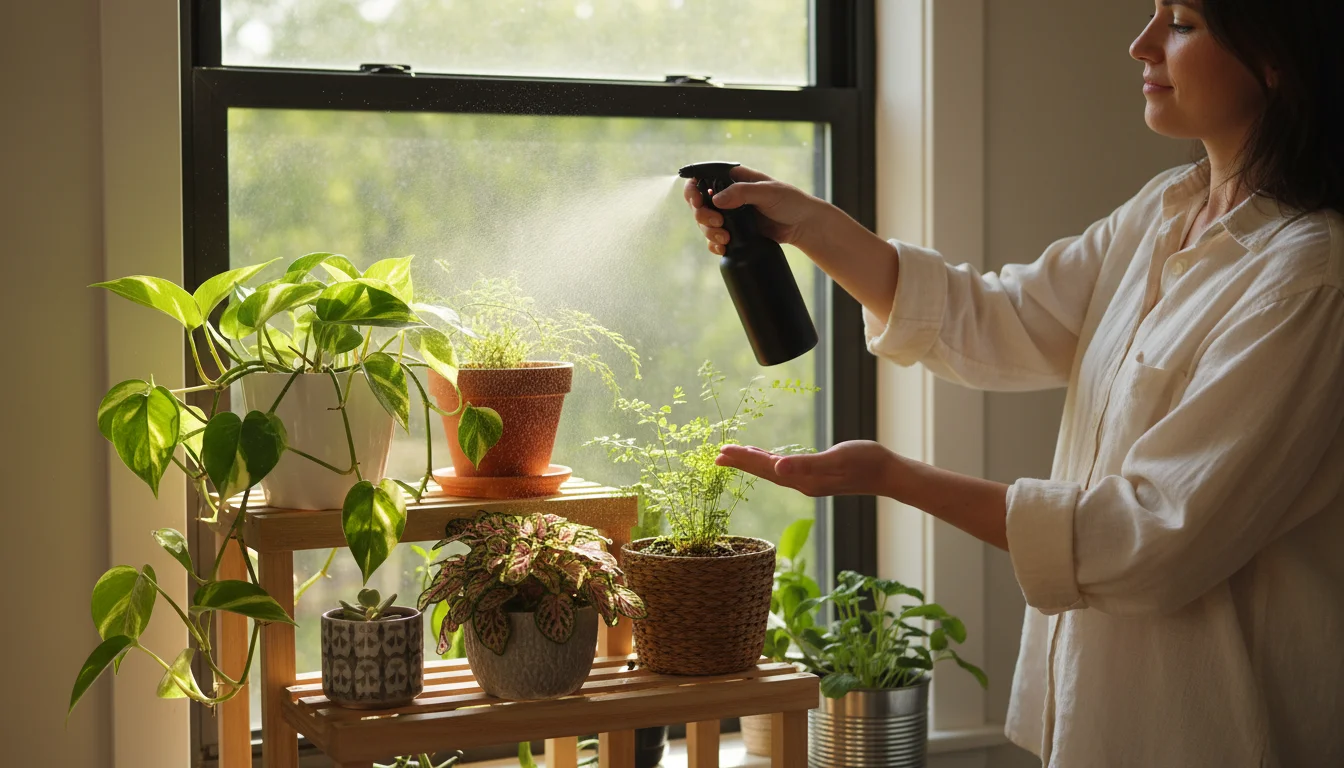
Misting: A Temporary Solution
Misting your plants with a fine spray of water offers a temporary increase in humidity. While it feels good to the plants and can help clean their leaves, the effect on ambient humidity is short-lived, often dissipating within minutes. For it to be truly effective, you would need to mist several times a day, which is impractical for most gardeners. However, it can provide a quick pick-me-up and help clean dust off leaves, which allows for better light absorption and more efficient transpiration. If you choose to mist, use filtered or distilled water to avoid mineral deposits on leaves. Also, ensure good air circulation to prevent water from sitting on leaves for too long, as this can encourage fungal issues.
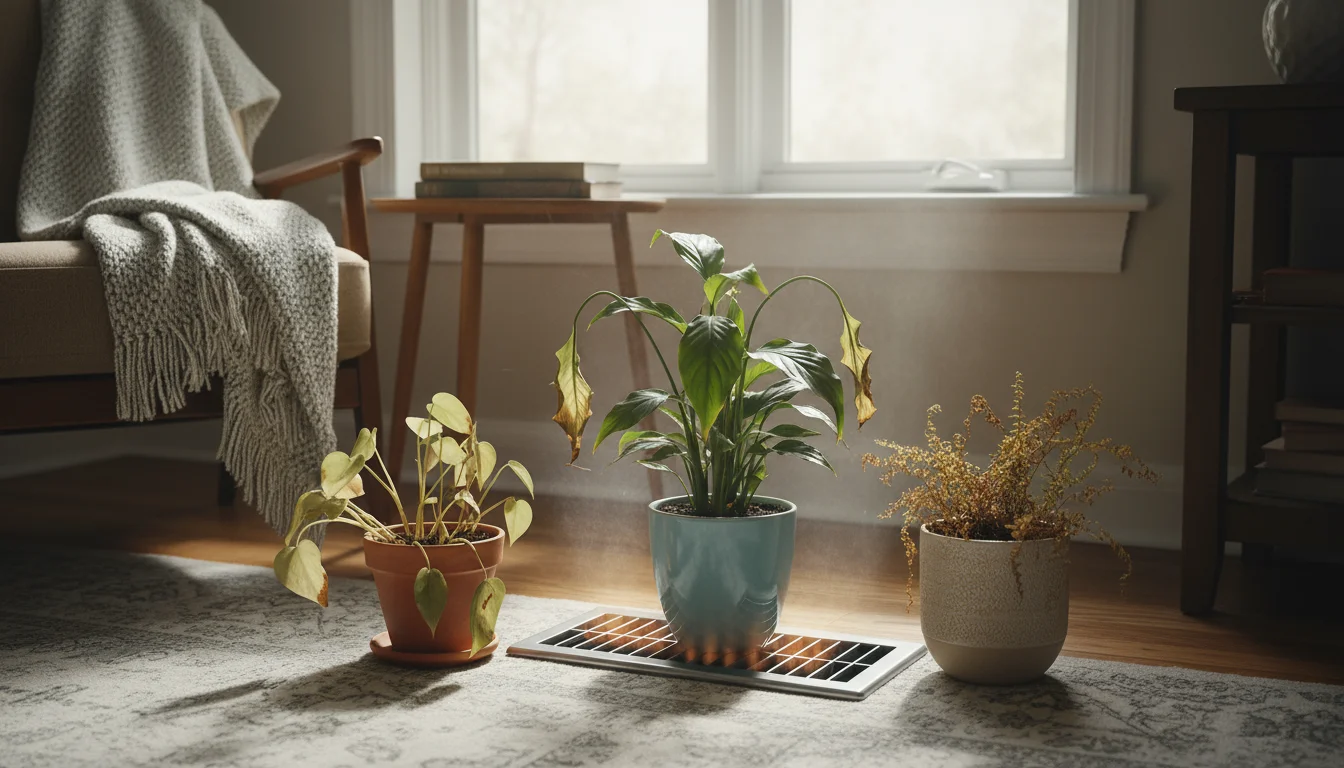
Avoid Heating and Cooling Vents
This point bears repeating: constantly dry air from heating vents in winter and even air conditioning vents in summer will negate all your humidity-boosting efforts. Keep your plants, especially your humidity-loving groupings, several feet away from these direct sources of dry, circulating air. The consistent airflow from these vents will strip moisture from the leaves and soil at an accelerated rate, causing significant stress to your plants.
By combining `grouping plants` with these additional strategies, you provide a multifaceted approach to maintaining optimal `houseplant humidity`, ensuring your plants not only survive but truly flourish.
Troubleshooting and Maintenance for Your Humid Plant Haven
Even with the best intentions and carefully arranged plant groupings, you might encounter issues. Regular observation and proactive maintenance are key to keeping your humid plant haven healthy and thriving. Here are common problems and practical solutions:
Overcrowding and Airflow Issues
While `grouping plants` is beneficial, excessive closeness can lead to problems. If plants are too packed together, air circulation diminishes, creating an environment ripe for fungal diseases like powdery mildew or botrytis. You might notice fuzzy white patches on leaves or soft, rotting spots.
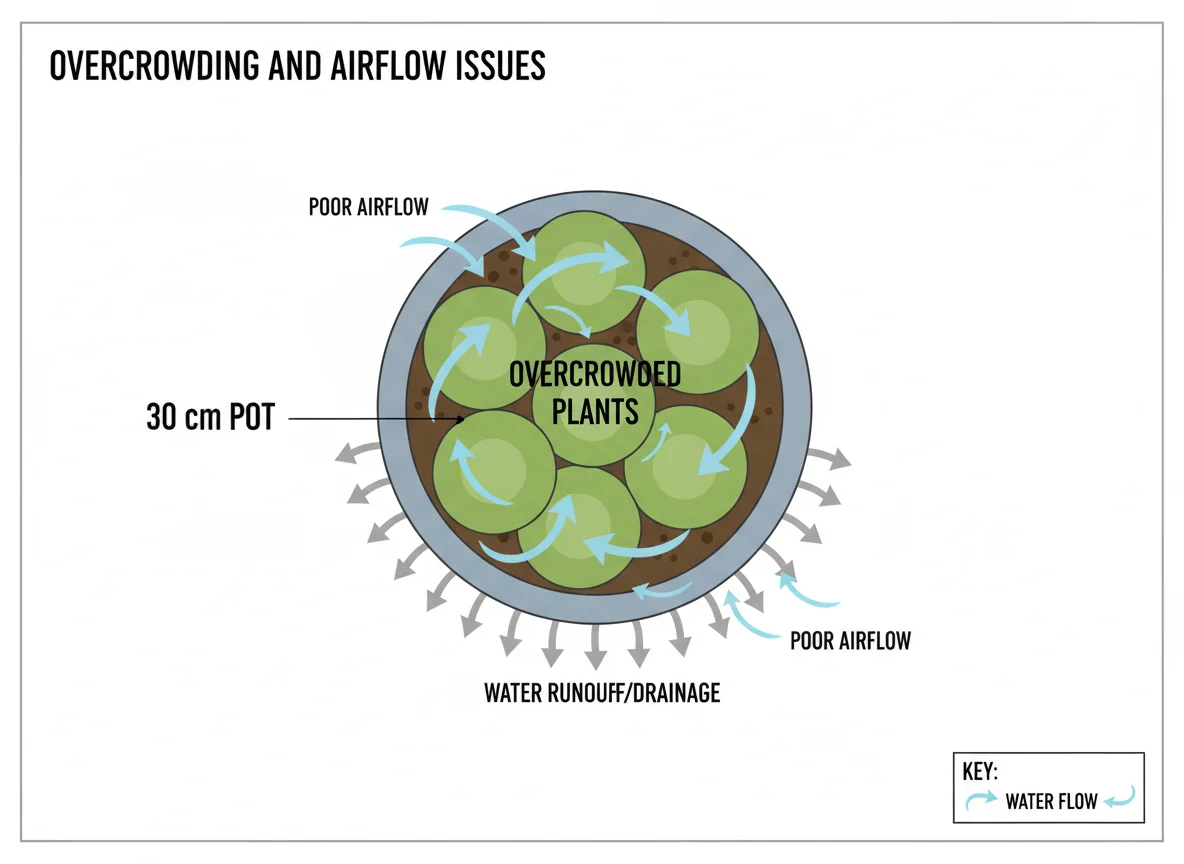
- Solution: Regularly assess your grouping. Ensure there is enough space for air to move between plants. Trim back overgrown foliage on individual plants if necessary. If a plant appears consistently moist and is showing signs of fungal growth, temporarily move it out of the group to allow better airflow and treatment.
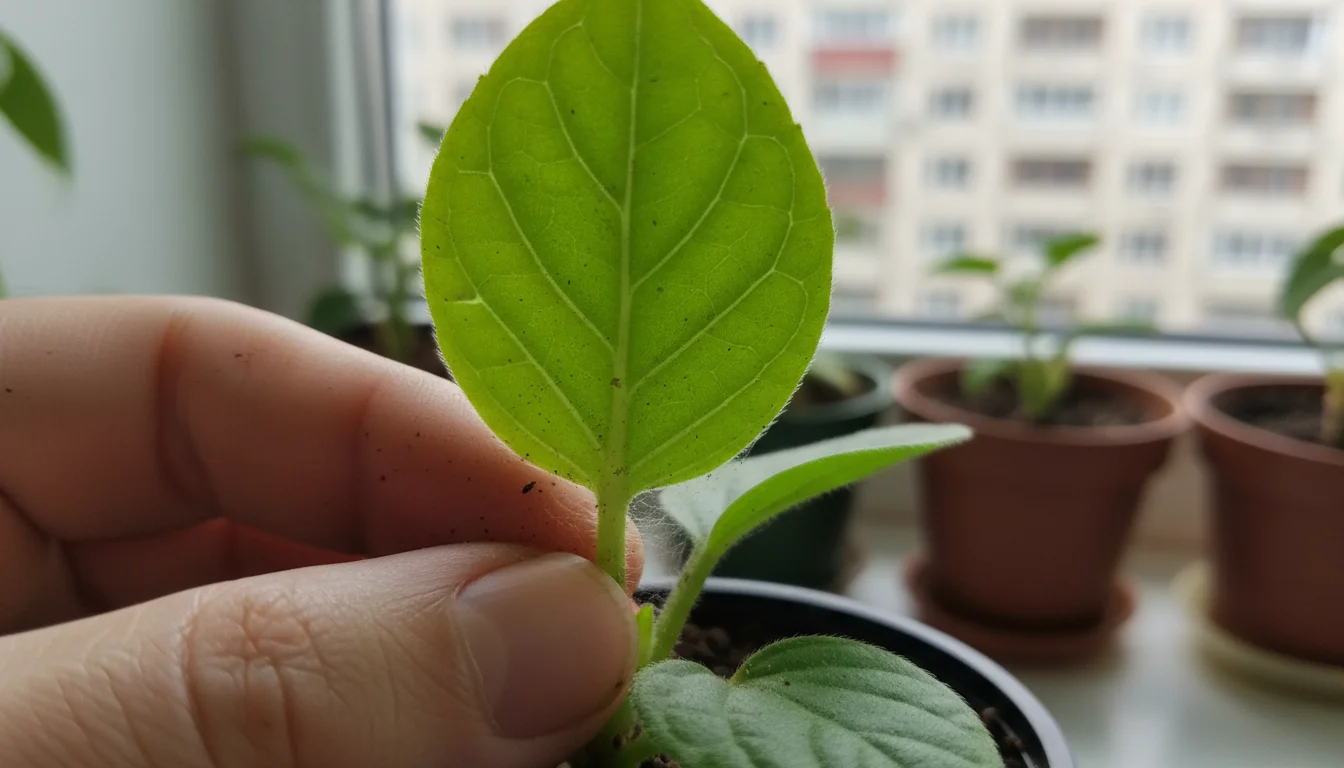
Pest Infestations
A common misconception is that pests like spider mites love humidity. In reality, spider mites thrive in dry, dusty conditions. Creating a humid microclimate actually helps deter them. However, any plant grouping can inadvertently spread pests from one plant to another if an infestation begins on a single specimen.
- Solution: Inspect your plants regularly, especially the undersides of leaves and along stems. Look for tiny webs, sticky residue, or visible insects. If you find pests, isolate the affected plant immediately and treat it with an appropriate organic pest control, such as insecticidal soap or neem oil. A strong spray of water can also dislodge many pests. After treatment, thoroughly clean the area where the infested plant was kept before returning it to the group.
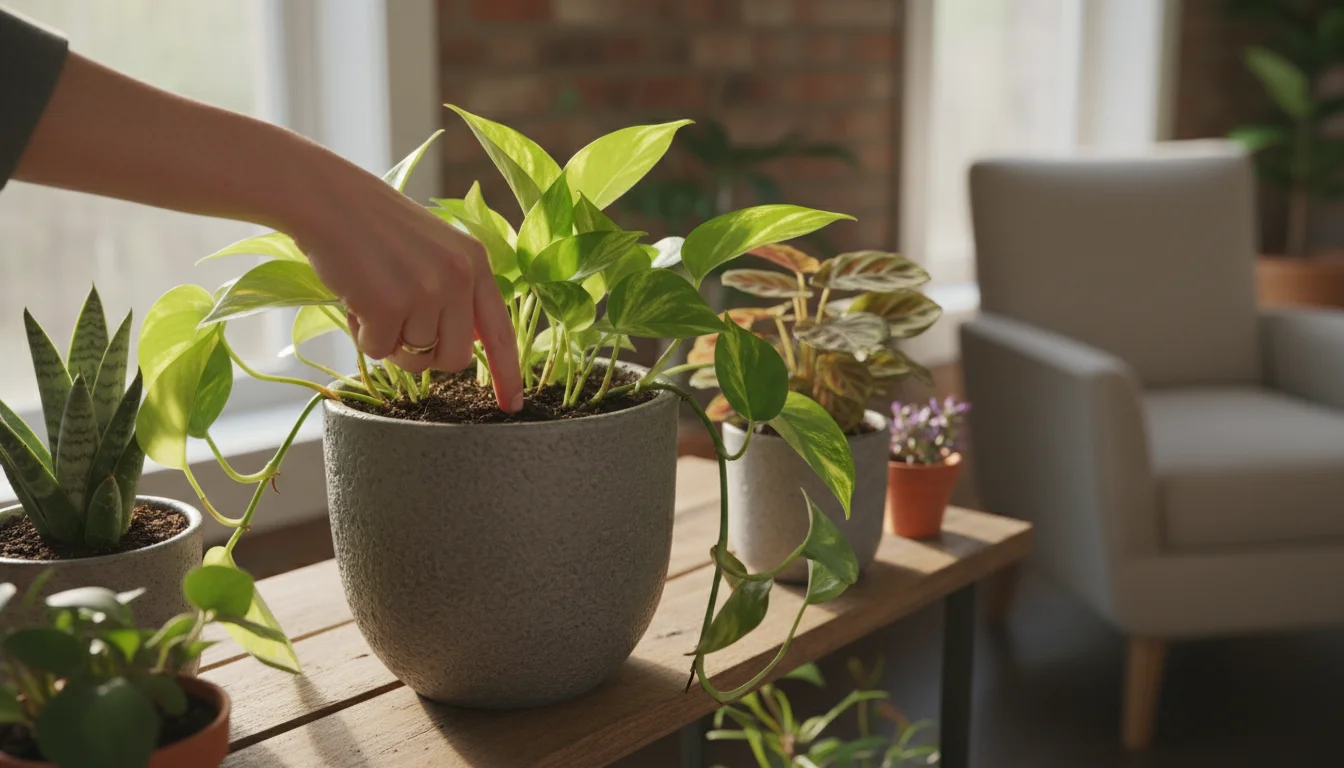
Inconsistent Watering
When you `group plants`, their collective transpiration can slow down the drying rate of the soil. This is generally good, but it means you cannot simply water every plant on the same schedule. Each plant’s needs differ based on its size, type, and specific position within the group.
- Solution: Adopt an individual watering approach. Before watering, always check the soil moisture of each plant by sticking your finger about an inch or two into the soil. Water only when the soil feels dry to the touch for that particular plant. Using a moisture meter can also provide an accurate reading.
Insufficient Light Within the Group
A dense grouping can sometimes shade inner plants too much, leading to leggy growth, pale leaves, or a decline in overall health for those deprived of light.
- Solution: Rotate your plants periodically, perhaps once a week or every two weeks, so that all sides of each plant receive adequate light. Rearrange the grouping if necessary, placing taller, light-demanding plants towards the back or center, and shorter, lower-light tolerant plants towards the edges.
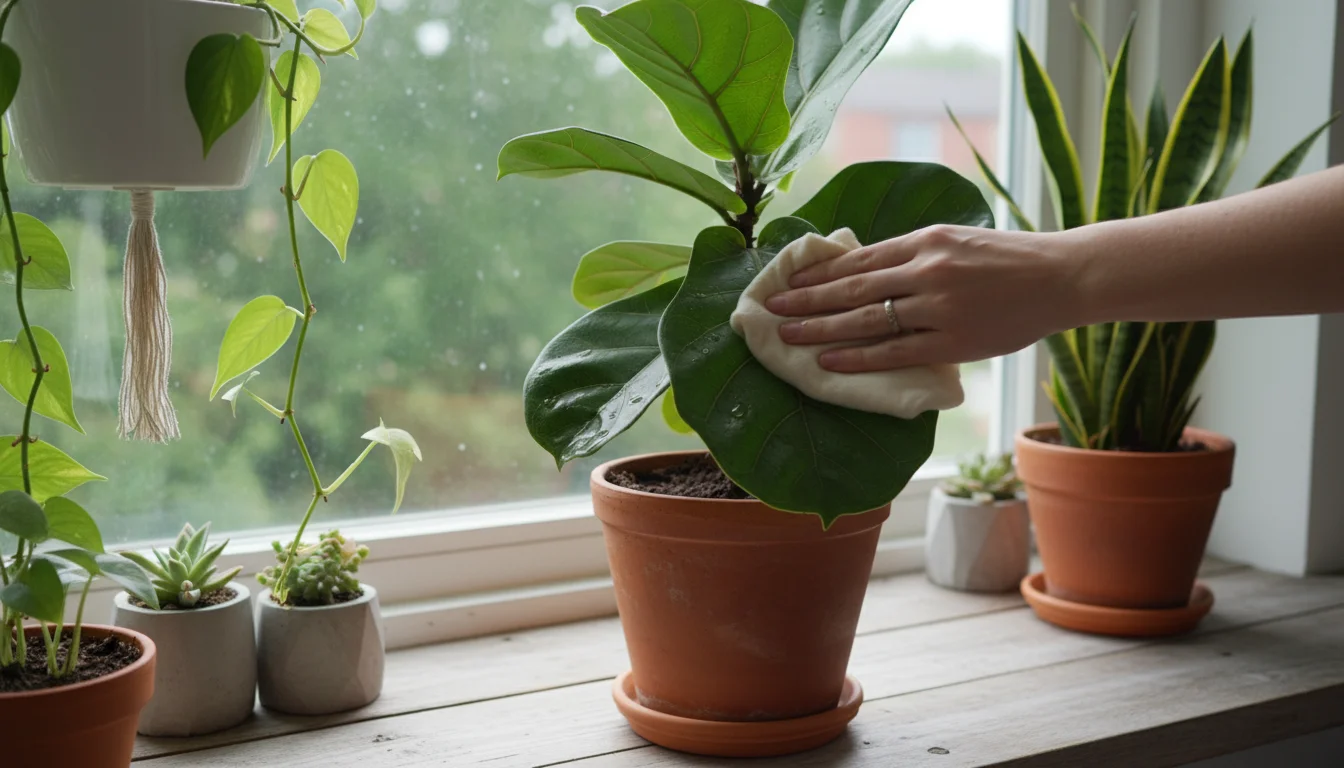
Dust Accumulation
Dust on leaves can impede a plant’s ability to photosynthesize and transpire efficiently. In a dense grouping, dust can accumulate more readily.
- Solution: Gently wipe down leaves with a damp cloth every few weeks. This not only keeps your plants looking their best but also ensures their stomata remain clear for optimal transpiration and overall health. For plants with many small leaves, a gentle shower or hose-down in the sink can be very effective.
By actively monitoring your plant grouping and addressing any issues promptly, you maintain a vibrant, healthy, and naturally humid environment for your houseplants throughout the year.
Frequently Asked Questions
How much humidity do houseplants need?
Most common houseplants, especially those from tropical climates, thrive in relative humidity levels between 40% and 60%. Some, like ferns and prayer plants, prefer even higher levels, up to 70%. When indoor humidity drops below 30%, you typically start seeing signs of stress like crispy leaf edges and stunted growth.
Can grouping plants cause pests?
Grouping plants itself does not cause pests, but it can facilitate their spread if one plant introduces an infestation. Pests like spider mites actually prefer dry conditions, so increased humidity from grouping can deter them. However, it is crucial to inspect any new plant for pests before adding it to your group and to regularly check all your plants for early signs of infestations. Prompt isolation and treatment of affected plants prevent wider issues.
Does misting actually work for houseplant humidity?
Misting provides a very temporary increase in humidity that dissipates quickly, often within minutes. While it can offer a brief refresh for your plants and helps clean leaves, it is generally not an effective long-term solution for significantly raising ambient `houseplant humidity`. For sustained humidity, `grouping plants` or using pebble trays offers much better results.
Do all plants benefit from grouping?
Most plants appreciate the increased `houseplant humidity` that grouping provides. However, plants that prefer very dry conditions, such as cacti and many succulents, might not benefit as much and could even suffer if the environment becomes too consistently moist around their foliage. Always group plants with similar care requirements, especially regarding light and humidity needs.
How often should I water grouped plants?
The watering frequency for grouped plants depends on individual plant needs, pot size, soil type, and ambient room temperature. The increased humidity from `grouping plants` can slow down soil evaporation, meaning you might water less frequently than if the plants were isolated. Always check the soil of each plant individually by feeling for dryness before watering. Do not water on a fixed schedule. Consistent checking ensures you meet each plant’s specific moisture requirements.
Disclaimer: This article is for informational purposes only and is not a substitute for professional gardening advice. Always consult local extension services or horticulture experts for region-specific guidance.


Leave a Reply