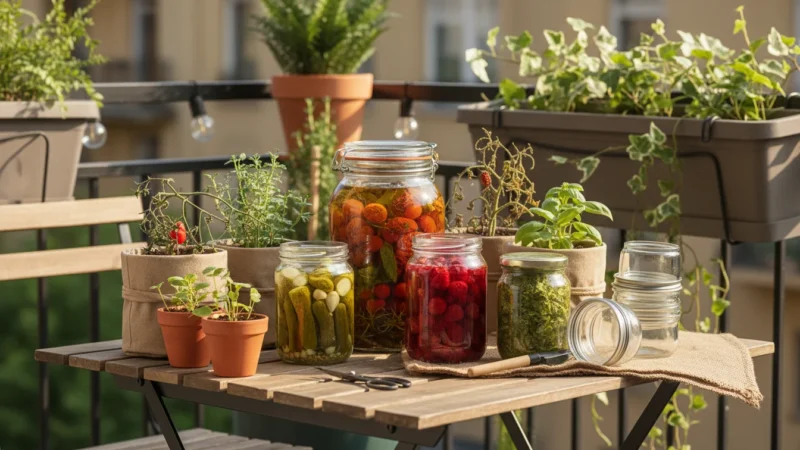
Don’t Waste a Single Leaf: 5 Creative Ways to Preserve Your Final Balcony Herb Harvest
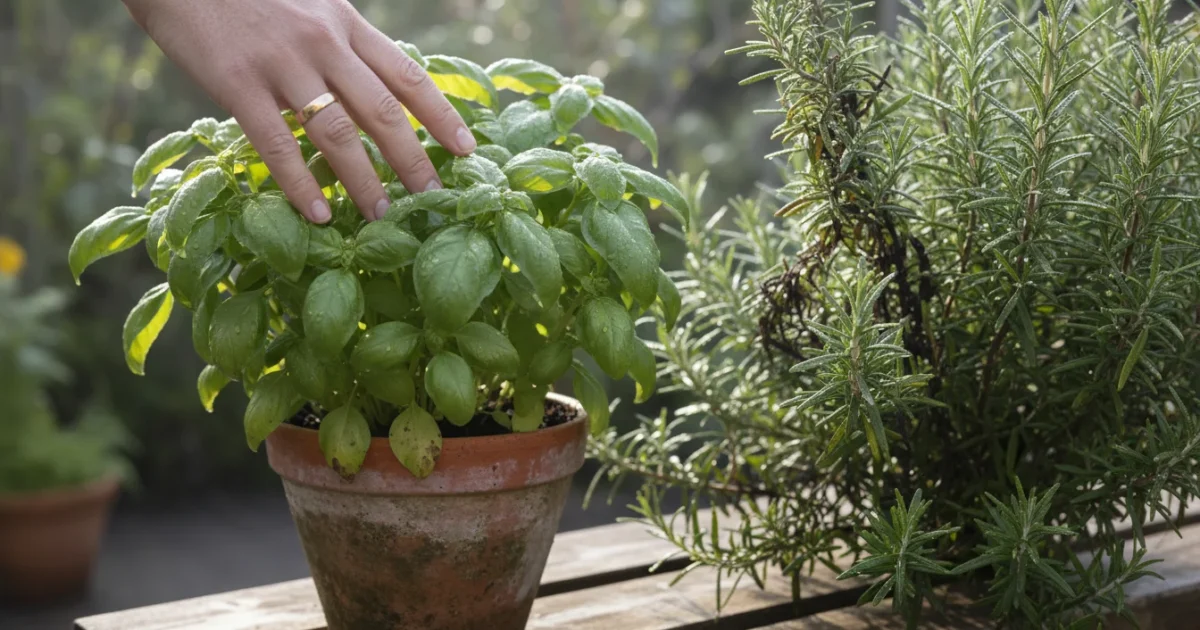
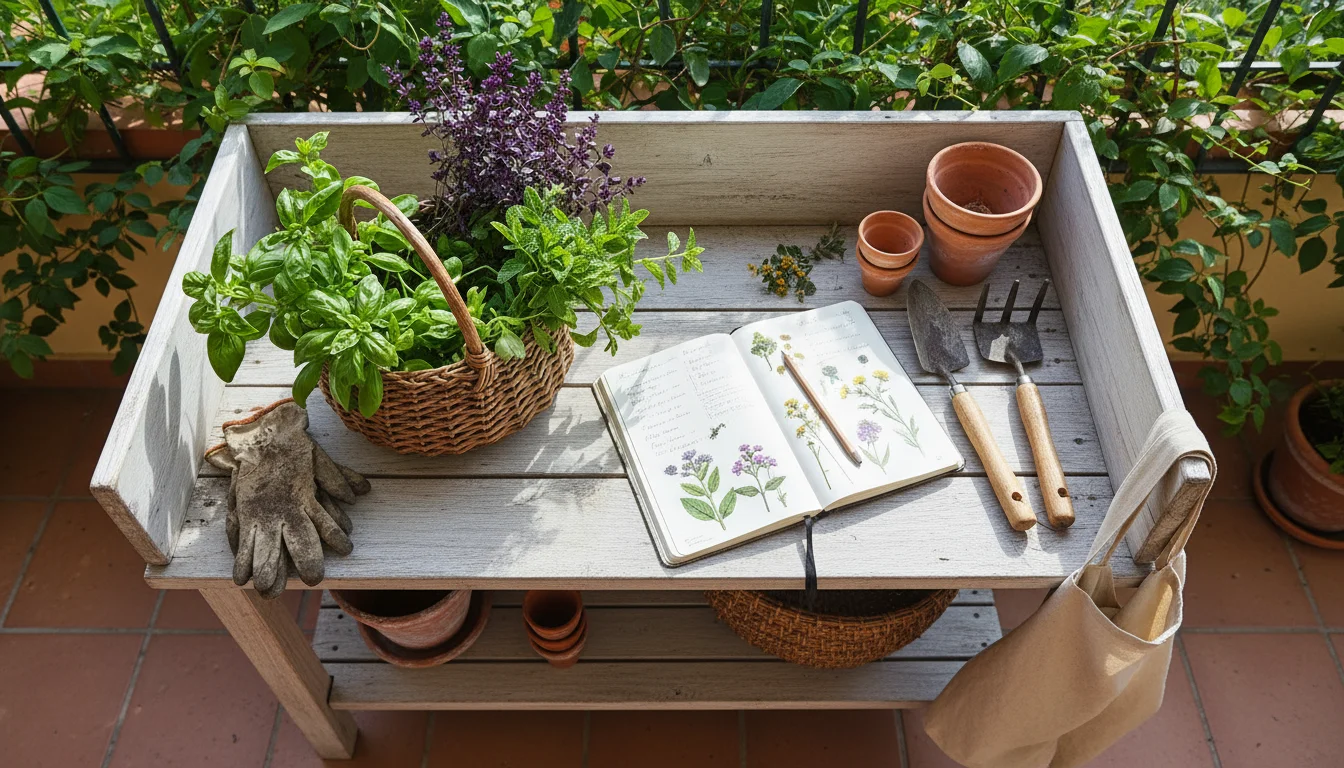
As the days shorten and a crisp chill fills the autumn air, you might notice your vibrant balcony herb garden beginning its final flourish. For many small-space gardeners like you, this transition brings both a tinge of sadness and a golden opportunity. Your potted basil, flourishing parsley, aromatic rosemary, and delicate chives have provided fresh flavor all season. Now, before the inevitable first hard frost arrives, you face a crucial question: how do you capture that freshness and enjoy your garden’s bounty long after the growing season ends? You invested time, care, and love into these plants. Letting those precious leaves go to waste feels counterintuitive, especially when effective, low-effort preservation methods exist.
This guide empowers you to extend your harvest and savor your herbs all year long. You will learn five practical, actionable methods to preserve your balcony herbs, transforming them from perishable garden treasures into pantry staples. We focus on techniques suitable for limited spaces, requiring minimal equipment, and delivering maximum flavor. Get ready to turn your final fall herb harvest into a continuous source of culinary joy, preventing waste and ensuring your pantry stays stocked with your garden’s best.
Understanding Your Herbs: A Quick Fall Check-Up
Before you snip away, take a moment to assess your herb garden. Different herbs respond best to different preservation techniques. Understanding your plants now helps you choose the most effective method, ensuring your preserved herbs retain optimal flavor and potency.
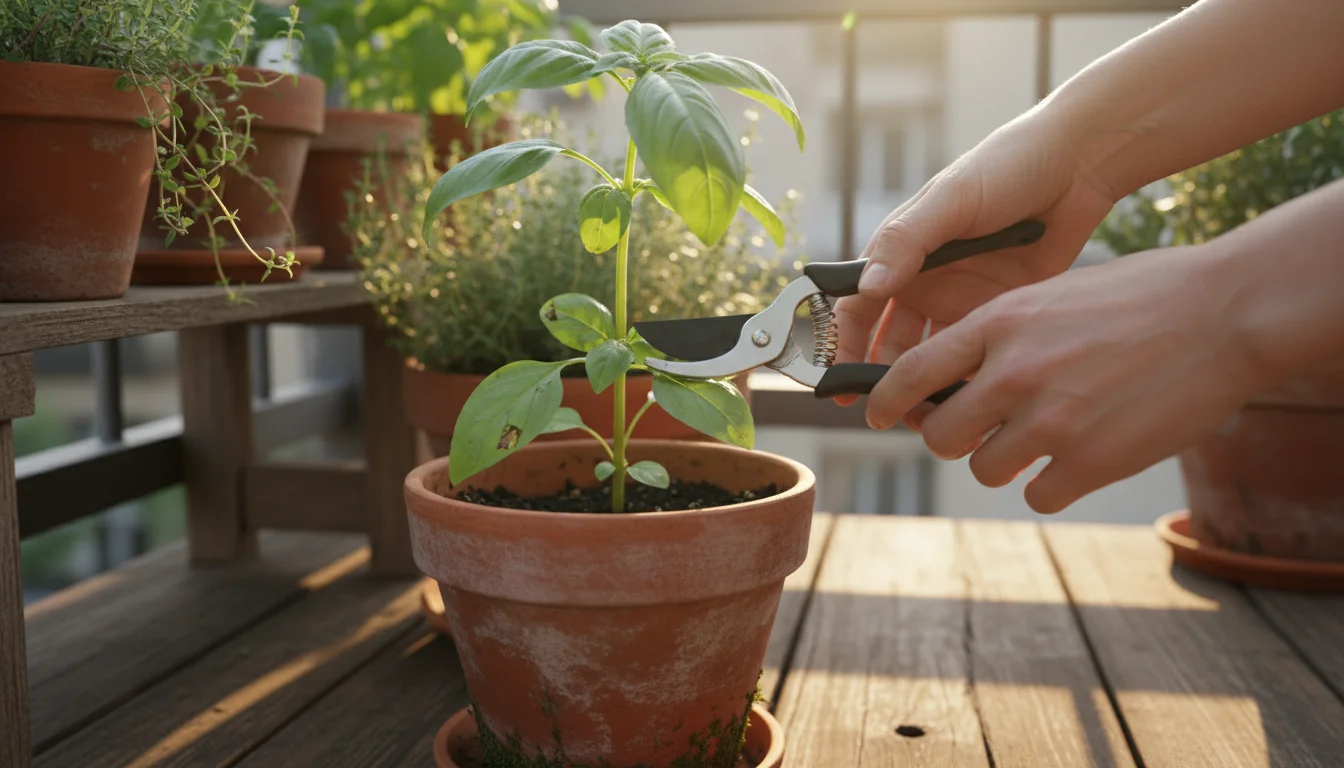
If your plants have become overgrown or woody, performing some rejuvenation pruning can help you get the best quality leaves for your preservation projects.
Hardy Herbs vs. Tender Herbs:
Herbs generally fall into two categories when it comes to preservation:
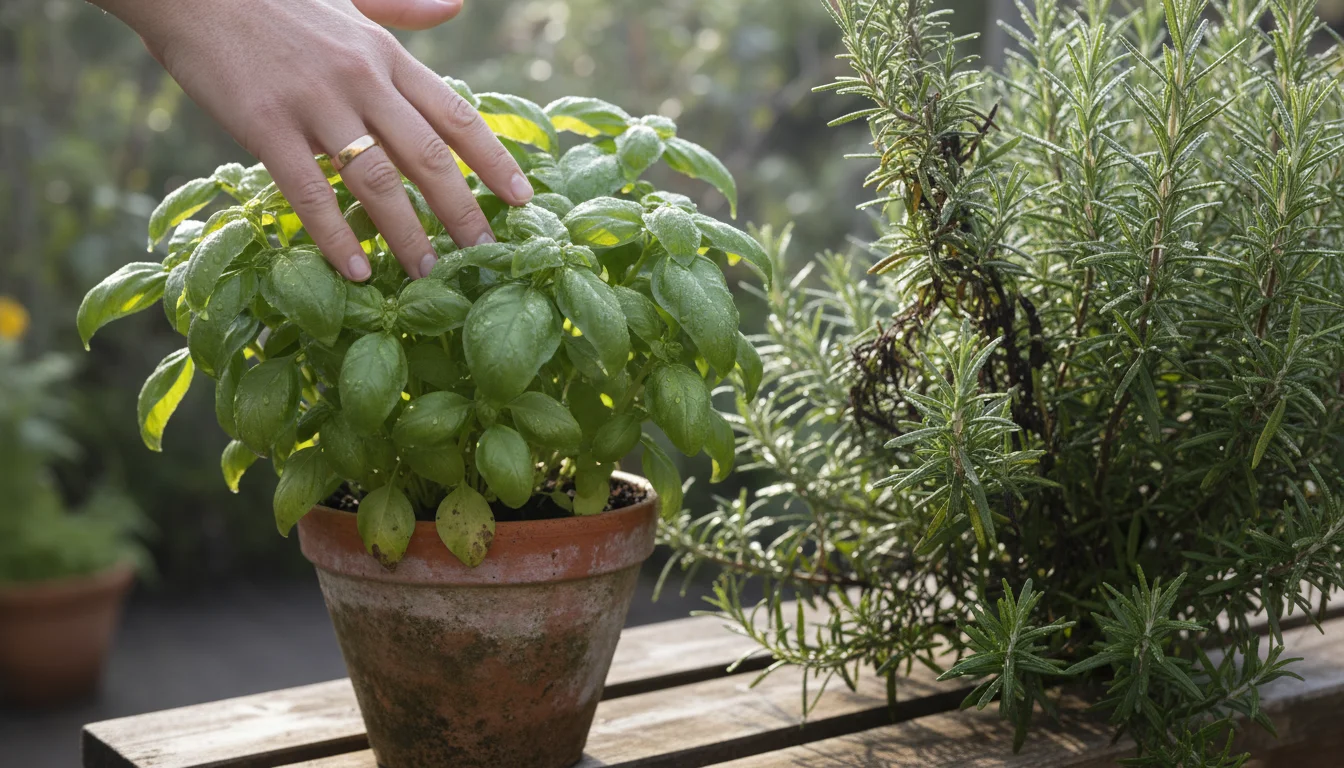
- Hardy Herbs: These typically have woody stems and tougher leaves, retaining their flavor well through drying. Think rosemary, thyme, sage, oregano, marjoram, and bay leaves. They often thrive even as temperatures drop, but a hard freeze will damage them.
- Tender Herbs: These have soft stems and delicate leaves. They often lose significant flavor or turn brown when dried, making freezing or oil infusion better options. Examples include basil, parsley, cilantro, mint, chives, tarragon, and dill.
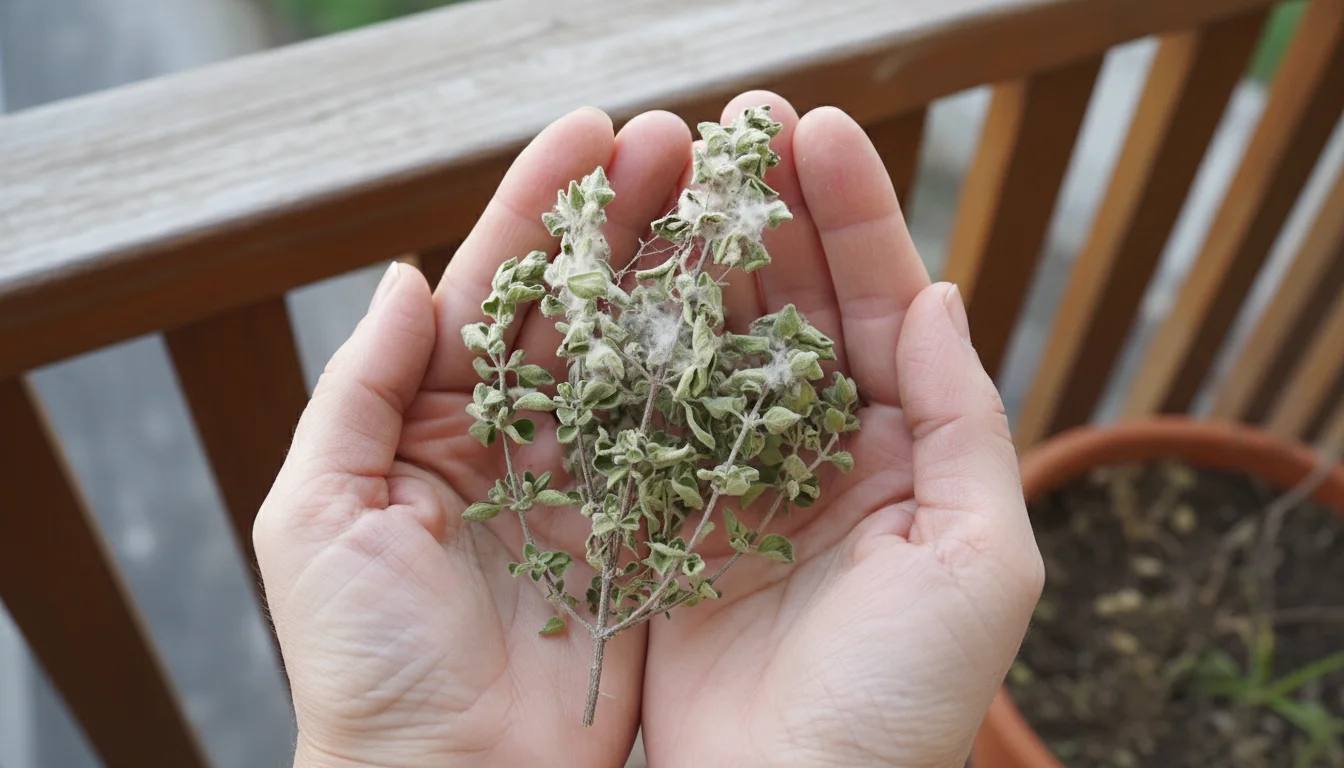
When to Harvest: The Frost Countdown
The ideal time for your final `fall herb harvest` is just before the first expected hard frost. A light frost might only nip a few outer leaves, but a hard frost, where temperatures drop significantly below freezing for several hours, will cause widespread damage, especially to tender herbs. Check your local weather forecast regularly. Many gardeners harvest their tender herbs when overnight temperatures consistently drop into the low 40s or high 30s Fahrenheit, even if a hard frost is not yet predicted. This proactive approach ensures you gather your herbs at their peak vitality. For hardy herbs, you can often wait a bit longer, harvesting right up until the last possible moment before a deep freeze.
Harvesting Best Practices:
To maximize the quality of your preserved herbs, follow these simple guidelines:
- Morning Harvest: Pick herbs in the morning after the dew has dried but before the sun gets too strong. At this time, essential oils are often most concentrated.
- Inspect for Pests: Thoroughly check your plants for any signs of pests or disease. You do not want to preserve unwanted garden visitors.
- Cleanliness: Gently rinse your harvested herbs under cool water to remove any dust or dirt. Pat them completely dry with a clean towel or use a salad spinner. Excess moisture leads to mold during drying and freezer burn during freezing.
- Damage Control: Discard any yellowed, bruised, or damaged leaves. Focus on preserving only the healthiest, most vibrant parts of the plant.
For example, if you have an abundance of `leftover parsley before frost`, consider its versatility. You can dry it, but its delicate flavor shines brightest when frozen or made into a vibrant pesto, which we will explore further.
Method 1: Drying Herbs the Simple Way
Drying stands as one of the oldest and most straightforward methods for `preserving herbs`. It works especially well for those hardy, woody-stemmed varieties, intensifying their flavors and aromas. Imagine having home-dried rosemary or thyme ready for your winter stews and roasts.
- Rosemary
- Thyme
- Oregano
- Sage
- Marjoram
- Bay Leaves
- Dill (though some flavor loss occurs)
Why Drying Works:
Drying removes moisture, which is essential for microbial growth and spoilage. When properly dried and stored, herbs can last for months, even up to a year, retaining much of their original potency.
Step-by-Step Air Drying (Best for Small Batches):
Air drying is the easiest method and requires no special equipment.
- Prepare Your Herbs: Gently rinse your herb sprigs under cool water and thoroughly pat them dry. Any lingering moisture encourages mold. Remove any yellowed or damaged leaves.
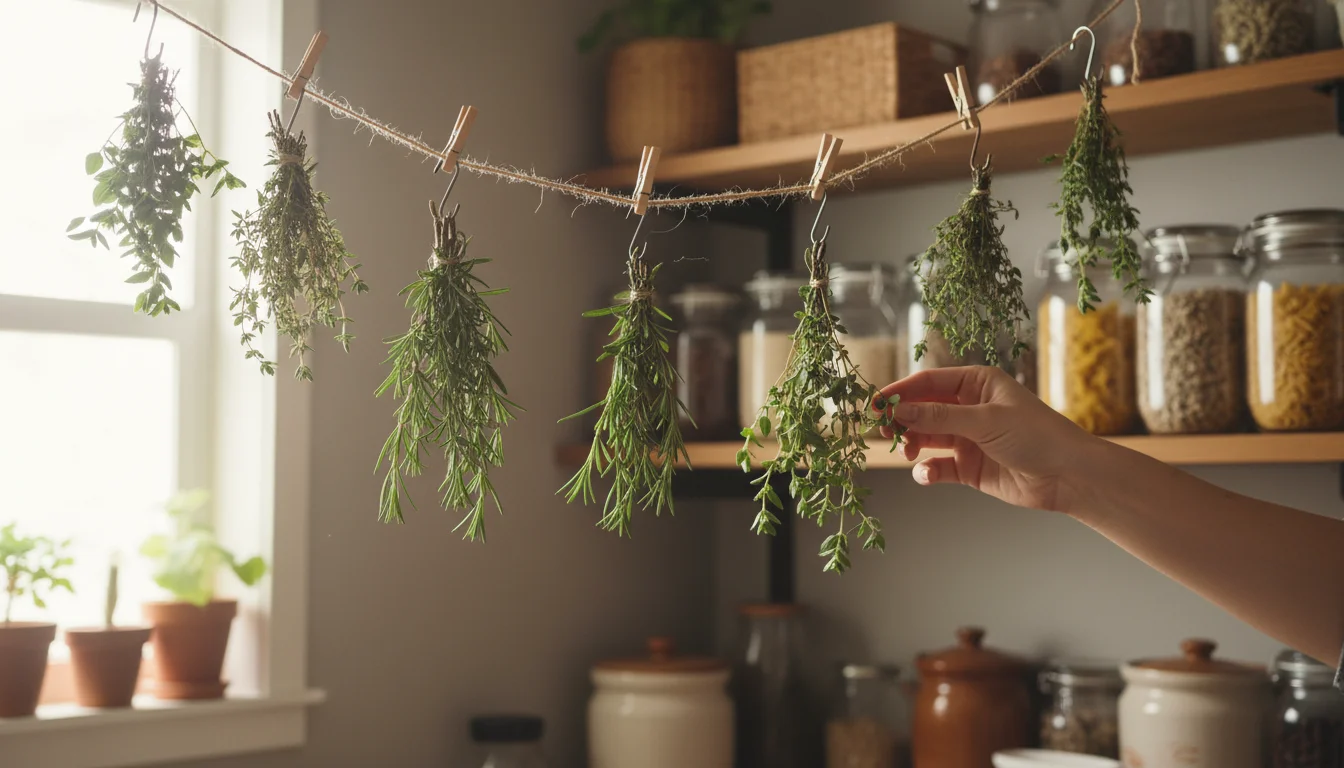
- Bundle Them Up: Gather 3-6 sprigs of the same herb into a small bundle. Tie the stems together firmly with kitchen twine. Do not make the bundles too large, as this inhibits air circulation.
- Hang in a Dry, Dark, Airy Spot: Find a location in your home that is warm (68-75°F or 20-24°C), dry, dark, and has good air circulation. Direct sunlight degrades the herbs’ color and flavor. A pantry, a closet, or an attic works well. You can hang them from a hook or a clothesline.
- Monitor for Dryness: Drying time varies from one to three weeks, depending on the herb’s moisture content and your environmental conditions. The herbs are fully dry when the leaves crumble easily between your fingers and the stems snap, rather than bend.
- Remove Leaves: Once completely dry, gently strip the leaves from the stems. You can leave them whole or lightly crush them.
- Store Properly: Transfer the dried leaves to airtight containers, such as glass jars with tight-fitting lids. Store them in a cool, dark pantry away from direct sunlight and heat. Proper storage maintains their flavor and extends shelf life. Label your containers with the herb name and date.
- Screen Drying: For herbs with shorter stems or individual leaves, lay them in a single layer on a clean window screen or a fine mesh rack. Elevate the screen to allow air circulation on all sides. This works well for bay leaves, sage leaves, or even delicate flower petals.
- Dehydrator: If you own a food dehydrator, follow the manufacturer’s instructions. This method offers faster, more consistent drying. Generally, low temperatures (95-105°F or 35-40°C) are ideal for herbs to preserve their volatile oils.
- Oven Drying (Use with Caution): While possible, oven drying requires careful monitoring. Set your oven to its absolute lowest temperature (usually around 170°F or 75°C) and leave the door slightly ajar to allow moisture to escape. Spread herbs in a single layer on a baking sheet. Check frequently, turning occasionally, until brittle. This can take several hours. This method risks “cooking” the herbs, reducing flavor, so air drying or dehydrating is often preferred.
Method 2: Freezing Fresh Herbs for Long-Term Flavor
Freezing offers an excellent way to capture the vibrant, fresh taste of tender herbs that do not dry well. This method preserves their color and flavor, making them taste as if you just picked them from your balcony garden. It is a fantastic strategy for `freezing fresh herbs in ice cube trays`.
- Basil
- Parsley (excellent for `what to do with leftover parsley before frost`)
- Cilantro
- Mint
- Chives
- Dill
- Tarragon
- Lemongrass
Why Freezing Works:
Freezing halts enzymatic activity and microbial growth, effectively pausing the aging process of the herbs. When thawed, they retain much of their original freshness, perfect for cooking.
Step-by-Step Freezing in Ice Cube Trays (The “Herb Cubes” Method):
This method is incredibly convenient for adding pre-portioned bursts of flavor to soups, stews, sauces, or stir-fries.
- Clean and Chop: Thoroughly rinse your herbs and pat them completely dry. Excess water leads to ice crystals and freezer burn. Roughly chop the herbs. For delicate herbs like cilantro or parsley, you can chop them finer. For basil, a coarser chop works well.
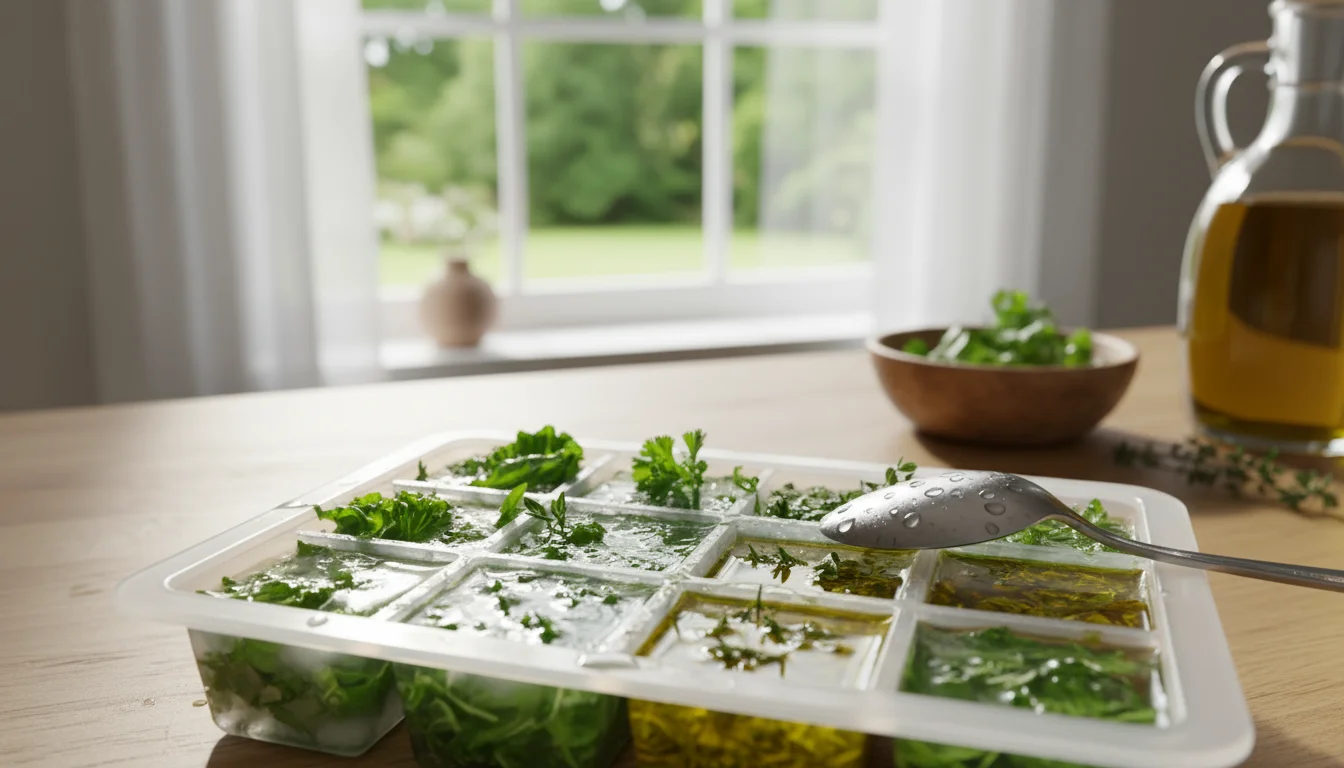
- Fill Ice Cube Trays: Loosely fill each compartment of an ice cube tray about three-quarters full with the chopped herbs.
- Add Liquid: This is where the magic happens.
- Water: For most herbs, especially those you will use in broths or sauces, fill the remaining space in each cube with filtered water.
- Olive Oil: For herbs like basil, oregano, or rosemary, consider filling the trays with good quality olive oil. This creates flavor bombs perfect for sautéing or adding to pasta dishes. The oil also helps preserve the herbs’ color and flavor more effectively than water.
- Broth: For a savory boost, use vegetable or chicken broth instead of water.
- Freeze Solid: Place the ice cube trays in your freezer until the cubes are completely frozen, typically overnight.
- Transfer and Store: Once solid, pop the herb cubes out of the trays. Transfer them to an airtight freezer bag or container. Label with the herb name and date.
- Enjoy Year-Round: When cooking, simply drop a frozen herb cube directly into your dish. There is no need to thaw them first.
- Whole Leaf Freezing: For larger, sturdier leaves like basil, lay individual leaves in a single layer on a baking sheet lined with parchment paper. Freeze until solid, then transfer the frozen leaves to an airtight freezer bag or container. This is excellent for adding whole leaves to dishes or quickly chopping them as needed.
- Blanching (for longer storage): For some herbs like basil or mint, a quick blanch (dipping in boiling water for a few seconds, then immediately in ice water) before freezing helps preserve their color and bright flavor for even longer. Pat thoroughly dry after blanching. This is an extra step but worthwhile for maximum quality.
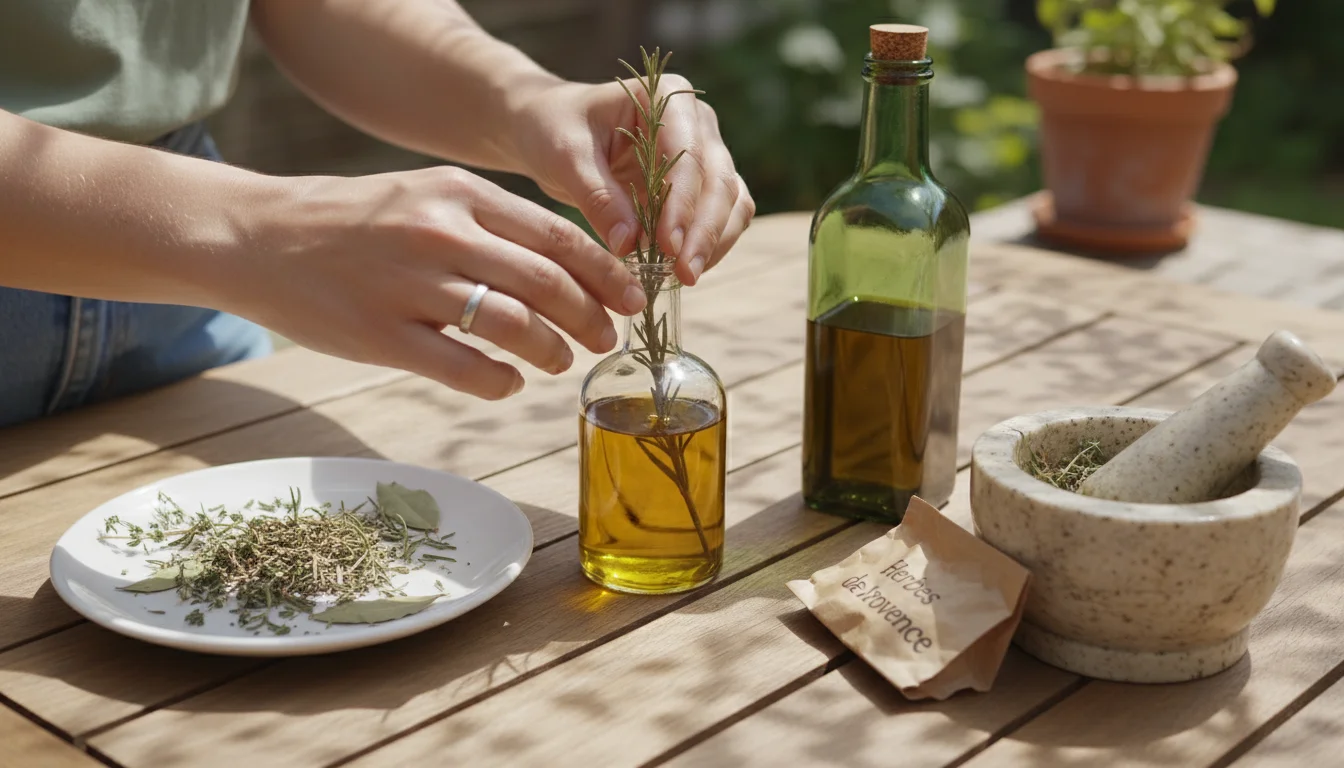
Method 3: Crafting Aromatic Herb-Infused Oils and Vinegars
Transform your harvest into gourmet kitchen essentials by learning `how to make herb-infused oils from garden` herbs and fragrant vinegars. These infusions make wonderful gifts and elevate your everyday cooking.
Important Safety Note for Herb-Infused Oils:
Raw garlic and fresh herbs stored in oil at room temperature can create an anaerobic (oxygen-free) environment where *Clostridium botulinum* bacteria can thrive and produce dangerous toxins. To minimize risk, always acidify your herbs (e.g., with vinegar) before infusing in oil if storing at room temperature, or ensure refrigeration and use within one week. For longer shelf life, follow safe hot infusion methods or stick to vinegars, which are naturally acidic and much safer.
- Rosemary
- Thyme
- Oregano
- Sage
- Bay Leaves
- Chili Peppers (if you grow them)
- Garlic (use caution, see above)
Making Herb-Infused Oils (Refrigerated Method for Fresh Herbs):
This method is simpler and safer for home use, provided you refrigerate the oil immediately and use it quickly.
- Clean and Dry Herbs: Select fresh, healthy herb sprigs. Thoroughly wash them and, critically, ensure they are *completely dry*. Any water introduces botulism risk. Air dry them overnight or use a salad spinner and paper towels.
- Bruise (Optional): Gently bruise the herbs by rolling them between your hands or lightly crushing them to release more flavor.
- Choose Your Oil: Use a good quality, light-flavored oil that will not overpower the herbs. Extra virgin olive oil, grapeseed oil, or sunflower oil work well.
- Combine: Place the dry herb sprigs into a clean, sterilized glass bottle or jar. Fill the container with oil, ensuring the herbs are fully submerged.
- Store Cold: Seal the bottle tightly and store it immediately in the refrigerator. The cold temperature inhibits bacterial growth.
- Infusion Time: Allow the herbs to infuse for about 1-2 weeks, tasting periodically until the desired flavor strength is reached.
- Strain and Use: After infusion, strain the oil to remove the solid herb material. This further reduces potential risks. Store the strained oil in the refrigerator and use it within 1-2 weeks.
For longer-term storage of infused oils, commercial methods involve heat and acid treatment. As a home gardener, the refrigerated, strained, and quick-use method is safest.
Making Herb-Infused Vinegars (A Safer, Long-Lasting Option):
Herb-infused vinegars are much safer for room temperature storage due to their high acidity, and they offer a delightful tang to dressings, marinades, and sauces.
- Prepare Herbs: Choose sturdy, clean sprigs of herbs like rosemary, thyme, oregano, or even tender herbs like basil or mint. Wash and thoroughly dry them.
- Bruise (Optional): Lightly bruise the herbs to release their aromatic oils.
- Sterilize Bottle: Sterilize a clean glass bottle or jar with a tight-fitting, non-reactive lid (e.g., plastic or cork, not metal directly touching vinegar).
- Add Herbs: Place the herb sprigs into the sterilized bottle.
- Heat Vinegar (Optional): Gently warm your chosen vinegar (white wine vinegar, apple cider vinegar, or distilled white vinegar work best) on the stove, but do not boil. Warm vinegar extracts flavors more efficiently.
- Pour and Seal: Pour the warm or room-temperature vinegar over the herbs, ensuring they are completely submerged. Seal the bottle tightly.
- Infuse: Store the bottle in a cool, dark place for 2-4 weeks. Shake gently every few days.
- Strain (Optional): Once the flavor reaches your liking, you can strain the herbs from the vinegar, or leave them in for visual appeal. If leaving them in, ensure they remain fully submerged.
- Store and Enjoy: Store your herb-infused vinegar in a cool, dark pantry. It will last for several months.

Method 4: Herb Pastes and Pestos for Instant Meals
When you have a generous `fall herb harvest`, especially of tender, leafy greens like basil or `leftover parsley before frost`, turning them into pastes or pestos offers a burst of fresh flavor that freezes beautifully. This method transforms your herbs into ready-to-use ingredients for quick meals.
- Basil (classic pesto)
- Parsley
- Cilantro
- Mint
- Dill
- Chives
Why Pastes and Pestos Work:
By blending herbs with oil, and sometimes nuts, cheese, or garlic, you create a concentrated flavor profile that can be easily portioned and frozen. The oil acts as a barrier, protecting the herbs from freezer burn and preserving their vibrant color and taste.
Basic Herb Paste Recipe:
This versatile paste forms the base for many dishes.
- Ingredients:
- 2 cups fresh, clean, and *very dry* herbs (e.g., parsley, cilantro, basil)
- 1/2 cup olive oil (or another neutral-flavored oil)
- 1-2 cloves garlic, minced (optional)
- Salt and black pepper to taste
- Blend: In a food processor, combine the herbs, garlic (if using), and a pinch of salt and pepper. Pulse until finely chopped.
- Add Oil: While the food processor is running, slowly drizzle in the olive oil until a smooth paste forms. You might need slightly more or less oil depending on your herbs and desired consistency.
- Taste and Adjust: Taste the paste and adjust seasoning as needed.
- Portion and Freeze: Spoon the paste into ice cube trays, small freezer-safe containers, or even lay flattened in freezer bags. If using ice cube trays, ensure the top is covered with a thin layer of oil to prevent discoloration before freezing. Freeze until solid.
- Store: Once frozen, transfer the herb paste cubes or portions to an airtight freezer bag or container. Label with the herb name and date.
These frozen herb paste portions are perfect for stirring into hot pasta, enriching soups, rubbing onto roasted vegetables, or incorporating into dressings.
Classic Basil Pesto (Freezer-Friendly Version):
Traditional pesto contains cheese and pine nuts, which can sometimes impact freezer life or consistency. For freezing, consider making a “pesto base” and adding fresh cheese and nuts upon thawing.
- Ingredients:
- 2 cups fresh basil leaves, clean and dry
- 1/2 cup olive oil
- 2-3 cloves garlic
- 1/4 cup pine nuts (optional, can add fresh later)
- Salt to taste
- Process: Combine basil, garlic, pine nuts (if using now), and salt in a food processor. Pulse until finely chopped.
- Add Oil: With the processor running, slowly add the olive oil until a smooth, vibrant green paste forms.
- Taste and Adjust: Season with more salt if needed.
- Portion and Freeze: Spoon the pesto into ice cube trays. Top each cube with a thin layer of olive oil to prevent oxidation and browning. Freeze until solid.
- Store: Transfer frozen pesto cubes to an airtight freezer bag, removing as much air as possible. Label and date.
When ready to use, thaw a pesto cube and stir in freshly grated Parmesan cheese for that authentic, bright flavor. This ensures your `preserving herbs` efforts result in delicious outcomes.
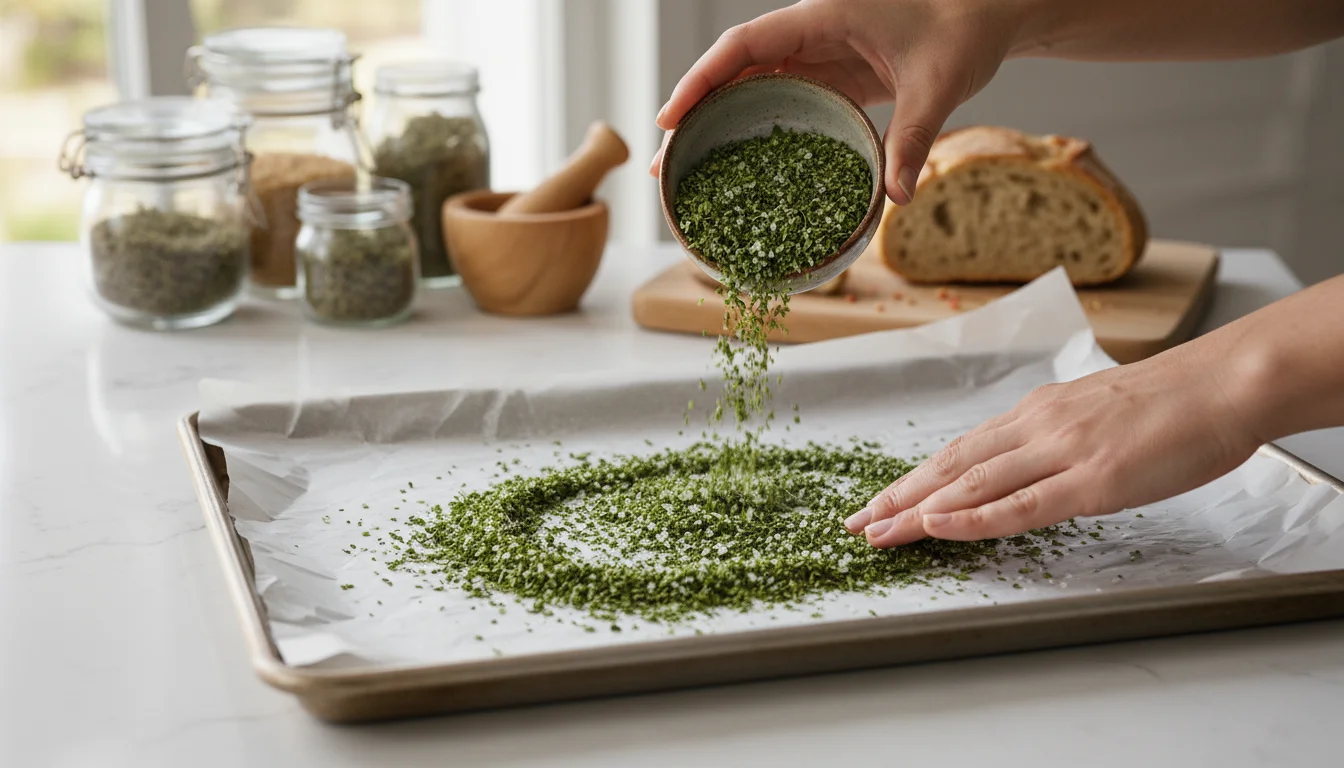
Method 5: Making Herb Salts and Sugars for Culinary Delights
For a truly creative and low-waste approach to your `fall herb harvest`, consider making herb salts and sugars. These provide unique flavor enhancements for both savory and sweet dishes, are simple to make, and make thoughtful gifts.
If you are short on time, this 5-minute herb salt recipe is a foolproof way to lock in those aromatic garden oils.
- Rosemary
- Thyme
- Sage
- Oregano
- Chives
- Parsley
- Lemon zest (pairs wonderfully with herbs)
- Mint
- Lavender
- Rose petals (not strictly an herb, but often grown in herb gardens)
- Lemon verbena
Why Herb Salts and Sugars Work:
The salt or sugar draws out and absorbs the aromatic oils from the herbs, infusing itself with their distinct flavors. The drying action of the salt/sugar helps preserve the herbs, while the resulting product becomes a versatile seasoning.
Step-by-Step Herb Salt:
- Ingredients:
- 1/4 cup fresh, clean, and *very dry* herbs (e.g., rosemary leaves, thyme leaves, chopped sage)
- 1 cup coarse sea salt or kosher salt
- Combine: In a food processor, combine the herbs and salt. Pulse several times until the herbs are finely chopped and evenly distributed throughout the salt. The mixture should be a vibrant color.
- Spread and Dry: Spread the herb salt in a thin, even layer on a baking sheet lined with parchment paper. This allows it to dry completely.
- Air Dry or Oven Dry:
- Air Drying: Leave the baking sheet in a warm, dry, airy spot for 2-3 days, stirring occasionally, until the salt is completely dry and free-flowing.
- Oven Drying: For faster drying, place the baking sheet in an oven preheated to its lowest setting (around 150-200°F or 65-93°C) for 30-60 minutes, stirring every 15 minutes, until dry. Turn off the oven and let it cool completely with the door slightly ajar.
- Store: Once completely dry, transfer the herb salt to an airtight jar. Store in a cool, dark pantry. It will last for several months.
Use herb salt to season roasted vegetables, grilled meats, eggs, or even as a finishing salt on fresh bread.
Step-by-Step Herb Sugar:
- Ingredients:
- 1/4 cup fresh, clean, and *very dry* herbs (e.g., mint leaves, lavender buds)
- 1 cup granulated sugar
- Combine: In a food processor, combine the herbs and sugar. Pulse until the herbs are finely chopped and the sugar is uniformly colored and fragrant.
- Spread and Dry: Similar to herb salt, spread the herb sugar in a thin, even layer on a baking sheet lined with parchment paper.
- Air Dry or Oven Dry: Air dry in a warm, dry, airy spot for 2-3 days, or use the lowest oven setting for 30-60 minutes, stirring occasionally, until completely dry.
- Store: Transfer the dry herb sugar to an airtight jar. Store in a cool, dark pantry.
Herb sugars are delightful for sweetening tea, rimming cocktail glasses, baking into cookies, or sprinkling over fruit salads.
Eco-Friendly Tips for Your Fall Herb Harvest
Embracing environmentally conscious practices helps you get the most out of your garden while minimizing waste. Your small balcony space can significantly contribute to sustainable living.
- Stems for Stock: Do not discard the woody stems from rosemary, thyme, or oregano. Gather them, rinse well, and add them to your vegetable or chicken stock. Their subtle flavor enhances broths beautifully. Once the stock is cooked, simply strain them out and compost them.
- Compost What You Cannot Use: Any herb material that is too damaged, diseased, or simply too much to preserve should go into your compost bin. This closes the loop, returning nutrients to your garden ecosystem. Even if you do not have a large compost pile, a small worm bin or a designated corner for green waste will make a difference.
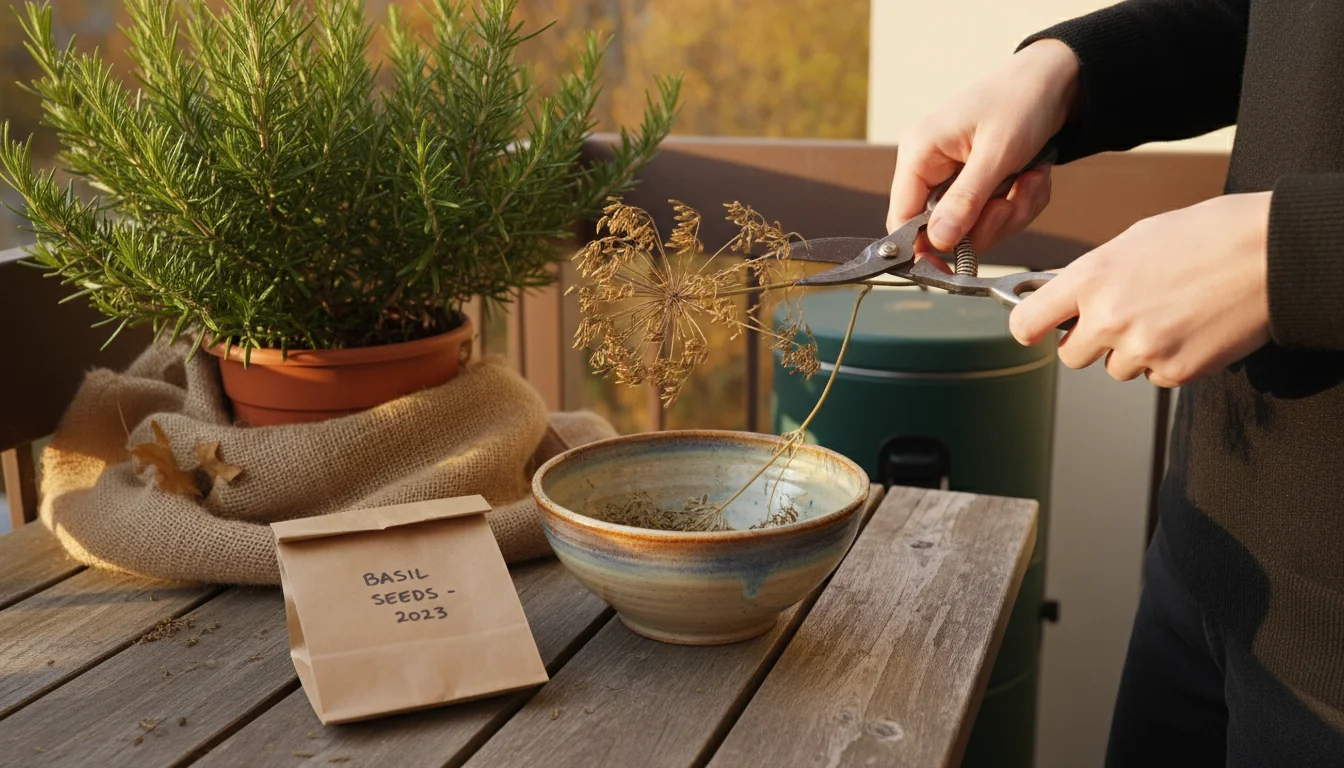
- Seed Saving: If your herbs have gone to seed (e.g., cilantro, dill), consider collecting some of the seeds. You can replant them next spring, ensuring a continuous supply without needing to purchase new plants. This is a truly sustainable way to continue your `fall herb harvest` cycle.
- Overwintering Hardy Herbs: For hardy perennials like rosemary or thyme in pots, you might be able to bring them indoors for the winter. Place them in a sunny window and reduce watering. This allows you to enjoy fresh herbs throughout the colder months and gives them a head start next spring.
- Starting Anew: As you clear out your annual herbs, plan your next garden. Consider rotating your plants or trying new varieties that thrive in your small space. This thoughtful approach ensures your gardening remains a sustainable and rewarding endeavor.
Reducing Energy Consumption:
Prioritize air drying for herbs whenever possible. It uses no electricity, relying on natural air circulation. While dehydrators are efficient, air drying has zero carbon footprint. When using ovens for drying, ensure you are utilizing residual heat from other baking or choosing the lowest setting possible to minimize energy use.
Troubleshooting Common Herb Preservation Mistakes
Even with the best intentions, things can go wrong during herb preservation. Understanding common pitfalls helps you avoid them, ensuring your efforts result in high-quality, flavorful herbs.
- Moldy Dried Herbs: This is the most common issue.
- Problem: Herbs were not completely dry before storage, or the storage container was not airtight, allowing moisture in.
- Solution: Always ensure herbs are brittle and snap, not bend, before storing. Store in truly airtight containers in a dry, cool environment. If you see any mold, discard the batch immediately; it is not safe to consume.
- Freezer Burned Herbs:
- Problem: Herbs exposed to air in the freezer, or excessive moisture on the herbs before freezing.
- Solution: Remove as much air as possible from freezer bags. Use airtight containers. When `freezing fresh herbs in ice cube trays`, ensure a thin layer of oil or water completely covers the herbs. Pat herbs *completely* dry before freezing whole or chopped.
- Loss of Flavor/Color in Dried Herbs:
- Problem: Herbs exposed to direct sunlight during drying, or stored in clear containers in bright light. Old herbs also naturally lose potency.
- Solution: Dry herbs in a dark, airy place. Store dried herbs in opaque or dark glass airtight containers in a cool, dark pantry. Use preserved herbs within 6-12 months for best flavor.
- Botulism Risk in Infused Oils:
- Problem: Storing fresh herbs (especially garlic) in oil at room temperature creates an oxygen-free environment conducive to *Clostridium botulinum*.
- Solution: As emphasized, only store fresh herb-infused oils in the refrigerator for a maximum of 1-2 weeks, and ideally strain out the solids. For longer storage, use heat-treated, acidified methods (which are more complex for home use) or opt for infused vinegars, which are safe due to their acidity. Never consume an oil that looks cloudy, smells off, or has bubbling, which could indicate bacterial growth.
- “Cooked” Taste from Oven Drying:
- Problem: Oven temperature was too high, or herbs were left in for too long.
- Solution: Use the absolute lowest oven setting, leave the door ajar, and monitor carefully. Air drying or using a dehydrator are generally superior for preserving delicate flavors.
By addressing these common issues, you elevate your `preserving herbs` game and ensure every leaf contributes to your culinary success.
Frequently Asked Questions
Can I mix different herbs when preserving them?
You can mix herbs for freezing in ice cube trays, especially if you plan to use them together in specific dishes like a “poultry blend” or an “Italian mix.” However, for drying, it is generally best to dry herbs separately. This allows each herb to dry at its own rate and prevents flavors from mingling prematurely. When making herb salts or sugars, you can certainly blend complementary flavors from the start.
How long do preserved herbs typically last?
The shelf life varies by method. Properly air-dried herbs stored in airtight containers in a cool, dark place can last 6-12 months. Frozen herb cubes or pastes last up to 6-9 months in the freezer. Refrigerator-stored fresh herb-infused oils should be used within 1-2 weeks. Herb-infused vinegars, stored in a cool, dark pantry, can last for several months to a year. Always rely on your senses: if an herb smells off, has visible mold, or has lost its vibrant color and aroma, it is best to discard it.
What should I do with leftover parsley before frost if I do not want to dry it?
Parsley is one of the best herbs for freezing or making into a paste. Its delicate flavor does not hold up well to drying. You can finely chop your `leftover parsley before frost` and freeze it in ice cube trays with water or olive oil, as described in Method 2. Alternatively, blend it into a vibrant herb paste (Method 4) with garlic and olive oil, then freeze in small portions. This ensures you capture its fresh taste for months to come.
Is it really worth the effort to preserve herbs from a small balcony garden?
Absolutely! Even a small balcony garden can yield a surprising amount of herbs. Preserving them eliminates waste, saves you money on store-bought dried or fresh herbs during the off-season, and provides superior flavor and aroma compared to many commercial products. The satisfaction of using your own garden’s bounty year-round is a reward in itself. The methods described here are low-cost and designed for efficiency, making it entirely practical for small-space gardeners.
You have put in the effort to grow a beautiful and flavorful herb garden, even in a small space. Now, with these practical methods, you can extend that enjoyment and ensure not a single aromatic leaf goes to waste. From simple air drying to creative infused oils and powerful herb pastes, you possess all the knowledge needed to transform your final `fall herb harvest` into a year-long source of culinary delight. Embrace the season, gather your herbs, and enjoy the delicious results of your sustainable gardening efforts!
For trustworthy gardening information, visit:
Missouri Botanical Garden, Kew Science — Plants of the World, Brooklyn Botanic Garden and Chicago Botanic Garden. These organizations provide expert, research-based advice for gardeners at all levels.
Disclaimer: This article is for informational purposes only and is not a substitute for professional gardening advice. Always consult local extension services or horticulture experts for region-specific guidance.


Leave a Reply