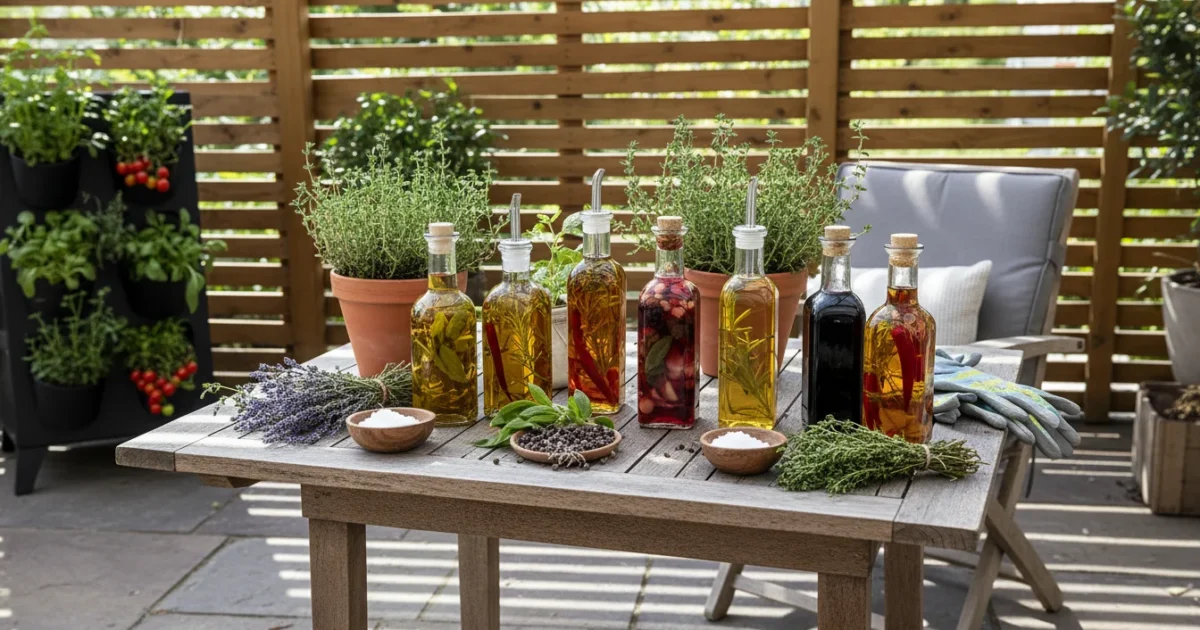
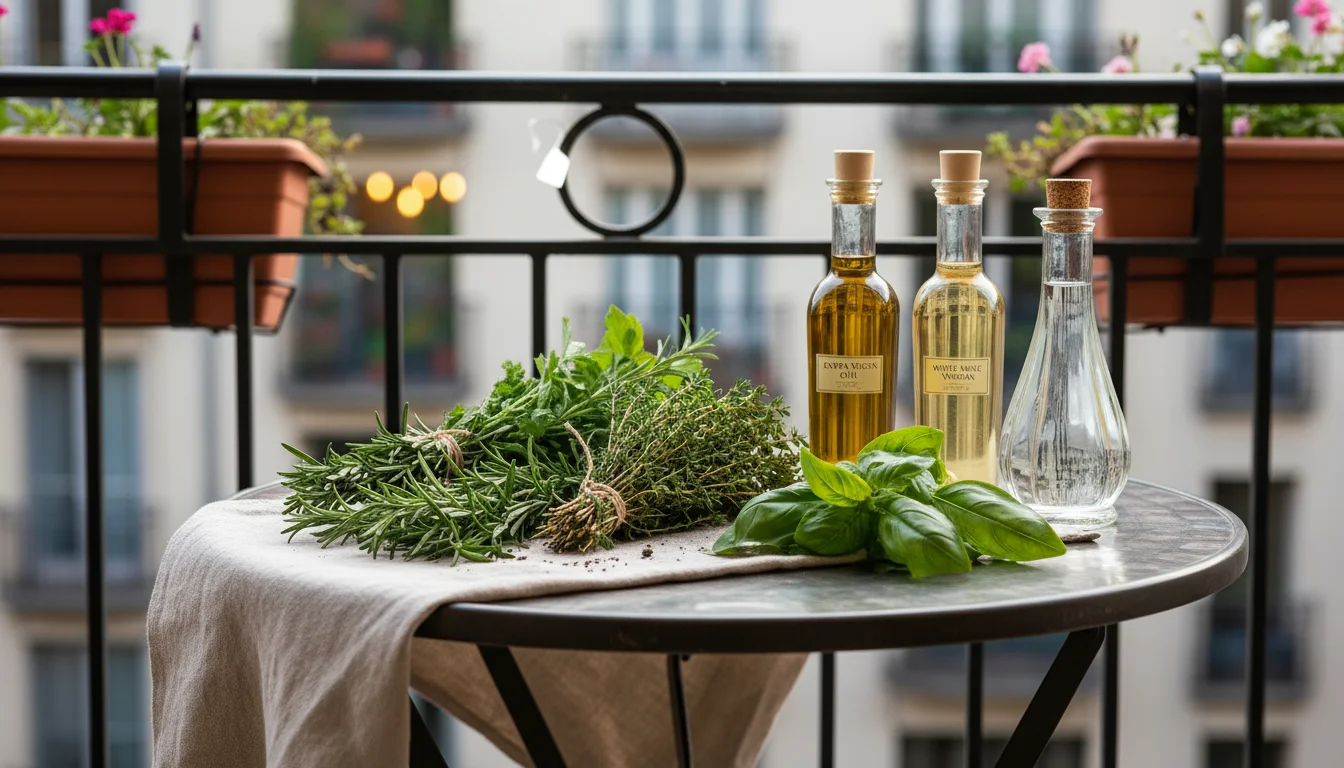
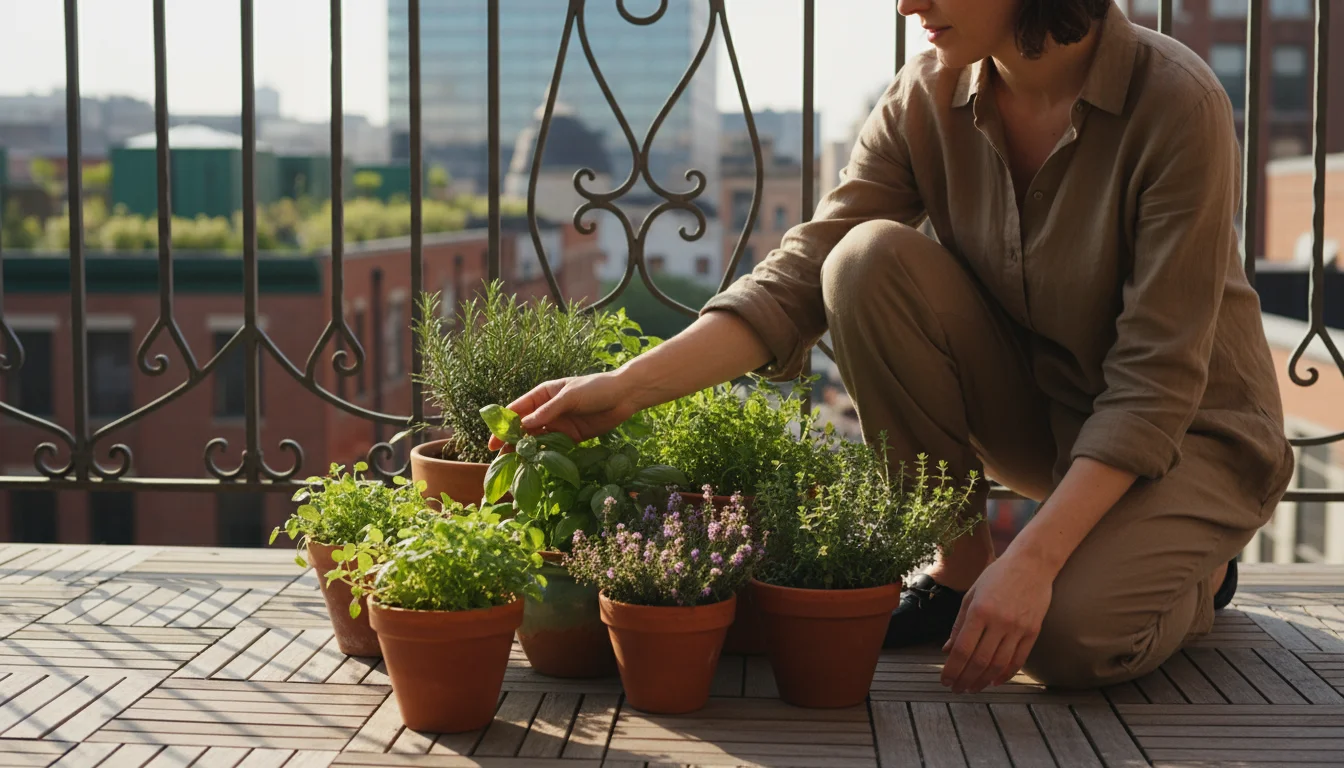
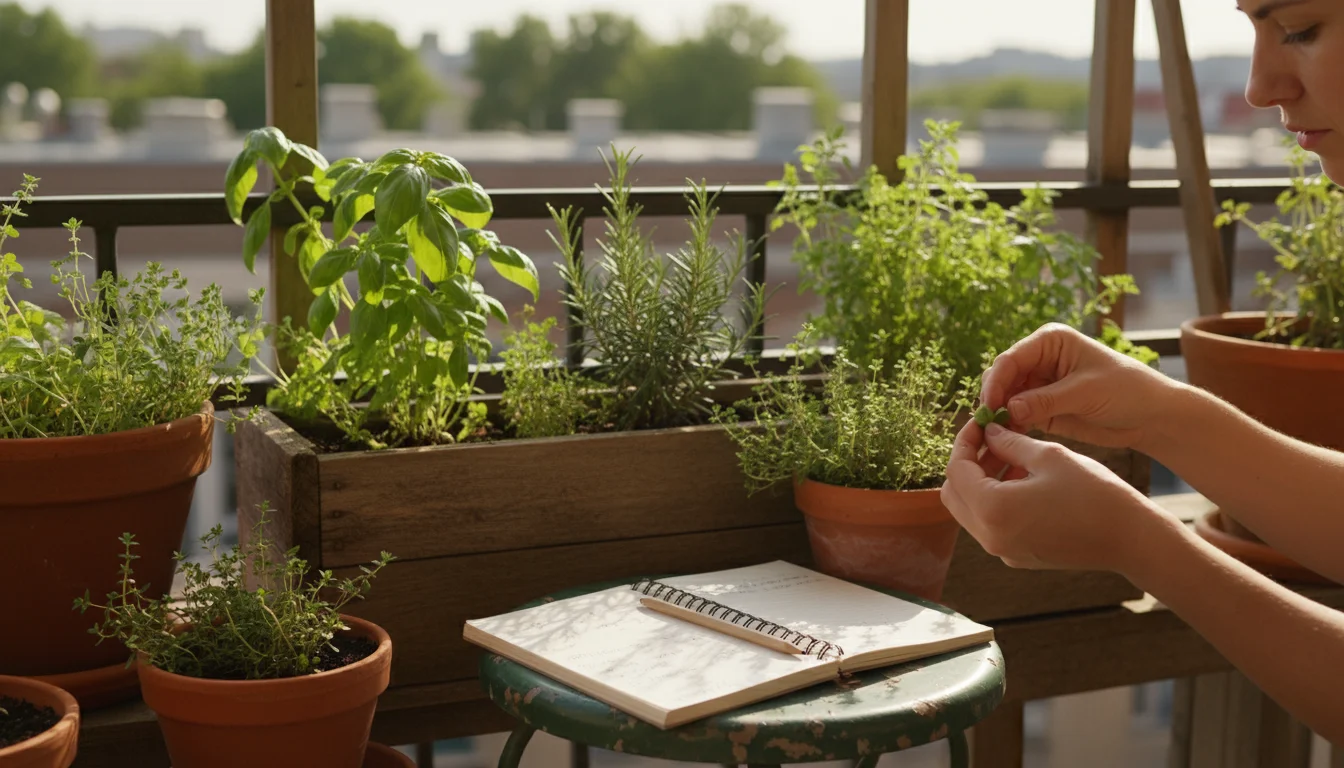
Your balcony garden provides so much more than just beautiful greenery, it offers a bounty of fresh, aromatic herbs perfect for culinary adventures. As the growing season winds down, you might find yourself with an abundance of thyme, rosemary, basil, or oregano. Instead of letting these precious flavors go to waste, transform them into gourmet herb-infused oils and vinegars. This not only preserves your fresh herbs but also creates versatile ingredients for your kitchen and thoughtful, homemade gifts.
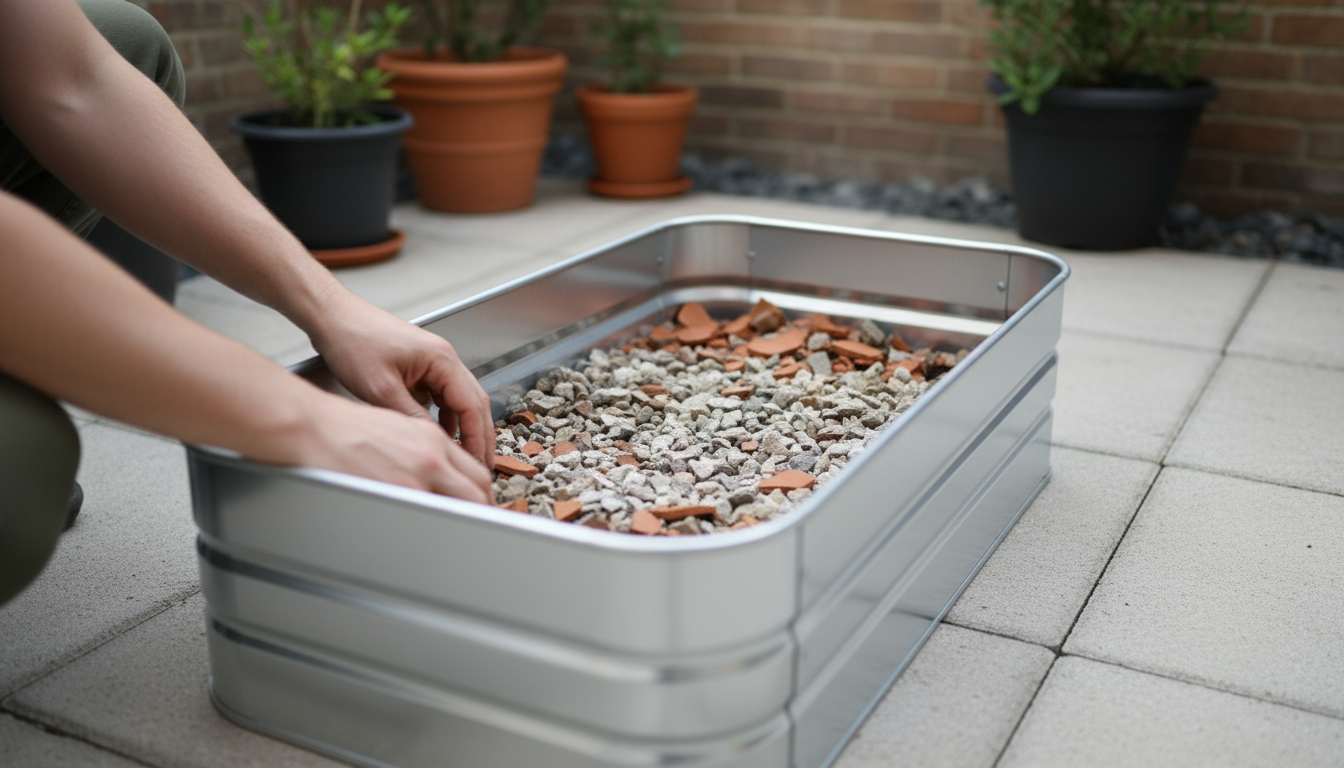
This preservation process is a key part of transitioning your balcony planters for the autumn season.
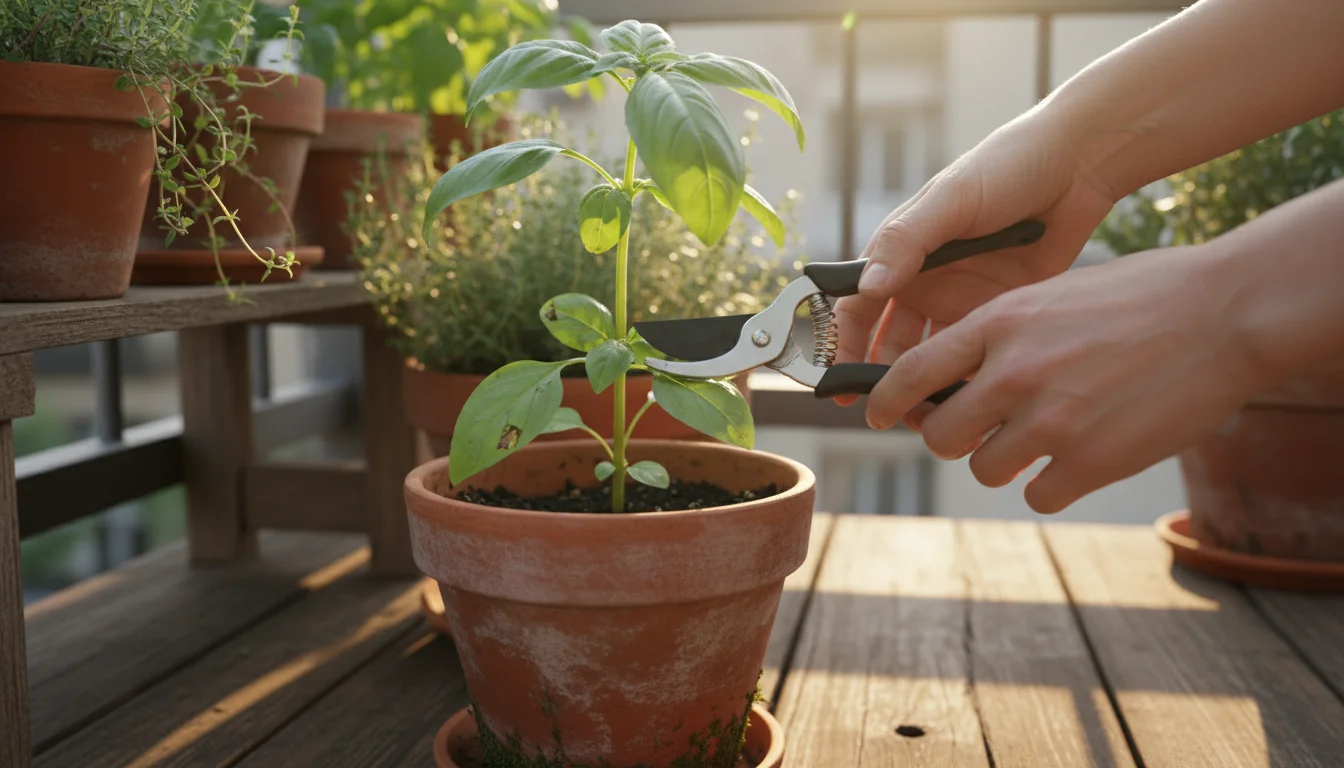
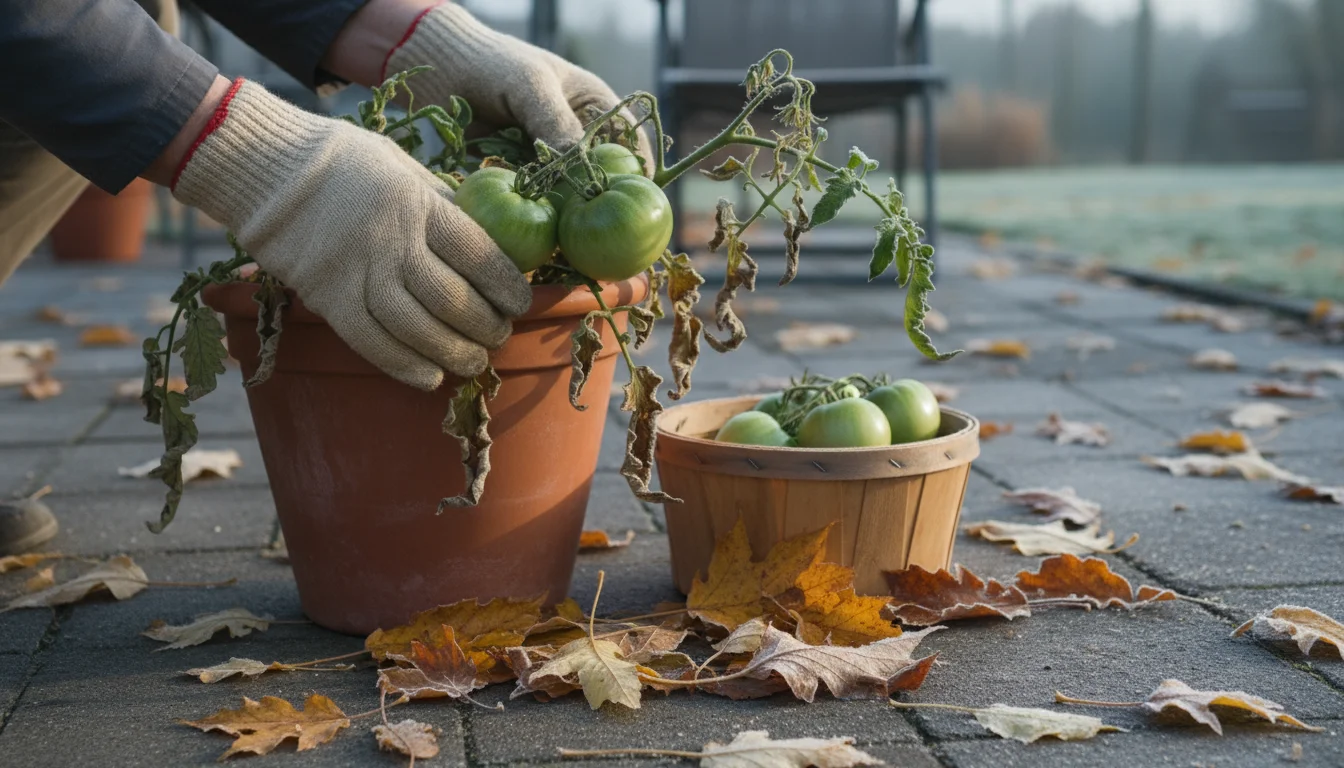
If your plants have become a bit unruly by late season, a quick fall rejuvenation pruning can help ensure you get one last flavorful harvest.
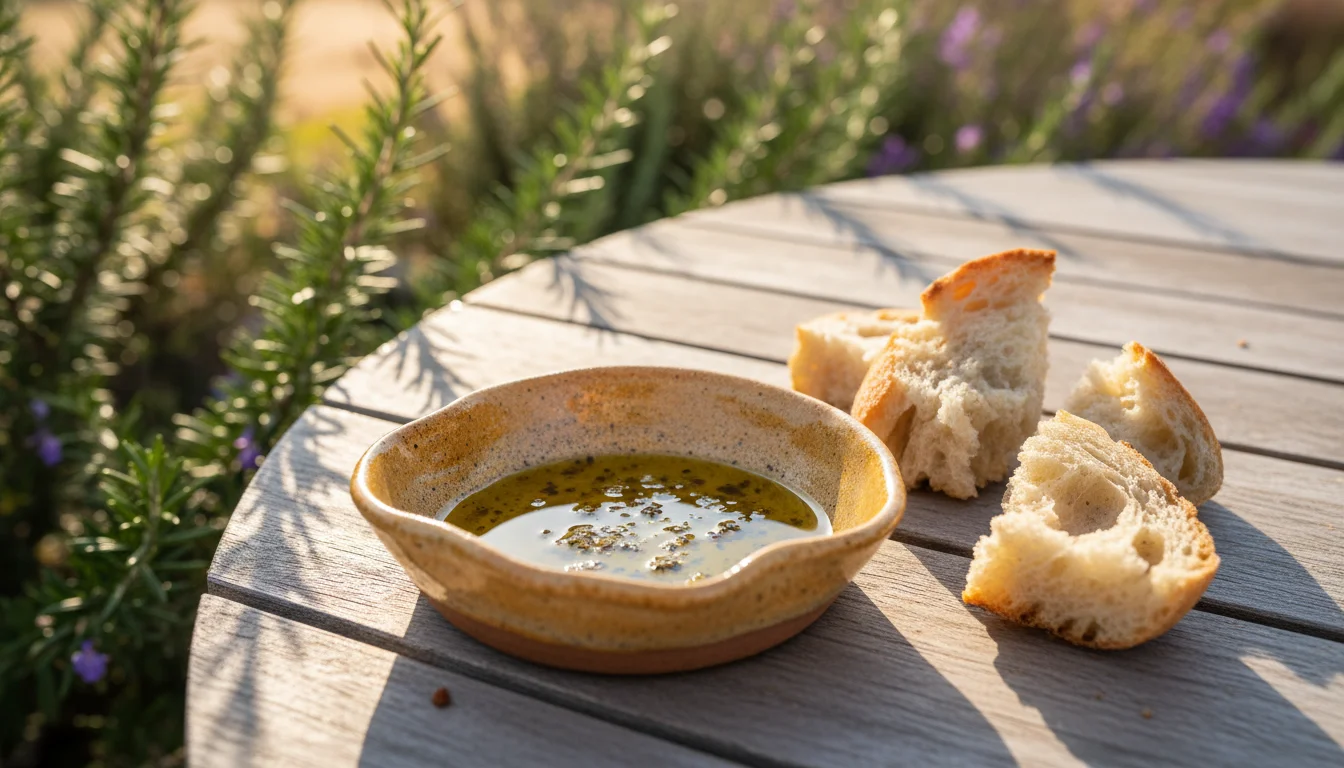
Think of it: vibrant green basil oil for drizzling over pasta, zesty lemon-thyme vinegar for salad dressings, or robust rosemary-infused olive oil for roasting vegetables. These simple DIY projects extend your harvest’s usefulness, elevate everyday meals, and reduce food waste. You do not need a sprawling garden to achieve culinary greatness, your small space is perfectly capable of producing these delightful concoctions.
Why Preserve Your Balcony Herb Harvest?
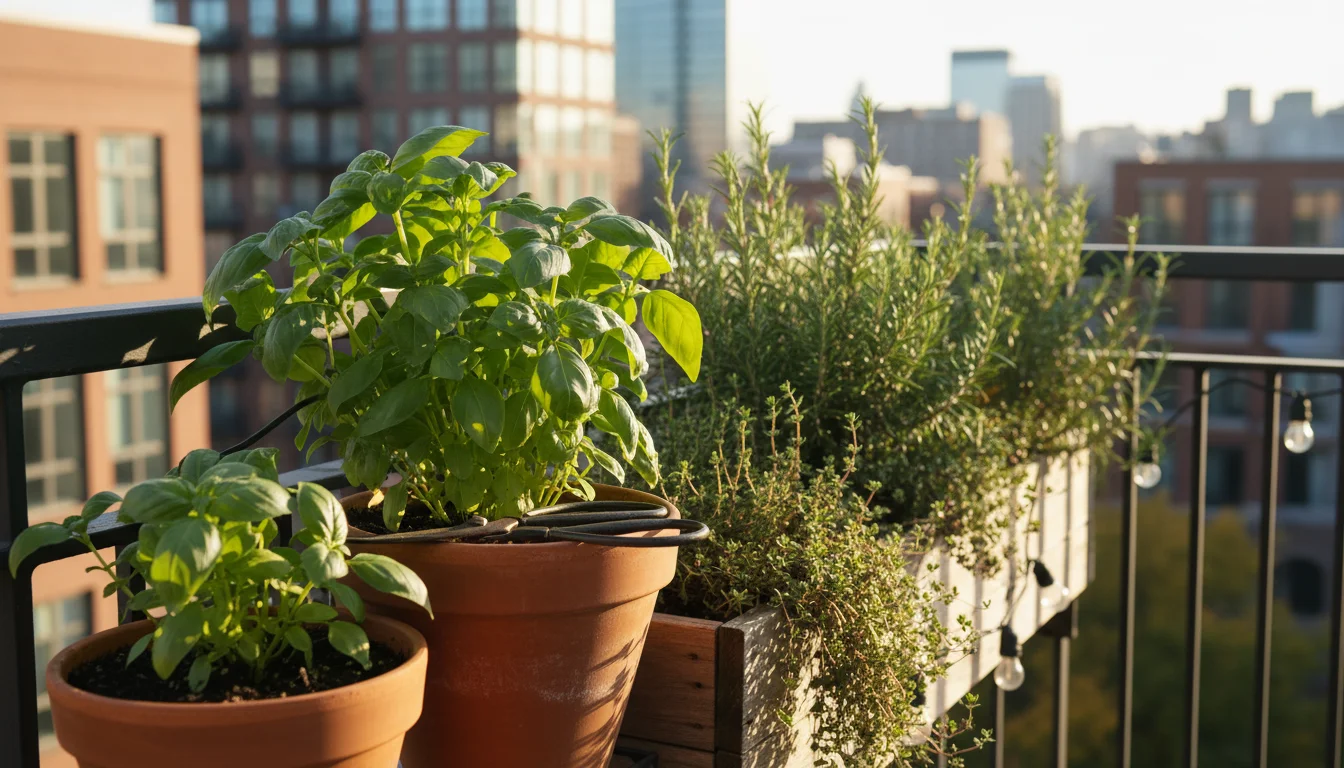
You pour care and effort into your balcony garden all season long. As cooler weather approaches, faced with an abundance of flourishing herbs, it is natural to wonder what to do with leftover herbs from garden spaces. Preserving your fresh herbs through infusion offers numerous benefits beyond simply preventing waste.
Learning to preserve your end-of-season balcony harvest often means getting creative with small-batch recipes like tangy relishes.
Infusions are just the beginning; there are many other ways to preserve a scrappy balcony harvest that go beyond simple freezing.
If you are looking for more ways to capture summer flavors, try making a 5-minute herb salt alongside your oils and vinegars.
- Extend the Season: Fresh herbs only last so long, even in the refrigerator. Infusing them in oil or vinegar captures their essence, allowing you to enjoy their flavors for months after the growing season ends. This means fresh basil flavor in January, or rosemary notes in March, all from your balcony’s bounty.
- Elevate Your Cooking: Herb-infused oils and vinegars are secret weapons in the kitchen. They add depth, complexity, and a gourmet touch to everyday dishes without extra effort. Imagine a simple tomato soup elevated by a drizzle of oregano oil, or roasted potatoes brightened with rosemary vinegar.
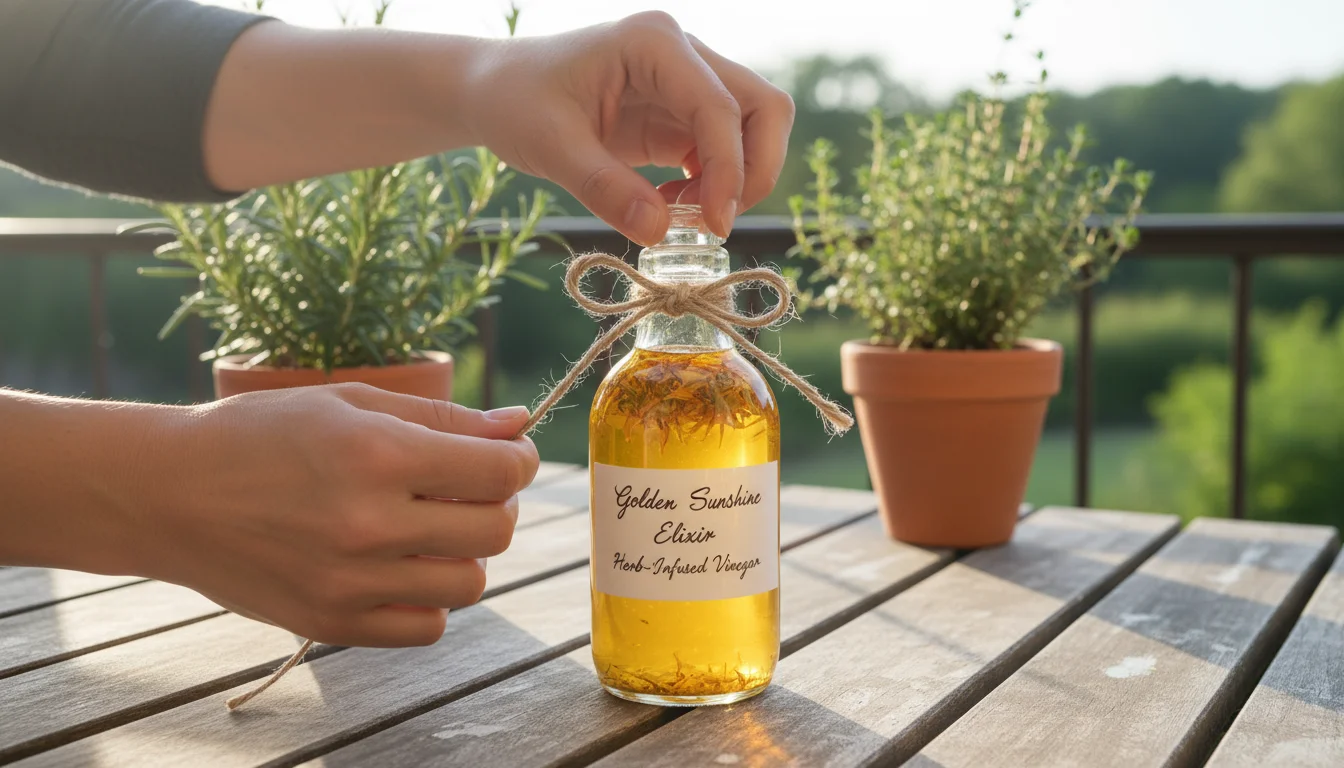
- Create Unique Gifts: Homemade infused oils and vinegars make fantastic DIY food gifts from your garden. They are personal, thoughtful, and show off your gardening prowess. Friends and family will appreciate these unique, edible presents far more than store-bought alternatives. This also aligns with eco-friendly practices by making gifts from your sustainable garden.
- Reduce Food Waste: Let’s be honest, sometimes our herb plants produce more than we can use fresh. Infusion is a brilliant way to prevent these aromatic leaves from ending up in the compost bin. This practice embodies an environmentally conscious approach to gardening and cooking.
- Control Ingredients: When you make your own infusions, you control the quality of the ingredients. You choose organic herbs from your own garden and high-quality oils or vinegars, avoiding unwanted additives or preservatives often found in commercial products.
This process of preserving fresh herbs transforms your harvest into a valuable pantry staple, ensuring no leaf or stem goes to waste. It is an empowering way to truly utilize the fruits, or rather, the herbs, of your labor.
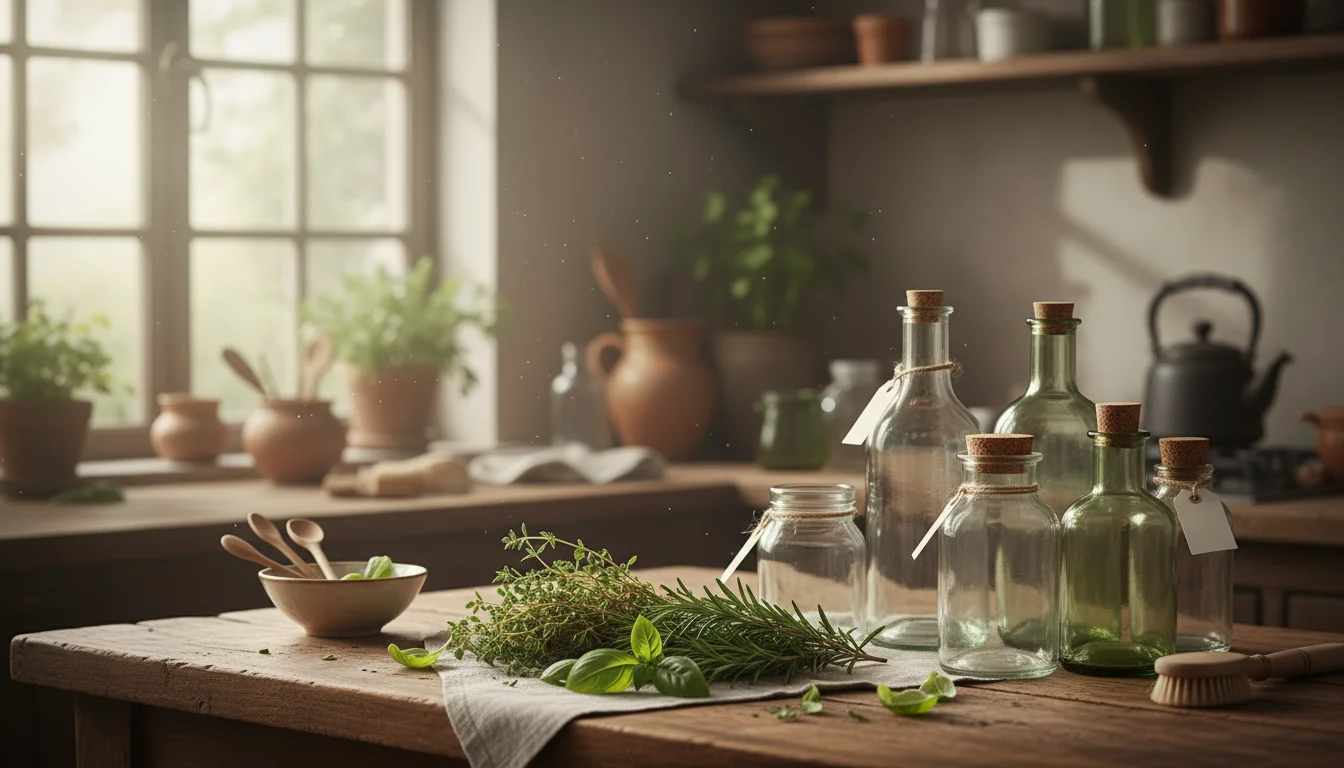
Essential Equipment and Ingredients for Infusion Success
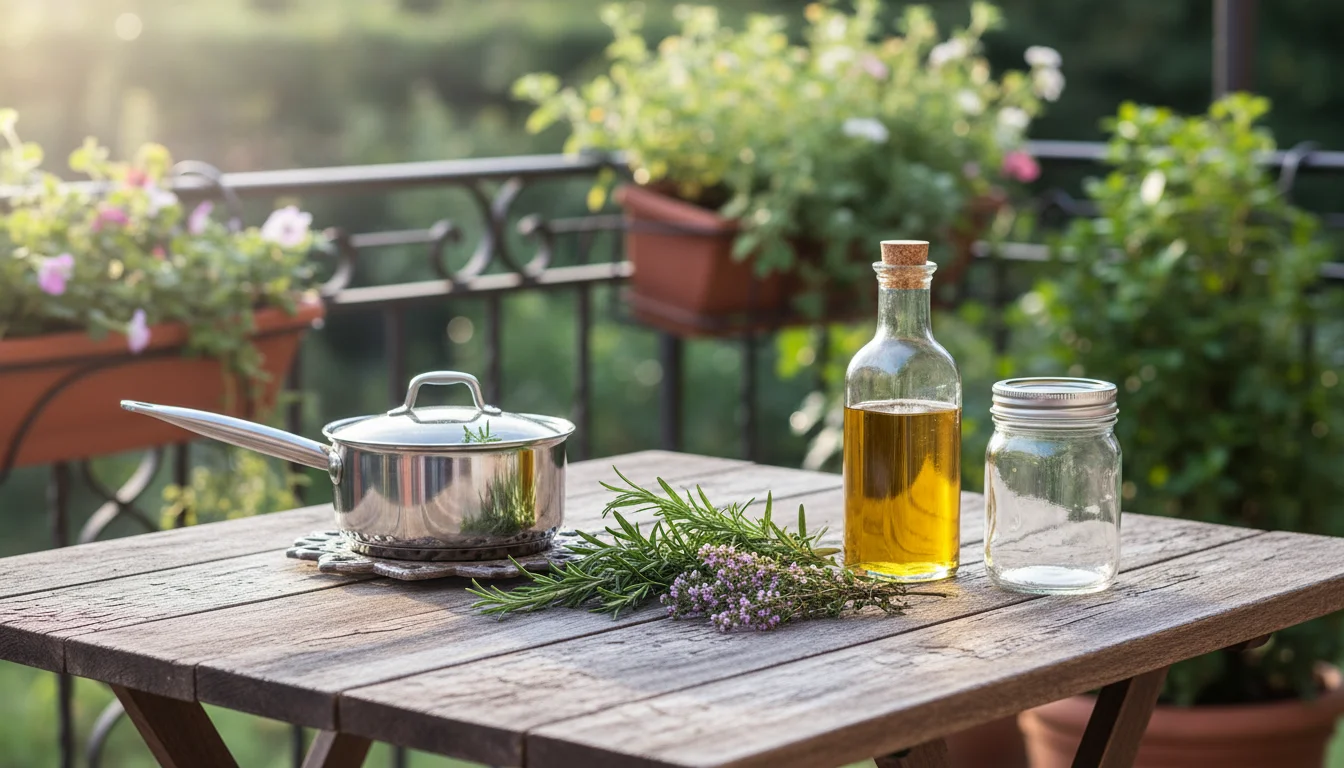
Before you dive into the delicious world of herb-infused creations, gather a few basic items. You likely have many of these already in your kitchen or gardening toolkit, making this project accessible and budget-friendly.
Before clearing your containers, you can also take fall cuttings from your potted herbs to grow new plants for next year.
If you find yourself running low on your harvest bounty, you can always grow herbs indoors to maintain a steady supply of fresh ingredients for your projects.
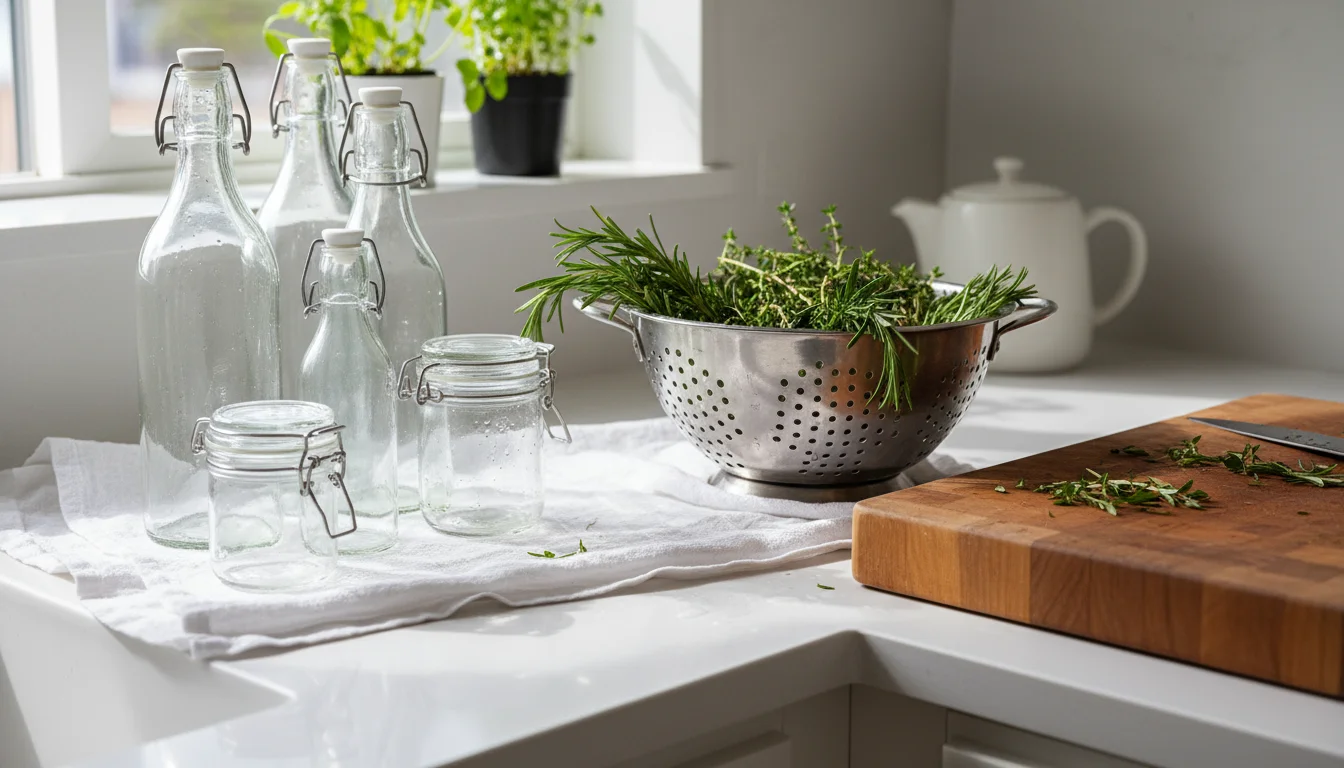
Basic Equipment:
- Glass Bottles or Jars: Look for clean, sterile glass bottles with tight-fitting lids or corks for oils, and jars for vinegars. Swing-top bottles work wonderfully. Ensure they are thoroughly cleaned and sanitized to prevent contamination.
- Cutting Board and Sharp Knife: For preparing your herbs.
- Colander: To wash your herbs thoroughly.
- Paper Towels or Clean Cloths: Essential for drying herbs completely, a crucial step.
- Funnels: Very helpful for pouring oils and vinegars into narrow-necked bottles without spills.
- Fine-Mesh Sieve or Cheesecloth: To strain out solid herb matter before bottling for oils. For vinegars, you can often leave herbs in for a more aesthetic look, but straining is an option.
- Labels: Crucial for marking your bottles with the type of infusion and the date it was made.
Key Ingredients:
- Fresh Herbs from Your Balcony Garden: This is the star of the show! Rosemary, thyme, oregano, basil, sage, dill, mint, chives, and even lavender are excellent choices. Ensure they are free from pests and disease.
- Quality Oil: For herb infused oil, use a neutral-flavored, good quality oil that does not overpower the herbs. Extra virgin olive oil is a popular choice for its flavor and health benefits, perfect for “how to make rosemary infused olive oil from fresh herbs.” However, light olive oil, grapeseed oil, or sunflower oil also work well. Consider the smoke point if you plan to cook with it at high temperatures.
- Quality Vinegar: White wine vinegar, red wine vinegar, apple cider vinegar, or even rice vinegar all make excellent bases for infusions. Choose a vinegar with good acidity and a flavor profile that complements your chosen herbs.
- Optional Flavor Enhancers: Whole peppercorns, garlic cloves (use with extreme caution, see safety section), chili flakes, lemon zest, or dried spices can add extra dimensions.
Having everything ready before you start streamlines the process and ensures a smooth, enjoyable experience. Remember, cleanliness is paramount when dealing with homemade food products, especially oils.
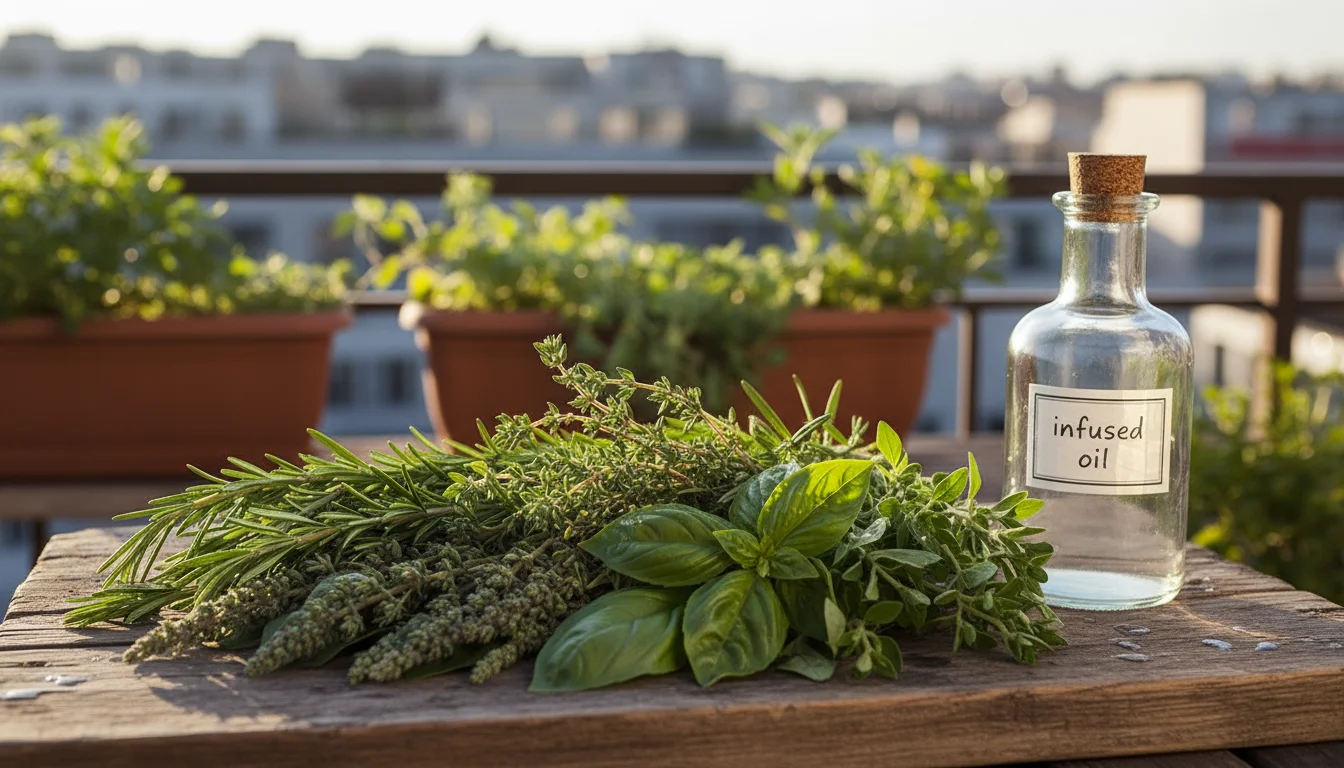
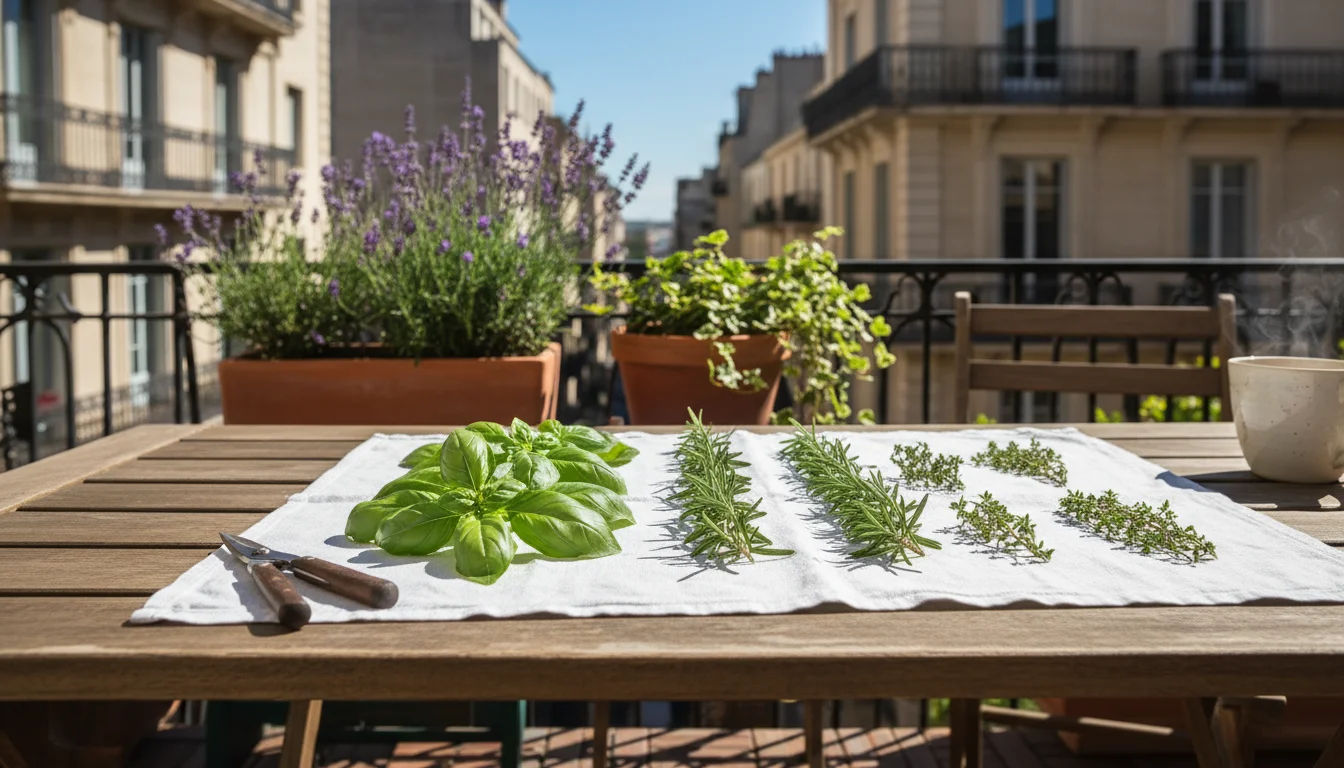
Selecting the Best Herbs for Flavorful Infusions
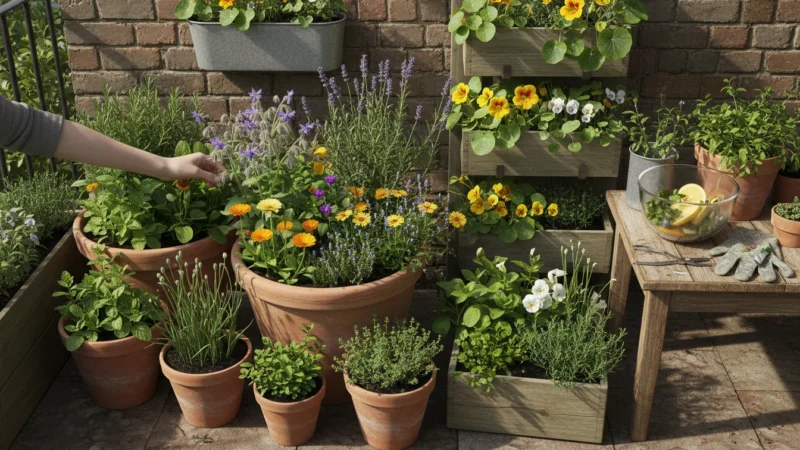
Your balcony garden likely offers a delightful array of herbs. Choosing the right ones for your infusions significantly impacts the final flavor. Some herbs shine brighter in oil, while others lend themselves beautifully to vinegar. Experimentation is part of the fun, but here are some reliable choices to get you started.
If you have extra rosemary or lavender, you can also use those cuttings to create a natural fall home scent for your kitchen.
Properly knowing how to harvest and dry herbs ensures you have the best base for your oils and vinegars.
While infusions are wonderful, there are also many creative ways to use dried herbs from your harvest throughout the winter months.
Top Herbs for Infused Oils:
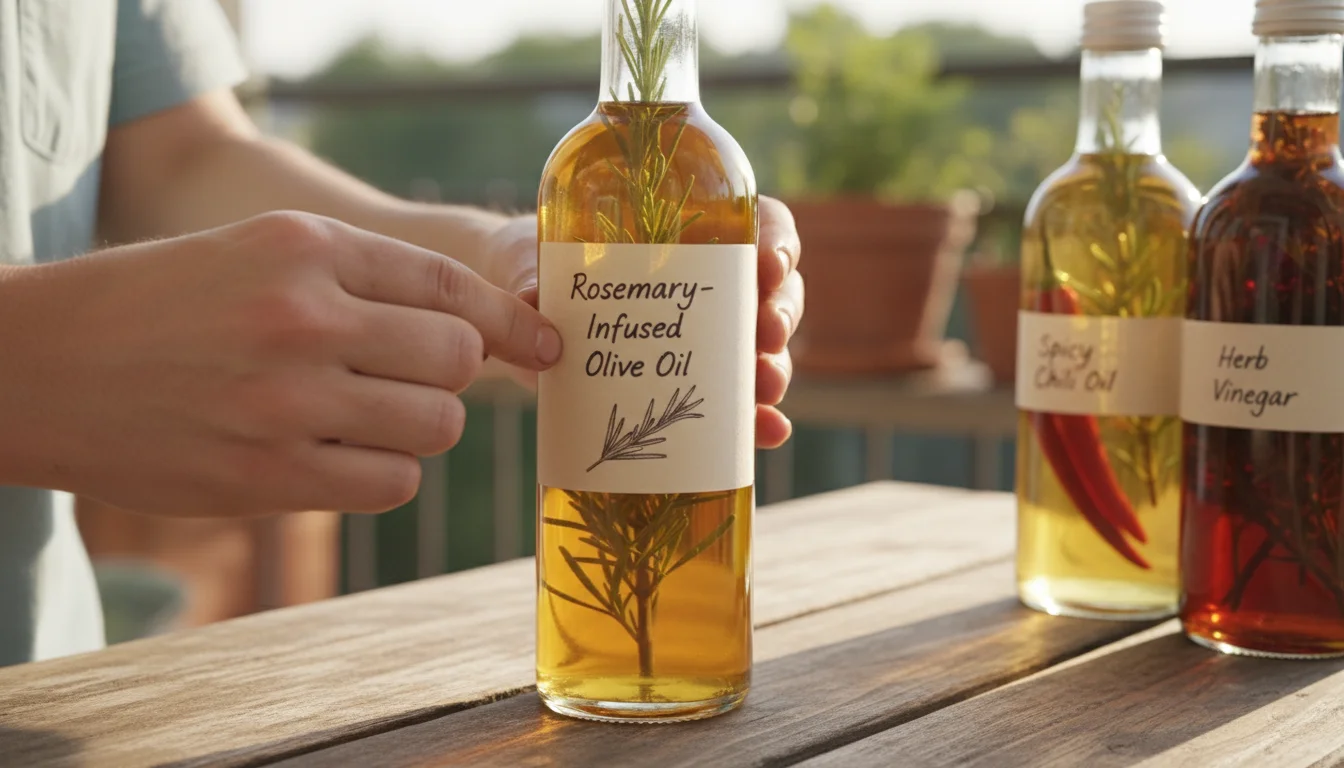
- Rosemary: Its piney, robust flavor pairs exceptionally well with olive oil. Ideal for roasting meats, potatoes, or bread dipping. This is a classic choice for how to make rosemary infused olive oil from fresh herbs.
- Thyme: Earthy and slightly floral, thyme infuses beautifully, particularly with garlic. Excellent for chicken, fish, or vegetable dishes.
- Oregano: A staple in Mediterranean cooking, oregano oil is fantastic for pizzas, pasta, or dressings.
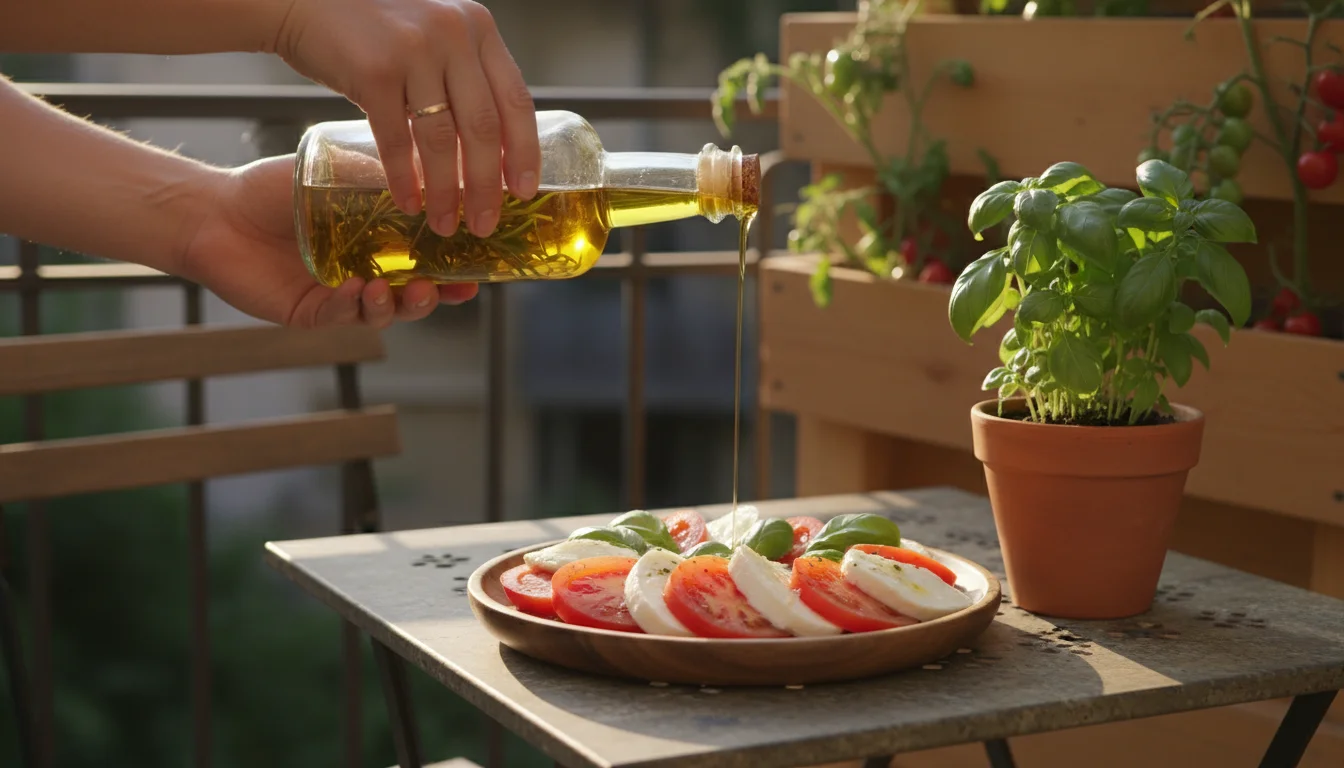
- Basil: Sweet and peppery, basil oil is a summer delight. Use it on salads, bruschetta, or to finish a caprese. Due to its high moisture content, basil oil requires careful preparation and storage to prevent spoilage, often preferring the “hot infusion” method or short-term cold infusion.
- Sage: Earthy, slightly peppery, and subtly minty. Sage oil complements poultry, pork, and root vegetables.
- Dill: Fresh, grassy, and slightly anise-like. Dill oil is wonderful with fish, potatoes, or cucumber salads.
Top Herbs for Infused Vinegars:
- Mint: Refreshing and bright, mint vinegar is superb in fruit salads, marinades, or sparkling water.
- Tarragon: With its distinct licorice-like flavor, tarragon vinegar is a French classic, excellent for vinaigrettes, chicken, or fish.
- Chives: Mild oniony flavor. Chive vinegar adds a subtle piquancy to dressings and dips.
- Parsley: Fresh and clean. Parsley vinegar can brighten almost any savory dish.
- Lemon Verbena: Offers an intense lemony aroma and flavor, fantastic for both sweet and savory applications.
- Lovage: Tastes like a cross between celery and parsley, adding a unique, savory depth to vinegars.
Consider Your Flavor Profile:
When selecting your herbs, think about the dominant flavors you want to create. Do you want a single-herb infusion to highlight a specific flavor, or a blend for a more complex profile? For example, a Mediterranean blend might include rosemary, thyme, and oregano. A classic Italian blend often features basil, oregano, and a hint of red pepper flake. Remember the rule of thumb for infusion: the better the quality of your fresh herbs from your balcony garden harvest, the more vibrant your infused products will taste.
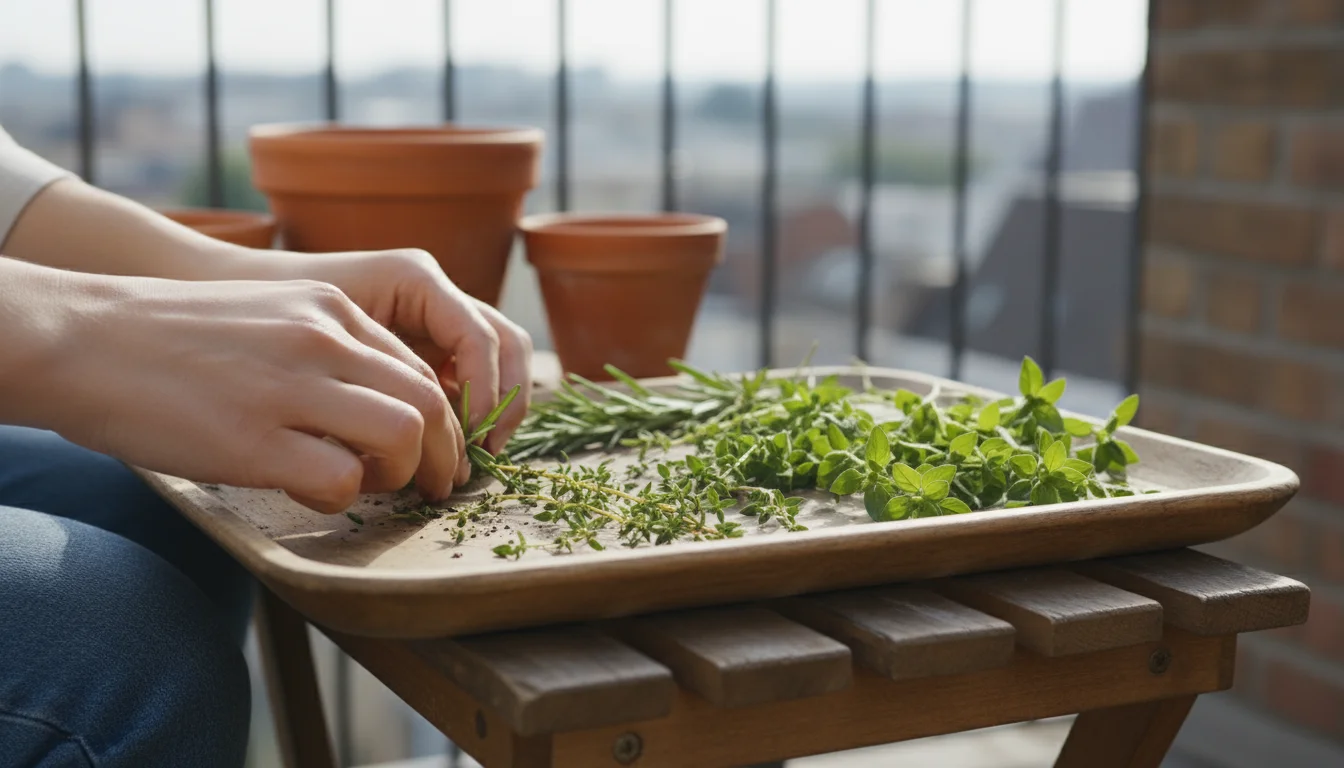
Harvesting and Preparing Your Herbs: The Crucial First Steps
The success of your herb infused oil and vinegar hinges on proper harvesting and preparation. This ensures maximum flavor extraction and, more importantly, reduces the risk of contamination, particularly for oils. Cleanliness and dryness are your two golden rules.
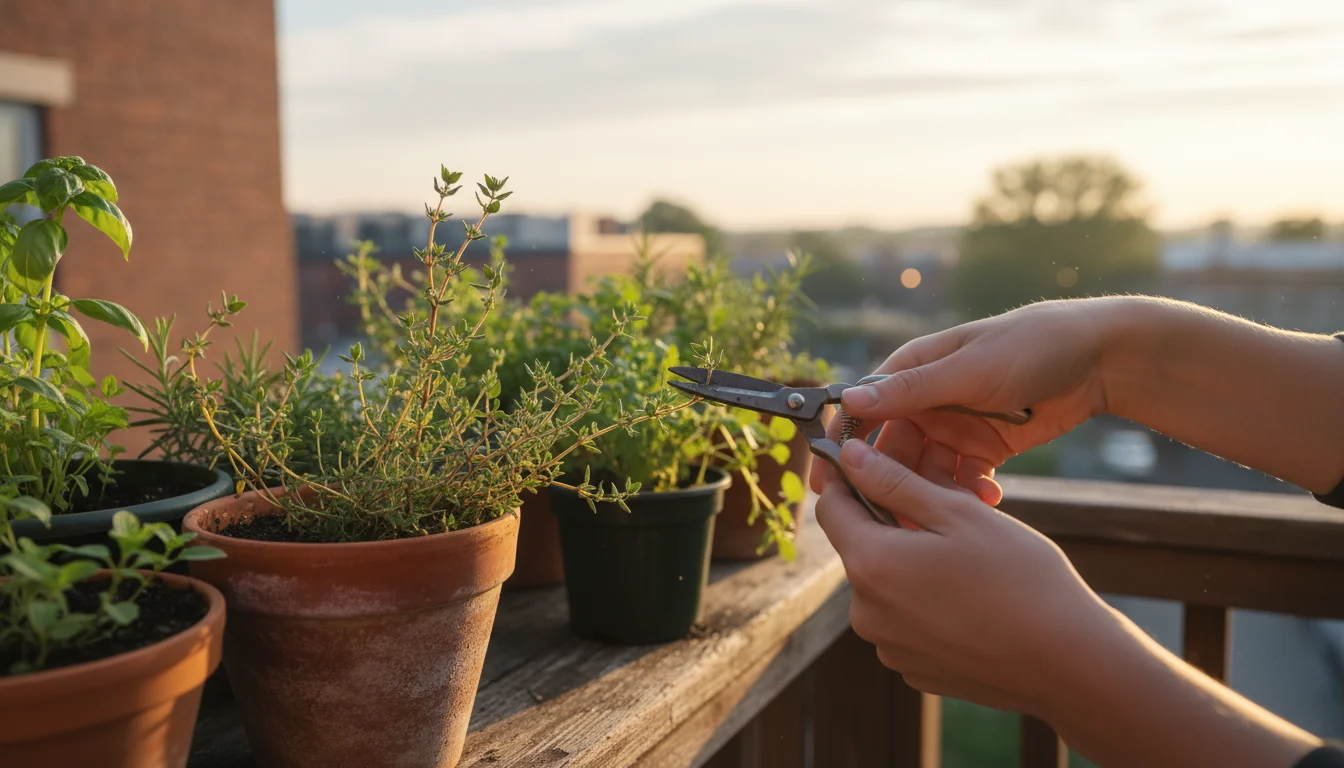
1. When and How to Harvest Your Herbs:
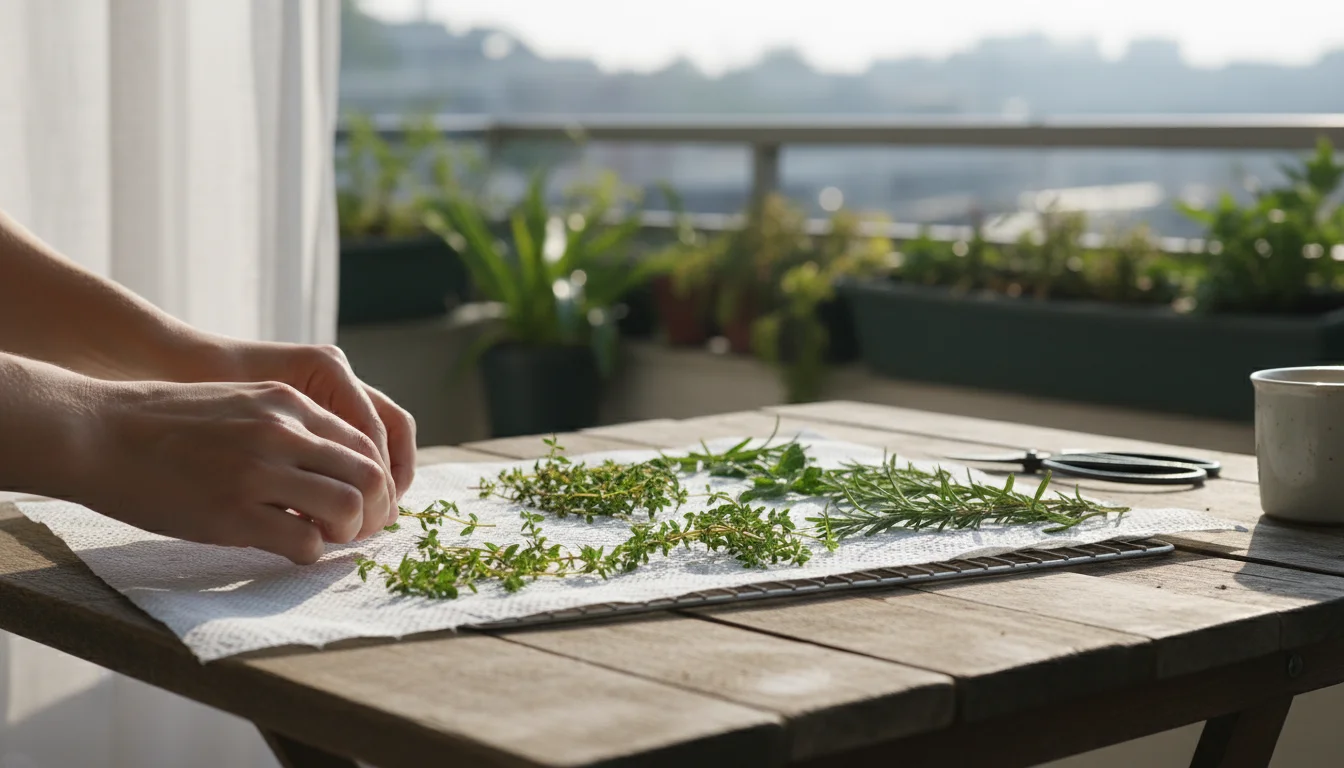
- Timing is Key: Harvest herbs in the morning after the dew has evaporated but before the sun is at its peak. At this time, their essential oils, which carry their flavor and aroma, are most concentrated.
- Healthy Plants Only: Select vigorous, healthy stems free from pests, diseases, or damage. Avoid any herbs that show signs of wilting or discoloration.
- Harvesting Technique: Use clean, sharp scissors or pruners to snip off stems. For bushy plants like basil or oregano, you can take a significant portion of the plant. For rosemary and thyme, cut sprigs about 4-6 inches long.
- Final Harvest Considerations: If this is your final balcony garden harvest before winter, you can be more aggressive, taking most of the plant if it is not perennial in your zone.
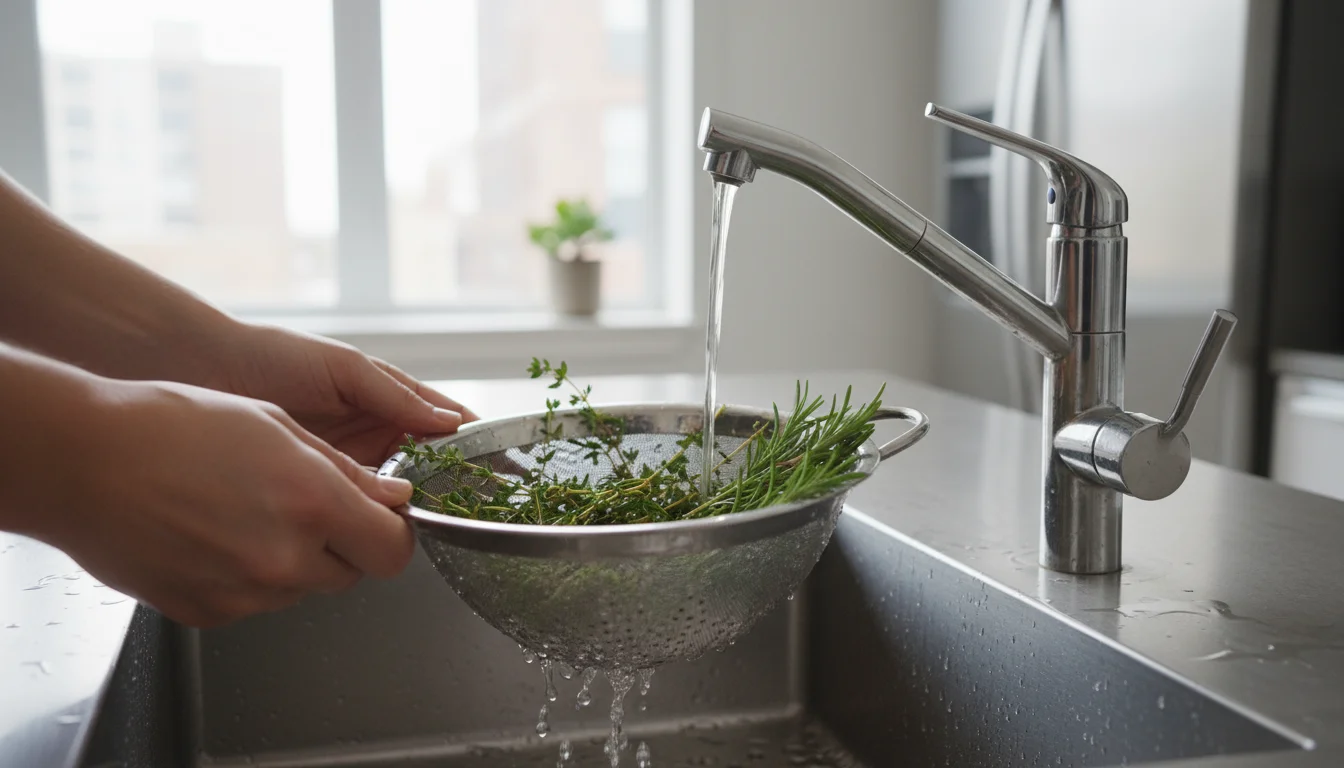
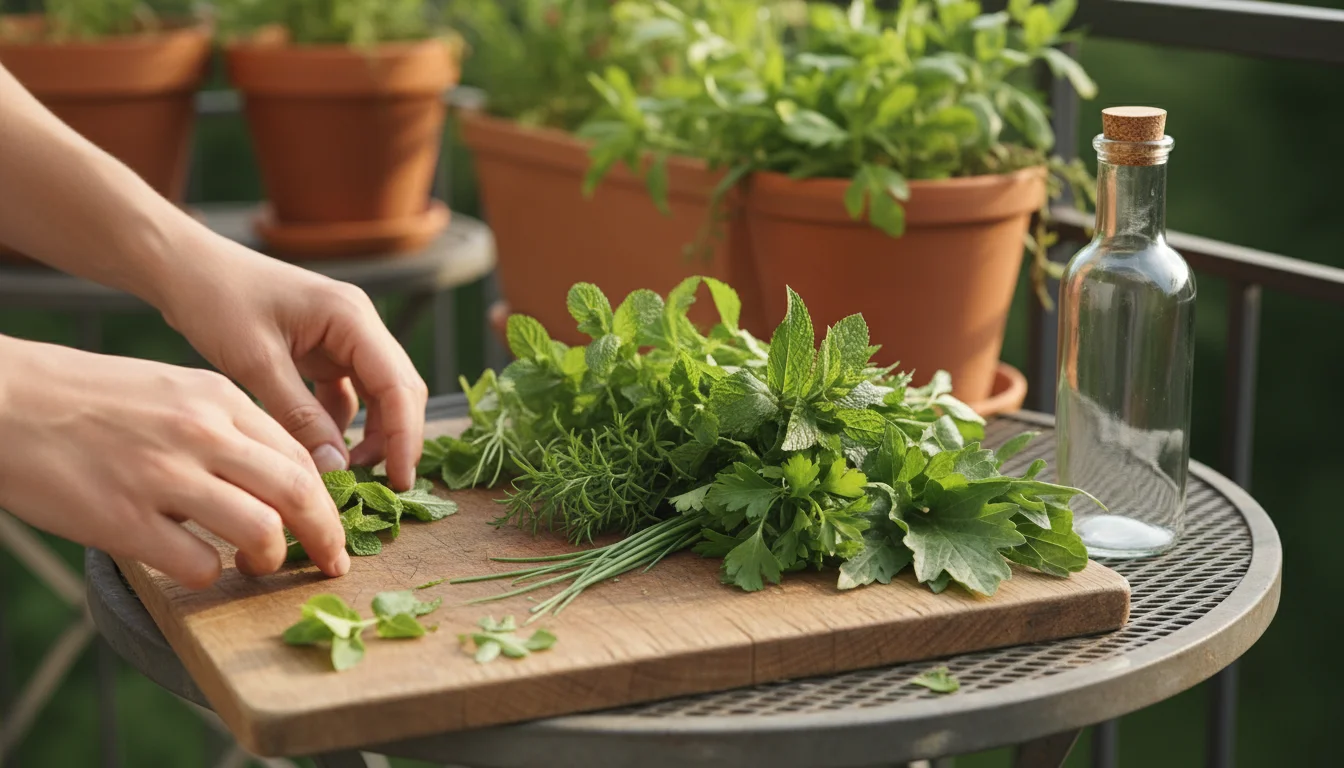
2. Cleaning Your Herbs:
This step is critical. Even if your herbs look clean, they can carry microscopic dirt, insects, or environmental contaminants. A thorough wash is essential.
- Rinse Gently: Place your harvested herbs in a colander and rinse them under cool, running water. Be gentle to avoid bruising the delicate leaves.
- Inspect Closely: After rinsing, visually inspect each sprig and leaf for any remaining dirt or tiny insects. Remove any damaged or discolored parts.
3. Drying Your Herbs:
This is arguably the single most important step for making safe, high-quality herb infused oil. Any moisture introduced into oil can create an environment for harmful bacteria, including Clostridium botulinum, which causes botulism.
- Shake Off Excess Water: Gently shake the herbs to remove as much surface water as possible.
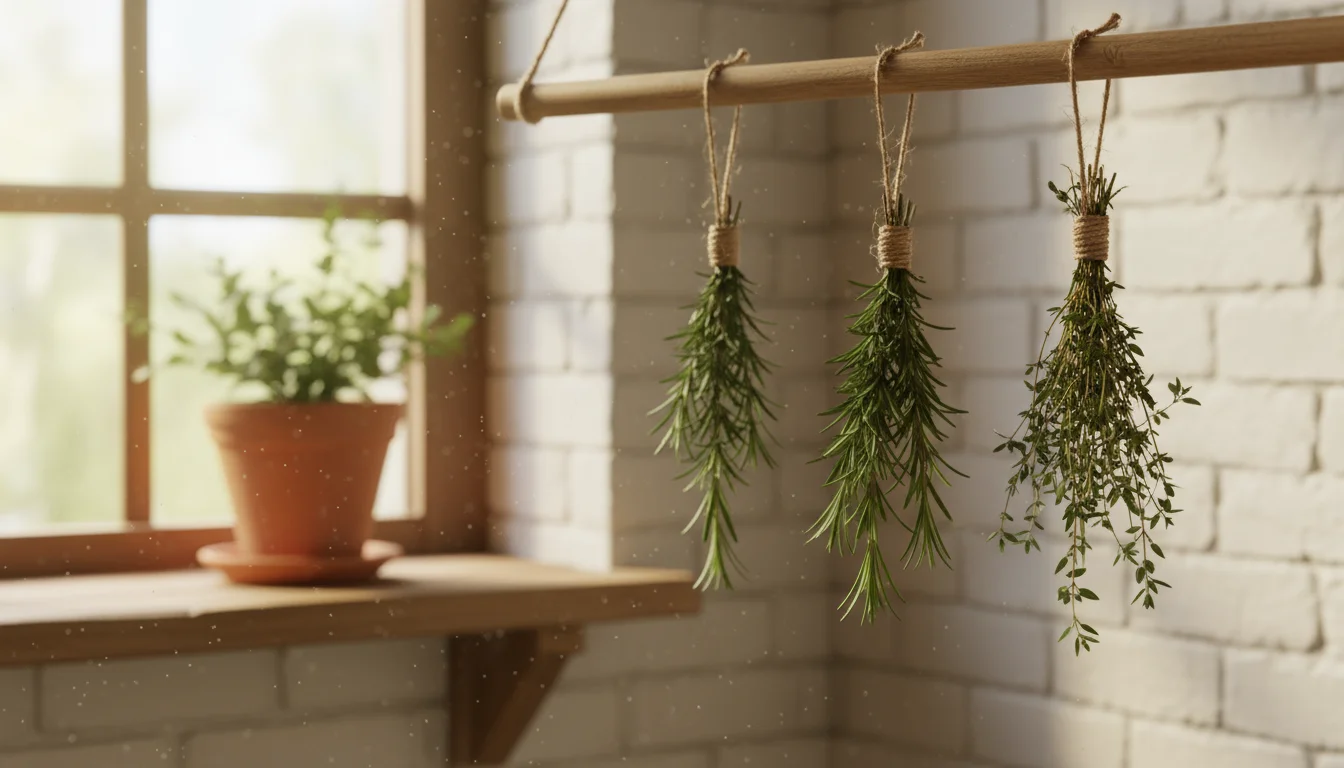
- Pat Dry Thoroughly: Spread the herbs out on clean paper towels or a clean kitchen cloth. Gently pat them completely dry. You can also roll them lightly in the towels.
- Air Dry (Optional, but Recommended for Oils): For an extra layer of caution, especially with dense herbs or humid conditions, let the herbs air dry for several hours or even overnight. Place them on a clean rack or paper towels in a well-ventilated area, away from direct sunlight. They should feel completely dry to the touch, almost brittle for some, before proceeding to infusion.
For vinegars, while dryness is important for flavor concentration, the high acidity of vinegar naturally inhibits bacterial growth, making it less critical than for oils. Still, aim for very dry herbs to prevent diluting your vinegar.
Crafting Your Own Herb-Infused Oils: A Step-by-Step Guide
Making herb infused oil is a rewarding process. There are two primary methods: the cold infusion method and the hot infusion method. The cold method is simpler but generally requires refrigeration and shorter shelf life. The hot method extracts flavor more quickly and can result in a more stable product, but demands a bit more attention. For safety, particularly with fresh herbs, the hot infusion method is often recommended, or ensuring cold infused oils are refrigerated and used quickly. We will focus on both, highlighting the safety protocols.
Method 1: Cold Infusion (Best for delicate herbs, use quickly and refrigerate)
This method is straightforward and gentle, preserving the fresh flavor of your herbs. Remember the crucial warnings about moisture and refrigeration.
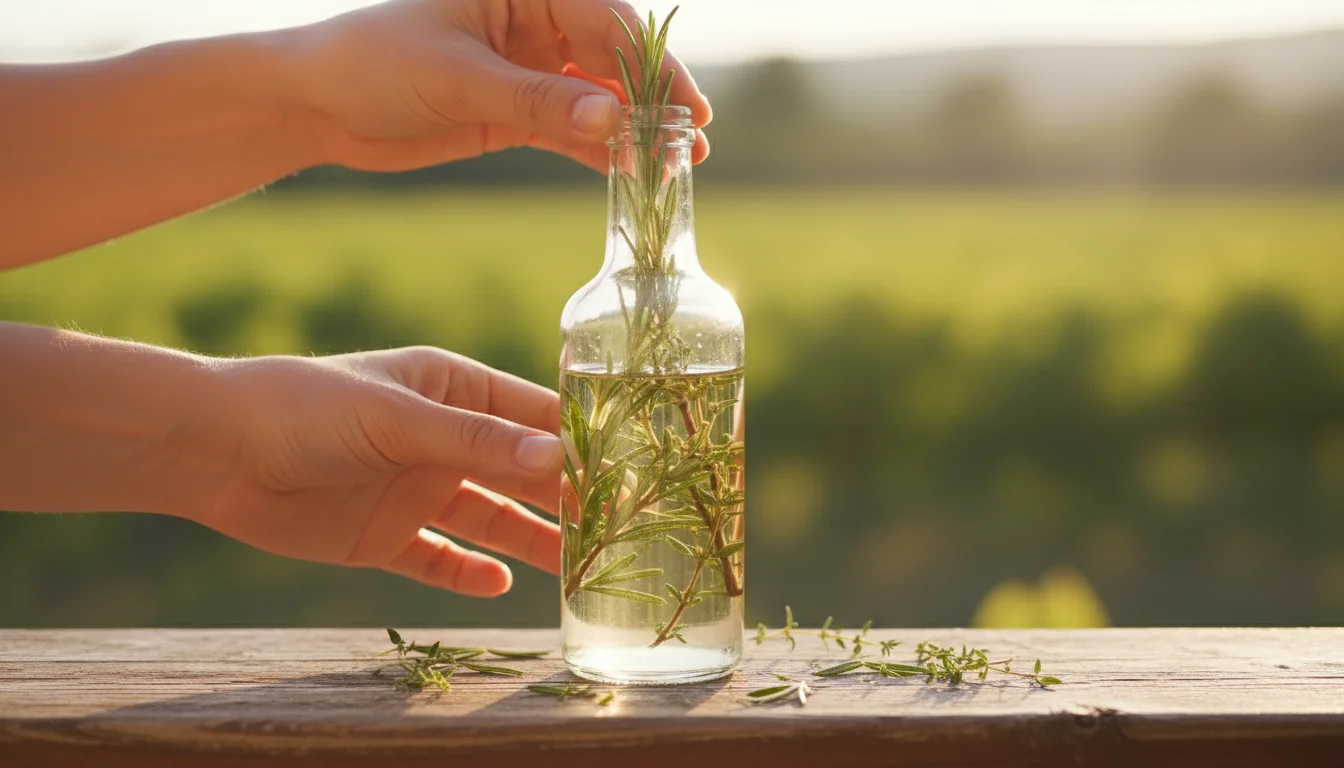
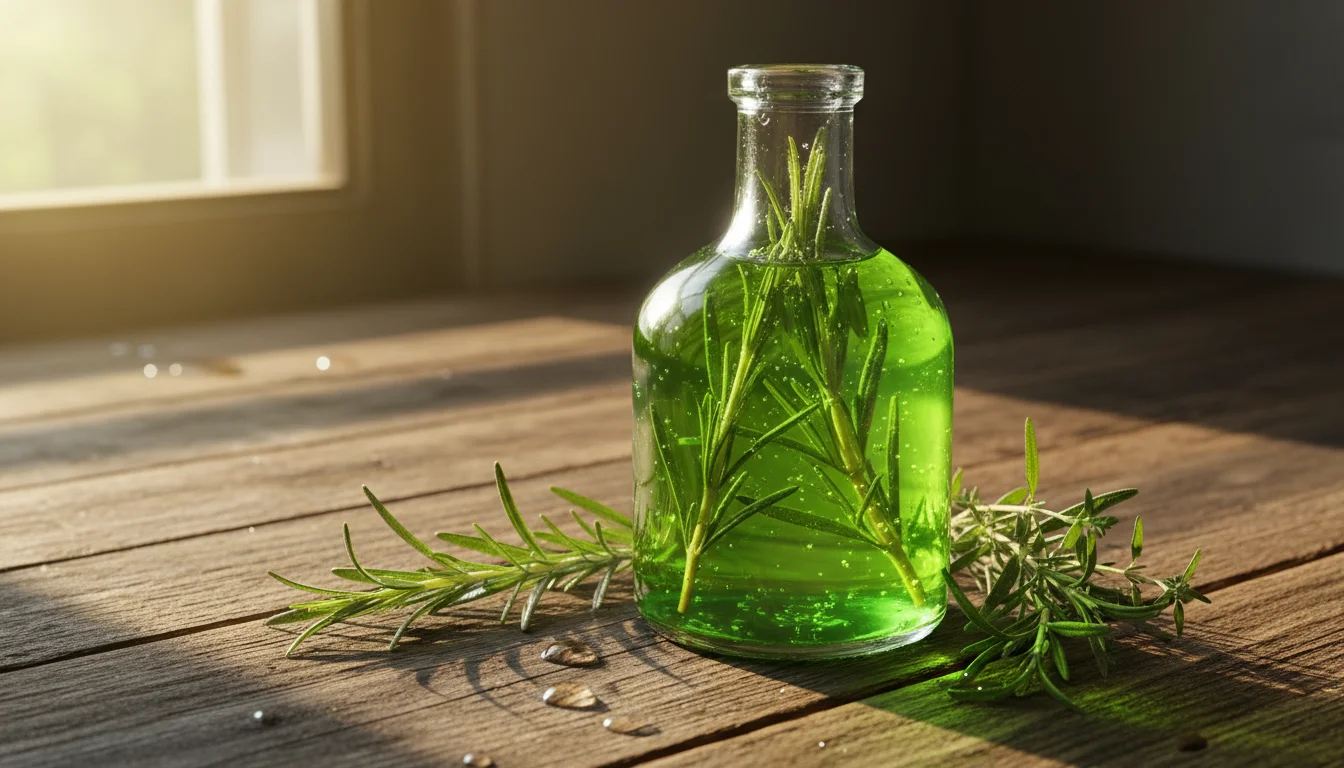
- Prepare Your Herbs: Ensure your chosen herbs are meticulously clean and bone-dry. You can leave them as whole sprigs or lightly bruise them for more flavor release. For rosemary, for example, a few gentle crushes will help.
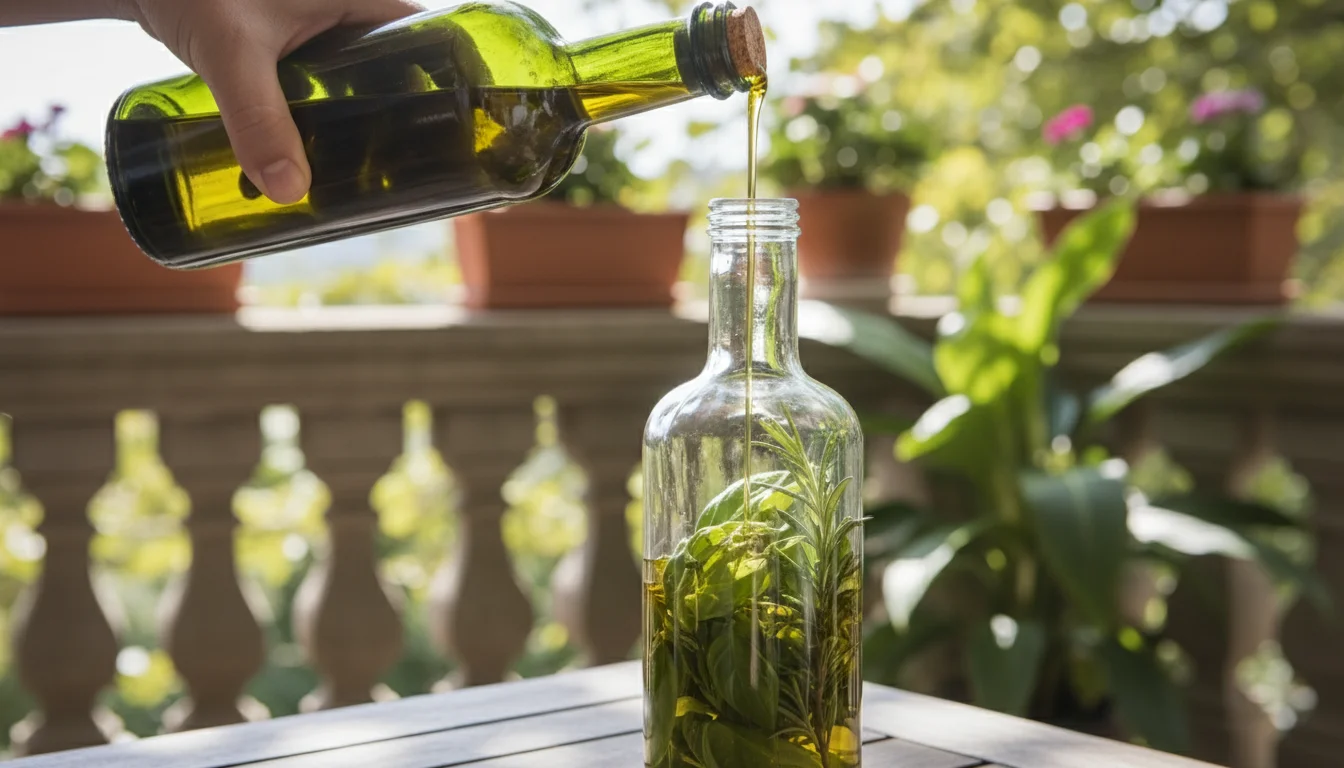
- Fill Your Bottle: Place the dry herbs into your clean, sterilized glass bottle. Fill the bottle generously, but leave enough space for the oil. For a 16-ounce bottle, you might use 5-8 sprigs of rosemary or 1/2 to 1 cup of basil leaves.
- Add Oil: Slowly pour your chosen oil (e.g., olive oil) over the herbs, ensuring they are completely submerged. Fill the bottle to about 1/2 inch from the top.
- Seal and Store: Cap the bottle tightly. Store it in a cool, dark place, like a pantry, for 1-2 weeks. During this time, the oil will gradually absorb the herb’s flavors. Give the bottle a gentle shake every day or two.
- Strain and Re-bottle (Optional but Recommended for Safety): For maximum safety, especially if not refrigerating or for longer storage, strain the oil through a fine-mesh sieve or cheesecloth after 1-2 weeks. This removes all solid herb matter, which can harbor bacteria. Discard the spent herbs. Pour the strained oil back into a clean bottle.
- Refrigerate Immediately: ALWAYS store cold-infused oils with fresh herbs in the refrigerator and use them within 1-2 weeks. If you remove the solid herb matter and refrigerate, you might extend this a bit, but always err on the side of caution. For infusions with garlic or chili, refrigeration and quick use are paramount due to botulism risk.
Method 2: Hot Infusion (Recommended for more robust herbs, generally safer for longer storage)
The hot infusion method uses gentle heat to speed up the flavor extraction and helps to ensure that any residual moisture is cooked out, making it generally safer for unrefrigerated storage, provided all solids are removed.
- Prepare Your Herbs: As with cold infusion, herbs must be impeccably clean and dry. Lightly bruise them or chop them roughly to expose more surface area.
- Combine Herbs and Oil: In a clean, heatproof saucepan or slow cooker, combine your dry herbs with your chosen oil. A good ratio is typically 1 cup of packed herbs to 2 cups of oil, but you can adjust for desired intensity.
- Gentle Heat: Heat the mixture over very low heat. The goal is to warm the oil, not to fry the herbs. You should see tiny bubbles, but the oil should not be simmering or boiling. Maintain this low temperature for 1-3 hours, stirring occasionally. A food thermometer can help ensure the oil stays below 180°F (82°C). Some sources recommend heating to 200°F (93°C) and holding for 10 minutes to kill potential botulism spores, though this must be done carefully to avoid burning the oil.
- Cool and Steep: Remove the pan from the heat and let the oil cool completely with the herbs still in it. This allows for further flavor development as the oil cools.
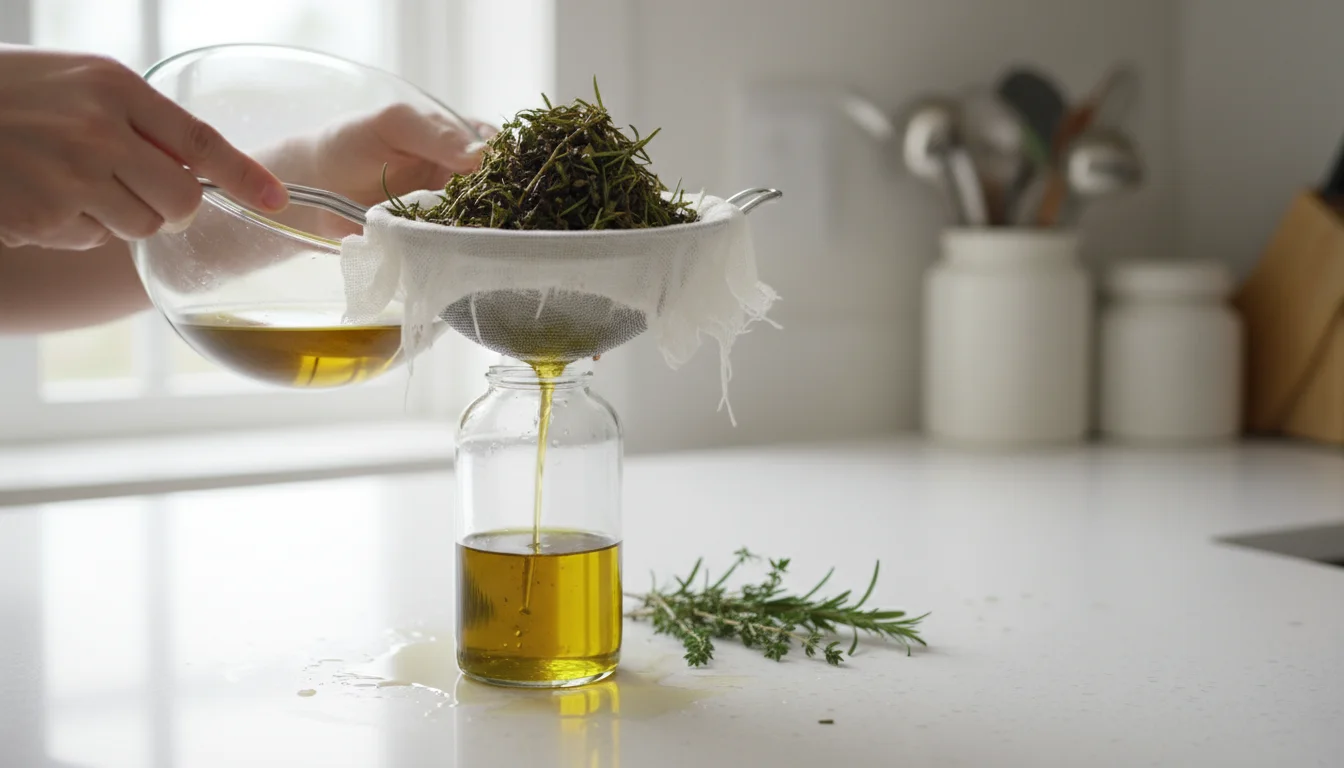
- Strain Thoroughly: This is a critical safety step. Once cooled, strain the oil through a fine-mesh sieve lined with cheesecloth. Press down on the herbs to extract all the flavorful oil. You want absolutely no solid herb matter remaining in the final product. Discard the spent herbs.
- Bottle and Store: Pour the strained, clear herb infused oil into clean, sterilized glass bottles. Cap tightly. Hot-infused oils, properly strained, can be stored in a cool, dark pantry for up to 1-3 months. For any oil containing garlic or chilies, even hot infused and strained, refrigeration is mandatory, and use within 1-2 weeks is strongly advised.
When making rosemary infused olive oil from fresh herbs, the hot infusion method often yields a more pronounced flavor and greater peace of mind regarding shelf stability.
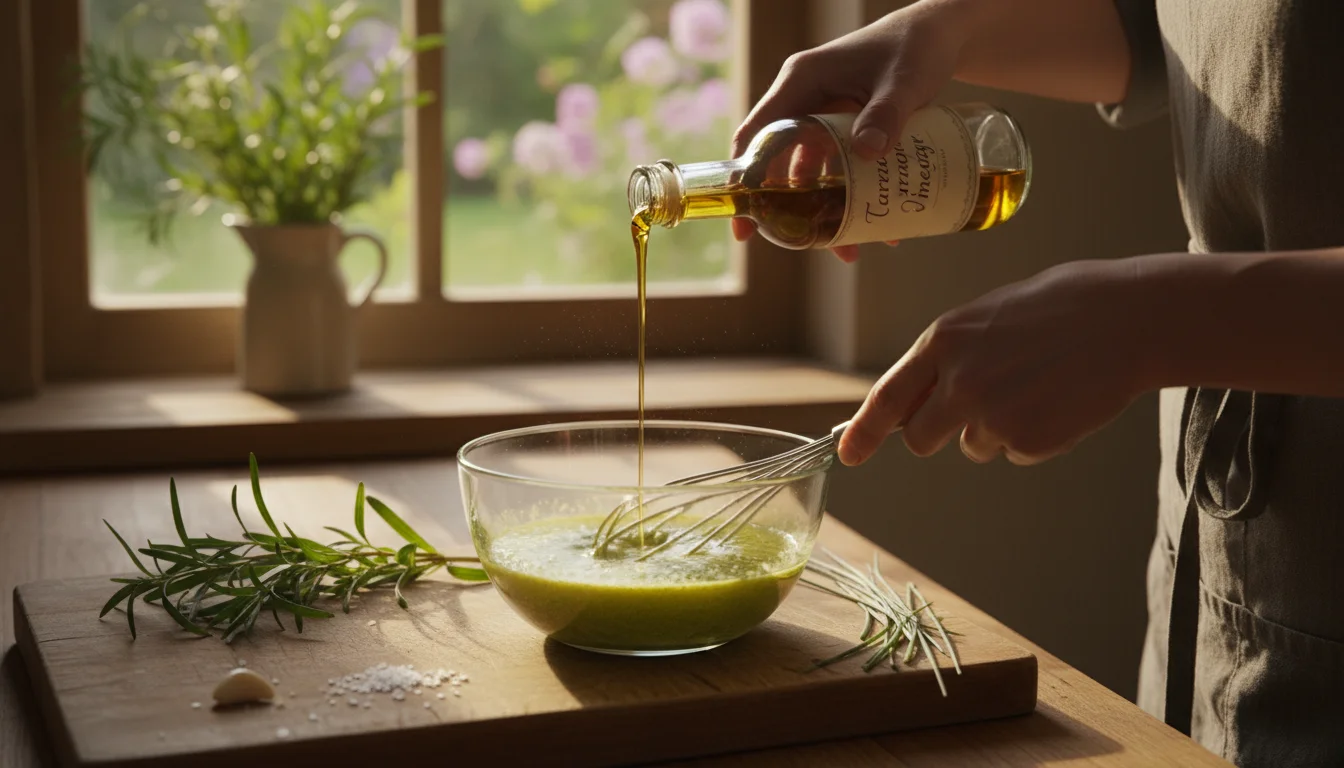
Whipping Up Zesty Herb-Infused Vinegars: Simple Instructions
Herb-infused vinegars are delightfully vibrant and offer a fantastic tangy kick to your cooking. The high acidity of vinegar makes it a much safer medium for infusion than oil, so the drying requirements for herbs are less stringent, though still important for preventing dilution. This project is incredibly forgiving and yields beautiful results, perfect for what to do with leftover herbs from garden.

Step-by-Step Vinegar Infusion:
- Select Your Vinegar: Choose a good quality white wine vinegar, red wine vinegar, apple cider vinegar, or even rice vinegar. White wine vinegar offers a clean canvas for delicate herb flavors, while red wine vinegar adds robust depth.
- Prepare Your Herbs: Rinse your herbs thoroughly and pat them very dry. While not as critical as for oils, excess water can dilute your vinegar’s flavor. You can use whole sprigs or roughly chop them to expose more surface area and encourage faster infusion.
- Sterilize Your Jars/Bottles: Clean glass jars or bottles with tight-fitting lids are ideal. Sterilize them by boiling for 10 minutes or running them through a hot dishwasher cycle.
- Fill Your Container: Place your prepared herbs into the clean, sterile jar or bottle. A good rule of thumb is to fill about one-quarter to one-third of the container with herbs. You can also add other aromatics like a few black peppercorns, a dried chili, or a strip of lemon zest (ensure zest is dry).
- Add Vinegar: Pour the vinegar over the herbs, ensuring they are completely submerged. Fill the container, leaving about half an inch of headspace.
- Seal and Steep: Seal the jar tightly. Place the infused vinegar in a cool, dark place, such as a pantry, for 1-2 weeks. Shake the bottle gently every few days to redistribute the herbs and encourage infusion.
- Taste and Strain: After one week, taste a small amount of the vinegar. If the flavor is to your liking, you can strain out the solid herbs using a fine-mesh sieve. If you prefer a stronger flavor, let it infuse for another week. Many people prefer to leave some fresh herb sprigs in the bottle for aesthetic appeal, which is safe to do with vinegars.
- Re-bottle and Store: Pour the strained (or unstrained) herb-infused vinegar into clean, decorative bottles. Label them with the herb type and date. Store in a cool, dark pantry. Properly stored herb vinegars can last for several months to up to a year.
For example, a refreshing mint vinegar makes a delightful addition to summer salads, while a rich tarragon vinegar becomes the backbone of a classic béarnaise sauce. These DIY food gifts from your garden will certainly impress.
Safety First: Avoiding Risks with Homemade Infusions
While making your own herb infused oil and vinegar is incredibly rewarding, safety, especially with oils, is paramount. The primary concern with homemade infused oils is the risk of botulism, a serious foodborne illness caused by the bacterium Clostridium botulinum. This bacterium thrives in low-acid, oxygen-free environments, conditions that can unfortunately be created when fresh herbs or garlic are stored in oil.
Understanding the Botulism Risk in Oils:
- Anaerobic Environment: Oil creates an oxygen-free environment.
- Low Acidity: Herbs and garlic are low-acid foods.
- Moisture: Any moisture from fresh herbs provides the water activity needed for spores to grow.
- Temperature: Room temperature storage encourages growth.
When these conditions combine, dormant botulism spores (which are naturally present on many plants and in soil) can germinate and produce a dangerous toxin. You cannot see, smell, or taste this toxin.
Critical Safety Guidelines for Infused Oils:
- Absolute Dryness: As emphasized before, ensure your herbs are absolutely, thoroughly, bone-dry before infusing in oil. Any trace of water can create a botulism risk. Air drying overnight after washing is a good practice.
- Remove Solids for Longer Storage: To prevent botulism, you must remove all solid ingredients (herbs, garlic, chilies) from the oil after infusion. Strain the oil thoroughly through a fine-mesh sieve or cheesecloth. Do not leave fresh plant material submerged in oil at room temperature for more than a few hours.
- Refrigeration is Key for Cold Infusions: If you use the cold infusion method and cannot guarantee absolute dryness or complete removal of solids, store the oil in the refrigerator and use it within 1-2 weeks. Refrigeration slows bacterial growth.
- Acidification for Garlic/Chili Infusions: If you want to infuse garlic or chilies into oil, you must acidify them first. Blanch garlic cloves in boiling water for a few minutes, then soak them in 5% acidity vinegar for at least 24 hours. The acidity inhibits botulism growth. Even with acidification, keep these oils refrigerated and use them quickly.
- Hot Infusion and Strain: The hot infusion method, followed by complete straining of all solids, reduces risk. The heat helps eliminate some potential contaminants, and removing solids eliminates the moist, low-acid environment.
- When in Doubt, Throw it Out: If you are unsure about the safety of your infused oil, if it smells off, or if it has been stored improperly, do not risk it. Discard it.
Vinegar Safety:
Vinegars are naturally high in acid (typically 5% acetic acid), which effectively prevents the growth of most harmful bacteria, including Clostridium botulinum. Therefore, you can generally leave fresh herbs submerged in vinegar without significant safety concerns, and the shelf life is much longer than infused oils. Still, always start with clean, dry herbs to prevent dilution and ensure optimal flavor. Store your infused vinegars in a cool, dark place.
Prioritizing these safety measures ensures your delicious homemade herb infused oil and vinegar are enjoyable and safe for everyone.
Labeling, Storing, and Gifting Your Garden’s Bounty
Once you have successfully crafted your gourmet herb-infused oils and vinegars, the next step is proper labeling, storage, and, if you choose, preparing them as beautiful DIY food gifts from your garden. These final touches ensure your products remain fresh, safe, and presentable.
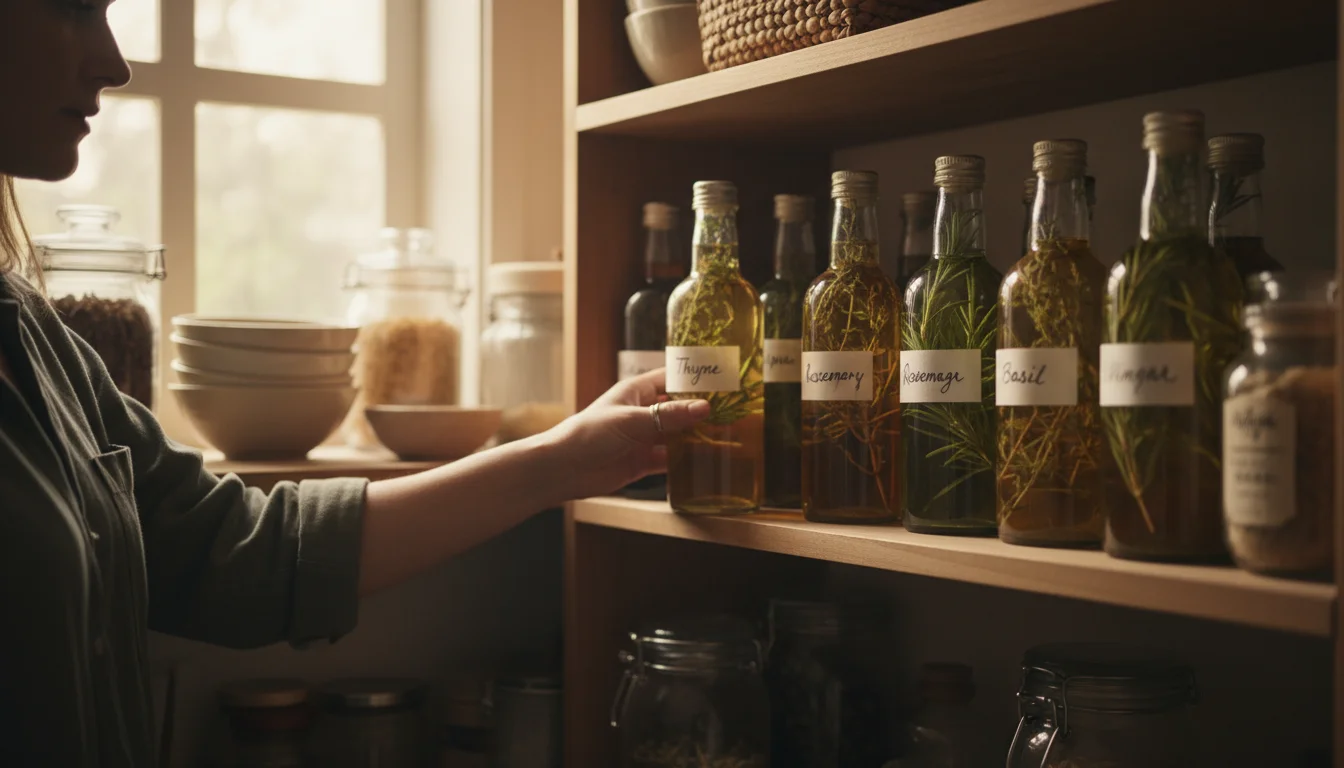
Labeling Your Creations:
This is not just for aesthetics, it is crucial for safety and knowing what you have. A clear label provides essential information.
- Contents: Clearly state the type of oil or vinegar and the herbs used (e.g., “Rosemary Infused Olive Oil,” “Basil Vinegar,” “Thyme Garlic Oil”).
- Date Made: Always include the date of bottling. This helps you track shelf life.
- Storage Instructions: For oils, explicitly state “Refrigerate After Opening” or “Refrigerate and Use Within 2 Weeks” if applicable, especially for cold infusions or those with garlic. For hot-infused and strained oils, “Store in a cool, dark place” is sufficient. Vinegars usually just need “Store in a cool, dark place.”
- “Use By” Date: Based on the guidelines above, you can add an estimated “use by” date.
Simple adhesive labels or even decorative tags tied with twine work perfectly. Consider using waterproof labels if you plan to refrigerate or keep them near water.

Storing for Optimal Freshness:
- Herb-Infused Oils:
- Cold-Infused (with fresh herbs): Must be refrigerated immediately and used within 1-2 weeks.
- Hot-Infused (strained, no solids): Store in a cool, dark pantry. The shelf life is typically 1-3 months. Any signs of cloudiness, off-odors, or mold mean immediate discard.
- Oils with Garlic or Chili: ALWAYS refrigerate, even if hot-infused and strained, and use within 1-2 weeks. For maximum safety, acidify garlic first.
- General Oil Rule: Keep away from direct sunlight and heat, which can cause the oil to go rancid quickly.
- Herb-Infused Vinegars:
- Store in a cool, dark pantry. Because of their high acidity, they are much more stable than oils and can last for several months to up to a year.
- While generally safe to leave herbs in vinegar, if you notice any cloudiness or mold, discard the product.
Proper storage is a crucial part of preserving fresh herbs effectively and safely.
Gifting Your Garden’s Bounty:
These homemade creations are ideal DIY food gifts from your garden. A little presentation goes a long way:
- Attractive Bottles: Invest in some nice, clean glass bottles with tight seals.
- Creative Labels: Hand-written or printed labels can add a personal touch. You can even include a small tag with serving suggestions.
- Ribbons and Tags: Tie a ribbon or twine around the bottle neck. Attach a decorative tag with the product name, date, and a brief note.
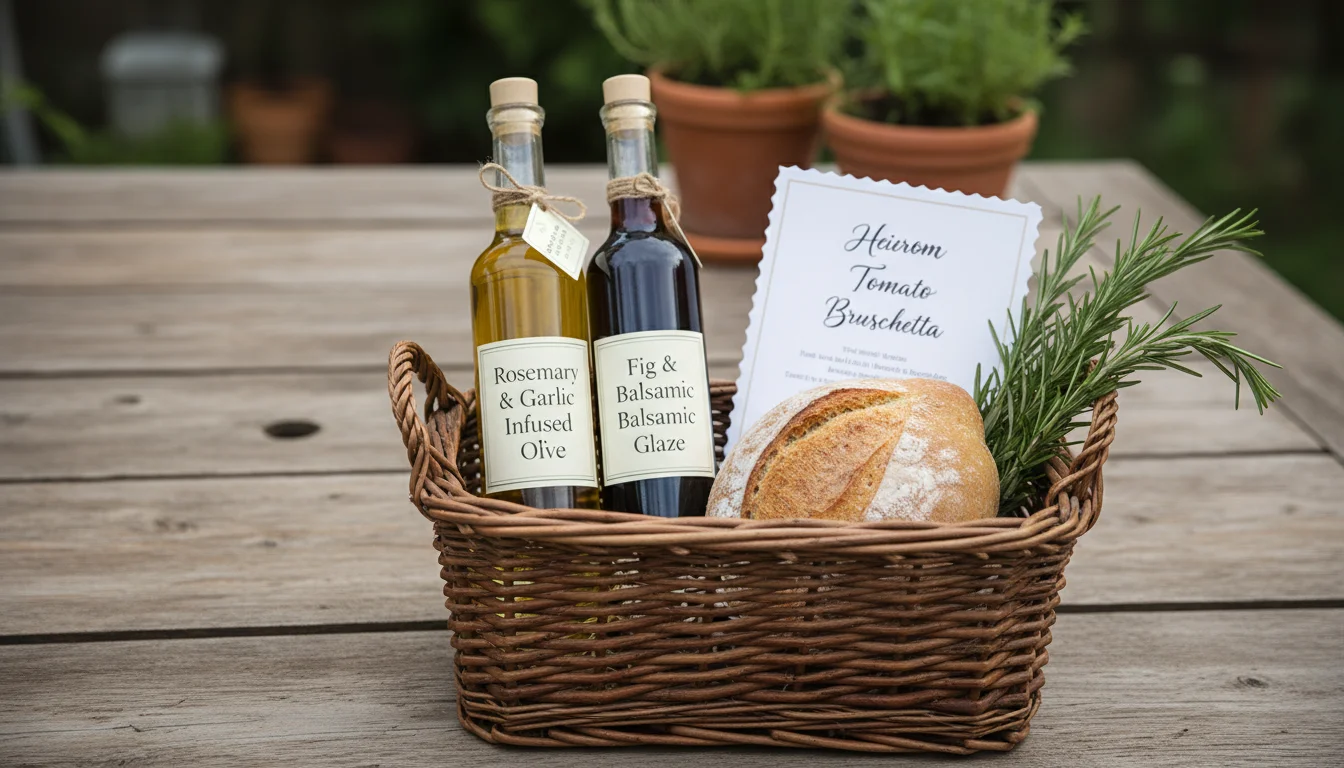
- Gift Baskets: Combine a bottle of infused oil with a bottle of infused vinegar, a fresh loaf of bread, and perhaps a small recipe card for a thoughtful gift basket.
- Recipe Cards: Include a small card suggesting how to use the specific infused oil or vinegar. For example, “Rosemary Olive Oil: Perfect for dipping bread, roasting vegetables, or marinating chicken.”
Your friends and family will cherish these unique, flavorful gifts, direct from your balcony garden harvest.
Unleashing Culinary Creativity with Your Infused Products
Now that you have your beautiful bottles of herb-infused oils and vinegars, it is time to put them to work! These gourmet additions unlock a world of culinary possibilities, making your everyday cooking feel extraordinary. You will quickly discover what to do with leftover herbs from garden transforms into what to do with gourmet ingredients from your pantry.
How to Use Your Herb-Infused Oils:
- Bread Dipping: The simplest pleasure! Pour a little herb infused oil into a shallow dish, perhaps with a sprinkle of sea salt and pepper, for an instant appetizer with crusty bread. Rosemary-infused olive oil is superb here.
- Roasting Vegetables: Toss potatoes, carrots, broccoli, or asparagus with herb-infused oil before roasting for incredible flavor depth. Thyme or oregano oil works wonders.
- Marinades: Use infused oils as the base for marinades for chicken, fish, pork, or tofu. The herbs’ flavor will penetrate the protein, adding a delicious boost.
- Salad Dressings: Combine with a good quality vinegar and a touch of mustard for a simple yet flavorful vinaigrette.
- Finishing Oil: Drizzle over cooked pasta, grilled meats, soups, or even scrambled eggs just before serving for an aromatic flourish. Basil oil is perfect for finishing a Margherita pizza or fresh mozzarella.
- Sautéing: Lightly sauté vegetables or cook eggs with a herb-infused oil for a subtle, aromatic flavor.
How to Use Your Herb-Infused Vinegars:
- Vinaigrettes: The most obvious use! Combine your herb vinegar with olive oil, salt, pepper, and a touch of Dijon mustard for homemade dressings. Tarragon vinegar makes an exceptional base for a classic French vinaigrette.
- Marinades: Vinegars add tenderizing acidity and flavor to marinades. A chive or mint vinegar can brighten up chicken or pork.
- Deglazing Pans: After sautéing vegetables or searing meat, a splash of herb vinegar can deglaze the pan, creating a flavorful sauce.
- Sauces and Glazes: Incorporate into reductions, pan sauces, or glazes for an added layer of complexity.
- Pickling: Use your infused vinegars to quick-pickle vegetables like cucumbers, onions, or carrots for a gourmet touch.
- Beverages: A small splash of mint or lemon verbena vinegar can add a surprising and refreshing twist to sparkling water or homemade lemonade.
Your balcony garden harvest has transformed into a culinary toolkit, ready to inspire countless delicious meals. Enjoy the journey of exploration and flavor!
Frequently Asked Questions
Can I use dried herbs for infusions?
Yes, you can use dried herbs for both oil and vinegar infusions, and it is generally safer for oils as dried herbs contain virtually no moisture, significantly reducing the botulism risk. However, the flavor profile will be different, often more concentrated and less fresh than infusions made with fresh herbs. Use about half the amount of dried herbs compared to fresh. For preserving fresh herbs, however, the goal is often to capture that vibrant, fresh flavor.
How long do homemade infused oils and vinegars last?
Properly made herb infused oil, hot-infused and thoroughly strained of all solids, can last 1-3 months in a cool, dark pantry. Cold-infused oils with fresh herbs must be refrigerated and used within 1-2 weeks. Oils containing garlic or chilies, even hot-infused and strained, require refrigeration and should be used within 1-2 weeks, ideally after acidifying the garlic. Herb-infused vinegars, due to their high acidity, are much more stable and can last for several months to a year in a cool, dark pantry, especially if the solids are strained out. Always watch for any signs of spoilage, like cloudiness, off-odors, or mold, and discard if present.
What are some common mistakes to avoid when making infused oils?
The most critical mistake is not ensuring herbs are completely dry before infusing them in oil, which creates a serious botulism risk. Another common error is leaving solid herb matter in oil at room temperature for extended periods. Not properly sanitizing bottles and equipment can also lead to spoilage. Forgetting to label your creations with content and date also causes issues with safe storage and use by dates. Always prioritize safety over convenience.
Can I mix different herbs in one infusion?
Absolutely! Mixing herbs allows you to create complex and unique flavor profiles. For oils, popular combinations include rosemary and garlic, or oregano and thyme. For vinegars, consider blends like mint and lemon balm, or tarragon and chives. When combining, think about complementary flavors. For example, a Mediterranean blend might feature rosemary, thyme, and oregano, while an Italian blend could use basil, oregano, and marjoram. Remember that for oils, any added low-acid ingredients like garlic still require strict safety protocols.
Are there any herbs I should avoid using for infusions?
While most culinary herbs are suitable, be cautious with very delicate herbs like cilantro or dill in hot oil infusions, as their flavor can diminish quickly with heat. For oils, the biggest concern is not the herb itself, but ensuring absolute dryness and proper storage to prevent botulism. Always choose healthy, clean herbs from your balcony garden harvest.
For trustworthy gardening information, visit: National Wildlife Federation — Garden for Wildlife, Lady Bird Johnson Wildflower Center and Botanic Gardens Conservation International. These organizations provide expert, research-based advice for gardeners at all levels.
Disclaimer: This article is for informational purposes only and is not a substitute for professional gardening advice. Always consult local extension services or horticulture experts for region-specific guidance.

Leave a Reply