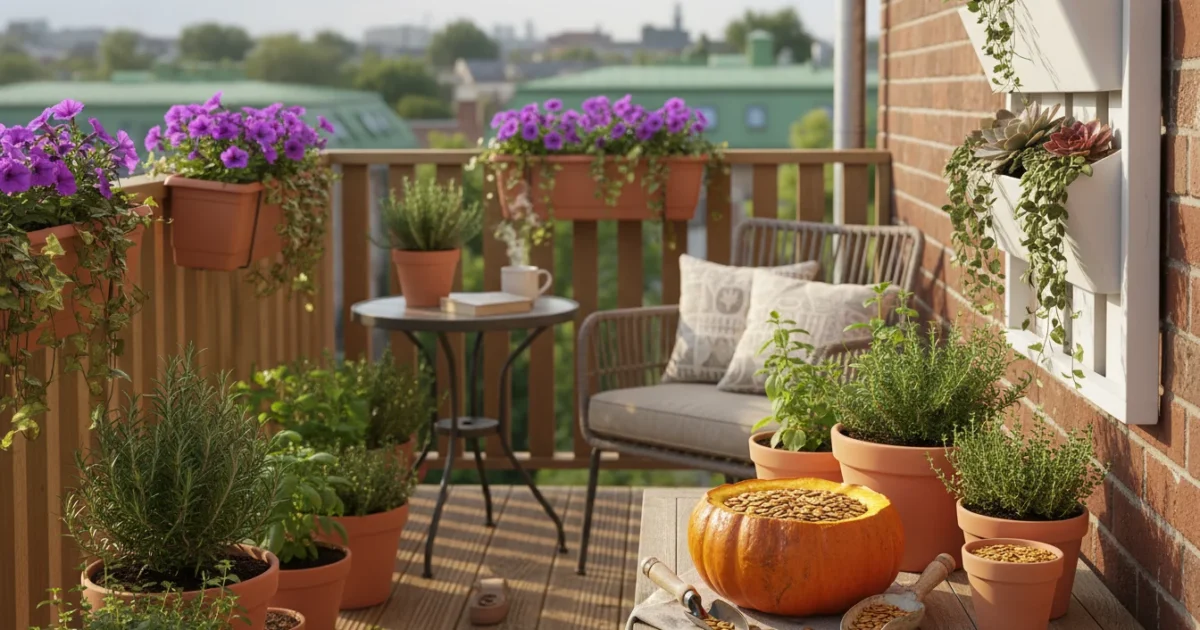
Fall arrives with crisp air, colorful leaves, and the irresistible charm of pumpkins. For many of us, pumpkins mean carving festive jack-o’-lanterns or decorating our homes. But imagine taking that autumn tradition a step further. What if those decorative pumpkins, grown right on your patio or balcony, could also yield a delicious, healthy snack? You absolutely can transform your homegrown mini pumpkins into a treat. This guide shows you how to harvest and roast perfect pumpkin seeds, turning a simple fall activity into a satisfying culinary reward. Embrace the full cycle of your container gardening harvest, from planting small space pumpkin growing to savoring tasty fall recipes.
Why Grow Pumpkins on Your Patio?
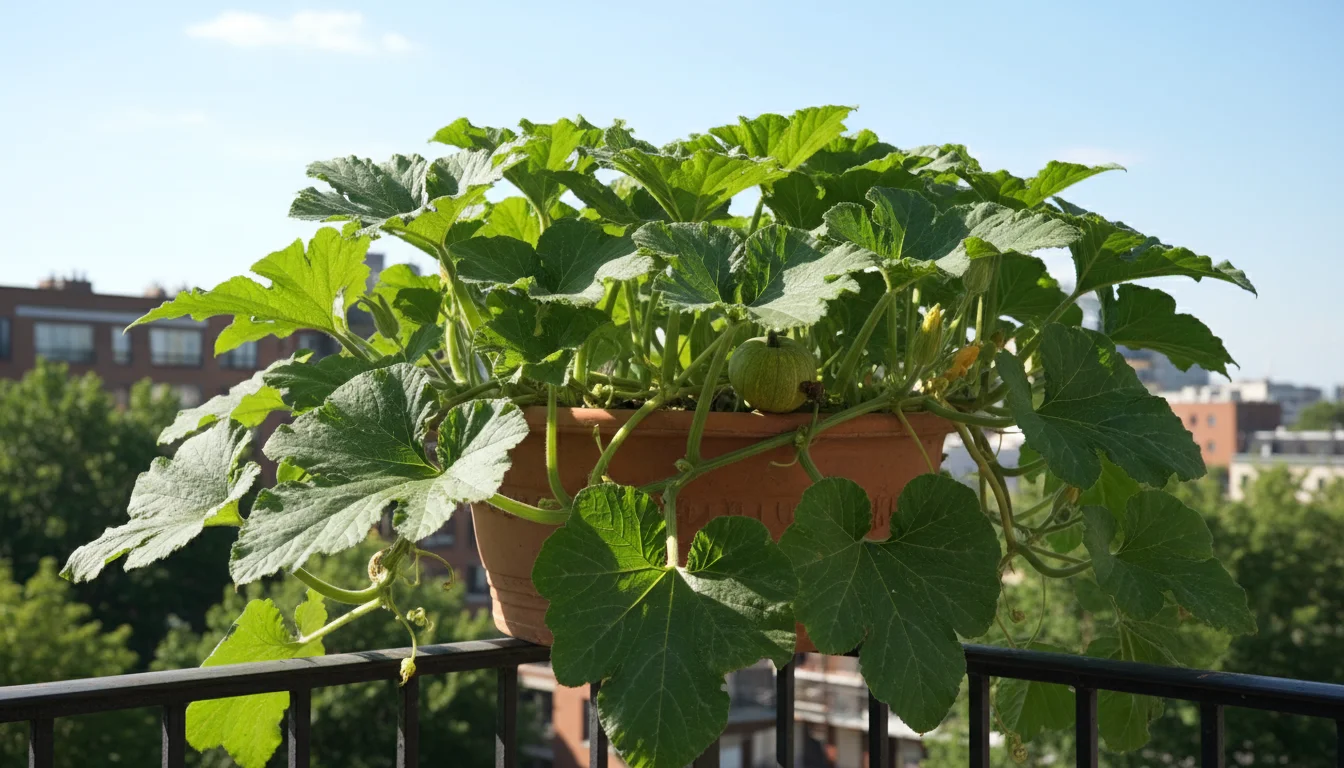
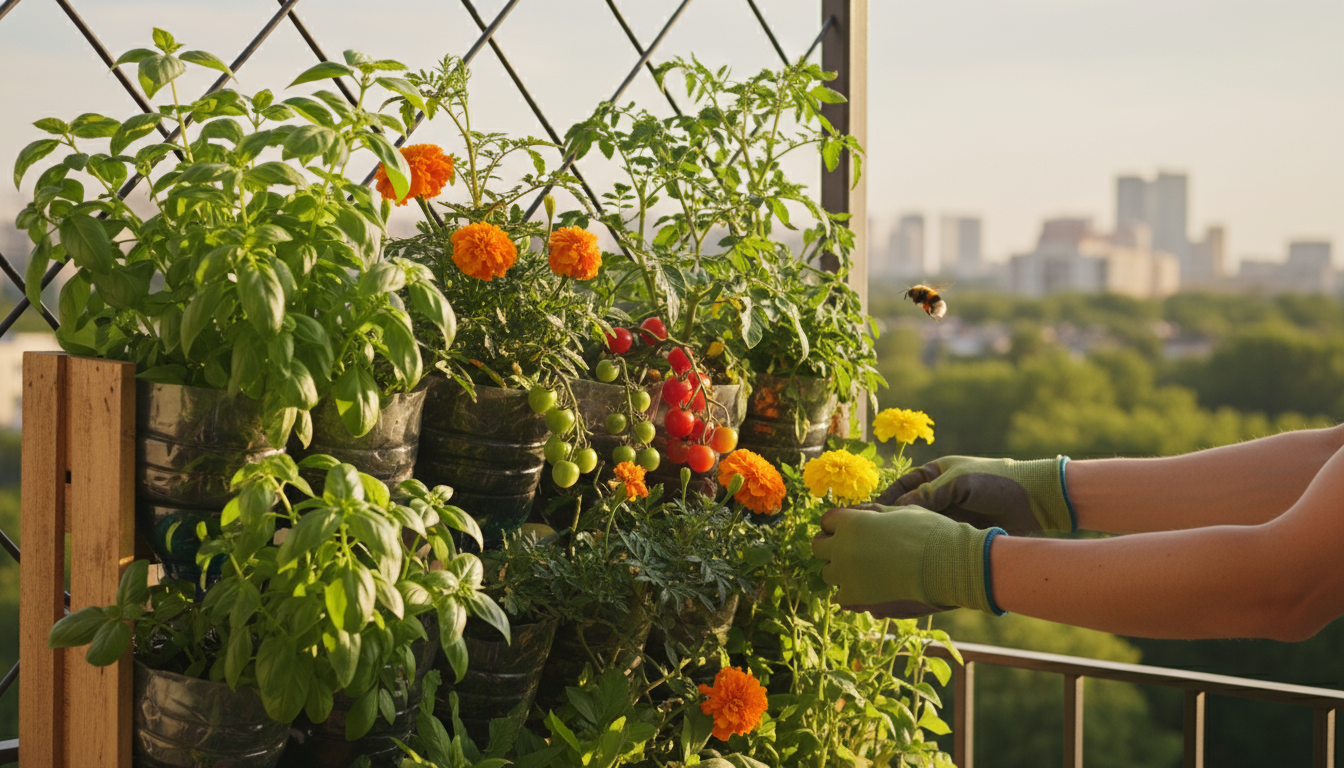
You might think pumpkins require sprawling fields, but many compact varieties thrive in containers. Growing patio pumpkin plants offers several advantages, particularly for small-space gardeners. First, it connects you more deeply with your food source. You witness the entire growth process, from a tiny seed to a mature fruit. This firsthand experience builds gardening confidence and provides a sense of accomplishment. Second, fresh is best. Seeds from a store-bought pumpkin are fine, but seeds from a pumpkin you nurtured offer a unique connection to your garden. This direct involvement makes the resulting snack even more special. Finally, growing pumpkins provides a beautiful, seasonal decorative element for your outdoor space, transforming a functional plant into an aesthetic feature.
Growing pumpkins is a highlight of the season, but they are just one of many crops for fall harvest in containers that you can enjoy.
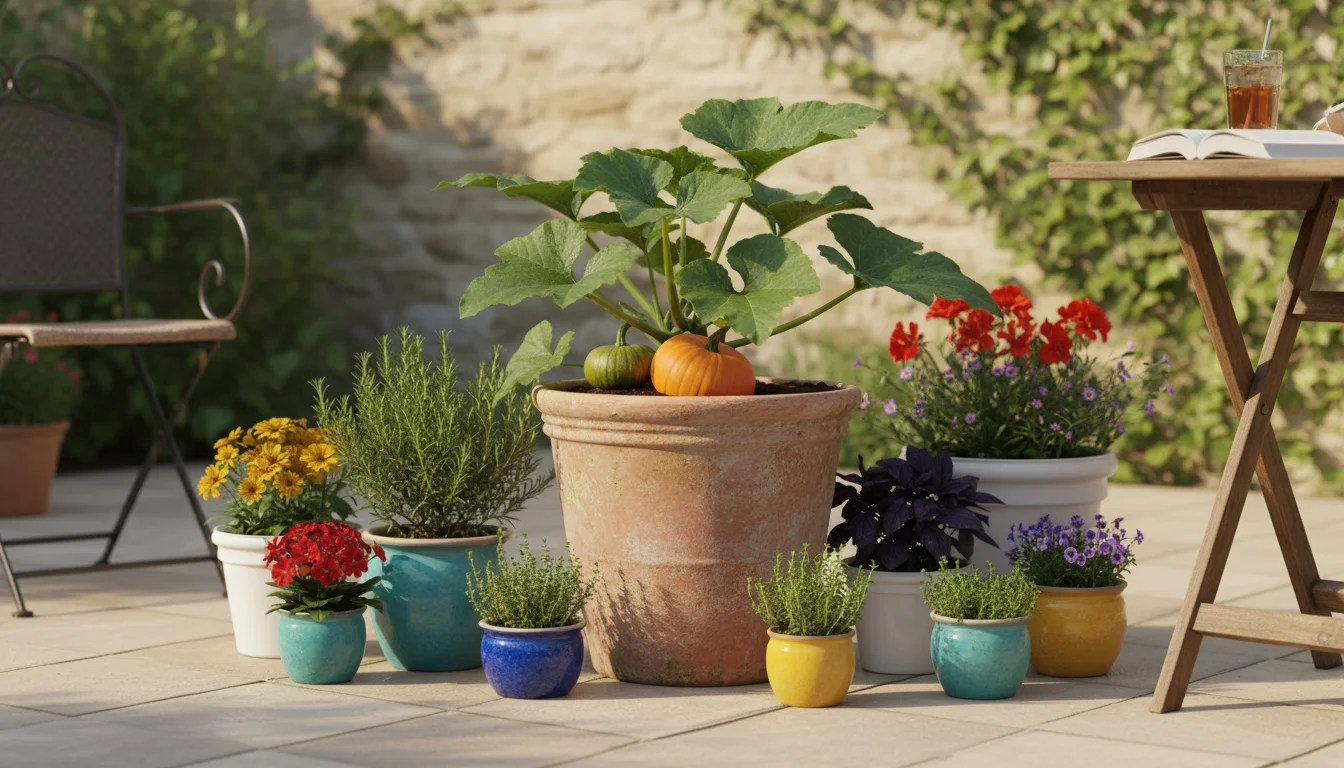
Growing pumpkins in containers also allows for precise control over growing conditions. You manage the soil quality, water levels, and sun exposure, leading to healthier plants. This level of control often makes container gardening more predictable, which is a great boon for beginners. You move your containers to optimize light, protect from sudden weather changes, or simply rearrange your patio garden design. This adaptability distinguishes container gardening from in-ground planting, especially in urban environments. The satisfaction of harvesting your own small space pumpkin growing efforts truly elevates the experience.
Choosing the Best Pumpkins for Small Spaces
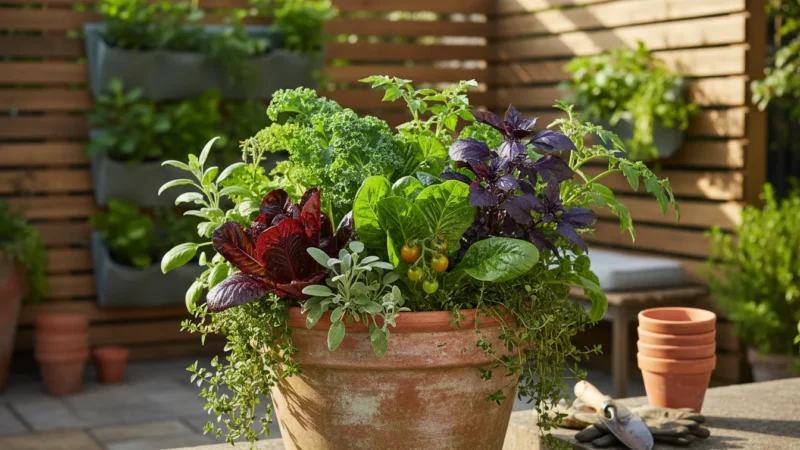
The key to successful small-space pumpkin growing lies in selecting the right varieties. Forget the giant carving pumpkins; you need compact, bush-type or semi-bush varieties. These plants occupy less horizontal space, making them ideal for container gardening harvest. Look for terms like “mini,” “pie,” “sugar pie,” or “bush” when selecting seeds or starts. Here are some excellent choices:
If you enjoy growing underground crops as well, learn how to harvest and store sweet potatoes from your patio containers.
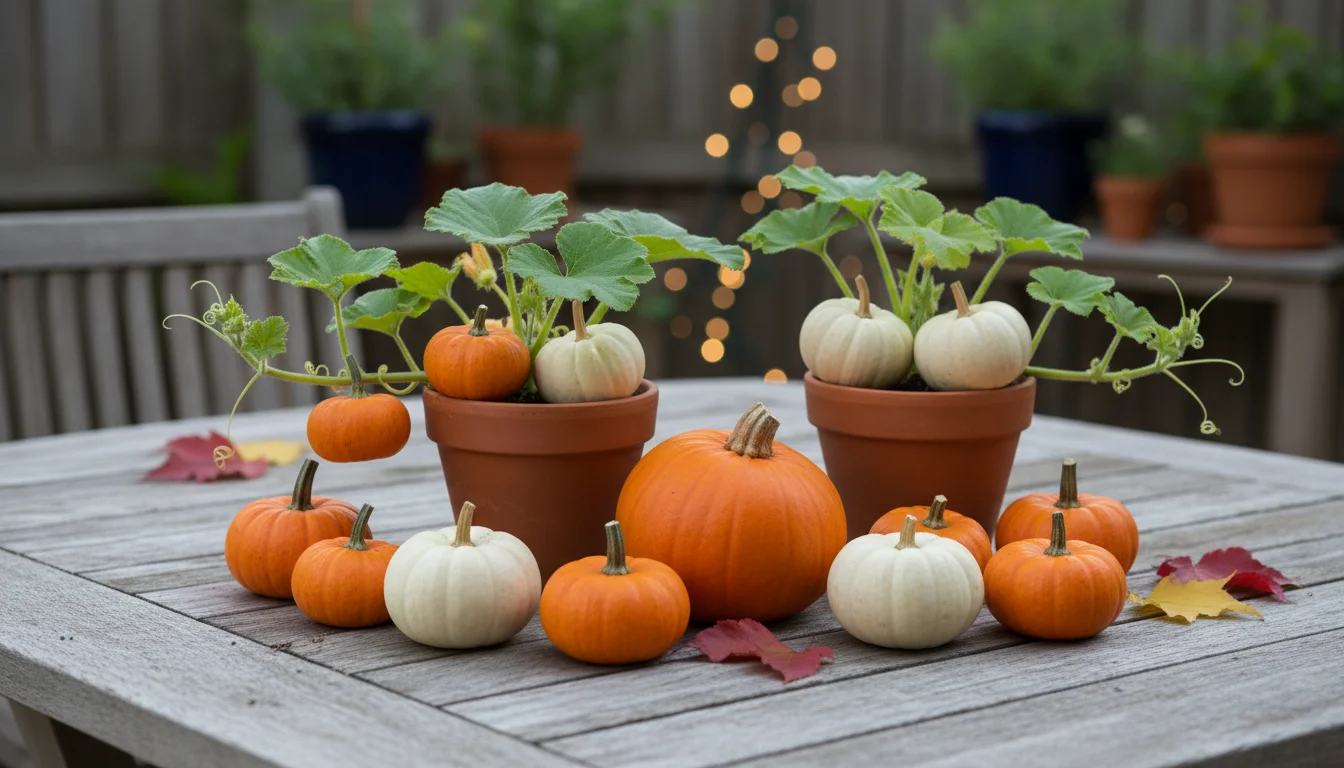
- ‘Jack Be Little’: These adorable mini pumpkins are perfect for decoration and provide plenty of tasty seeds. They are prolific and grow well in large containers.
- ‘Baby Boo’: Similar to ‘Jack Be Little’ but white, ‘Baby Boo’ offers a unique aesthetic. Their seeds roast beautifully, offering a different look to your snack bowl.
- ‘Sugar Pie’ or ‘Small Sugar’: These are classic pie pumpkins, producing fruits in the 2-5 pound range. They are culinary powerhouses, giving you delicious flesh for baking and abundant seeds for roasting.
- ‘Bushkin’: As the name suggests, this variety has a bush growth habit, reducing vine sprawl. It produces medium-sized pumpkins, perfect for a decorative display and a good seed yield.
- ‘Spirit’: A semi-bush variety that yields 8-15 pound pumpkins, which is larger than some minis but still manageable in a very large container or raised bed. It offers a generous amount of seeds.
When you choose a pumpkin variety, consider its mature size and how much space you have. Even “mini” pumpkins require significant container volume to thrive, typically 15-20 gallons or larger. This ample space allows the roots to spread, supporting fruit development. Researching the specific growth habits of your chosen variety ensures a successful small space pumpkin growing experience. Your careful selection at the start directly impacts your container gardening harvest later on.
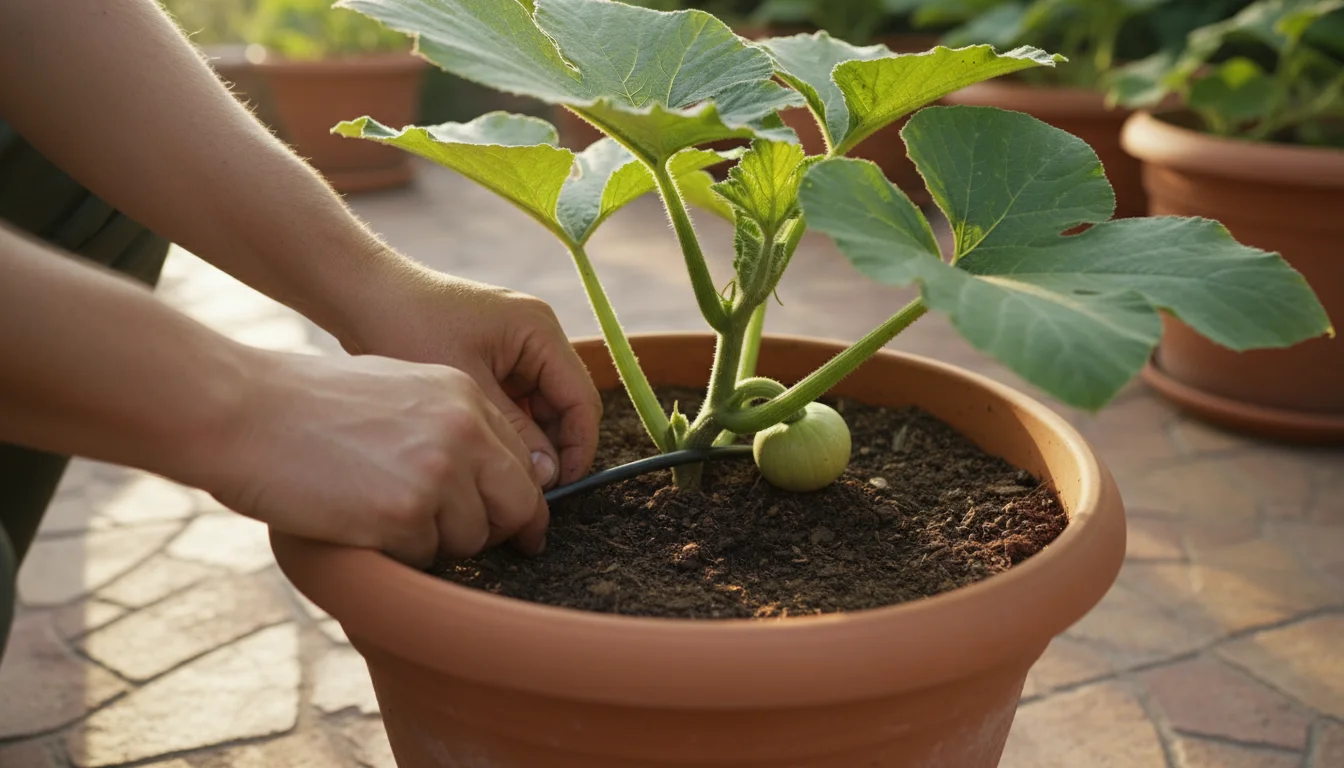
Growing and Caring for Your Patio Pumpkins
Growing pumpkins in containers requires specific attention to soil, water, and nutrients. These large, hungry plants demand optimal conditions to produce fruit.
While pumpkins need large pots, you can fill smaller gaps on your patio with fall radishes grown in window boxes.

Container Selection
Choose the largest container you can accommodate. A 15-20 gallon pot is a minimum for mini pumpkins, while larger varieties may need 25-30 gallons. Fabric grow bags work exceptionally well for pumpkins. They provide excellent drainage, prevent root circling, and keep the soil cooler in hot weather. Ensure your chosen container has ample drainage holes; good drainage prevents waterlogging and root rot, crucial for healthy plant growth.
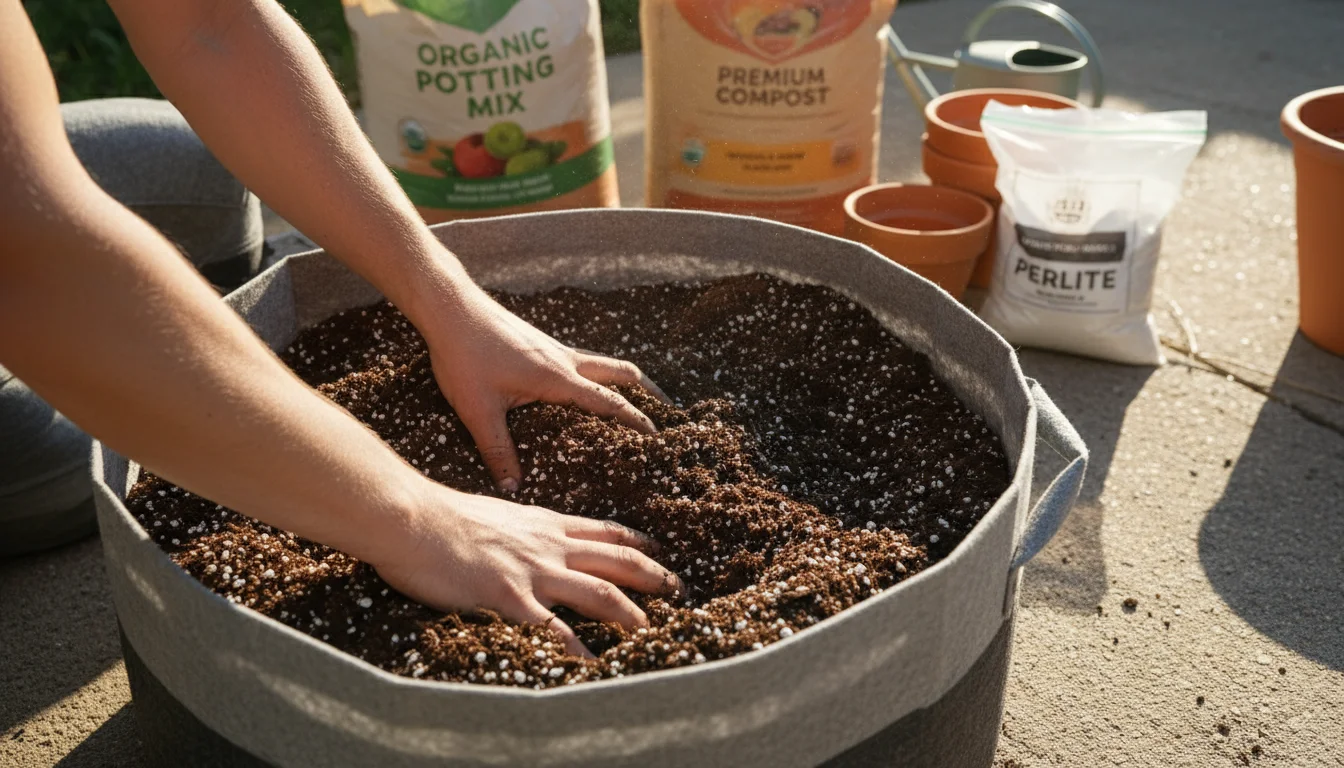
Soil Mix
Pumpkins are heavy feeders, requiring nutrient-rich, well-draining soil. Do not use garden soil directly, as it compacts in containers, hindering root growth and drainage. Instead, use a high-quality potting mix. Amend it with compost to boost fertility and improve water retention. A good mix includes perlite or vermiculite to ensure adequate drainage, meaning water moves through the soil effectively without sitting and suffocating roots. Aim for a slightly acidic to neutral pH, around 6.0-7.0.
Sunlight
Pumpkins are sun worshipers. They need at least 6-8 hours of direct sunlight per day to grow vigorously and produce fruit. Position your containers in the sunniest spot on your patio or balcony. If you notice your plants stretching or producing few flowers, they likely need more light.
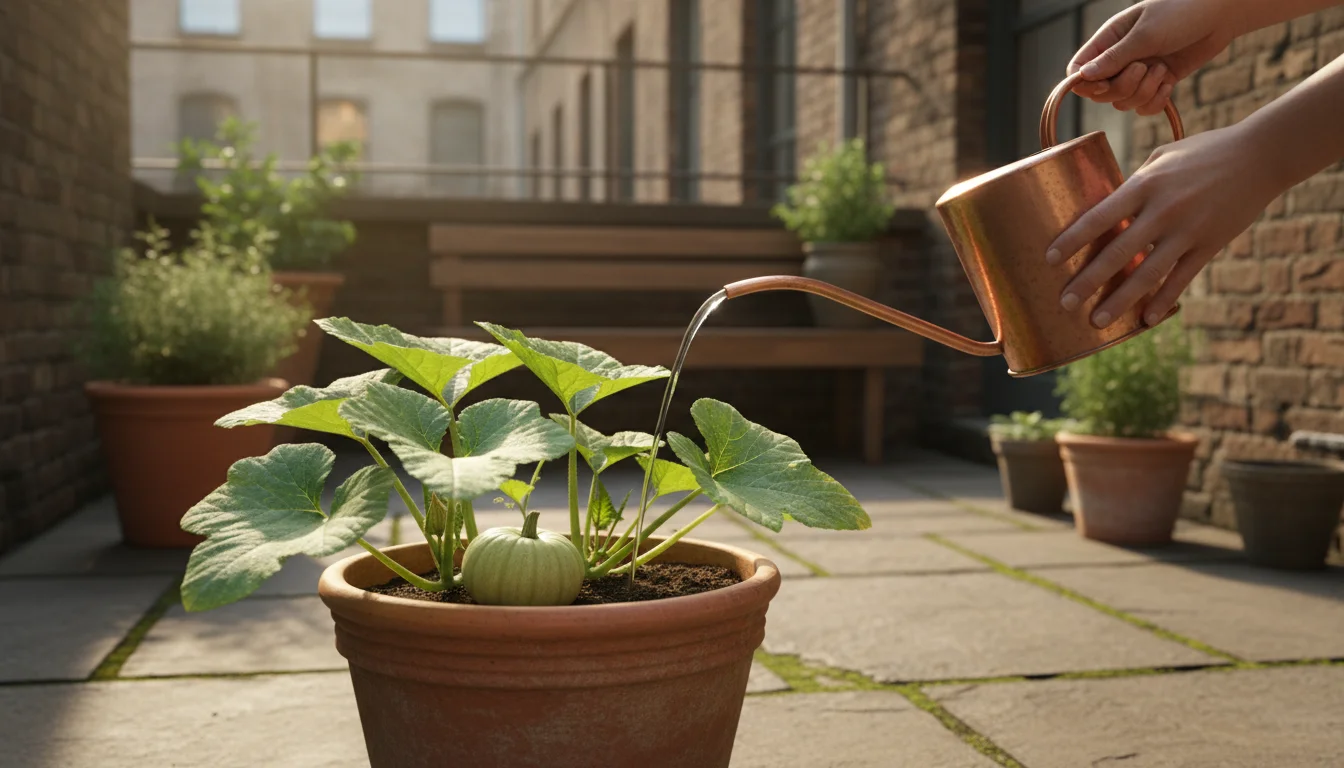
Watering
Consistent watering is vital for container-grown pumpkins. Containers dry out much faster than garden beds. Check the soil moisture daily, especially during hot, dry periods. Water deeply until you see water draining from the bottom of the pot. Avoid overhead watering if possible, as wet foliage encourages fungal diseases. Water at the base of the plant to keep leaves dry. Irregular watering causes fruit abortion or misshapen pumpkins, so maintain a regular schedule.
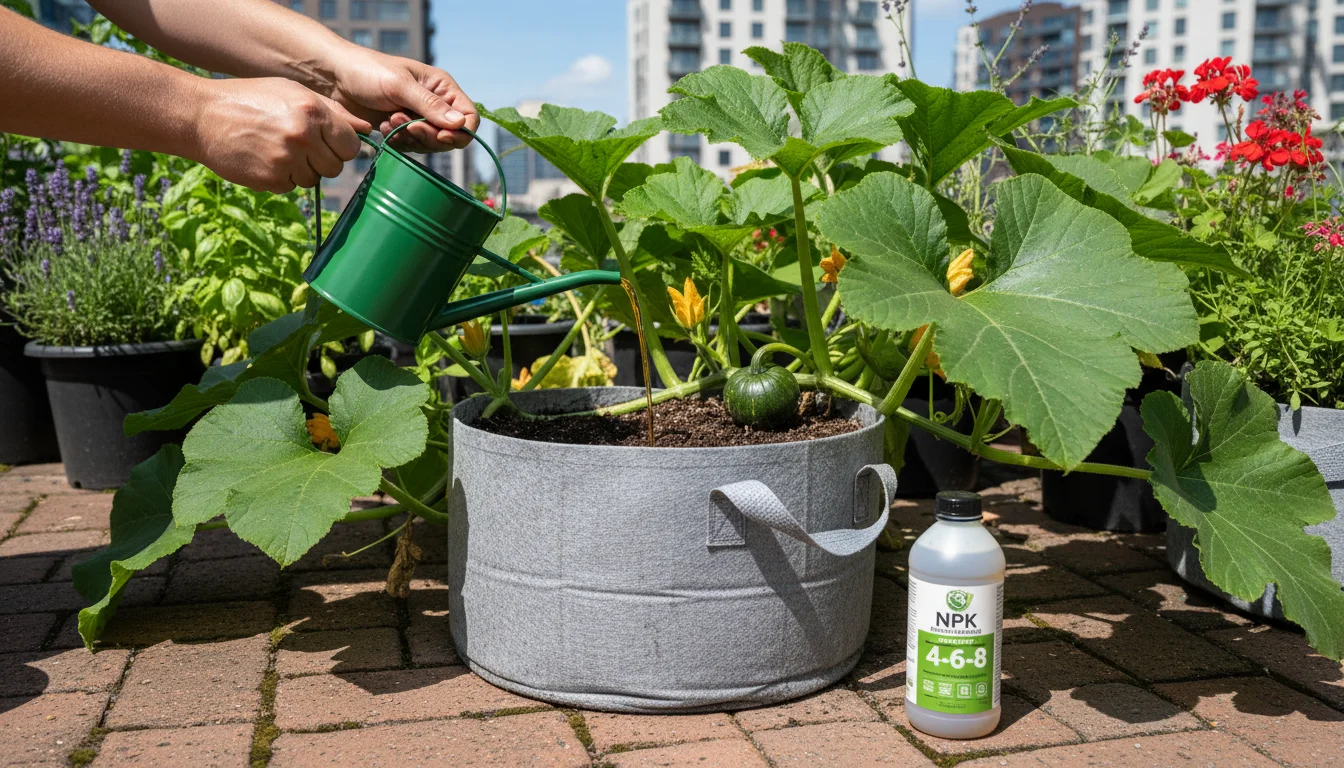
Fertilization
Given their heavy feeding nature, pumpkins require regular fertilization. Start with a balanced liquid fertilizer (like a 5-5-5 or 10-10-10) every two weeks once the plant establishes itself. Once flowering begins, switch to a fertilizer higher in phosphorus and potassium (the middle and last numbers in the N-P-K ratio), such as a 5-10-10 or 2-10-10, to promote fruit development. Follow the product instructions for dilution and application rates. Over-fertilizing can burn roots or encourage leafy growth at the expense of fruit.
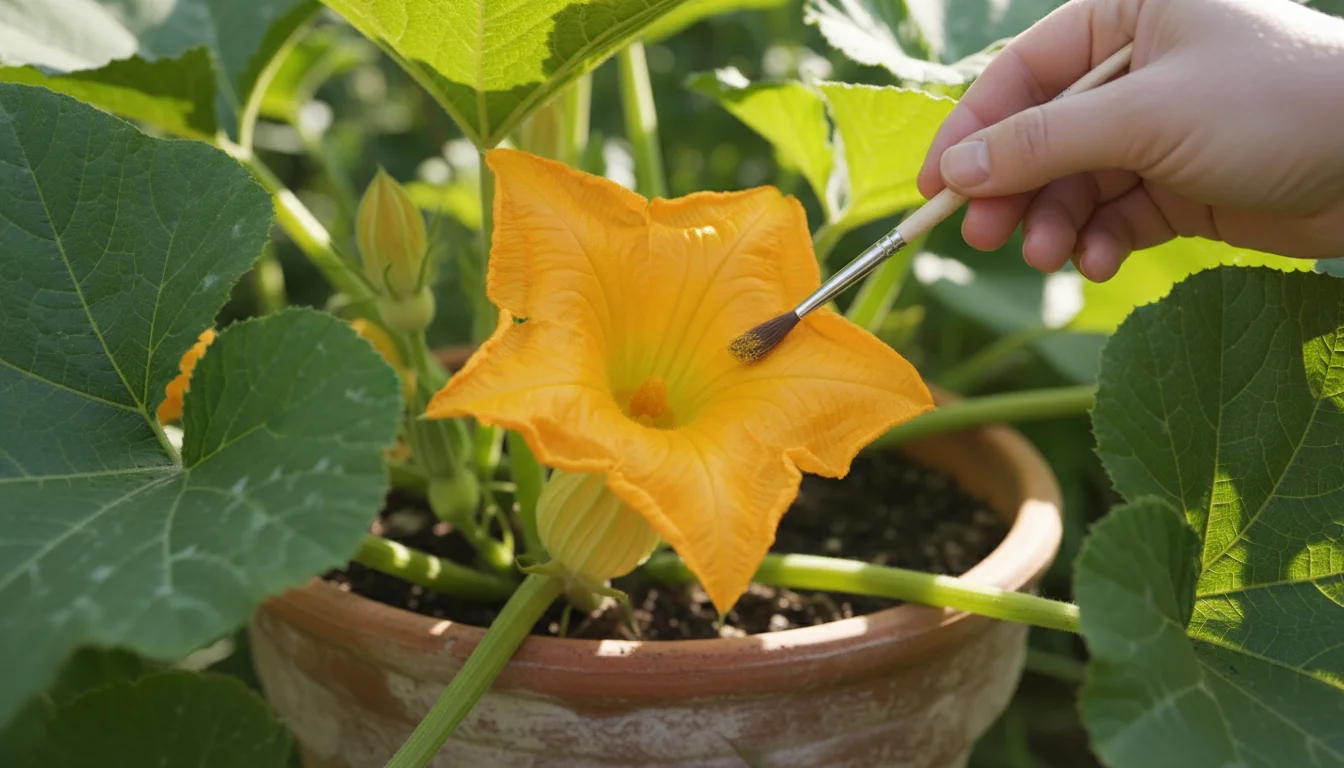
Pollination and Pest Management
Most pumpkin varieties require insect pollination. If you notice flowers but no fruit, you may need to hand-pollinate. Use a small paintbrush or cotton swab to transfer pollen from male flowers (straight stem, no bulge at the base) to female flowers (small bulge at the base of the flower). Pests like squash bugs and powdery mildew can affect pumpkins. Inspect your plants regularly. Handpick squash bugs, or use insecticidal soap for aphids. For powdery mildew, improve air circulation, water at the base, and use an organic fungicide if necessary. Healthy plants resist pests and diseases more effectively.
Harvesting Your Patio Pumpkins for Seeds
Knowing when to harvest your container-grown pumpkins ensures maximum seed viability and flavor. Harvest time usually occurs in late summer or early fall, typically 90-120 days after planting, depending on the variety. Look for these signs that your patio pumpkin is ready for its container gardening harvest:
This method of using every part of the plant fits perfectly with a no-waste approach to fall veggie parts like stems and leaves.
After extracting the seeds, you can even turn your Halloween jack-o’-lantern into a mini-compost pile to nourish your next batch of container plants.
- Color: The pumpkin reaches its full, rich color, whether it is deep orange, white, or variegated, according to its variety. Any green spots should have disappeared.
- Rind Hardness: The skin becomes hard and firm. You should not be able to easily puncture it with your fingernail.
- Stem: The stem connecting the pumpkin to the vine dries and turns brown.
- Tap Test: Tap the pumpkin gently. A hollow sound indicates ripeness.
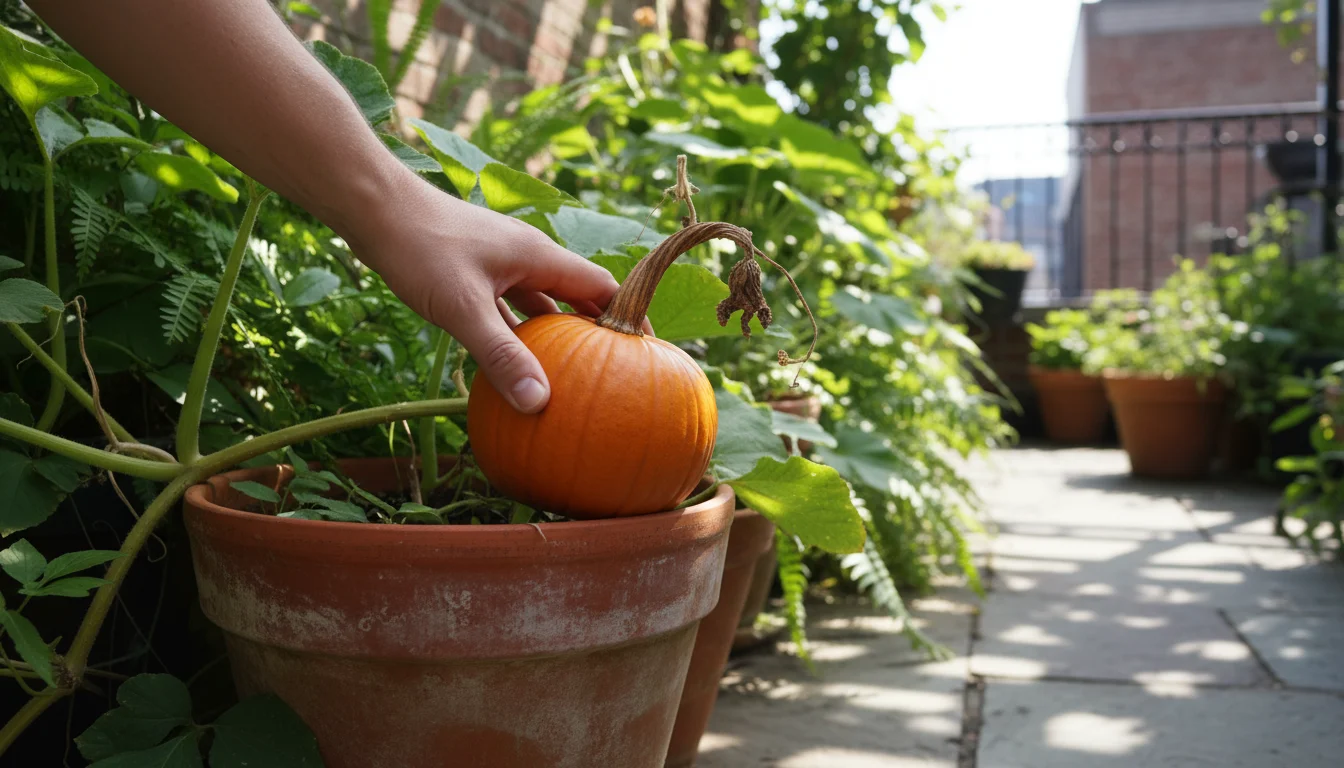
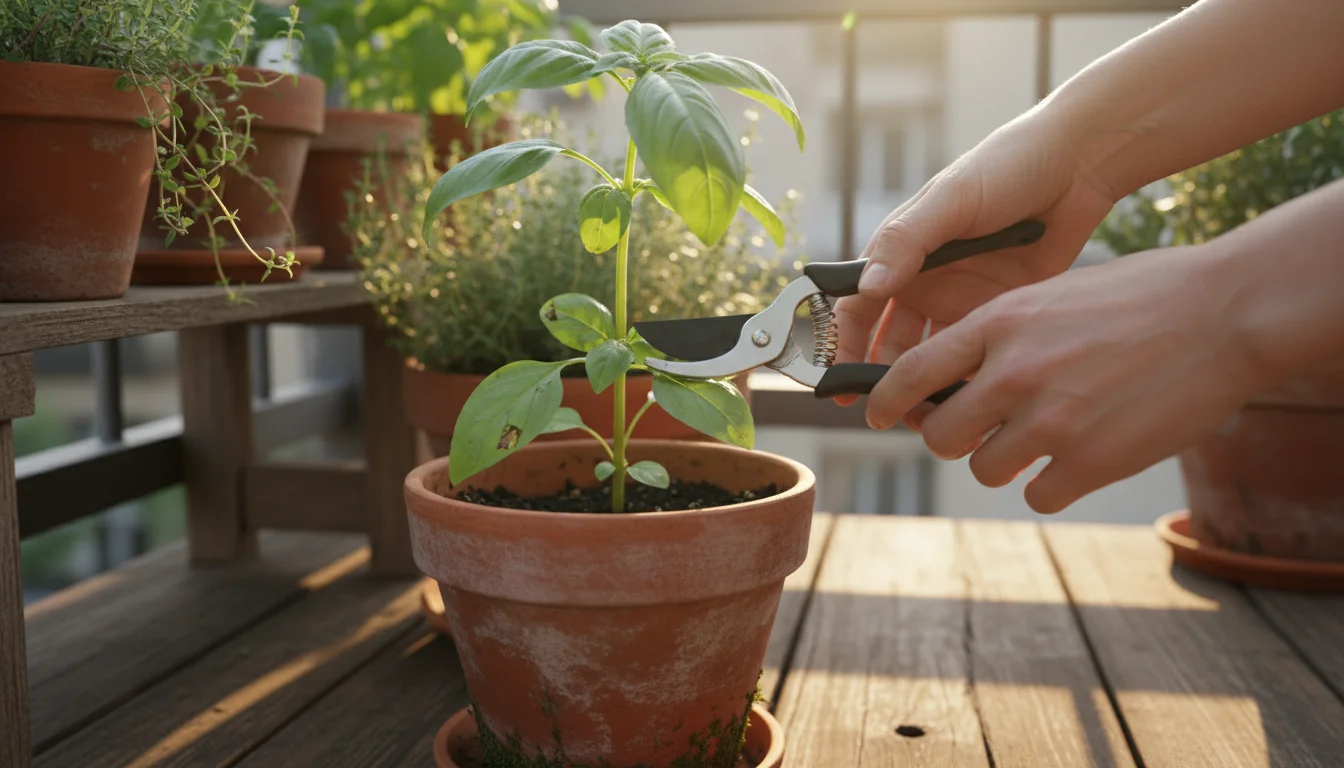
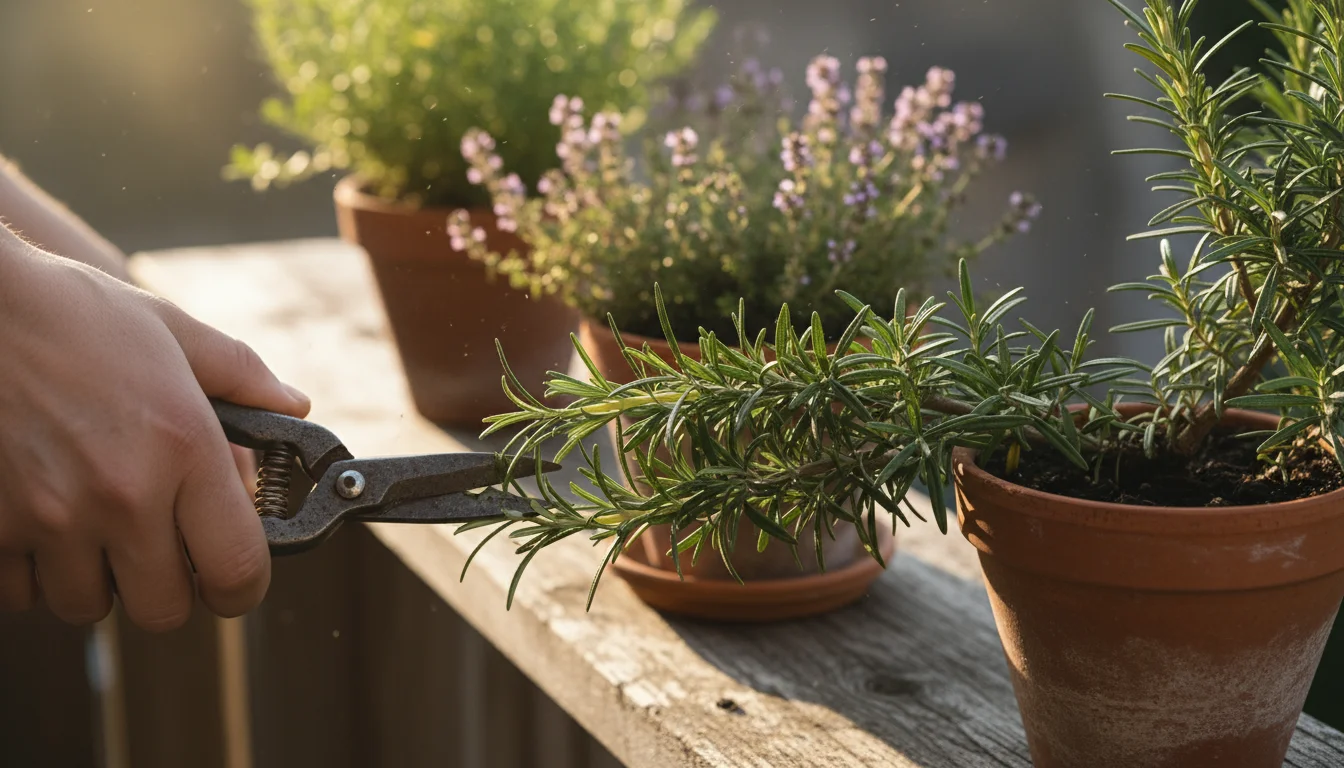
Use a sharp, clean knife or pruning shears to cut the pumpkin from the vine. Leave 3-4 inches of stem attached to the pumpkin. This stem acts as a natural seal, preventing rot and extending the pumpkin’s shelf life, particularly if you plan to display it before processing. Do not carry the pumpkin by its stem, as it can break off, damaging the fruit and potentially causing premature spoilage. Handle your harvest with care, bringing it indoors for curing or immediate processing. This careful handling ensures your small space pumpkin growing efforts result in a usable crop.
Allowing pumpkins to “cure” for about 1-2 weeks in a warm, dry spot (70-80°F, 80% humidity) toughens the skin and enhances flavor. Curing also helps the seeds mature fully, potentially improving their germination rate if you plan to save them for planting next season. For roasting, you can often process them immediately after harvest, though a few days of curing will not hurt.
Step-by-Step: Extracting and Cleaning Pumpkin Seeds
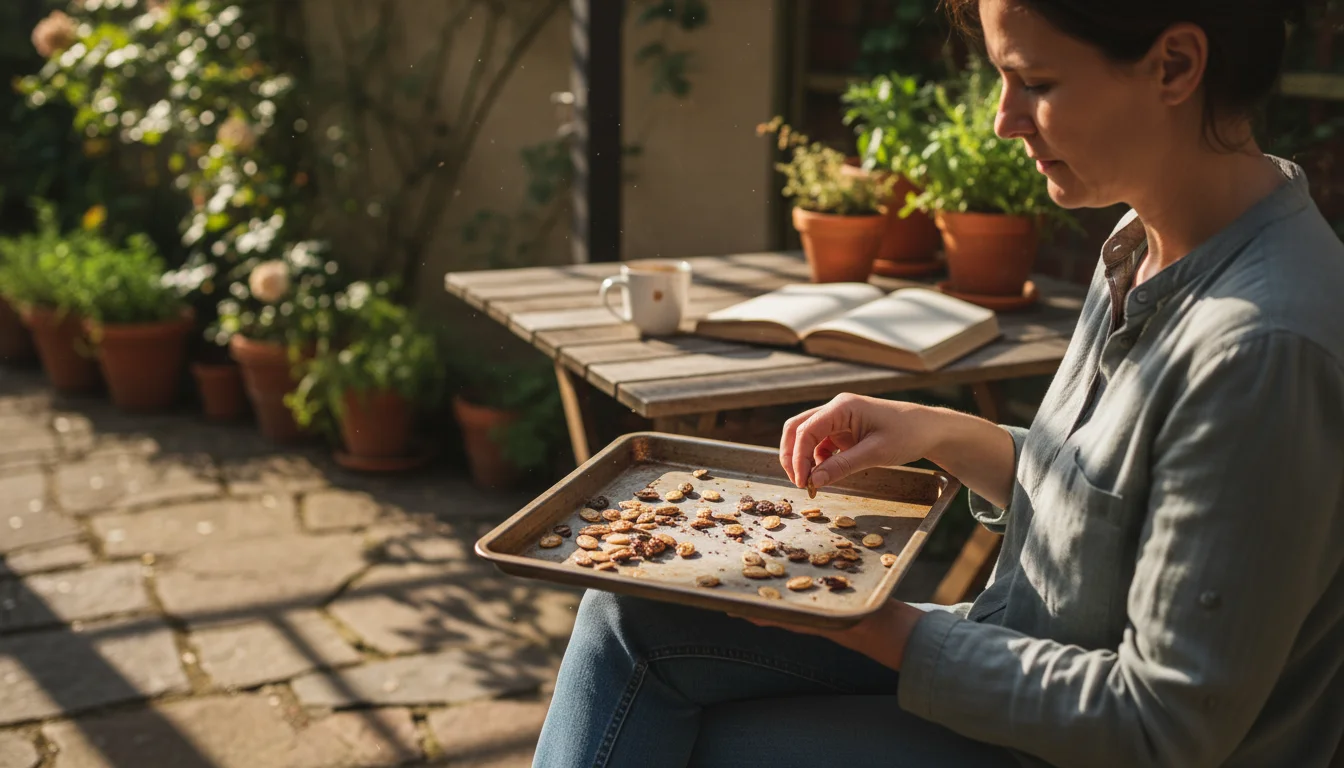
You have nurtured your patio pumpkin from a tiny seed to a full-grown fruit. Now comes the exciting part: revealing the bounty within. Extracting and cleaning pumpkin seeds is a simple process, a little messy but entirely rewarding. Follow these steps for the best results:
Beyond roasting seeds, there are several ways to preserve your balcony harvest, such as making infused oils or herb salts.
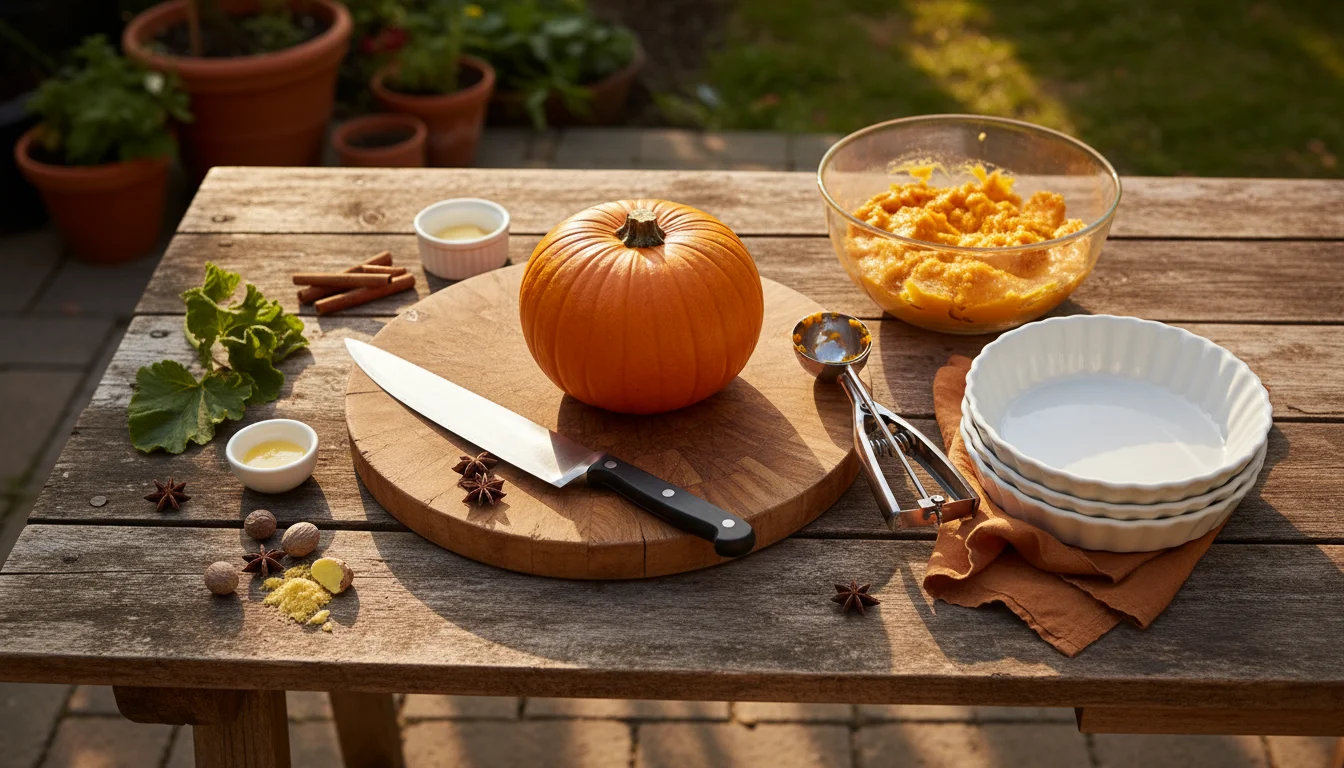

Materials You Will Need:
- Your harvested pumpkin
- A sturdy cutting board
- A large, sharp knife
- A large spoon or ice cream scoop
- A large bowl filled with water
- A colander
- Clean kitchen towels or paper towels
Extraction Process:
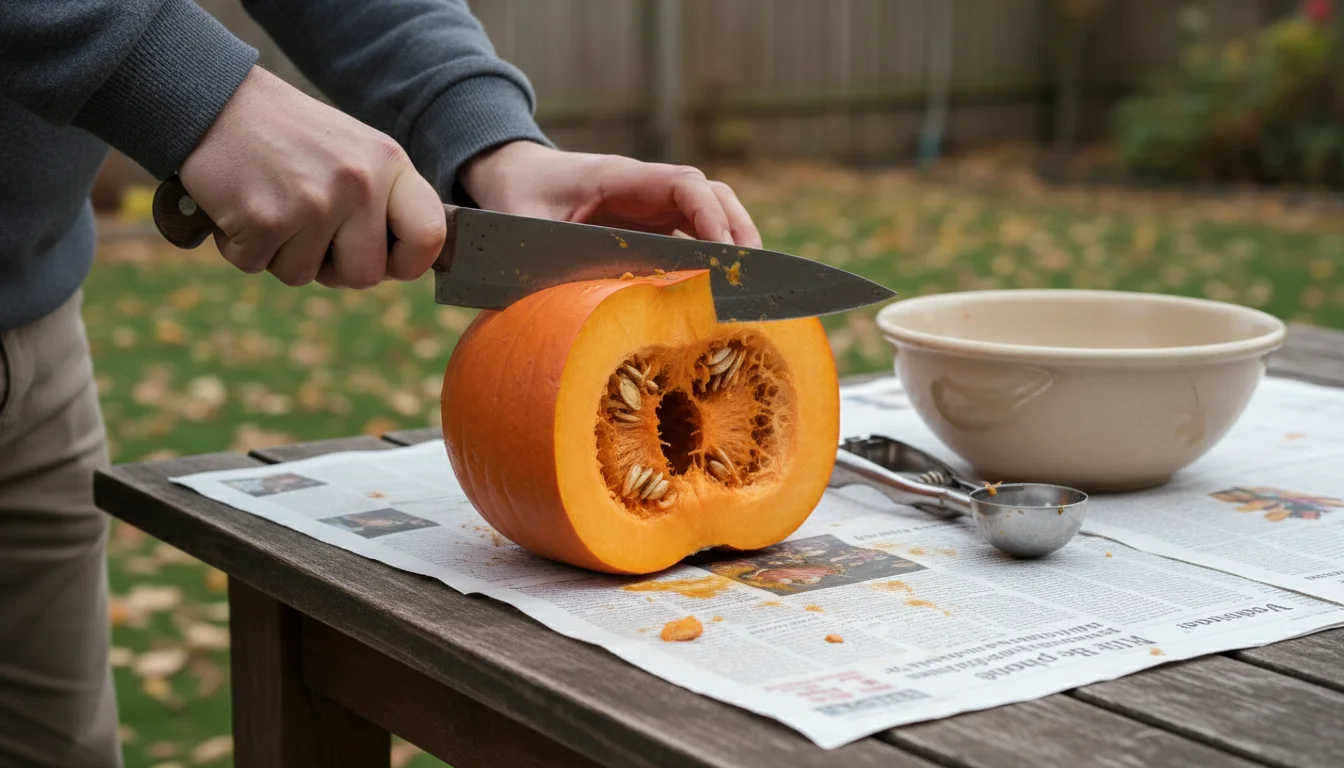
- Prepare Your Workspace: Lay down newspaper or old towels on your counter or table. This helps contain the mess.
- Cut the Pumpkin: Carefully place the pumpkin on your cutting board. Use your large knife to cut it in half. For smaller pumpkins, a single cut through the middle works well. For larger ones, you might need to cut off the top first, then cut it in half. Be careful, as pumpkins can be surprisingly tough to cut.
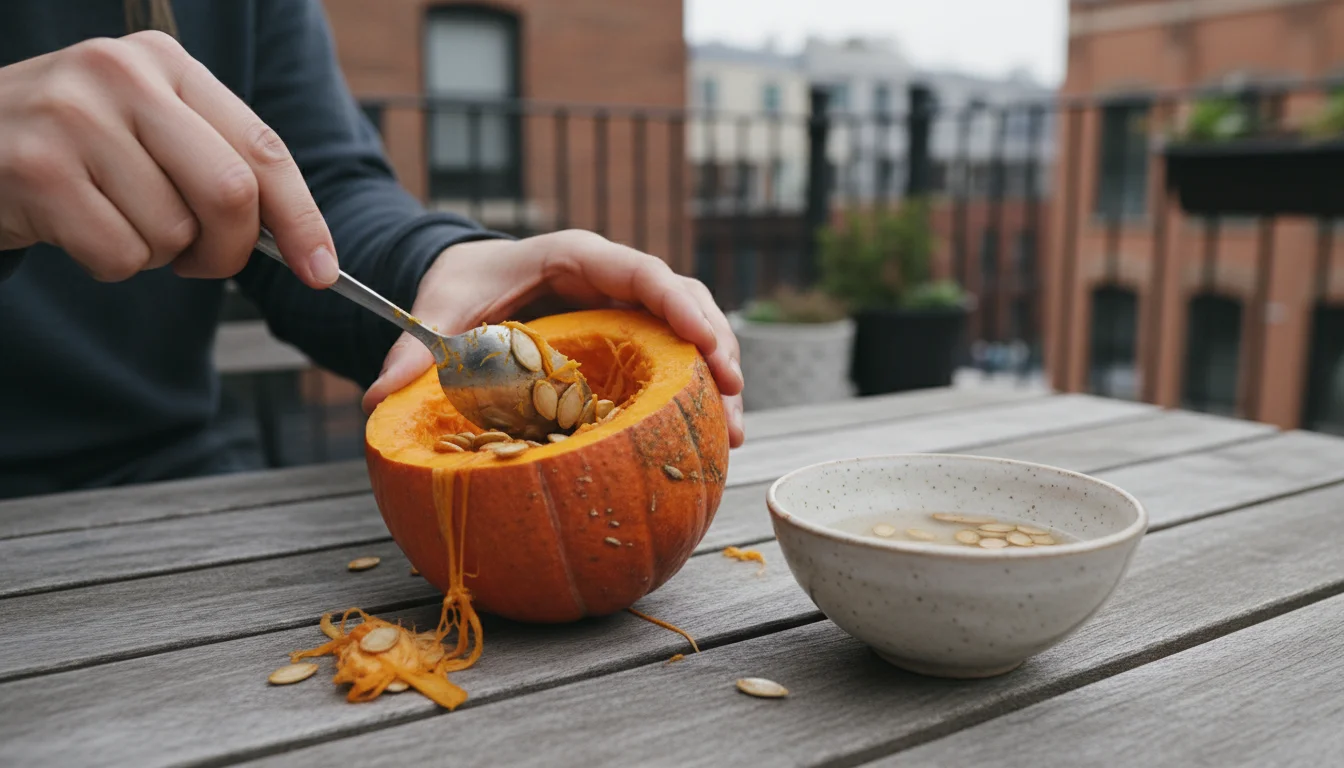
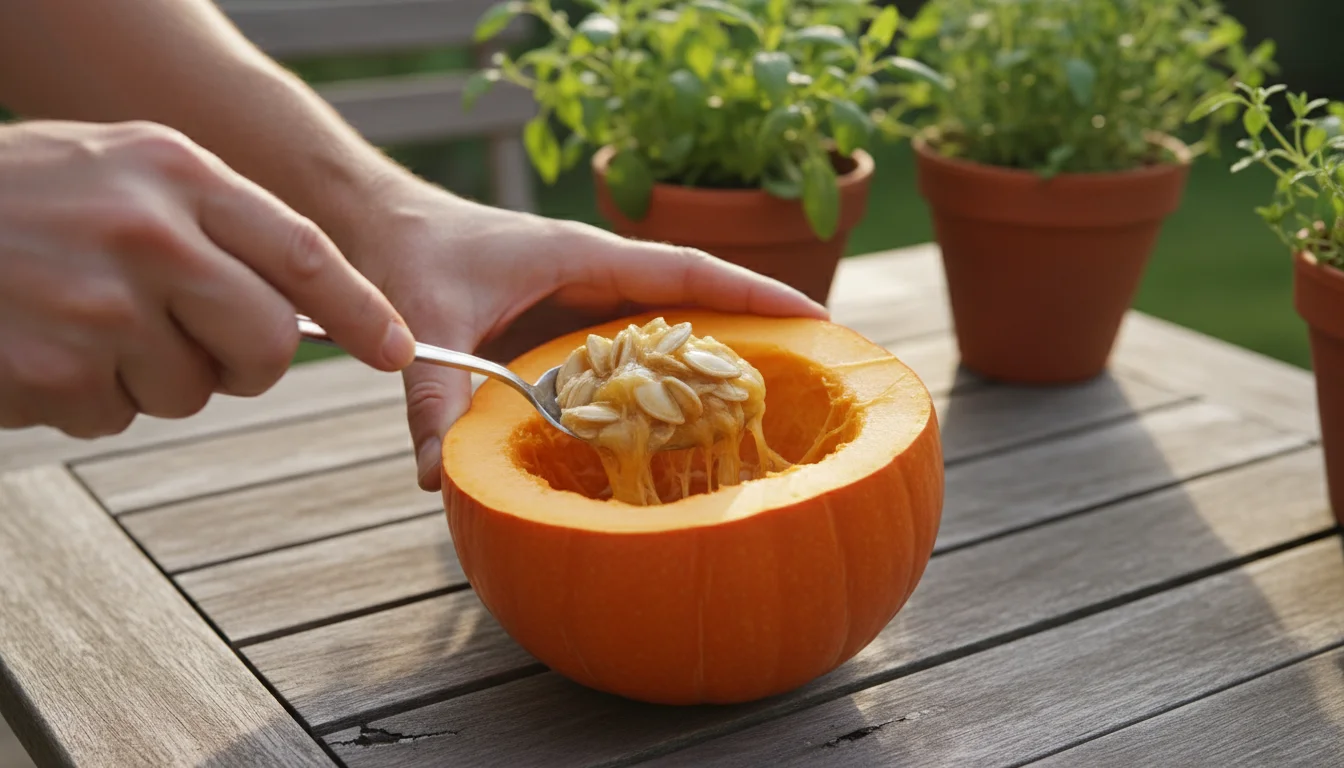
- Scoop Out the Guts: Use your large spoon or ice cream scoop to scrape out the stringy pulp and seeds from both halves of the pumpkin. Don’t worry about separating the seeds from the pulp just yet; simply get all the contents into your large bowl.
Cleaning Process:
- Submerge in Water: Once all the seeds and pulp are in the bowl, fill the bowl with water. The seeds are denser than the stringy pulp, so most will sink to the bottom.
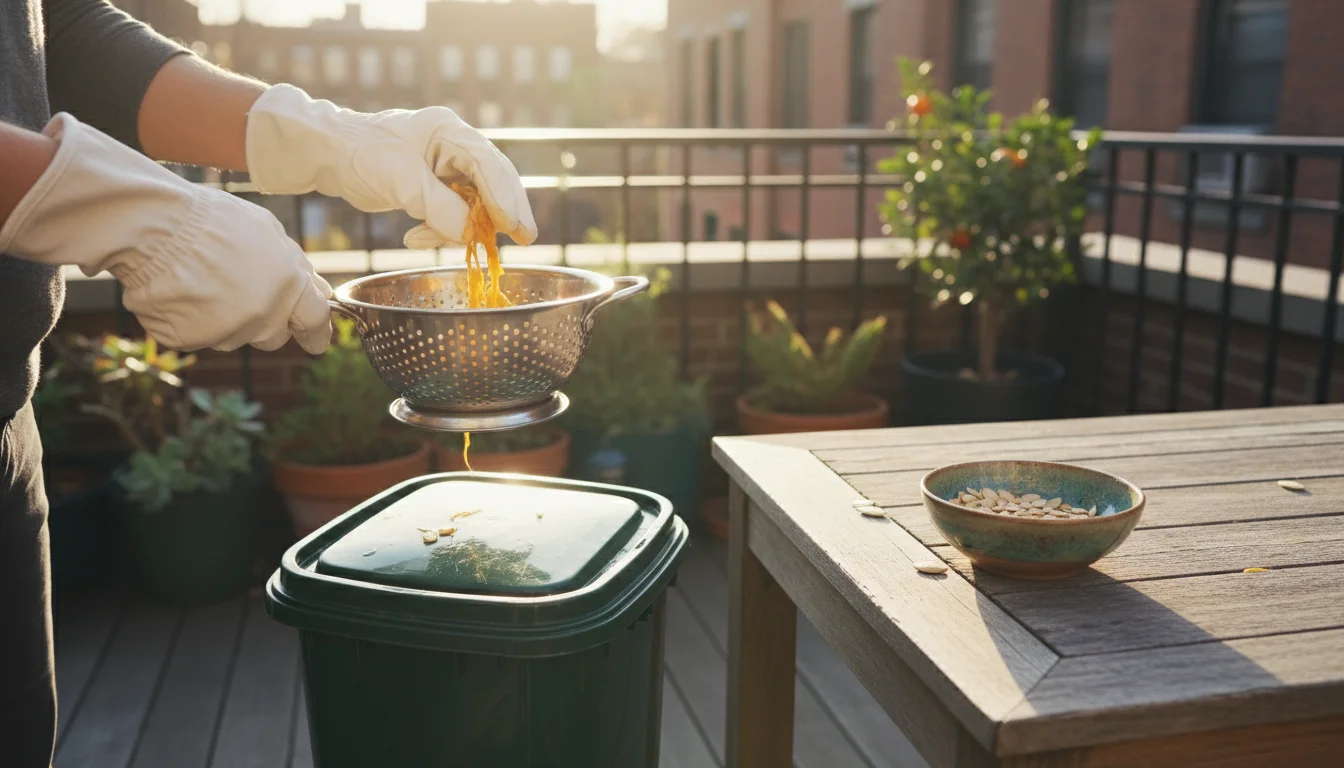
- Separate Seeds from Pulp: Use your hands to gently agitate the water and separate the seeds from the stringy pumpkin flesh. The pulp will float, making it easier to remove. This step takes a little patience.
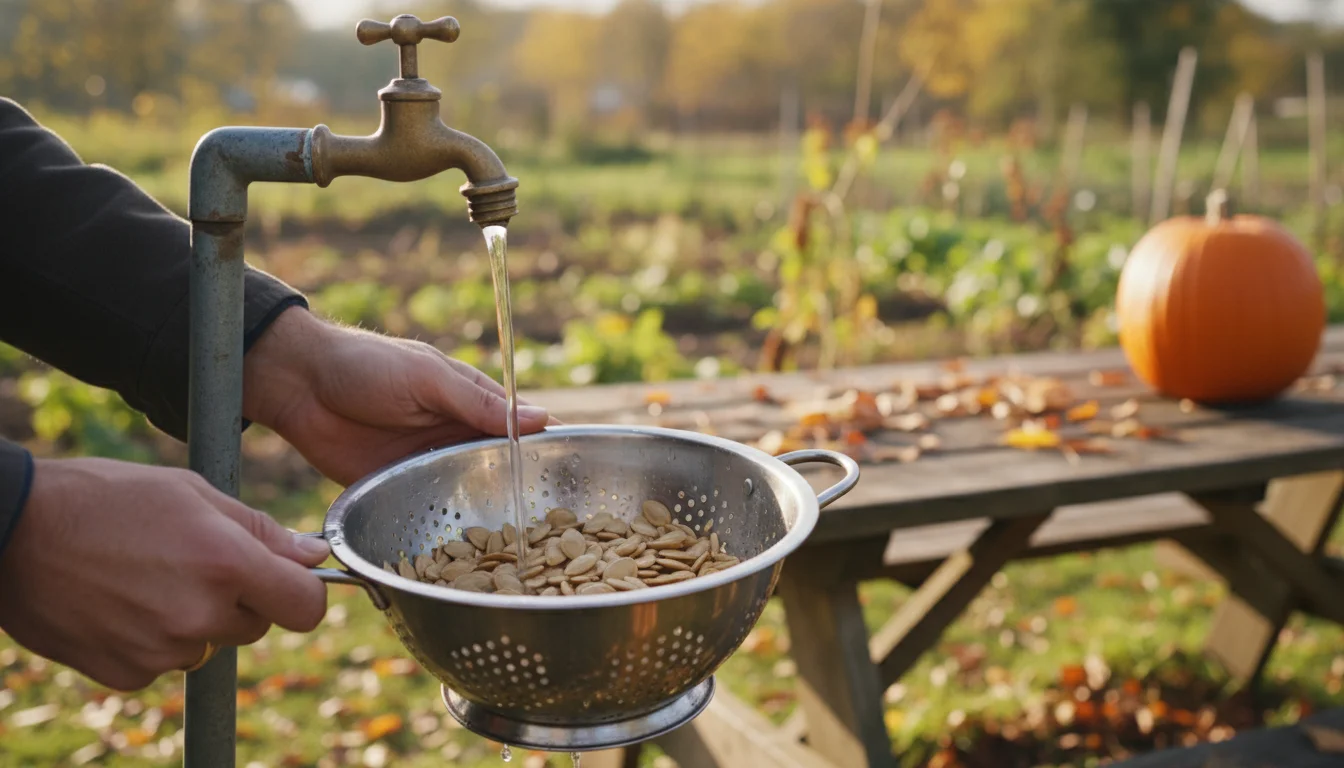
- Rinse Thoroughly: Once you have largely separated the seeds, pour them into a colander. Rinse them under cold running water, continuing to pick off any remaining bits of pulp or fibers. Rubbing the seeds between your fingers under the water helps remove stubborn bits. You want the seeds to be completely clean, free from any orange stringy bits, as these can burn during roasting and impart a bitter flavor.
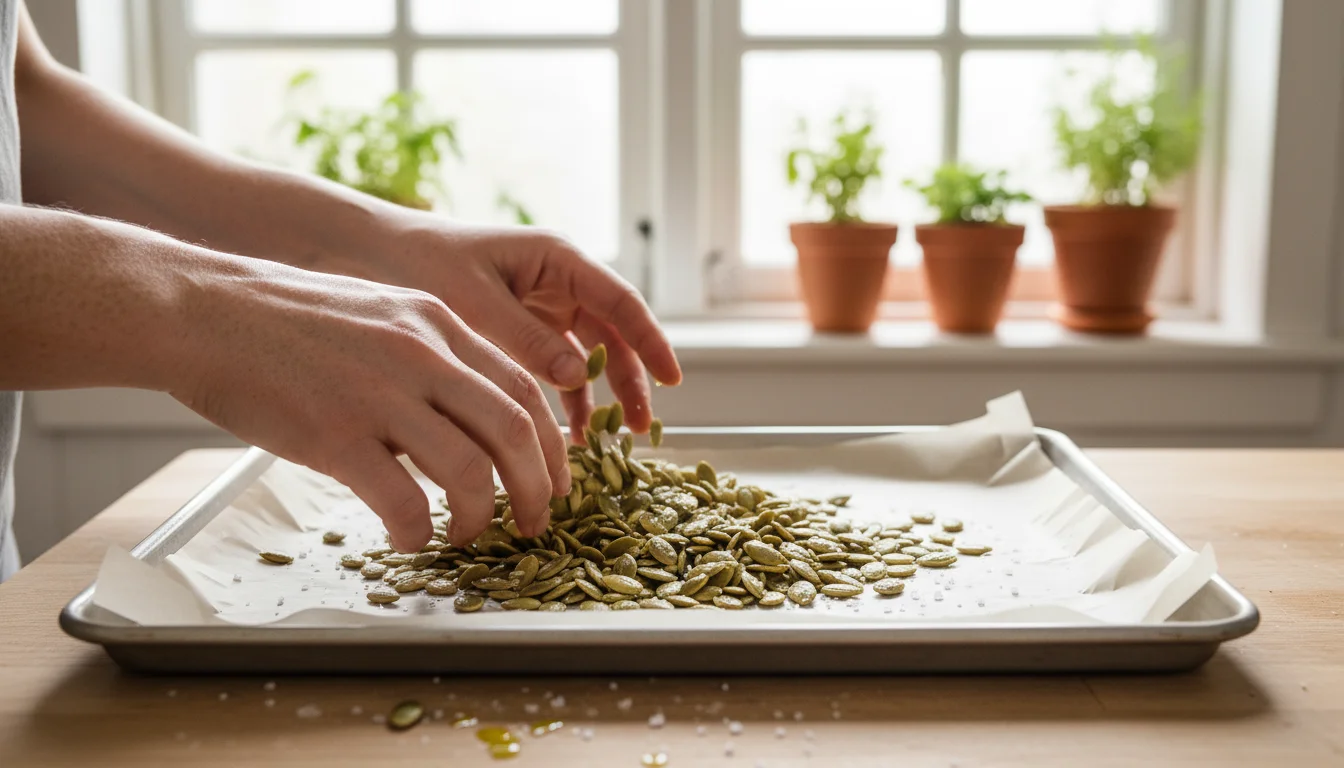
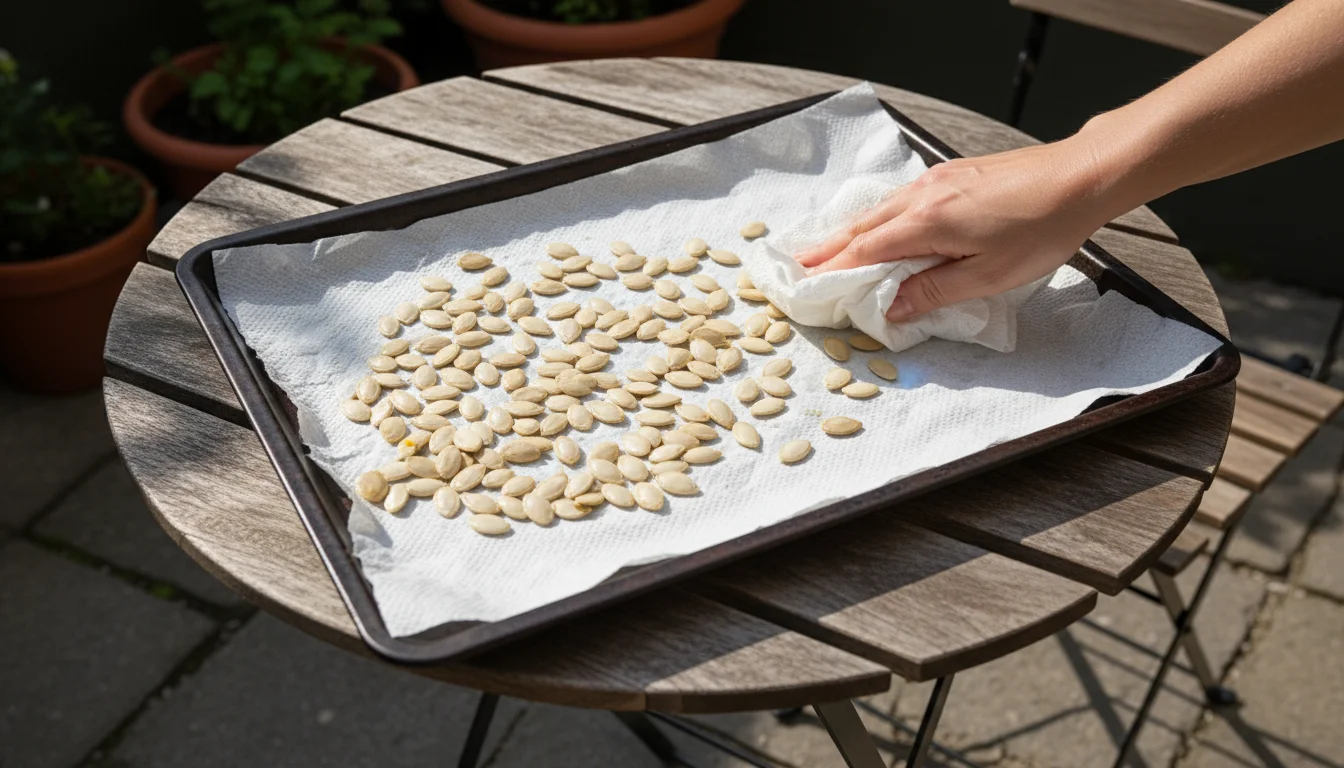
- Dry the Seeds: Transfer the clean seeds onto clean kitchen towels or several layers of paper towels. Spread them in a single layer. Pat them thoroughly dry. You can even let them air dry for a few hours or overnight if you have the time. Thoroughly dried seeds roast more evenly and achieve a crispier texture. Skipping this step often results in chewy, rather than crunchy, roasted seeds.
Once your seeds are extracted, cleaned, and thoroughly dry, they are ready for the magic of roasting. This simple process turns what many consider waste into a delightful and nutritious snack, maximizing your container gardening harvest.
How to Roast Pumpkin Seeds The SimpleGardenJoy Way
Roasting pumpkin seeds is straightforward, transforming them from slimy garden remnants into a crunchy, flavorful snack. This method provides the best way to season pumpkin seeds from scratch for a perfectly golden and crispy result every time.
Materials You Will Need:
- Clean, thoroughly dried pumpkin seeds
- Baking sheet(s)
- Parchment paper (optional, but recommended for easy cleanup)
- Olive oil or melted butter (about 1-2 tablespoons per cup of seeds)
- Salt (fine sea salt works best, to taste)
- Mixing bowl
Step-by-Step Roasting Instructions:
- Preheat Your Oven: Adjust your oven rack to the middle position. Preheat your oven to 300°F (150°C). A lower temperature ensures the seeds cook through and get crispy without burning too quickly.
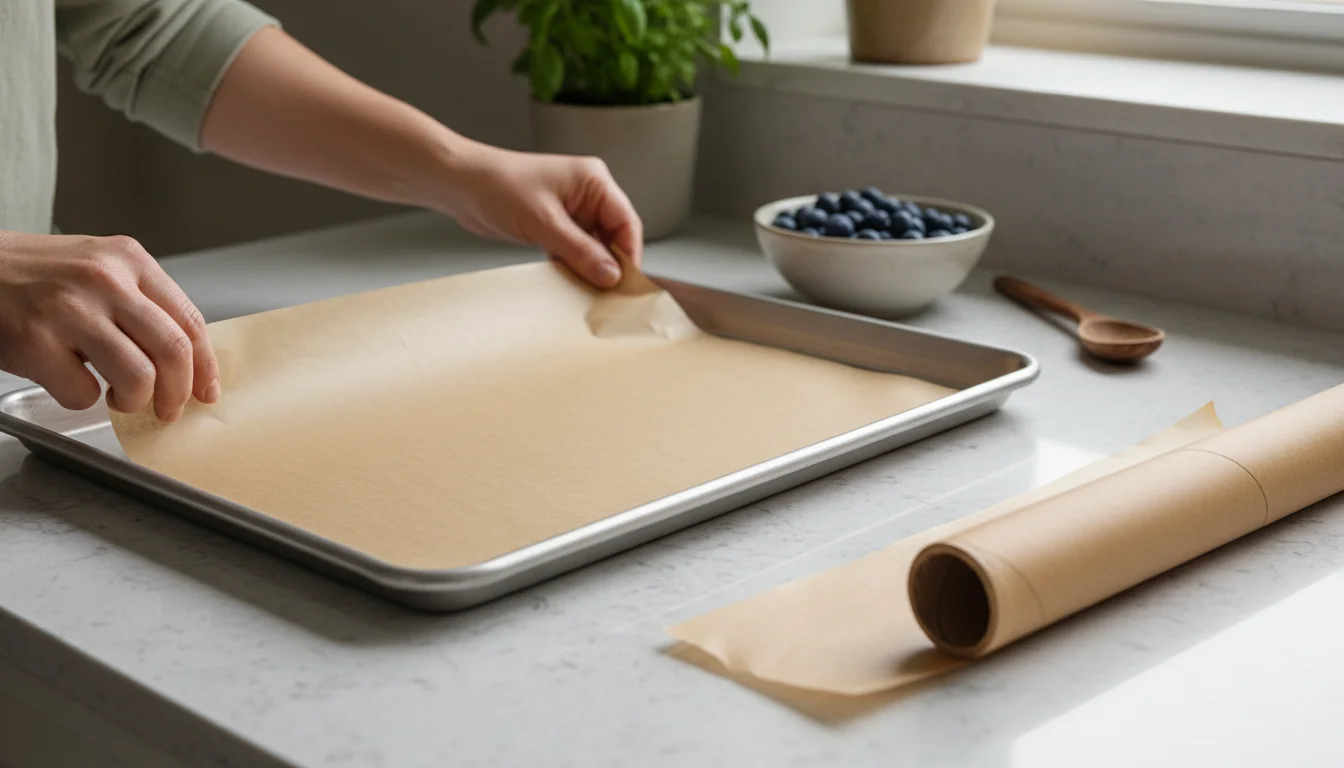
- Prepare the Baking Sheet: Line a baking sheet with parchment paper. This prevents sticking and makes cleanup simple. If you do not have parchment paper, a light spray of cooking oil on the baking sheet works as well.
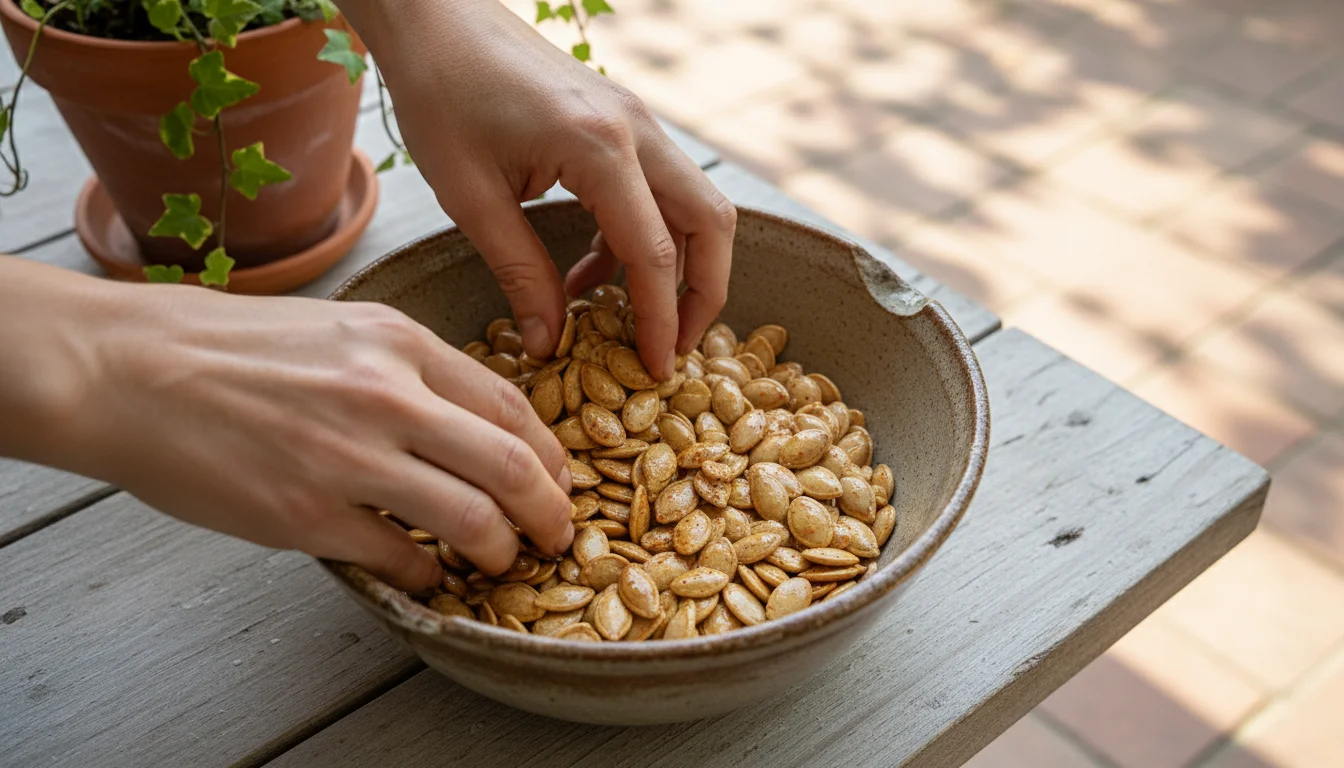
- Toss the Seeds: In your mixing bowl, combine the thoroughly dried pumpkin seeds with olive oil or melted butter. Use just enough to lightly coat all the seeds, usually about 1-2 tablespoons per cup of seeds. This fat helps them crisp up and allows the salt to adhere.
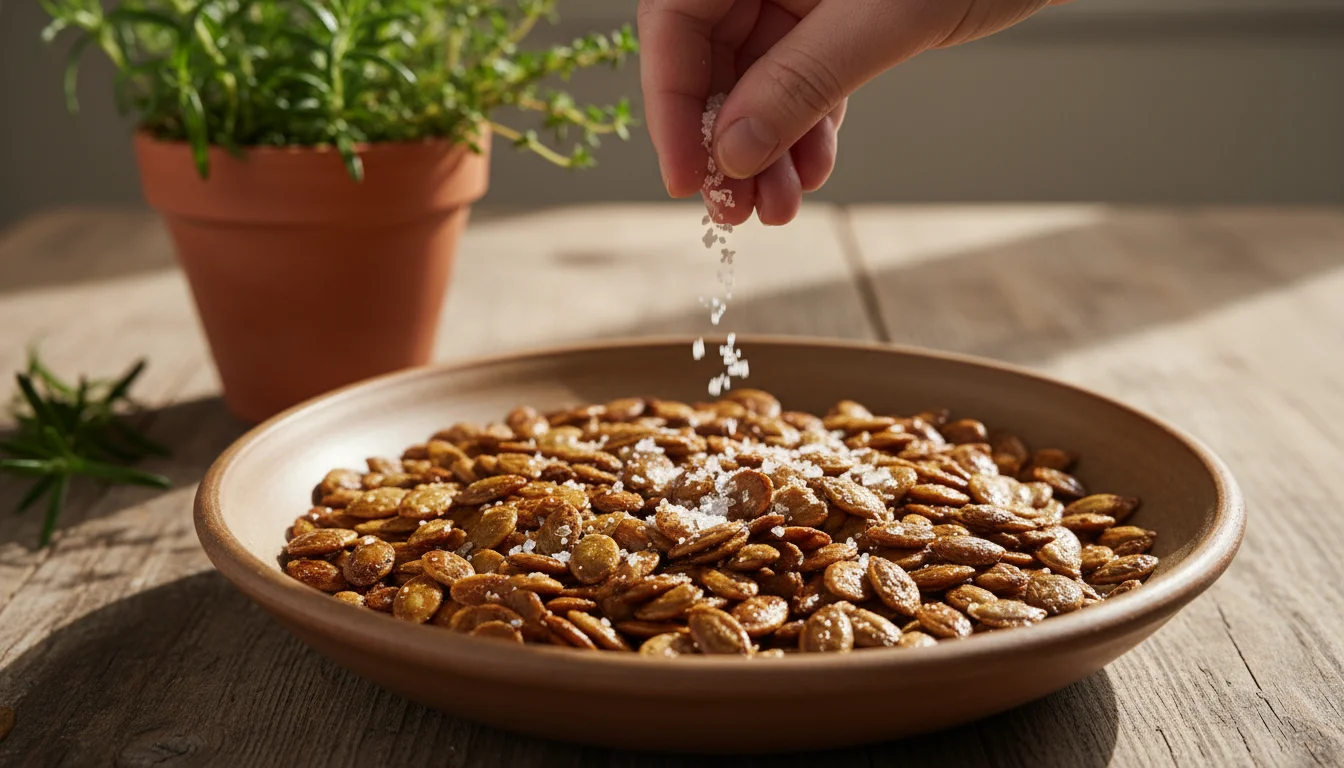
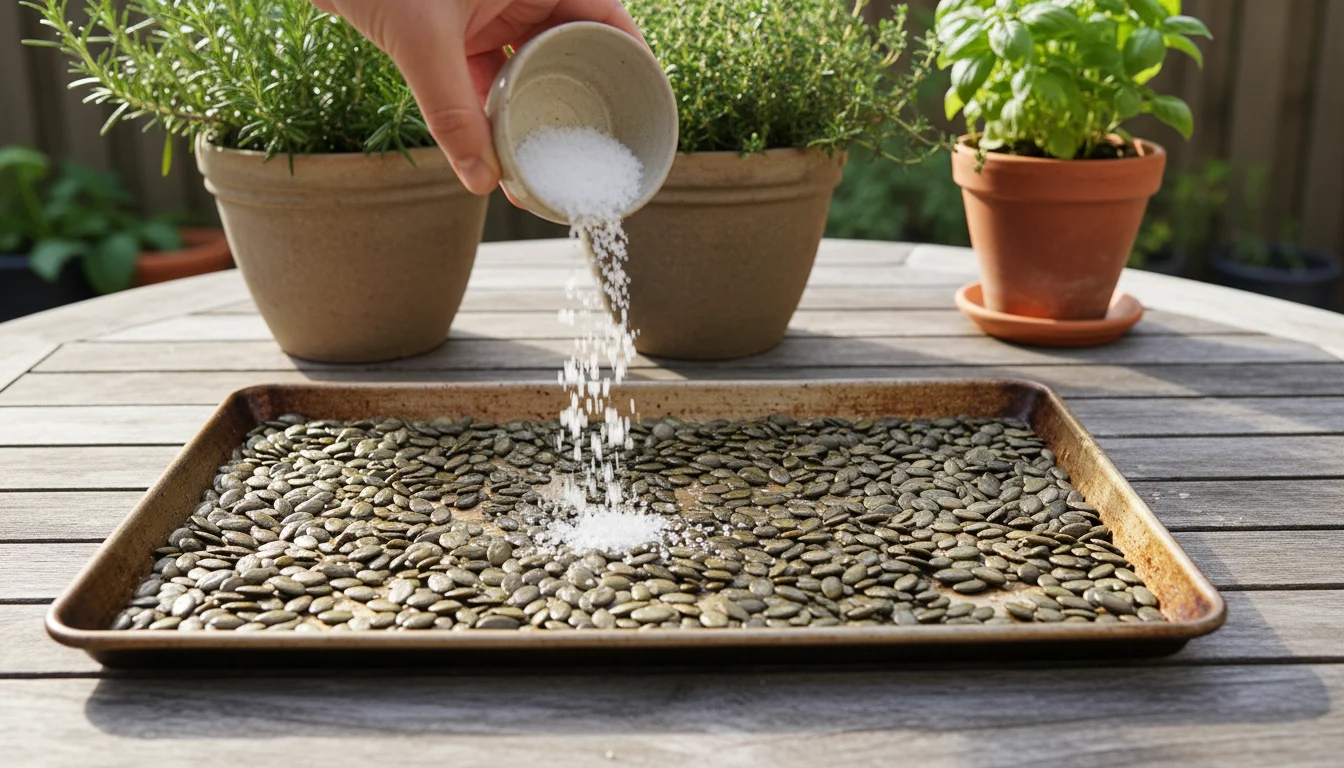
- Season Generously: Add salt to your seeds. Start with about ½ teaspoon of fine sea salt per cup of seeds, then adjust to your preference. Toss thoroughly to ensure an even coating. This forms the base of the best way to season pumpkin seeds from scratch.
- Spread on Baking Sheet: Pour the seasoned seeds onto the prepared baking sheet. Spread them out in a single layer. Avoid overcrowding the pan; if you have many seeds, use two baking sheets. Crowding causes the seeds to steam rather than roast, leading to a less crispy result.
- Roast: Place the baking sheet in the preheated oven. Roast for 20-40 minutes, stirring every 10-15 minutes to ensure even browning. The cooking time varies depending on the size of your seeds and your oven.
- Check for Doneness: The seeds are done when they are golden brown, crunchy, and have a nutty aroma. Taste one to confirm it is crispy throughout. If they still feel chewy, continue roasting for a few more minutes, checking frequently.
- Cool: Remove the baking sheet from the oven and let the seeds cool completely on the pan. They will continue to crisp up as they cool.
Once cooled, your homemade roasted pumpkin seeds are ready to enjoy. This simple process provides a delightful, healthy snack directly from your patio garden, connecting your efforts in small space pumpkin growing to a tangible, delicious reward.
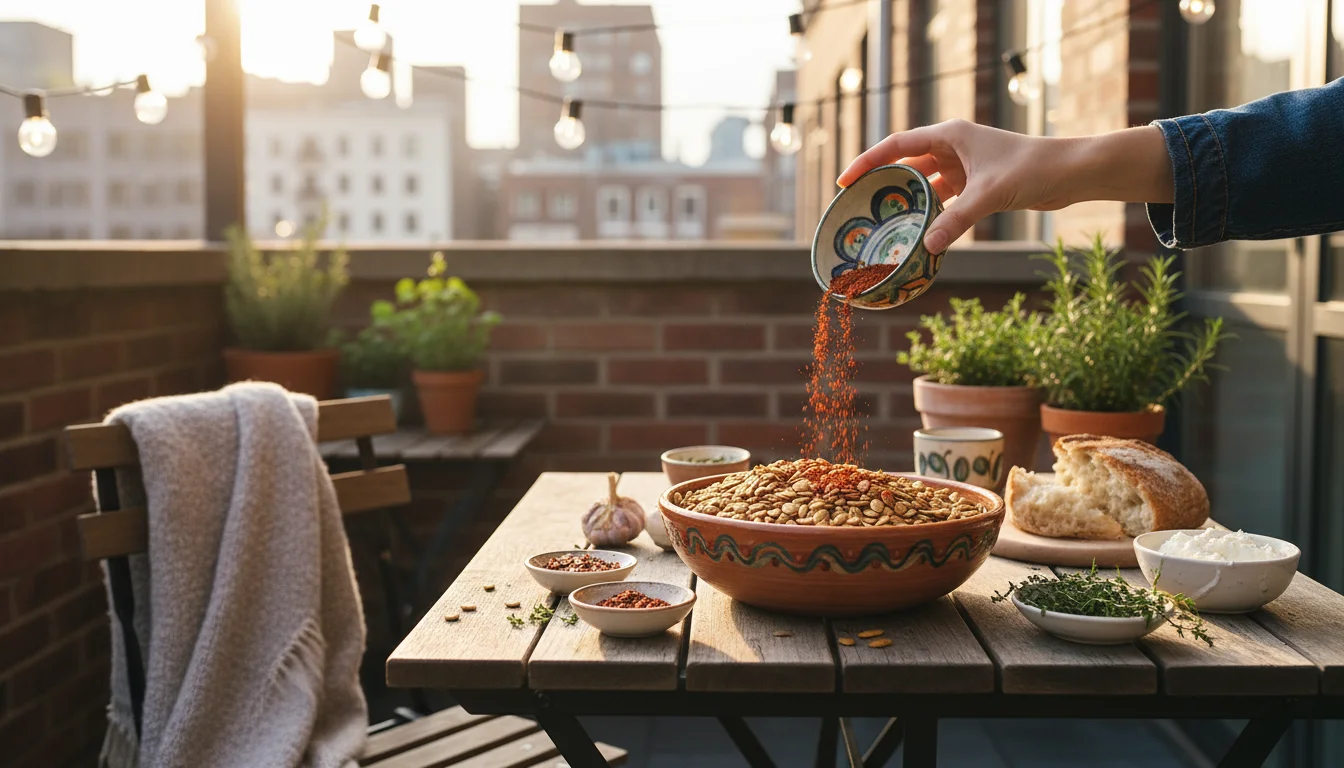
Seasoning Your Roasted Pumpkin Seeds From Scratch
Plain salted pumpkin seeds are delicious, but experimenting with different seasonings truly elevates your snack. This provides the best way to season pumpkin seeds from scratch, catering to any taste preference. Here are some popular and exciting variations:
You can also harvest and dry herbs from your balcony garden to create a custom savory spice blend for your seeds.
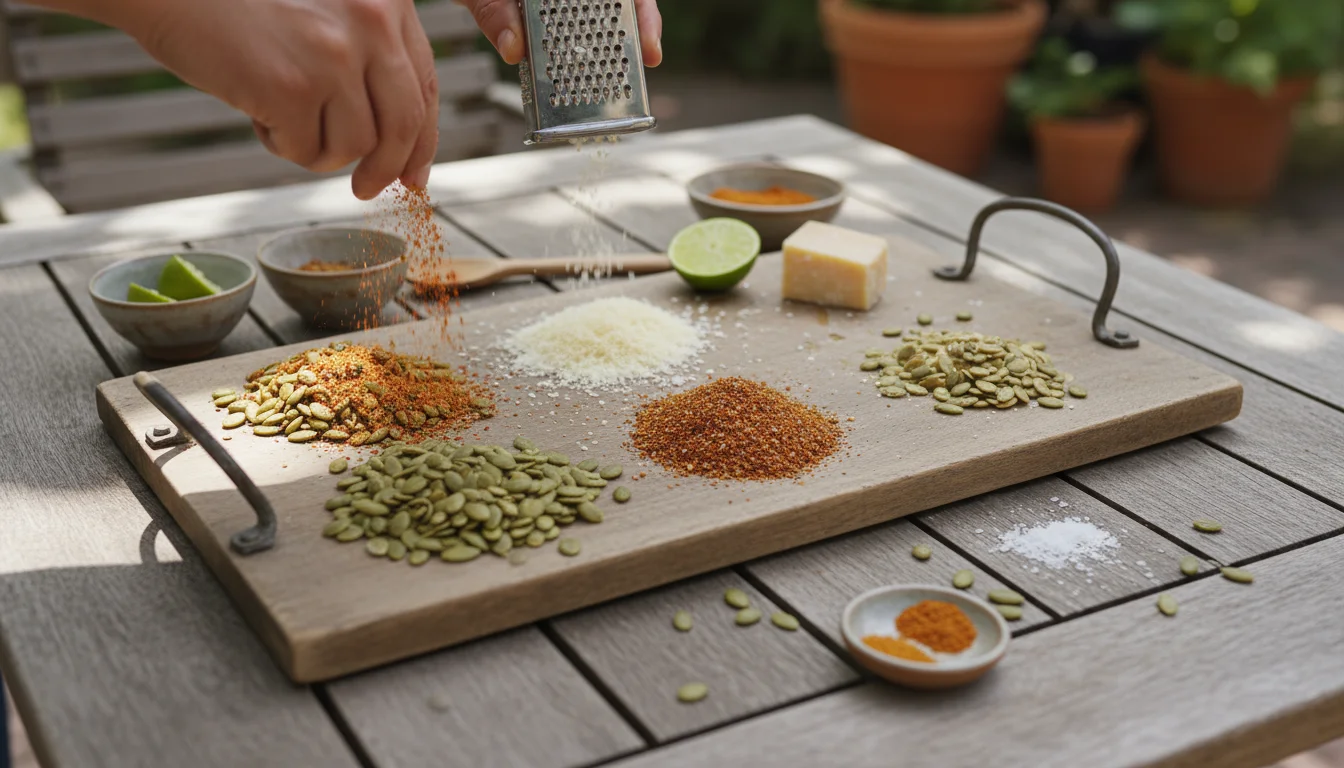
Savory Options:
- Garlic Parmesan: After tossing with oil, add garlic powder, onion powder, and grated Parmesan cheese. Roast as directed. The cheese crisps up, creating a savory coating.
- Spicy Chili Lime: Combine chili powder, cumin, a pinch of cayenne pepper, and a squeeze of lime juice (before tossing with oil). This offers a zesty, spicy kick.
- Smoky BBQ: Mix in smoked paprika, brown sugar, garlic powder, onion powder, and a touch of chili powder. This gives a rich, barbecue flavor.
- Herbal Delight: Incorporate dried rosemary, thyme, and a hint of sage with your oil and salt. This creates an aromatic, earthy snack.
- Everything Bagel: Sprinkle with “everything bagel” seasoning after coating with oil. This blend of sesame seeds, poppy seeds, garlic, onion, and salt delivers a familiar, beloved flavor.

Sweet Options:
- Cinnamon Sugar: After tossing with oil, mix in cinnamon, granulated sugar, and a tiny pinch of salt. Roast until caramelized and fragrant. This is a classic fall recipe favorite.
- Maple Pecan: Drizzle with maple syrup (reduce oil slightly) and add a pinch of cinnamon and finely chopped pecans before roasting. This creates a sweet, nutty crunch.
- Pumpkin Spice: Combine pumpkin pie spice blend with a little sugar and a touch of salt. This brings out all the traditional fall flavors.
Tips for Perfect Seasoning:
- Coat Evenly: Ensure the seeds are well-coated with oil before adding seasonings. The oil helps the spices adhere properly.
- Season to Taste: Start with smaller amounts of strong spices and add more if needed. You can always add more after roasting, but you cannot remove it.
- Experiment: Do not be afraid to mix and match. Your kitchen is your laboratory. Try a savory blend with a touch of sweetness.
- Add Some After Roasting: For some seasonings, like fresh herbs or a sprinkle of flaky sea salt, add them immediately after the seeds come out of the oven. The residual heat helps them stick without burning the herbs.
Experimenting with these fall recipes transforms your roasted pumpkin seeds into a versatile snack. You will discover your own favorite combinations, making the most of your container gardening harvest and providing a truly personalized treat.
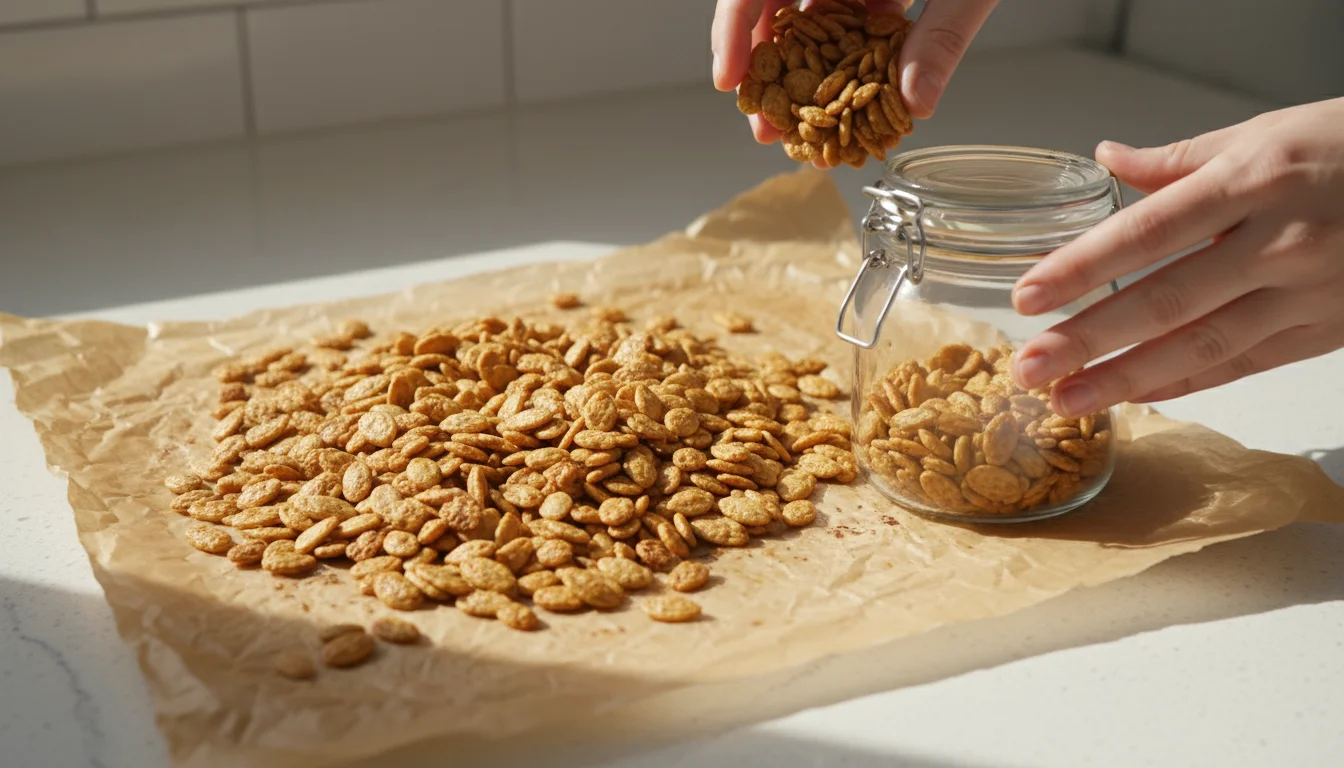
Storing Your Homemade Roasted Pumpkin Seeds
Once you master how to roast pumpkin seeds, you will likely want to make large batches. Proper storage ensures your delicious, crunchy snack stays fresh and flavorful for as long as possible. Poor storage leads to stale, soggy seeds, undermining all your hard work.
To complement your roasted snacks, consider creating an autumnal tea garden with easy-to-grow herbs right on your patio.
After roasting, allow your pumpkin seeds to cool completely on the baking sheet. This is a crucial step. Storing warm seeds traps moisture, which leads to condensation and encourages mold growth or makes the seeds lose their crispness. Once fully cooled, transfer them to an airtight container. Glass jars with tight-fitting lids, plastic food storage containers, or even heavy-duty resealable bags work effectively.
Store your containers in a cool, dark, dry place, such as a pantry or cupboard. Avoid areas with fluctuating temperatures or high humidity, like above the stove or near a window. Sunlight and heat degrade the quality and shorten the shelf life of your seeds. When stored correctly, homemade roasted pumpkin seeds maintain their freshness and crunch for up to 2-3 weeks. If you notice any signs of mold, a rancid smell, or a noticeably stale texture, discard them.
For longer storage, you can freeze roasted pumpkin seeds. Place the completely cooled seeds in a freezer-safe bag or container, removing as much air as possible. Frozen seeds retain their quality for several months. To enjoy them, simply thaw at room temperature. You might find they benefit from a quick re-crisping in a dry skillet over low heat or a brief bake in a low oven (around 250°F or 120°C) for 5-10 minutes, especially if they have absorbed any moisture during thawing.
By following these simple storage guidelines, you extend the enjoyment of your container gardening harvest, ensuring you always have a healthy, delicious snack ready to grab. This practice also reinforces the sustainable ethos of small space pumpkin growing, utilizing every part of your homegrown produce.
Troubleshooting Common Pumpkin Seed Roasting Issues
Even with the best intentions, you might encounter a few hurdles when learning how to roast pumpkin seeds. Knowing how to address these common issues helps you achieve perfect results every time.
Once your harvest is complete, it is the perfect time to redesign your balcony layout for the upcoming spring season.
Problem: Seeds are chewy, not crispy.
Solution: This is the most frequent complaint. It usually indicates that the seeds were not thoroughly dried before roasting or were roasted at too low a temperature for too short a time. Ensure your seeds are bone-dry before they hit the baking sheet. Pat them vigorously with paper towels and let them air dry for several hours, even overnight. Increase your roasting time, checking every 5-10 minutes, and ensure the oven temperature is accurate. You can also try slightly increasing the temperature to 325°F (160°C) if your oven runs cool, but watch carefully to prevent burning.

Problem: Seeds are burned on the outside, but still soft inside.
Solution: Your oven temperature is too high. This causes the exterior to char before the interior has a chance to cook through and crisp up. Reduce your oven temperature to 300°F (150°C), or even 275°F (135°C) if your oven runs hot. Roast for a longer period at this lower temperature, stirring more frequently (every 10-15 minutes) to promote even cooking. Spreading the seeds in a single layer without overcrowding also prevents this issue, allowing hot air to circulate freely around each seed.
Problem: Seasoning does not stick to the seeds.
Solution: The seeds likely were not coated with enough oil or melted butter. The fat acts as an adhesive for the seasonings. Ensure each seed has a light, even coating of oil before you add your salt and spices. If using very fine salt, it sticks better. For some seasonings, like powdered cheese or certain spices, applying them immediately after removing the seeds from the oven, while they are still hot, helps them adhere to the residual oil.
Problem: Seeds taste bland.
Solution: You simply need more seasoning. Do not be shy with the salt, especially for a snack. A good rule of thumb is at least ½ teaspoon of fine sea salt per cup of seeds, but adjust this to your taste. For other spices, increase the quantities until you achieve the desired flavor intensity. Taste a seed during the last few minutes of roasting to gauge the flavor, and you can add more seasoning then if needed.
Problem: Seeds stick to the baking sheet.
Solution: You either did not use parchment paper or did not apply enough oil to the baking sheet. Always line your baking sheet with parchment paper for easy release, especially when roasting seeds with sugary glazes. If you do not have parchment, thoroughly grease the baking sheet with cooking spray or a thin layer of oil. Ensuring the seeds are fully dry before roasting also helps prevent sticking.
Addressing these issues makes you a more confident pumpkin seed roaster. Each attempt refines your technique, bringing you closer to the perfect, crispy, flavorful snack every time. Your container gardening harvest provides not only pumpkins but also an opportunity for culinary experimentation and learning, truly embodying the spirit of fall recipes.
Frequently Asked Questions
Can I roast seeds from any type of pumpkin?
Yes, you can roast seeds from any pumpkin, including carving pumpkins, pie pumpkins, and even gourds. The seeds from smaller pie or sugar pumpkins often taste better and are easier to clean. They typically have a more tender shell and a richer flavor. Seeds from large carving pumpkins can be a bit tougher and may require a longer roasting time.
Do I need to soak pumpkin seeds before roasting?
No, soaking pumpkin seeds before roasting is not necessary. While some recipes suggest it, soaking does not significantly impact the texture or flavor for most people. The most important step is to thoroughly clean and dry the seeds to achieve that perfect crispness. Skipping the soak saves time and effort, making the process quicker and simpler.
What is the best way to get seeds really clean?
The best way involves a combination of agitation and rinsing. After scooping out the guts, place the seeds and pulp in a bowl of water. Use your hands to massage the seeds, separating them from the stringy fibers. The seeds will sink, and the pulp will mostly float. Rinse them thoroughly in a colander under cold running water, continuing to rub them between your fingers until all stringy bits are gone. This ensures no bitter residue remains.
Can I roast seeds with the pulp still attached for extra flavor?
While you might see some recipes that suggest leaving a little pulp, it is generally not recommended for optimal results. The stringy pulp often burns during roasting, imparting a bitter or charred flavor to your seeds. Thoroughly cleaning the seeds ensures an even roast and a pure, nutty taste. This practice leads to a superior snack, embodying the best way to season pumpkin seeds from scratch.
Are roasted pumpkin seeds healthy?
Absolutely. Roasted pumpkin seeds are a nutritious snack. They are rich in magnesium, zinc, iron, and beneficial plant compounds. They also provide healthy fats and fiber. Eating a handful of roasted pumpkin seeds offers a satisfying crunch while delivering essential nutrients, making them an excellent addition to your diet.
For trustworthy gardening information, visit:
Mississippi State University Extension — Lawn & Garden, Arkansas Extension — Yard & Garden, Kansas State University Extension — Horticulture, Oklahoma State University Extension — Lawn & Garden and Tennessee Extension — Gardening. These organizations provide expert, research-based advice for gardeners at all levels.
Disclaimer: This article is for informational purposes only and is not a substitute for professional gardening advice. Always consult local extension services or horticulture experts for region-specific guidance.

Leave a Reply