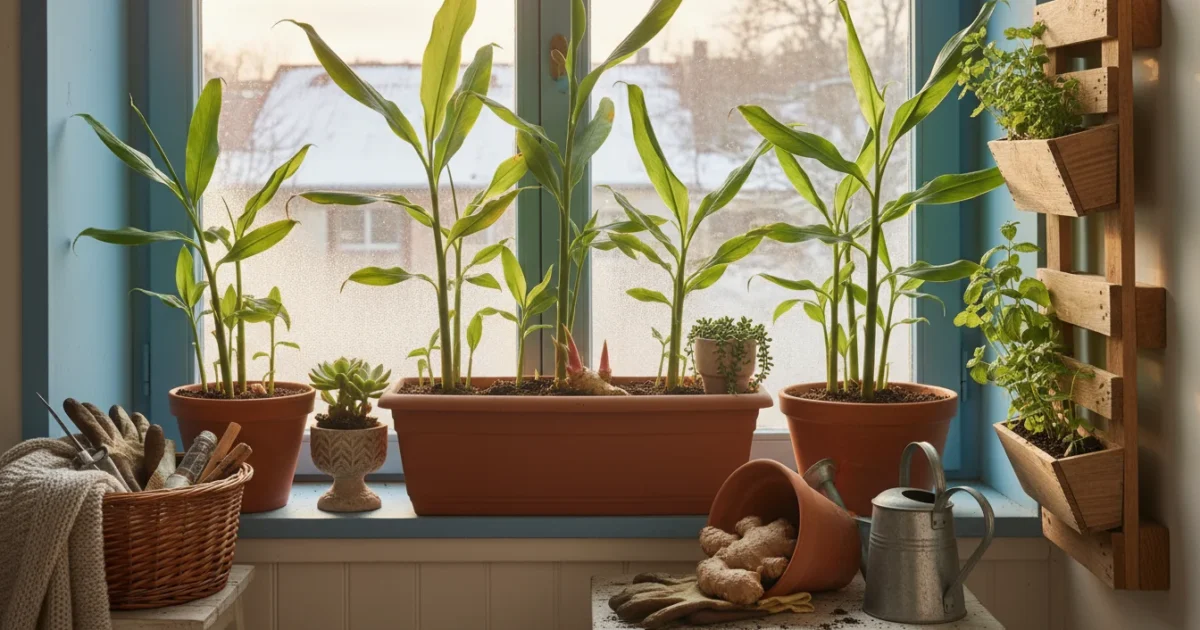
Imagine fresh, zesty ginger, ready for your tea, stir-fries, or baking, growing right on your windowsill, even in the depths of winter. Growing your own ginger indoors is an incredibly rewarding experience, perfectly suited for small-space gardeners and anyone looking for a low-maintenance, high-impact winter growing project. You do not need a sprawling garden or complicated equipment to cultivate this aromatic spice. Instead, with just a few simple steps and a sunny spot, you transform a store-bought ginger root into a thriving, productive plant.
Many gardeners hesitate to try growing ginger, assuming it requires tropical conditions or extensive care. You will discover that ginger is remarkably forgiving and adaptable, especially when grown indoors. This comprehensive guide gives you all the practical, actionable insights you need to successfully grow ginger indoors from start to finish. You will learn how to select the best root, sprout it efficiently, choose the right container and soil, and maintain your plant for abundant harvests. Let us turn your windowsill into a productive ginger farm.
Why Grow Ginger Indoors? A Winter Project for Every Home
Cultivating ginger indoors offers a unique blend of practicality, aesthetic appeal, and culinary satisfaction. For small-space gardeners, this plant excels as a space-efficient crop. It thrives in containers, making it an ideal choice for balconies, patios, or bright windowsills. You avoid the challenges of outdoor garden plots, like fluctuating weather or garden pests, by bringing your ginger inside. This control over its environment ensures a more predictable and successful harvest, particularly during colder months when most outdoor gardens are dormant. As a result, ginger truly shines as a fantastic winter growing project.
If you are looking for more indoor crops, consider starting an indoor tomato experiment to grow fresh fruit alongside your ginger.
Besides ginger, you can also set up a windowsill salad bar to enjoy fresh, nutrient-dense greens throughout the colder months.
Growing ginger from store-bought root in a pot also gives you unparalleled access to fresh ingredients. Imagine reaching for a homegrown piece of ginger whenever a recipe calls for it, instead of making a trip to the grocery store. This convenience enhances your cooking, ensuring maximum flavor and nutritional value in your dishes. Fresh ginger possesses a pungent, spicy, and slightly sweet flavor profile that elevates a wide range of cuisines. Its aromatic qualities fill your kitchen with a pleasant, earthy scent, creating an inviting atmosphere.
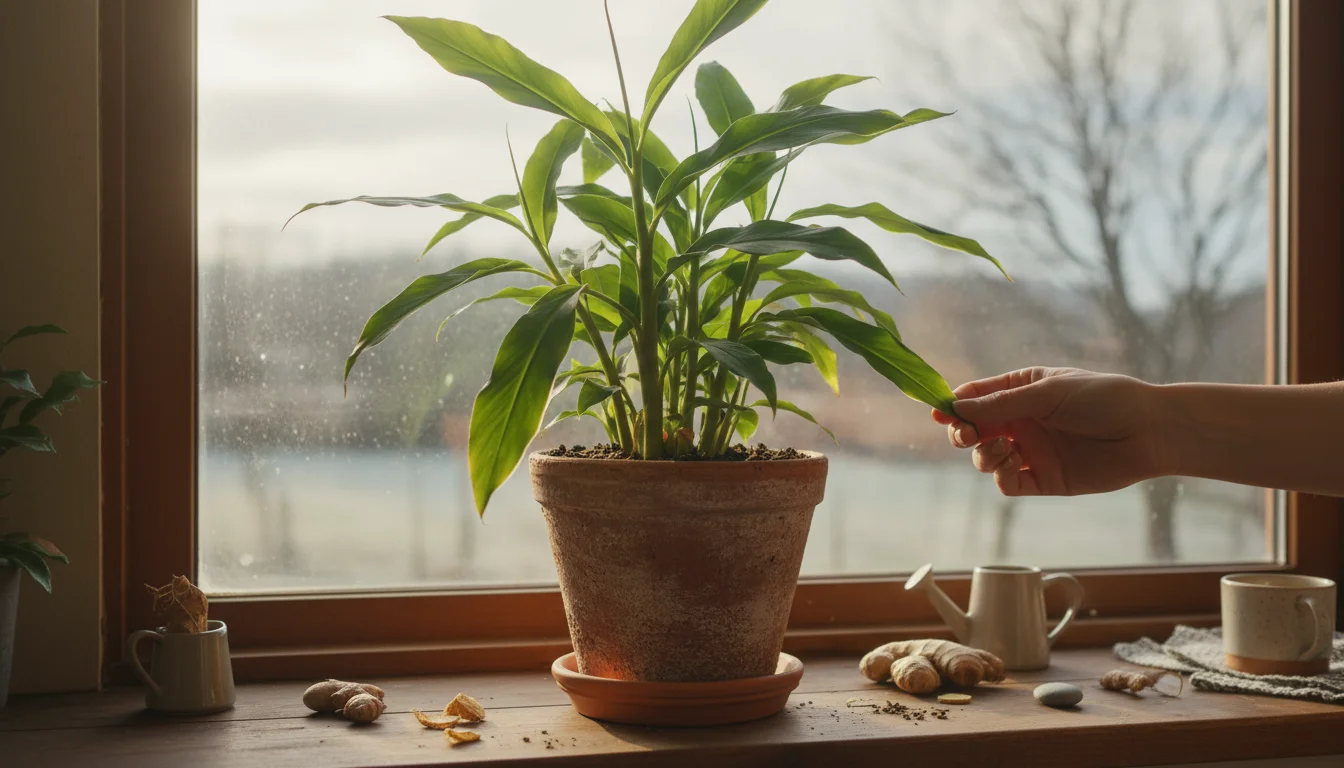
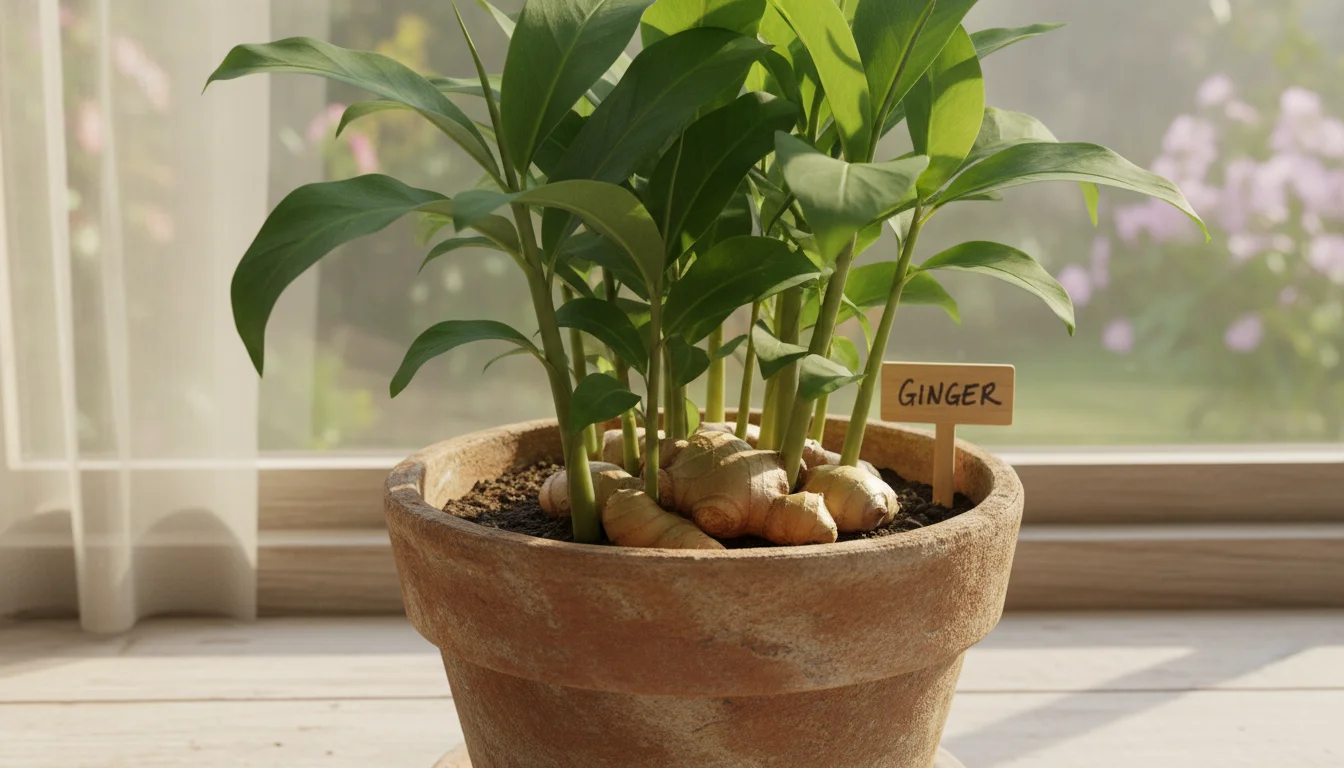
Beyond culinary uses, ginger plants themselves are attractive. Their lush, green foliage adds a touch of tropical elegance to your indoor space, brightening up any room. This makes growing ginger in a pot indoors a dual-purpose endeavor, providing both beauty and bounty. Moreover, ginger is well-known for its medicinal properties. Many people use it to alleviate nausea, reduce inflammation, and support digestive health. Having a supply of fresh, organic ginger readily available empowers you to incorporate these benefits into your daily routine, whether through teas, tinctures, or culinary preparations.
The environmental benefits of growing your own ginger are also significant. By reducing your reliance on commercially produced ginger, you lessen your carbon footprint associated with transportation and packaging. You gain full control over the growing process, ensuring no harmful pesticides or chemicals are used. This commitment to sustainable practices aligns perfectly with a conscious gardening approach. Overall, planting ginger offers an accessible entry point into edible indoor gardening, proving that even a small space can yield significant returns.
Getting Started: Selecting and Preparing Your Ginger Root
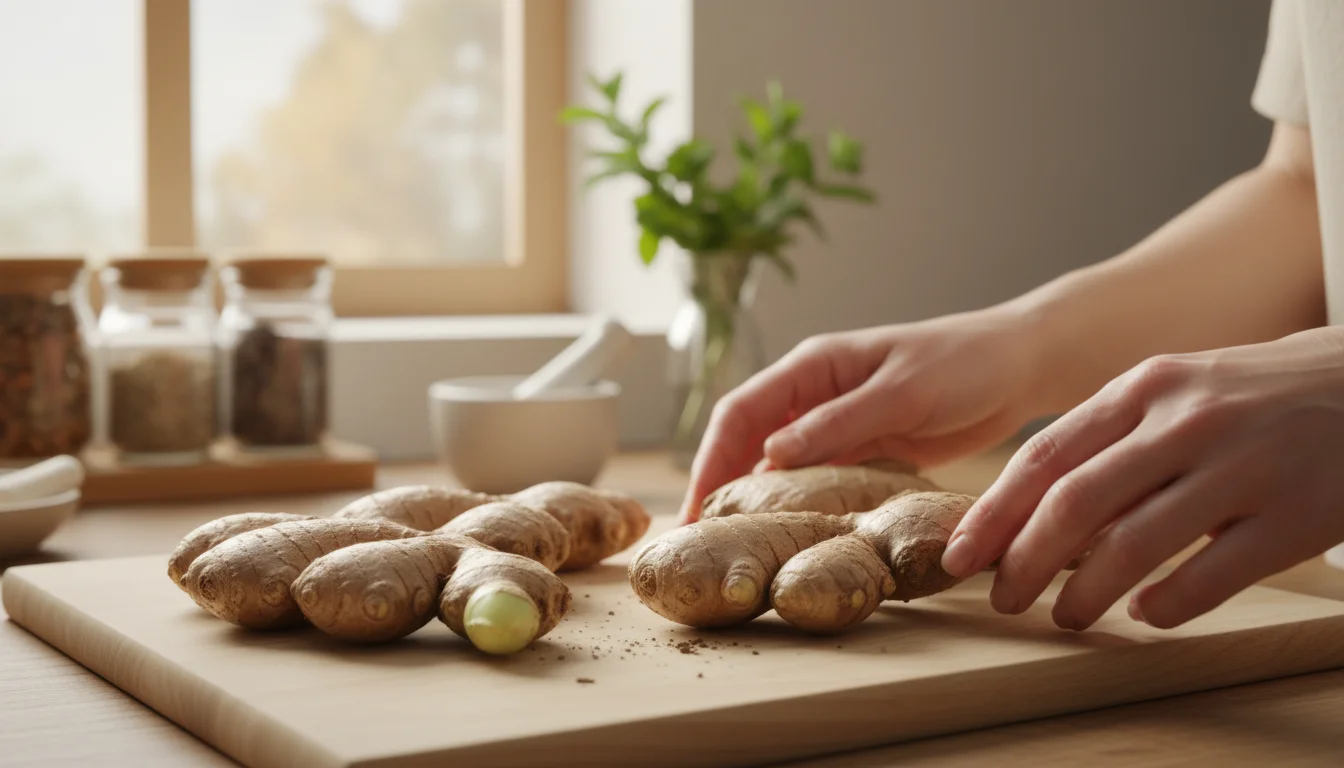
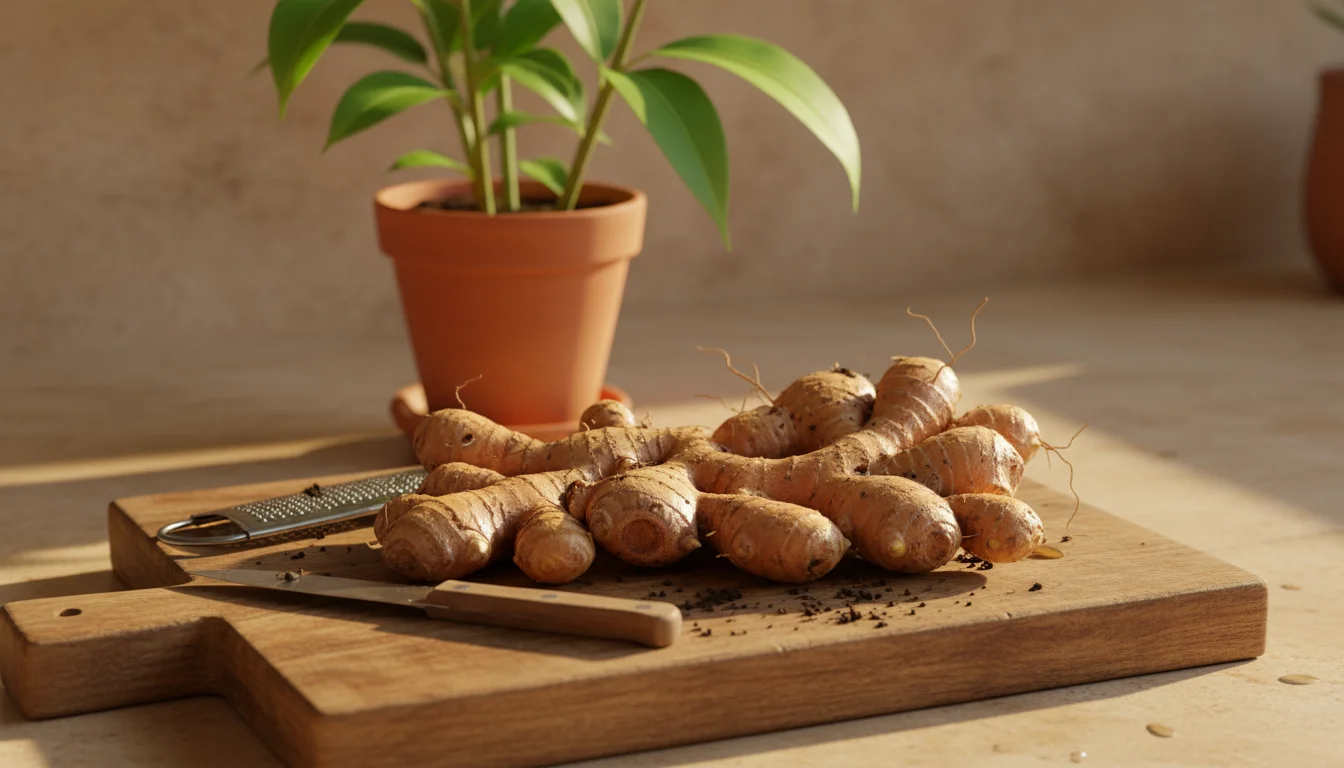
The journey to growing your own ginger indoors begins with selecting the right “seed” ginger. While we refer to it as a root, the part of the plant you use for cultivation is actually a rhizome, which is an underground stem. You can easily find suitable rhizomes at your local grocery store, farmer’s market, or even an Asian specialty market. This makes growing ginger from store-bought root in a pot incredibly straightforward.
Just as you would for potted citrus trees indoors, choosing the healthiest starting material ensures your plant has the best chance of thriving.
For those planning a full season of growth, checking an apartment seed-starting calendar can help you time your other indoor crops perfectly.
What to Look For When Selecting Ginger:
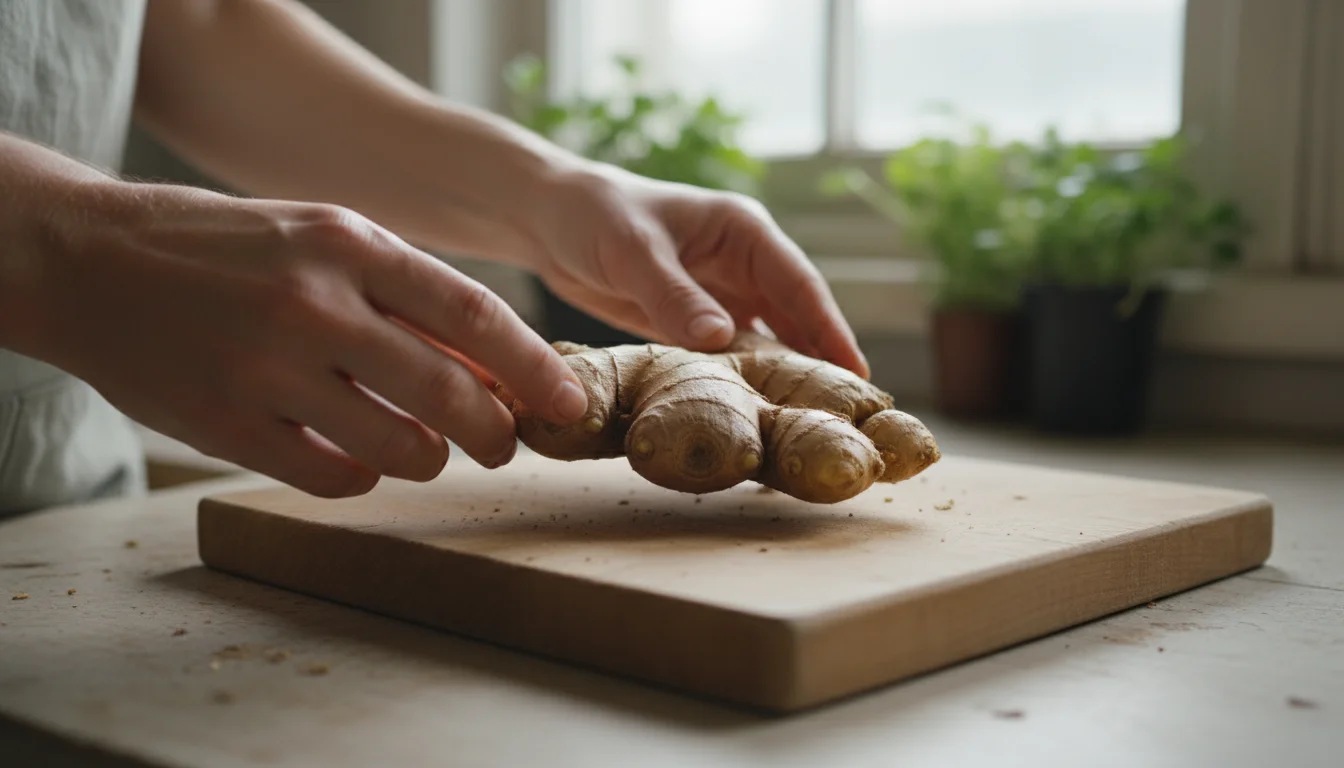
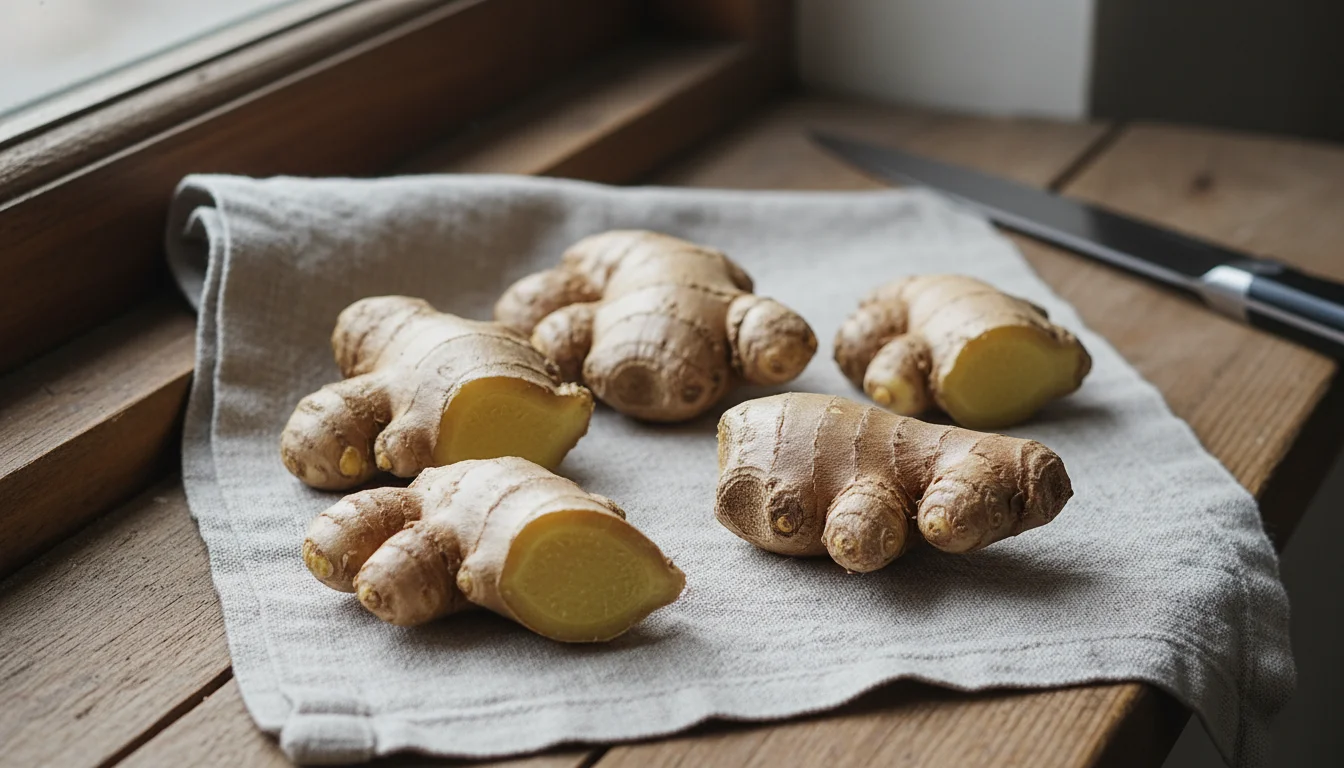
- Firmness: Choose rhizomes that are firm and plump. Avoid any that feel soft, mushy, or shriveled, as these may be old or diseased and less likely to sprout successfully.
- Smooth Skin: Look for ginger with relatively smooth skin. While some scarring is normal, excessive damage or mold indicates poor quality.
- “Eyes” or Growth Buds: The most crucial feature to identify are the small, bumpy protuberances, often lighter in color, along the ginger’s surface. These are the “eyes” or growth buds, similar to those on a potato. Each eye has the potential to sprout into a new plant. Opt for roots with several visible, healthy-looking eyes, as this increases your chances of successful germination.
- Organic vs. Conventional: Consider buying organic ginger if possible. Conventional ginger is sometimes treated with growth inhibitors to prevent sprouting on store shelves. While you can still try to sprout conventional ginger, organic varieties generally have a higher success rate. If only conventional is available, a brief soak might help, but fresh, untreated ginger is always best.
Preparing Your Ginger Root for Planting:
Once you have selected your ideal ginger rhizome, a little preparation helps encourage sprouting. This stage sets the foundation for your thriving indoor ginger plant.
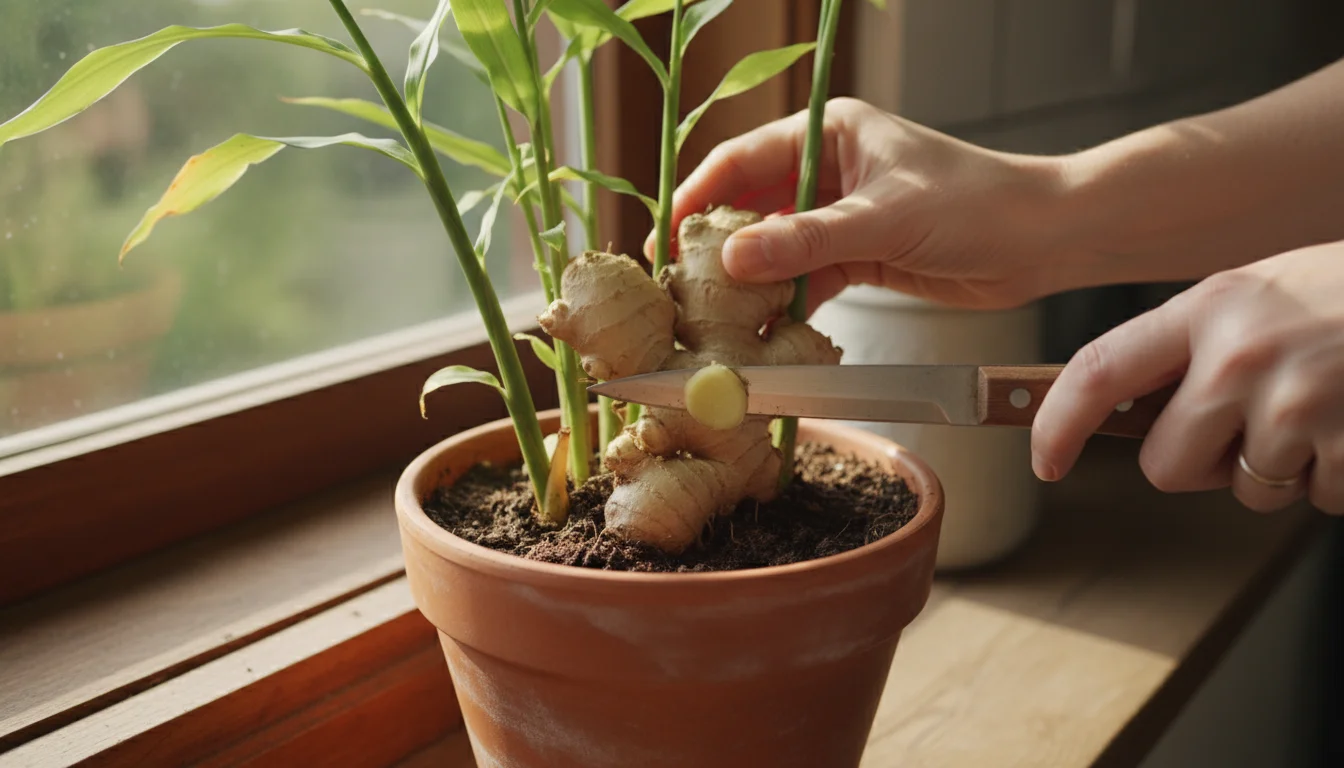
- Cut into Sections: If your ginger piece is large, you can cut it into smaller sections. Each section should be at least 1 to 2 inches long and contain at least one prominent “eye” or growth bud. Using a sharp, clean knife, make clean cuts.
- Allow to Cure (Optional, but Recommended): After cutting, allow the ginger pieces to “cure” for a day or two. Simply leave them exposed to air in a dry, room-temperature location. This drying process forms a callus over the cut surfaces, which helps prevent rot once planted. Think of it as letting a wound heal before exposing it to soil moisture.
- Soaking (For Conventional Ginger): If you suspect your ginger might have been treated with a growth inhibitor, a gentle presoak can be beneficial. Submerge the ginger pieces in a bowl of warm water for a few hours or even overnight. This helps to wash away any inhibitors and rehydrate the rhizome, signaling to the plant that it is time to wake up. Make sure to let the pieces air dry completely before planting them to prevent mold.
By carefully selecting and preparing your ginger rhizomes, you give your indoor ginger project the best possible start. This initial attention to detail significantly impacts your success in seeing those first green shoots emerge.
Sprouting Your Ginger: The First Crucial Steps
Sprouting ginger is an exciting stage where you witness the first signs of life from your selected rhizomes. While you can plant ginger directly into the soil, pre-sprouting indoors gives you a head start and allows you to confirm viability before committing to a pot. This method is particularly effective for how to grow ginger from store bought root in a pot, as it ensures you are planting actively growing material.
If you enjoy watching roots and stems emerge, you might also like sprouting an avocado seed as another rewarding windowsill project.
If you are looking for an even faster way to produce fresh food, consider growing sprouts in a jar while your ginger takes its time to develop.
Two Effective Methods for Sprouting Ginger:
-
Water Sprouting Method:
This simple technique lets you observe the sprouting process firsthand. It works well if you want to keep an eye on progress and enjoy seeing the roots develop.
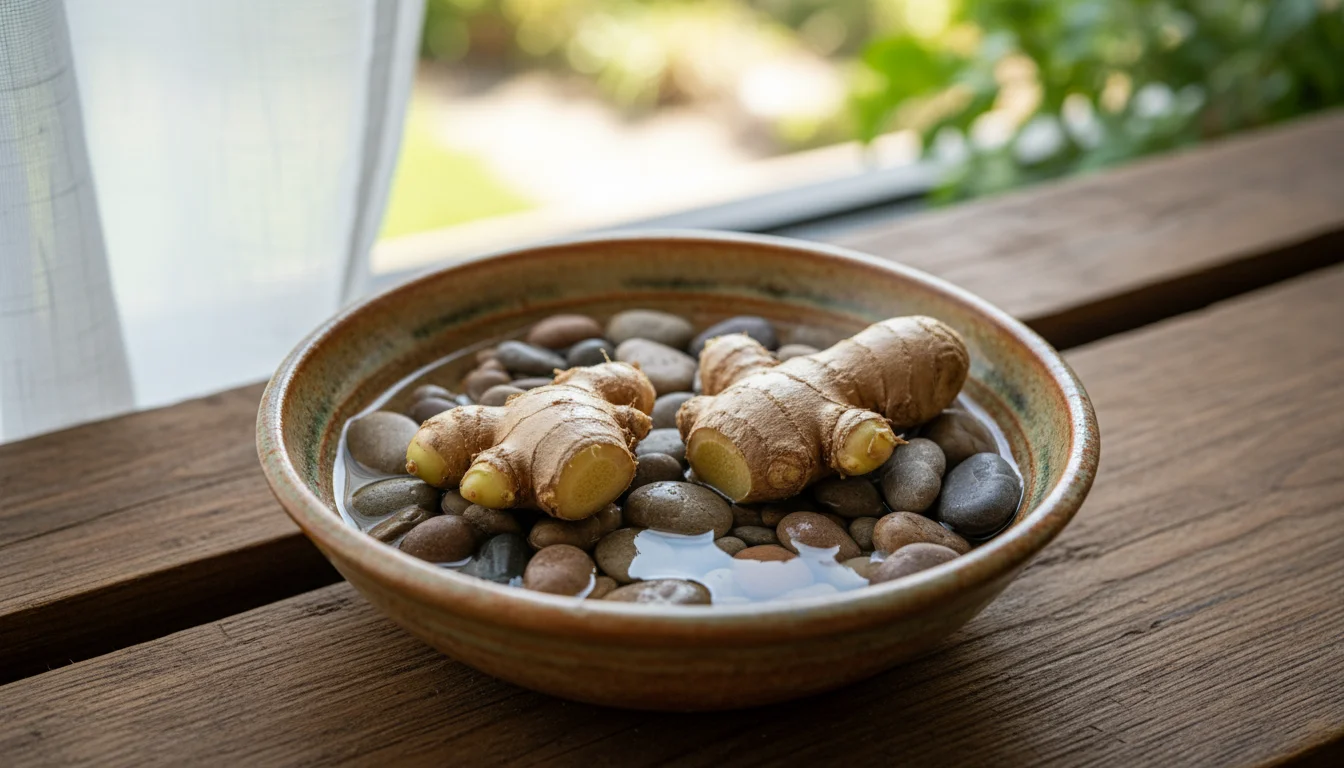
- Materials: A shallow dish or bowl, a few pebbles or a small rack, and clean water.
- Process: Place your ginger rhizome sections on the pebbles or rack in the dish. Add just enough water to submerge the bottom half of the ginger, but do not completely immerse it. The goal is to keep the lower part moist while allowing the top to access air, preventing rot.
- Location: Place the dish in a warm spot, ideally between 70-80°F (21-27°C), and out of direct sunlight. A cabinet above the refrigerator or a warm windowsill (without direct sun scorching) works well.
- Maintenance: Change the water every day or two to prevent bacterial growth. You should see small white rootlets emerging from the bottom and tiny green shoots developing from the “eyes” within a few weeks, sometimes up to a month.
-
Paper Towel/Plastic Bag Method:
This method creates a mini-greenhouse environment, providing consistent moisture and warmth, which ginger loves. It is a very reliable way to encourage sprouting for your winter growing projects.
- Materials: Paper towels, a plastic zipper-top bag, and a spray bottle with water.
- Process: Slightly dampen a few sheets of paper towel. Do not make them dripping wet; just moist. Wrap each ginger section loosely in a damp paper towel. Place the wrapped ginger pieces into a plastic zipper-top bag. Seal the bag, leaving a small corner slightly open for air circulation.
- Location: Place the sealed bag in a warm, dark location. Again, temperatures between 70-80°F (21-27°C) are ideal. The top of a refrigerator or a warm closet often provides the consistent warmth needed.
- Maintenance: Check the ginger every few days. Ensure the paper towels remain moist; mist them with water if they start to dry out. Look for signs of sprouting: small white roots appearing and green shoots starting to emerge from the eyes. This process typically takes two to four weeks. If you notice any mold, discard that piece of ginger immediately.
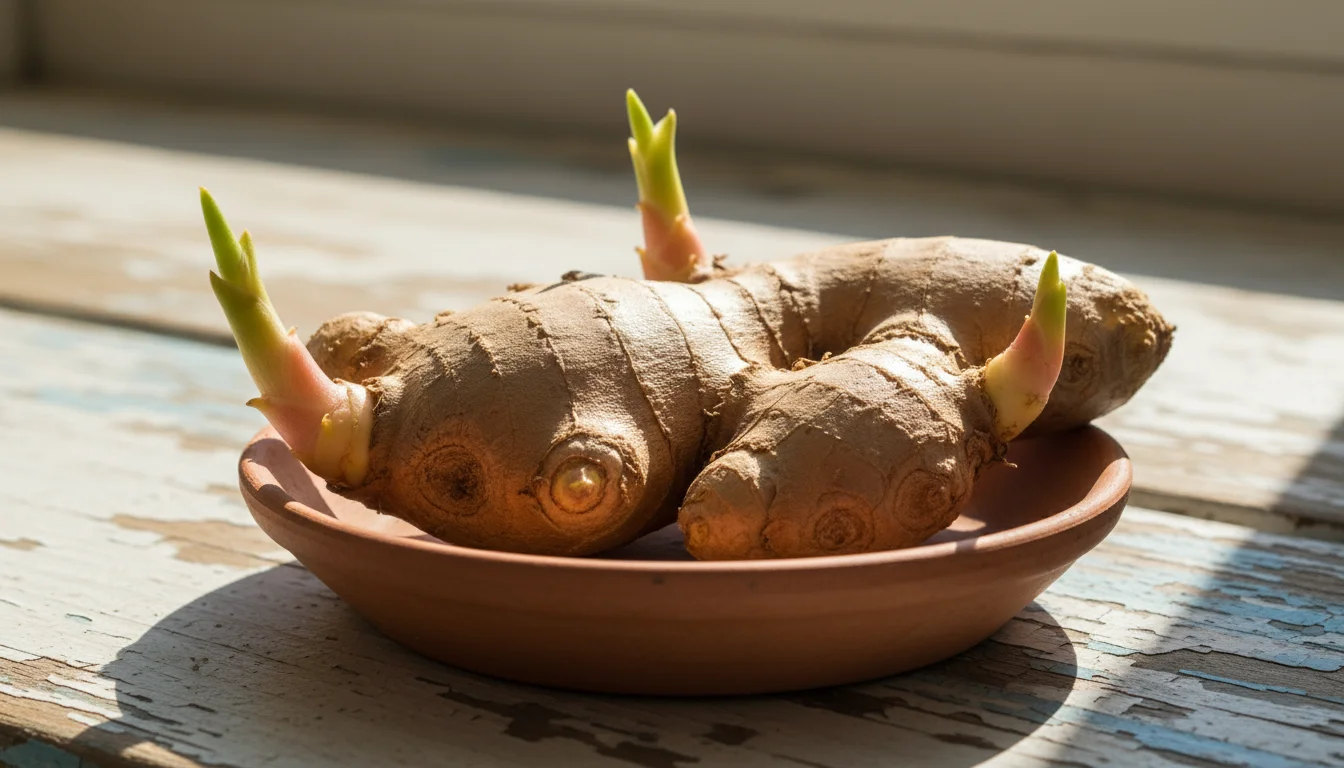
Once your ginger pieces have developed visible roots and small green shoots, they are ready for planting. These sprouts indicate that the rhizome is actively growing and eager to establish itself in a permanent home. Successfully sprouting your ginger is a clear sign that you are well on your way to growing ginger indoors.
Choosing the Right Pot for Your Indoor Ginger
Selecting the correct container is fundamental to the success of growing ginger in a pot indoors. Ginger rhizomes grow horizontally, spreading outwards just beneath the soil surface. This growth habit dictates the type of pot that will best accommodate your plant and allow for optimal root development. Choosing wisely ensures your ginger has the space it needs to flourish and produce a good harvest.
Key Considerations for Ginger Pots:
- Width Over Depth: Since ginger grows horizontally, a wide, shallow pot is far more suitable than a deep, narrow one. A container that is at least 12-18 inches in diameter is ideal for a single ginger plant or a few smaller pieces. While depth is important for root stability, about 8-10 inches of depth is usually sufficient. Deeper pots waste potting mix and may hold too much moisture, potentially leading to root rot.
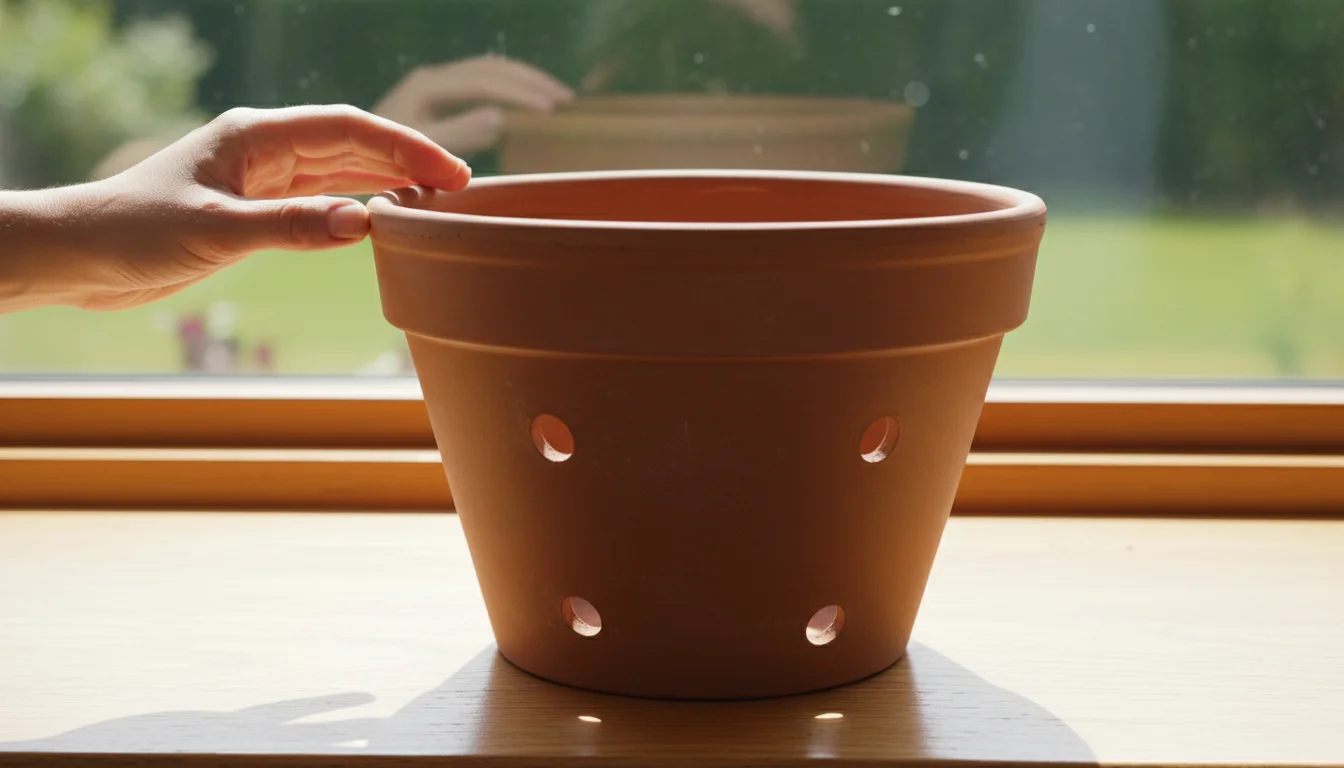
- Drainage Holes are Non-Negotiable: Good drainage is absolutely critical for ginger. Standing water causes rhizomes to rot quickly. Ensure your chosen pot has multiple drainage holes at the bottom. If it does not, you must drill them yourself. Never use a pot without adequate drainage.
- Material Matters:
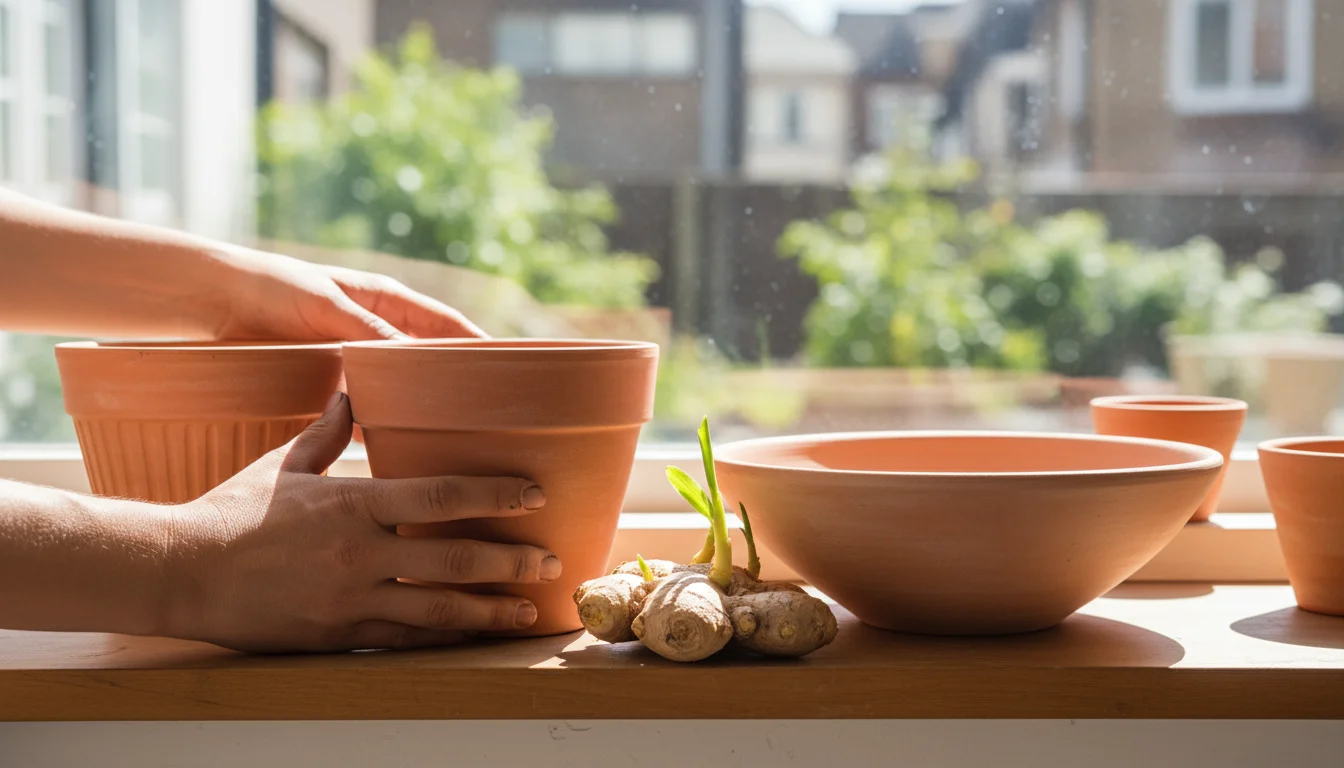
- Terracotta or Clay Pots: These are excellent choices. Their porous nature allows for better air circulation to the roots and helps excess moisture evaporate, reducing the risk of overwatering. However, they can dry out faster, requiring more frequent watering.
- Plastic Pots: Lightweight and less expensive, plastic pots retain moisture longer, which can be beneficial in dry indoor environments but also increases the risk of overwatering if you are not careful. Ensure they have sufficient drainage holes.
- Fabric Grow Bags: These are an increasingly popular choice for container gardening, including growing ginger. Fabric bags provide superior air circulation (“air pruning” the roots) and excellent drainage, preventing waterlogging and promoting healthy root growth. They are also flexible and easy to move.
- Size for Multiple Pieces: If you are planting several ginger pieces, increase the pot size accordingly. For example, a 20-inch diameter pot could comfortably house 2-3 pieces, allowing each enough room to spread. Overcrowding inhibits growth and reduces yield.
- Aesthetic and Practicality: Consider where your pot will reside. If it is on a windowsill, ensure it fits. If it is on a patio or floor, a sturdy pot that complements your decor may be preferred. Remember to use a saucer underneath to catch drainage water, protecting your surfaces.
For example, a common ceramic planter 14 inches in diameter and 9 inches deep serves as a fantastic choice for growing ginger indoors. You provide ample horizontal space for rhizome development, and with proper drainage, your ginger will thrive. Investing in the right container from the outset lays a strong foundation for a successful ginger harvest. This decision directly influences the health and productivity of your ginger plant as part of your winter growing projects.
Crafting the Perfect Soil Mix for Potted Ginger
The right potting mix is as important as the right pot for successful indoor ginger cultivation. Ginger thrives in rich, well-draining, and consistently moist soil. You cannot simply use garden soil from your yard, as it compacts in containers, leading to poor drainage and inadequate air circulation, which are fatal for ginger rhizomes. Instead, you need a specialized blend that provides the ideal environment for root development and nutrient uptake. This guide helps you create the best soil for growing ginger in containers.
Key Characteristics of Ideal Ginger Potting Mix:
- Excellent Drainage: This is paramount. Ginger rhizomes rot quickly in waterlogged conditions. The soil must allow excess water to flow through freely.
- Good Aeration: Roots need oxygen. A loose, fluffy mix allows air pockets, preventing compaction.
- Rich in Organic Matter: Ginger is a heavy feeder and appreciates a nutrient-dense environment that slowly releases sustenance over time.
- Slightly Acidic to Neutral pH: A pH between 6.0 and 7.0 is generally suitable.
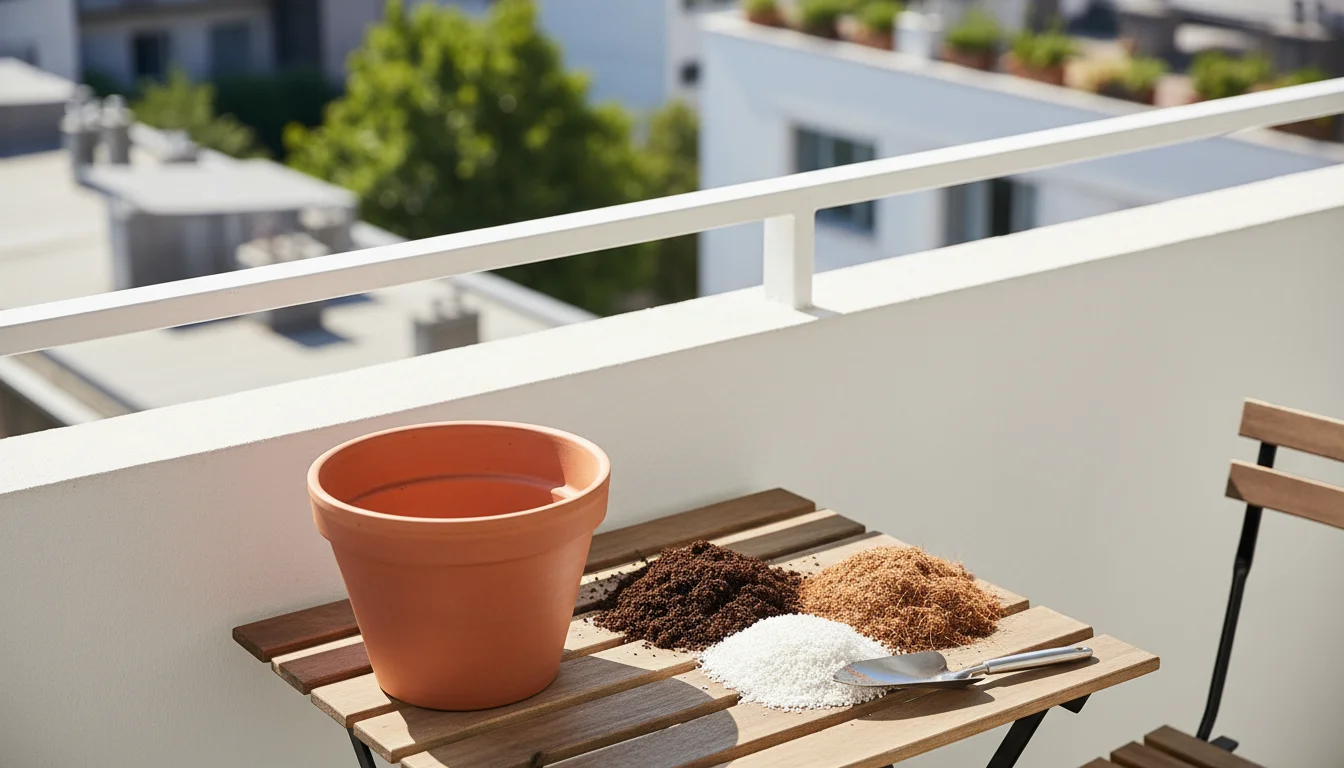
Components for Your Potting Mix:
You can create an excellent ginger potting mix by combining several readily available components. This approach gives you control over the quality and sustainability of your growing medium.
- Base Potting Mix (50-60%):
Start with a high-quality, all-purpose potting mix. Look for brands that are labeled for containers or raised beds. If possible, choose a peat-free option to support environmental sustainability. Peat moss harvesting impacts delicate wetland ecosystems. Sustainable alternatives include coco coir, composted bark, or aged wood fibers. These alternatives offer similar benefits in terms of water retention and aeration without the environmental cost.
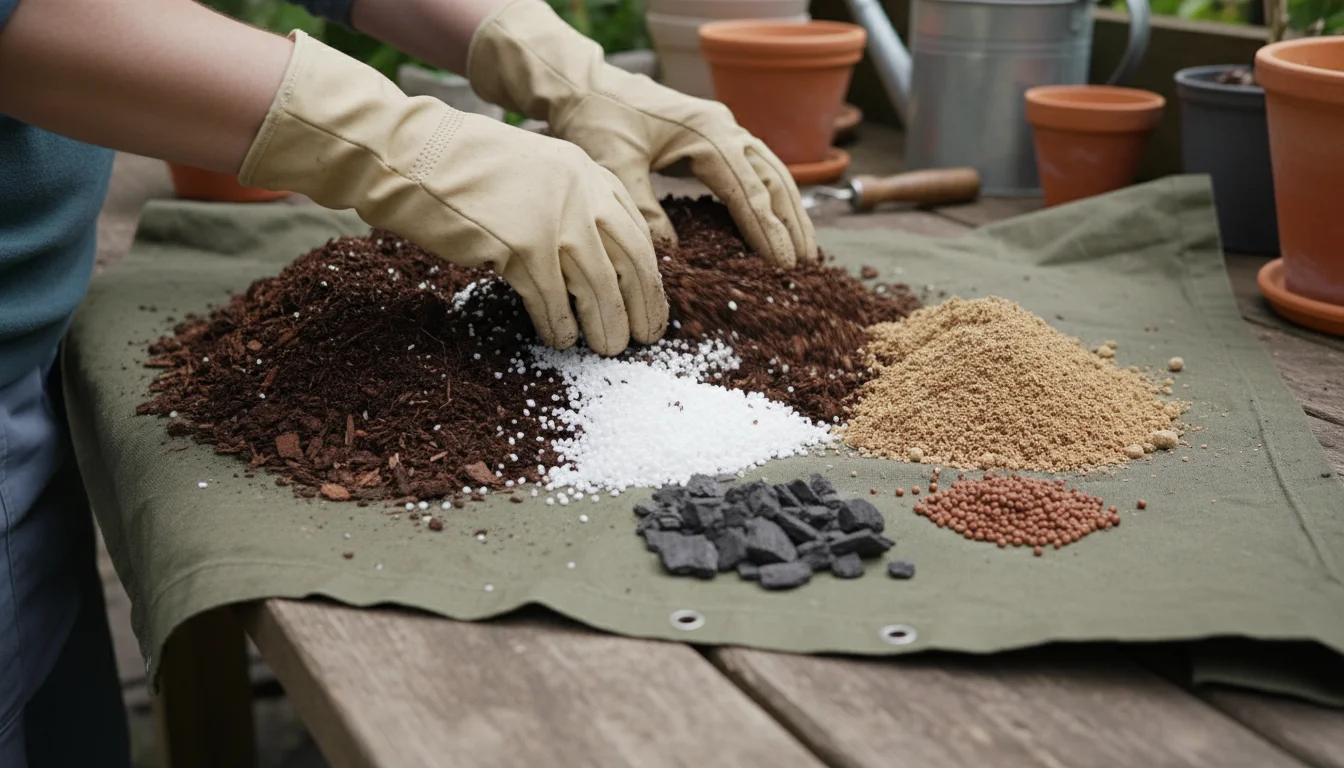
- Perlite or Pumice (20-30%):
These lightweight, inert materials dramatically improve drainage and aeration. Perlite, the white, airy bits often found in potting mixes, prevents compaction and creates necessary air pockets for root health. Pumice offers similar benefits and is often a good local alternative, depending on your region. Do not skimp on this component; it is vital for preventing root rot in growing ginger in a pot indoors.
- Compost or Worm Castings (10-20%):
This is where you add the rich organic matter and slow-release nutrients that ginger craves. High-quality compost or worm castings provide a steady supply of essential nutrients, improve soil structure, and introduce beneficial microbes. These microbes help break down organic material, making nutrients more available to your ginger plant. Using your own homemade compost further enhances your sustainable gardening practices.
- Optional Additions:
- Aged Manure: If available, a small amount (5-10%) of well-rotted manure provides an extra boost of nutrients. Ensure it is fully composted to avoid burning your plant.
- Biochar: A small inclusion of biochar (2-5%) can improve water retention, nutrient availability, and overall soil health over time.
- Balanced Slow-Release Fertilizer: If your compost isn’t particularly rich, or you want added insurance, you can mix in an organic slow-release granular fertilizer according to package directions. Look for formulations specifically designed for edibles.
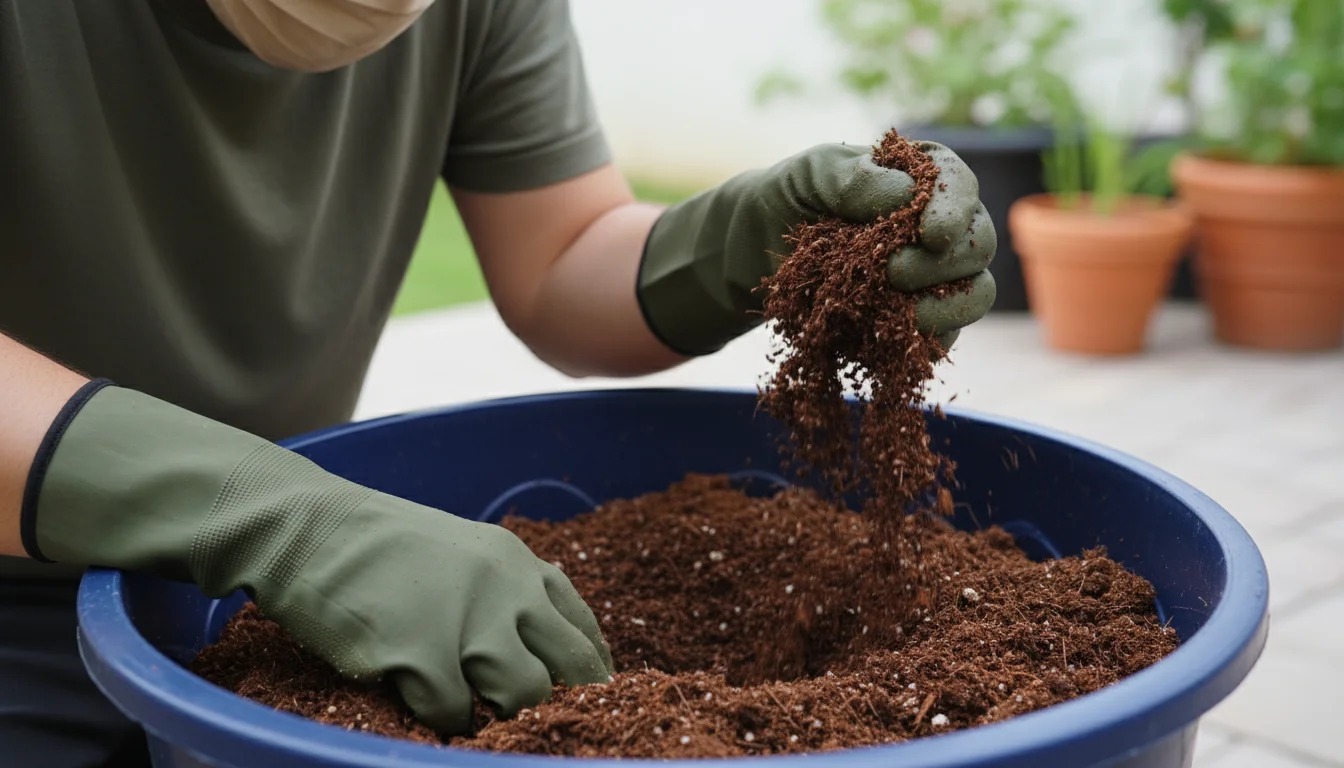
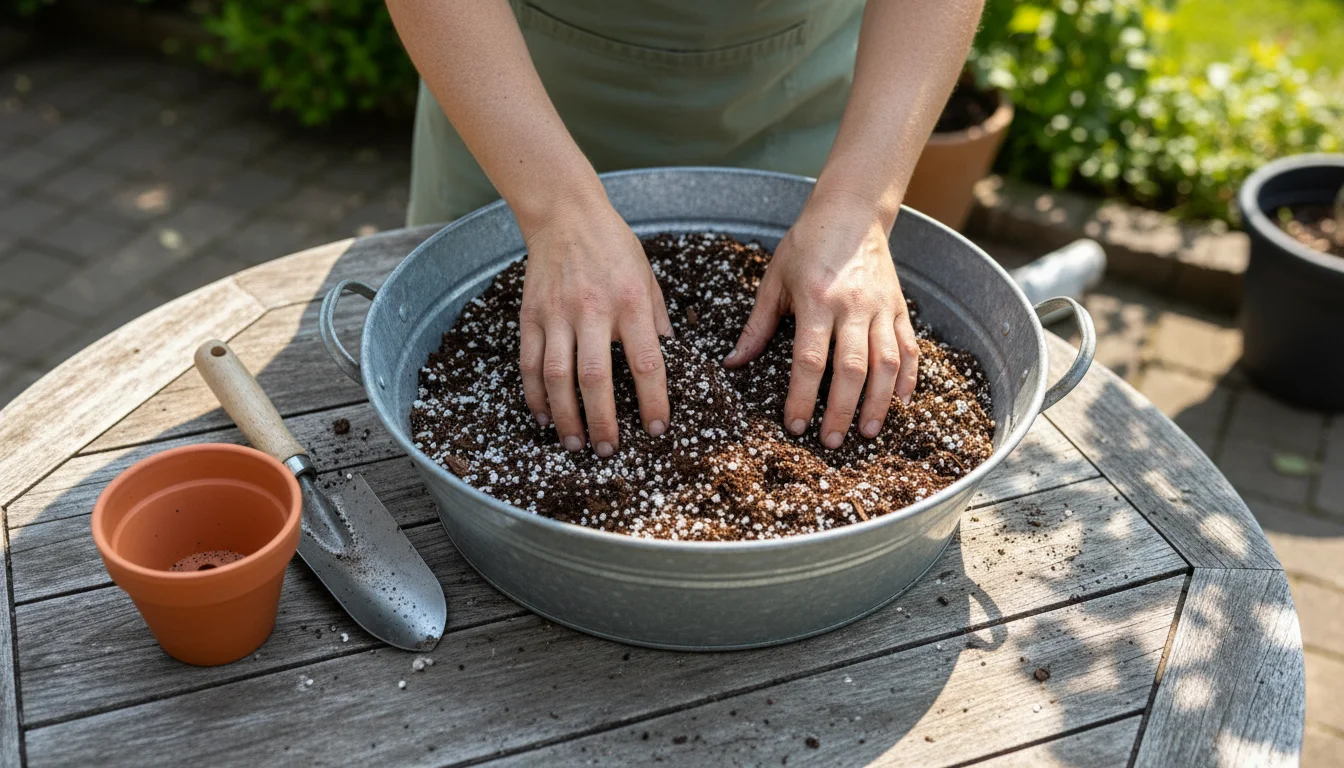
Mixing Your Potting Medium:
Combine all your chosen components thoroughly in a large bucket or wheelbarrow. Wear gloves and a mask, especially when handling dry ingredients like perlite, as fine dust can irritate your respiratory system. Mix until the components are evenly distributed, creating a consistent, fluffy, and dark brown blend. The mixture should feel moist but not soggy, and when you squeeze a handful, it should clump together loosely but easily fall apart.
Using this customized, nutrient-rich, and well-draining soil mix gives your ginger rhizomes the perfect foundation to establish a robust root system and produce vigorously. This careful attention to your growing medium is a critical step in cultivating a successful indoor ginger harvest, solidifying the best soil for growing ginger in containers.
Planting Your Sprouted Ginger: A Step-by-Step Guide
With your sprouted ginger rhizomes, the perfect pot, and a custom-blended potting mix ready, you are prepared for the exciting step of planting. This is where your winter growing projects truly come to life. Follow these steps carefully to ensure a smooth transition for your ginger from sprouting to actively growing in its new home.
Once you have mastered ginger, you can use similar techniques for a winter propagation project to expand your indoor herb collection.
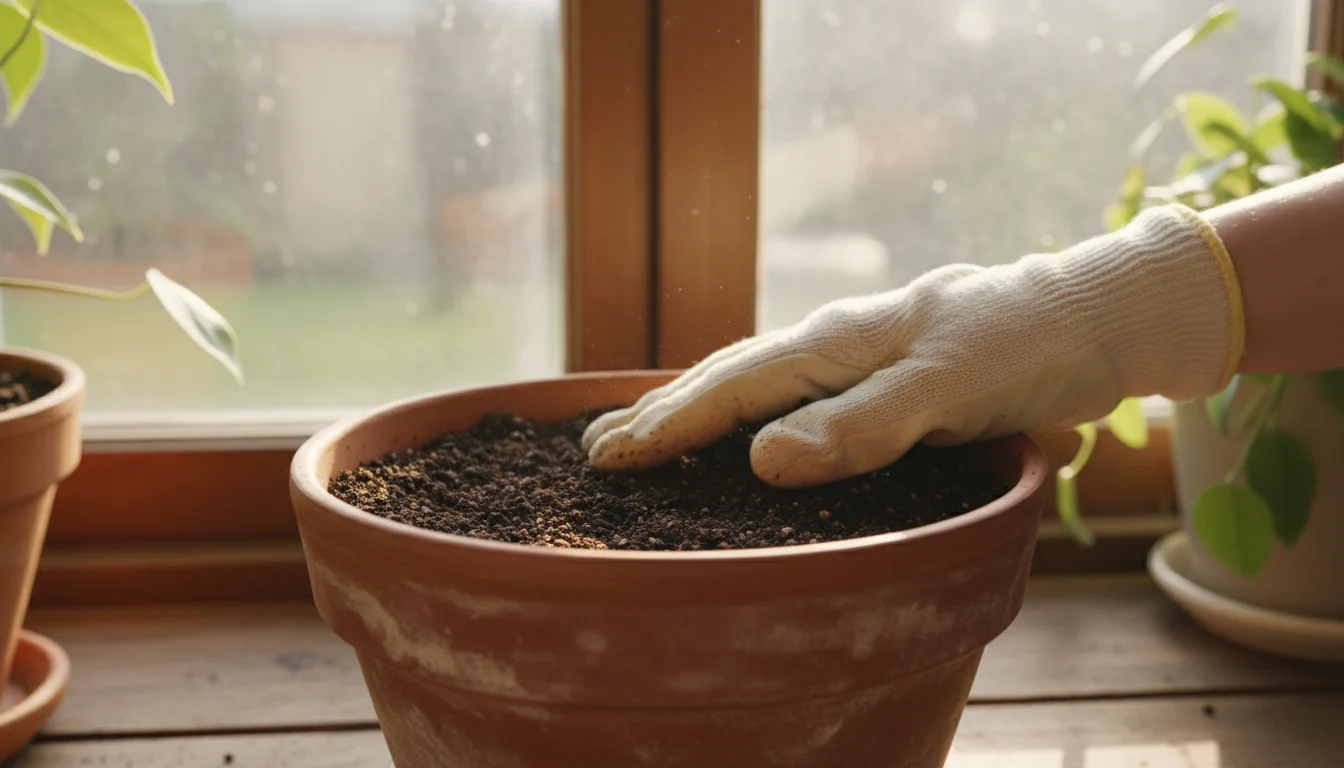
- Prepare Your Pot:
Place a small layer of your prepared potting mix at the bottom of your chosen container. This initial layer ensures the ginger has a soft bed and enough soil beneath it for root development. Do not use gravel or broken pot shards at the bottom for “drainage;” this often hinders drainage by creating a perched water table. Good drainage comes from the quality of your potting mix and sufficient drainage holes.
- Position the Ginger Rhizome:
Take one of your sprouted ginger pieces. Orient it so that the small green shoots are facing upwards. If you see roots, aim to have them gently touching the soil. The rhizome itself should sit horizontally, just below the soil surface.
- For multiple pieces in a larger pot, space them out evenly, usually 6-8 inches apart, to give each plant enough room to spread its rhizomes. Remember, ginger grows outwards.
- Cover Lightly with Soil:
Gently cover the ginger rhizome with approximately 1-2 inches of your potting mix. The top of the rhizome, including the emerging shoots, should be just barely covered or slightly exposed. The goal is to encourage the rhizome to produce more roots and shoots from its surface rather than burying it too deeply, which can lead to rot.
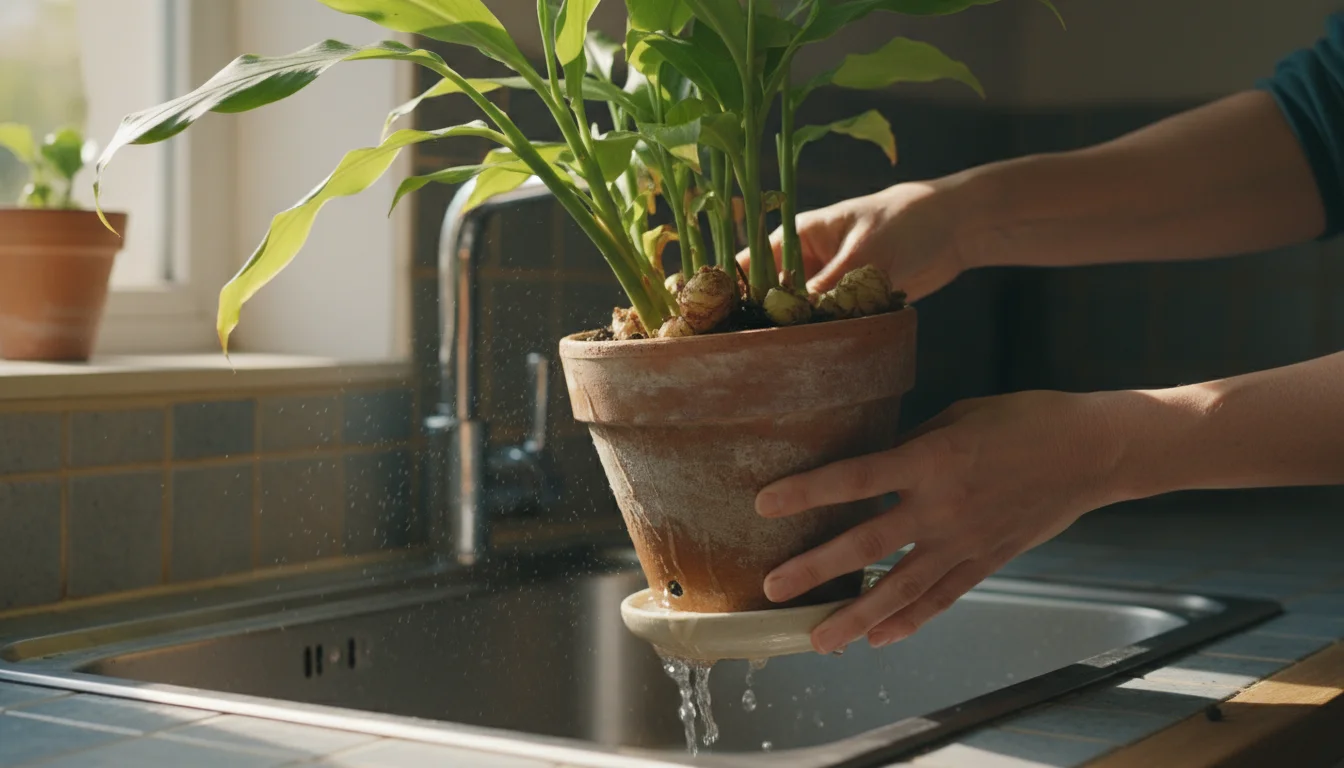
- Water Thoroughly:
After planting, water your pot thoroughly until water drains from the bottom. This settles the soil around the rhizome and removes any air pockets. Ginger needs consistent moisture, especially after planting. However, avoid waterlogging; the soil should be moist, not soggy. If water takes a long time to drain, your potting mix or drainage is inadequate, and you might need to adjust your mix or drill more holes.
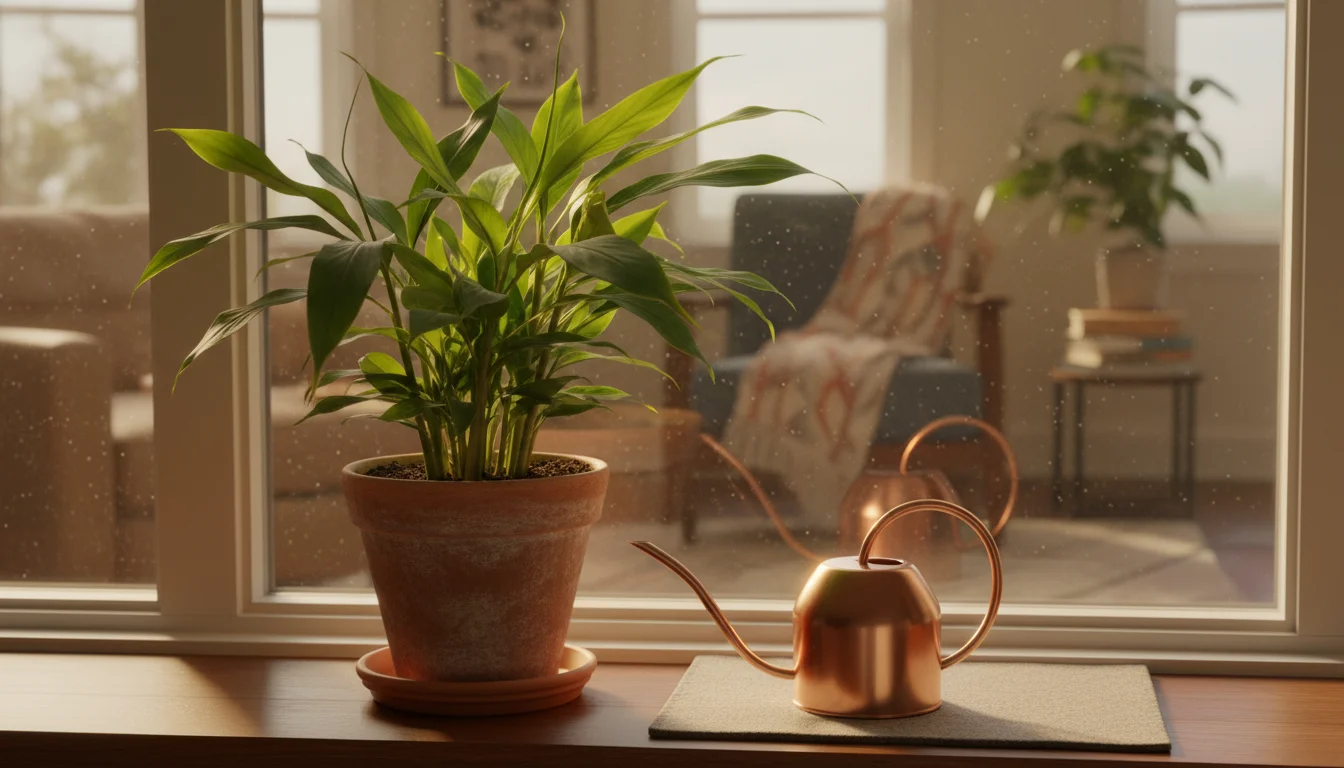
- Place in an Optimal Location:
Position your newly planted ginger pot in a warm location that receives bright, indirect light. A north or east-facing windowsill often works well, providing consistent warmth without the harsh intensity of direct afternoon sun. While ginger can tolerate some morning sun, too much direct, intense sunlight, especially through glass, can scorch its leaves. A consistent temperature of 70-80°F (21-27°C) is ideal for vigorous growth. This setup is crucial for successful windowsill gardening.
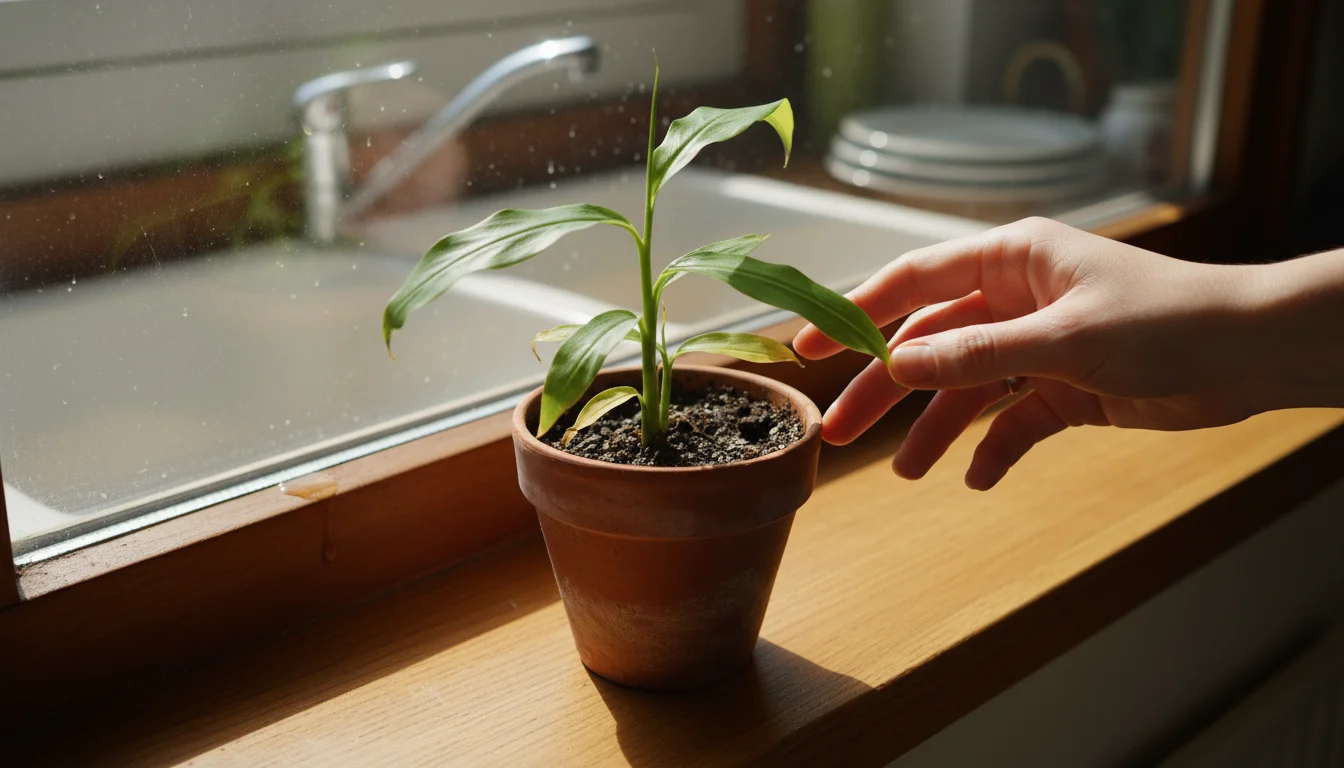
- Maintain Initial Moisture:
For the first few weeks, keep the soil consistently moist but never waterlogged. As the ginger establishes, you will see new green shoots emerge more vigorously from the soil. This indicates that your ginger is happily settling into its new home and beginning its growth cycle as part of your `grow ginger indoors` project.
This careful planting process ensures your sprouted ginger has the best possible start, promoting robust growth and a healthy plant. You are now well on your way to enjoying fresh, homegrown ginger.
Light, Water, and Feeding: Nurturing Your Ginger Plant
Once your ginger is planted and beginning to grow, consistent care regarding light, water, and nutrients ensures a bountiful harvest. These environmental factors are critical for a thriving ginger plant, especially when you are growing ginger in a pot indoors as part of your winter growing projects. You will learn to recognize your plant’s needs and respond accordingly.
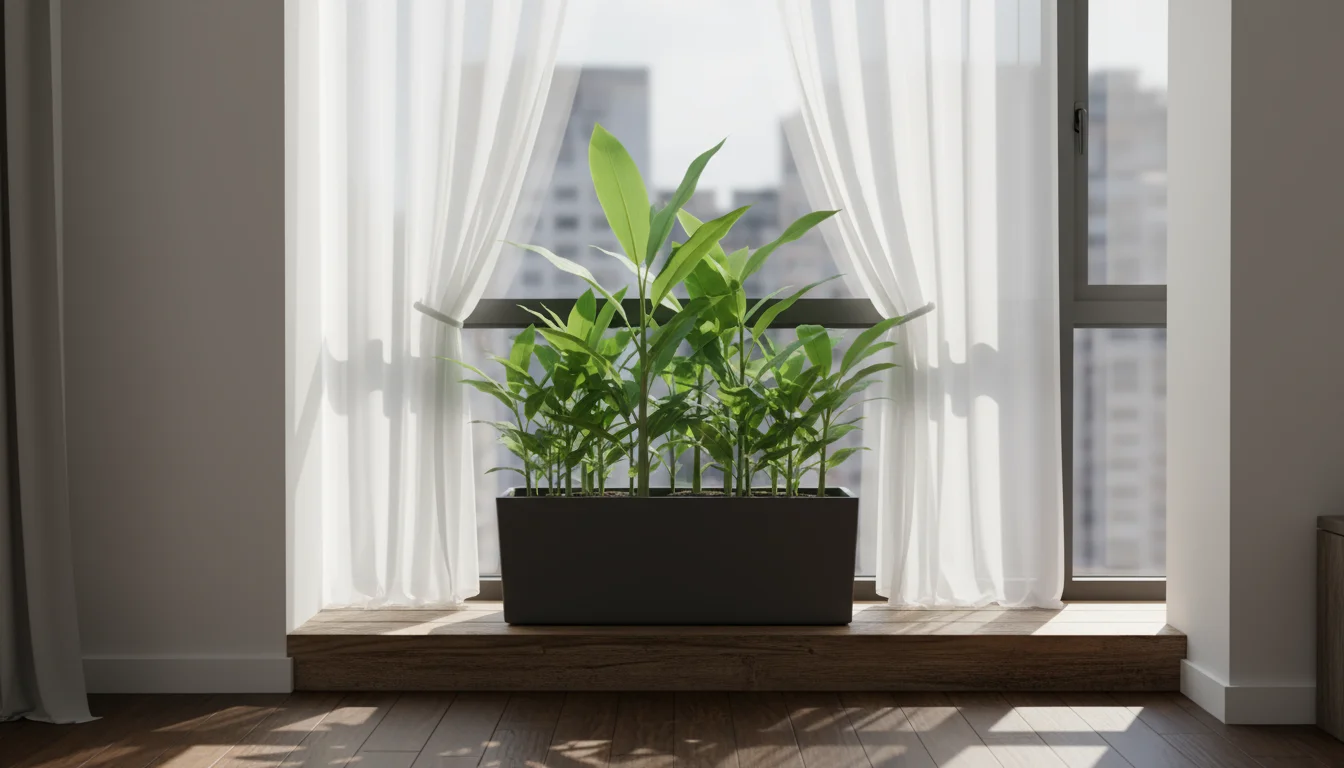
Light Requirements for Indoor Ginger:
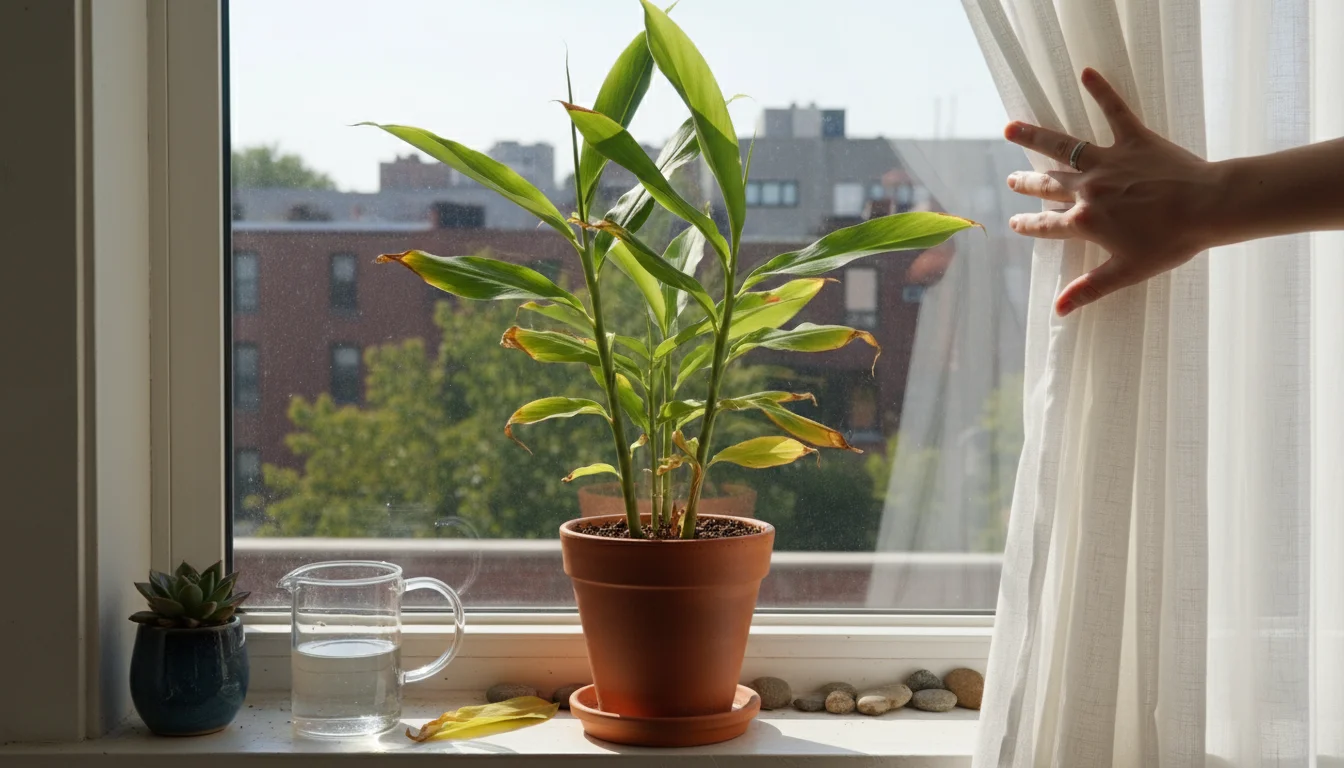
Ginger thrives in bright, indirect light. Think of its natural habitat: under the canopy of larger tropical plants, where it receives dappled sunlight. Direct, intense sunlight can scorch its leaves, especially when magnified through a windowpane. A north or east-facing window is often ideal, providing gentle morning sun or consistent ambient brightness without harsh exposure. If your only option is a south or west-facing window, use a sheer curtain to diffuse the light, or place the pot slightly away from the window.
- Signs of Insufficient Light: Slow growth, pale green leaves, or leggy stems reaching for the light. If you observe these symptoms, move your plant to a brighter spot.
- Signs of Too Much Light: Brown, crispy leaf edges, or faded leaf color. Adjust by moving the plant further from the window or adding a light diffuser.
Watering Your Indoor Ginger:
Consistent moisture is key for ginger, but never soggy. The goal is consistently moist soil, not wet feet, which leads to rhizome rot. Your watering frequency depends on your pot size, soil mix, humidity levels, and ambient temperature. You need to develop a rhythm that suits your specific environment.
- Feel the Soil: The most reliable method is to check the top inch or two of soil with your finger. If it feels dry, it is time to water. If it feels moist, wait.
- Deep Watering: When you do water, water thoroughly until it drains from the bottom of the pot. This ensures the entire root ball receives moisture. Empty any excess water from the saucer within 15-30 minutes to prevent the plant from sitting in standing water.
- Humidity: Ginger appreciates high humidity. Indoor environments, especially during winter with heating systems running, can be very dry. You can increase humidity by misting the leaves daily, placing the pot on a pebble tray filled with water (ensuring the pot itself does not sit in water), or using a small room humidifier nearby.
This careful balance of moisture is crucial for healthy root and rhizome development, particularly for your `windowsill gardening` efforts.
Feeding Your Indoor Ginger:
Ginger is a relatively heavy feeder, requiring regular nutrients to fuel its lush growth and rhizome production. Since it is growing in a confined container, the nutrients in your potting mix will eventually deplete.
- Initial Nutrients: If your potting mix included compost or worm castings, your ginger will have enough nutrients for the first 4-6 weeks.
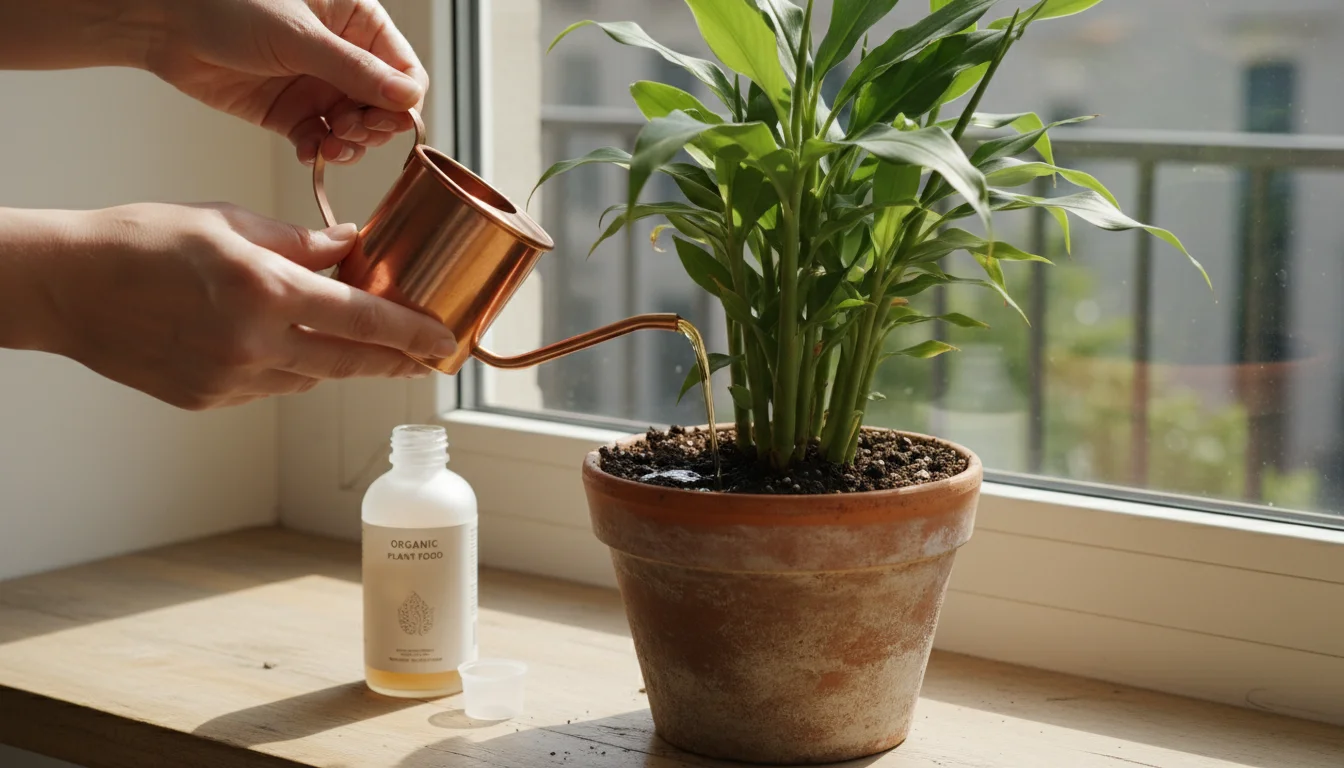
- Regular Feeding: After this initial period, begin a regular feeding schedule. Use a balanced, organic liquid fertilizer, diluted to half strength, every 2-4 weeks during the active growing season (typically spring through fall). Look for fertilizers with an NPK ratio like 5-5-5 or similar, designed for edible plants.
- Application: Apply the fertilizer after watering the plant to moist soil. Applying to dry soil can cause nutrient burn.
- Reduced Feeding in Winter: As daylight hours shorten and temperatures cool, ginger’s growth slows down. You can reduce feeding frequency to once a month or stop entirely during its dormant phase (usually late fall through winter), resuming when new growth appears in spring. This helps conserve energy and prevents nutrient buildup.
By providing the right light, maintaining consistent moisture, and supplying adequate nutrition, you create an optimal environment for your indoor ginger plant to thrive, offering you bountiful harvests from your windowsill gardening endeavors.
Troubleshooting Common Indoor Ginger Issues
Even with the best intentions, you might encounter a few challenges when growing ginger indoors. Recognizing these common issues early and understanding how to address them helps you maintain a healthy and productive plant. This proactive approach saves your crop and keeps your winter growing projects on track.
Common Problems and Solutions:
- Yellowing Leaves (Chlorosis):
- Cause: Yellow leaves often indicate a nutrient deficiency, usually nitrogen, or improper watering. It can also signify too much direct sunlight.
- Solution:
- Nutrient Deficiency: Increase your feeding frequency with a balanced liquid fertilizer. Ensure your soil mix is rich in compost or worm castings.
- Overwatering: Check soil moisture before watering. Allow the top inch of soil to dry out between waterings. Ensure adequate drainage in your pot.
- Too Much Sun: Move the plant to a spot with bright, indirect light or add a sheer curtain to diffuse direct sunlight.
- Brown, Crispy Leaf Edges:
- Cause: Typically, this points to low humidity or underwatering.
- Solution:
- Low Humidity: Increase humidity around the plant by misting daily, using a pebble tray, or running a humidifier.
- Underwatering: Ensure you are watering deeply and consistently when the top soil layer is dry. Do not let the pot completely dry out.
- Mushy or Rotting Rhizomes:
- Cause: This is almost always due to overwatering or poor drainage, leading to waterlogged soil.
- Solution:
- Immediate Action: Carefully unpot the plant. Inspect the rhizomes. Cut away any soft, mushy, or discolored parts with a clean, sharp knife. Allow the cut surfaces to air dry and form a callus for a day.
- Repot: Repot into fresh, well-draining soil mix in a pot with ample drainage holes. Adjust your watering schedule to be less frequent and always check soil moisture first.
- Slow or Stunted Growth:
- Cause: Insufficient light, lack of nutrients, or temperatures that are too cool.
- Solution:
- Light: Move to a brighter location with indirect light.
- Nutrients: Establish a regular feeding schedule with a balanced organic fertilizer.
- Temperature: Ensure the plant is in a warm spot, ideally 70-80°F (21-27°C). Avoid cold drafts.
- Pests:
- Cause: Indoor plants can occasionally attract pests like spider mites, aphids, or fungus gnats.
- Solution:
- Prevention: Inspect your plants regularly. High humidity often deters spider mites. Proper watering helps avoid fungus gnats, which thrive in constantly wet soil.
- Treatment: For mild infestations, spray the plant with a strong stream of water to dislodge pests. For persistent issues, use insecticidal soap or neem oil spray, ensuring full coverage of all leaf surfaces (top and bottom). Always follow product instructions carefully. For fungus gnats, allow the top inch or two of soil to dry completely between waterings, or use sticky traps.
Regular observation is your best tool for successful troubleshooting. By paying close attention to your ginger plant, you identify issues early and implement solutions before they become severe. This proactive approach ensures your indoor ginger cultivation remains a rewarding and enjoyable experience, offering continued fresh ginger from your windowsill gardening efforts.
Harvesting Your Homegrown Ginger and Enjoying the Flavor
After months of nurturing your indoor ginger plant, the most satisfying moment arrives: harvest time! You will delight in the vibrant aroma and superior flavor of your homegrown ginger. Knowing when and how to harvest ensures you get the most from your winter growing projects.

When to Harvest:
Ginger takes a while to mature, typically 8-10 months from planting to a substantial harvest. You will notice signs that your plant is ready:
- Plant Maturity: The leaves will start to yellow and the stems may begin to fall over. This indicates the plant is redirecting its energy into thickening the rhizomes underground.
- Visual Inspection (Partial Harvest): You can perform a partial harvest sooner. Gently dig around the edges of the pot to expose some rhizomes. If they look plump and firm, similar to store-bought ginger, they are ready. They will have a distinctive ginger scent when scraped.
- Best Flavor: For the most intense flavor, wait until the plant shows signs of dormancy.
How to Harvest Your Indoor Ginger:
You have two main options for harvesting: partial harvest or full harvest.
- Partial Harvest (Cut-and-Come-Again):
This method allows you to enjoy fresh ginger continuously without removing the entire plant. It is perfect for extending your growing season and maximizing your yield from a single plant.
- Process: Gently push away some of the topsoil around the edges of the pot until you expose a section of rhizome. Using a clean, sharp knife or garden shears, cut off a piece of the exposed rhizome. Ensure you leave several inches of rhizome attached to the main plant to allow it to continue growing.
- After Harvest: Cover the exposed area with fresh potting mix. Water gently. Your plant will continue to produce more rhizomes.
- Benefit: This method provides a steady supply of young, tender ginger, which often has a milder, less fibrous texture.
- Full Harvest:
When the plant’s foliage has significantly yellowed and withered, you can perform a full harvest.
- Process: Carefully tip the entire pot onto a tarp or newspaper. Gently remove all the soil from the rhizomes. You will be amazed at the network of ginger you have grown!
- Cleaning: Brush off excess soil from the rhizomes. Rinse them gently under cool water.
- Replanting: Select some of the healthiest, firmest rhizomes with visible “eyes” to replant for your next crop. This ensures a continuous cycle of growing ginger from store bought root in a pot.
Storing and Enjoying Your Homegrown Ginger:
Freshly harvested ginger tastes significantly better than store-bought. It often has a thinner skin, which you can leave on for many culinary applications.
- Fresh Use: Use immediately in teas, stir-fries, curries, baked goods, or juices. The flavor is incredibly potent.
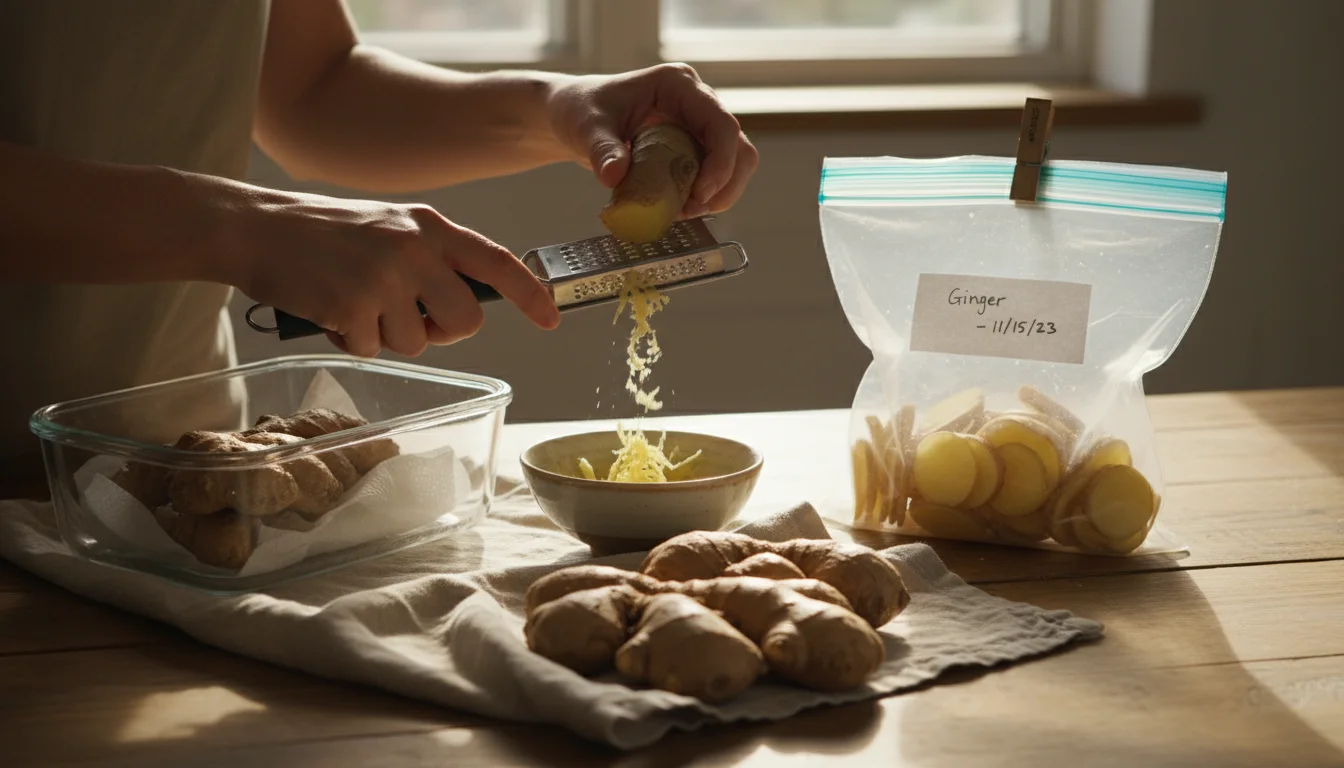
- Short-Term Storage (Refrigerator): Store unpeeled ginger in a paper bag or loosely wrapped in a paper towel within an airtight container or a plastic zipper-top bag in the crisper drawer of your refrigerator. It will keep for 2-3 weeks.
- Long-Term Storage (Freezer): For longer storage, you have several options:
- Whole Pieces: Freeze unpeeled pieces in an airtight freezer bag. You can grate or slice it directly from frozen.
- Peeled and Sliced/Chopped: Peel and slice or chop ginger, then freeze in a single layer on a baking sheet before transferring to a freezer bag. This prevents clumping.
- Ginger Paste: Blend peeled ginger with a little water or oil to create a paste, then freeze it in ice cube trays. Once frozen, transfer the cubes to a freezer bag for easy portioning.
- Dehydrating: You can also slice fresh ginger thinly and dehydrate it for a shelf-stable ingredient for teas or spice mixes.
Enjoying the fruits of your labor is the most rewarding part of any gardening project. Your homegrown ginger elevates your cooking and connects you more deeply to your food source. You have successfully mastered how to grow ginger from store bought root in a pot, right in your own home.
Frequently Asked Questions
Does ginger grow back every year?
Yes, ginger is a perennial plant, meaning it can grow for more than two years. When grown indoors, if you harvest partially and continue to provide the right conditions, your ginger plant will continue to produce new rhizomes season after season. Many gardeners simply replant a piece of their harvest to start a new plant.
How long does it take for ginger to sprout?
Ginger can take anywhere from a few weeks to a couple of months to sprout. Patience is key. Warmth and consistent moisture are the most critical factors. Providing consistent temperatures between 70-80°F (21-27°C) significantly speeds up the sprouting process for your winter growing projects.
Can I grow ginger from a dried root?
You need fresh, firm ginger with visible “eyes” for successful sprouting. Dried or shriveled ginger roots from the spice aisle are typically not viable for planting. Always choose a fresh, plump rhizome from the produce section of your grocery store for growing ginger in a pot indoors.
What temperature does ginger need to grow?
Ginger is a tropical plant and prefers warm temperatures. Ideally, maintain temperatures between 70-80°F (21-27°C) for optimal growth. Avoid exposing your plant to temperatures below 50°F (10°C), as this can stunt growth or even kill the plant. This makes it an excellent candidate for windowsill gardening during cooler months indoors.
Why are my ginger leaves turning brown?
Browning leaves can indicate several issues. Brown, crispy edges often point to low humidity or underwatering. Entirely brown or yellowed, soft leaves usually suggest overwatering or root rot. Assess your watering habits and ambient humidity to address the cause. Ensure good drainage in your pot for growing ginger in a pot indoors.
For research-based guidance on edible gardening, visit Colorado State University Extension — Gardening, North Carolina State Extension — Gardening, Virginia Cooperative Extension — Lawn & Garden, University of Maryland Extension — Home & Garden and Rutgers New Jersey Agricultural Experiment Station.
Disclaimer: This article is for informational purposes only and is not a substitute for professional advice. Consult local extension services for region-specific recommendations.

Leave a Reply