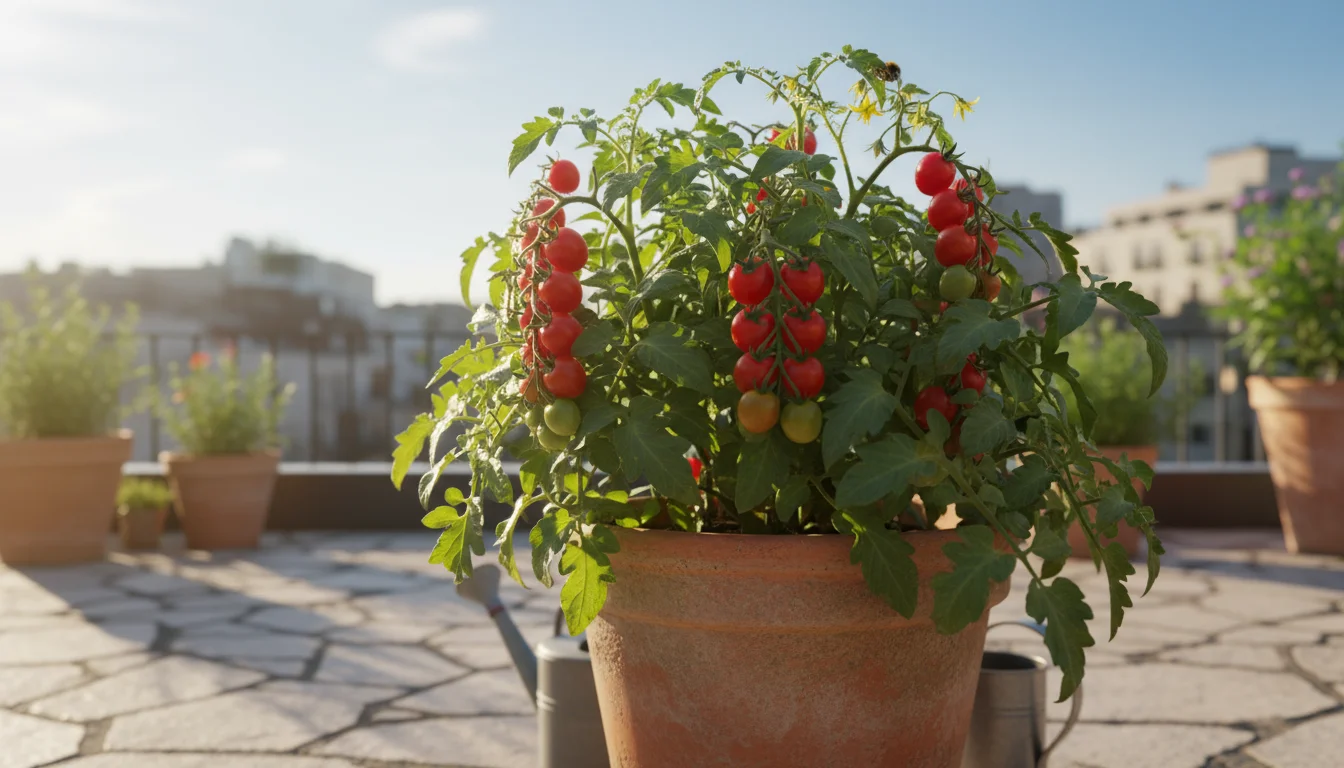
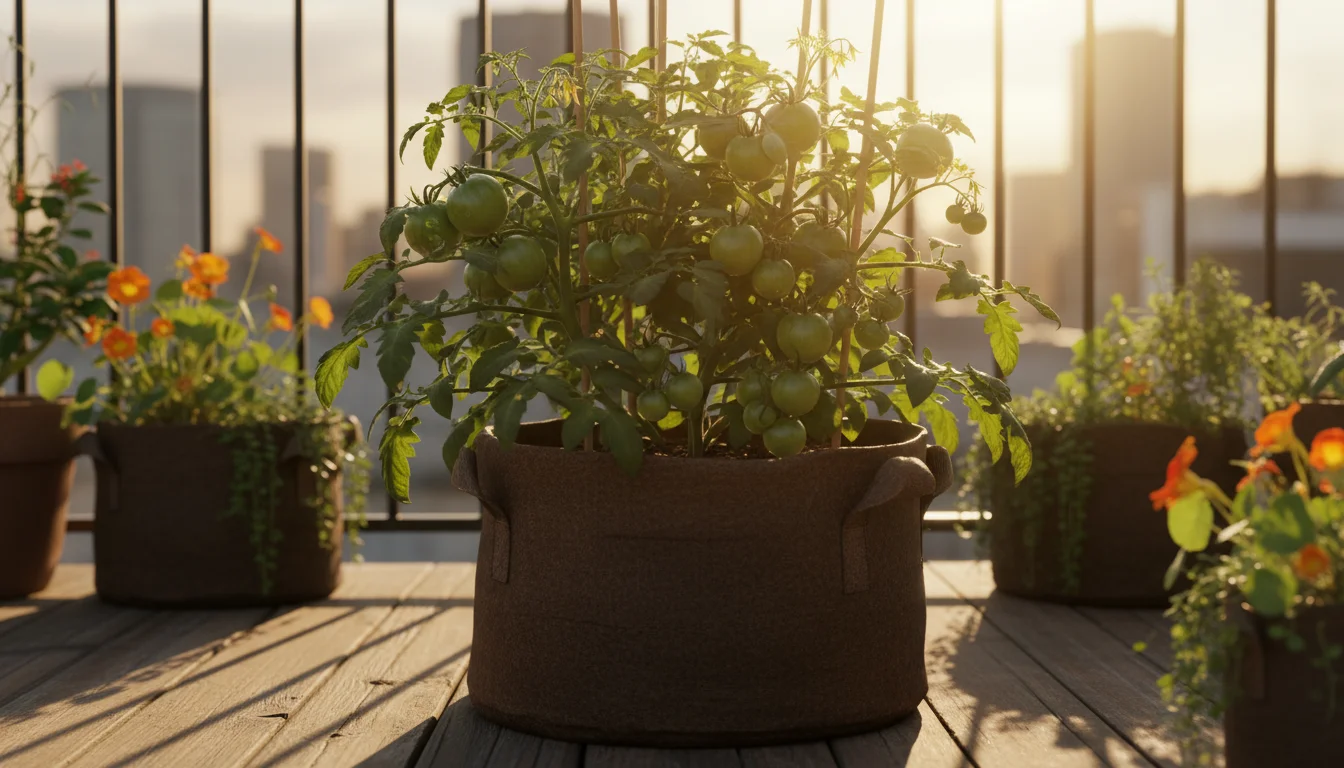
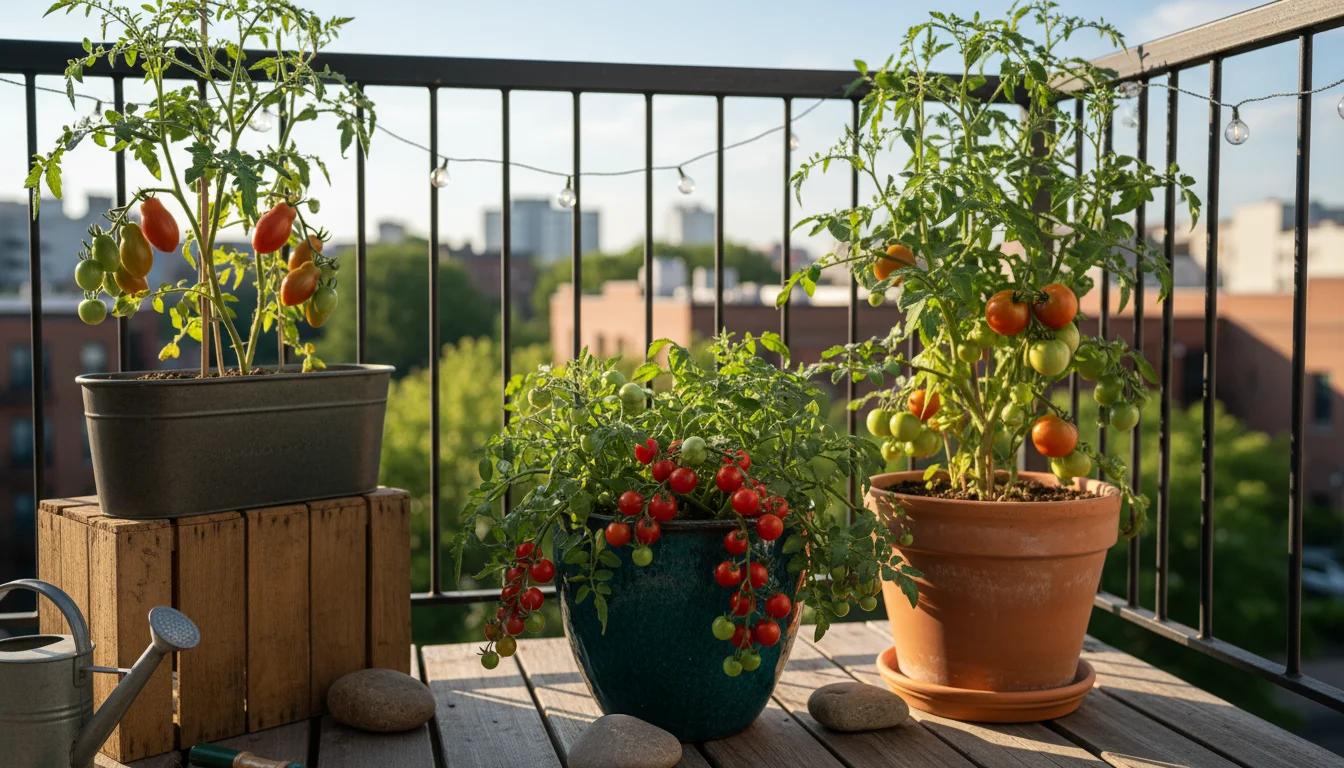
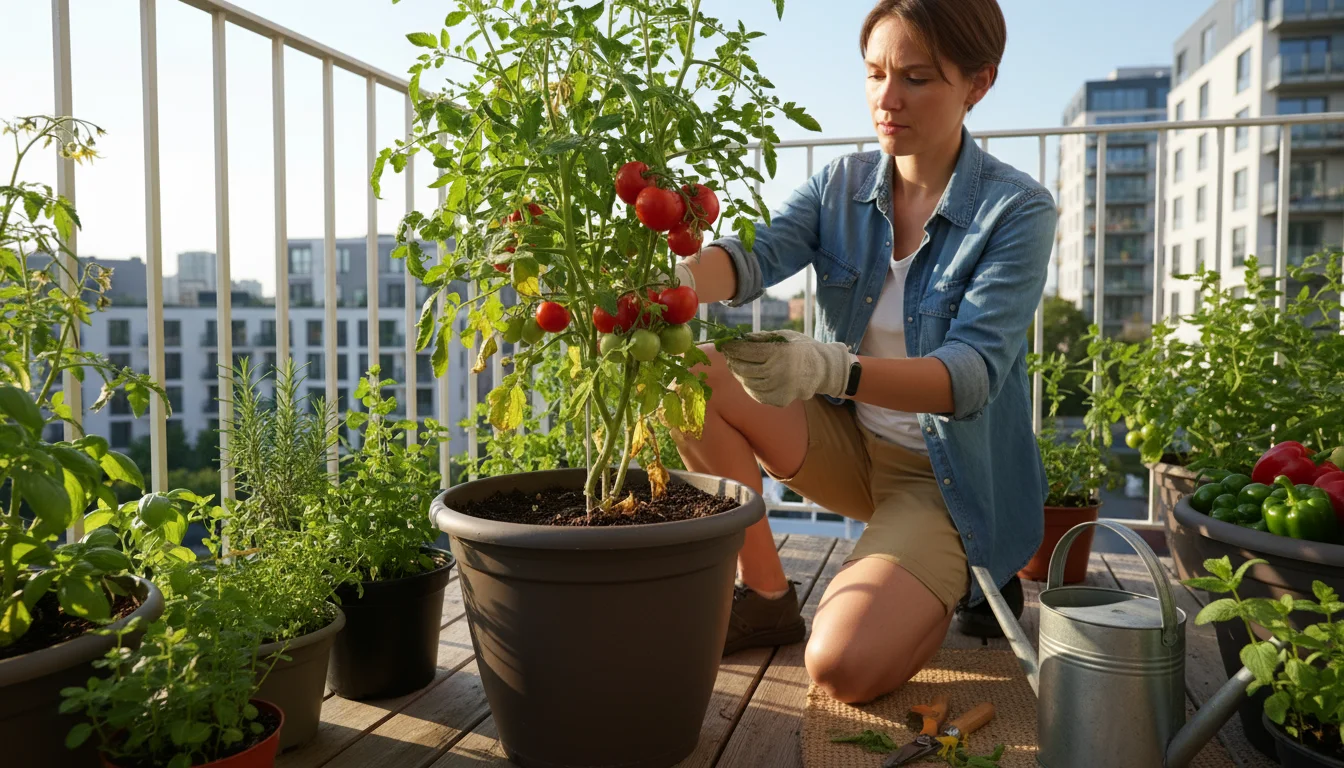
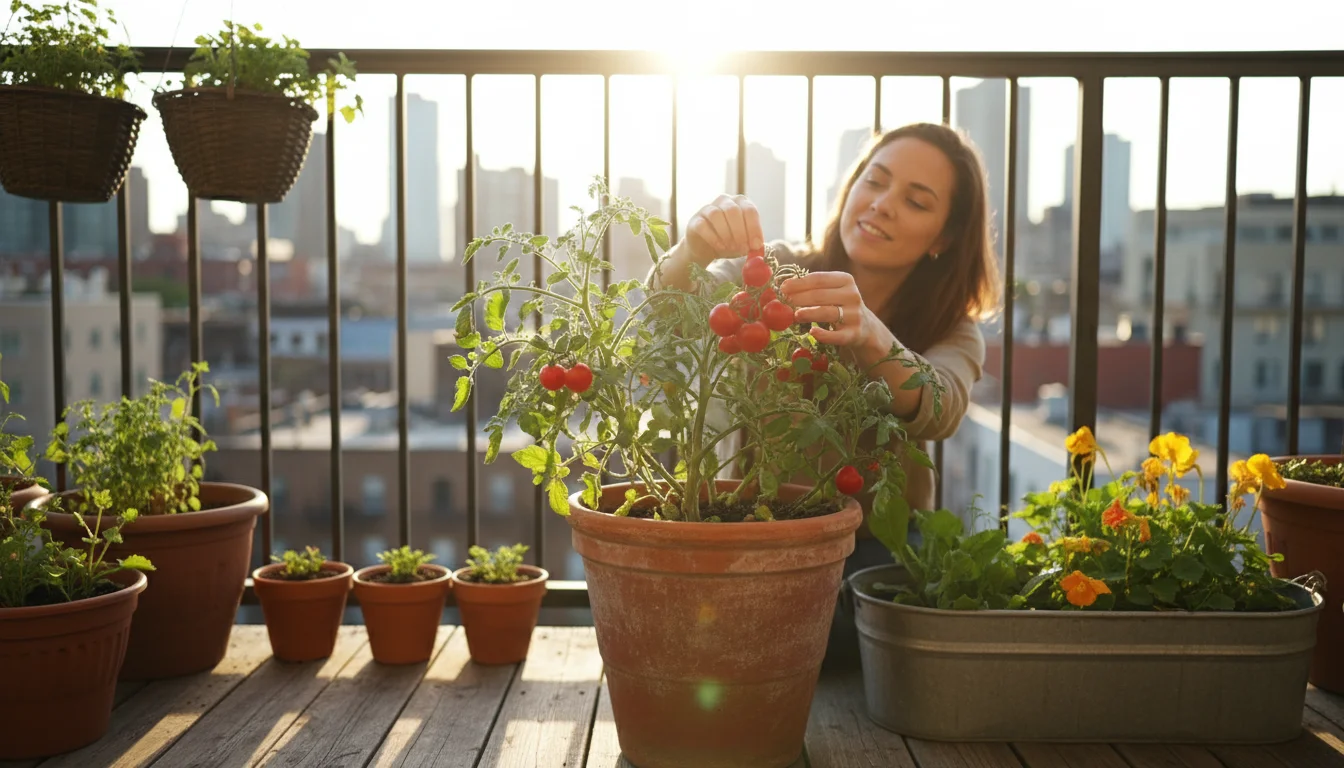
Growing your own juicy, sun-ripened tomatoes feels like a gardening superpower, even with limited space. If you think lush tomato plants are only for sprawling gardens, think again. You can absolutely grow tomatoes in pots and achieve abundant harvests right on your balcony, patio, or small yard. This comprehensive container tomato guide equips you with the practical steps and insider tips you need to succeed, ensuring your tomato-growing journey is filled with triumphs, not failures.
We break down everything from choosing the right varieties to providing optimal care, all designed to help you confidently grow tomatoes small space gardeners dream of. Prepare to enjoy the unmatched flavor of homegrown tomatoes.
Site Selection: Your Tomato’s Perfect Home
Selecting the right spot for your container tomatoes establishes the foundation for their success. Tomatoes are sun-worshippers, demanding abundant light to produce their sweet, flavorful fruit. Lack of adequate sunlight is one of the primary reasons for disappointing harvests, so this step deserves your full attention.
Setting up your site correctly is a vital part of any spring planting guide for container success.

Assessing Sunlight Exposure
Tomatoes require at least 6 to 8 hours of direct sunlight per day. Direct sunlight means the sun’s rays hit the plant without obstruction from buildings, trees, or fences. Observe your intended growing area throughout the day. Track how many hours of direct sun it receives. An area that gets morning sun and some afternoon sun is often ideal, as intense afternoon sun in very hot climates can sometimes stress plants. If your space offers less than 6 hours, opt for smaller, determinate varieties that might still yield a respectable crop, though their production will likely be less than plants with full sun exposure. The University of Minnesota Extension provides excellent resources on sunlight requirements for various vegetables, underscoring the importance of this factor for robust plant growth and fruit development.
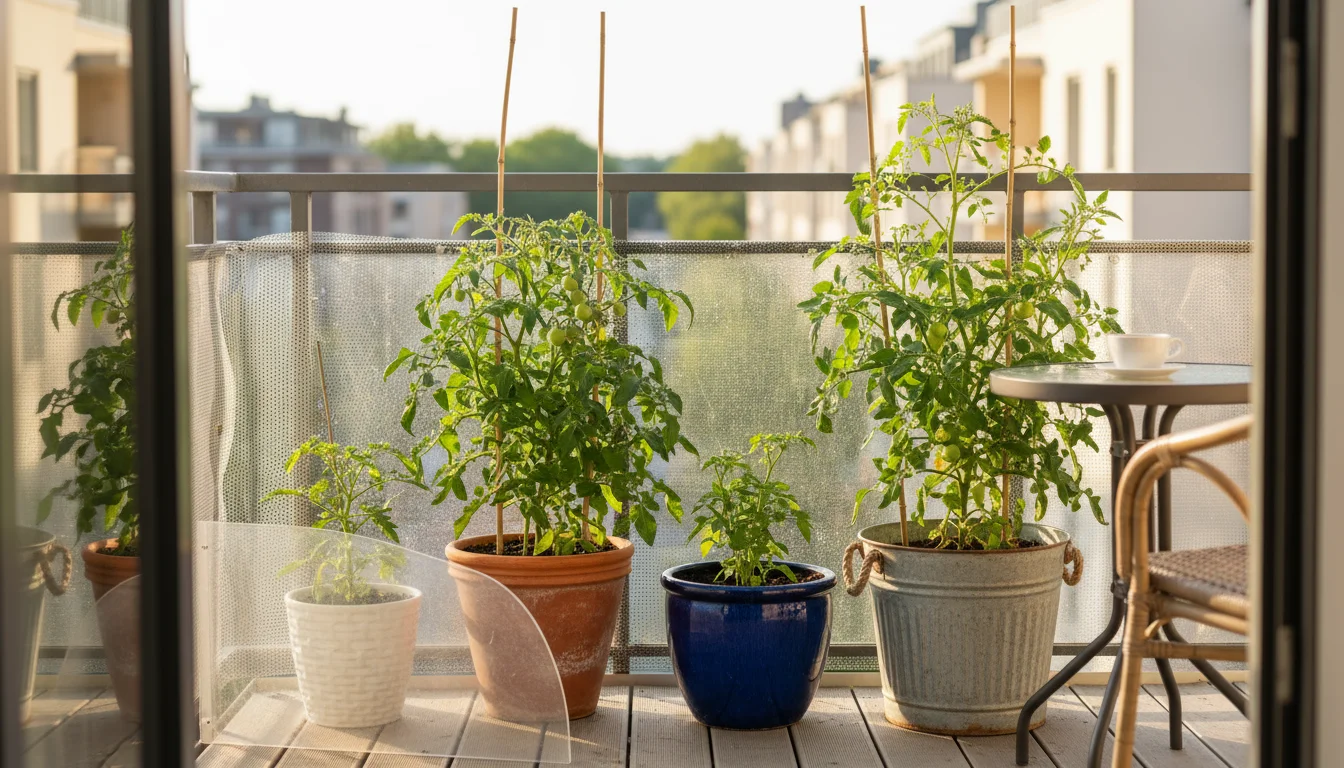
Considering Wind Protection
While sunlight is paramount, you also need to consider wind. Strong winds can damage tomato plants, snapping stems, stressing leaves, and even blowing over containers. Balconies and exposed patios are particularly vulnerable. Position your containers in a spot that offers some natural windbreak, such as near a wall or a sturdy railing. If no natural protection exists, consider erecting a temporary screen or placing containers closer together to provide mutual support. Just make sure the windbreak does not compromise their sun exposure.
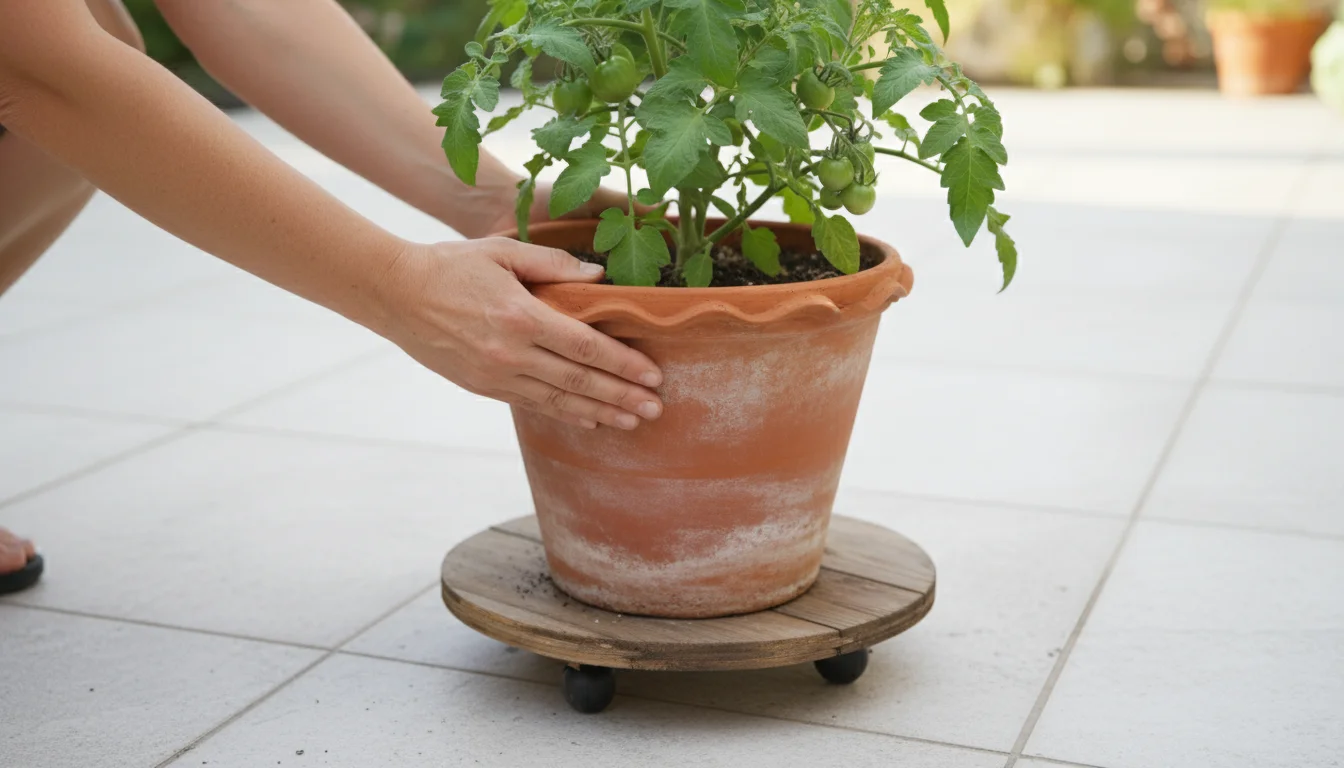
Ensuring Easy Access for Care
Your tomatoes will need regular watering, fertilizing, pruning, and harvesting. Place your containers where you can easily reach them without straining or navigating obstacles. This makes daily care much simpler and encourages you to attend to your plants consistently. If you can only reach one side of a plant, it becomes challenging to prune effectively or check for pests on all surfaces. Accessibility means you can rotate containers if needed, ensuring all sides of the plant receive adequate light and air circulation.

Practical Placement Tips
- South-facing locations: These generally offer the most sun exposure throughout the day in the Northern Hemisphere.
- Wall proximity: A south-facing wall can reflect heat and light, benefiting tomatoes, but monitor soil moisture closely as these spots can dry out faster.
- Avoid shaded corners: Do not place your containers in shaded nooks, even if they seem convenient. Tomatoes will stretch and become leggy, producing minimal fruit.
- Consider rotation: If you have limited sunny spots, you might rotate different crops through them over the season, but once a tomato plant is established, moving it frequently can cause stress. Choose its permanent spot carefully.
Choosing the Right Container for Thriving Tomatoes
The container you select significantly impacts the health and productivity of your tomato plant. Too small, and your plant will become root-bound and stressed; too large, and watering becomes inefficient. The key is finding a balance that supports robust root development and consistent moisture levels.
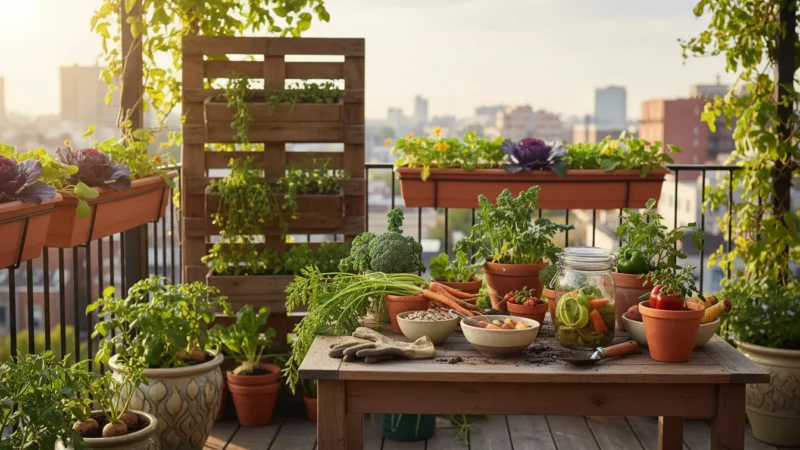
While focusing on tomatoes, it’s also worth thinking about the best crops for fall harvest in containers so your balcony remains productive year-round.
Once you have your pots ready, you can maximize your harvest by exploring companion planting for small spaces to see what grows best with tomatoes.
Minimum Size Requirements
Tomatoes are heavy feeders and drinkers with extensive root systems. Do not underestimate their need for space. For most determinate, bush, or dwarf varieties, a container holding at least 5 gallons (approximately 19 liters) of potting mix is the absolute minimum. This translates to a pot roughly 12-14 inches (30-35 cm) in diameter. For larger indeterminate varieties, which continue to grow and produce throughout the season, aim for containers 15-20 gallons (57-76 liters) or larger, with a diameter of at least 18-24 inches (45-60 cm). Investing in larger containers prevents common issues like wilting, nutrient deficiencies, and reduced yields.
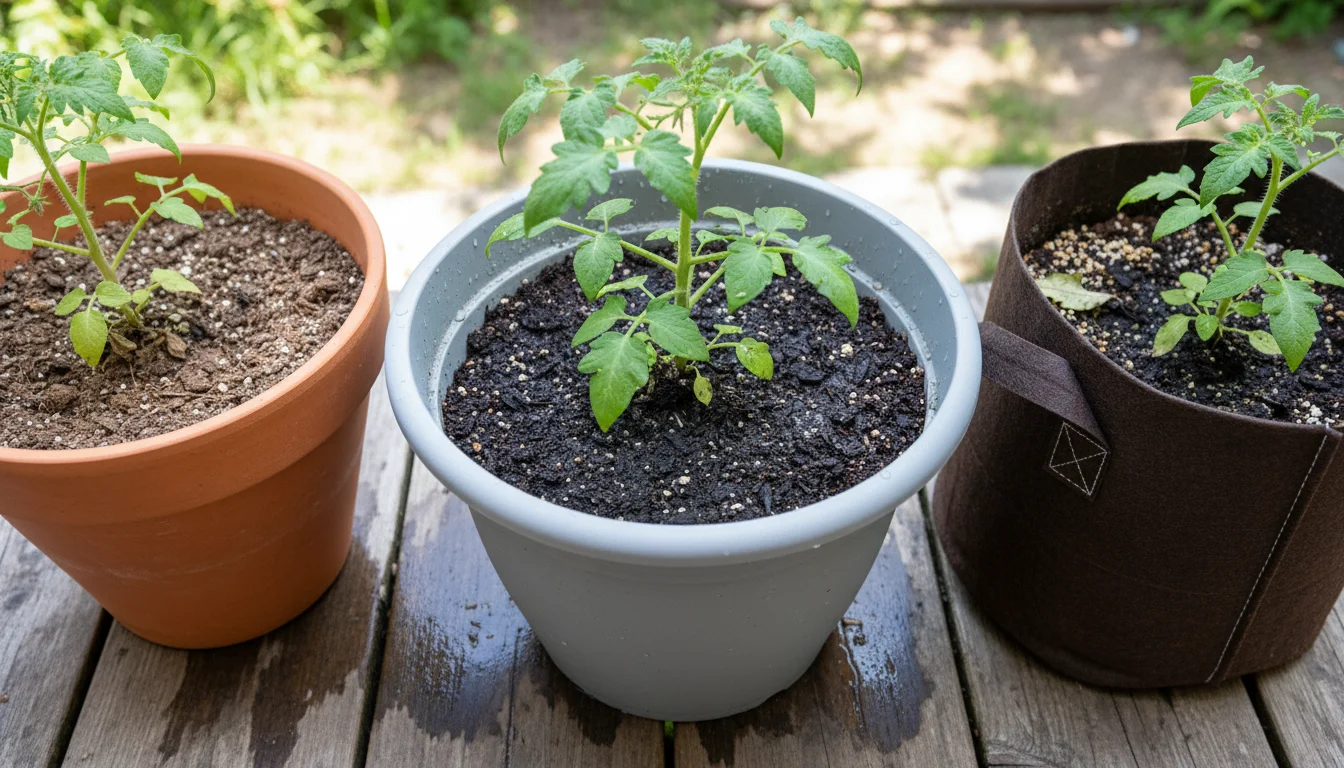
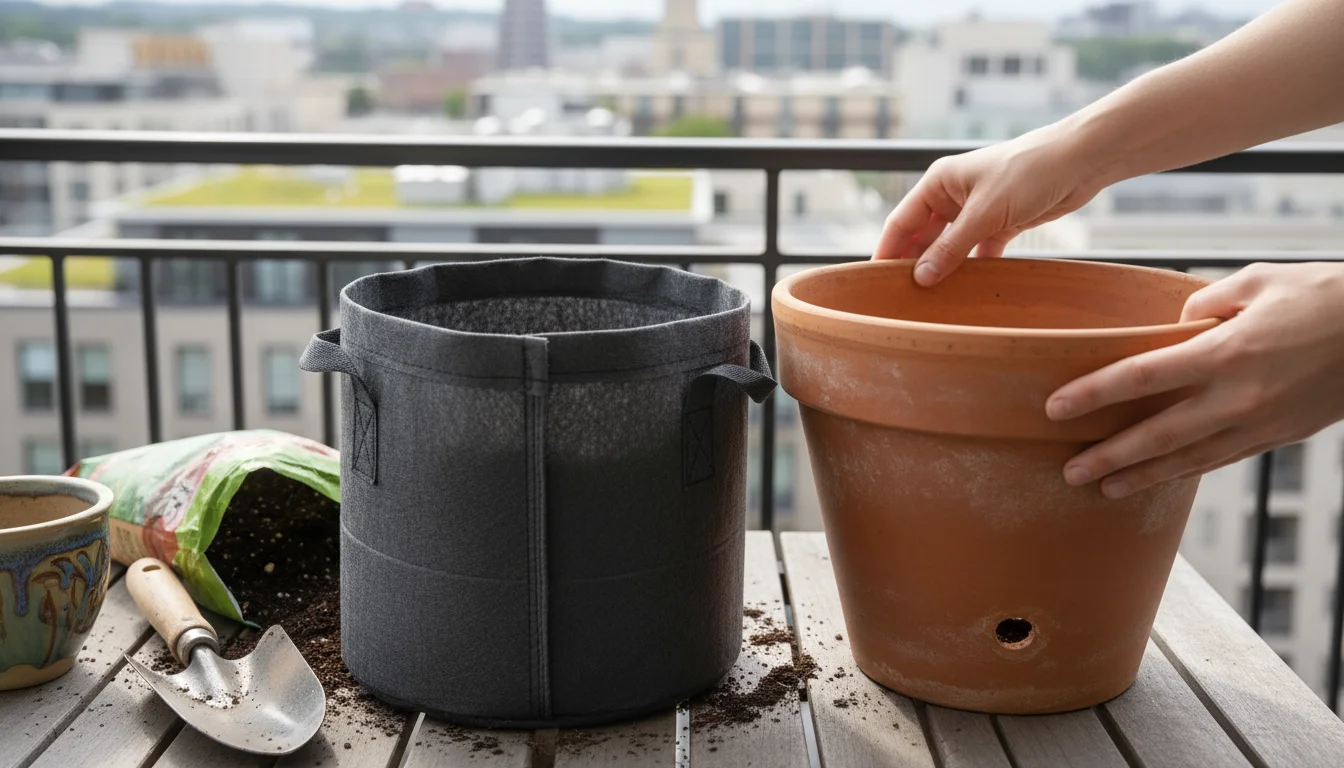
Material Matters
Container materials influence soil temperature and moisture retention. Each has advantages and disadvantages:
- Plastic Pots: Lightweight, inexpensive, and excellent at retaining moisture, reducing the frequency of watering. However, dark plastic pots can absorb excessive heat, potentially overheating roots in hot climates. Choose lighter colors if possible, or shade them.
- Terracotta or Clay Pots: Visually appealing and breathable, allowing roots to access more oxygen. Their porous nature, however, means they dry out much faster, requiring more frequent watering, sometimes daily in hot, sunny conditions. They are also heavy and can break easily.
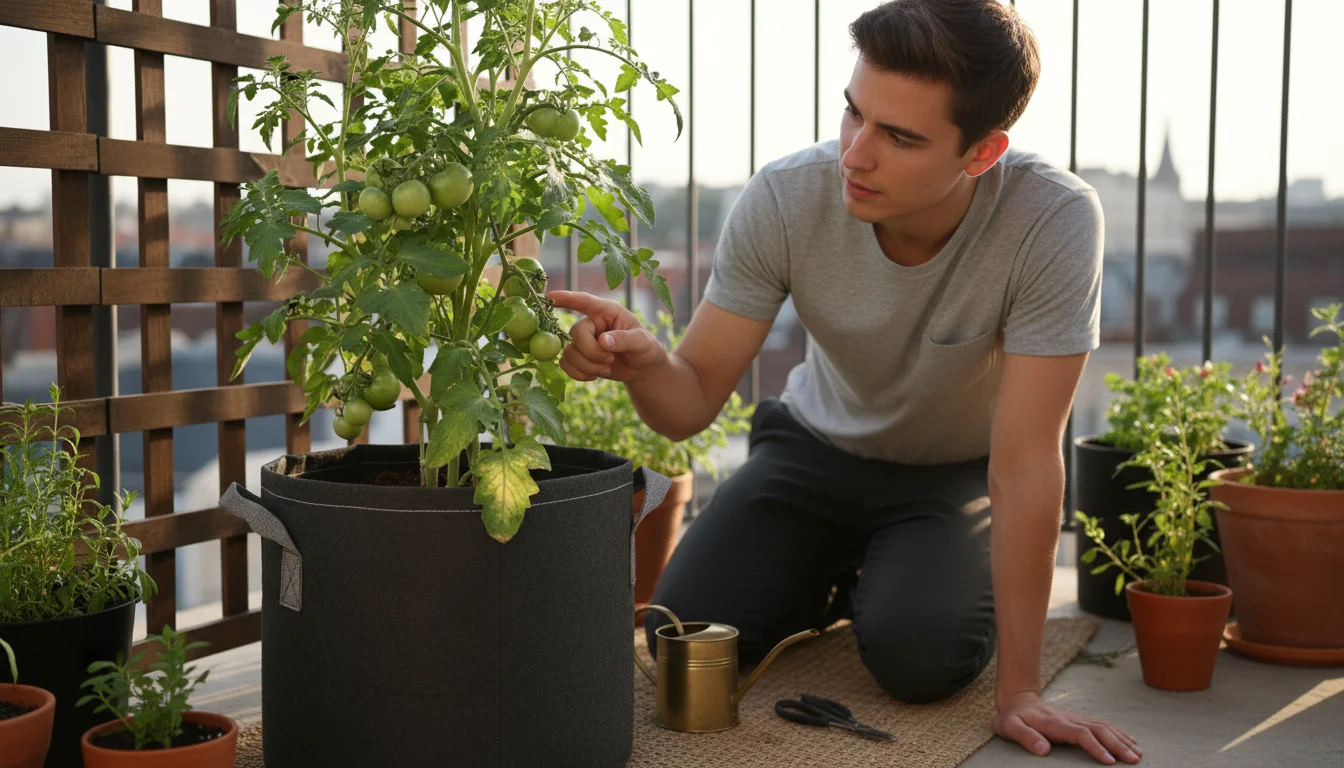
- Fabric Grow Bags: An increasingly popular choice. These breathable bags air-prune roots, preventing circling and encouraging a denser, healthier root ball. They also prevent overheating and offer excellent drainage, reducing the risk of root rot. They are lightweight, flexible, and often reusable. Fabric grow bags typically require more frequent watering than plastic pots due to their breathability.
- Wooden Planters: Attractive and provide good insulation. Ensure the wood is naturally rot-resistant (like cedar) or treated without harmful chemicals. Line the inside with a breathable landscape fabric to prolong the life of the wood and prevent soil from escaping.
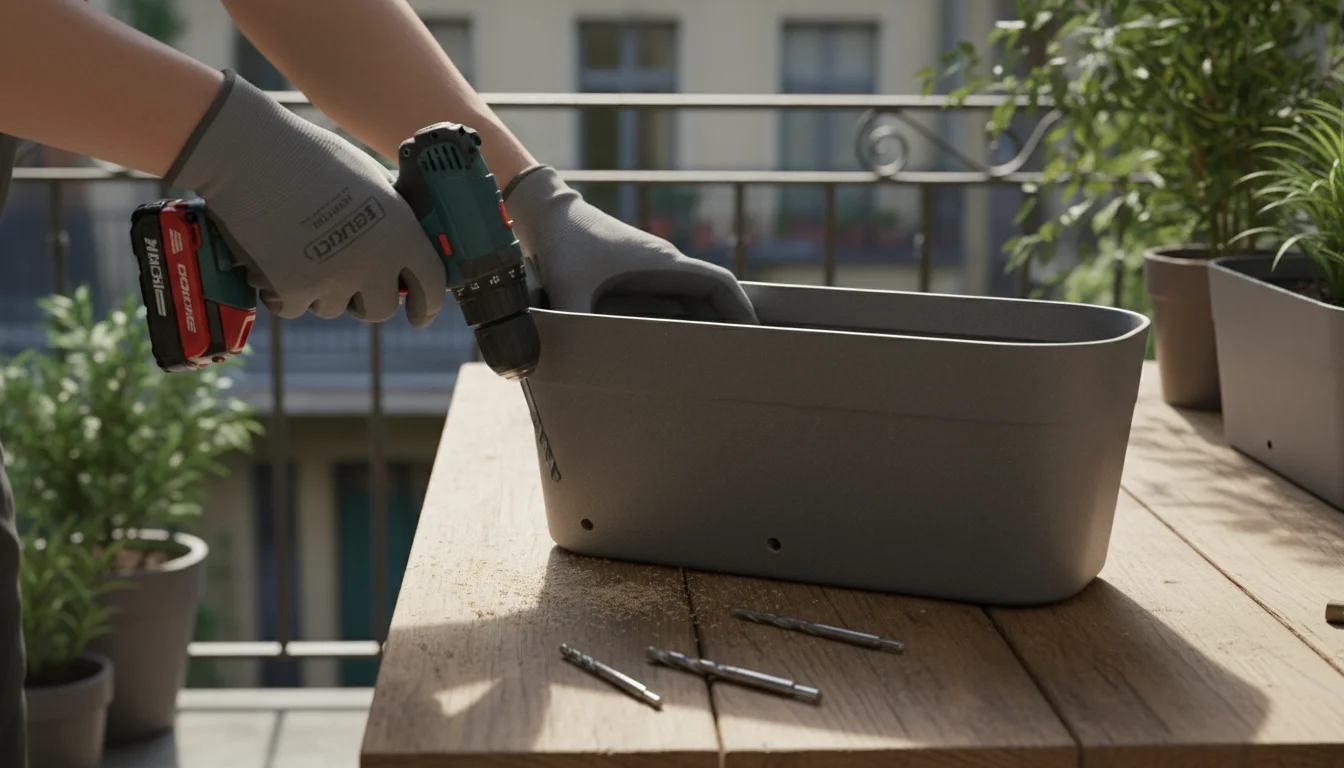
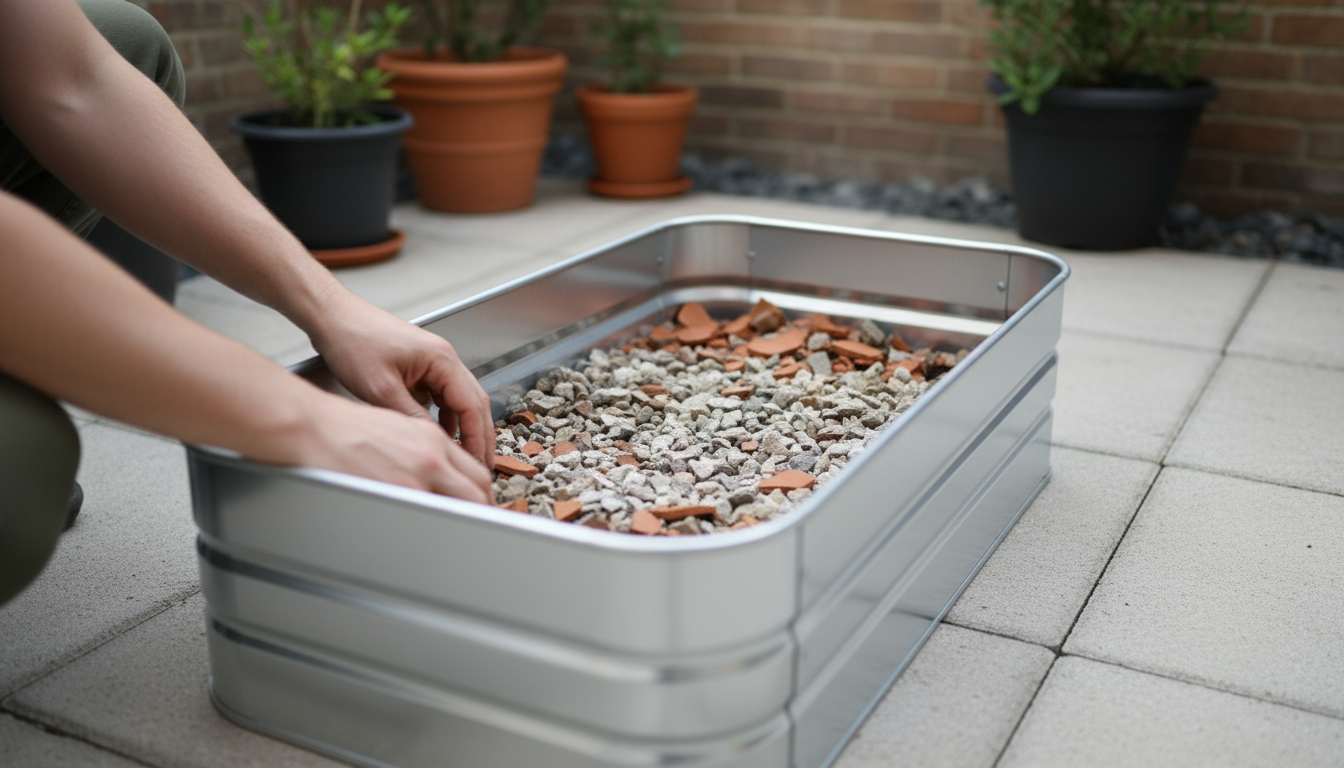
Essential Drainage
Regardless of the material, proper drainage is non-negotiable. Your container must have drainage holes at the bottom to prevent waterlogging, which suffocates roots and leads to fungal diseases. If a pot lacks sufficient holes, drill more. Place a saucer or tray underneath to catch excess water, but make sure the pot is not sitting directly in standing water for extended periods. Elevate the pot slightly if necessary to allow air circulation beneath it.
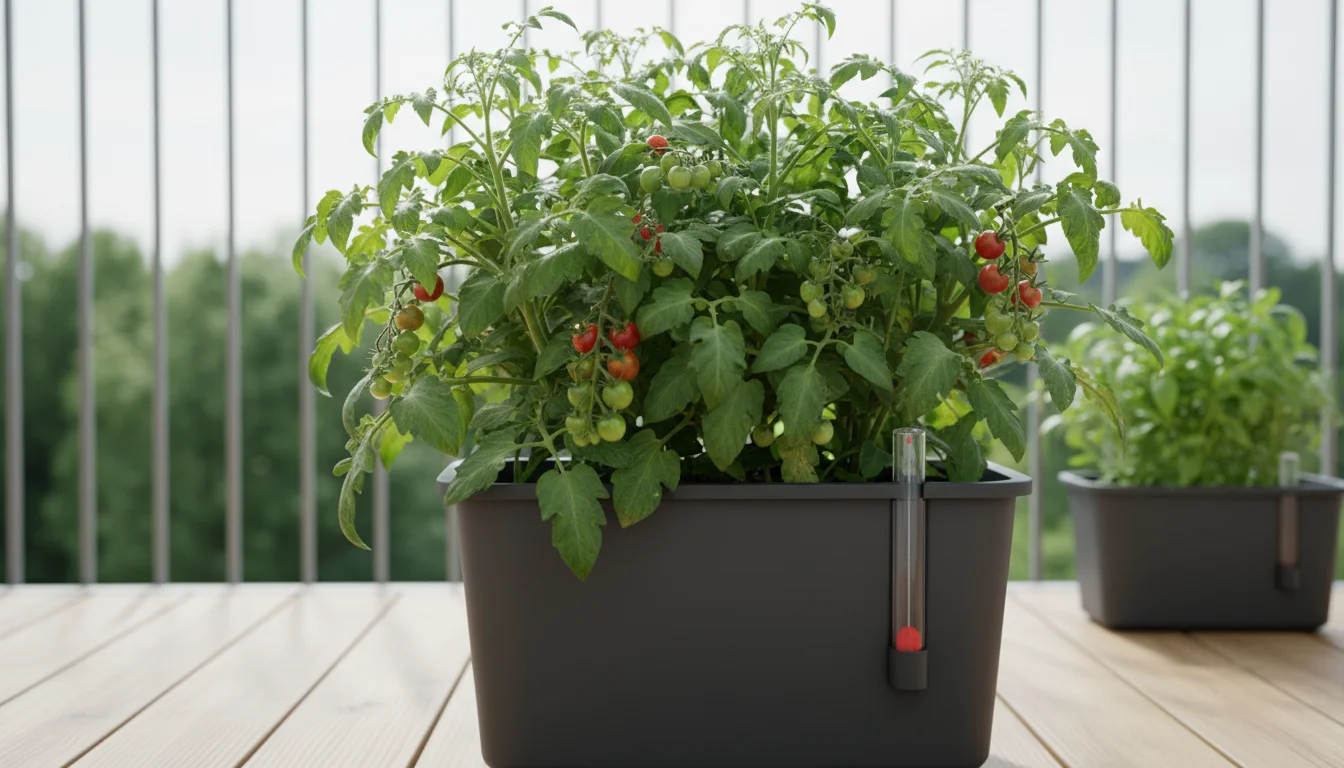
Self-Watering Options
For busy gardeners or those in very hot climates, self-watering containers (also known as sub-irrigated planters) offer a significant advantage. These systems feature a water reservoir at the bottom and a wicking system that draws moisture up into the potting mix as needed. This provides a consistent water supply, reduces watering frequency, and promotes deeper root growth. While they might be a larger initial investment, they can be a game-changer for tomato success, especially for growers of tomatoes in pots on small spaces.
Crafting the Ideal Potting Mix for Container Tomatoes
The quality of your potting mix dictates nutrient availability, moisture retention, and aeration for your container tomatoes. Unlike garden soil, which compacts easily in pots, a specialized potting mix provides the optimal environment for root growth. Do not use garden soil directly in containers.
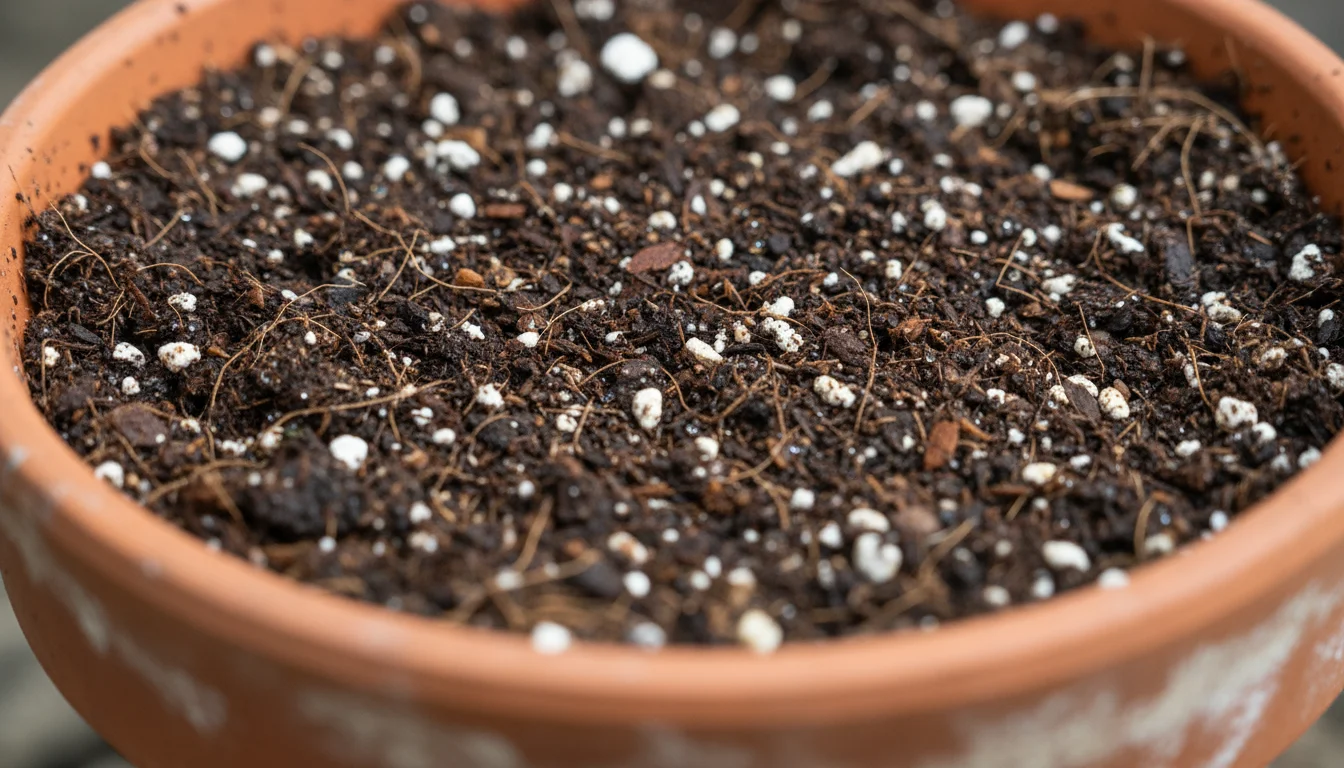
Key Characteristics of a Good Potting Mix
- Excellent Drainage: Prevents waterlogging and root rot.
- Good Moisture Retention: Holds enough water between waterings without becoming soggy.
- Aeration: Allows oxygen to reach roots, crucial for healthy growth.
- Nutrient Content: Provides initial nutrients and holds onto added fertilizers.
- Lightweight: Makes containers easier to move and reduces compaction.
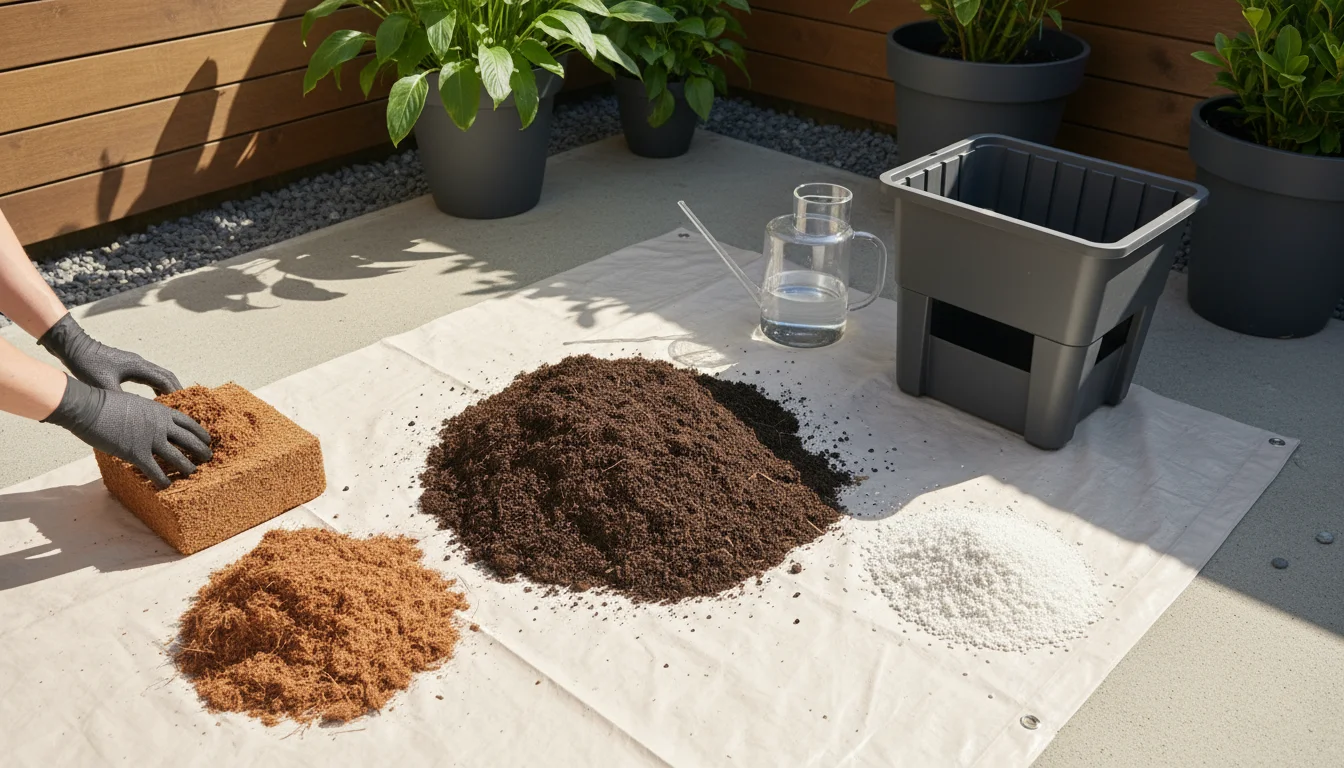
Ingredients for a High-Quality, Peat-Free Mix
We advocate for environmentally conscious choices, so prioritize peat-free potting mixes. Peat harvesting damages delicate wetland ecosystems. Excellent alternatives exist:
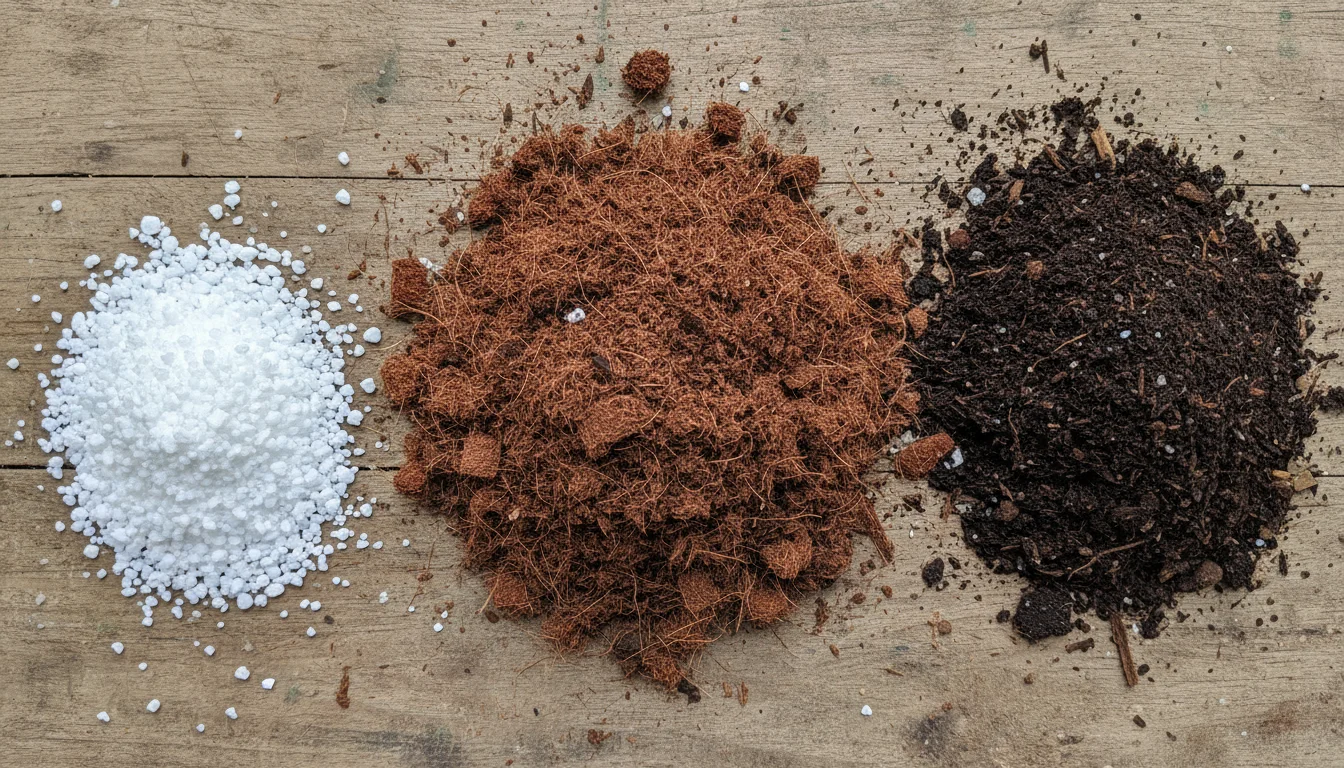
- Composted Bark or Coir (Coconut Fiber): These form the bulk of your mix. Coir is a highly sustainable, renewable resource that retains water exceptionally well while still offering good drainage. Composted bark provides structure and slowly releases nutrients. Aim for about 50-60% of your mix to be either of these components.
- Perlite or Pumice: Incorporate 20-30% perlite or pumice. These lightweight, inert materials are crucial for improving drainage and aeration, preventing compaction, and ensuring roots get enough oxygen.
- Compost or Worm Castings: Add 10-20% high-quality compost or worm castings. These organic powerhouses slowly release a broad spectrum of nutrients, introduce beneficial microbes, and enhance soil structure and moisture retention. They are essential for a thriving, living potting mix.
- Organic Fertilizers: Incorporate a slow-release granular organic fertilizer specifically formulated for tomatoes or vegetables. Look for NPK ratios like 5-7-3 or similar, indicating higher phosphorus and potassium for flowering and fruiting. Follow package directions for application rates. Bone meal, kelp meal, and alfalfa meal are good organic amendments.
You can purchase high-quality pre-mixed peat-free potting mixes, which are convenient and reliable. Look for bags specifically labeled for “containers,” “vegetables,” or “organic gardening.” These often contain a balanced blend of the components mentioned above. Cornell Garden-Based Learning offers detailed information on creating optimal soil mixes for container gardening, reinforcing the importance of proper ingredients.
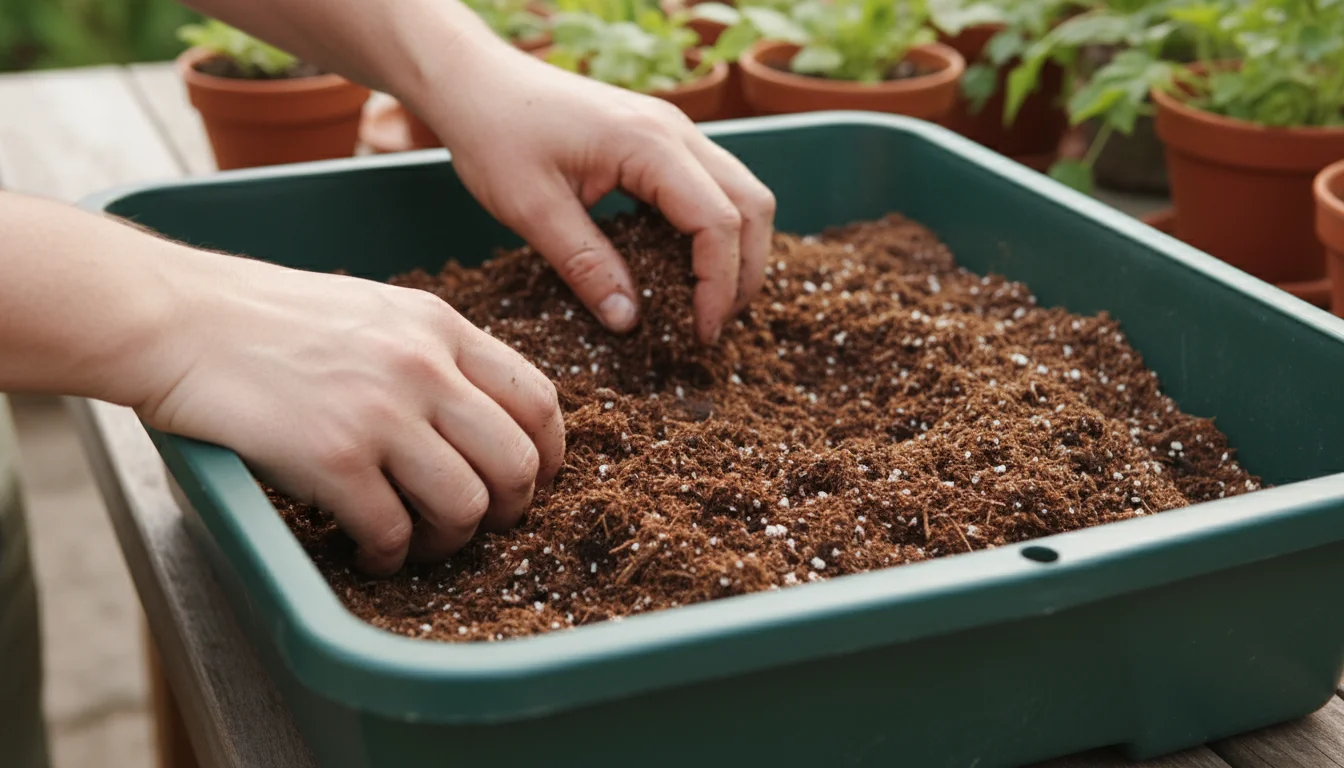
Reusing and Refreshing Potting Mix
You can often reuse potting mix for another season, but it requires refreshing. Over time, potting mix loses its structure, nutrients, and beneficial microbes. To refresh:
- Remove old plant roots and debris.
- Add 20-30% fresh, new potting mix to restore structure.
- Incorporate a generous amount of fresh compost or worm castings (10-20% by volume) to replenish nutrients and microbial life.
- Add a dose of slow-release organic fertilizer.
- If the mix feels too dense, add more perlite or pumice.
Avoid reusing potting mix if your previous plants showed signs of significant disease, as pathogens can linger. It is generally safer to use fresh mix for tomatoes each year to mitigate disease risks.
Selecting Tomato Varieties for Small Spaces
Not all tomato varieties are created equal, especially when it comes to container gardening. Choosing the right type is paramount for success in limited spaces. Focus on varieties known for their compact growth habit and prolific fruit production.
Determinate vs. Indeterminate Tomatoes
Understanding these two growth habits is crucial:
- Determinate Tomatoes: These are often called “bush” tomatoes. They grow to a specific height, set their fruit all at once over a shorter period (usually 2-3 weeks), and then stop growing. This makes them ideal for containers because their size is manageable, and their concentrated harvest is great for canning or making sauce. Many popular varieties like ‘Roma’ or ‘Celebrity’ have determinate versions.
- Indeterminate Tomatoes: These are vining tomatoes. They continue to grow, flower, and produce fruit throughout the entire growing season until frost kills them. They can reach heights of 6-10 feet (1.8-3 meters) or more. While they offer a continuous harvest, they require very large containers and substantial support structures. If you have the space and commitment, some indeterminate cherry varieties can perform well.
Best Types for Containers and Small Spaces
For grow tomatoes small space gardeners, focus on determinate, dwarf, and patio varieties. Cherry tomatoes are also often excellent choices due to their smaller fruit size, which requires less plant energy. Here are some reliable options:
| Variety Name | Type (Determinate/Indeterminate) | Fruit Size | Container Size (Min.) | Notes for Container Growing |
|---|---|---|---|---|
| ‘Patio Princess’ | Determinate | Cherry/Small Slicer | 5 Gallon (19L) | Very compact, high yield for its size, excellent for grow tomatoes in pots. |
| ‘Bush Early Girl’ | Determinate | Medium Slicer | 7-10 Gallon (26-38L) | Reliable producer, good flavor, needs sturdy support. |
| ‘Tiny Tim’ | Determinate (Dwarf) | Cherry | 2-3 Gallon (7.5-11L) | Extremely compact, perfect for windowsills or very small containers. Lower yield. |
| ‘Roma VF’ (Bush Type) | Determinate | Paste/Plum | 7 Gallon (26L) | Excellent for sauces, relatively compact bush habit. |
| ‘Celebrity’ | Determinate | Medium Slicer | 10 Gallon (38L) | Disease resistant, heavy producer, needs strong staking. |
| ‘Better Bush’ | Determinate | Large Slicer | 10 Gallon (38L) | Good flavor, fairly compact for a slicer, requires good support. |
| ‘Sungold’ | Indeterminate | Cherry | 15 Gallon (57L) | Exceptional flavor, highly productive, but needs tall, strong support and consistent pruning to manage size. A top pick if you have the space for a large pot and can commit to extensive training. |
| ‘Sweet Million’ | Indeterminate | Cherry | 15 Gallon (57L) | Another prolific cherry variety, similar to ‘Sungold’ in care needs. |
Planting Your Tomato: A Step-by-Step Guide
Proper planting ensures your tomato starts strong and establishes a healthy root system. Follow these steps for a successful start to your container tomato journey.
Timing Your Planting
Tomatoes are warm-season plants. Plant them outdoors after all danger of frost has passed and night temperatures consistently stay above 50°F (10°C). Planting too early risks cold damage, which stunts growth and delays fruiting. If you start seeds indoors, aim to transplant seedlings when they are 6-8 inches (15-20 cm) tall and have developed several sets of true leaves.

Hardening Off Seedlings
If you’ve grown seedlings indoors or bought them from a greenhouse, they need to gradually acclimate to outdoor conditions. This process is called “hardening off.” Over 7-10 days, expose them to increasing periods of outdoor sun, wind, and cooler temperatures. Start with a few hours in a sheltered, shady spot, gradually increasing sun exposure and time outdoors until they spend a full day and night outside before planting. This prevents transplant shock.

The Planting Process
- Prepare Your Container: Ensure your chosen container is clean and has adequate drainage holes. Place a coffee filter or a piece of landscape fabric over the drainage holes to prevent soil from washing out, but allow water to flow freely.
- Add Potting Mix: Fill your container with your high-quality, peat-free potting mix, leaving about 2-3 inches (5-7.5 cm) of space from the rim. Lightly moisten the mix before planting.
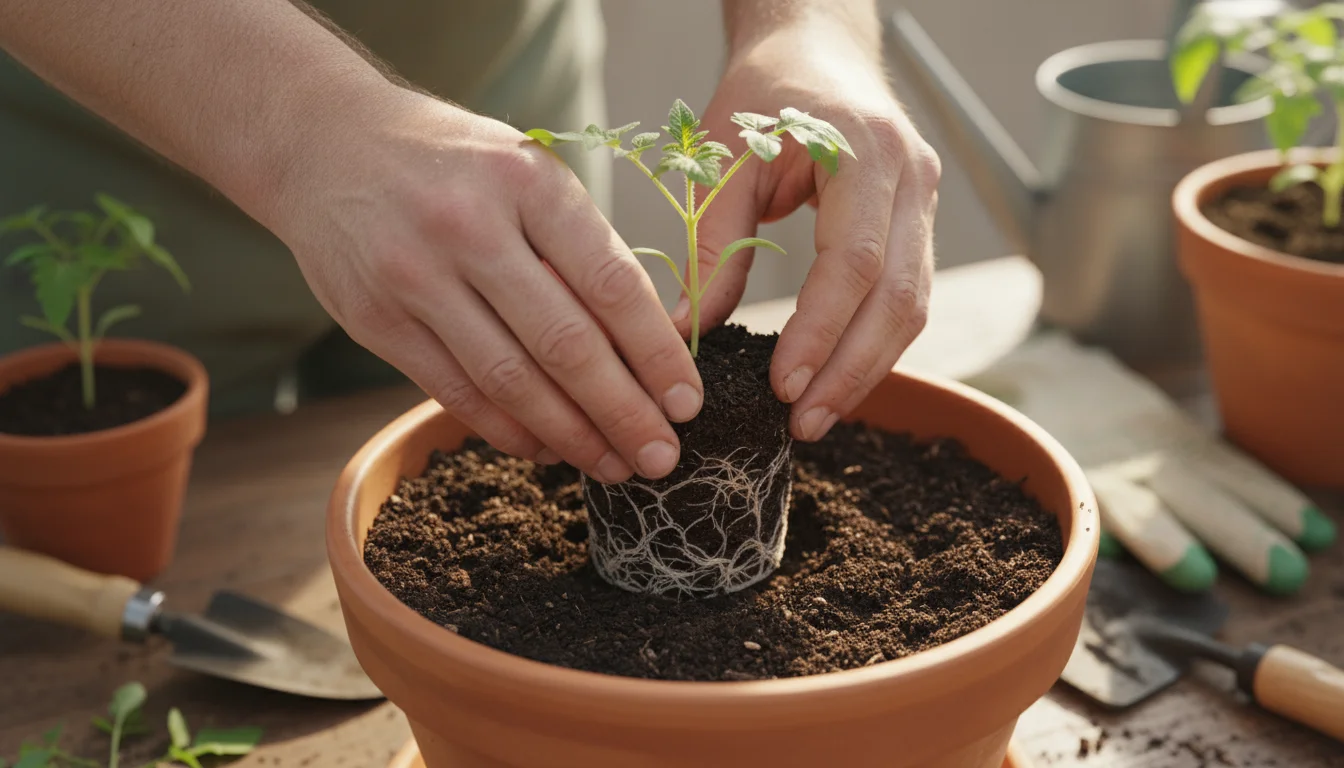
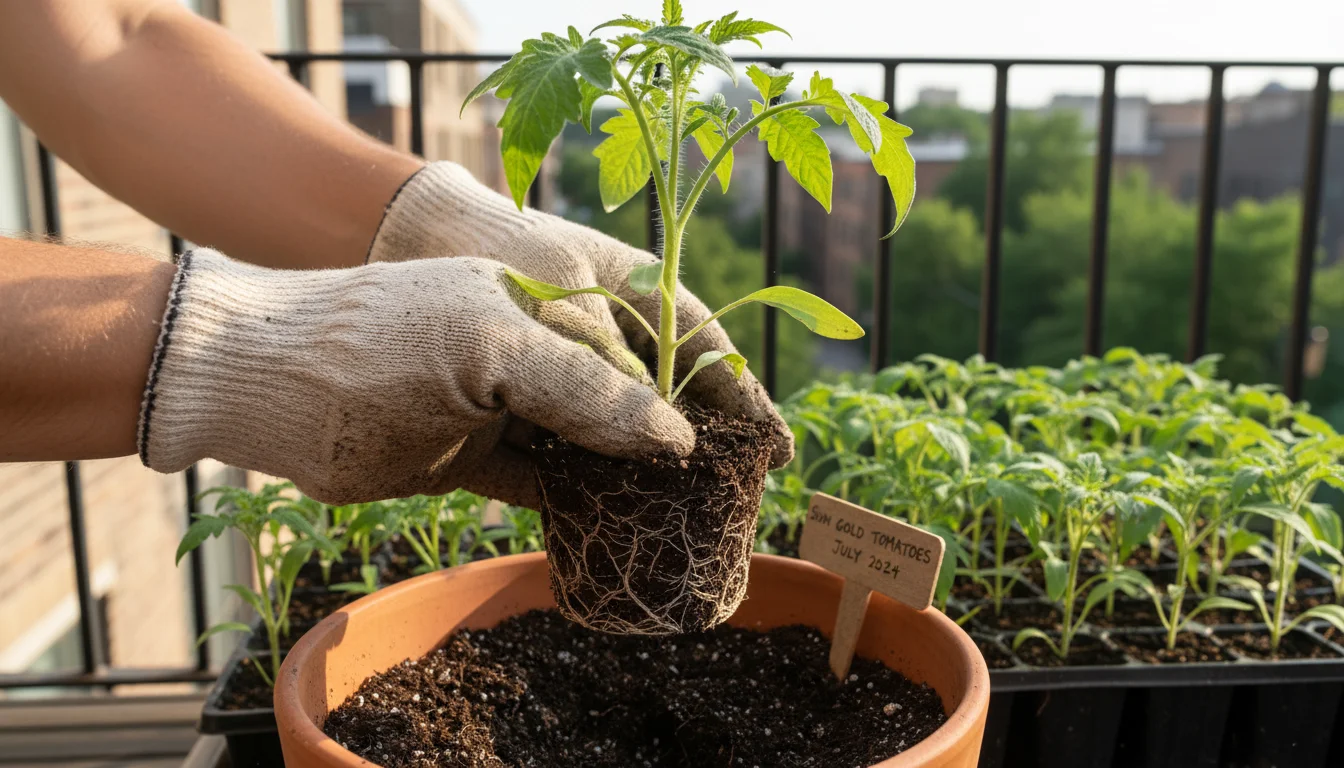
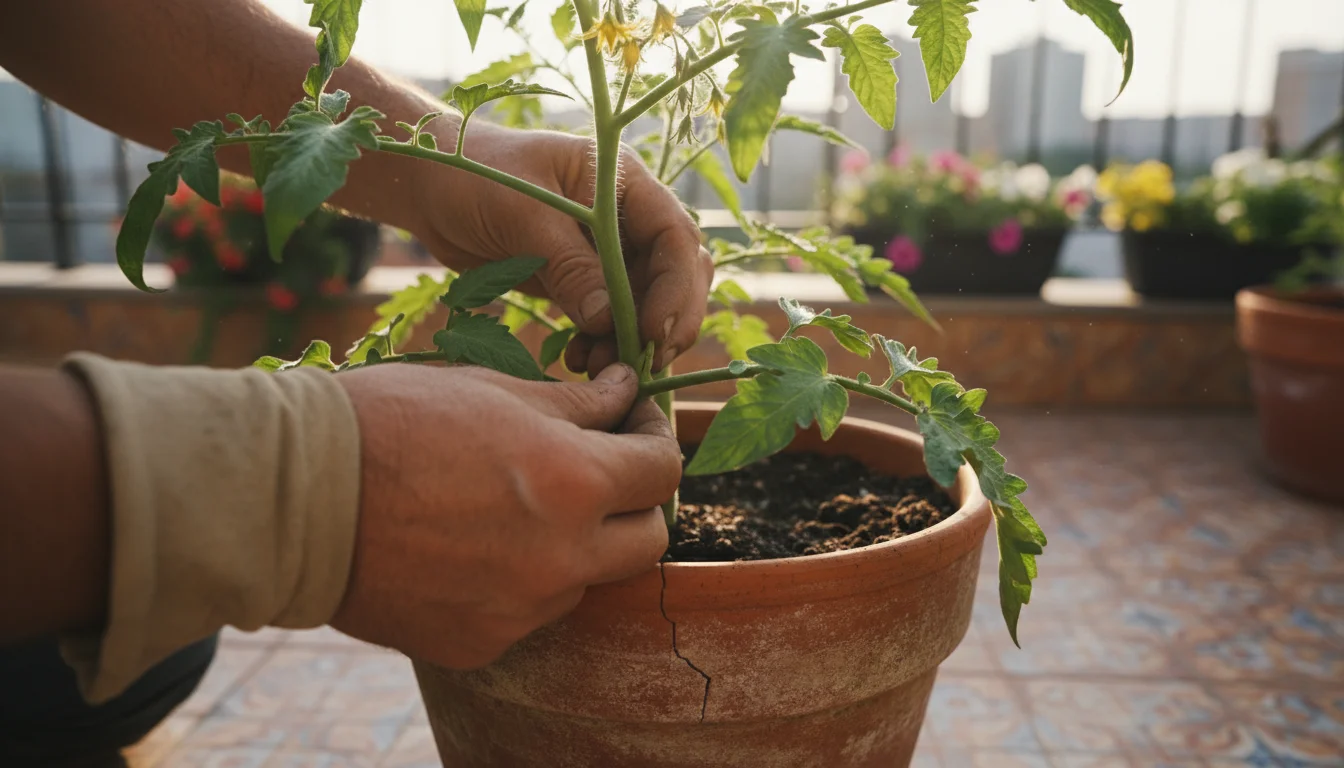
- Prepare the Plant: Gently remove the tomato seedling from its nursery pot. Handle it by the root ball or leaves, not the stem. If roots are circling the bottom, gently tease them apart.
- Plant Deeply: Tomatoes are unique because they can grow roots from their stem. Plant your seedling deeply, burying 2/3 of the stem. Remove any leaves that would be below the soil line. This encourages a stronger, more extensive root system, which is crucial for container tomatoes.
- Backfill and Firm: Backfill around the buried stem with potting mix, gently firming it down to remove air pockets. Do not pack it too tightly, as this can compact the soil.
- Water Thoroughly: Immediately after planting, water the tomato deeply until water drains from the bottom of the container. This settles the soil and provides initial moisture.
- Initial Support: For taller seedlings, insert a small stake or support structure at planting time. This prevents root disturbance later on.
Watering, Fertilizing, and Essential Care for Peak Production
Consistent watering and a thoughtful feeding rhythm are non-negotiable for producing a bountiful crop of tomatoes in pots. Container plants rely entirely on you for their sustenance, so establishing a reliable care routine prevents stress and promotes healthy fruit development.
The Art of Deep Watering
Container tomatoes dry out much faster than garden-grown plants. Daily watering, sometimes twice a day in hot weather, is often necessary. The key is deep, consistent watering, not shallow sprinkles.
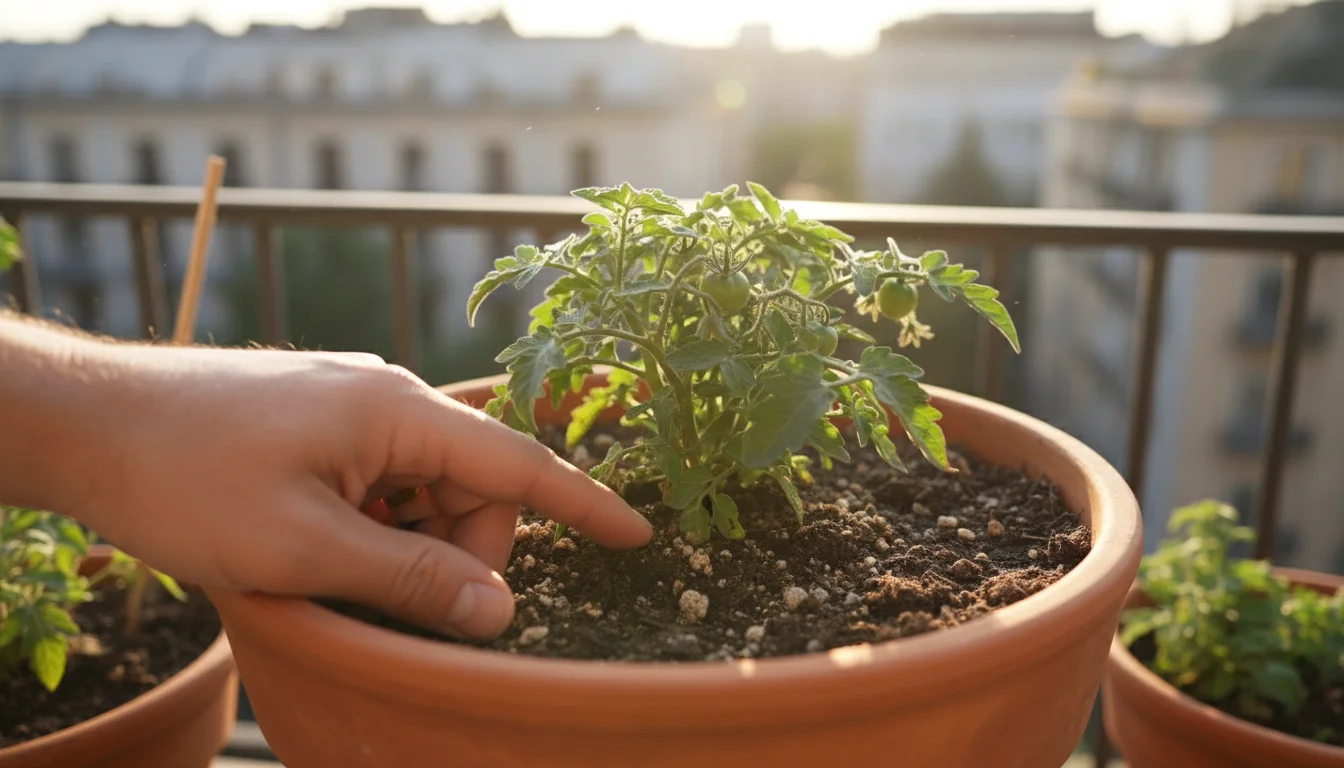
- Check Moisture Daily: Stick your finger 2 inches (5 cm) into the potting mix. If it feels dry, it is time to water. Do not wait for the plant to wilt significantly, as this stresses it.
- Water Slowly and Deeply: Apply water until it flows freely from the drainage holes. This ensures the entire root ball is saturated. Watering slowly allows the mix to absorb moisture thoroughly.
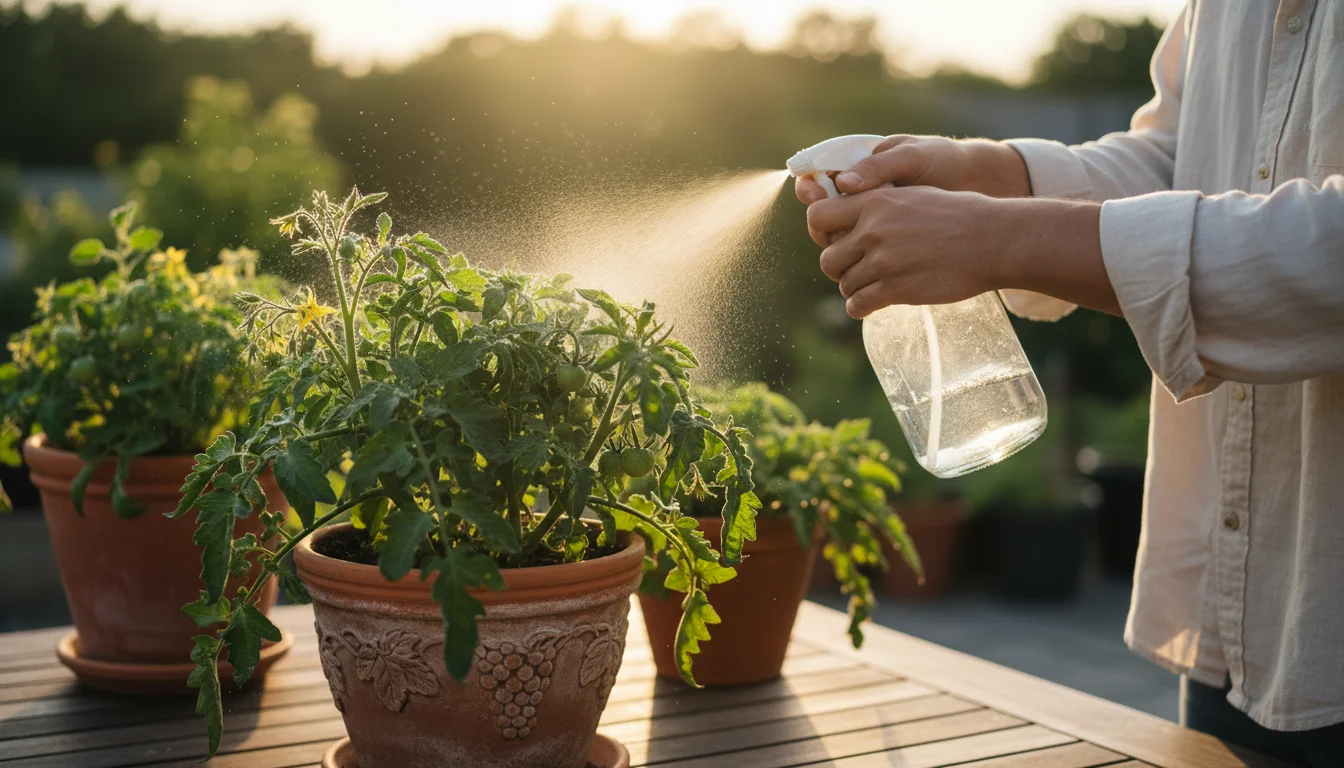
- Avoid Foliage Watering: Water at the base of the plant to keep leaves dry. Wet foliage, especially overnight, promotes fungal diseases like early blight.
- Consider Wicking Systems: Self-watering containers are excellent for consistent moisture. For traditional pots, you can create a simple wicking system by placing a grow bag inside a slightly larger plastic pot with a reservoir below.
- Morning is Best: Water in the morning so plants can absorb moisture before the heat of the day. This also allows any splashed water on leaves to dry quickly.
Inconsistent watering, especially letting the soil dry out excessively between drenchings, contributes to blossom end rot, a common issue where the bottom of the fruit turns black and leathery. This disorder is caused by a calcium deficiency in the fruit, often due to irregular water uptake, not a lack of calcium in the soil.
Organic Fertilizing Cadence
Your potting mix provides initial nutrients, but tomatoes are heavy feeders and quickly deplete these reserves. A regular feeding schedule, adjusted as the plant grows, is vital.
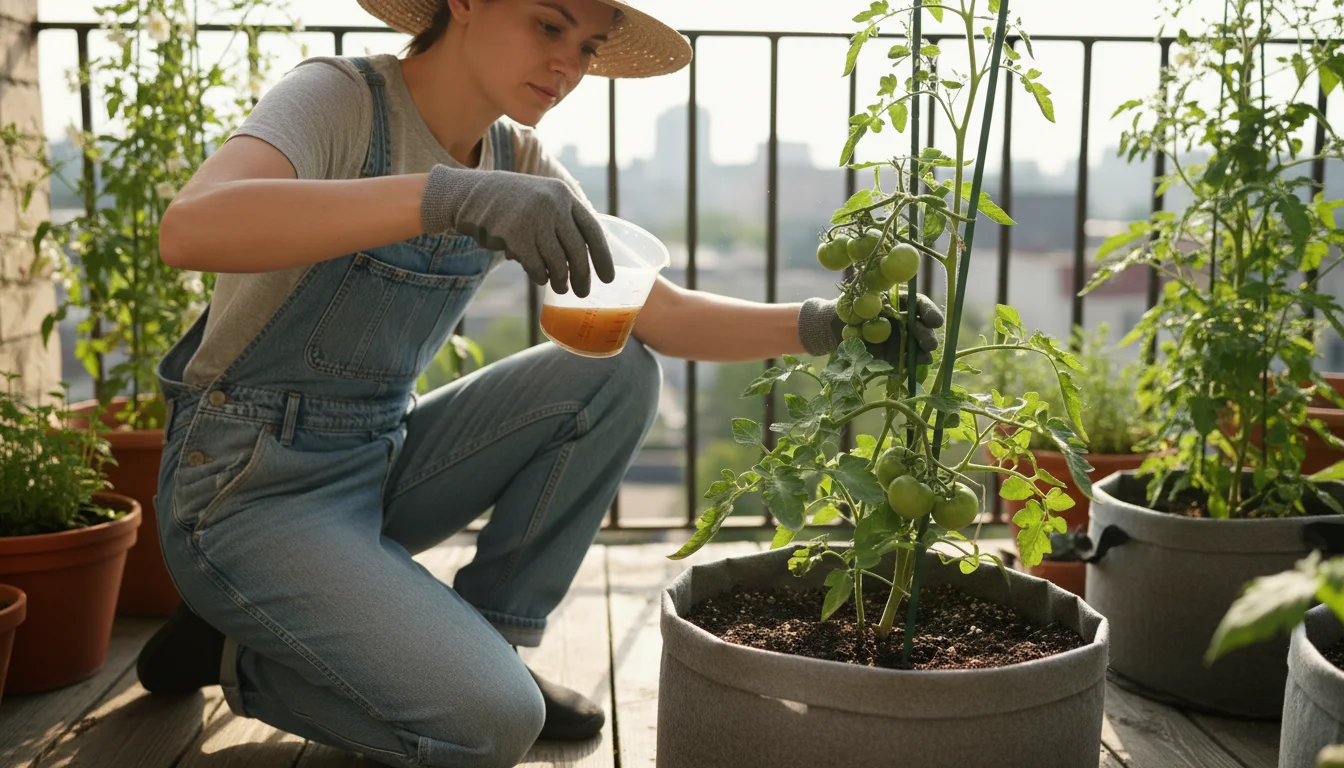
- Initial Growth (first 2-4 weeks): If you incorporated a slow-release granular organic fertilizer into your potting mix at planting, your plant has enough nutrients for initial growth. If not, apply a balanced organic liquid fertilizer (e.g., NPK 5-5-5) at half strength every two weeks.
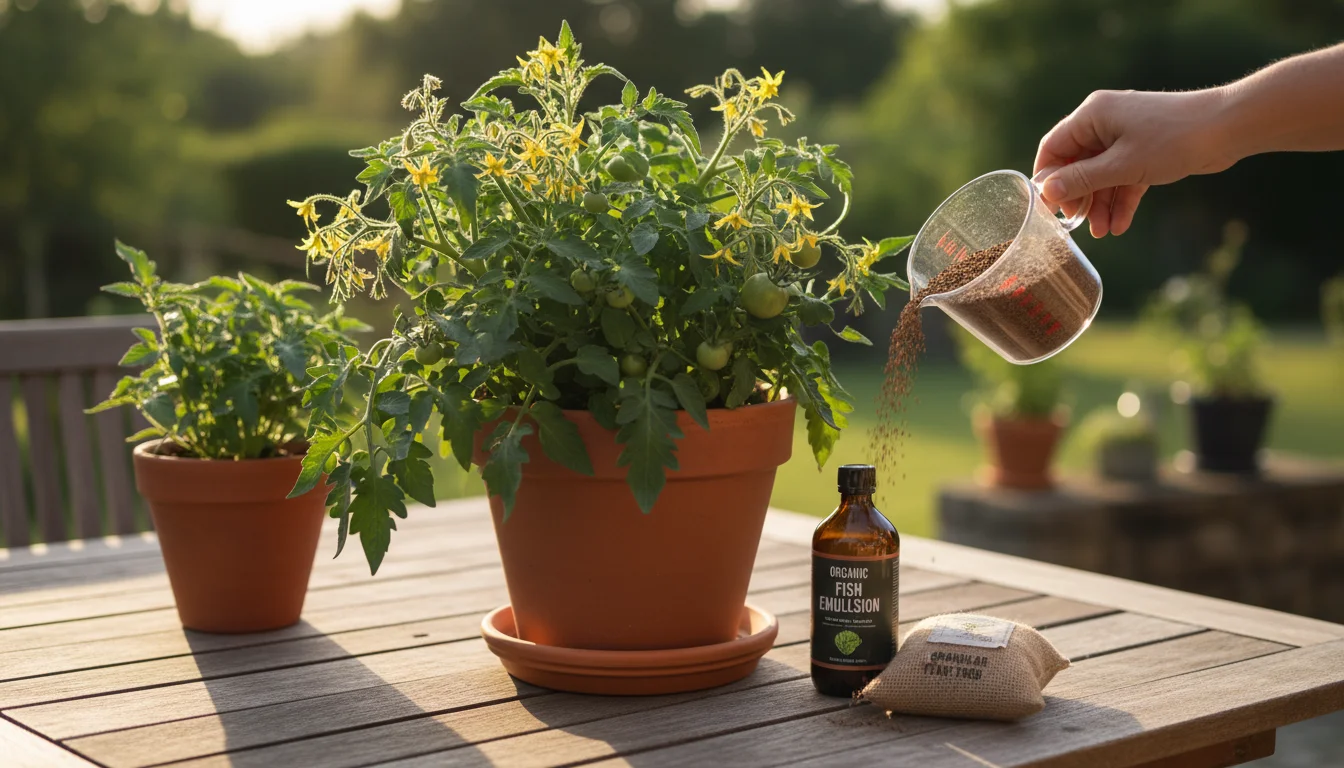
- Flowering and Fruiting (after first blossoms appear): Shift to a fertilizer higher in phosphorus (P) and potassium (K) and lower in nitrogen (N). Nitrogen promotes leafy growth at the expense of fruit. Look for ratios like 2-5-3 or 3-4-6. Fish emulsion, kelp meal, and bone meal are good organic options. Apply liquid fertilizers every 1-2 weeks or top-dress with granular organic amendments every 3-4 weeks. Follow product instructions carefully. For example, a common recommendation for liquid feed is to dilute to half strength and apply weekly.
- Monitor Your Plants: Yellowing lower leaves can indicate nitrogen deficiency. Stunted growth or poor fruiting might point to other nutrient needs. Adjust your feeding schedule based on plant vigor and production.
UF/IFAS Gardening Solutions offers practical guidelines on fertilizing container plants, emphasizing the importance of a balanced approach to nutrient management for optimal plant health.
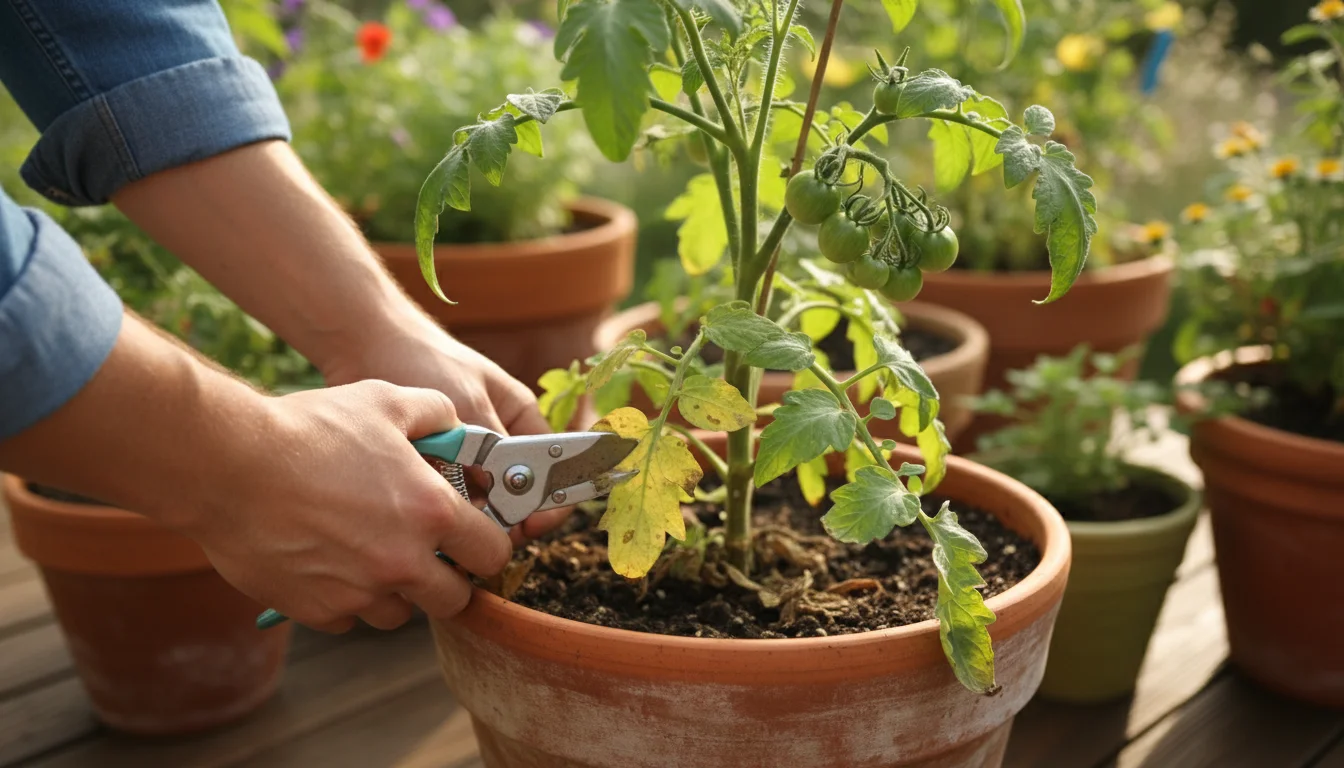
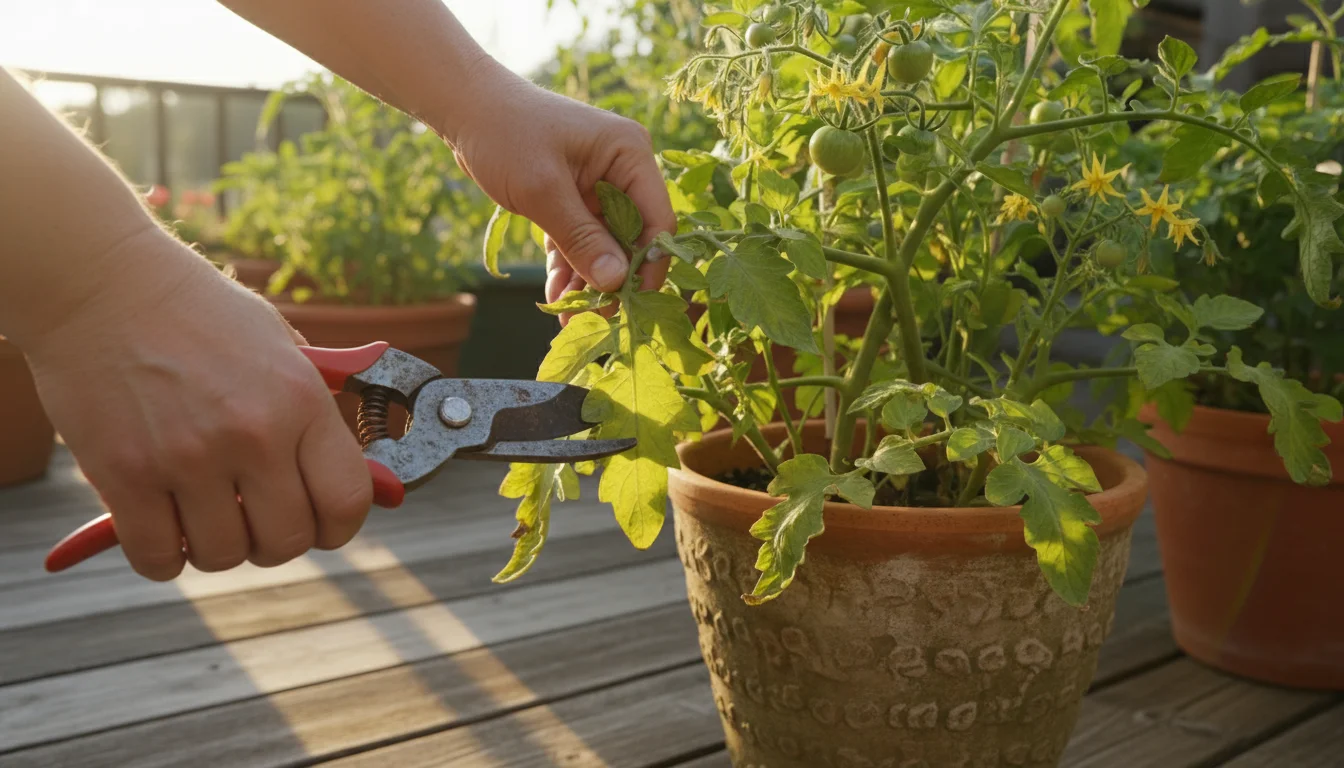
Pruning for Yield and Airflow
Pruning encourages better air circulation, reduces disease risk, and can direct the plant’s energy into fruit production. However, pruning strategies differ for determinate and indeterminate types.
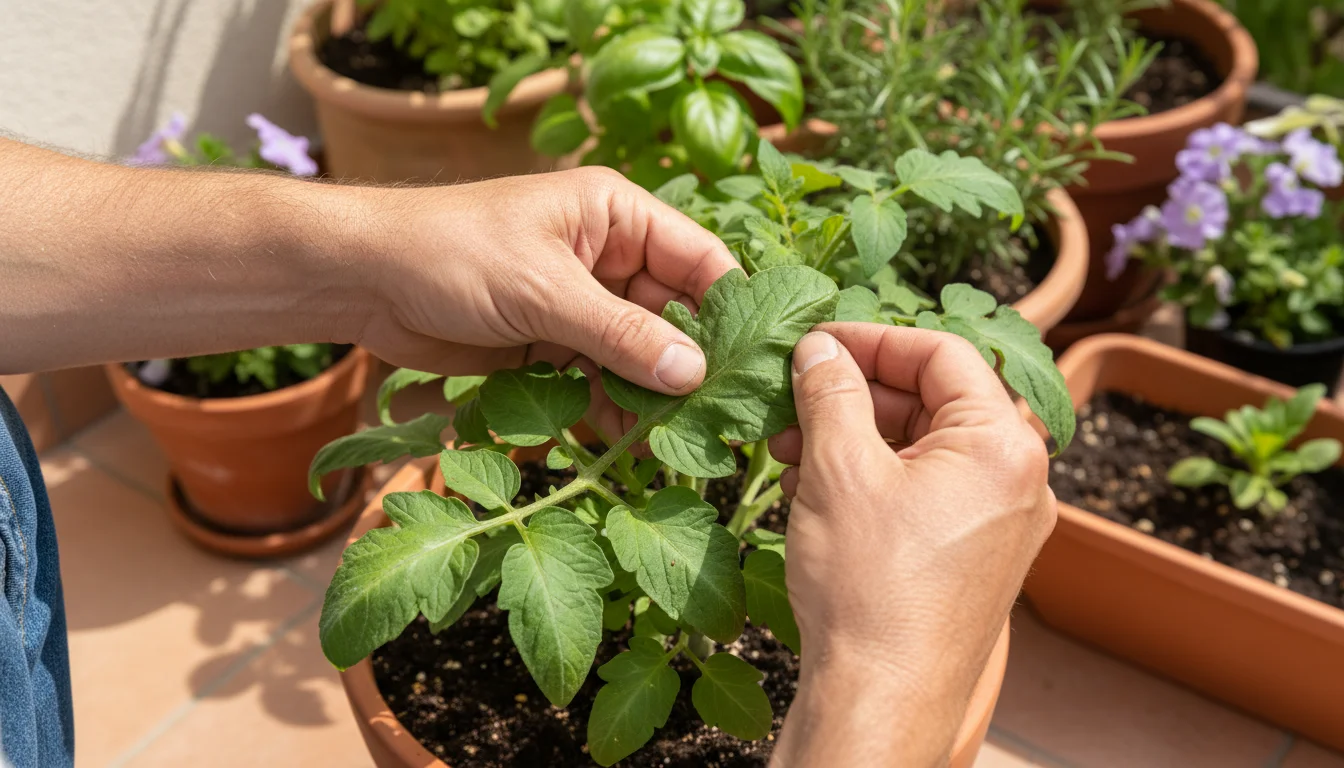
- Determinate Tomatoes: These “bush” types require minimal pruning. Remove any suckers (shoots that grow in the crotch between the main stem and a leaf branch) below the first flower cluster. Beyond that, allow them to grow. Over-pruning determinate varieties reduces their yield. Remove any yellowing or diseased lower leaves throughout the season.
- Indeterminate Tomatoes: These vining types benefit significantly from regular pruning. Remove suckers regularly, especially those growing between the main stem and a fruit-bearing branch. You can choose to train them to one or two main stems. This directs energy into developing fruit on those stems, though it might reduce the total number of fruits, they are often larger and ripen more quickly. Again, remove any yellowing or diseased leaves.
Providing Sturdy Support for Bountiful Harvests
Most tomato plants, especially those grown in containers, need robust support to prevent sprawling, stem breakage, and fruit from touching the ground. This support system ensures your plant can bear the weight of its fruit, improves air circulation, and keeps your grow tomatoes in pots tidy.
Why Support is Essential
- Prevents Stem Breakage: Heavy fruit can easily snap stems, especially during windy conditions or after rain.
- Keeps Fruit Off the Ground: Fruit resting on the soil is more susceptible to pests, diseases, and rot.
- Improves Air Circulation: Proper support opens up the plant canopy, allowing air to move freely, which helps prevent fungal diseases.
- Facilitates Harvesting: Supported plants are easier to navigate for pruning and picking.
- Maximizes Space: Vertical growth is crucial for small space gardening.

Support Options for Container Tomatoes
Choose a support system that matches your tomato variety’s expected size and your container’s stability.
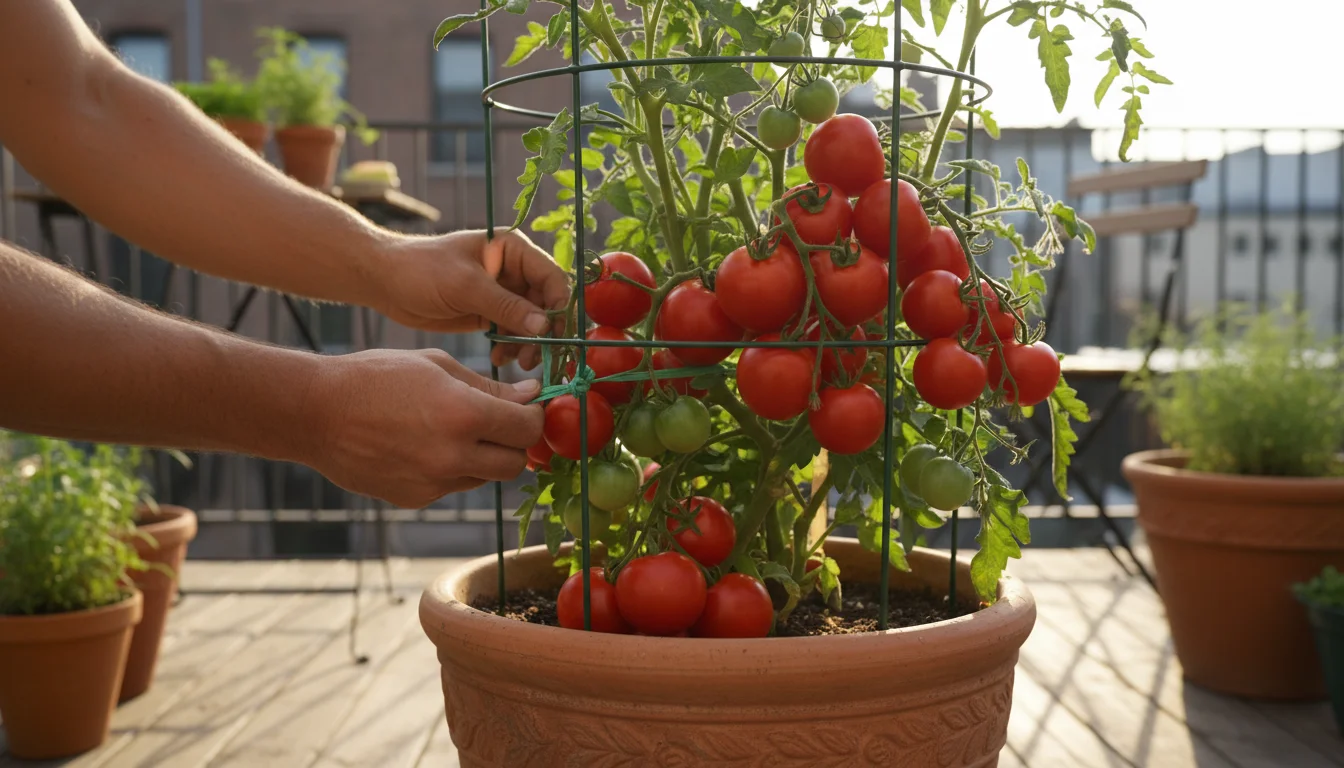
- Tomato Cages:
- Description: These are wire structures that enclose the plant, providing all-around support.
- Best For: Determinate (bush) varieties.
- Tips: Choose strong, heavy-gauge cages. The flimsy cages often sold at garden centers are rarely sufficient for a full-grown tomato plant. Look for conical or square cages with wide openings that allow you to reach in for harvesting. Install the cage at planting time so the plant grows into it. For larger determinate varieties, you might need to reinforce the cage by tying it to a heavier stake or a nearby structure.
- Staking:
- Description: A single, sturdy stake driven into the potting mix next to the main stem. As the plant grows, you tie the main stem to the stake.
- Best For: Determinate or indeterminate varieties that you prune to one or two main stems.
- Tips: Use heavy-duty stakes made of wood, metal, or strong bamboo, at least 1 inch (2.5 cm) in diameter and 5-7 feet (1.5-2.1 meters) tall. Drive the stake deep into the container, ideally reaching the bottom for stability. Use soft ties (old pantyhose, garden tape, twine) to secure the stem to the stake every 10-12 inches (25-30 cm). Avoid tight ties that could girdle the stem.
- Trellising:
- Description: A more elaborate system involving horizontal wires, netting, or a grid structure for plants to climb. This is excellent for training indeterminate varieties.
- Best For: Indeterminate (vining) varieties, especially if you have multiple plants.
- Tips: For balcony or patio gardening, consider an A-frame trellis or a vertical panel trellis that attaches to a wall or railing. Ensure the trellis is firmly anchored. Train the main stem(s) by weaving them through the trellis or tying them to it as they grow. This method allows for good air circulation and easy harvesting, especially valuable for a robust container tomato guide.
- Spiral Stakes:
- Description: Metal rods twisted into a spiral. As the tomato grows, you gently wind the main stem through the spirals.
- Best For: Smaller determinate or semi-determinate varieties.
- Tips: These are convenient as they eliminate the need for tying. However, they are often not strong enough for very large or heavy-fruiting varieties.
Regardless of the method, install your support system early, ideally at planting time. Waiting until the plant is large and sprawling risks damaging the roots or stems.
Integrated Pest Management: Keeping Your Tomatoes Healthy
Even with the best care, pests and diseases can occasionally threaten your container tomatoes. Adopting an Integrated Pest Management (IPM) approach means focusing on prevention, monitoring, and using the least toxic controls first. This environmentally conscious strategy protects your plants and beneficial insects.
Prevention is Key
- Healthy Plants: Strong, well-nourished plants are more resistant to pests and diseases. Provide adequate sunlight, water, and nutrients.
- Air Circulation: Proper spacing and pruning (as discussed previously) improve airflow, reducing humidity around leaves and making them less hospitable for fungal diseases.
- Sanitation: Remove any diseased leaves, fallen fruit, or plant debris from and around your containers. This eliminates hiding spots for pests and spores.
- Crop Rotation (Container Style): Even in containers, avoid planting tomatoes in the same potting mix or container if previous plants had significant disease issues. Rotate your crops by planting something else in that container next season, or refresh the potting mix entirely.
- Inspect New Plants: Before introducing any new plant to your collection, inspect it thoroughly for pests or diseases. Isolate it for a few days if you notice anything suspicious.
Regular Monitoring
Catching problems early makes them easier to manage. Make it a habit to inspect your tomato plants regularly, ideally daily or every other day. Look for:
- Chewed leaves or holes: Indicates chewing insects.
- Tiny insects: Check the undersides of leaves, especially.
- Sticky residue (honeydew): A sign of sap-sucking insects like aphids.
- Distorted growth: Curling, yellowing, or stunted leaves can signal disease or pest activity.
- Spots or discoloration: Could indicate fungal or bacterial diseases.
Common Pests and Least-Toxic Controls
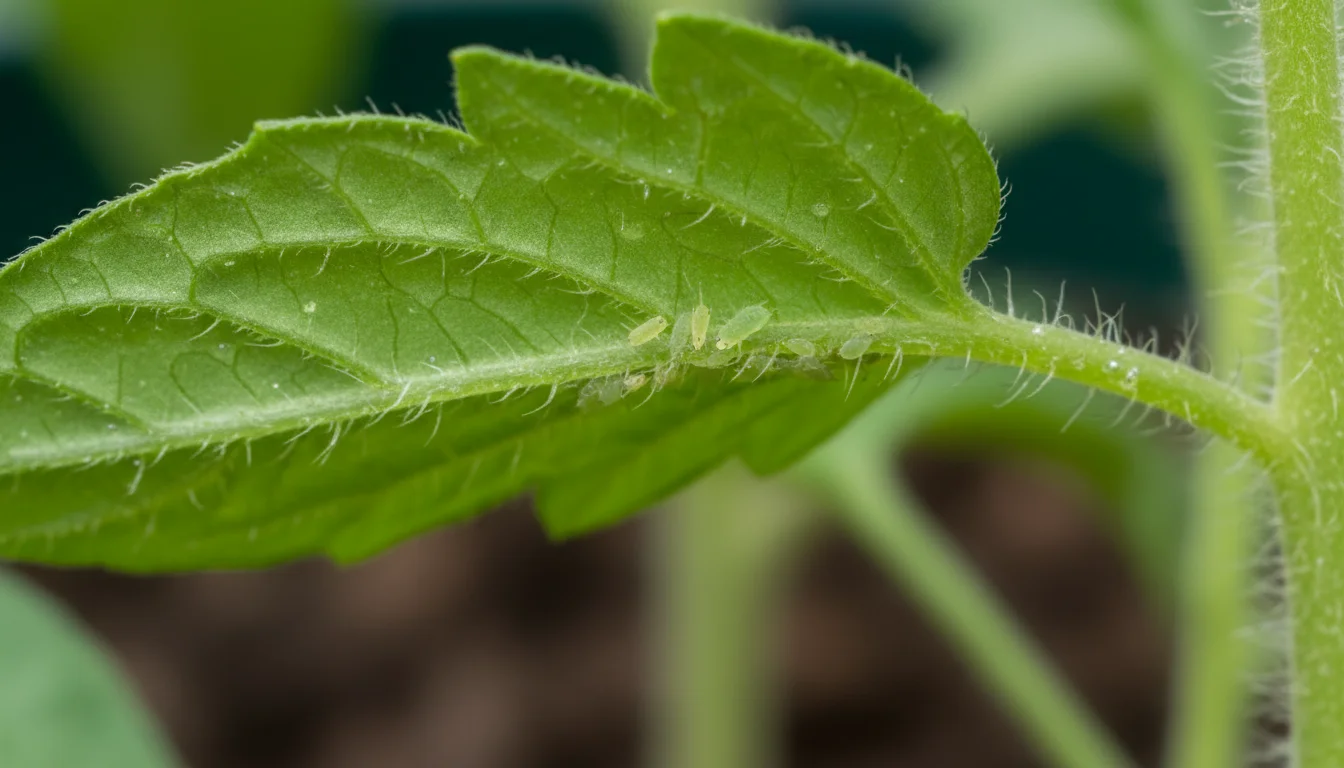
- Aphids: Small, soft-bodied insects that cluster on new growth.
- Control: Blast them off with a strong stream of water. For heavier infestations, use insecticidal soap, ensuring complete coverage. Introduce beneficial insects like ladybugs if the problem persists.
- Tomato Hornworms: Large, green caterpillars that can rapidly defoliate a plant.
- Control: Hand-pick them off and drop them into a bucket of soapy water. They are camouflaged, so look for their droppings (dark pellets) on leaves.
- Spider Mites: Tiny arachnids that cause stippling on leaves and fine webbing. They thrive in hot, dry conditions.
- Control: Increase humidity around plants. Spray with insecticidal soap or neem oil. A strong stream of water can also dislodge them.
- Whiteflies: Small, white, moth-like insects that fly up when disturbed. They also cause honeydew and sooty mold.
- Control: Use yellow sticky traps. Spray with insecticidal soap, ensuring coverage of leaf undersides.
Common Diseases and Management
- Early Blight / Late Blight: Fungal diseases causing dark spots on leaves, often with concentric rings (early blight) or water-soaked lesions (late blight).
- Control: Prevention is key: maintain good air circulation, avoid overhead watering, remove lower leaves touching the soil, and remove diseased foliage promptly. Fungicides can be used as a last resort, but cultural practices are often more effective.
- Blossom End Rot: Not a disease, but a physiological disorder (as discussed in the watering section).
- Control: Ensure consistent, deep watering and avoid extreme fluctuations in soil moisture. Mulching also helps maintain even moisture.
For research-based guidance on identifying and managing garden pests, visit the University of Minnesota Extension or Royal Horticultural Society (RHS) websites for region-specific information and best practices in integrated pest management.
Harvesting and Enjoying Your Homegrown Tomatoes
The moment you’ve been waiting for: picking your first ripe, warm-from-the-sun tomato. Harvesting at the right time ensures maximum flavor and encourages your plants to produce even more. Understanding how to harvest and store your bounty prolongs your enjoyment.
When to Harvest
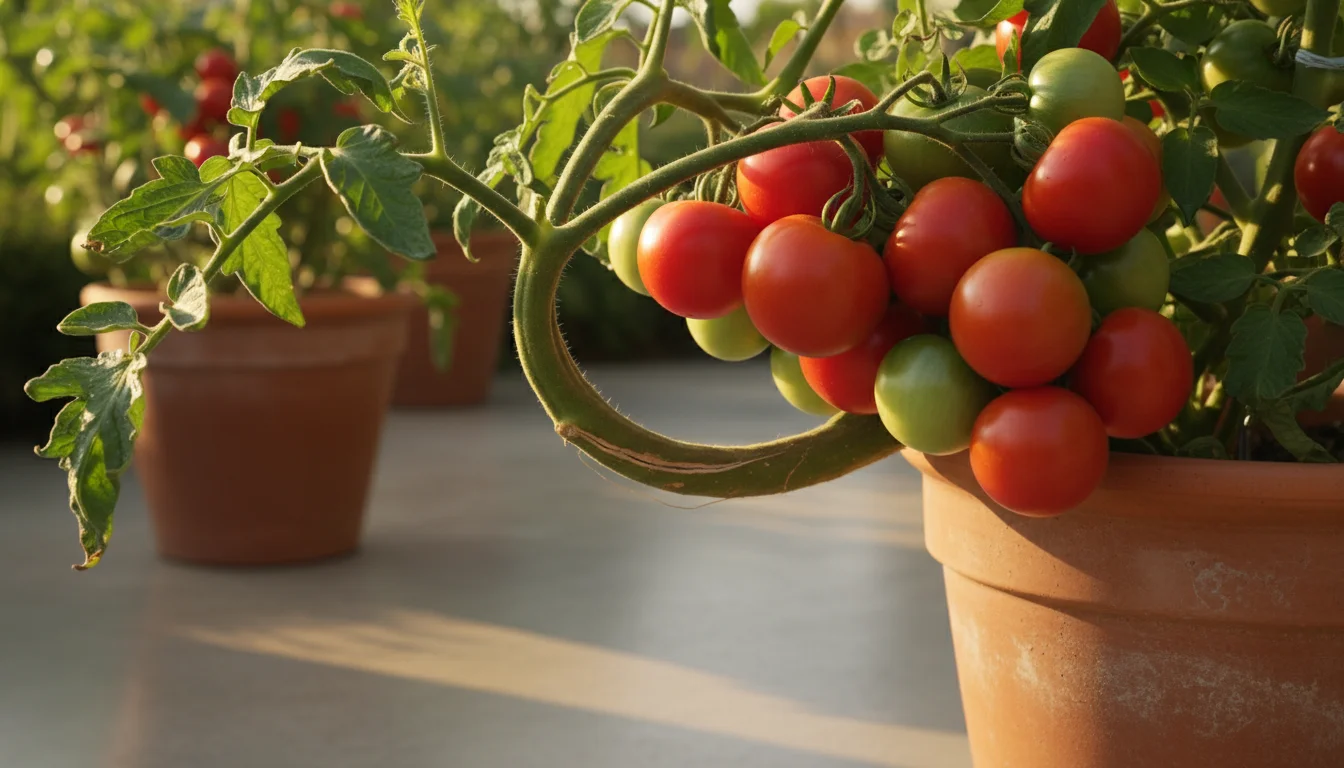
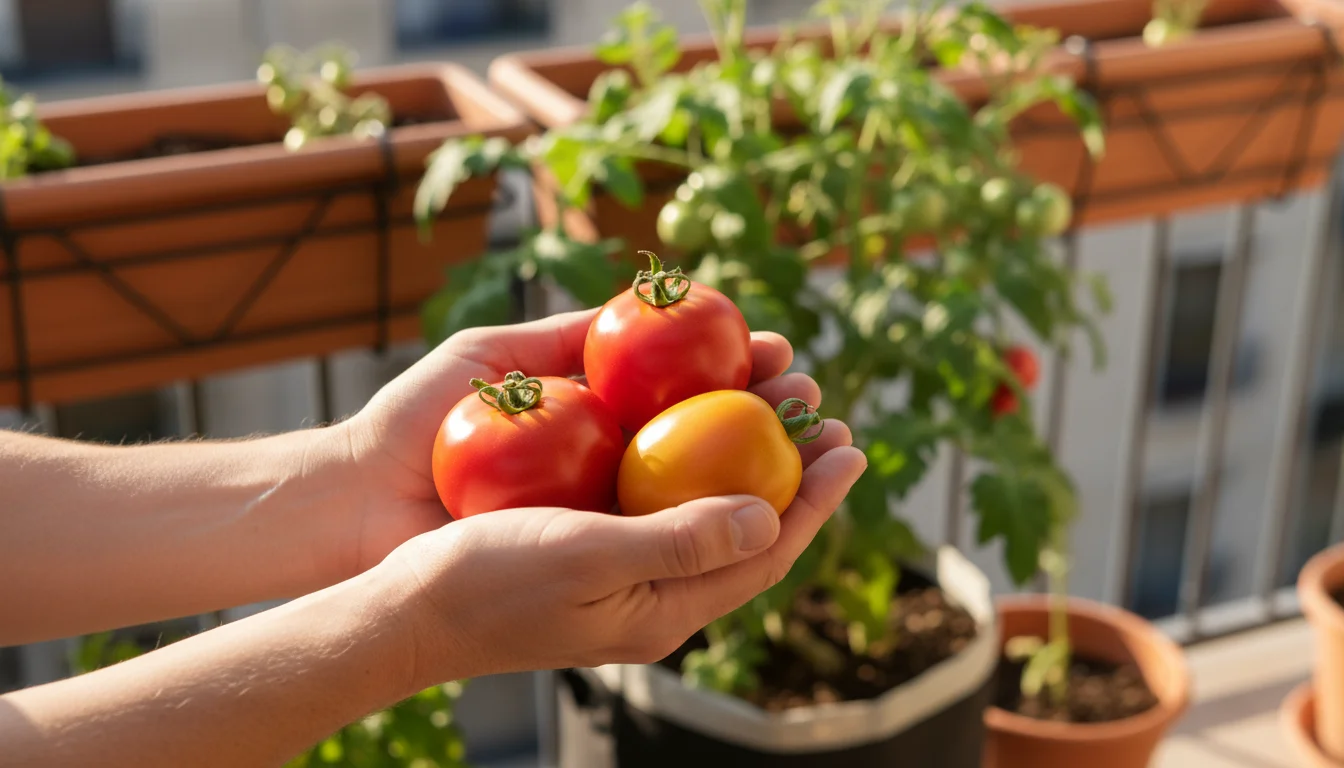
The ideal time to harvest tomatoes depends on the variety, but generally, pick them when they are fully colored, firm, and easily detach from the vine with a gentle twist. Tomatoes continue to ripen slightly after picking, but their best flavor develops on the plant.
- Color is Key: For red varieties, wait until they are a deep, uniform red. Yellow and orange varieties should reach their specific vibrant hue.
- Feel for Firmness: A ripe tomato feels firm but yields slightly to gentle pressure. Overripe tomatoes will feel mushy.
- Easy Release: When you gently twist a ripe tomato, it should separate from the stem easily. If it clings tightly, it needs more time.
If frost threatens or you have green tomatoes near the end of the season, you can harvest them and ripen them indoors. Place them in a paper bag with an apple or banana (which release ethylene gas, a natural ripening agent) in a cool, dark spot. Check them every few days.
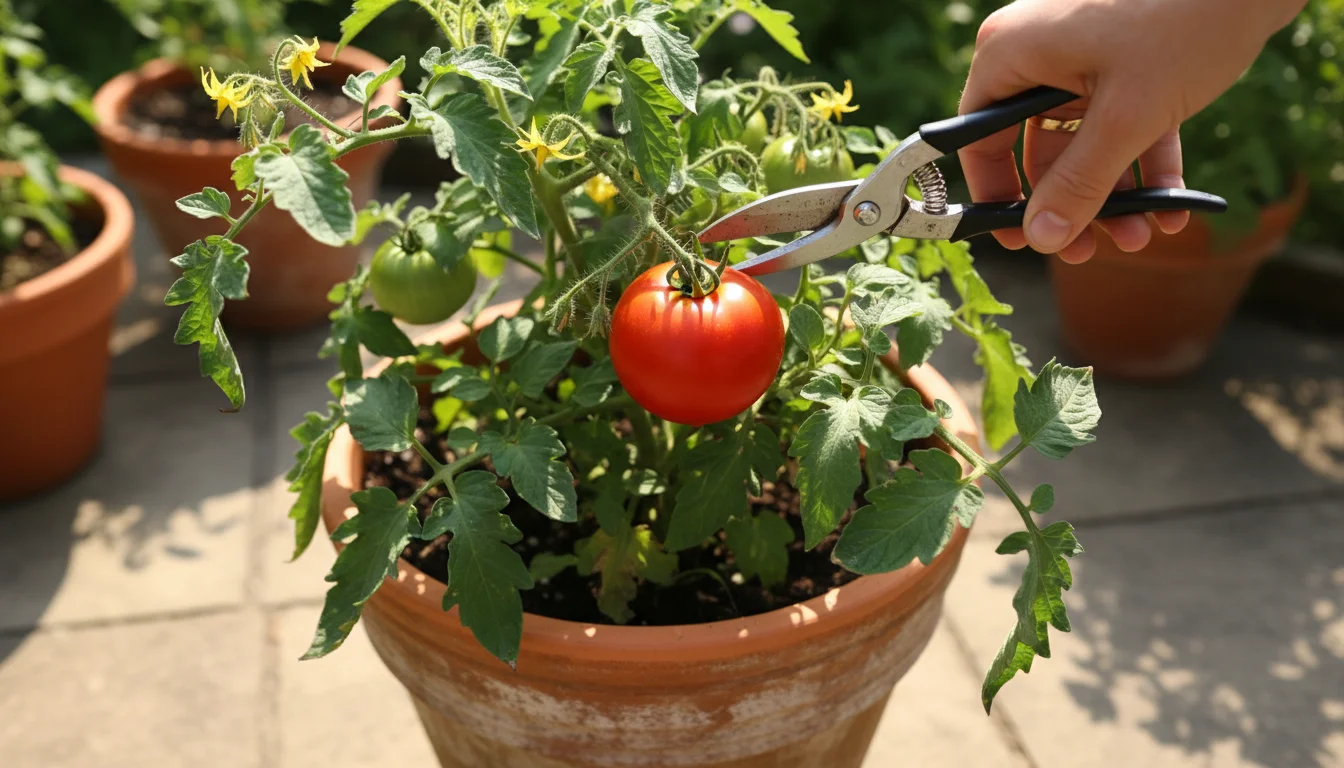
Harvesting Techniques
Use clean pruning shears or scissors to snip the stem just above the calyx (the green leafy part) of the tomato. This prevents damaging the plant and reduces the risk of tearing the fruit. If the stem comes off with the fruit, that is fine. Handle tomatoes gently to avoid bruising.
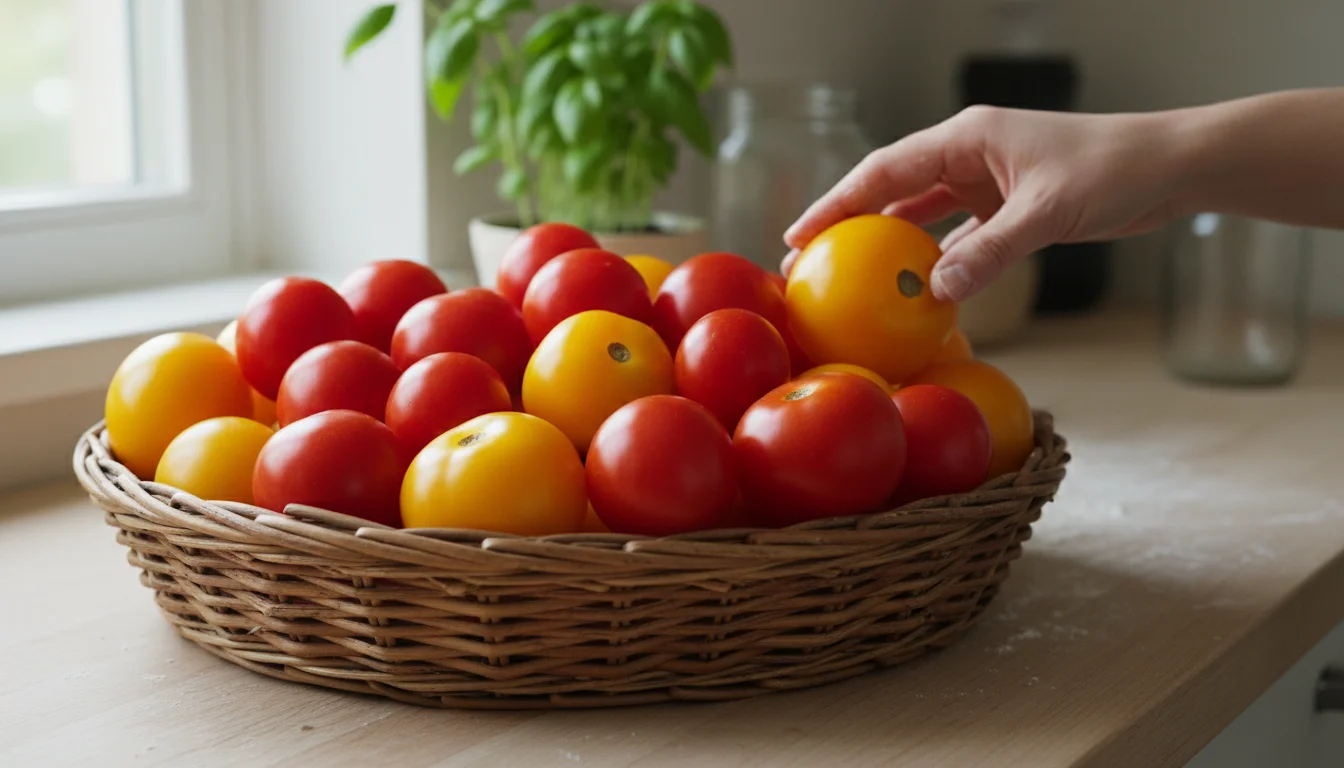
Storage for Peak Flavor
Never store ripe tomatoes in the refrigerator. Cold temperatures break down the cell walls, causing a mealy texture and diminishing their exquisite flavor. Store ripe tomatoes at room temperature, out of direct sunlight, on your counter. They will typically last for several days to a week. If they are slightly underripe, storing them stem-side down can help them ripen evenly.
If you have an abundance of tomatoes, consider preserving them. You can freeze them whole, diced, or pureed, or transform them into sauces, salsas, or sun-dried tomatoes. These methods allow you to enjoy your homegrown bounty long after the growing season ends.
Pruning for Continued Yield (Post-Harvest)
After harvesting a flush of ripe fruit, especially on indeterminate varieties, you can encourage continued production through light pruning. Remove any spent flower clusters, yellowing leaves, or any suckers that have grown excessively large. This directs the plant’s energy towards developing new flowers and fruit, ensuring your container tomato guide provides consistent success.
Frequently Asked Questions
How much water do container tomatoes need?
Container tomatoes need consistent and deep watering. In warm weather, this often means daily, sometimes twice a day. Check the soil moisture by sticking your finger two inches deep; if it feels dry, water thoroughly until water drains from the bottom. Avoid shallow, frequent watering, which leads to weak roots.
Can I grow large slicing tomatoes in containers?
Yes, you can grow large slicing tomatoes in containers, but you need a very large container, at least 15-20 gallons (57-76 liters), and a very sturdy support system like a heavy-duty stake or robust cage. Choose determinate varieties if possible, as their growth is more manageable. Indeterminate slicers require more effort and consistent pruning to thrive in a pot.
Why are my tomato leaves turning yellow?
Yellowing leaves on your container tomato can indicate several issues. Yellowing lower leaves often point to a nitrogen deficiency. Yellowing between veins or uniformly yellow leaves could signal other nutrient deficiencies like magnesium or iron. Overwatering or underwatering can also cause yellowing, as can certain diseases. Assess your watering schedule, fertilizer routine, and check for pests to diagnose the exact cause.
How can I prevent blossom end rot on my container tomatoes?
Blossom end rot is primarily caused by inconsistent watering, which impacts calcium uptake, not necessarily a lack of calcium in the soil. To prevent it, ensure you water deeply and consistently, avoiding extreme fluctuations in soil moisture. Maintain even moisture by mulching the top of your container with a layer of straw or wood chips. Good quality potting mix and appropriate container size also help.
What is the ideal NPK ratio for container tomatoes?
For initial growth, a balanced NPK (nitrogen, phosphorus, potassium) ratio like 5-5-5 or 5-10-5 is good. Once flowers begin to form and fruit sets, switch to a fertilizer higher in phosphorus and potassium and lower in nitrogen, such as 2-5-3 or 3-4-6. This encourages fruit production over excessive leafy growth. Always follow product instructions for dosage.
With these practical, actionable insights, you are well-equipped to grow tomatoes in pots that will amaze you with their flavor and abundance. Remember, consistency in care and attention to detail are your best allies. Enjoy the rewarding journey of nurturing your container tomato plants, from tiny seedlings to bountiful harvests, and savor the unmatched taste of your homegrown efforts.
For research-based guidance on edible gardening, visit University of Minnesota Extension, Royal Horticultural Society (RHS), Cornell Garden-Based Learning and UF/IFAS Gardening Solutions.
Disclaimer: This article is for informational purposes only and is not a substitute for professional advice. Consult local extension services for region-specific recommendations.


Leave a Reply