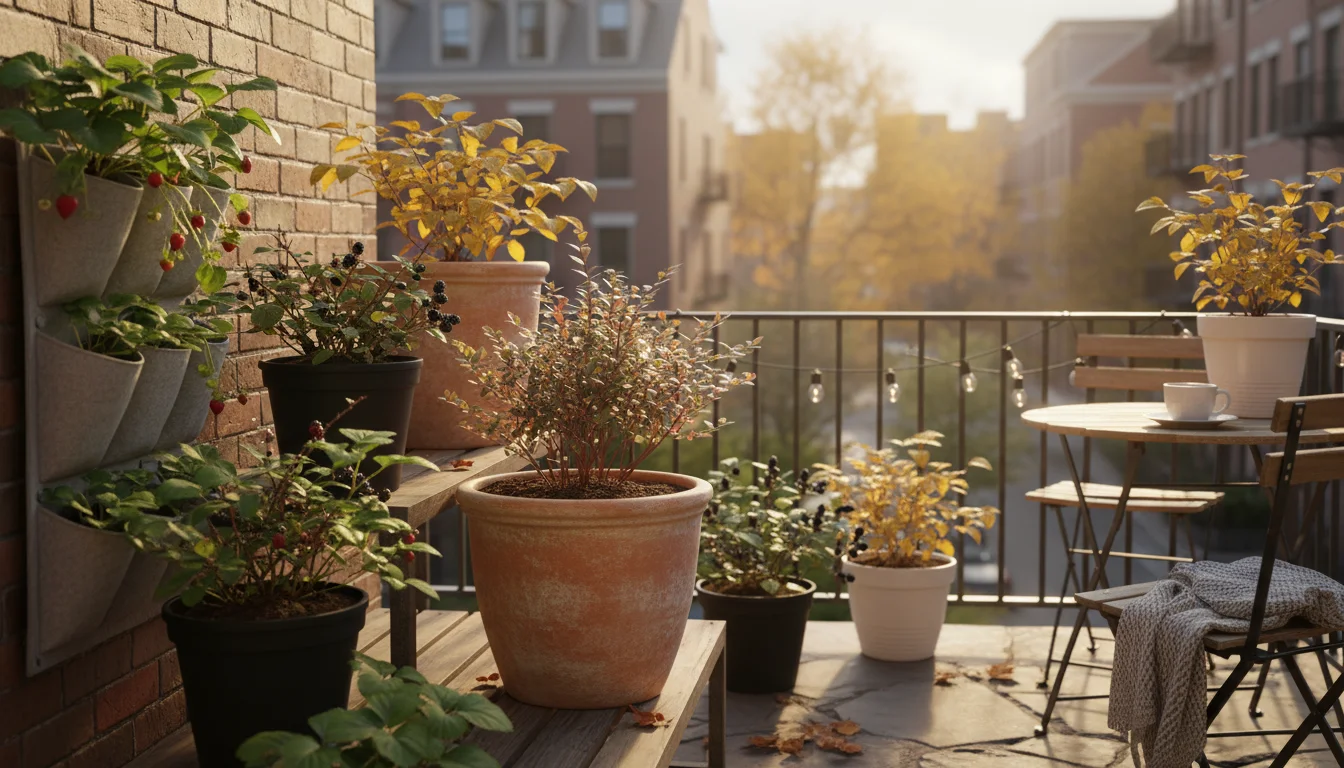
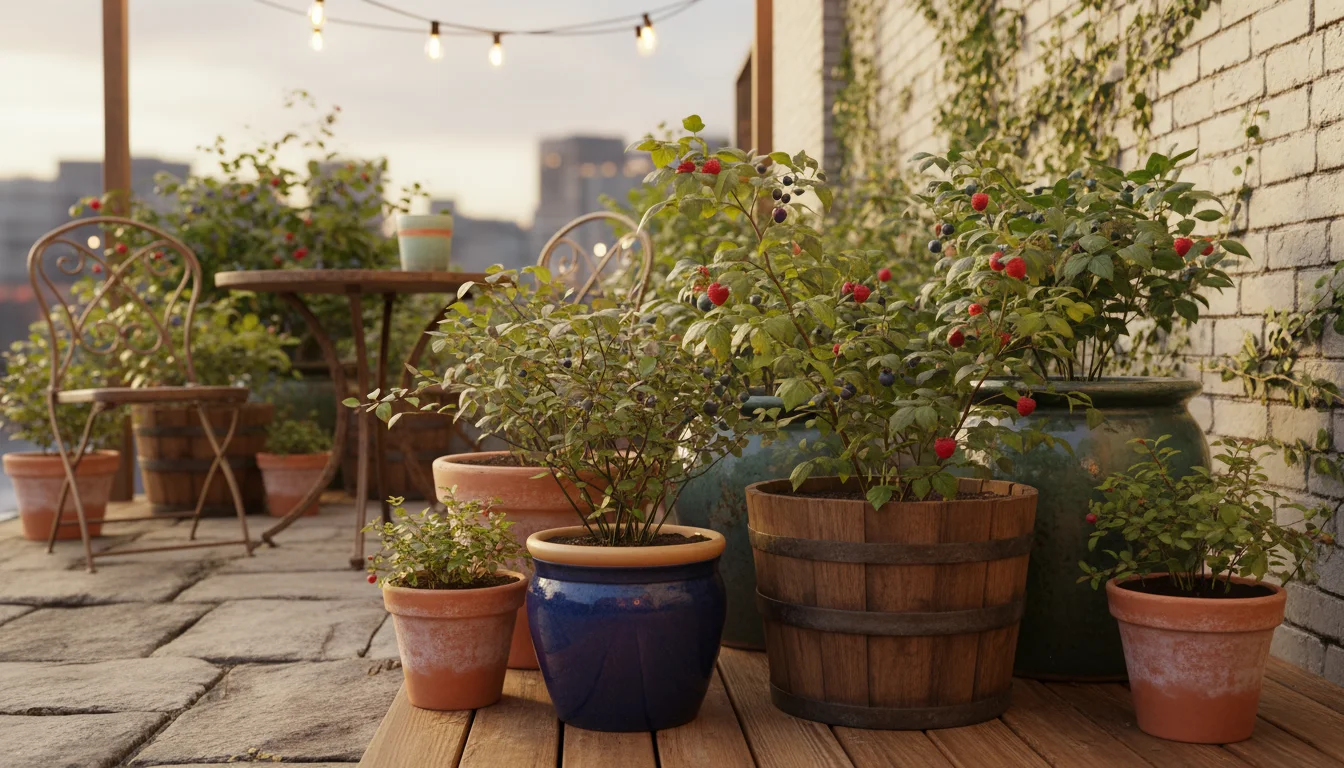
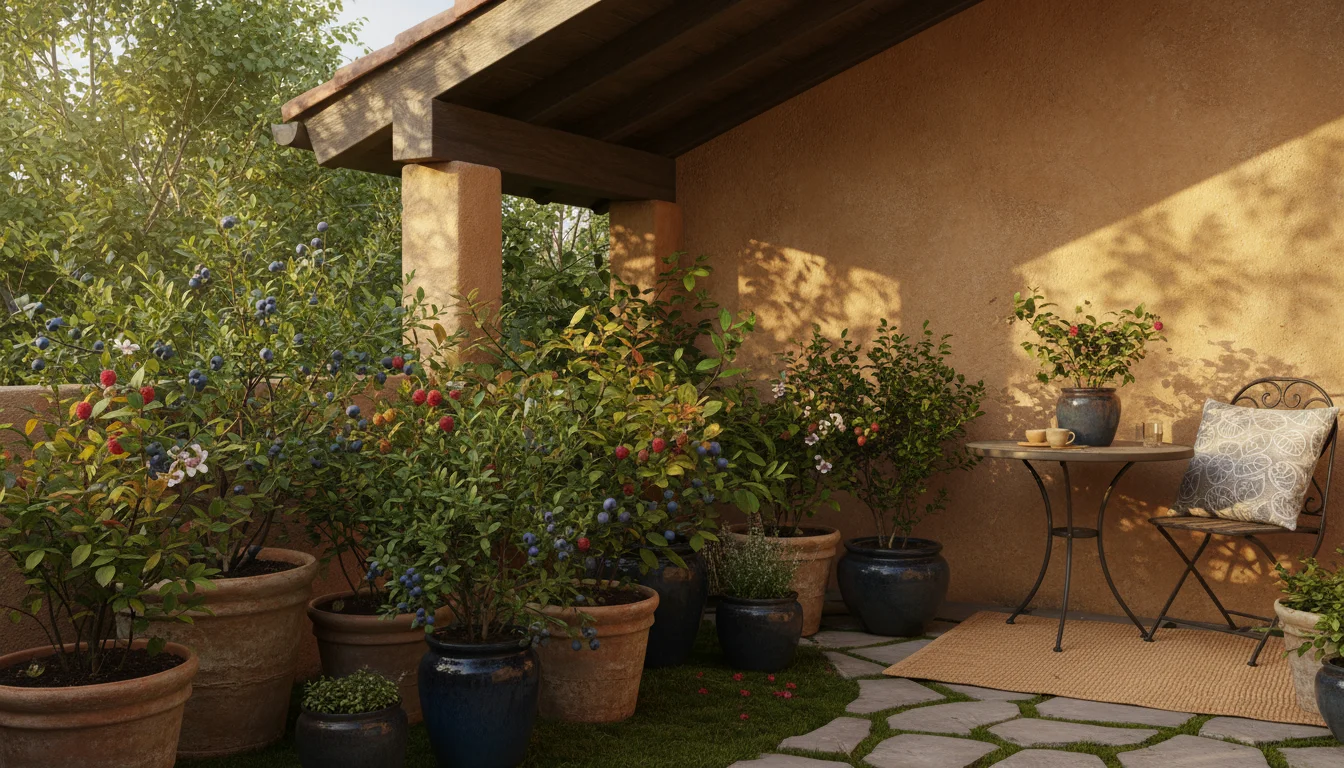
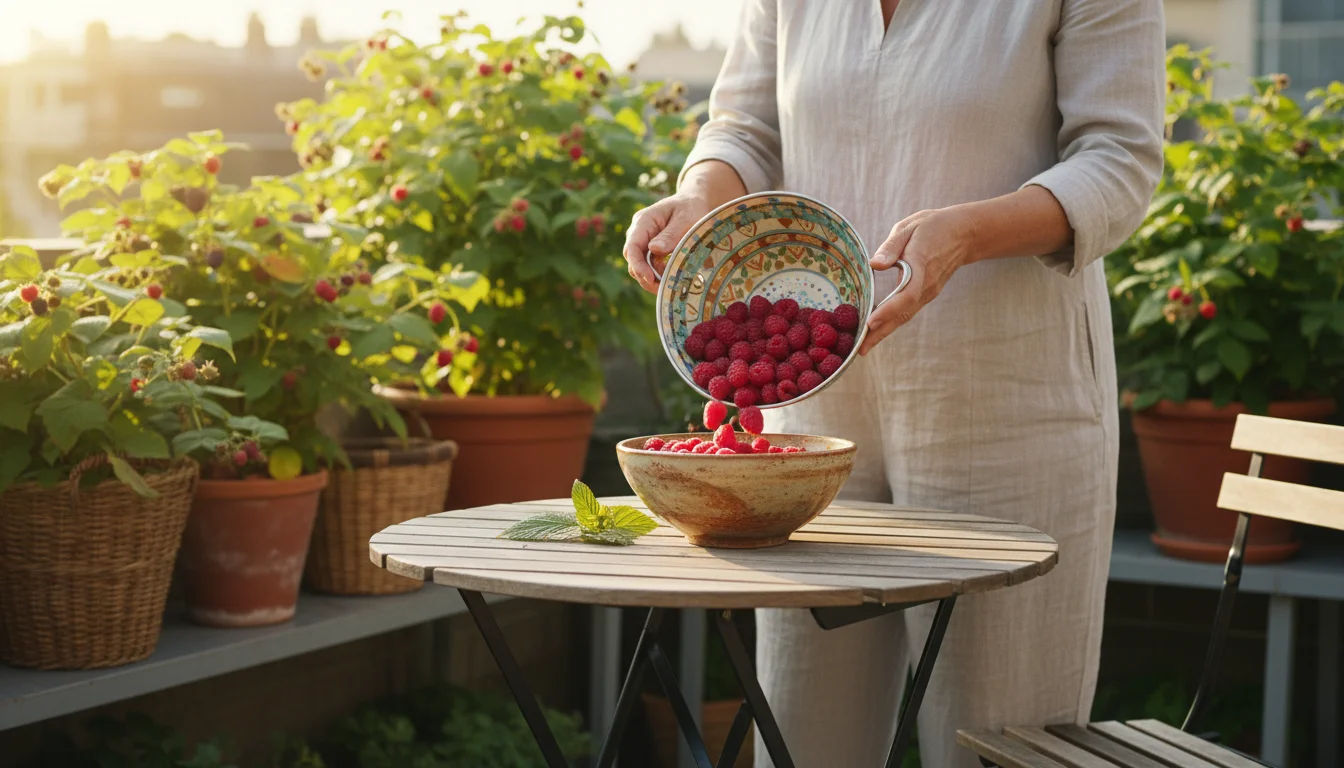
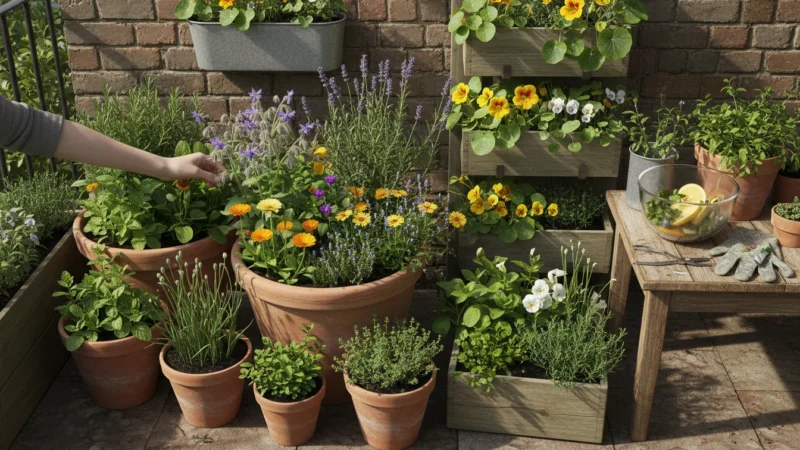
Imagine stepping onto your patio next summer and plucking sweet, ripe berries directly from a pot. This dream becomes a reality when you embrace the smart strategy of fall berry planting. While many gardeners focus on spring, the autumn months offer an unparalleled opportunity to establish a thriving berry patch in containers, even if your garden space is limited to a balcony or a small yard. This guide empowers you to cultivate delicious, homegrown fruit with minimal fuss, setting the stage for abundant harvests next year.
To ensure your pots are ready for these new additions, consider following some simple fall soil prep tips to boost long-term health.
While planning your future fruit, don’t forget to maximize your current space with the best crops for fall harvest in pots.
Fall planting gives your berry bushes a significant head start. The cooler temperatures and increased rainfall reduce transplant shock, allowing roots to establish deeply and widely without the stress of intense summer heat. By the time spring arrives, your plants are already settled, ready to burst forth with new growth and, eventually, a delicious yield. You gain a precious season of growth, transforming your small space into a productive edible oasis. Let’s dig into the practical steps that will lead you to a future filled with homegrown berries.
Why Fall Planting Reaps Rewards for Container Berries
Planting berry bushes in containers during the fall provides several strategic advantages, laying a robust foundation for future harvests. When you undertake fall berry planting, you are not merely putting plants into soil; you are capitalizing on nature’s own timing to ensure their long-term success. Cooler air temperatures, combined with still-warm soil, create an ideal environment for root development.
Before you start digging, it is a good idea to clean and organize your pots to prevent any disease from affecting your new perennials.
Adding fruit to your patio is just one of many productive fall gardening tasks for small-space growers that prepare your garden for a successful year ahead.
During the autumn, the primary focus of a newly planted berry bush shifts from producing leaves and fruit to establishing a strong root system. This is crucial for perennial plants that will remain in their pots for years. With less demand for energy on top growth, the plant directs its resources underground, forming a dense, resilient root ball. This deep establishment helps the plant absorb water and nutrients more efficiently when spring growth explodes. Data from horticultural studies frequently shows that fall-planted perennials often outperform their spring-planted counterparts in terms of vigor and yield in subsequent seasons, thanks to this extended period of root growth.
Furthermore, fall typically brings more consistent rainfall in many regions, reducing your need for constant vigilance with the watering can immediately after planting. This natural moisture helps settle the soil around the roots and minimizes the stress often associated with transplanting. When you prepare for overwintering berry bushes in containers, this initial root development is paramount. A strong root system significantly enhances the plant’s ability to withstand winter dormancy and bounce back vigorously once warmer weather returns. You are essentially giving your future harvest a head start, guaranteeing a more robust and productive plant come spring. This strategic timing translates directly into a more bountiful and satisfying berry harvest for you.
Selecting Container-Friendly Berries for Your Small Space
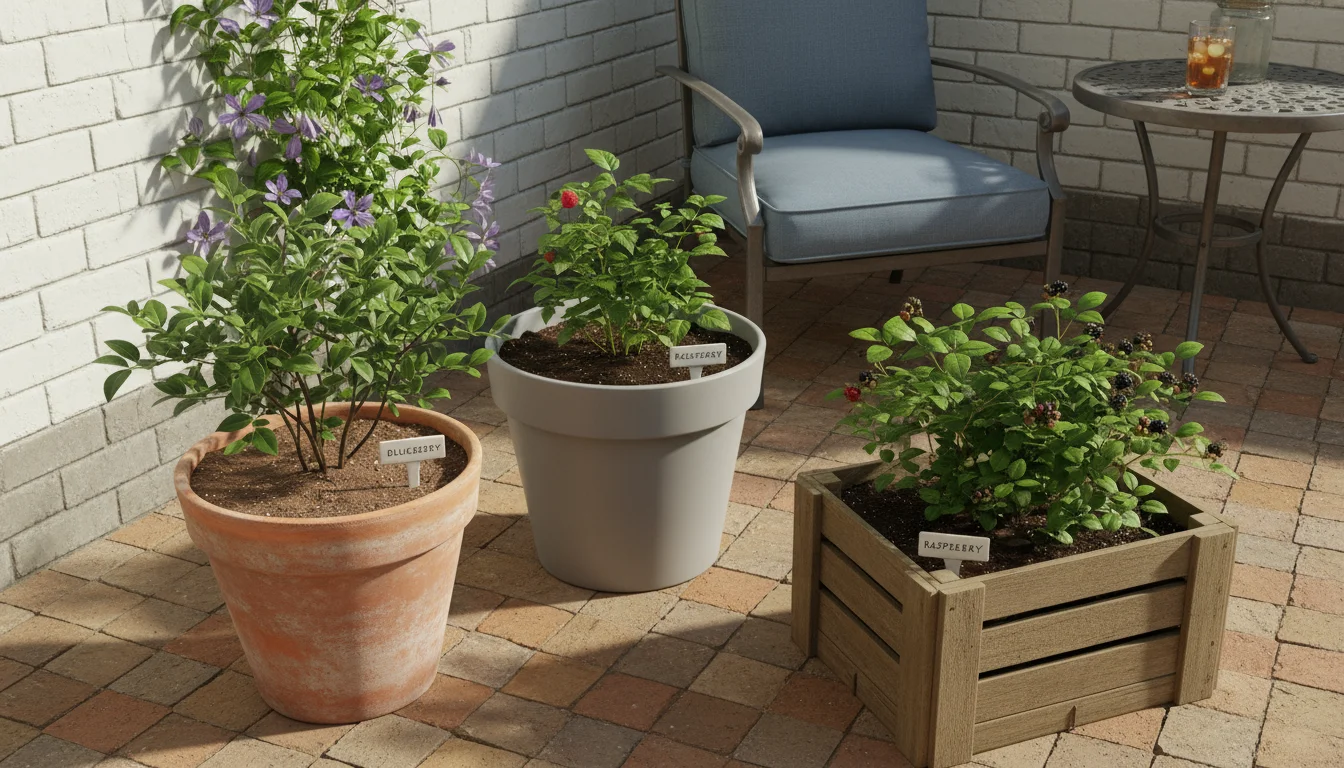
Choosing the right berry varieties is fundamental for success when growing berries in containers. Your goal is to select varieties known for their compact growth habit and adaptability to confined spaces. Many conventional berry bushes become quite large, quickly outgrowing pots. Fortunately, plant breeders have developed excellent dwarf and patio varieties perfectly suited for small space fruit cultivation. We will focus on three popular and highly rewarding options: blueberries, raspberries, and strawberries.
If you have space left on your patio, consider adding a few unusual fall vegetables that thrive in the same cool conditions as your berries.
While berries offer amazing colors, you can also design your fall balcony to include aromatic plants that enhance your outdoor space.
If you missed the early autumn window, there are still last-minute crops you can grow even in the chill of late fall.
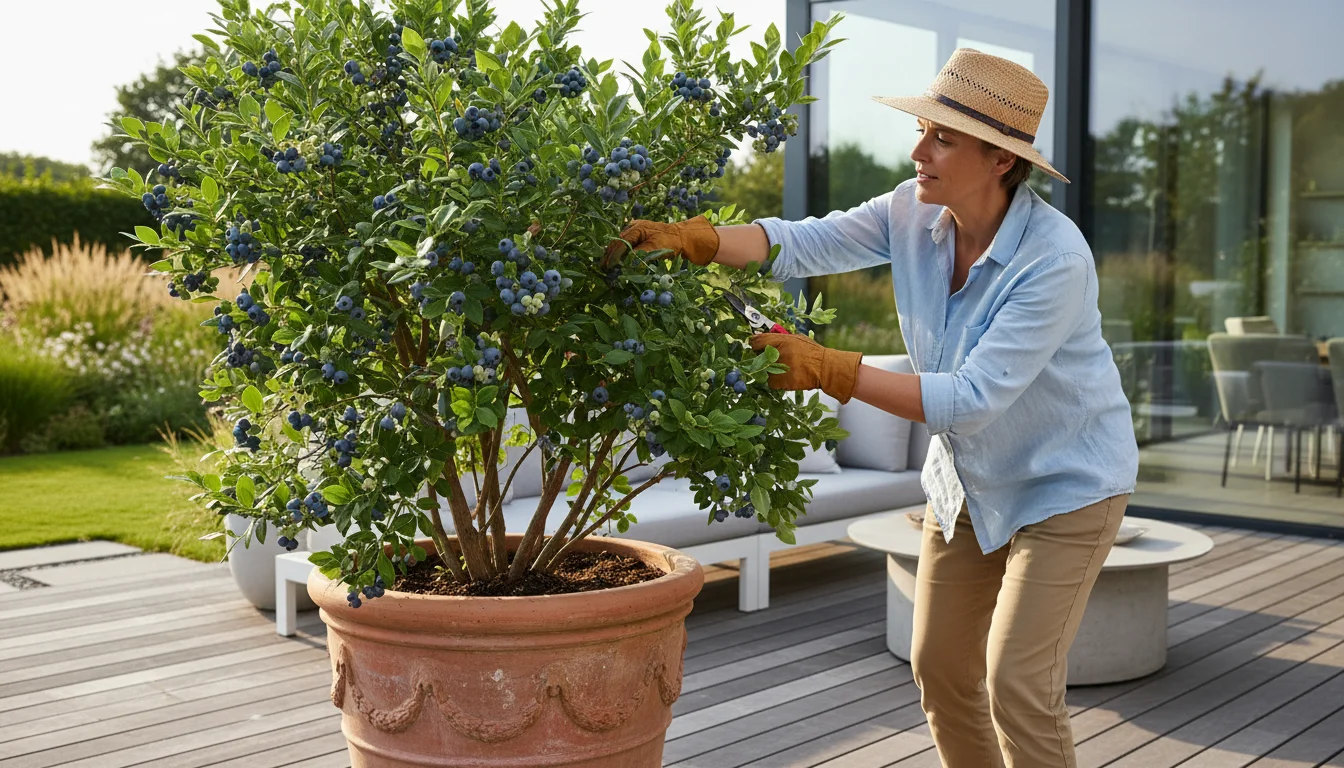
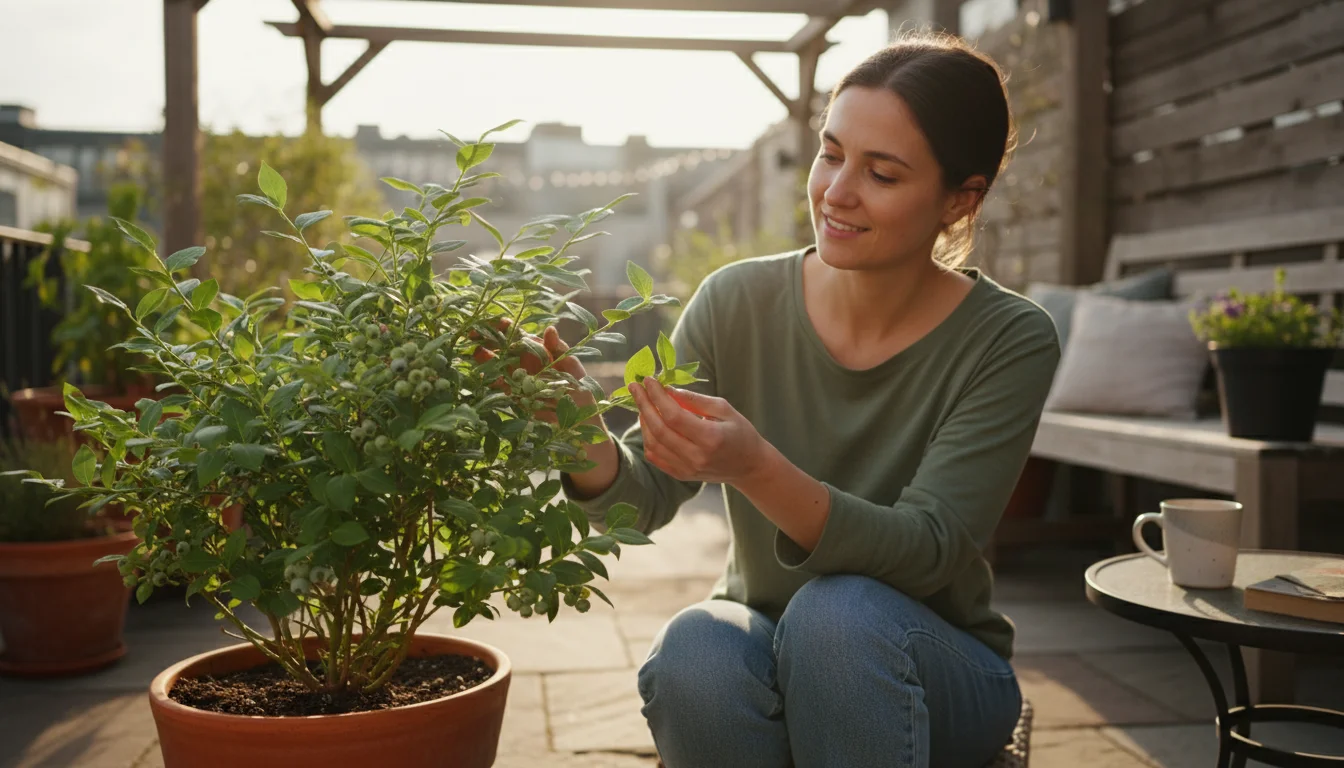
Blueberries: The Compact Powerhouses
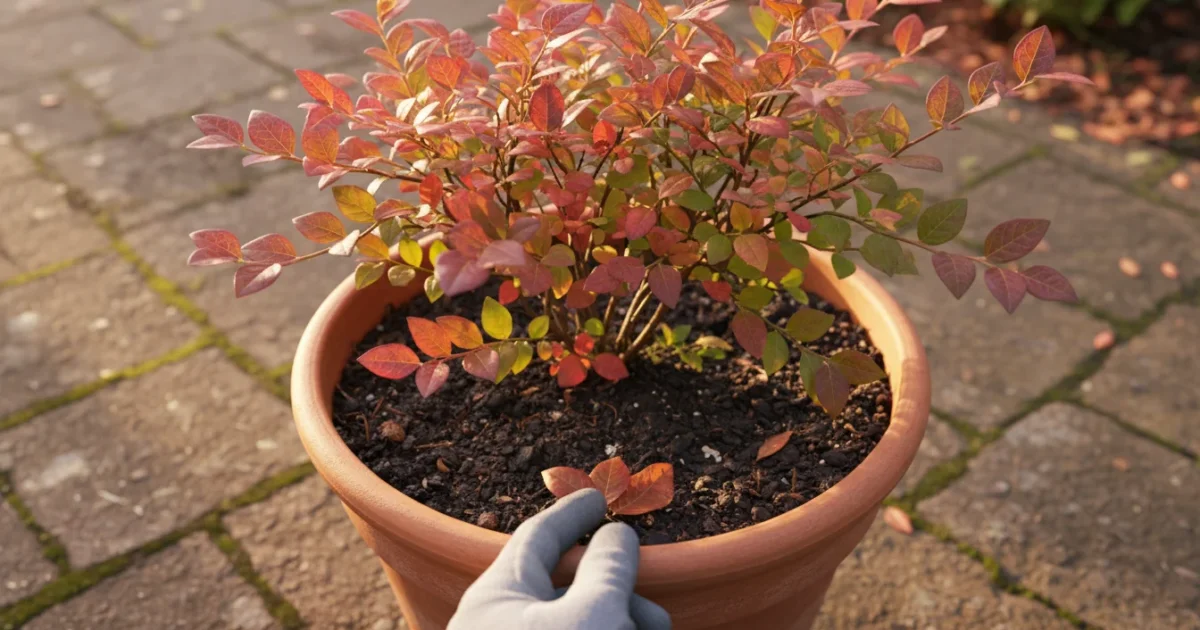
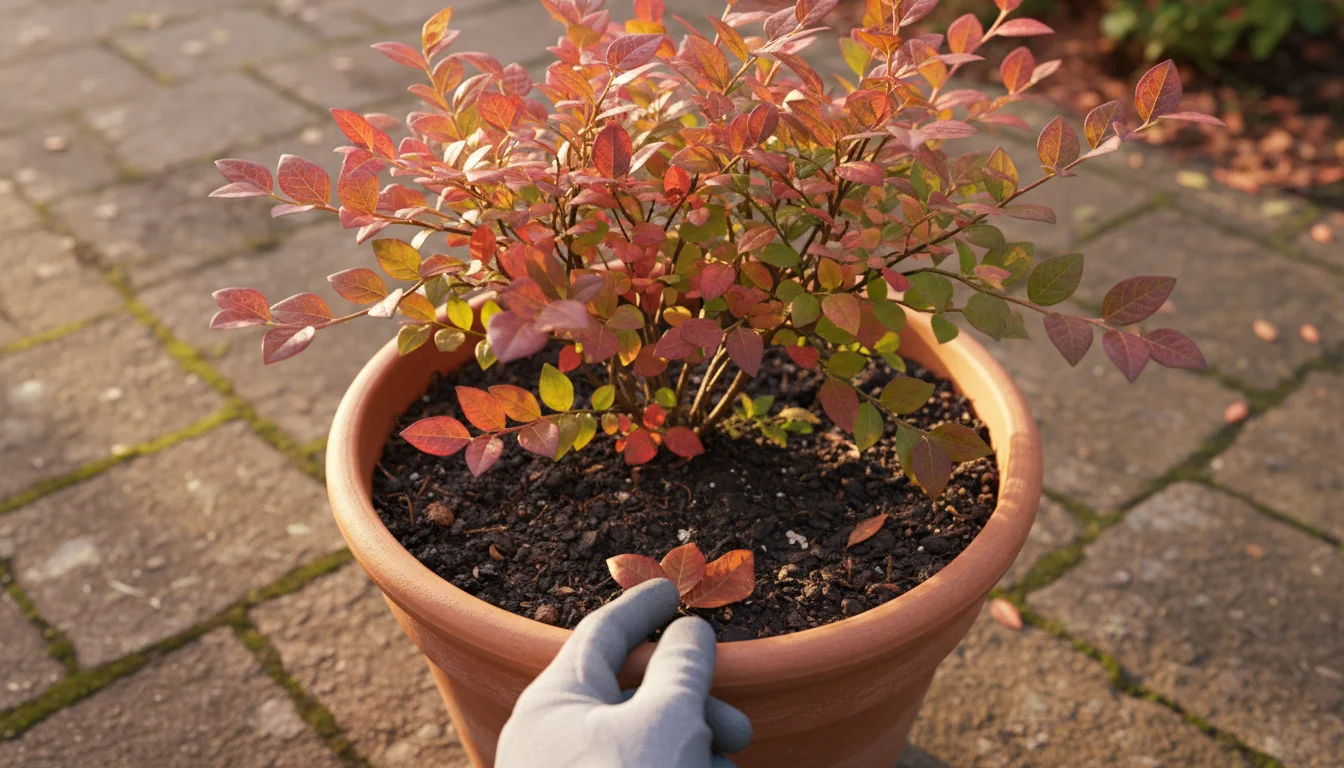
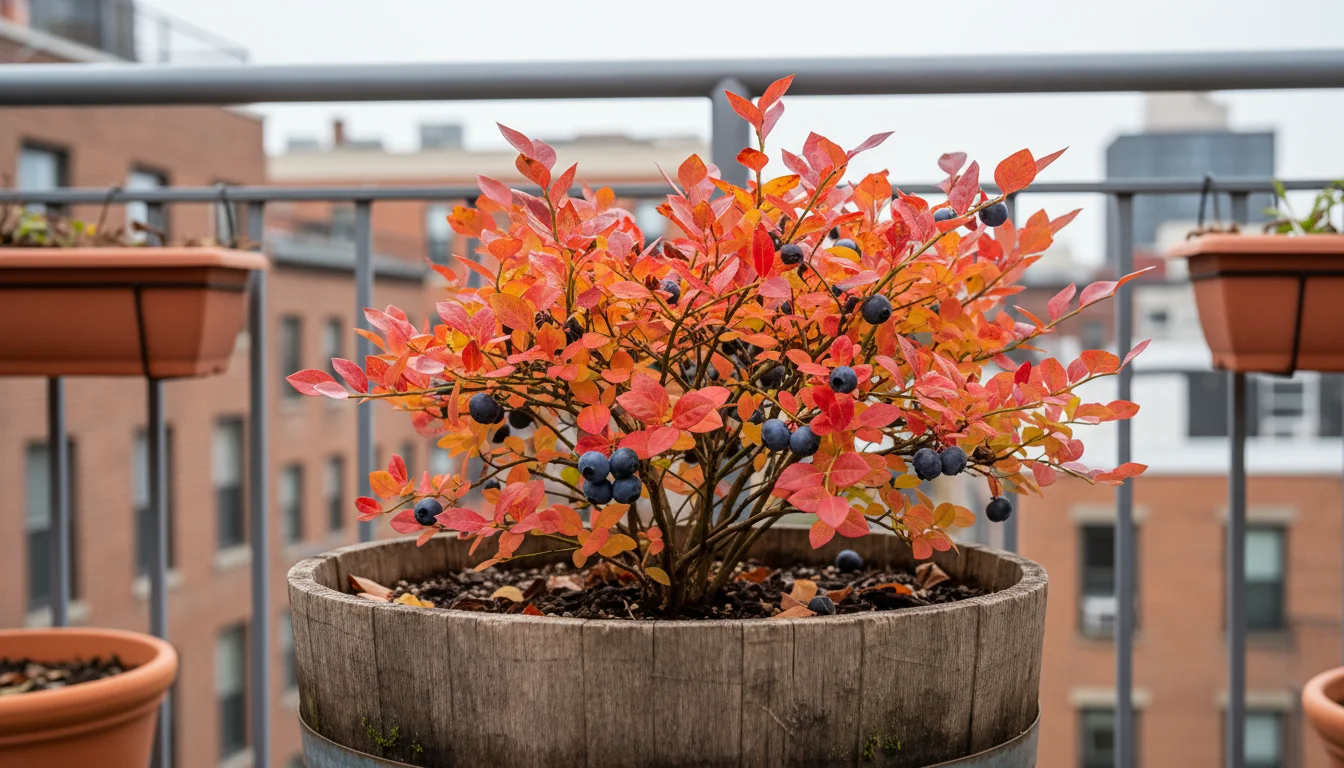
Blueberries are incredibly rewarding in containers, provided you select the right varieties. Most blueberries require acidic soil, which is far easier to achieve and maintain in a pot than in a garden bed. Look for dwarf or half-high varieties. These types typically grow 2-4 feet tall, making them perfect for your patio or balcony. They also boast beautiful fall foliage, adding ornamental value.
- Recommended varieties: ‘Top Hat’, ‘Sunshine Blue’, ‘Jelly Bean’, ‘Pink Lemonade’. These are among the best blueberry varieties for containers, offering excellent fruit production and manageable sizes. ‘Sunshine Blue’ is particularly forgiving regarding soil pH and is partially self-pollinating, though two plants generally yield more.
- Pollination: While some varieties are self-fertile, you often achieve higher yields with cross-pollination from another blueberry bush of a different variety. If space allows, plant two different compact varieties.
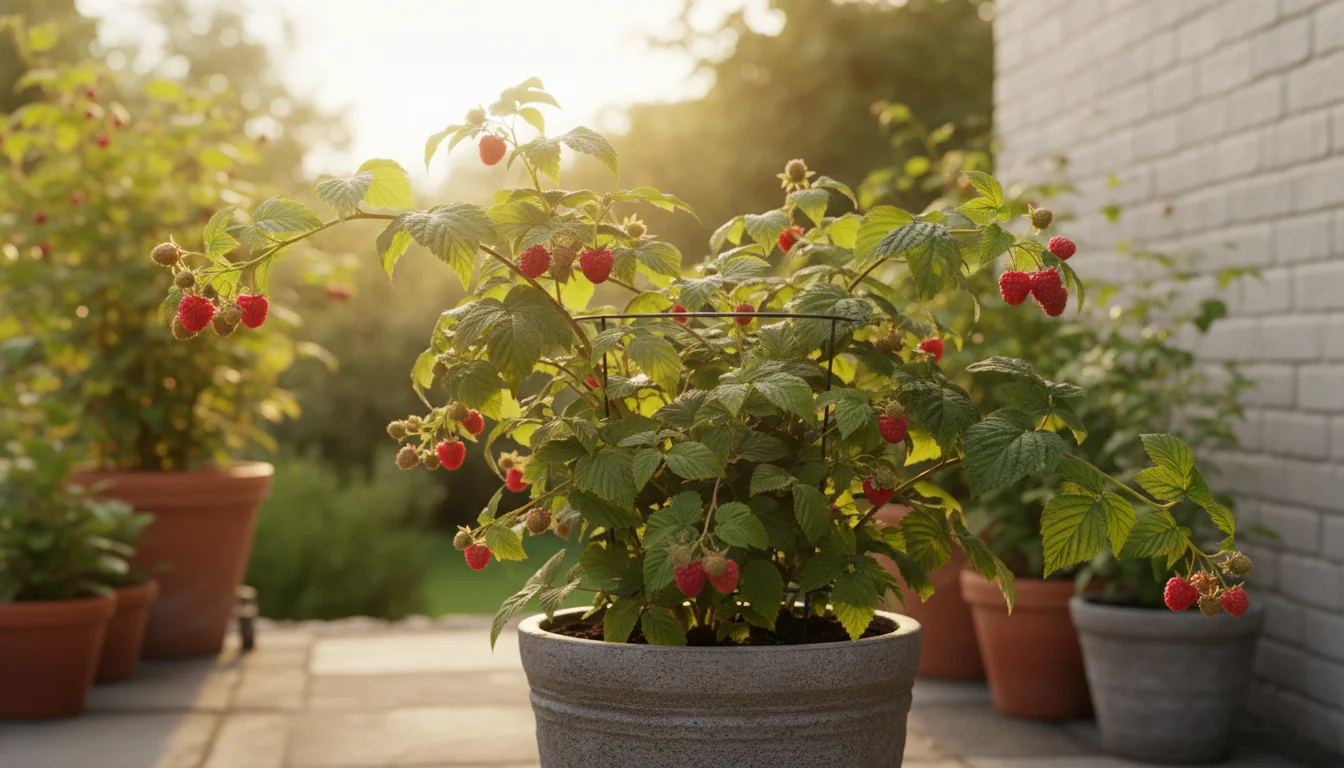
Raspberries: The Arching Delights
While many raspberry canes grow tall and sprawling, specific varieties thrive in containers. These generally have a more compact, upright habit or are ever-bearing, producing fruit on primocanes (first-year canes) which simplifies pruning. Learning how to plant raspberries in pots for winter success ensures you enjoy their sweet flavor year after year.
- Recommended varieties: ‘Raspberry Shortcake’ (thornless, dwarf), ‘Bushel and Berry Raspberry Shortcake’, ‘Ruby Beauty’ (compact, thornless). These are bred specifically for containers and reach heights of 2-3 feet.
- Support: Even compact raspberries benefit from a small stake or a mini-trellis as their canes become laden with fruit.
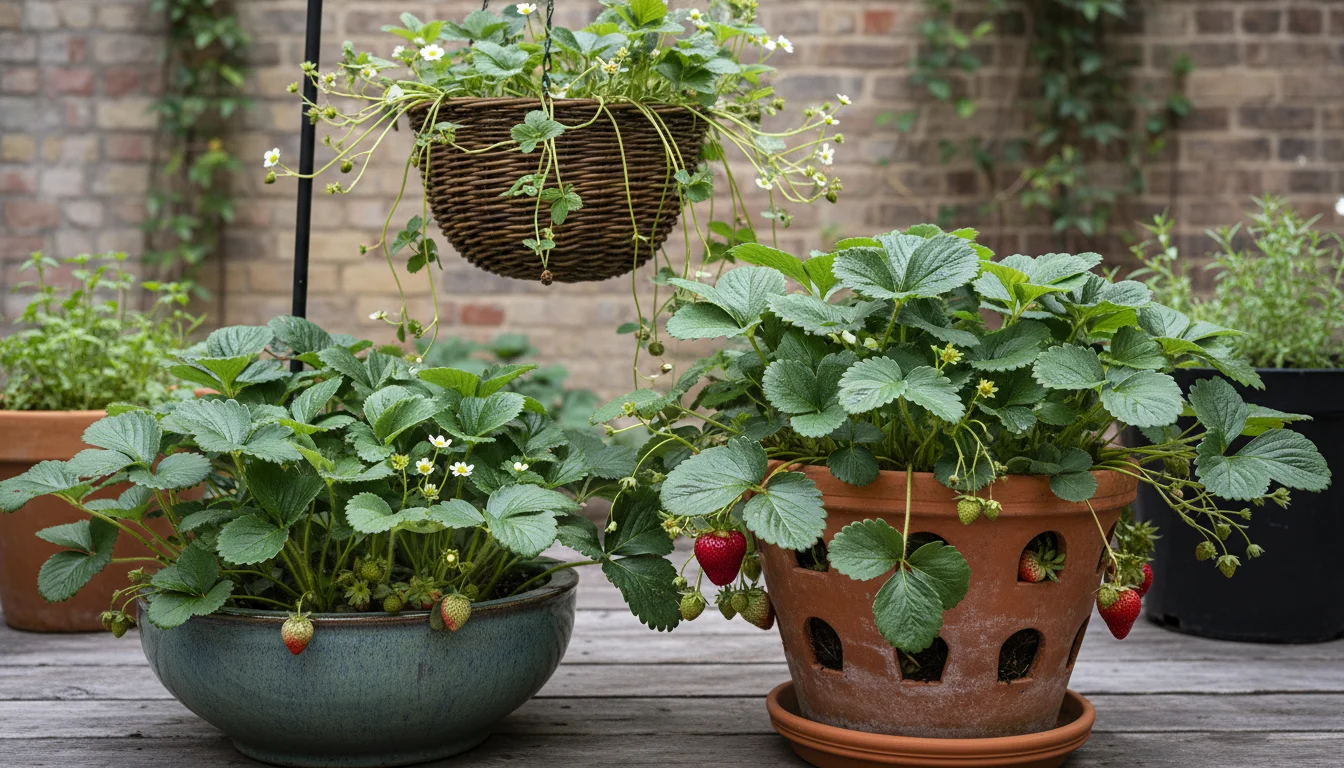
Strawberries: Groundcover to Container Star
Strawberries are perhaps the easiest berries to grow in pots, and planting strawberries in pots in the fall is a highly effective strategy. Alpine strawberries are tiny but produce continually, while ever-bearing or day-neutral varieties yield fruit over a longer season. Avoid June-bearing types for containers unless you are aiming for one large harvest.
- Recommended varieties: ‘Ozark Beauty’, ‘Everbearing’, ‘Seascape’, ‘Albion’. Alpine varieties like ‘Alexandria’ or ‘Mignonette’ are also excellent for smaller pots and offer continuous, though smaller, fruit.
- Container choice: Strawberry pots, hanging baskets, or wide, shallow containers work well.
Here is a quick reference table for popular container-friendly berry varieties:
| Berry Type | Recommended Varieties for Containers | Typical Container Size | Sunlight Needs |
|---|---|---|---|
| Blueberry | ‘Top Hat’, ‘Sunshine Blue’, ‘Jelly Bean’, ‘Pink Lemonade’ | 15-20 gallon (or half whiskey barrel) | Full sun (6+ hours) |
| Raspberry | ‘Raspberry Shortcake’, ‘Ruby Beauty’, ‘Bushel and Berry Raspberry Shortcake’ | 10-15 gallon | Full sun (6+ hours) |
| Strawberry (Everbearing/Day-Neutral) | ‘Ozark Beauty’, ‘Seascape’, ‘Albion’, Alpine varieties | 8-12 inch pot per plant, or strawberry pot | Full sun to partial shade (4-6 hours) |
Choosing and Preparing Your Containers for Berries
The right container is just as important as the right plant for successful berries in containers. Your choice impacts root development, moisture retention, and overall plant health. Do not skimp on size; berry bushes are perennial and need ample room to grow and produce. Selecting the correct pot helps avoid frequent repotting and provides stability for several years of harvests.
Keep in mind that while berries need large pots, you can also use deep containers for carrots to make the most of your vertical space this season.
Size Matters: Give Roots Room to Roam
A common mistake in container gardening is using pots that are too small. For berry bushes, especially blueberries and raspberries, you need substantial containers. A minimum of a 10-gallon pot is generally recommended for raspberries, with blueberries preferring 15-20 gallons or even a half whiskey barrel. Strawberries are more forgiving, thriving in 8-12 inch pots per plant, hanging baskets, or specialized strawberry pots. Larger pots offer more soil volume, which translates to:
- Better moisture retention: Less frequent watering is necessary.
- Temperature stability: Larger soil masses insulate roots from extreme temperature fluctuations.
- Nutrient availability: More space for roots to spread and access nutrients.
- Reduced root binding: Plants can establish a robust root system without becoming root-bound too quickly.
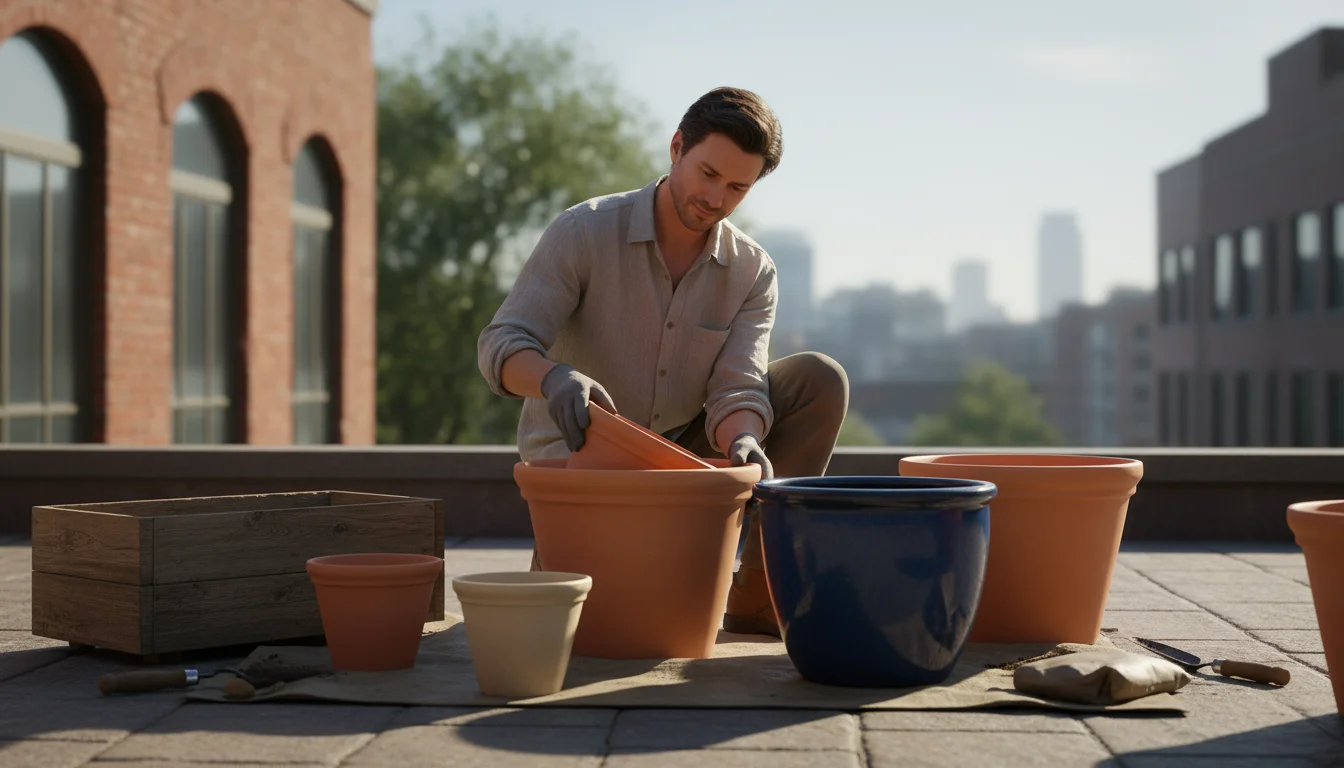
Material Considerations: What Your Pot is Made Of
Container materials each offer unique benefits and drawbacks:
- Terra Cotta/Clay: Attractive and breathable, promoting healthy root aeration. They dry out quickly, requiring more frequent watering, especially in warmer climates. They can also crack in freezing temperatures if not properly protected.
- Plastic: Lightweight, inexpensive, and retains moisture well. Choose thick-walled, UV-resistant plastic to prevent degradation and protect roots from heat. Dark colors can absorb excessive heat, so lighter colors are often preferable for heat-sensitive plants.
- Wood: (e.g., cedar, redwood, or treated lumber for raised beds) Excellent insulators, visually appealing, and very durable. Ensure any wood is safe for edibles; avoid old railroad ties or chemically treated wood unless certified safe. Half whiskey barrels are popular choices.
- Fabric Grow Bags: Excellent for aeration and drainage, preventing roots from circling (air pruning). They are lightweight and easy to move but can dry out quickly. Consider using them inside decorative cachepots for improved aesthetics and moisture retention.
Drainage: The Non-Negotiable Requirement
Regardless of material, impeccable drainage is absolutely critical. Berries hate “wet feet,” meaning roots sitting in standing water. Waterlogged soil quickly leads to root rot and plant death.
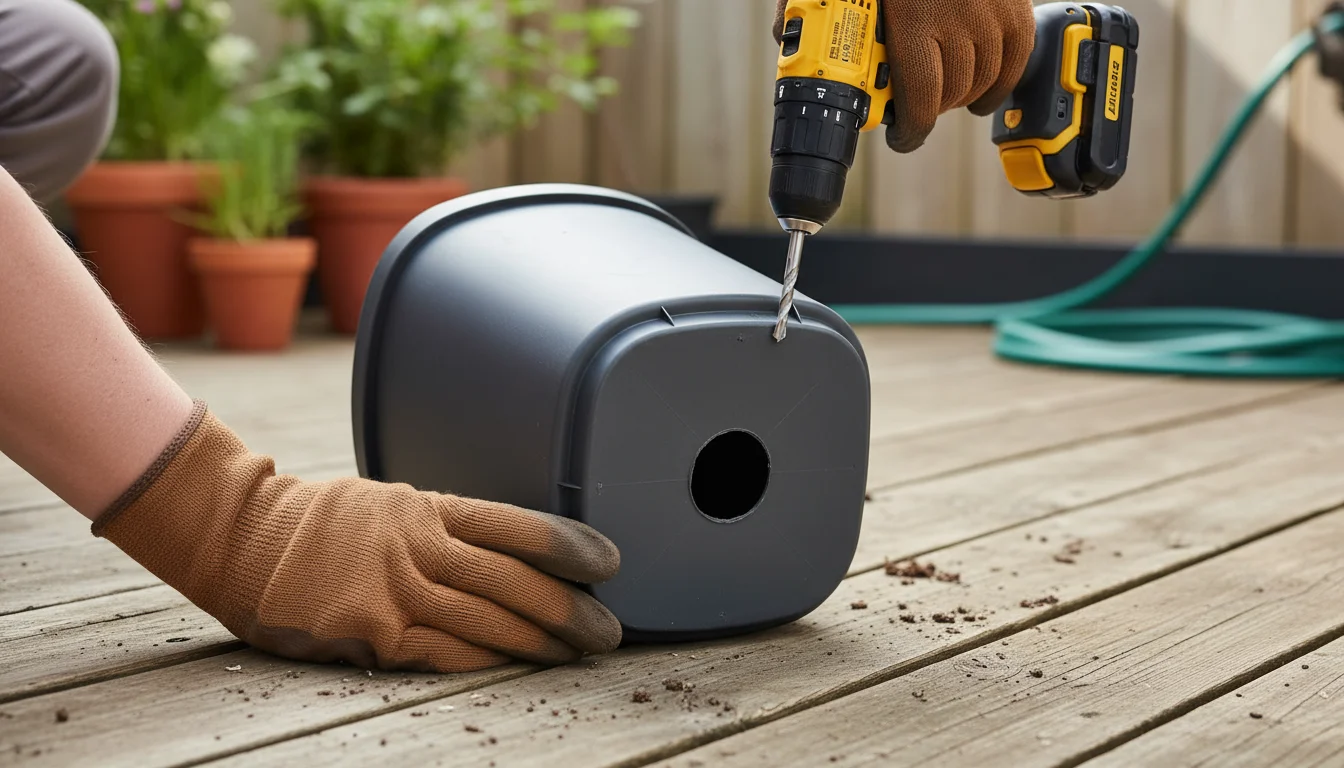
- Ensure your chosen container has ample drainage holes at the bottom. More holes are better than fewer.
- If holes are small or few, you can drill additional ones using an appropriate drill bit.
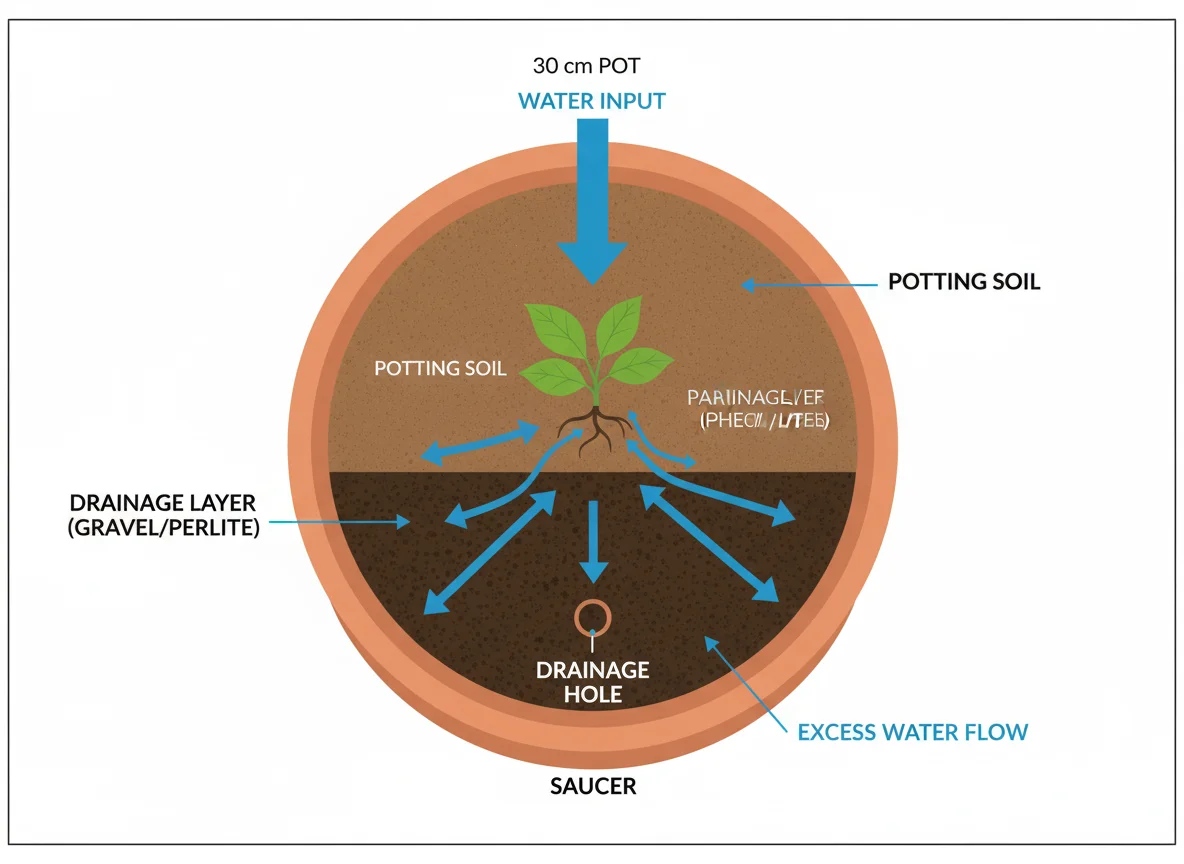
- Avoid adding a layer of gravel or broken pot shards at the bottom of containers. This common misconception actually hinders drainage by creating a perched water table, which keeps the soil above it saturated. Instead, simply cover the drainage holes with a piece of landscape fabric or a coffee filter to prevent potting mix from washing out while allowing water to flow freely.
Proper container selection and preparation significantly contribute to the long-term health and productivity of your container berry bushes, making your fall berry planting efforts a true success.
The Secret to Success: Crafting the Ideal Potting Mix
The potting mix you choose makes an enormous difference in the health and productivity of your container berry bushes. Unlike garden soil, which compacts and lacks proper aeration in a pot, a high-quality potting mix provides the ideal balance of drainage, moisture retention, and nutrients. Think of it as the foundation of your berry plant’s home; a strong foundation leads to a strong plant. This is particularly crucial for plants that will remain in their containers for several years, as is the case for many berries in containers.
Understanding the Core Components
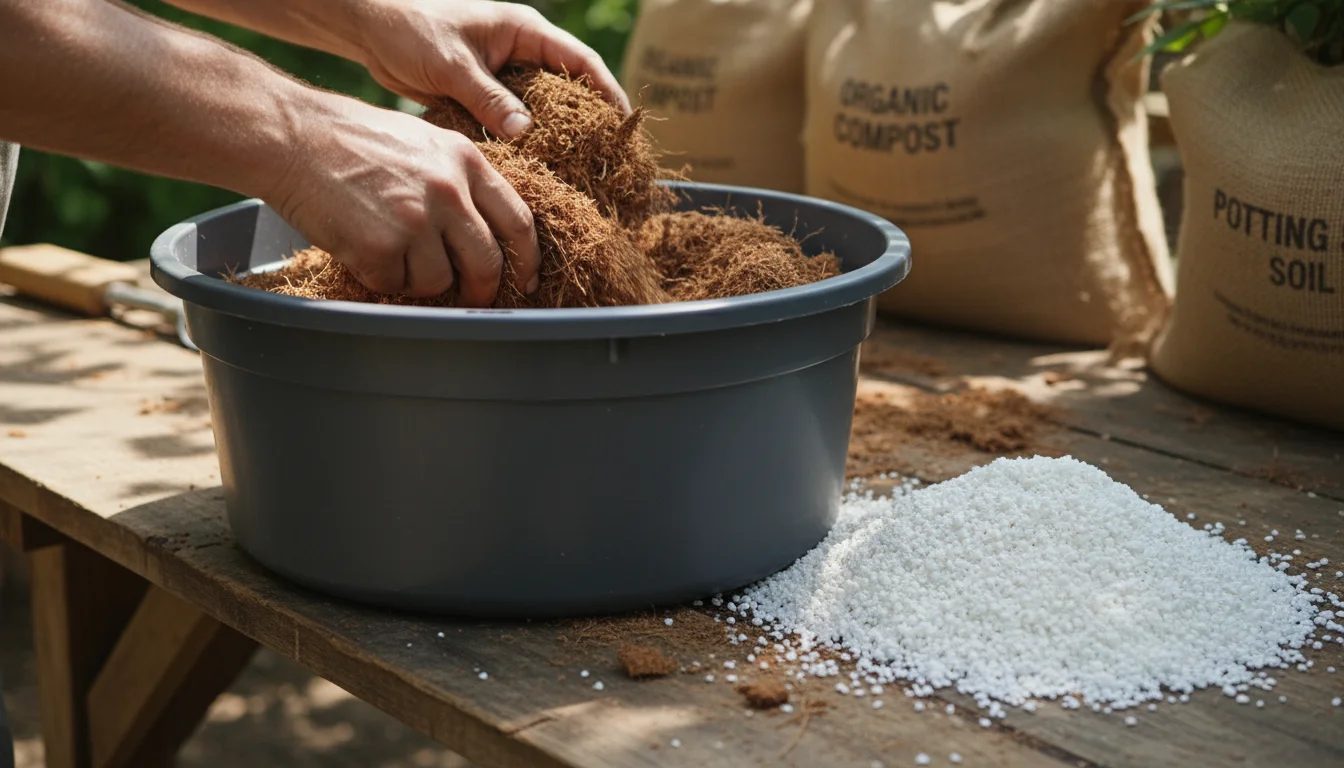
A superior potting mix for berries typically includes a blend of components, each serving a vital purpose:
- Base Material (e.g., Coir or Peat Moss): These materials retain moisture and nutrients while providing structure. Coir, derived from coconut husks, is an excellent sustainable, peat-free option. Peat moss, while effective, raises environmental concerns due to its slow regeneration rate. For environmentally conscious gardeners, choosing a peat-free mix or making your own with coir is a commendable step.
- Aeration Components (e.g., Perlite or Pumice): These lightweight, porous materials prevent compaction and ensure adequate air circulation around the roots. Good aeration is vital to prevent root rot and promote healthy root growth, especially important for overwintering berry bushes.
- Organic Matter (e.g., Composted Bark or Worm Castings): These additions provide a slow release of nutrients, improve soil structure, and support beneficial microbial activity.
- Nutrient Boost (Optional): A small amount of balanced, slow-release organic fertilizer or compost can jumpstart your plant’s growth.
Crafting Your Own Peat-Free Berry Mix
Creating your own mix gives you control over the ingredients and ensures it is tailored to your plants’ needs. A good general recipe for fall berry planting in containers includes:
- 2 parts high-quality peat-free potting mix (coir-based): This forms your bulk, providing moisture retention and initial nutrients.
- 1 part perlite or pumice: Essential for aeration and drainage.
- 1 part compost or well-rotted leaf mold: Adds nutrients, beneficial microbes, and improves overall soil structure.
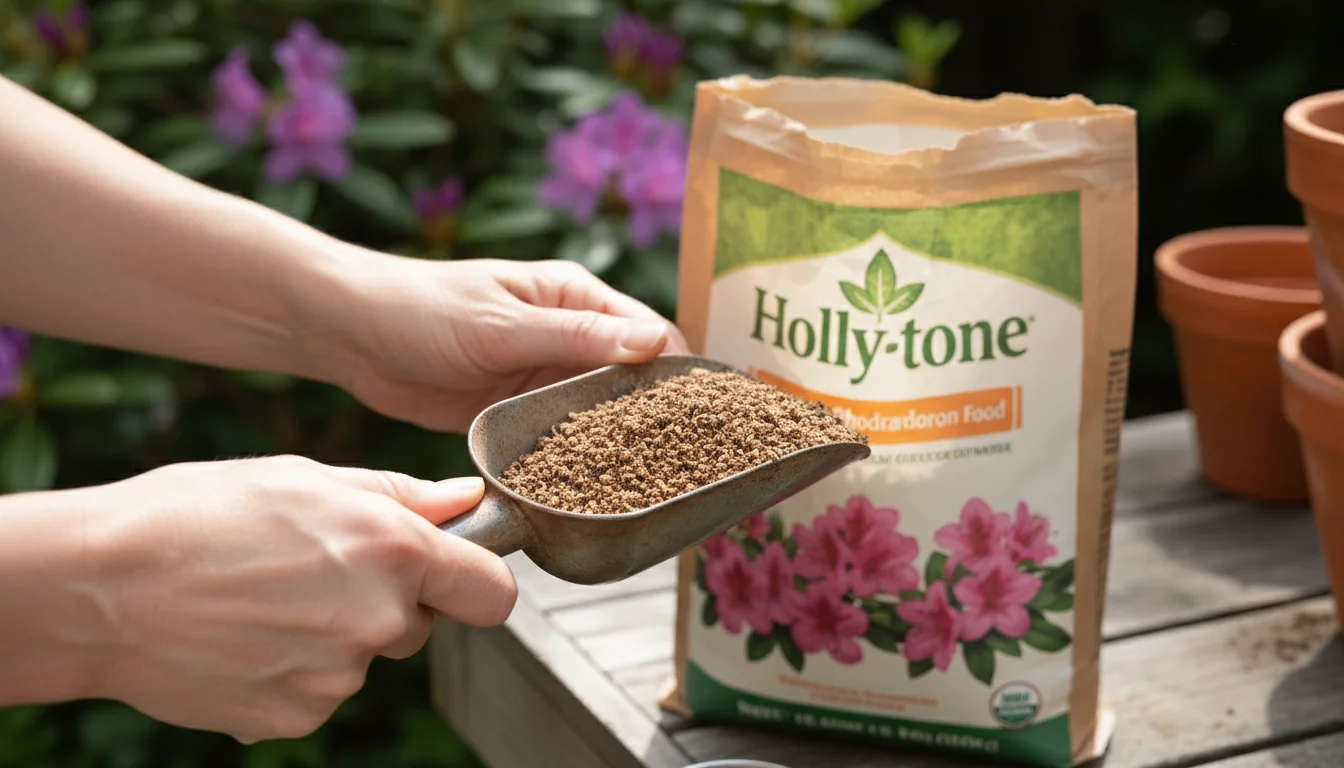
- 1-2 cups of an organic slow-release granular fertilizer: (e.g., Espoma Holly-tone for blueberries, or a general fruit & berry fertilizer for raspberries and strawberries) for sustained nutrient delivery.
- For blueberries only: Add 1 part elemental sulfur or an acidifier specifically designed for blueberries to lower the pH. Blueberries absolutely require acidic soil (pH 4.5-5.5) to thrive. You can also mix in some pine bark fines, which naturally acidify the soil as they break down.
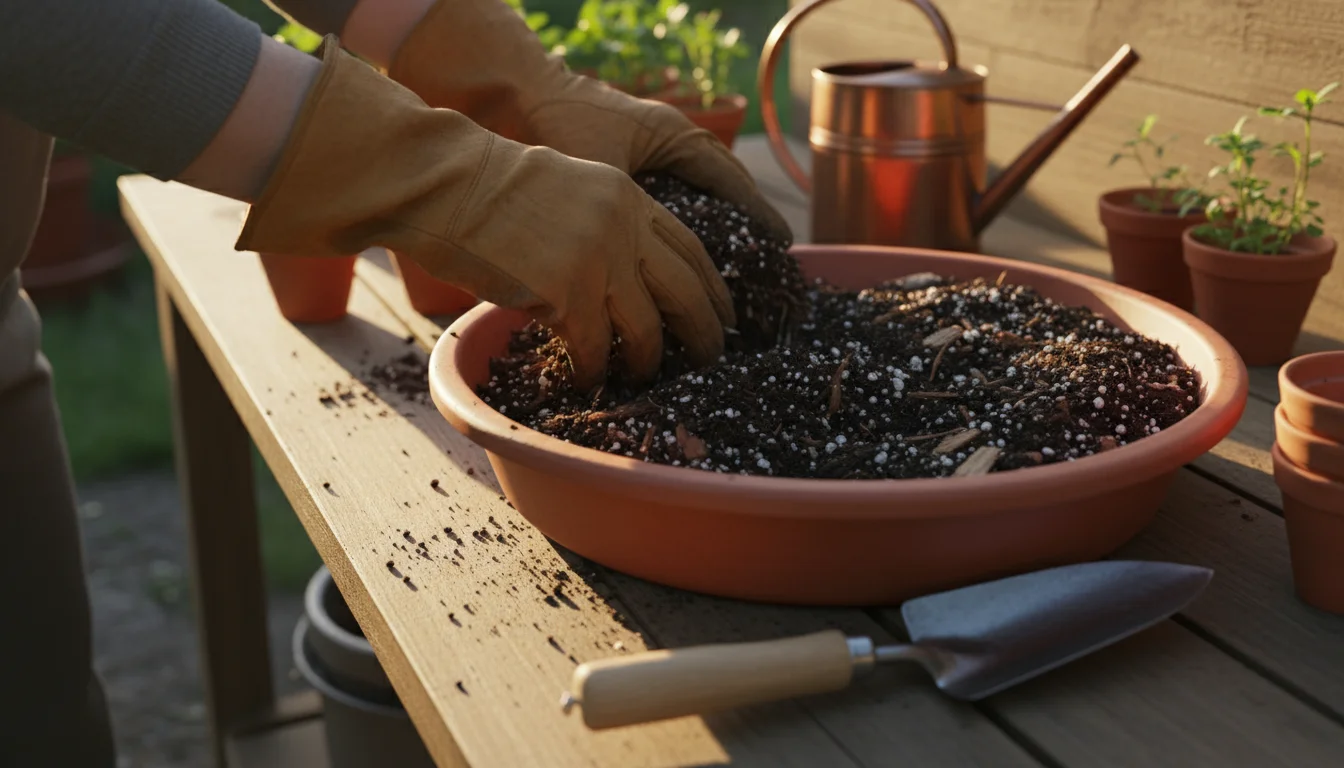
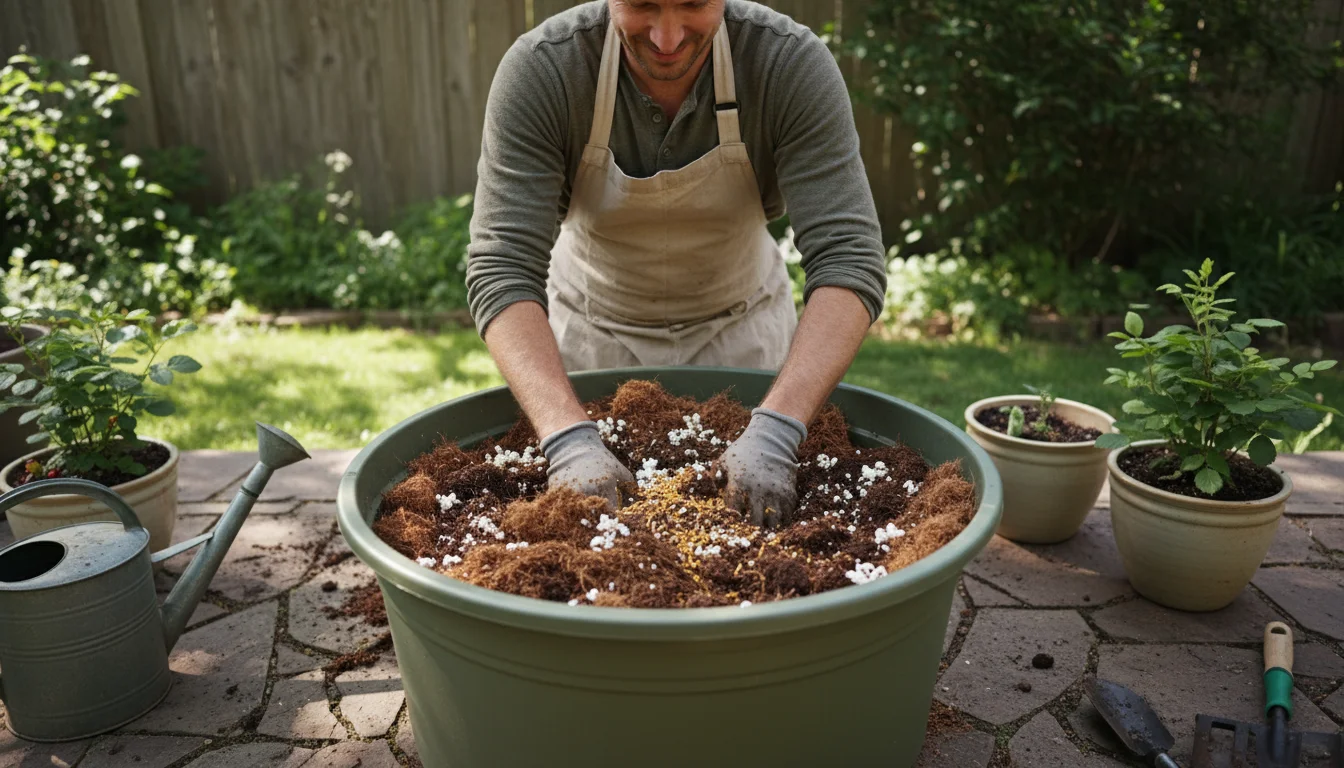
Mix all ingredients thoroughly in a large tub or on a tarp until uniformly combined. The result should be light, fluffy, and well-draining, yet capable of holding moisture. This customized potting mix provides the optimal environment for your berry bushes to establish strong roots this fall and flourish with abundant harvests in the seasons to come. Using a fresh, high-quality mix prevents the common issues of compacted soil and nutrient deficiencies that often plague container plants.
Step-by-Step: Planting Your Fall Berries for Winter Success
With your containers and custom potting mix ready, you are prepared for the exciting step of planting. This process is straightforward, but following these steps precisely ensures your berry bushes settle in properly for their long winter rest and emerge strong in spring. Whether you are planting strawberries in pots in the fall or establishing robust blueberry and raspberry bushes, proper technique is key for optimal growth and future yields.
Here is a detailed guide to successful fall berry planting:
- Gather Your Supplies: Have your selected berry plant, chosen container, prepared potting mix, a small trowel or spade, a watering can, and potentially gardening gloves ready.
- Prepare the Container: Ensure your container has adequate drainage holes. Place a piece of landscape fabric or a coffee filter over the drainage holes to prevent the potting mix from washing out. Do not add gravel.
- Add a Base Layer of Potting Mix: Fill the bottom of your container with enough potting mix so that when you place your berry plant in, the top of its root ball sits approximately 1-2 inches below the rim of the pot. This space prevents water and soil from overflowing during watering.
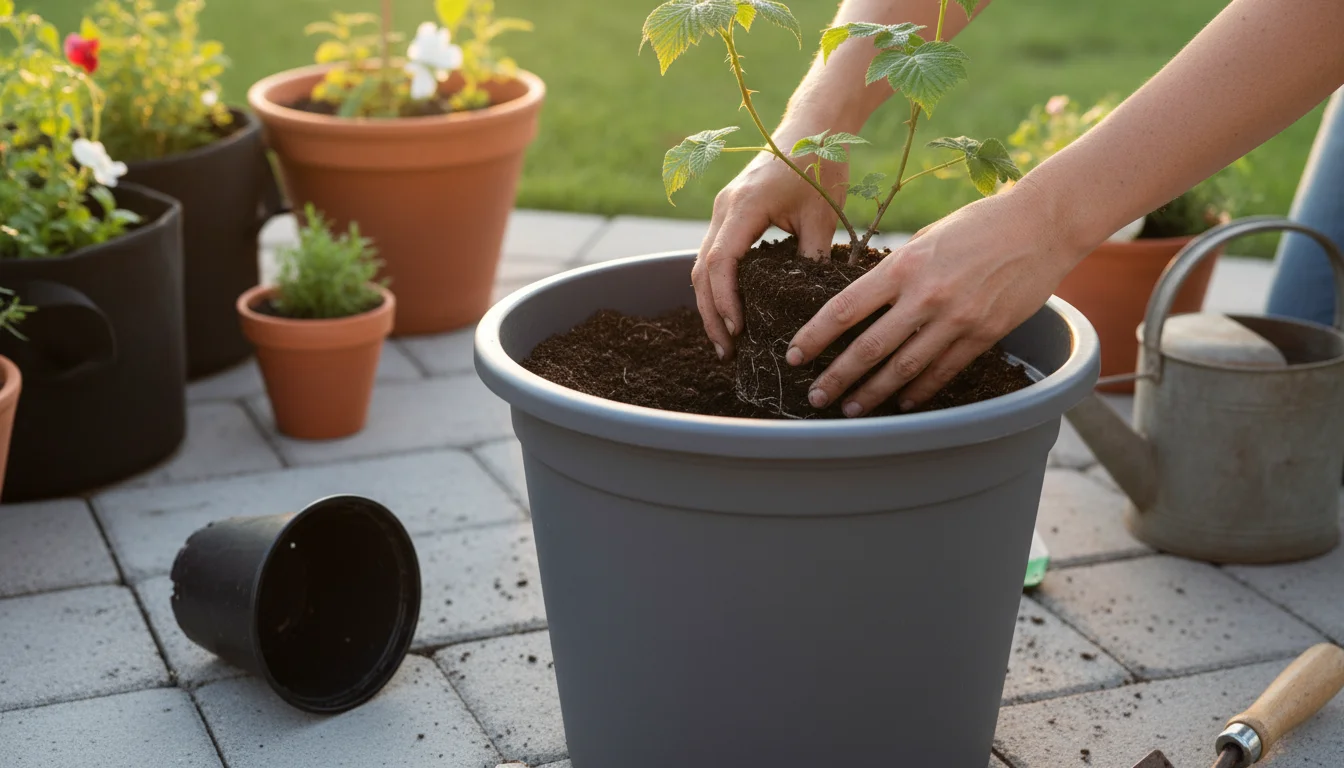
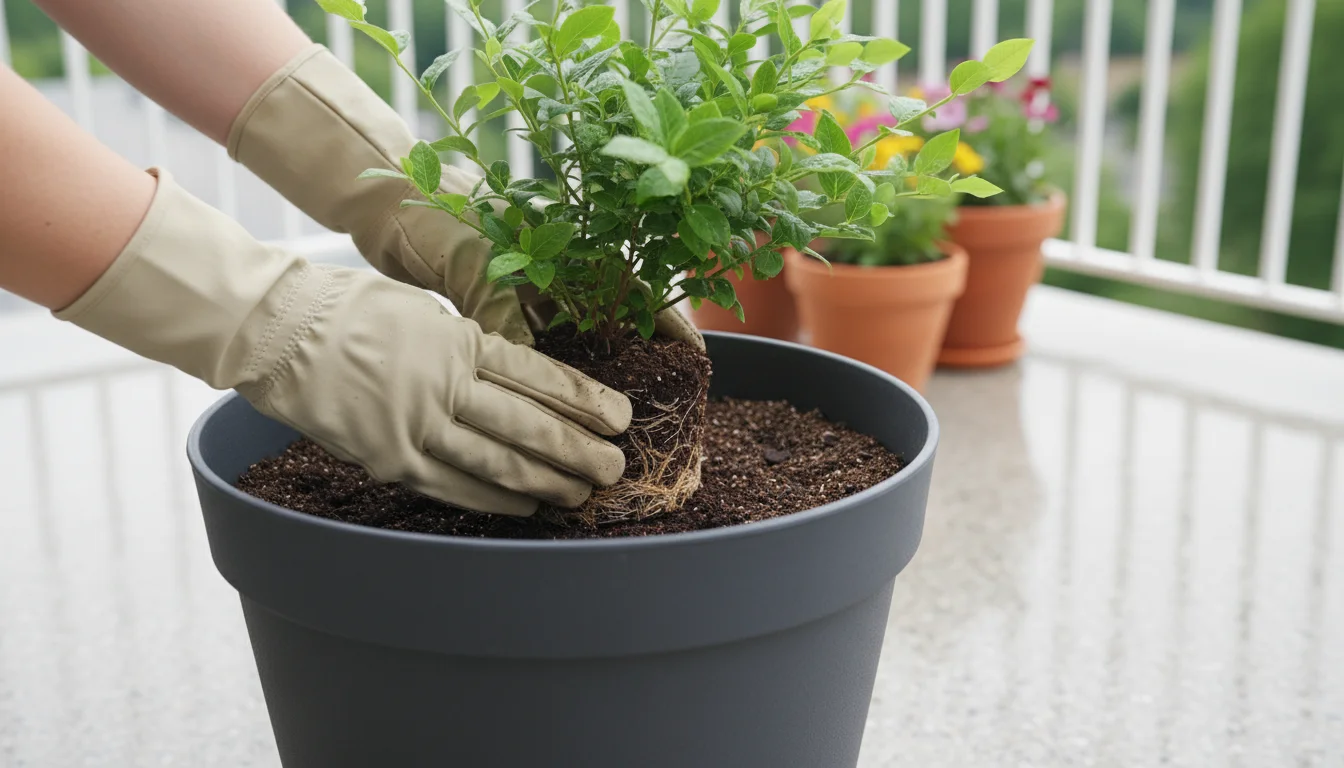
- Remove the Plant from its Nursery Pot: Gently slide the berry plant out of its original container. If it is stubborn, you can carefully squeeze the sides of the pot or turn it upside down and tap the bottom. Support the plant by the base of the stem.
- Inspect and Loosen Roots: Examine the root ball. If the roots are tightly circling the bottom or sides, gently tease them apart with your fingers or make a few shallow vertical cuts with a clean knife. This encourages roots to grow outwards into their new home rather than continuing to circle. This step is particularly important for plants that have been in their nursery pots for some time.
- Position the Plant: Center the berry plant in your prepared container. Ensure the crown of the plant (where the stem meets the roots) is at the same level as it was in the nursery pot, or slightly below for strawberries. For blueberries and raspberries, the root flare (where the trunk widens at the base) should be at or just above the soil line. Adjust the amount of potting mix underneath until the plant is at the correct height.
- Backfill with Potting Mix: Carefully fill around the root ball with your custom potting mix, gently firming it down to remove large air pockets. Avoid compacting the soil too much, as roots need air. Leave that 1-2 inch space at the top of the pot.
- Water Thoroughly: Water your newly planted berry bush deeply until water drains freely from the bottom of the container. This settles the soil around the roots and eliminates any remaining small air pockets. You may need to add a bit more potting mix after the initial watering if the soil level drops significantly.
- Apply Mulch (Optional but Recommended): A 1-2 inch layer of organic mulch (like pine bark chips for blueberries, or straw for strawberries) on top of the potting mix helps retain moisture, regulate soil temperature, and suppress weeds. Ensure the mulch does not touch the plant’s stem or crown.
Completing these steps correctly ensures your berries in containers are well-positioned for strong root development through the fall and a successful transition into winter dormancy, paving the way for delicious future harvests.

Overwintering Container Berries for a Spring Burst
Successfully overwintering berry bushes in containers is crucial for ensuring their survival and productivity year after year. While fall berry planting gives your plants a strong start, winter protection shields their vulnerable root systems from freezing and thawing cycles. Roots in containers are far more exposed to cold than those in the ground, where the surrounding earth provides insulation. Your goal is to keep the root ball consistently cold but not subjected to extreme, prolonged freezing or repeated thaw-freeze cycles, which can damage roots.
Understanding Winter Hardiness in Containers
A plant’s hardiness zone rating typically applies to plants grown in the ground. For container plants, you generally need to treat them as if they are one or two hardiness zones colder. For example, if you live in Zone 6, a plant rated for Zone 6 might struggle in a container, so selecting varieties hardy to Zone 4 or 5 is a safer bet, especially for berries in containers.
Protection Strategies by Climate and Space
Choose an overwintering strategy that best fits your climate and available space:
- Move to a Sheltered Location (Mild Climates): In regions with mild winters (Zone 7 and warmer) where temperatures rarely drop below 20-25°F (-6 to -4°C), simply moving your containers to a sheltered spot can be enough. A protected area against a south-facing wall, under eaves, or near a building provides radiant heat and blocks harsh winds. Grouping pots together offers mutual insulation.
- Unheated Garage, Shed, or Cold Frame (Moderate Climates): For zones with colder but not extreme winters (Zones 5-7), an unheated garage, shed, or cold frame provides excellent protection. The goal is to keep plants dormant and roots from freezing solid for extended periods. Ensure the area remains dark and cool (just above freezing to around 40°F / 4°C). Check soil moisture periodically; plants still need a little water occasionally to prevent desiccation, but much less than in active growth.
- Insulation for Exposed Pots (Colder Climates): If you cannot move your containers indoors, insulation becomes critical for Zones 4-5 and colder.
- Wrap the Pots: Encase the container in burlap, bubble wrap, or a thick layer of straw or old blankets. You can also create a “pot-within-a-pot” by placing your berry container inside a larger, empty container and filling the gap with insulating material like leaves, straw, or wood chips.
- Bury the Pot (Temporarily): If you have a garden bed, you can temporarily bury the entire container in the ground, up to its rim. This provides excellent natural insulation.
- Create a Protective Mound: Mound soil, leaves, or straw around the base of the plant and over the pot to provide insulation.
- Continue to Water Sparingly: Even dormant plants need some moisture. Check the soil every few weeks and water lightly if it feels dry. Avoid overwatering, which can lead to root rot.
In spring, as temperatures rise and the threat of hard freezes passes, gradually reintroduce your container berries to outdoor light and warmer conditions. This careful transition ensures a smooth awakening from dormancy, setting your plants up for a successful and fruitful growing season. Proper overwintering protects your investment and rewards your patience with a vibrant, productive berry patch.
Ongoing Care for Bountiful Harvests: Watering, Feeding, and Pruning
Once your berry bushes are established in their containers, consistent care throughout the growing season ensures a bountiful harvest. Your role as a gardening coach involves maintaining the ideal conditions for your berries in containers, focusing on regular hydration, balanced nutrition, and strategic pruning. These practices are essential for maximizing fruit production and promoting long-term plant health.

Watering: The Foundation of Fruit Production
Container plants dry out faster than garden beds, so attentive watering is crucial. Berries prefer consistently moist, but not waterlogged, soil.
- Deep and Thorough: Water deeply until you see water draining from the bottom of the pot. This encourages roots to grow downwards, seeking moisture.
- Feel the Soil: Do not water on a strict schedule. Instead, check the top 1-2 inches of soil with your finger. If it feels dry, it is time to water.
- Frequency: In hot, dry weather, you may need to water daily or even twice a day. During cooler periods or after rain, watering frequency decreases significantly.
- Sustainable Tip: Consider installing a drip irrigation system or using self-watering containers for larger setups. Rain barrels are excellent for collecting chemical-free water for your plants.
Feeding: Fueling Growth and Fruit
Container plants rely entirely on you for their nutrient supply. Regular feeding replenishes what the plants use and what leaches out with watering.
- Organic Fertilizers: Choose organic, slow-release fertilizers for a steady supply of nutrients, supporting beneficial soil microbes. For blueberries, use an acid-loving fertilizer like Holly-tone or an azalea/rhododendron specific blend. For raspberries and strawberries, a balanced fruit and berry formula works well.
- Application: Follow package instructions for application rates. Typically, you apply granular fertilizers every 4-6 weeks during the active growing season (spring through early summer). Liquid feeds can be applied more frequently, every 2-4 weeks, at a diluted strength.
- Compost Boost: Top-dress your containers with an inch or two of fresh compost annually in early spring. This provides a gentle nutrient boost and improves soil health.
- Avoid Over-Fertilizing: Too much fertilizer, especially nitrogen, can promote lush foliage at the expense of fruit production. Stick to recommended rates.
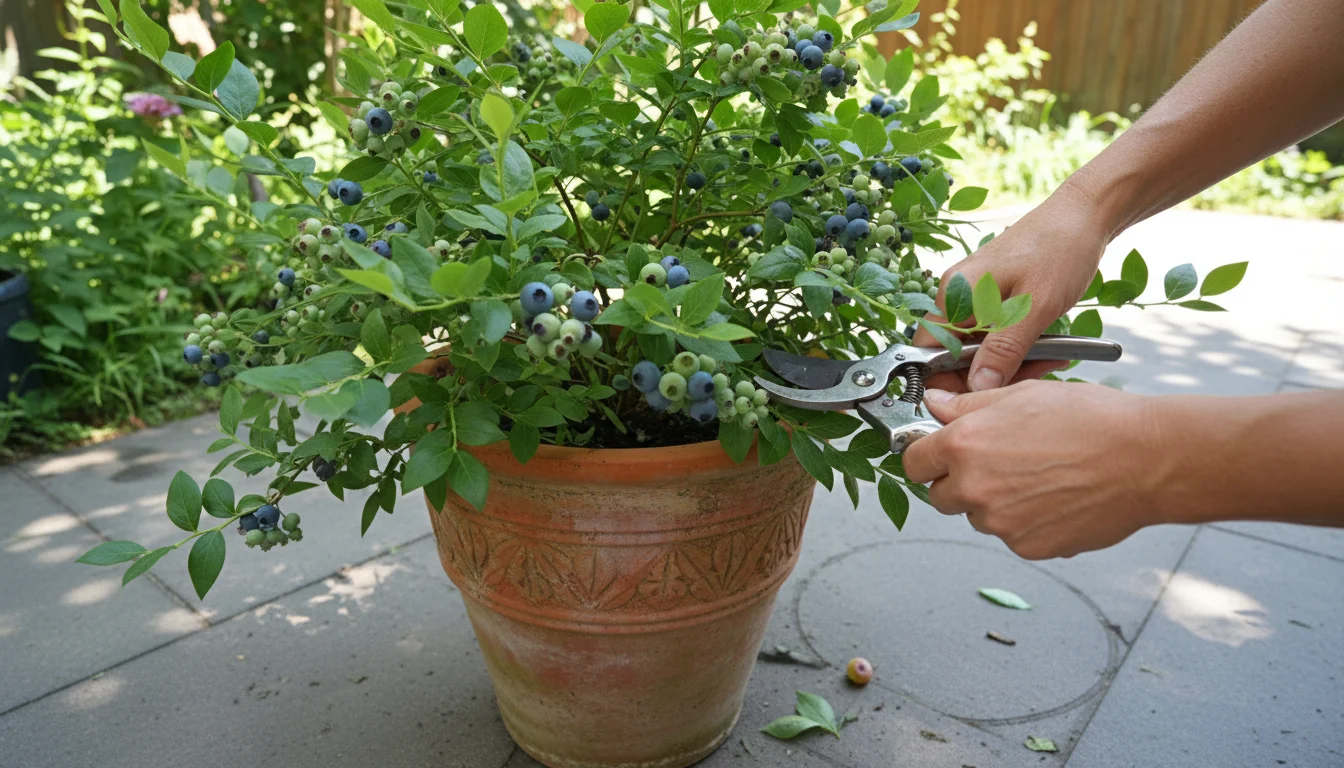
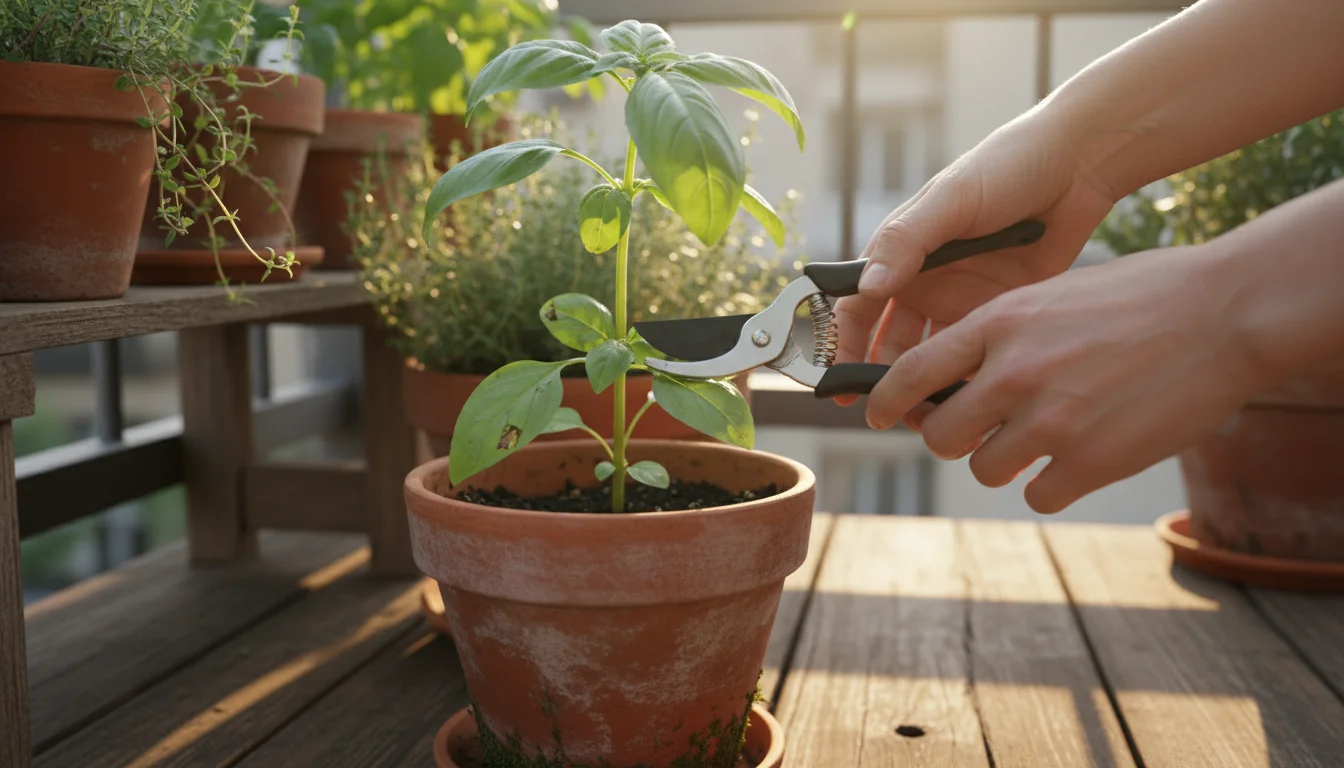
Pruning: Shaping for Yield and Health
Pruning is vital for maintaining plant health, encouraging new growth, and maximizing fruit yields. Each berry type has specific pruning needs.
- Blueberries: Prune dormant blueberries in late winter or early spring before new growth begins. Remove any dead, diseased, or crossing branches. For mature plants (over 5 years), remove 1-2 of the oldest, thickest canes right down to the ground to encourage vigorous new growth from the base. This “renewal pruning” maintains productivity.
- Raspberries: Pruning depends on whether you have summer-fruiting (floricane) or ever-bearing (primocane) varieties.
- Summer-fruiting (floricane): These produce fruit on second-year canes. After they fruit, cut these spent canes down to the ground. Leave the new green primocanes to overwinter and fruit next year.
- Everbearing (primocane): These fruit on first-year canes, often in late summer/fall. For a single fall harvest, cut all canes down to the ground after fruiting in late fall or early winter. For two harvests (a small summer crop and a larger fall crop), prune only the tips of the canes that fruited in fall. The lower portions will fruit the following summer.
Given you are learning how to plant raspberries in pots for winter, a simpler approach for ever-bearing varieties in containers is often to cut all canes back to the ground in late fall for one large, easy-to-manage fall harvest next year.
- Strawberries: Ever-bearing and day-neutral strawberries generally require less aggressive pruning. Remove old, yellowing leaves and any diseased foliage. Snip off runners (long stems with new plantlets) unless you want to propagate new plants. Runners divert energy from fruit production.
By diligently managing watering, feeding, and pruning, you empower your container berry bushes to thrive, rewarding your efforts with a continuous supply of fresh, delectable fruit from your small space.
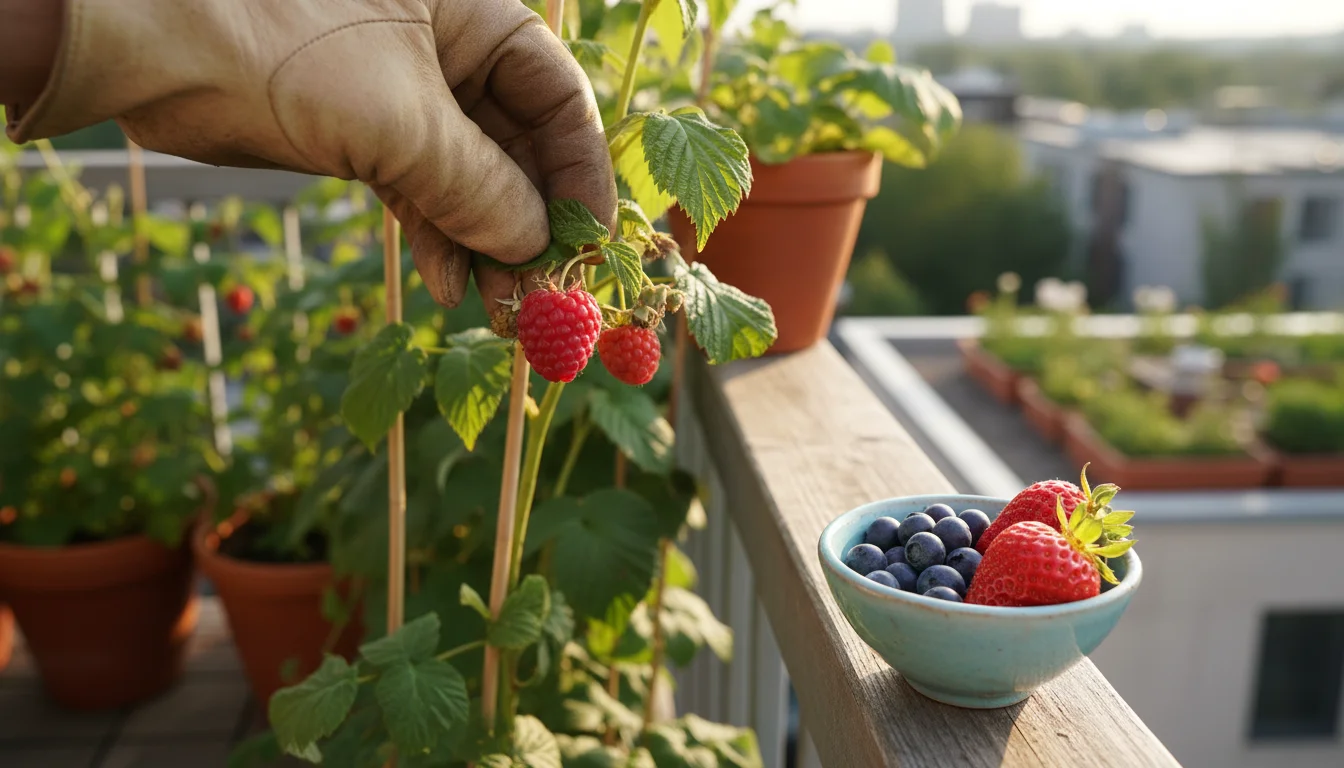
Harvesting and Enjoying Your Homegrown Berries
The moment your berry bushes begin to fruit represents the culmination of your efforts, from fall berry planting to careful overwintering. Harvesting your homegrown berries is one of gardening’s greatest pleasures, offering fresh, unparalleled flavor. Knowing when and how to pick your fruit ensures you maximize both quantity and quality. The true joy comes not only from the harvest itself, but also from transforming your small space fruit into delightful culinary creations.
When Are Your Berries Ripe?
- Blueberries: Blueberries turn blue before they are truly ripe. Wait a few more days after they turn blue; a fully ripe blueberry will be plump, feel soft to the touch, and detach easily from the stem with a gentle roll between your fingers. If you have to tug, it needs more time.
- Raspberries: Raspberries are ripe when they pull cleanly from their central core, leaving a hollow center. They will also be vibrantly colored and fragrant. Taste-test a few to confirm sweetness.
- Strawberries: A ripe strawberry will be fully red, with no white or green patches, especially near the stem. It will also be fragrant and slightly soft.

Harvesting Techniques
Pick your berries regularly, typically every 1-3 days during peak season, to encourage further fruit production and prevent overripe fruit from attracting pests or rotting.
- Gentle Touch: Always pick berries gently to avoid bruising.
- Morning Harvest: The best time to harvest is in the cool morning after the dew has dried. Berries picked at this time are firmer and have a longer shelf life.
- Blueberries: Roll individual berries between your thumb and forefinger to detach them. Collect them in a shallow container to prevent crushing.
- Raspberries: Hold the ripe berry gently and give a slight twist. It should separate easily from the plant.
- Strawberries: Snip the stem just above the cap with small scissors or pinch it off cleanly. Leaving the cap attached helps the berry stay fresh longer.

Storing and Enjoying Your Bounty
Fresh berries are best enjoyed immediately, but you can extend their enjoyment with proper storage:
- Refrigeration: Do not wash berries until you are ready to eat them. Moisture encourages mold. Store unwashed berries in a single layer on a paper towel-lined container in the refrigerator. Blueberries can last up to 1-2 weeks, raspberries and strawberries 3-5 days.
- Freezing: Freezing is an excellent way to preserve your harvest for smoothies, baking, or sauces.
- Gently wash and thoroughly dry your berries.
- Spread them in a single layer on a baking sheet.
- Freeze until solid (1-2 hours).
- Transfer the frozen berries to freezer-safe bags or containers. This prevents them from clumping together.
Frozen berries maintain their quality for 6-12 months.
- Culinary Uses: Beyond eating fresh, use your berries in pies, jams, jellies, smoothies, sauces, muffins, or simply as a topping for yogurt or cereal. The possibilities are endless when you have a steady supply of fresh, organic fruit right outside your door.
Your dedication to planting strawberries in pots in the fall, or any other berry, culminates in this delightful reward. Each berry picked embodies the successful journey from a small plant to a productive part of your simple garden joy, proving that a future harvest truly begins with thoughtful planning and care in the fall.
Frequently Asked Questions
How often do I need to water container berries in winter?
Even dormant container berries require some moisture. Check the soil every 2-4 weeks. If the top few inches feel dry, water lightly, just enough to moisten the root ball without making it soggy. Avoid overwatering, which can lead to root rot, especially when plants are not actively growing.
Can I use regular garden soil for berries in containers?
No, you should not use regular garden soil in containers. Garden soil compacts too easily in pots, leading to poor drainage and aeration, which suffocates roots and causes root rot. Always use a high-quality, well-draining potting mix specifically formulated for containers, preferably one that is peat-free and rich in organic matter. For blueberries, ensure the mix is acidic.
Do I need to prune my container berries in the first year after fall planting?
Generally, you do not need extensive pruning in the first year after fall berry planting, as the plant focuses on root establishment. For blueberries, remove any weak or twiggy growth to encourage stronger main canes. For raspberries, follow the basic instructions for summer-fruiting or ever-bearing types regarding spent canes. For strawberries, simply remove any old, yellowing leaves or unwanted runners.
My blueberries aren’t producing fruit. What might be wrong?
Several factors can affect blueberry fruit production. The most common issues for berries in containers include incorrect soil pH (blueberries require acidic soil, pH 4.5-5.5), insufficient sunlight (they need at least 6 hours of full sun), lack of cross-pollination (most varieties yield more with a second compatible variety), or inadequate watering and nutrients. Ensure your potting mix is acidic, you provide sufficient sun, and you have at least two different blueberry varieties for best pollination.
When can I expect fruit from my fall-planted berry bushes?
The timeline for fruit varies by berry type and variety. Strawberries (especially ever-bearing types) can often produce a light crop in their first spring/summer after fall planting. Raspberries may produce a small fall crop on primocanes in their first year if they are ever-bearing varieties, or a summer crop on floricanes in their second year. Blueberries typically start producing a significant crop in their second or third year after planting, as they take longer to mature and establish. Be patient; fall berry planting sets the stage for future abundant harvests.
For research-based guidance on edible gardening, visit University of Rhode Island Cooperative Extension — Gardening, Connecticut Agricultural Experiment Station and Massachusetts Horticultural Society.
Disclaimer: This article is for informational purposes only and is not a substitute for professional advice. Consult local extension services for region-specific recommendations.
Leave a Reply