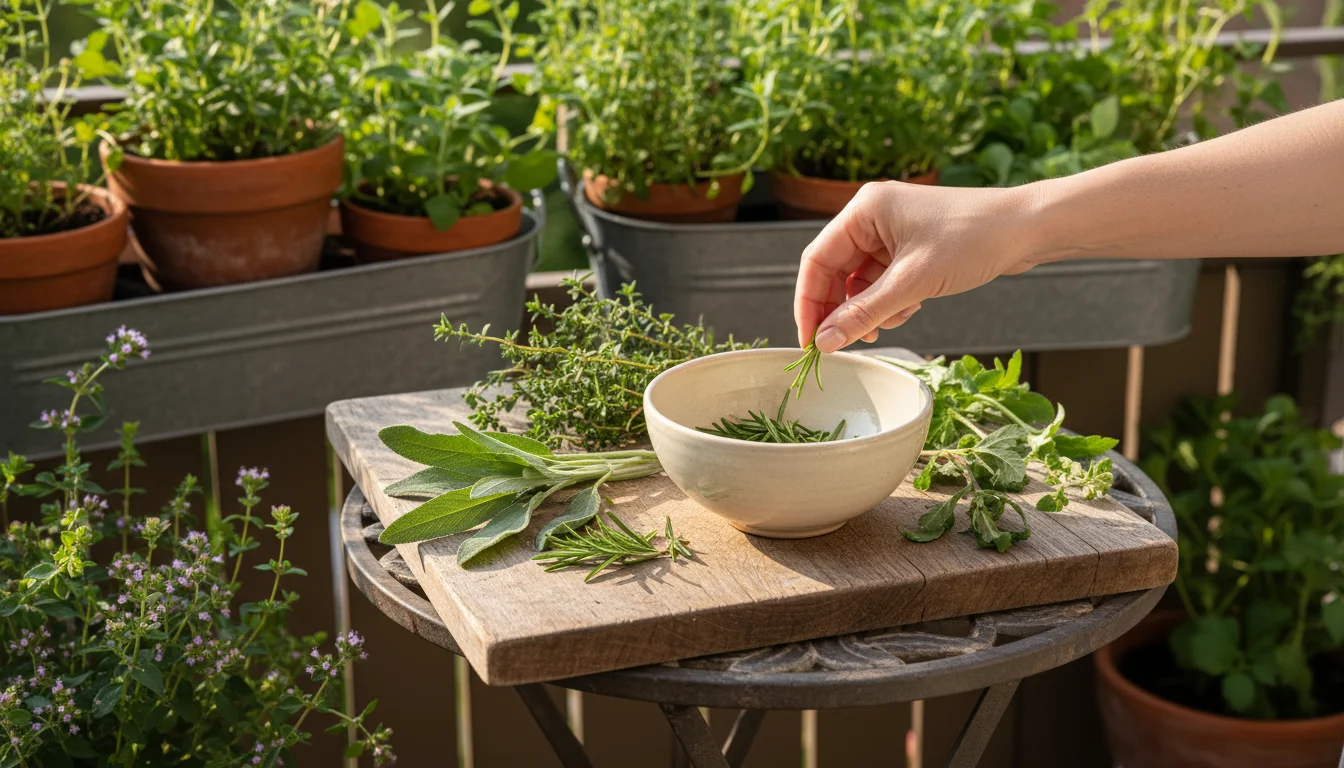
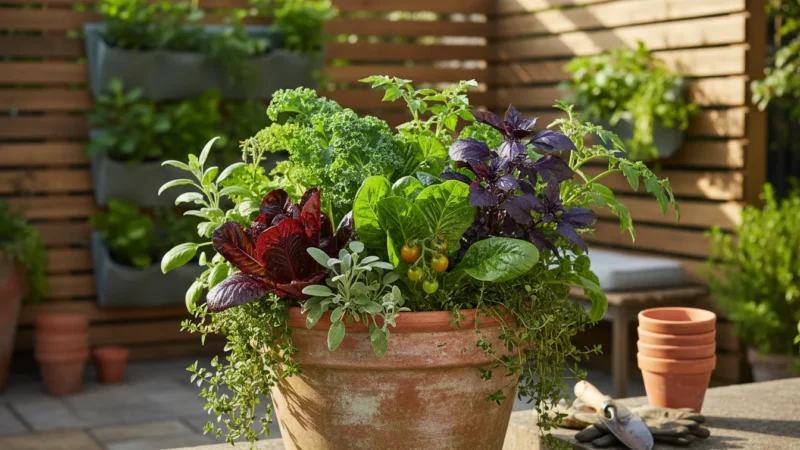
As the gardening season winds down, you likely look at your thriving balcony or patio herb plants with a mix of pride and a touch of melancholy. Your rosemary still looks robust, your thyme continues to spread its aromatic embrace, and your sage leaves are plump and ready. But cooler temperatures loom, and you face the inevitable question: what do you do with all those beautiful, fragrant herbs before winter claims them?
Many beginner gardeners feel intimidated by preservation methods. Drying can seem complicated, freezing can alter textures, and making elaborate concoctions takes time you might not have. You need a method that is quick, simple, and truly effective for preserving herbs. Here is your solution: the 5-Minute Herb Salt. This technique is arguably the easiest way to preserve rosemary and thyme, along with many other herbs, ensuring you capture their peak flavor with minimal effort. It transforms your fresh fall herb harvest into a concentrated burst of flavor that you can enjoy for months. Let’s dive in and make sure not a single precious leaf goes to waste.
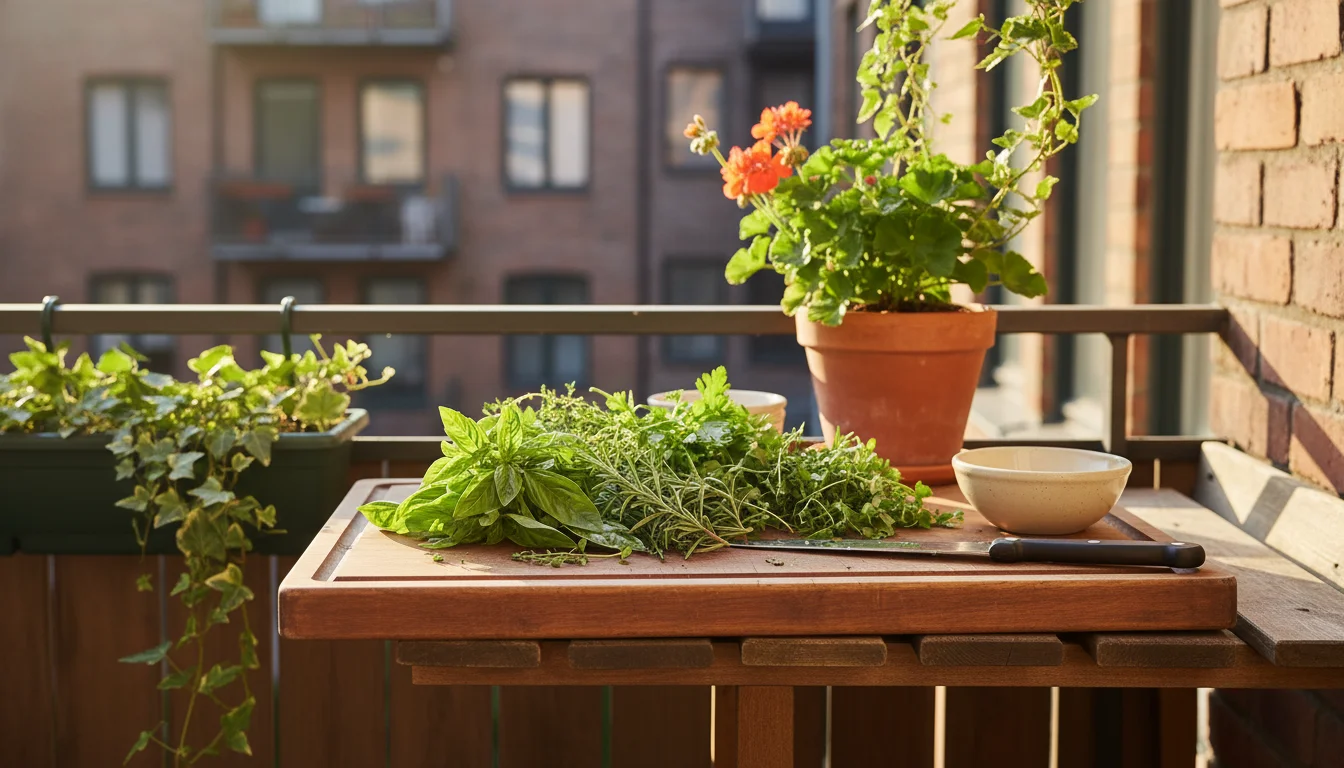
Harvesting Your Herbs for Optimal Flavor
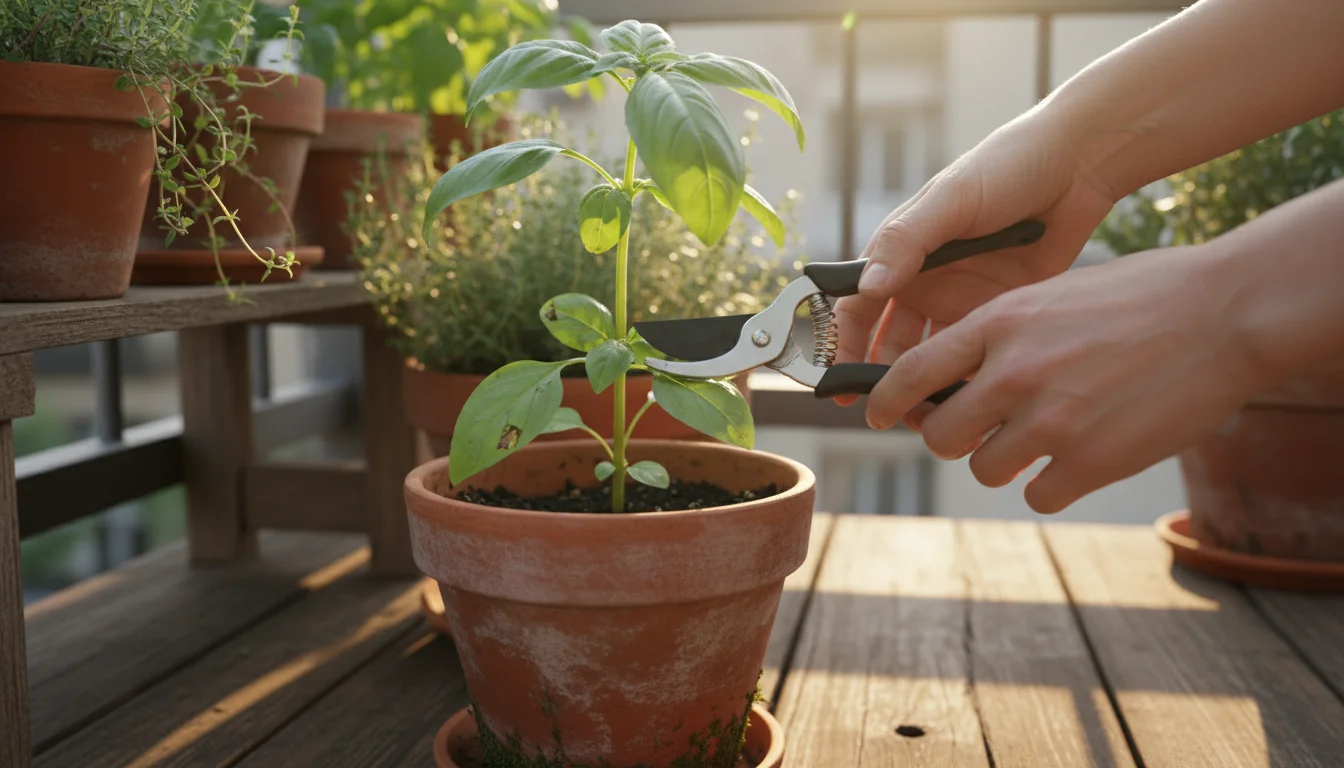
The success of your herb salt begins with proper harvesting. Timing is key to capturing the most potent flavors and aromas from your plants. For most herbs, the ideal time to harvest for preservation is just before the plant flowers. This is when the essential oils, which give herbs their distinctive taste and smell, are most concentrated in the leaves. If your herbs have already flowered, do not worry, you can still use them, but the flavor might be slightly less intense. The crucial step is to pick them when they are dry, ideally in the morning after the dew has evaporated but before the midday sun has started to stress the plant.
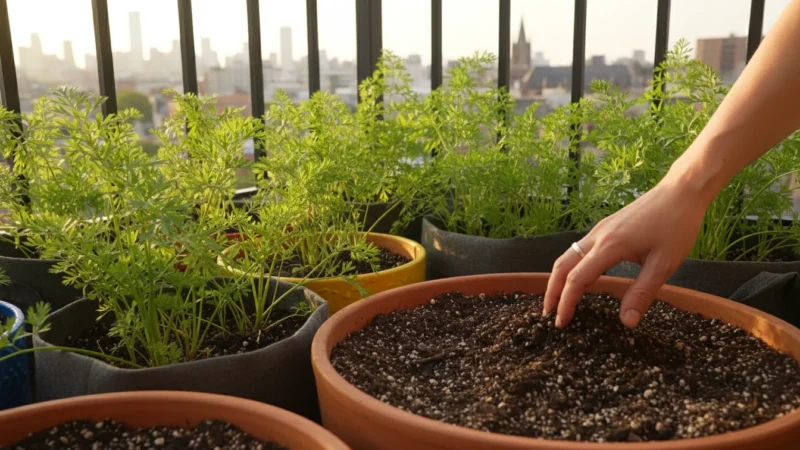
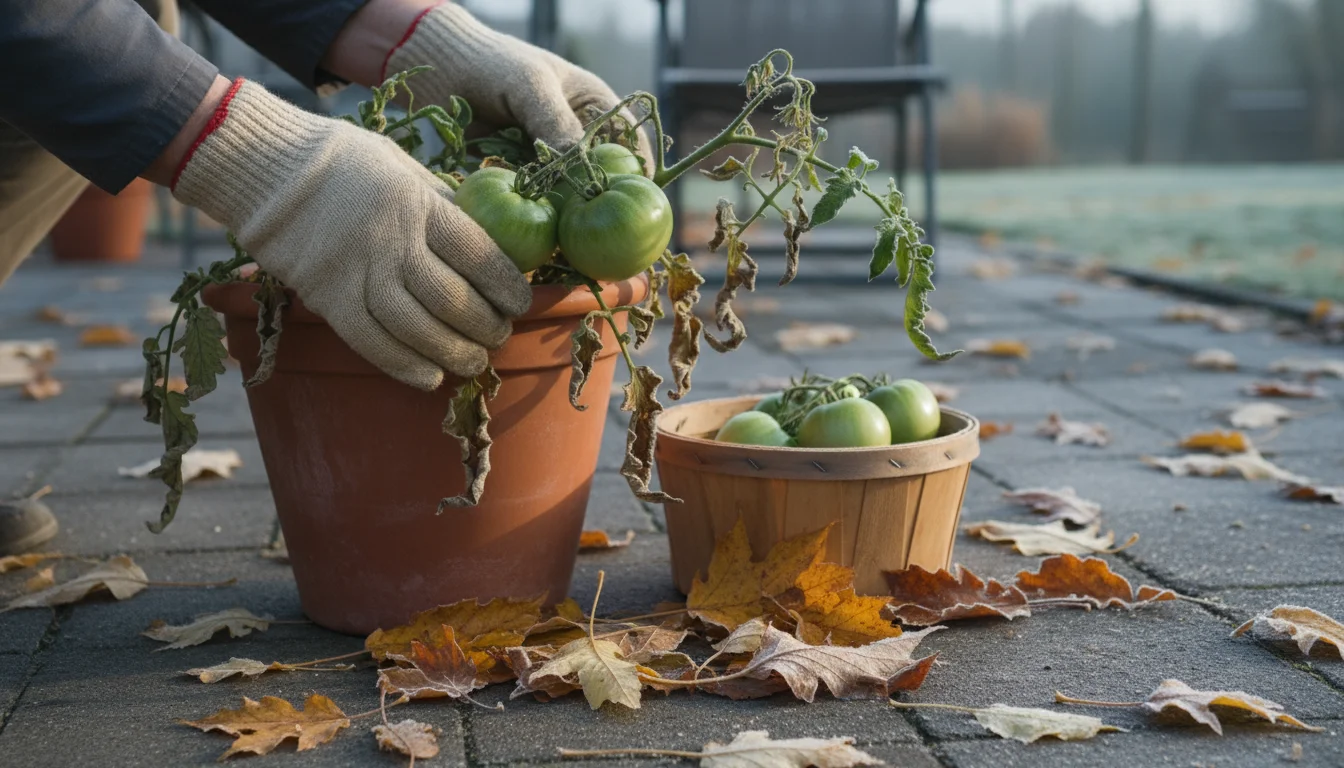
While you are cleaning up your containers, it is also a great time to save seeds from your balcony garden to prepare for next spring.
When you harvest, use sharp scissors or pruners. Cut stems back by about one-third, which encourages new growth if the weather still permits, and helps maintain a healthy plant structure. For woody herbs like rosemary and thyme, you can cut longer stems. For softer herbs like basil or mint, pinch off individual leaves or smaller sprigs. Avoid ripping or tearing, as this damages the plant and introduces potential entry points for disease. Always check your harvested herbs for any signs of pests or disease before bringing them indoors. A quick rinse under cool water is usually sufficient to remove any dust or small insects. After rinsing, gently pat the herbs completely dry with a clean kitchen towel or paper towels. Moisture is the enemy of preservation, and ensuring your herbs are thoroughly dry before processing is paramount. Excess water can lead to mold and spoilage in your finished herb salt.
Consider the age of your plants. Older, more established plants often yield more flavorful leaves compared to very young plants. If you have been growing your herbs in containers all season, they likely have a robust root system and ample foliage perfect for a substantial final harvest. Focus on the healthy, vibrant leaves and stems. Discard any yellowed, spotted, or otherwise compromised parts of the plant. A careful harvest ensures you start your herb salt project with the highest quality ingredients, setting the stage for a truly aromatic and delicious blend.
Why Herb Salt is Your Small-Space Garden’s Best Friend
For gardeners with limited space, every plant, every harvest, and every preservation method must be efficient and effective. Herb salt perfectly aligns with this philosophy. It offers numerous advantages over other preservation techniques, making it an ideal choice for balcony and patio gardeners.
Firstly, herb salt requires minimal equipment. You do not need dehydrators, special canning jars, or elaborate setups. A food processor or a sharp knife and a cutting board, along with some salt, are the primary tools. This reduces clutter and storage demands, a huge benefit when every square foot counts. Secondly, the process itself is incredibly quick. As the name suggests, you can prepare the herb-salt mixture in literally five minutes, not including the drying time. Compare this to the hours involved in traditional drying or the space needed for freezing large batches of herbs.
Thirdly, herb salt is a flavor powerhouse. The salt draws out moisture from the herbs, concentrating their essential oils and preserving their vibrant taste. This means a small amount of herb salt delivers a significant flavor punch to your cooking. It is a concentrated seasoning that minimizes the need for extra ingredients, simplifying your culinary approach. This high flavor concentration is especially valuable when you have a limited yield from your small garden. You want to maximize the impact of every leaf you have nurtured.
Finally, it offers unparalleled versatility. Unlike plain dried herbs that you might sprinkle, herb salt integrates flavor directly into the seasoning process. You use it just like regular salt, but with an added layer of aromatic complexity. This encourages more experimental cooking and helps you use your harvest more frequently, ensuring nothing goes to waste. It is a practical, space-saving, and highly effective way to extend the bounty of your small garden well into the colder months.
Choosing the Right Herbs for Your Flavorful Salt Blend
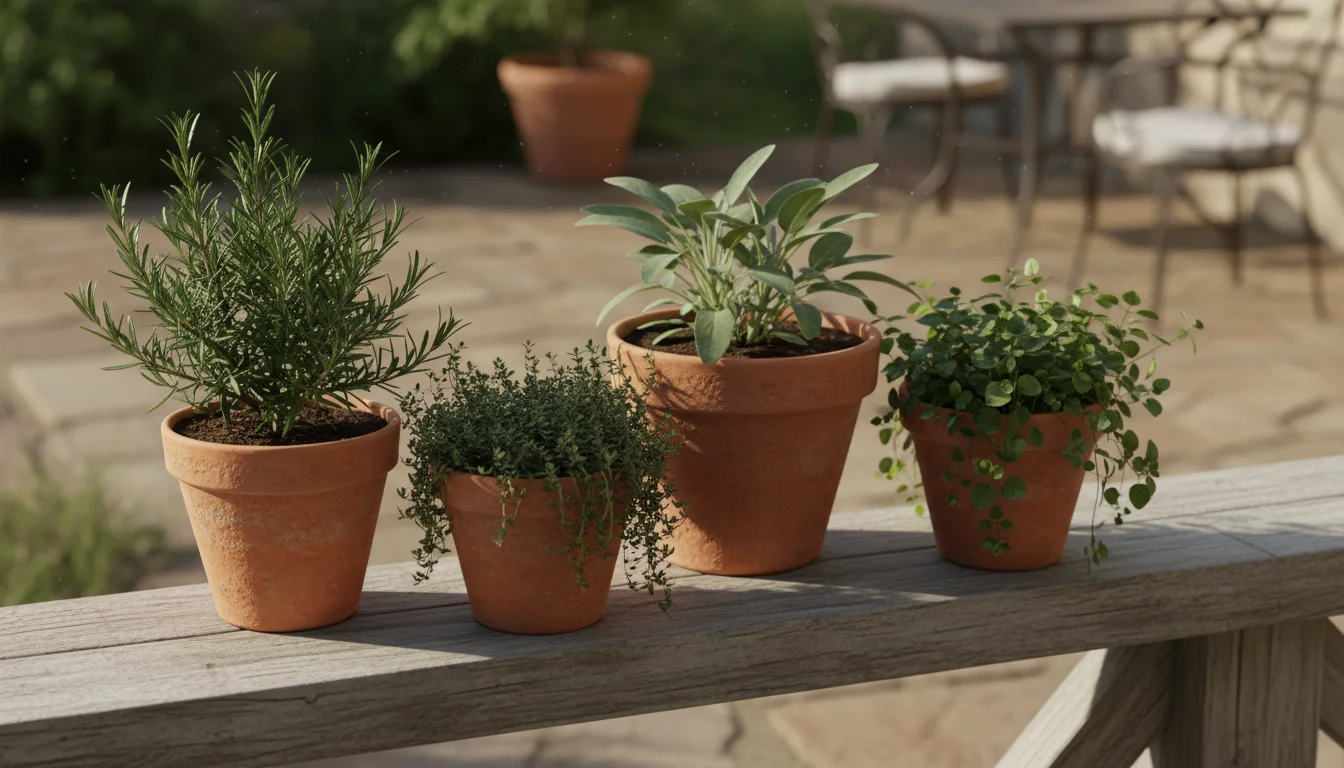
While many herbs work well in an herb salt, some are particularly suited due to their robust flavors and lower moisture content. The best choices are typically woody herbs that hold their flavor intensely even when dried or preserved. Rosemary, thyme, sage, and oregano are prime candidates. They offer strong, distinctive notes that stand up beautifully to the salt and integrate wonderfully into a wide range of dishes.
If your late-season pots also contain unripened fruit, consider whipping up a small-batch green tomato relish as another quick preservation project.
Ideal Herbs for Herb Salt:
- Rosemary: Piny, aromatic, and excellent with meats, potatoes, and bread. Its sturdy leaves chop down easily.
- Thyme: Earthy, subtly floral, perfect for poultry, vegetables, and soups. Its small leaves are easy to incorporate.
- Sage: Musky, savory, a classic with pork, squash, and stuffing. Its broad leaves offer a strong flavor.
- Oregano: Pungent, slightly peppery, fantastic for Mediterranean and Italian dishes.
- Marjoram: Milder, sweeter cousin to oregano, good for more delicate flavors.
- Chives: Onion-like flavor, though you might need more of them to make an impact. Consider a garlic salt or onion salt if chives are your only option.
- Parsley: Fresh, bright flavor. While possible, its higher moisture content means you need to dry it very thoroughly before mixing. Use flat-leaf for better flavor.
Avoid very tender, high-moisture herbs like basil, mint, or cilantro for this particular method. Their delicate flavors can dissipate quickly, and their high water content makes the drying process longer and increases the risk of mold in the salt. While you can make pestos or flavored vinegars with these, for a straightforward, long-lasting herb salt, stick to the heartier options. You can use a single herb for a pure flavor, like a rosemary salt or a thyme salt, or you can create a blend. A classic “herbs de Provence” style blend using rosemary, thyme, and sage offers a versatile all-purpose seasoning. Experiment with different combinations to discover your favorite flavor profiles. A general rule of thumb for blends is to use a 2:1:1 ratio, for example, two parts rosemary to one part thyme and one part sage, giving a balanced base to work from. Always ensure your chosen herbs are fresh, clean, and completely dry before you begin the process of making your herb salt from fresh herbs.

The 5-Minute Herb Salt Recipe: Step-by-Step
This is where the magic happens. The process is so straightforward, you will wonder why you have not been doing it for years. The key is to balance the herbs with the salt and ensure proper drying to prevent spoilage. This method is the easiest way to preserve rosemary and thyme, among other hardy herbs, transforming them into a culinary staple.
Ingredients:
- 1 cup fresh, clean, and completely dry herbs (packed, with stems removed for woody herbs like rosemary and thyme, or individual leaves for sage)
- 1/2 cup coarse sea salt or kosher salt (avoid fine table salt, which can clump and is harder to grind with the herbs)
Equipment:
- Food processor (recommended for speed and consistency) or a very sharp knife and cutting board
- Baking sheet
- Parchment paper
- Airtight jar or container for storage
Instructions for making your herb salt recipe:
- Prepare Your Herbs: Strip the leaves from woody stems of herbs like rosemary and thyme. For sage, remove individual leaves. Ensure all your herbs are impeccably clean and completely dry. Any residual moisture can cause your herb salt to mold.
- Combine Herbs and Salt: Place your prepared herbs and the coarse salt into the bowl of a food processor.
- Process: Pulse the food processor for 30 seconds to 1 minute, or until the herbs are finely chopped and thoroughly combined with the salt. The mixture should resemble a vibrant, green-flecked wet sand. You want the herbs to be finely incorporated, releasing their essential oils into the salt, without creating a paste. If you do not have a food processor, finely chop the herbs by hand, then mix them thoroughly with the salt on a cutting board using the side of your knife or a spoon until well integrated.
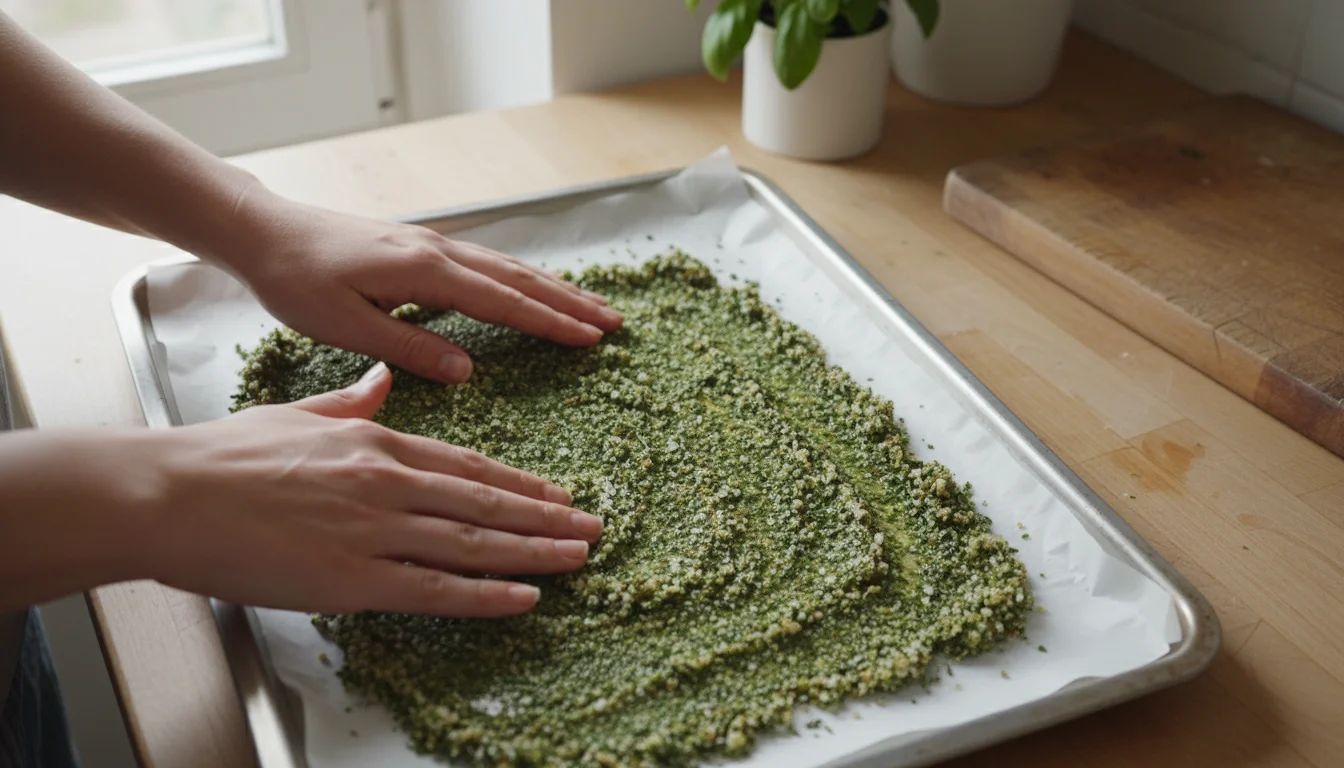
- Spread and Dry: Line a baking sheet with parchment paper. Spread the herb salt mixture evenly in a thin layer over the parchment paper. This maximizes the surface area, allowing for efficient drying.
- Air Dry: Place the baking sheet in a warm, dry spot away from direct sunlight. A kitchen counter or a pantry shelf works well. Let it air dry for 24 to 48 hours, or until the mixture is completely dry and crumbly to the touch. It should feel like dry sand, with no clumping or stickiness. If you live in a very humid environment, or if you prefer a faster method, you can dry it in a very low oven (around 150°F / 65°C) for 1-2 hours, stirring occasionally, until completely dry. Always ensure it is cool before proceeding.
- Store: Once fully dry and cool, transfer the herb salt to an airtight jar or container. Label it with the type of herbs used and the date.
That is it! You have successfully created a potent, aromatic herb salt in minutes. This method is particularly effective for your fall herb harvest, giving you a wonderful way to enjoy your garden’s bounty long after the growing season ends.

Storing Your Homemade Herb Salt for Long-Lasting Freshness
Proper storage is essential to maintain the quality, flavor, and shelf life of your homemade herb salt. After all your effort in preserving herbs, you want to ensure it lasts as long as possible. The primary enemies of herb salt are moisture, light, and air, all of which can degrade flavor and lead to spoilage.
Once your herb salt is completely dry and crumbly, transfer it to an airtight container. Glass jars with tight-fitting lids are ideal, as they do not absorb odors or flavors and offer good protection from air. Mason jars, old spice jars, or decorative glass containers all work wonderfully. Avoid plastic containers if possible, as plastic can sometimes absorb the strong aromas of the herbs over time, affecting future contents. Ensure the container is clean and dry before adding your herb salt. Any residual moisture inside the jar could reactivate moisture in the salt, potentially leading to mold.
Store your sealed jars in a cool, dark place. A pantry, cupboard, or kitchen drawer away from direct sunlight and heat sources (like ovens or stovetops) is perfect. Exposure to light, especially direct sunlight, degrades the color and flavor of herbs over time. Heat can also cause the delicate essential oils to evaporate, diminishing the salt’s potency. When stored correctly, homemade herb salt can easily last for six months to a year, and often even longer. While it might lose a tiny bit of its vibrant color over many months, its flavor typically remains robust.
Always use a clean, dry spoon when dispensing your herb salt. Introducing moisture from a wet spoon can compromise the entire batch, leading to clumping or even mold development. If you notice any signs of mold, an off smell, or significant discoloration, it is best to discard the batch to ensure safety. By following these simple storage guidelines, you can enjoy the incredible flavors of your fall herb harvest throughout the year, adding a touch of your garden to every meal.

Creative Ways to Use Your Handcrafted Herb Salt
Now that you have your beautifully fragrant, homemade herb salt, it is time to unleash its culinary power. This versatile seasoning elevates countless dishes, adding depth and a touch of gourmet flair to everyday meals. You will find yourself reaching for it constantly, making good use of what to do with leftover herbs from your balcony garden.
Transform Your Cooking with Herb Salt:
- Roasted Vegetables: Sprinkle liberally over root vegetables like potatoes, carrots, or parsnips before roasting. It caramelizes beautifully and infuses them with incredible flavor. It works wonders on zucchini, bell peppers, and asparagus as well.
- Grilled Meats and Poultry: Use it as a dry rub for chicken, pork chops, steak, or fish before grilling or pan-searing. The salt helps tenderize and season simultaneously.
- Flavorful Breads: Mix a teaspoon or two into your bread dough, or sprinkle it over focaccia or dinner rolls before baking for an aromatic crust. A simple herb-salted butter spread on fresh bread is also delightful.
- Eggs: A pinch of herb salt can elevate scrambled eggs, omelets, or even a simple fried egg. The savory notes complement the richness of the egg.
- Soups and Stews: Stir a spoonful into your favorite homemade soups, stews, or chili during the last few minutes of cooking. It provides an instant flavor boost and a hint of garden freshness.
- Popcorn: Move beyond plain salt. Toss freshly popped popcorn with a sprinkle of herb salt for a sophisticated and addictive snack.
- Compound Butter: Soften a stick of unsalted butter and thoroughly mix in a teaspoon or two of your herb salt. Roll it into a log, wrap in parchment, and chill. Use it on steaks, corn on the cob, or spread on toast.
- Salad Dressings and Marinades: Whisk it into homemade vinaigrettes or use it as a base for marinades. The herbs slowly infuse the liquids, creating complex flavors.
- Dips and Spreads: Stir into cream cheese for an instant bagel spread, or mix into plain yogurt or sour cream for a quick veggie dip.
- Finishing Salt: Use it as a finishing salt for dishes just before serving, such as over a freshly baked pizza, a simple pasta dish, or a vibrant caprese salad.
Experiment with your herb salt. Consider it your secret weapon in the kitchen, a simple yet powerful ingredient born from your small-space garden. Each sprinkle brings a taste of your fall herb harvest, ensuring your culinary adventures are always full of vibrant, garden-fresh flavor.
Troubleshooting Common Herb Salt Issues
While making herb salt is incredibly simple, a few common issues can arise, especially for beginners. Knowing how to prevent or address these problems ensures your preservation efforts are always successful and your product is safe to use.
Issue 1: The herb salt is clumping and feels damp after drying.
Cause: This is almost always due to insufficient drying. Either your herbs were not completely dry before processing, or the mixture was not spread thinly enough, or it did not air dry for a long enough period. Humidity in your environment can also slow down drying significantly.
Solution: Spread the mixture back out onto a clean baking sheet lined with parchment paper. Ensure it is in a very thin layer. Return it to a warm, dry spot for an additional 24-48 hours. If humidity is high, or if it persists, use a very low oven (150°F / 65°C) for 1-2 hours, stirring frequently, until it is completely dry and crumbly. Patience here is crucial. Do not store it until it is perfectly dry.
Issue 2: My herb salt has developed mold.
Cause: Mold growth is a direct result of moisture. This means your herbs were not dry enough when processed, the mixture was not fully dried before storage, or moisture entered the storage container. It could also happen if you used a wet spoon.
Solution: Unfortunately, if mold is visible, you must discard the entire batch. It is not safe to scrape off mold, as its roots often penetrate deeper than you can see. Learn from the experience and ensure all steps involving drying are meticulously followed for your next batch. Remember, complete dryness is paramount for preserving herbs with this method.
Issue 3: The herb salt lacks strong flavor.
Cause: Several factors can contribute to weak flavor. Your herbs might have been past their peak potency (e.g., after flowering heavily), you might have used too much salt relative to the herbs, or your herbs were not fresh enough. Improper storage over a long period can also cause flavor degradation.
Solution: For your next batch, harvest herbs just before they flower for maximum essential oil content. You can also adjust the ratio, using slightly more herbs (e.g., 3/4 cup salt to 1 cup packed herbs) to increase the intensity. Ensure you store your finished product in a cool, dark place to preserve its aromatic compounds. If your current batch is just a little weak, you can still use it, just add a bit more than you would normally.
Issue 4: My food processor struggled, or the herbs were not finely chopped.
Cause: This might happen if you overload the food processor, or if your herbs are particularly tough or stringy. It could also be an issue with a less powerful food processor.
Solution: Process smaller batches if necessary. If your herbs are very fibrous (like older rosemary stems), chop them roughly by hand before adding them to the food processor. Alternatively, if a food processor is not available or powerful enough, use a very sharp chef’s knife and meticulously chop the herbs by hand on a cutting board until they are very fine, then mix well with the salt. A fine chop helps the herbs release their oils more effectively into the salt.
By being aware of these potential pitfalls and following the preventative measures, you ensure your 5-minute herb salt is consistently perfect, delivering delicious, preserved garden flavor every time.
Embracing Sustainable Herb Preservation Practices
At SimpleGardenJoy.com, we believe gardening extends beyond simply growing plants. It encompasses thoughtful practices that minimize waste, conserve resources, and respect the environment. Your 5-minute herb salt project is a fantastic opportunity to embrace sustainability in your small-space garden.
Firstly, preserving your fall herb harvest directly combats food waste. Instead of letting your beautiful herbs succumb to frost and go to waste, you transform them into a valuable, long-lasting ingredient. This means less organic material ending up in landfills and more homegrown goodness on your plate throughout the year. Data shows that food waste contributes significantly to greenhouse gas emissions, so every act of preservation, no matter how small, makes a positive impact.
Secondly, by making your own herb salt, you reduce reliance on commercially produced spice blends. These often come in plastic containers, travel long distances, and may contain anti-caking agents or artificial flavors. Your homemade version is pure, uses minimal packaging (reusable glass jars), and has a much smaller carbon footprint. This aligns perfectly with the ethos of a low-maintenance, environmentally conscious garden.
Consider your harvesting methods. Sustainable harvesting involves taking only what you need and leaving enough of the plant to continue growing, if possible, or at least to complete its natural life cycle. For your final fall harvest, you might take most of the plant, but if there are still several weeks of warm weather left, a partial harvest for your herb salt will allow the plant to continue producing for other uses. Always compost any unusable herb stems or leaves. This returns valuable nutrients to the soil, completing a sustainable cycle.
Even your choice of salt can be more sustainable. While any coarse salt works, consider opting for locally sourced or ethically harvested sea salts when possible. These choices support local economies and often involve less environmentally intensive extraction processes compared to some industrial salt production. Every small decision, from growing your own herbs on your balcony to preserving them in an eco-conscious way, contributes to a larger, more sustainable lifestyle. Your herb salt is not just a delicious seasoning, it is a testament to mindful living and the incredible productivity of your small garden.

Frequently Asked Questions
Can I use fine table salt instead of coarse salt?
While you technically can use fine table salt, we do not recommend it for this herb salt recipe. Coarse sea salt or kosher salt provides better texture and helps the food processor blend the herbs more effectively without creating a paste. Fine salt can also clump more easily and absorb moisture too quickly, making the drying process more challenging and less consistent.
How much salt and how many herbs do I need?
A good starting ratio is 1 cup of packed fresh herbs (stems removed, individual leaves) to 1/2 cup of coarse salt. This ratio balances flavor intensity with preservation. You can adjust this slightly based on the strength of your herbs and your personal preference, but always ensure there is enough salt to adequately dry and preserve the herbs.
What if I do not have a food processor?
No food processor? No problem! You can achieve the same results with a sharp knife and a cutting board. Finely chop the herbs as small as you can, then add the salt and continue chopping and mixing with the side of your knife until the herbs are thoroughly integrated with the salt. It might take a bit more time and effort, but the outcome will be equally delicious.
Do I need to dry the herbs completely before making the salt?
Yes, absolutely. Ensure your herbs are completely dry after rinsing and before processing. Pat them thoroughly with paper towels or a clean kitchen towel. Any residual moisture on the fresh herbs can lead to clumping, insufficient drying, and ultimately, mold growth in your finished herb salt.
How long does herb salt last?
When stored correctly in an airtight container in a cool, dark place, your homemade herb salt can last for six months to a year, and often even longer. Its potency might mellow slightly over time, but it generally retains its flavor and remains safe for consumption for an extended period.
Your small-space garden provides more than just fresh produce; it offers opportunities for creativity, resourcefulness, and a deeper connection to the food you eat. This 5-minute herb salt recipe is a testament to that, allowing you to easily preserve the vibrant flavors of your final balcony herb harvest and enjoy them throughout the year. Happy gardening and happy cooking!
For trustworthy gardening information, visit:
American Public Gardens Association, Plant Select (Colorado), Missouri Native Plant Society, Wild Ones — Native Plants, Natural Landscapes and Pollinator Partnership. These organizations provide expert, research-based advice for gardeners at all levels.
Disclaimer: This article is for informational purposes only and is not a substitute for professional gardening advice. Always consult local extension services or horticulture experts for region-specific guidance.


Leave a Reply