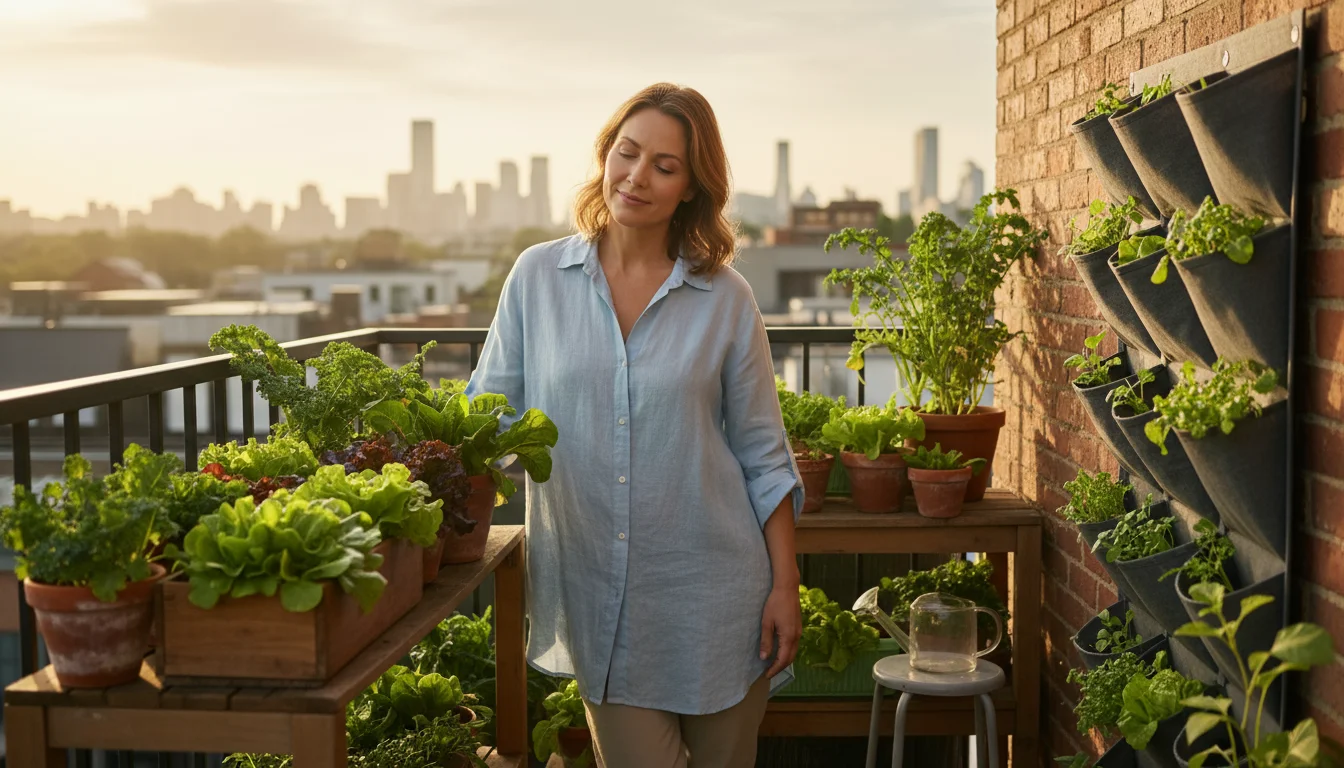
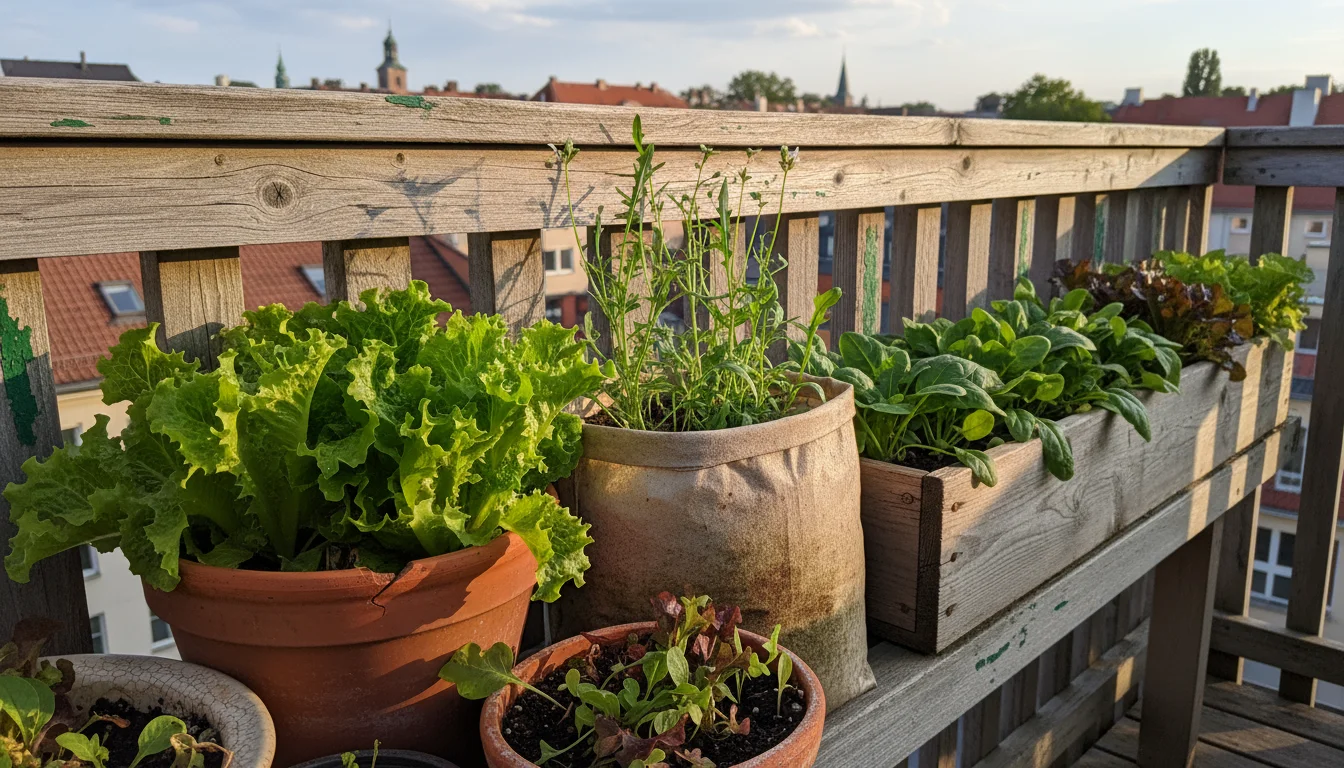
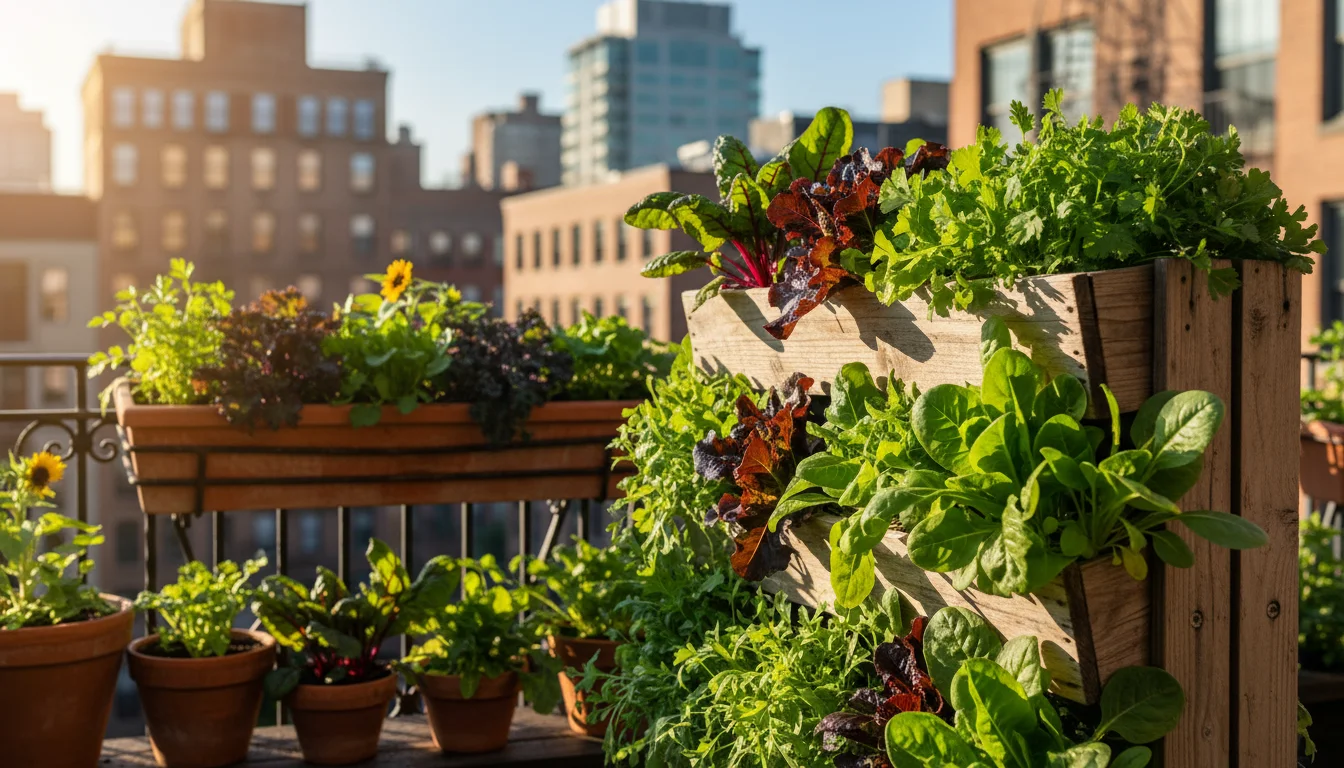
If you have limited space but dream of fresh, homegrown salads, succession planting your salad greens is your secret weapon. This strategy ensures a continuous supply of tender leaves, preventing gluts and empty patches in your garden. You transform a small balcony, patio, or yard into a productive, ever-yielding salad bar.
Imagine stepping outside to snip vibrant lettuce, spicy arugula, or crisp spinach whenever you desire. This article guides you through selecting the best leafy greens for small spaces, setting up your containers, creating an efficient sowing schedule, and mastering the art of cut-and-come-again harvesting. You will learn how to keep your salad bowl full from spring through fall, even in the smallest urban garden.
For research-based guidance on edible gardening, visit Washington State University Hortsense, Texas A&M AgriLife Extension — Horticulture and University of Illinois Extension — Gardening.
Disclaimer: This article is for informational purposes only and is not a substitute for professional advice. Consult local extension services for region-specific recommendations.
Understanding Succession Planting for Continuous Harvest
Succession planting is a smart gardening strategy where you plant small batches of seeds or seedlings at regular intervals, typically every two to three weeks, instead of planting your entire crop all at once. This ensures a staggered harvest, providing a consistent supply of fresh produce throughout the growing season. For instance, you avoid a massive flush of lettuce all maturing at the same time, which often leads to waste. Instead, you enjoy tender, young leaves week after week.
Integrating companion planting for small spaces can also help optimize your soil health and naturally deter pests between your plantings.
This method is particularly powerful for salad greens because they grow quickly and tend to bolt, or go to seed, in warmer weather. By planting in succession, you always have new, young plants developing as older ones mature or finish their productive cycle. This maximizes your yield in a small space, keeping your salad bowl full and your garden productive from spring through fall.
Consider the benefits: you reduce waste by harvesting only what you need, you maintain the quality of your greens by picking them at their peak tenderness, and you enjoy a greater variety by rotating different types of leafy greens through your containers. It transforms a small garden into an efficient, sustainable food source.

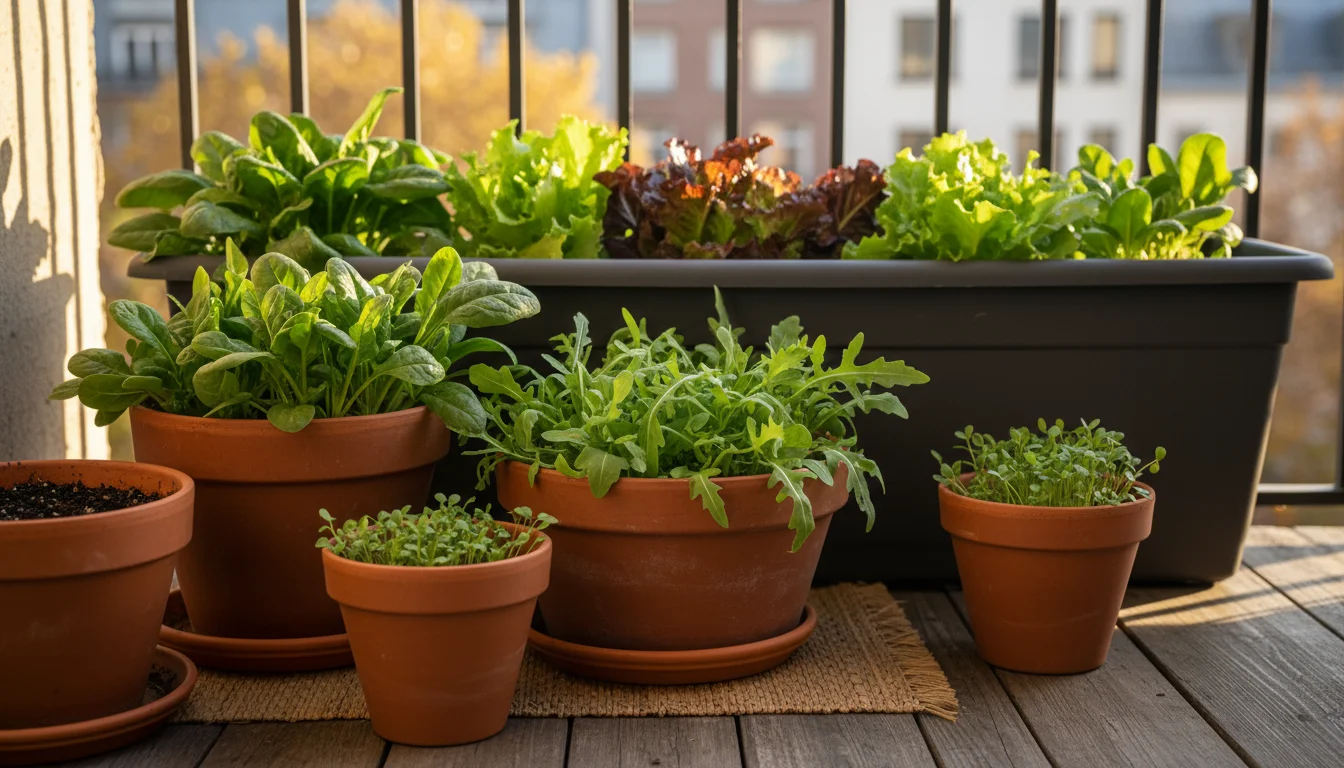
Choosing Your Greens: Top Performers for Small Spaces
Selecting the right salad greens is crucial for successful succession planting, especially in limited spaces. You need varieties that grow quickly, tolerate frequent harvesting, and adapt well to container life. Here are some of the best leafy greens for your small-space garden:
For a crunchy addition to your salads, check out this guide to growing fall radishes in window boxes.
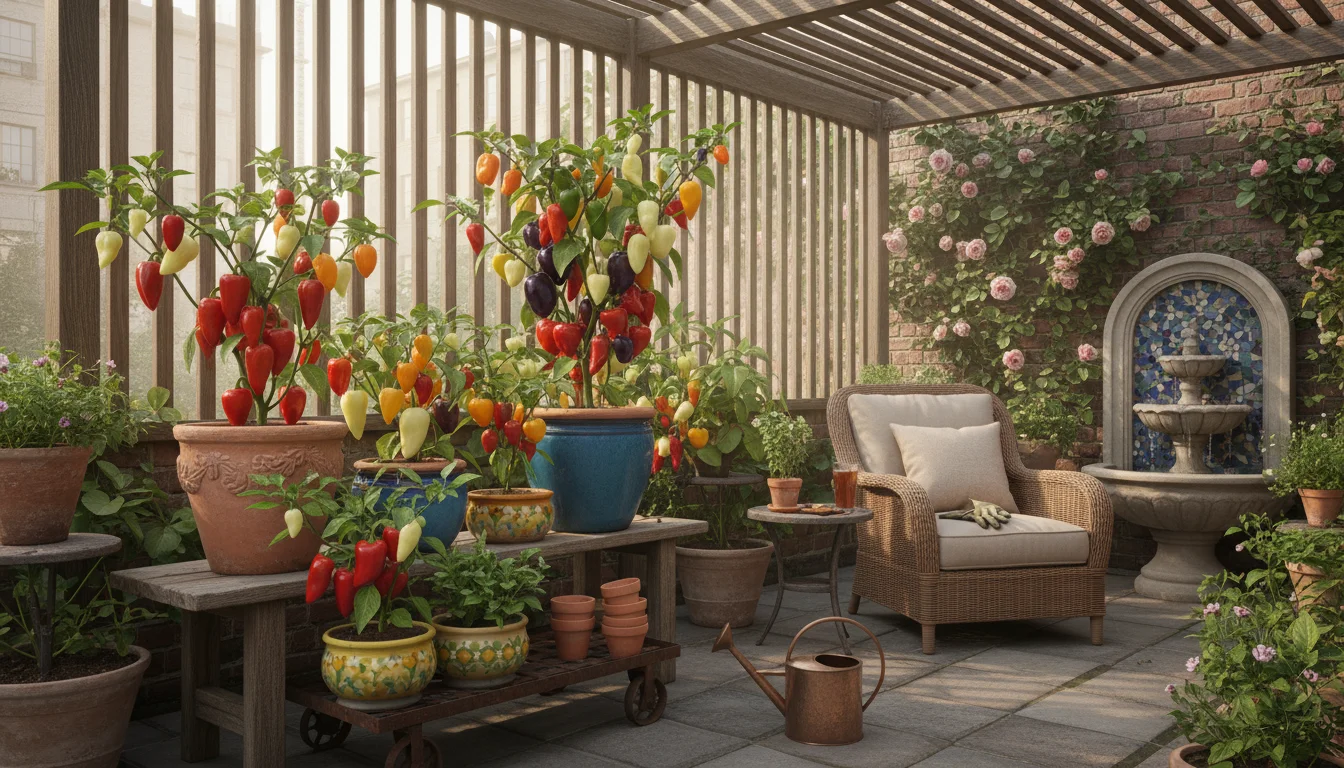
To expand your pantry, explore other vegetables suited for containers that offer high yields in compact spaces.
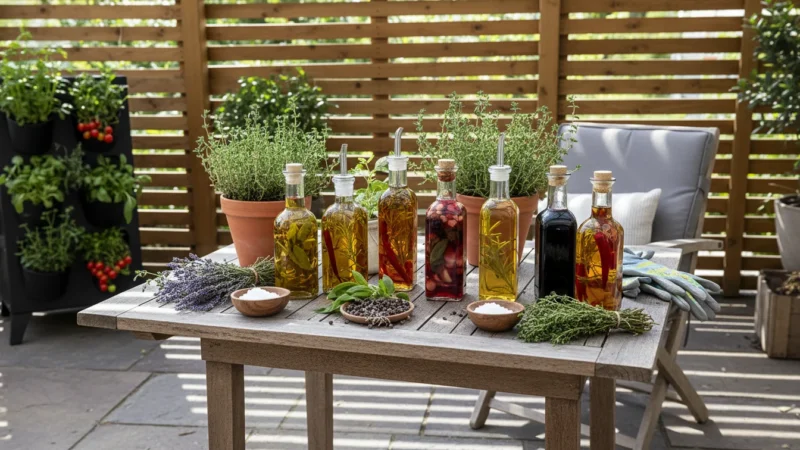
You can also tuck in some fast-growing herbs like parsley or chives to add instant flavor to your harvest.
To simplify your setup, consider creating a one-pot fall salad bar where you grow several cut-and-come-again varieties in a single container.
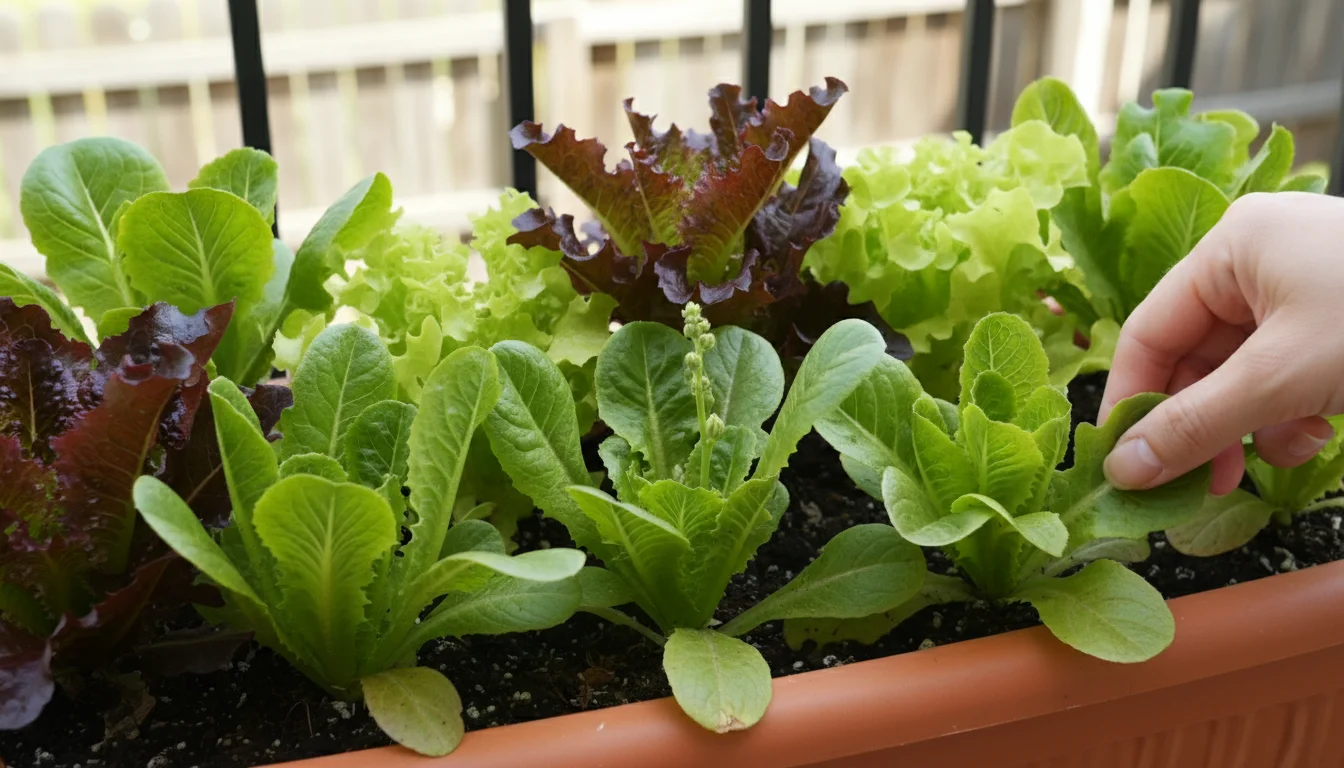
- Loose-Leaf Lettuce: These varieties do not form a tight head, making them perfect for cut-and-come-again harvesting. They mature quickly, often in 30-45 days, and offer diverse textures and colors. Popular choices include ‘Black Seeded Simpson,’ ‘Salad Bowl,’ ‘Red Sails,’ and ‘Buttercrunch’ (which you can grow as a loose-leaf type).
- Arugula: Known for its peppery flavor, arugula thrives in cool weather and grows rapidly, often ready for harvest in just 20-30 days. Plant it in successive batches every two weeks to enjoy its spicy kick throughout spring and fall. Heat causes it to bolt quickly, so focus your plantings in cooler periods.
- Spinach: Rich in nutrients, spinach prefers cooler temperatures and moist soil. Varieties like ‘Tyee’ or ‘Bloomsdale Long Standing’ perform well in containers. Harvest the outer leaves to encourage continuous growth. It typically matures in 30-45 days.
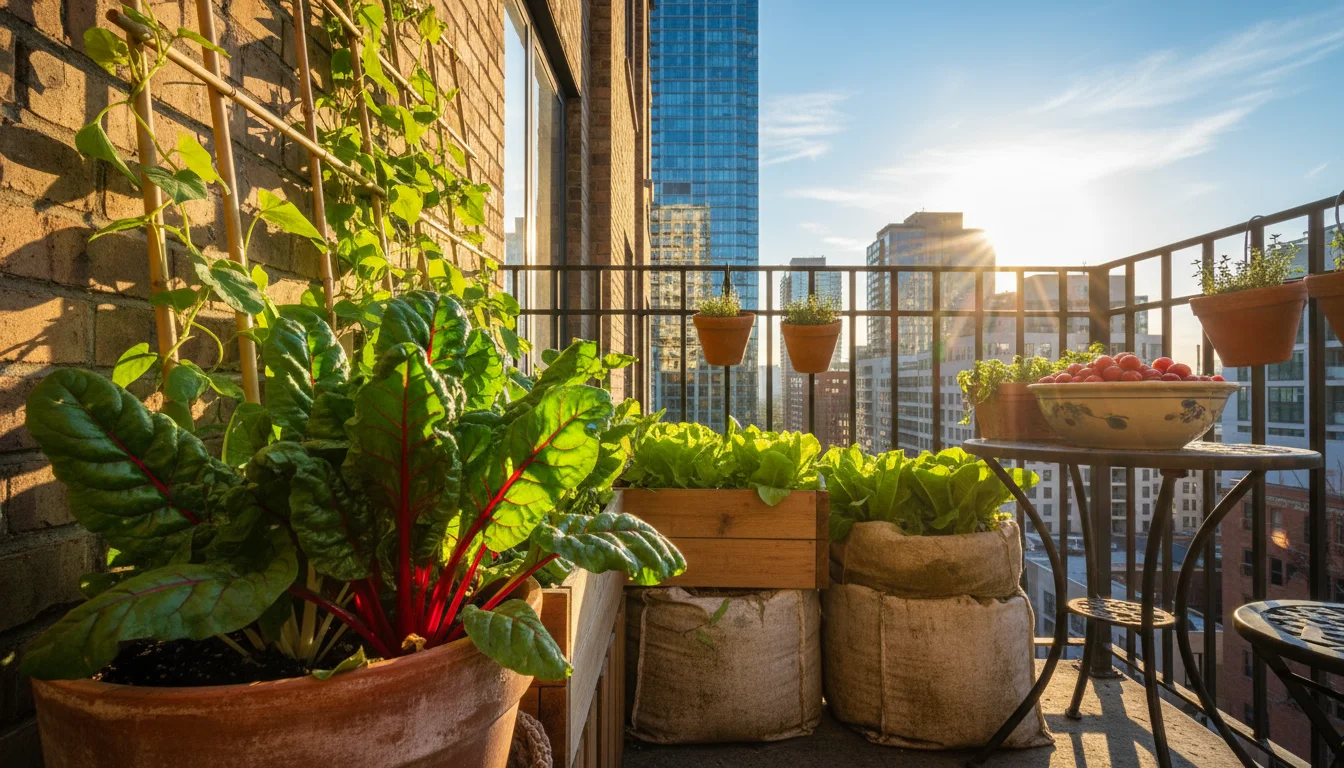
- Swiss Chard: While often considered a cooking green, young Swiss chard leaves add a mild, earthy flavor and beautiful color to salads. It is highly productive and tolerates a wider range of temperatures than many other greens. Harvest outer leaves regularly; it continues producing for a long season.
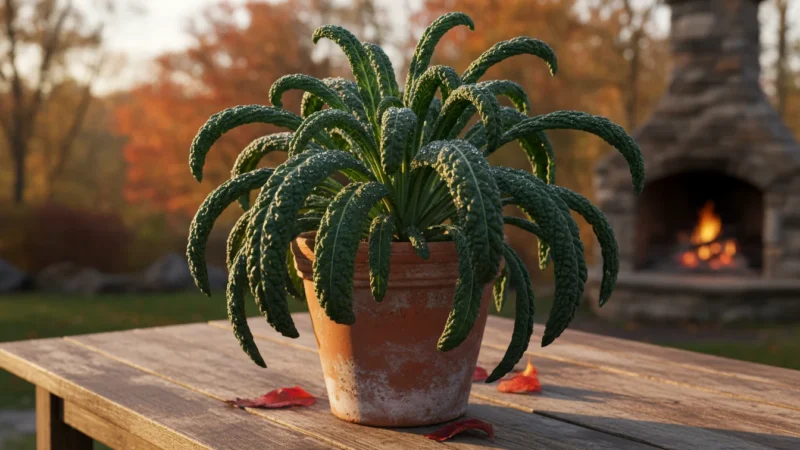
- Kale (Baby Leaf): For salad use, focus on baby kale leaves. Varieties such as ‘Red Russian’ or ‘Tuscan (Lacinato/Dinosaur)’ kale offer tender, slightly peppery greens when picked young. Baby kale matures in about 25-30 days and tolerates cool weather, extending your harvest into colder months.
- Radicchio: If you enjoy a touch of bitterness, radicchio adds a beautiful deep red hue and crisp texture to salads. While some varieties form heads, you can also grow loose-leaf types or harvest young leaves for quick succession.
- Mustard Greens: These vibrant greens provide a spicy, pungent flavor. They grow quickly, often within 20-30 days, and thrive in cooler temperatures. ‘Red Giant’ offers stunning color. Be mindful of their rapid bolting in heat.
- Mache (Corn Salad): This cold-hardy green has a delicate, nutty flavor and a tender texture. It performs exceptionally well in cool weather and is a fantastic choice for late-season or early-spring plantings, maturing in 40-60 days.
When selecting seeds, look for “fast-growing,” “heat-tolerant” (for summer succession), or “cold-hardy” (for extended fall/winter harvests) labels. Experiment with different types to discover what grows best in your specific conditions and what flavors you prefer. Your goal is to create a diverse and resilient salad garden.
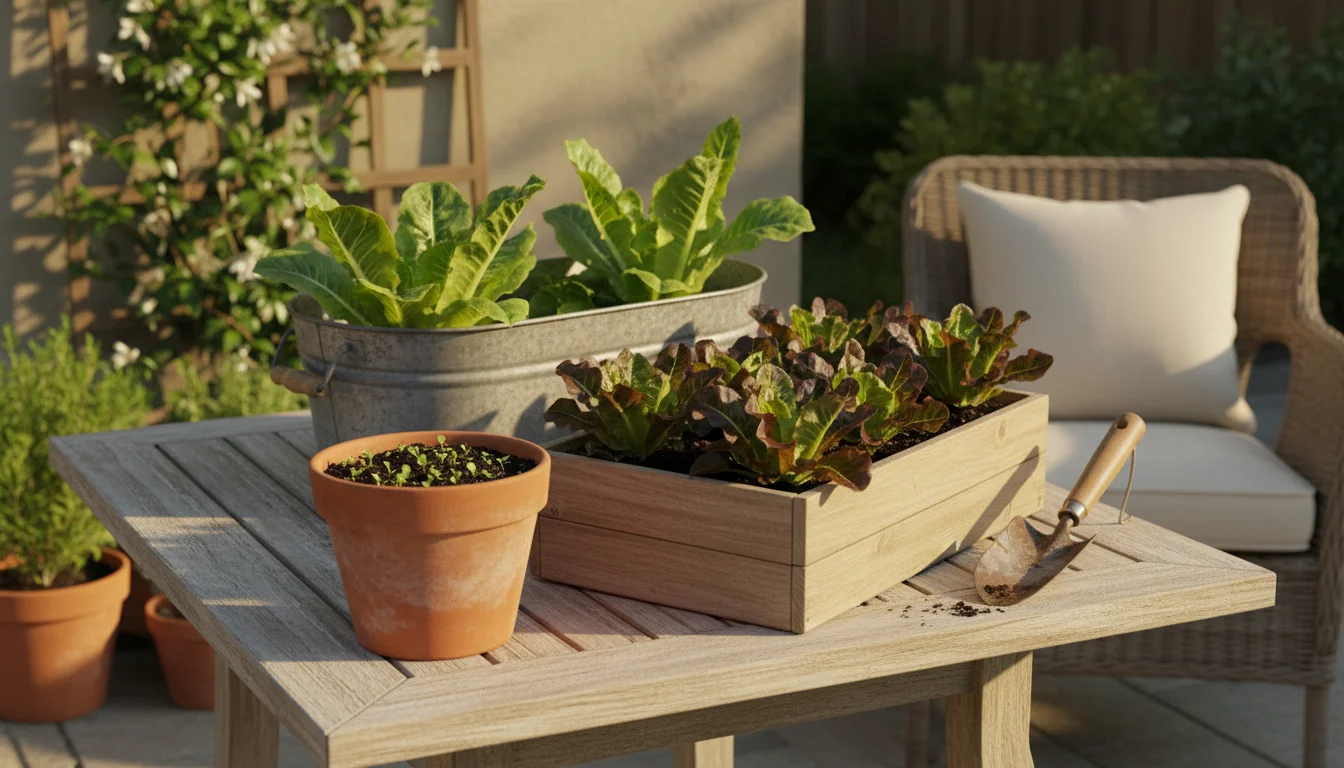
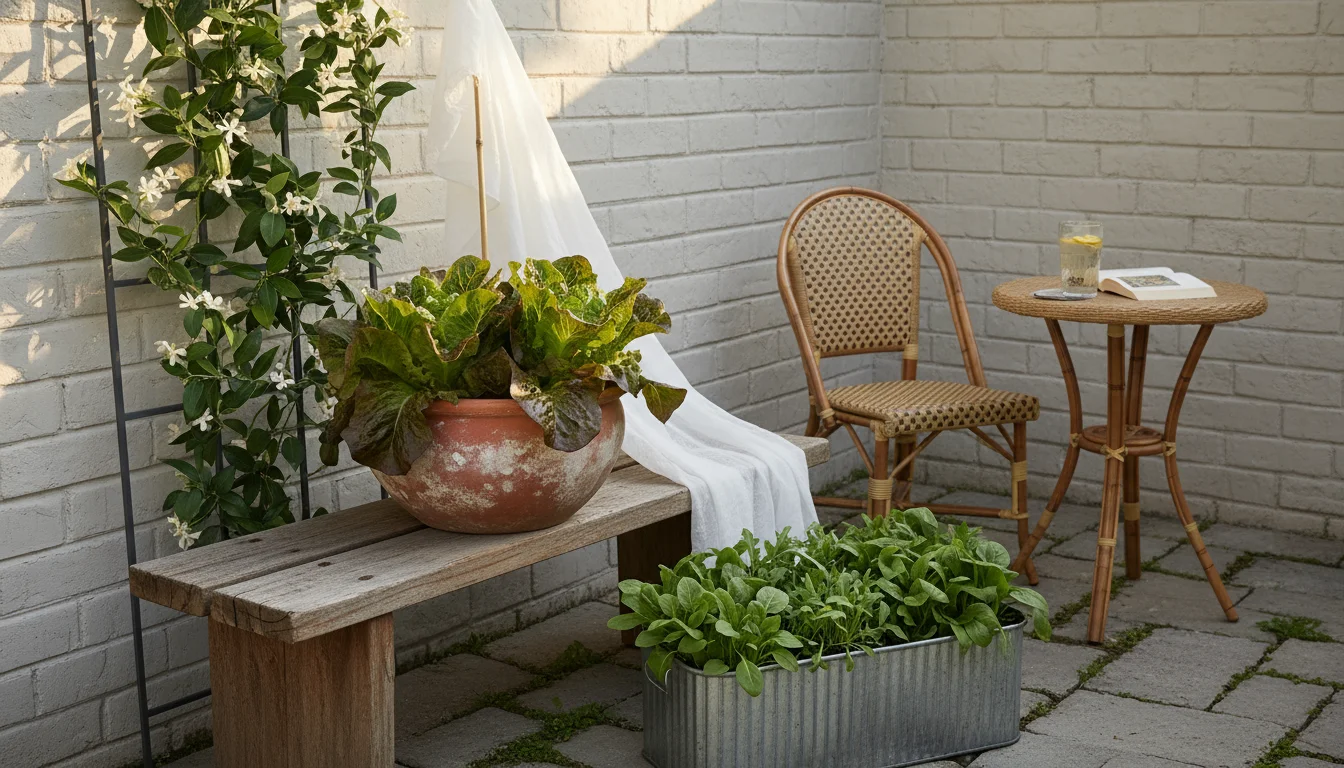
Setting Up Your Salad Garden: Containers, Soil, and Light
A successful container salad garden starts with the right foundation. You need appropriate containers, a high-quality potting mix, and adequate sunlight. Planning these elements ensures your leafy greens thrive.
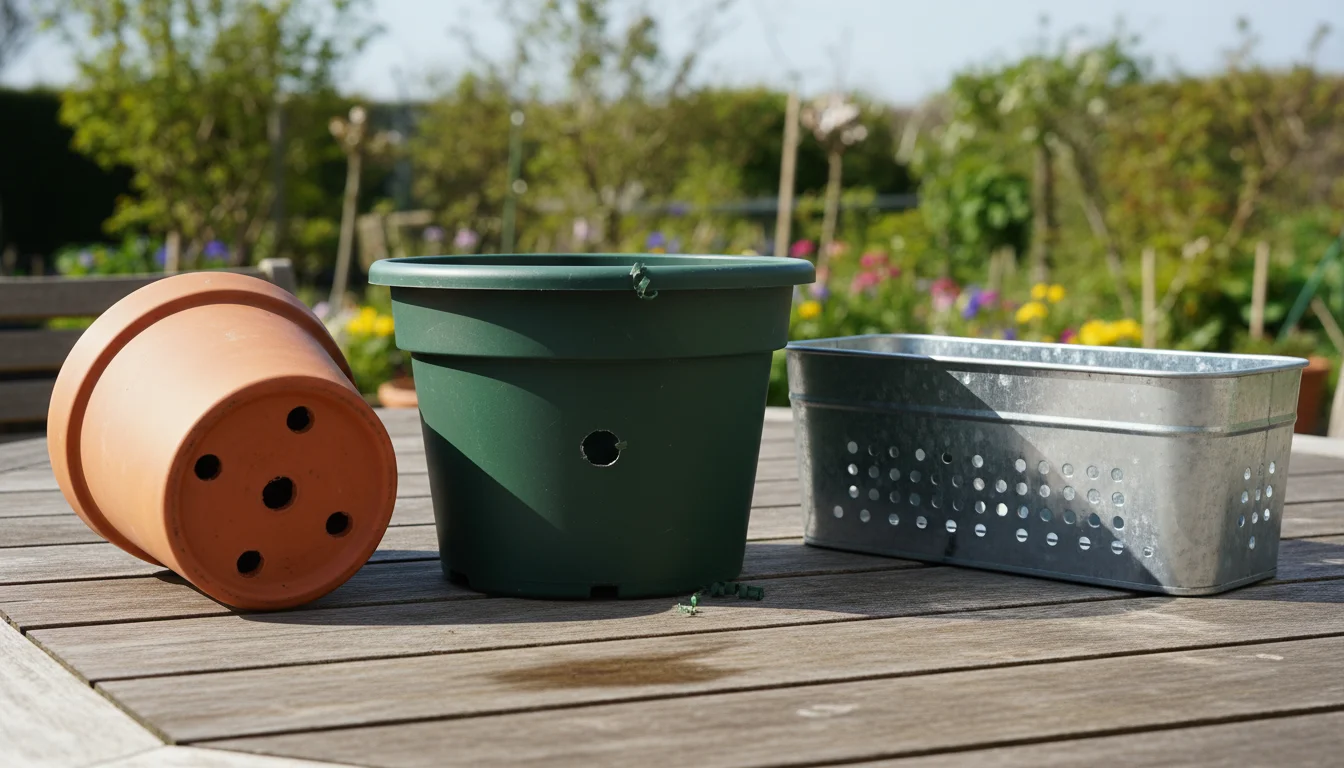
Choosing the Right Containers
Salad greens generally have shallow root systems, making them excellent candidates for containers. You have many options, but focus on depth, drainage, and material:
- Depth: Aim for containers at least 6-8 inches deep. This provides enough room for roots and helps retain moisture. Wider containers are better than deeper ones for many greens, as you can plant more individual plants.
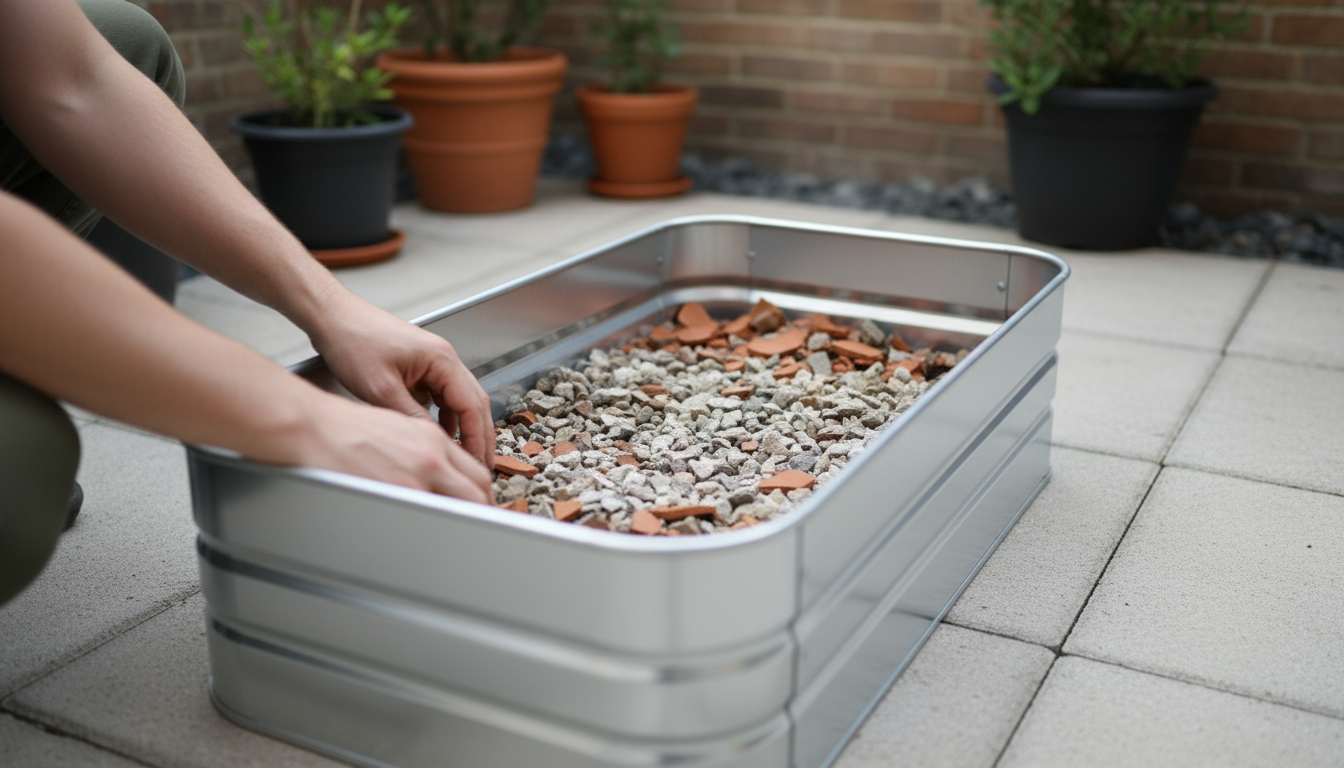
- Drainage: Every container must have drainage holes. Root rot is a common issue for container plants without proper drainage. If your chosen container lacks holes, drill several ¼-inch to ½-inch holes in the bottom.
- Materials:
- Plastic: Lightweight, inexpensive, and retains moisture well. Choose food-grade plastic if possible.
- Terracotta/Clay: Attractive and allows soil to breathe, which prevents overwatering. However, it dries out faster, requiring more frequent watering.
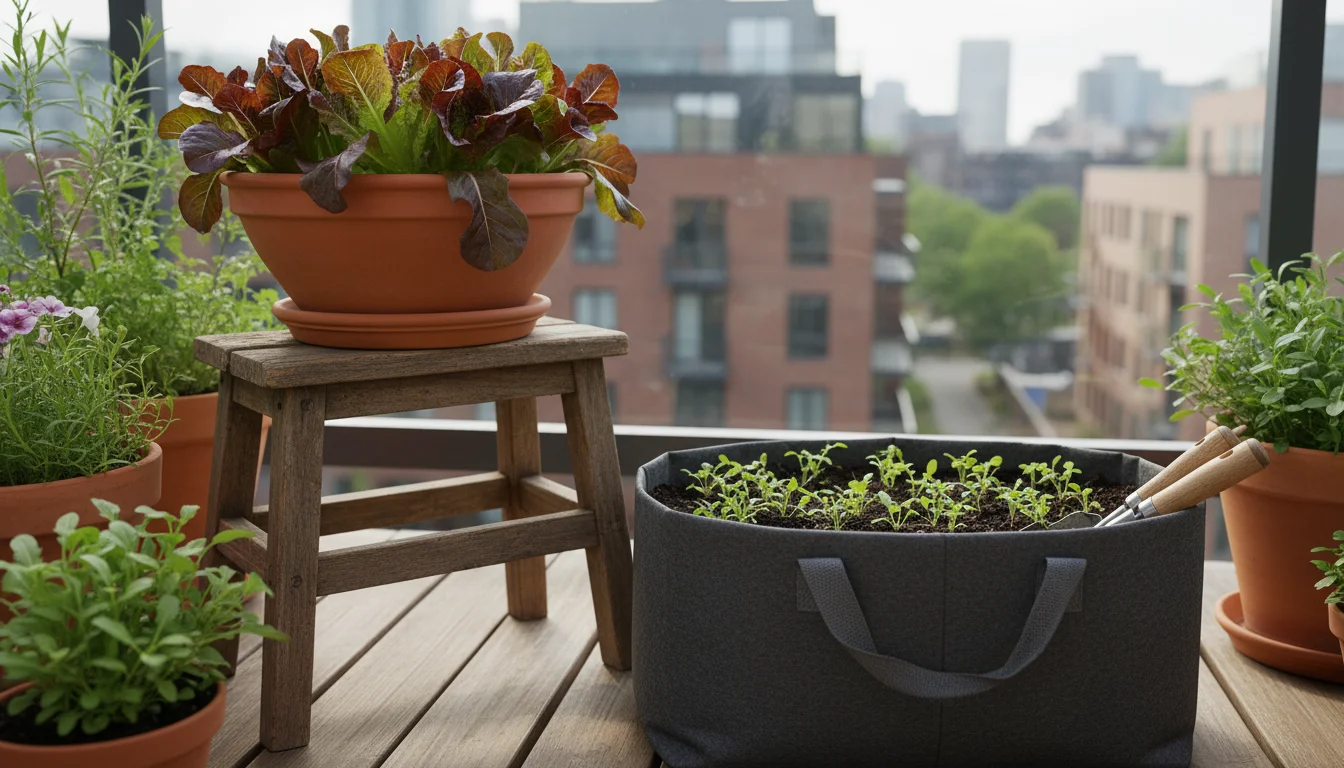
- Fabric Grow Bags: Excellent for aeration and drainage, preventing root circling. They are lightweight and easy to store.
- Wooden Planters: Can be aesthetically pleasing. Ensure the wood is untreated or treated with food-safe sealants.
Self-watering containers can be a game-changer for busy gardeners, as they provide a consistent water supply to plant roots, reducing the frequency of manual watering.
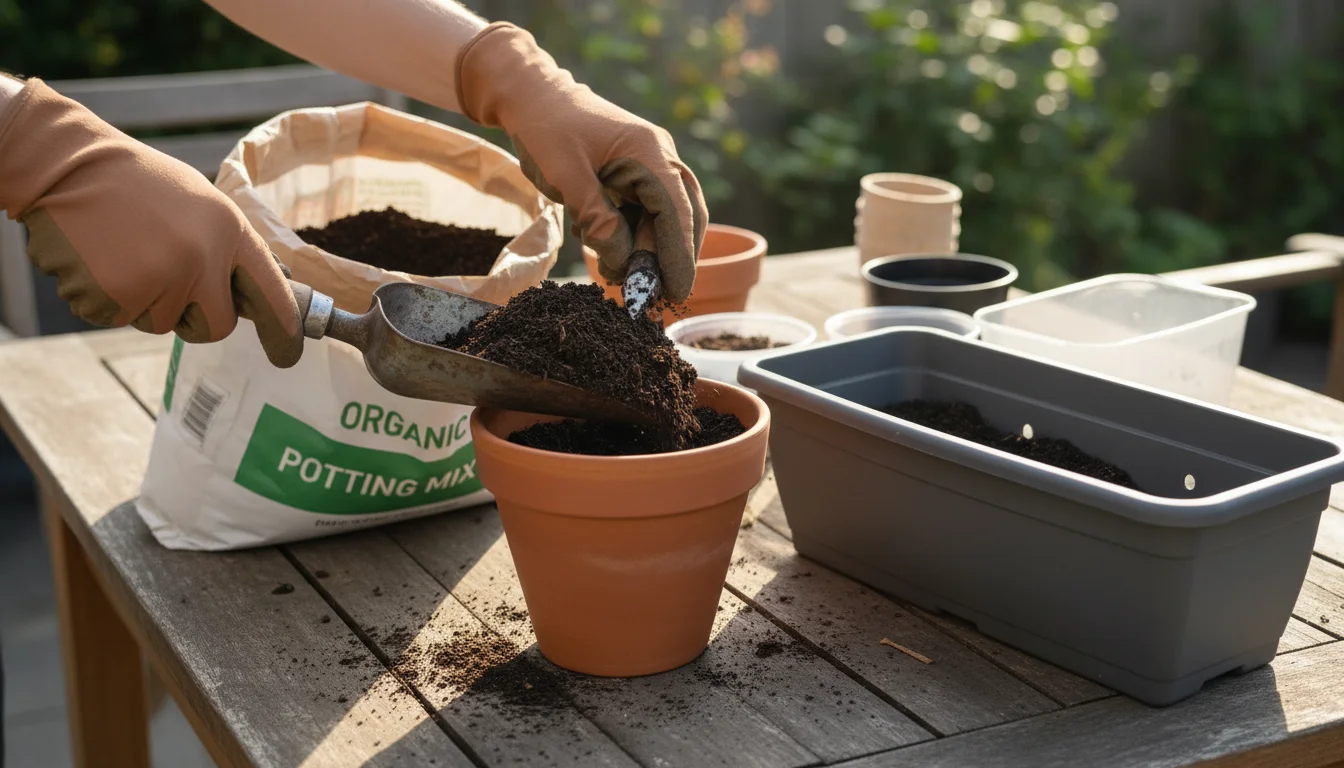
The Importance of Quality Potting Mix
Your potting mix is the lifeblood of your container garden. Do not use garden soil, as it compacts in containers, restricts root growth, and may contain pests or diseases. A high-quality, peat-free potting mix provides the ideal environment for your salad greens:
- Good Drainage: Prevents waterlogging. Look for mixes containing perlite or vermiculite.
- Water Retention: Holds enough moisture without becoming soggy. Coconut coir is an excellent sustainable alternative to peat.
- Nutrient Content: Many potting mixes include a slow-release fertilizer or compost, providing initial nutrients.
- Aeration: Allows oxygen to reach the roots.
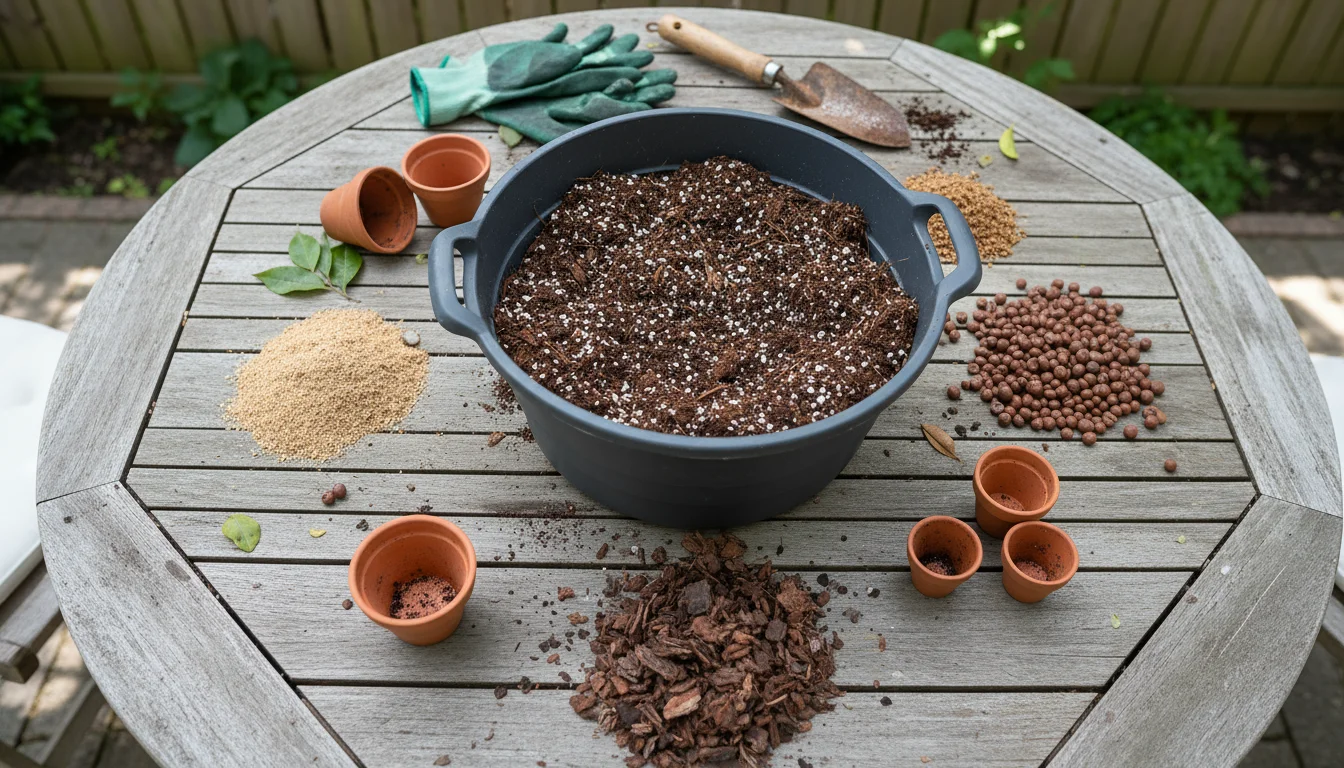
You can create your own mix using equal parts compost, coco coir, and perlite. This ensures you control the ingredients and promote sustainable practices. For more detailed information on creating an ideal potting mix, refer to resources like the Oregon State University Extension on Potting Mixes.
Sunlight Requirements
Most salad greens thrive with at least 4-6 hours of direct sunlight per day. More sun usually means faster growth and better flavor. However, during hot summer months, some greens, particularly lettuce and spinach, benefit from partial shade during the hottest part of the afternoon. This prevents bolting and keeps leaves tender. Observe your space throughout the day to identify the sunniest spots for your containers.
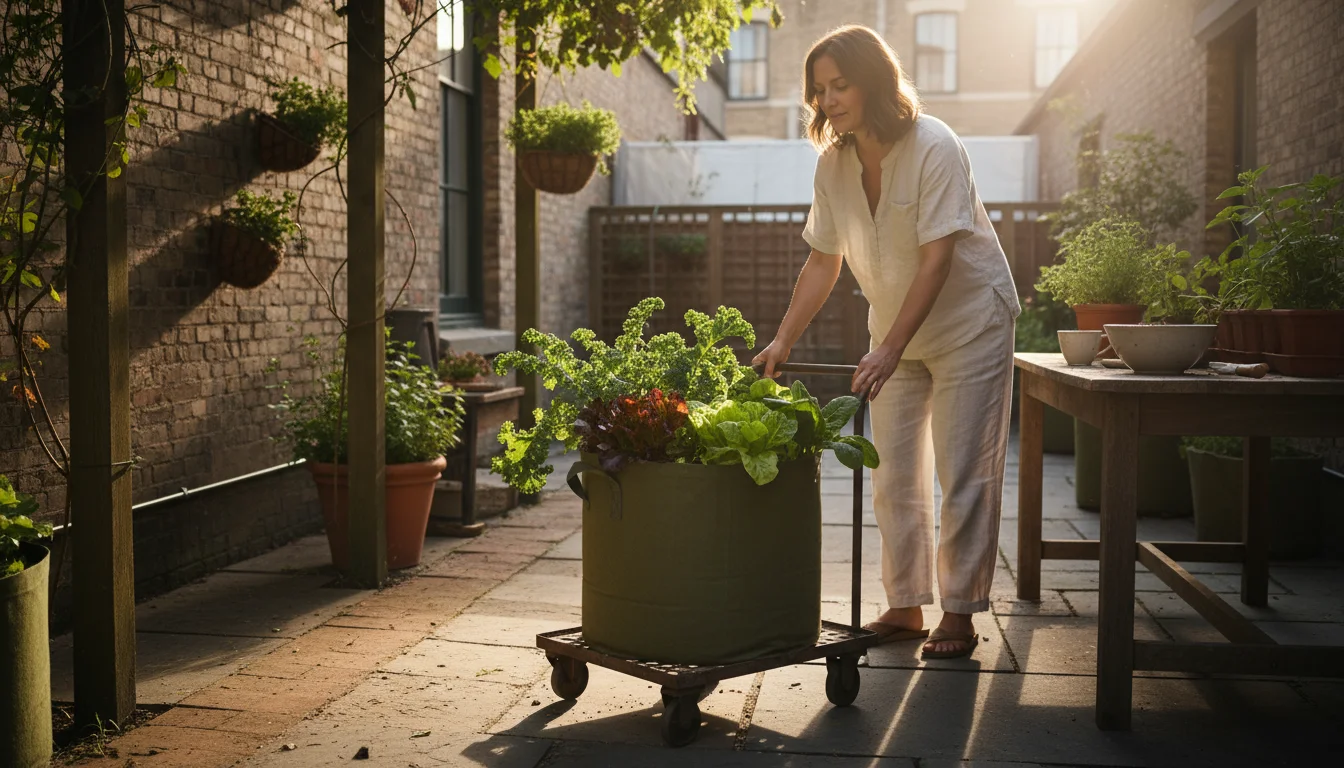
Placing containers on casters or using lightweight fabric bags allows you to move them easily to optimize sun exposure or provide afternoon shade as needed. This flexibility is a key advantage of container gardening.
The Sowing Schedule: Your Blueprint for Continuous Salad
The core of succession planting lies in a well-planned sowing schedule. This strategy ensures you always have young plants maturing as older ones are harvested, providing an endless supply of fresh salad greens. You implement a staggered planting approach rather than a single large planting.
Developing Your Sowing Calendar
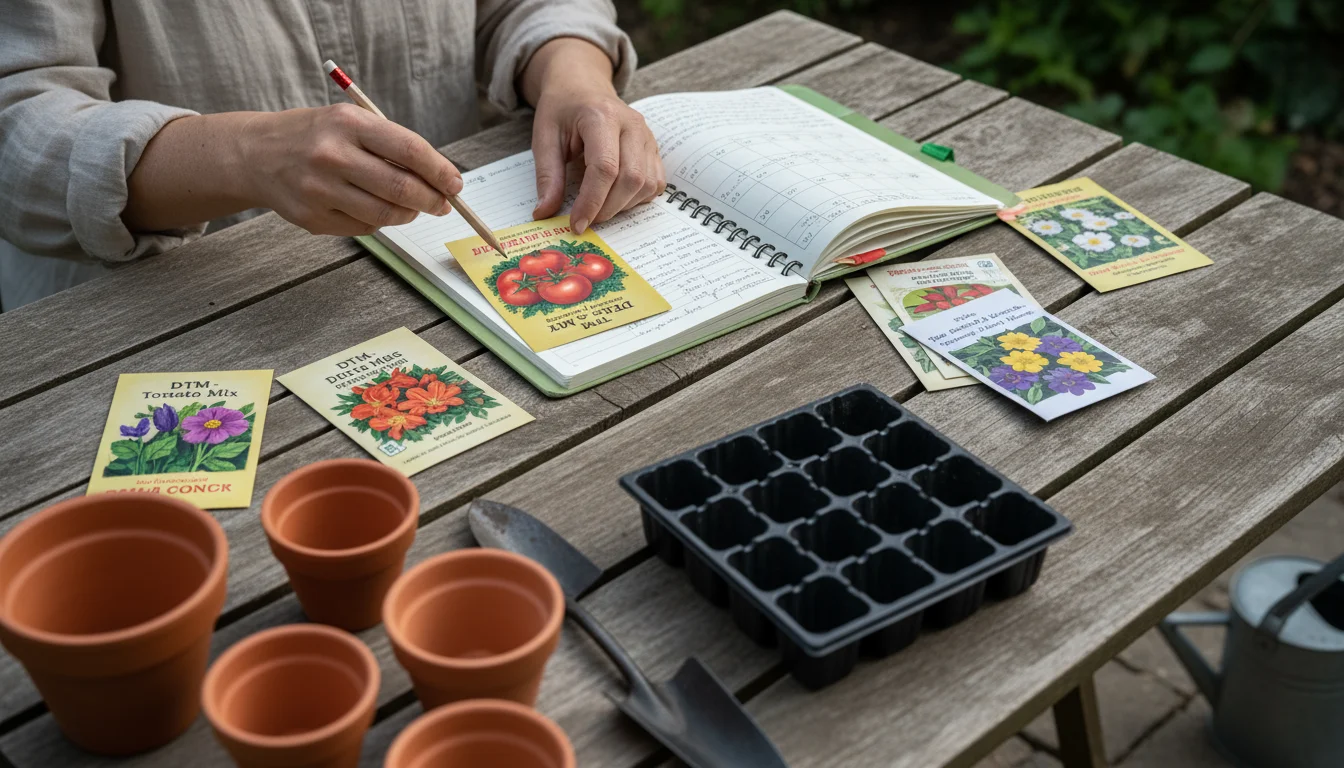
Your specific schedule depends on your climate, the greens you choose, and their typical days to maturity (DTM). Here is a general framework:
- Determine Your Last Frost Date: This marks the start of your main planting season. You can begin planting cool-season greens a few weeks before this date, as they tolerate light frost.
- Identify Days to Maturity (DTM): Check your seed packets. Fast-growing greens like arugula and loose-leaf lettuce often mature in 20-45 days.
- Plan Intervals: For most salad greens, sow a new batch every 2-3 weeks. This interval prevents all plants from maturing simultaneously. If a specific green matures very quickly (e.g., 20 days), you might sow it more frequently.
- Calculate Sowing Quantities: Plant only what you can realistically consume in a 2-week period. For small spaces, this might mean a few rows in a wide container or one small pot per sowing. Remember, you want consistent small harvests, not a massive overflow.
- Adjust for Season:
- Spring: Start earlier and plant more frequently as temperatures warm.
- Summer: Focus on heat-tolerant varieties or plant in partial shade. Reduce frequency or take a break if temperatures are consistently above 85°F (29°C), as many greens bolt.
- Fall: As temperatures cool, you can resume more frequent plantings. Extend the season with cold frames or cloches.
A Sample Succession Planting Schedule for Container Salad Greens
This table provides a general guide. Adjust planting dates based on your local climate and specific varieties.
| Green Type | Sowing Interval | Typical DTM | Notes for Succession |
|---|---|---|---|
| Loose-Leaf Lettuce | Every 2-3 weeks | 30-45 days | Plant small batches. Choose heat-tolerant varieties for summer. |
| Arugula | Every 2 weeks | 20-30 days | Sow frequently in spring/fall. Bolts quickly in heat. |
| Spinach | Every 2-3 weeks | 30-45 days | Prefers cool weather. Harvest outer leaves. |
| Baby Kale | Every 3 weeks | 25-35 days | Very hardy. Good for extending season into colder months. |
| Mustard Greens | Every 2 weeks | 20-30 days | Sow frequently in spring/fall. Bolts quickly in heat. |
| Swiss Chard (Baby) | Every 3-4 weeks | 30-50 days | Very productive. Tolerates some heat. |
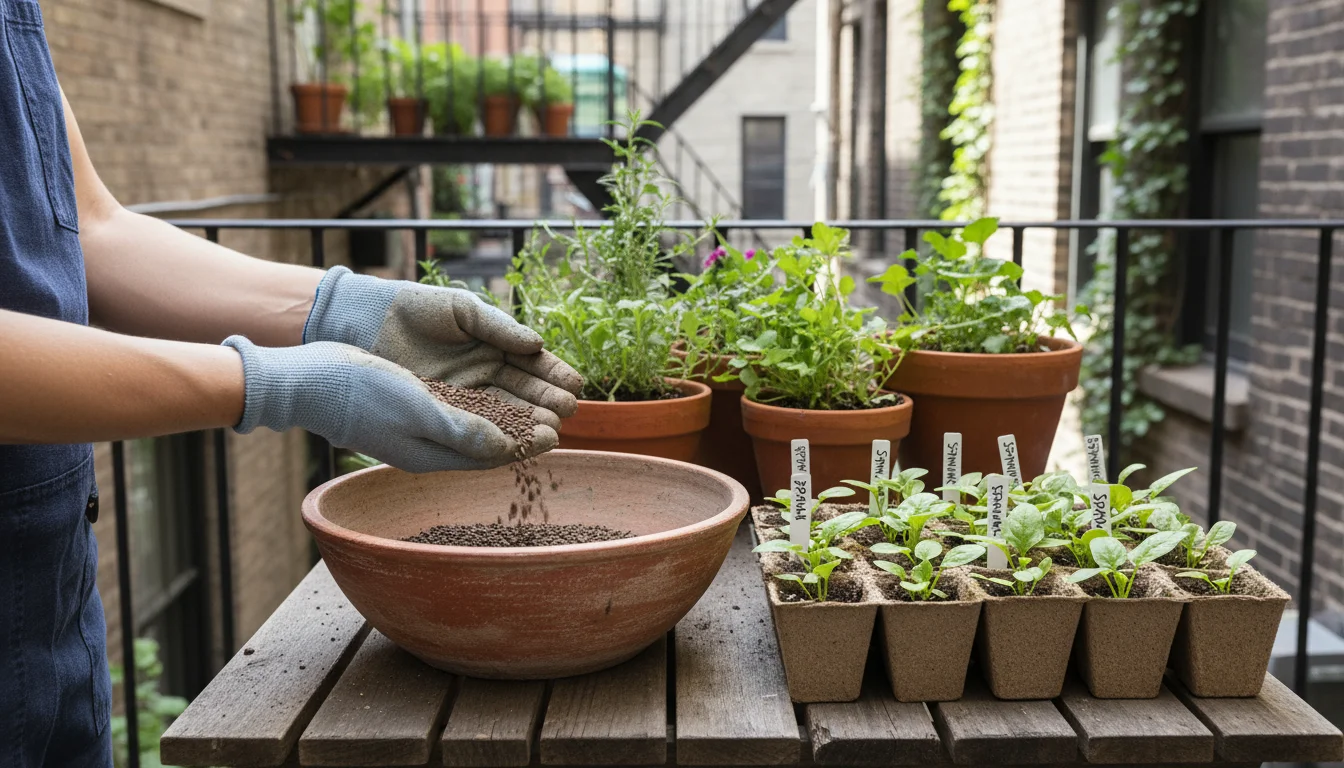
Direct Sowing vs. Starting Indoors
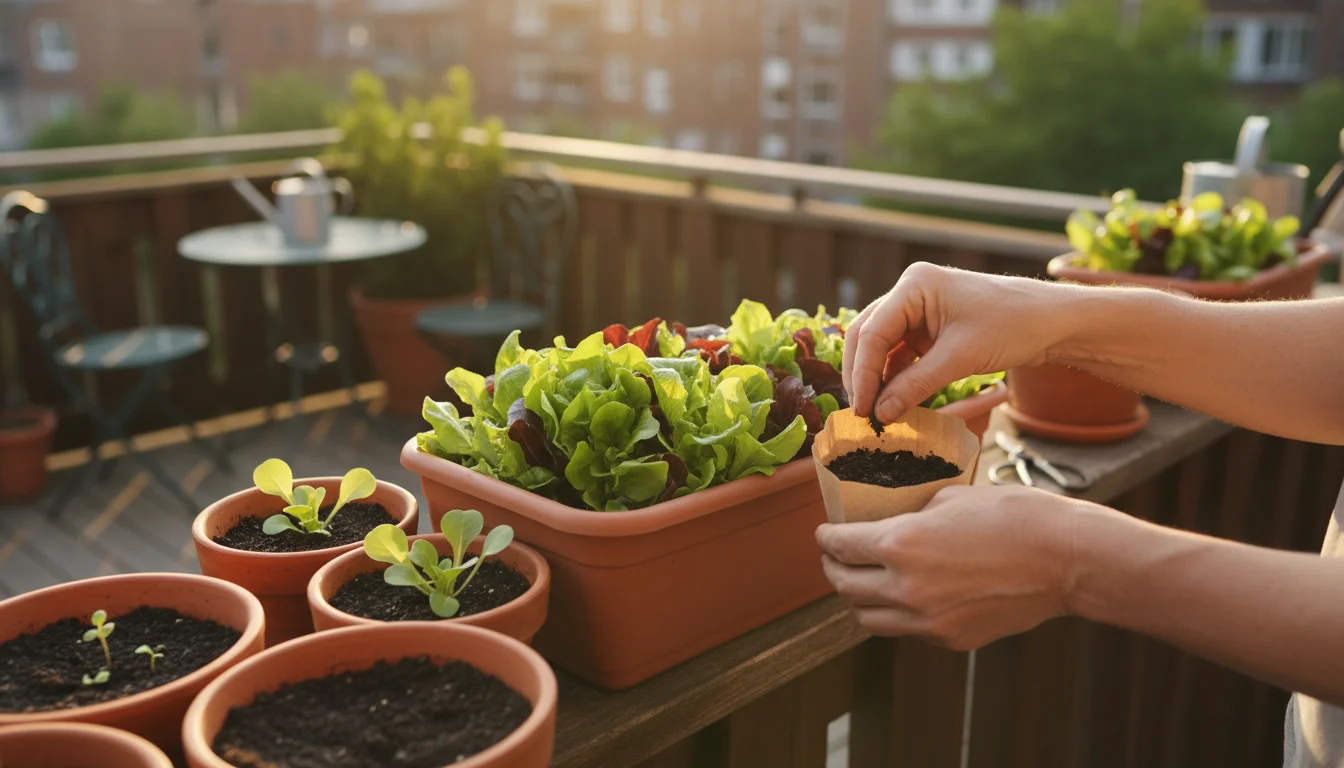
- Direct Sowing: Many salad greens, especially loose-leaf lettuce, arugula, and spinach, do well when sown directly into their final containers. This minimizes transplant shock. Plant seeds thinly and lightly cover them with soil, following package directions for depth.
- Starting Indoors: For some greens, or if you want to get a jump start on the season, you can start seeds indoors in small cell trays. Transplant them into your containers once they have developed a few true leaves and your outdoor conditions are suitable. This is particularly useful for maximizing your succession efficiency, ensuring seedlings are ready to go as soon as a spot opens up.
Label your containers with the planting date and green type. This simple habit helps you track your schedule and know when to expect harvests or when to plant the next batch. Staying organized ensures your continuous flow of fresh greens.
Cultivation Care: Nurturing Your Leafy Greens
Consistent care ensures your salad greens remain healthy, tender, and productive. Focusing on proper watering, intelligent feeding, and proactive pest management helps you achieve abundant harvests.
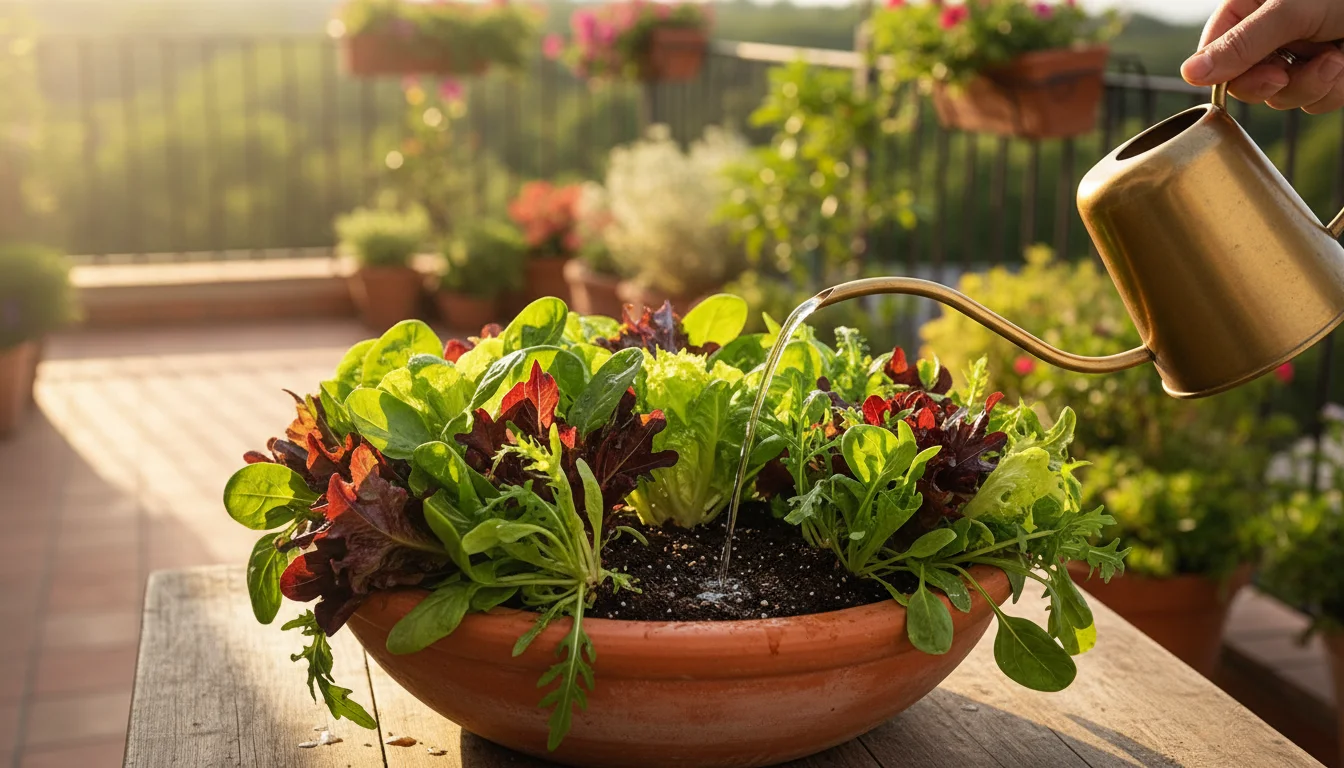
Water: The Lifeline of Leafy Greens
Salad greens consist primarily of water, so consistent moisture is paramount. Erratic watering leads to bitterness, tough leaves, or premature bolting.
- Deep and Regular Watering: Water deeply until you see water draining from the bottom of your containers. This encourages roots to grow deeper. Check soil moisture daily, especially during warm weather. Stick your finger about an inch into the soil; if it feels dry, it is time to water.
- Morning Watering: Water in the morning to allow leaves to dry before evening. This reduces the risk of fungal diseases.
- Avoid Overhead Watering: Aim water at the soil level, not on the leaves, especially if you water in the evening. This minimizes water waste and discourages diseases.
- Wicking Systems: For busy gardeners, consider self-watering containers or wicking systems. These provide a consistent moisture level to the roots, preventing both over and under-watering.

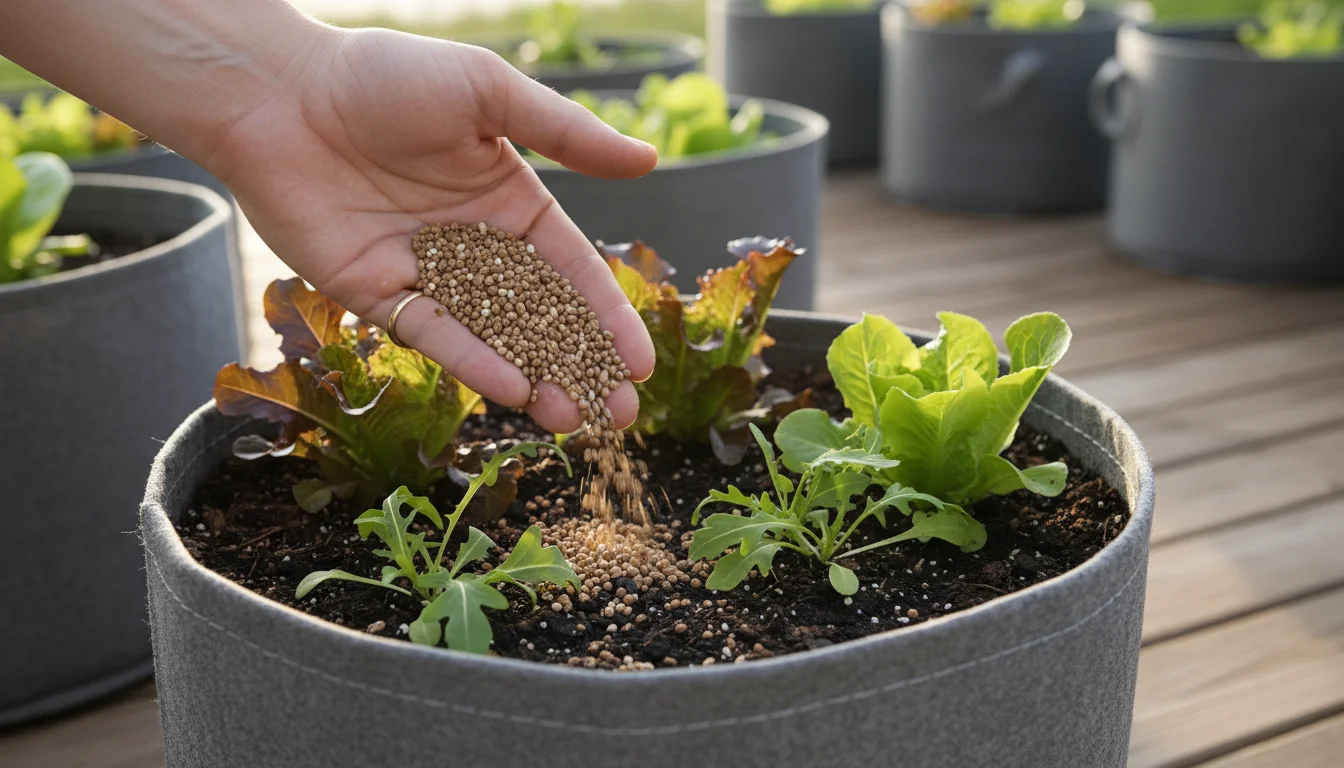
Fertilizing: Gentle Nudges for Growth
Leafy greens are light feeders, but container-grown plants deplete soil nutrients faster than those in garden beds. A balanced, organic approach works best.
- Initial Nutrients: A good quality potting mix provides initial nutrients for 3-4 weeks.
- Liquid Organic Fertilizer: After the initial period, feed your greens every 2-3 weeks with a diluted liquid organic fertilizer. Look for an NPK ratio balanced for leafy growth (e.g., 2-1-2 or 5-2-2). Fish emulsion, kelp meal, or a balanced all-purpose organic liquid feed work well.
- Compost Tea: As a sustainable alternative, use compost tea. It provides gentle nutrients and beneficial microbes, enhancing soil health.
- Avoid Over-Fertilizing: Too much nitrogen, while promoting leafy growth, can sometimes lead to excessive bitterness or soft, disease-prone foliage. Follow package directions for dilution carefully.
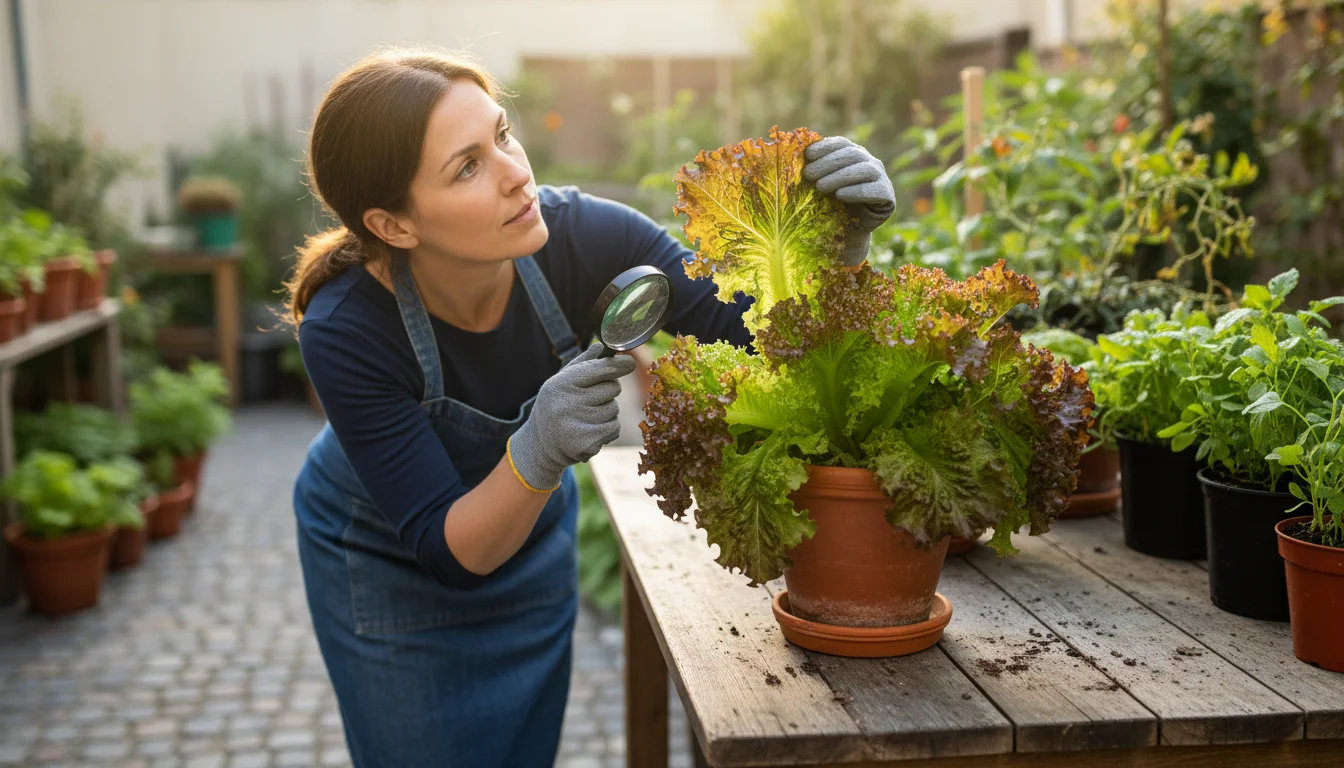
Pest and Disease Management: Prevention is Key
Healthy plants are more resistant to pests and diseases. Regular monitoring helps you catch problems early, allowing for least-toxic interventions.
- Regular Inspection: Every time you water or harvest, visually inspect your plants. Look for discolored leaves, chewed edges, or the presence of small insects like aphids or slugs.
- Common Pests:
- Aphids: Small, pear-shaped insects often found on new growth. Blast them off with a strong stream of water or apply insecticidal soap.
- Slugs and Snails: Leave slimy trails and ragged holes in leaves. Hand-pick them in the early morning or evening. Beer traps or copper tape can also deter them.
- Flea Beetles: Create small “shot-hole” damage. Floating row covers can protect young seedlings. Neem oil can also be effective.
- Disease Prevention:
- Good Air Circulation: Space your plants adequately to allow air to flow, which reduces humidity and fungal disease risk.
- Cleanliness: Remove any dead or diseased leaves promptly. Keep your containers and gardening tools clean.
- Resistant Varieties: If you repeatedly face disease issues, choose varieties known for disease resistance.
Embrace integrated pest management (IPM) by starting with prevention and moving to least-toxic solutions only when necessary. This protects your plants and the beneficial insects in your garden. The Environmental Protection Agency provides further details on IPM principles.

Harvesting for Longevity: The Cut-and-Come-Again Method
One of the most rewarding aspects of growing salad greens, particularly with succession planting, is the ability to harvest repeatedly from the same plant. This “cut-and-come-again” method maximizes your yield and extends the life of your plants. You get more salads from fewer plants, optimizing your small space.
How to Implement Cut-and-Come-Again
This technique relies on harvesting only the outer or upper leaves, leaving the plant’s core or growing point intact to produce more foliage. This is particularly effective for loose-leaf lettuces, spinach, arugula, kale, mustard greens, and Swiss chard.
- Timing: Begin harvesting when leaves are young and tender, usually after the plant has developed at least 4-6 true leaves. Harvesting at this stage ensures the best flavor and texture.
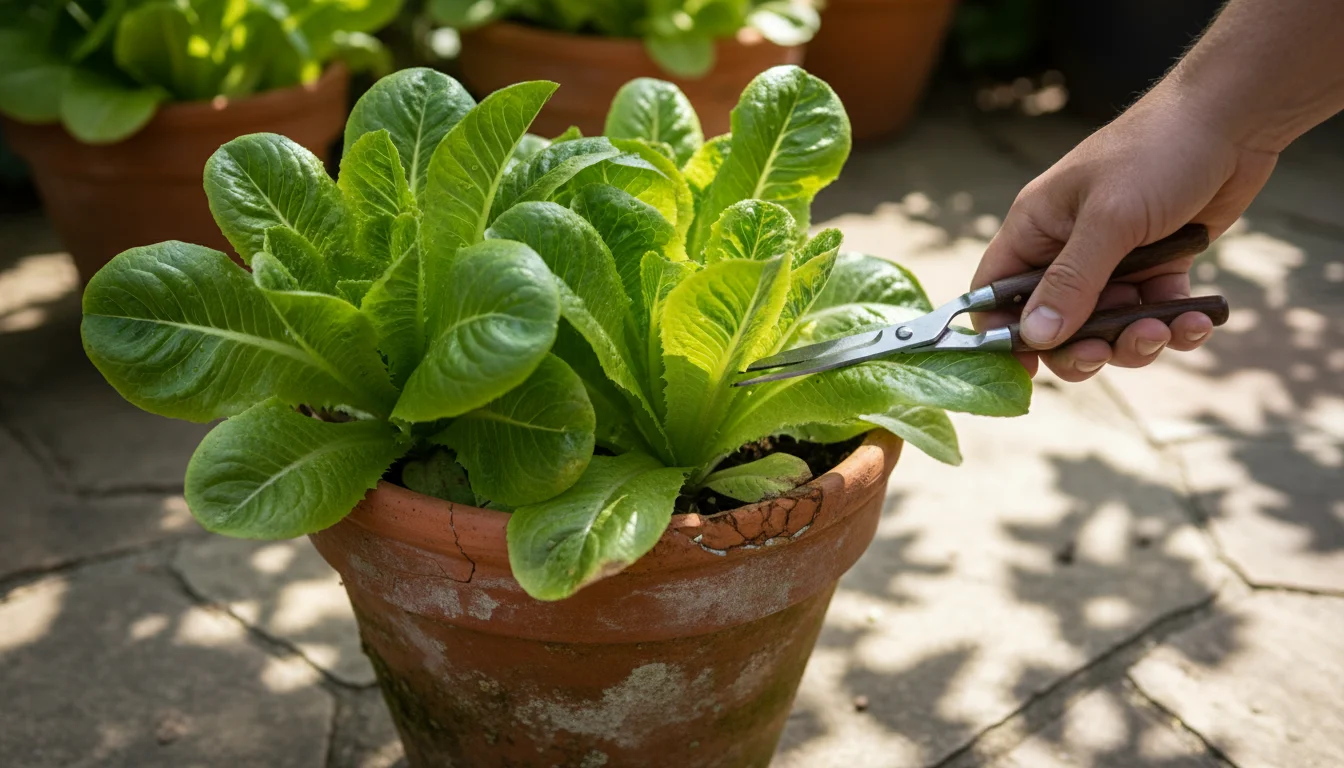
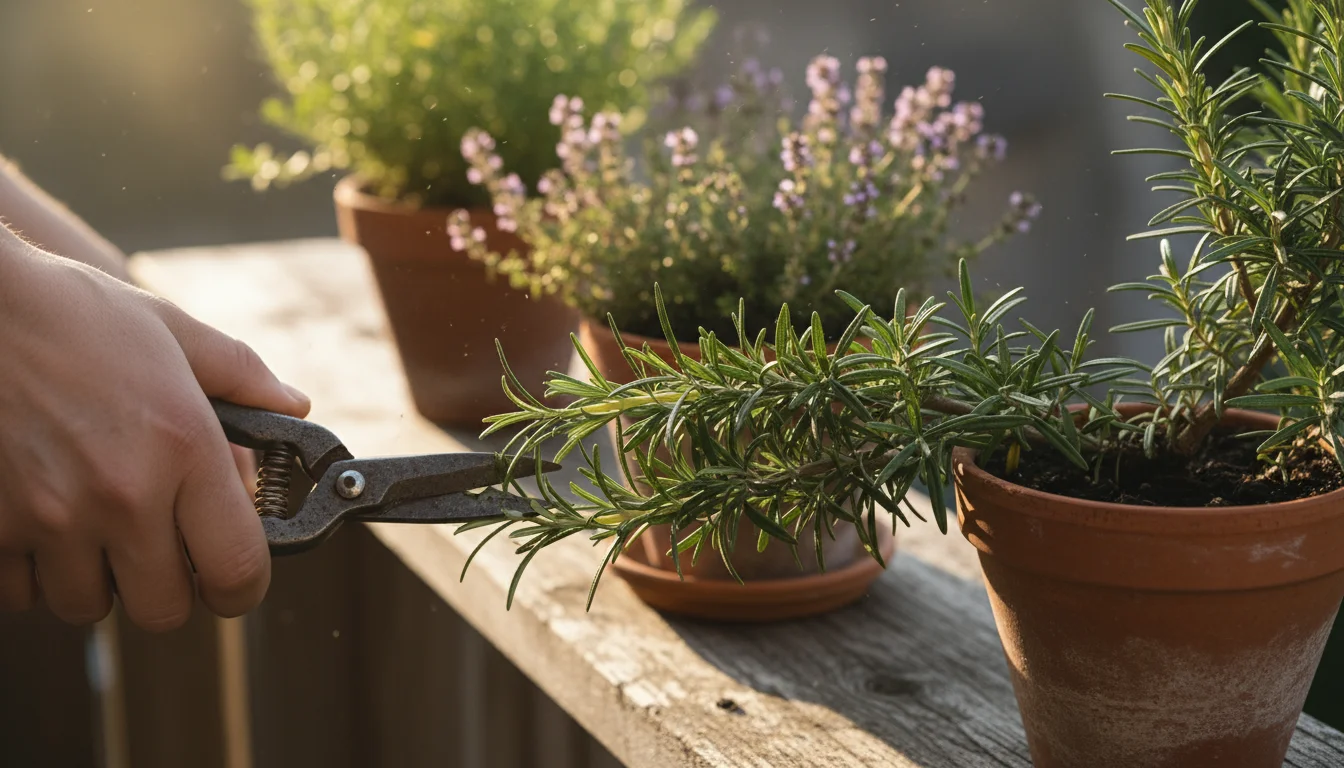
- Technique: Use clean scissors or snips.
- Outer Leaves: For most greens, snip the larger, outer leaves near the base of the plant, leaving the central growing point undisturbed. This encourages the plant to continue producing new leaves from the center.
- Across the Top (for dense plantings): If you have densely sown a patch of greens (like a “cut-and-come-again” mix), you can shear the entire patch about an inch or two above the soil line. The plants will regrow, providing another harvest in a few weeks. This works well for arugula or mesclun mixes.
- Frequency: Harvest regularly, typically every 1-2 weeks. Frequent harvesting encourages new growth. If you wait too long, leaves can become tough or bitter, and the plant may start to bolt.
- Avoid Over-Harvesting: Never remove more than one-third to one-half of the plant’s leaves at a time. The remaining leaves are essential for photosynthesis, which fuels new growth.
By using the cut-and-come-again method, you continuously stimulate your plants to produce. This means you do not need to wait for a plant to fully mature before enjoying a harvest, and you extend the productive life of each plant significantly.
Bolting Prevention and Management
Bolting occurs when a leafy green plant shifts its energy from producing leaves to forming a flower stalk and setting seeds. This happens naturally in response to warming temperatures and longer daylight hours. Once a plant bolts, its leaves become bitter and tough, and its productivity declines.
- Early Intervention: If you see a central stalk starting to emerge, harvest all usable leaves immediately. While they might have a hint of bitterness, they are often still palatable.
- Shade During Heat: In summer, provide partial shade for your cool-season greens. Moving containers to a shadier spot or using shade cloth reduces stress.
- Consistent Moisture: Keep the soil consistently moist. Water stress can trigger bolting.
- Succession Planting: This method inherently helps manage bolting. As one batch bolts, your next succession of younger plants is ready to take its place, ensuring a continuous supply of tender leaves.
- Embrace the Flowers: Some bolted greens, like arugula and mustard, produce edible flowers that add a peppery garnish to salads. You can also allow some plants to go to seed for future plantings, though this reduces leaf production.
Understanding and managing bolting is crucial for maximizing your salad green yield. Your thoughtful succession plan allows you to stay ahead of this natural process, ensuring you always have prime, tender greens ready for your table.
Seasonal Adaptations for Year-Round Greens
Extending your salad green harvest beyond the typical spring and early summer involves adapting your approach to seasonal changes. You manage heat, frost, and light availability to keep your containers productive throughout the year.
When outdoor temperatures become too extreme, you can still maintain a fresh supply by growing microgreens on your kitchen counter.
Spring and Early Summer: The Prime Season
This is when most salad greens thrive. Temperatures are mild, and daylight hours are increasing. You focus on frequent succession plantings of fast-growing varieties.
- Sow Aggressively: Begin planting cool-season greens like lettuce, spinach, arugula, and mustard greens as soon as the danger of hard frost passes. Continue sowing every 2-3 weeks.
- Diverse Varieties: Experiment with various loose-leaf types to find your favorites.
- Monitor for Pests: Spring often sees an increase in pest activity. Regular checks help you manage any outbreaks proactively.
Mid-Summer: Battling the Heat
High temperatures are the biggest challenge for many leafy greens. Heat often triggers bolting and bitterness.
- Heat-Tolerant Varieties: Shift your focus to greens that handle heat better. Examples include ‘Black Seeded Simpson’ or ‘Buttercrunch’ lettuce, New Zealand spinach (not true spinach, but a heat-tolerant substitute), Malabar spinach, Swiss chard, and some varieties of kale.
- Provide Shade: Move containers to a location that receives morning sun but is shaded during the hottest part of the afternoon. You can also use shade cloth (often 30-50% shade) draped over a simple frame to protect your plants.
- Increase Watering: Plants in containers dry out quickly in summer. You might need to water daily, sometimes twice a day. Maintain consistent soil moisture.
- Slow Down Succession: You may reduce your sowing frequency or pause planting some varieties during peak summer heat.
Fall: Embracing the Cool-Down
As temperatures drop, many cool-season greens rebound. Fall can be a second prime season, often producing even sweeter leaves due to cooler nights.
- Resume Frequent Sowing: Start new successions of lettuce, spinach, arugula, Mache, and mustard greens. The slightly shorter days and cooler temperatures reduce bolting risk.
- Cold-Hardy Varieties: Focus on cold-tolerant options like Mache, Claytonia, kale, and some spinach varieties.
- Prepare for Frost: As autumn progresses, be ready to protect your plants from early frosts.
Winter: Extending the Harvest in Cold Climates
While challenging, harvesting greens through winter in cold climates is possible with protection. In milder climates, you may enjoy fresh greens all winter with minimal effort.
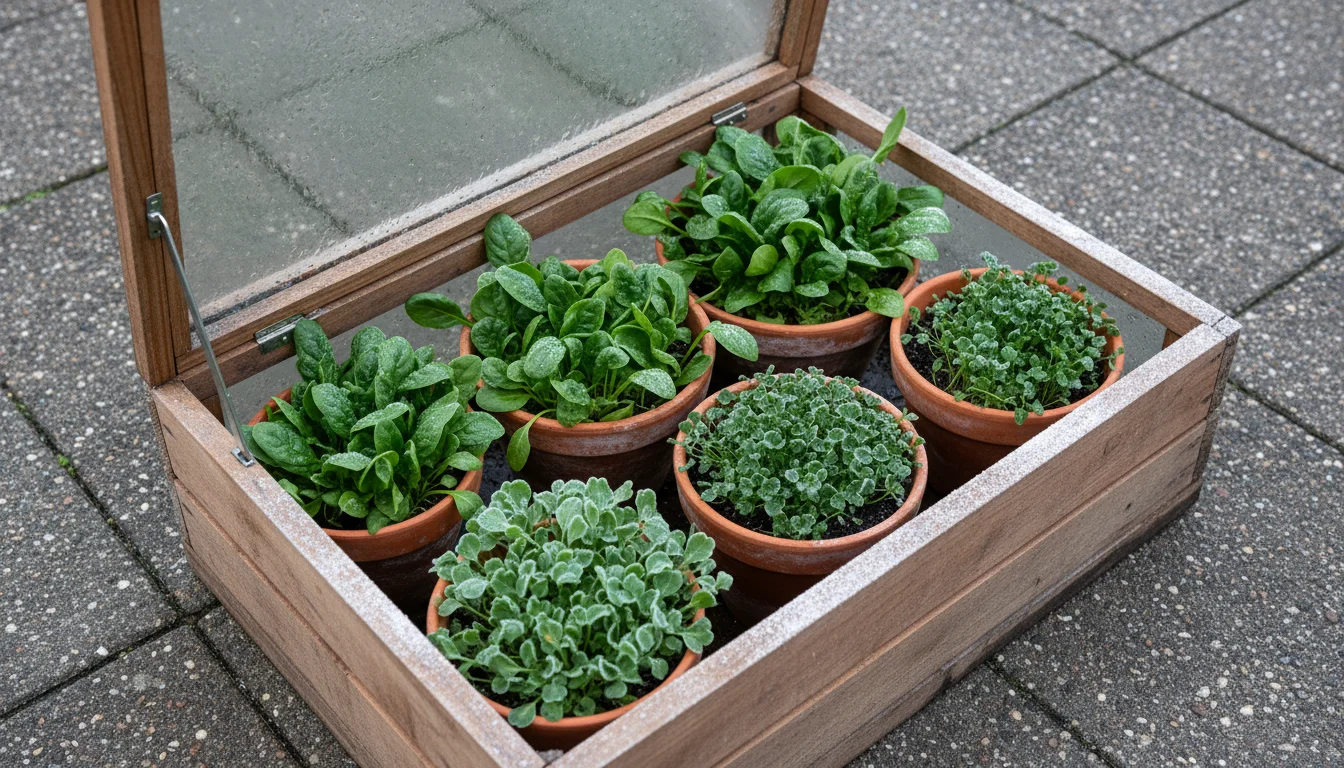
- Cold Frames and Cloches: These simple structures create microclimates, raising the temperature by several degrees and protecting plants from wind and snow. You can purchase or build them for your containers.
- Row Covers: Floating row covers provide a few degrees of frost protection and help retain soil warmth.
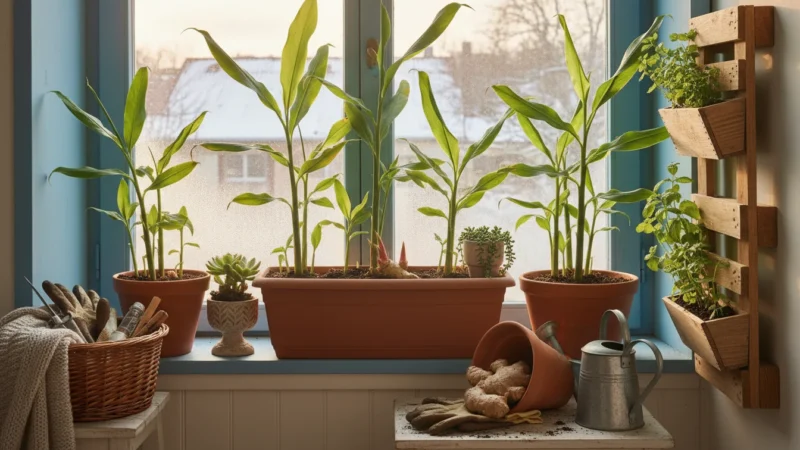
- Indoor Growing: For truly cold areas, consider moving containers indoors to a sunny window or under grow lights. Varieties like microgreens or small leaf lettuce do well indoors.
- Focus on Hardiest Greens: Mache, spinach, and cold-tolerant kale varieties are excellent choices for winter production.
By understanding your local climate and making these seasonal adjustments, you significantly extend your harvesting window, enjoying fresh salad greens almost year-round from your small garden space.
Beyond the Basics: Maximizing Small-Space Salad Production
Once you master the fundamentals of succession planting, you can implement advanced techniques to squeeze even more productivity from your limited gardening area. These strategies help you grow a wider variety and increase overall yield.
If outdoor temperatures drop too low, you can still maintain a windowsill salad bar to grow nutrient-dense microgreens indoors all winter.
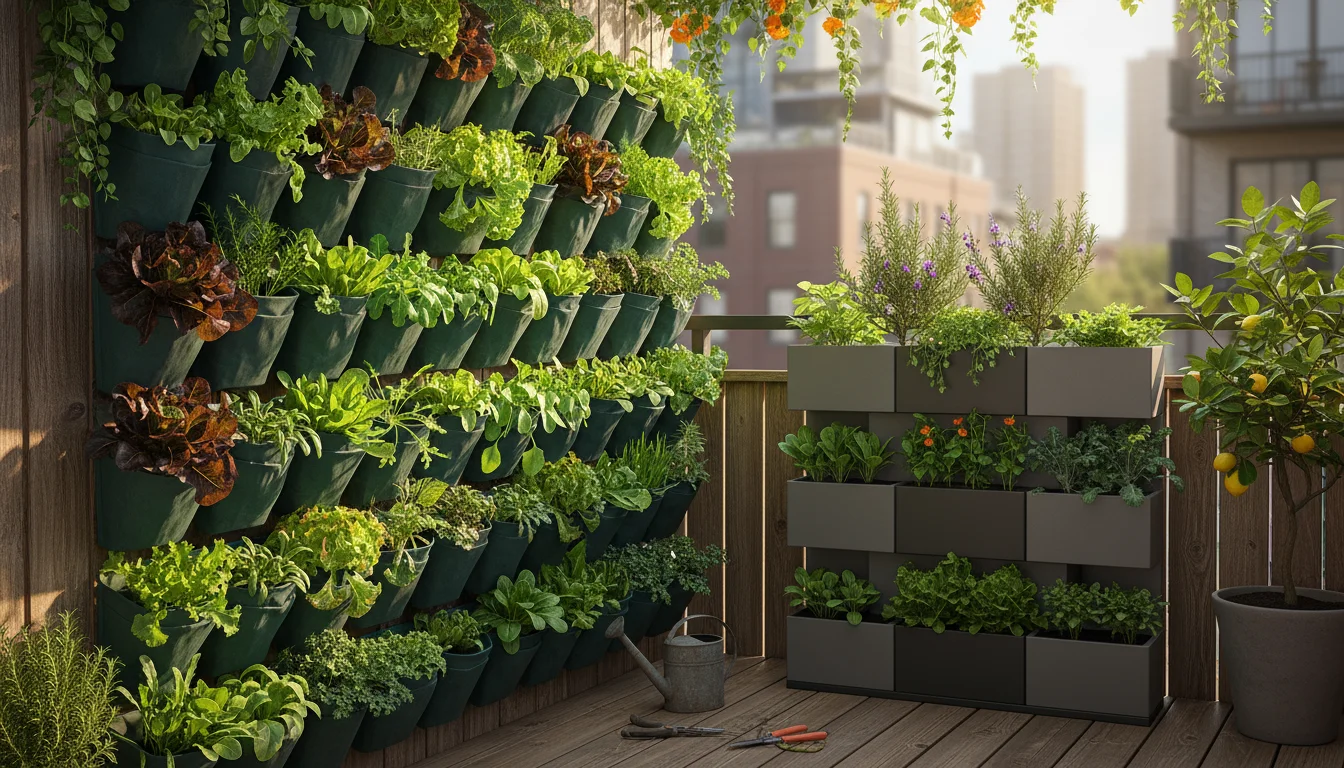
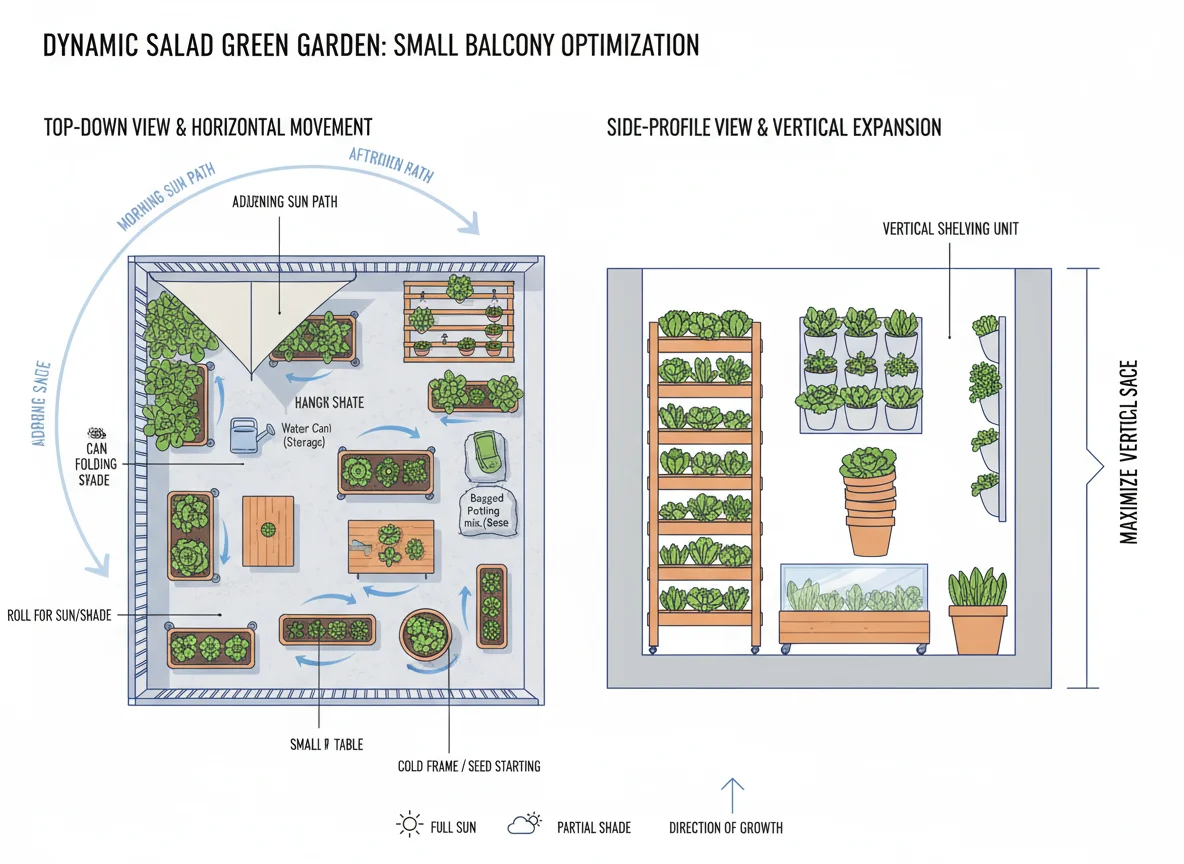
Vertical Gardening Integration
Vertical gardening is a game-changer for small spaces. It allows you to grow upwards, utilizing walls, fences, or vertical structures, freeing up valuable ground or patio space.
- Stackable Planters: These tiered systems are perfect for salad greens. Each tier provides space for a different succession or variety. They are efficient with water and space.
- Pocket Planters/Wall Gardens: Fabric pocket planters or wall-mounted systems attach to fences or balcony railings. Plant individual salad greens in each pocket for easy access and diverse plantings.
- DIY Vertical Structures: Repurpose palettes, create stepped shelving, or use rain gutters mounted vertically. Ensure proper drainage for each level.
When implementing vertical gardening, consider sun exposure. The top tiers generally receive more sun, while lower tiers might need shade-tolerant varieties, especially during summer.
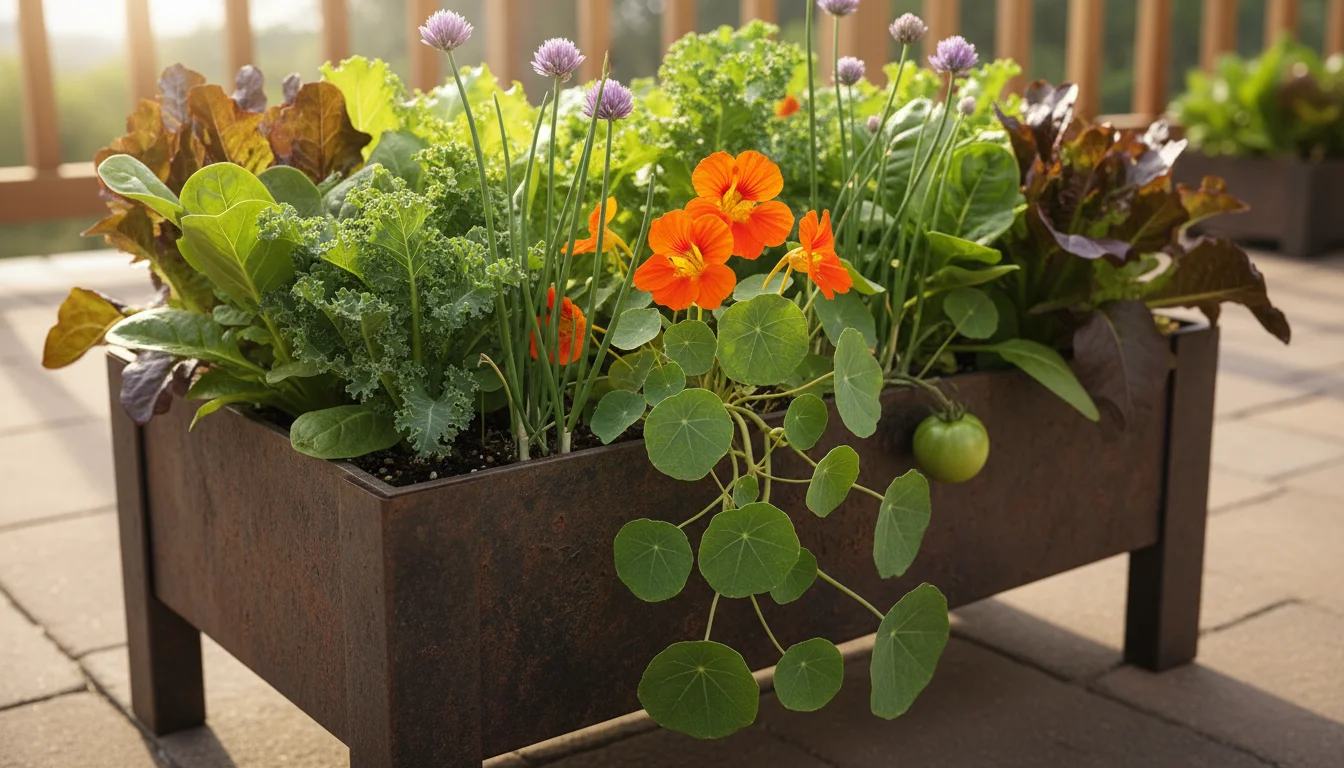
Companion Planting Benefits
Companion planting involves growing specific plants together for mutual benefit. This can deter pests, attract beneficial insects, improve soil health, or enhance growth.
- Pest Deterrence:
- Marigolds: Planted near salad greens, marigolds can deter nematodes and other pests with their strong scent.
- Nasturtiums: Act as a trap crop, drawing aphids away from your greens. You can harvest their peppery leaves and flowers for your salads too.
- Chives/Garlic: Their pungent odor confuses pests and can deter aphids.
- Attracting Beneficial Insects: Planting small flowering herbs like dill, cilantro (allowed to flower), or chamomile nearby attracts predatory insects like ladybugs and hoverflies, which feast on aphids.
- Shade and Support: Taller plants can provide beneficial afternoon shade for heat-sensitive greens during summer. However, ensure they do not compete too much for nutrients in a container.
Experiment with a few companion plants in your containers. Observing their effects helps you create a balanced and resilient ecosystem in your mini garden.
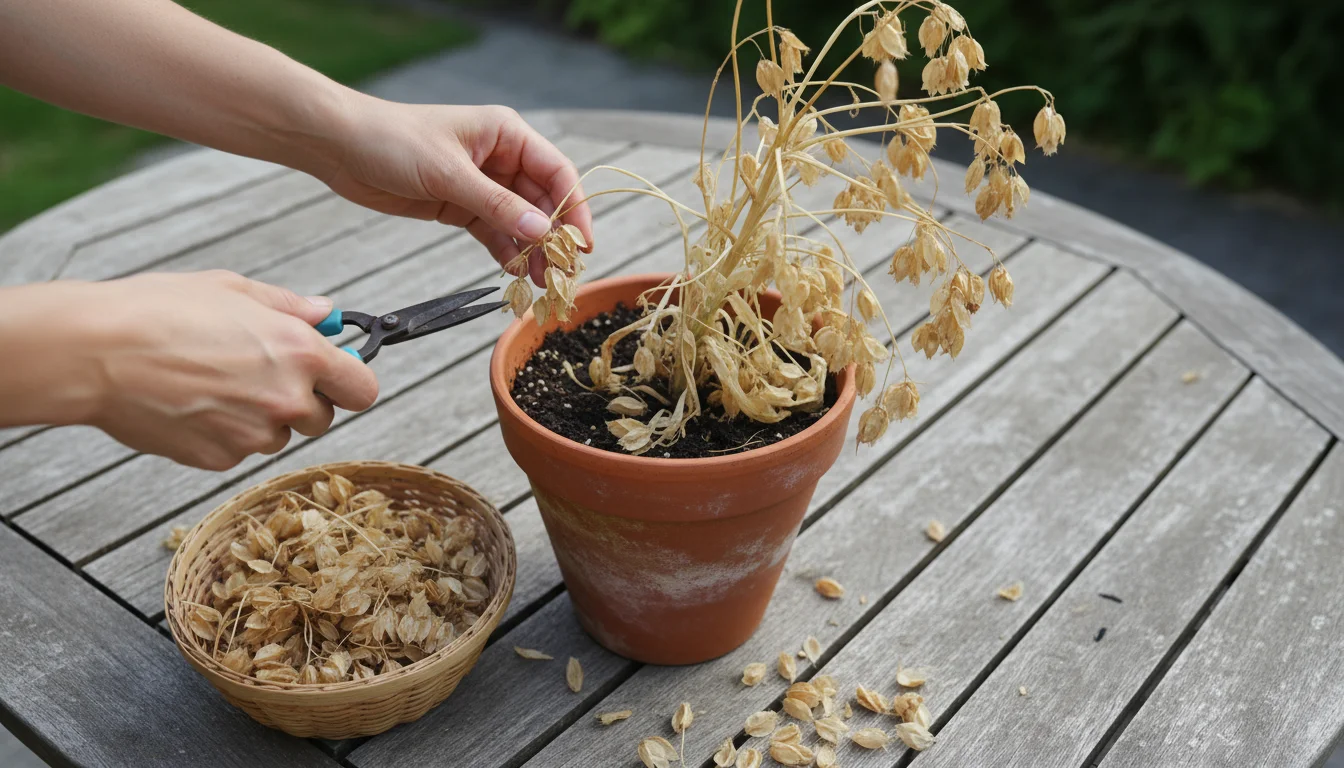
Efficient Seed Saving Basics for Salad Greens
Saving seeds from your favorite salad greens is a cost-effective and rewarding practice. It allows you to preserve specific varieties that thrive in your garden and promotes genetic diversity.
- Choose Open-Pollinated Varieties: Only save seeds from open-pollinated (OP) or heirloom varieties. Hybrid (F1) seeds will not reliably produce plants true to the parent.
- Allow to Bolt: Select a few healthy, vigorous plants from which you will not harvest leaves. Let them go to flower and form seeds.
- Collect Seeds: Once seed heads are dry and brittle (often turning brown), carefully snip them off. Place them in a paper bag or on a tray to dry completely in a cool, dark, well-ventilated area.
- Clean and Store: Separate the seeds from the chaff. Store them in airtight containers (jars or envelopes) in a cool, dark, dry place. Label clearly with the plant type and date.
Saving your own seeds connects you more deeply to the gardening cycle and makes your small-space garden even more sustainable and self-sufficient. Remember to maintain genetic purity by separating different varieties if they can cross-pollinate, especially with leafy greens like lettuce.
Frequently Asked Questions
How much sun do salad greens really need?
Salad greens generally need 4-6 hours of direct sunlight daily for optimal growth. In hotter climates or during peak summer, they benefit from partial shade during the intense afternoon hours. This prevents bolting and keeps leaves tender. Less than 4 hours often results in leggy growth and reduced yields.
Can I grow salad greens indoors during winter?
Yes, you can grow many salad greens indoors. Choose a sunny south-facing window or use supplemental grow lights. Ensure consistent temperatures, good air circulation, and proper watering. Loose-leaf lettuce, spinach, arugula, and microgreens are excellent choices for indoor cultivation, providing fresh greens even when it is cold outside.
Why are my salad greens bitter?
Bitterness in salad greens is primarily caused by stress. Common factors include hot weather, inconsistent watering (especially allowing the soil to dry out too much), and bolting (the plant sending up a flower stalk). To prevent bitterness, harvest leaves when they are young, provide adequate and consistent moisture, offer afternoon shade in summer, and plant heat-tolerant varieties for warm-season growing.
What is the best way to water container salad greens?
Water container salad greens deeply and regularly until water drains from the bottom. This encourages deep root growth. Check the soil moisture daily by sticking your finger an inch deep; water if it feels dry. Watering in the morning is ideal, as it allows foliage to dry, reducing disease risk. Avoid overhead watering to prevent fungal issues and ensure water reaches the roots directly.
When should I fertilize my container salad greens?
Begin fertilizing your container salad greens about 3-4 weeks after planting, once they have established themselves. Use a diluted liquid organic fertilizer balanced for leafy growth (e.g., a balanced NPK like 2-1-2) every 2-3 weeks. High-quality potting mixes often provide initial nutrients, so avoid over-fertilizing, which can also contribute to bitterness or weak growth.
With these strategies, your small space transforms into a highly productive salad garden. You enjoy fresh, homegrown greens year-round, minimizing waste and maximizing flavor. Embrace the cycle of planting, nurturing, and harvesting, and savor the simple joy of your own abundant salad bowl.


Leave a Reply