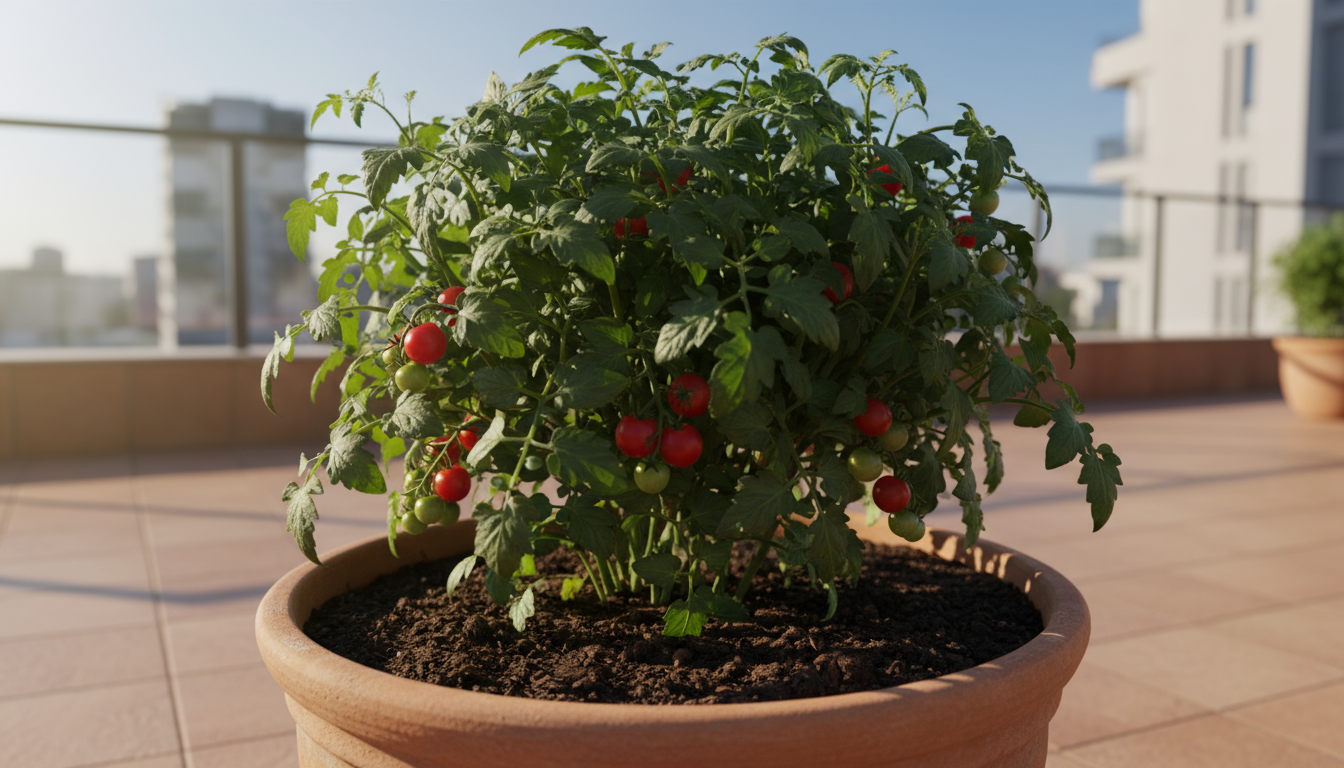
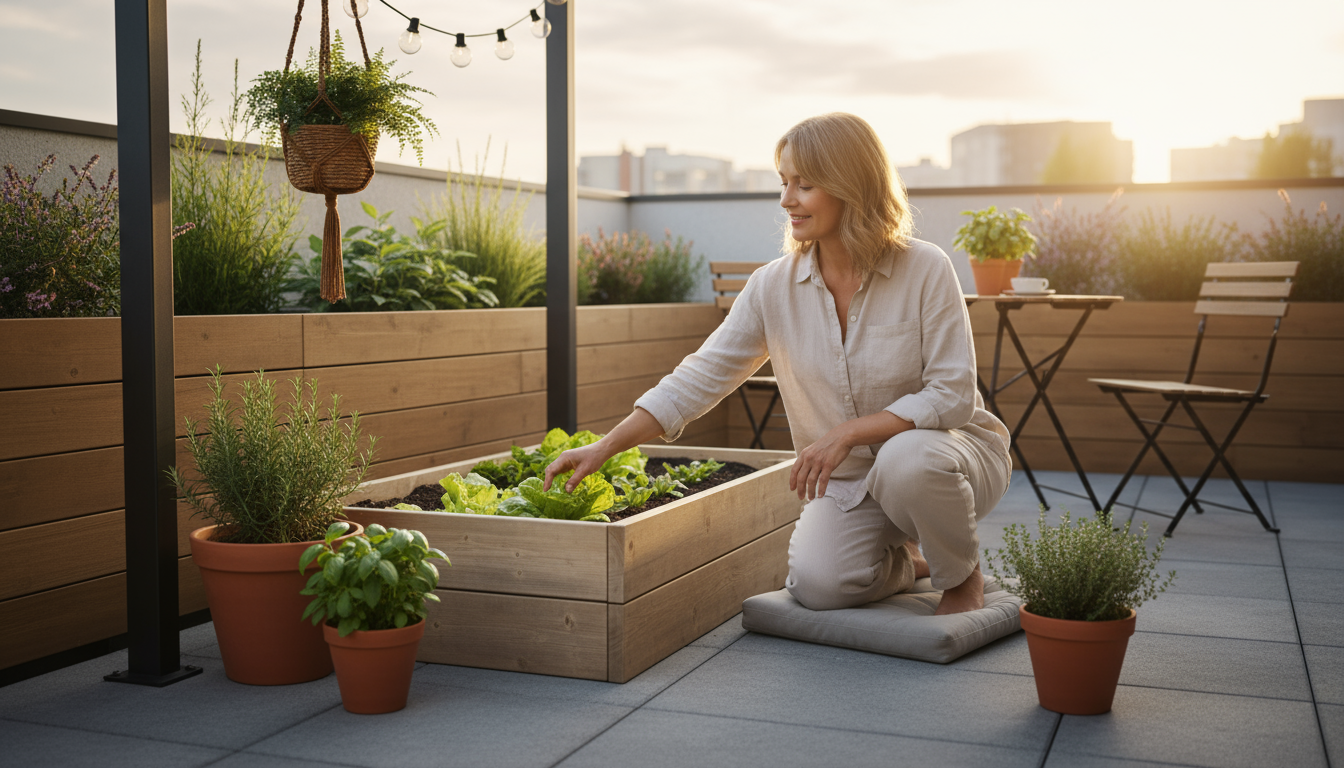
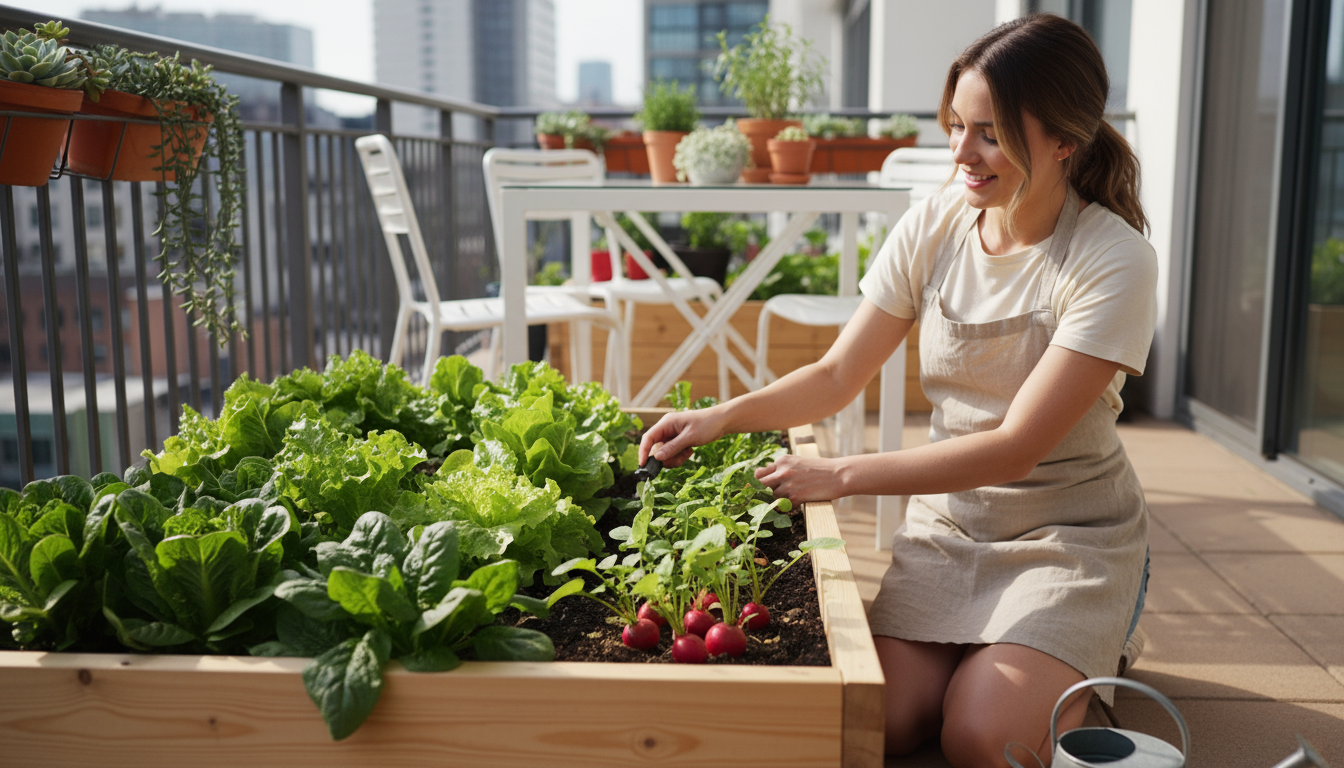
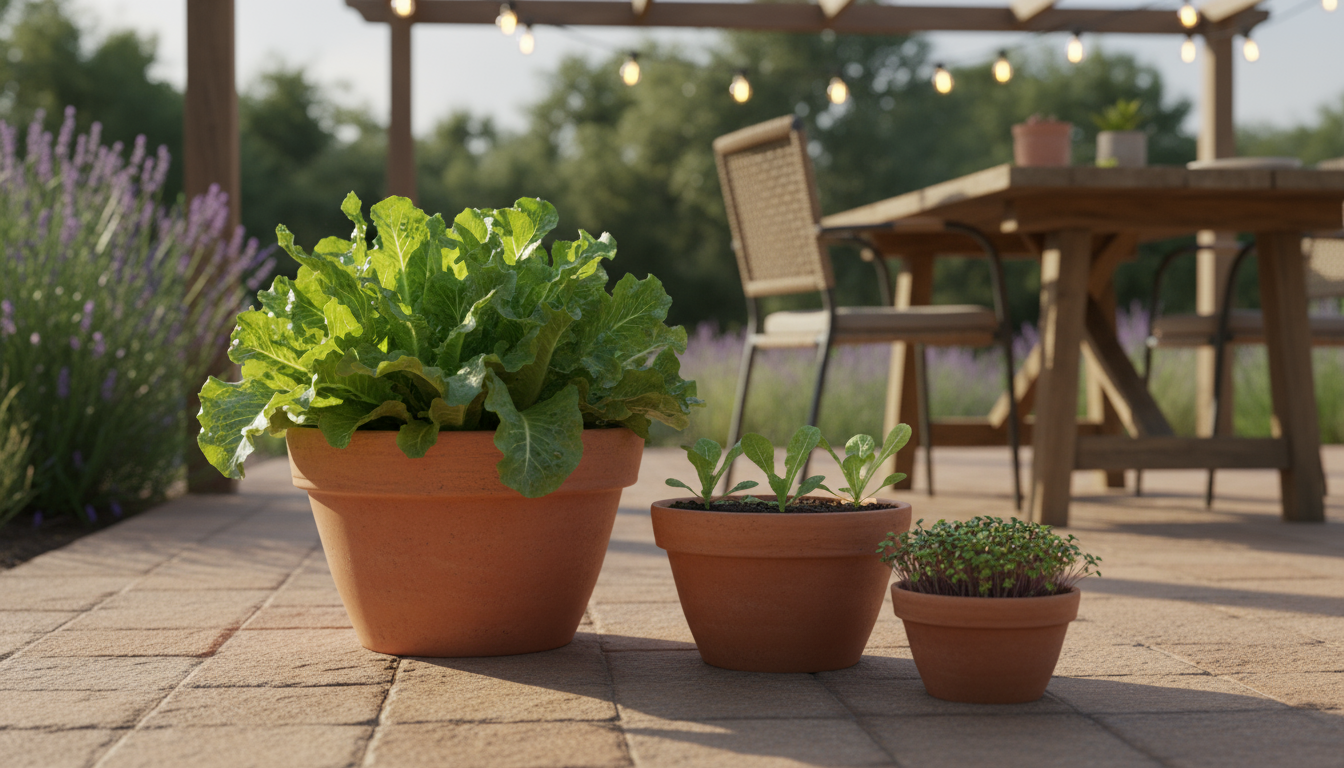
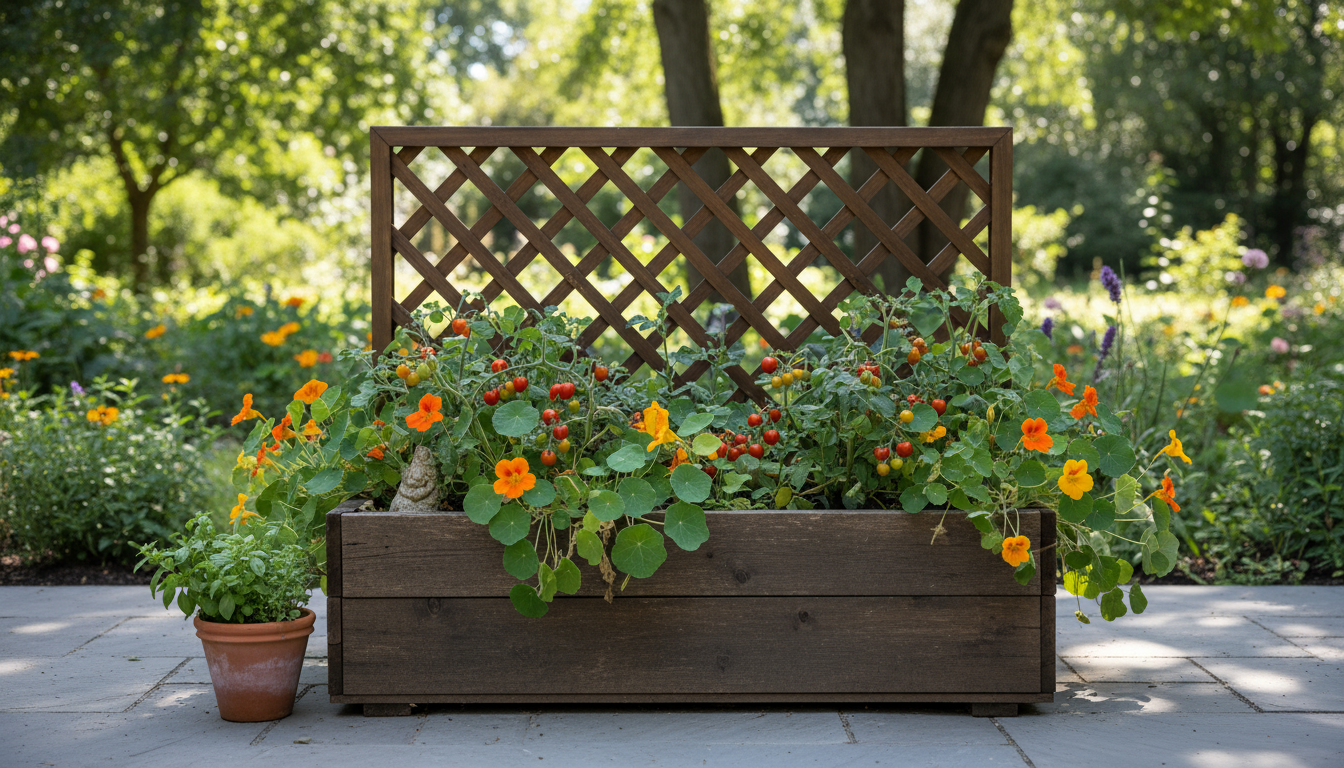
Your journey into the rewarding world of home gardening begins here, especially if you envision a thriving vegetable patch but face limited space. Small raised beds offer an ideal solution, transforming compact areas like balconies, patios, or small yards into productive food gardens. These elevated structures provide numerous advantages, making gardening accessible and enjoyable for everyone, from absolute beginners to those with some experience looking for a low-maintenance approach.
You can even enhance your garden’s sustainability by learning about small-space composting to create your own nutrient-rich soil.
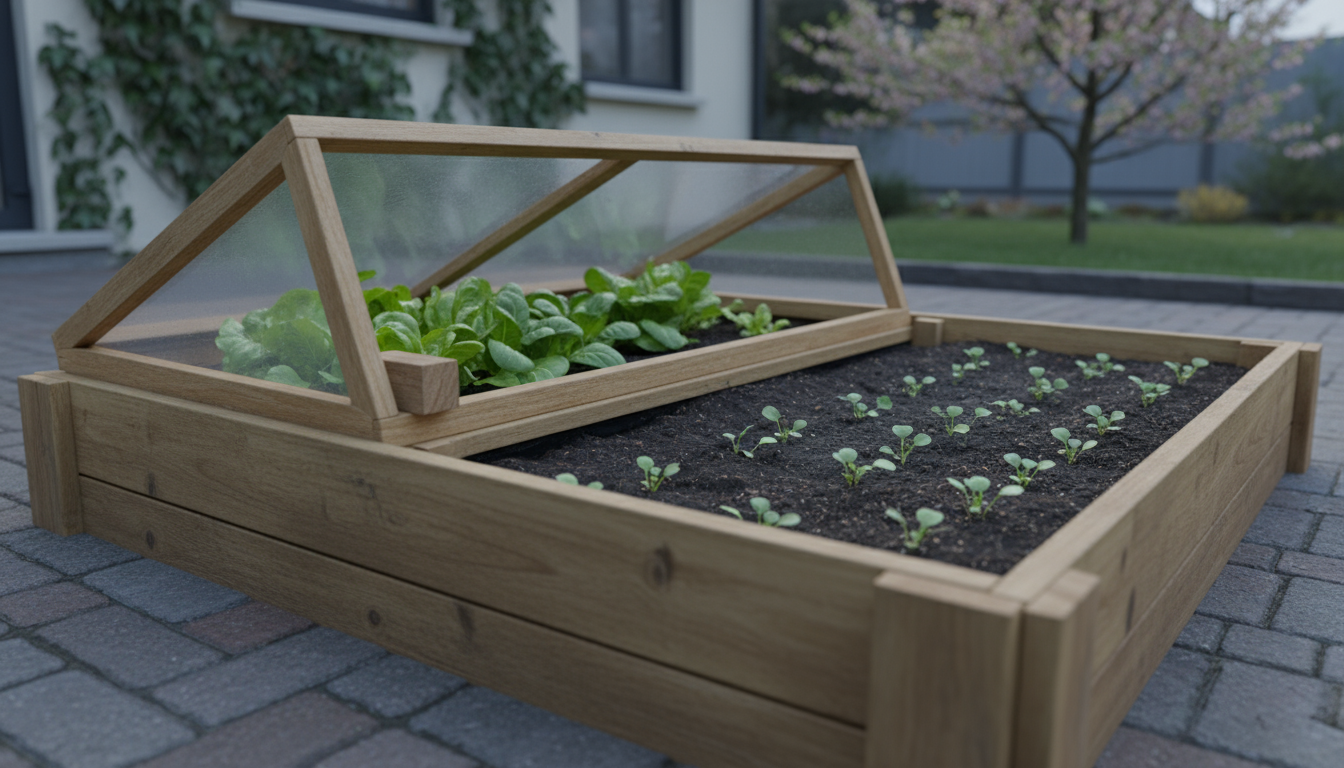
Raised beds give you exceptional control over soil quality, drainage, and even pest management, simplifying the gardening process significantly. They warm up faster in spring, extending your growing season, and eliminate the need for stooping or heavy digging, making gardening a less physically demanding activity. Building a successful garden in a small raised bed is entirely within your reach, and you will soon harvest fresh, delicious produce right outside your door.
This comprehensive guide walks you through every step of creating and maintaining a vibrant small raised bed garden, focusing specifically on the easiest vegetables that thrive in these environments. We cover planning, soil preparation, watering strategies, pest prevention, and how to get the most out of your harvests, ensuring your gardening efforts yield abundant, satisfying results.
For research-based guidance on edible gardening, visit Penn State Extension — Gardening, Missouri Botanical Garden, Kew Science — Plants of the World and University of California ANR — Home Gardening.
Disclaimer: This article is for informational purposes only and is not a substitute for professional advice. Consult local extension services for region-specific recommendations.
Planning Your Small Raised Bed Garden
Successful gardening, even in small spaces, starts with thoughtful planning. Before you build or fill your raised bed, consider a few critical factors that significantly impact your garden’s success. This initial assessment ensures your efforts yield the freshest, most abundant harvests.
To make your small bed even more productive, try pairing complementary plants together for better health and space utilization.
Choosing varieties that produce a high yield is essential when you have limited sunny spots to work with.
To make the most of your footprint, check out these small garden layouts designed for efficiency.
Assessing Sunlight: The Fuel for Growth
Sunlight represents the single most important factor for growing most edible plants. Vegetables typically require at least six to eight hours of direct sunlight per day to thrive and produce well. Less sun results in spindly plants, lower yields, and increased susceptibility to pests and diseases.
- Track the Sun: Spend a day observing your potential garden spot. Note how long direct sunlight hits the area during different times of day. Morning sun, from 9 AM to 1 PM, is generally less intense and very beneficial for plant growth, drying dew and reducing fungal issues. Afternoon sun, from 1 PM to 5 PM, is hotter and more intense.
- Optimal Placement: Position your raised bed in the sunniest available spot. If you have choices, a south-facing location often provides the most consistent sunlight throughout the day in the Northern Hemisphere. East-facing locations are excellent for morning sun. West-facing spots receive intense afternoon sun, which some plants tolerate better than others.
- Consider Obstructions: Trees, fences, buildings, or even your own home can cast shadows that limit sunlight. Account for these shadows, which change with the seasons. A shadow in spring may not be there in summer when the sun is higher.
Water Source Accessibility
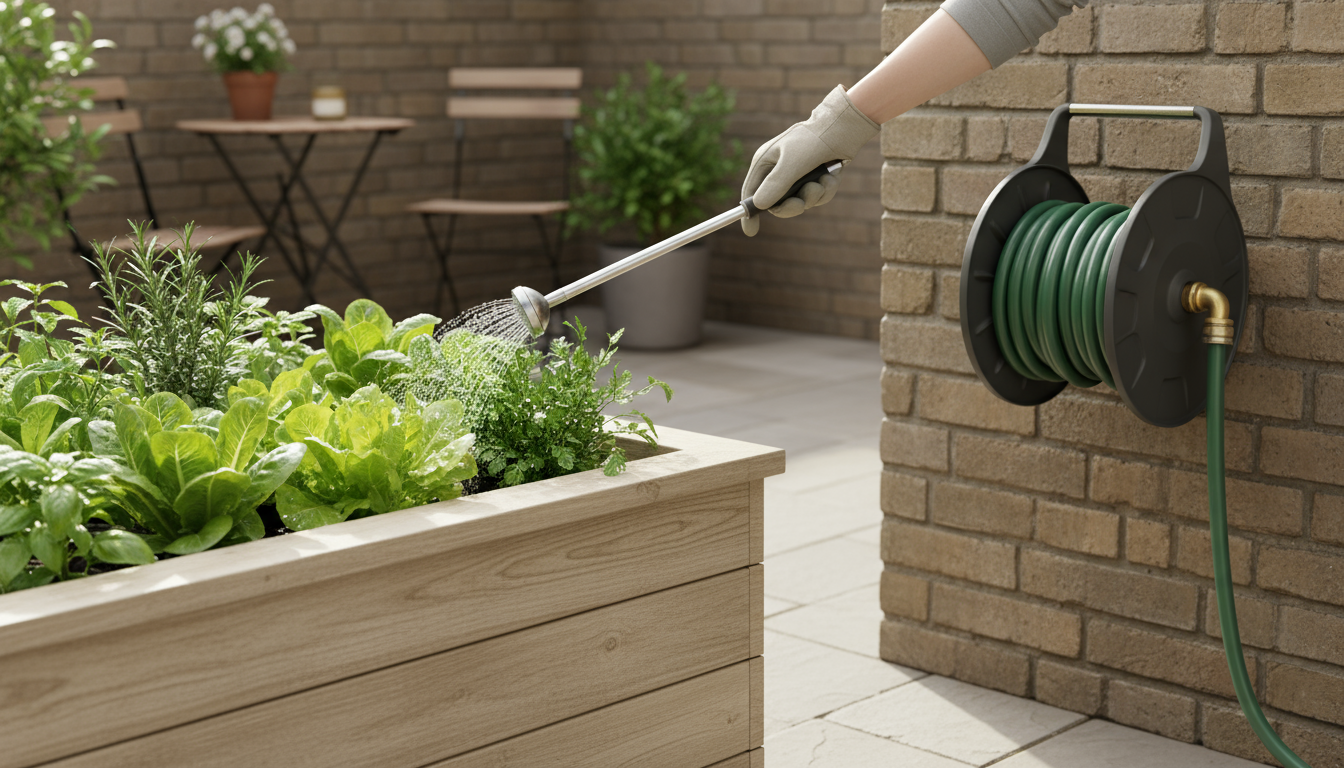
Vegetables need consistent watering, especially in raised beds, which tend to dry out faster than in-ground gardens. Locating your raised bed near a water source, such as a spigot or rain barrel, saves you significant effort and encourages regular watering. Hauling heavy watering cans across your yard quickly becomes a chore, leading to neglected plants.
Protection from Wind and Foot Traffic
Strong winds can damage delicate plants, especially those growing vertically or with heavy fruit. Wind also accelerates soil moisture evaporation. Position your raised bed in a relatively sheltered spot or consider a low fence or hedge nearby for protection. Additionally, ensure your raised bed is in an area that avoids heavy foot traffic, preventing accidental damage to plants or compaction of the surrounding soil.
Defining Your Space: Size and Shape
Small raised beds generally offer easier management. For beginners, a bed that is 2 feet wide and 4-6 feet long provides ample space for a good variety of vegetables without becoming overwhelming. A width of 2 to 4 feet allows you to reach the center of the bed comfortably from either side, preventing you from stepping on the soil and compacting it. The ideal height for a raised bed is typically 6 to 12 inches, which accommodates the root systems of most easy-to-grow vegetables.
Choosing and Preparing Your Raised Bed
Once you have a plan, the next step involves selecting the right type of raised bed and preparing it for planting. The choices you make here impact its longevity, aesthetics, and how well your plants thrive.
If you’re building your own, you can save money by using handy DIY tool hacks using common household items.
Following an early spring garden prep checklist ensures your beds are ready the moment the weather warms.
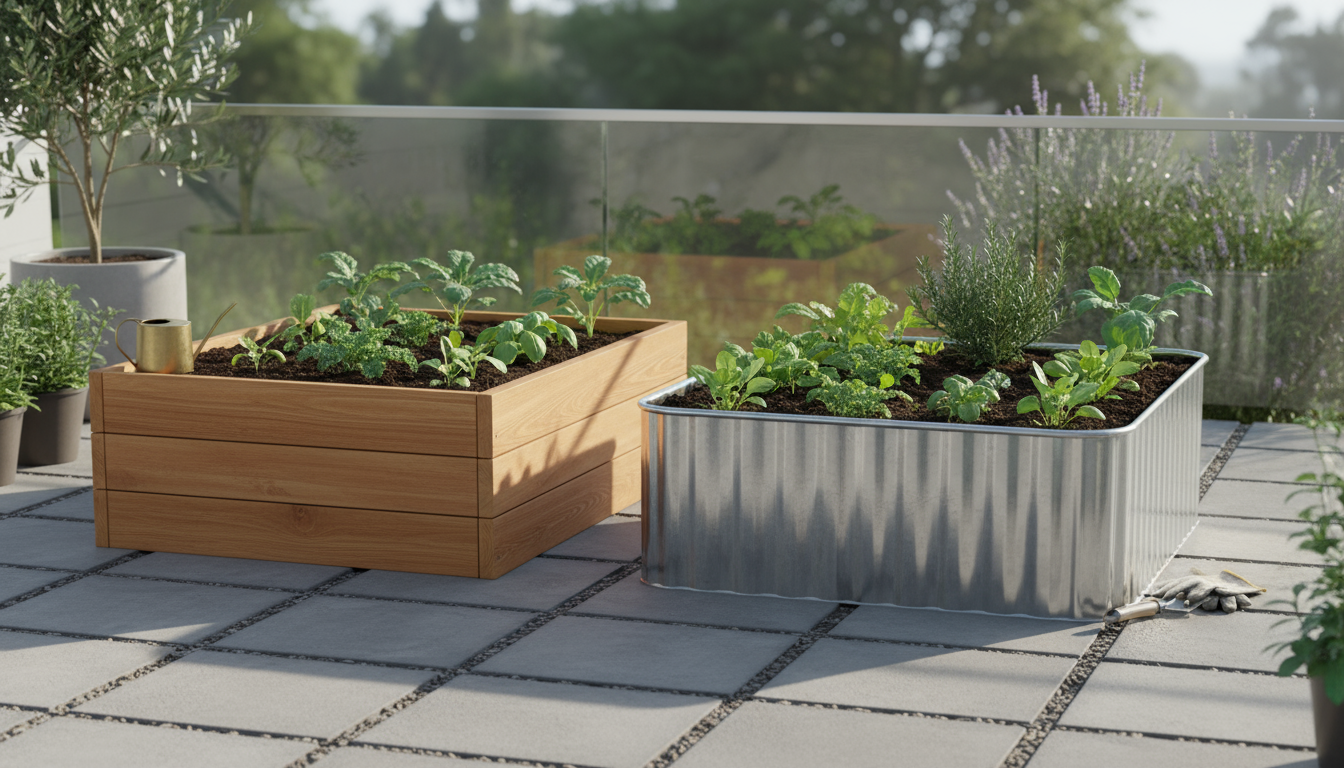
Selecting Your Raised Bed Material
A variety of materials are available for constructing raised beds, each with its own advantages. Your choice depends on your budget, aesthetic preferences, and the desired lifespan of your bed.
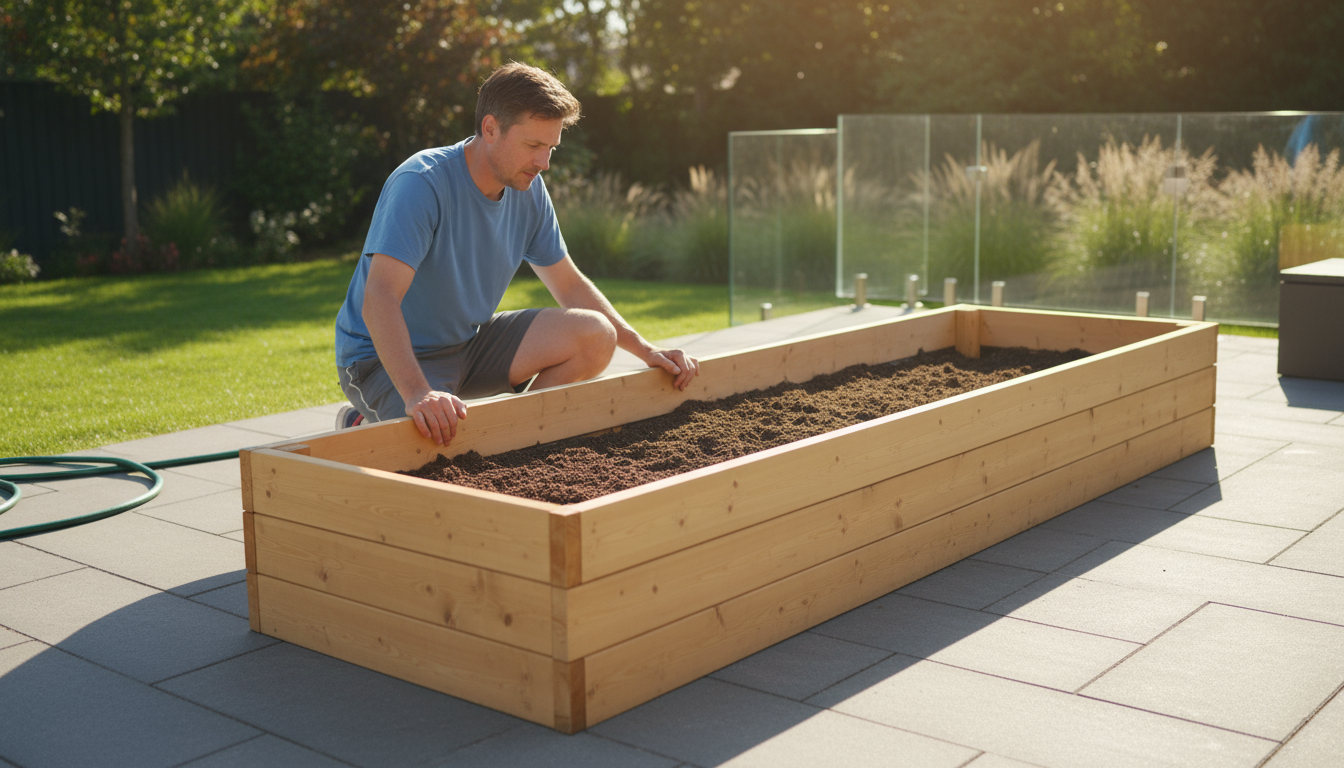
- Untreated Wood: Cedar, redwood, and cypress are naturally rot-resistant and do not leach harmful chemicals into your soil. They are durable and offer a classic, natural look. Pine can also work but will decompose faster unless treated. Always ensure the wood you choose is untreated, especially when growing edibles. Treated lumber contains chemicals designed to prevent rot, which can leach into your garden soil.
- Metal: Galvanized steel or corrugated metal beds offer a sleek, modern aesthetic and exceptional durability. They resist rot and pests. Metal beds can heat up quickly in direct sun, which can sometimes impact soil temperature, but this is usually manageable with proper watering and mulching.
- Stone or Concrete Blocks: These materials provide a very durable and long-lasting raised bed. They are often more labor-intensive to construct initially but require minimal maintenance. They also help retain warmth, which benefits plants during cooler periods.
- Recycled Plastic: Made from post-consumer plastics, these beds offer an environmentally friendly and extremely durable option. They resist rot, pests, and never need painting or sealing.
- Fabric Grow Bags: For the ultimate in flexibility and portability, especially on balconies or patios, large fabric grow bags serve as excellent raised beds. They are lightweight, allow for excellent drainage and air circulation to roots, and fold away for storage. Choose bags that are at least 10-15 gallons for most vegetables.
Determining Bed Dimensions
The ideal dimensions for your small raised bed balance functionality with plant health:
- Width: Keep beds no wider than 4 feet. A 2 to 3-foot width is often more comfortable for reaching the center without straining. This prevents you from stepping into the bed, which compacts the soil and reduces aeration for roots.
- Length: You can make the length as long as your space allows, but consider breaking very long beds into shorter sections (e.g., 6-8 feet) for easier access and management.
- Depth: For most easy-to-grow vegetables, a depth of 6 to 12 inches is sufficient. This depth provides enough room for root development for crops like lettuce, spinach, radishes, bush beans, and even compact tomatoes. If you plan to grow deeper root vegetables like full-sized carrots or potatoes, aim for 12 inches or more. Even shallow beds offer superior drainage and soil quality compared to many in-ground options.

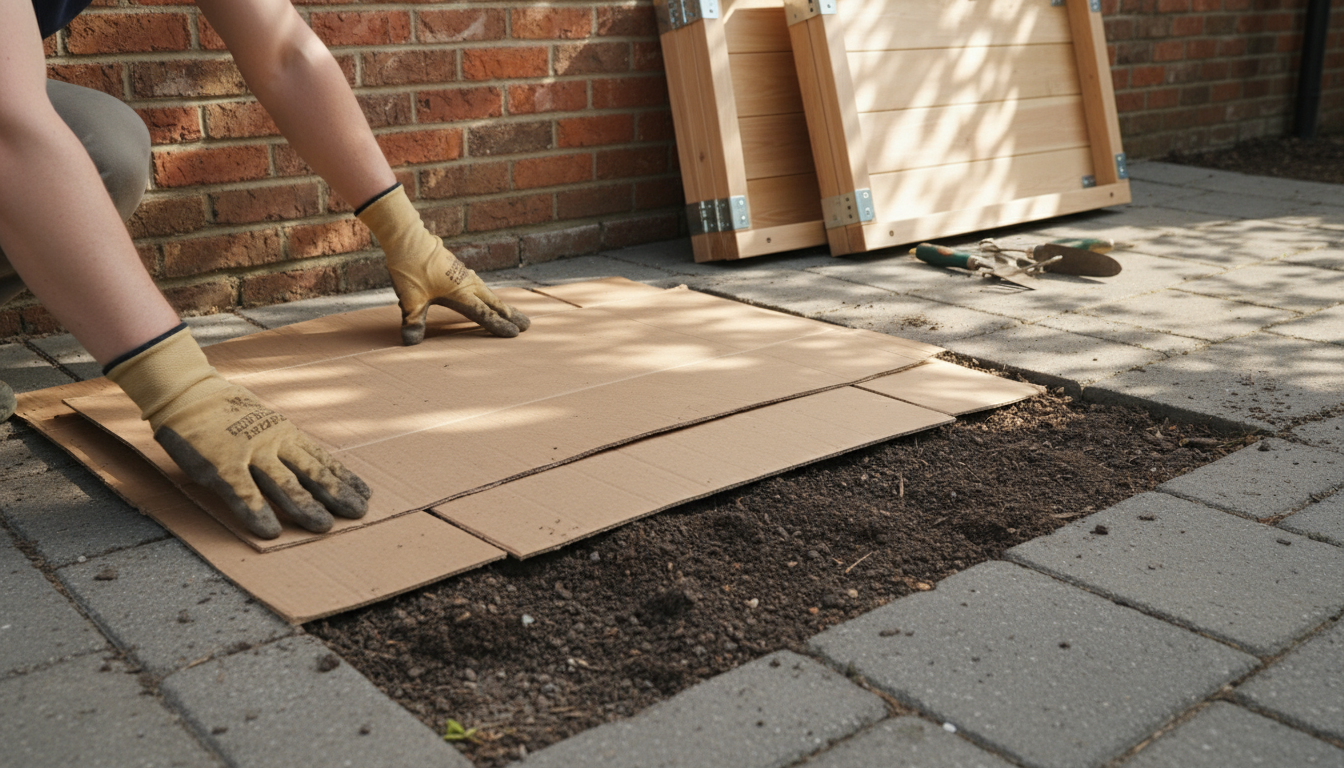
Preparing the Site and Building the Bed
- Clear the Area: Remove any existing weeds, grass, or debris from the footprint of your raised bed. Level the ground as much as possible to ensure your bed sits evenly.
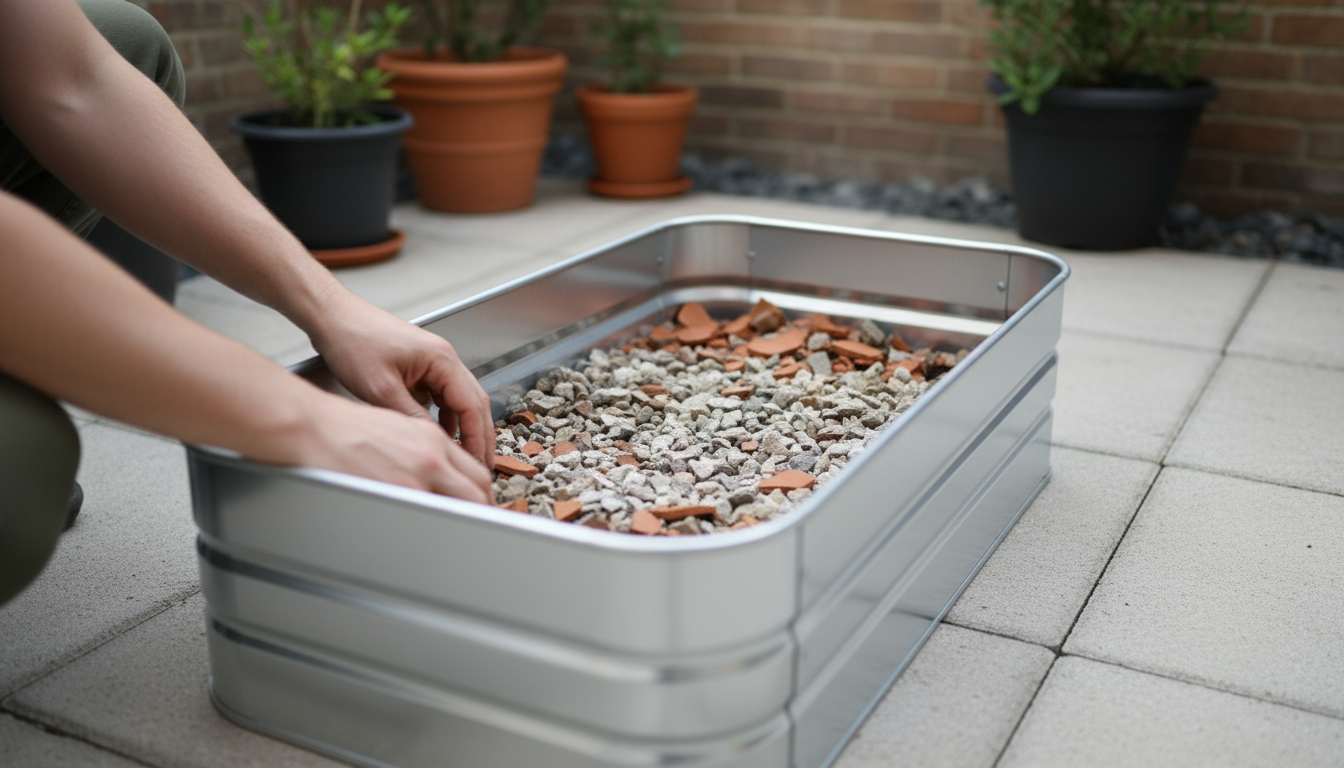
- Install a Weed Barrier: Lay down a layer of cardboard or several layers of newspaper at the bottom of your raised bed. This smothers existing weeds and grass, eventually decomposing and adding organic matter to the soil. Avoid using plastic sheeting, as it can hinder drainage and airflow to the soil.
- Assemble the Bed: Construct your chosen raised bed according to the manufacturer’s instructions or your design. Ensure it is sturdy and level. If your bed has an open bottom, which is common, the cardboard layer acts as your initial weed barrier. For beds with solid bottoms (like some large containers), ensure adequate drainage holes are present and clear.
This preparation sets the stage for healthy plant growth, providing a clean, contained, and well-drained environment for your chosen vegetables.
The Perfect Soil Mix for Raised Beds
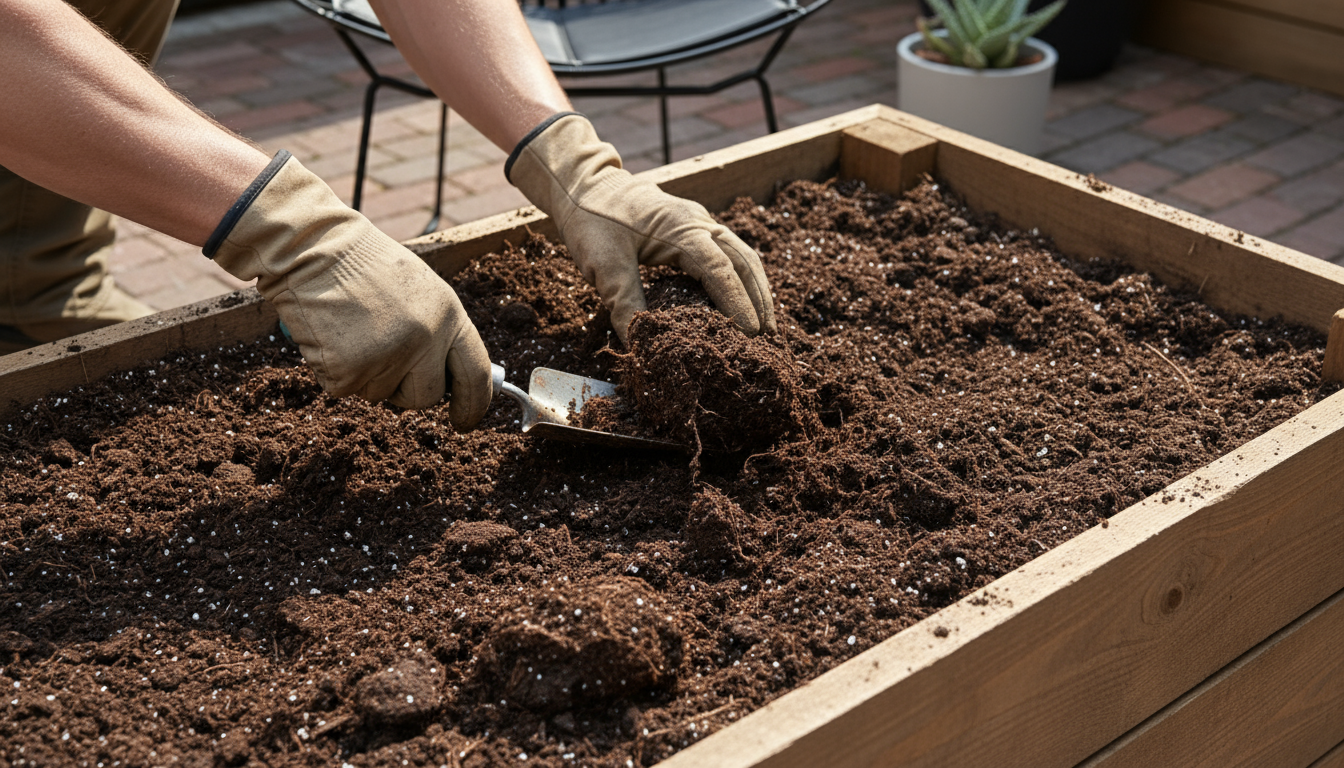
The soil you fill your raised bed with represents the lifeblood of your garden. Unlike traditional in-ground gardens where you might amend existing native soil, raised beds require you to bring in or create a high-quality growing medium from scratch. This gives you complete control over providing your plants with the ideal environment for root development and nutrient uptake.
Why Regular Garden Soil Is Not Enough
You cannot simply shovel soil from your existing yard into a raised bed. Garden soil, especially heavy clay or compacted types, does not perform well in a contained raised bed environment. It compacts easily, drains poorly, and lacks the necessary aeration for robust root growth. The ideal raised bed soil is light, fluffy, well-draining, and rich in organic matter.
Components of an Excellent Raised Bed Mix
A superior soil mix provides a balance of structure, water retention, and nutrition. Here are the key components:
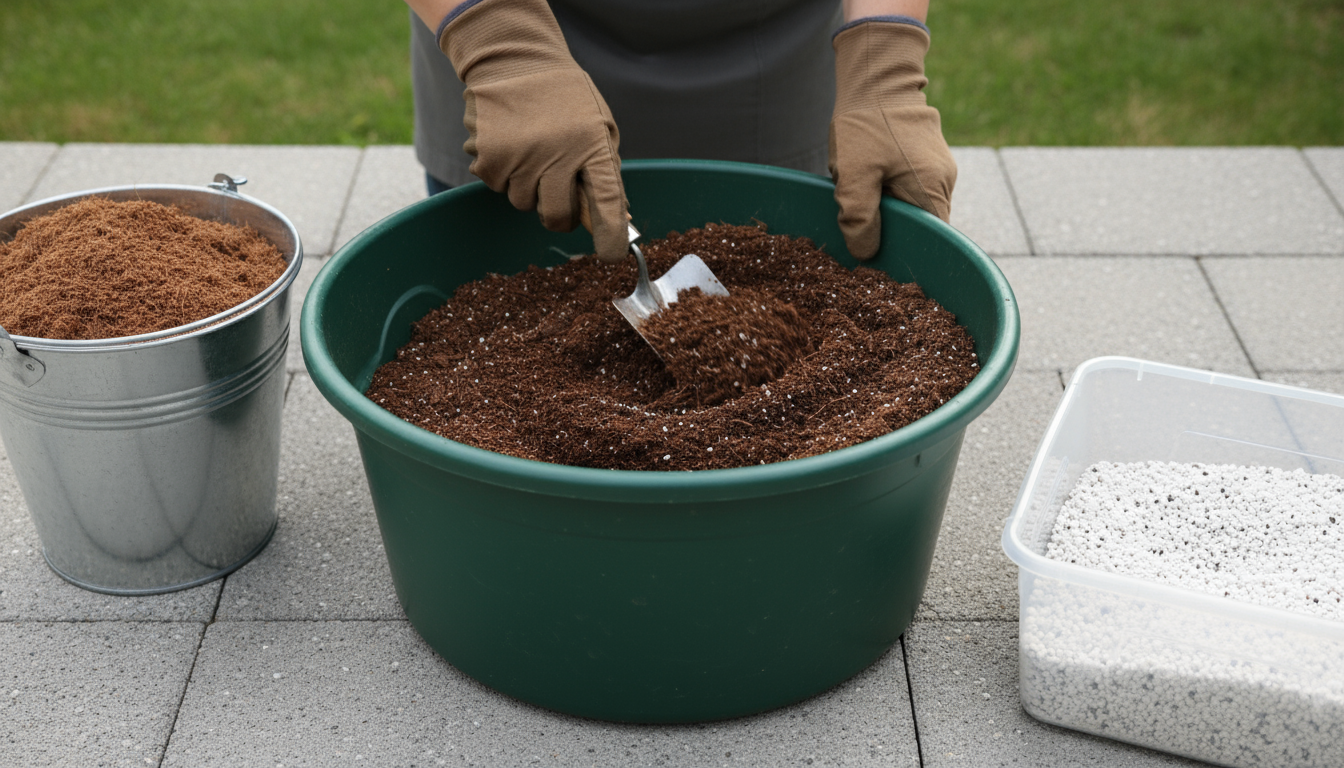
- High-Quality Compost: This forms the cornerstone of your raised bed soil. Compost is decomposed organic matter, teeming with beneficial microbes and essential nutrients. It improves soil structure, aeration, drainage, and water-holding capacity. Use well-rotted compost from a reputable source, or make your own from kitchen scraps and yard waste.
- Peat-Free Growing Mix (Coconut Coir or Aged Pine Bark): These materials add structure, improve drainage, and enhance water retention without using peat moss. Peat moss is harvested from irreplaceable peat bogs, making it a less environmentally friendly choice. Coconut coir, derived from coconut husks, is a sustainable alternative that holds water effectively and provides excellent aeration. Aged pine bark fines also improve drainage and lighten heavy mixes.
- Perlite or Vermiculite: These lightweight, porous minerals are crucial for aeration and drainage. Perlite brightens the mix and prevents compaction, while vermiculite also helps retain moisture and nutrients. Both are excellent choices for ensuring your roots can breathe.
- Organic Amendments (Optional, but Recommended): Once your base mix is established, you can enrich it with specific organic amendments for long-term fertility:
- Worm Castings: A natural, slow-release fertilizer rich in micronutrients and beneficial microbes.
- Bone Meal: Provides phosphorus, beneficial for root development and flowering.
- Kelp Meal: Offers a broad spectrum of micronutrients and plant hormones, boosting overall plant health.
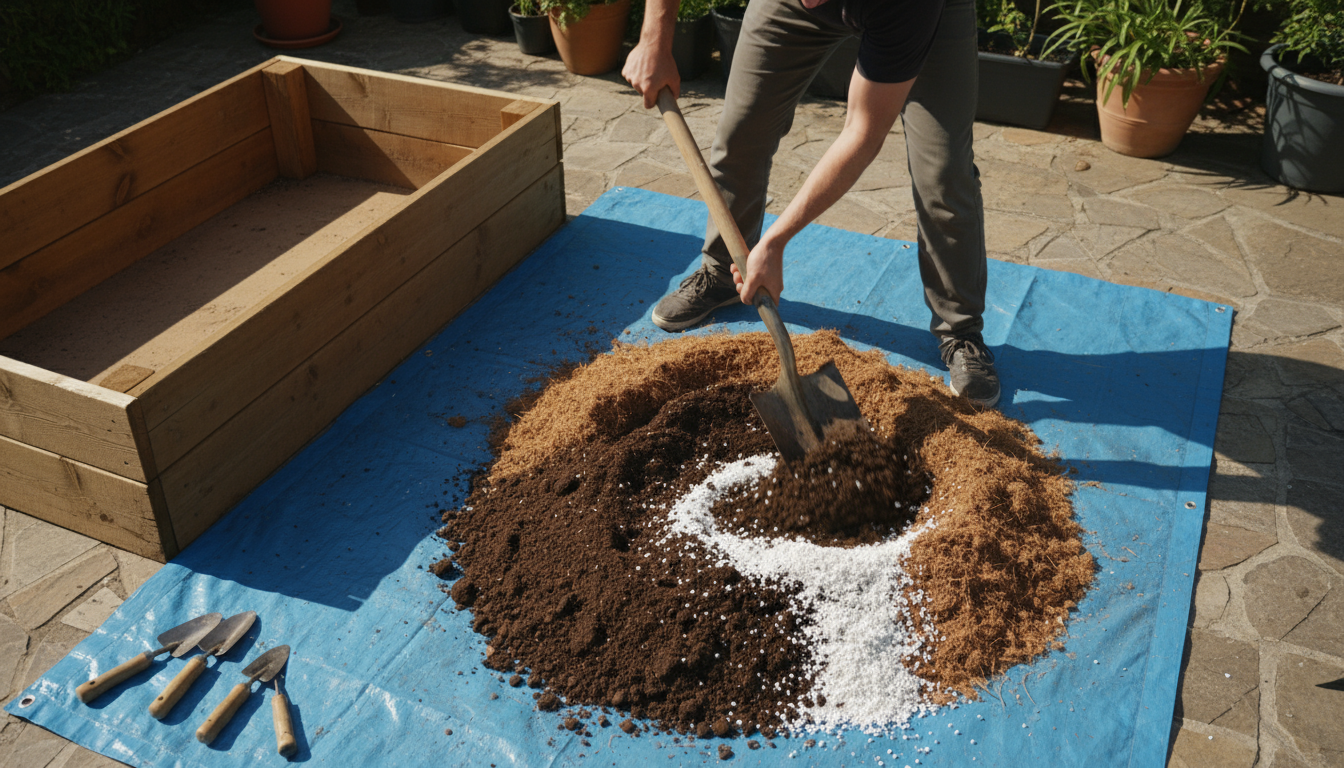
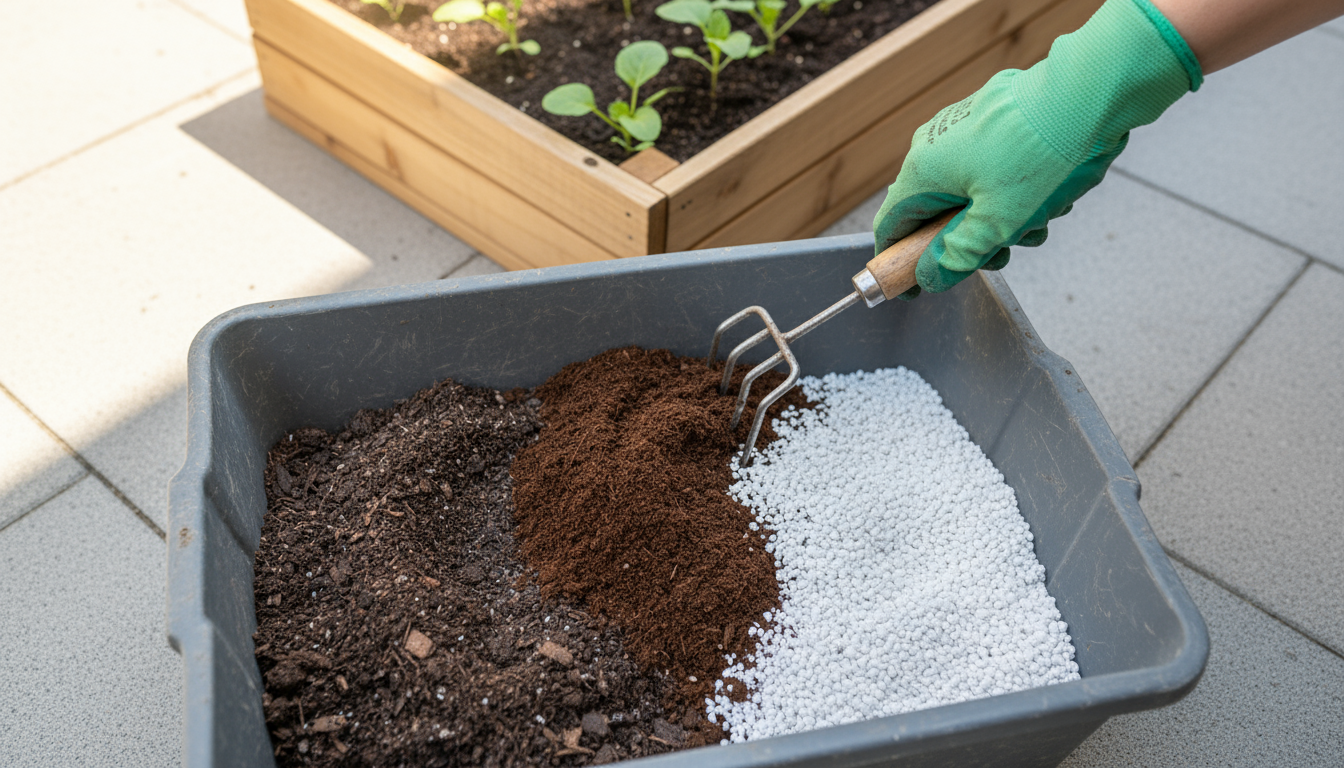
A Recommended Soil Mix Ratio
You can create an excellent and cost-effective raised bed mix by combining these elements. A common and highly effective ratio is:
- 50% High-Quality Compost: This provides the bulk of the nutrients and beneficial biology.
- 30% Peat-Free Growing Mix (Coconut Coir or Aged Pine Bark): This adds structure and improves water holding and drainage.
- 20% Perlite or Vermiculite: Ensures excellent aeration and prevents compaction.
Mix these components thoroughly before adding them to your raised bed. You can purchase these ingredients in bulk from local garden centers or soil suppliers, which often proves more economical than buying numerous bags of pre-mixed potting soil.
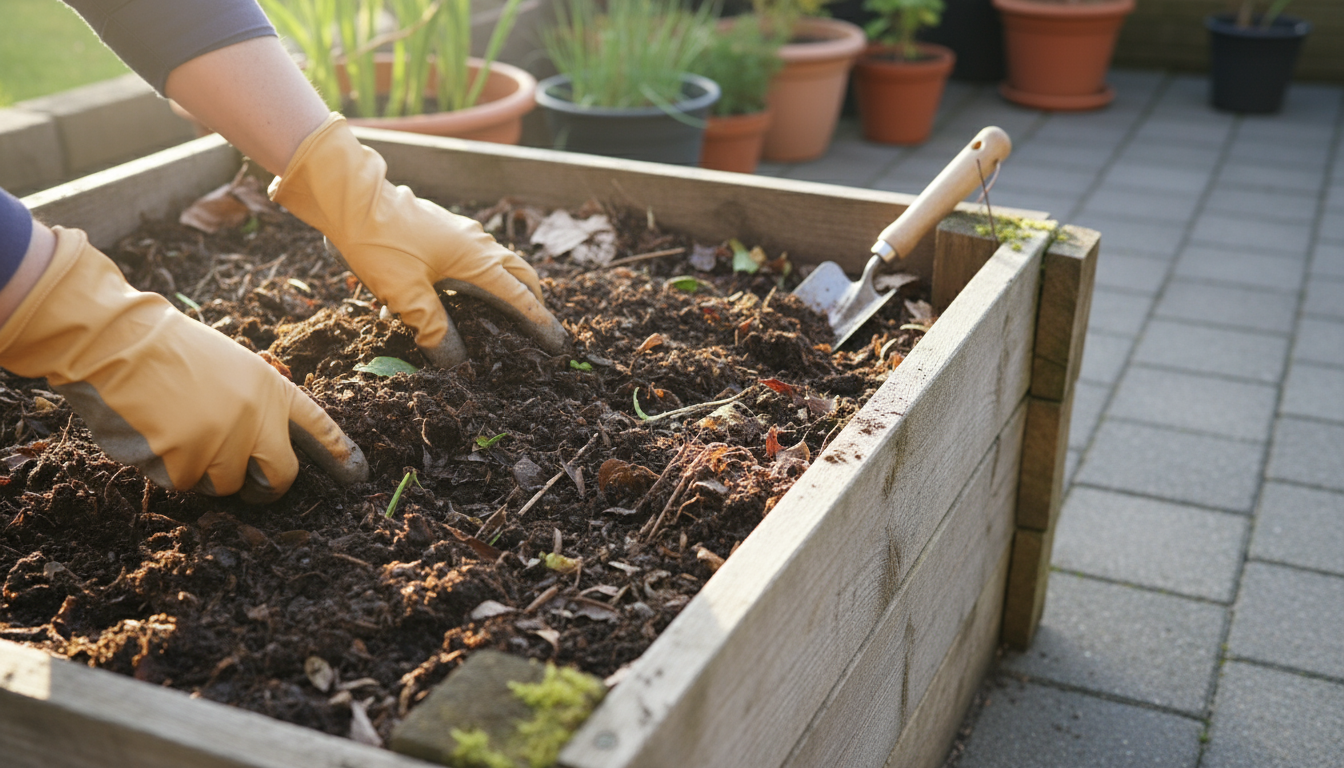
Reusing and Refreshing Your Raised Bed Soil
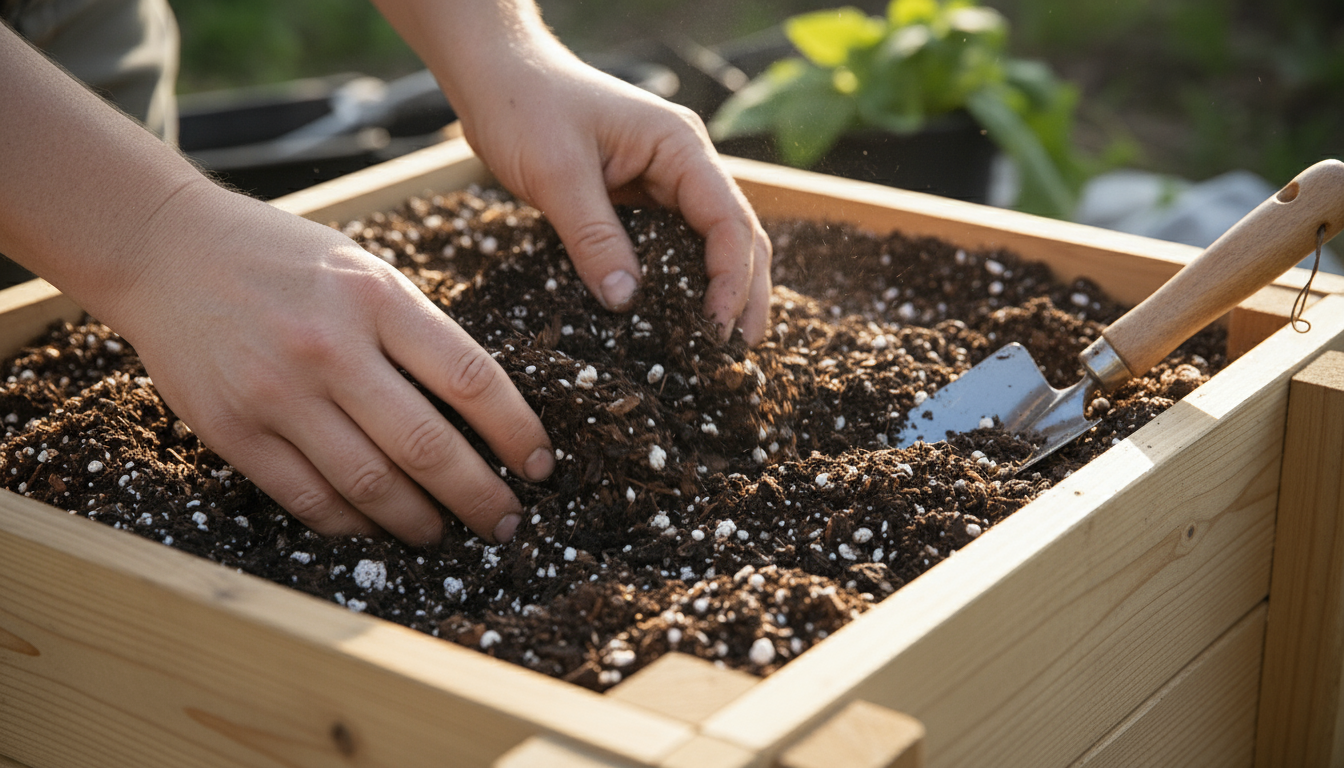
One of the beauties of a raised bed is that you don’t need to completely replace the soil every year. Instead, you replenish its nutrients and refresh its structure:
- Annual Top-Dressing: Each spring, before planting, add a fresh 2-4 inch layer of high-quality compost to the top of your bed. Gently work it into the top few inches of the existing soil. This replenishes nutrients, improves structure, and encourages microbial activity.
- Mid-Season Boost: For heavy feeders or long-season crops, a mid-season application of compost or a balanced organic granular fertilizer provides additional nutrients.
- Crop Rotation: Even in a small raised bed, practicing some form of crop rotation helps prevent nutrient depletion and disease buildup. Avoid planting the same type of crop (e.g., tomatoes) in the exact same spot year after year.
By investing in good soil from the start and maintaining it with annual additions of compost, you ensure your raised bed remains a fertile and productive environment for many years of abundant harvests.
Mastering Sun, Water, and Nutrients
Once your raised bed is in place and filled with rich soil, mastering the essentials of sun, water, and nutrient delivery ensures your easy crops not only survive but truly flourish. These three elements form the core rhythm of successful plant care.
Harnessing the Sun’s Power
As discussed during planning, most edible plants demand ample sunlight. Continually observe how light hits your garden throughout the day and as seasons change. If you notice plants struggling in a spot that previously received enough sun, re-evaluate potential new obstructions or seasonal shifts. Remember, more sun generally translates to more robust growth and higher yields for vegetables.
Efficient Watering Practices
Raised beds, due to their elevated nature and well-draining soil, tend to dry out faster than in-ground gardens. Proper watering is crucial for preventing plant stress and ensuring nutrient uptake.
- Deep and Infrequent: Water deeply rather than frequently. This encourages roots to grow deeper, making plants more resilient to dry spells. Aim to moisten the soil to the full depth of your raised bed with each watering.
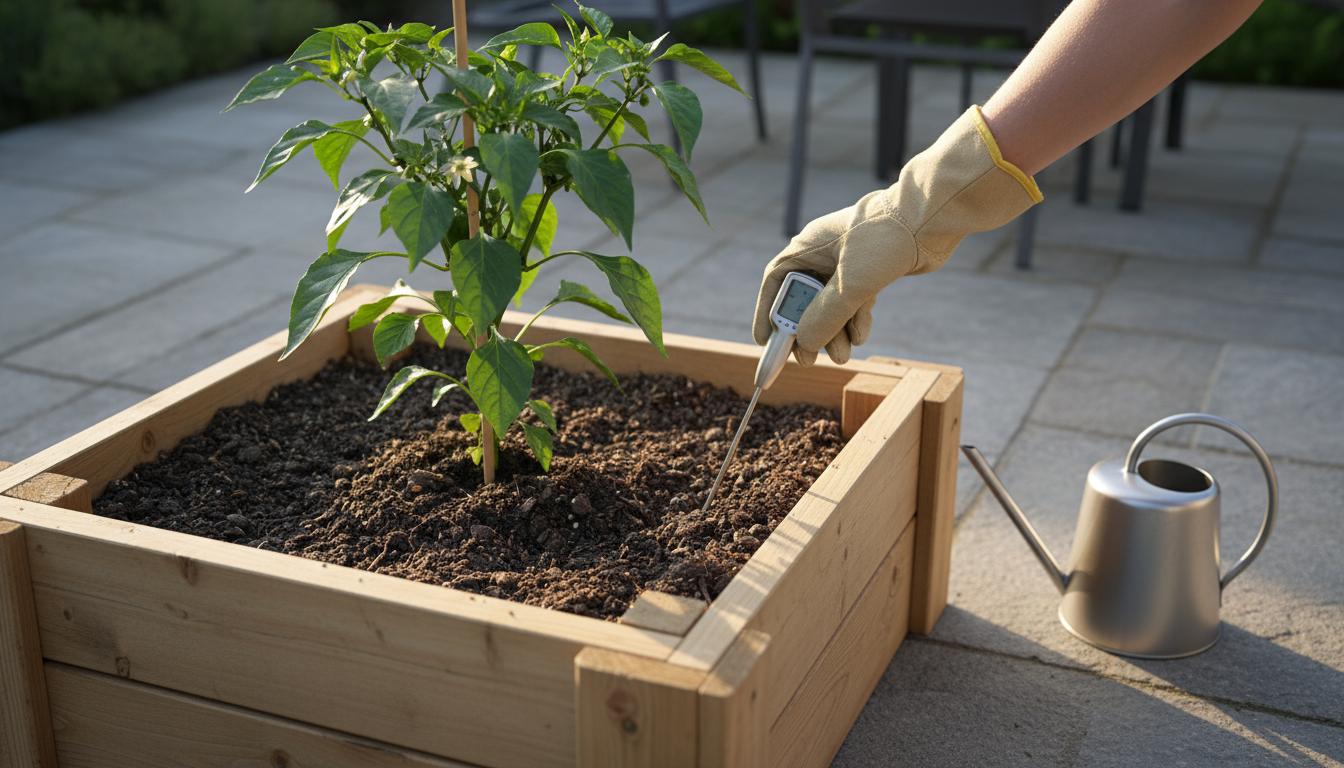
- Check Soil Moisture: Do not water on a fixed schedule. Instead, check the soil moisture. Stick your finger about two inches into the soil. If it feels dry at that depth, it is time to water. A simple moisture meter also provides an accurate reading.
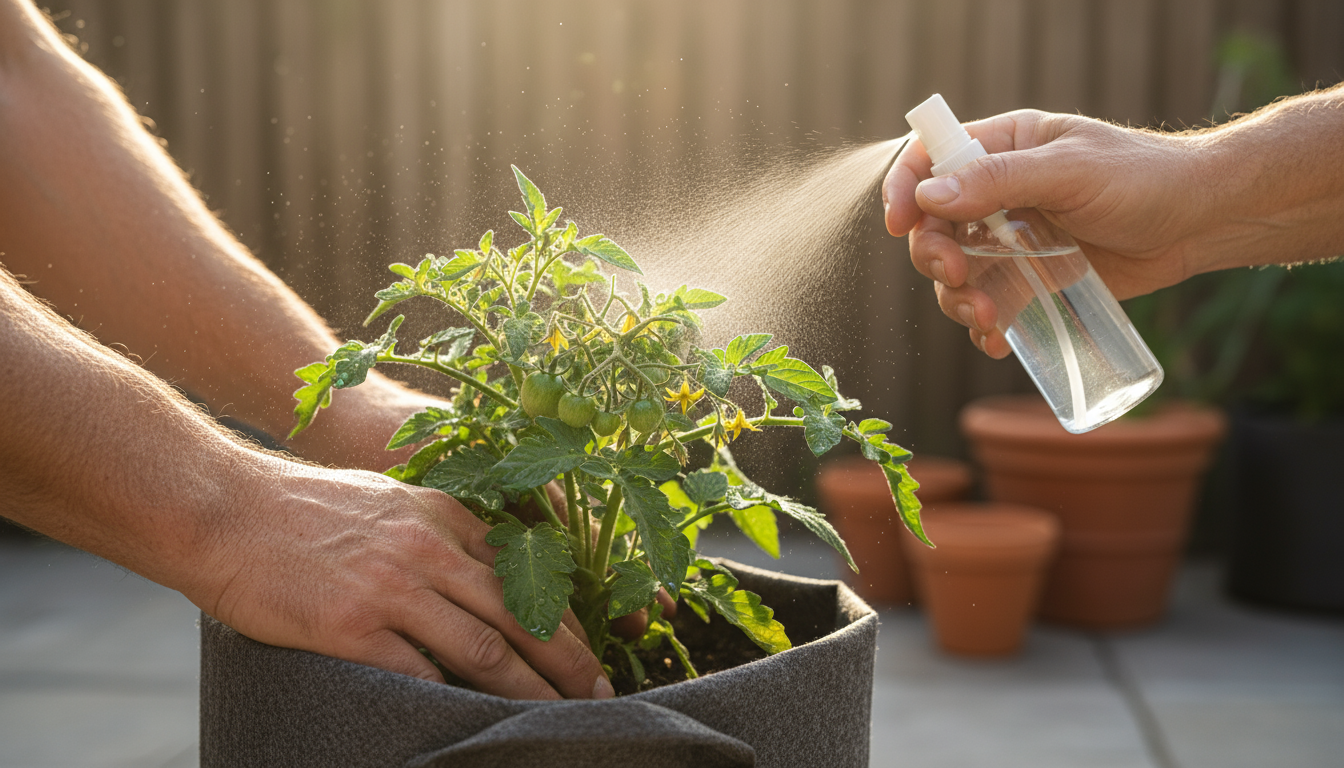
- Water at the Base: Direct water to the base of your plants, soaking the soil directly. Avoid overhead watering, especially on foliage, as wet leaves can promote fungal diseases, particularly in humid conditions.
- Early Morning Watering: The best time to water is in the early morning. This allows the water to penetrate before the sun gets too hot, minimizing evaporation, and gives any splashed foliage time to dry during the day.
- Watering Systems for Efficiency: Consider a soaker hose or drip irrigation system for consistent and efficient watering. These systems deliver water directly to the root zone, reducing waste and minimizing effort. For container-style raised beds, self-watering systems with a reservoir can be incredibly effective at maintaining consistent moisture.
Insufficient watering causes wilting and bolting (premature flowering) in greens, and blossom end rot in tomatoes and peppers. Overwatering leads to root rot and nutrient leaching.
Nourishing Your Plants: The Nutrient Rhythm
Even with excellent initial soil, your plants will consume nutrients as they grow and produce. Replenishing these nutrients is vital for continuous vigor and yield.
- Start with Rich Soil: As covered, a good base of compost-rich soil provides initial nutrients. This is your foundation.
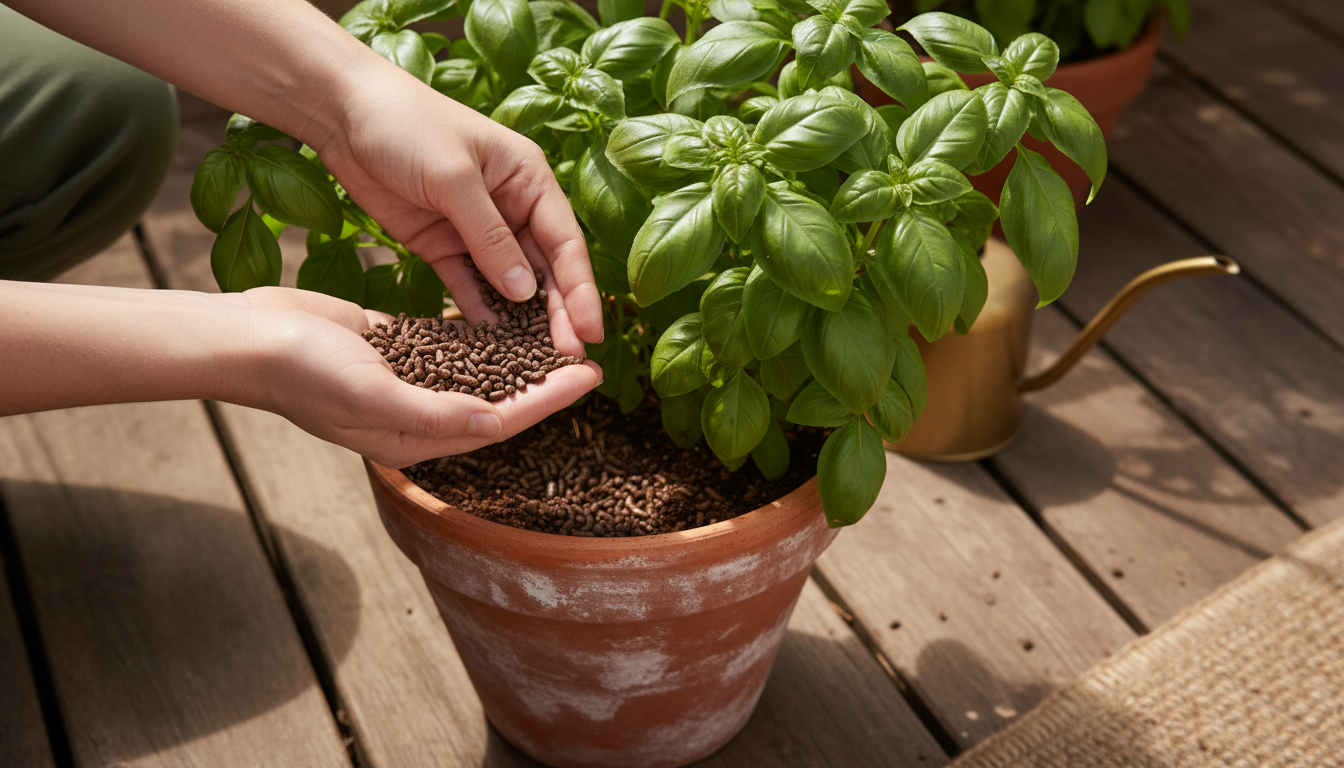
- Organic Fertilizers: For small raised beds, organic granular or liquid fertilizers are ideal. Granular options typically offer slow-release nutrients, while liquid feeds provide a quicker boost. Look for fertilizers specifically labeled for vegetables or all-purpose organic gardening.
- Understanding NPK: Fertilizer labels display three numbers, representing the percentage by weight of Nitrogen (N), Phosphorus (P), and Potassium (K).
- Nitrogen (N): Promotes leafy green growth. Essential for crops like lettuce, spinach, and kale.
- Phosphorus (P): Supports root development, flowering, and fruiting. Important for tomatoes, peppers, and beans.
- Potassium (K): Contributes to overall plant health, disease resistance, and fruit quality.
A “balanced” fertilizer has similar numbers (e.g., 5-5-5 or 4-6-2).
- Fertilization Cadence:
- Pre-Planting: Incorporate a balanced organic granular fertilizer into your soil mix or as a top-dressing when you first prepare the bed.
- Mid-Season Boost: For most vegetables, especially heavy feeders like tomatoes, peppers, and cucumbers, apply a second dose of granular fertilizer or a liquid feed (like fish emulsion or compost tea) when plants begin to flower or set fruit. Follow package directions for application rates.
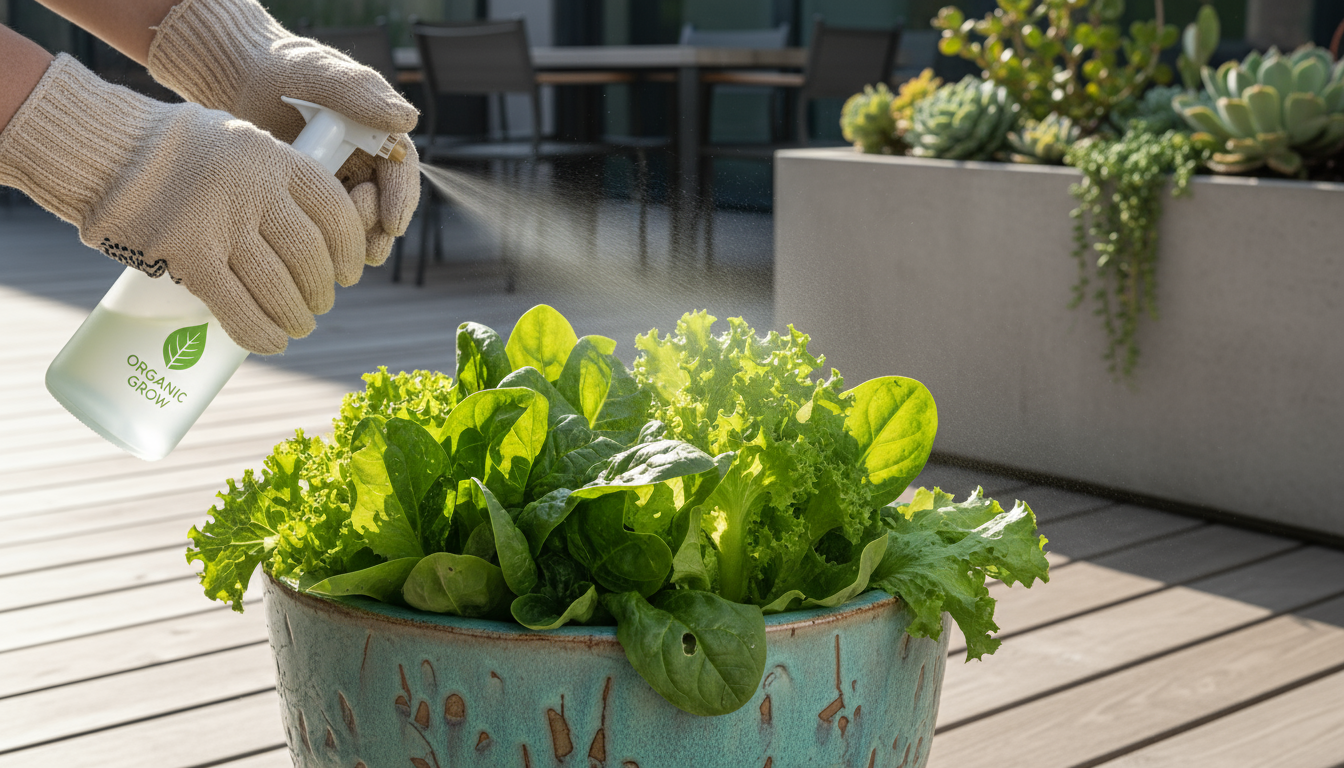
- Foliar Feeding: Liquid fertilizers or compost tea can also be applied directly to plant leaves (foliar feeding) for a quick nutrient boost, especially during periods of stress.
- Compost Tea: A fantastic organic option, compost tea is made by steeping compost in water, creating a nutrient-rich liquid that you can use to water plants or apply as a foliar spray. It boosts plant health and feeds beneficial soil microbes.
By maintaining a consistent rhythm of appropriate sun exposure, efficient watering, and timely nutrient replenishment, you empower your plants to reach their full potential, guaranteeing a bountiful harvest from your small raised bed.
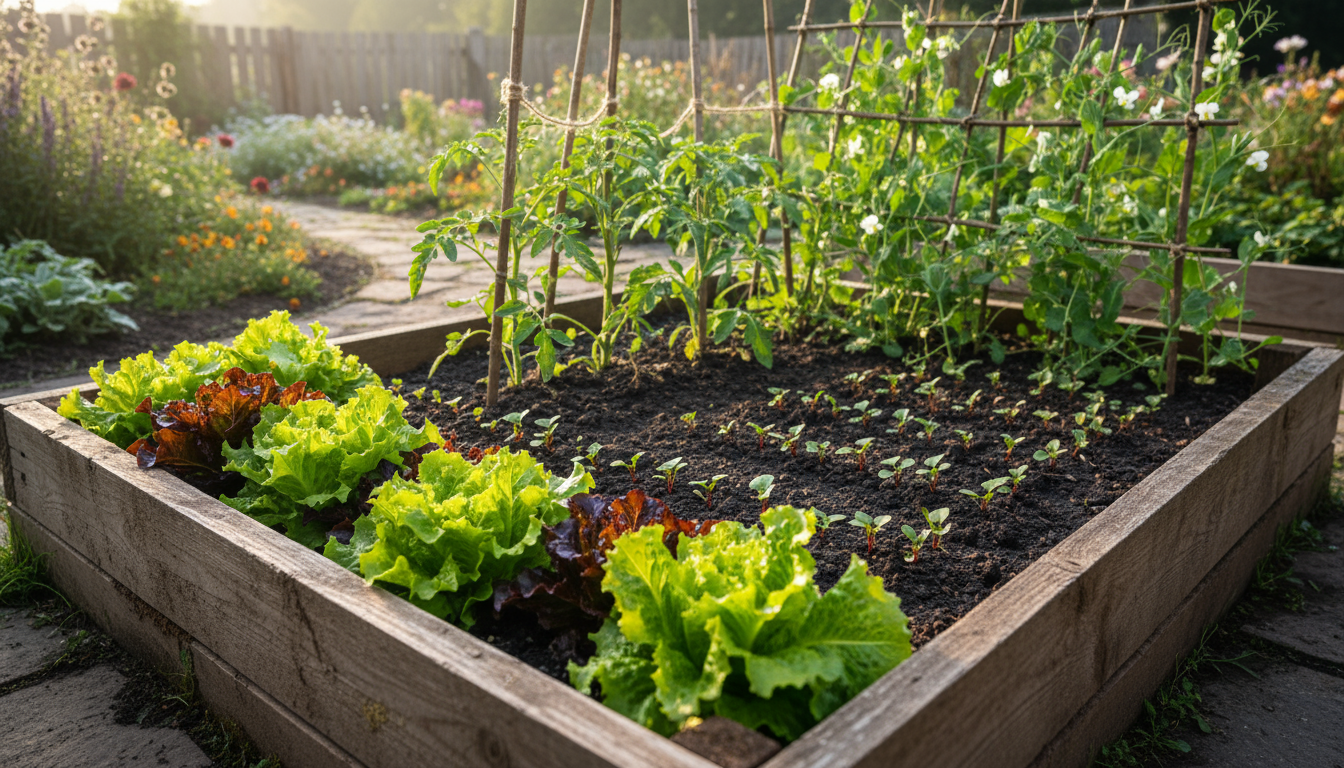
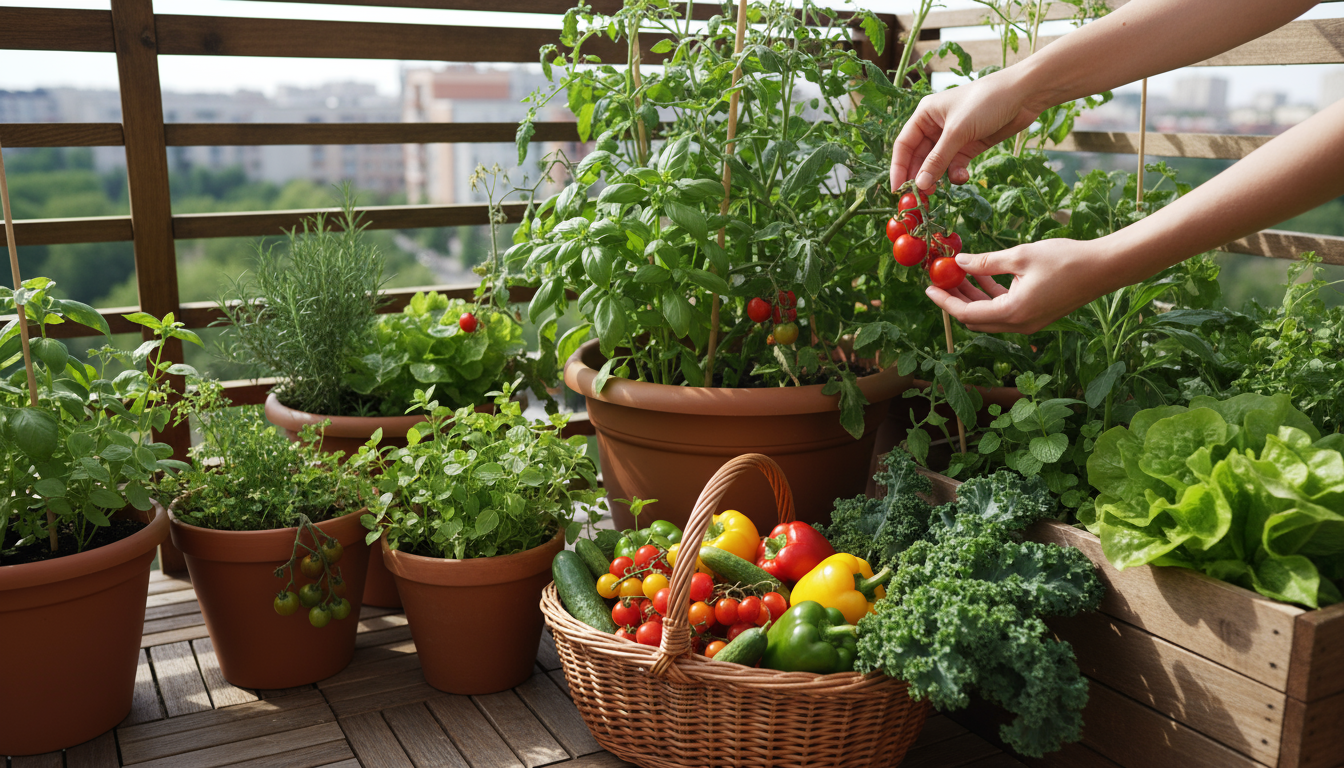
Top Easy Vegetables for Beginner Raised Bed Gardeners
Choosing the right vegetables forms the cornerstone of a successful beginner garden, especially in a raised bed where space is a valuable commodity. This section highlights the easiest crops that thrive in small raised beds, offering high yields with minimal fuss. Focus on varieties known for their compact growth habits or “cut-and-come-again” harvesting, which maximizes your bed’s productivity.

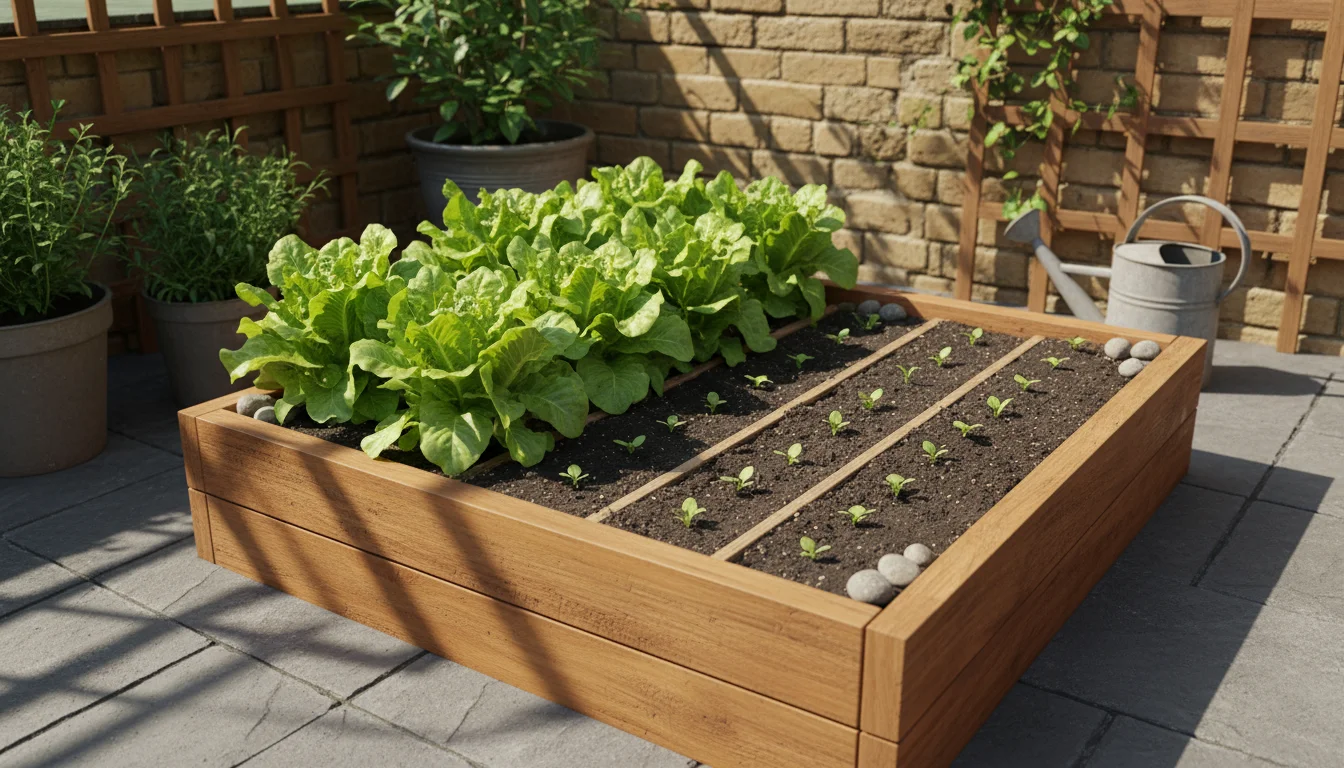
1. Salad Greens: Lettuce, Spinach, Arugula, and Mesclun
Salad greens are the quintessential easy crop for raised beds. They grow quickly, tolerate partial shade, and offer a continuous harvest through the “cut-and-come-again” method, where you harvest outer leaves and allow the plant to produce more.
- Why they are easy: Fast-growing, shallow root systems, tolerant of cooler temperatures, and require minimal intervention.
- Planting: Sow seeds directly in the bed every 2-3 weeks for a continuous supply. Plant about 1/2 inch deep.
- Spacing: Plant densely, about 4-6 inches apart for head lettuce, or even closer for loose-leaf and cut-and-come-again varieties (e.g., 9-16 plants per square foot).
- Care: Keep soil consistently moist. Provide some afternoon shade in hot climates to prevent bolting (going to seed prematurely).
- Harvest: Begin harvesting outer leaves when plants reach a few inches tall.
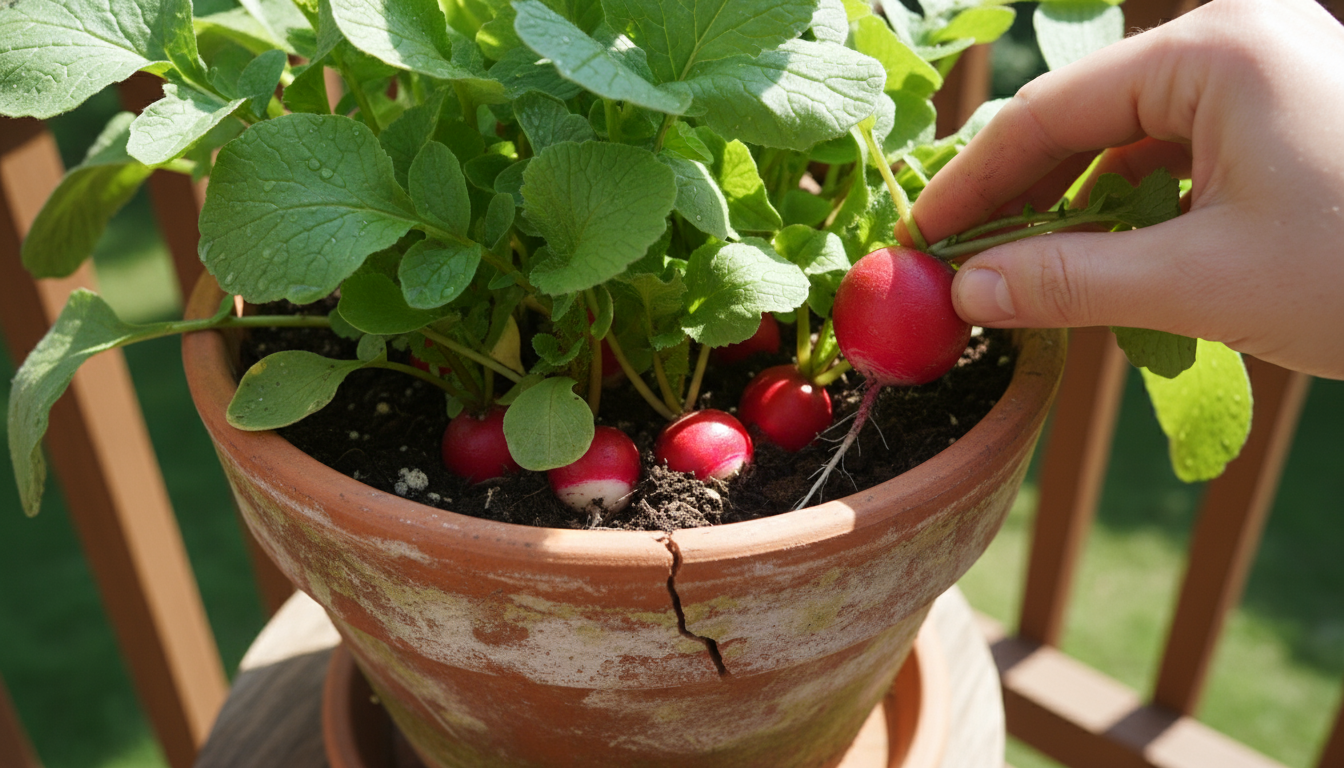
2. Radishes
Radishes represent the ultimate quick gratification crop, maturing from seed to harvest in as little as three to four weeks. They are ideal for filling small gaps or planting between slower-growing crops.
- Why they are easy: Extremely fast, compact, and tolerant of various conditions.
- Planting: Sow seeds directly 1/2 inch deep, 1 inch apart, in rows or grids.
- Spacing: Plant 16-25 radishes per square foot.
- Care: Keep soil consistently moist to prevent them from becoming woody or overly spicy.
- Harvest: Pull when the root reaches desired size, usually visible just above the soil line.
3. Bush Beans (Snap Beans)
Bush beans are highly productive, self-supporting, and add nitrogen to your soil, benefiting neighboring plants. Unlike pole beans, bush varieties do not require trellising, making them perfect for small raised beds.
- Why they are easy: Vigorous, self-pollinating, and nitrogen-fixing (improves soil fertility).
- Planting: Sow seeds directly 1 inch deep, 3-4 inches apart, after all danger of frost passes and soil warms.
- Spacing: Plant 9-12 plants per square foot.
- Care: Provide consistent moisture, especially during flowering and pod development.
- Harvest: Pick pods regularly when young and tender to encourage more production.
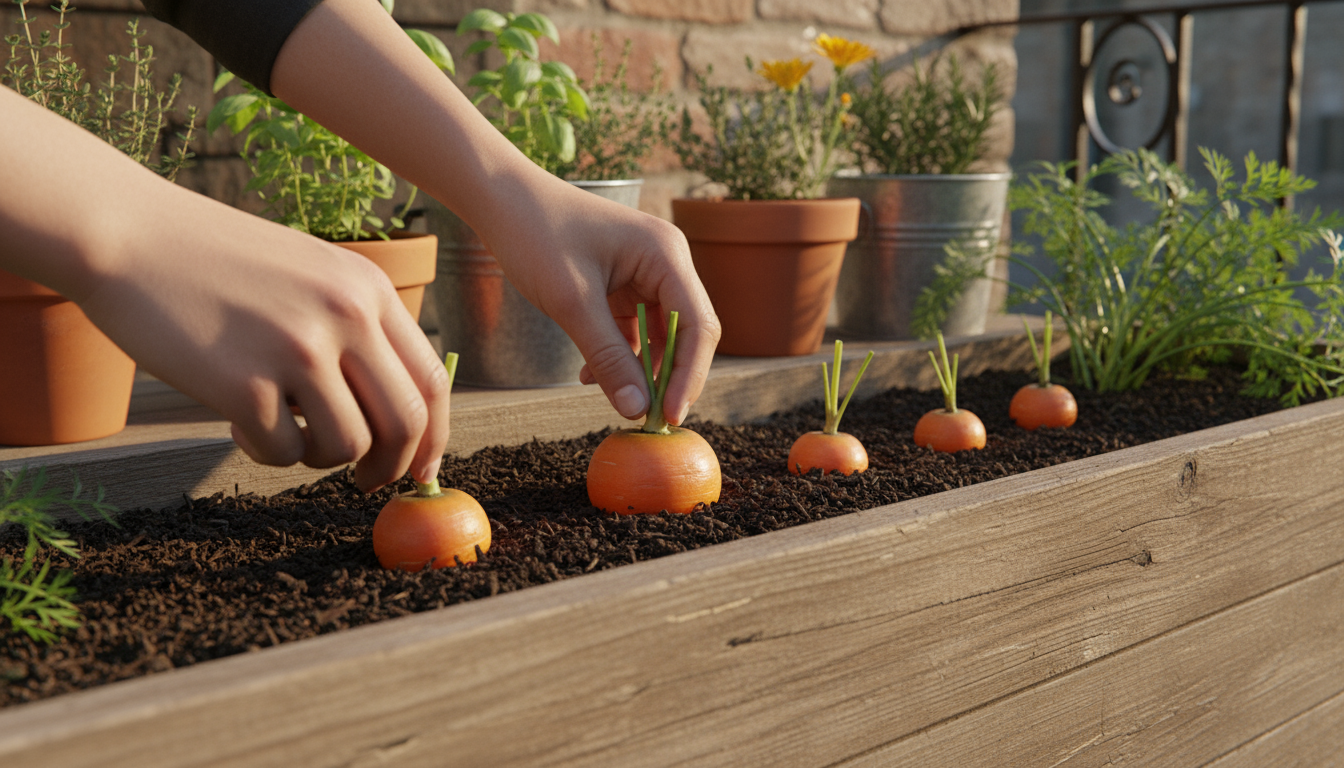
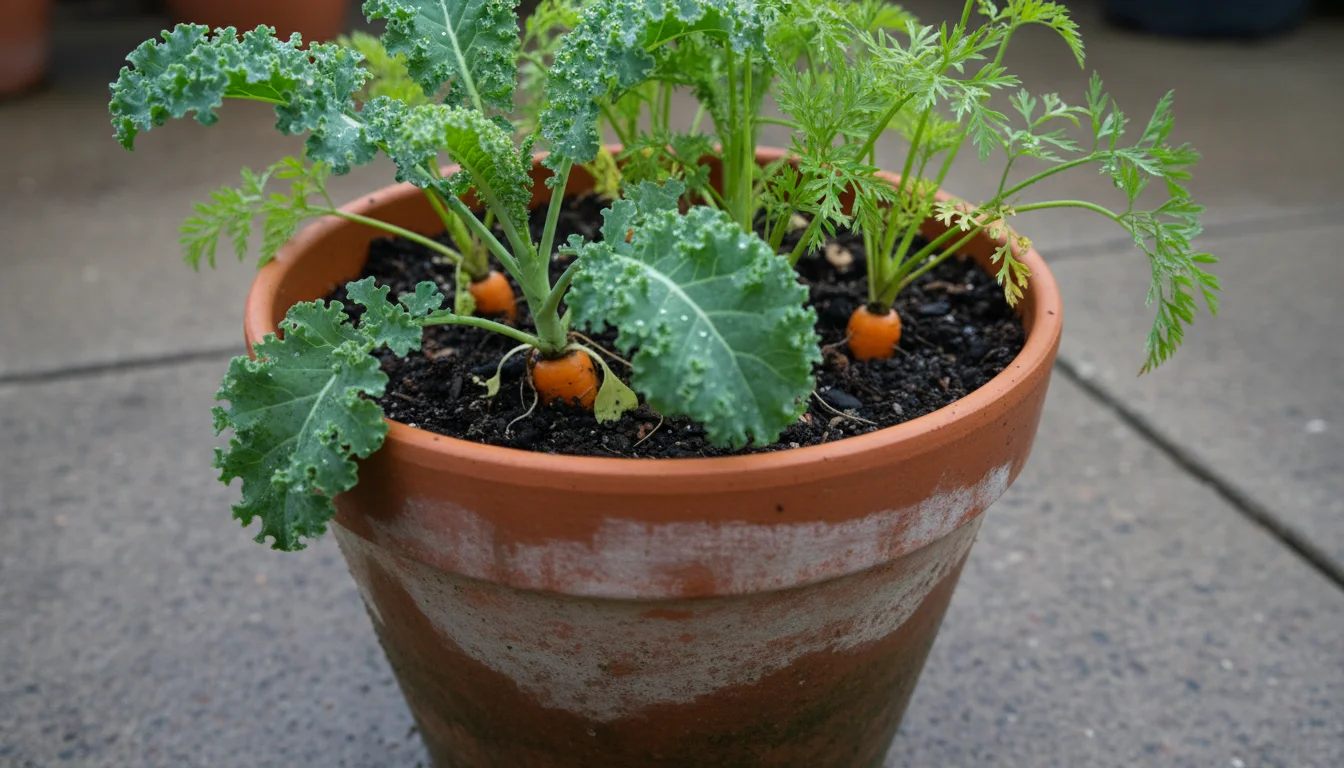
4. Carrots (Short and Round Varieties)
While traditional long carrots can be challenging in shallower beds, specific “short” or “round” varieties like ‘Paris Market’ or ‘Danvers Half Long’ thrive in raised beds 6-8 inches deep, provided the soil is loose and free of obstructions.
- Why they are easy: Relatively low maintenance once established; good for succession planting.
- Planting: Sow seeds directly, thinly spaced, 1/4 inch deep. Gently pat the soil. Keep the seedbed consistently moist until germination, which can take up to two weeks.
- Spacing: Plant 16 carrots per square foot. Thin seedlings to 2-3 inches apart.
- Care: Maintain consistent moisture. Do not let the soil dry out, which can cause cracking or bitterness.
- Harvest: Harvest when the tops of the carrots show color and reach desired size.
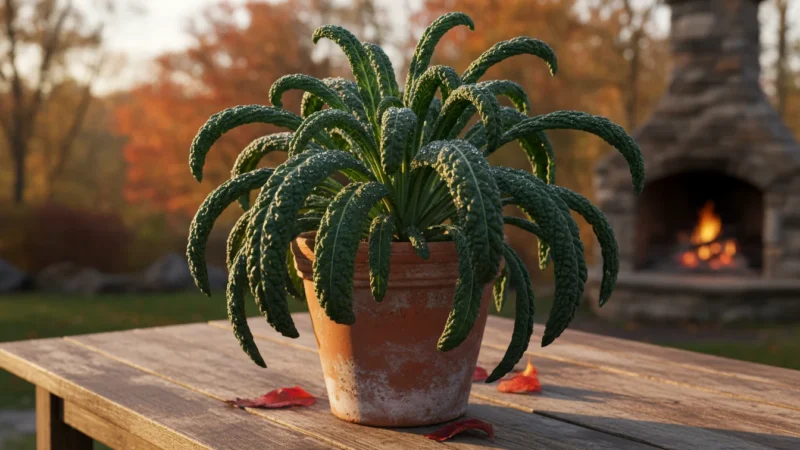
5. Swiss Chard and Kale
These leafy greens are incredibly resilient, beautiful, and offer a continuous harvest. They tolerate a wider range of temperatures than lettuce and continue producing for months, even into light frosts.
- Why they are easy: Tolerant of heat and cold, productive, and ornamental.
- Planting: Sow seeds 1/2 inch deep, or transplant seedlings.
- Spacing: Plant 1-2 plants per square foot for large mature plants, or closer for smaller, continuous harvests.
- Care: Consistent moisture. Fertilize with a nitrogen-rich organic feed every 4-6 weeks for continuous production.
- Harvest: Use the cut-and-come-again method, harvesting outer leaves when they reach desirable size.
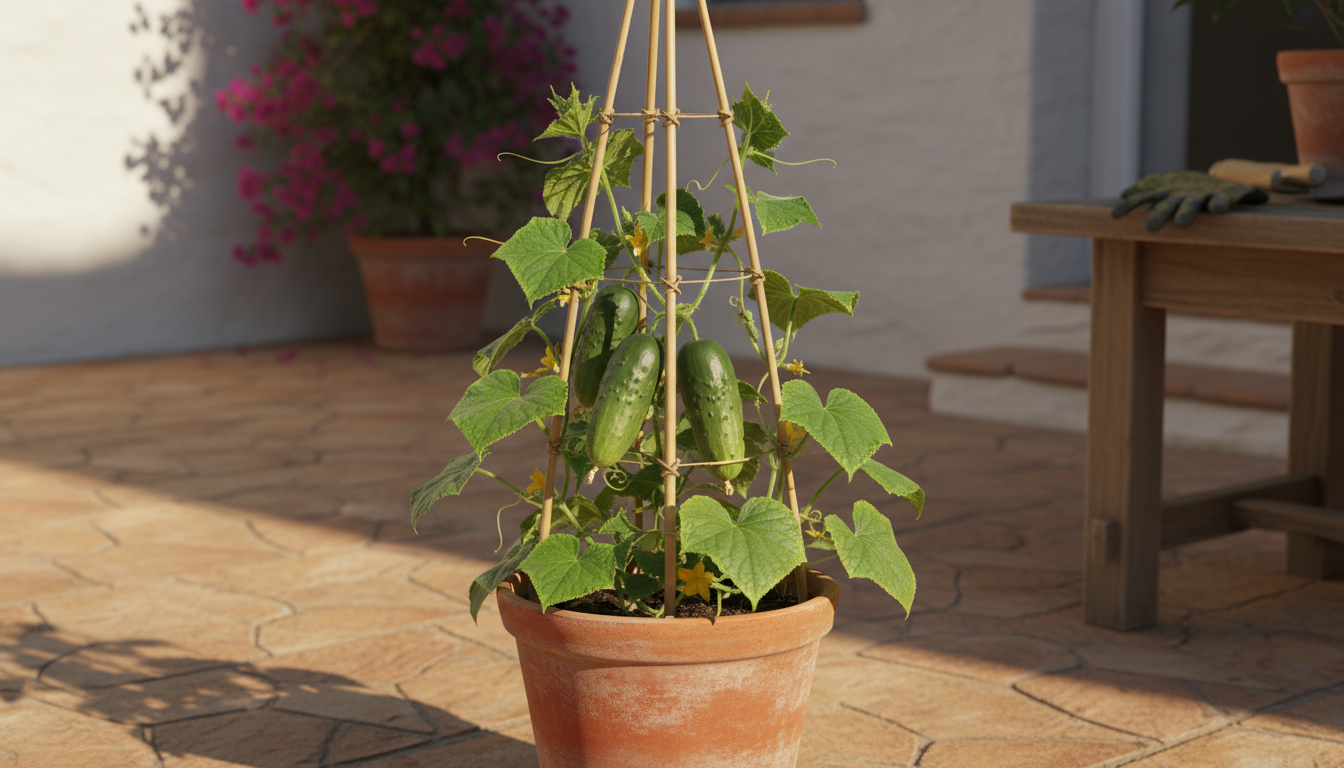
6. Bush Cucumbers (Compact Varieties)
Traditional cucumber vines can quickly overwhelm a small space, but compact bush varieties or those bred for containers perform wonderfully in raised beds, often with minimal trellising needed, or easily managed vertical support.
- Why they are easy: Prolific producers, excellent for fresh eating.
- Planting: Sow seeds directly 1 inch deep after the last frost, or transplant seedlings.
- Spacing: Plant 1-2 bush cucumber plants per square foot, providing a compact cage or small trellis for support.
- Care: Provide consistent and ample water, especially during fruit development. Fertilize with a balanced organic feed when flowering begins.
- Harvest: Pick cucumbers regularly when they reach desired size to encourage more fruit.
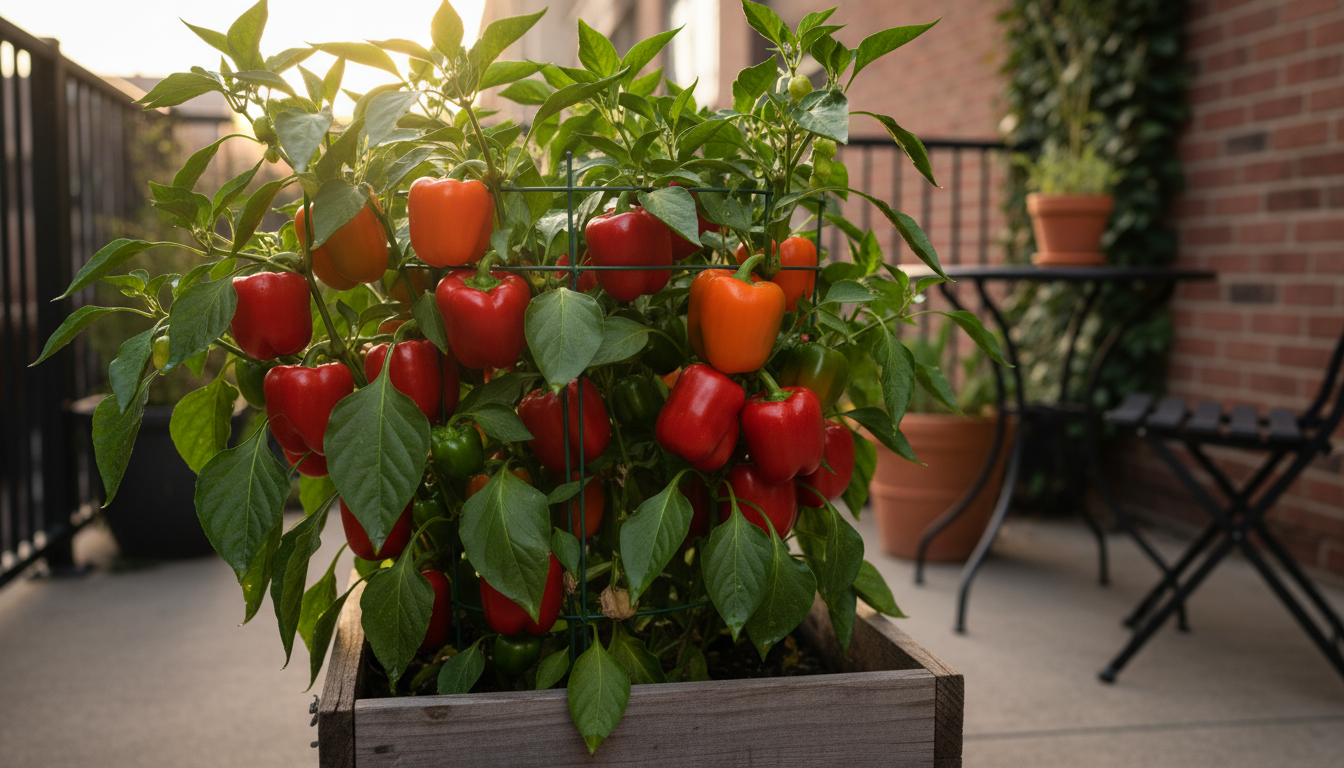
7. Peppers (Bell and Chili)
Peppers are heat-loving and productive plants that remain relatively compact, making them excellent choices for raised beds. They are less prone to disease than tomatoes and offer a long harvest season.
- Why they are easy: Relatively compact, long harvest season, few serious pest issues.
- Planting: Start with healthy transplants after all danger of frost has passed and soil temperatures consistently stay above 60°F (15°C).
- Spacing: Plant 1 pepper plant per square foot, providing light staking or a small cage for support as fruits develop.
- Care: Consistent watering and full sun. Fertilize with a balanced organic feed during flowering and fruiting.
- Harvest: Pick peppers when they reach their desired size and color. Regular harvesting encourages more fruit production.
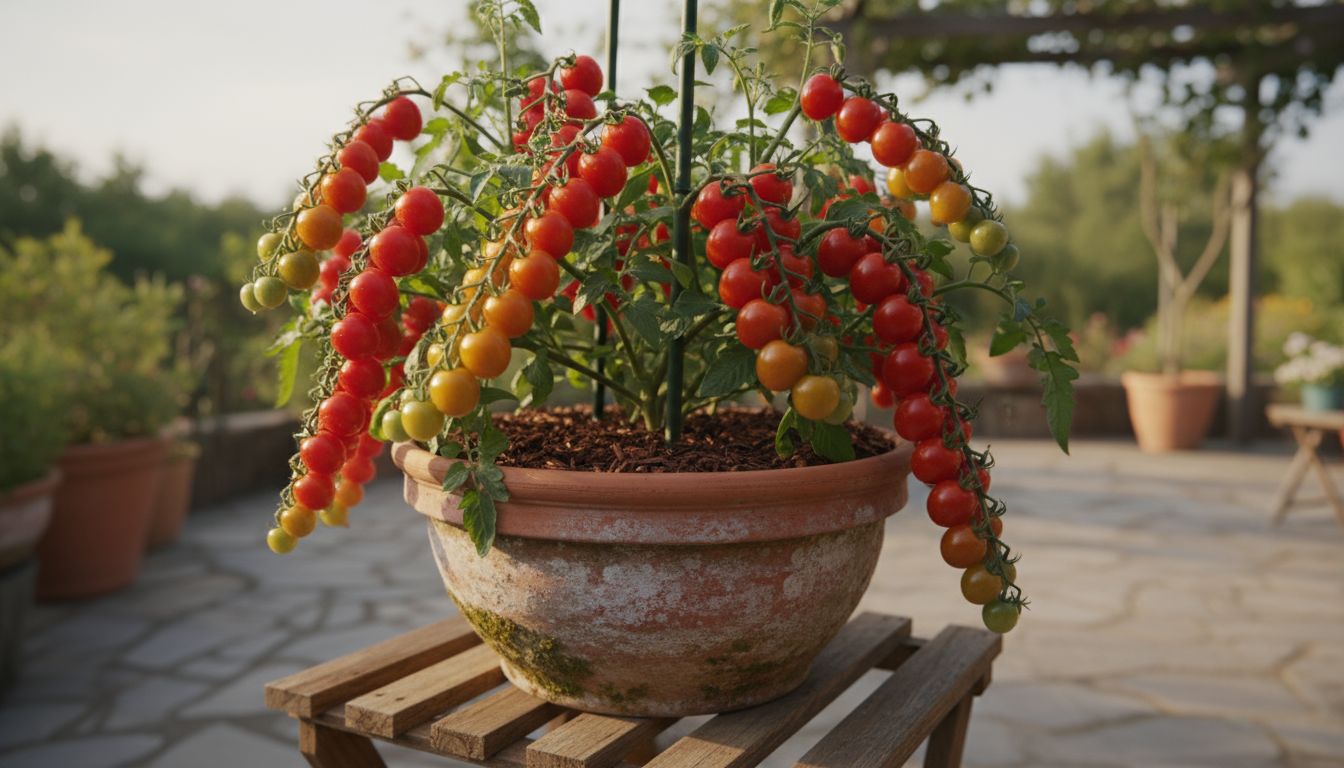
8. Cherry Tomatoes (Determinate or Dwarf Varieties)
While many tomatoes grow quite large, determinate (bush) or specifically bred “dwarf” cherry tomato varieties are perfectly suited for raised beds. They produce a generous yield of small, sweet fruits without becoming sprawling giants.
- Why they are easy: High yield for their size, delicious, and relatively easy to manage.
- Planting: Plant healthy transplants after the last frost, when soil has warmed. Bury two-thirds of the stem to encourage stronger root growth.
- Spacing: Plant 1 determinate or dwarf cherry tomato plant per 1-2 square feet, immediately installing a sturdy cage or stake for support.
- Care: Full sun and consistent, deep watering. Fertilize with an organic tomato-specific fertilizer (higher P and K) when flowers appear and fruits set.
- Harvest: Pick ripe cherry tomatoes regularly.
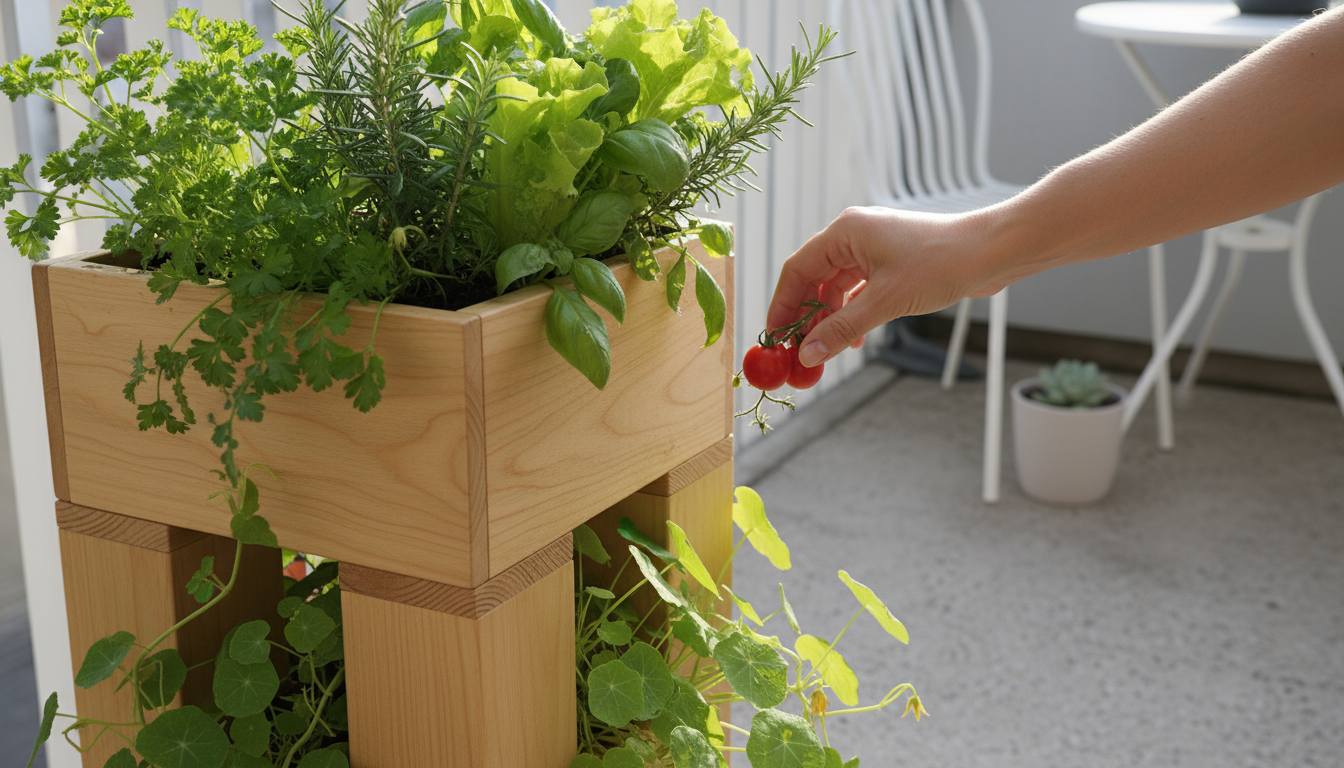
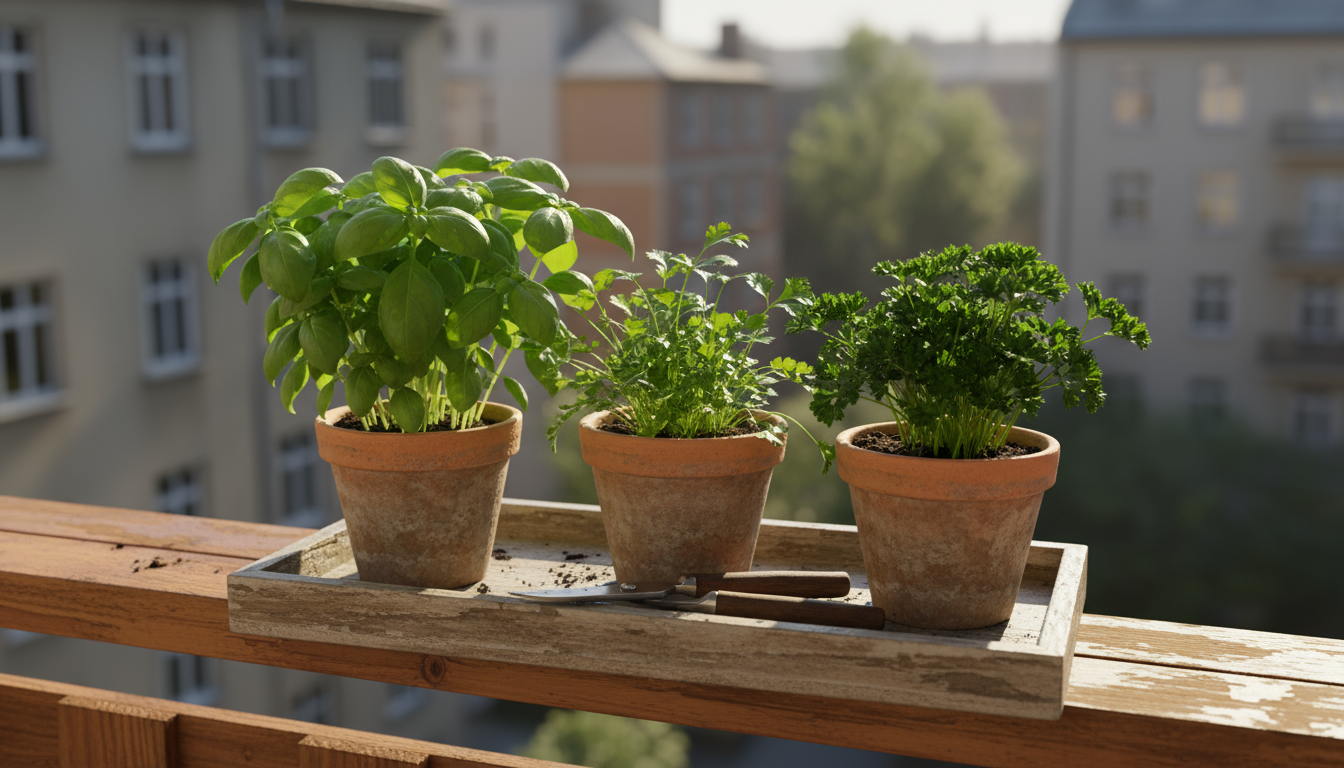
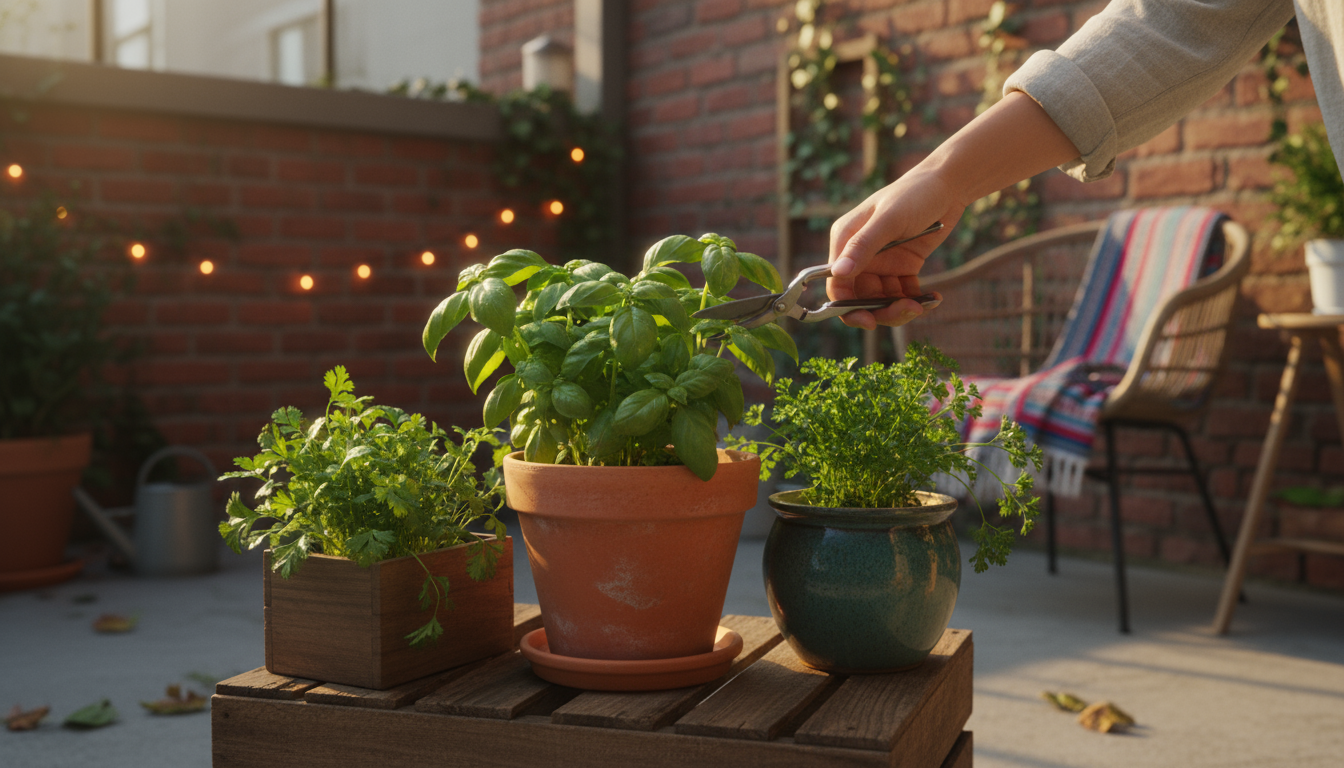
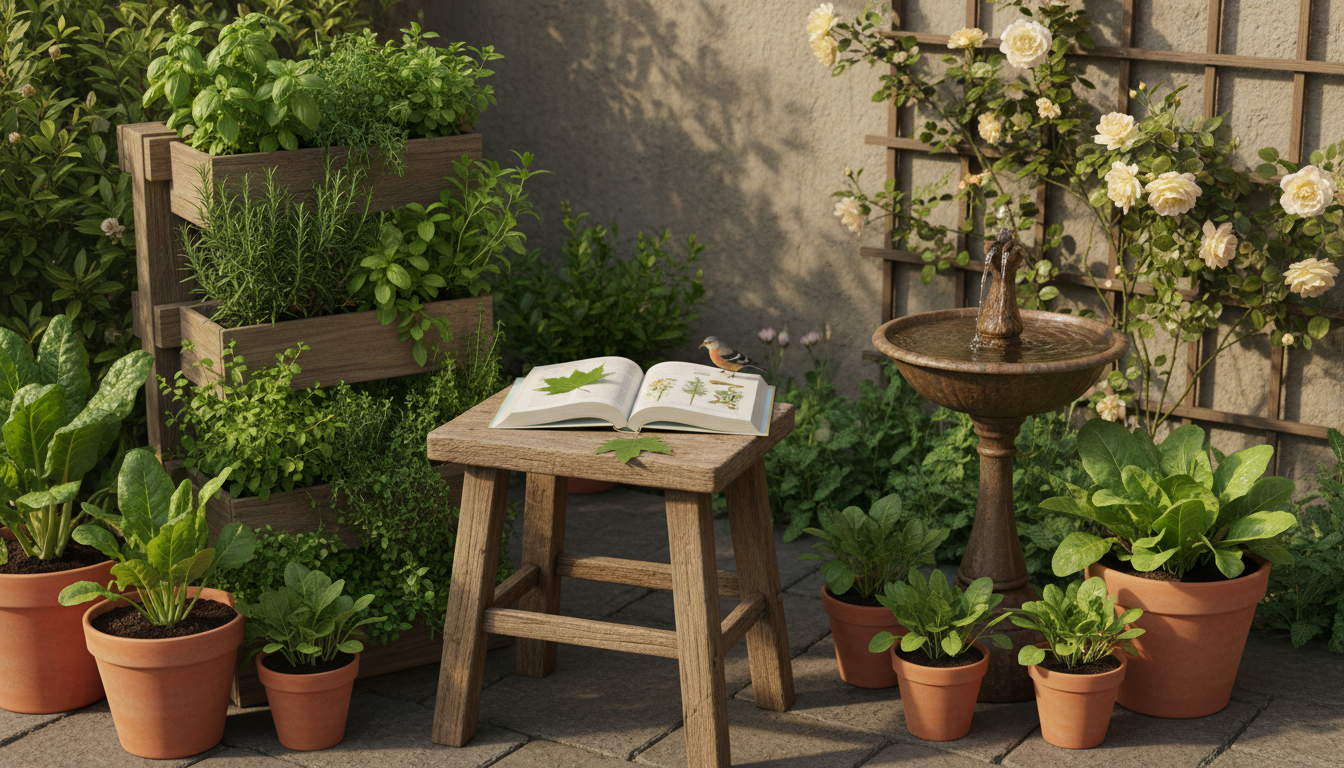
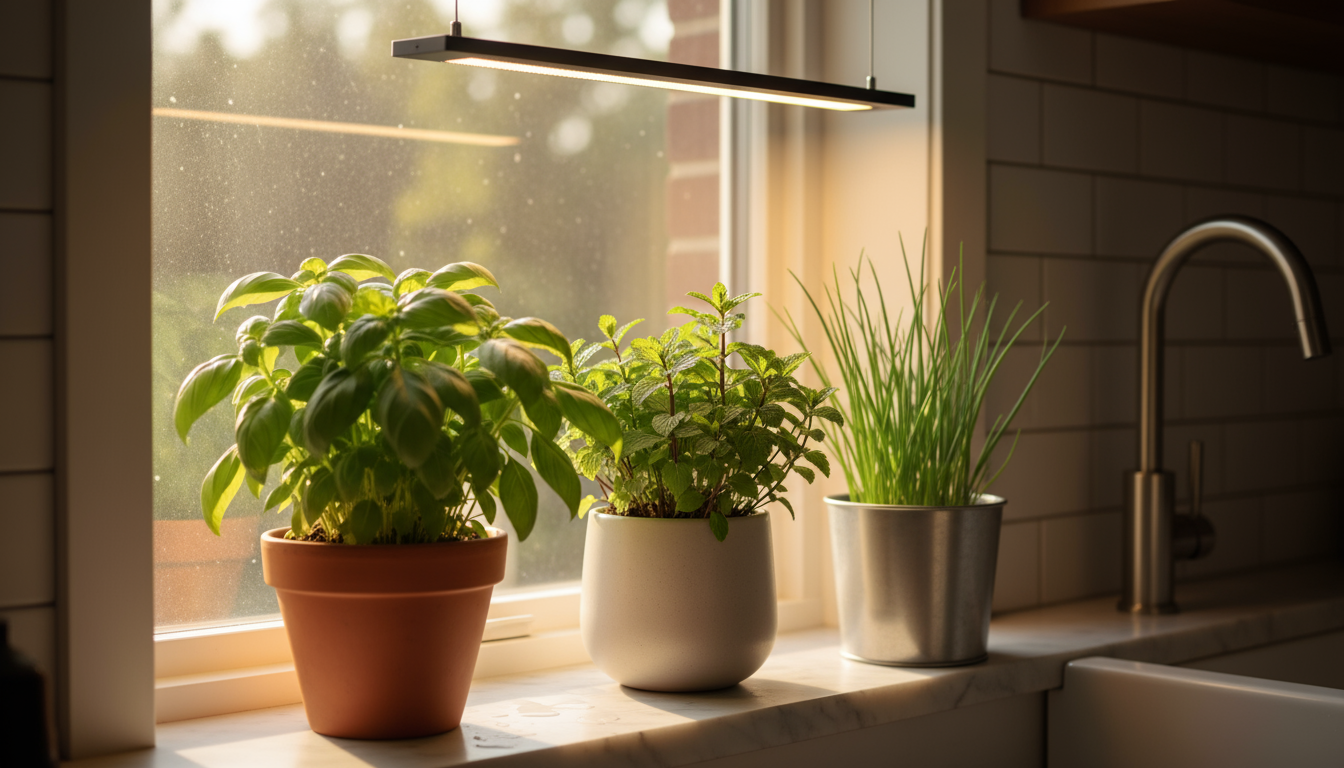
9. Herbs: Basil, Cilantro, Parsley
Herbs are invaluable additions to any raised bed, providing flavor for your kitchen and often attracting beneficial insects. They are generally low maintenance and thrive in well-drained soil.
- Why they are easy: Adaptable, aromatic, and excellent for companion planting.
- Planting: Sow seeds or plant nursery starts. Basil and cilantro prefer warm weather, while parsley tolerates cooler conditions.
- Spacing: Plant 1-4 plants per square foot, depending on mature size.
- Care: Regular harvesting encourages bushier growth. Keep basil pinched back to prevent flowering. Cilantro tends to bolt in hot weather, so plant in succession.
- Harvest: Snip leaves as needed.
Here is a quick reference table for spacing and estimated time to harvest for these easy crops:
| Vegetable | Spacing (per sq ft) | Days to Harvest (from seed) | Notes for Raised Bed |
|---|---|---|---|
| Salad Greens (Lettuce, Spinach, Arugula) | 9-16 plants | 21-45 days (cut-and-come-again) | Shallow roots, continuous harvest. |
| Radishes | 16-25 plants | 21-30 days | Very fast, good for interplanting. |
| Bush Beans | 9-12 plants | 50-60 days | Self-supporting, nitrogen fixer. |
| Carrots (Short/Round) | 16 plants | 60-80 days | Requires loose, deep soil (6-12 inches). |
| Swiss Chard / Kale | 1-2 plants | 50-60 days (cut-and-come-again) | Tolerant, long production. |
| Bush Cucumbers | 1-2 plants | 50-70 days | Compact varieties need minimal support. |
| Peppers | 1 plant | 60-90 days (from transplant) | Heat-loving, productive. |
| Cherry Tomatoes (Determinate/Dwarf) | 1 plant (per 1-2 sq ft) | 60-80 days (from transplant) | Requires staking/caging. |
| Herbs (Basil, Cilantro, Parsley) | 1-4 plants | 30-70 days (cut-as-needed) | Aromatic, good companions. |
Smart Planting: Spacing and Succession for Continuous Harvests
Maximizing yield in a small raised bed requires thoughtful planting strategies. You can grow more food in less space by optimizing plant spacing and employing succession sowing. These techniques ensure you make the most of your available area and enjoy fresh produce throughout the growing season.
Optimizing Plant Spacing
Traditional row gardening often spaces plants widely, leaving significant bare ground. In raised beds, with their excellent soil and drainage, you can plant more intensively, often using a method inspired by square foot gardening. This means you plant crops in a grid pattern rather than long rows, placing plants closer together than conventional guidelines suggest.
- Square Foot Gardening Principles: Visualize your raised bed as a grid of 1-foot by 1-foot squares. Within each square, you plant a specific number of plants based on their mature size. For example:
- One large plant (e.g., a determinate tomato, a small cabbage) per square.
- Four medium plants (e.g., peppers, bush beans) per square.
- Nine small plants (e.g., spinach, Swiss chard) per square.
- Sixteen very small plants (e.g., radishes, carrots, onions) per square.
This method ensures each plant receives adequate light and nutrients without wasting space. The table in the previous section provides guidance for specific crops.
- Benefits of Intensive Spacing:
- Increased Yield: You harvest more produce from the same footprint.
- Weed Suppression: Plants grow to form a canopy that shades the soil, naturally reducing weed growth.
- Reduced Water Loss: The plant canopy also helps keep the soil cooler and reduces evaporation, leading to more efficient water use.
The Power of Succession Sowing
Succession sowing means planting small batches of seeds every few weeks rather than planting an entire crop at once. This strategy prevents gluts of produce and ensures a steady supply of fresh vegetables throughout the season.
- How it Works: Instead of planting all your lettuce seeds in April, plant a small patch in April, another in mid-May, and another in early June. As the first planting matures and gets harvested, the next batch is ready to take its place.
- Ideal Crops for Succession:
- Lettuce and other salad greens: Plant every 2-3 weeks.
- Radishes: Plant every 1-2 weeks.
- Bush Beans: Plant every 3-4 weeks.
- Cilantro: Tends to bolt in heat, so frequent, small plantings are best.
- Carrots: Plant every 3-4 weeks for a continuous supply.
- Benefits:
- Continuous Harvests: Enjoy fresh produce for a longer period.
- Reduced Waste: You harvest only what you can eat, preventing spoilage.
- Even Distribution of Labor: Spreads out planting and harvesting tasks.
Interplanting: Companion Planting for Space Efficiency
Interplanting involves growing different types of plants together in the same space, often taking advantage of different growth habits or beneficial interactions. This is a form of companion planting that focuses on spatial efficiency.
- Combine Fast and Slow Growers: Plant quick-maturing crops like radishes between slower-growing plants like carrots. The radishes will be harvested before the carrots need the full space.
- Utilize Vertical Space: Plant shallow-rooted greens beneath taller, trellised plants like bush cucumbers or determinate tomatoes. The greens receive some dappled shade during hot periods, and both plants utilize different layers of the bed.
- Beneficial Companions:
- Lettuce and Tomatoes: Lettuce benefits from the partial shade of taller tomato plants during summer heat.
- Radishes and Carrots: Radishes loosen the soil, making it easier for carrots to grow.
- Bush Beans and Corn (if space allows for dwarf corn): The beans fix nitrogen for the corn, and corn can provide a natural trellis.
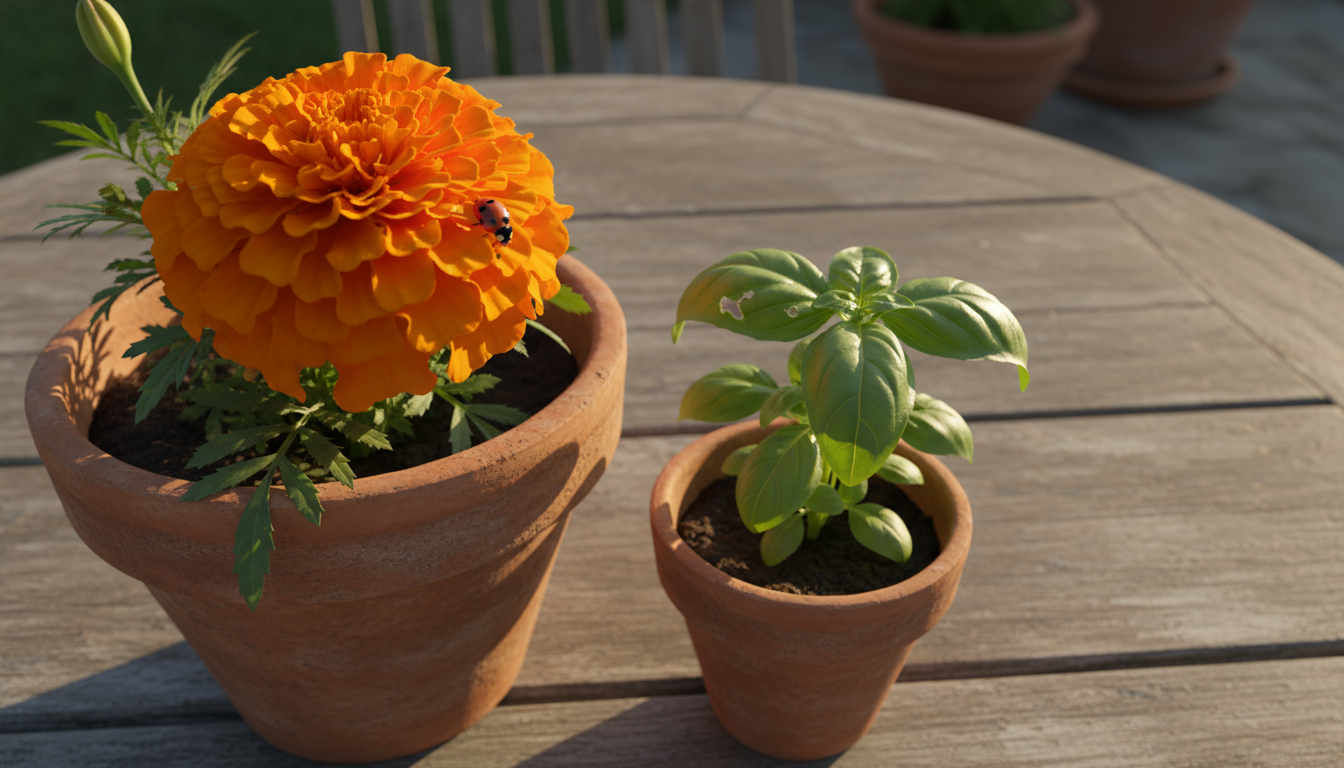
- Herbs (Basil, Marigolds) with Tomatoes/Peppers: These can deter certain pests and attract pollinators.
By implementing these smart planting techniques, you will find your small raised bed yields far more than you thought possible, providing a continuous bounty of fresh, homegrown vegetables.
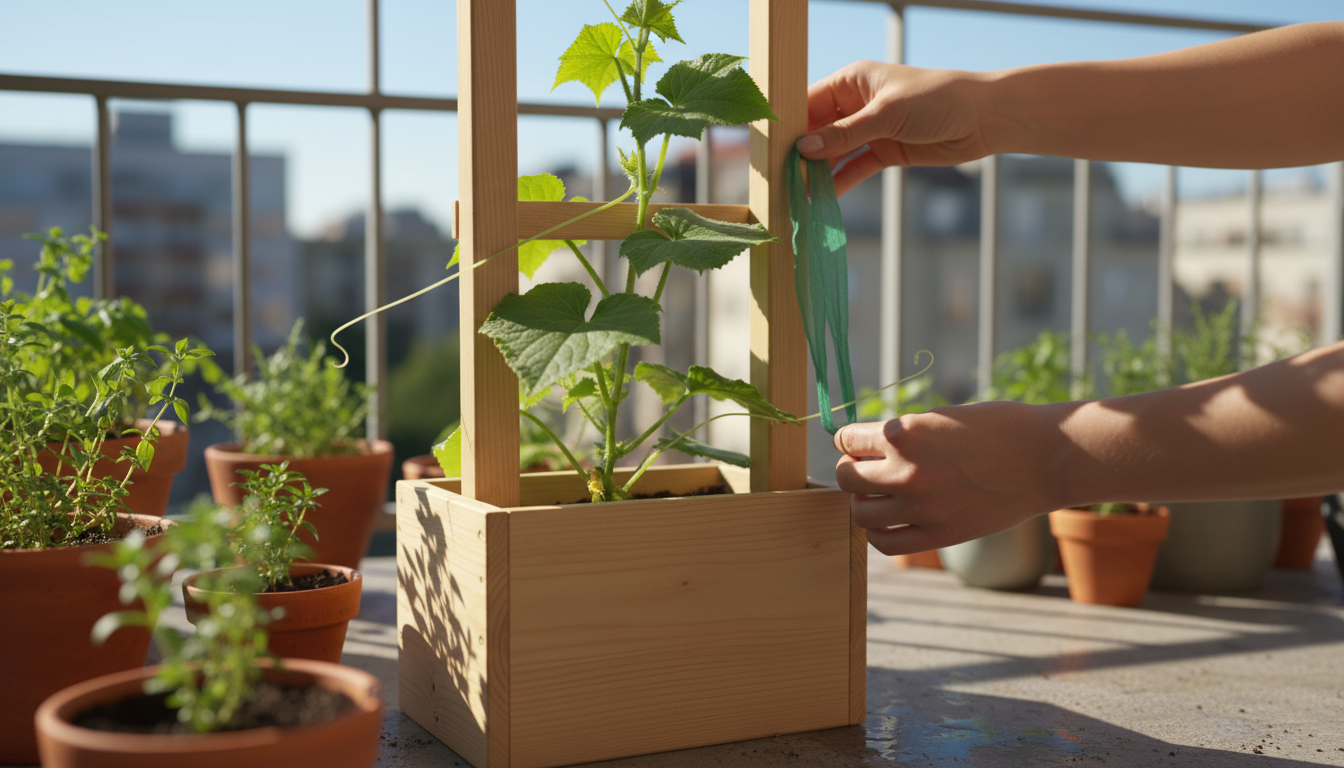
Supporting Your Plants: Vertical Growing in Raised Beds
In small raised beds, extending your garden upwards represents a brilliant strategy for maximizing your harvest. Vertical growing systems allow you to cultivate climbing plants that would otherwise sprawl, freeing up valuable ground space for other crops. This not only increases your yield but also improves air circulation around plants, reduces disease, and makes harvesting easier.
Why Go Vertical?
- Space Efficiency: The primary benefit. You grow more food in the same horizontal footprint.
- Improved Air Circulation: Lifting plants off the ground increases airflow, which reduces humidity around foliage and helps prevent fungal diseases.
- Easier Harvesting: Fruits and vegetables growing at eye level are much simpler to pick.
- Cleaner Produce: Keeping fruits like cucumbers and tomatoes off the soil prevents them from rotting or getting damaged by pests.
- Aesthetics: A well-trellised garden can look beautiful and add vertical interest to your small space.
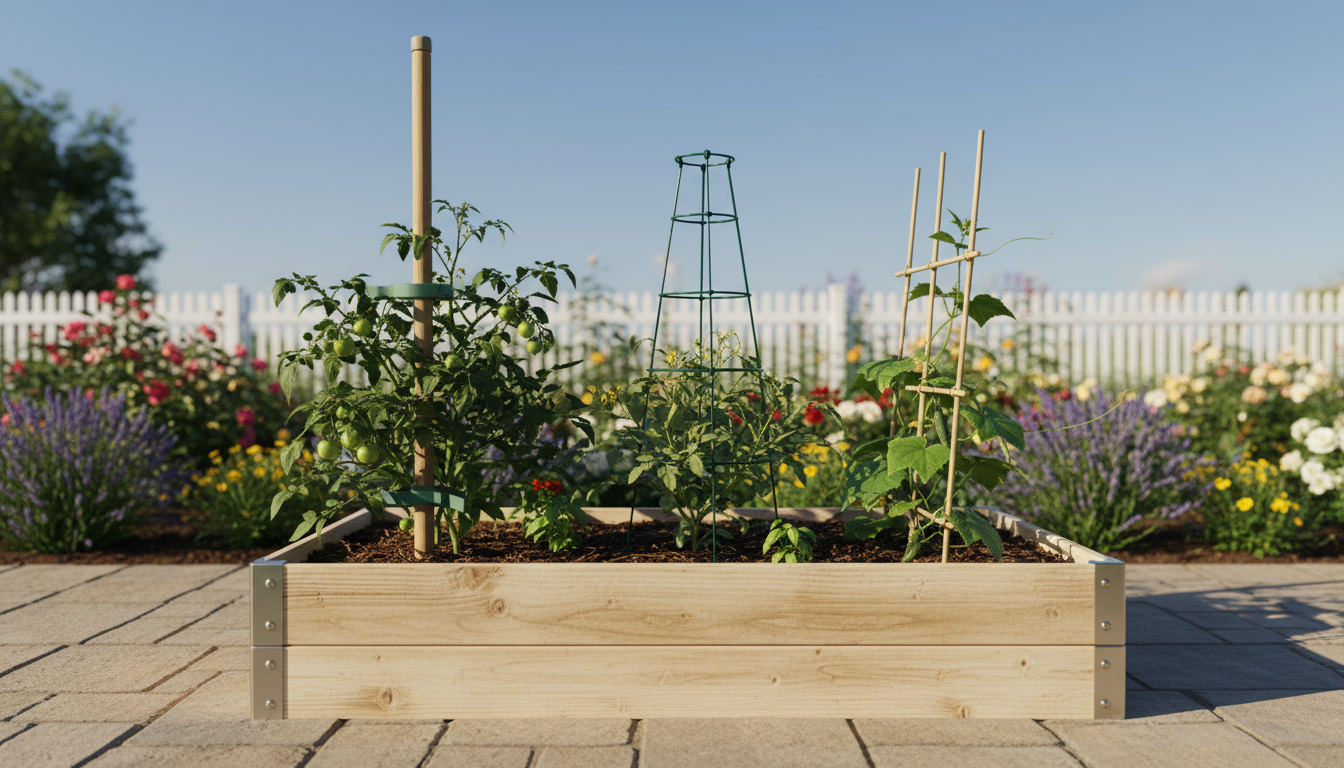
Choosing the Right Vertical Support
Several types of vertical supports work well in small raised beds:
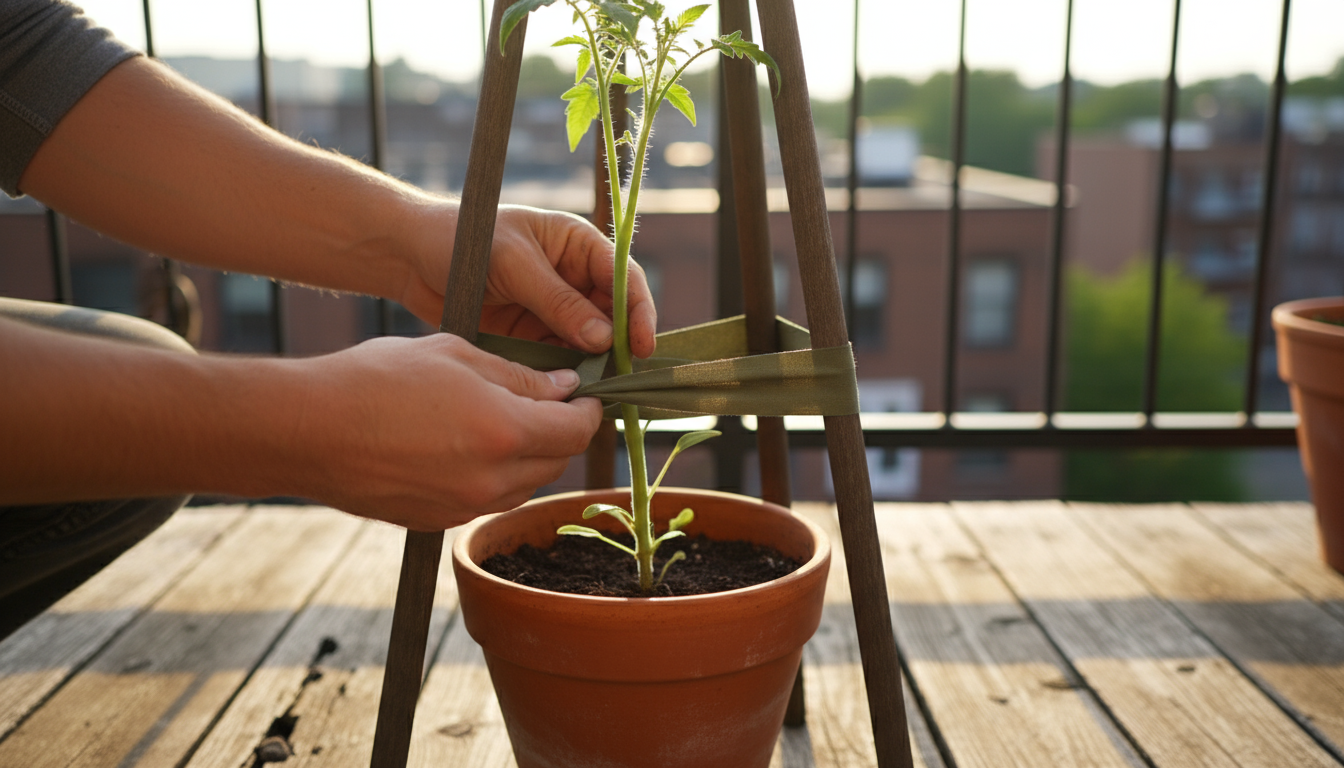
- Stakes: Simple and effective for individual plants like determinate tomatoes, peppers, or eggplants. Use sturdy wooden or metal stakes driven deep into the soil immediately after planting to avoid root damage later. Secure the plant to the stake with soft ties or twine as it grows.
- Cages: Ideal for bushier plants that need all-around support, such as determinate tomatoes, peppers, or even compact bush cucumbers. Tomato cages come in various sizes; choose a sturdy, tall option for raised beds.
- Trellises: Versatile structures for true climbing plants.
- A-Frame Trellis: Consists of two hinged panels that form an “A” shape, providing support on both sides. Excellent for pole beans, cucumbers, and even small squash.
- Netting or Mesh Trellis: Sturdy nylon netting or metal mesh stretched between posts. Provides many attachment points for climbing tendrils. Great for peas, pole beans, and vining cucumbers.
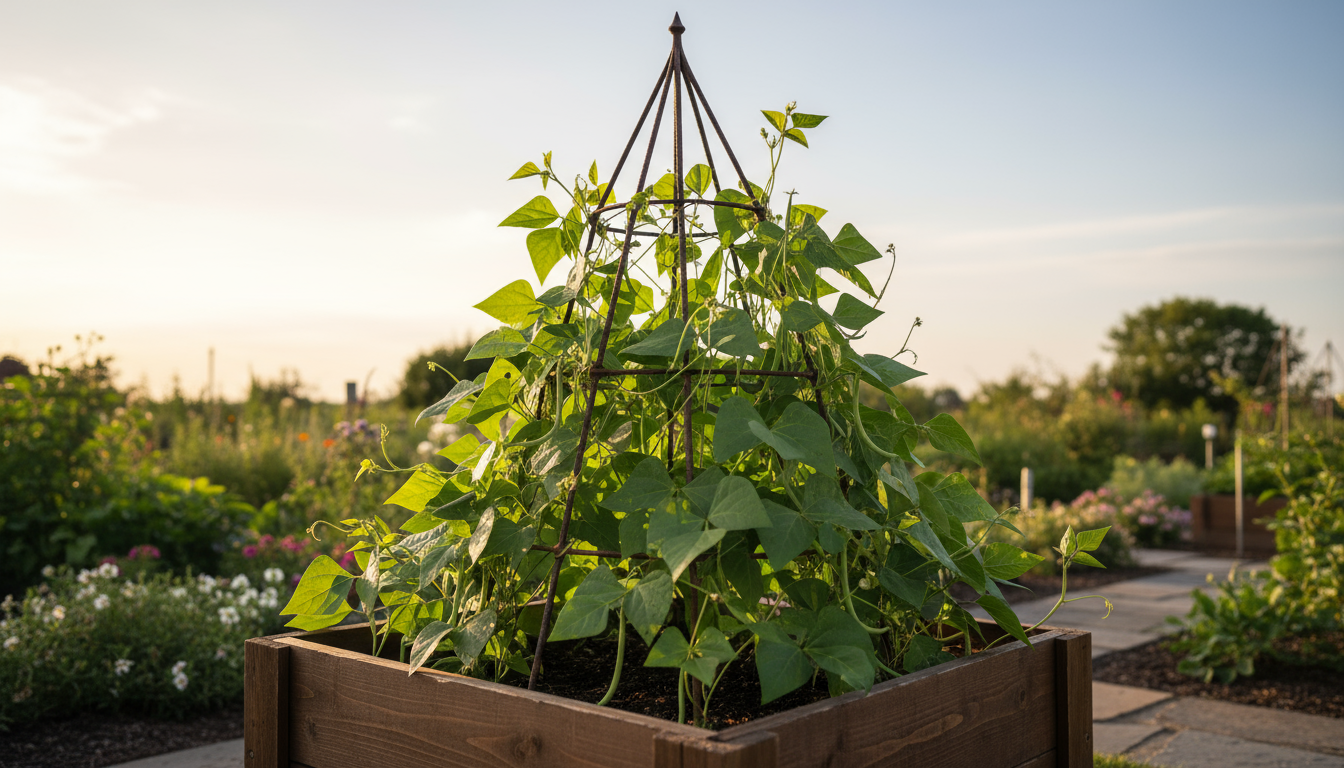
- Obelisk or Tower Trellis: A tall, conical or square structure that offers support on all sides. Works well for pole beans, sweet peas, or even small vining gourds.
- Arches or Pergolas (if space allows): For larger raised beds or if your garden design extends beyond the bed itself, an arch or pergola can support vigorous climbers like larger squash or certain types of grapes, creating a beautiful edible tunnel.

Crops That Love to Climb (and are easy for raised beds)
- Pole Beans: Unlike bush beans, pole beans grow upwards, producing over a longer season. Varieties like ‘Kentucky Wonder’ or ‘Blue Lake’ are highly productive climbers.
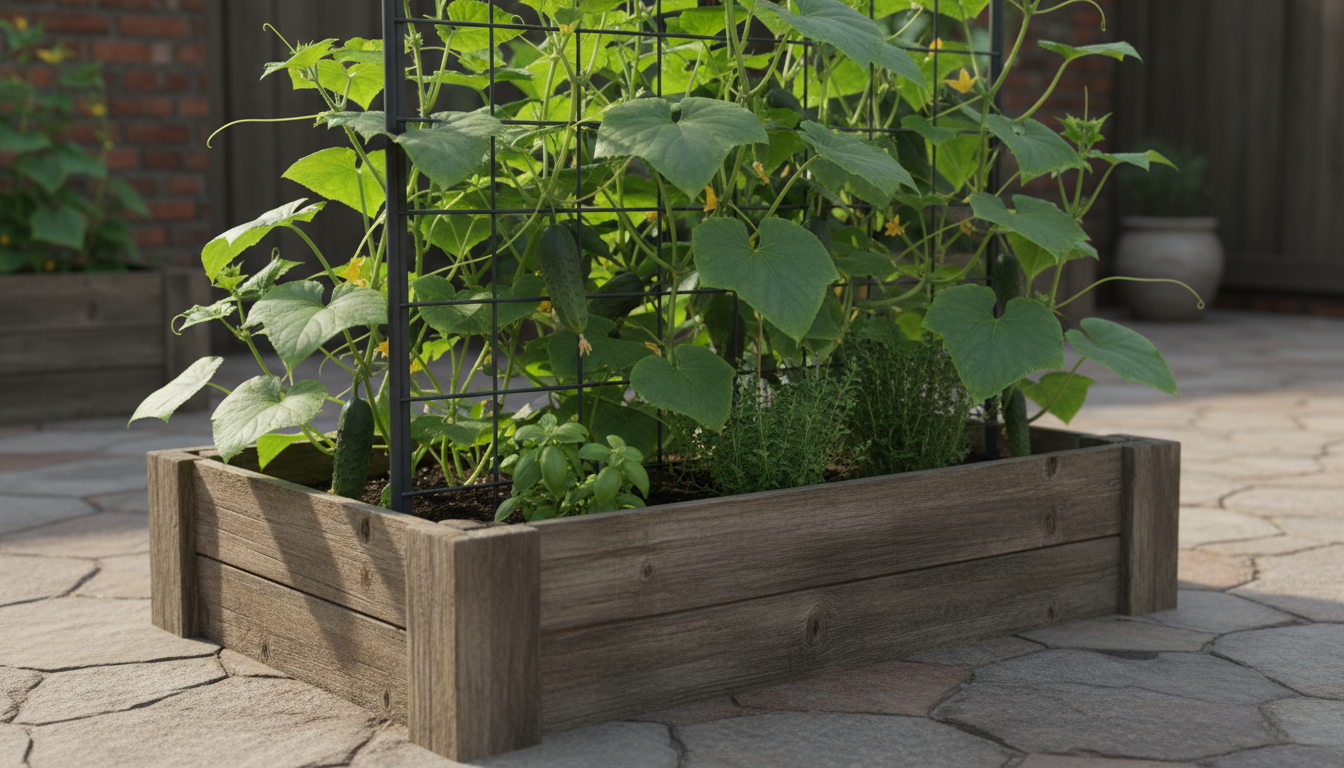
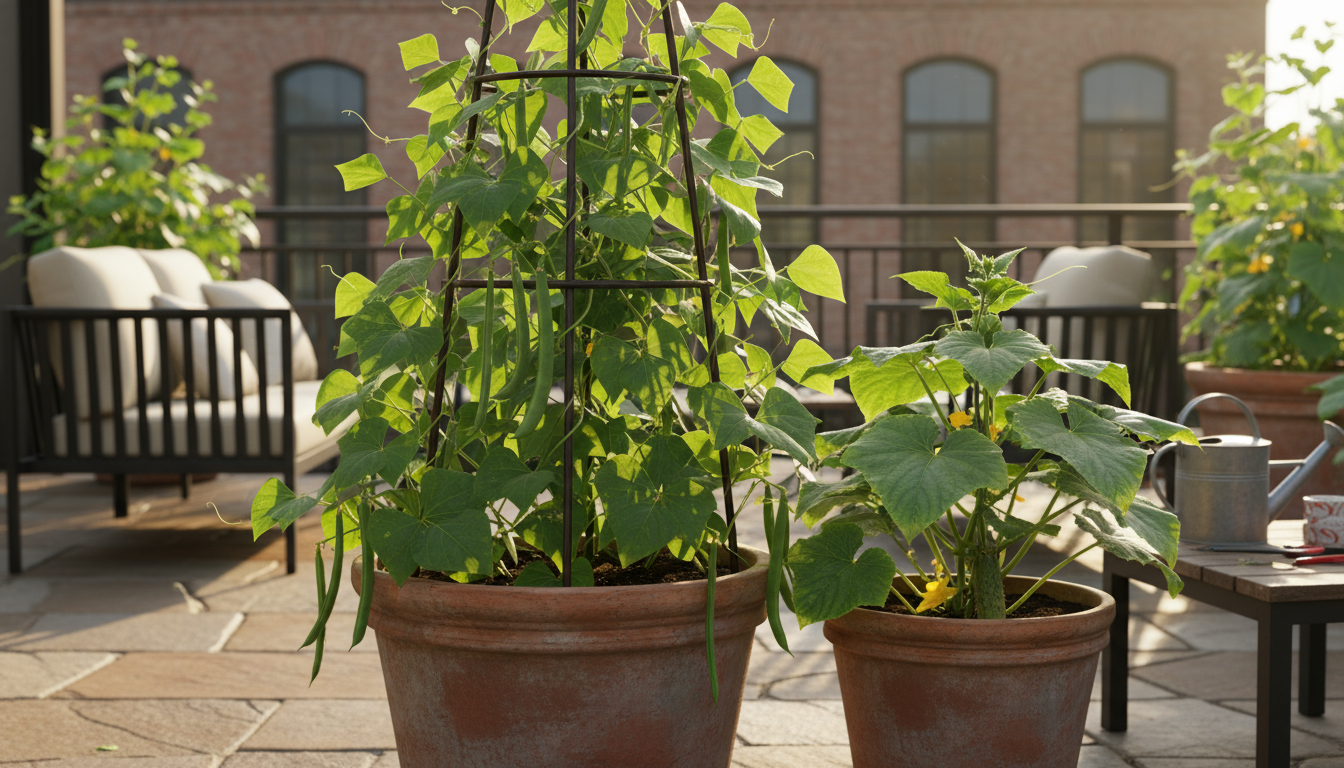
- Cucumbers (Vining Varieties): While bush varieties are compact, vining cucumbers, when trellised, yield more fruit and are easier to harvest. Look for slicers or pickling varieties.
- Peas: Both shelling peas and snap/snow peas are excellent climbers, quickly attaching to trellises with their tendrils. They are cool-season crops, perfect for spring and fall.
- Determinate Tomatoes: Even though they are “bushy,” determinate tomatoes benefit significantly from staking or caging to keep their heavy fruit off the ground and improve air circulation.
- Small Squash or Gourds: Compact vining varieties of summer squash (like certain zucchini or pattypan) or even small winter squash can be trained up a strong trellis if given adequate support for their developing fruits.
Tips for Successful Vertical Growing
- Install Supports Early: Place stakes, cages, or trellises at planting time. Driving them into the soil later risks damaging delicate root systems.
- Train Plants Gently: As climbing plants grow, gently guide their tendrils or stems onto the support. For non-climbing plants like tomatoes, use soft ties (fabric strips, velcro plant ties) to attach the main stem to the support, being careful not to constrict growth.
- Ensure Stability: Vertical structures, especially those supporting heavy plants, must be securely anchored. Strong winds can easily topple unstable supports, damaging your plants.
- Consider Sunlight: Position taller trellises on the north side of your raised bed (in the Northern Hemisphere) so they do not shade out shorter plants.
By incorporating vertical elements, you unlock the full potential of your small raised bed, transforming it into a multi-layered, highly productive garden that yields an impressive bounty of easy-to-grow vegetables.
Keeping Pests and Problems at Bay Organically
Even the easiest vegetables sometimes encounter challenges, from nibbling insects to fungal spots. The key to maintaining a healthy raised bed garden involves proactive prevention and quick, organic responses to any issues. Embracing Integrated Pest Management (IPM) principles means focusing on prevention first, then using the least toxic controls only when necessary.
Proactive Prevention: Your First Line of Defense
A healthy plant grown in optimal conditions is naturally more resistant to pests and diseases. Focus on these preventative measures:
- Healthy Soil: Nutrient-rich, well-draining soil (as discussed) fosters strong root systems and vigorous plants that can better withstand attacks.
- Proper Spacing: Adequate spacing, even with intensive planting methods, ensures good air circulation. This helps leaves dry quickly after watering or rain, significantly reducing the likelihood of fungal diseases like powdery mildew.
- Water Wisely: Water at the base of plants in the morning. Avoid overhead watering, which can spread fungal spores. Consistent moisture prevents plant stress, which can make plants more attractive to pests.
- Choose Resistant Varieties: When selecting seeds or starts, look for varieties labeled “disease-resistant” or “pest-resistant” for an added layer of protection.
- Inspect Regularly: Make it a habit to inspect your plants daily or every few days. Turn over leaves to check the undersides, where many pests hide. Early detection makes control much easier.
- Crop Rotation: Even in a small raised bed, avoid planting the same family of plants in the exact same spot year after year. This helps break the life cycles of soil-borne pests and diseases that might accumulate.
- Sanitation: Remove any diseased leaves, fallen fruit, or plant debris promptly. These can harbor pests or fungal spores. Dispose of diseased material away from your garden, not in your compost pile.

Common Pests and Organic Solutions
If pests do appear, start with the least-toxic control methods first.
Aphids: Small, soft-bodied insects that cluster on new growth, sucking plant sap. They can cause distorted leaves and excrete sticky honeydew.
- Control:
- Hose Off: A strong spray of water dislodges them.
- Hand-Picking: For small infestations.
- Insecticidal Soap: A commercial organic solution that smothers soft-bodied insects. Ensure full coverage, especially the undersides of leaves. Repeat every 5-7 days until gone.
- Beneficial Insects: Encourage ladybugs and lacewings, natural predators of aphids, by planting flowers like dill, cilantro, and marigolds nearby.
Slugs and Snails: Chew irregular holes in leaves, especially on seedlings. Most active at night or during damp conditions.
- Control:
- Hand-Picking: Go out at dusk or early morning with a flashlight and remove them.
- Beer Traps: Bury shallow dishes filled with beer near affected plants. Slugs are attracted to the yeast, fall in, and drown.
- Diatomaceous Earth: A fine, abrasive powder that cuts their soft bodies. Sprinkle around plants. Reapply after rain.
- Copper Tape: Create a barrier around the bed or individual plants, as slugs dislike crossing copper.
Cabbage Worms (Cabbage Loopers): Green caterpillars that chew large holes in the leaves of brassicas (cabbage, kale, broccoli, radish). Often mistaken for the leaves themselves.
- Control:
- Hand-Picking: Inspect leaves daily and remove caterpillars.
- Floating Row Covers: Fine mesh covers placed over crops prevent the white cabbage butterflies from laying eggs on the leaves. Secure the edges to prevent access.
- Bt (Bacillus thuringiensis): An organic bacterial spray specific to caterpillars. It is non-toxic to humans, pets, and beneficial insects. Apply as soon as damage appears.
Dealing with Fungal Diseases
Most common fungal issues, like powdery mildew or blight, thrive in humid conditions and can be minimized with good cultural practices.
- Prevention:
- Air Circulation: Proper spacing and pruning (e.g., lower leaves of tomatoes) improve airflow.
- Watering: Water at the soil level, not overhead.
- Resistant Varieties: Choose resistant varieties when possible.
- Control:
- Remove Affected Leaves: Prune off diseased leaves immediately to prevent spread.
- Baking Soda Spray: A homemade solution (1 teaspoon baking soda, 1 teaspoon horticultural oil or dish soap, 1 gallon water) can help inhibit fungal growth, though it does not cure existing severe infections.
- Organic Fungicides: Neem oil or copper-based fungicides can be used for more persistent issues, always following label instructions carefully.
By staying vigilant, observing your plants closely, and employing these organic strategies, you can keep your small raised bed thriving and productive, minimizing chemical inputs and enjoying healthy, natural harvests.
Harvesting Your Bounty and Extending the Season
The moment of harvest is the gardener’s greatest reward. Knowing when and how to pick your vegetables ensures the best flavor and encourages your plants to produce even more. With some strategic thinking, you can also extend your harvest season, enjoying fresh produce for longer than you might expect from a small raised bed.
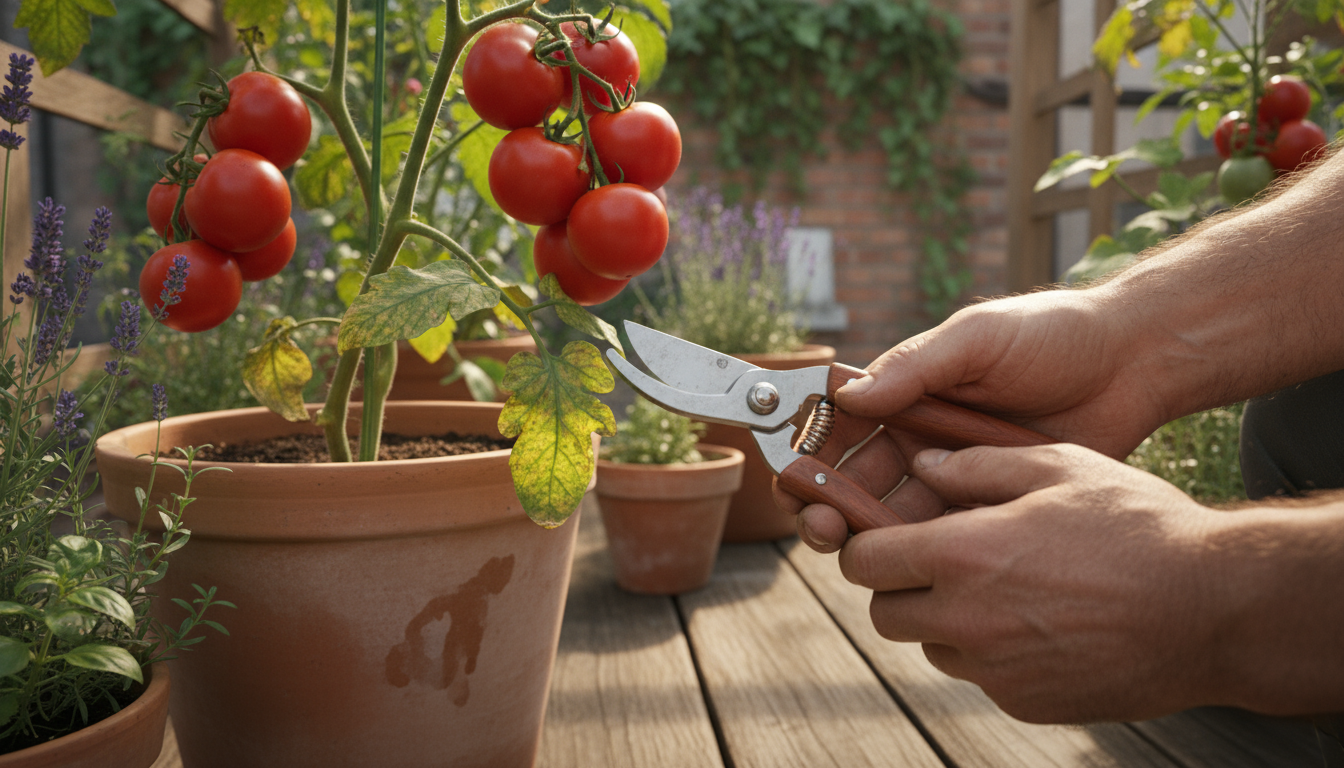
Mastering the Art of Harvesting
Proper harvesting techniques not only give you delicious produce but also promote continued plant health and yield:
- Cut-and-Come-Again Greens: For lettuce, spinach, arugula, Swiss chard, and kale, harvest the outer, mature leaves first, leaving the inner, younger leaves to continue growing. Use clean scissors or snips. This method allows the plant to keep producing for weeks, sometimes months.
- Radishes: Harvest when the root reaches its desired size, typically 1 inch or more in diameter. If you leave them too long, they become woody and overly spicy.
- Bush Beans: Pick pods when they are young, tender, and snap easily. Regular picking encourages the plant to produce more flowers and beans. If you let them fully mature on the plant, production slows.
- Carrots: Harvest when the tops of the carrot show above the soil and reach a desirable diameter (check variety descriptions). Gently loosen the soil around them before pulling to avoid breakage.
- Cucumbers: Pick them when they reach the size appropriate for their variety. Overly large cucumbers become seedy and less flavorful. Regular picking prevents the plant from putting all its energy into just a few fruits.
- Peppers: Harvest bell peppers when they reach full size, regardless of color, though many sweet varieties develop more sweetness as they change color (e.g., from green to red). Chili peppers are often harvested when fully colored for maximum heat.
- Cherry Tomatoes: Pick when fruits are fully colored and feel slightly soft when gently squeezed. Handle carefully to avoid bruising. Regular harvesting helps the plant allocate energy to ripening remaining fruits.
- Herbs (Basil, Cilantro, Parsley): Snip off leaves or sprigs as needed. For basil, pinch off flower buds as they form to encourage bushy growth and prevent the plant from going to seed, which often makes leaves bitter.
The best time to harvest most vegetables is in the early morning after the dew has dried. At this time, plants are most hydrated, resulting in crisper, more flavorful produce. Use clean, sharp tools to avoid damaging plants and ensure a clean cut.

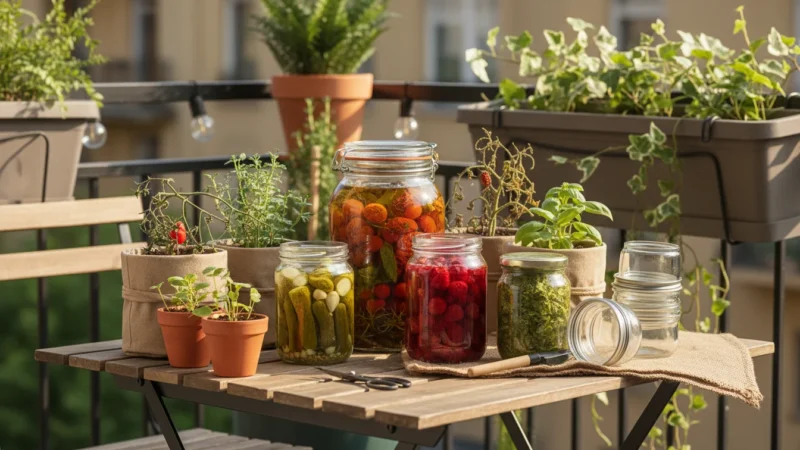
Basic Storage Tips for Freshness
Quick and proper storage preserves the quality of your fresh harvests:
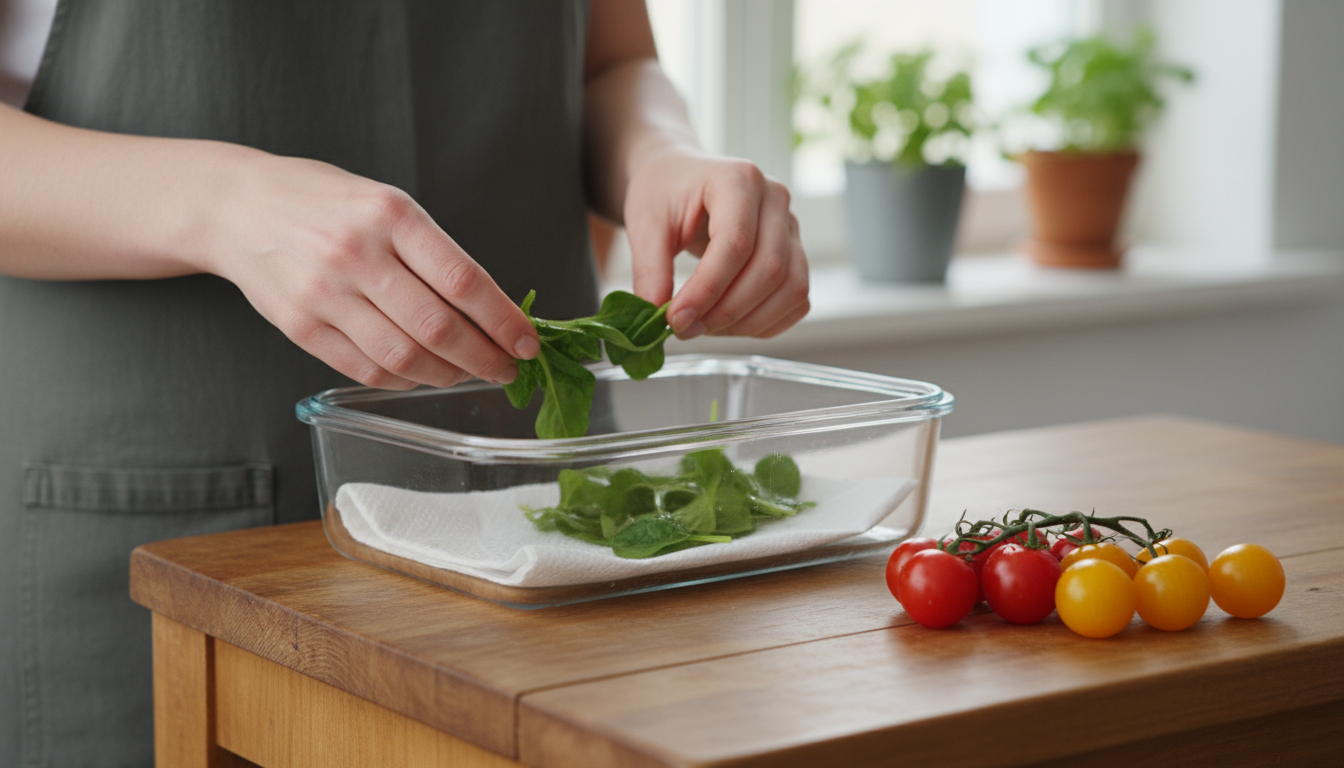
- Leafy Greens: Wash, dry thoroughly, and store in an airtight container or bag lined with a paper towel in the refrigerator. They typically last 5-7 days.
- Beans: Store unwashed in a perforated plastic bag in the refrigerator for up to a week.
- Cucumbers: Store in the crisper drawer of your refrigerator, unwashed, for up to a week.
- Peppers: Store unwashed in a plastic bag in the refrigerator for 1-2 weeks.
- Tomatoes: Store at room temperature on the counter, away from direct sunlight, for best flavor. Only refrigerate if they are very ripe and you need to extend their life by a few days, but expect a slight loss of flavor and texture.
- Root Vegetables (Carrots, Radishes): Remove tops (which draw moisture from the roots), wash, dry, and store in a plastic bag in the refrigerator.
- Herbs: For basil, put stems in a glass of water on the counter. For parsley and cilantro, wash, dry, and store in a plastic bag with a damp paper towel in the refrigerator.
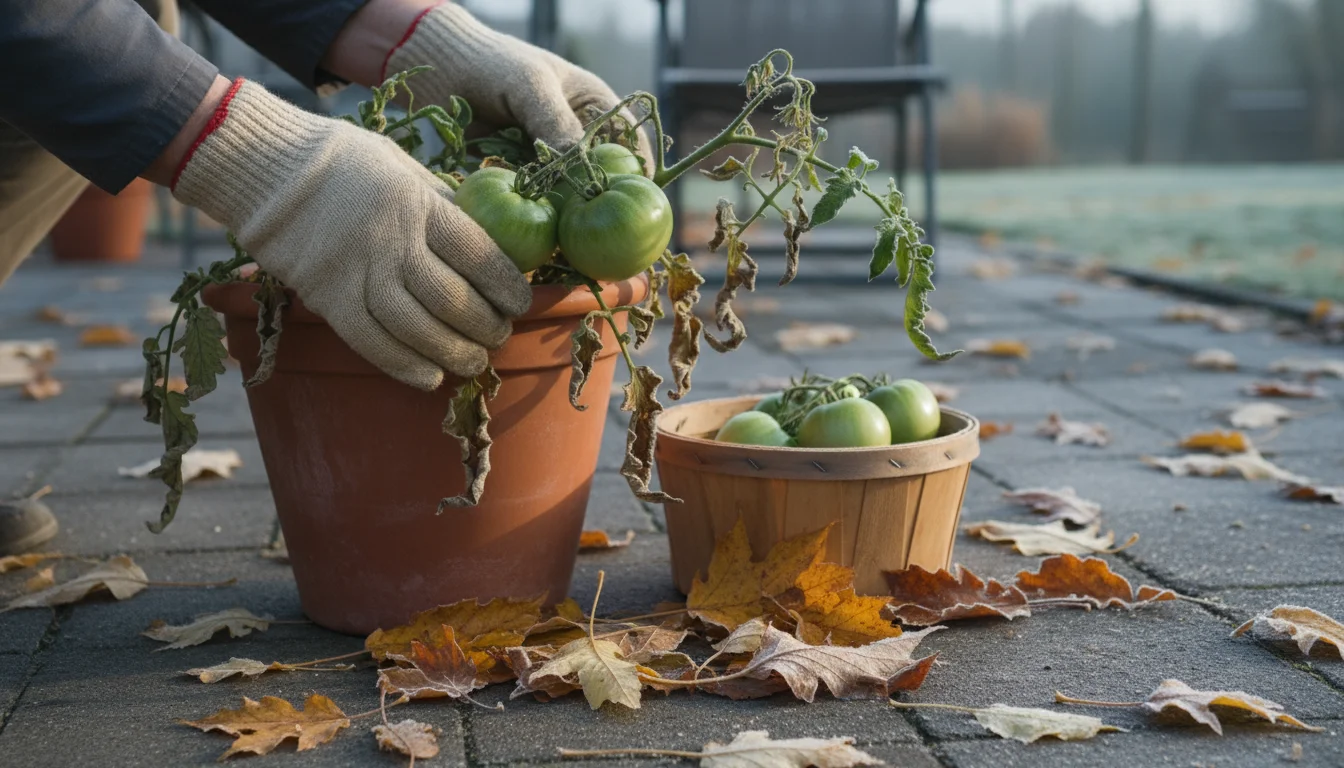
Extending Your Season in a Small Raised Bed
You can push the boundaries of your growing season in a raised bed with a few simple techniques:
- Early Spring Planting: Raised beds warm up faster than in-ground gardens. Use this to your advantage by planting cool-season crops (like lettuce, spinach, radishes, peas) a few weeks earlier in spring.
- Cold Frames or Row Covers: A simple cold frame (a bottomless box with a clear lid) or floating row covers (lightweight fabric draped over hoops) placed over your raised bed can protect plants from late frosts in spring and early frosts in fall. These structures trap solar heat, raising the temperature inside by several degrees.
- Succession Planting for Fall: As summer crops fade, sow new seeds for cool-season vegetables in late summer or early fall. Crops like spinach, lettuce, kale, and radishes thrive in the cooler temperatures of autumn.
- Overwintering (in some climates): In milder climates, some hardy greens (like kale or certain varieties of spinach) can overwinter in a protected raised bed, providing fresh harvests even in winter.
By carefully harvesting and employing season-extending tools, your small raised bed transforms into a year-round source of fresh produce, providing enjoyment and nourishment far beyond the traditional growing months.
Frequently Asked Questions
How deep should my raised bed be for easy vegetables?
For most easy-to-grow vegetables, a raised bed depth of 6 to 12 inches works very well. This range accommodates the root systems of crops like lettuce, spinach, radishes, bush beans, peppers, and even compact tomatoes. If you plan to grow deeper root vegetables like full-sized carrots, aim for the upper end of that range, or slightly deeper, ensuring the soil is consistently loose and free of obstructions.
Can I use regular garden soil in my raised bed?
You should not fill your raised bed with regular garden soil alone. Garden soil often compacts too easily, drains poorly in a confined space, and lacks the optimal balance of nutrients and aeration required for container or raised bed gardening. Instead, use a specialized raised bed mix composed of high-quality compost, a peat-free growing medium like coconut coir or aged pine bark, and perlite or vermiculite for aeration. This creates a fluffy, nutrient-rich environment where plant roots can thrive.
What is the best way to water a small raised bed?
The best way to water a small raised bed is deeply and less frequently. This encourages plants to develop strong, deep root systems. Aim to soak the soil to its full depth. Avoid light, frequent sprinkles, which only moisten the surface. Water at the base of your plants in the early morning to minimize evaporation and prevent fungal diseases on foliage. Consider a soaker hose or drip irrigation system for efficient, consistent moisture delivery directly to the roots.
Do I need to fertilize my raised bed every year?
Yes, you need to replenish nutrients in your raised bed annually. As plants grow and produce, they consume the nutrients in the soil. Each spring, before planting, add a fresh 2-4 inch layer of high-quality compost to the top of your bed and gently work it into the existing soil. You can also apply a balanced organic granular fertilizer at planting time and provide a mid-season boost with compost tea or a liquid organic feed for heavy feeders, following product instructions.
How do I prevent weeds in a raised bed?
Preventing weeds in a raised bed begins with a quality weed barrier at the bottom (like cardboard or newspaper) and filling it with a sterile, weed-free soil mix. Once planted, apply a layer of organic mulch, such as straw or shredded leaves, to the soil surface. This suppresses weed seeds, conserves moisture, and regulates soil temperature. Additionally, practice intensive planting to create a dense canopy that shades out weeds, and be vigilant with hand-weeding any stray weeds as soon as you spot them.

Leave a Reply