The Final Haul: 7 Creative Recipes for Your End-of-Season Balcony Harvest (Green Tomatoes, Tiny Peppers & More)
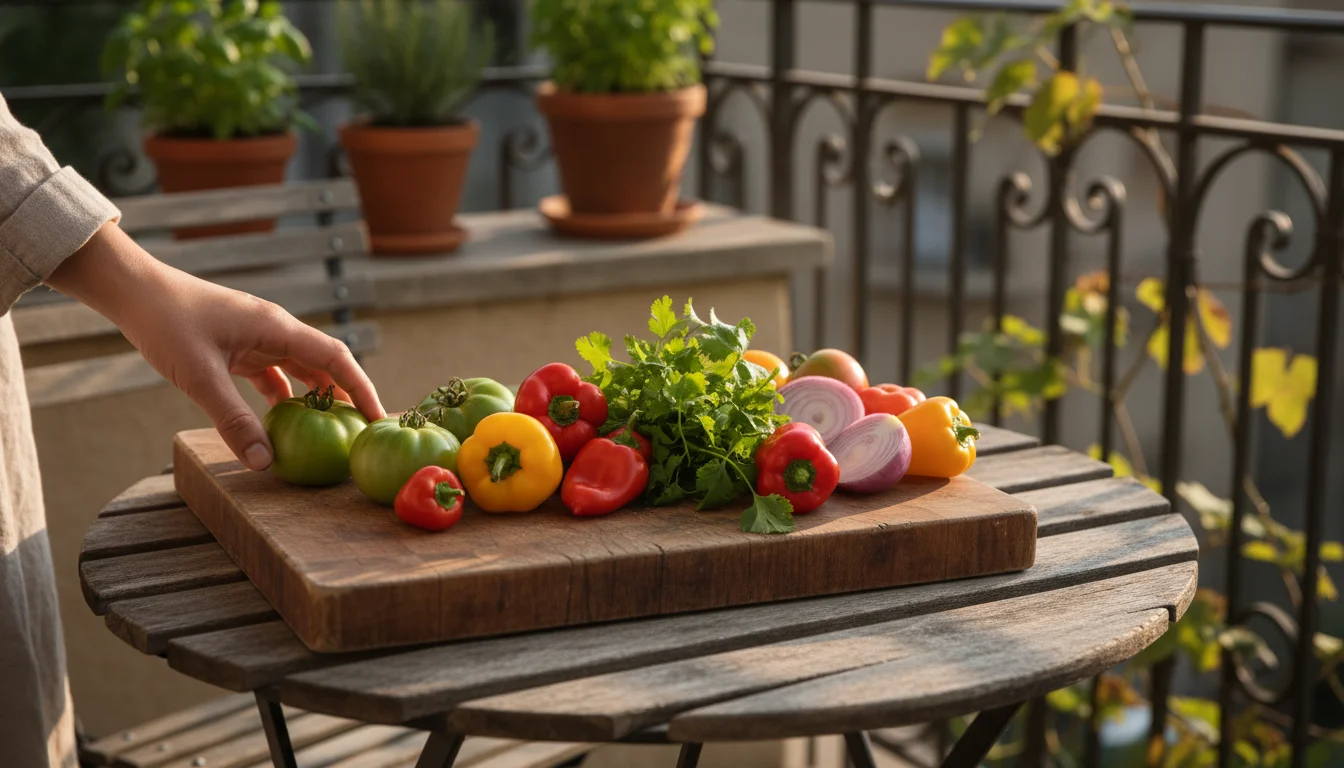
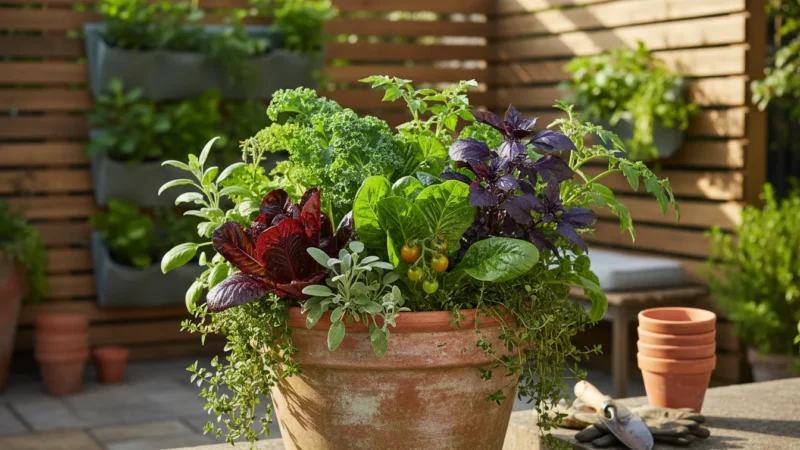
The chill of autumn signals the close of another vibrant growing season for your small garden. While you might feel a pang of sadness seeing fewer blooms and ripening fruits, this time of year offers a unique opportunity: your final haul. Those stubborn green tomatoes, the last handful of tiny peppers, and various other lingering vegetables on your balcony, patio, or small yard still possess incredible flavor and potential. Instead of letting them go to waste, you can transform these `end of season harvest` treasures into delicious, comforting dishes. This guide focuses on `small garden cooking` strategies to ensure `using up last garden vegetables` becomes a culinary adventure, not a chore. You will learn practical ways to maximize your small batch bounty, reduce waste, and extend the enjoyment of your homegrown produce well into the cooler months.
For a quick way to keep those flavors alive, try making a simple herb salt with your remaining sprigs.
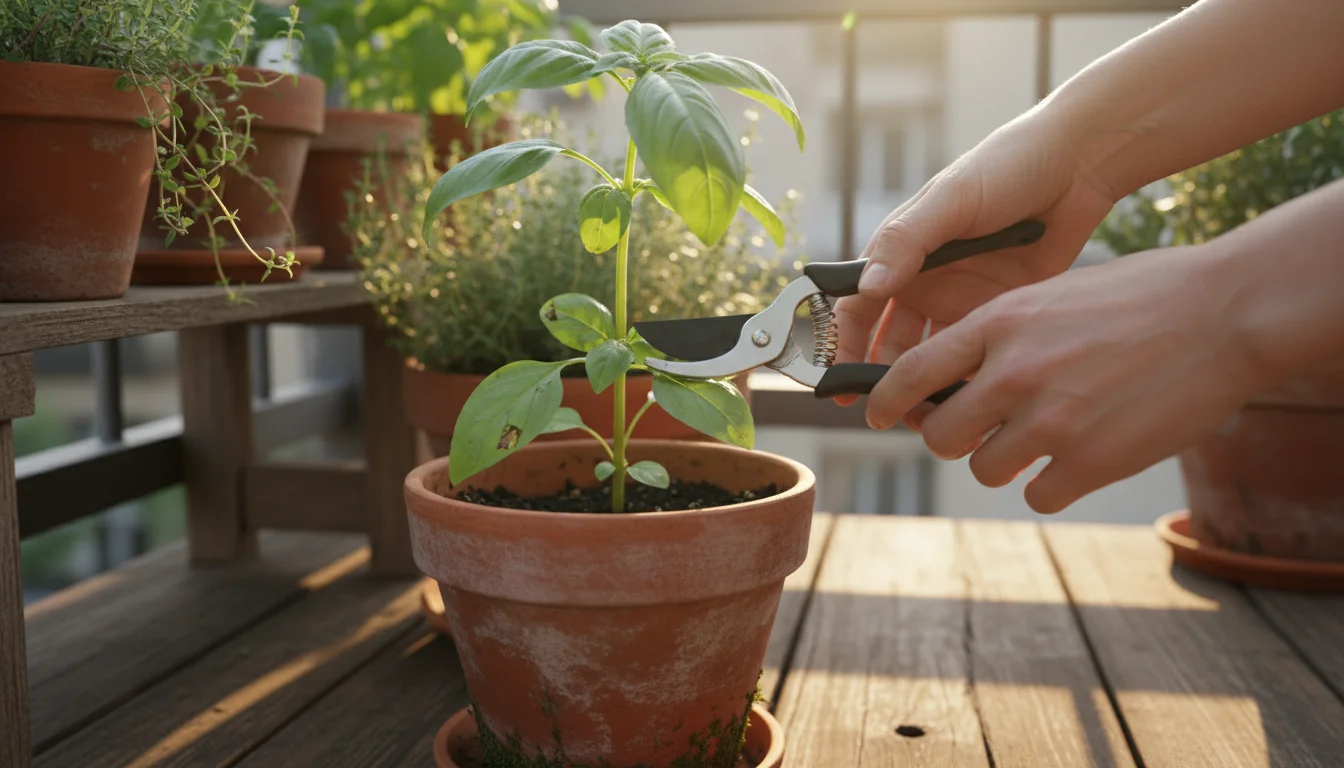
While you are gathering your vegetables, remember that you can also preserve your final herb harvest to season your winter meals.
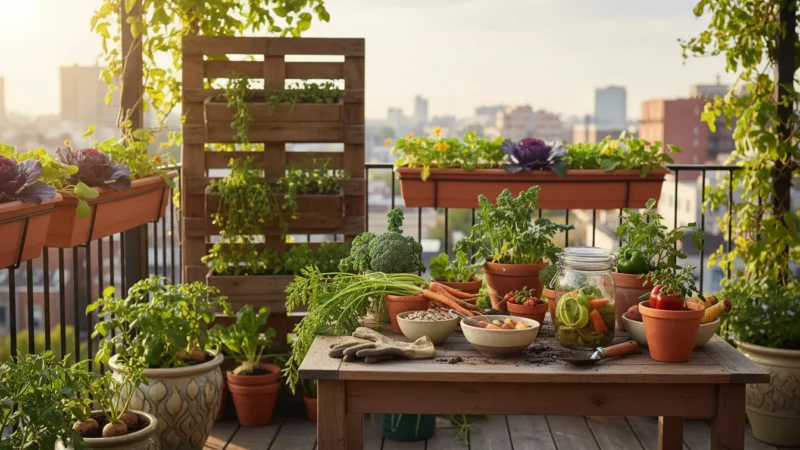
Embracing the End of the Growing Season: Why Every Last Bit Counts
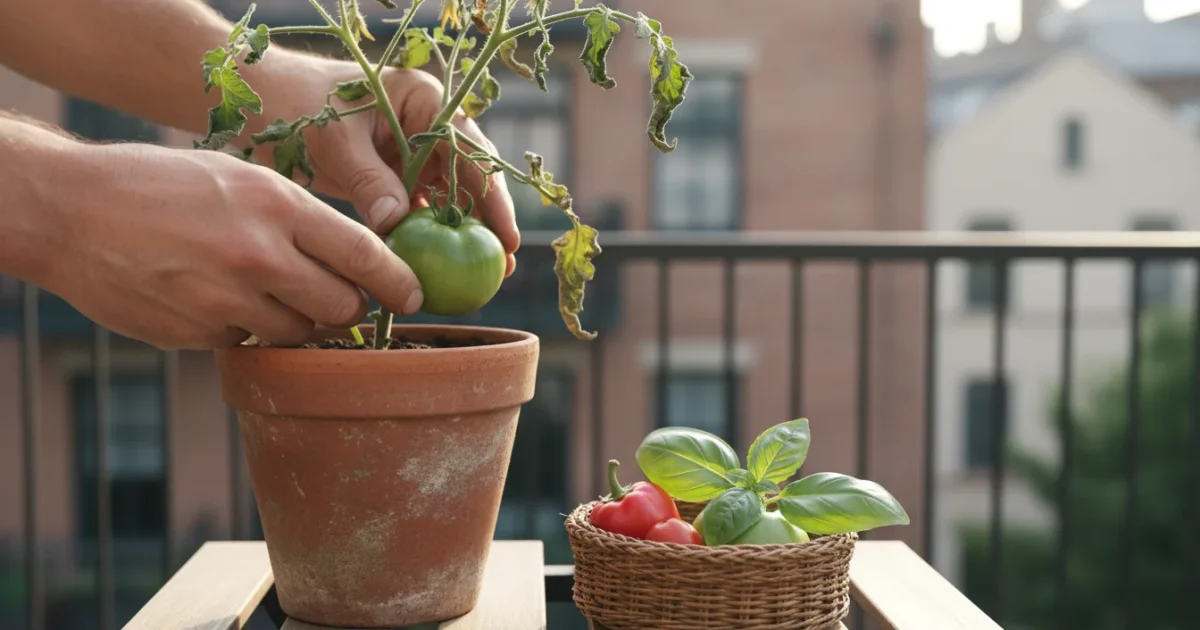
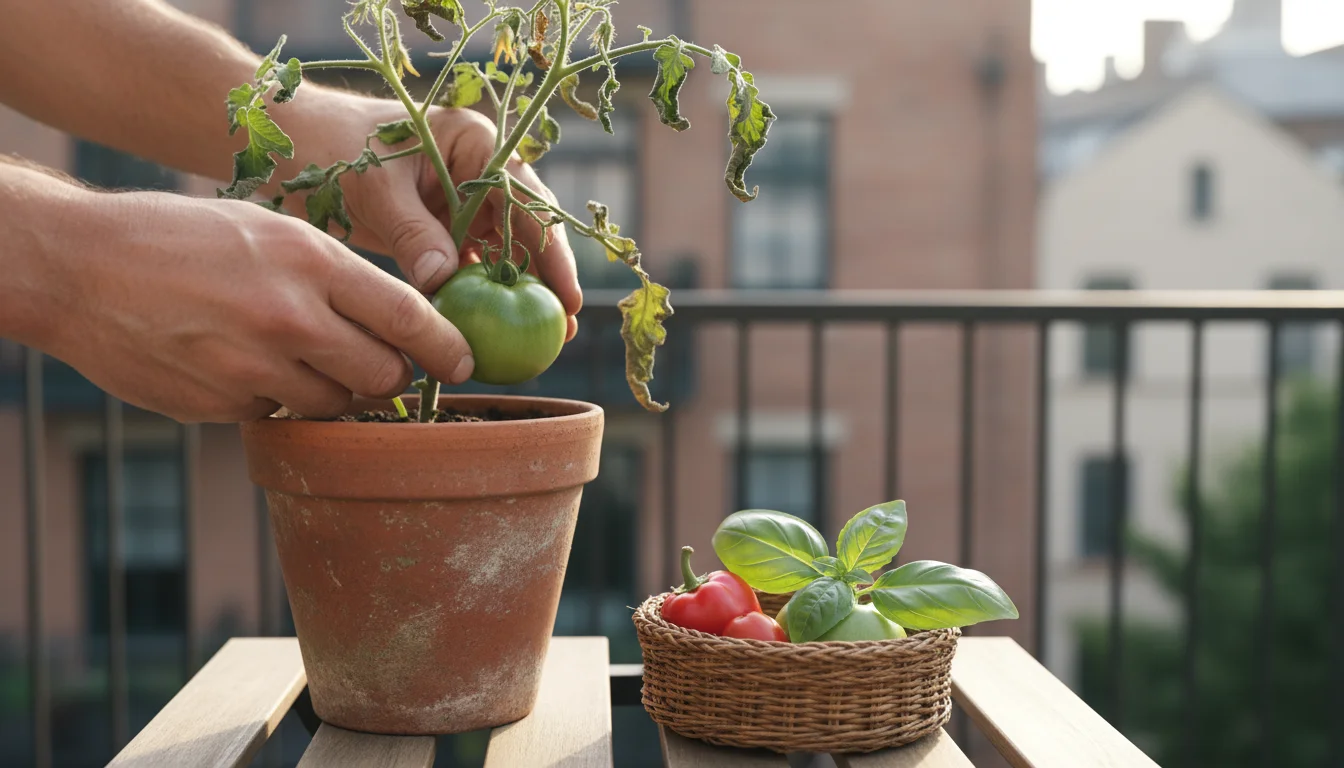
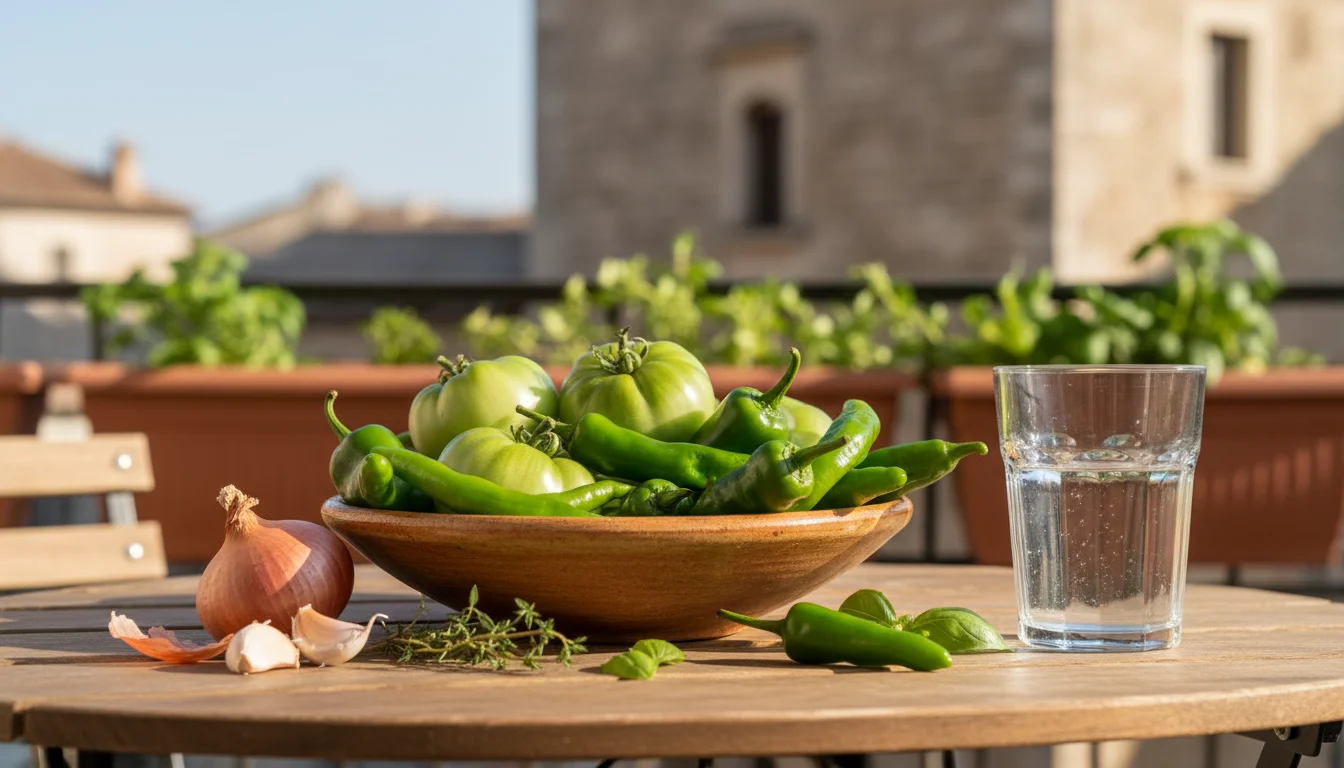
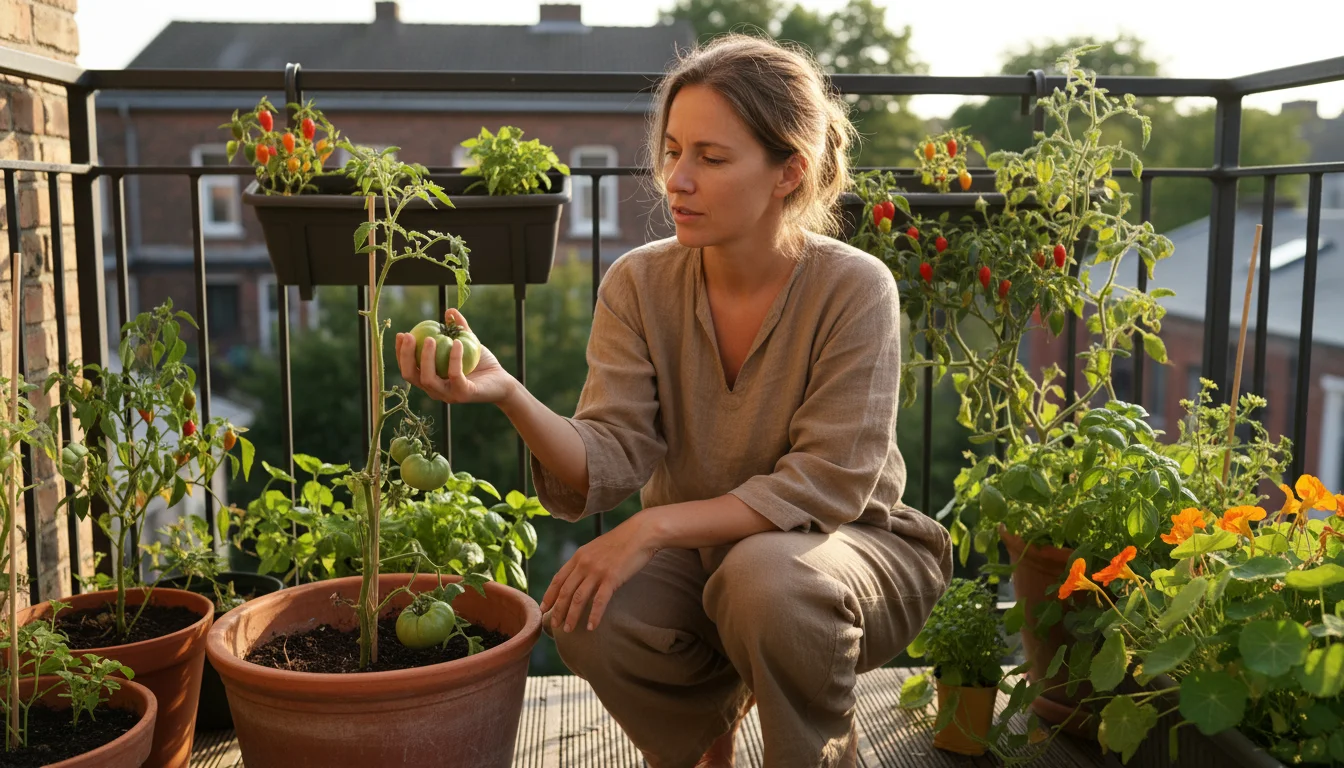
As temperatures drop and the threat of frost looms, your small garden faces its final curtain call. For many balcony and patio gardeners, this means facing a common dilemma: what to do with all those vegetables that just are not quite ripe. You might have a container brimming with green tomatoes, a pot of peppers stubbornly refusing to turn red, or a few straggling beans. This `end of season harvest` is not a loss, but rather an opportunity for creativity in your kitchen.
In addition to recipes, don’t forget that you can save seeds from your balcony garden to prepare for next spring.
You can also reflect on your season’s successes by using a garden journal to improve next year’s layout.
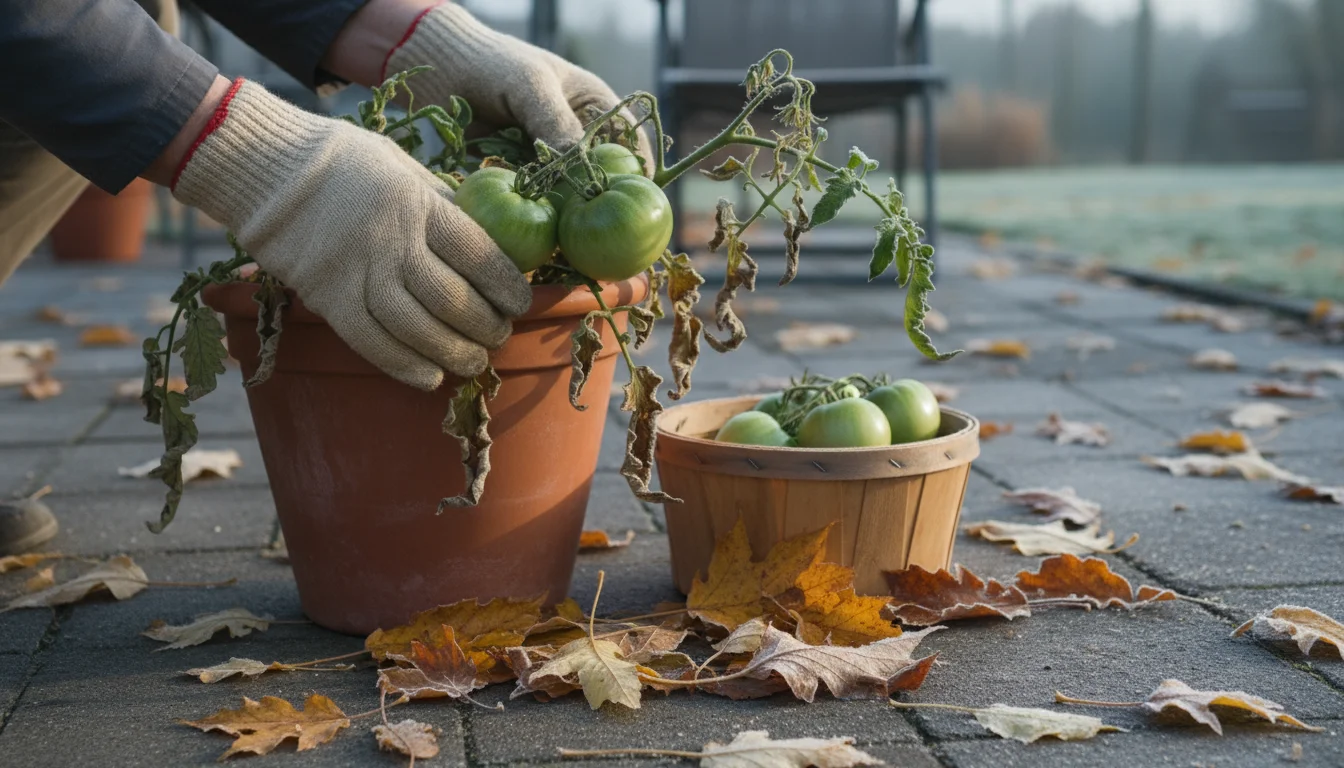
Harvesting your unripe produce before frost is crucial. Frost damages plant cells, causing vegetables to become soft, mushy, and sometimes inedible, especially for fruits like tomatoes and peppers. By actively collecting these remaining bits, you prevent waste and ensure every effort you put into your garden yields a reward. This approach aligns perfectly with our ethos of environmentally conscious gardening. You save money by using what you grew, reduce your carbon footprint by minimizing food waste, and enjoy the satisfaction of a truly sustainable cycle from garden to plate. Your small space garden provides more than just fresh food; it offers lessons in resourcefulness and appreciation for nature’s cycles. Embracing this final haul transforms a potential disappointment into a celebration of your gardening success.
Salvaging Your Green Tomatoes Before the Chill Arrives
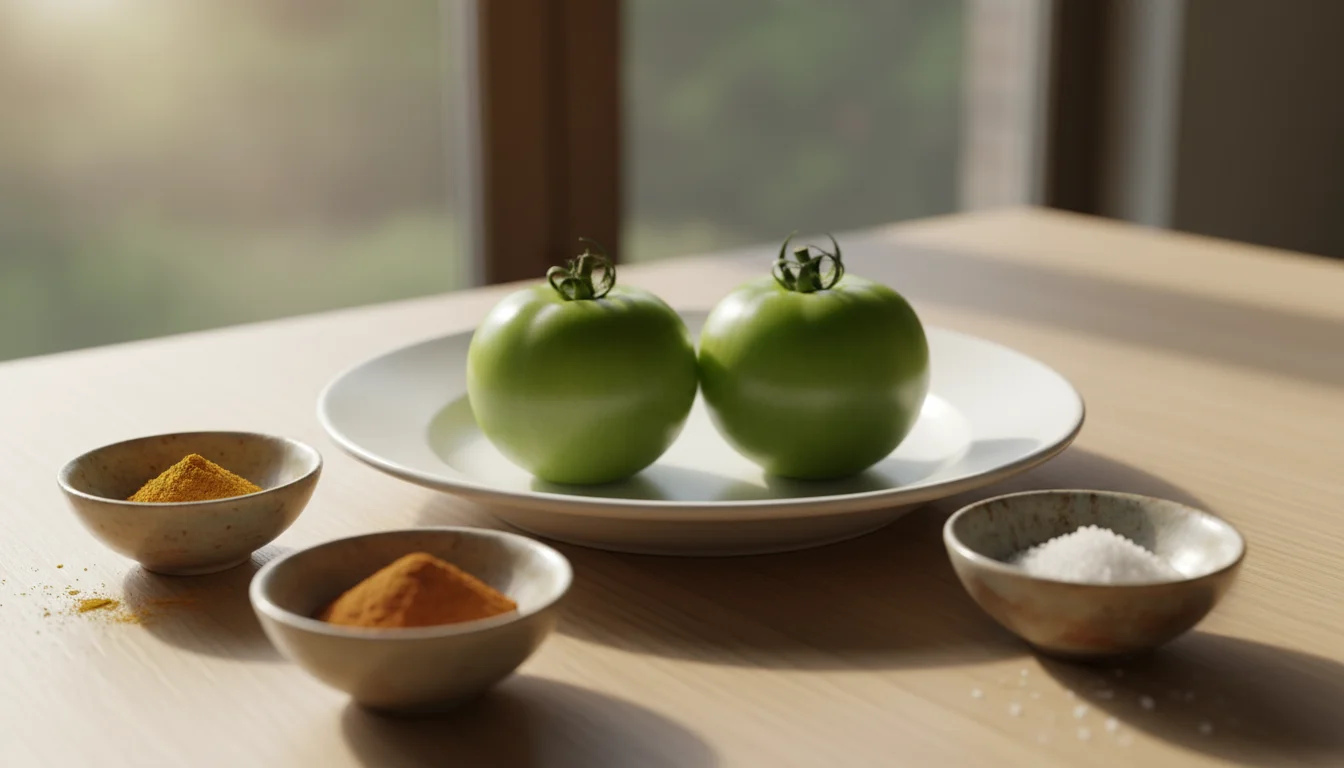
Green tomatoes are perhaps the most iconic symbol of an `end of season harvest`. They are simply tomatoes that have not yet fully ripened to their characteristic red, yellow, or orange hues. While some varieties are naturally green when ripe, most of the green tomatoes you will find at season’s end are simply unripe versions of your favorite slicing or cherry tomatoes.
If you aren’t ready to say goodbye yet, you can build a simple cold frame to extend your harvest for a few more weeks.
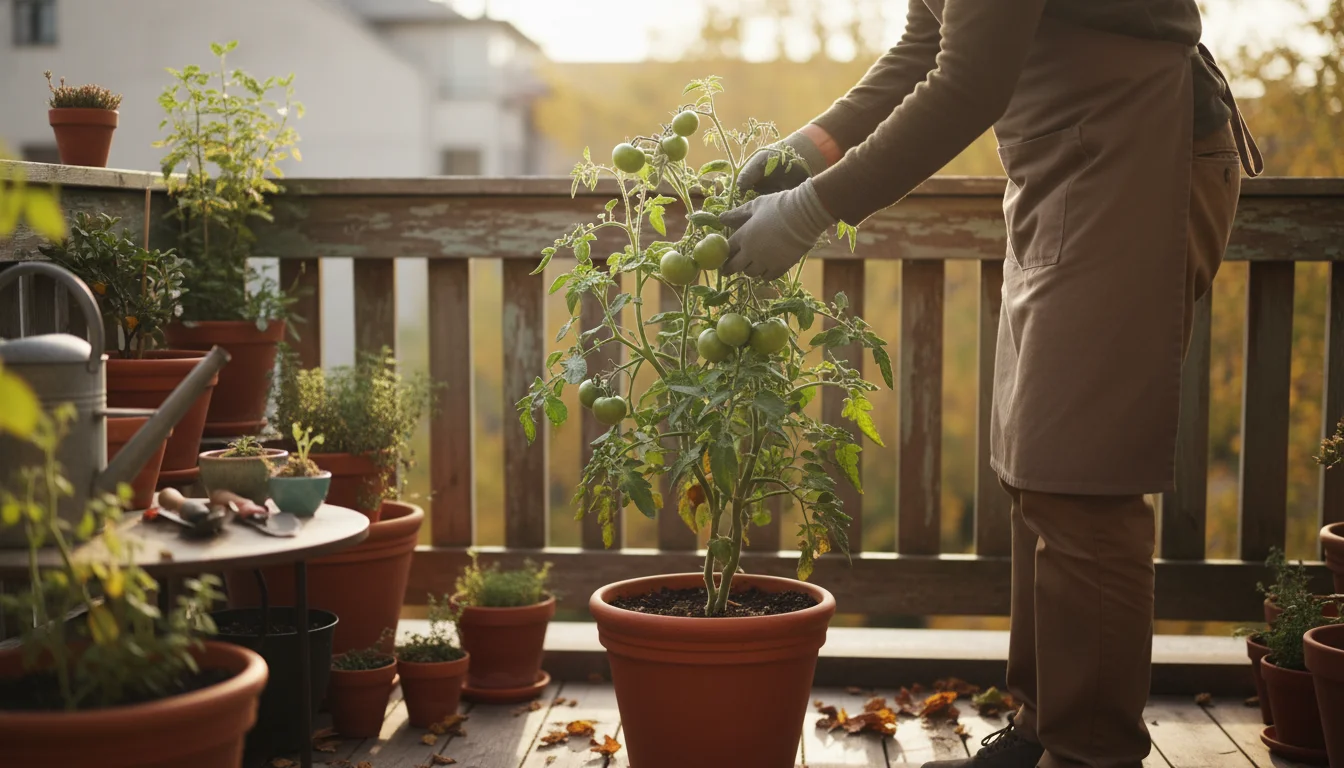
Once temperatures consistently dip below 50 degrees Fahrenheit, or when the first hard frost is predicted, it is time to pick all remaining tomatoes, regardless of their color. Leaving them on the vine past this point will prevent them from ripening further and leave them vulnerable to frost damage. To harvest, simply snip or gently twist the tomatoes from the vine, leaving a bit of stem attached if possible. You can store healthy, unblemished green tomatoes at room temperature for a week or two, which sometimes encourages a few to eventually ripen. Place them in a single layer on a counter or in a cardboard box, away from direct sunlight. However, if ripening seems unlikely or you have a large quantity, dive into `green tomato recipes` instead. Their firm texture and tart flavor offer a unique culinary profile distinct from their ripe counterparts. This tartness makes them excellent for frying, pickling, or creating savory relishes and sauces.
Tiny Peppers, Big Flavor: What to Do with Your Unripe Chillies and Sweet Varieties
Just like tomatoes, peppers often present themselves as an `end of season harvest` challenge. Many varieties, both sweet and hot, start green and change color as they mature. When frost threatens, you face the same decision: harvest them green or risk losing them. Fortunately, green peppers, both hot and sweet, offer fantastic flavor and texture. Addressing `what to do with unripe peppers before frost` is simpler than you might think.
Once the pots are cleared, there are several clever ways to use your empty garden space during the winter months.
Beyond cooking, you can find various ways to use your dried balcony herbs all winter long.
These small peppers are also wonderful additions when making gourmet herb-infused oils and vinegars from your garden leftovers.
Unripe peppers, particularly bell peppers, are often crisper and possess a slightly more bitter or herbaceous note than their fully ripened versions. Hot peppers, even when green, still pack a punch. Sometimes, a green jalapeño can be even hotter than a red one. Harvesting them is straightforward: snip them from the plant, ensuring not to damage the plant for future seasons if you live in a frost-free zone. Store green peppers in your refrigerator’s crisper drawer, where they will keep for one to two weeks. Their sturdy nature makes them incredibly versatile for `small garden cooking`, fitting into stir-fries, omelets, salsas, and even pickling projects. Do not underestimate the culinary power of these green gems. They contribute a fresh, vibrant element to your dishes, proving that an `end of season harvest` is rich with potential.

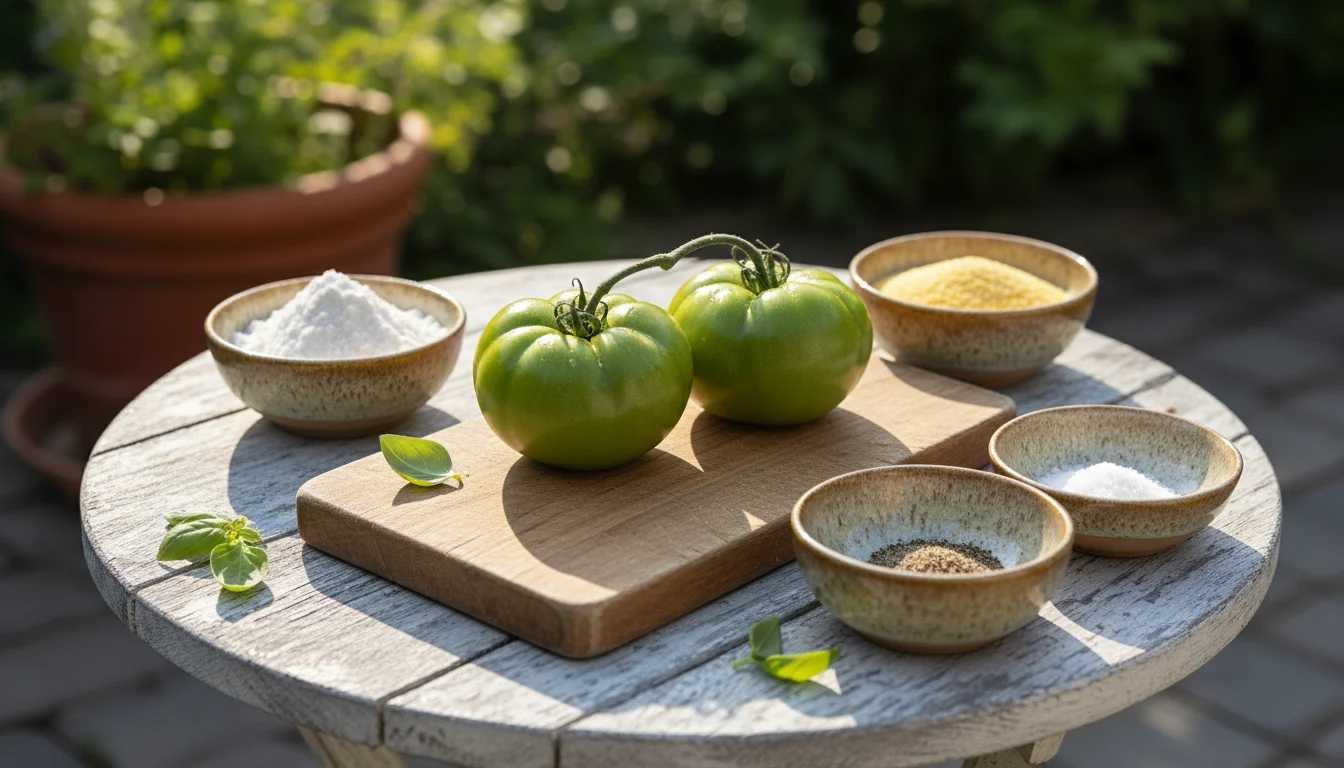
Recipe 1: Classic Small Batch Fried Green Tomatoes
Few `green tomato recipes` evoke southern charm quite like fried green tomatoes. Their crisp coating and tart, tender interior make them an irresistible treat. This `small batch fried green tomatoes recipe` is perfect for a handful of your `end of season harvest` treasures, avoiding the need for a large quantity of tomatoes or oil. You will create a satisfying side dish or appetizer that celebrates the unique flavor of your unripe tomatoes.
Yields: 2-3 servings
Prep time: 10 minutes
Cook time: 10-15 minutes
Ingredients:
- 2-3 medium-sized green tomatoes, firm and unblemished
- 1/4 cup all-purpose flour
- 1/2 teaspoon salt, plus more to taste
- 1/4 teaspoon black pepper, plus more to taste
- 1/4 cup cornmeal
- 1 large egg, whisked
- 2 tablespoons milk
- 1/4 cup vegetable oil, canola oil, or bacon fat for frying
Instructions:
- Prepare Tomatoes: Wash and thoroughly dry your green tomatoes. Slice them into 1/4-inch thick rounds. Discard the very top and bottom pieces.
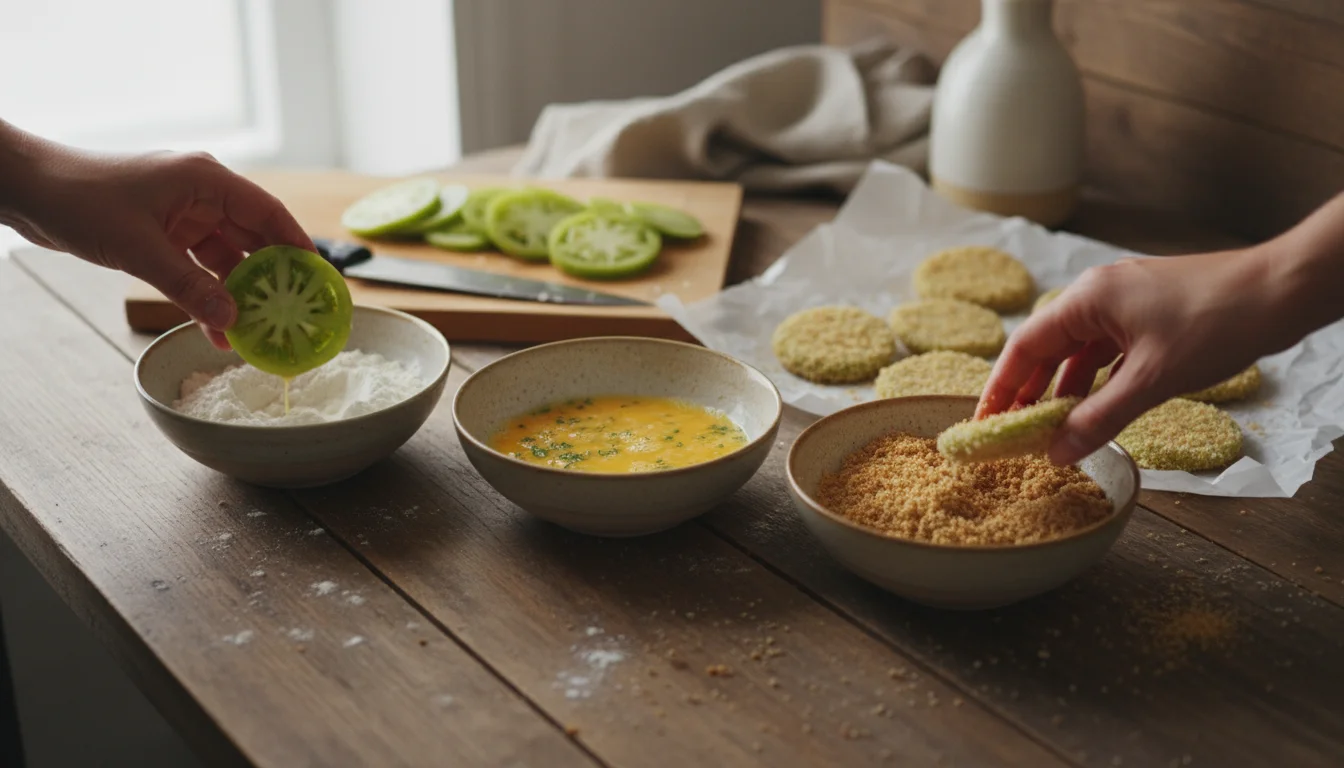
- Set Up Dredging Stations: Prepare three shallow dishes. In the first dish, combine the flour, 1/2 teaspoon salt, and 1/4 teaspoon pepper. In the second dish, whisk together the egg and milk. In the third dish, place the cornmeal.
- Coat Tomatoes: Dredge each tomato slice first in the flour mixture, shaking off any excess. Then dip it into the egg wash, ensuring full coverage. Finally, press the slice firmly into the cornmeal, coating both sides completely. Set the coated slices aside on a plate or wire rack. This helps the coating adhere better.
- Heat Oil: Heat the oil or bacon fat in a heavy-bottomed skillet over medium heat. The oil is ready when a small sprinkle of cornmeal sizzles immediately upon contact. Ensure the oil is hot enough to achieve crispiness, but not so hot that it burns the coating.
- Fry Tomatoes: Carefully place the coated tomato slices into the hot oil in a single layer, ensuring not to overcrowd the pan. Cook for 3-5 minutes per side, or until golden brown and crispy. The exact cooking time depends on the thickness of your slices and the heat of your oil.
- Drain and Season: Remove the fried tomatoes from the skillet and place them on a plate lined with paper towels to drain excess oil. Immediately sprinkle with additional salt and pepper to taste.
- Serve: Serve hot. These are wonderful on their own, with a dab of ranch dressing, or as a unique sandwich filling.
This `small batch fried green tomatoes recipe` delivers big flavor without requiring a huge commitment, making it ideal for your `small garden cooking` efforts.

Recipe 2: Tangy Green Tomato Relish – A Pantry Staple
A vibrant green tomato relish offers a fantastic way to preserve the unique tartness of your `end of season harvest` and enjoy it for months to come. This relish becomes a versatile pantry staple, perfect with grilled meats, hot dogs, sandwiches, or even stirred into potato salad. This recipe focuses on a `small garden cooking` batch, avoiding complex canning procedures while still providing a generous yield for your refrigerator.
Yields: Approximately 2-3 cups
Prep time: 20 minutes
Cook time: 45-60 minutes
Ingredients:
- 4 cups chopped green tomatoes (about 1.5-2 pounds)
- 1 cup chopped onion
- 1/2 cup chopped green bell pepper (or unripe chili pepper for a kick)
- 1/4 cup chopped celery
- 1 teaspoon salt
- 1 cup apple cider vinegar
- 1/2 cup granulated sugar
- 1 teaspoon mustard seeds
- 1/2 teaspoon celery seeds
- 1/4 teaspoon ground turmeric
- Pinch of red pepper flakes (optional, for heat)
Instructions:
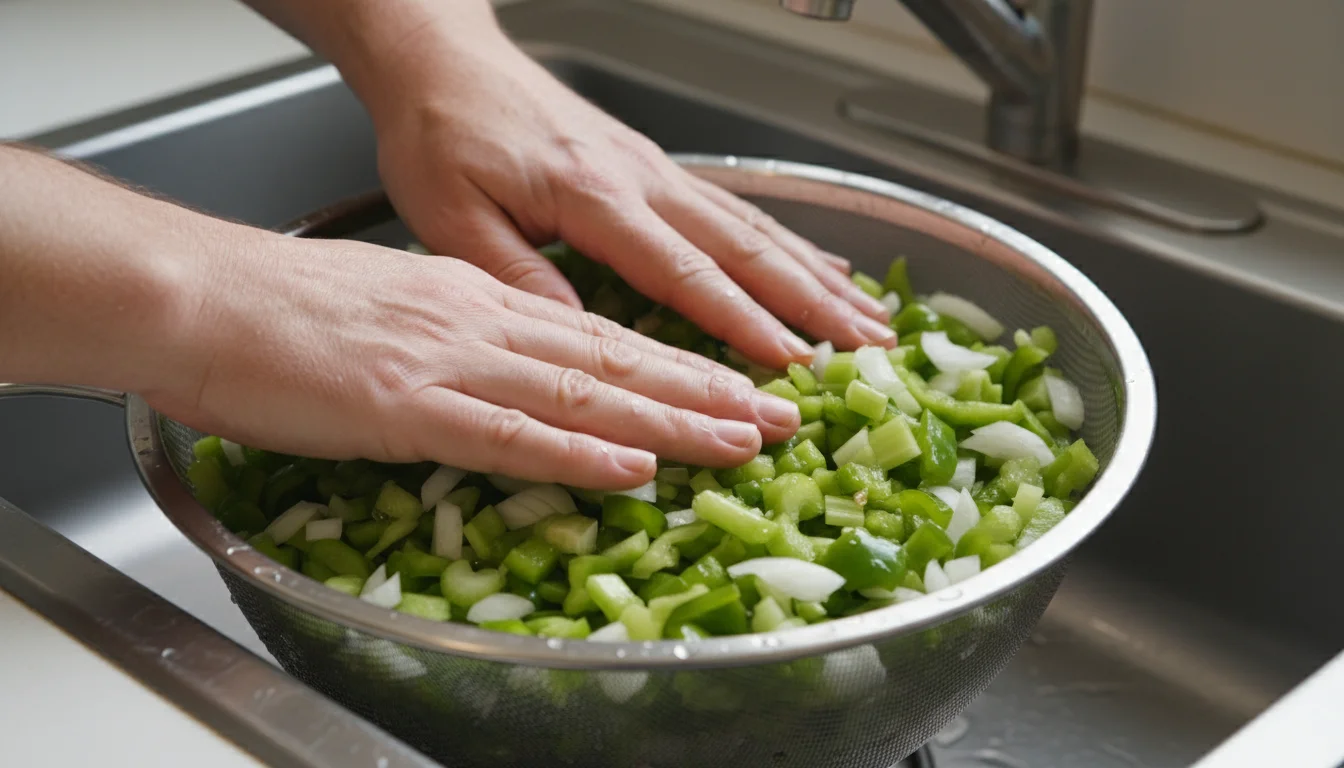
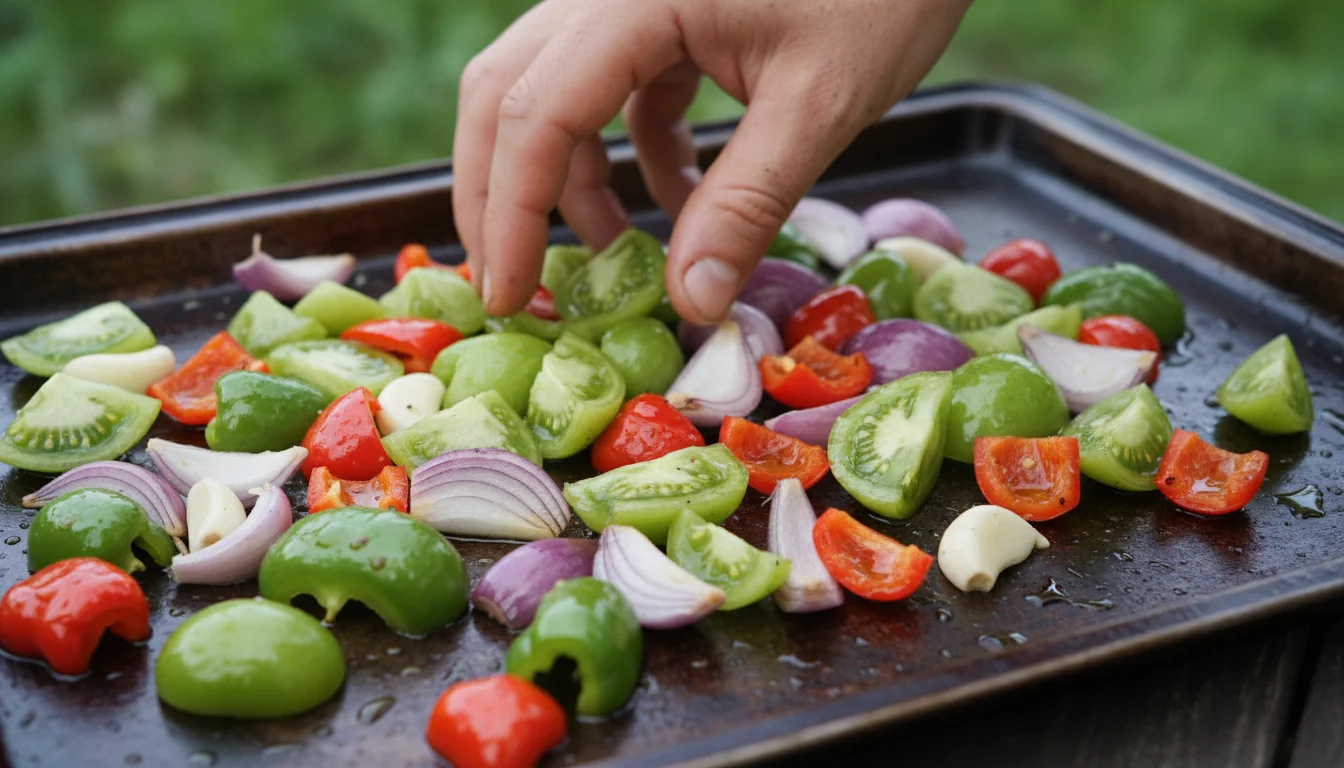
- Prepare Vegetables: Wash all vegetables thoroughly. Chop the green tomatoes, onion, green bell pepper, and celery into small, uniform pieces. You can use a food processor for this if you prefer a finer texture, but do not over-process.
- Brine Vegetables: In a large non-reactive bowl, combine the chopped vegetables with 1 teaspoon of salt. Stir well to coat. Let the mixture sit for at least 30 minutes, or up to an hour. This step draws out excess moisture and crisps the vegetables slightly.
- Drain and Rinse: After brining, drain the vegetables thoroughly in a colander. Rinse them briefly under cold water to remove excess salt, then drain again and press gently to remove as much liquid as possible.
- Combine Ingredients: In a large, non-reactive pot or Dutch oven, combine the drained vegetables, apple cider vinegar, granulated sugar, mustard seeds, celery seeds, turmeric, and optional red pepper flakes.
- Cook Relish: Bring the mixture to a boil over medium-high heat, stirring occasionally. Once boiling, reduce the heat to low and simmer gently for 45-60 minutes, or until the relish has thickened to your desired consistency and the vegetables are tender. Stir periodically to prevent sticking, especially towards the end of the cooking time.
- Jar and Store: Carefully spoon the hot relish into clean, sterilized jars. For refrigerator storage, simply allow the relish to cool completely before sealing and refrigerating. It will keep well in the refrigerator for 2-3 months. For longer-term storage, follow proper water bath canning guidelines from a trusted source, like a university extension service.
This tangy relish is a testament to `using up last garden vegetables` in a way that provides lasting enjoyment. It transforms humble green tomatoes into a flavorful condiment that elevates many meals.
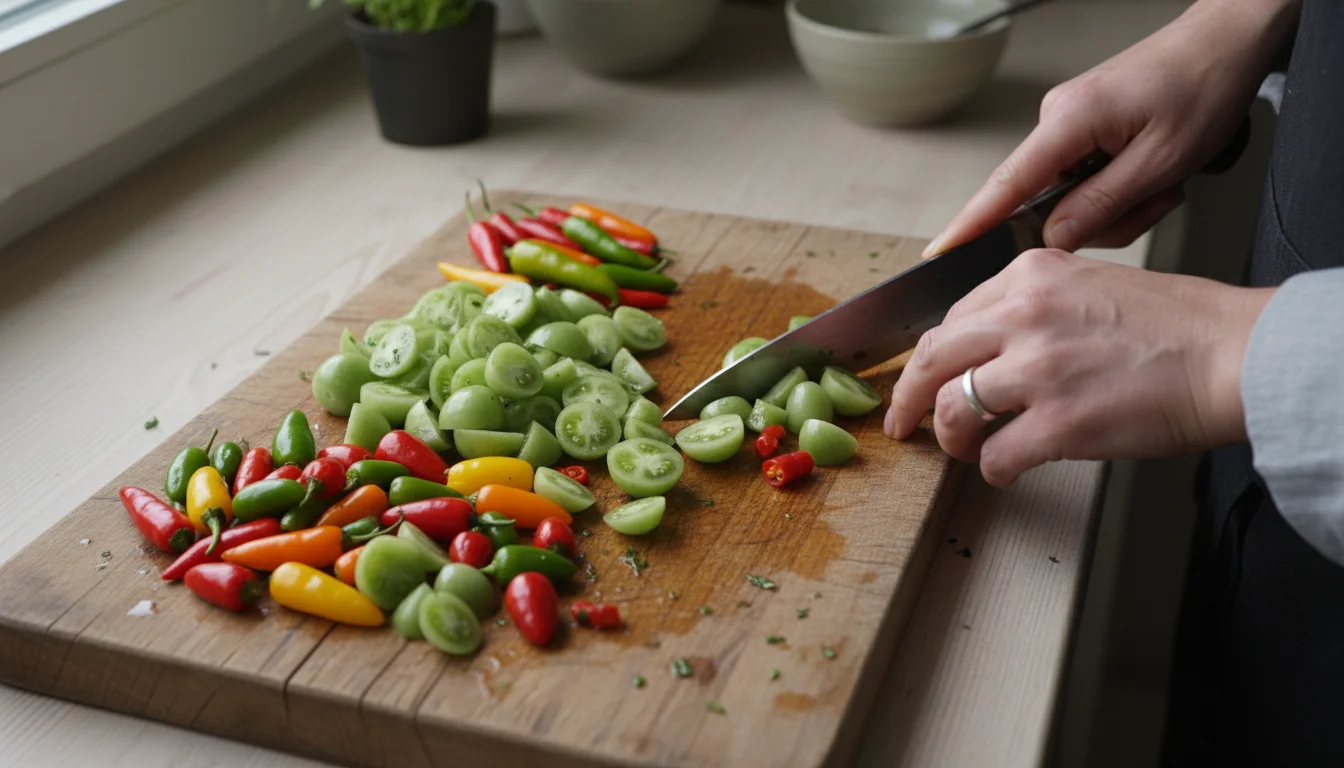
Recipe 3: Speedy Green Tomato & Pepper Salsa Verde
When you have a mix of `green tomato recipes` possibilities and `unripe peppers` from your `end of season harvest`, a fresh salsa verde is a brilliant solution. This recipe is quick, requires minimal cooking, and delivers a bright, zesty flavor that pairs wonderfully with grilled chicken, fish, eggs, or tortilla chips. It embraces `small garden cooking` by utilizing exactly what you have on hand without needing perfect proportions.
Yields: Approximately 1.5-2 cups
Prep time: 15 minutes
Cook time: 5-10 minutes (optional roasting)
Ingredients:
- 2 cups chopped green tomatoes (about 3-4 medium)
- 1-2 unripe peppers (jalapeño, serrano, or bell pepper), cored and roughly chopped
- 1/2 small onion or 2-3 green onions, roughly chopped
- 1-2 cloves garlic, peeled
- 1/4 cup fresh cilantro leaves, packed
- Juice of 1 lime (about 2 tablespoons)
- 1/2 teaspoon salt, or to taste
- Pinch of cumin (optional)
- 1 tablespoon olive oil (optional, for roasting)
Instructions:
- Optional Roasting for Depth: For a richer flavor, you can briefly roast the green tomatoes, peppers, onion, and garlic. Toss them with 1 tablespoon of olive oil and spread them on a baking sheet. Roast in a preheated oven at 400°F (200°C) for 5-10 minutes, or until slightly softened and lightly charred. This step is optional, but it deepens the flavor profile. If skipping roasting, use all ingredients raw.
- Combine Ingredients: Place the chopped green tomatoes, unripe peppers, onion, garlic, cilantro, lime juice, salt, and optional cumin into a food processor or blender.
- Process to Desired Consistency: Pulse the ingredients until you reach your desired salsa consistency. Some people prefer a chunkier salsa, while others like it smoother. Be careful not to over-process, as it can make the salsa watery.
- Taste and Adjust: Taste the salsa and adjust seasonings as needed. You might want more salt, a touch more lime juice, or an extra pinch of cumin. For added heat, include more unripe hot peppers or leave some seeds in.
- Serve: Transfer the salsa verde to a bowl. Serve immediately or cover and refrigerate for at least 30 minutes to allow the flavors to meld. This salsa keeps well in the refrigerator for up to 5 days.
This simple `green tomato recipes` approach, enhanced by your `unripe peppers`, makes a flavorful contribution to any meal. It is an excellent example of creative `small garden cooking` that is both easy and delicious.
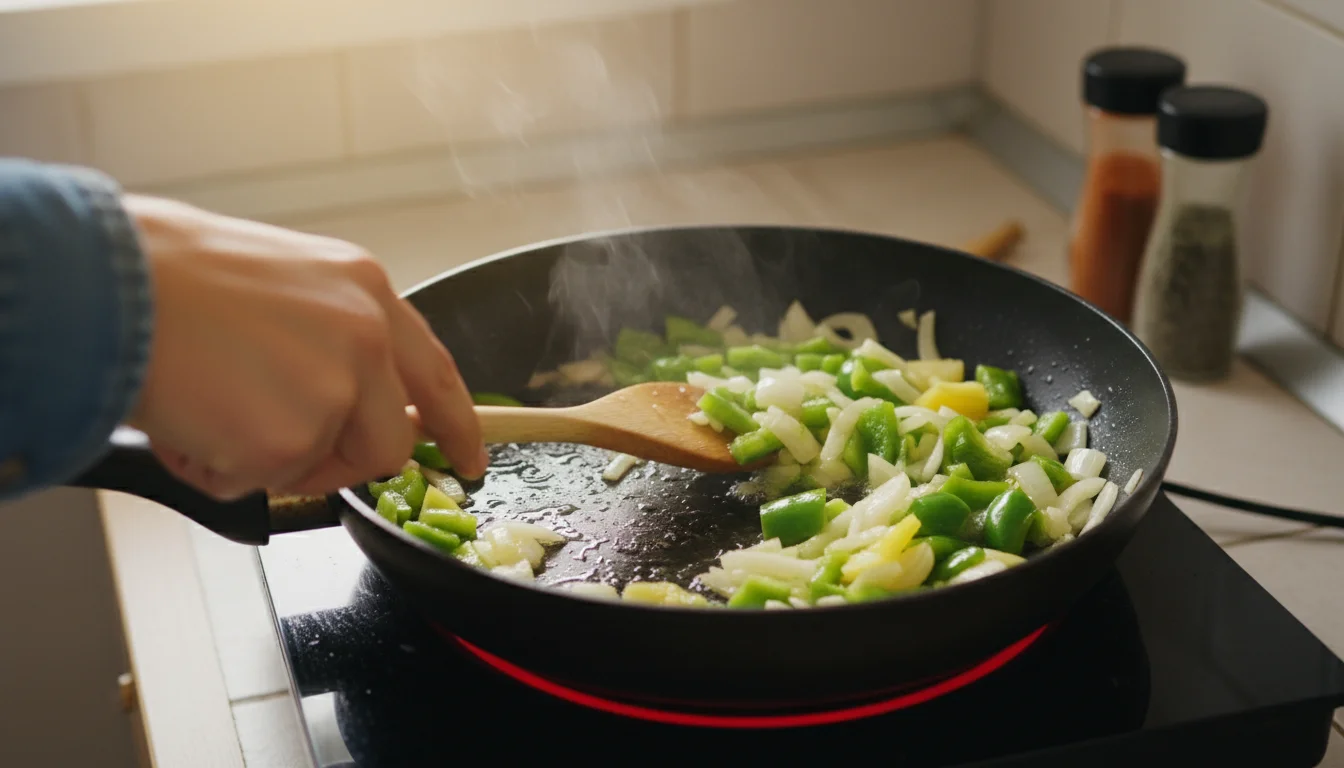
Recipe 4: Pan-Fried Unripe Pepper & Onion Scramble
When `what to do with unripe peppers before frost` includes a quick, satisfying meal, a pan-fried scramble is an excellent choice. This recipe highlights the crisp texture and fresh flavor of your green peppers, transforming them into a hearty breakfast, brunch, or even a light dinner. It is a perfect `small garden cooking` solution for those small quantities of peppers and other lingering vegetables.
Yields: 1-2 servings
Prep time: 5 minutes
Cook time: 10-12 minutes
Ingredients:
- 1-2 unripe peppers (bell, jalapeño, or a mix), cored and diced
- 1/4 medium onion, diced
- 1 tablespoon olive oil or butter
- 2-3 large eggs
- 2 tablespoons milk or cream (optional, for fluffier eggs)
- Salt and black pepper to taste
- Optional: A handful of other `using up last garden vegetables` like spinach, cherry tomatoes (if ripe), or kale
- Optional: Grated cheese for serving
Instructions:
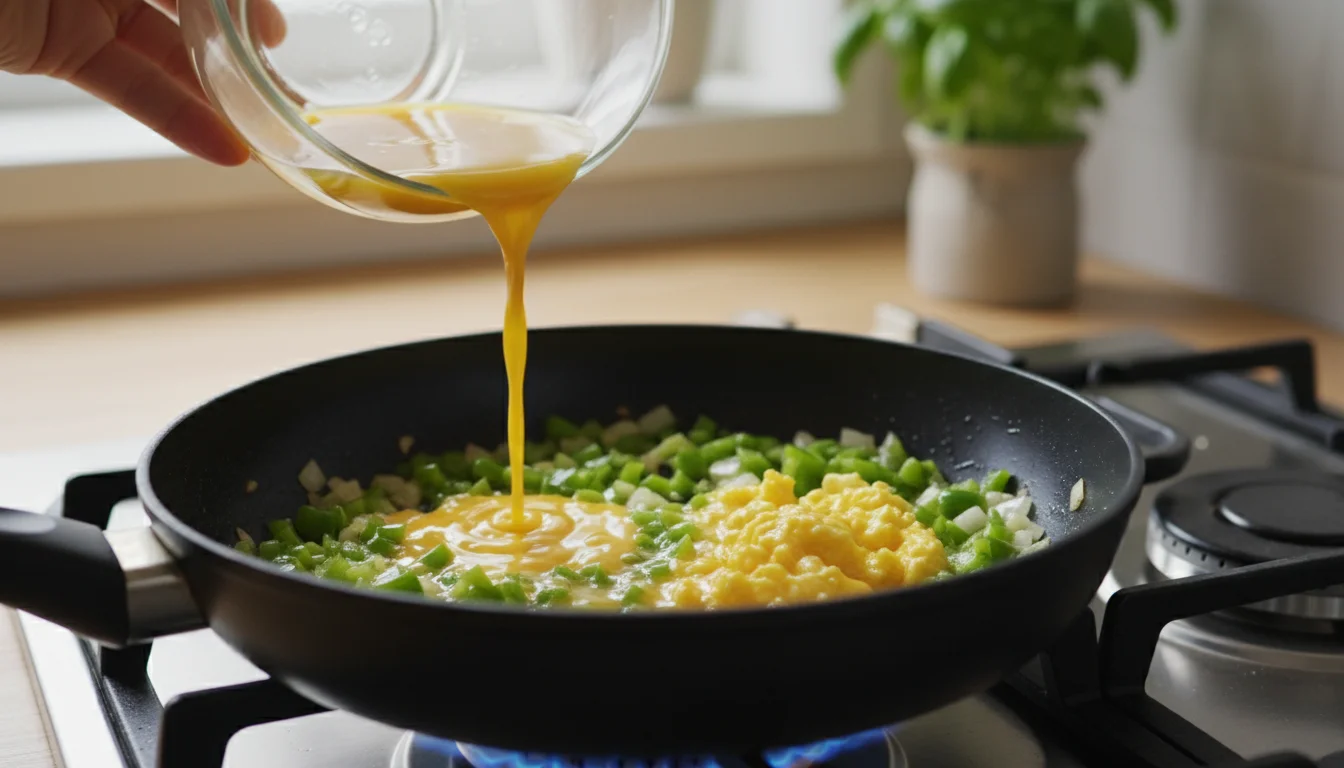
- Sauté Vegetables: Heat the olive oil or butter in a non-stick skillet over medium heat. Add the diced unripe peppers and onion. Cook, stirring occasionally, for 5-7 minutes, or until the vegetables have softened slightly and the onion is translucent. If adding other optional vegetables like spinach or kale, add them during the last 2-3 minutes of this step until wilted.
- Prepare Eggs: While the vegetables cook, whisk the eggs in a small bowl with milk or cream (if using), salt, and pepper until well combined.
- Add Eggs to Skillet: Pour the whisked eggs over the sautéed vegetables in the skillet. Reduce the heat to medium-low.
- Scramble: As the edges of the eggs begin to set, gently push the cooked portions towards the center of the pan with a spatula, allowing the uncooked egg to flow underneath. Continue this process until the eggs are cooked to your desired consistency. For soft scrambled eggs, remove from heat when they are still slightly wet.
- Serve: Serve immediately. Garnish with grated cheese if desired. This scramble makes a delicious meal on its own or alongside toast.
This simple yet flavorful recipe provides a practical answer to `what to do with unripe peppers before frost`, ensuring no part of your `end of season harvest` goes to waste.

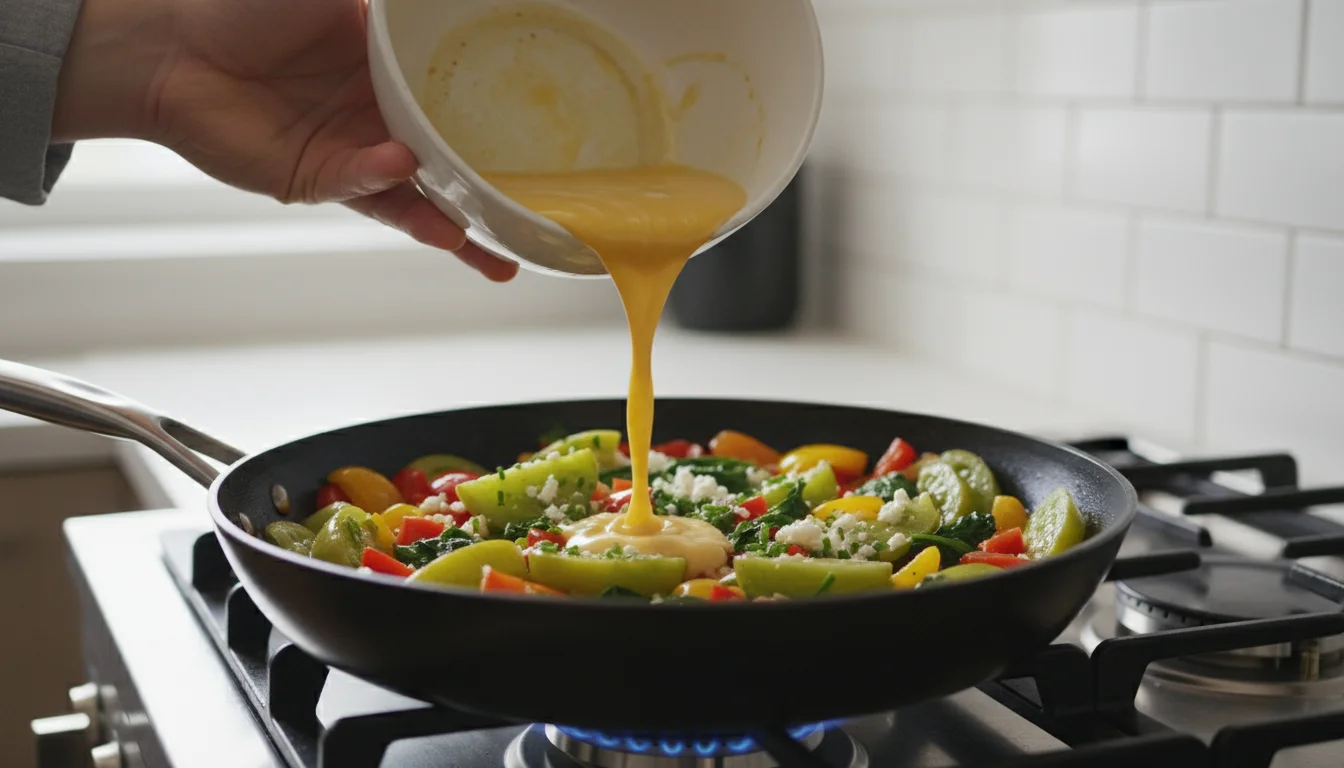
Recipe 5: Late-Season Garden Vegetable Frittata (or Mini Muffins!)
A frittata is the ultimate clean-out-the-fridge meal, and it is absolutely perfect for `using up last garden vegetables` from your small plot. Whether you have tiny eggplants, small zucchini, a few sprigs of herbs, or those final cherry tomatoes, a frittata combines them into a delicious, nutrient-packed dish. For small-space gardeners with limited harvests, turning this into individual frittata muffins offers convenient portioning and easy freezing.
Yields: 4-6 servings (or 12 mini muffins)
Prep time: 15 minutes
Cook time: 20-25 minutes (frittata), 15-20 minutes (muffins)
Ingredients:
- 6 large eggs
- 1/4 cup milk or cream
- 1/2 teaspoon salt
- 1/4 teaspoon black pepper
- 1 tablespoon olive oil
- 1 cup mixed chopped `end of season harvest` vegetables (e.g., green tomatoes, unripe peppers, zucchini, spinach, kale, small eggplant, herbs)
- 1/4 cup shredded cheese (optional)
Instructions for Frittata:
- Preheat Oven & Skillet: Preheat your oven to 350°F (175°C). Heat the olive oil in an oven-safe 8-inch or 10-inch non-stick skillet over medium heat.
- Sauté Vegetables: Add your chopped vegetables to the skillet. If using tougher vegetables like unripe peppers or zucchini, sauté for 5-7 minutes until slightly softened. If using softer greens like spinach or herbs, add them in the last 2 minutes until just wilted. Evenly spread the cooked vegetables across the bottom of the skillet.
- Prepare Egg Mixture: In a medium bowl, whisk together the eggs, milk or cream, salt, and pepper until well combined and slightly frothy. Stir in the shredded cheese if using.
- Combine & Cook on Stovetop: Pour the egg mixture evenly over the vegetables in the skillet. Cook on the stovetop for 3-5 minutes, without stirring, until the edges begin to set.
- Finish in Oven: Transfer the skillet to the preheated oven. Bake for 15-20 minutes, or until the frittata is puffed, set in the center, and lightly golden.
- Serve: Let the frittata cool for a few minutes before slicing and serving warm or at room temperature.

Instructions for Mini Frittata Muffins:
- Prepare Oven & Muffin Tin: Preheat oven to 350°F (175°C). Lightly grease a 12-cup muffin tin or line with paper liners.
- Sauté Vegetables: Follow step 2 of the frittata instructions, sautéing your chosen vegetables. Allow them to cool slightly.
- Prepare Egg Mixture: Follow step 3 of the frittata instructions. Stir in the cooled sautéed vegetables.
- Fill Muffin Tin: Divide the egg and vegetable mixture evenly among the 12 muffin cups.
- Bake: Bake for 15-20 minutes, or until the muffins are set and lightly golden.
- Serve or Store: Let cool slightly before removing from the muffin tin. These are excellent for meal prep; store in the refrigerator for up to 4 days or freeze for up to 2 months.
This versatile recipe ensures your `small garden cooking` is both efficient and delicious, making the most of every last harvest.
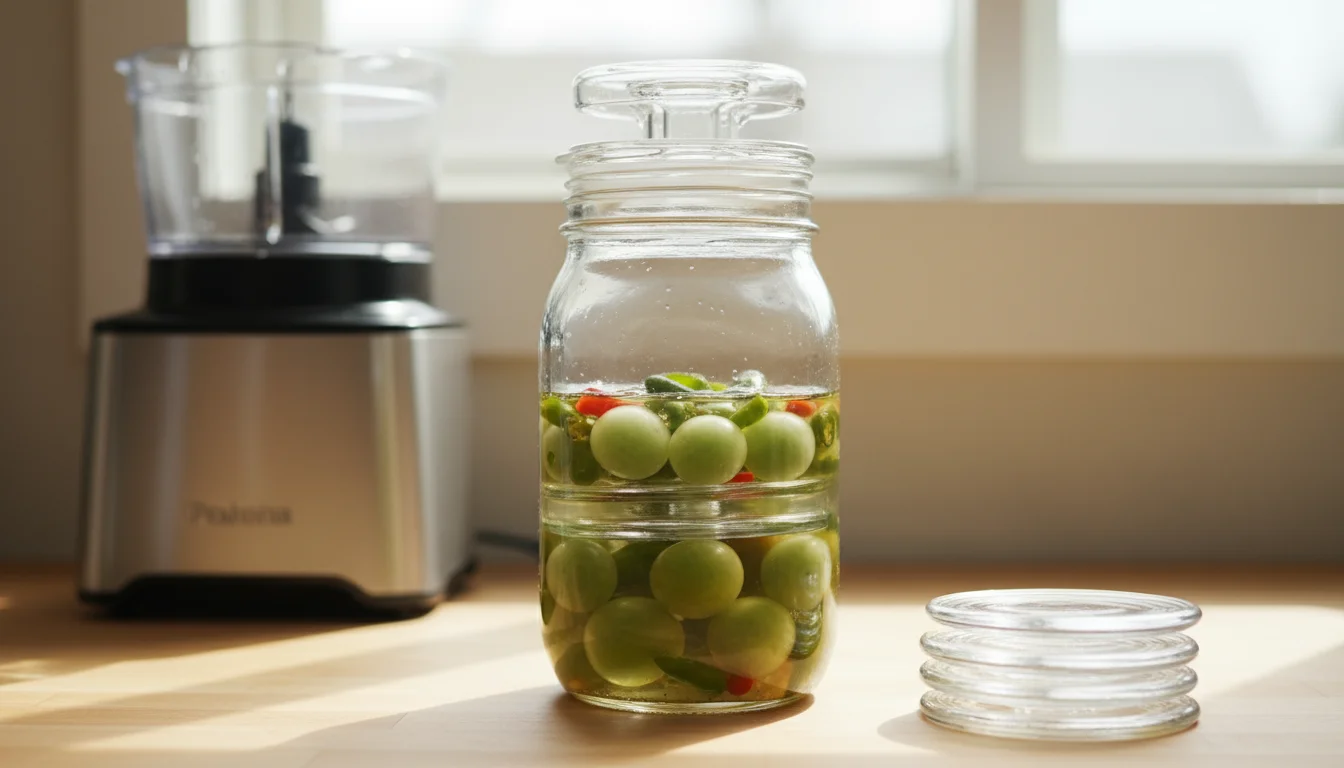
Recipe 6: Fermented Green Tomato & Chili Hot Sauce
Fermentation offers a fantastic, eco-friendly way to preserve your `end of season harvest`, especially for `green tomato recipes` and `unripe peppers`. This method not only extends shelf life but also introduces beneficial probiotics and complex flavors. Making a small batch fermented hot sauce is a rewarding `small garden cooking` project, transforming your last chilies and green tomatoes into a fiery condiment.
Yields: Approximately 1.5-2 cups
Prep time: 20 minutes
Fermentation time: 5-10 days
Active processing time: 10 minutes
Ingredients:
- 1.5 cups chopped green tomatoes
- 1 cup chopped unripe peppers (e.g., jalapeños, serranos, or a mix of mild and hot), stems removed
- 1/4 small onion, roughly chopped
- 2-3 cloves garlic, peeled
- 2 tablespoons non-iodized salt (important for fermentation)
- 2 cups filtered water (chlorine-free)
- Optional flavorings: a few sprigs of cilantro, a small piece of ginger
Equipment:
- 1-quart wide-mouth jar with a fermentation lid or airlock (or a standard lid and burping daily)
- Small weights (e.g., glass fermentation weights) to keep vegetables submerged
- Food processor or blender
Instructions:
- Prepare Brine: In a clean jar, dissolve the non-iodized salt in filtered water to create your brine. Stir until fully dissolved.
- Prepare Vegetables: Wash and chop the green tomatoes, unripe peppers, onion, and garlic. If using optional flavorings, add them now.
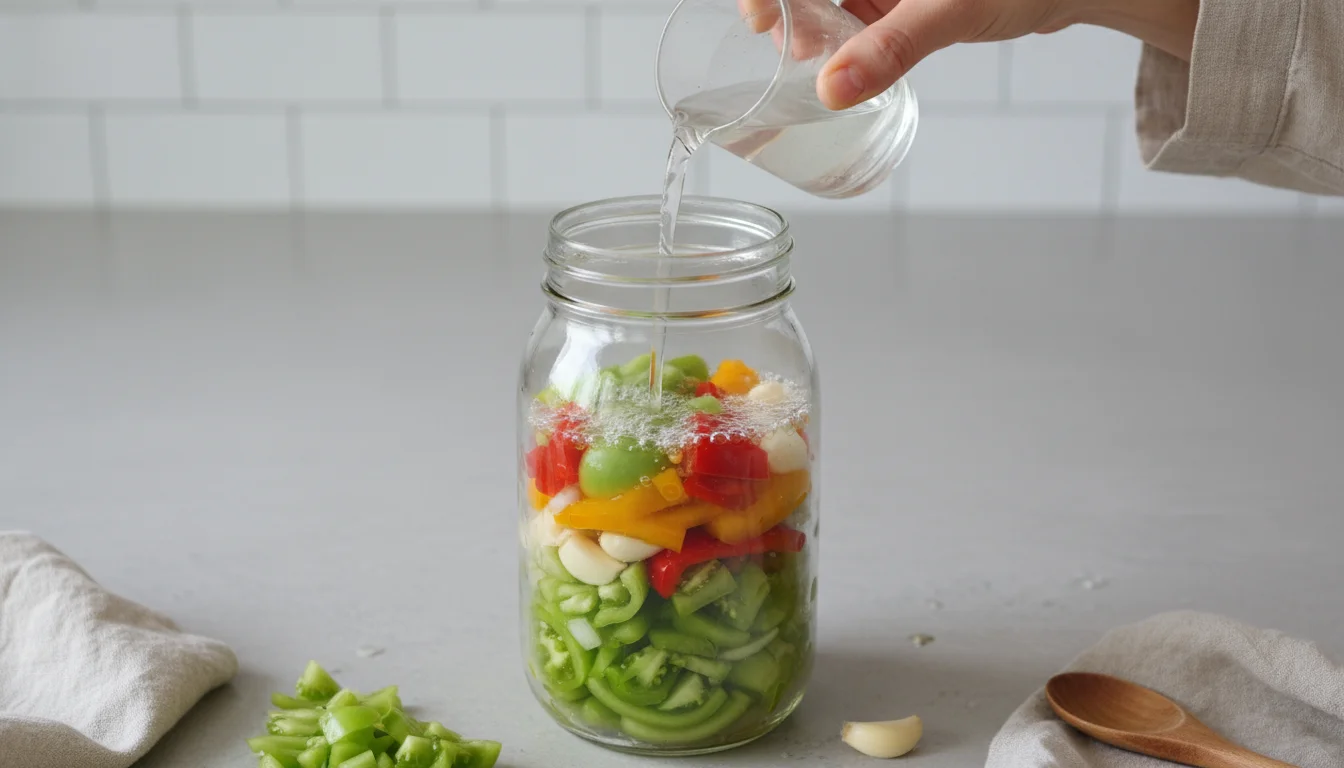
- Pack the Jar: Carefully pack the chopped vegetables into the clean 1-quart jar. Press them down gently.
- Add Brine and Weights: Pour the salt brine over the vegetables, ensuring they are completely submerged. Place a fermentation weight on top to keep all vegetables under the brine. This is crucial to prevent mold growth.
- Seal and Ferment: Secure the fermentation lid or airlock onto the jar. If using a standard lid, simply screw it on loosely or “burp” the jar daily by opening it briefly to release built-up gases. Store the jar in a cool, dark place (around 65-75°F or 18-24°C) for 5-10 days. You will observe bubbling activity, which indicates active fermentation. The brine may become cloudy.
- Taste and Adjust Fermentation: Begin tasting the brine after 5 days. When it reaches a pleasant tangy, slightly spicy, and acidic flavor that you enjoy, the fermentation is complete. Longer fermentation yields more complex, sour flavors.
- Process into Hot Sauce: Once fermented, drain the vegetables, reserving about 1/2 cup of the brine. Transfer the fermented vegetables and garlic to a food processor or blender. Add 1/4 cup of the reserved brine. Process until smooth. If the sauce is too thick, add more brine, a tablespoon at a time, until you reach your desired consistency.
- Strain (Optional): For a smoother sauce, pass the blended mixture through a fine-mesh sieve, pressing on the solids to extract all liquid. Discard the pulp. For a chunkier sauce, skip this step.
- Bottle and Store: Pour the finished hot sauce into clean bottles. Store in the refrigerator. Fermented hot sauce can last for several months in the fridge due to its acidity.
This `green tomato recipes` adventure transforms your final harvest into a flavorful, probiotic-rich condiment, demonstrating how `using up last garden vegetables` can lead to exciting culinary creations.
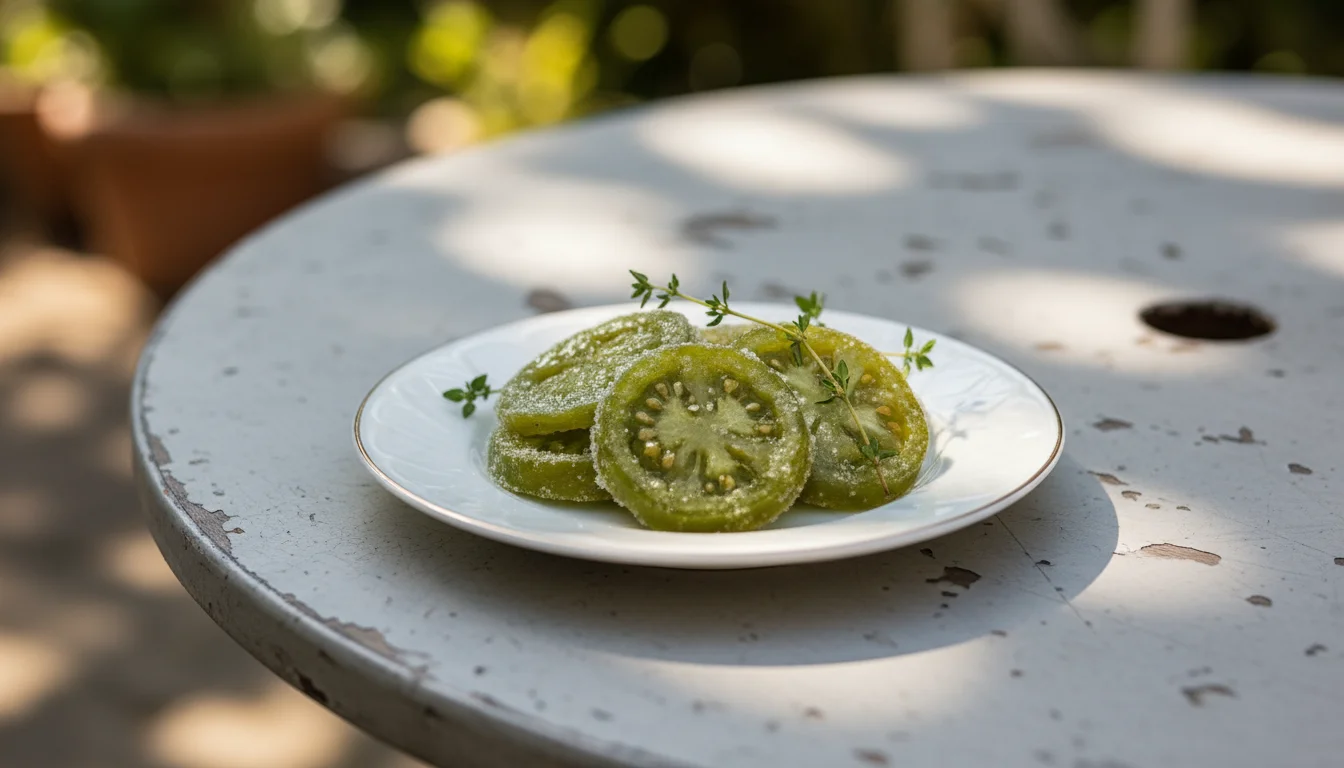
Recipe 7: Sweet & Savory Candied Green Tomato Slices
For a truly unique way to use your `end of season harvest` of green tomatoes, consider candying them. This method transforms their tartness into a delightful sweet and savory treat, perfect for `small garden cooking` experiments. These candied slices make an unexpected topping for ice cream, a delicious addition to cheese boards, or a sweet-tart garnish for desserts. They showcase the incredible versatility of `green tomato recipes`.
Yields: Approximately 1 cup
Prep time: 15 minutes
Cook time: 1-1.5 hours
Ingredients:
- 2 medium green tomatoes, firm and unblemished
- 1 cup granulated sugar
- 1/2 cup water
- 1/4 cup apple cider vinegar
- 1/2 teaspoon ground ginger
- 1/4 teaspoon ground cinnamon
- Pinch of ground cloves (optional)
- Zest of 1 lemon (optional)
Instructions:
- Prepare Tomatoes: Wash the green tomatoes thoroughly. Slice them into very thin rounds, about 1/8-inch thick. Using a mandoline slicer ensures uniform thickness, which is important for even cooking.
- Prepare Syrup: In a medium, heavy-bottomed saucepan, combine the sugar, water, apple cider vinegar, ground ginger, cinnamon, and optional cloves and lemon zest. Bring the mixture to a simmer over medium heat, stirring until the sugar dissolves completely.
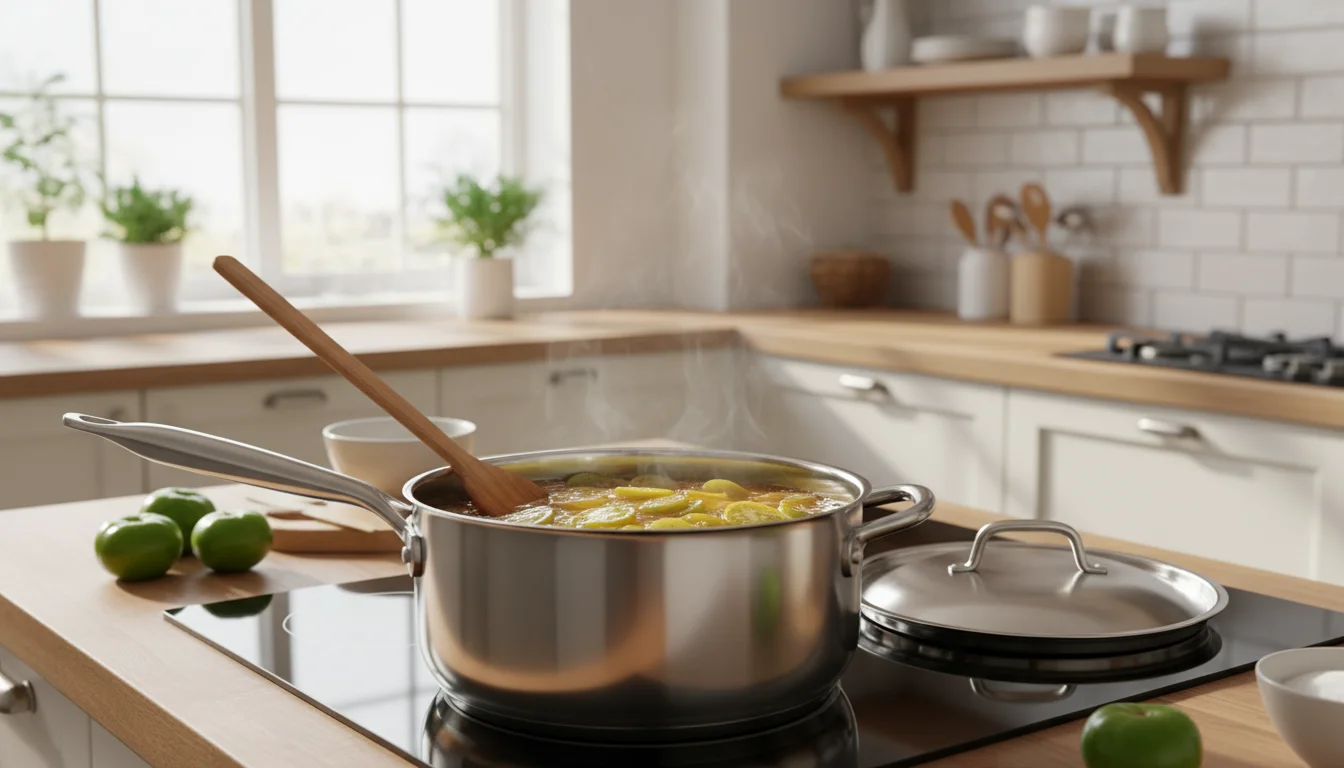
- Add Tomatoes: Gently add the thinly sliced green tomatoes to the simmering syrup. Ensure the slices are mostly submerged. You may need to cook in batches if your pan is too small to comfortably hold all slices in a single layer.
- Simmer and Candy: Reduce the heat to low and simmer very gently. Cook for 1 to 1.5 hours, or until the green tomato slices become translucent and the syrup has thickened considerably. Stir very gently and occasionally to prevent sticking and ensure even cooking. The goal is for the tomatoes to absorb the syrup and become tender.
- Cool and Store: Carefully remove the candied green tomato slices from the syrup and lay them in a single layer on a piece of parchment paper or a wire rack set over a baking sheet. Allow them to cool completely. They will become chewier as they cool.
- Serve: Once cool, you can store the candied slices in an airtight container at room temperature for up to two weeks, or in the refrigerator for longer. Serve them as a unique garnish, a sweet snack, or a surprising addition to your culinary creations.
This unconventional `green tomato recipes` approach demonstrates the exciting possibilities when `using up last garden vegetables`, encouraging adventurous `small garden cooking`.
Troubleshooting Your End-of-Season Harvest & Storage
Even with the best intentions for your `end of season harvest`, sometimes challenges arise. Knowing how to troubleshoot and properly store your final garden vegetables ensures you maximize your bounty and reduce waste.
Dealing with Blemished Produce: Not every green tomato or unripe pepper will be perfect. If you find small blemishes, soft spots, or minor insect damage, simply cut away the affected portions. The healthy parts are still perfectly fine for your `small garden cooking`. However, discard anything with significant mold or rot. Your judgment is key here; if it looks or smells bad, it is best to err on the side of caution.
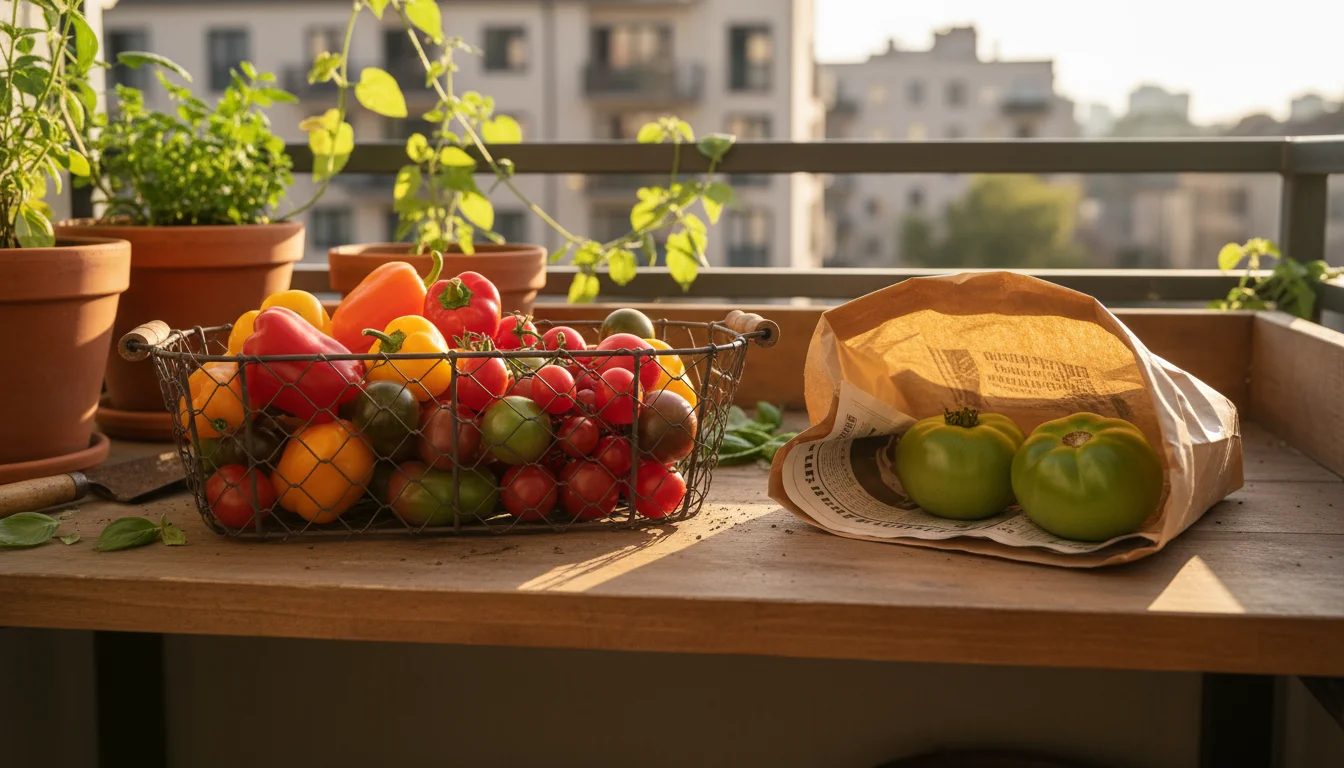
Extending Green Tomato Ripening Indoors: While these `green tomato recipes` are fantastic, you might want a few more ripe ones. Place healthy, unblemished green tomatoes in a paper bag with a ripe banana or apple. The ethylene gas released by the ripe fruit can encourage ripening. Check them daily and remove any that ripen or show signs of spoilage. This method works best for tomatoes that have begun to show a slight blush of color.
Preventing Spoilage in Stored Produce:
- Airflow: Ensure good air circulation around your harvested vegetables. Overcrowding in bags or containers can trap moisture and lead to rot.
- Temperature: Most unripe vegetables, like peppers, prefer cool, humid conditions in the refrigerator crisper. Green tomatoes that you intend to ripen should stay at room temperature.
- Cleanliness: Always clean your produce before storage to remove dirt and potential pathogens. Do not wash green tomatoes if you plan to ripen them, as moisture can encourage mold.
Storing Cooked Small Batch Recipes: Many of the `small garden cooking` recipes here are designed for smaller yields, but proper storage extends their life.
- Refrigeration: Most cooked dishes like frittatas, relishes, and salsas will last 3-5 days in an airtight container in the refrigerator.
- Freezing: Cooked items like frittata muffins, fried green tomatoes (though texture may soften), and even hot sauce can be frozen. Flash freeze individual portions on a baking sheet before transferring to a freezer-safe bag to prevent them from sticking together. This is a great strategy for `using up last garden vegetables` for future meals.
By following these tips, you will confidently handle your `end of season harvest`, making the most of every last green tomato and unripe pepper.
Frequently Asked Questions
Can I ripen all my green tomatoes indoors?
While you can attempt to ripen some green tomatoes indoors, success depends on their maturity when picked. Tomatoes that are still very firm and pale green are less likely to fully ripen. Those that show a slight blush of color or are a lighter green have a much better chance. Placing them in a paper bag with a ripe banana or apple, which releases ethylene gas, can encourage ripening. Store them at room temperature, checking regularly for ripeness or spoilage.
What other vegetables can I use in these end-of-season recipes?
Many of these `small garden cooking` recipes are highly adaptable. For the frittata or pepper scramble, feel free to add small zucchini, yellow squash, kale, spinach, chard, tiny eggplants, or even leftover cooked potatoes. For relishes or salsas, consider adding a few finely chopped carrots, radishes, or other herbs like oregano or thyme if you have them from your `end of season harvest`. The goal is `using up last garden vegetables`, so embrace creativity.
How long do these small-batch recipes typically last?
Most fresh `small garden cooking` recipes, like the fried green tomatoes or the pepper scramble, are best enjoyed immediately or within 1-2 days when refrigerated. Salsas will last about 5 days in the fridge. Relishes and fermented hot sauces, due to their acidity and fermentation process, have a much longer shelf life. Relish can last 2-3 months in the refrigerator, and fermented hot sauce can last several months to a year, improving in flavor over time. Always store in airtight containers.
Can I make these recipes vegetarian or vegan?
Absolutely. Most of these `green tomato recipes` and `unripe pepper` dishes are already vegetarian or easily adaptable. For fried green tomatoes, ensure your oil is vegetable-based and use a plant-based milk in the egg wash. The frittata can be made vegan by substituting the eggs with a chickpea flour batter or a commercial egg replacer, and using plant-based milk and cheese. Relishes, salsas, and hot sauces are inherently vegan. `Small garden cooking` often naturally lends itself to plant-forward meals.
For trustworthy gardening information, visit:
University of Maine Cooperative Extension — Gardening, University of Rhode Island Cooperative Extension — Gardening, Connecticut Agricultural Experiment Station and Massachusetts Horticultural Society. These organizations provide expert, research-based advice for gardeners at all levels.
Disclaimer: This article is for informational purposes only and is not a substitute for professional gardening advice. Always consult local extension services or horticulture experts for region-specific guidance.

Leave a Reply