Imagine plucking fresh, crisp Brussels sprouts directly from a tall, elegant stalk you grew yourself, right on your patio or balcony. This vision is entirely achievable, even if you have limited space. Brussels sprouts, often considered a garden-only crop, adapt beautifully to container life, offering a rewarding harvest of delicious, healthful greens. This guide empowers you to cultivate these fantastic fall container vegetables, from selecting the right pot to enjoying your first homegrown sprout.
While sprouts are a favorite, they are actually among the best vegetables to grow in pots when you want to maximize your harvest from a single container.
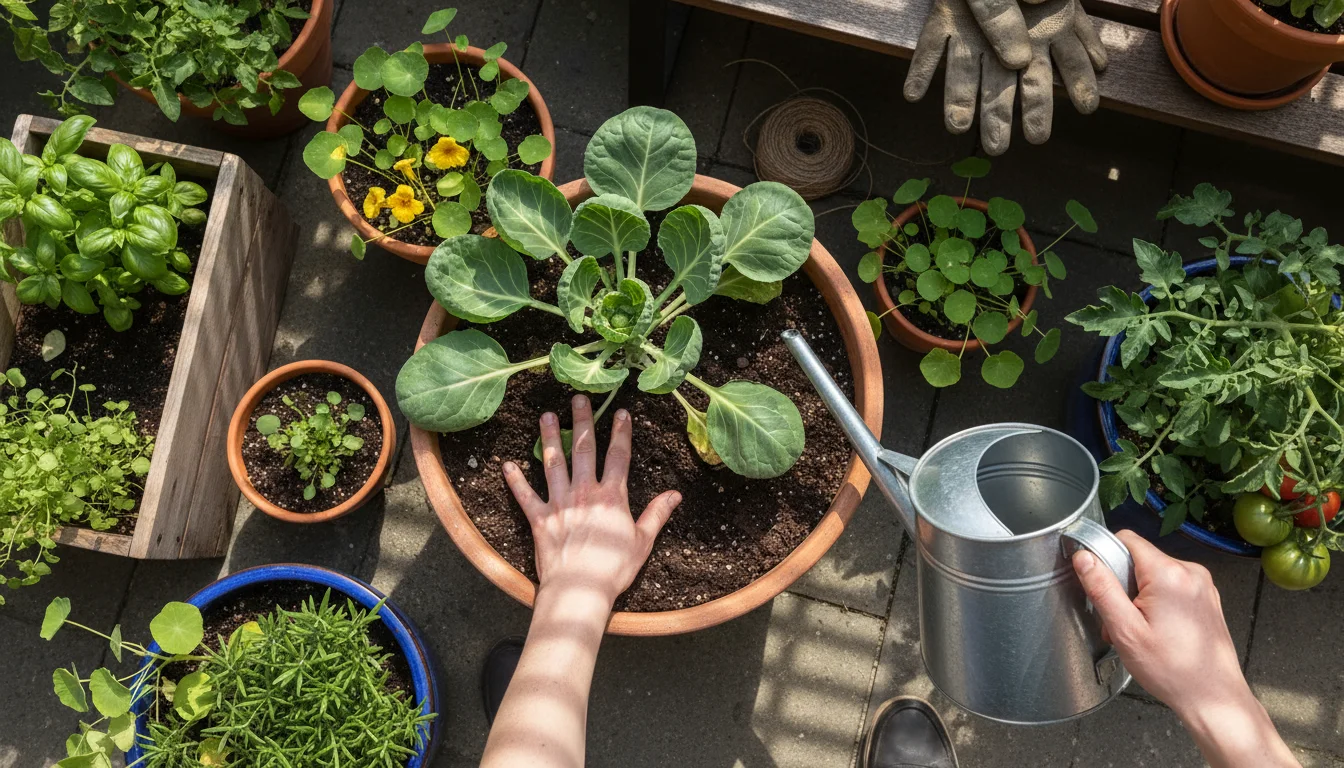
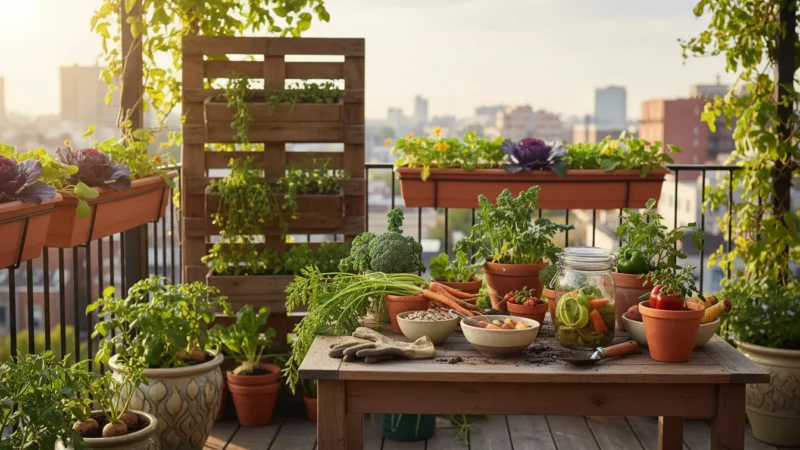
Container gardening excels at bringing the garden to you, maximizing yields in small footprints. Brussels sprouts, with their striking vertical growth, make an excellent choice for this approach. Forget those bland, overcooked sprouts of childhood; fresh, homegrown Brussels sprouts possess a sweet, nutty flavor that transforms any meal. Let’s dig in and discover how simple it is to grow a brussels sprout stalk in a large pot and enjoy the bounty.
Why Brussels Sprouts Thrive in Pots
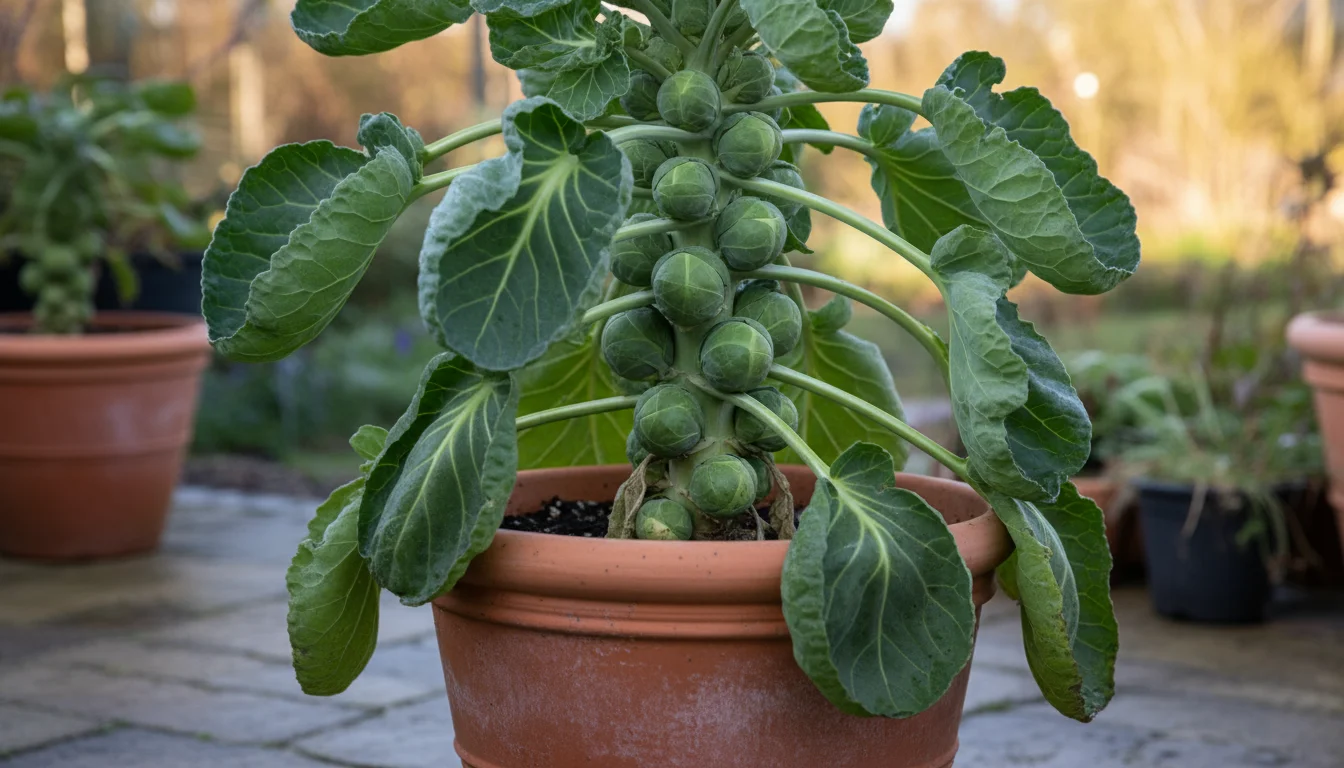
Brussels sprouts might seem like a large, sprawling plant, but their upright growth habit makes them surprisingly well-suited for container gardening. They are indeed one of the best fall container vegetables you can choose. Here’s why cultivating Brussels sprouts in pots is a smart choice for your small-space garden:
To keep your soil healthy and fertile across different growing cycles, it is helpful to understand the principles of seasonal rotation for container vegetables.
If you enjoy growing vertical curiosities like sprout stalks, you might also like these easy fall veggies that thrive in containers like kohlrabi and pak choi.
- Space Efficiency: While the plant grows tall, it does not spread extensively sideways, allowing you to maximize vertical space on a balcony or patio. You can often fit more plants in a smaller area compared to vining crops.
- Pest and Disease Control: Growing in containers elevates plants, often making them less accessible to ground-dwelling pests. You also gain better control over soil quality, reducing the risk of soil-borne diseases. You can easily move plants to isolate an issue or provide better air circulation.
- Mobility: Containers offer flexibility. You can shift your plants to catch optimal sunlight as seasons change, protect them from harsh weather, or even bring them indoors during an unexpected cold snap, extending your growing season. This is particularly beneficial for crops that prefer cooler weather, like Brussels sprouts.
- Soil Customization: You gain complete control over the potting mix, ensuring your Brussels sprouts receive the ideal nutrient balance and drainage they need. This customized environment often leads to healthier, more productive plants.
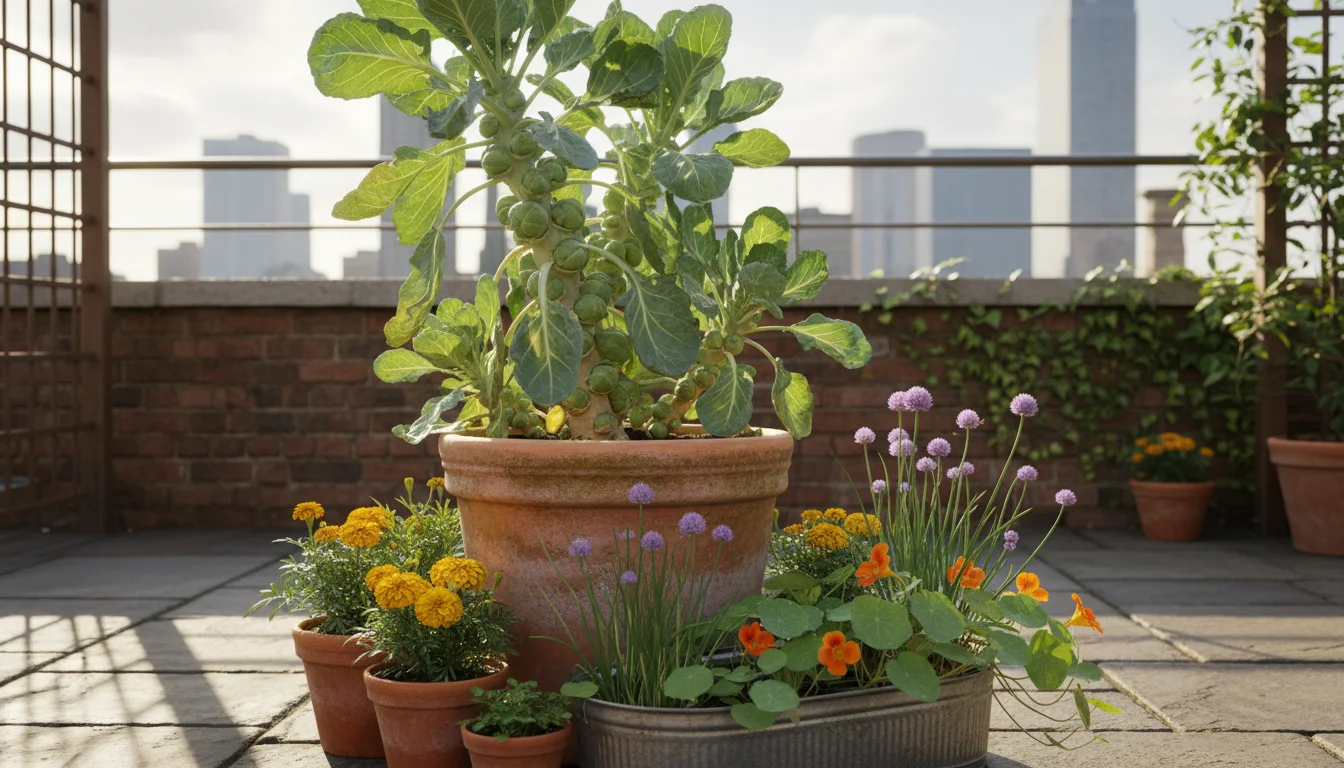
- Aesthetic Appeal: A tall, stately Brussels sprout stalk with its neat row of sprouts can be a beautiful addition to your edible landscape, adding structure and interest to your container arrangements.
Embracing `growing brussels sprouts in pots` means enjoying fresh, nutritious vegetables with minimal fuss, right outside your door.

Choosing the Right Pot and Potting Mix
Success with container Brussels sprouts starts with the foundation: the container itself and what you fill it with. These plants are hungry and require stable support.
If you find you have run out of floor space for large pots, you can still maximize your harvest by growing fall radishes in a window box or balcony railing.
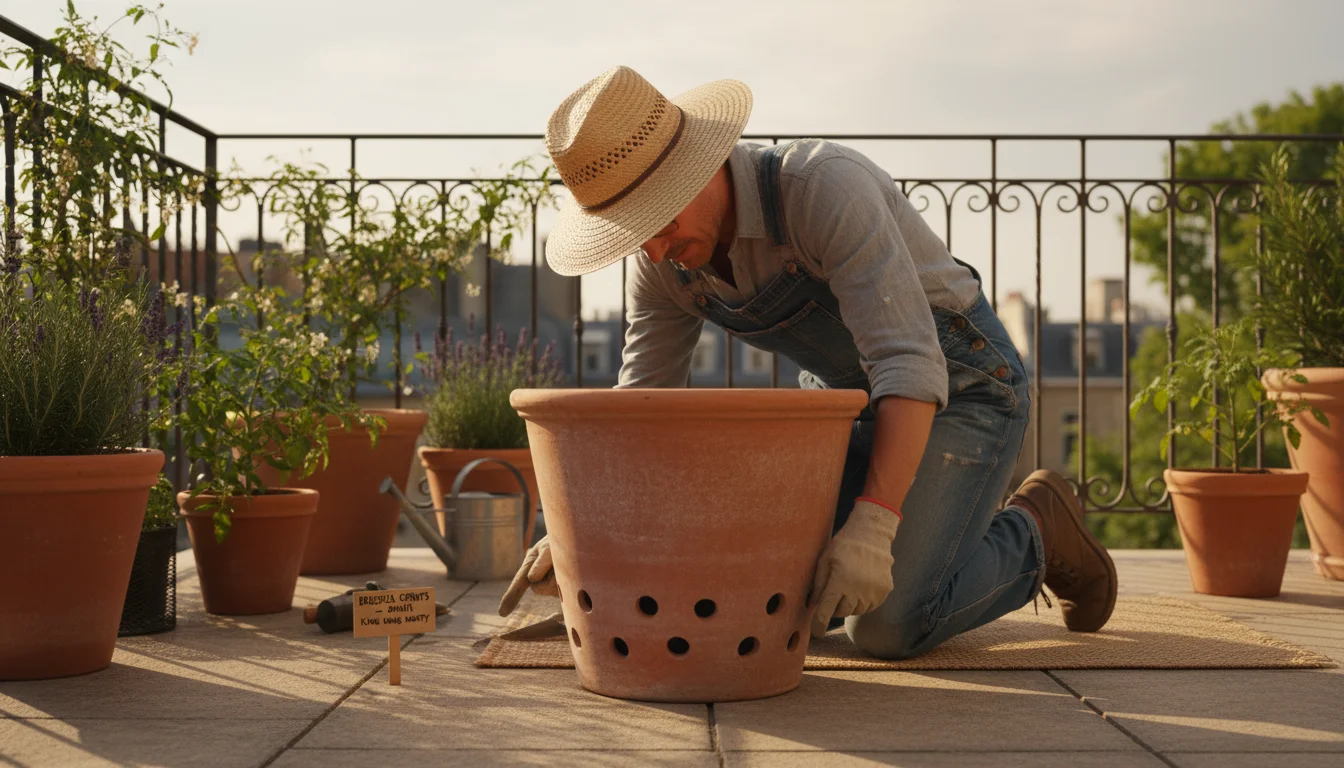
Selecting Your Container
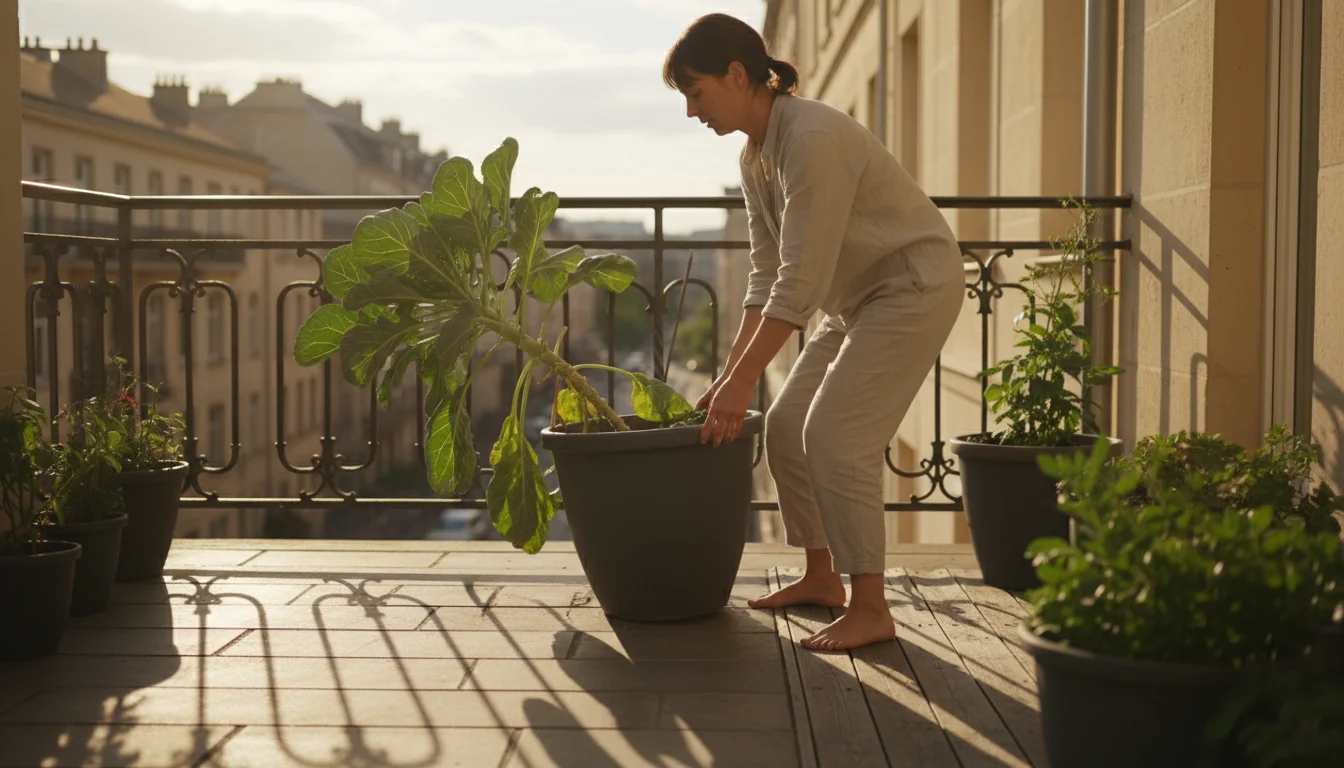
Brussels sprouts develop a significant taproot and a tall stalk, necessitating a generous pot. Think big, not small, to give your plants the best chance at success.
- Size Matters: Choose a pot that is at least 16-20 inches in diameter and depth. A 15-gallon container is ideal for a single plant to ensure it has enough room for root development and stability. If you plan on `how to grow a brussels sprout stalk in a large pot`, this size is non-negotiable for robust growth.
- Drainage: Excellent drainage is crucial. Ensure your pot has multiple drainage holes at the bottom. Waterlogged roots lead to disease and plant death. If your pot lacks sufficient holes, you can often drill more.
- Material: Terracotta pots look attractive but dry out quickly, requiring more frequent watering. Plastic or glazed ceramic pots retain moisture better. Fabric grow bags are an excellent option for beginners, offering superior aeration and drainage, and preventing root circling. Their lighter weight also makes them easier to move.
- Stability: As the stalk grows tall and heavy with sprouts, it can become top-heavy. A wide, heavy pot provides better stability, especially if your patio or balcony experiences strong winds.
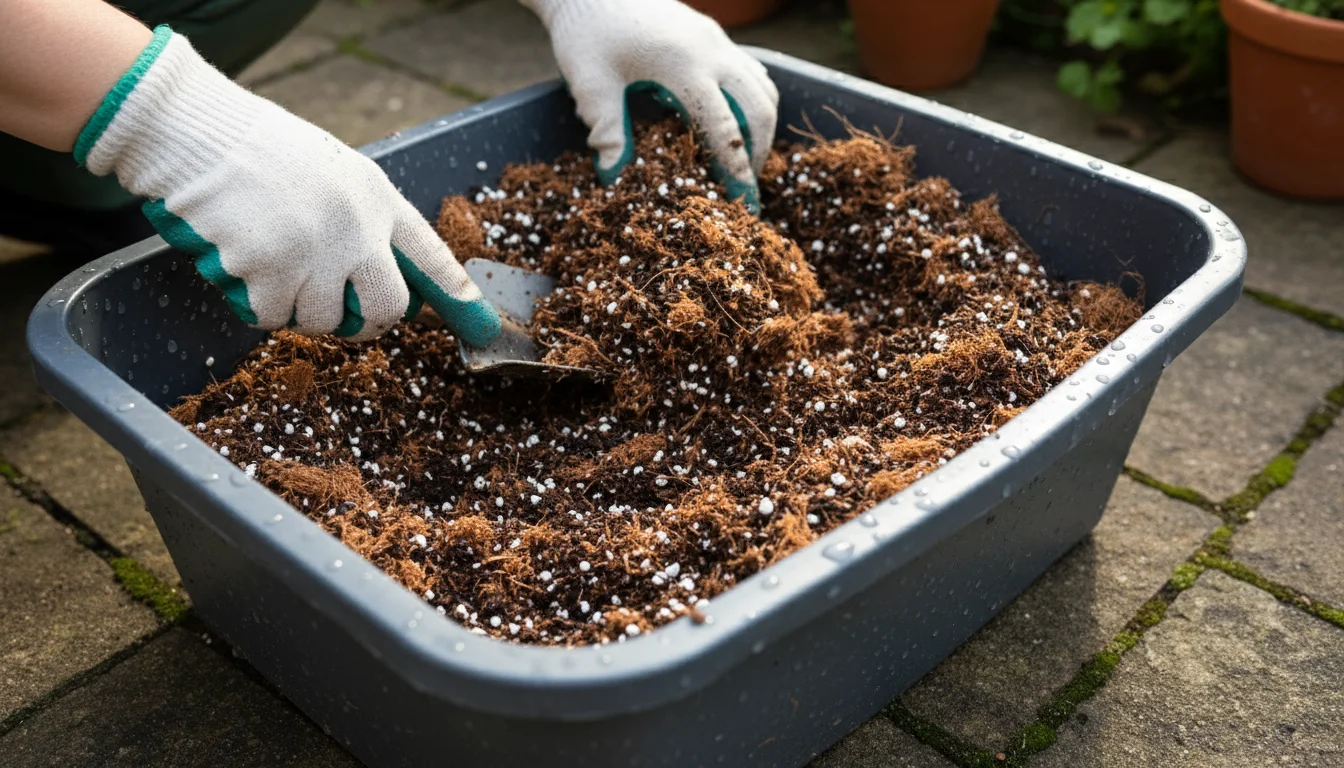
Crafting the Ideal Potting Mix
A high-quality potting mix is vital for container Brussels sprouts. Do not use garden soil, as it compacts in pots, leading to poor drainage and aeration.
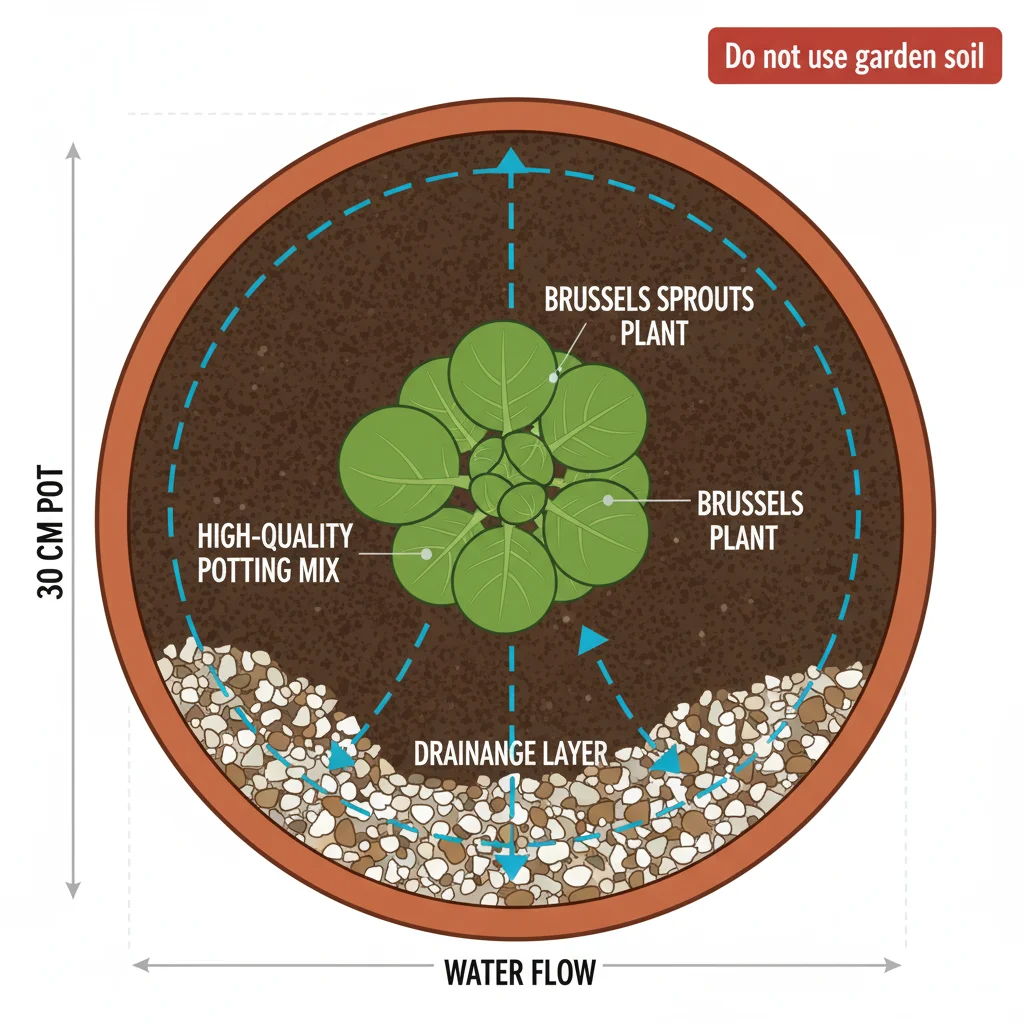
- Peat-Free is Best: Opt for a good quality, peat-free potting mix. Peat harvesting is environmentally unsustainable, and many excellent alternatives exist. Look for mixes containing coir (coconut fiber), compost, perlite, and vermiculite. These ingredients provide excellent water retention, drainage, and aeration.
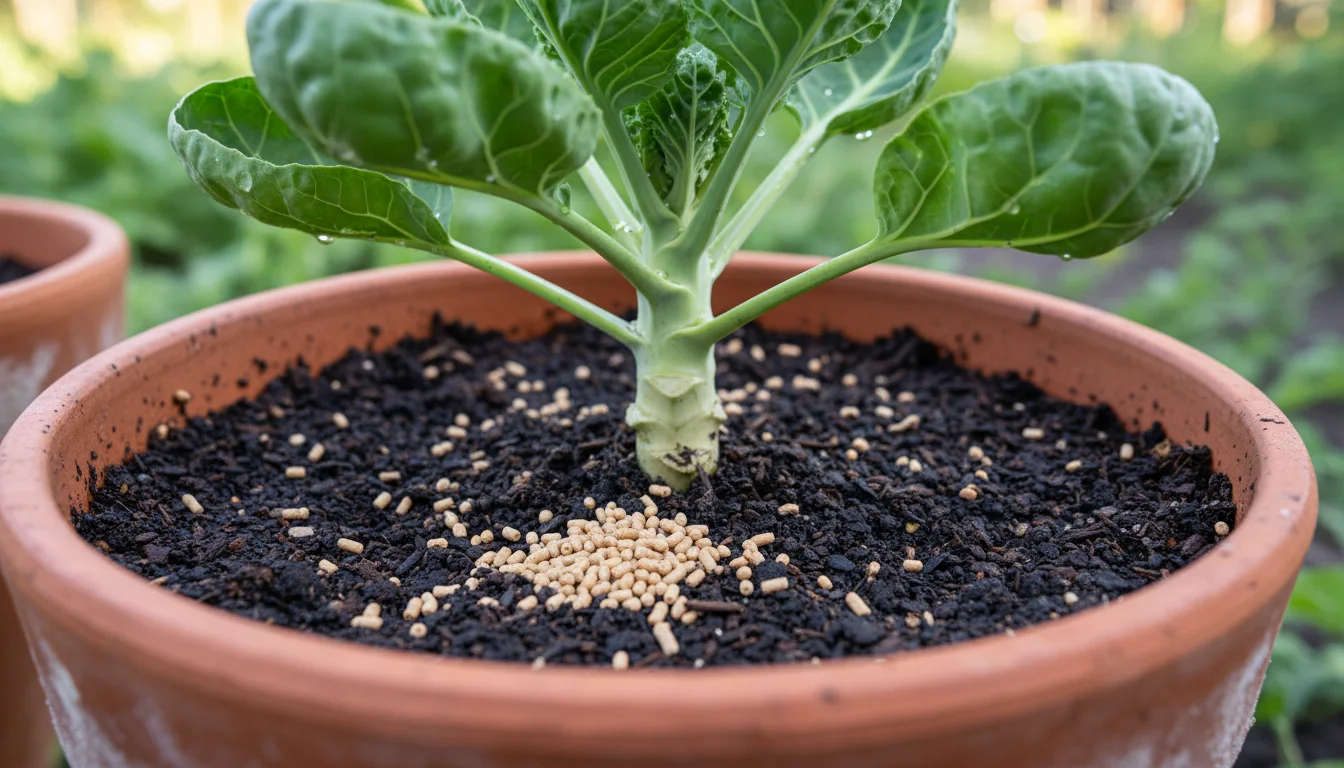
- Nutrient-Rich: Brussels sprouts are heavy feeders. Amend your potting mix with a generous amount of well-rotted compost or worm castings. This enriches the soil with slow-release nutrients and beneficial microbes, fostering healthy growth. Aim for at least 20-30% compost in your total mix.
- pH Balance: Brussels sprouts prefer a slightly acidic to neutral pH (6.0-7.0). Most commercial potting mixes fall within this range. If you are unsure, a simple soil test kit can confirm.
- Reusing Potting Mix: You can reuse potting mix for subsequent plantings, but refresh it significantly. Remove old root balls, then incorporate new compost, a slow-release organic fertilizer, and perhaps some fresh coir or perlite to rejuvenate its structure and nutrient content.

Getting Started: Planting Your Seedlings
You can grow Brussels sprouts from seed, but for most container gardeners, starting with healthy seedlings provides a significant head start and greater success. Brussels sprouts are a cool-season crop, so timing your planting is essential.
When to Plant
Brussels sprouts need a long, cool growing season, typically 90-110 days from transplant to harvest. They taste best after a few light frosts, which sweeten the sprouts. This means:
- Spring Planting (for fall harvest): In most regions, plant seedlings in late spring or early summer (May-July), giving them enough time to mature before fall’s cooler temperatures arrive.
- Fall Planting (in mild climates): If you live in a region with mild winters, you can plant in late summer or early fall for a winter or early spring harvest.
Check with your local extension office for specific planting dates for `fall container vegetables` in your area.
Step-by-Step Planting Guide
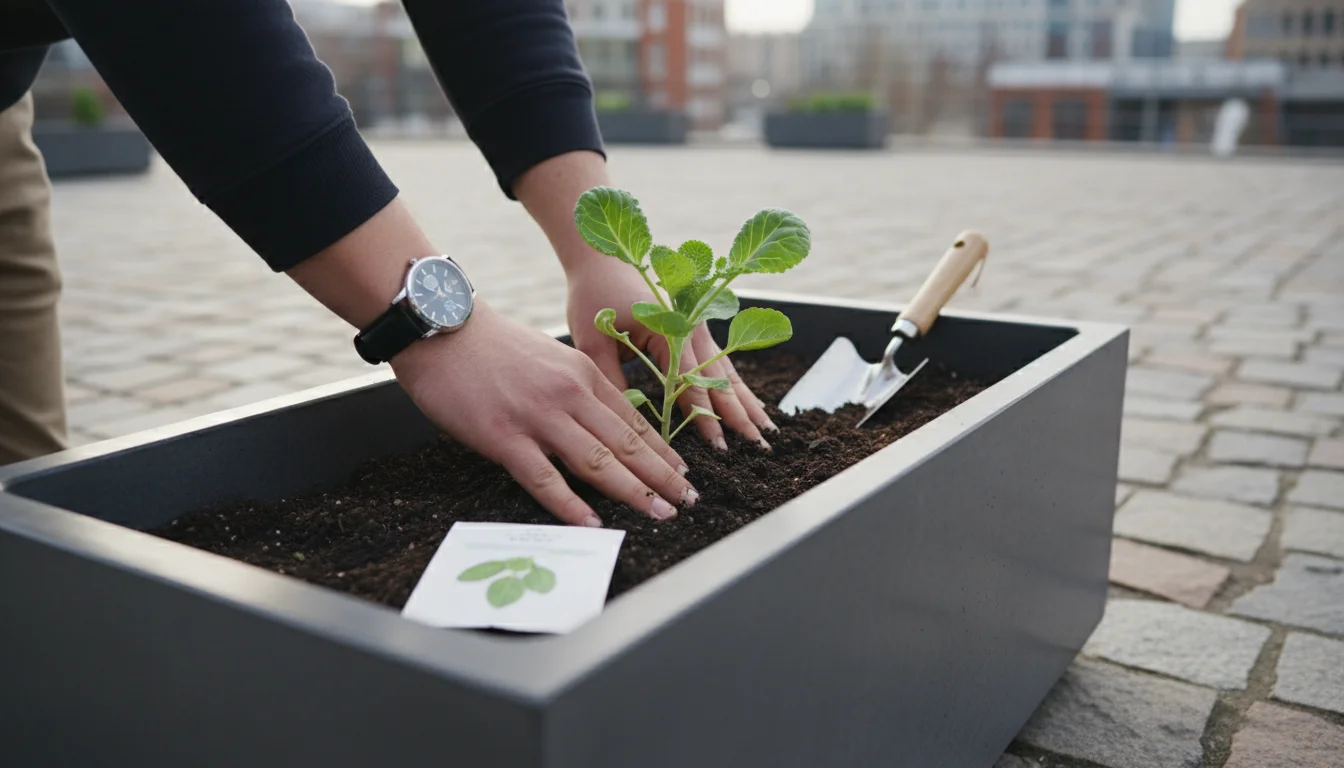
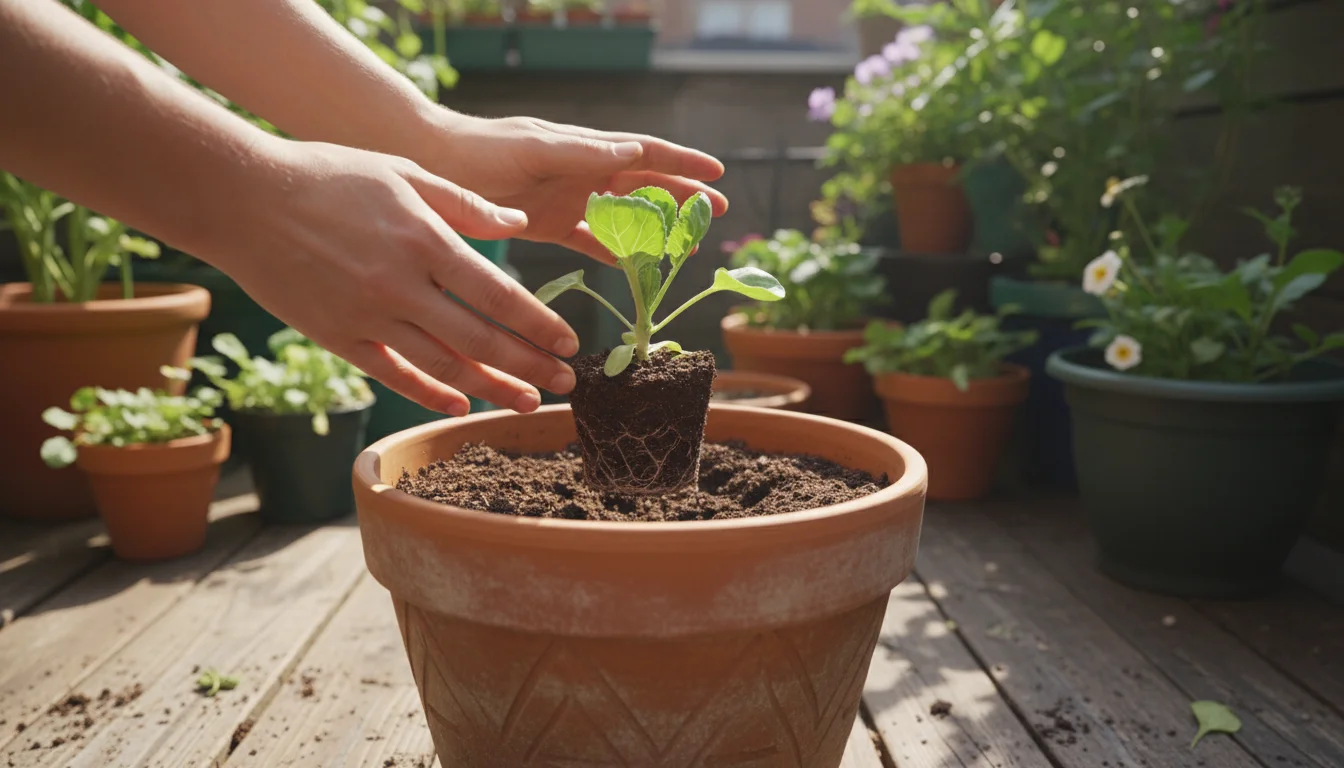
- Prepare Your Pot: Fill your chosen large container with your enriched, peat-free potting mix, leaving about an inch or two of space from the rim.
- Moisten the Mix: Water the potting mix thoroughly until water drains from the bottom. Let it sit for an hour to absorb evenly.
- Prepare Seedlings: Gently remove your Brussels sprout seedling from its nursery pot. If the roots are tightly bound (root-bound), gently tease them apart at the bottom.
- Planting Depth: Dig a hole in the center of your pot large enough to accommodate the seedling’s root ball. Plant the seedling at the same depth it was in its original container. You can bury a little more of the stem if it looks leggy, as Brussels sprouts can produce roots from their stem.
- Firm and Water: Gently firm the soil around the base of the plant to remove air pockets. Water thoroughly again to help settle the soil and reduce transplant shock.
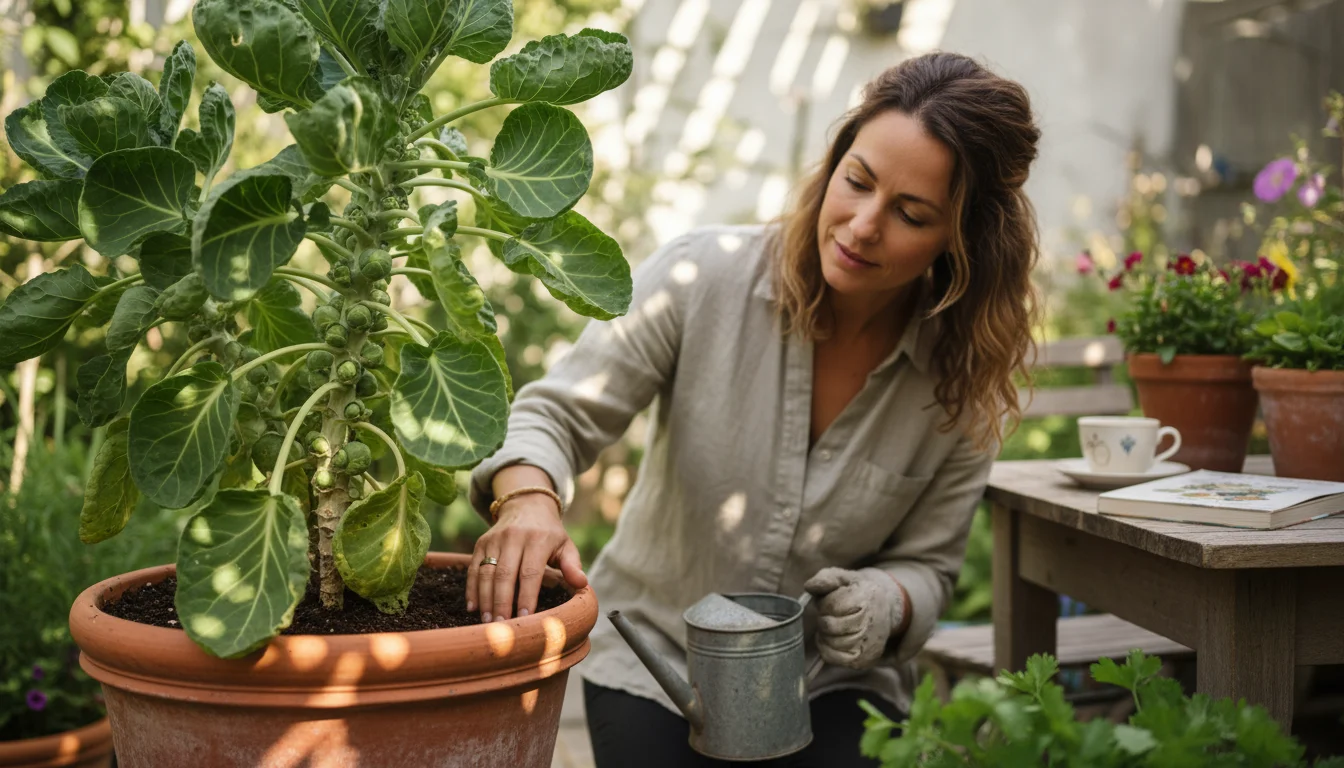
- Staking (Optional but Recommended): Brussels sprouts grow tall. It is wise to insert a sturdy stake (bamboo or metal) into the pot at planting time, or shortly thereafter, to avoid disturbing roots later. You will use this to support the growing stalk.
Nurturing Your Container Brussels Sprouts
Consistent care ensures a healthy, productive Brussels sprout plant. Remember, a thriving plant in a pot depends entirely on you for its needs.
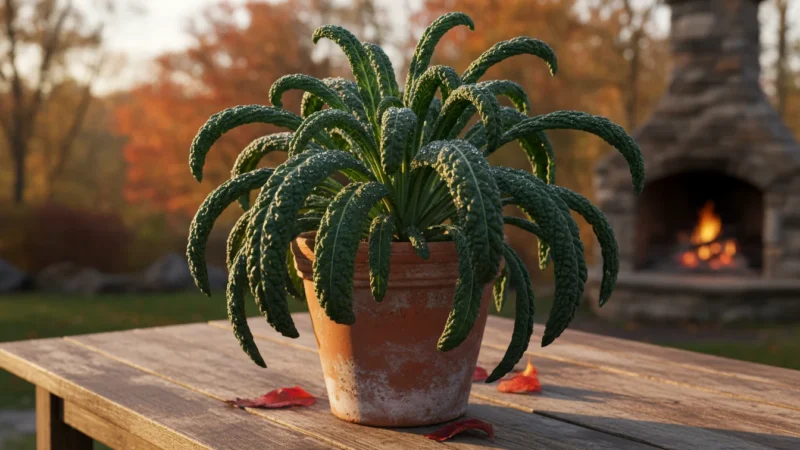
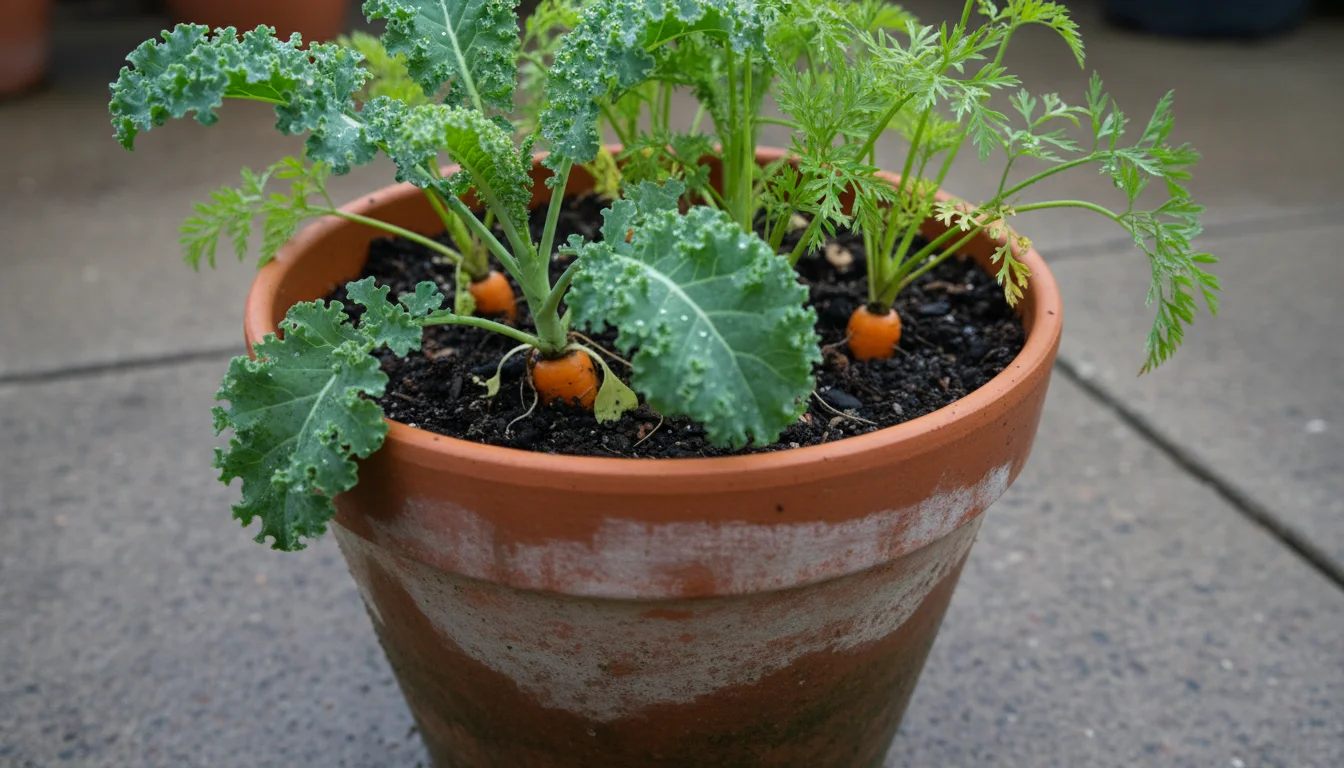
Because they share similar needs, many gardeners find that growing kale in a pot is the perfect companion project for a fall patio garden.
Sunlight Requirements
Brussels sprouts demand full sun, meaning at least 6-8 hours of direct sunlight per day. Insufficient light results in leggy plants and poor sprout development. Position your container in the sunniest spot on your patio or balcony. Remember the mobility advantage of pots: move your plant as the sun’s path shifts throughout the day or season.
Watering Wisely
Container plants dry out faster than garden beds. Consistent moisture is key for Brussels sprouts; they do not tolerate drying out completely or sitting in soggy soil. Erratic watering can lead to bitter sprouts or premature bolting (going to seed).
- Frequency: Check the soil moisture daily by sticking your finger about two inches deep. If it feels dry, it is time to water. In hot, windy weather, you might need to water more than once a day.
- Deep Watering: Water slowly and deeply until you see water draining from the bottom of the pot. This encourages deep root growth. Avoid light, frequent sprinkles, which only wet the surface.
- Avoid Overhead Watering: Water at the base of the plant to keep foliage dry, reducing the risk of fungal diseases.
- Self-Watering Pots: Consider using self-watering containers. These can be a game-changer for busy gardeners, as they provide a consistent moisture supply and extend the time between waterings.
Fertilizing for Growth
Since Brussels sprouts are heavy feeders and grow in a confined space, regular feeding is crucial. Start with your enriched potting mix, then follow with a steady feeding schedule.
- Initial Feed: If your potting mix included compost or slow-release fertilizer, your plant has a good start.
- Regular Feeding: Begin feeding about 3-4 weeks after transplanting. Use a balanced, organic liquid fertilizer (like fish emulsion or a diluted compost tea) every 2-3 weeks. Alternatively, you can top-dress with a granular, slow-release organic fertilizer once a month. Look for a fertilizer that supports leafy green growth.
- Nutrient Needs: Pay attention to any signs of nutrient deficiency, such as yellowing leaves (nitrogen) or purpling (phosphorus). Adjust your feeding as needed.
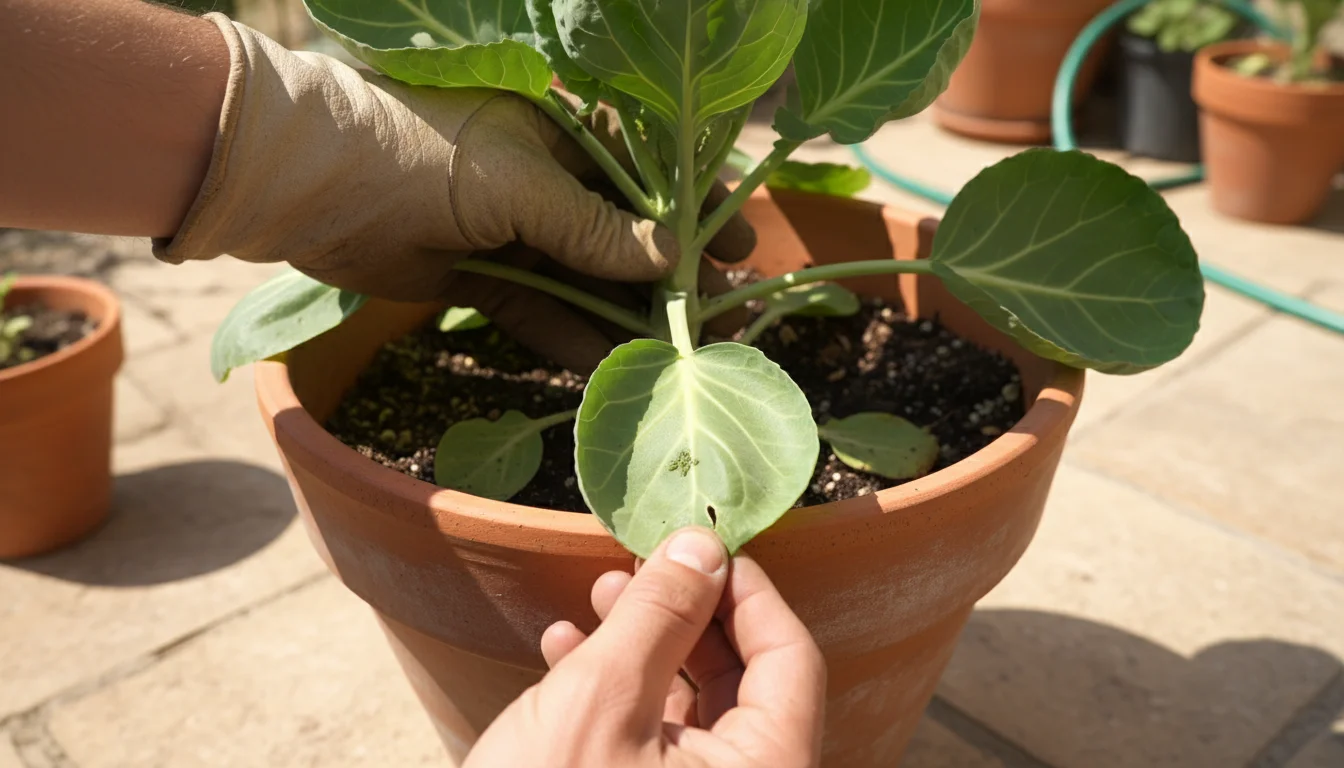
Pest and Disease Management
Vigilance is your best defense against pests and diseases in container gardening. Early detection and intervention are crucial.
- Monitor Regularly: Inspect your plants daily for any signs of trouble: chewed leaves, sticky residue, or discolored spots. Check both the top and underside of leaves.
- Common Pests:
- Aphids: Small, soft-bodied insects, often green or black, found on new growth. Blast them off with a strong jet of water. For heavier infestations, apply insecticidal soap.
- Cabbage Worms/Loopers: Green caterpillars that chew holes in leaves. Handpick them off or use Bacillus thuringiensis (Bt), an organic bacterial spray.
- Harlequin Bugs: Shield-shaped, brightly colored bugs that suck sap, causing yellow spots. Handpick them.
- Diseases: Good air circulation, proper watering, and healthy soil reduce disease risk. Remove any affected leaves promptly.
- Pollinator Support: Encourage beneficial insects that prey on pests by planting companion flowers nearby. Avoid broad-spectrum pesticides that harm these helpful allies.
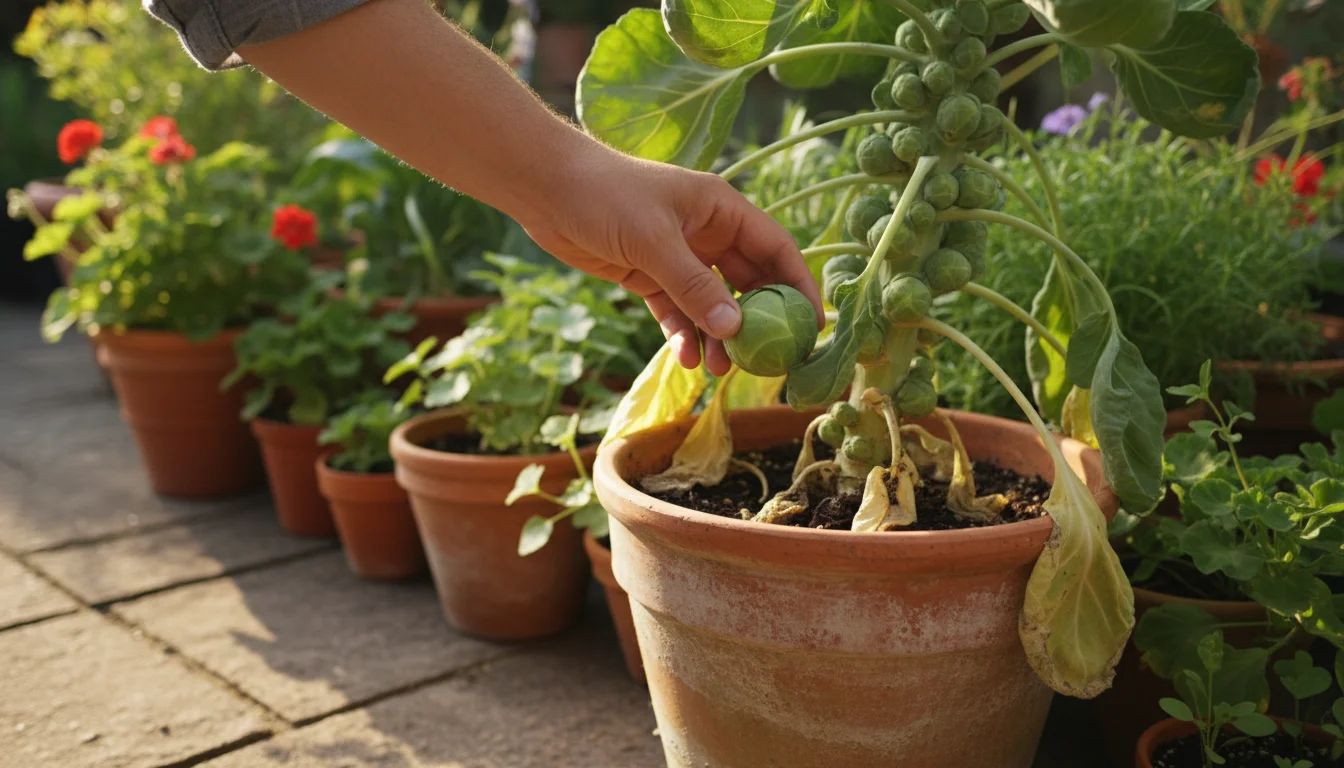
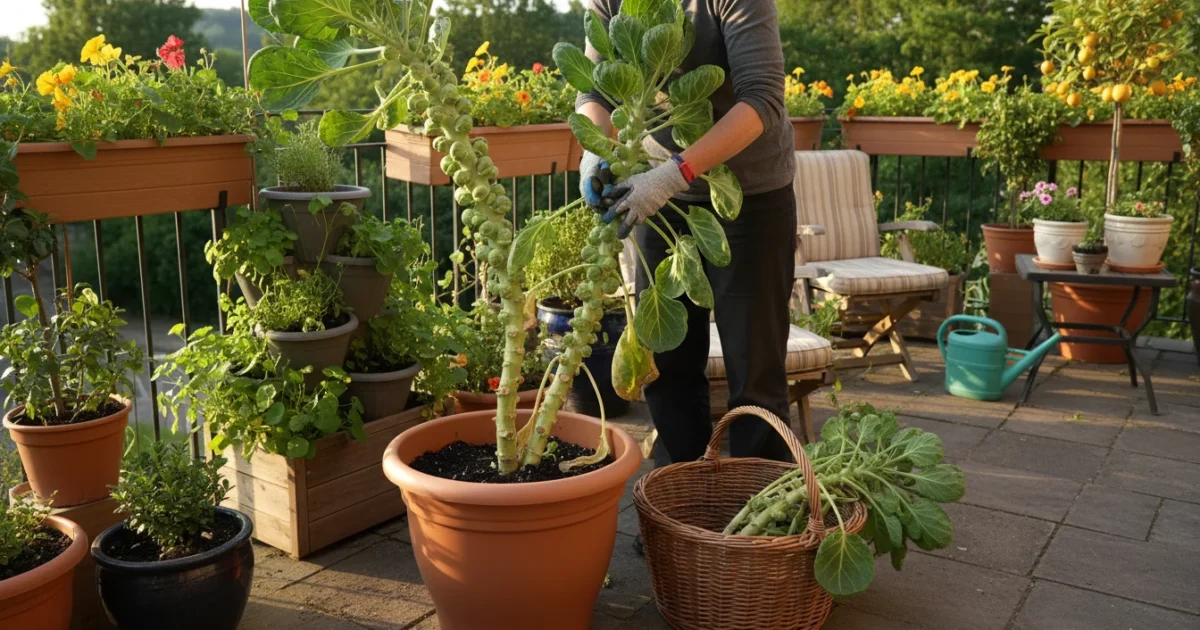
Mastering the Harvest: When and How to Pick
The moment you have been waiting for: `harvesting brussels sprouts`! Knowing `when to harvest brussels sprouts from a container` ensures you get the sweetest, firmest sprouts.
Timing Your Harvest
Brussels sprouts mature over time, ripening from the bottom of the stalk upwards. You will begin `harvesting brussels sprouts` when they are firm, green, and about 1-1.5 inches in diameter.
- Cool Weather Advantage: The best flavor develops after a few light frosts (temperatures between 25-32°F or -4-0°C). These cold snaps convert starches into sugars, making the sprouts taste sweeter and less bitter.
- Visual Cues: Look for firm, tightly closed sprouts. Yellowing outer leaves on the sprout itself indicate it is past its prime, while loose, leafy sprouts are underdeveloped.
- Continuous Harvest: Expect to start picking sprouts from the bottom of the stalk and continue upwards over several weeks or even months. This staggered ripening is perfect for a steady supply of fresh sprouts.

Step-by-Step Harvesting
Harvesting individual sprouts is straightforward:
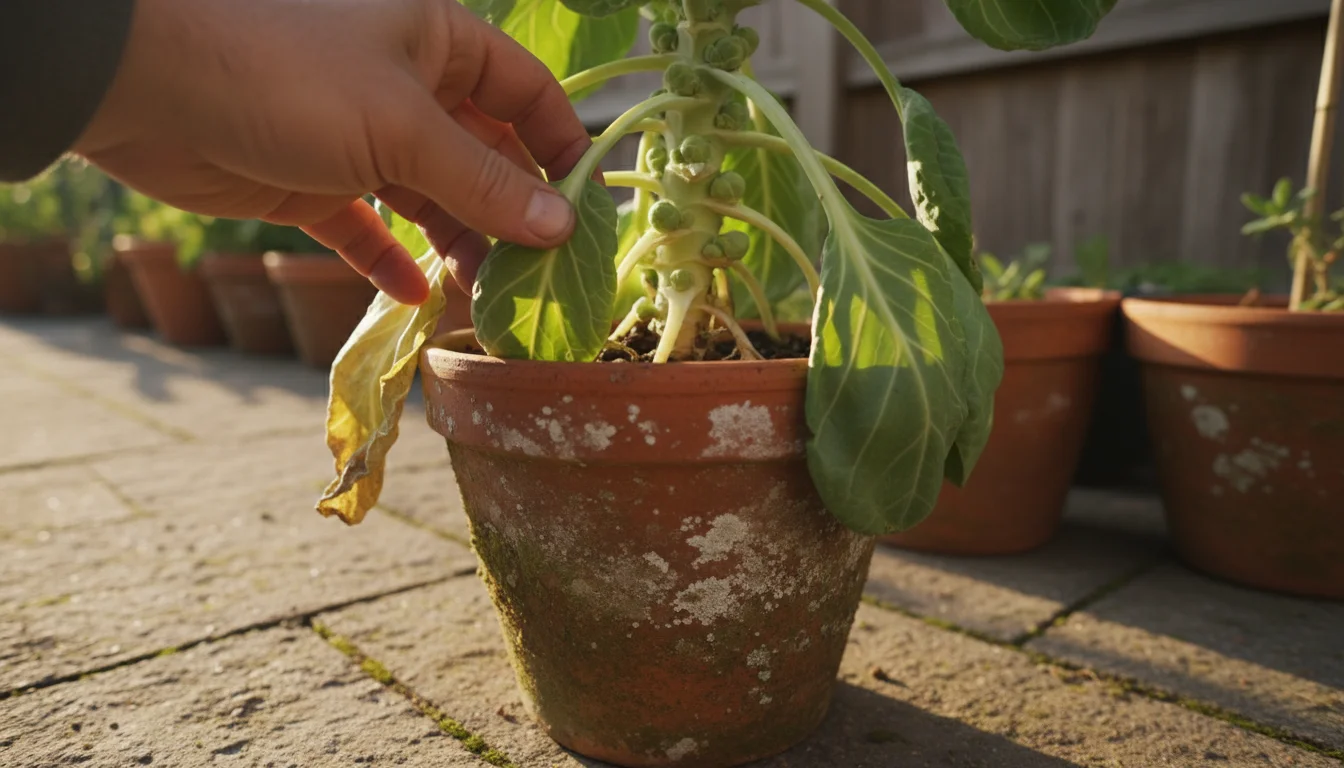
- Remove Yellowing Leaves: As sprouts develop, the large leaves below them might start to yellow. Remove these lower leaves as they appear. This directs the plant’s energy into sprout development and improves air circulation.
- Twist and Snap: Locate a firm, mature sprout at the base of the stalk. Grab it firmly and twist downwards until it snaps off cleanly from the stalk. You can also use a sharp knife or pruners, but twisting is often easier and equally effective.
- Continue Upwards: Work your way up the stalk, harvesting sprouts as they mature. Do not remove all leaves at once, as the plant needs them for photosynthesis.

Maximizing Your Yield and Stalk Care
To get the most out of your `how to grow a brussels sprout stalk in a large pot`, a few techniques can significantly increase your yield and improve sprout quality.
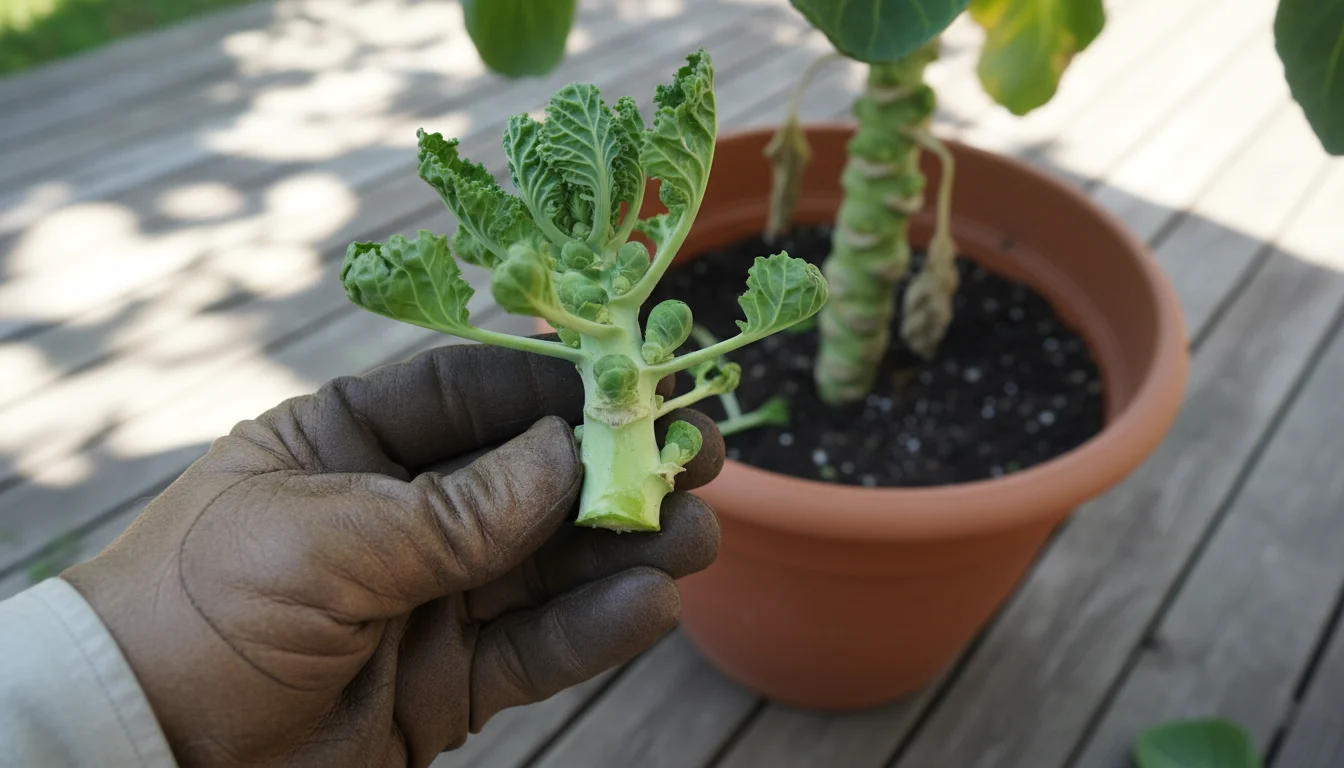
The “Topping” Technique
About 3-4 weeks before your anticipated first hard frost, or when the plant reaches about 2-3 feet tall and has developed a good number of sprouts, consider “topping” the plant. This involves cutting off the top 4-6 inches of the main stem.
- Why Top? Topping encourages the remaining sprouts on the stalk to mature simultaneously and grow larger, rather than focusing energy on new upward growth. This is particularly useful if you want a more concentrated harvest rather than a prolonged, smaller yield.
- How to Top: Simply use sharp pruners to cut the main stem. You can even eat the small, tender leaves and tiny sprouts from the removed top section.
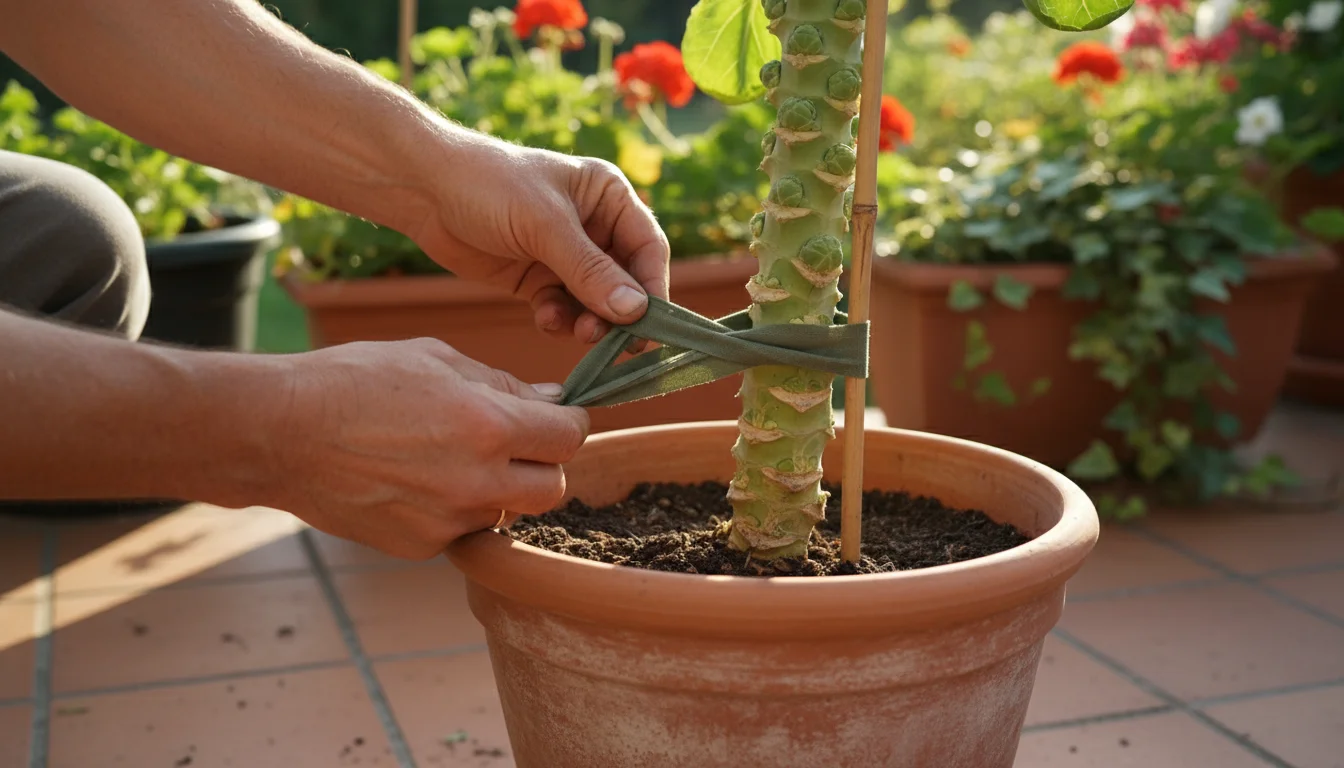
Staking and Support
As mentioned during planting, supporting your Brussels sprout stalk is crucial. A tall stalk laden with sprouts can easily snap in a strong wind or under its own weight.
- Secure Staking: Use a sturdy stake (bamboo, metal rebar, or a sturdy wooden dowel) inserted deep into the pot, close to the main stem but not damaging it.
- Tie Loosely: Use soft ties (old nylons, soft fabric strips, or garden twine) to loosely secure the stalk to the stake at several points as it grows. Ensure the ties are not too tight, as this can constrict the stem and hinder growth.
Post-Harvest Stalk Storage (Optional)
After you have harvested all the individual sprouts, you can harvest the entire stalk. Many people enjoy the novelty and convenience of the whole stalk. If you plan to give a Brussels sprout stalk as a gift or display it, you might want to harvest it intact.
- Cutting the Stalk: Use a sharp saw or heavy-duty pruners to cut the stalk cleanly at the base.
- Storage: Store the entire stalk in a cool, dark, and humid environment, such as a root cellar or even a garage in cold climates. Alternatively, place the base of the stalk in a bucket of water in a cool place, much like a Christmas tree. The sprouts will remain fresh for several weeks.
Even after you have removed the main stalk, if you leave the plant in the pot and keep it watered, it might produce a second flush of smaller, tender sprouts from side shoots or even edible leafy greens, extending your `fall container vegetables` season.
From Pot to Plate: Prepping and Cooking Fresh Sprouts
Congratulations on your `harvesting brussels sprouts` success! Now comes the best part: enjoying your homegrown bounty. Fresh Brussels sprouts are a culinary delight.
Beyond the sprouts themselves, you can enjoy a scrappy harvest of edible greens from many of your fall container plants.
After your harvest, remember that you can also use fall veggie parts like the large sprout leaves in your cooking to ensure a zero-waste harvest.

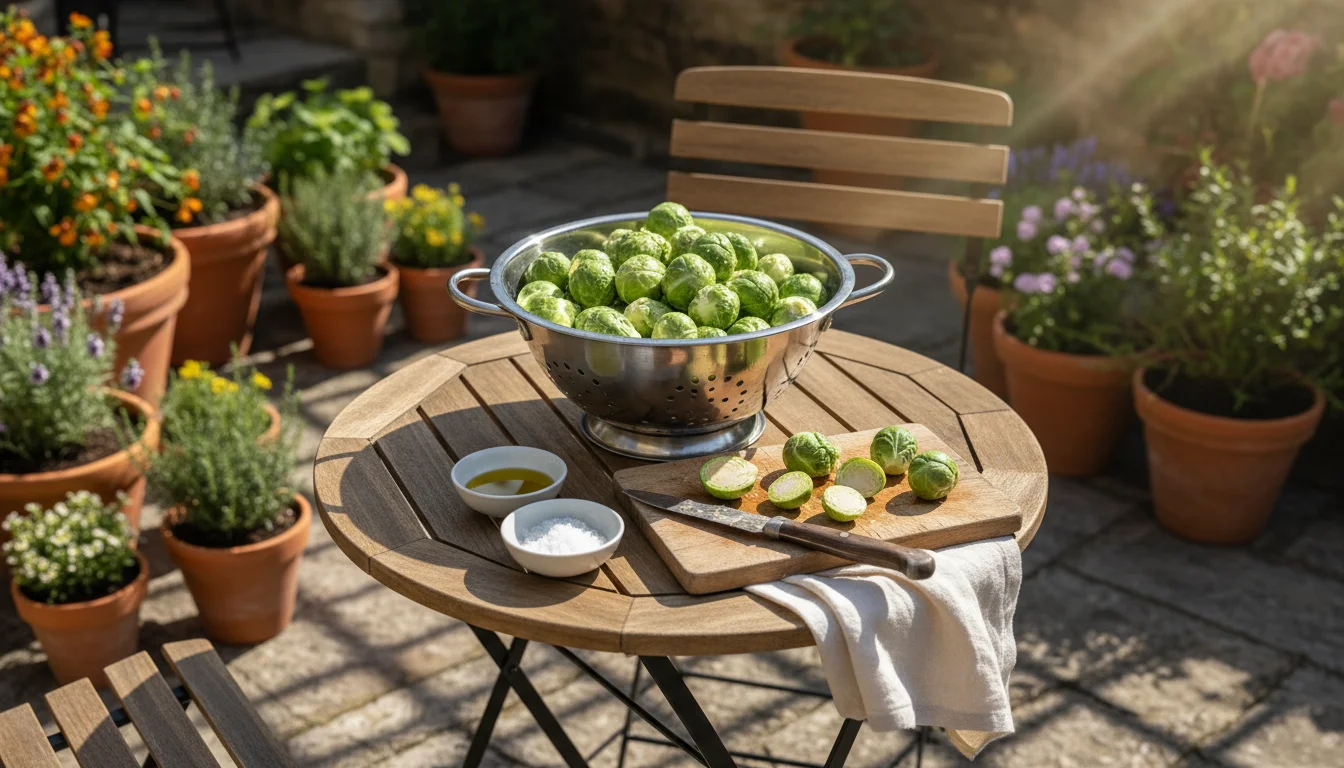
Cleaning and Prepping Your Sprouts
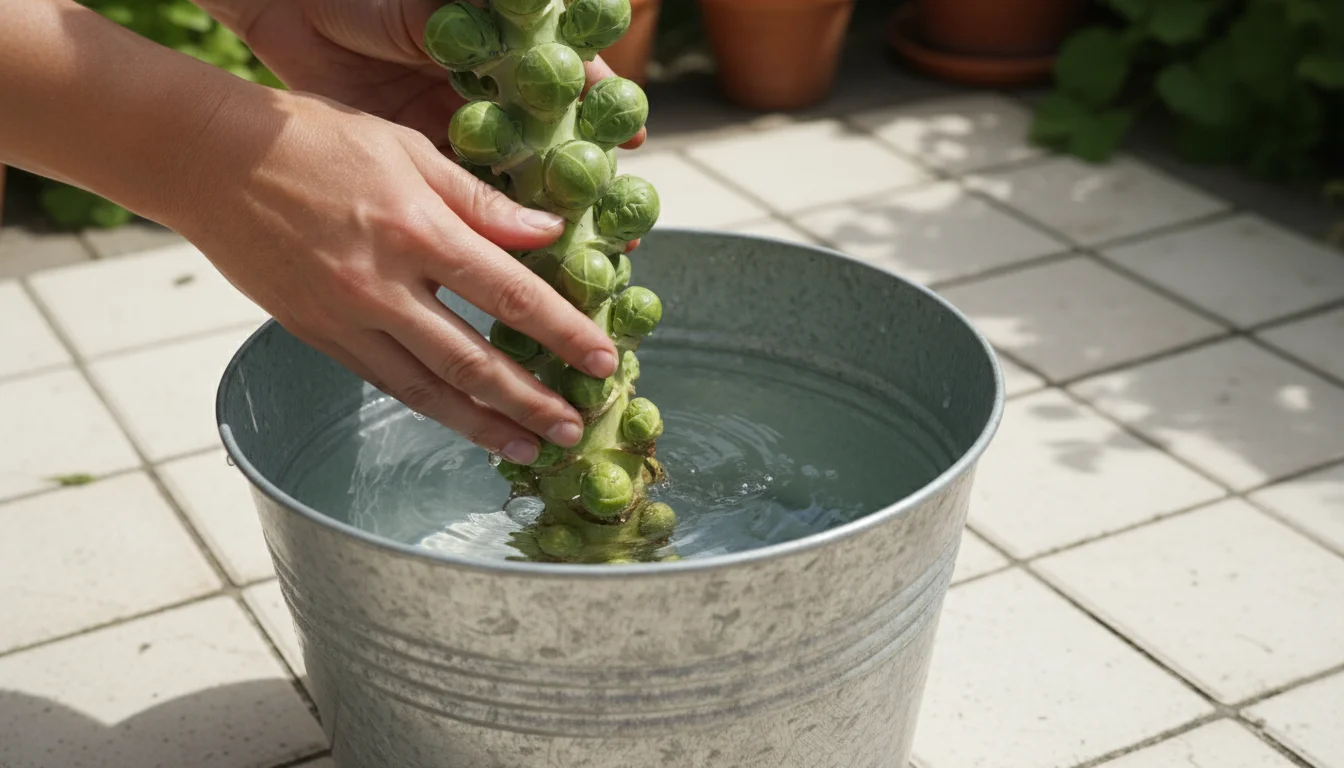
- Rinse Thoroughly: Rinse your harvested sprouts under cool running water to remove any dirt or lingering garden visitors.
- Trim the Base: Trim off the very bottom of the stem, about 1/4 inch. If the outer leaves are yellowed, loose, or damaged, peel them away.
- Halve or Quarter (Optional): For faster cooking and more caramelized surfaces, cut larger sprouts in half or even quarter them. Smaller sprouts can be cooked whole.
Simple and Delicious Cooking Methods
Fresh Brussels sprouts need minimal fuss to shine. Avoid overcooking them, which leads to a mushy texture and sulfurous smell. Crisp-tender is the goal.
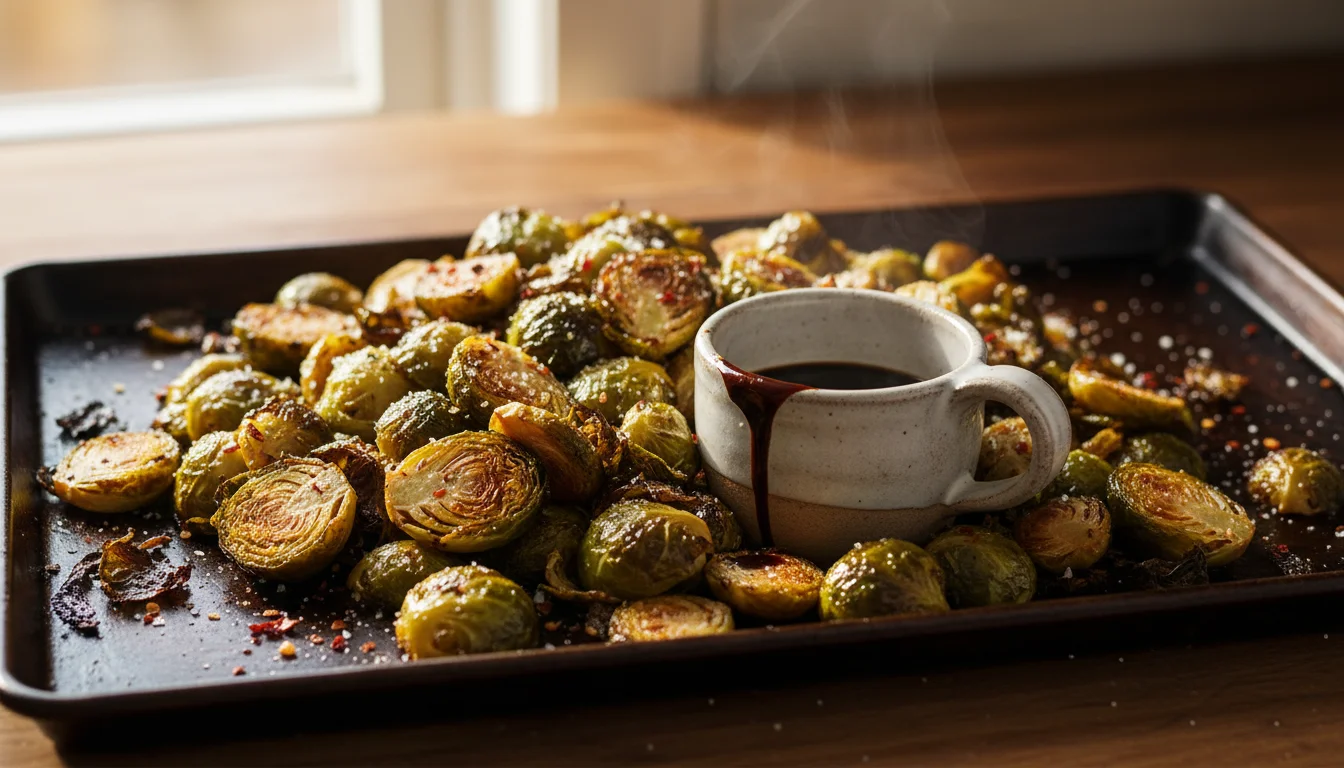
- Roasting (Highly Recommended): This is arguably the best way of `cooking with fresh brussels sprouts`.
- Preheat oven to 400°F (200°C).
- Toss trimmed and halved sprouts with a drizzle of olive oil, salt, and black pepper.
- Spread in a single layer on a baking sheet.
- Roast for 20-30 minutes, tossing once halfway, until tender-crisp and beautifully caramelized on the edges. Add a splash of balsamic vinegar or a sprinkle of Parmesan in the last 5 minutes for extra flavor.
- Sautéing:
- Heat a tablespoon of olive oil or butter in a skillet over medium-high heat.
- Add trimmed and halved sprouts.
- Cook, stirring occasionally, for 8-12 minutes until tender-crisp and slightly browned. Add minced garlic, chopped bacon, or a squeeze of lemon juice towards the end.
- Steaming/Blanching: For a simple, healthful option. Steam for 5-7 minutes until tender-crisp. Immediately plunge into ice water if you want to retain their bright green color for salads or later use.
Freshly picked sprouts taste best immediately, but you can store unwashed sprouts in a breathable bag in your refrigerator’s crisper drawer for up to a week. They retain their quality well, offering you continued enjoyment from your patio harvest.
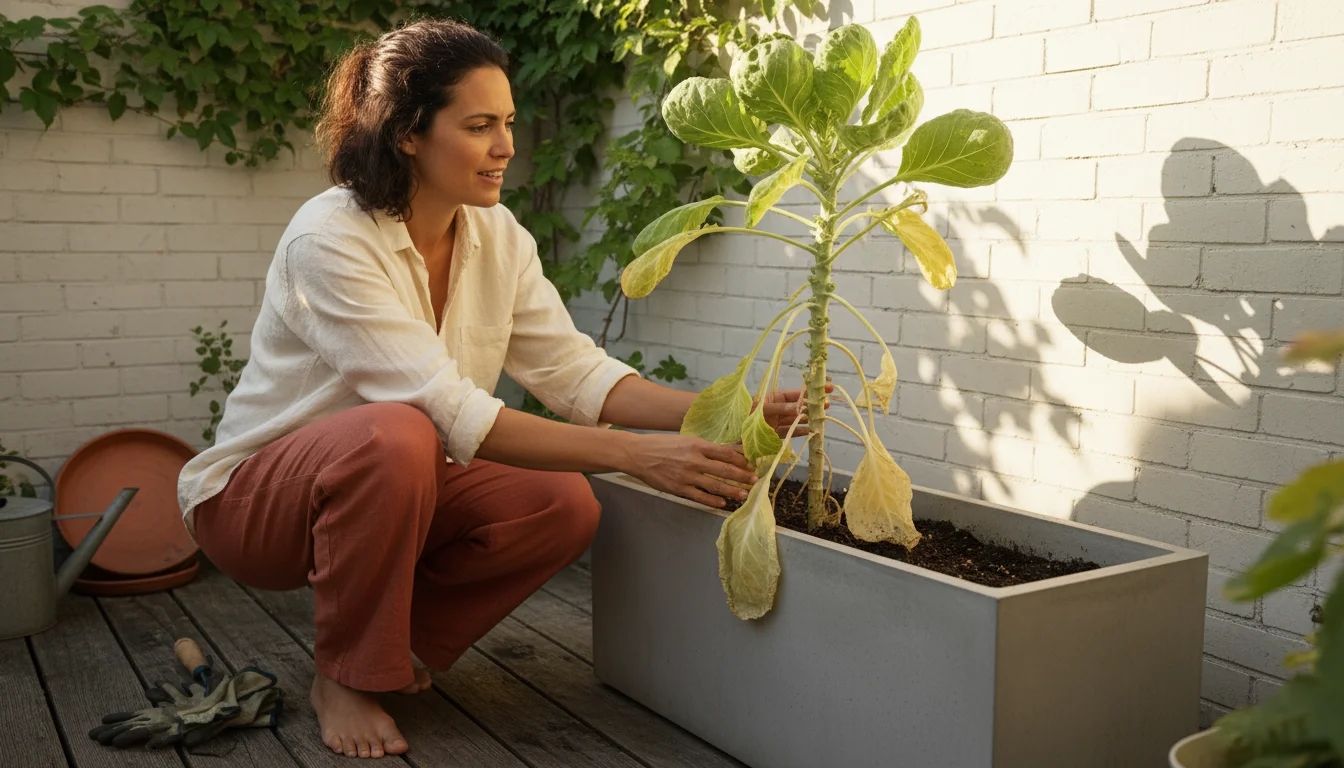
Common Challenges and Solutions
Even with the best intentions, you might encounter a few hurdles when `growing brussels sprouts in pots`. Here are solutions to common issues:
| Challenge | Symptom | Solution |
|---|---|---|
| Leggy Plants, Small Sprouts | Tall, thin stem with sparse, underdeveloped sprouts. | Ensure full sun (6-8 hours direct sunlight daily). Move the pot to a sunnier location. Legginess is often a sign of insufficient light. |
| Yellowing Lower Leaves | Oldest leaves turn yellow. | This is often normal as the plant matures and directs energy to sprouts. Remove them. If many young leaves yellow, check for nitrogen deficiency (fertilize) or overwatering. |
| Sprouts Not Forming or Loose | Sprouts are leafy, loose, or do not form tight heads. | Often due to insufficient cool weather. Brussels sprouts need consistent cool temperatures to firm up. Also, ensure consistent watering and proper light. Consider the “topping” technique. |
| Bitter Sprouts | Sprouts taste noticeably bitter. | Can be caused by inconsistent watering (stress), too much heat during development, or lack of cool weather/frost. Ensure even moisture and time your planting for fall conditions. |
| Pests (Aphids, Cabbage Worms) | Visible insects, holes in leaves, sticky residue. | Inspect daily. Handpick larger pests. Use a strong water spray for aphids. Apply insecticidal soap or Bt (for caterpillars) as a targeted, least-toxic control. |
Frequently Asked Questions
Can I grow more than one Brussels sprout plant in a large pot?
For optimal growth and yield, we recommend planting only one Brussels sprout plant per 15-20 gallon pot. Each plant requires significant root space and nutrients to develop a robust stalk and produce well-formed sprouts. Crowding can lead to smaller plants and reduced harvests.
Do Brussels sprouts need a lot of fertilizer in containers?
Yes, Brussels sprouts are heavy feeders, especially in containers where nutrients leach out faster. Start with a rich, compost-amended potting mix. Then, apply a balanced organic liquid fertilizer every 2-3 weeks, or top-dress with a slow-release granular organic fertilizer monthly, particularly once sprouts begin to form.
What’s the best way to support a tall Brussels sprout stalk in a pot?
Insert a sturdy stake (bamboo or rebar) into the pot when you plant the seedling, or shortly after. As the plant grows, loosely tie the main stalk to the stake at several points using soft ties like old nylons or garden twine. This prevents the stalk from toppling over due to its height and the weight of the developing sprouts.
My Brussels sprouts are ready to harvest, but it’s still warm. Should I wait for frost?
While a few light frosts enhance their sweetness, you can begin harvesting your Brussels sprouts once they are firm and about 1-1.5 inches in diameter, even if a hard frost has not yet occurred. Harvest from the bottom up. If prolonged warm weather is expected, continue to harvest as they mature to prevent them from becoming bitter or loosening.
Can I overwinter Brussels sprouts in a container?
In regions with mild winters (USDA zones 7-10), you might be able to overwinter Brussels sprouts, allowing for a spring harvest. Protect the pot with mulch or by moving it against a warm wall. In colder climates, bring the pot indoors to an unheated garage or greenhouse for protection, or accept it as an annual crop. They generally thrive best when harvested before deep freezes.
For research-based guidance on edible gardening, visit Iowa State University Extension — Yard & Garden, Washington State University Hortsense and University of Minnesota Extension.
Disclaimer: This article is for informational purposes only and is not a substitute for professional advice. Consult local extension services for region-specific recommendations.
Leave a Reply