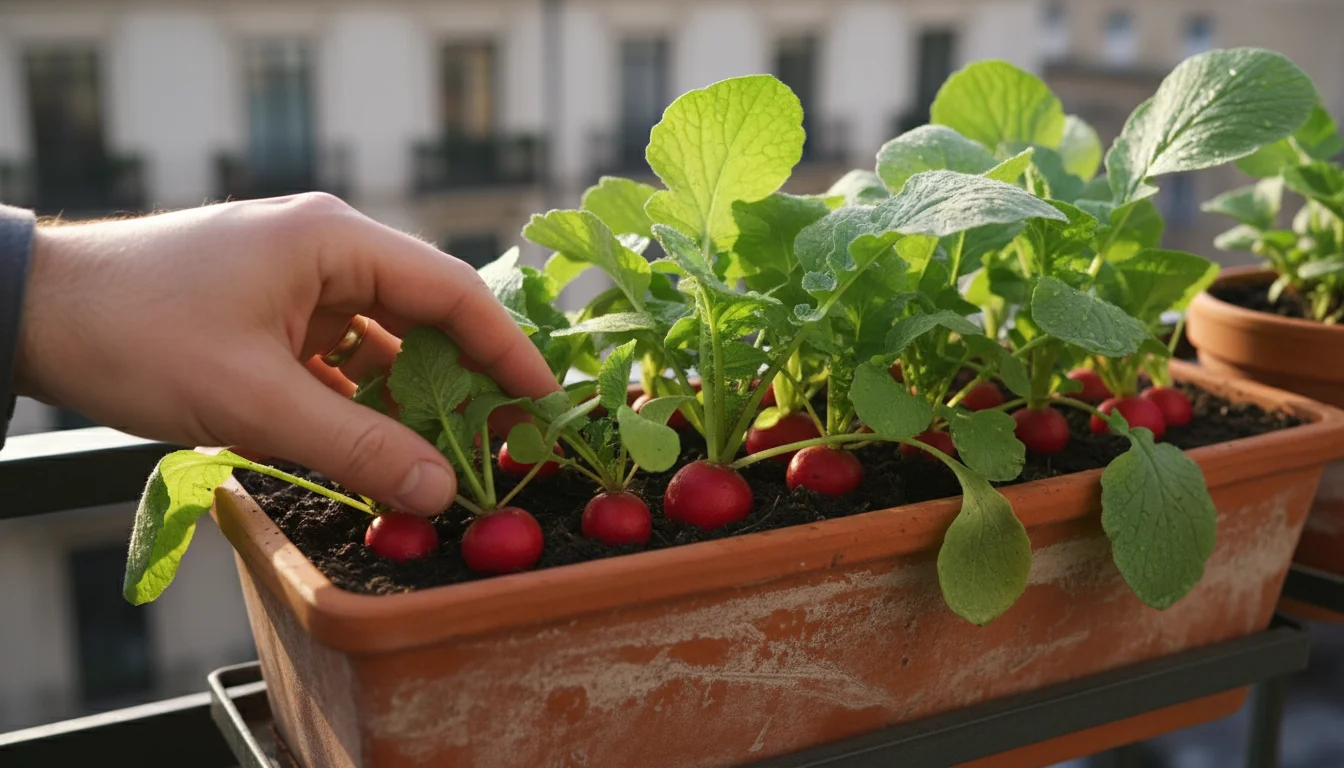
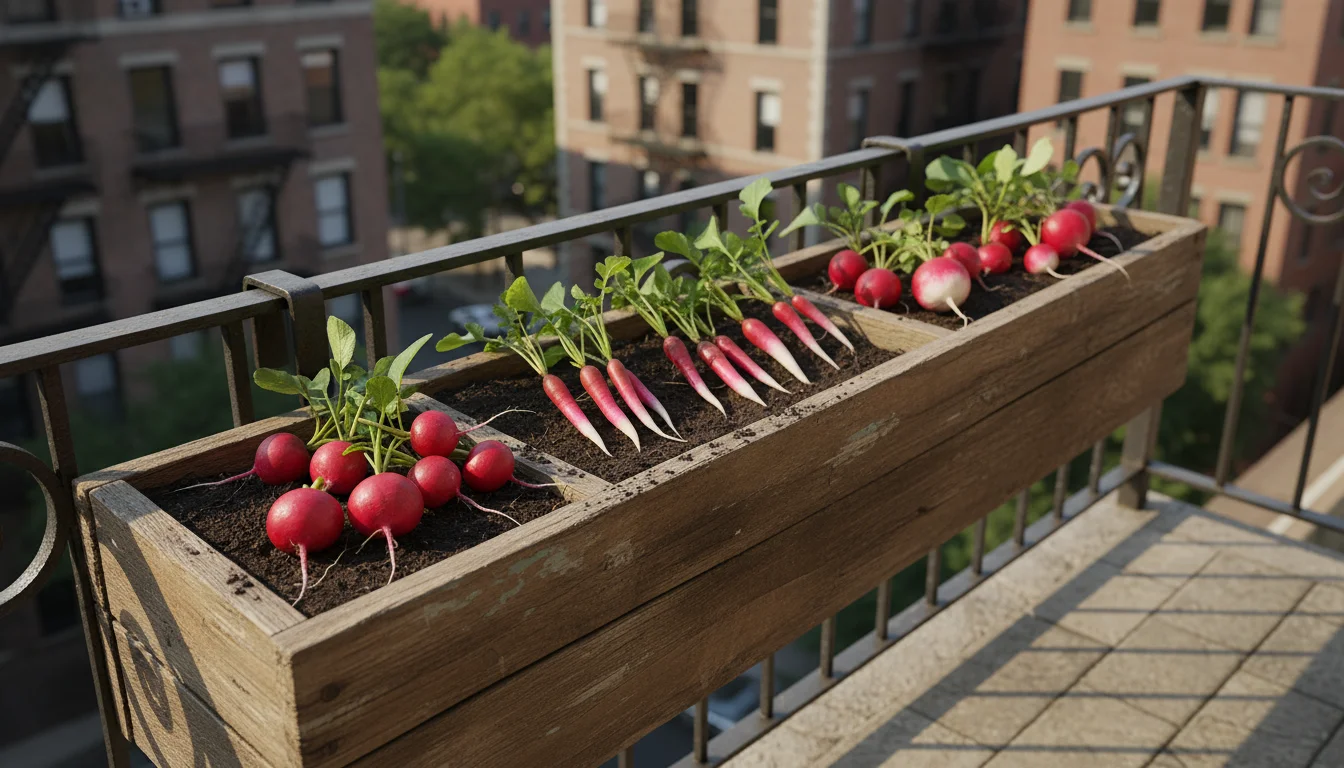
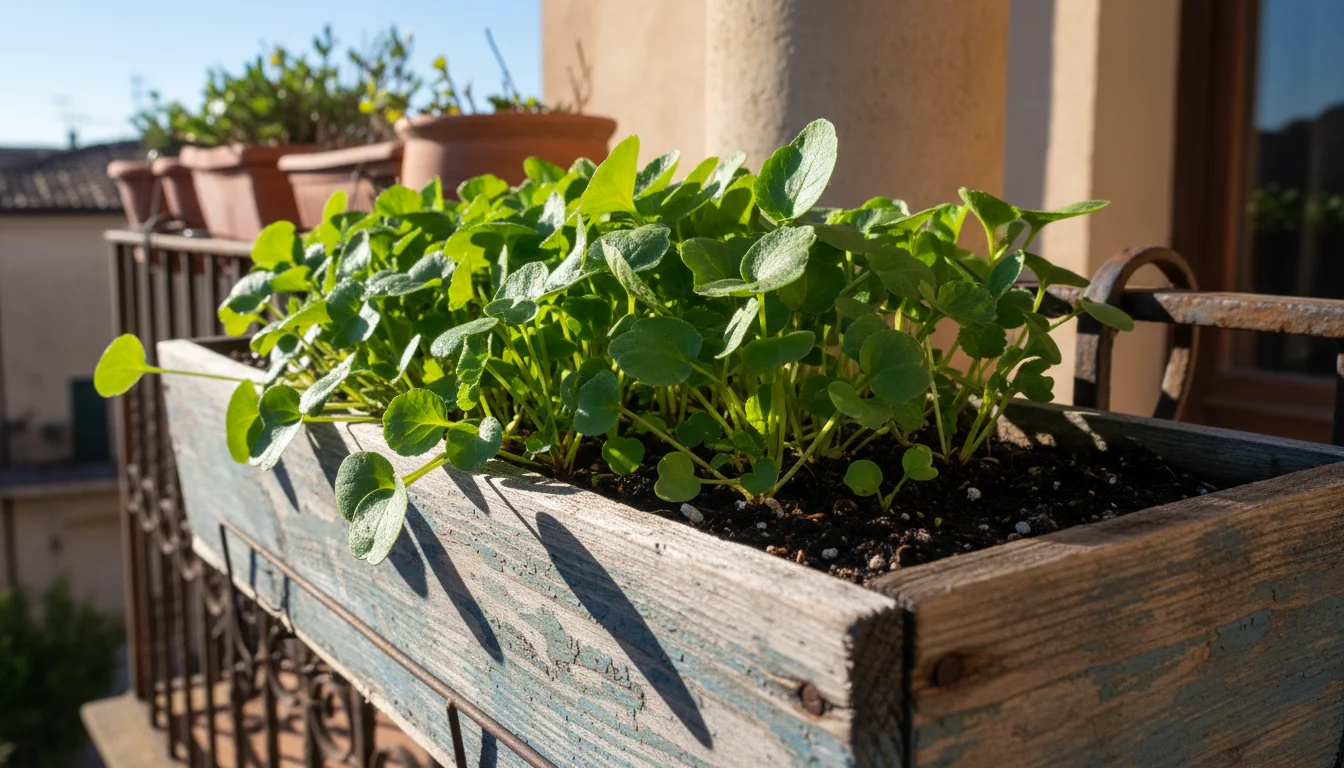
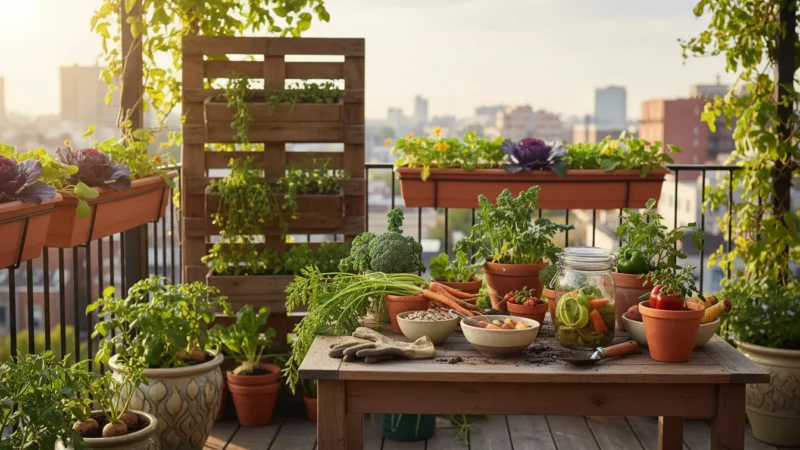
Imagine biting into a crisp, peppery radish, pulled fresh from your own window box. If you think growing your own vegetables requires a sprawling backyard, think again! For anyone with a balcony, patio, or even just a sunny windowsill, fall radishes offer a quick, satisfying harvest. These zesty root vegetables thrive in cooler temperatures and mature rapidly, making them an ideal choice for fall vegetable gardening, especially in small spaces.
Even if you are getting a late start in the season, there are several last-minute crops you can still grow in containers.
This guide provides all the practical, actionable steps you need to succeed at growing radishes in containers. We focus on window boxes, which are perfect for maximizing space and adding a touch of edible beauty to your home. You will learn about selecting the right varieties, preparing your growing environment, and maintaining your plants for a continuous bounty. Get ready to enjoy delicious, homegrown radishes with minimal effort.
Why Fall Radishes Are Your Perfect Window Box Crop
Radishes stand out as one of the best choices for fast growing fall vegetables for small spaces, and particularly for window boxes. They offer several compelling advantages that make them a favorite among busy gardeners and those with limited room.
For a complete meal, you can even set up a one-pot fall salad bar in a separate container nearby.
Pairing these with hearty container kale is another excellent way to fill your autumn garden with nutrient-dense greens.
If you want to maximize your harvest, you might also enjoy growing spicy mustards and arugula in similar window box setups.
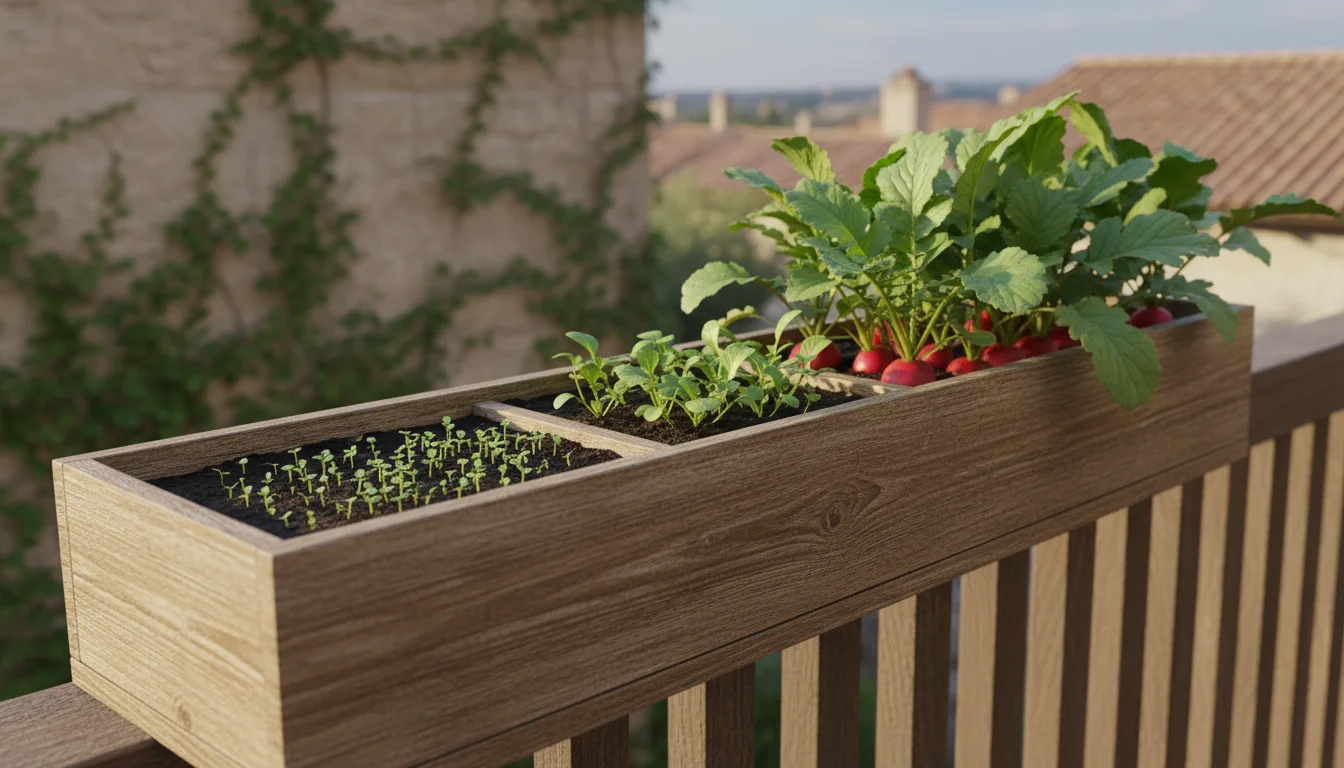
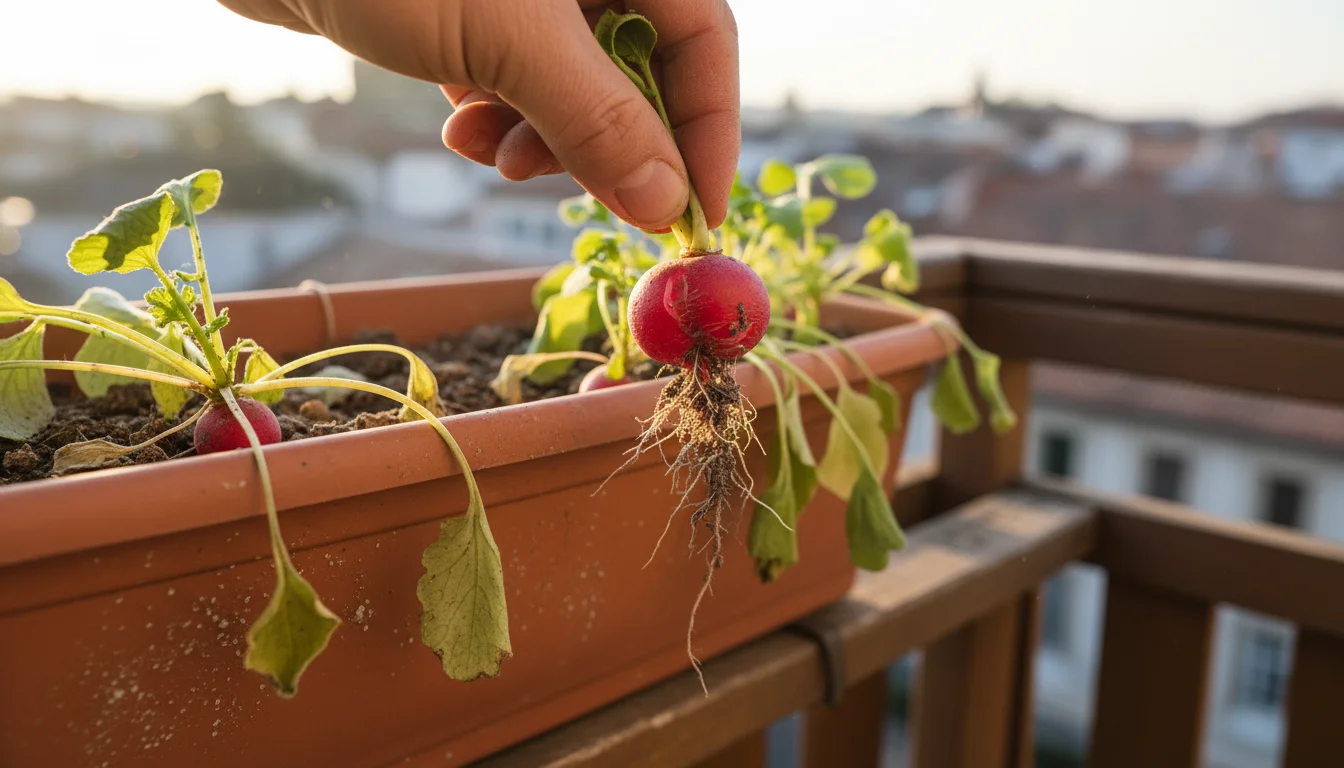
Firstly, radishes grow incredibly fast. Many varieties mature in as little as 20-30 days from planting the seed, meaning you enjoy a harvest just weeks after sowing. This quick turnaround provides immense satisfaction and allows you to grow multiple batches throughout the fall season.
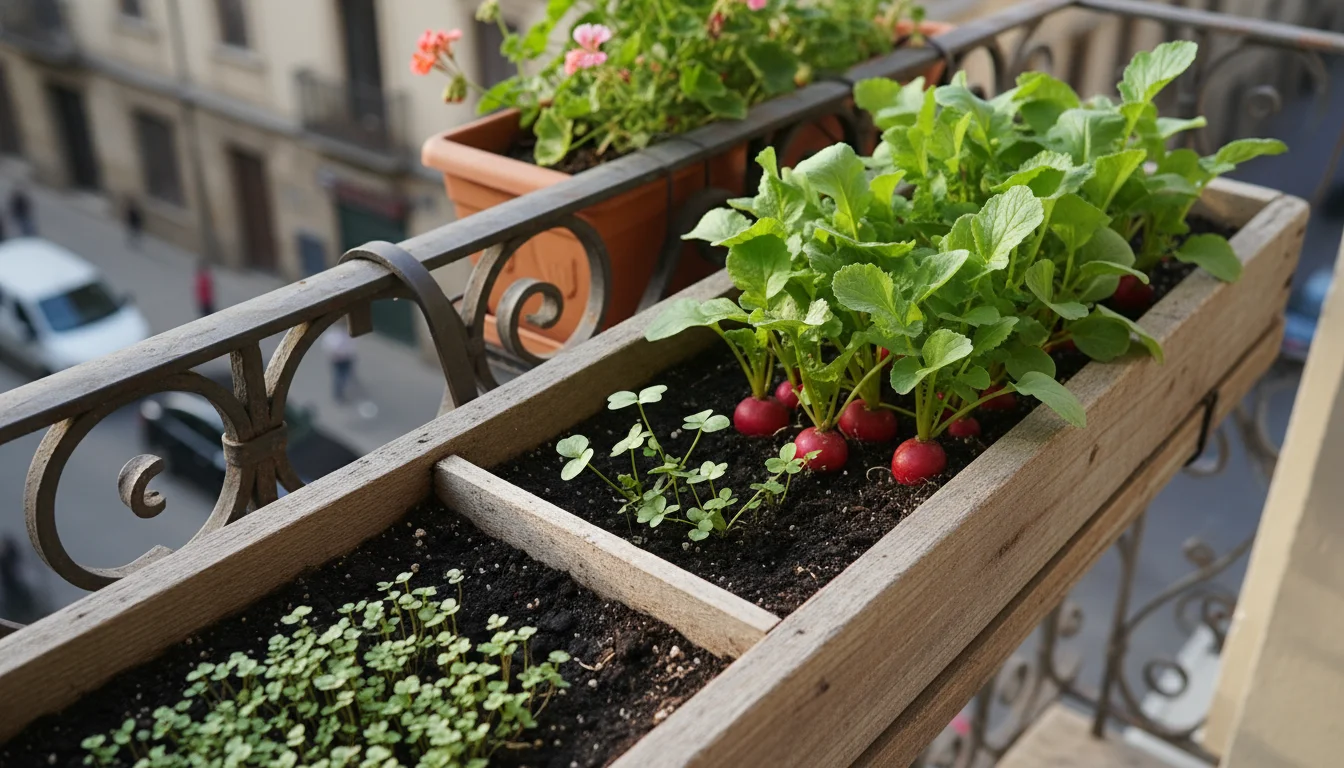
Secondly, radishes are compact. Their root develops underground, and the leafy tops remain relatively small, making them perfectly suited for the shallow, narrow confines of a window box. You do not need a lot of space for successful growth, which is exactly what a window box provides. This makes them ideal window box vegetables.
Thirdly, radishes prefer cooler temperatures. While spring radishes often “bolt,” meaning they go to seed prematurely in warm weather, fall conditions typically offer the ideal environment for root development. The crisp, cool air enhances their flavor and prevents them from becoming woody or overly pungent. Temperatures between 50-65°F (10-18°C) are optimal, common throughout much of the fall.
Finally, growing radishes in containers gives you precise control over their environment. You manage the soil, water, and sun exposure, leading to healthier plants and more consistent harvests. This level of control is invaluable, especially when space limitations prevent traditional in-ground gardening.
Choosing the Ideal Window Box and Potting Mix
The success of your fall radishes begins with selecting the right window box and filling it with quality potting mix. These elements directly impact root development and overall plant health.
Success with root vegetables often starts with understanding the basics of container gardening in small spaces.
Window Box Selection: Size and Material
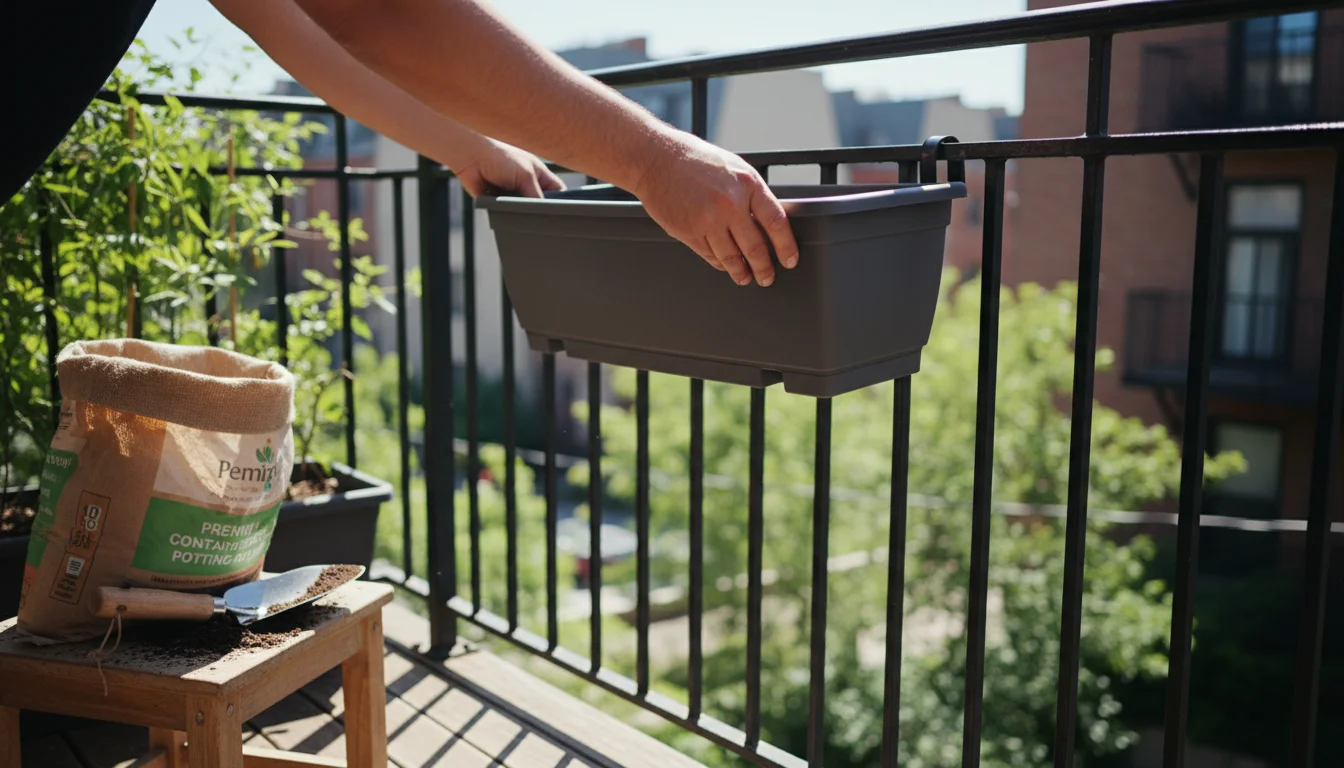
When considering how deep do pots need to be for radishes, aim for a window box that provides at least 6 inches of depth. While radish roots are not extremely long, this depth allows ample room for their globular or cylindrical roots to develop without crowding. A box width of 6-8 inches also works well, offering enough space for proper plant spacing.
Ensure your window box has excellent drainage holes. Radishes hate “wet feet,” which means sitting in waterlogged soil. Without adequate drainage, their roots rot, and your harvest fails. If your box lacks holes, drill several 1/4-inch to 1/2-inch holes in the bottom. Consider adding a saucer or tray underneath to catch excess water, protecting your windowsill or patio. For proper aeration, elevate your window box slightly using small feet or blocks if it sits directly on a surface, further aiding drainage.
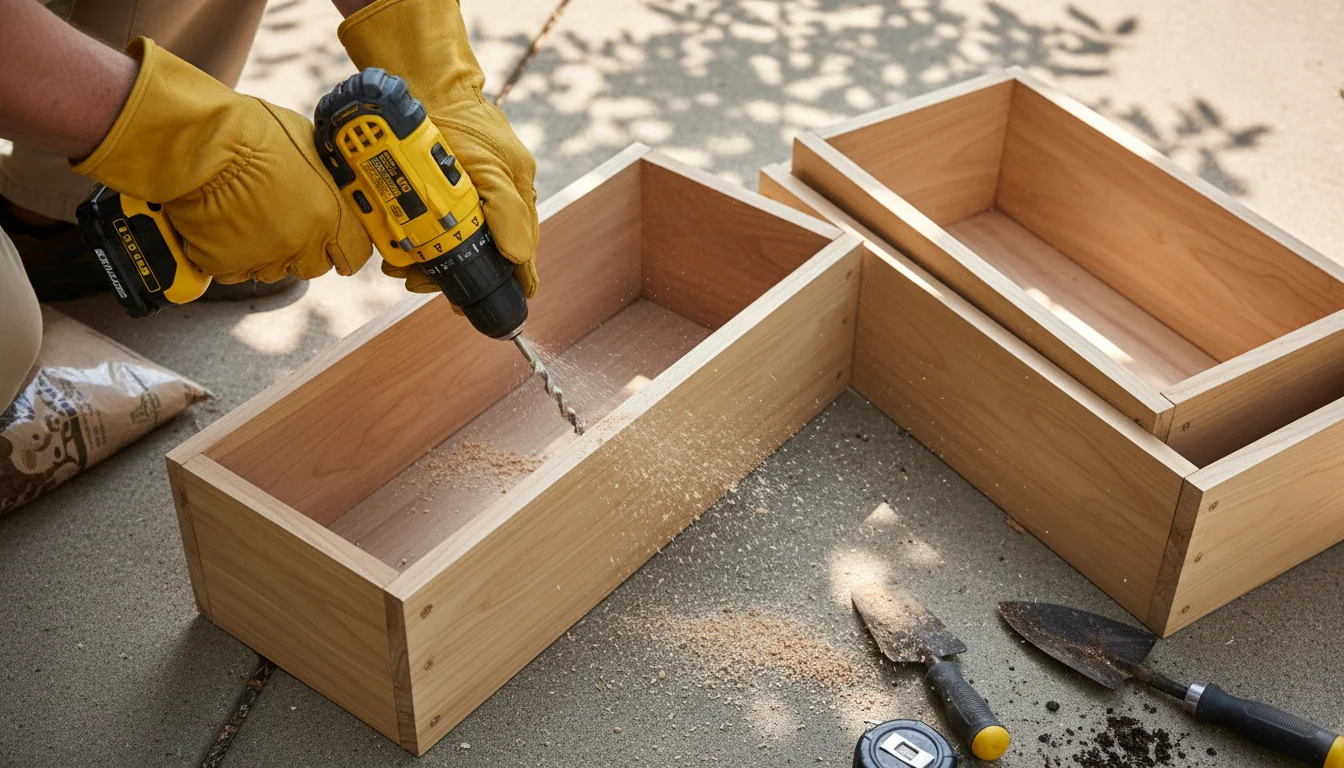
Materials vary widely. Plastic window boxes are lightweight, affordable, and retain moisture well, reducing the frequency of watering. Terracotta boxes are attractive and breathable, which helps prevent overwatering, but they dry out faster. Wooden boxes offer a rustic look; ensure they are made from rot-resistant wood like cedar or redwood, or lined with plastic to prolong their life. Regardless of material, prioritize drainage.
Potting Mix: The Foundation for Growth
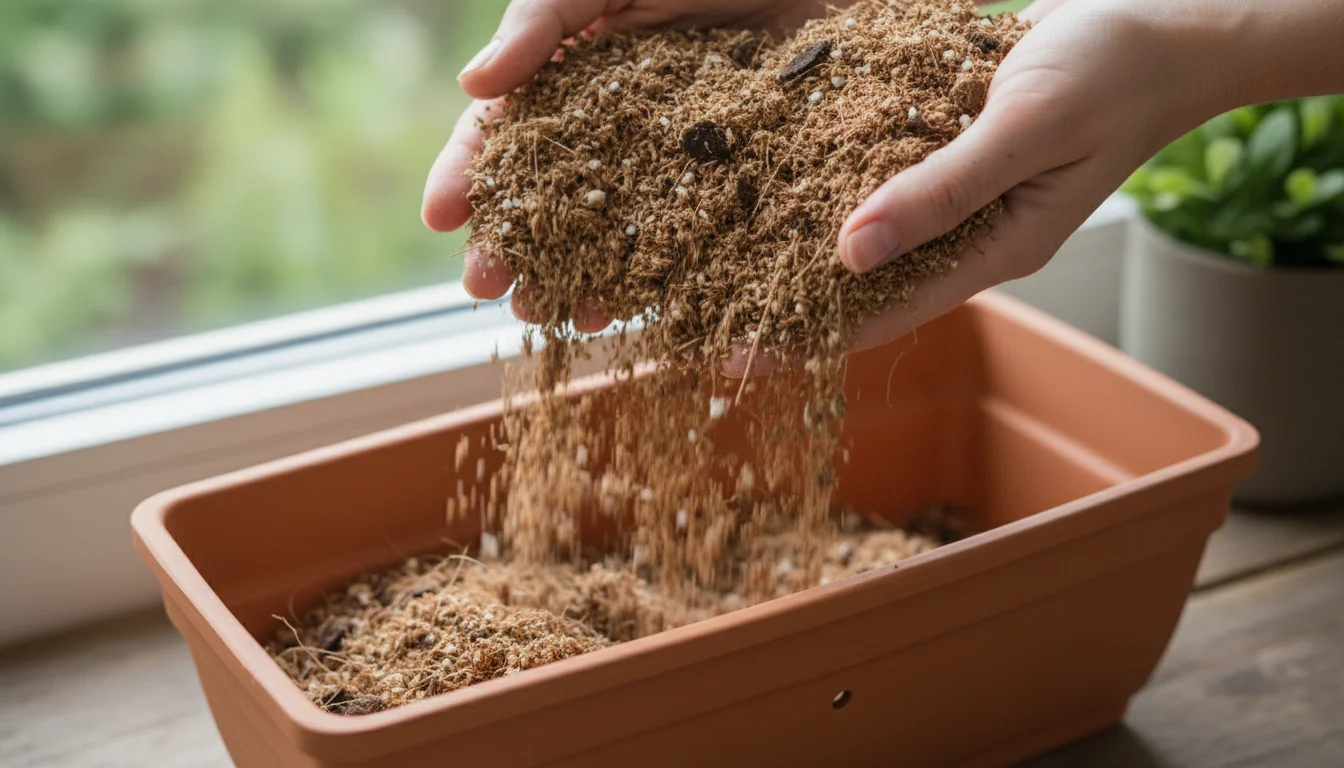
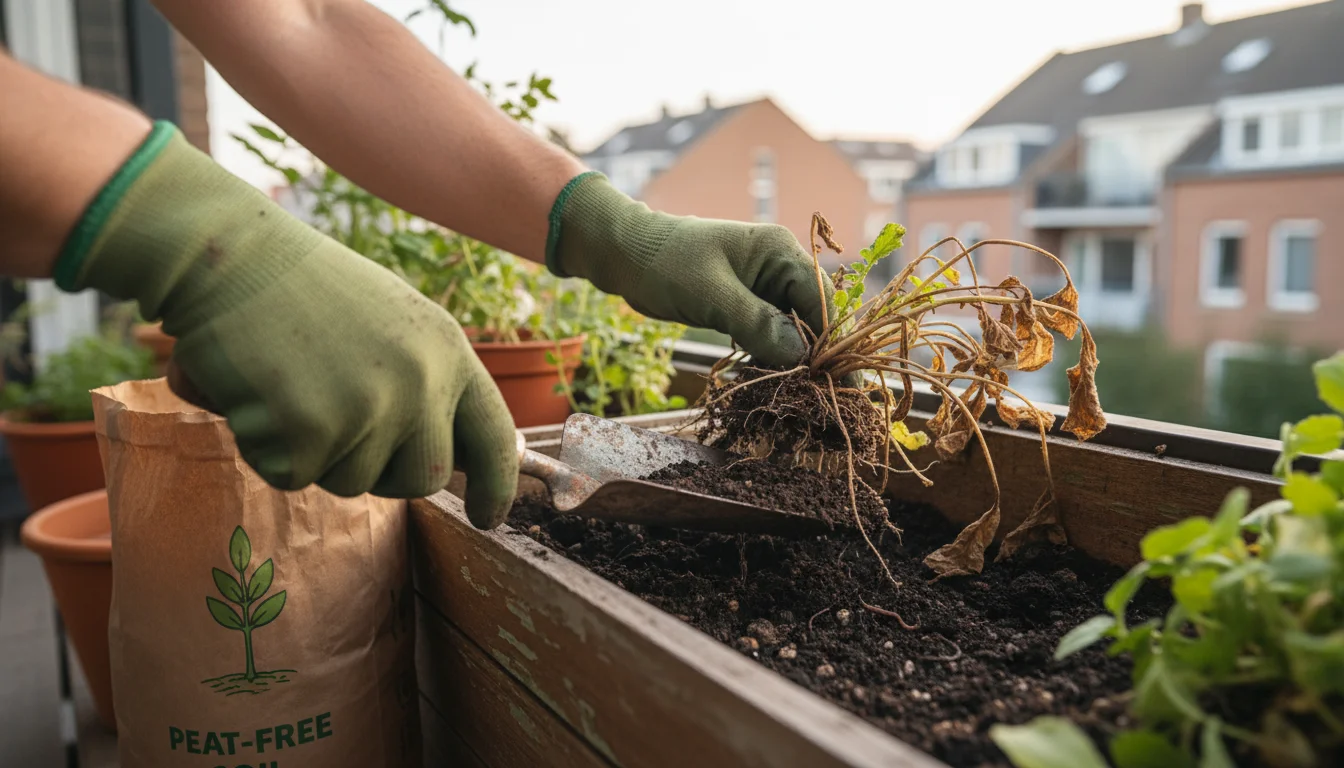
Do not use garden soil in your window box. Garden soil compacts easily in containers, impedes drainage, and may harbor weed seeds or pests. Instead, use a high-quality, well-draining potting mix specifically formulated for containers.
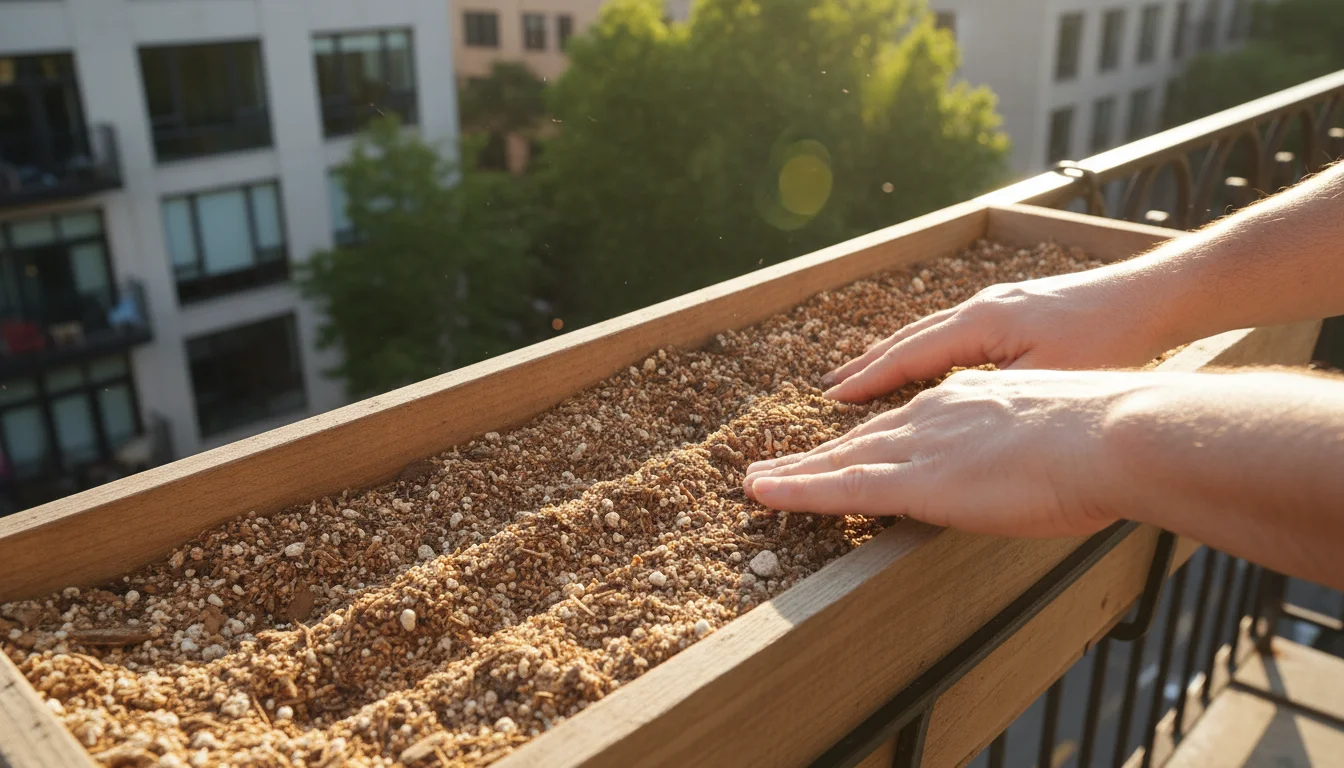
Look for a “peat-free” potting mix. These sustainable alternatives typically use coco coir, composted bark, and other organic materials. They offer excellent water retention while ensuring good aeration, crucial for healthy root crops like radishes. Peat-free mixes also align with environmentally conscious gardening practices.
A good potting mix provides the optimal balance of moisture, nutrients, and air for your radish roots. It should feel light and fluffy, not dense or heavy. Here’s what to look for:
- Good Drainage: Prevents waterlogging and root rot.
- Moisture Retention: Keeps the soil consistently moist, which is vital for tender, flavorful radishes.
- Aeration: Allows oxygen to reach the roots.
- Nutrient Content: Provides essential nutrients for initial growth. Many mixes include a slow-release fertilizer, which is suitable for radishes given their fast growth.
You can reuse potting mix from previous seasons, but refresh it. Over time, potting mix loses its structure and nutrients. To refresh, mix in about 20-30% new, fresh potting mix, along with some compost or worm castings. This replenishes nutrients and improves soil structure, preparing it for another successful crop. Always remove any old plant debris to prevent disease transmission.
Selecting the Best Radish Varieties for Fall Containers
Choosing the right radish variety makes a significant difference in your fall harvest. Some varieties tolerate cooler temperatures better and perform exceptionally well in containers. Focus on varieties known for fast maturity and good flavor in cooler conditions.
Another great option for small window boxes is growing Swiss chard, which provides both visual interest and continuous edible greens.
Beyond radishes, there are many other fall veggies that thrive in containers like kohlrabi and turnips.
Here are some excellent options for fall window box vegetables:
| Variety Name | Days to Maturity | Description | Container Suitability |
|---|---|---|---|
| Cherry Belle | 22-28 days | Classic round, bright red radish with crisp, mild flavor. Very popular and reliable. | Excellent, compact growth. |
| French Breakfast | 23-30 days | Elongated, cylindrical shape with a white tip and mild, buttery flavor. Harvest when finger-sized. | Excellent, shallow root system. |
| Sparkler | 25-30 days | Round, red with a distinct white bottom. Crisp and mildly spicy. | Very good, robust for containers. |
| White Icicle | 28-35 days | Long, pure white, carrot-shaped roots. Mild and tender, less pungent. | Good, requires slightly more depth. |
| Easter Egg Blend | 25-30 days | A mix of purple, red, pink, and white radishes, offering visual appeal and varied flavors. | Excellent, provides diversity. |
| Black Spanish Round | 50-60 days | Large, black-skinned, round radish with spicy white flesh. A longer fall crop for late season. | Good, but needs more depth and patience. |
When selecting your seeds, check the “days to maturity” listed on the packet. For fall planting, especially if you plan succession sowing, choose varieties that mature quickly. Also, look for descriptions that mention “cool season” or “bolt resistant,” which indicate a better tolerance for fluctuating fall temperatures.
Step-by-Step: Planting Your Fall Radishes From Seed
Planting fall radishes from seed is straightforward, but careful attention to spacing and timing ensures a successful harvest. Follow these steps for optimal results in your window box.
-
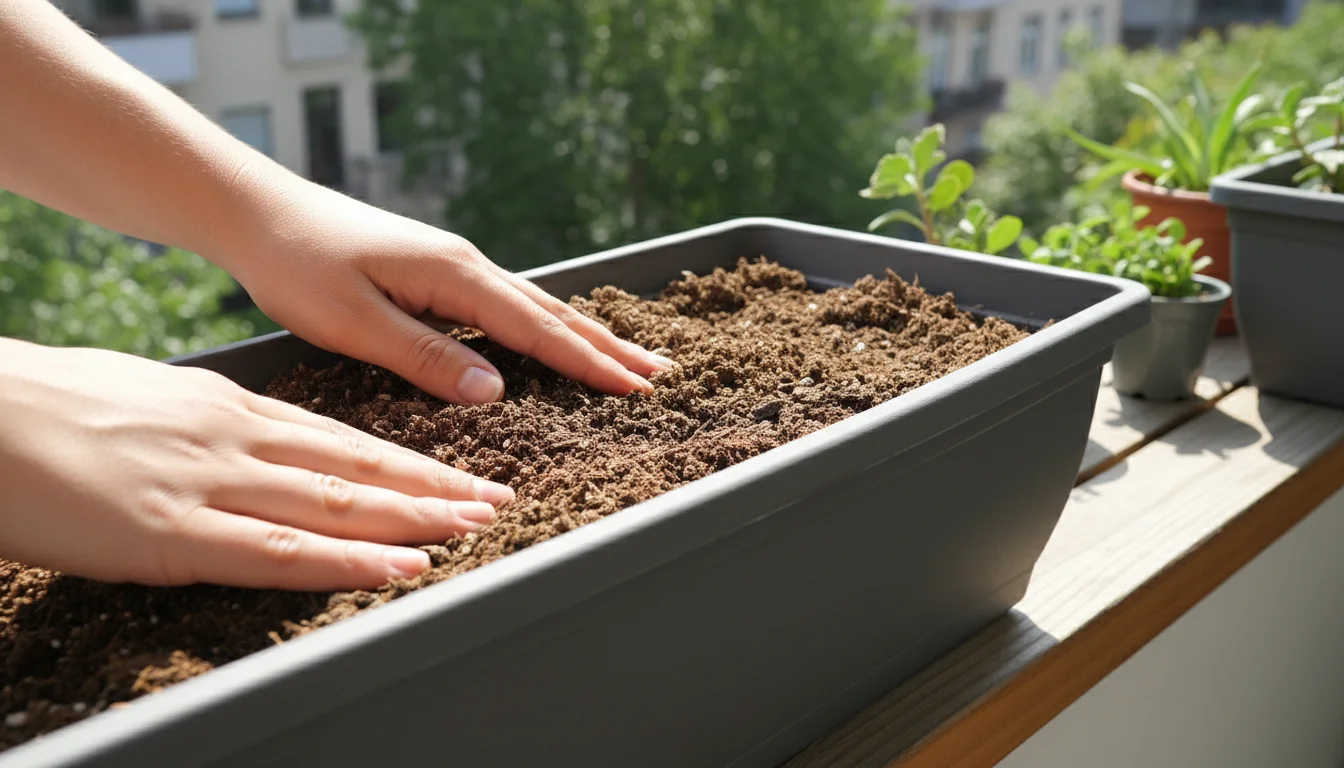
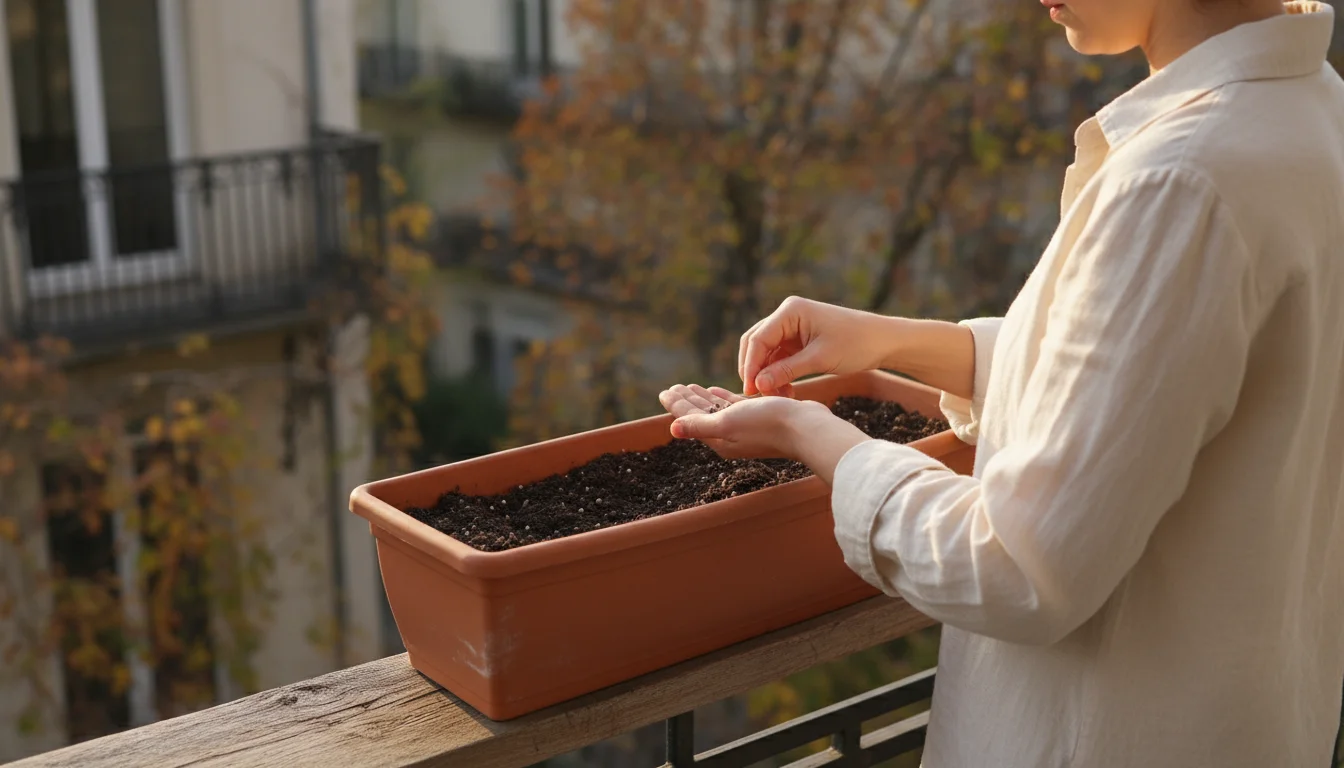
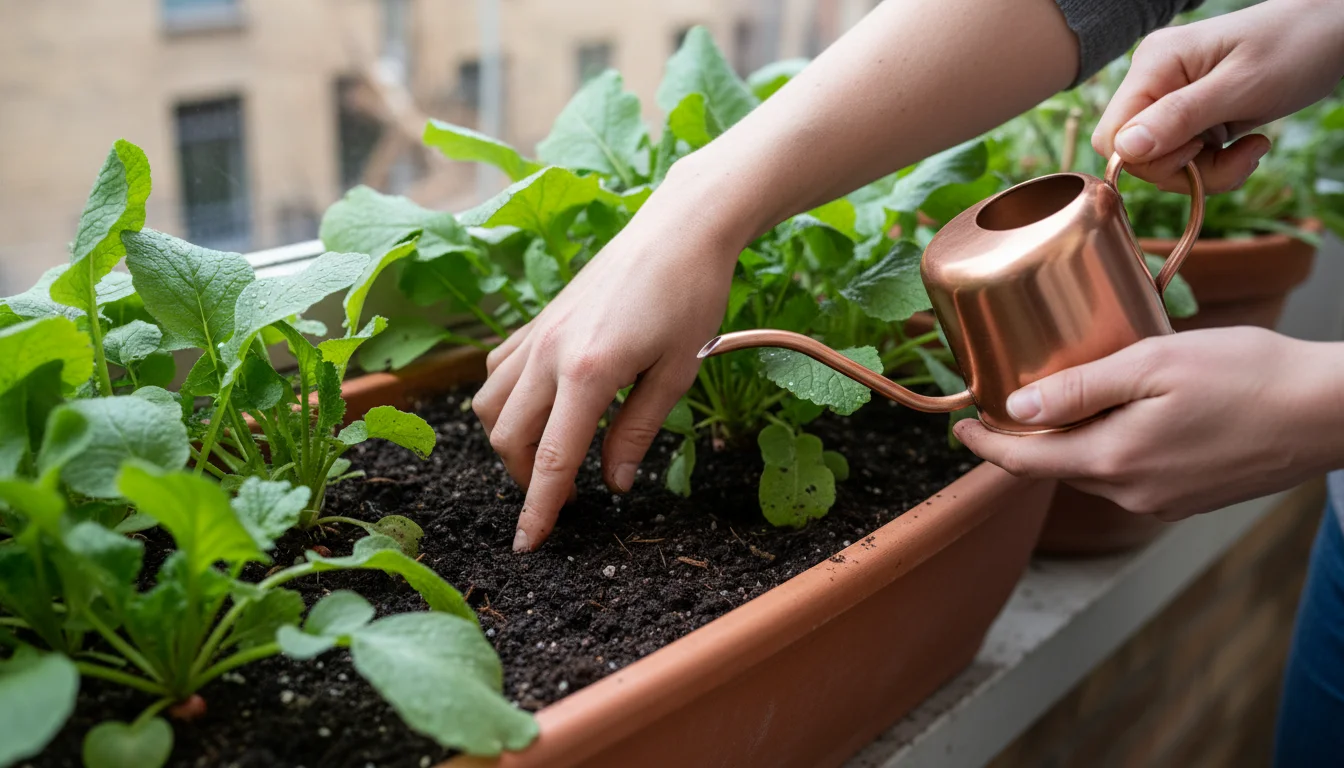
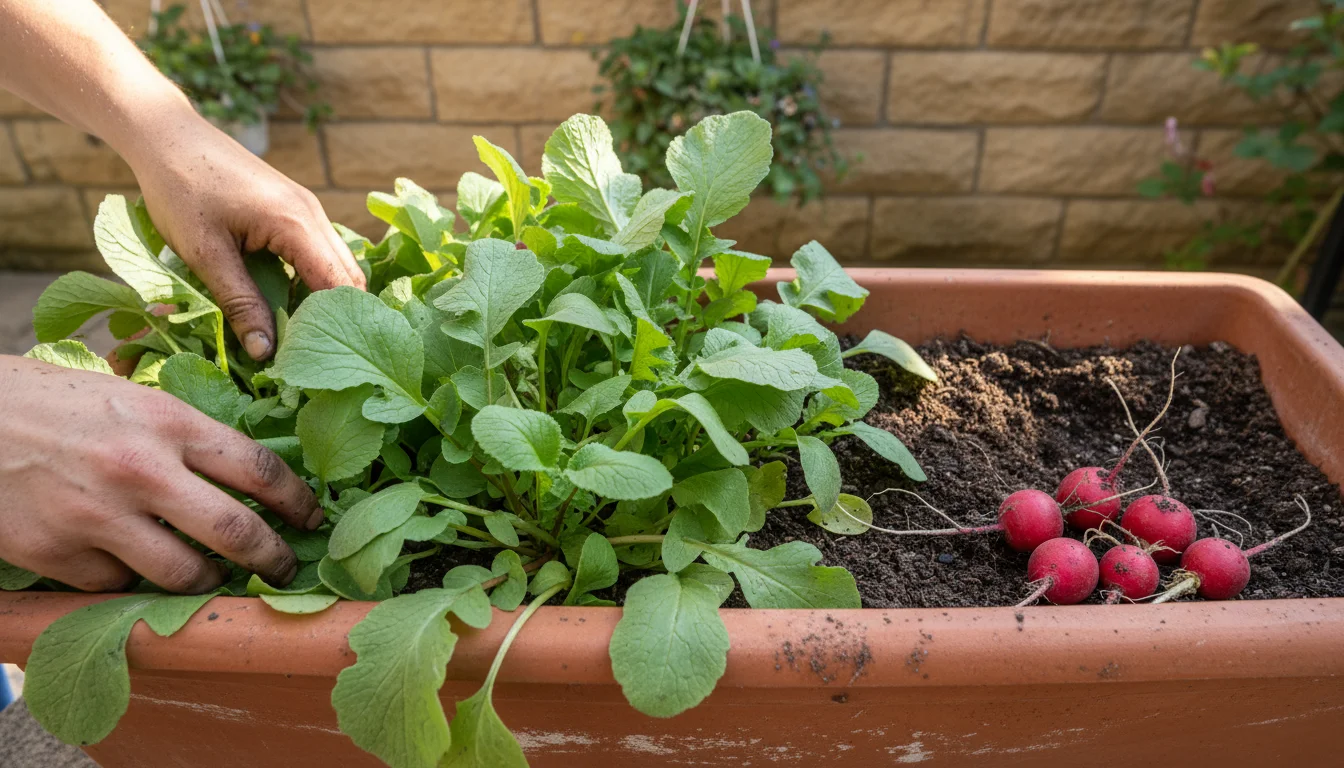
Hands preparing the window box with fresh, light soil. Prepare Your Window Box:
Fill your clean window box with the chosen potting mix, leaving about an inch of space from the rim. Gently pat the soil down to remove large air pockets, but avoid compacting it too much. You want the soil to remain light and fluffy for easy root growth.
-
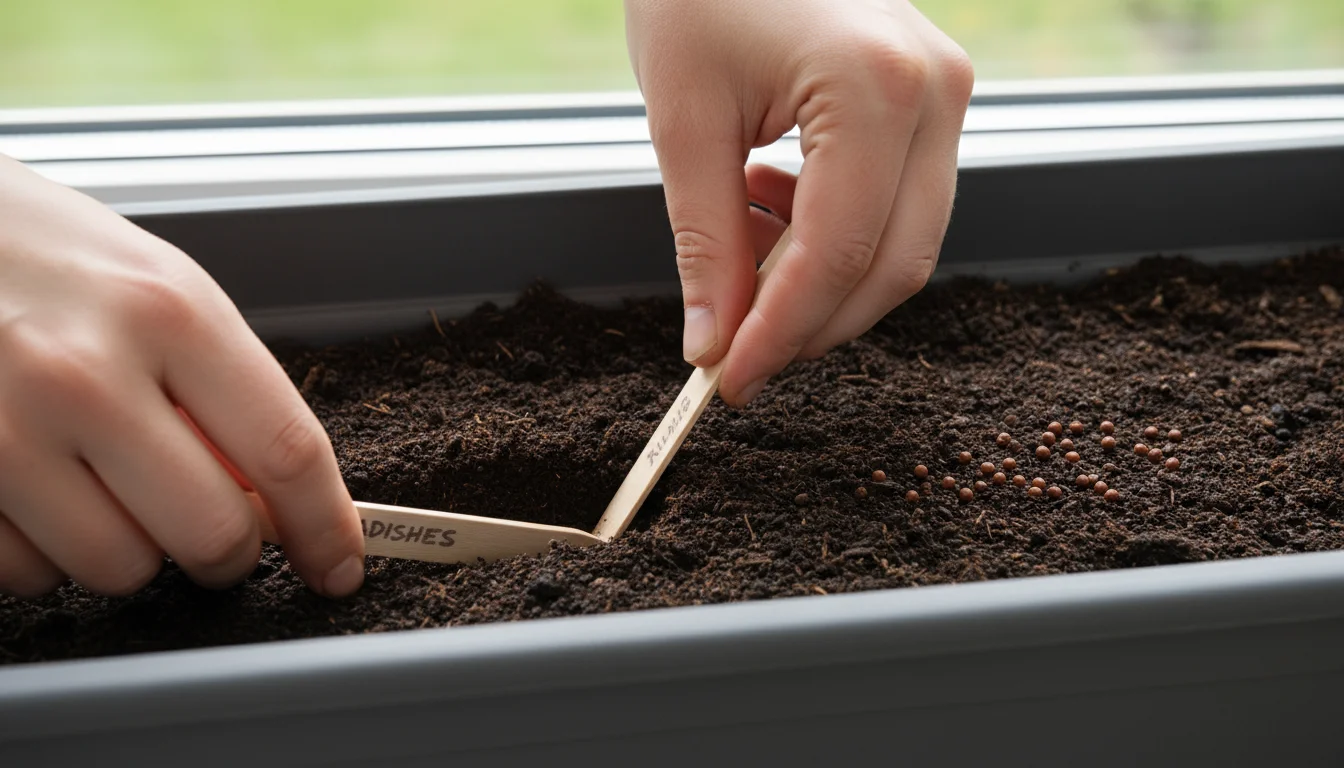
Shallow furrows are key for precise radish seed spacing in your window box. Sow Your Seeds:
Radish seeds are relatively small. Create shallow furrows, about 1/2 inch deep, running the length of your window box. Space these furrows 2-3 inches apart. Alternatively, you can broadcast seeds across the surface and then thin them later.
For precise spacing, sow seeds about 1 inch apart within the furrows. This initial spacing helps prevent overcrowding, a common issue that leads to small, undeveloped radishes. Remember, consistent spacing gives each radish room to grow its root. If you are planting larger varieties, like Black Spanish Round, increase this spacing to 2 inches.
-
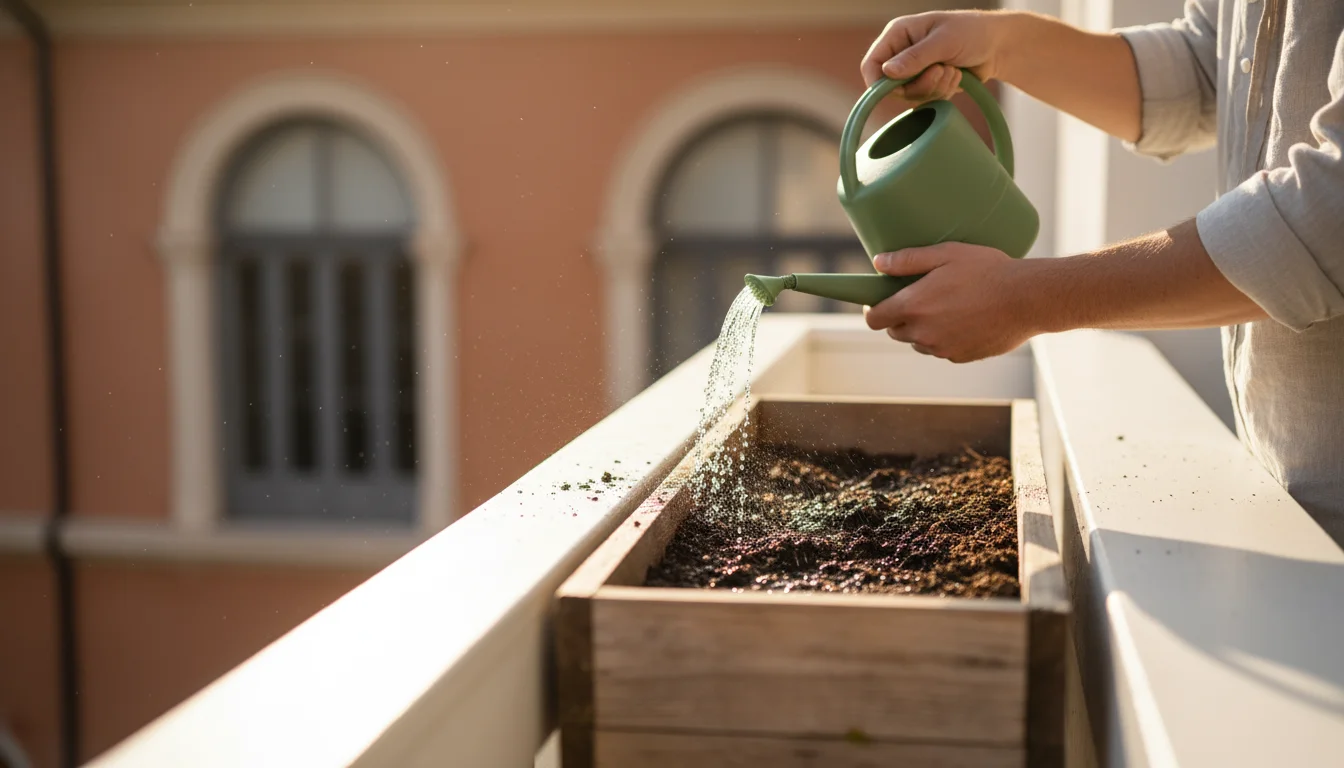
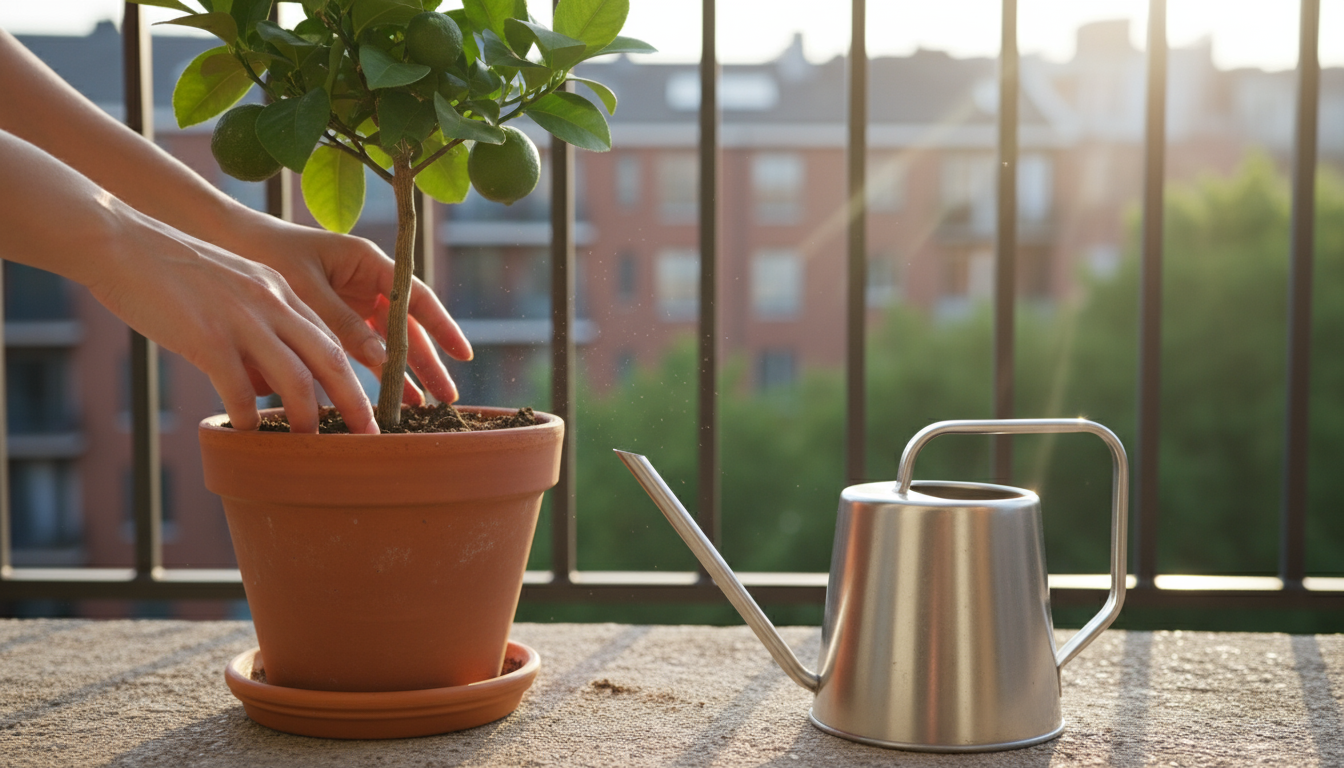
Giving those newly planted radish seeds their first gentle drink. Cover and Water:
Gently cover the seeds with about 1/2 inch of potting mix. Lightly firm the soil over the seeds. Water immediately and thoroughly using a gentle shower setting on your watering can or hose. The goal is to moisten the soil deeply without dislodging the seeds. Maintain consistent moisture throughout the germination period.
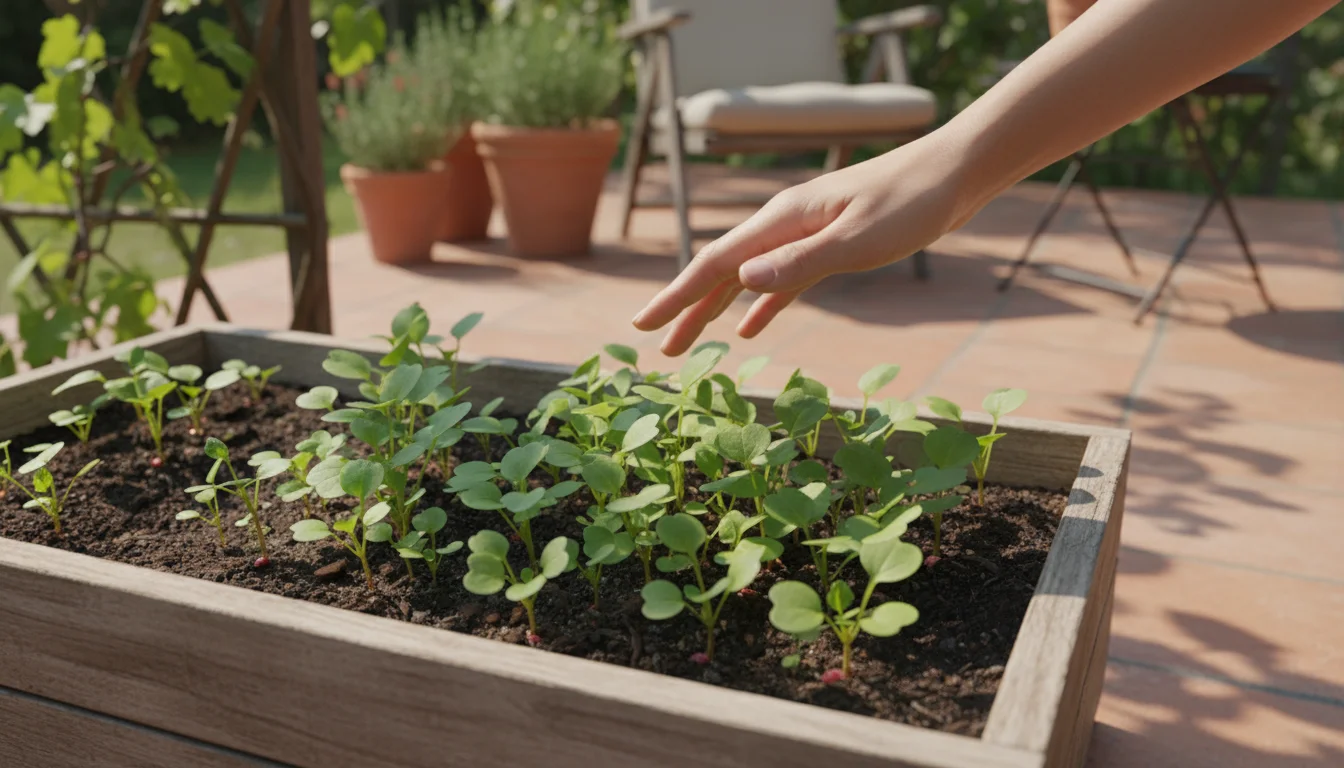
-
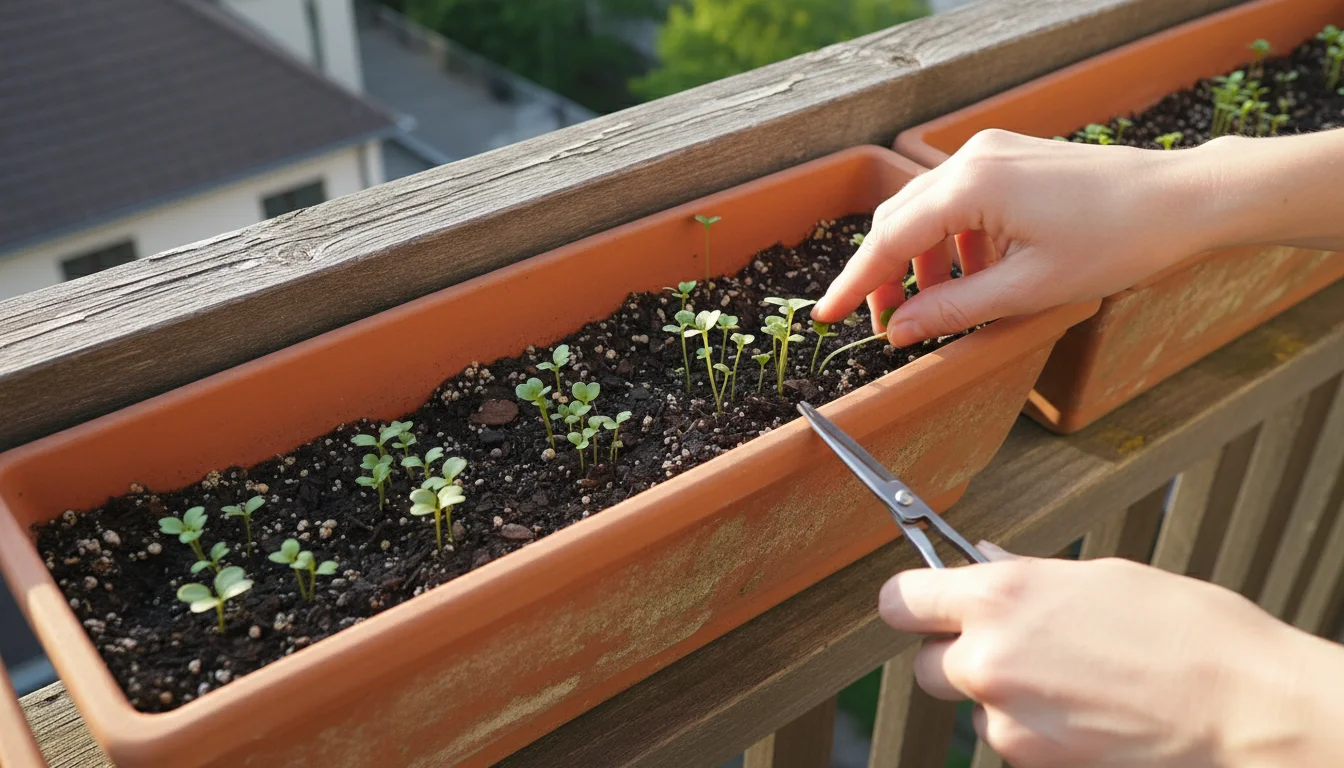
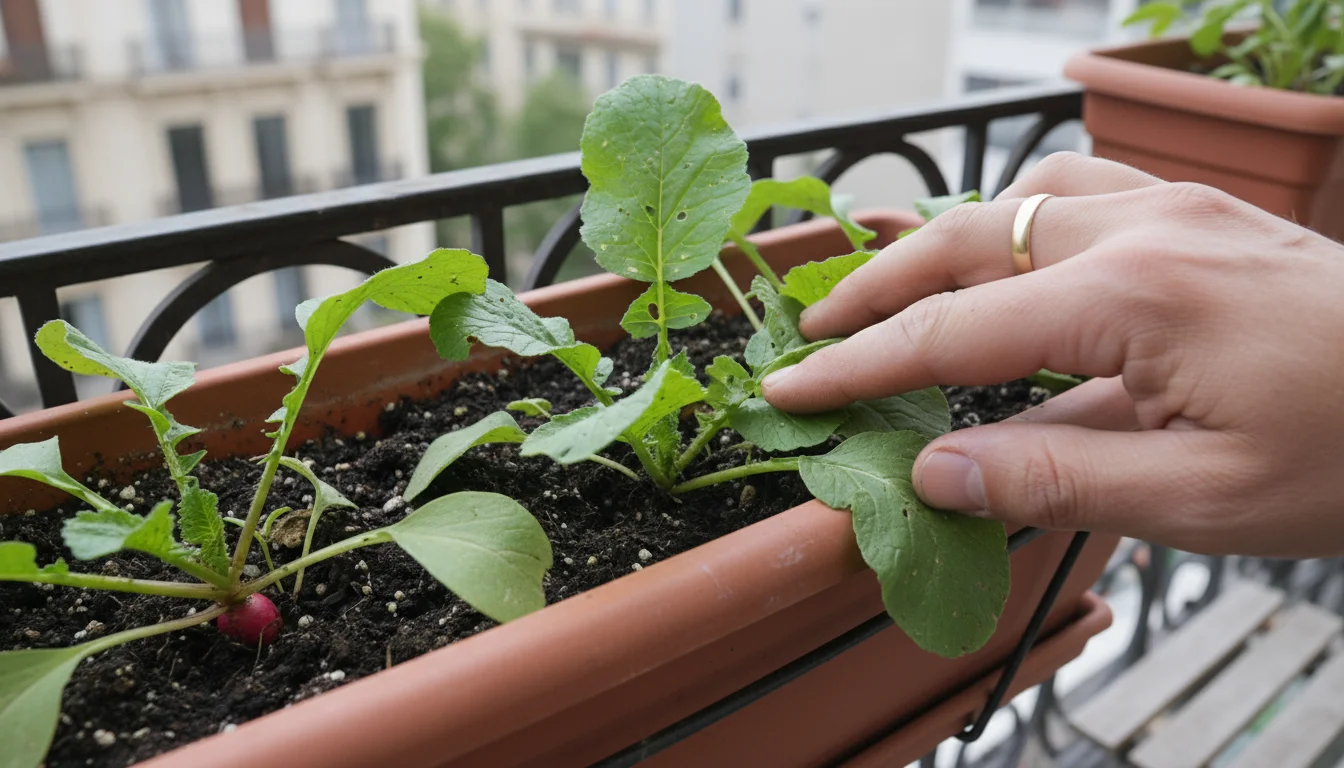
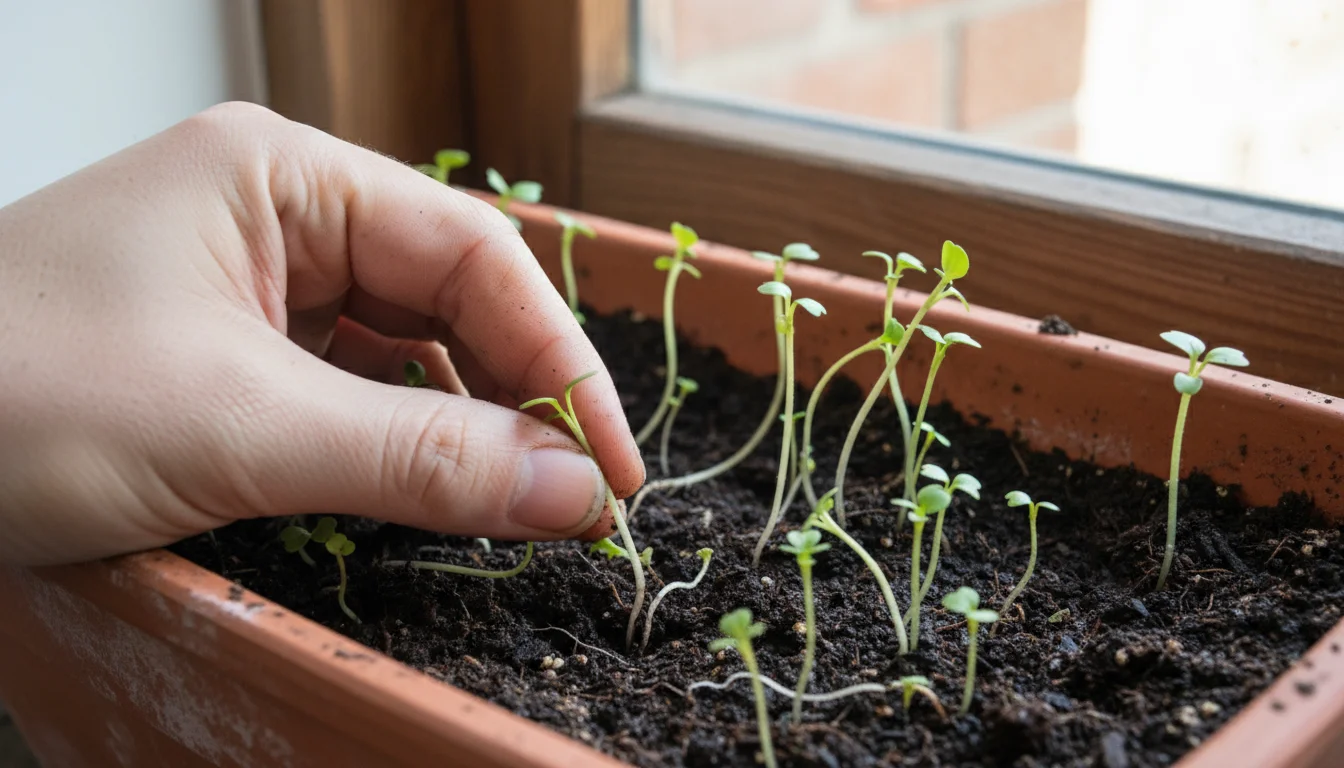
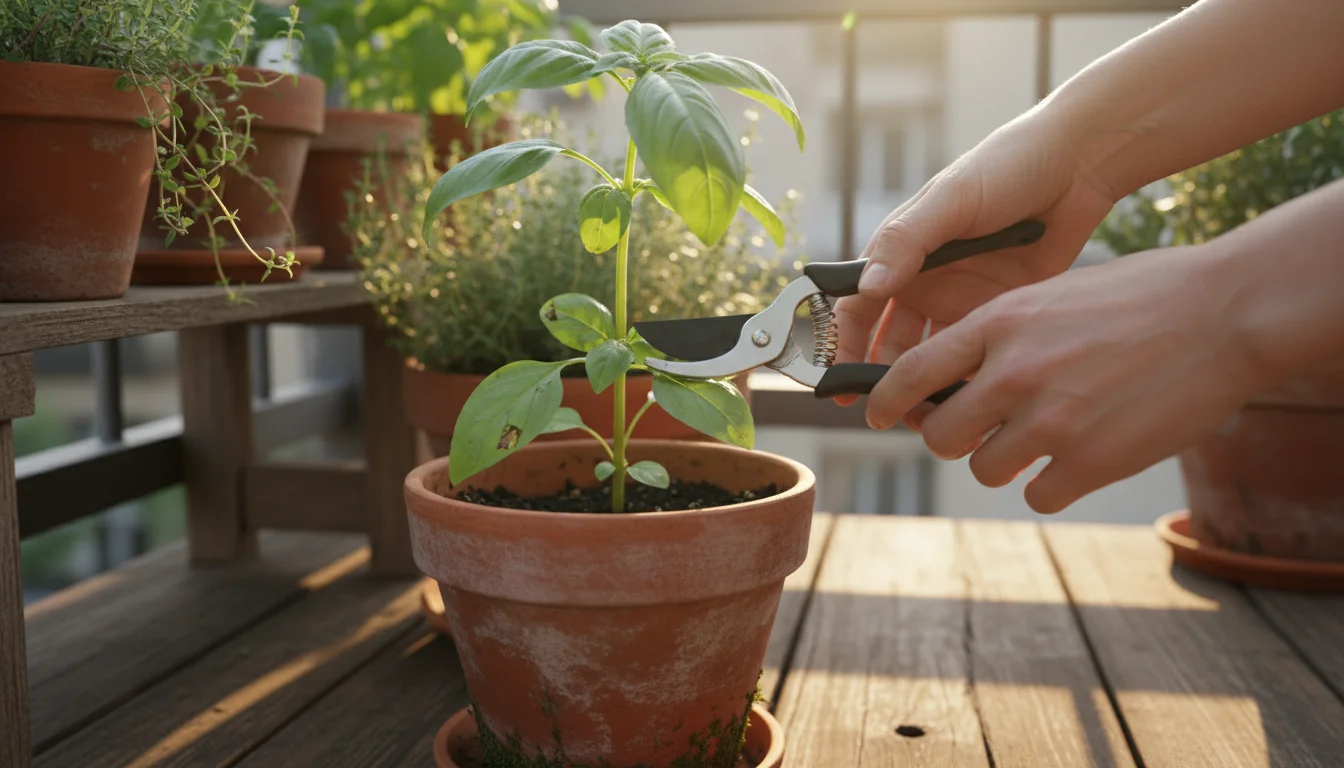
Carefully thinning radish seedlings for strong root development. Germination and Thinning:
Radishes typically germinate quickly, often within 3-7 days. Once the seedlings emerge and develop their first set of true leaves, it is crucial to thin them. Thinning means removing weaker or overcrowded seedlings to give the strongest plants enough room to thrive. For most round varieties, thin seedlings to 2-3 inches apart. For elongated varieties like French Breakfast or White Icicle, 1-2 inches apart is sufficient.
To thin, simply snip the weaker seedlings at the soil line with small scissors, or carefully pull them out. Avoid disturbing the roots of the remaining plants. Proper thinning is critical; overcrowded radishes will not form proper roots, resulting in leafy greens and no edible radish.
-
Getting fall radish seeds in the soil at just the right time. Timing Your Planting:
For fall radishes, begin planting seeds in late summer or early fall, typically 4-6 weeks before your average first frost date. This timing ensures they mature in cool weather but before hard freezes. In many regions, you can continue planting into mid-fall for a staggered harvest, taking advantage of the favorable cool temperatures. If your winters are mild, you may even extend planting into late fall.
By following these specific steps, you set your window box vegetables up for success, ensuring a bountiful harvest of crisp, delicious fall radishes.
Essential Care for Thriving Fall Radishes: Sun, Water, and Nutrients
Once you have planted your radish seeds, providing the right care is paramount. Consistent attention to sun exposure, watering, and nutrients ensures healthy growth and prevents common problems that affect flavor and texture.
Sunlight Requirements
Radishes require full sun, meaning at least 6 hours of direct sunlight per day, to produce robust roots. Place your window box in a location that receives ample sunlight. While radishes tolerate some partial shade, especially in warmer climates, insufficient light leads to small, underdeveloped roots and more leafy growth. Observe your chosen spot throughout the day to confirm it meets the minimum light requirements.
Watering: The Key to Crispness
Consistent moisture is the single most critical factor for tender, flavorful radishes. Irregular watering causes radishes to become woody, tough, or excessively spicy. They also might “bolt” or crack if the soil moisture fluctuates wildly.
- Check Soil Moisture Daily: Stick your finger an inch or two into the soil. If it feels dry, it is time to water.
- Water Deeply: When you water, do so thoroughly until water drains from the bottom of the window box. This encourages deep root growth. Avoid light, frequent sprinkles, which only moisten the surface.
- Consistency is Key: Aim to keep the soil consistently moist, but not waterlogged. Window boxes, especially terracotta ones, dry out faster than in-ground gardens. You might need to water daily in warm, windy conditions, or every few days as fall temperatures drop.
- Self-Watering Options: Consider a self-watering window box, which includes a reservoir that wicks water up into the soil. These are excellent for maintaining consistent moisture levels, reducing your watering frequency and ensuring your radishes thrive.
Nutrient Management: Less Is More
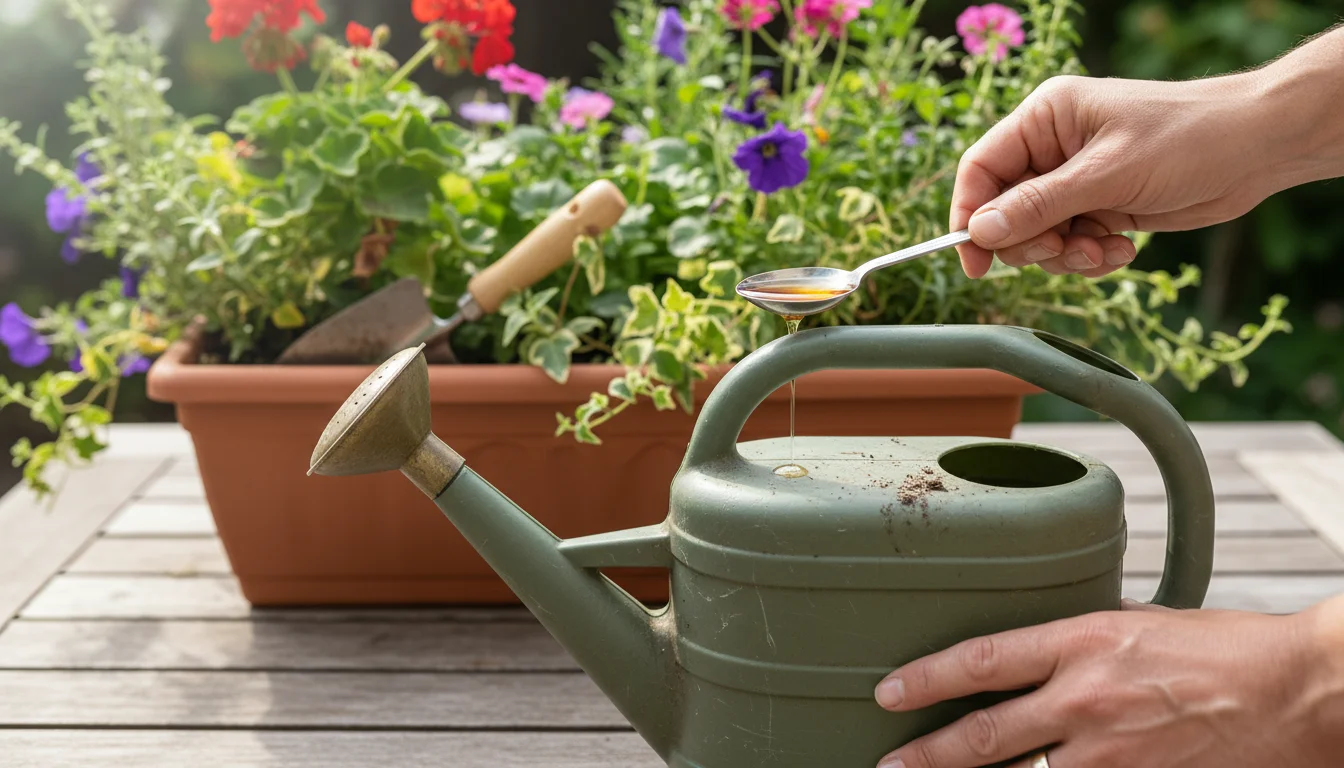
Radishes are fast growers and do not require heavy feeding. Over-fertilizing, particularly with nitrogen-rich fertilizers, promotes leafy top growth at the expense of root development. If your potting mix already contains a slow-release fertilizer, you likely need no additional feeding for the entire crop cycle.
If you use a basic, unfertilized potting mix, or if your radishes appear stunted after a few weeks, you can apply a balanced liquid fertilizer (like a 5-10-10 or 10-10-10 ratio) at half strength. Apply it once, about two weeks after germination. Do not overdo it. Organic options like diluted fish emulsion or compost tea also provide a gentle nutrient boost. Remember, the focus is on root growth, so avoid high-nitrogen feeds.
Mastering Succession Sowing for a Continuous Radish Harvest
One of the joys of growing radishes, especially in a window box, is the ability to enjoy a steady supply rather than a single large harvest. This is achieved through a technique called succession sowing.
What is Succession Sowing?
Succession sowing simply means planting small batches of seeds every couple of weeks, ensuring your harvests keep coming. Instead of sowing your entire packet of radish seeds at once, which would result in a huge harvest all at the same time, you spread out your planting. This strategy is perfect for fall vegetable gardening and especially effective for fast-maturing crops like radishes in limited space.
How to Implement Succession Sowing for Radishes:
- Divide Your Window Box: If your window box is long enough, you can mentally divide it into sections. Plant one section every 10-14 days. For example, if your window box is 24 inches long, you might divide it into two 12-inch sections.
- Stagger Your Planting: On week 1, plant seeds in the first section. On week 3, plant seeds in the second section. If you have multiple window boxes, dedicate one box for planting every two weeks. This way, as your first batch matures, your second batch is already growing, and your third batch is being planted.
- Monitor Maturity: Radishes mature quickly, usually within 3-4 weeks. By staggering your planting, you ensure that you always have a batch ready for harvest while another batch is developing. This helps you avoid gluts and ensures a continuous supply for your kitchen.
- Plan for Your Climate: For fall planting, continue succession sowing until about 4-6 weeks before your region’s hard frost date. This ensures your final crop has enough time to mature before freezing temperatures halt growth. In milder climates, you might extend this period further into late fall or even early winter.
Succession sowing makes growing radishes in containers incredibly rewarding. You optimize your small space, prevent waste from too many radishes maturing at once, and enjoy fresh, homegrown produce over an extended period. This method perfectly suits the “fast growing fall vegetables for small spaces” goal, providing practical, ongoing yield from your window box.
Common Challenges and Solutions for Radish Growers
Even with a “no-fail” guide, every gardener encounters challenges. Knowing how to identify and address common radish problems helps you keep your plants healthy and your harvest abundant. Here are some issues you might face and practical solutions.
Problem: Radishes Develop Small, Stringy Roots or Do Not Form Roots At All
Cause: This is often due to overcrowding, insufficient light, or high temperatures. If seedlings are not thinned properly, they compete for resources, leading to stunted roots. Lack of adequate sunlight also hinders root development. Warm weather (above 70°F or 21°C) encourages leafy growth at the expense of the root.
Solution:
- Thin Ruthlessly: Ensure you thin seedlings to 2-3 inches apart. This is one of the most critical steps for radish success.
- Provide Full Sun: Move your window box to a spot receiving at least 6 hours of direct sunlight daily.
- Plant in Cooler Weather: Radishes are a fall crop for a reason. Plant them when temperatures are consistently cool. If an unexpected warm spell hits, ensure consistent watering to mitigate stress.
Problem: Radishes Are Pungent, Woody, or Cracked
Cause: Inconsistent watering or allowing the soil to dry out between waterings is the primary culprit. When radishes do not receive steady moisture, their flavor intensifies to an unpleasant degree, and their texture becomes tough. Cracking occurs from sudden surges of water after a dry spell.
Solution:
- Water Consistently: Maintain consistently moist soil. Check daily and water thoroughly when the top inch of soil feels dry.
- Harvest on Time: Overly mature radishes also become woody and pungent. Harvest them promptly when they reach their optimal size.
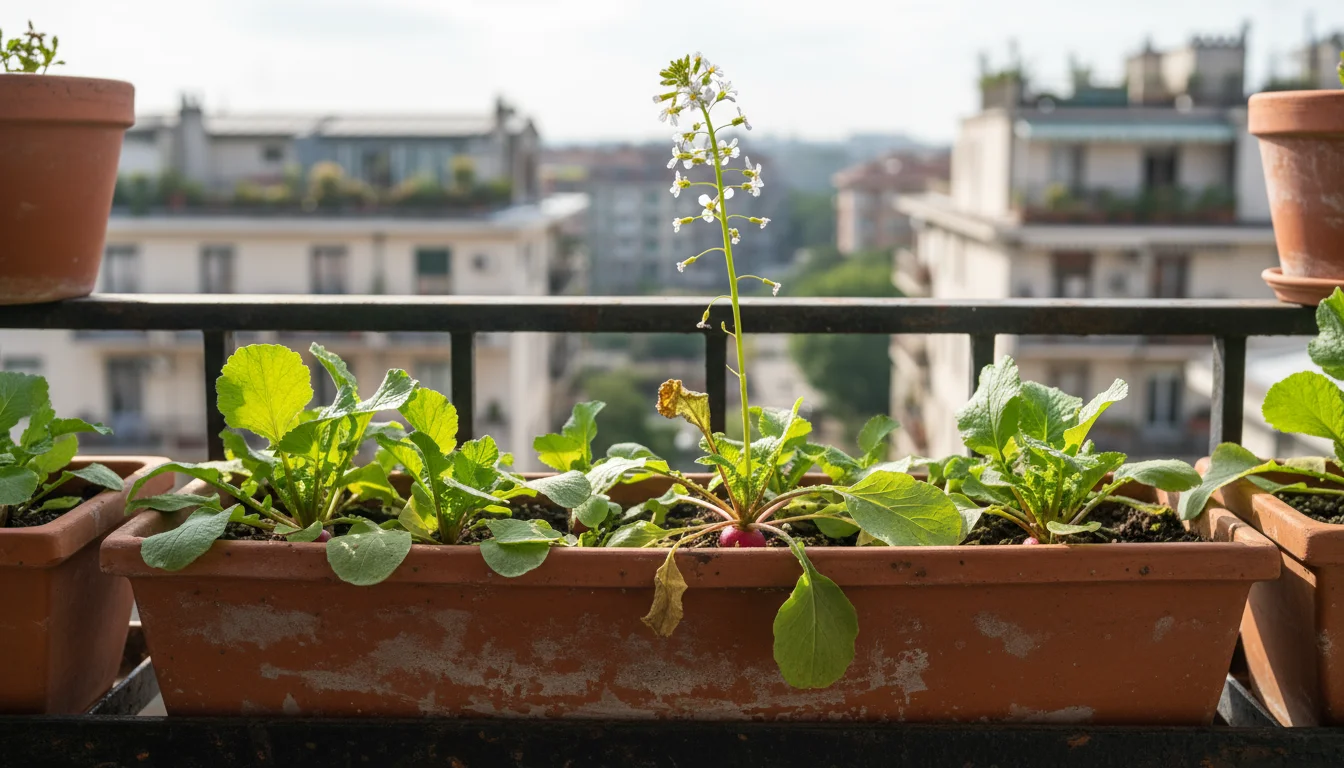
Problem: Radishes Bolt (Go to Seed Prematurely)
Cause: Bolting is typically triggered by warm temperatures, fluctuating moisture, or sometimes by day length (though less common for fall crops). When a radish bolts, it sends up a flower stalk, and its root becomes tough and inedible as the plant focuses energy on seed production.
Solution:
- Plant in Proper Season: Ensure you plant during the cooler fall months.
- Provide Shade During Heatwaves: If an unseasonable warm spell occurs, provide temporary afternoon shade for your window box.
- Maintain Consistent Moisture: Regular watering helps mitigate bolting caused by stress.
- Choose Bolt-Resistant Varieties: Some varieties are bred for better bolt resistance; look for these if your falls tend to have unpredictable warm spells.

Problem: Pests Attacking Radishes
Common Pests: Flea beetles, cabbage loopers, and root maggots are the most common radish pests.
- Flea Beetles: Small, dark beetles that jump when disturbed. They chew tiny “shot holes” in radish leaves.
Solution: Use floating row covers immediately after planting to create a physical barrier. Dust with diatomaceous earth if infestation is severe, applying it when leaves are dry. Maintain good garden hygiene to remove host plants.
- Cabbage Loopers: Green caterpillars that chew large holes in leaves.
Solution: Handpick caterpillars and drop them into a bucket of soapy water. Encourage natural predators like birds. Bacillus thuringiensis (Bt), an organic biological control, effectively targets caterpillars without harming other insects.
- Root Maggots: Larvae that tunnel into radish roots, causing rot and damage.
Solution: This is harder to control once present. Prevention is key: cover plants with fine mesh insect netting from sowing. Rotate crops and avoid planting radishes in the same window box soil year after year without refreshing it. Use beneficial nematodes, a biological control, early in the season.
Regularly inspect your radish plants for any signs of pests or disease. Early detection often allows for simpler, less invasive solutions. Integrated Pest Management (IPM) focuses on prevention, monitoring, and using the least-toxic controls first.
Harvesting and Savoring Your Crisp Fall Radishes
The moment you have been waiting for: harvesting your homegrown radishes! Knowing when and how to harvest ensures you get the best flavor and texture from your window box vegetables.
If you enjoy the satisfaction of the underground harvest, consider exploring other overlooked root vegetables that thrive in deep pots during the fall.
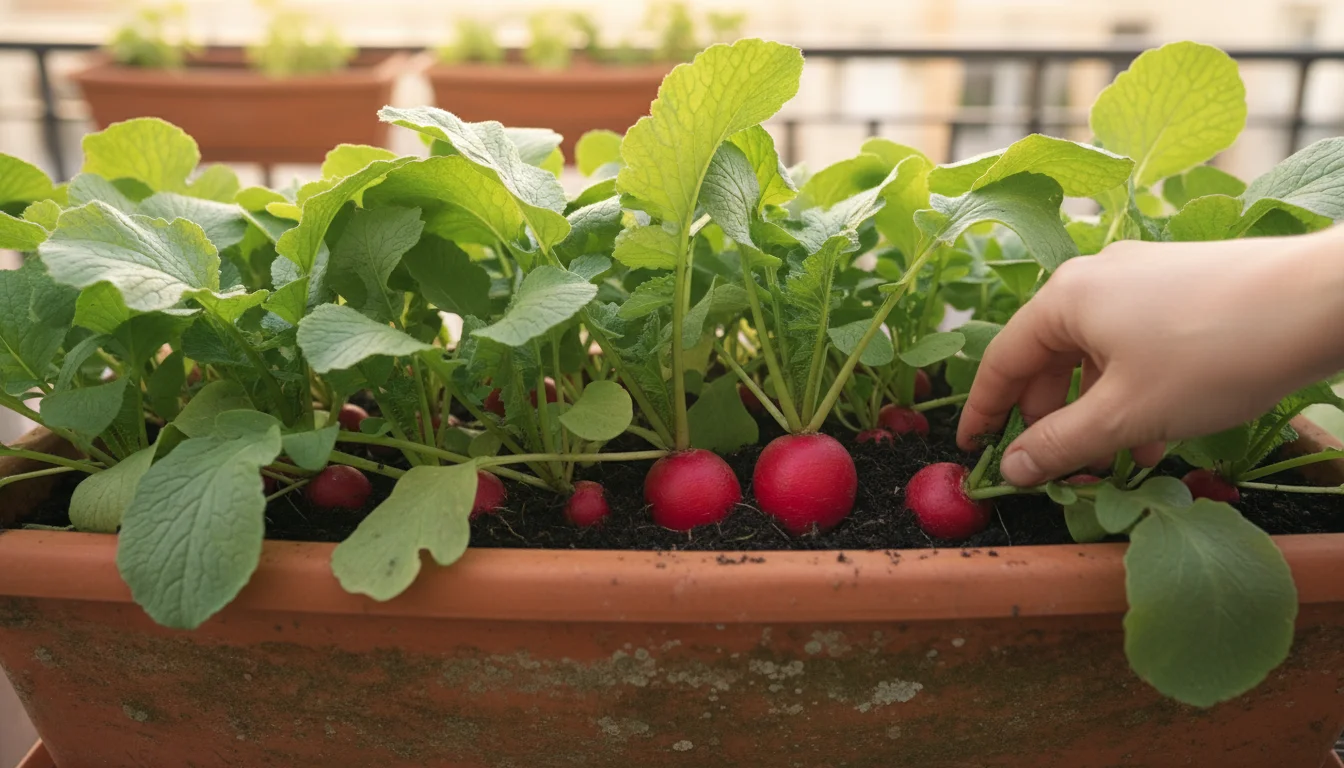
When to Harvest
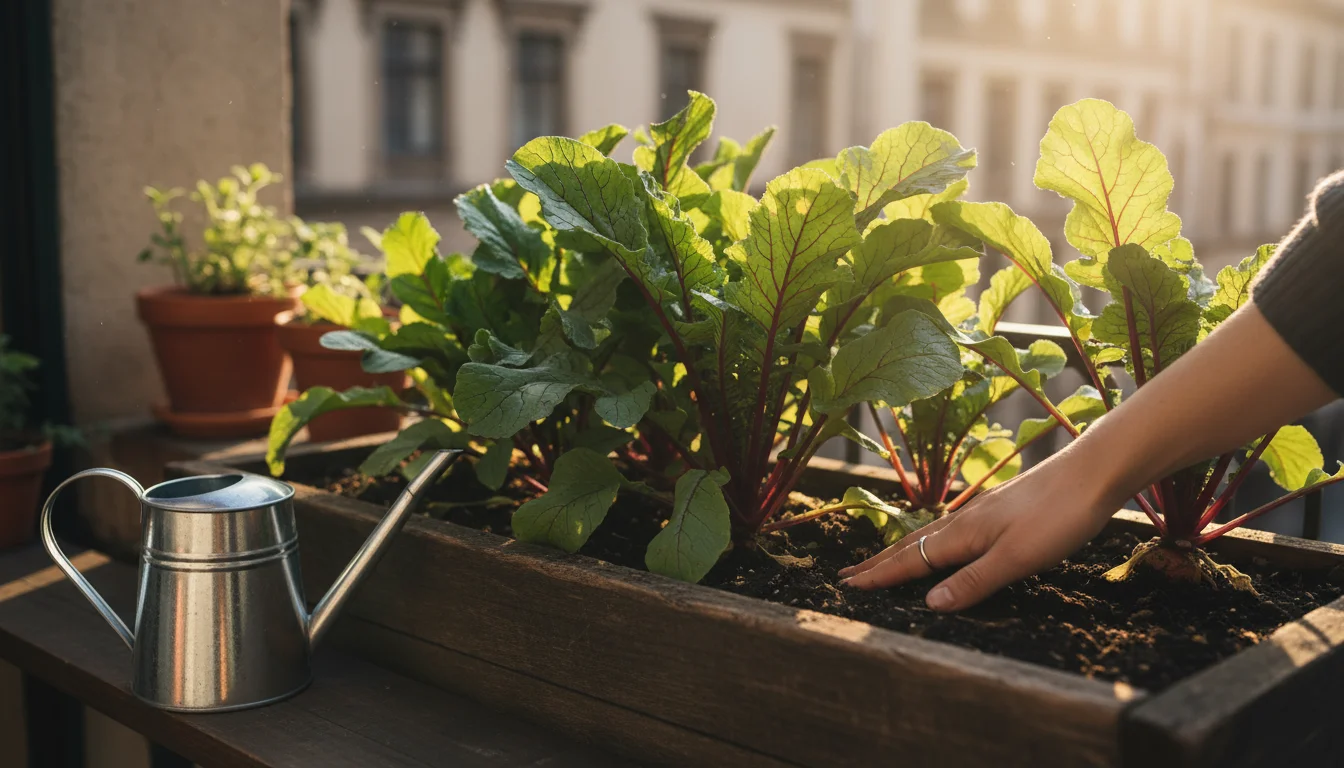
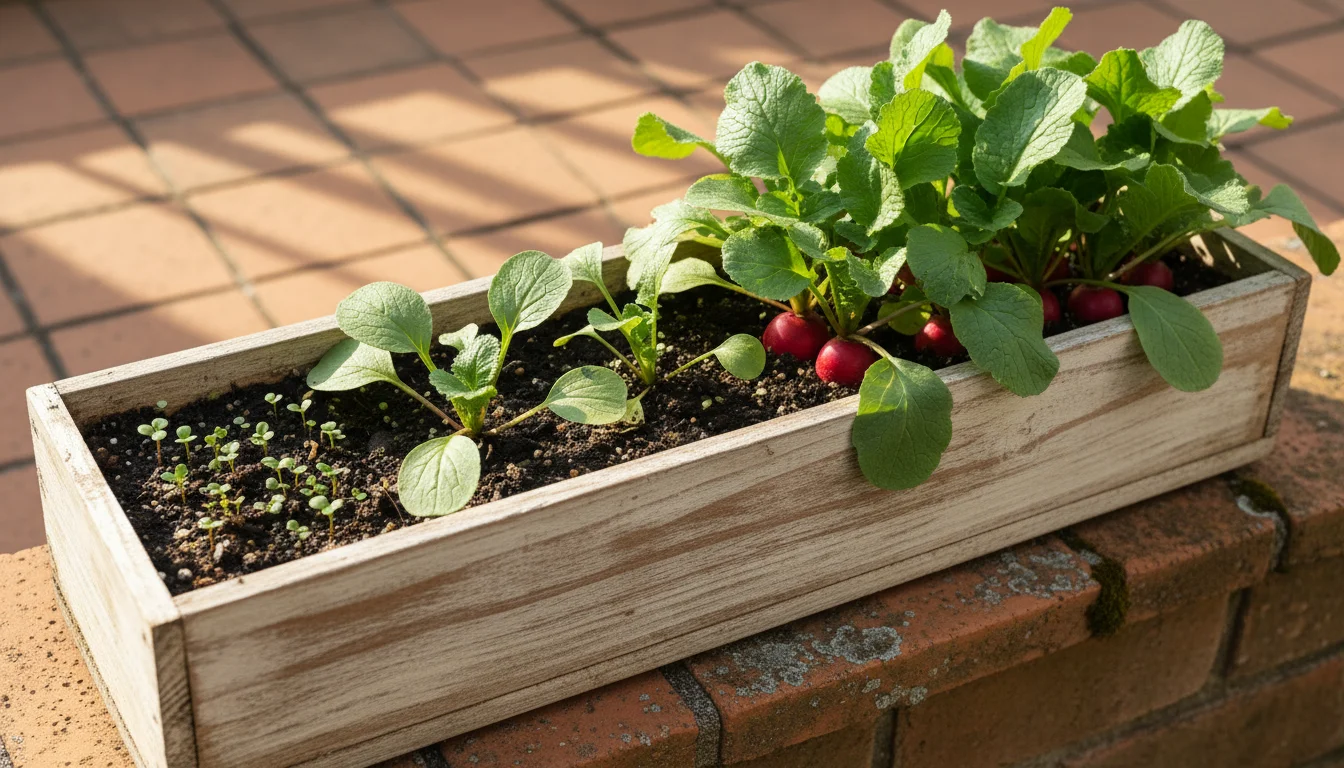
Radishes mature quickly, typically 20-30 days from seeding, depending on the variety. The key is to harvest them promptly when they reach their optimal size. Do not wait too long; over-mature radishes become woody, pithy, and overly spicy.
- Visual Cues: For round varieties, look for the shoulder of the radish peeking out of the soil, indicating its root is developing. The seed packet usually specifies the ideal size. For example, ‘Cherry Belle’ is ready when it is about 1 inch in diameter.
- Gentle Tug Test: Gently pull back the soil around a developing radish to check its size. If it looks ready, harvest it.
- Timing is Everything: Radishes taste best when harvested young and tender. Make it a routine to check your window box every few days as the plants approach their maturity date.
How to Harvest
Harvesting radishes is simple:
- Grasp the Leaves: Hold the base of the radish leaves firmly.
- Gently Pull: Give a gentle but steady pull straight up. The radish root should come out of the soil easily.
- Check Others: After harvesting one, check the surrounding radishes. If they are also ready, pull them.
- Succession Harvest: With succession sowing, you pull a few radishes at a time, leaving others to grow. This “cut-and-come-again” style of harvesting (though technically “pull-and-come-again” for roots) extends your enjoyment.
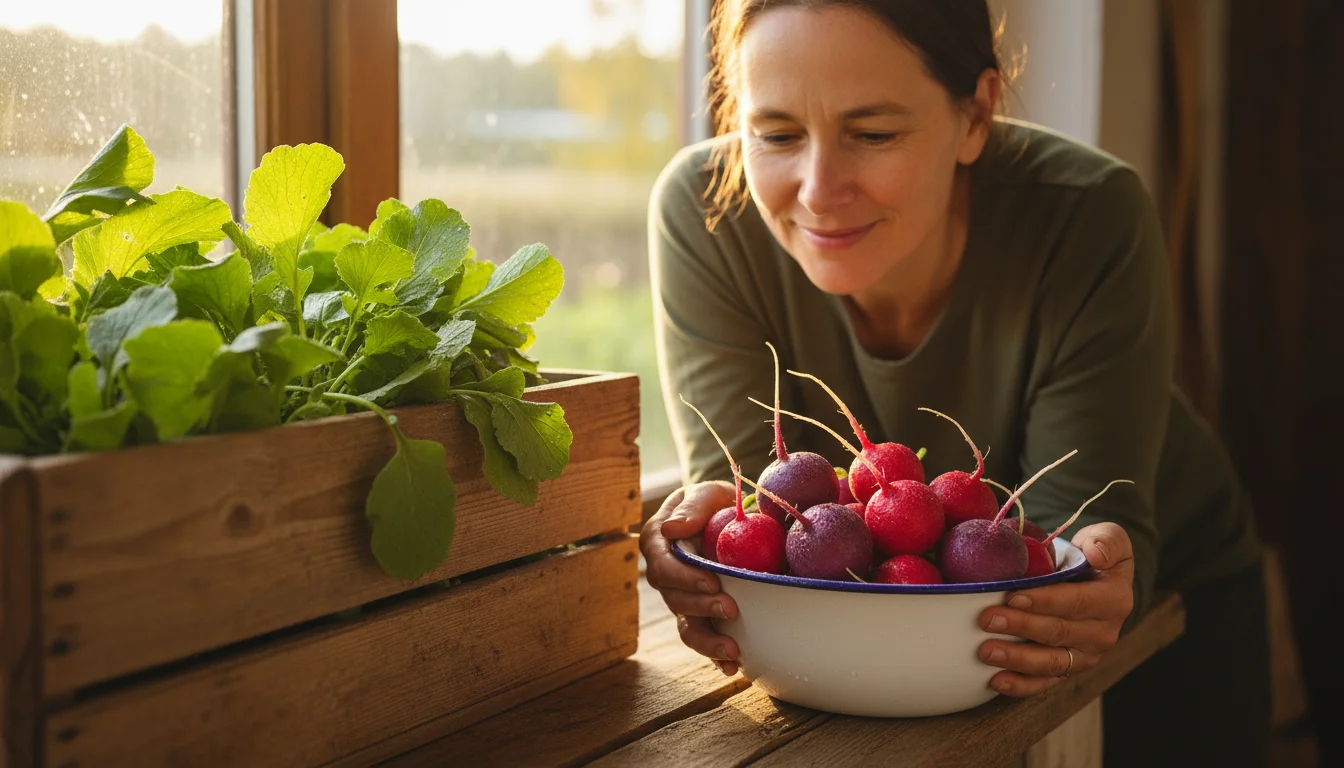
Post-Harvest Care and Storage
Once harvested, radishes retain their crispness and flavor best with proper handling:
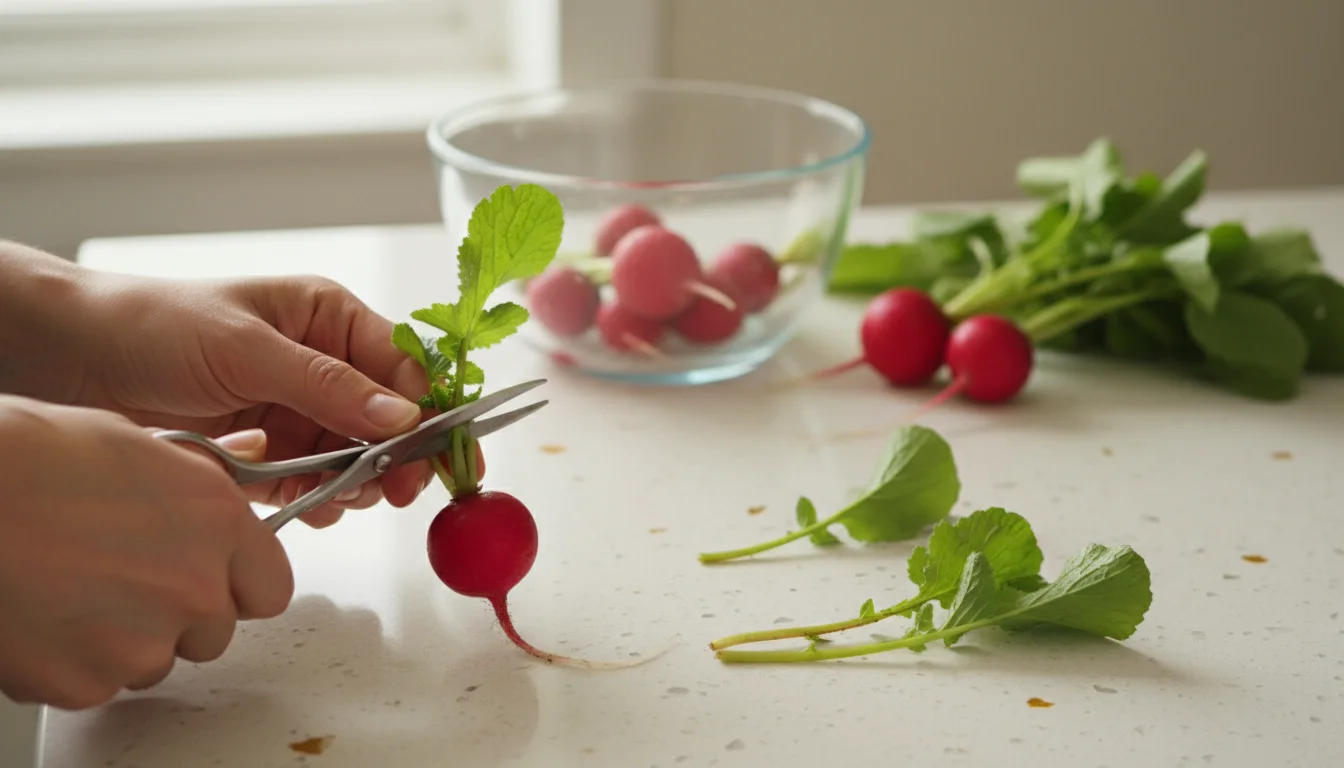
- Remove Tops Immediately: Snip off the leafy greens right away. The greens draw moisture from the roots, causing them to soften and become less crisp. However, do not discard the greens; radish greens are edible and delicious! Wash them and use them in salads, stir-fries, or pesto.
- Wash and Dry: Wash the radishes thoroughly under cool running water to remove any soil. Gently pat them dry.
- Store Properly: Store unpeeled radishes in a sealed container or a plastic bag in your refrigerator’s crisper drawer. For extra crispness, you can place them in a container of cold water, changing the water daily. They typically last for 1-2 weeks when stored this way.
Enjoying Your Radishes
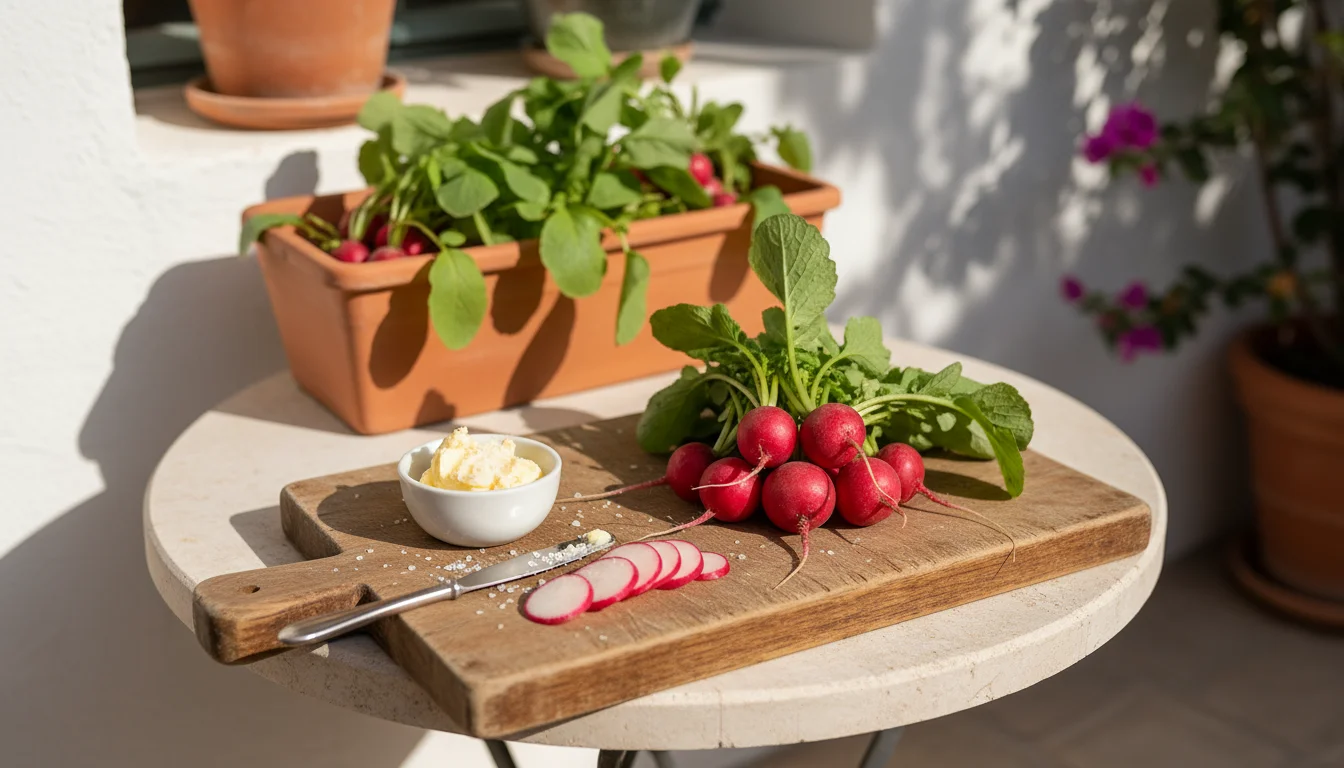
Freshly harvested radishes are incredibly versatile. Add them to salads for a peppery crunch, slice them thinly for sandwiches, or serve them simply with butter and sea salt, a classic French way to enjoy them. Their vibrant color and zesty flavor elevate many dishes. Enjoy the satisfaction of knowing these delicious roots came directly from your own efforts at growing radishes in containers.
Extending Your Harvest and Prepping for Next Season
Maximizing your fall radish yield and setting your window box up for future success are crucial aspects of sustainable gardening. Here is how you can continue enjoying your radishes and prepare your growing space.
To protect your late-season crops from frost, you can build a simple cold frame using basic materials.

Extending Your Fall Harvest
Your fall radish harvest does not necessarily end with the first hard frost. With a little effort, you can extend the season, especially if you live in a region with mild winters.
- Cold Frames or Row Covers: As temperatures drop, protect your window box vegetables with a simple cold frame or a row cover. A cold frame is essentially a bottomless box with a transparent lid that traps solar heat and shields plants from wind and frost. You can create a mini version for your window box. Alternatively, drape a lightweight row cover fabric over your box, securing the edges. These protections can extend your harvest by several weeks, allowing you to enjoy radishes well into early winter.
- Bring Indoors: If you have a bright, cool spot indoors, like a sunroom or a south-facing window, you can bring smaller window boxes inside before a severe frost. While growth will slow, you might get a final harvest. Ensure good air circulation to prevent fungal issues.
- Final Succession Planting: In areas with long, mild falls, plan a final succession planting about 6-8 weeks before your typical deep freeze. This gives the radishes time to mature before the coldest weather truly sets in.
Preparing Your Window Box for Next Season
After your radish season concludes, take a few steps to prepare your window box for future plantings. This promotes soil health and prevents disease buildup.
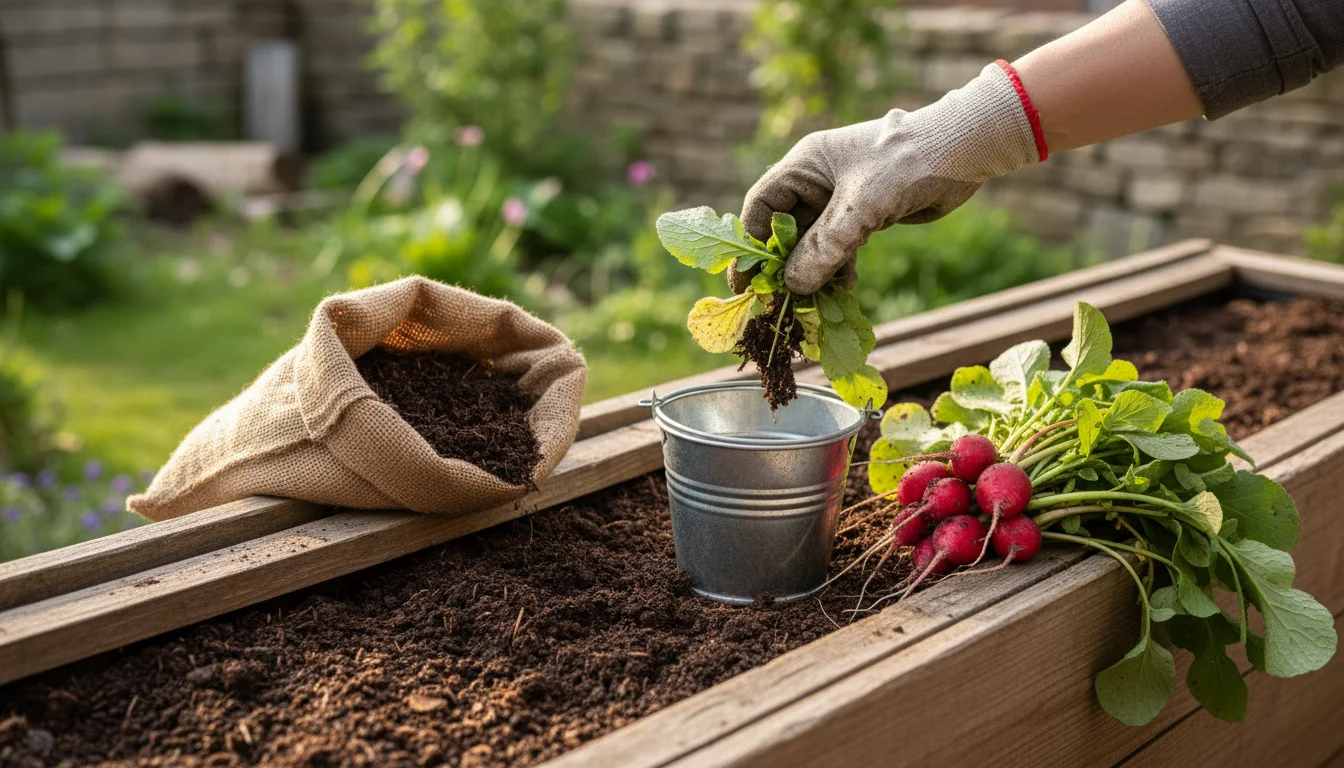
- Clear Out Debris: Remove all spent radish plants, including any remaining roots and leaves. Do not leave plant matter in the box, as it can harbor pests and diseases.
- Inspect the Window Box: Check the box for any damage, cracks, or signs of wear. Clean it thoroughly with a stiff brush and a mild soap solution, especially if you experienced any pest or disease issues. Rinse well.
- Refresh the Potting Mix: As mentioned earlier, old potting mix needs rejuvenation. Remove a portion of the old mix, especially if it looks tired or compacted. Replenish with fresh, high-quality peat-free potting mix. Incorporate a good amount of compost or worm castings to enrich the soil and improve its structure. This step is critical for maintaining long-term soil fertility in containers.
- Store Properly: If you are not immediately replanting, clean and store your window box in a dry, sheltered location for the winter. This protects it from harsh weather and extends its lifespan. If you reuse the same soil, consider solarizing it if you live in a sunny, warm climate: cover the moist soil with clear plastic for a few weeks during the hottest part of the year to kill off pathogens.
By following these steps, you maximize your current harvest and ensure your window box remains a productive and healthy growing space for future seasons of growing radishes in containers and other small-space edibles.
Frequently Asked Questions
Can I grow radishes indoors in a window box?
Yes, you can grow radishes indoors, but they need ample sunlight, ideally a south-facing window with at least 6 hours of direct sun daily. Use a good quality potting mix and ensure consistent watering. Indoor radishes might grow slower and sometimes be less robust than outdoor ones, but they are still a viable option.
If outdoor space is limited as winter approaches, you can still grow spicy microgreens indoors to maintain your fresh harvest.
Why are my radish greens growing vigorously, but the roots are tiny?
This common issue, often called “all tops, no bottoms,” usually results from overcrowding, insufficient light, or excessively warm temperatures. Ensure you thin your seedlings to 2-3 inches apart, provide at least 6 hours of direct sun, and plant during cooler fall temperatures (ideally 50-65°F or 10-18°C). Too much nitrogen fertilizer also encourages leafy growth.
How often should I water my radishes in a window box?
Water frequently enough to keep the soil consistently moist, but not waterlogged. In a window box, this could mean daily or every other day, depending on the weather, the size of your box, and the material. Stick your finger an inch into the soil; if it feels dry, water thoroughly until it drains from the bottom. Consistent moisture prevents woody or overly pungent radishes.
Do I need to fertilize radishes in a window box?
Radishes are fast growers and generally do not require heavy fertilization, especially if your potting mix contains a slow-release fertilizer. Over-fertilizing, particularly with nitrogen, can promote leafy growth at the expense of root development. If your soil is unfertilized and growth seems slow, a single application of a balanced liquid fertilizer (like 5-10-10) at half strength, about two weeks after germination, is usually sufficient.
When is the best time to plant fall radishes?
Plant fall radishes from late summer to early fall, about 4-6 weeks before your average first hard frost. This timing ensures they mature in cool weather, which improves their flavor and texture. In regions with mild winters, you can often continue succession planting into mid-fall for an extended harvest.
For research-based guidance on edible gardening, visit Oregon State Extension — Gardening, Royal Horticultural Society (RHS), UF/IFAS Gardening Solutions and University of Illinois Extension — Gardening.
Disclaimer: This article is for informational purposes only and is not a substitute for professional advice. Consult local extension services for region-specific recommendations.


Leave a Reply