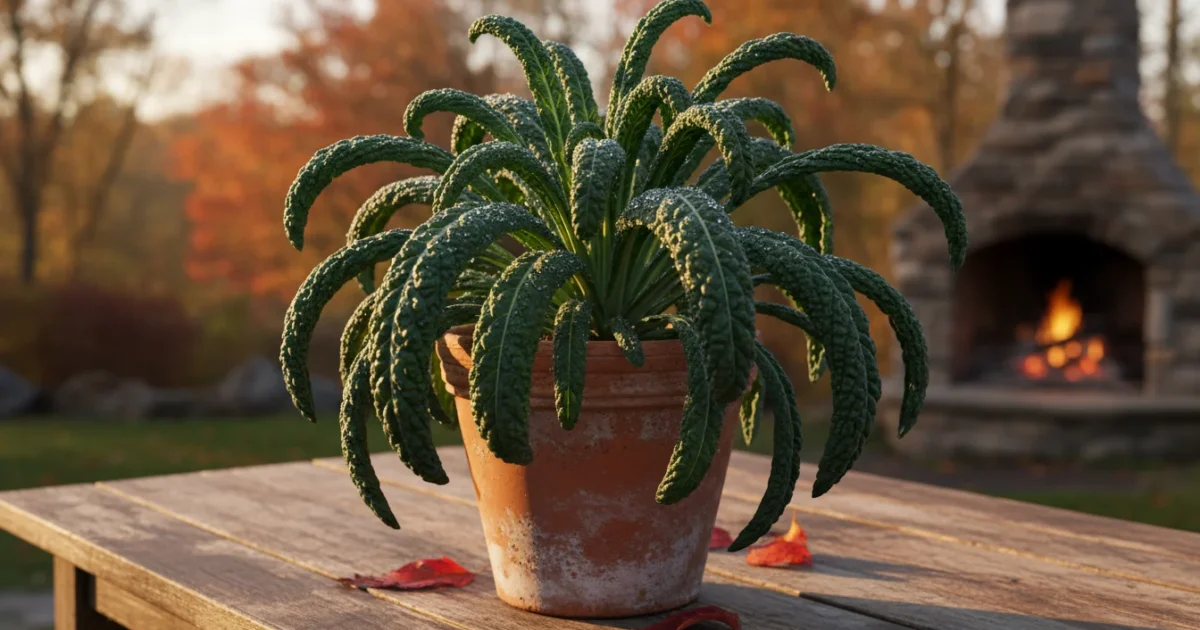
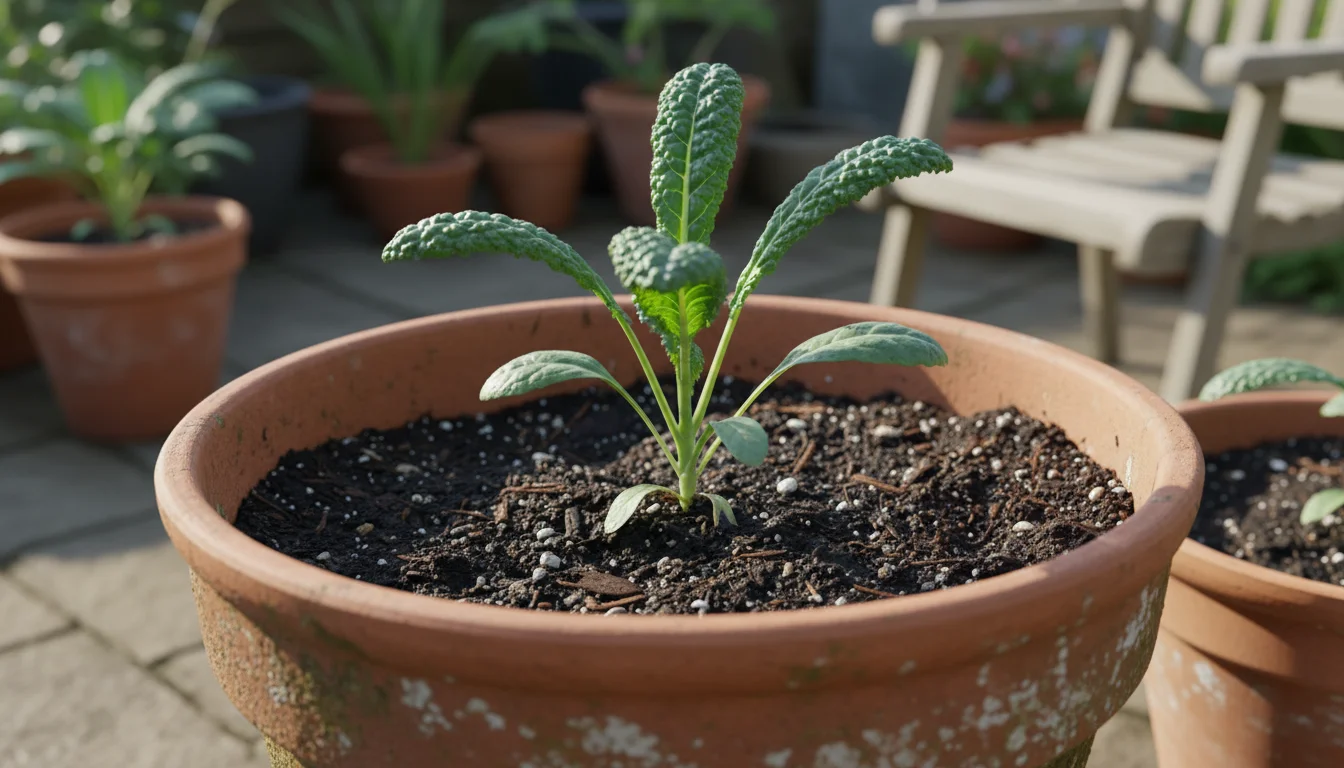
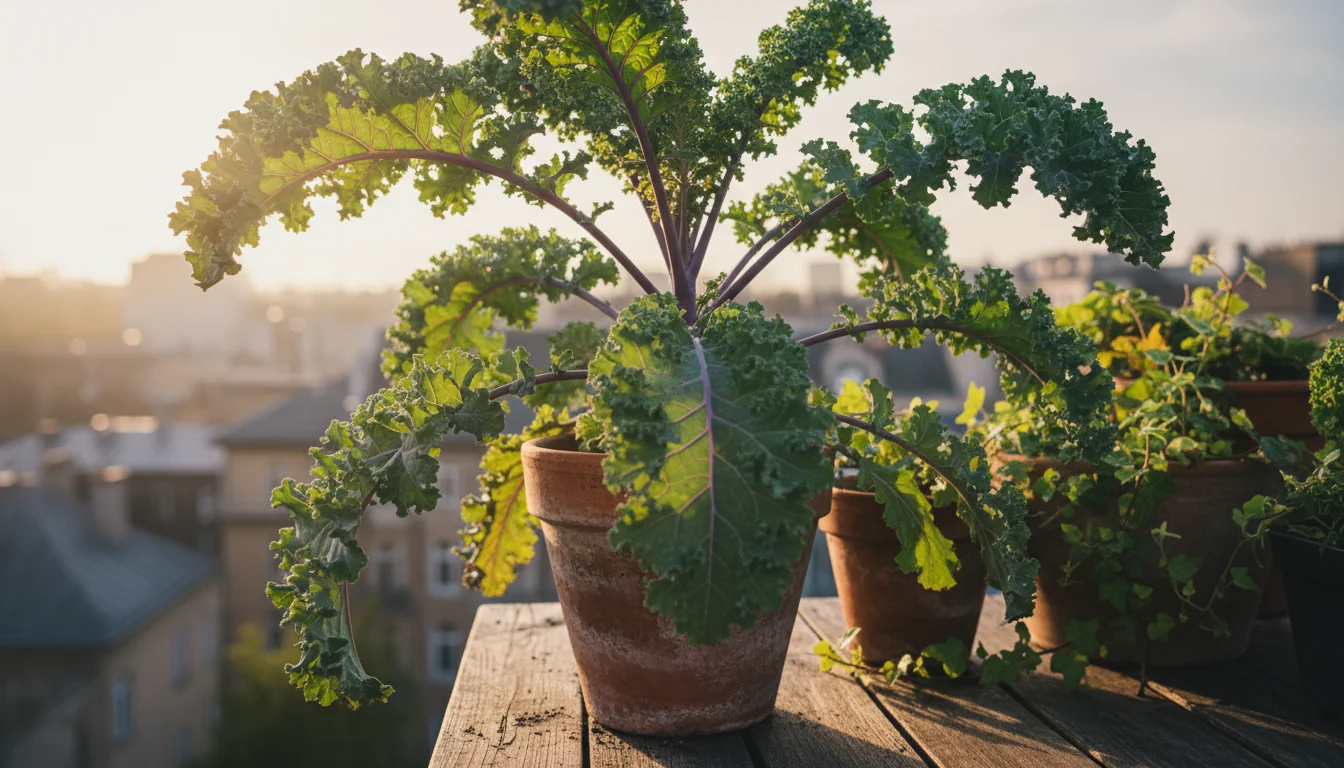
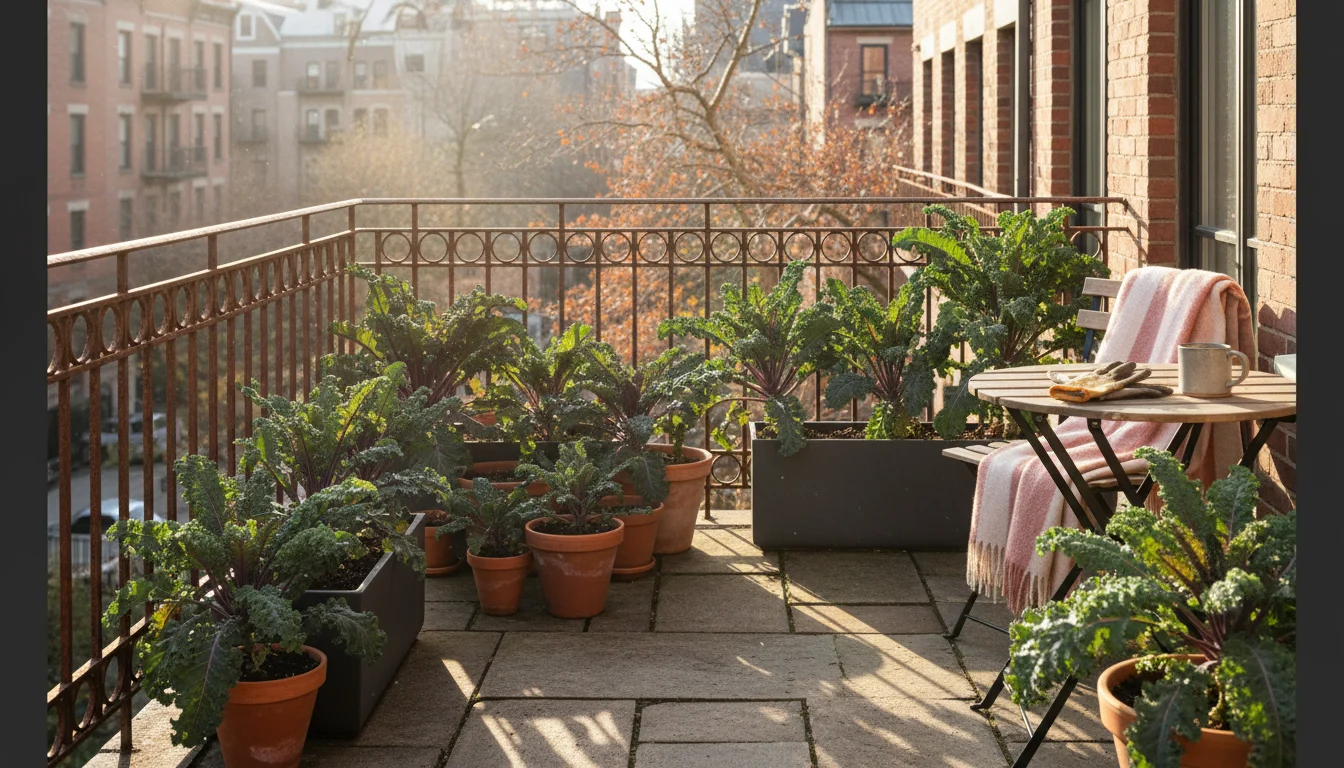
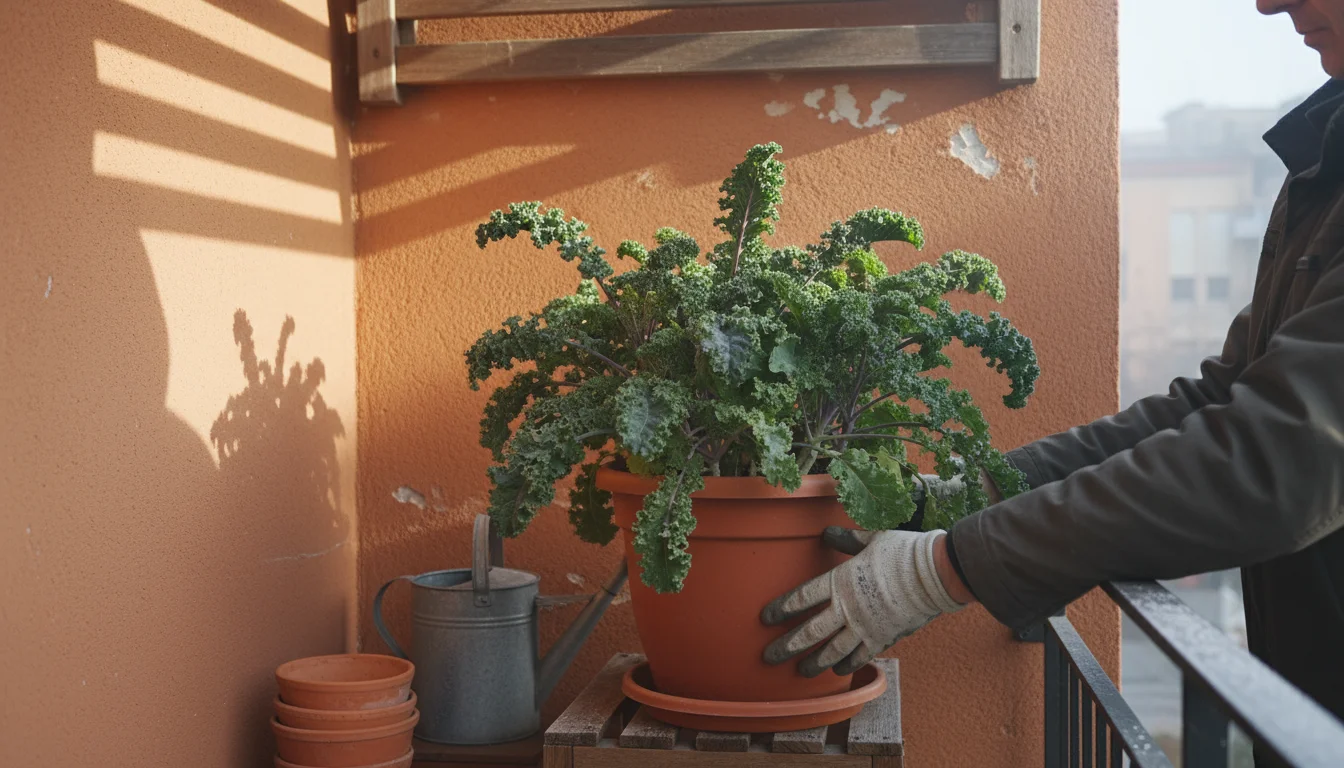
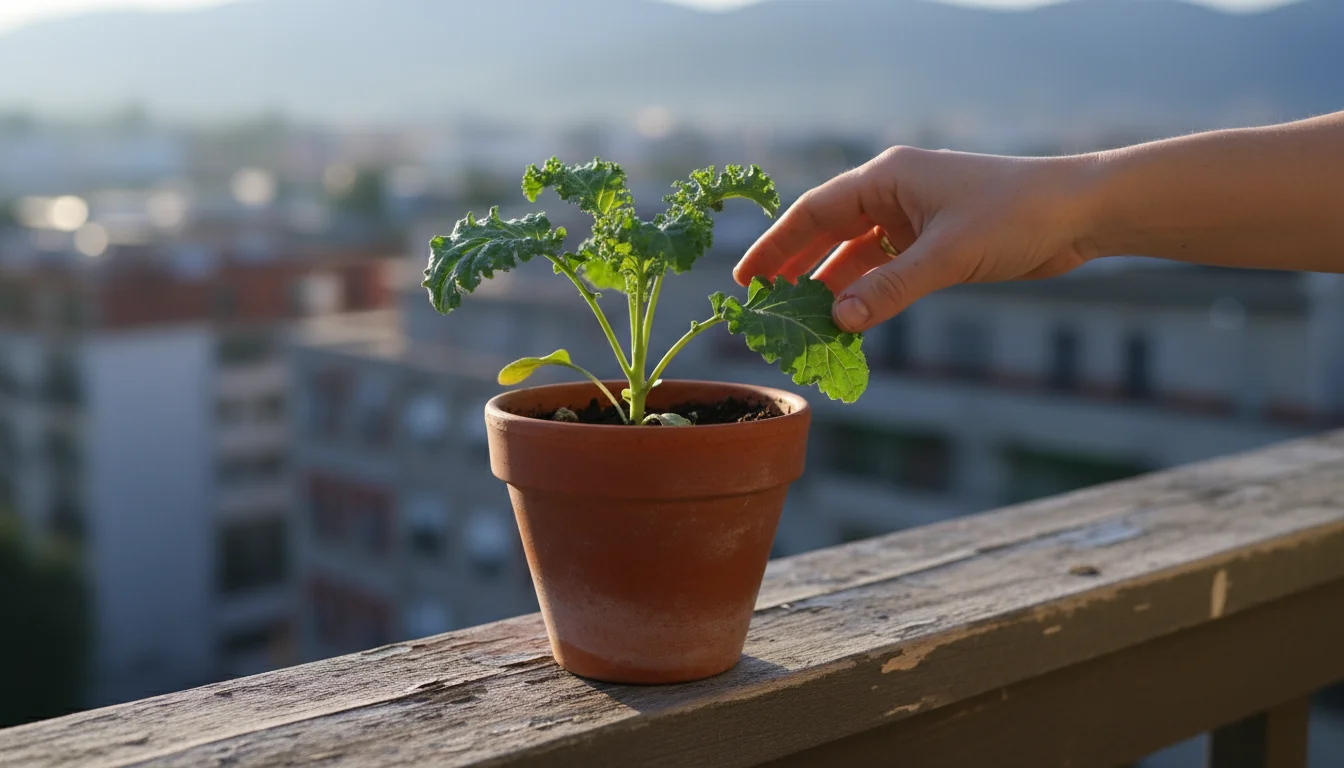
Imagine stepping onto your balcony or patio in late fall, a crisp breeze rustling, and plucking fresh, vibrant kale for your dinner. It sounds like a dream, but growing kale in pots through the cooler months is not only possible but also incredibly rewarding. Kale, a true champion of cold weather, often tastes even sweeter after a light frost. Its resilience and relatively compact growth habit make it an ideal candidate for container gardening, providing you with a continuous supply of nutritious greens long after summer crops have faded.
Kale is widely considered one of the best vegetables to grow in pots because it provides high nutritional yields within a very small footprint.
As your supportive gardening coach, I will walk you through every step of cultivating healthy, productive kale plants right in your containers. Whether you have a small balcony, a sunny patio, or just a tiny corner in your yard, you can enjoy the satisfaction of growing your own delicious kale through fall and even into the heart of winter. Let’s dig in and turn your small space into a productive kale patch.
Why Potted Kale Shines in Cooler Weather
Kale stands out as a container gardening superstar, particularly when temperatures begin to drop. Its ability to thrive in cooler conditions makes it a prime choice for fall container vegetables and winter container gardening. Unlike many summer crops that wilt with the first hint of frost, kale becomes more flavorful as the weather cools. The plant converts starches into sugars in response to cold, which acts as a natural antifreeze, resulting in a sweeter, less bitter taste. This transformation elevates kale’s appeal, making it a culinary delight during months when other garden greens are scarce.
Setting up your kale is just one of many important fall gardening tasks that can keep your balcony or patio productive during the colder months.
Beyond its cold tolerance, kale’s suitability for small spaces is a significant advantage. If you have a balcony, a patio, or even a compact windowsill, you can successfully grow kale. The portability of containers allows you to optimize light exposure and provide protection from harsh weather. You can easily move your potted kale to catch the best sun during shorter fall and winter days, or bring them closer to your home’s warmth on exceptionally frigid nights. This flexibility is crucial for gardeners with limited or unconventional growing areas.
Growing kale in pots also offers a clean, controlled environment. You reduce the risk of soil-borne pests and diseases, and you can manage soil quality and nutrient levels with precision. This control simplifies gardening, especially for beginners. You gain the ability to monitor each plant closely, addressing issues as they arise without the overwhelming scale of a large in-ground garden. You also keep your produce conveniently close, encouraging regular harvesting, which in turn promotes more growth and a longer harvest period.
Furthermore, potted kale provides a consistent source of nutrient-dense food throughout the year, even when most outdoor gardening activity ceases. It is rich in vitamins K, A, and C, as well as antioxidants. Having fresh, organic kale readily available empowers you to incorporate healthy greens into your diet regularly, reducing reliance on store-bought options that may lack freshness or be treated with pesticides. For anyone looking to extend their gardening season and enjoy homegrown produce year-round, especially in urban environments, growing kale in pots is an indispensable strategy.
Choosing Your Kale Varieties for Container Success
Selecting the right kale variety is crucial for successful growing kale in pots. While many kales are adaptable, certain types perform exceptionally well in containers due to their more compact growth habit and excellent cold hardiness. Focusing on these varieties will maximize your yield and ensure a thriving plant even through the colder months.
If you are also looking for decorative options to add color to your display, consider growing ornamental cabbage and kale in pots for their stunning visual appeal.
When considering the best kale variety for containers, look for options that are naturally smaller or have a “cut-and-come-again” growth pattern that keeps the plant manageable. Here are some top recommendations:
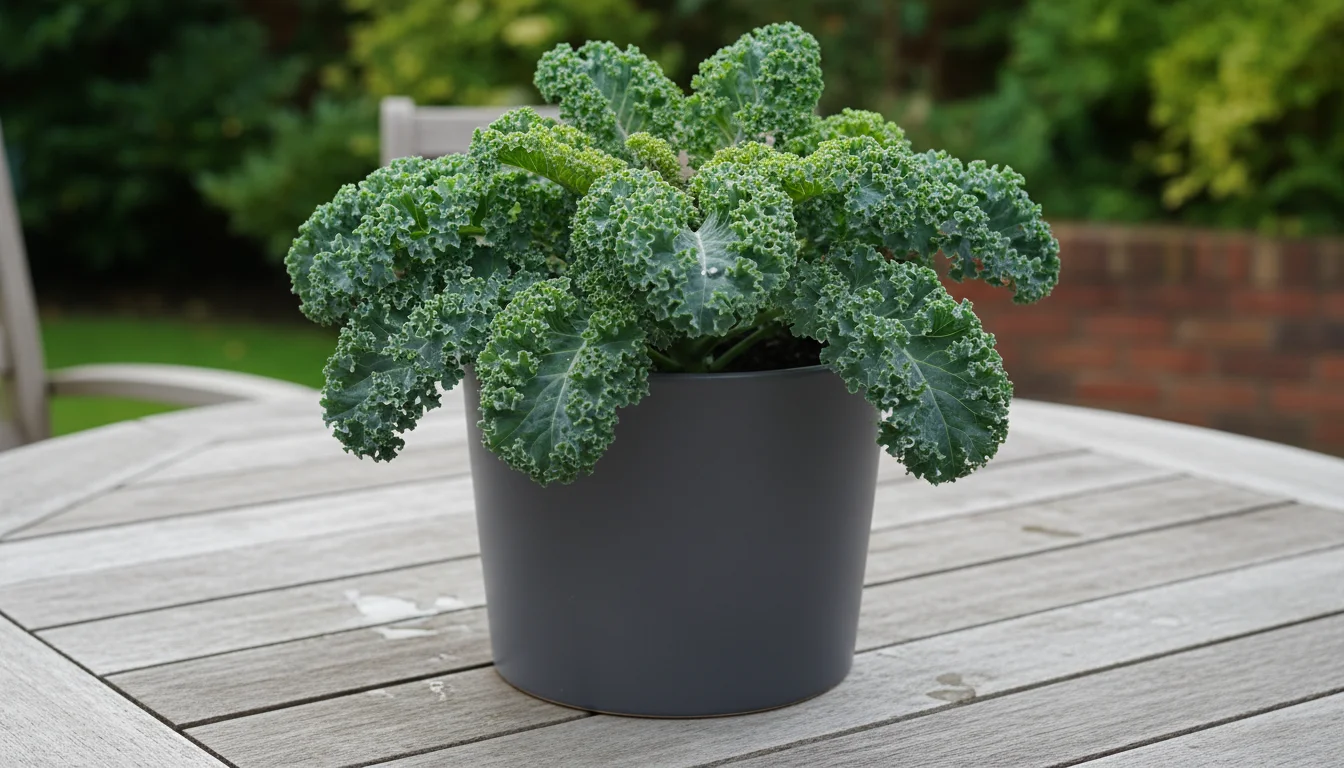
- ‘Dwarf Blue Curled Scotch’ Kale: This variety is a true workhorse for container gardening. Its compact size, reaching only about 12-18 inches tall, makes it perfect for pots. The leaves are finely curled, blue-green, and become sweeter and more tender after a frost. It is highly cold-tolerant, often withstanding temperatures down to 10-15 degrees Fahrenheit.
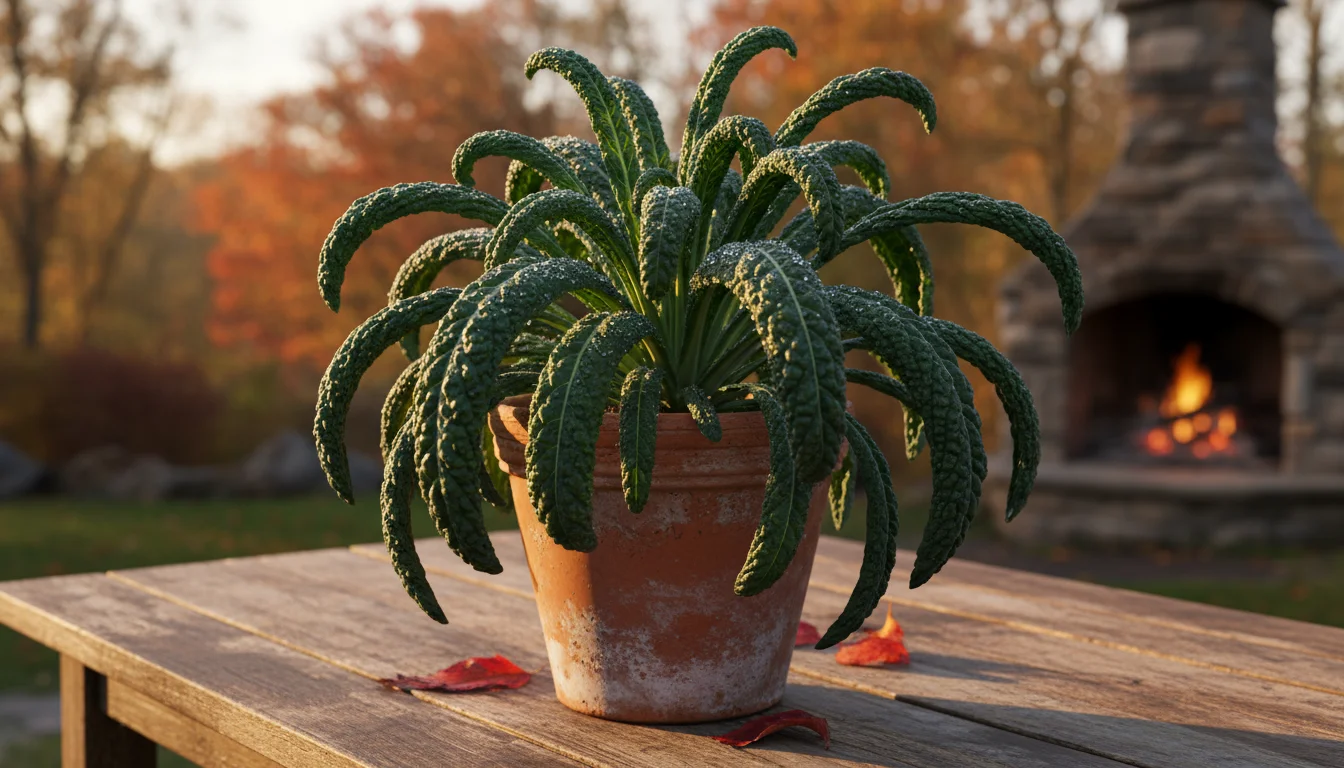
- ‘Lacinato’ (also known as ‘Dinosaur’ or ‘Tuscan’) Kale: Known for its unique, dark blue-green, crinkly leaves, Lacinato kale offers excellent flavor and texture. While it can grow larger in the ground, in a container, its vertical growth habit makes it quite suitable. Harvest the outer leaves regularly to keep the plant productive and prevent it from becoming too unwieldy. It also demonstrates good cold tolerance.
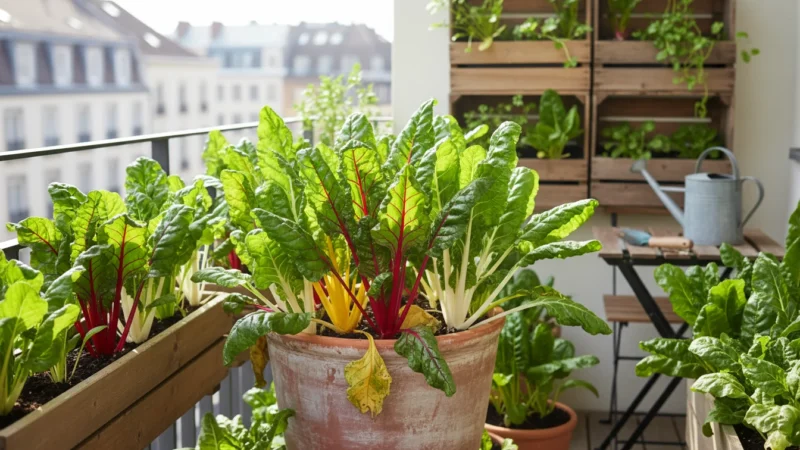
- ‘Red Russian’ Kale: This variety features flat, frilly, bluish-green leaves with reddish-purple stems. It is known for its sweet, mild flavor, even without a frost. ‘Red Russian’ can grow fairly large, but its open growth makes it easy to harvest individual leaves, which helps manage its size in a pot. It is very cold-hardy, often surviving harsh winter conditions.
- ‘Siberian’ Kale: As its name suggests, ‘Siberian’ kale is exceptionally cold-hardy, making it an excellent choice for winter container gardening. It produces broad, slightly ruffled leaves and has a sweet, tender texture. It can reach a moderate size, so a slightly larger pot will serve it well.
- ‘True Siberian’ Kale: A close relative to ‘Siberian’, this variety is even more cold-tolerant. It produces large, slightly wrinkled leaves that maintain good flavor even after heavy frosts. Choose this if you anticipate particularly harsh winter conditions and want maximum resilience.
When you choose your seeds or seedlings, verify the mature size of the plant. Even with larger varieties, consistent harvesting of outer leaves helps maintain a manageable size within your container. Prioritize varieties known for their cold tolerance if you plan to extend your harvest deep into winter. Experiment with a couple of different types to discover which best suits your taste preferences and growing conditions, ensuring your fall container vegetables remain a delicious success.
Selecting Pots and The Perfect Potting Mix
The foundation of successful growing kale in pots lies in choosing the right container and providing an optimal growing medium. These decisions directly impact your kale’s health, productivity, and resilience through fall and winter.
To keep your containers productive year after year, you can also explore cover cropping for containers as a natural way to restore vital soil nutrients.
Choosing Your Containers
Size matters significantly for potted kale. While kale can start in smaller pots, a mature plant needs ample space for its root system to develop and access sufficient nutrients and moisture. Aim for pots that are at least 8-10 inches in diameter and 8-10 inches deep for a single kale plant. If you plan to grow multiple plants, consider larger containers like half whiskey barrels or rectangular planters that are 12-18 inches deep and wide, spacing plants about 6-8 inches apart. Adequate size prevents your plants from becoming root-bound, which stunts growth and reduces yield.
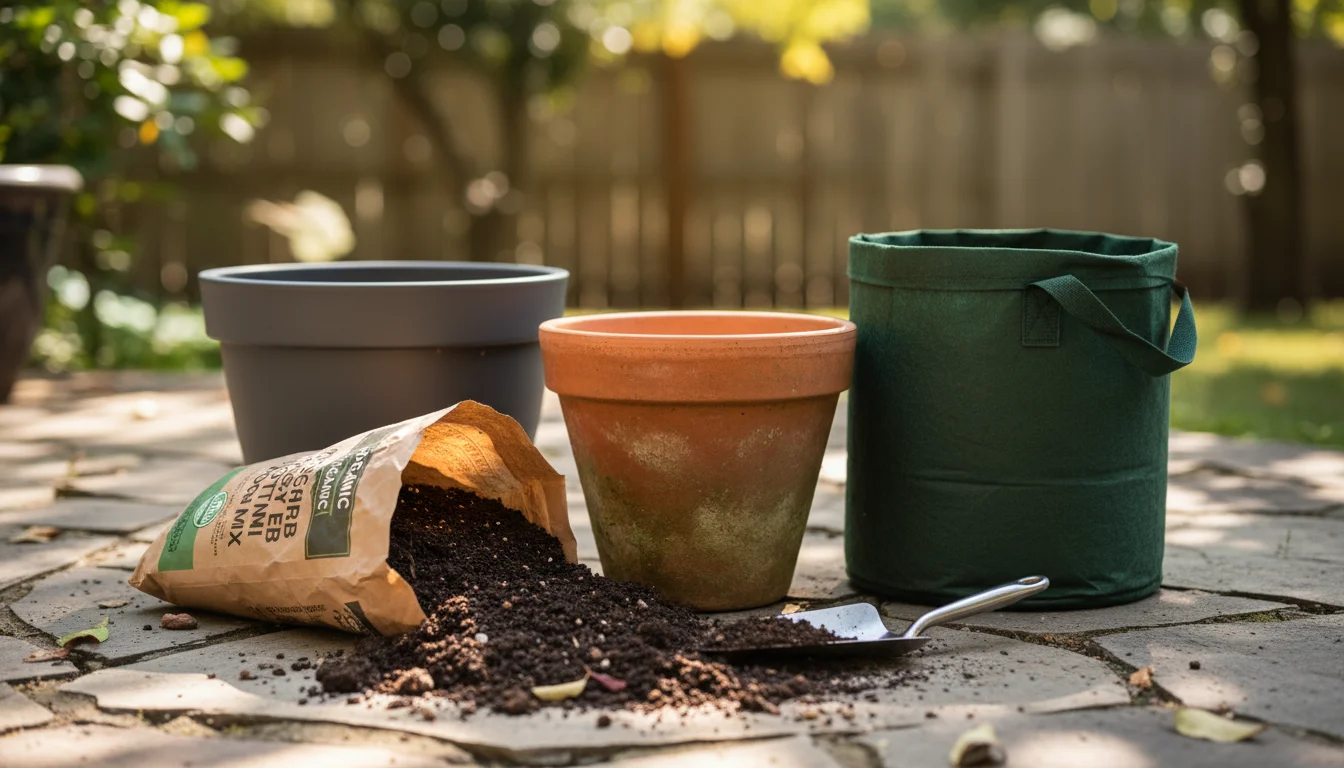
Container material also plays a role:
- Terracotta pots: These are attractive and allow excellent air circulation to the roots. However, they are porous and dry out quickly, requiring more frequent watering. They are also heavy and can crack in freezing temperatures if the soil inside freezes solid and expands.
- Plastic pots: Lightweight, inexpensive, and retain moisture well. They come in many sizes and styles. Darker plastic pots can absorb heat, which is beneficial in cooler months but can overheat roots in direct summer sun.
- Fabric grow bags: Excellent for air pruning roots, preventing root circling, and offering superior drainage and aeration. They are lightweight, flexible, and often made from recycled materials. They also help regulate soil temperature, keeping roots cooler in summer and slightly insulated in winter. Fabric pots can dry out faster than plastic, similar to terracotta.
- Self-watering containers: These are an excellent option for busy gardeners or those prone to forgetting to water. They have a built-in reservoir that slowly wicks water up to the soil, ensuring consistent moisture. Ensure the reservoir is large enough to sustain the plant for several days.
Regardless of the material, ensure every container has ample drainage holes at the bottom. Poor drainage leads to waterlogged soil, which can cause root rot and kill your kale. If your pot does not have holes, you must create them.
Crafting The Perfect Potting Mix
Your potting mix is your kale’s lifeline, providing nutrients, aeration, and moisture retention. Do not use garden soil directly in containers, as it compacts too easily, hindering root growth and drainage. Instead, opt for a high-quality, well-draining potting mix specifically formulated for containers.
Look for potting mixes that contain:
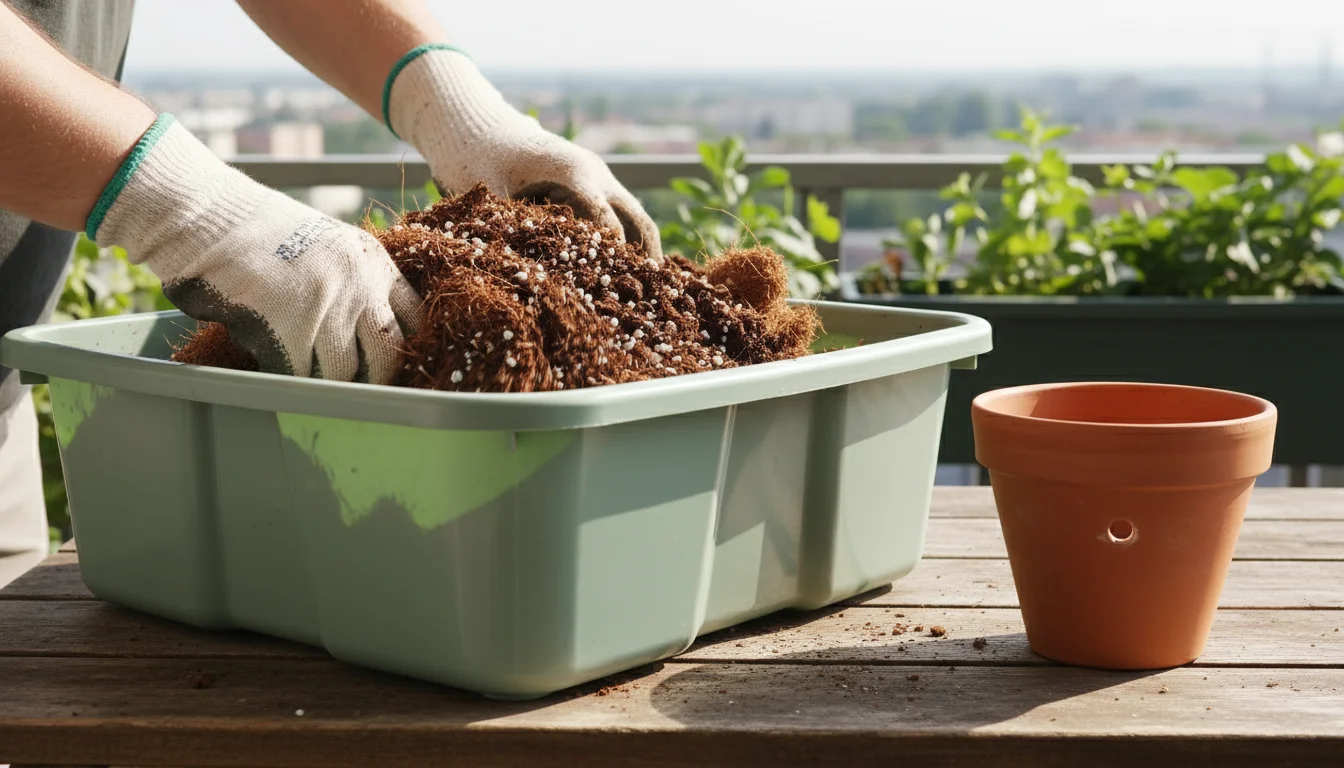
- Peat moss or coco coir: These provide excellent water retention and aeration. Coco coir is a more sustainable, peat-free alternative, and I encourage its use to reduce environmental impact.
- Perlite or vermiculite: These lightweight minerals improve drainage and prevent compaction, ensuring roots get enough oxygen.
- Compost or aged manure: These organic amendments enrich the soil with essential nutrients, promoting healthy growth. They also introduce beneficial microbes, fostering a thriving soil ecosystem.
- Slow-release organic fertilizer: Many high-quality potting mixes come pre-amended with a slow-release fertilizer, which gives your kale a good start.
You can also create your own custom blend: combine 2 parts coco coir or peat moss, 1 part perlite or vermiculite, and 1 part high-quality compost or worm castings. This mixture offers an ideal balance of drainage, aeration, and fertility.
Reusing and Refreshing Potting Mix
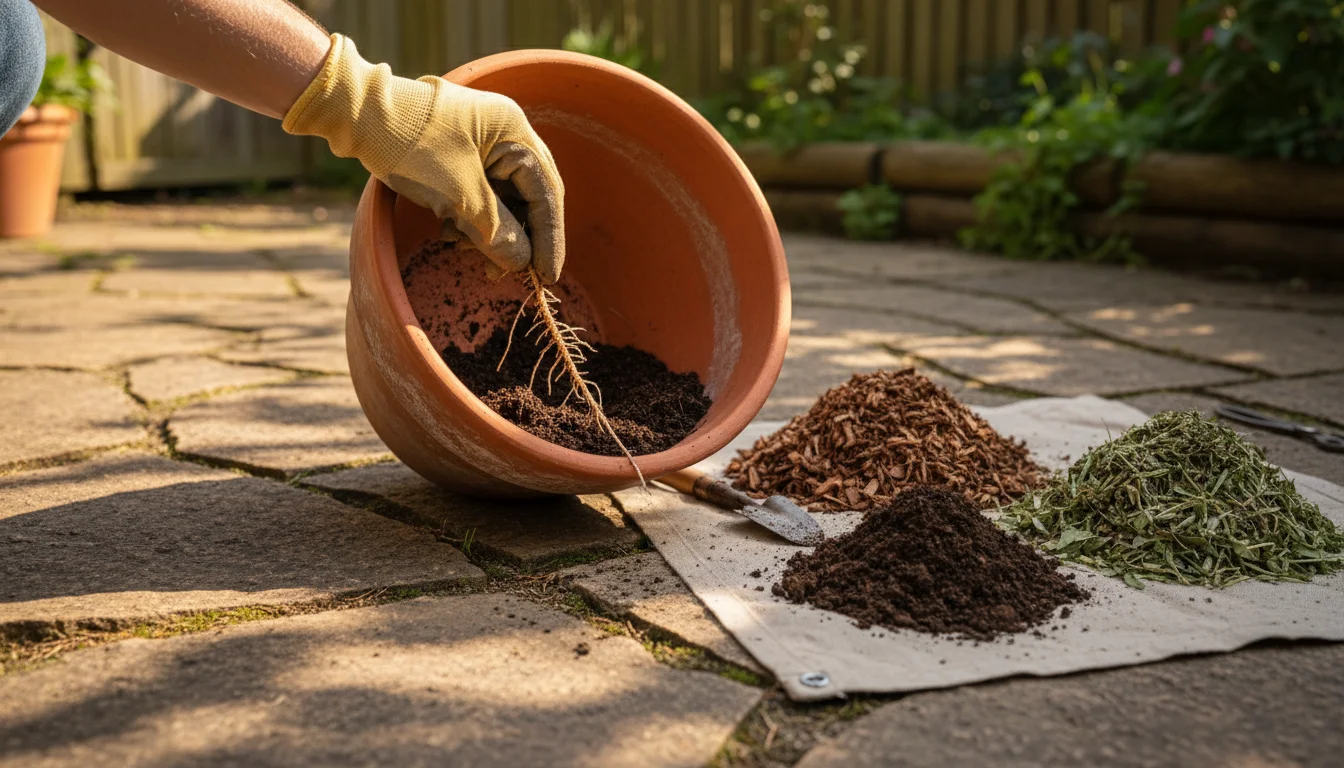
You can reuse potting mix for several seasons, but it needs refreshing. Over time, nutrients deplete, and the structure can break down. To refresh used potting mix:
- Remove old plant roots and debris.
- Add a significant amount of fresh compost or worm castings to replenish nutrients.
- Incorporate some fresh perlite or coco coir to improve aeration and moisture retention.
- Consider adding a balanced organic slow-release fertilizer.
By carefully selecting your containers and providing a nutrient-rich, well-draining potting mix, you set your kale up for robust growth, ensuring you enjoy a continuous harvest of fall container vegetables.
Planting Your Kale: Step-by-Step for Fall Success
Successfully planting kale for a fall and winter harvest involves timing and proper technique. You can start kale from seed or purchase young seedlings from a nursery. Both methods have their advantages, and the choice often depends on your gardening schedule and preference.
Timing Your Fall Planting
For fall container vegetables, aim to plant your kale seeds or seedlings about 8-10 weeks before your region’s first anticipated hard frost. This timing gives the plants enough time to establish themselves before the coldest weather truly sets in. Kale thrives in cooler temperatures, so planting in late summer or early fall is ideal. If you are uncertain about your frost dates, consult your local extension office or reliable online gardening resources for precise regional information.
Starting from Seed
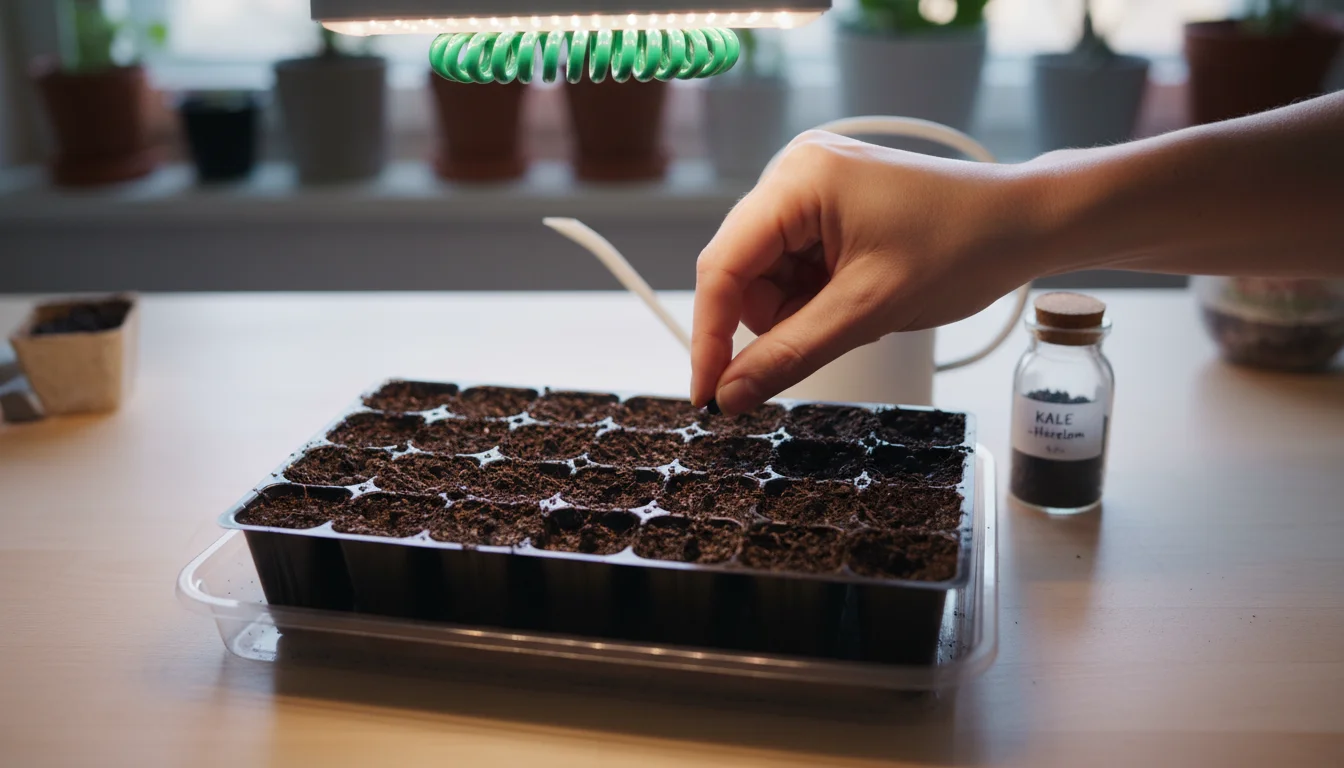
Growing kale in pots from seed is cost-effective and offers a wider choice of varieties. Here is how to do it:
- Prepare your starting medium: Use a seed-starting mix in small pots or seed-starting trays. This mix is finer and provides a sterile environment for germination.
- Plant the seeds: Sow kale seeds about 1/2 inch deep. You can plant 2-3 seeds per cell or small pot, then thin to the strongest seedling once they have two sets of true leaves.
- Provide warmth and moisture: Keep the soil consistently moist but not waterlogged. Kale seeds typically germinate in 5-10 days at temperatures between 60-75 degrees Fahrenheit.
- Ensure adequate light: Once seedlings emerge, provide bright light. A sunny windowsill works, but supplemental grow lights prevent leggy, weak seedlings, especially during shorter fall days.
- Harden off seedlings: Before transplanting outdoors, gradually acclimate your seedlings to outdoor conditions. Over 7-10 days, expose them to increasing periods of outdoor sun and wind. Start with a couple of hours in a sheltered spot and progressively increase duration and exposure.

Planting Seedlings
If you prefer to start with young kale plants, purchase healthy seedlings from a reputable nursery. Look for plants with vibrant green leaves and no signs of pests or disease. Avoid plants that are yellowing, wilting, or have roots growing out of the bottom of the pot, as these may be stressed or root-bound.
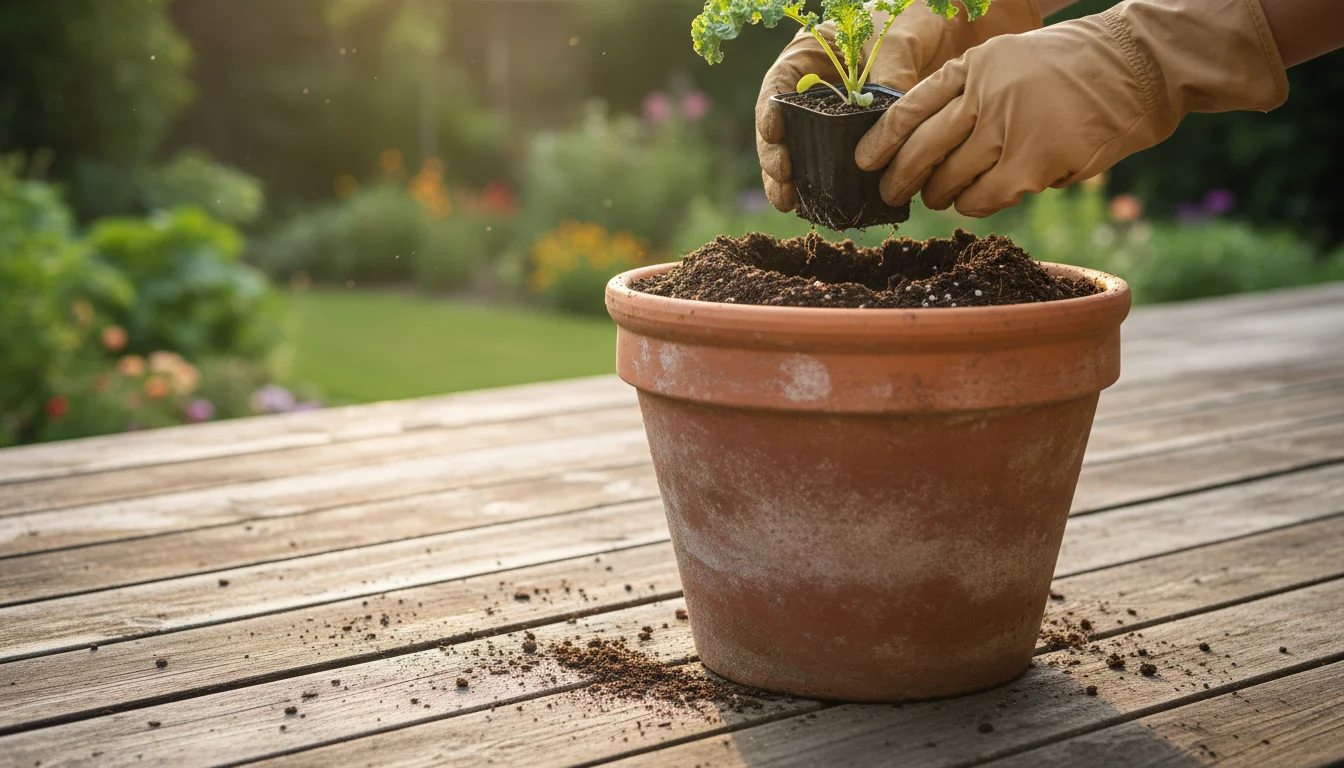
Transplanting into Your Final Container
Once your seedlings are hardened off or you have purchased nursery starts, it is time to move them into their permanent containers:
- Prepare the container: Fill your chosen pot with the prepared potting mix, leaving about an inch or two of space from the rim.
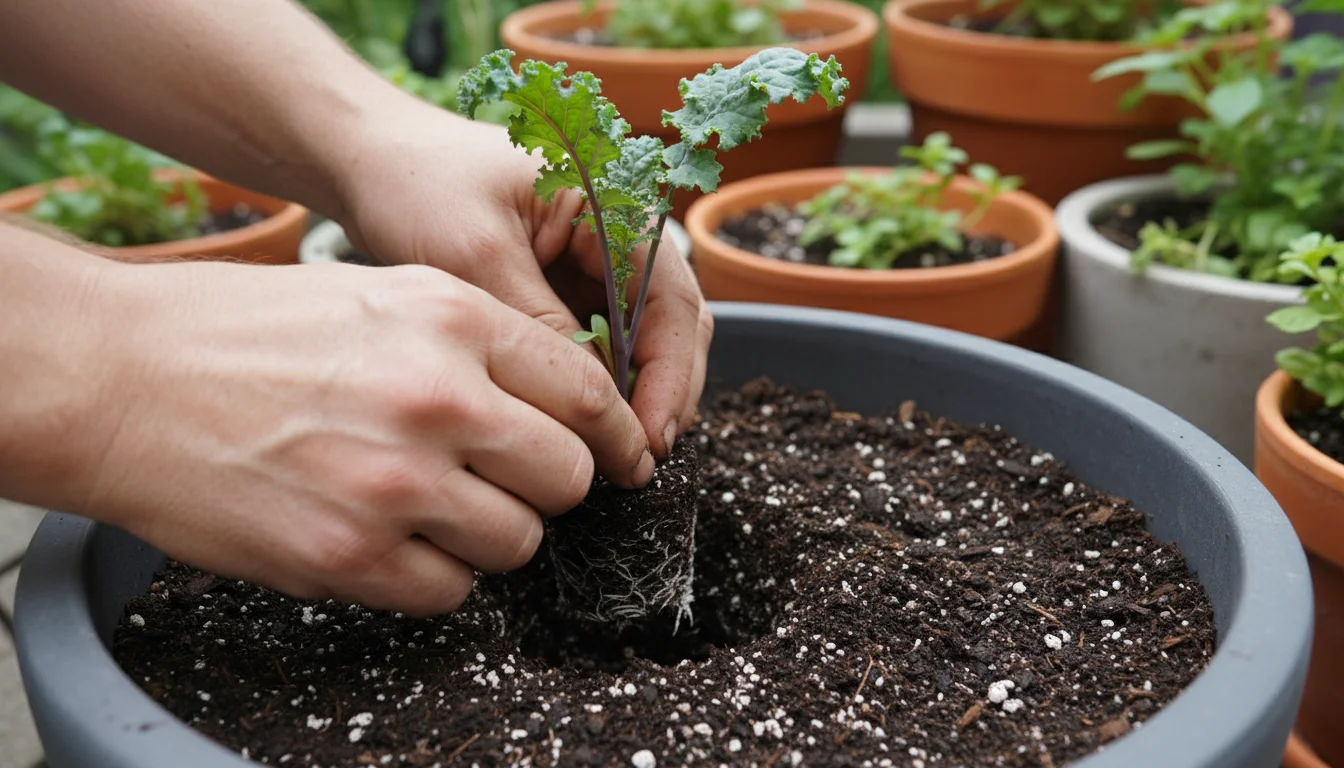
- Create a hole: Dig a hole in the center of the potting mix large enough to accommodate the seedling’s root ball. For multiple plants, space them 6-8 inches apart.
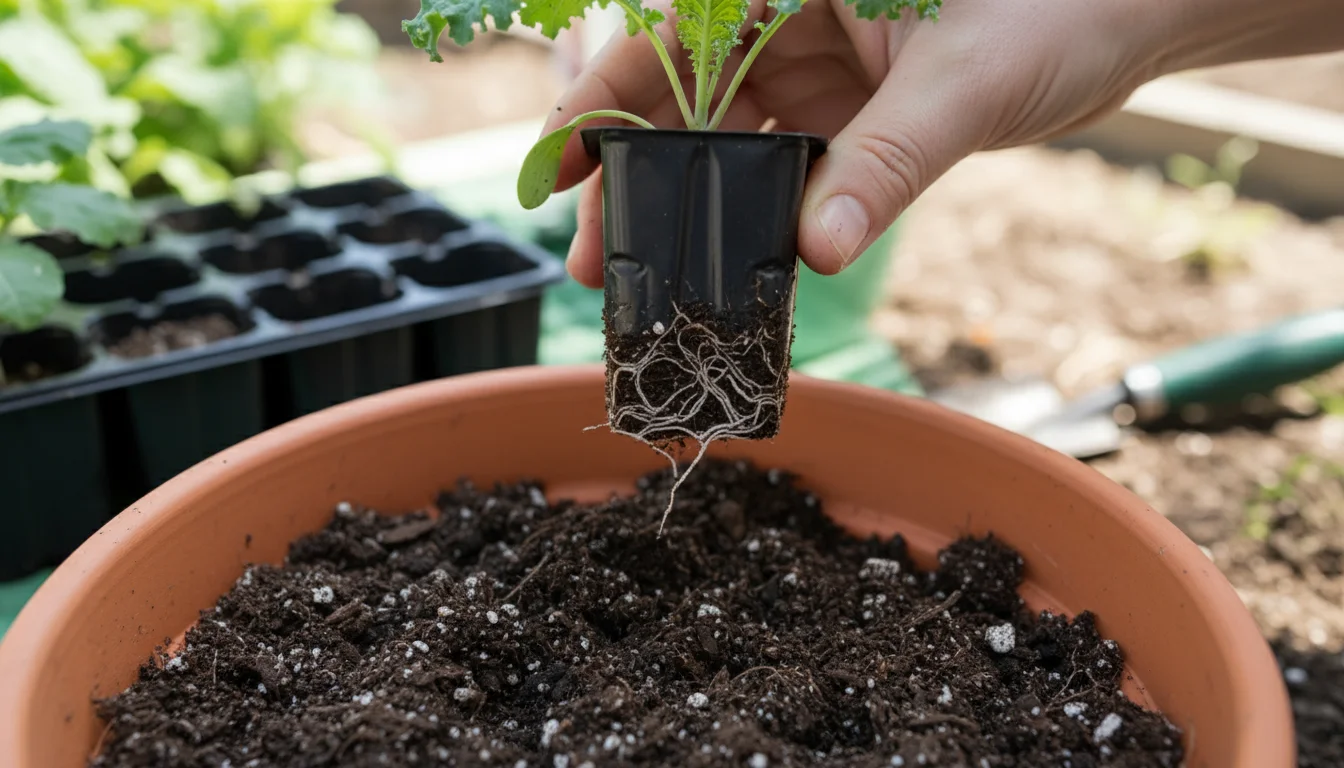
- Plant the kale: Gently remove the seedling from its nursery pot. If the roots are tightly matted, carefully tease them apart. Place the seedling into the prepared hole so that the top of the root ball is level with the soil surface in the new pot. Do not plant too deeply.
- Backfill and water: Fill around the roots with potting mix, gently firming it down to remove air pockets. Water thoroughly immediately after planting until water drains from the bottom of the pot. This settles the soil and provides initial moisture.
- Mulch (optional but recommended): Apply a thin layer (1-2 inches) of organic mulch, such as straw, shredded leaves, or wood chips, over the soil surface. Mulch helps retain soil moisture, suppress weeds, and insulate the soil from temperature fluctuations, which is particularly beneficial for winter container gardening.
By following these steps, you give your kale the best possible start, ensuring vigorous growth and a bountiful harvest that lasts well into the colder months. This proactive approach sets the stage for a successful season of homegrown fall container vegetables.
Kale’s Essential Needs: Light, Water, and Nutrients
Even though kale is a resilient plant, providing consistent light, appropriate watering, and adequate nutrients is paramount for healthy growth and a bountiful harvest, especially when growing kale in pots through cooler seasons. Your role as a container gardener involves actively managing these elements.
Light Requirements
Kale thrives in full sun, meaning at least 6 hours of direct sunlight per day. However, it can tolerate partial shade, particularly in milder climates where the sun might still be intense in early fall. As days shorten in late fall and winter, maximizing light exposure becomes critical. Position your pots in the sunniest spot on your balcony, patio, or yard. This might mean moving pots periodically throughout the day to follow the sun’s path, especially if your space receives uneven light. If you live in an area with very short, dark winter days, consider supplemental grow lights indoors if you want to push for continuous growth, although kale will naturally slow down significantly in low light.
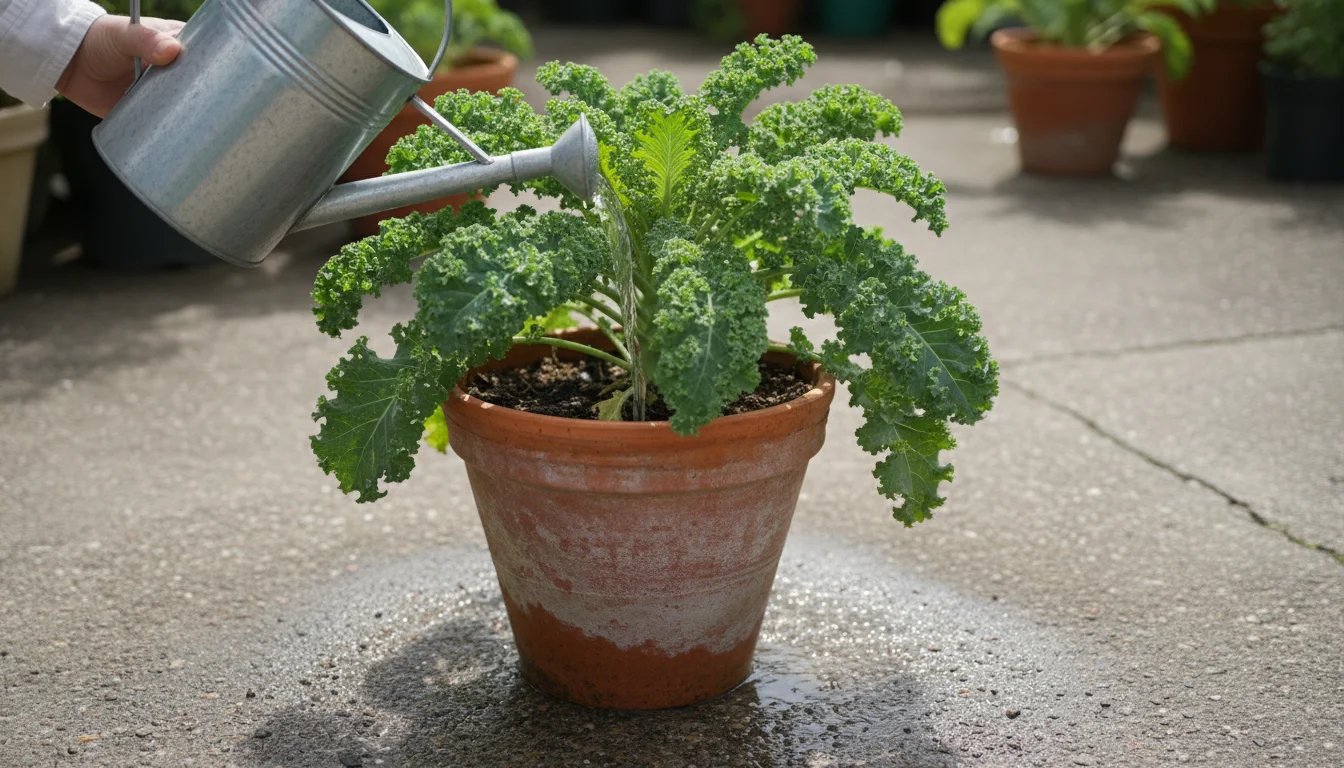
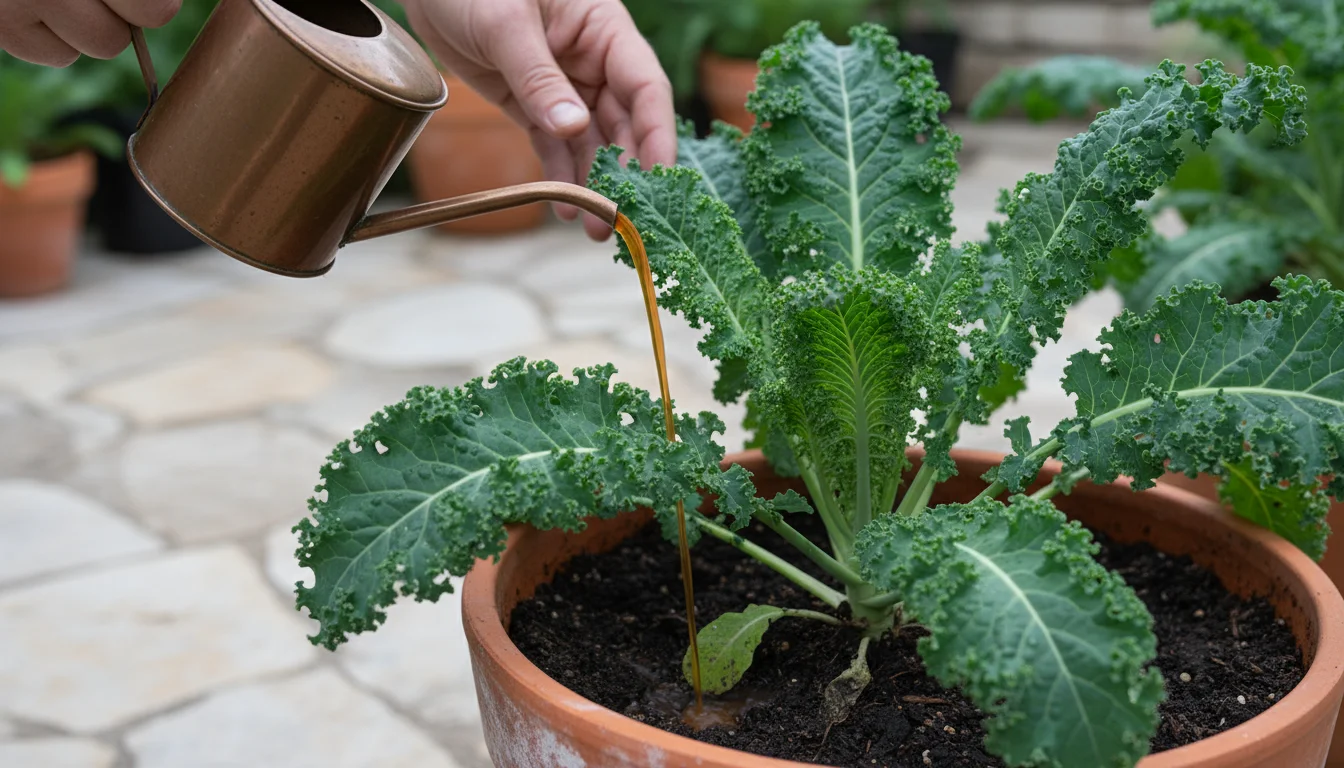
Watering Practices
Consistent moisture is key for kale. Kale plants prefer evenly moist soil; they do not like to dry out completely or sit in soggy conditions. In containers, soil dries out faster than in the ground, so you will need to monitor moisture levels regularly. Stick your finger about an inch or two into the soil; if it feels dry, it is time to water.
- Deep watering: When you water, do so thoroughly until water drains from the bottom of the pot. This encourages roots to grow deeper, making the plant more resilient.
- Avoid overhead watering: Water the soil directly at the base of the plant to minimize moisture on the leaves, which can reduce the risk of fungal diseases.
- Frequency: Watering frequency varies based on pot size, material, weather, and plant size. In warmer fall days, you might water daily or every other day. In colder winter weather, with reduced plant activity and evaporation, you might only need to water once or twice a week. Fabric grow bags and terracotta pots will require more frequent watering than plastic pots.
- Wicking systems: For consistent moisture with less effort, consider a self-watering container or create a DIY wicking system. These systems deliver water from a reservoir to the soil as needed, preventing both over and under-watering.
Nutrient Supply and Fertilization
Container-grown plants rely entirely on you for their nutrients. Unlike garden beds where nutrients can be replenished naturally by soil organisms, potted plants quickly exhaust the nutrients in their limited soil volume. Kale is a hungry plant, particularly for nitrogen, which promotes lush leafy growth.
- Initial nutrient boost: If your potting mix did not come pre-fertilized, incorporate a balanced organic slow-release granular fertilizer or a generous amount of compost or worm castings into the mix at planting time.
- Ongoing feeding: About 3-4 weeks after planting, begin a regular feeding schedule. Use a balanced organic liquid fertilizer (like fish emulsion or a diluted all-purpose vegetable fertilizer) every 2-4 weeks, following the product’s instructions. Alternatively, you can top-dress with compost or worm castings every 4-6 weeks, gently scratching it into the top inch of soil.
- Organic preference: Opt for organic fertilizers. They support soil health, provide a steady release of nutrients, and align with environmentally conscious gardening practices. Look for fertilizers with a slightly higher nitrogen (N) content in the N-P-K ratio to encourage leaf production.
- Monitor plant health: Yellowing leaves can indicate a nutrient deficiency, often nitrogen. If you observe this, ensure your feeding schedule is adequate. Conversely, too much fertilizer can burn roots, so always follow recommended dosages.
By attentively managing light, water, and nutrients, you provide your potted kale with the optimal conditions to thrive, ensuring a robust harvest of nutritious greens throughout the fall and into winter. This diligence transforms how to grow kale on a balcony in fall into a truly successful venture.
Caring for Your Potted Kale Through Fall and Winter
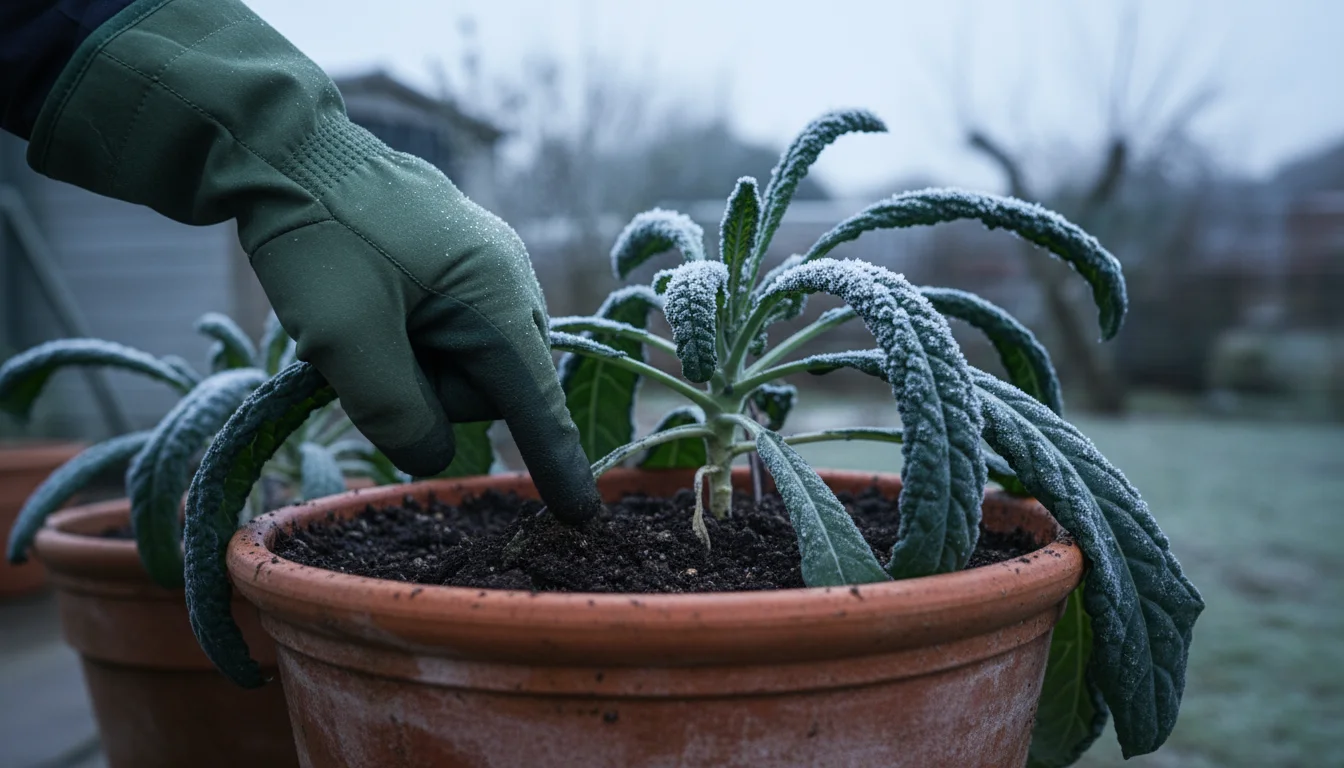
Extending your kale harvest well into the colder months requires a proactive approach to care, especially concerning cold protection and managing winter container gardening conditions. Your potted kale, exposed on all sides, is more vulnerable to extreme temperatures than in-ground plants.
Cold Protection Strategies
Kale is incredibly cold-hardy, with many varieties tolerating temperatures down to 10-20 degrees Fahrenheit, and some even lower, particularly if established. However, prolonged deep freezes can still damage or kill plants, especially their roots in exposed containers. Here are effective protection methods:
- Move pots: This is the simplest and most effective strategy for how to grow kale on a balcony in fall. As temperatures dip below 25-30 degrees Fahrenheit, move your pots to a more sheltered location:
- Against a warm house wall.
- Into a garage, shed, or unheated porch.
- Under an overhang or patio cover.
- If you have a balcony, tuck them into a corner that receives some residual warmth from the building.
Remember to move them back out to receive sunlight once the extreme cold passes.
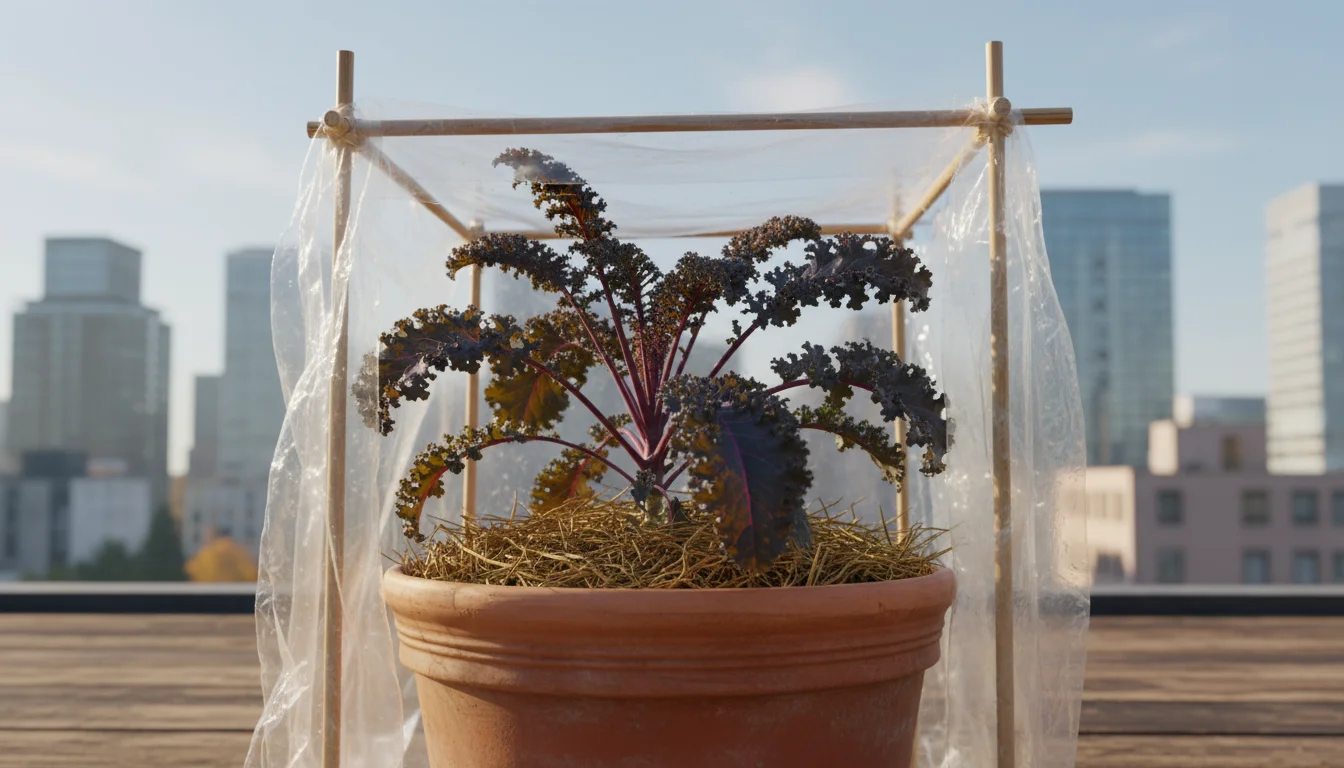
- Insulate pots: Wrap the sides of your containers with burlap, bubble wrap, old blankets, or even a layer of straw. This insulation helps protect the root ball from freezing solid, which is often more damaging than leaf frost. You can also place pots inside larger, empty containers, filling the gap with insulating material.
- Cover plants: For unexpected cold snaps, cover your kale plants with a floating row cover, an old sheet, or an upturned bucket (ensure it is removed in the morning to allow light and air). Row covers, made of lightweight fabric, can provide 2-8 degrees of frost protection and allow light and water to pass through. Drape them over the plants or support them with hoops to avoid direct contact with the leaves.
- Mulch: Apply a thick layer (2-4 inches) of straw, shredded leaves, or wood chips on top of the soil in your pots. This acts as an insulating blanket for the root zone, helping to regulate soil temperature and retain moisture.
Winter Watering Adjustments
Watering habits need to change dramatically in winter. Plants require much less water when dormant or growing slowly due to cold and reduced sunlight. Overwatering is a common killer of winter container vegetables.
- Check soil moisture: Always check the soil deeply before watering. The top inch might be dry, but the lower soil might still be moist.
- Water on warmer days: If watering is necessary, do so on a relatively warmer winter day. Avoid watering when temperatures are below freezing, as the water can freeze in the pot, potentially damaging roots.
- Reduce frequency: You might only need to water your kale every 1-2 weeks or even less frequently during the coldest periods.
Pest and Disease Management
While cooler weather generally reduces pest pressure, some issues can still arise.
- Aphids: These tiny insects can still appear, especially in sheltered spots or on new growth. Blast them off with a strong stream of water or apply an organic insecticidal soap.
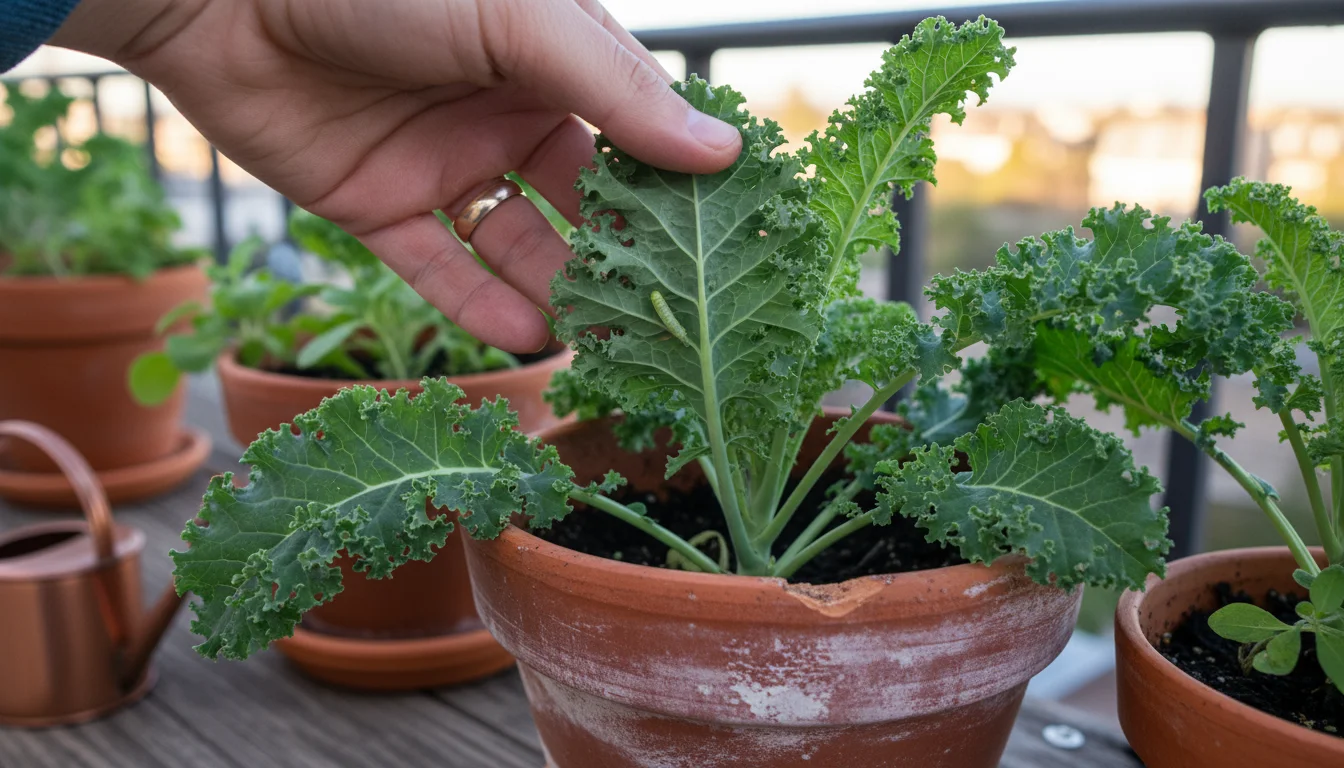
- Cabbage worms: The larvae of cabbage white butterflies, these can still be active in milder fall weather. Handpick them or use Bacillus thuringiensis (Bt), an organic biological pesticide.
- Slugs and snails: Particularly in damp conditions, these can chew holes in leaves. Use organic slug baits, copper tape around pots, or handpick them.
- Disease prevention: Ensure good air circulation around plants and avoid overhead watering to prevent fungal diseases. If leaves show signs of disease, remove them promptly.
Regular inspection of your plants is your best defense. Early detection allows for immediate, least-toxic intervention. By implementing these cold protection strategies and adjusting your watering and pest management, you ensure your potted kale remains healthy and productive, providing fresh greens throughout the chilliest months.
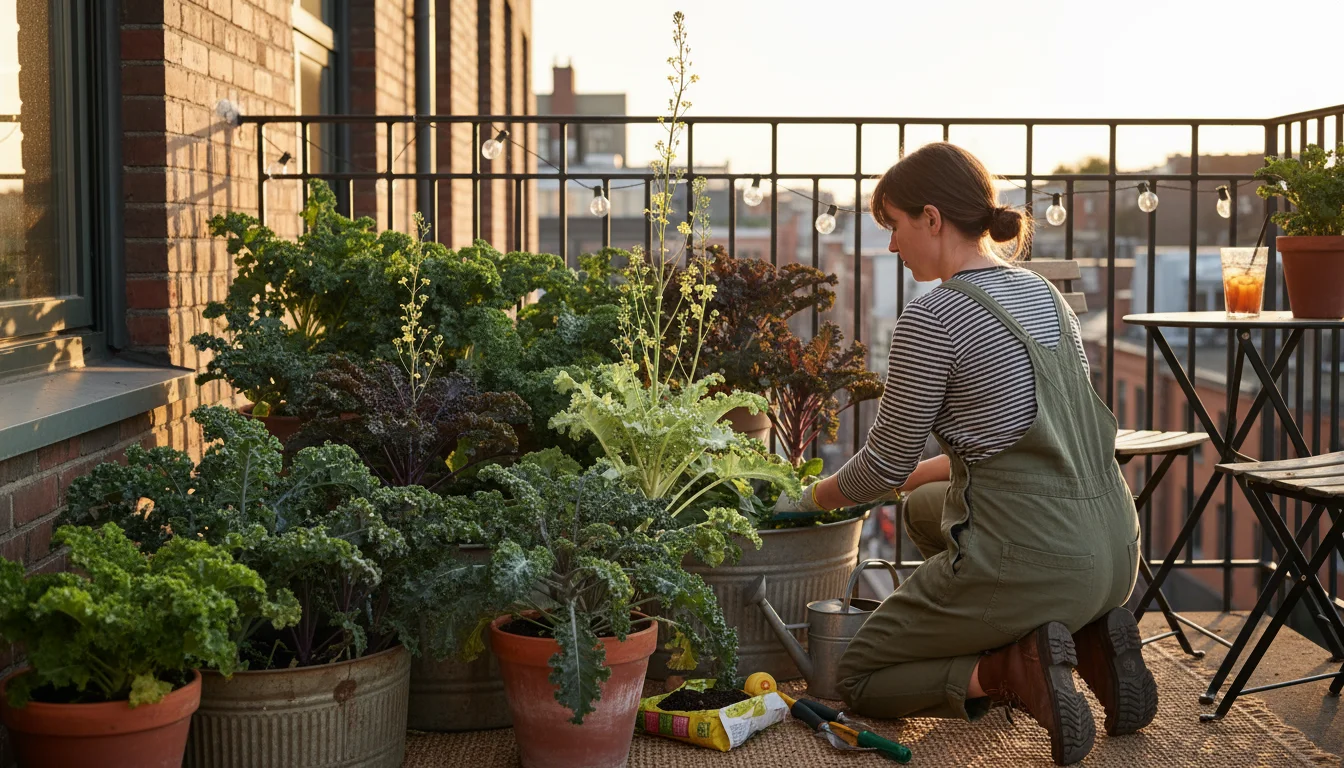
Harvesting Your Potted Kale for a Continuous Supply
One of the most satisfying aspects of growing kale in pots is the ability to harvest leaves regularly, ensuring a continuous supply throughout the fall and winter. This “cut-and-come-again” method is key to maximizing your yield and prolonging the life of your plant. Understanding when to harvest potted kale for continuous supply allows you to enjoy fresh greens for months.
When to Start Harvesting
You can begin harvesting kale leaves when the plants are still relatively young, usually around 8-10 inches tall and have at least 6-8 mature leaves. Starting early encourages the plant to produce more leaves, creating a bushier, more productive specimen. Do not wait for the plant to be fully mature to start harvesting, as this can delay your overall yield.
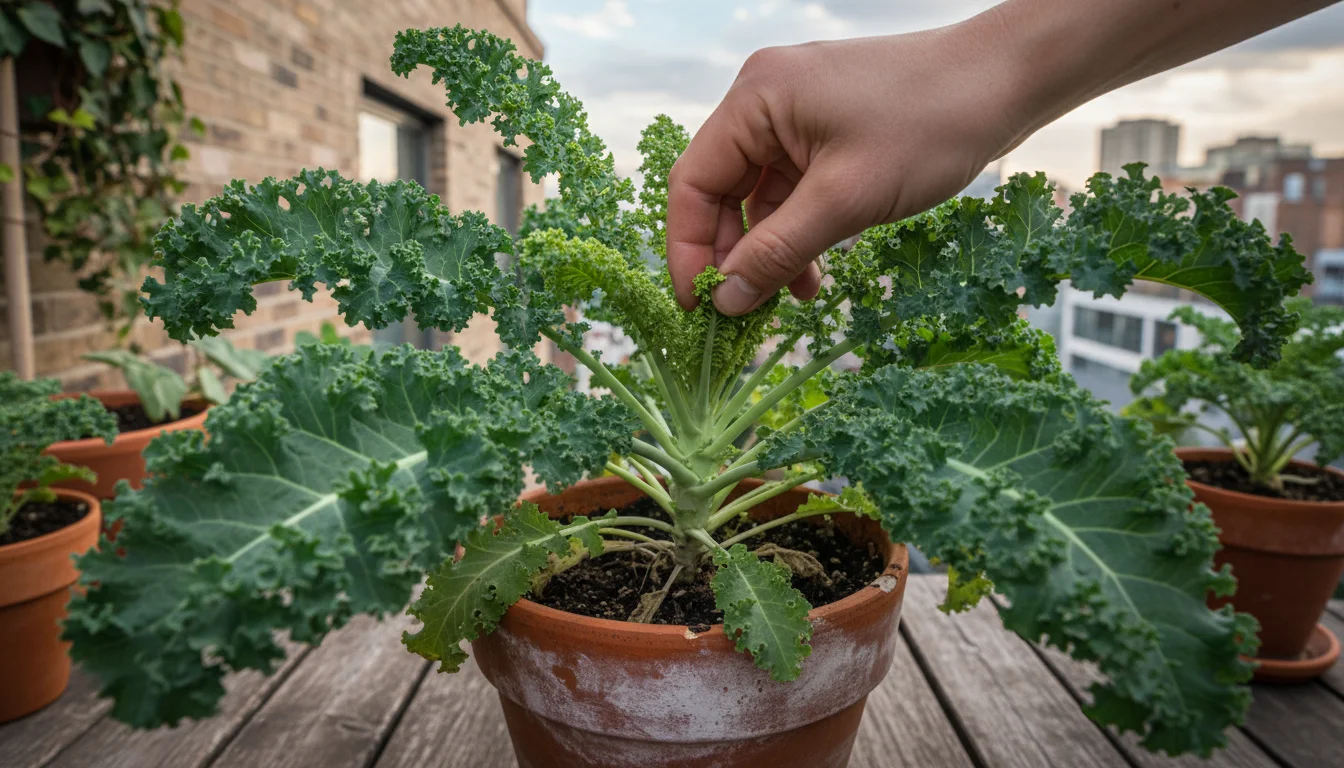
The “Cut-and-Come-Again” Method
This technique is simple yet highly effective for continuous harvesting. Instead of taking the entire plant, you selectively remove outer, mature leaves, allowing the inner, younger leaves to continue growing. This method stimulates the plant to produce new growth from its center, ensuring a steady supply of greens.
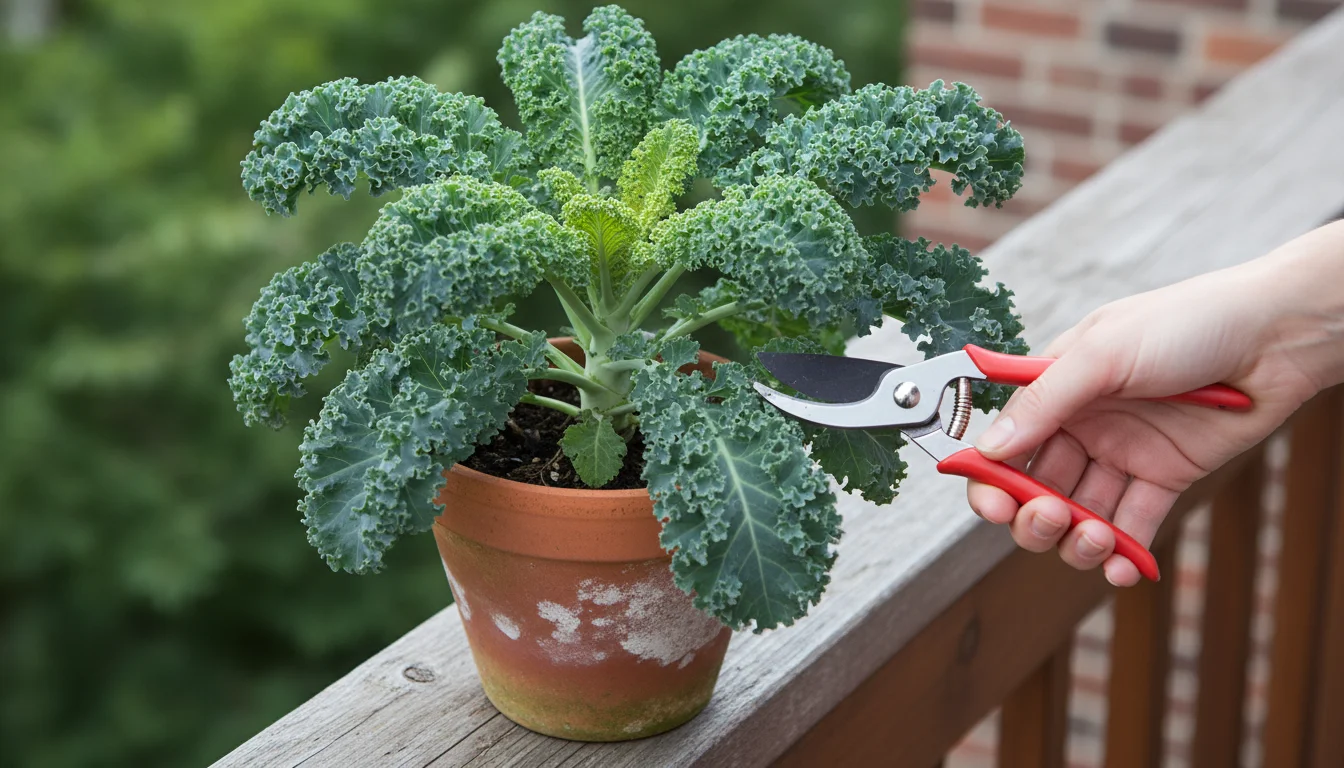
- Identify mature leaves: Look for the largest, outermost leaves that are fully developed. These are usually at the bottom of the plant.
- Harvest selectively: Using clean sharp scissors or a knife, cut the stem of the leaf close to the main stalk, being careful not to damage the central growing point or the smaller inner leaves.
- Leave enough leaves: Always leave at least 4-6 central, smaller leaves on the plant to ensure it can continue photosynthesizing and producing new growth. Removing too many leaves at once can stress the plant and reduce future yields.
- Harvest regularly: Harvest every week or two, or as needed. Regular harvesting encourages new growth and keeps the plant from becoming overly leggy.
Tips for Maximizing Your Yield
- Remove yellowing leaves: If you notice any leaves turning yellow or showing signs of damage, remove them. These leaves are no longer productive and can draw energy away from healthier growth.
- Inspect for pests: While harvesting, take a moment to inspect your plants for any signs of pests. Early detection allows for immediate, targeted intervention.
- Winter harvesting: In very cold climates, kale’s growth will slow significantly. You might harvest less frequently, perhaps once a month. The leaves will be sweeter after a light frost. For deeper freezes, harvest before the severe cold hits, or wait until a thaw to harvest, as frozen leaves can become mushy once thawed.
- Pinching flower stalks: If your kale starts to “bolt” (send up a central stalk with flower buds) in warmer spells, pinch off these flower stalks immediately. Bolting signals the plant is focusing energy on seed production, which makes the leaves bitter. Removing them encourages the plant to continue producing edible leaves.
By consistently applying the cut-and-come-again method, you optimize your potted kale’s productivity. This strategic harvesting ensures you have fresh, delicious kale available for salads, smoothies, stir-fries, and more, extending your homegrown goodness deep into the cooler seasons. Enjoy the practical benefit of a constant harvest from your fall container vegetables.
Troubleshooting Common Kale Problems
Even with the best intentions, gardeners occasionally encounter challenges. Recognizing common problems and knowing how to address them quickly will help you keep your potted kale healthy and productive throughout the fall and winter. As your gardening coach, I will guide you through practical solutions to ensure your growing kale in pots remains a success.
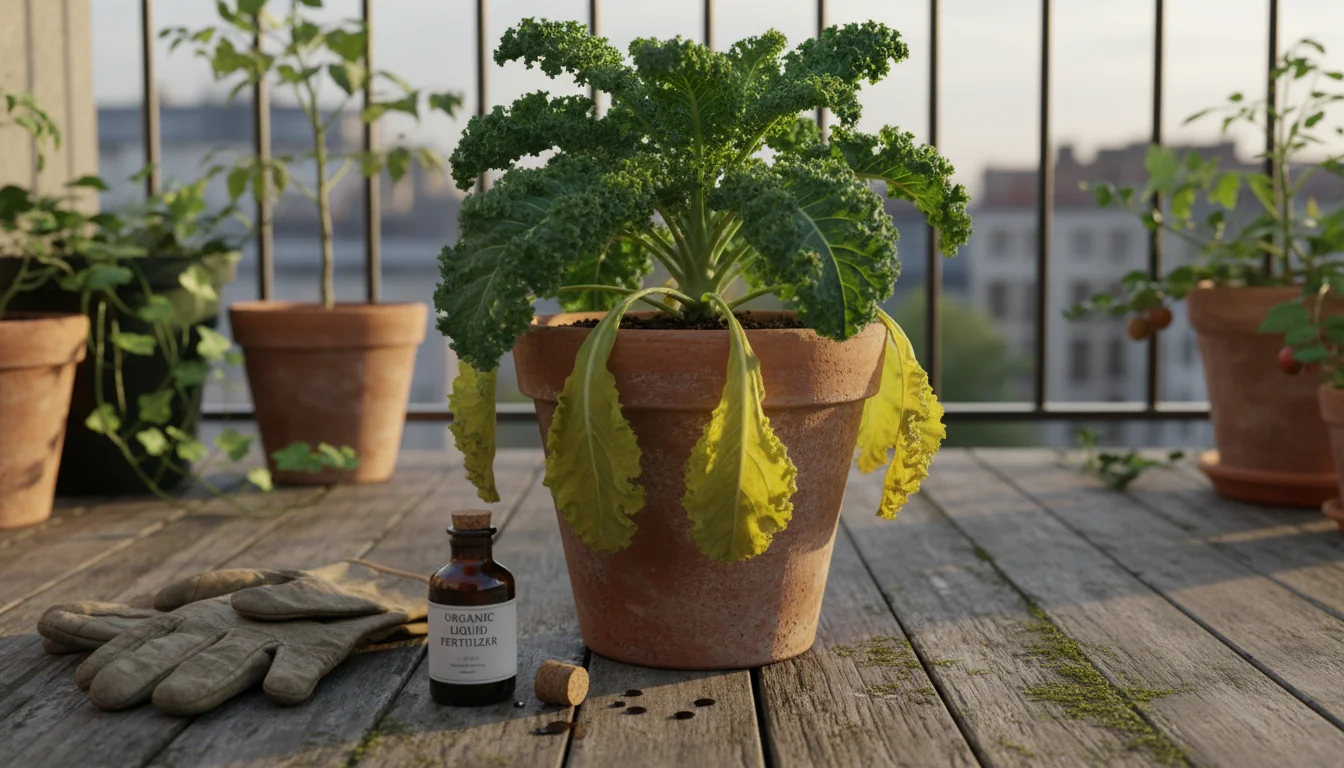
Problem: Yellowing Leaves
- Possible Cause 1: Nutrient Deficiency (Nitrogen)
Solution: Kale is a heavy feeder. If lower leaves are uniformly yellowing, your plant likely needs nitrogen. Apply a balanced organic liquid fertilizer, such as fish emulsion, or top-dress with compost or worm castings. Ensure your potting mix was initially rich in nutrients. Follow fertilizer instructions carefully to avoid overfeeding.
- Possible Cause 2: Overwatering or Poor Drainage
Solution: Yellowing leaves, especially accompanied by wilting or soggy soil, indicate too much water or inadequate drainage. Check your pot’s drainage holes. If clogged, clear them. Allow the soil to dry out more between waterings. Ensure your potting mix is well-draining. In winter, reduce watering frequency significantly.
- Possible Cause 3: Underwatering
Solution: If leaves are yellowing and crispy, particularly on the edges, your plant is likely underwatered. Check the soil moisture deeply; if dry, water thoroughly until it drains from the bottom. Establish a more consistent watering schedule, especially in warmer fall weather.
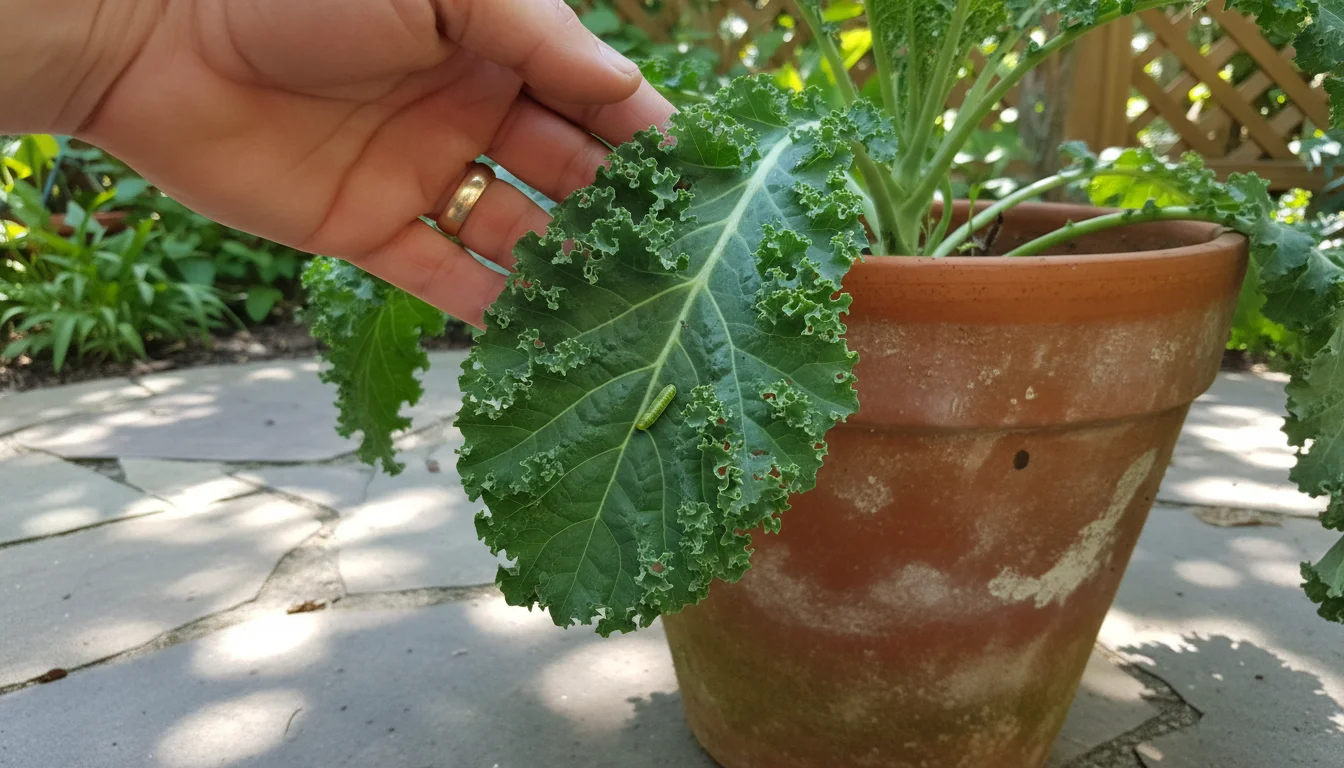
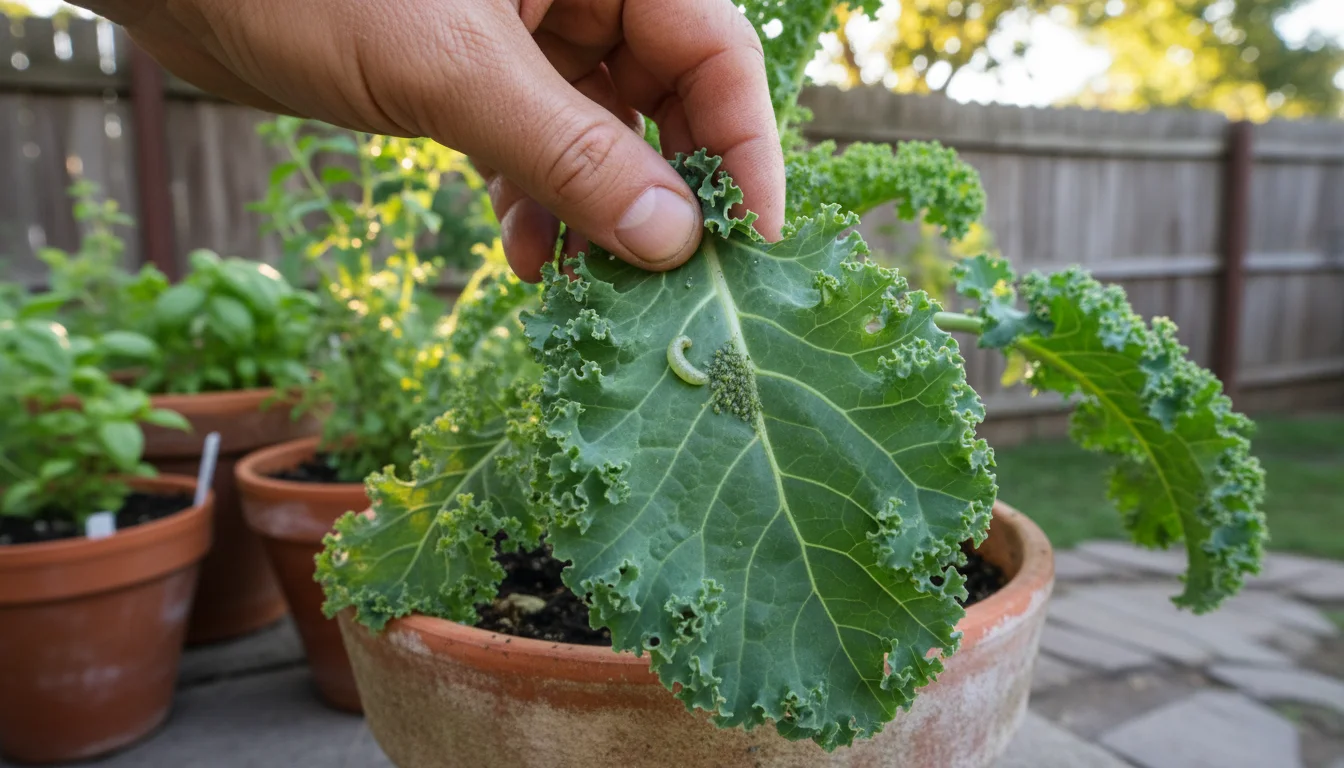
Problem: Holes in Leaves and Chewed Edges
- Possible Cause 1: Cabbage Worms or Loopers
Solution: These are green caterpillars that blend in with kale leaves. Inspect your plants regularly, including the undersides of leaves. Handpick any caterpillars you find and drop them into a bucket of soapy water. For heavy infestations, use an organic Bacillus thuringiensis (Bt) spray, which specifically targets caterpillars without harming other beneficial insects.
- Possible Cause 2: Aphids
Solution: Tiny, soft-bodied insects often found clustered on new growth or undersides of leaves. They suck plant sap, causing distorted or yellowed leaves. Spray them off with a strong stream of water from your hose. For persistent issues, use an organic insecticidal soap, ensuring thorough coverage, especially on leaf undersides.
- Possible Cause 3: Slugs and Snails
Solution: These leave irregular holes and silvery slime trails. They are most active at night or in damp conditions. Handpick them in the evening. Place copper tape around the rim of your pot, which deters them. Organic slug baits containing iron phosphate are also effective and safe for pets and wildlife.
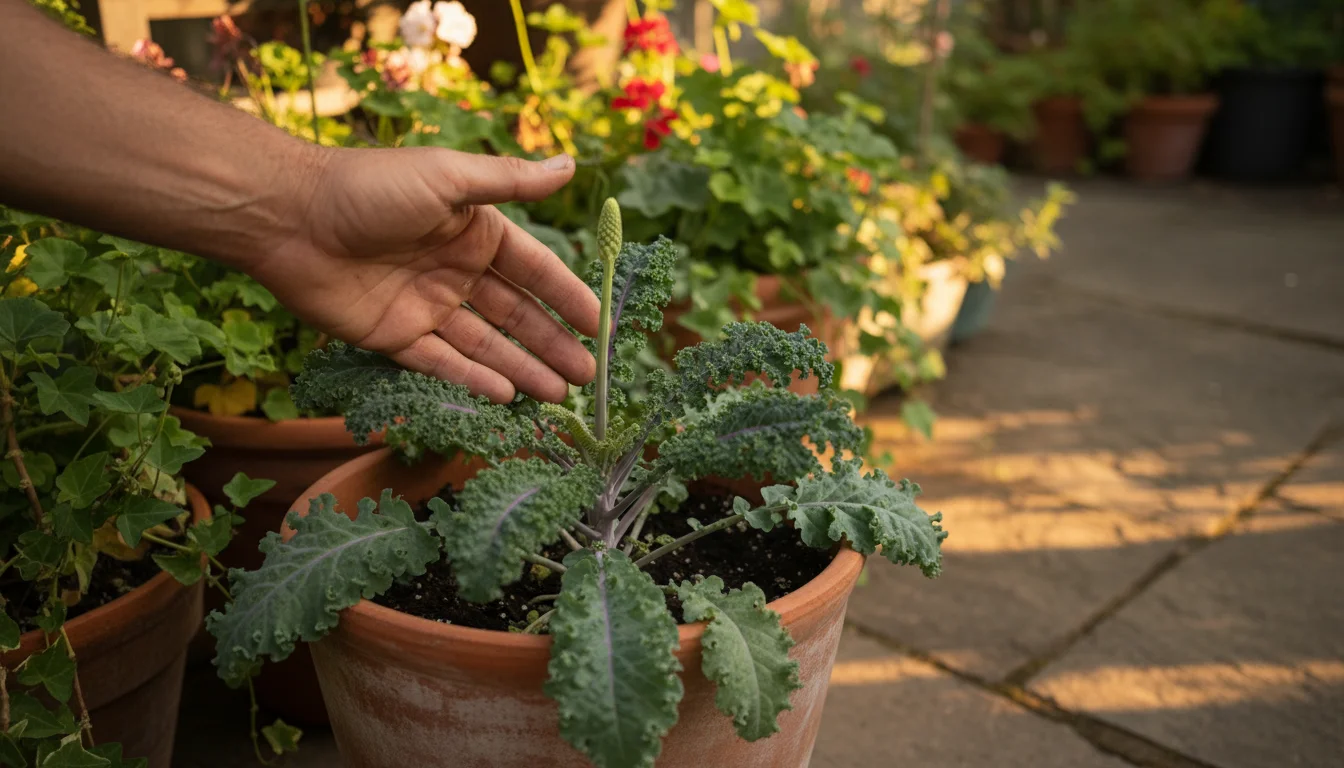
Problem: Bolting (Plant sends up a flower stalk)
- Possible Cause: Heat Stress or Day Length Changes
Solution: Bolting means the plant is focusing on producing seeds, often triggered by warming temperatures or longer daylight hours. Once kale bolts, its leaves become bitter. Pinch off the flower stalk as soon as you see it emerging. While this will not prevent further bolting, it can sometimes prolong leaf production. For true fall and winter container gardening, choose cold-hardy varieties that are less prone to bolting.
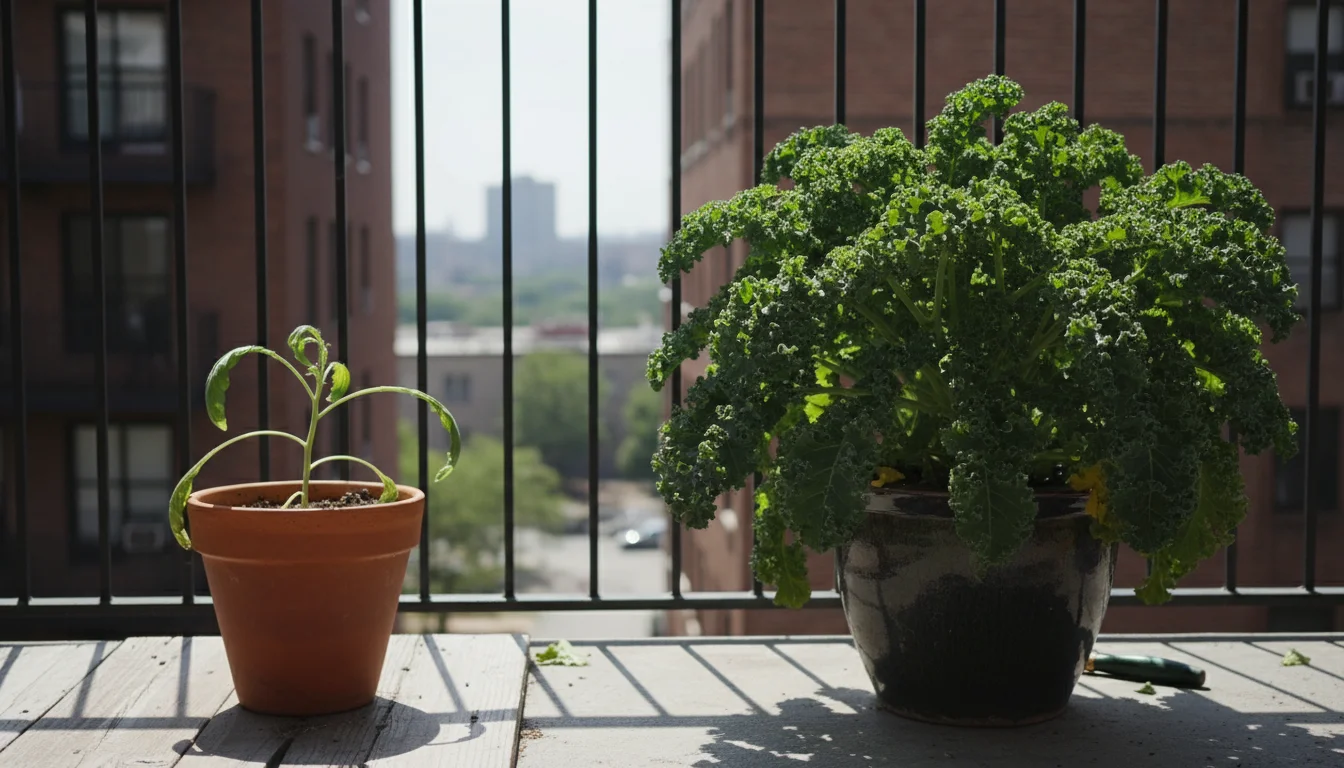
Problem: Leggy or Stunted Growth
- Possible Cause 1: Insufficient Light
Solution: If your kale is stretching and thin, it is likely not getting enough sunlight. Relocate your pot to the sunniest spot on your balcony or patio, ensuring at least 6 hours of direct sun daily. Rotate the pot occasionally for even light exposure.
- Possible Cause 2: Root-bound Plant
Solution: If your plant is stunted despite adequate light and nutrients, it might have outgrown its pot. Carefully slide the plant out of its pot to inspect the roots. If they are circling tightly, it is time to repot into a larger container with fresh potting mix. When considering how to grow kale on a balcony in fall, always plan for an adequately sized container from the start.
By regularly observing your potted kale and addressing problems promptly with these practical solutions, you ensure your plants remain vigorous and provide you with a continuous harvest of delicious, fresh greens through fall and even into winter. Your diligence pays off with healthy, thriving fall container vegetables.
Frequently Asked Questions
How cold can potted kale tolerate?
Most kale varieties can tolerate temperatures down to 10-20 degrees Fahrenheit. Some exceptionally cold-hardy types, like ‘Siberian’ or ‘True Siberian’, can withstand even lower temperatures. However, in pots, the roots are more exposed to cold than in-ground plants. Insulate your pots or move them to a sheltered location when temperatures consistently drop below freezing, especially below 25 degrees Fahrenheit, to protect the root ball from freezing solid.
Can I grow kale indoors during winter?
Yes, you can grow kale indoors during winter, but it requires ample light. A sunny south-facing window might be sufficient in some areas, but for robust growth and consistent harvesting, supplemental grow lights are usually necessary. Ensure the pot has good drainage, and keep the soil consistently moist but not waterlogged. Indoor conditions may also increase humidity, so ensure good air circulation to prevent fungal issues.
How often should I fertilize my potted kale in fall and winter?
In fall, as growth is still active, fertilize with a balanced organic liquid fertilizer every 2-4 weeks. As winter progresses and growth slows significantly due to colder temperatures and shorter days, reduce fertilization frequency to once a month or even less, depending on the plant’s activity. Over-fertilizing during dormancy can harm the plant. Resume a more frequent schedule in early spring as new growth appears.
My kale leaves are tough or bitter. What’s wrong?
Tough or bitter kale leaves usually indicate heat stress or that the plant is bolting (sending up a flower stalk). Kale prefers cool weather; warm temperatures cause it to produce compounds that make leaves bitter. Ensure your kale is in a location where it receives adequate sun but is not overheating. Harvest leaves regularly using the cut-and-come-again method. If you see a flower stalk emerging, pinch it off immediately to encourage more leaf production and maintain flavor. A light frost can also make kale sweeter and more tender.
How much space does one kale plant need in a pot?
For optimal growth, a single kale plant needs a pot that is at least 8-10 inches in diameter and 8-10 inches deep. This size provides enough room for its root system to develop fully and access sufficient nutrients and moisture. If you plan to plant multiple kale plants in a larger container, space them 6-8 inches apart to prevent overcrowding and competition for resources.
Growing kale in pots through fall and winter is a truly rewarding experience, offering you fresh, nutritious greens when most other gardens are dormant. With the right variety selection, container, potting mix, and consistent care, you will enjoy a continuous harvest, transforming your small space into a productive haven. Embrace the cooler seasons as an opportunity to keep your green thumb active and your kitchen stocked with homegrown goodness.
For research-based guidance on edible gardening, visit Iowa State University Extension — Yard & Garden, Washington State University Hortsense, University of Minnesota Extension and Penn State Extension — Trees, Lawns and Landscapes.
Disclaimer: This article is for informational purposes only and is not a substitute for professional advice. Consult local extension services for region-specific recommendations.

Leave a Reply