
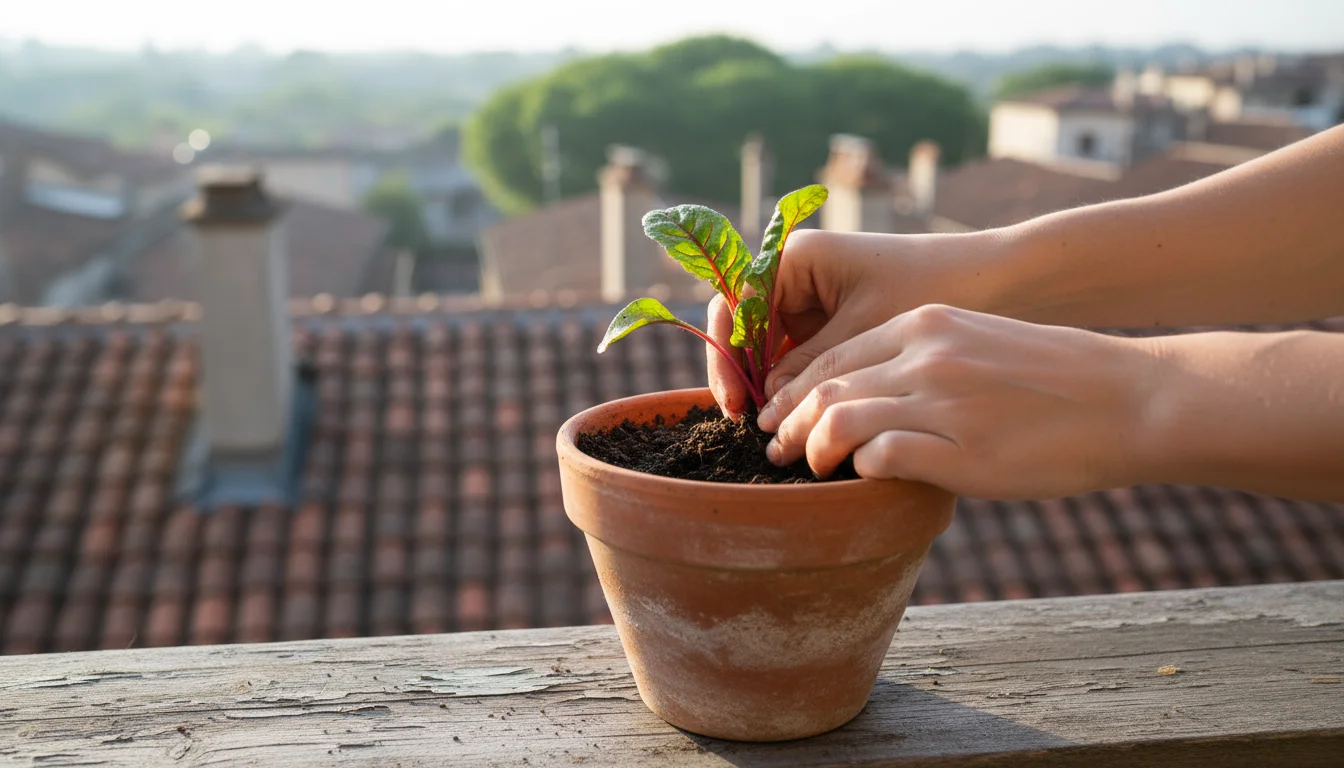
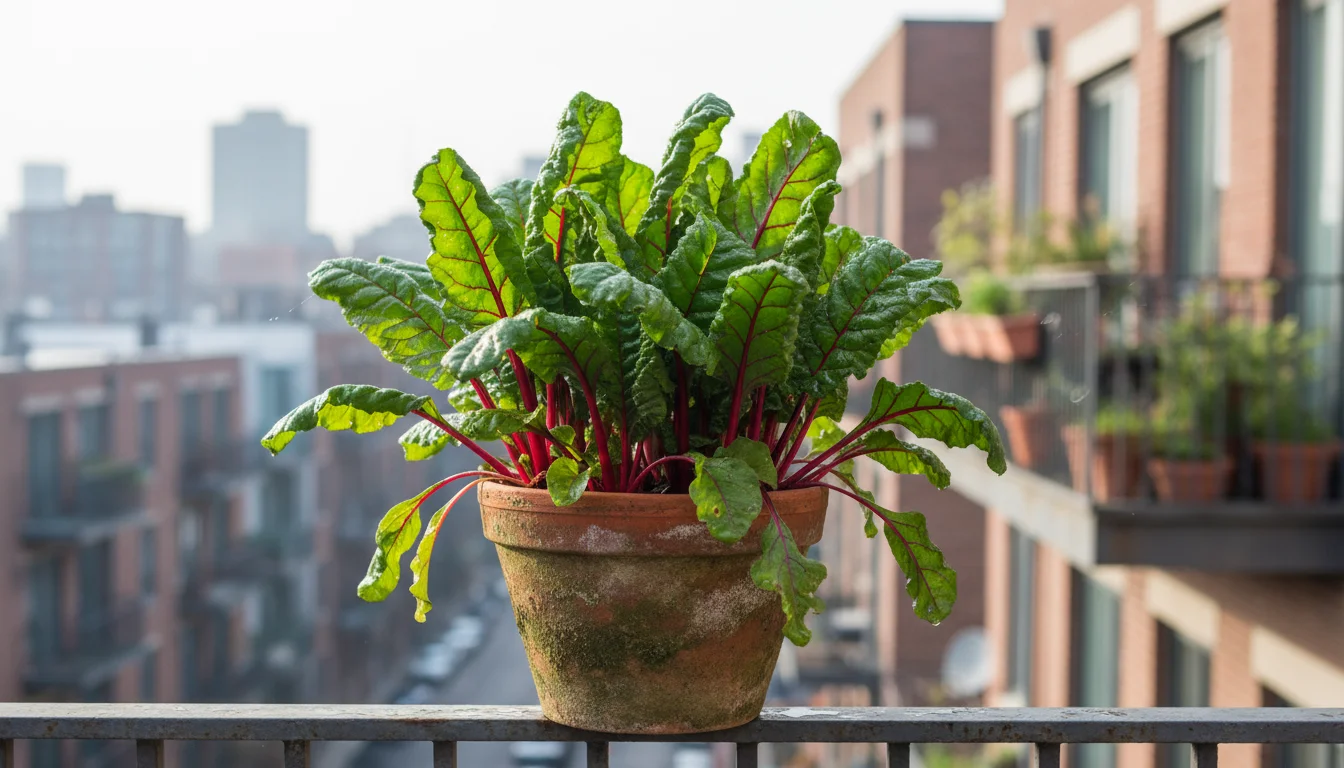
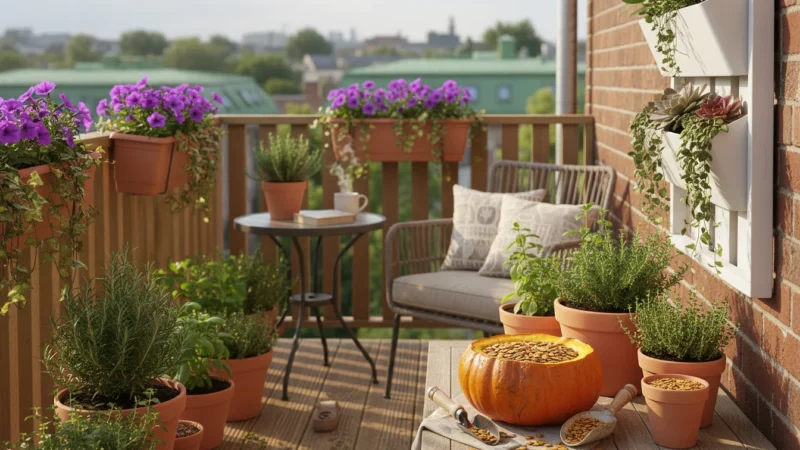
As the vibrant energy of summer gardens begins its graceful retreat, many gardeners face a common dilemma. You want to continue harvesting fresh, homegrown vegetables, but falling temperatures and shorter days challenge your planting options. For those tending a small space, whether a balcony, patio, or compact urban yard, the search for a productive, resilient, and visually appealing fall crop becomes even more crucial. You need a plant that thrives in containers, tolerates cooler weather, and provides consistent harvests with minimal fuss.
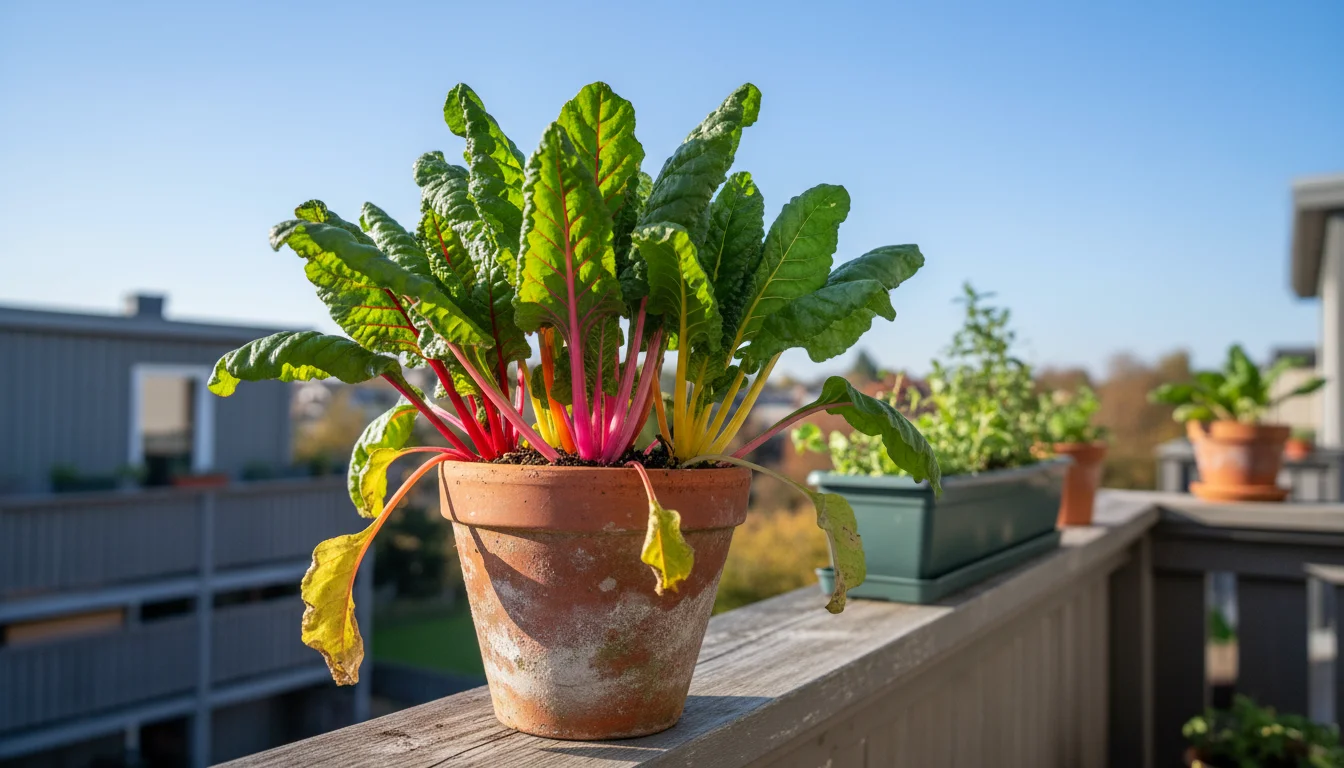
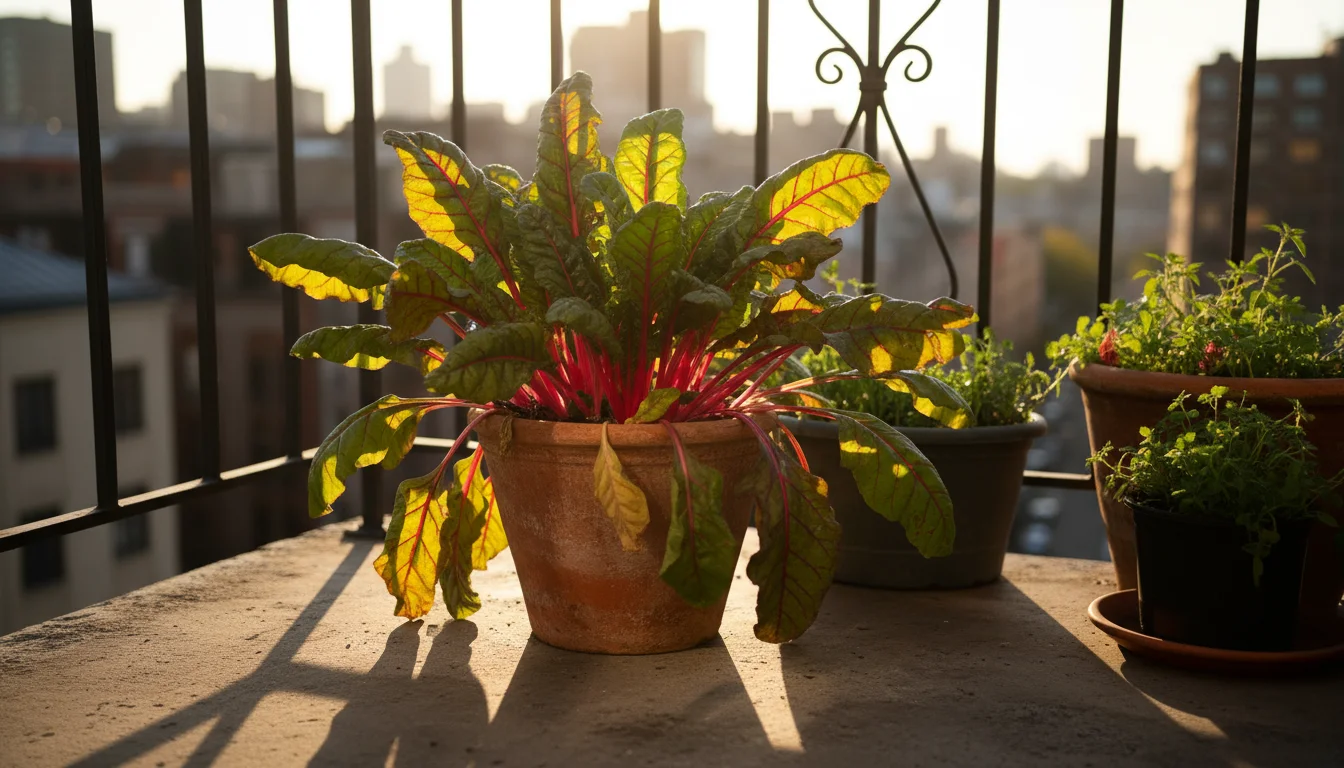
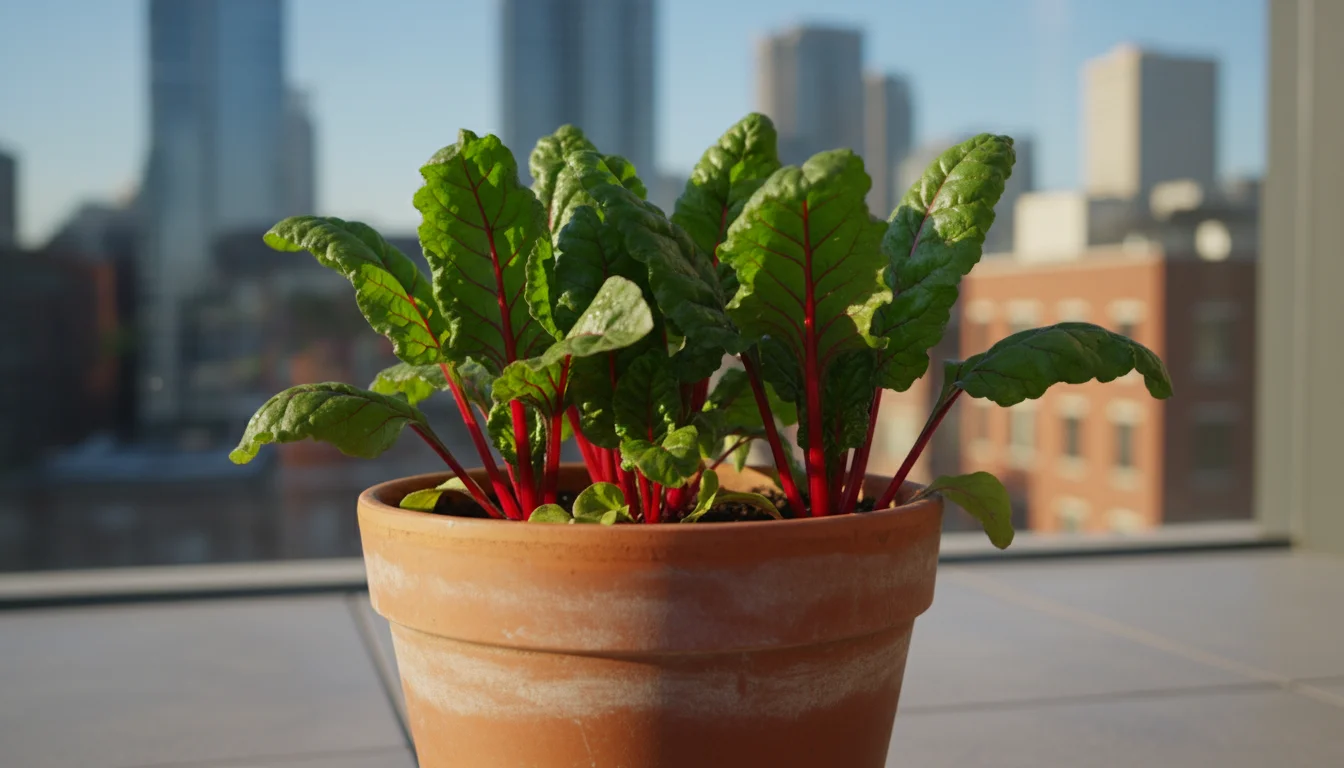
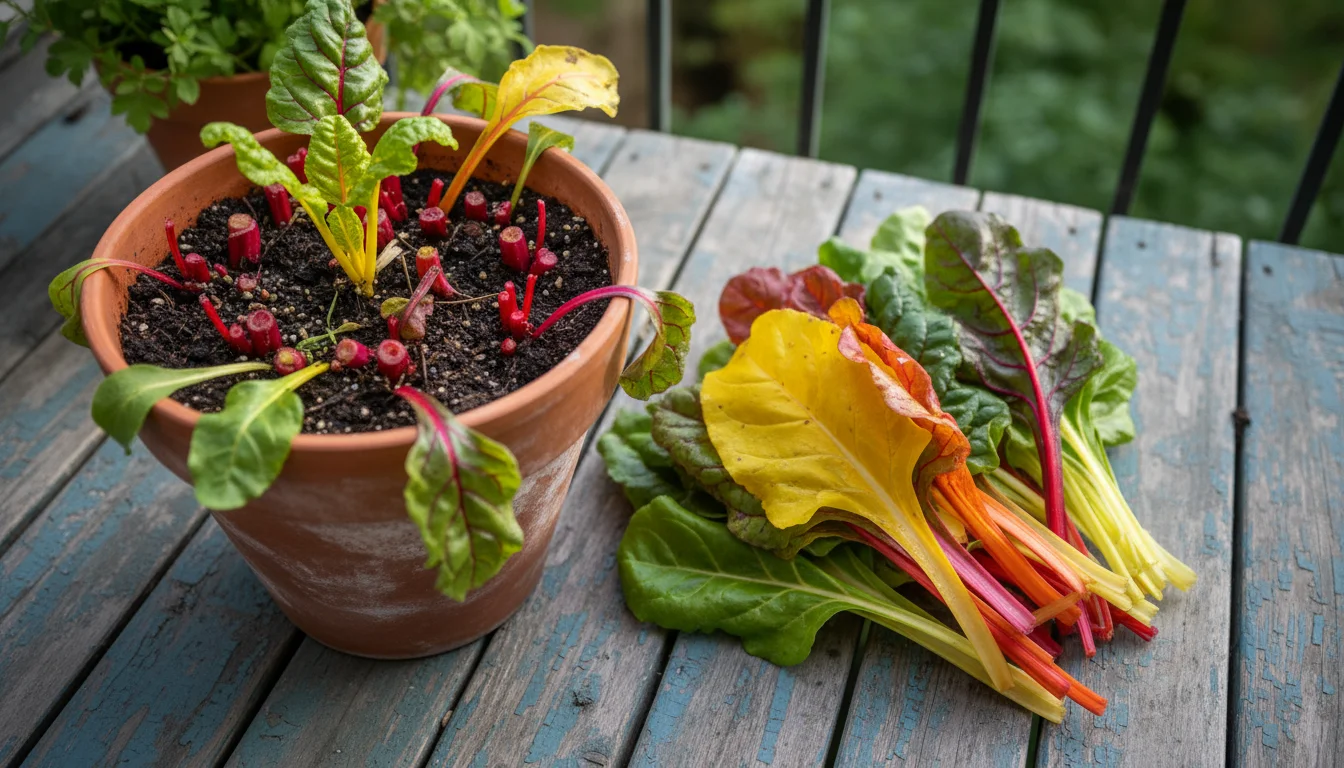
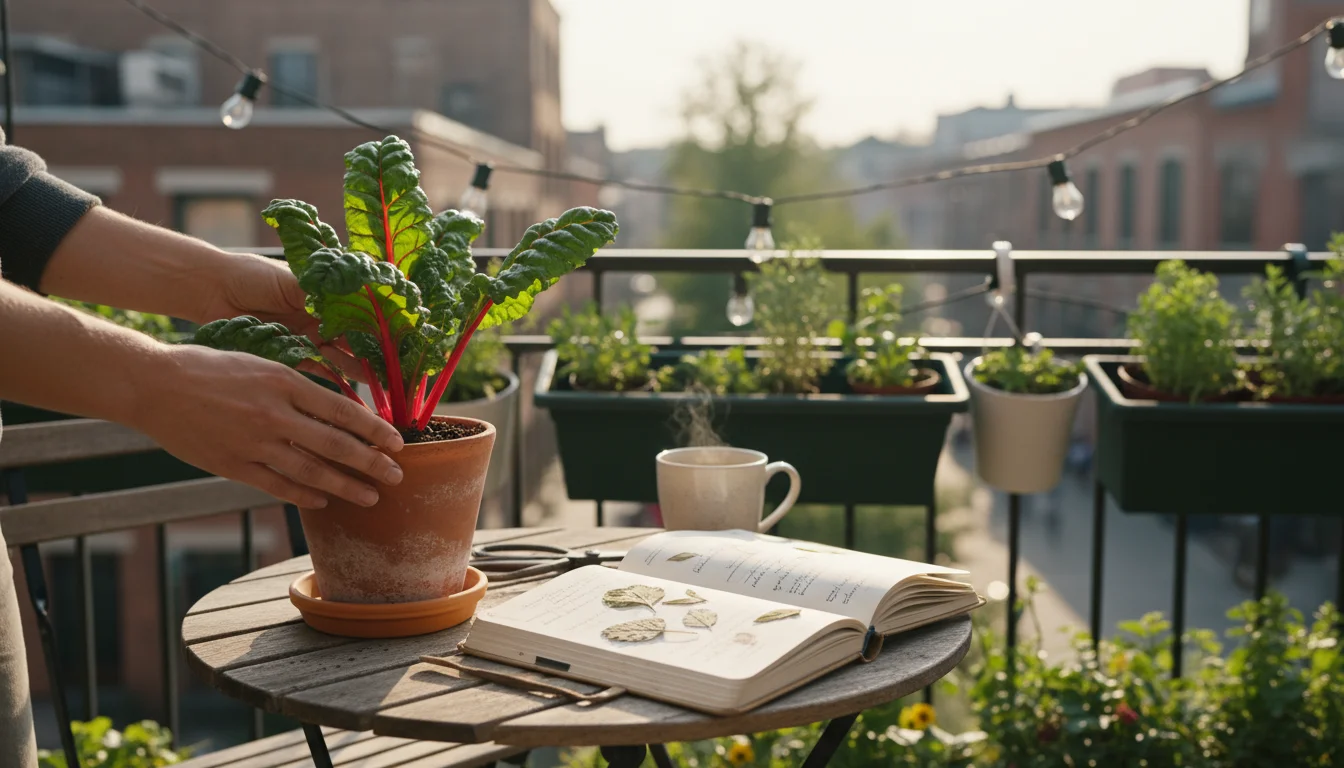
Enter Swiss chard, your undisputed champion for fall container gardening. This leafy green vegetable, a close relative of beets but grown for its succulent leaves rather than its root, consistently proves itself as the Most Valuable Plant in any small-space autumn garden. Its vibrant stems, ranging from ruby red to sunshine yellow and crisp white, add a striking visual element. You also gain a reliable source of nutrient-dense greens from late summer through the first hard frosts, sometimes even longer in milder climates.
You can effortlessly grow Swiss chard in a pot, making it an ideal choice for gardeners maximizing limited areas. Its adaptability to varying light conditions, coupled with its cut-and-come-again harvesting method, ensures a steady supply of fresh leaves for your kitchen. This article guides you through everything you need to know about growing Swiss chard, from choosing the right container to enjoying your abundant harvest. Prepare to transform your balcony into a productive fall oasis.
Why Swiss Chard Excels in Containers
Swiss chard stands out as one of the best vegetables for a fall balcony garden for several compelling reasons. Its inherent hardiness allows it to tolerate a wide range of growing conditions, a significant advantage when you manage a confined, sometimes exposed, outdoor space. Unlike many other leafy greens that quickly bolt, or go to seed, in warm weather, Swiss chard shows greater heat tolerance during late summer transitions. Its true glory, however, emerges as temperatures drop in the fall.
For even more variety on your patio, you can try other easy fall veggies that thrive in containers, such as pak choi or kohlrabi.
In addition to chard, exploring highly productive vegetables for pots can help you maximize your harvest in a small area.
You find Swiss chard thrives in cooler weather, often improving its flavor and tenderness after a light frost. This makes it a perfect candidate for extending your gardening season long past when other plants have faded. Its upright growth habit means a single plant provides substantial foliage without demanding excessive horizontal space, an important consideration for potted vegetables. You get substantial yields from relatively compact root systems, which container life accommodates wonderfully.
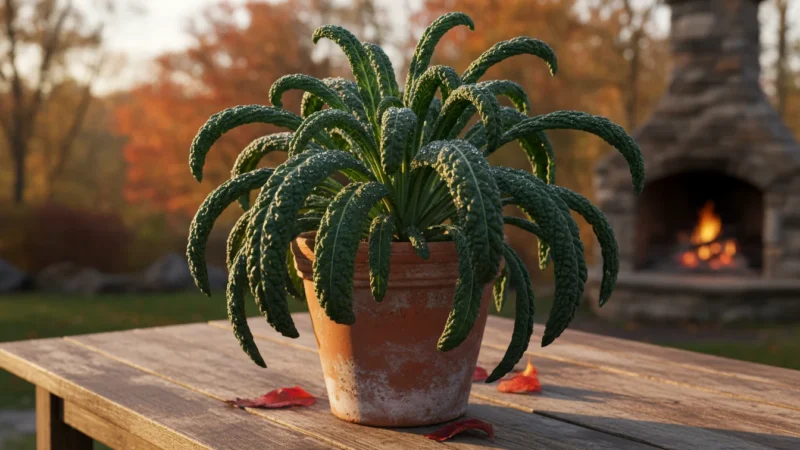
Varieties like ‘Bright Lights,’ ‘Ruby Red,’ and ‘Fordhook Giant’ offer not only a spectrum of colors but also slight differences in leaf texture and stem robustness. ‘Bright Lights’ provides stunning yellow, orange, pink, and red stems, adding an ornamental touch to your edible garden. ‘Ruby Red’ brings deep crimson stems and crinkled green leaves, making it a beautiful and productive choice. ‘Fordhook Giant’ lives up to its name, offering large, dark green leaves on broad white stems, ideal for cooking. These characteristics make Swiss chard a remarkably versatile and productive choice, ensuring your fall container gardening efforts yield delicious and beautiful results.
Choosing the Right Container and Potting Mix
Selecting the appropriate container and filling it with the correct potting mix forms the foundation for successful growing Swiss chard in a pot. These choices directly impact your plant’s access to water, nutrients, and root development. Avoid shortcuts here, as a healthy root system ensures a robust, productive plant.
If you are working with very limited space, you might also consider growing fall radishes in a window box as a speedy companion to your chard.
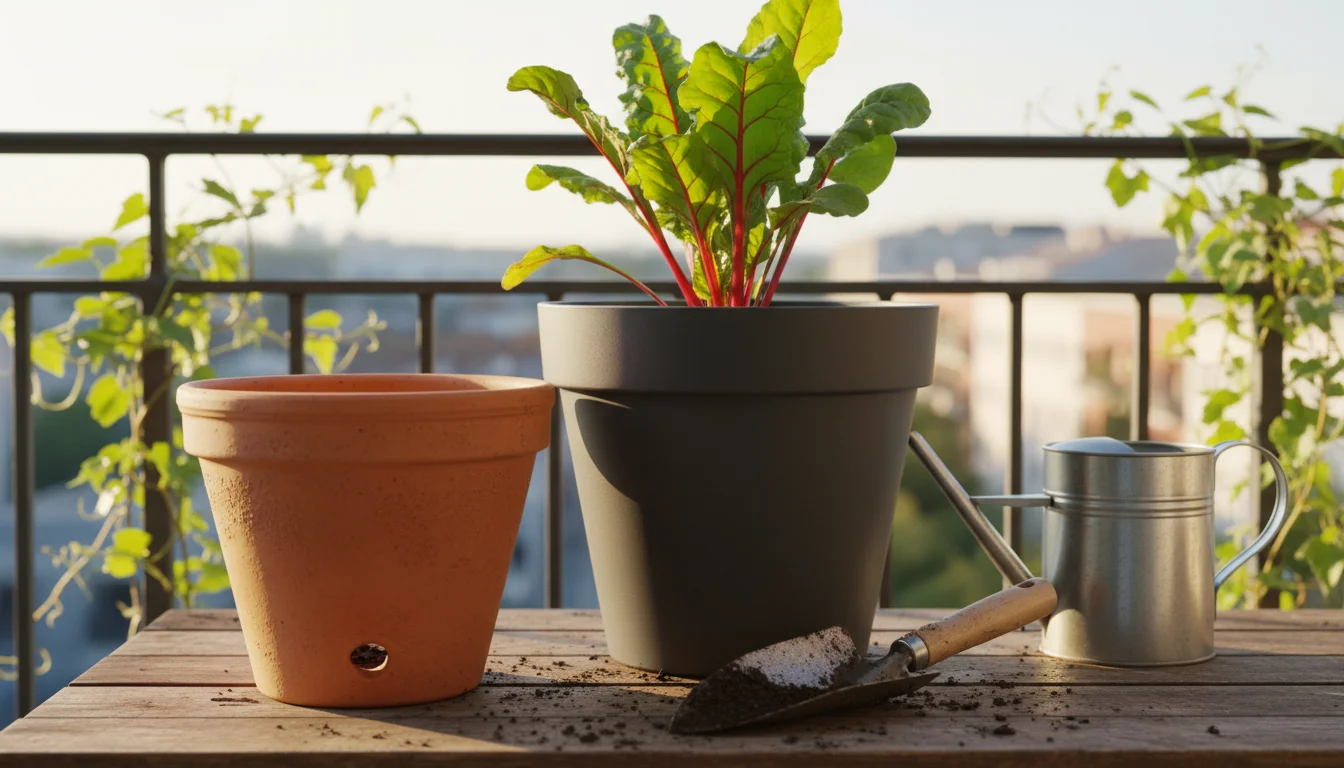
Container Selection: Size, Material, and Drainage
Swiss chard, while compact, still benefits from ample root space. You should choose containers that are at least 8 to 12 inches deep and 8 inches wide for a single plant. If you plan to grow multiple plants, consider a larger trough or planter, allowing about 6 to 8 inches between each chard plant. This spacing prevents overcrowding and ensures each plant receives adequate light and air circulation, crucial for preventing disease.
Regarding materials, you have several options:
- Terracotta Pots: These are classic and attractive, offering good breathability which can prevent root rot. However, they dry out quickly, requiring more frequent watering, especially during warmer spells.
- Plastic Pots: Lightweight, inexpensive, and excellent at retaining moisture, plastic pots are practical. Choose darker colors for fall to absorb more heat, or lighter colors for summer to reflect it.
- Fabric Grow Bags: An increasingly popular choice, fabric bags offer superior aeration for roots, prevent root circling, and allow for excellent drainage. They are lightweight and easy to move, perfect for a balcony.
- Wood Planters: These provide good insulation for roots and a natural aesthetic. Ensure any treated wood is food-safe if it will contact your edibles.
Regardless of material, ensure your container has adequate drainage holes at the bottom. Swiss chard dislikes “wet feet,” meaning its roots sitting in standing water. Waterlogged soil leads to root rot, a common killer of container plants. If your container lacks holes, you must drill them yourself. A minimum of three to five holes, each about half an inch in diameter, works well for a standard 10-inch pot.
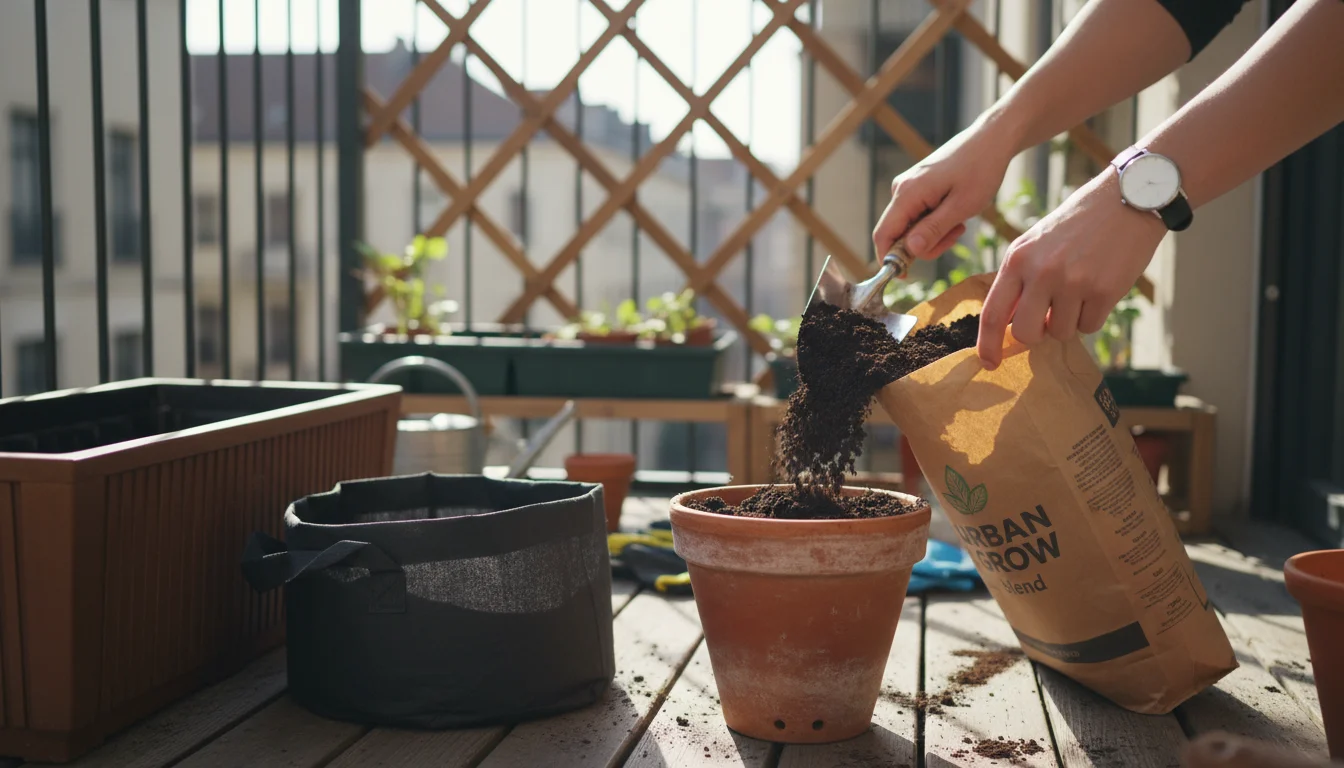
Crafting the Ideal Potting Mix
The quality of your potting mix dictates how well your Swiss chard will access water and nutrients. Do not use garden soil directly from your yard. Garden soil compacts in containers, lacks proper drainage, and may harbor pests or diseases. Instead, invest in a high-quality, peat-free potting mix specifically formulated for container vegetables.
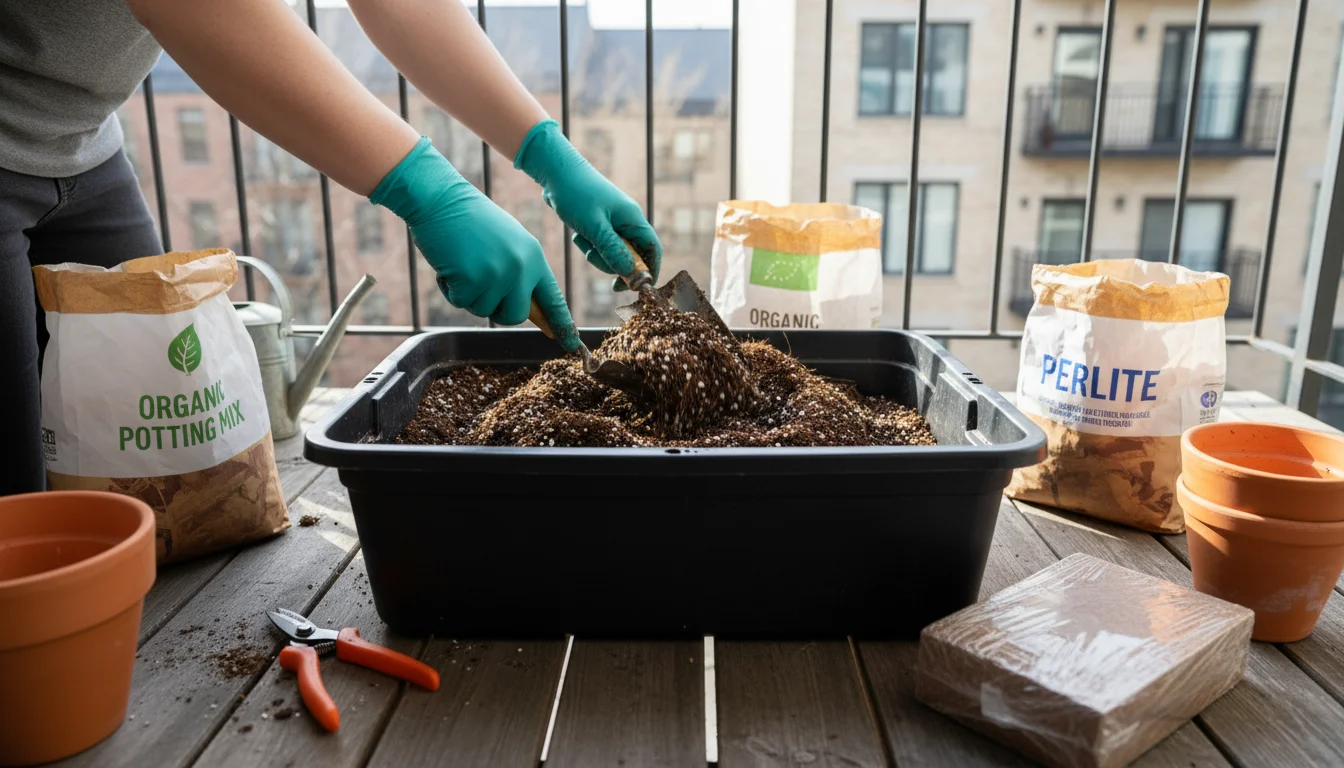
A good potting mix provides a balance of aeration, water retention, and nutrients. Look for mixes containing:
- Composted materials: These enrich the soil with slow-release nutrients and beneficial microbes.
- Coconut coir or peat moss: These provide excellent water retention while remaining lightweight. Prioritize peat-free options to support environmental sustainability.
- Perlite or vermiculite: These lightweight aggregates improve drainage and aeration, preventing compaction.
- A slow-release organic fertilizer: Many quality potting mixes incorporate some initial nutrients to support your plants for the first few weeks.
You can also create your own mix by combining equal parts compost, coconut coir, and perlite. This gives you control over the ingredients and ensures a rich, well-draining environment for your chard. Always fill your containers completely, leaving about an inch of space from the rim to prevent overflow when watering. A proper potting mix sets your Swiss chard up for vigorous growth and abundant harvests.
Planting Swiss Chard: Step-by-Step for Success
Once you have chosen your containers and prepared your potting mix, the next exciting step involves getting your Swiss chard into its new home. You can start Swiss chard from seeds or purchase young plant starts from a nursery. Both methods offer distinct advantages, and both succeed with proper technique.
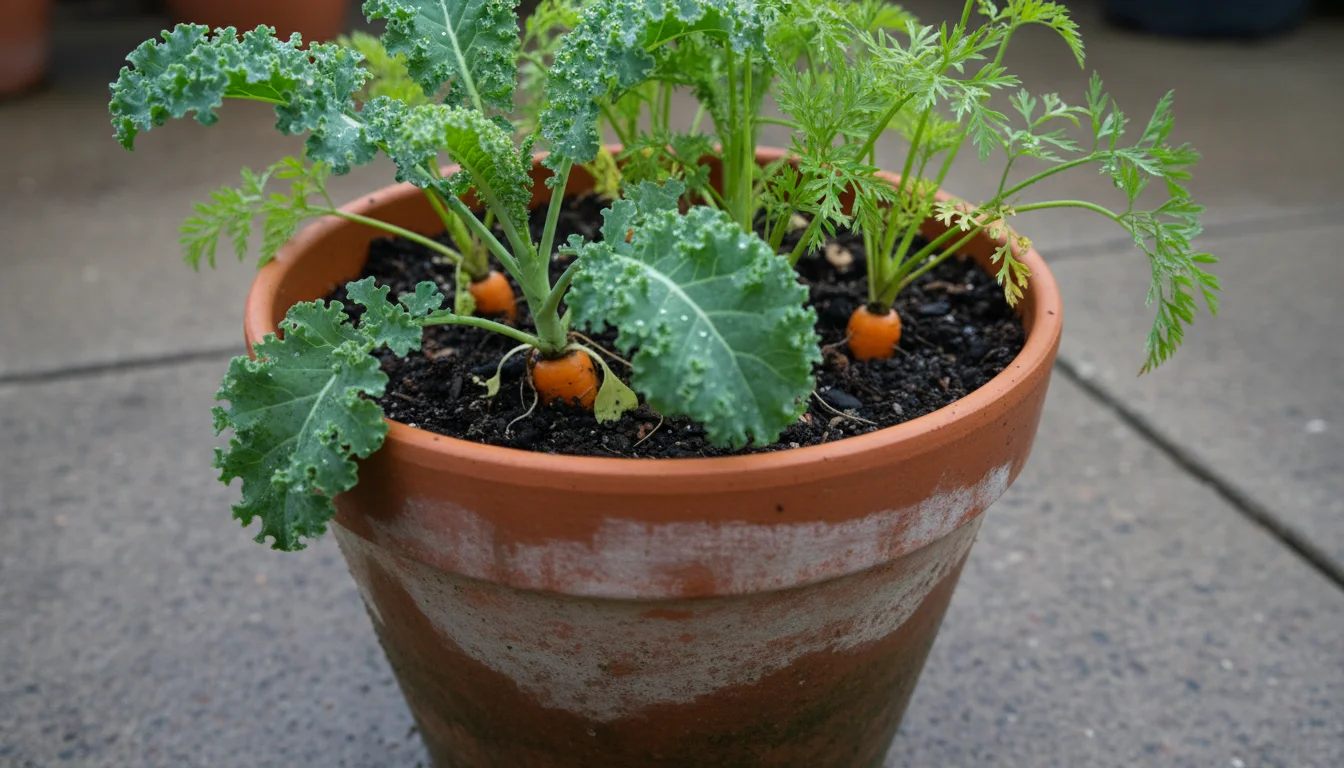
In addition to leafy greens, you can try planting fall carrots in deep containers for a sweet, crunchy addition to your autumn harvest.
For a complete autumn meal, try combining different salad greens in a single large planter for a “one-pot wonder” harvest.
Starting from Seed
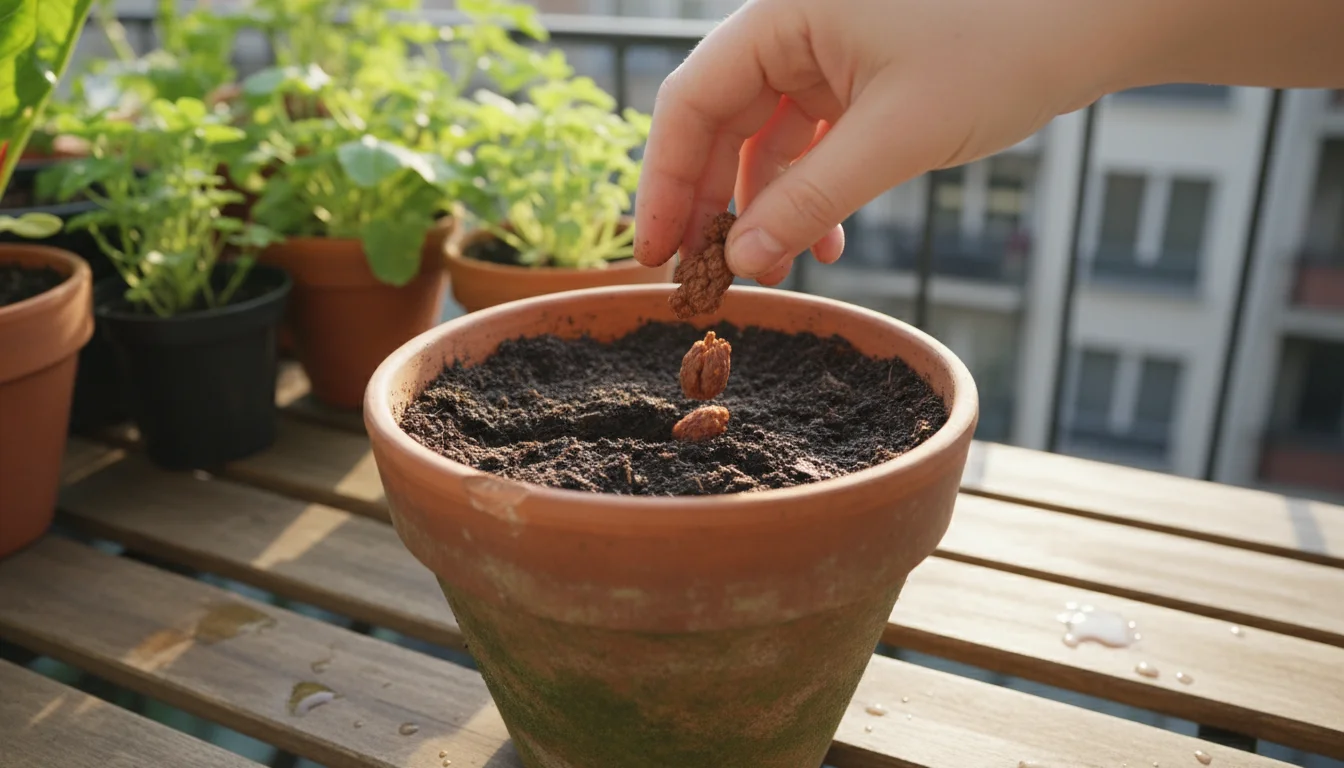
Starting Swiss chard from seed provides you with the widest variety selection and is often more cost-effective, especially if you plan to grow many plants. Swiss chard seeds are relatively large and easy to handle, simplifying the planting process.
Follow these steps for successful seed starting:
- Timing is Key: For a fall harvest, you should sow seeds in late summer, approximately 8 to 10 weeks before your first anticipated frost date. This gives plants enough time to establish themselves and produce a good yield before deep winter sets in. Check your local extension office for specific frost dates.
- Prepare Your Container: Fill your chosen container with your prepared potting mix, leaving an inch of space from the rim. Gently moisten the soil thoroughly.
- Sow the Seeds: Plant Swiss chard seeds about 1/2 inch deep. If planting multiple seeds in a larger container, space them 4 to 6 inches apart. Swiss chard seeds are actually clusters of multiple seeds, so each “seed” you plant might produce several seedlings.
- Cover and Water: Lightly cover the seeds with potting mix and gently water again. Use a fine spray or a watering can with a rose attachment to avoid dislodging the seeds.
- Provide Warmth and Light: Place your container in a location that receives ample sunlight. While seeds germinate, consistent moisture and warmth are important. Germination typically occurs within 7 to 14 days.
- Thinning Seedlings: Once seedlings emerge and develop their first true leaves, you must thin them. This means removing weaker seedlings to ensure the strongest plant thrives. For optimal growth, allow only one plant per 6-8 inch spacing. Snip unwanted seedlings at the soil line with small scissors to avoid disturbing the roots of the remaining plants. This crucial step prevents overcrowding, which can stunt growth and reduce yields.
Planting Young Starts
If you prefer a quicker start or have less time for seed germination, purchasing young Swiss chard plant starts from a local nursery is an excellent option. This also allows you to bypass the thinning process.
Here’s how to plant starts:
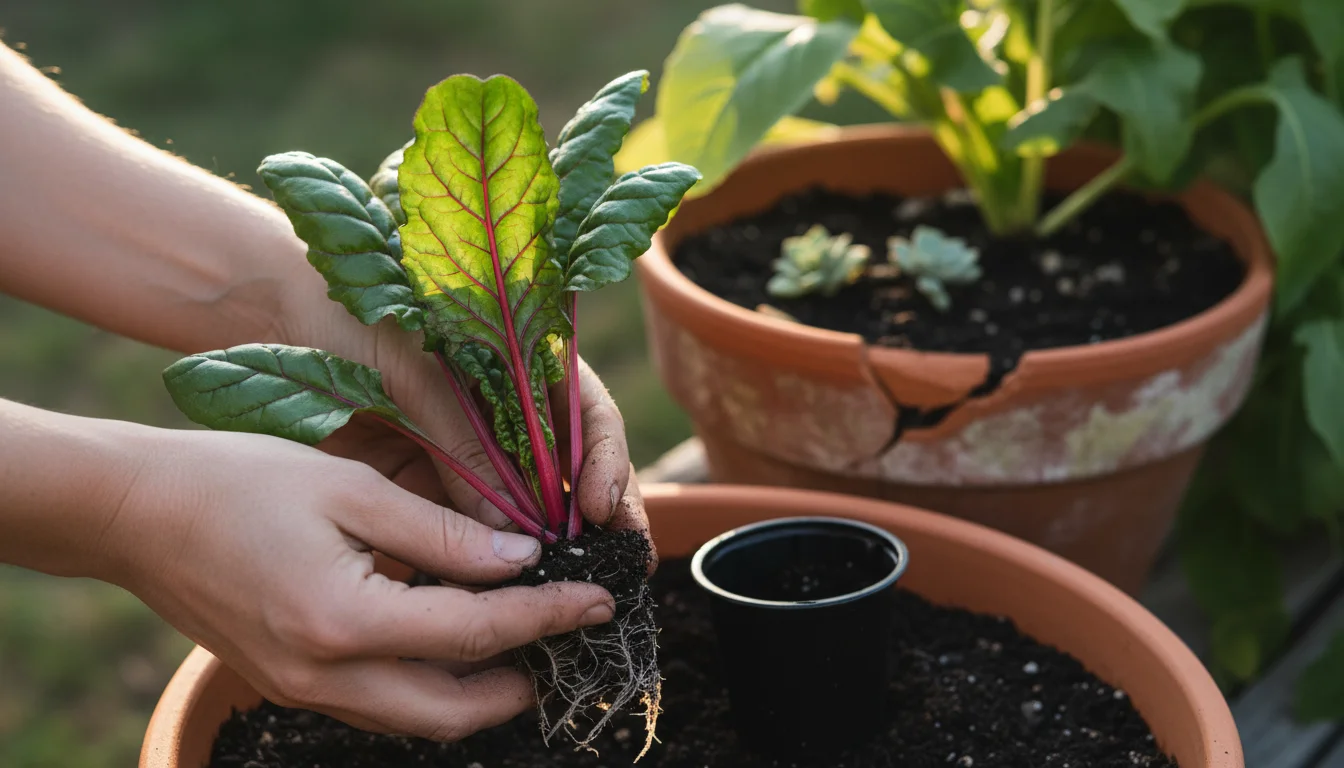
- Choose Healthy Plants: Select starts that appear vibrant and green, with no signs of yellowing leaves, pests, or disease. Ensure they have a well-developed root ball that is not overly root-bound, meaning roots are not circling excessively at the bottom of the pot.
- Prepare the Container: Fill your container with potting mix, creating a small depression in the center for the plant.
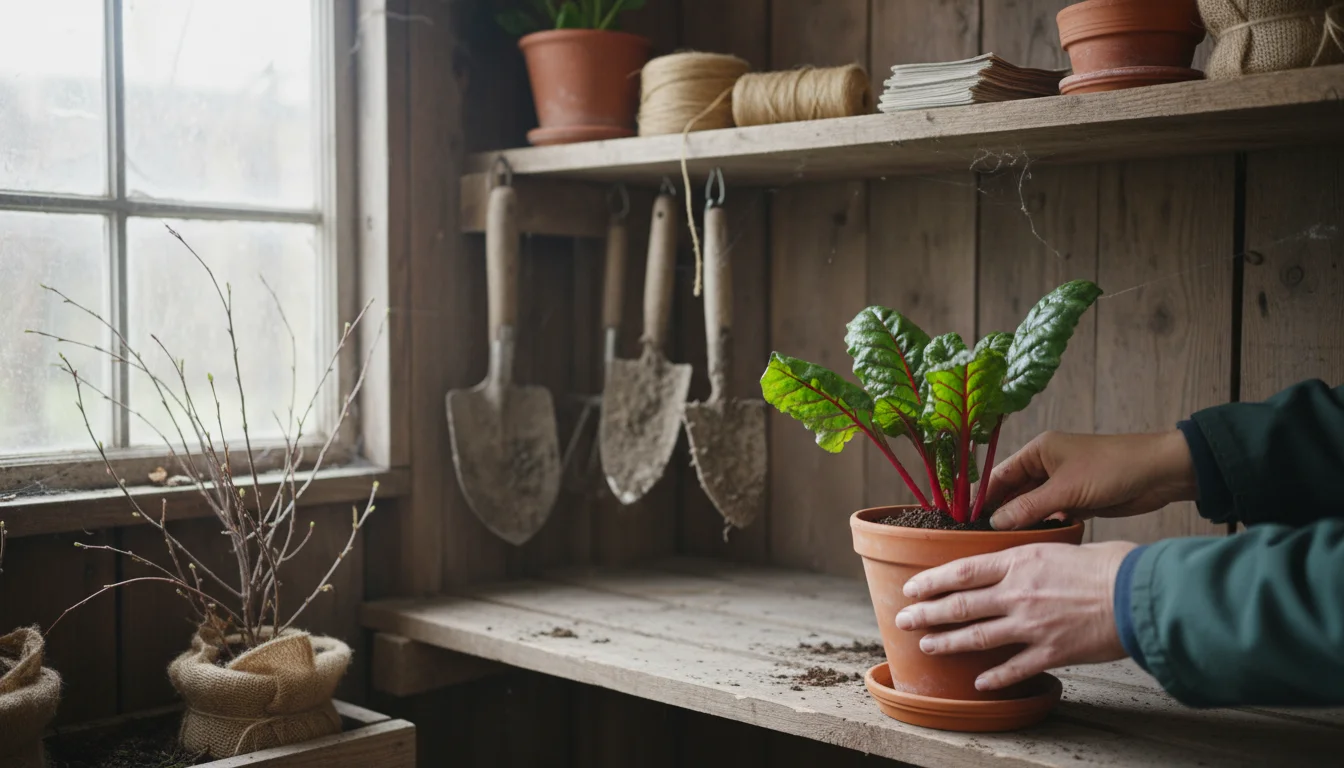
- Gently Remove the Plant: Carefully slide the plant from its nursery pot. If the roots are tightly bound, gently tease them apart at the bottom to encourage outward growth into the new soil.
- Plant at the Right Depth: Place the chard start in the prepared hole so that the top of its root ball sits at the same level as the surrounding potting mix. Avoid burying the stem too deeply or leaving roots exposed.
- Backfill and Water: Backfill around the plant with potting mix, gently firming it down to remove air pockets. Water thoroughly immediately after planting.
- Acclimation: If your starts came from a protected greenhouse environment, consider hardening them off for a few days before placing them in their final outdoor spot. Hardening off involves gradually exposing plants to outdoor conditions over a week, preventing shock.
Whether you choose seeds or starts, consistent watering and appropriate sunlight after planting ensure your Swiss chard establishes itself firmly, preparing for a season of vigorous growth.
Essential Care for Thriving Container Chard: Sun, Water, and Nutrients
Even the most resilient plants require consistent care to thrive, especially when growing in containers. Your Swiss chard depends entirely on you for its sun exposure, water, and nutrient supply. Understanding and meeting these needs consistently ensures a bountiful harvest throughout the fall season.
Sunlight Requirements
Swiss chard performs best with at least 4 to 6 hours of direct sunlight per day. On a balcony or patio, this usually means an east-facing spot that catches morning sun or a south/west-facing spot for afternoon sun. While it tolerates partial shade, particularly in warmer climates, you will find plants grown in more sun produce larger, more abundant leaves. If your balcony receives less than ideal light, chard can still grow, but expect slightly smaller leaves and a slower growth rate. Observe your space throughout the day to determine the best placement for maximum sun exposure.
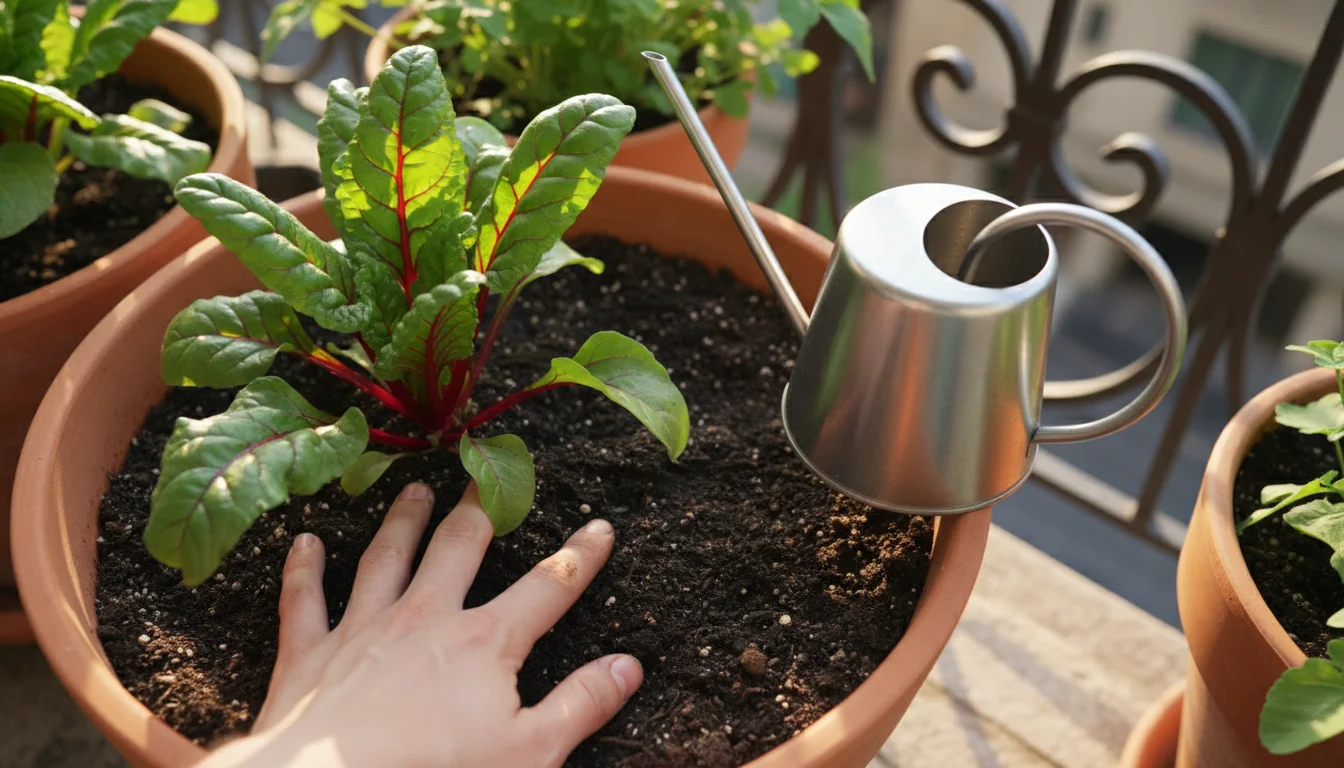
Watering Wisdom: Consistency is Key
Watering container plants differs significantly from watering in-ground gardens. Containers dry out much faster due to increased air circulation around the pot and limited soil volume. For Swiss chard, consistent moisture is vital. Erratic watering, especially allowing the soil to dry out completely between waterings, can stress the plant, leading to tough, bitter leaves or even bolting.
You should aim for deeply watering your Swiss chard. This means applying water until it drains from the bottom of the container. This encourages roots to grow deeper, making the plant more resilient. Instead of a set schedule, assess your plant’s moisture needs daily. Stick your finger an inch or two into the soil. If it feels dry, it’s time to water. If it feels moist, check again the next day.
Here are watering tips for container chard:
- Morning Watering: Water in the morning whenever possible. This allows foliage to dry before nightfall, reducing the risk of fungal diseases.
- Avoid Overhead Watering: Direct water to the soil level, avoiding wetting the leaves excessively. This conserves water and prevents leaf diseases.
- Self-Watering Containers: Consider self-watering containers for busy gardeners. These pots have a reservoir that wicks water up to the plant, maintaining consistent moisture levels and reducing your watering frequency.
- Monitor Weather: Adjust your watering based on weather conditions. Hot, windy days increase evaporation, requiring more frequent watering. Cooler, cloudy days mean you can water less often.

Nutrient Management: Feeding Your Chard
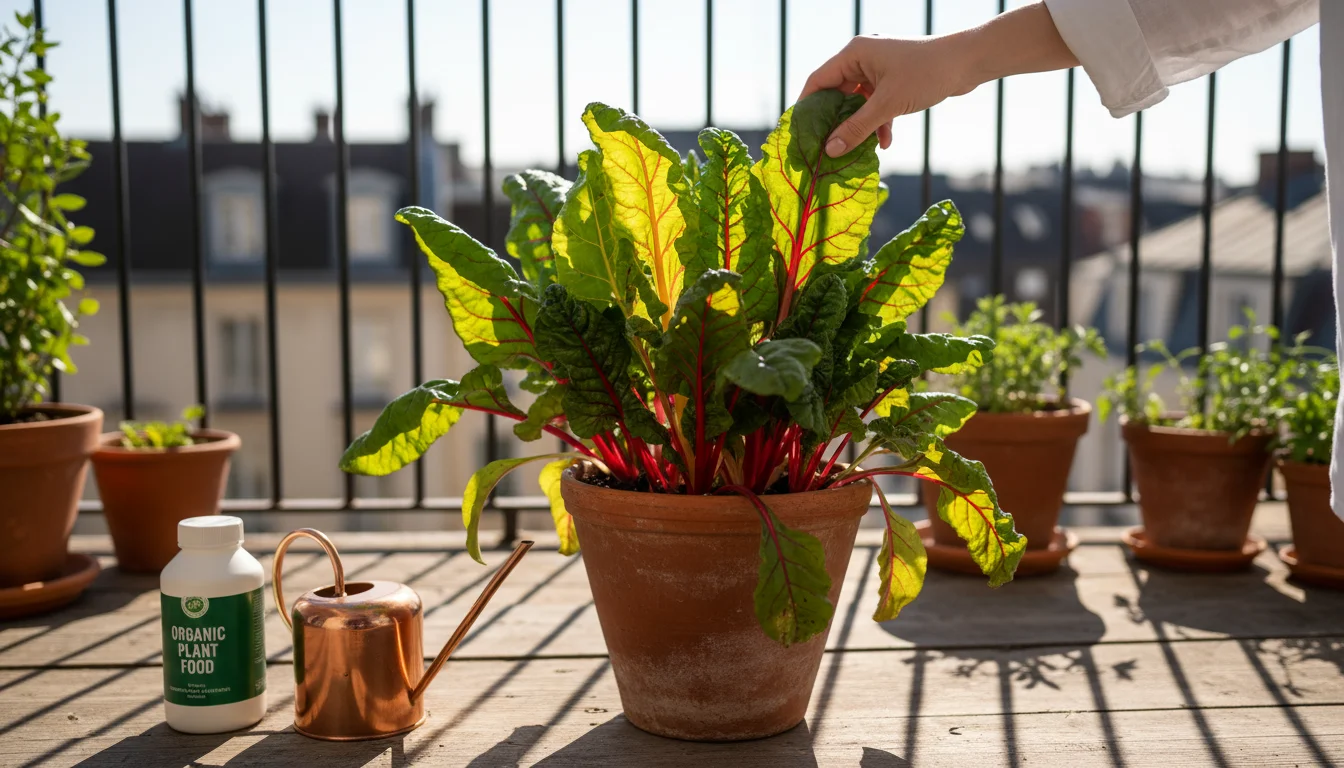
Container plants deplete nutrients from their limited soil volume much faster than in-ground plants. Your Swiss chard relies on you to replenish these essential elements for continuous growth and healthy leaf production. A balanced organic fertilizer regimen ensures your plants remain vigorous.
Begin with a good quality potting mix that contains some slow-release nutrients. These typically last for about 4 to 6 weeks. After this initial period, you should start a regular feeding schedule. For leafy greens like Swiss chard, you need a fertilizer that emphasizes nitrogen, which promotes lush foliage growth.
Consider these organic fertilizer options:
- Compost Tea: A liquid fertilizer made by steeping compost in water, compost tea provides a gentle boost of nutrients and beneficial microbes. You can apply it every 2-3 weeks.
- Fish Emulsion: This organic liquid fertilizer is high in nitrogen and readily available to plants. Follow package directions, usually applying every 2-4 weeks. Be aware it can have a strong odor that dissipates quickly.
- Balanced Organic Granular Fertilizers: Look for slow-release granular fertilizers with a balanced N-P-K ratio, perhaps slightly higher in N, like 5-3-3 or 4-2-2. You can scratch these into the top inch of soil every 4-6 weeks.
Always follow the dilution and application instructions on your chosen fertilizer package. Over-fertilizing can harm your plants, causing nutrient burn or excessive leafy growth at the expense of overall plant health. Consistent, moderate feeding maintains your chard’s vitality and ensures continuous harvests throughout the fall.
Managing Pests and Diseases Organically
Even the most careful gardener may encounter pests or diseases. The key to successful, low-maintenance gardening involves early detection and swift, organic intervention. Container gardening offers an advantage: you can more easily monitor and isolate affected plants. By adopting an Integrated Pest Management, or IPM, approach, you prioritize prevention and least-toxic solutions.
Common Pests and Their Organic Controls
Your Swiss chard, like most leafy greens, can attract a few common pests. Knowing what to look for helps you act quickly.
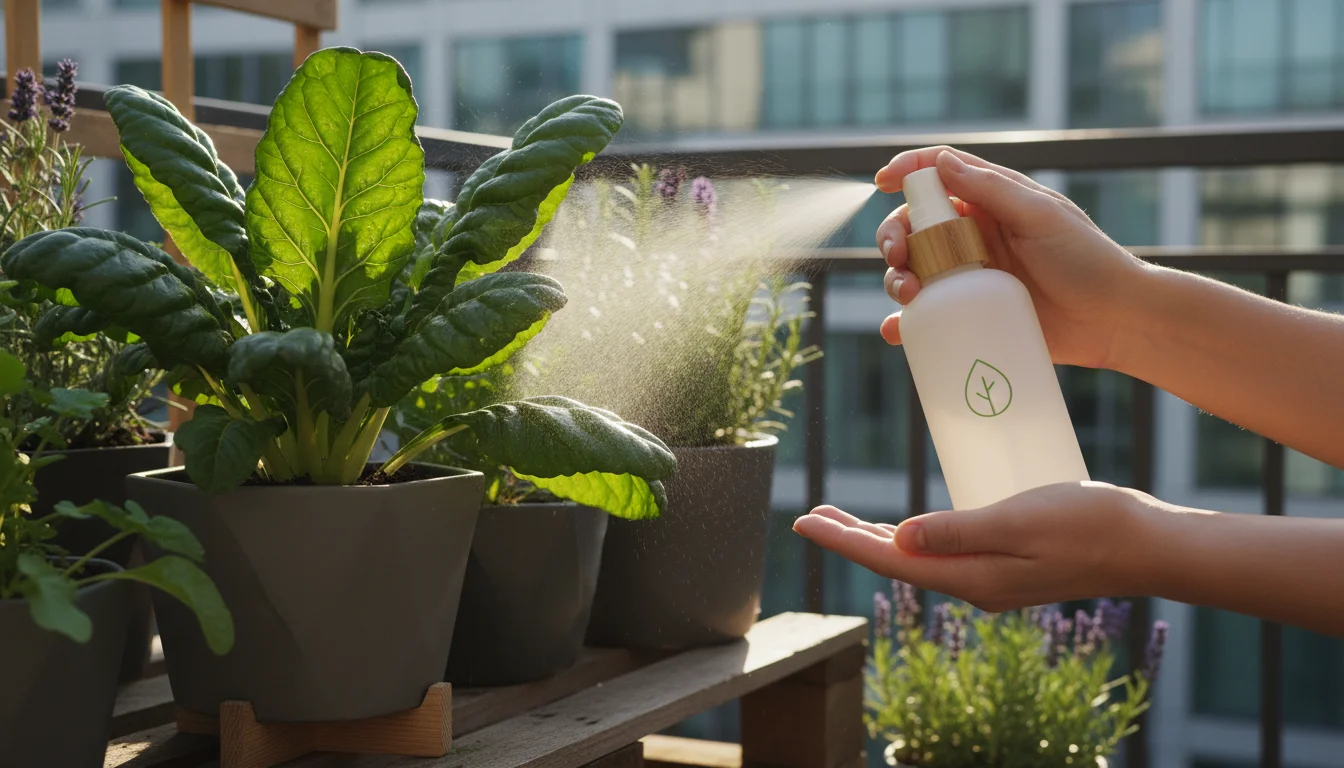
- Aphids: Small, pear-shaped insects that cluster on new growth and the undersides of leaves. They suck plant sap, causing distorted leaves and sometimes leaving behind sticky honeydew.
- Control: Spray affected areas with a strong stream of water from your hose. For persistent infestations, use an insecticidal soap spray, ensuring you cover both sides of the leaves. Introduce beneficial insects like ladybugs if the problem is widespread.
- Leaf Miners: You will notice winding, snake-like tunnels within the leaves, caused by larvae burrowing and feeding.
- Control: Remove and destroy any affected leaves immediately to break their life cycle. Covering plants with a fine mesh insect barrier, known as row cover, prevents adult flies from laying eggs on your chard.
- Slugs and Snails: These leave irregular holes in leaves and often leave a shiny slime trail. They are more active in damp conditions.
- Control: Handpick them in the evening or early morning and dispose of them. Set beer traps (shallow dishes filled with beer sunk to soil level) to lure and drown them. Create a barrier of crushed eggshells or diatomaceous earth around the base of your plants.
- Cabbage Worms/Loopers: These green caterpillars chew holes in leaves. You may also find their droppings, small black pellets, on the leaves.
- Control: Handpick them off your plants. Bacillus thuringiensis, or Bt, a naturally occurring soil bacterium, is an effective and organic spray that specifically targets caterpillars without harming other insects.
Preventing Diseases
Swiss chard is generally robust, but some fungal diseases can occur, especially in humid or overly wet conditions. Prevention remains your best defense.
- Powdery Mildew: Appears as white, powdery patches on leaves. It thrives in high humidity and poor air circulation.
- Prevention: Ensure good air circulation by proper plant spacing. Avoid overhead watering, which keeps leaves wet. If detected, spray with a solution of baking soda (1 teaspoon per quart of water with a few drops of mild soap) or neem oil.
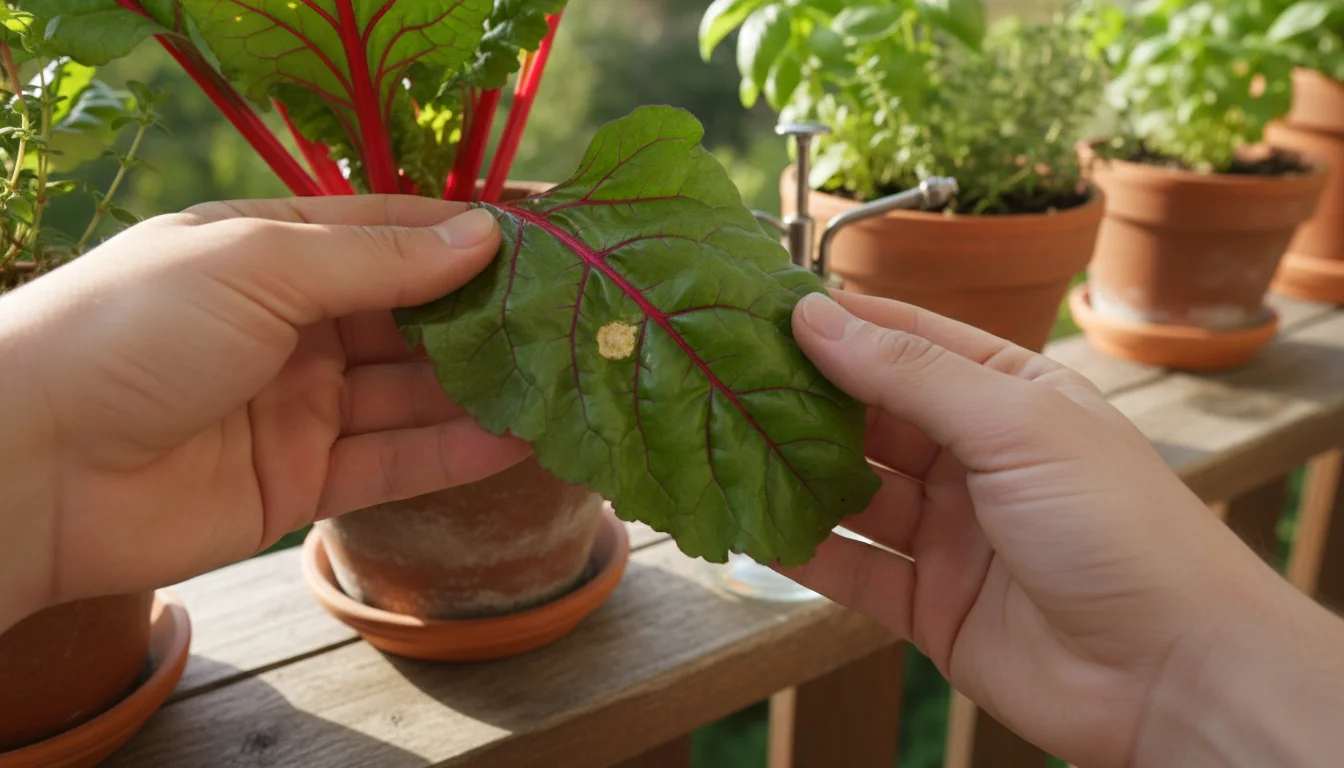
- Cercospora Leaf Spot: You will see small, circular spots with light centers and dark borders, often with a purplish ring. Severe infections can cause leaves to yellow and die.
- Prevention: Practice good garden hygiene by removing any infected leaves promptly. Ensure proper spacing for air circulation. Avoid overhead watering.
General Organic Prevention Strategies
You can implement several proactive measures to keep your container chard healthy and pest-free:
- Regular Inspection: Make it a habit to inspect your plants daily. Turn over leaves, check new growth, and look for any unusual spots or insect activity. Early detection allows for easier control.
- Proper Spacing: Ensure adequate air circulation around your plants by not overcrowding containers. This reduces humidity and makes it harder for fungal diseases to take hold.
- Watering Wisely: Water at the base of the plant in the morning. This prevents leaves from staying wet for extended periods, a common trigger for fungal issues.
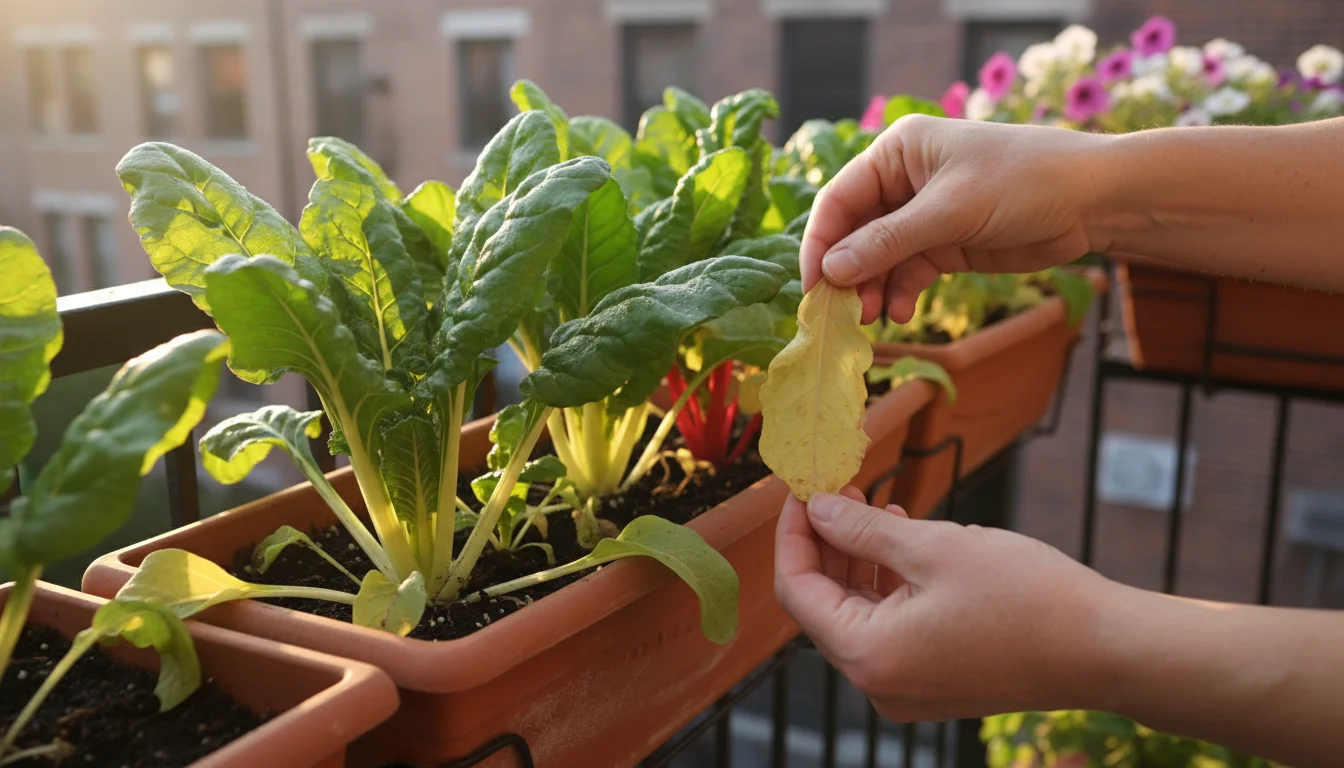
- Cleanliness: Remove any dead or yellowing leaves from your plants and around the base of your containers. Decaying plant matter can attract pests and harbor disease spores.
- Companion Planting: While space is limited in containers, placing a small pot of marigolds or nasturtiums nearby can sometimes deter certain pests.
By staying vigilant and employing these organic strategies, you can keep your Swiss chard healthy, productive, and free from significant pest and disease problems, ensuring a continuous supply of fresh greens for your table.
Harvesting Your Bountiful Chard Patch
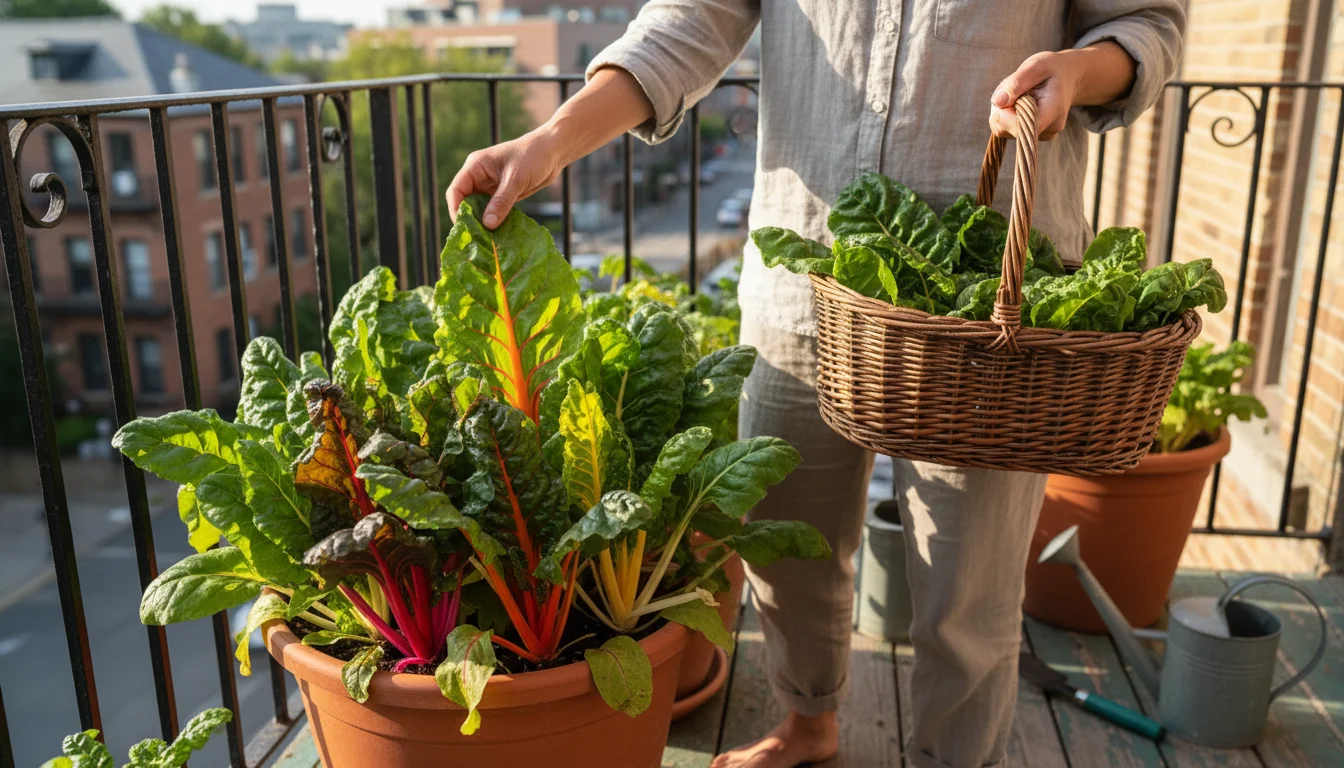
One of the most satisfying aspects of growing Swiss chard involves its generous and continuous harvest. Unlike many vegetables that offer a single, one-time yield, Swiss chard allows for a “cut-and-come-again” harvesting method. This means you can pick leaves as needed, and the plant continues to produce new ones, extending your harvest season significantly. Understanding the proper technique ensures you maximize your yield and keep your plants healthy and productive.
Once you begin picking your leaves, follow a no-waste guide to using fall veggie parts to ensure none of your hard work goes to waste.
When to Start Harvesting
You can begin harvesting Swiss chard leaves when they reach a usable size, typically about 6 to 8 inches long. This usually occurs about 4 to 6 weeks after planting from seed, or a couple of weeks after transplanting starts. Do not wait for leaves to become enormous, as smaller, younger leaves generally offer the best flavor and tenderness. Larger, older leaves tend to be tougher and sometimes more bitter.

The Cut-and-Come-Again Method
This method forms the core of harvesting Swiss chard from containers. It encourages the plant to produce more leaves, leading to a longer, more productive season.
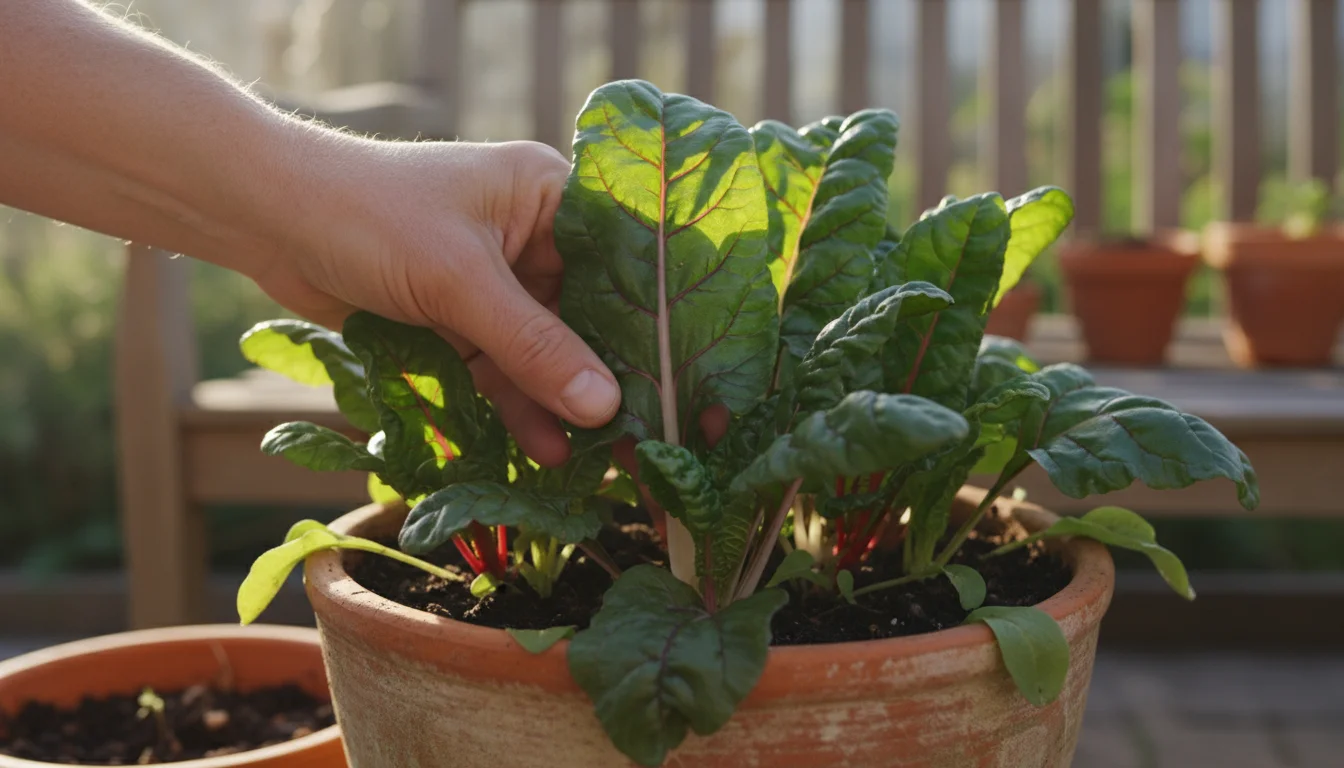
- Identify Outer Leaves: Always harvest the outer, larger leaves first. These are the oldest leaves and usually contain the most nutrients and flavor.
- Cut at the Base: Using a clean, sharp knife or pruning shears, cut the leaf stem about 1 to 2 inches above the soil line. Make a clean cut to avoid tearing the plant tissue. You can also gently snap the stems off at the base.
- Leave the Inner Core: Crucially, leave the inner, smaller leaves and the plant’s growing point untouched. This central area is where new leaves emerge. Protecting it ensures the plant’s continued growth and regeneration.
- Harvest as Needed: You can harvest a few leaves from each plant every few days or take more at once for a larger meal. The frequency depends on your consumption and the plant’s growth rate. In good conditions, plants can regenerate harvestable leaves in as little as 10-14 days.
- Regular Harvesting Encourages Growth: You will find that regular harvesting encourages the plant to produce more leaves. Allowing too many leaves to remain on the plant can slow down new growth.
Harvesting for a One-Time Yield (Less Common for Containers)
While less common for container growing due to space limitations and the desire for continuous harvest, you can also harvest an entire Swiss chard plant at once. If you choose this method, cut the entire plant about 2 inches above the soil line. The plant will often regrow, giving you a second, though perhaps smaller, harvest. This method makes more sense when you are clearing a bed or nearing the end of the season and want a final, large quantity.
Post-Harvest Care
After each harvest, provide your Swiss chard with a little care to ensure its continued health:
- Water Thoroughly: A good watering after harvesting helps the plant recover and encourages new growth.
- Consider a Light Feed: If you are harvesting frequently, a light application of a liquid organic fertilizer, such as fish emulsion diluted to half strength, can replenish nutrients and support vigorous regrowth.
- Inspect for Pests: Harvesting provides an excellent opportunity to inspect your plants for any signs of pests or disease. Address any issues promptly.
By following these harvesting guidelines, you can enjoy a steady, abundant supply of fresh, tender Swiss chard leaves from your balcony or patio garden throughout the entire fall season and often into early winter.
Extending the Fall Harvest and Beyond
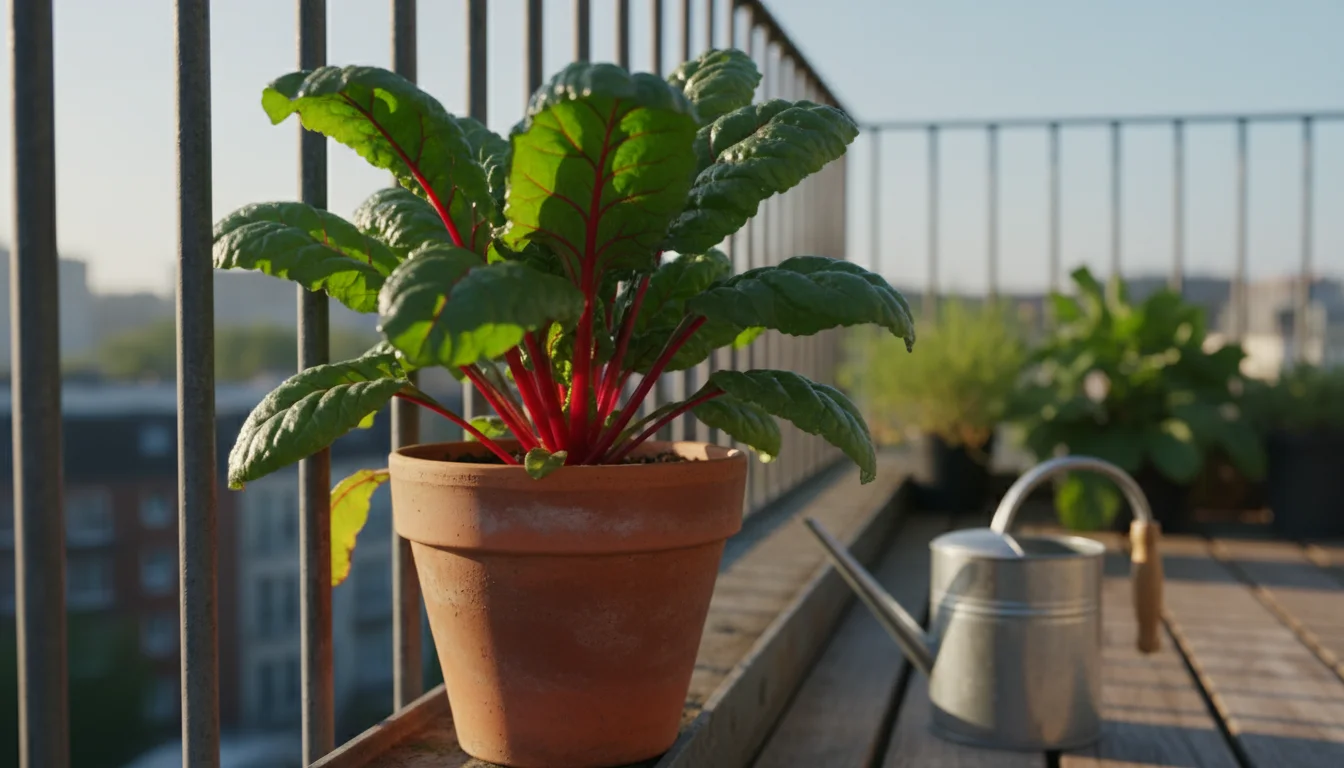
Swiss chard’s natural cold tolerance makes it a prime candidate for extending your container gardening season. With a little strategic planning and protection, you can often enjoy fresh harvests well into winter, long after less hardy plants have succumbed to the cold. This strategy maximizes your small space and provides you with homegrown greens during colder months.
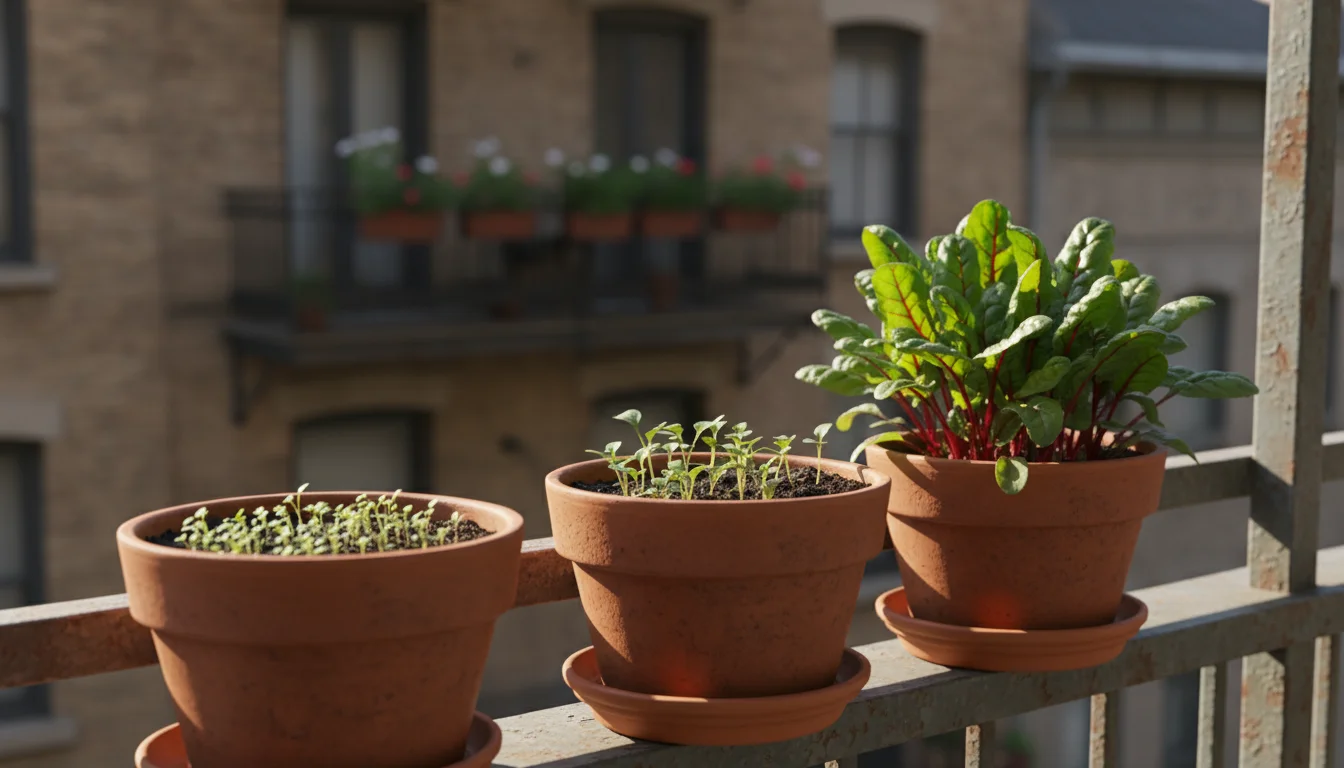
Succession Sowing for Continuous Harvest
To ensure a continuous supply of fresh, tender chard leaves, you should implement succession sowing. This simple technique involves planting small batches of seeds every two to three weeks, rather than planting all at once. For example, sow a few seeds in one pot, then two weeks later, sow a few more in another. This staggered planting ensures you always have plants at different stages of maturity, preventing a glut of produce followed by a period of scarcity. You get a steady flow of young, tender leaves over a prolonged period. For fall, start succession sowing in late summer and continue until about a month before your average first hard frost date.
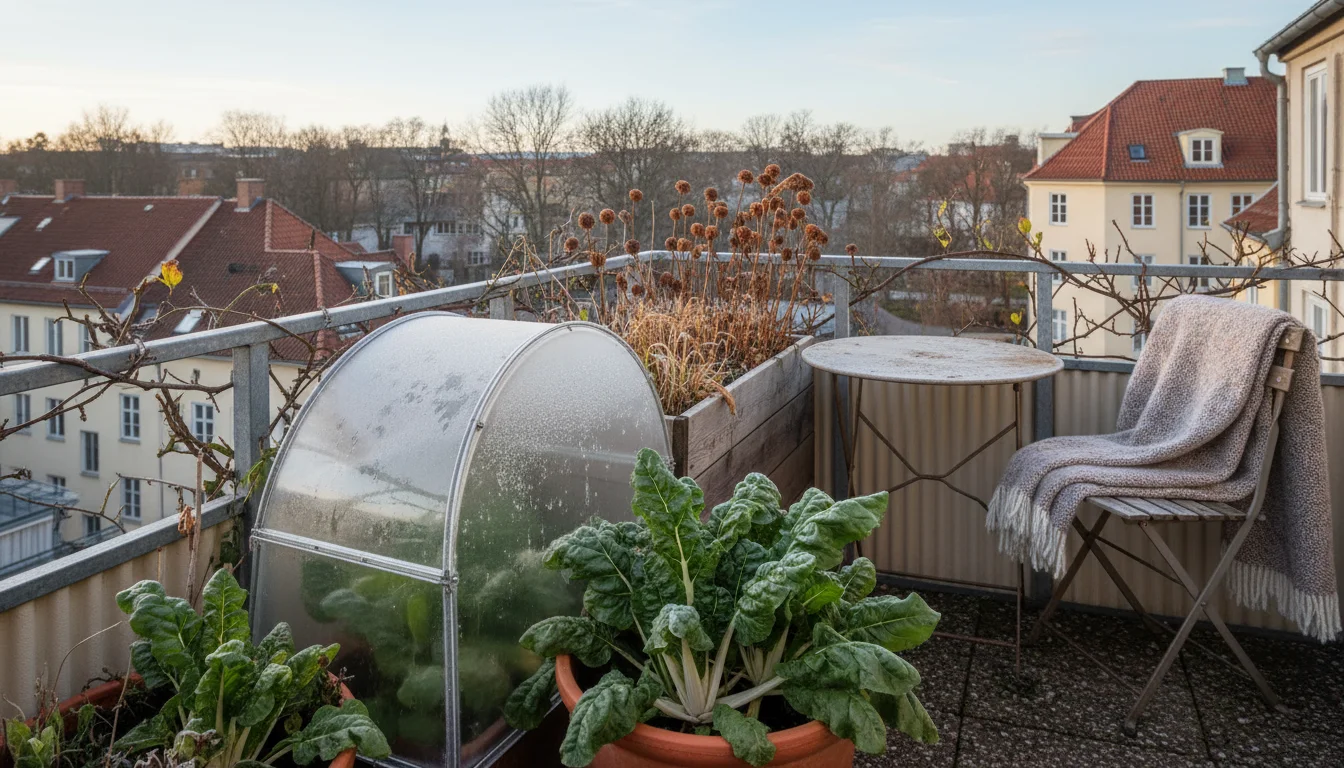
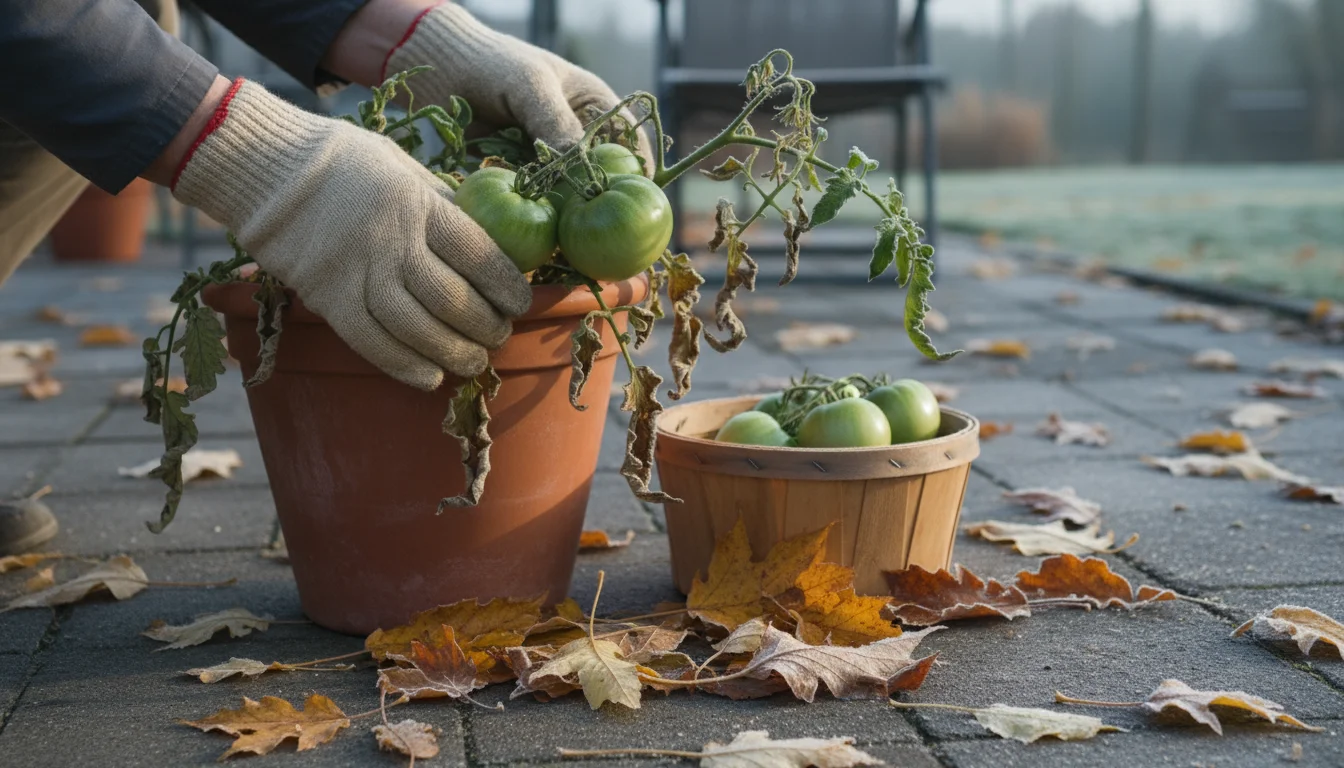
Protecting Your Plants from Frost
While Swiss chard tolerates light frosts, a hard freeze (temperatures consistently below 28 degrees Fahrenheit or -2 degrees Celsius) can damage or kill unprotected plants. You can employ several simple strategies to shield your container chard from the harshest cold:
- Move Containers Indoors or to a Sheltered Spot: The easiest method involves moving your potted chard. Bring containers into a garage, shed, unheated sunroom, or even inside your home during predicted hard freezes. Return them outdoors when temperatures rise.
- Cloches or Row Covers: A cloche is a bell-shaped cover, often made of plastic or glass, that protects individual plants. You can also drape a lightweight row cover, a spun-bound fabric that allows light and water through, over your chard plants. Secure the edges with clips or weights to trap warmth. These create a microclimate, raising the temperature a few degrees and protecting against wind and light frost.
- Mini Hoop Houses: For larger container setups, construct a simple mini hoop house. Bend PVC pipes or metal hoops over your container garden and drape clear plastic sheeting or row cover over them, securing the ends. This provides significant protection.
- Mulch: Apply a thick layer of organic mulch, such as straw or shredded leaves, around the base of your chard plants in the container. Mulch insulates the soil, helping to maintain a more consistent root temperature and protecting against extreme cold.
Winter Harvest in Milder Climates
If you live in a milder climate where winter temperatures rarely drop below freezing for extended periods, your Swiss chard may continue to produce through much of the winter. You will notice growth slows considerably, but you can still pick a few leaves here and there. Provide protection during any unexpected cold snaps. In very mild zones (USDA Zone 8 and above), chard often acts as a biennial, surviving the winter and attempting to flower (bolt) in the spring. You can continue harvesting until it starts to flower, then replace it with new plants.
By implementing these strategies, you maximize your investment in your Swiss chard, transforming it from a seasonal crop into a long-lasting source of fresh, nutritious greens. This extended harvest capability makes Swiss chard an unparalleled choice for small-space, low-maintenance gardeners seeking to maximize their fall balcony garden.

Culinary Uses and Storage for Fresh Chard
Harvesting your beautiful Swiss chard represents only half the joy. The other half involves bringing those vibrant leaves into your kitchen and transforming them into delicious meals. Swiss chard offers incredible versatility, allowing you to use both its tender leaves and its colorful, crunchy stems. Knowing how to properly store your harvest also ensures you enjoy its freshness for as long as possible.

Preparing Your Harvest for the Kitchen
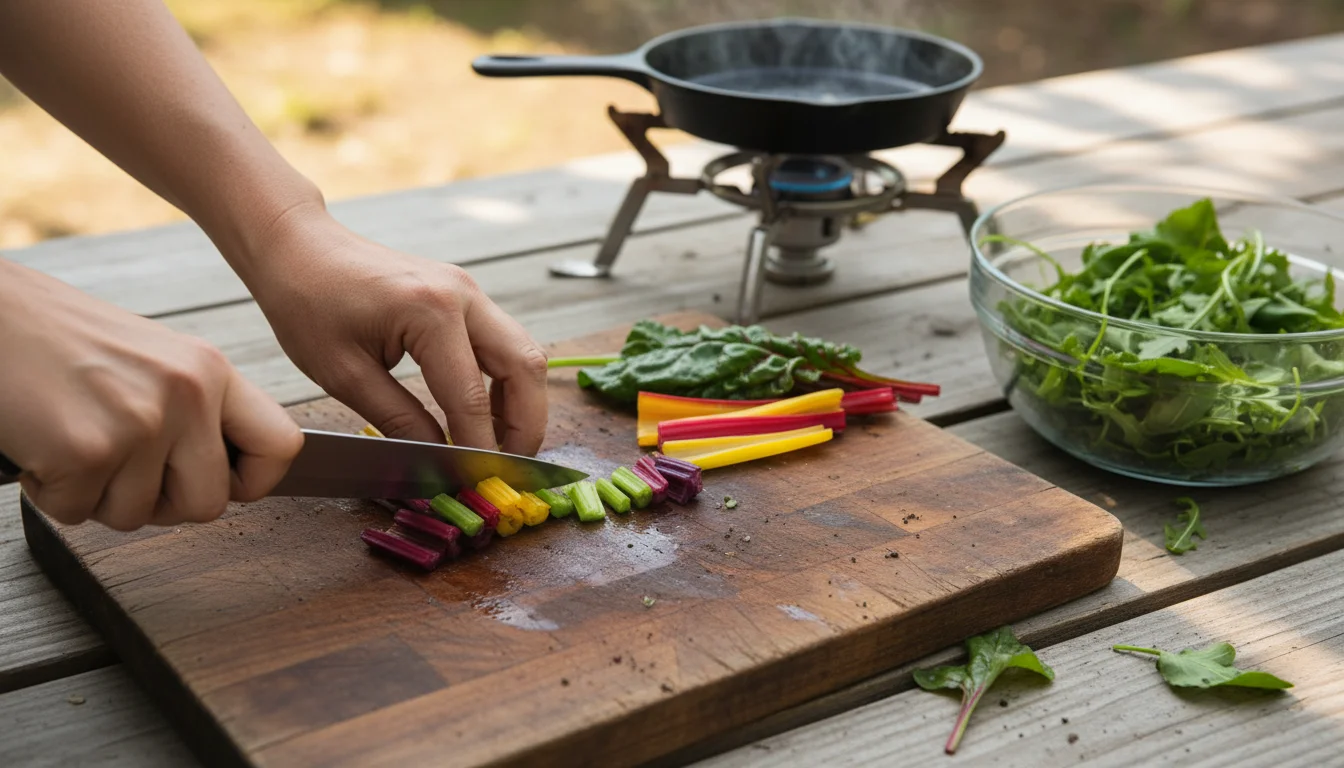
Once you harvest your chard, a quick preparation routine helps. Rinse the leaves and stems thoroughly under cool running water to remove any soil or garden debris. For most recipes, you will want to separate the stems from the leaves. You can either cut the leaves from the thick stems or simply tear them by hand. Both leaves and stems are edible and contribute unique textures to dishes.
Versatile Culinary Applications
Swiss chard’s flavor profile falls somewhere between spinach and kale, with a slight earthiness and mild bitterness that often mellows with cooking. The stems, particularly those of colorful varieties, offer a crisp, celery-like texture and a slightly milder flavor than the leaves.
Here are just a few ways you can enjoy your fresh Swiss chard:
- Sautéed Greens: This is arguably the most common and delicious way to prepare chard. Heat olive oil and garlic in a pan. Add the chopped stems first, sautéing for 2-3 minutes until slightly tender. Then add the chopped leaves and cook until wilted, usually just a few minutes. Season with salt, pepper, and a squeeze of lemon juice.
- Raw in Salads: Young, tender chard leaves make an excellent addition to mixed green salads. Their slightly tougher texture stands up well to robust dressings. You can also thinly slice the colorful stems for added crunch and visual appeal in salads or slaws.
- Soups and Stews: Swiss chard adds a nutritious boost to almost any soup or stew. Add it towards the end of the cooking process, allowing it to wilt into the hot liquid. It works particularly well in minestrone, lentil soups, or hearty bean stews.
- Pasta Dishes: Stir sautéed chard into pasta dishes with garlic, olive oil, and Parmesan cheese for a simple yet satisfying meal. You can also incorporate it into lasagna or baked pasta recipes.
- Frittatas and Omelets: Chop and sauté chard, then mix it into your morning eggs for a healthy and flavorful breakfast or brunch.
- Green Smoothies: For a nutrient powerhouse, add fresh chard leaves to your morning green smoothie. Its mild flavor blends well with fruits and other greens.
- Wraps and Sandwiches: Use large, fresh chard leaves as a healthy alternative to tortillas or bread for wraps.
Storing Your Fresh Swiss Chard
Proper storage extends the life of your fresh chard, allowing you to enjoy your harvest for several days to over a week.
- Short-Term Storage (Refrigerator):
- Method 1: Damp Paper Towel: Wash and dry the leaves thoroughly. Wrap them loosely in a slightly damp paper towel, then place the bundle in a plastic bag or airtight container. Store this in the crisper drawer of your refrigerator. It will stay fresh for 5-7 days.
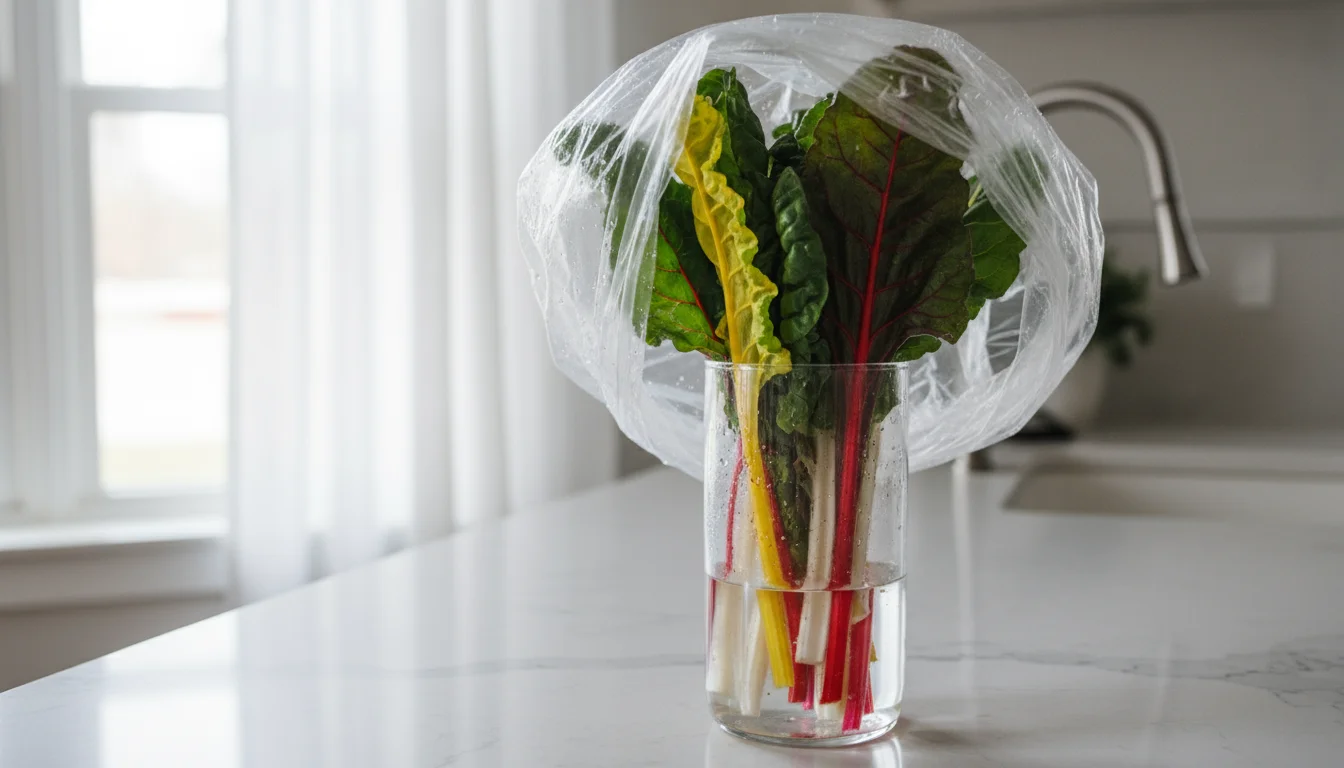
- Method 2: Vase Method: If your chard has stems, you can treat it like a bouquet. Trim the stem ends and place the chard upright in a glass of water on your counter or in the refrigerator. Cover the leaves loosely with a plastic bag. This method can keep chard fresh for several days, similar to fresh herbs.
- Long-Term Storage (Freezing): For a longer preservation, freezing works wonderfully.
- Blanch: Wash and chop the chard leaves and stems. Bring a pot of water to a rolling boil. Immerse the chopped chard in the boiling water for 2-3 minutes. This process, called blanching, helps preserve color, flavor, and nutrients.
- Ice Bath: Immediately transfer the blanched chard to an ice bath (a bowl of ice water) for 2-3 minutes to stop the cooking process.
- Dry Thoroughly: Drain the chard well and squeeze out as much excess water as possible. Use a clean kitchen towel or paper towels.
- Package: Pack the blanched and dried chard into freezer-safe bags or containers. Label with the date.
- Freeze: Frozen chard can last for 8-12 months. You can add it directly to soups, stews, or sautéed dishes from the freezer.
By embracing the culinary possibilities and mastering storage techniques, you make the most of your abundant Swiss chard harvest, turning your balcony garden’s MVP into a star on your dinner plate.
Frequently Asked Questions
Can I grow Swiss chard year-round in containers?
In many regions, you can grow Swiss chard for multiple seasons. It thrives in cool weather and tolerates some heat. You can often get spring, summer (with some shade), and fall harvests. In mild winter climates, it often continues producing through winter with minimal protection. In harsher winters, you may need to bring containers indoors or provide significant insulation.
Why are my Swiss chard leaves turning yellow?
Yellowing leaves often indicate a nutrient deficiency, usually nitrogen, which is common in container plants as nutrients deplete quickly. Begin a regular feeding schedule with a balanced organic fertilizer, ensuring it has a good nitrogen content. Overwatering can also cause yellowing, so check your soil moisture before watering again.
How often should I fertilize my container Swiss chard?
After your initial potting mix nutrients run out (typically 4-6 weeks), plan to fertilize your container Swiss chard every 2-4 weeks. Use a liquid organic fertilizer like fish emulsion or compost tea, or scratch a slow-release granular organic fertilizer into the top inch of soil every 4-6 weeks. Adjust frequency based on plant growth and leaf color.
What if my Swiss chard starts to bolt, or go to seed?
Bolting usually happens when temperatures become too warm or if the plant experiences significant stress, like inconsistent watering. While fall-planted chard is less prone to bolting than spring-planted, it can still occur. Once chard bolts, its leaves become bitter. You can try to snip off the flower stalk to encourage more leaf growth, but often the plant’s energy shifts to seed production. It is best to harvest as much as you can and then replant for fresh, tender leaves.
Do I need to replant Swiss chard every year in containers?
Yes, Swiss chard is typically grown as an annual or biennial, meaning it completes its life cycle within one or two growing seasons. While some plants may survive a mild winter, especially with protection, their vigor often declines in the second year, and they will try to go to seed. For the best quality and continuous harvest, replant fresh Swiss chard from seed or starts each season.
You now possess all the knowledge needed to make Swiss chard the superstar of your fall container garden. Its resilience, productivity, and vibrant beauty make it an unparalleled choice for small spaces. Embrace the cool weather, get your hands dirty, and prepare to enjoy an abundant harvest of homegrown greens straight from your balcony or patio. Happy gardening!
For research-based guidance on edible gardening, visit Plantlife (UK), Botanical Society of America, Oregon State Extension — Gardening and Royal Horticultural Society (RHS).
Disclaimer: This article is for informational purposes only and is not a substitute for professional advice. Consult local extension services for region-specific recommendations.
Leave a Reply