Imagine pulling vibrant, sweet carrots from your very own containers, even as the summer heat fades and autumn leaves begin to fall. This isn’t a dream reserved for sprawling gardens. You can absolutely achieve a rewarding harvest of fall carrots right on your balcony, patio, or small yard. Growing carrots in containers offers incredible flexibility and allows you to enjoy fresh, homegrown produce with minimal space and effort. This guide will walk you through every step, transforming your small space into a productive root vegetable haven.
Fall planting brings unique advantages for carrots. Cooler soil temperatures often result in sweeter, more tender roots, and pest pressure typically decreases as the season progresses. By understanding a few key principles of deep pot gardening, you will be well on your way to enjoying the crisp delight of your own fall root vegetables.
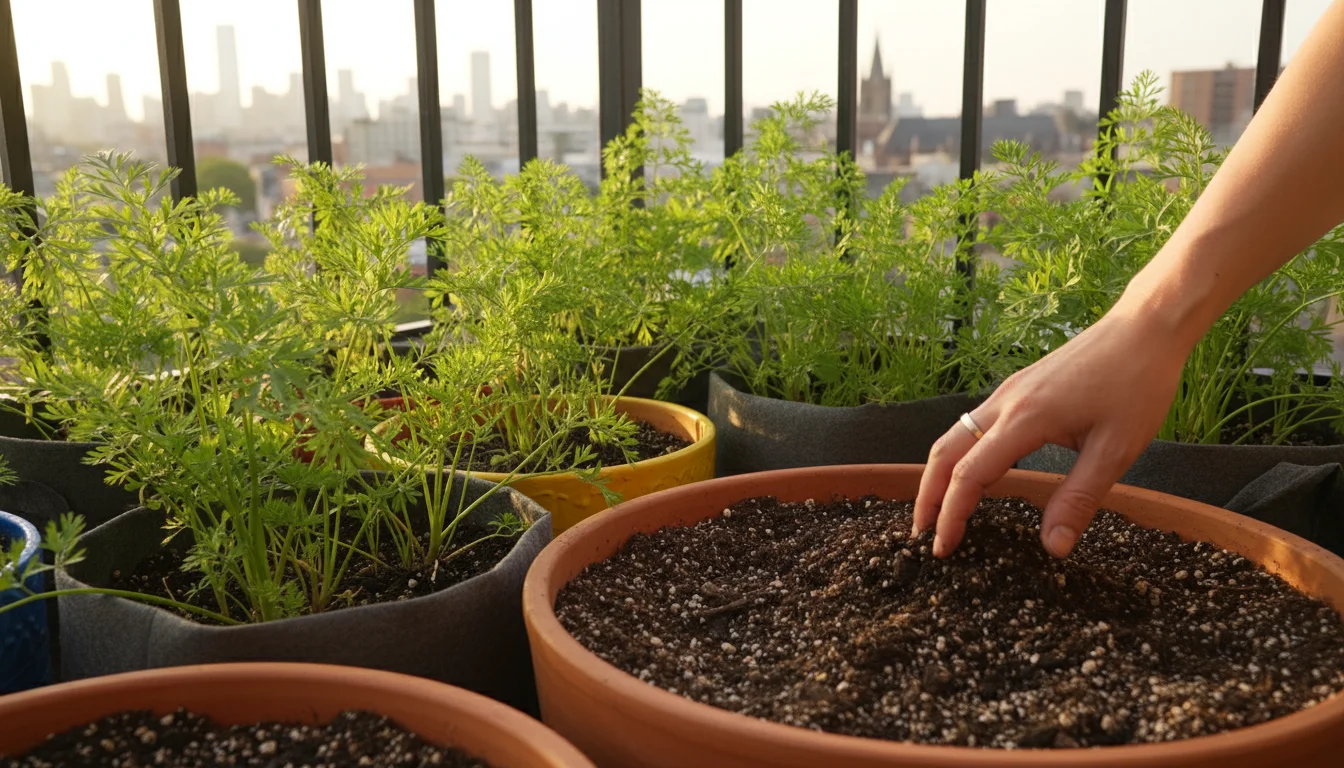
Why Grow Fall Carrots in Containers? The Benefits for Small Spaces
You might associate carrot growing with large garden beds, but container gardening opens up this rewarding experience to everyone, regardless of yard size. Here are compelling reasons to start growing carrots in containers this fall:
- Space Efficiency: Containers fit perfectly on balconies, patios, and even sunny windowsills. You can cultivate a significant harvest in a compact footprint, proving that you do not need a sprawling garden to grow your own food.
- Soil Control: When you plant in containers, you completely control the soil. This eliminates issues like compacted garden soil, heavy clay, or rocky ground, which often hinder root vegetable development. You provide the ideal loose, well-draining environment carrots crave.
- Portability: Move your containers to chase the sun or protect plants from harsh weather. This flexibility is invaluable, especially as autumn weather becomes unpredictable. You can bring them indoors or under cover during an early cold snap, extending your season.
- Reduced Pests and Weeds: Elevated containers often deter ground-dwelling pests more effectively than in-ground beds. Weeding becomes a minor task, saving you time and effort compared to traditional gardening.
- Optimized Growing Conditions for Fall: Fall offers excellent conditions for cool-season crops like carrots. The decreasing temperatures enhance their sweetness. By choosing varieties suited for containers and understanding how to plant carrots in pots in autumn, you capitalize on this natural advantage. This ensures your fall root vegetables develop excellent flavor and texture.
Embracing container gardening for fall carrots means you harness these advantages, turning potential limitations into strengths. You gain fresh, delicious produce and the satisfaction of a successful harvest, all within your existing small space.
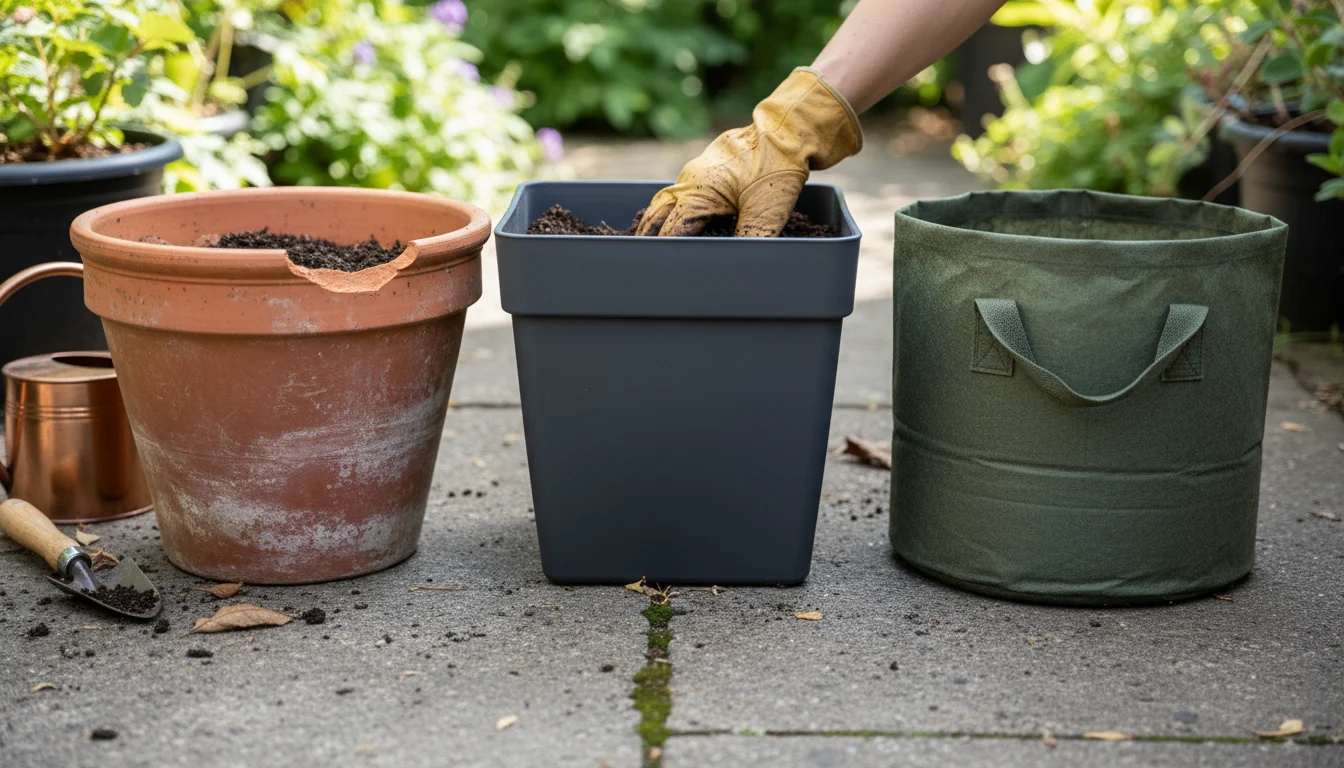
Choosing Your Underground Home: Selecting the Right Deep Containers
The success of growing carrots in containers largely depends on providing enough depth for their roots to develop properly. Carrots are taproots, meaning they grow straight down. Choosing the right “underground home” for them is paramount.
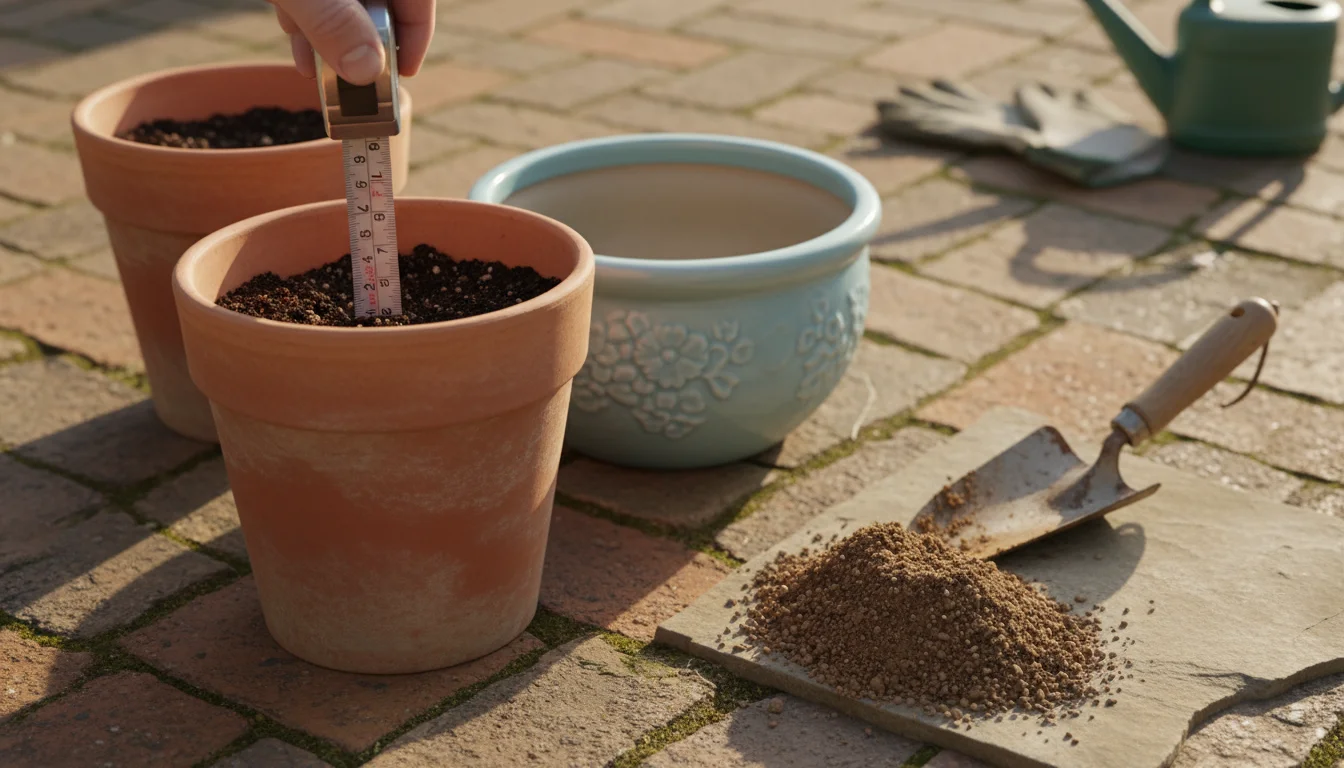
Depth is Key
A common mistake is selecting containers that are too shallow. For most carrot varieties, aim for a container that is at least 10-12 inches deep. If you plan to grow longer varieties, increase that depth to 15-18 inches. The width of the container is less critical than its depth, but wider pots allow you to plant more carrots, maximizing your harvest.
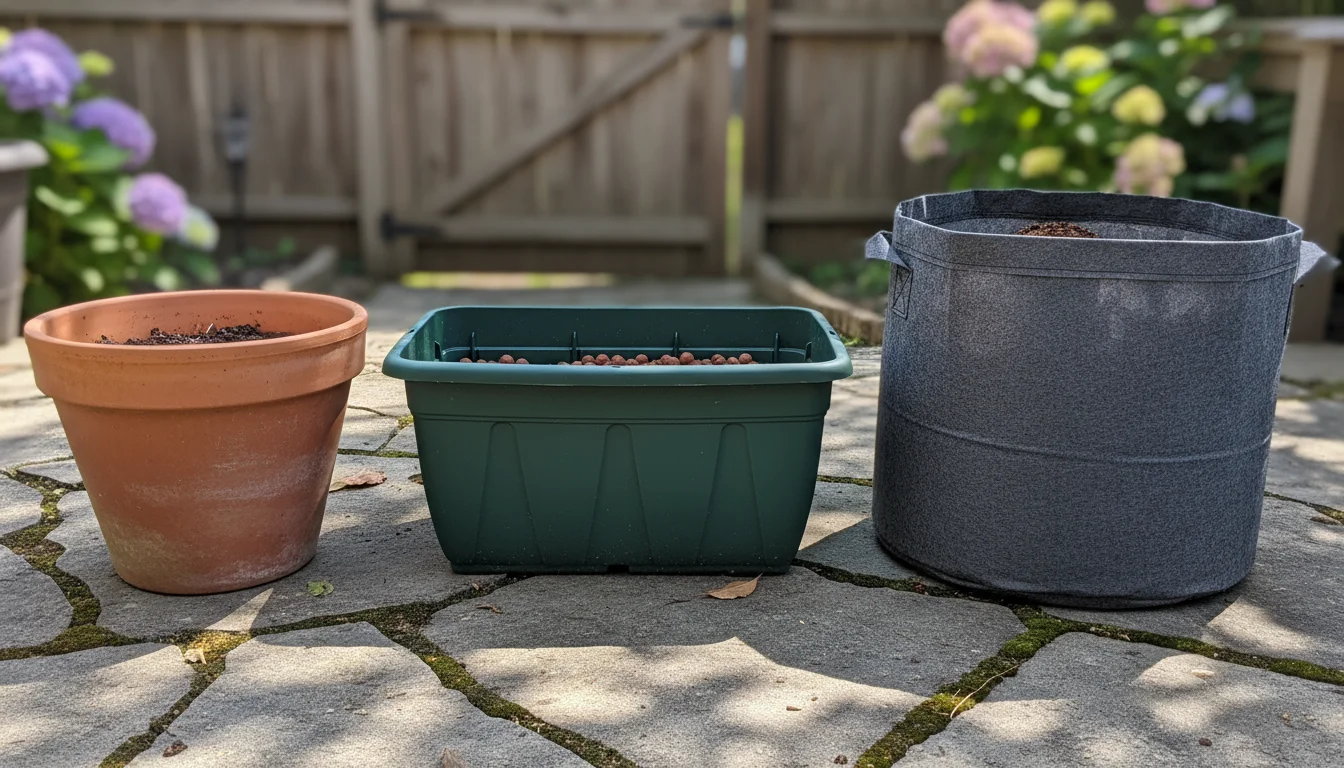
Material Matters
You have several excellent options for container materials, each with pros and cons:
- Terracotta or Clay Pots: These are attractive and breathe well, allowing excess moisture to evaporate. However, they can dry out quickly, requiring more frequent watering, especially in warmer fall climates or sunny spots.
- Plastic Pots: Lightweight, affordable, and retain moisture well. Choose food-grade plastic if possible. Ensure they have adequate drainage holes.
- Fabric Grow Bags: An increasingly popular choice for deep pot gardening. These breathable bags promote excellent air circulation around the roots (air pruning), preventing root circling and encouraging stronger growth. They also offer superior drainage and are easy to store when not in use. They come in various sizes, making them perfect for growing fall root vegetables.
- Wooden Planters: Sturdy and attractive, often providing good insulation. Ensure the wood is untreated or sealed with a food-safe sealant to prevent chemicals from leaching into your soil. Like fabric bags, they should have drainage.
- Repurposed Items: Think outside the box. Old galvanized tubs, deep laundry baskets (lined with landscape fabric), or even sturdy five-gallon buckets can work. Always ensure they are clean, have sufficient depth, and include drainage holes.
Essential Drainage
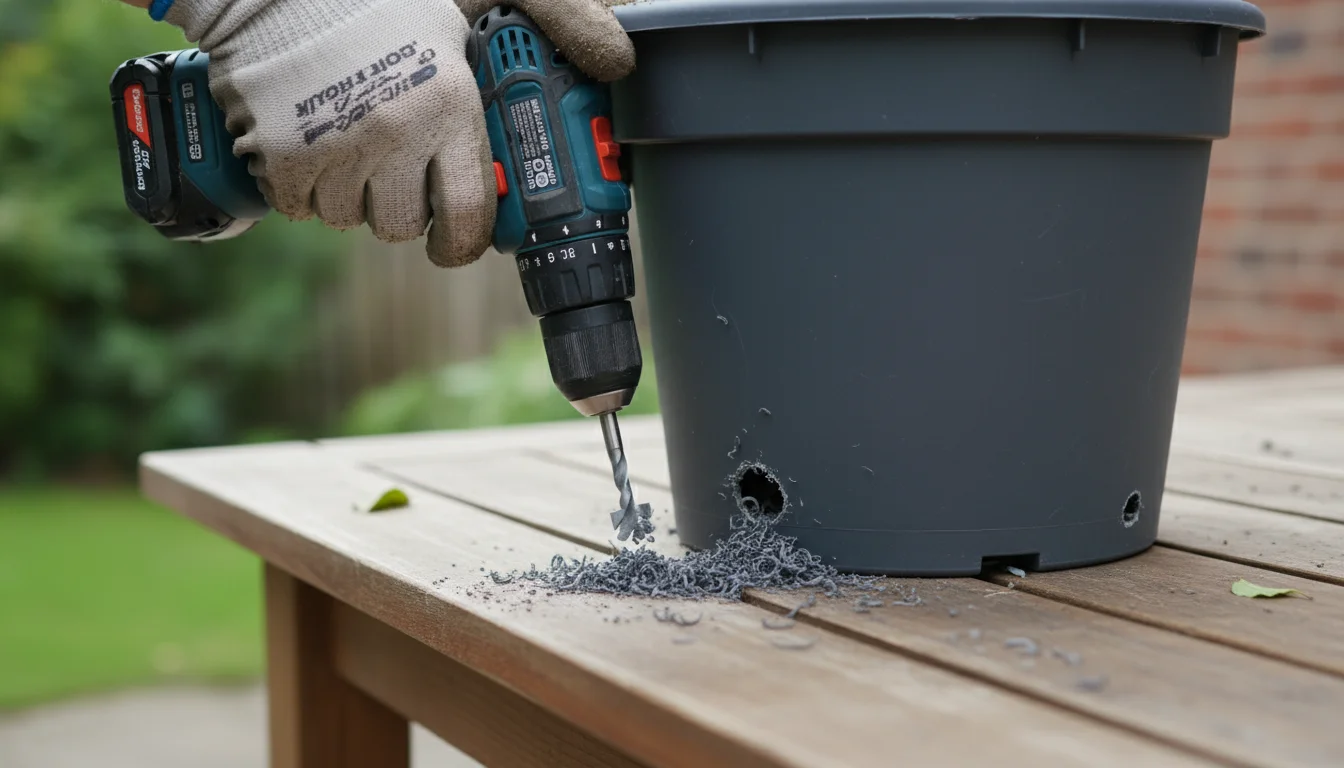
Regardless of the material, every container absolutely must have drainage holes at the bottom. Carrots detest soggy feet. Without proper drainage, which means water can easily move through the soil and exit the bottom of the pot, their roots will rot. If your chosen container lacks holes, drill several 1/2-inch holes yourself before planting.
Choosing the right deep containers sets the stage for a thriving fall carrot patch. Prioritize depth and drainage, then select a material that fits your budget and aesthetic preferences.
The Perfect Bed: Crafting Ideal Soil for Container Carrots
Carrots are not fussy plants, but they are particular about their soil. Because their roots grow directly into it, the soil quality dictates their shape, size, and even flavor. In containers, you have the unique opportunity to create the perfect growing medium, free from the compaction and obstacles often found in garden beds. This is a critical step for successful deep pot gardening.
Why Soil Structure Matters
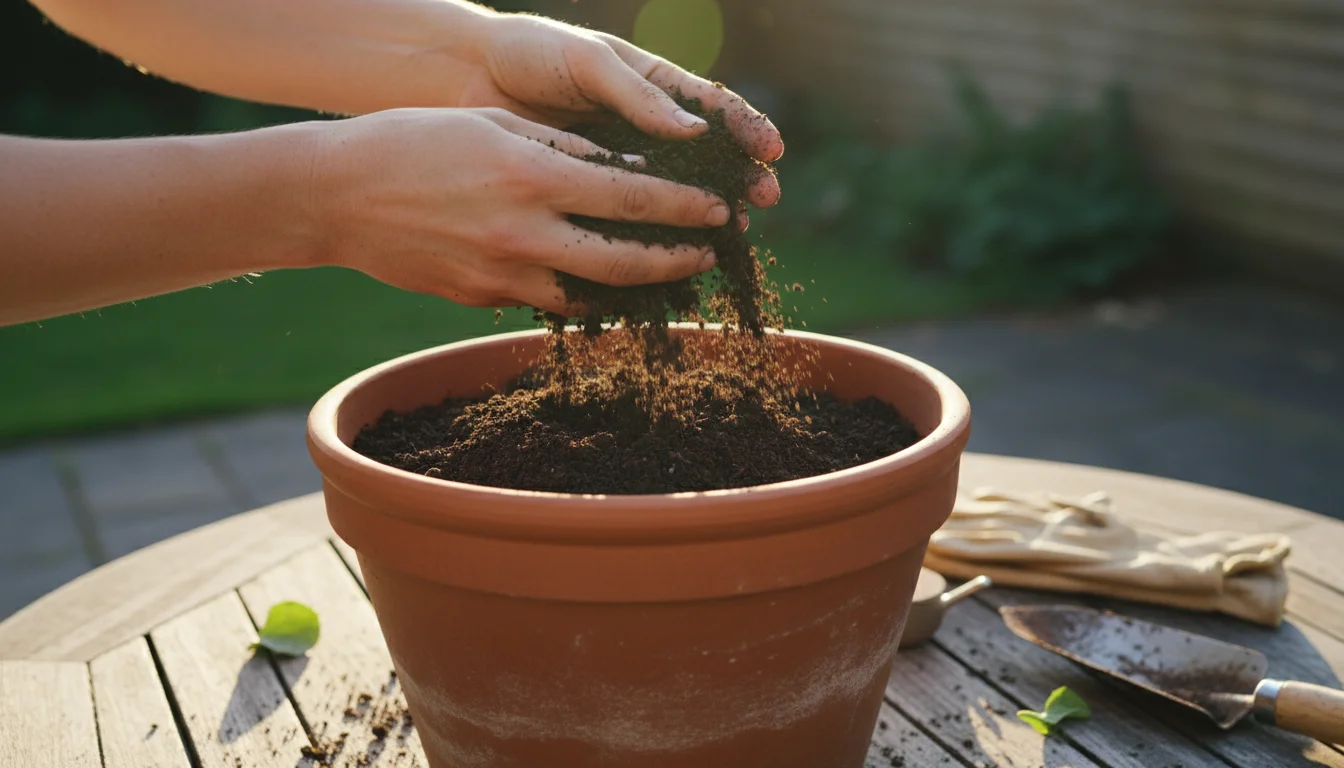
Carrots need loose, friable soil. “Friable” means the soil crumbles easily in your hand. This allows their delicate taproots to push down unimpeded, resulting in straight, well-formed carrots. Heavy, compacted soil or soil with rocks and debris will cause carrots to fork, become stubby, or develop odd shapes. Aim for a mix that is light, airy, and well-draining, but also capable of holding essential moisture and nutrients.
The Ideal Container Soil Mix
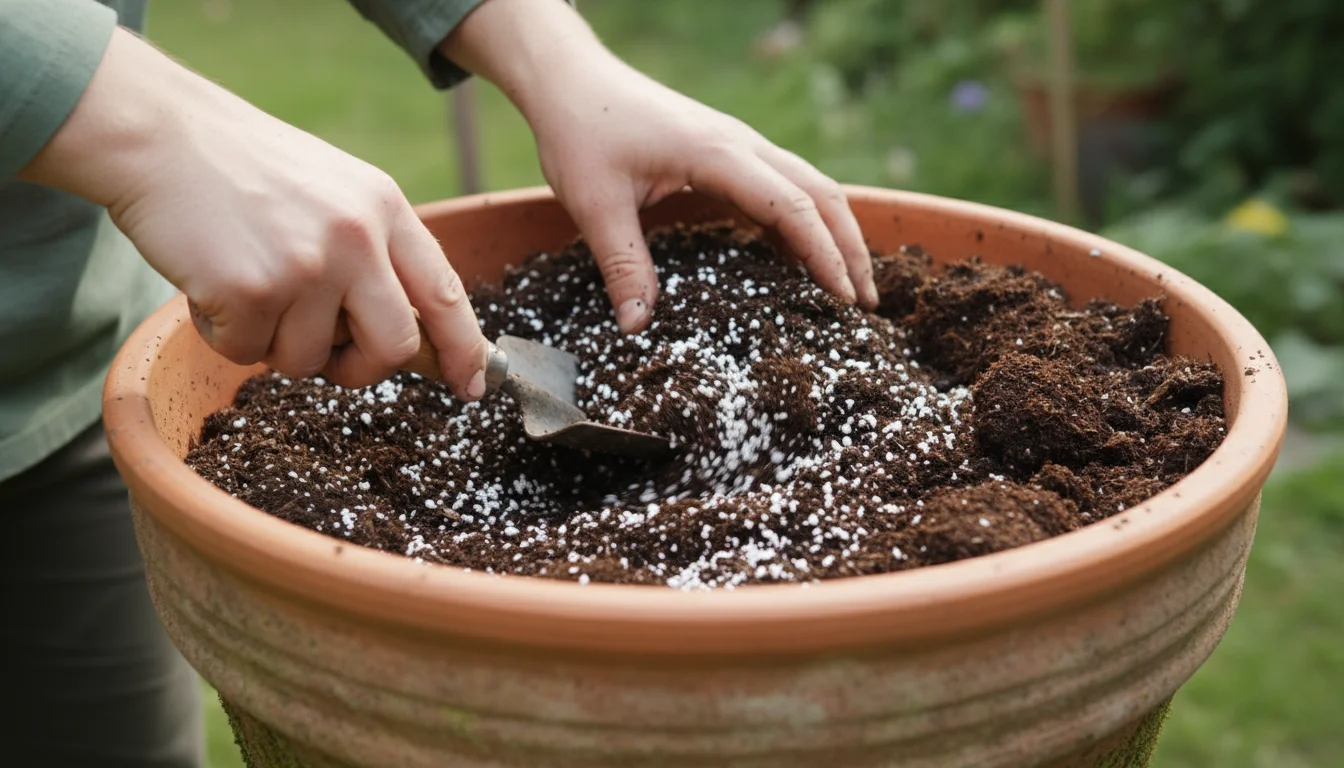
Forget garden soil for containers. Garden soil tends to compact in pots, hindering root growth and drainage. Instead, create a specialized potting mix:
- High-Quality Potting Mix (Base): Start with a premium, all-purpose potting mix. Look for brands that specify “for containers” or “lightweight.” These mixes usually contain a blend of peat moss or coco coir, perlite or vermiculite, and compost.
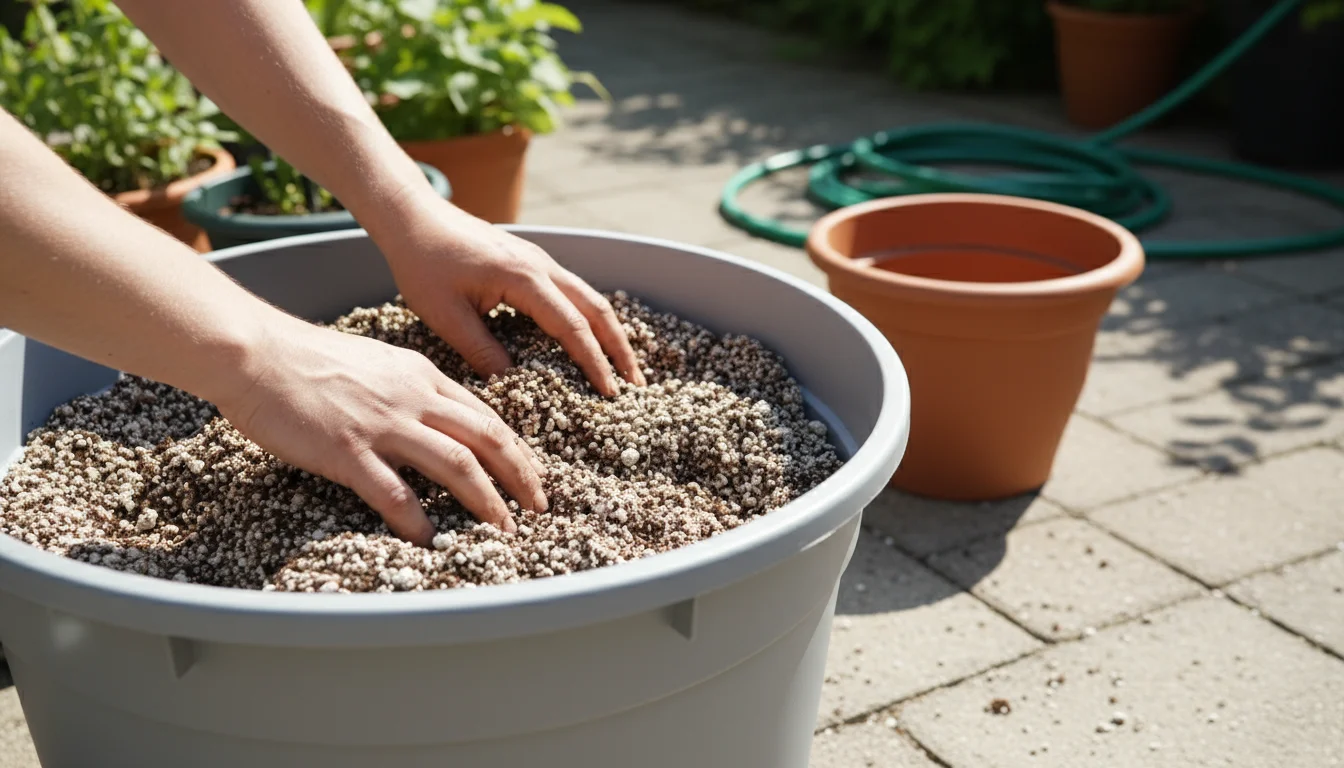
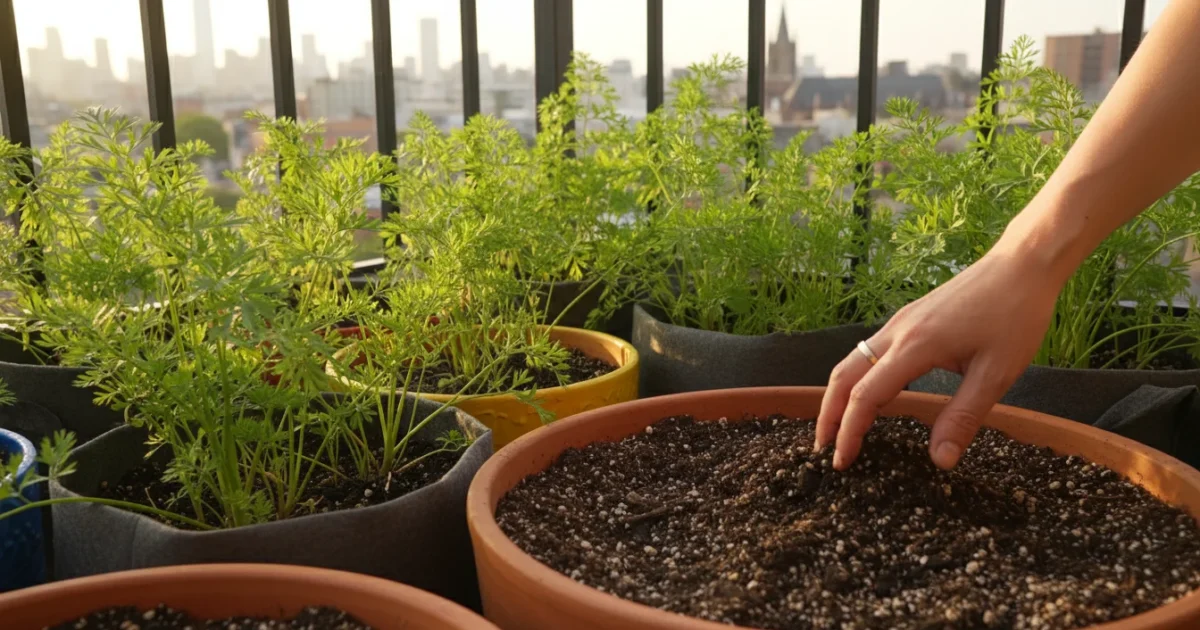
- Add Perlite or Vermiculite (10-20%): To enhance drainage and aeration, mix in an extra 10% to 20% perlite or vermiculite. Perlite helps keep the soil loose and airy, while vermiculite also aids in moisture retention, a beneficial quality for deep pot gardening.
- Compost (10-20%): Enrich your mix with a good quality compost. Compost provides a slow release of essential nutrients, improves soil structure, and introduces beneficial microorganisms. Avoid fresh manure, which can cause carrots to “fork” and can be too strong for young seedlings.
- Balanced Organic Fertilizer (Optional, but Recommended): Incorporate a balanced, slow-release organic granular fertilizer at the rate recommended on the product packaging. This provides a steady supply of nutrients throughout the growing season, eliminating the need for frequent liquid feedings later on.
Mix these components thoroughly until they are uniformly blended. The result should be a light, fluffy, and dark mixture. When you squeeze a handful, it should hold its shape slightly but crumble easily when poked. This is the perfect environment for your fall root vegetables to thrive.
Ensuring your soil mix is just right is a foundational step in how to plant carrots in pots in autumn. It directly impacts the quality and quantity of your underground harvest.
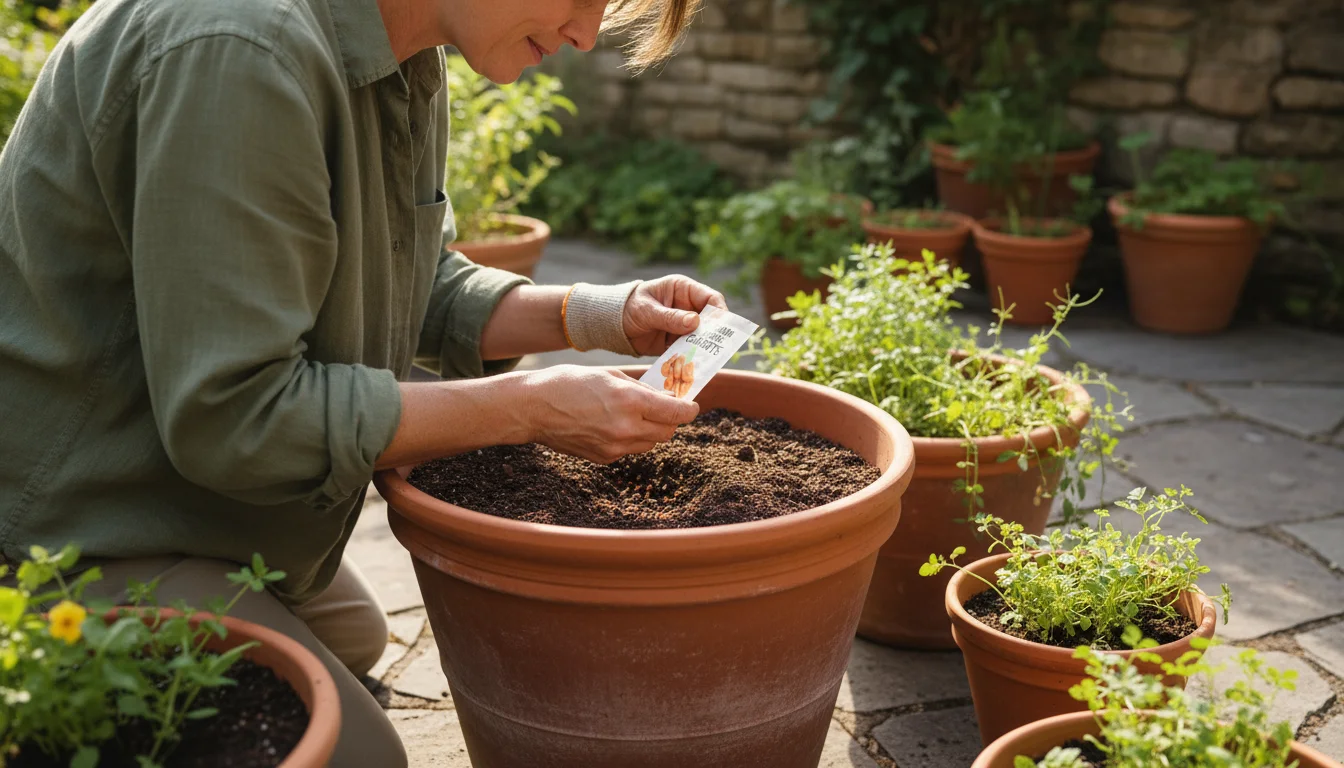
Seed Selection and Sowing Success: How to Plant Carrots in Pots in Autumn
With your deep containers and perfect soil ready, it’s time for the exciting part: planting your carrot seeds. The right seed choice and careful sowing technique are crucial for a successful harvest of fall root vegetables.
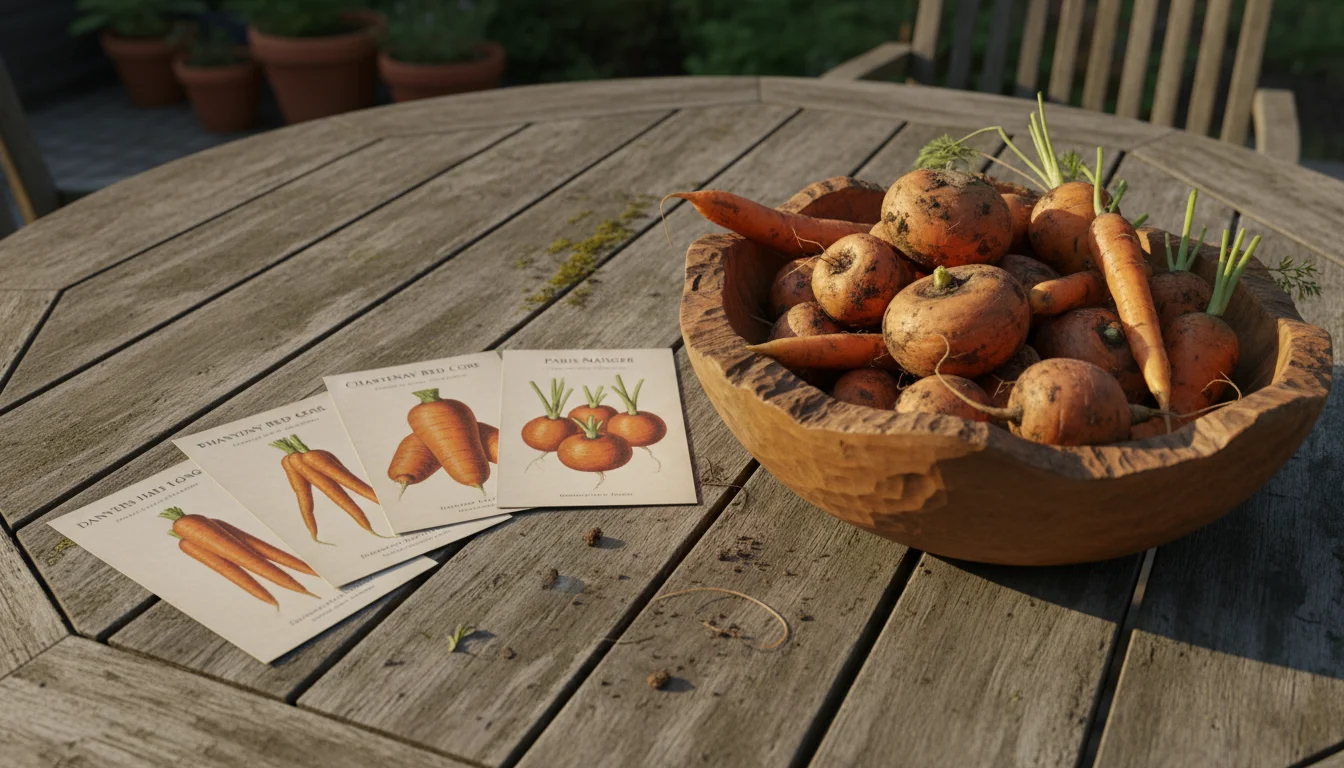
Choosing the Best Carrot Variety for Container Gardening
Not all carrots are created equal when it comes to container suitability. Look for varieties described as “short,” “stubby,” “round,” or “container-friendly.” These types mature faster and do not require as much depth, making them ideal for growing carrots in containers. Some excellent choices include:
- ‘Danvers Half Long’: A classic, versatile choice that performs well in slightly shallower containers, reaching about 6-7 inches.
- ‘Chantenay Red Core’: Similar to Danvers, these are broad-shouldered and tapered, usually growing 5-6 inches.
- ‘Paris Market’: Small, round, gourmet carrots that are perfect for containers as shallow as 6-8 inches. They mature quickly.
- ‘Little Finger’: Slender, sweet, and about 3-4 inches long, ideal for smaller pots and quick harvests.
- ‘Thumbelina’: Another excellent round variety, great for dense plantings.
Check the “days to maturity” on the seed packet. For fall planting, you need varieties that can mature before your first hard frost. Most container-friendly varieties mature in 60-75 days.
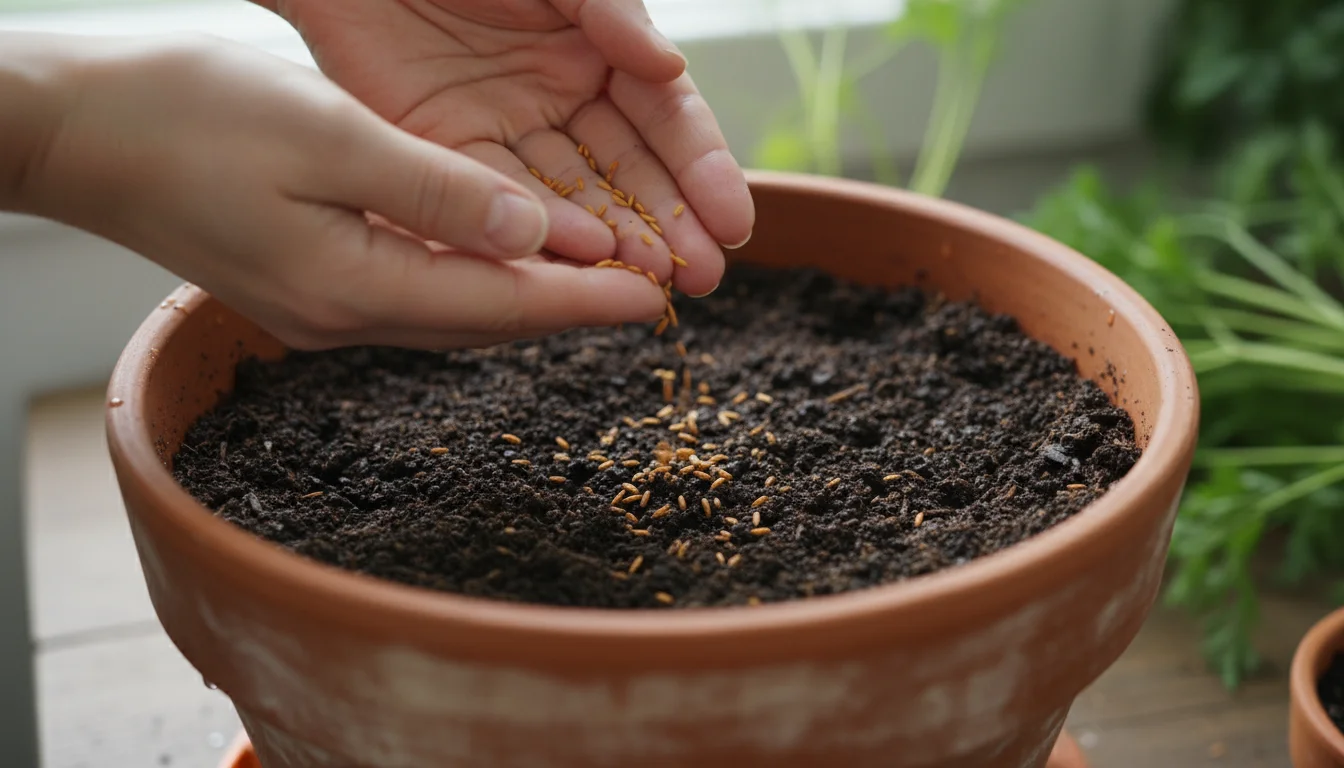
The Sowing Process: Step-by-Step
- Fill Your Containers: Fill your chosen deep containers with your prepared potting mix, leaving about an inch of space from the rim. Gently tap the container to settle the soil, but avoid compacting it.
- Moisten the Soil: Water the soil thoroughly until it is evenly moist and water drains from the bottom. This prevents the tiny seeds from washing away when you water after sowing.
- Distribute Seeds Evenly: Carrot seeds are tiny, making even spacing challenging. You can sprinkle them thinly across the surface, aiming for about 1/2 to 1 inch apart. Alternatively, use seed tape or mix your carrot seeds with fine sand to help distribute them more evenly. Planting them closer together will necessitate thinning later, but do not be afraid of this.
- Cover Lightly: Cover the seeds with a very thin layer (about 1/4 inch) of fine potting mix or vermiculite. Avoid burying them too deeply, as they need light to germinate.
- Gentle Watering: Mist the surface gently with a spray bottle or use a watering can with a very fine rose attachment to avoid displacing the seeds. Keep the soil consistently moist but not waterlogged during germination.
- Location: Place your containers in a spot that receives at least 6 hours of direct sunlight per day. Good light is crucial for healthy root development.
Carrot seeds can take 14-21 days to germinate, sometimes longer if temperatures are cool. Be patient and maintain consistent moisture. This careful attention to how to plant carrots in pots in autumn ensures a strong start for your crop.
Nurturing Your Roots: Essential Care for Thriving Fall Carrots
Once your tiny carrot seedlings emerge, their journey to becoming delicious fall root vegetables truly begins. Consistent care is essential to ensure they develop long, straight, and flavorful roots. This section covers the critical aspects of maintenance for growing carrots in containers.
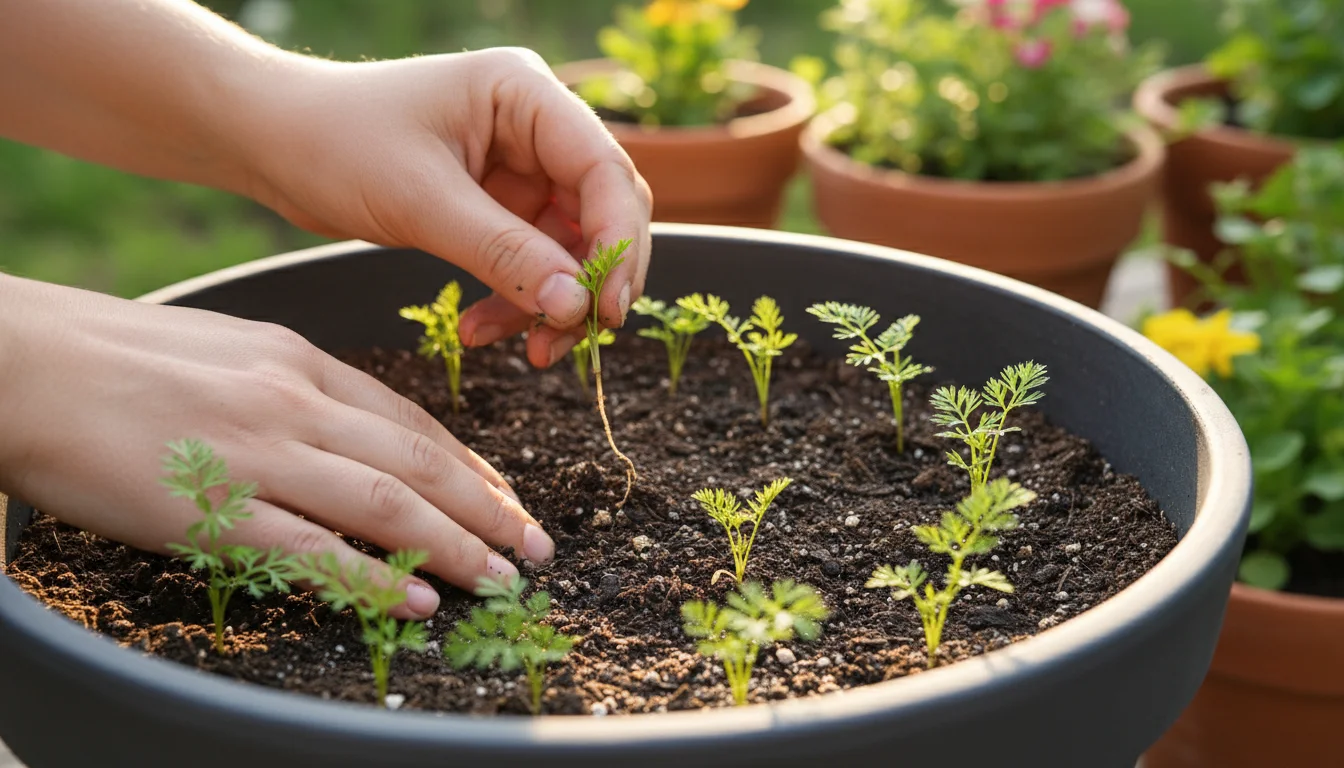
Thinning for Success
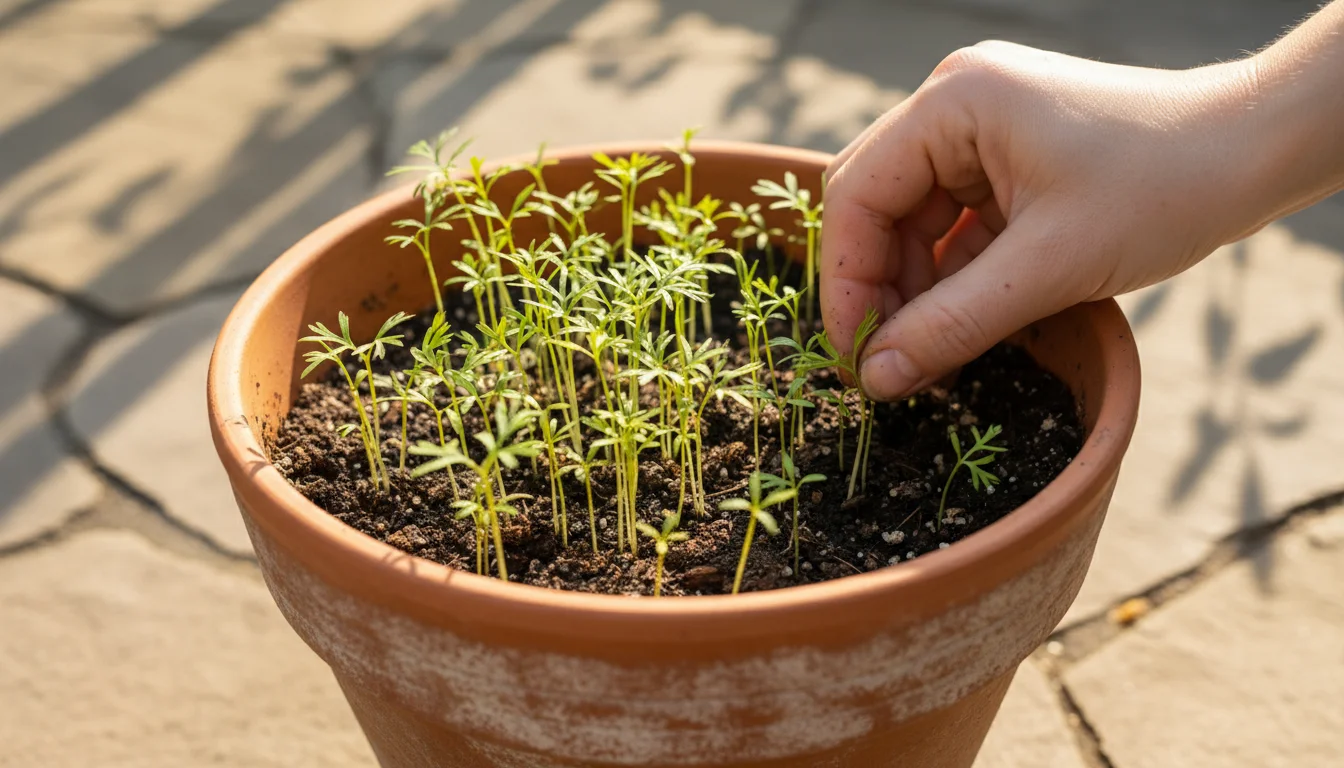
This is arguably the most crucial step after germination. If you sowed your seeds densely, you will see a carpet of tiny green shoots. Carrots need space to grow. If they are too crowded, their roots will intertwine, become stunted, or fail to develop properly. This can lead to a harvest of small, misshapen carrots.
How to Thin:
- Timing: Thin when seedlings are about 1-2 inches tall and have developed a couple of true leaves (the second set of leaves that look distinctly like a carrot leaf).
- Spacing: Gently pull out weaker seedlings, leaving the strongest ones spaced about 2-3 inches apart. For smaller varieties, you can aim for 1-2 inches. Take care not to disturb the roots of the remaining seedlings.
- Water After Thinning: Water immediately after thinning to help settle the soil around the undisturbed roots.
It might feel counterintuitive to remove healthy-looking seedlings, but thinning is vital for maximizing your yield of quality carrots.
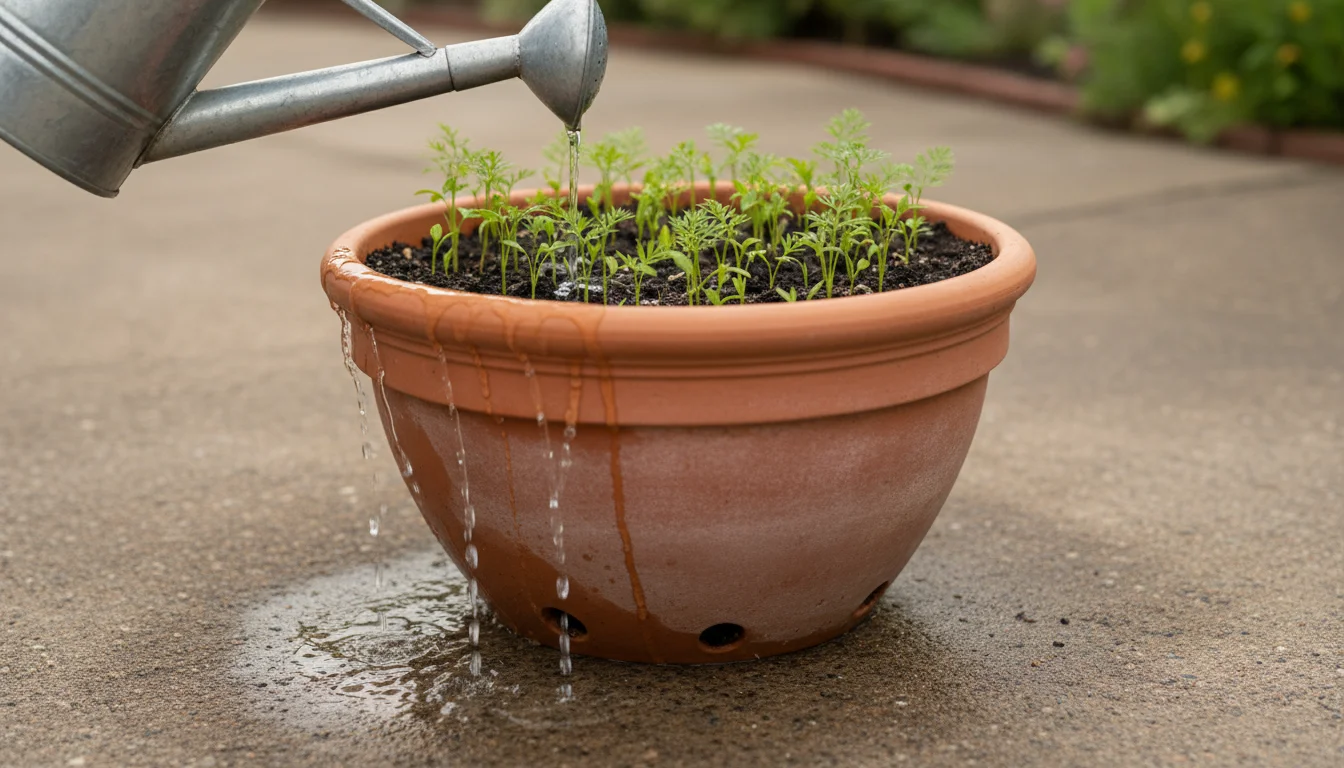
Watering Wisely
Container plants generally dry out faster than in-ground gardens. Carrots need consistent moisture to grow well and prevent cracking or bitterness. However, they also hate sitting in soggy soil.
- Frequency: Check your soil moisture daily by sticking your finger about an inch into the potting mix. If it feels dry, it is time to water. In cooler fall weather, you might water less frequently than in summer.
- Technique: Water deeply until you see water draining from the bottom of the pot. This ensures moisture reaches the entire root zone. Avoid shallow, frequent watering, which encourages shallow root growth.
- Avoid Extremes: Erratic watering, where the soil goes from bone dry to soaking wet, can cause carrots to crack or split. Aim for consistent moisture.
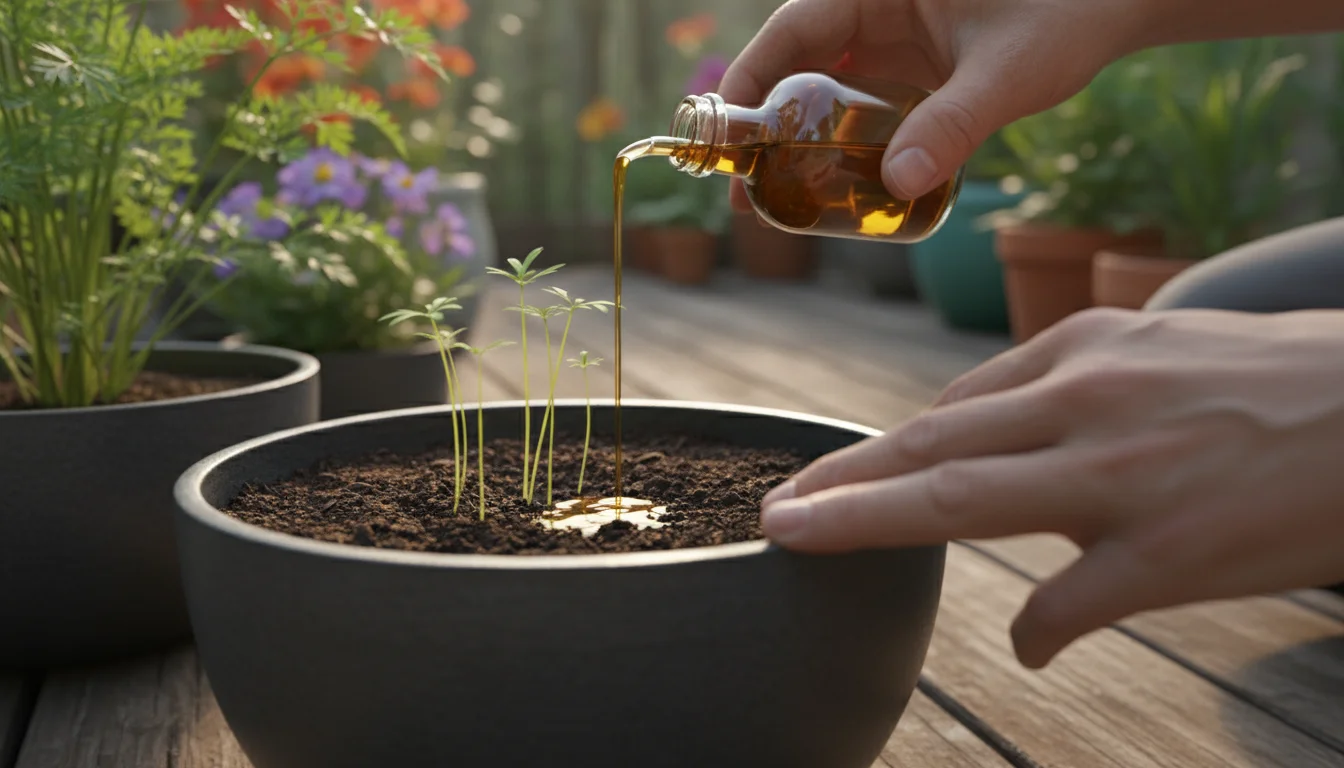
Feeding Your Fall Carrots
If you incorporated a slow-release organic fertilizer into your potting mix at the beginning, your carrots might not need much additional feeding. However, if your soil mix was unfertilized or if you notice slow growth, a light feed can be beneficial.
- Type: Use a balanced liquid organic fertilizer, or one slightly lower in nitrogen and higher in phosphorus and potassium. Excessive nitrogen encourages leafy top growth at the expense of root development.
- Frequency: Apply liquid fertilizer at half strength every 3-4 weeks, starting about 4-6 weeks after germination. Always follow product instructions.
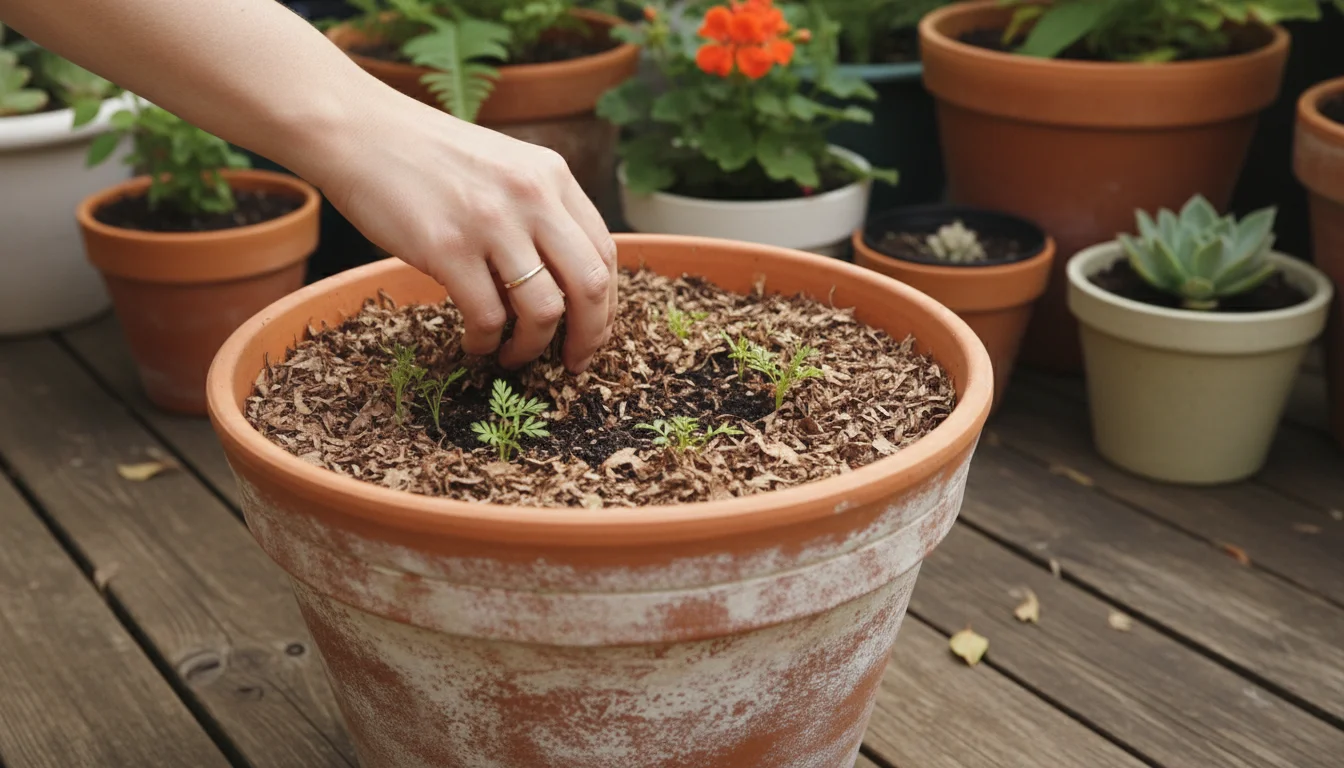
Mulching (Optional, but Beneficial)
A thin layer of organic mulch (like coco coir, shredded leaves, or straw) on the soil surface can help retain moisture, suppress weeds, and regulate soil temperature. This is especially useful in deep pot gardening, where exposed soil can dry out quickly or experience temperature fluctuations.
By providing consistent care, especially when it comes to thinning and watering, you set your container carrots up for optimal growth, promising a delicious underground harvest.
Protection and Patience: Overcoming Challenges and Ensuring Growth
Even with the best preparation, gardening can present a few challenges. Understanding potential issues and knowing how to respond ensures your fall carrots continue their journey toward a successful harvest. This section focuses on common problems, eco-friendly solutions, and the importance of patience in deep pot gardening.
Common Carrot Challenges in Containers
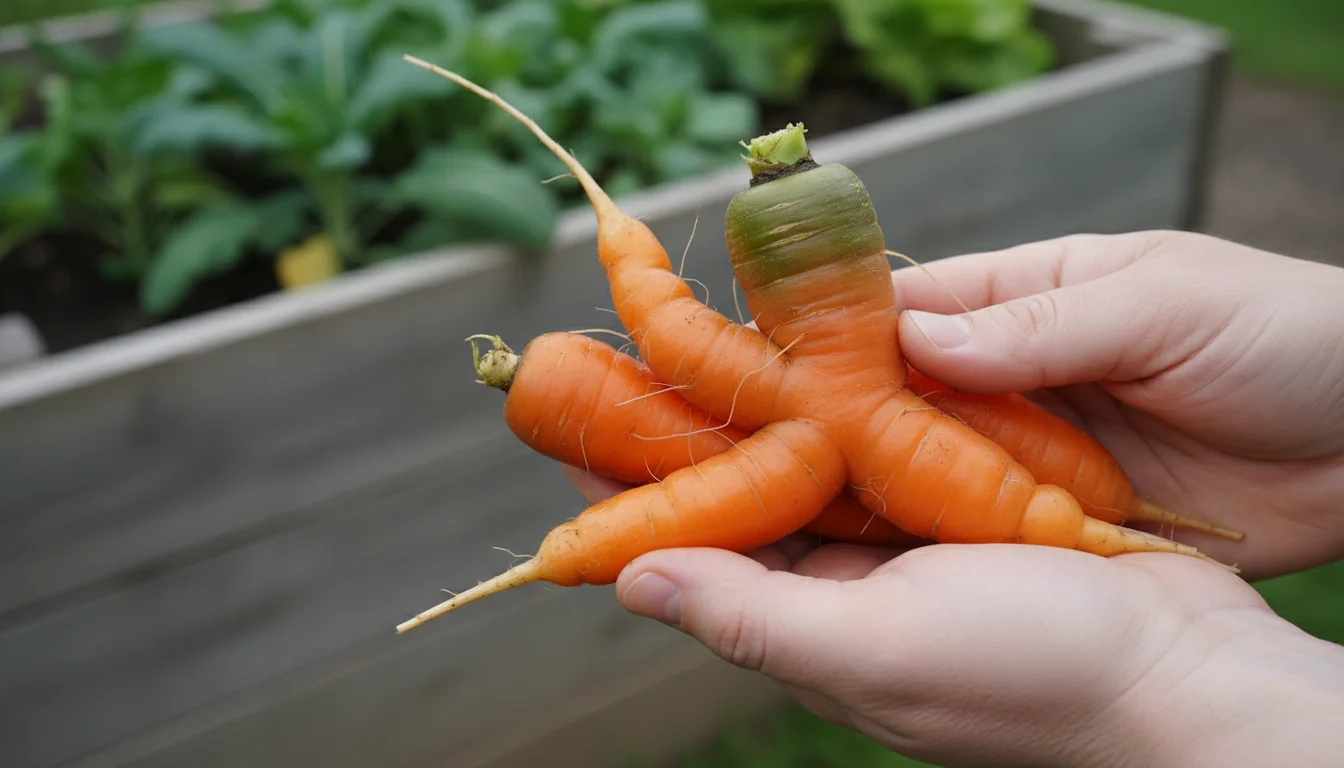
- Forked or Deformed Carrots: This is almost always due to compacted soil, obstacles (like small stones or clumps in your potting mix), or fresh manure. Ensure your soil mix is loose and free of debris. Erratic watering can also contribute.
- Small or Stunted Carrots: Overcrowding (insufficient thinning) is the primary culprit. Lack of sufficient sunlight or nutrients can also play a role. Ensure plants are properly spaced, receive at least 6 hours of sun, and have adequate soil fertility.
- Green Shoulders: If the top part of the carrot root turns green, it means it was exposed to sunlight. This doesn’t harm the carrot, but the green part can taste bitter. Gently mound a little more soil or mulch around the exposed shoulders as the carrots grow.
- Pests: While container gardening reduces pest pressure, common culprits like aphids or carrot rust flies can still appear.
- Aphids: These tiny insects cluster on young leaves. A strong spray of water can dislodge them. For heavier infestations, apply an insecticidal soap, ensuring thorough coverage.
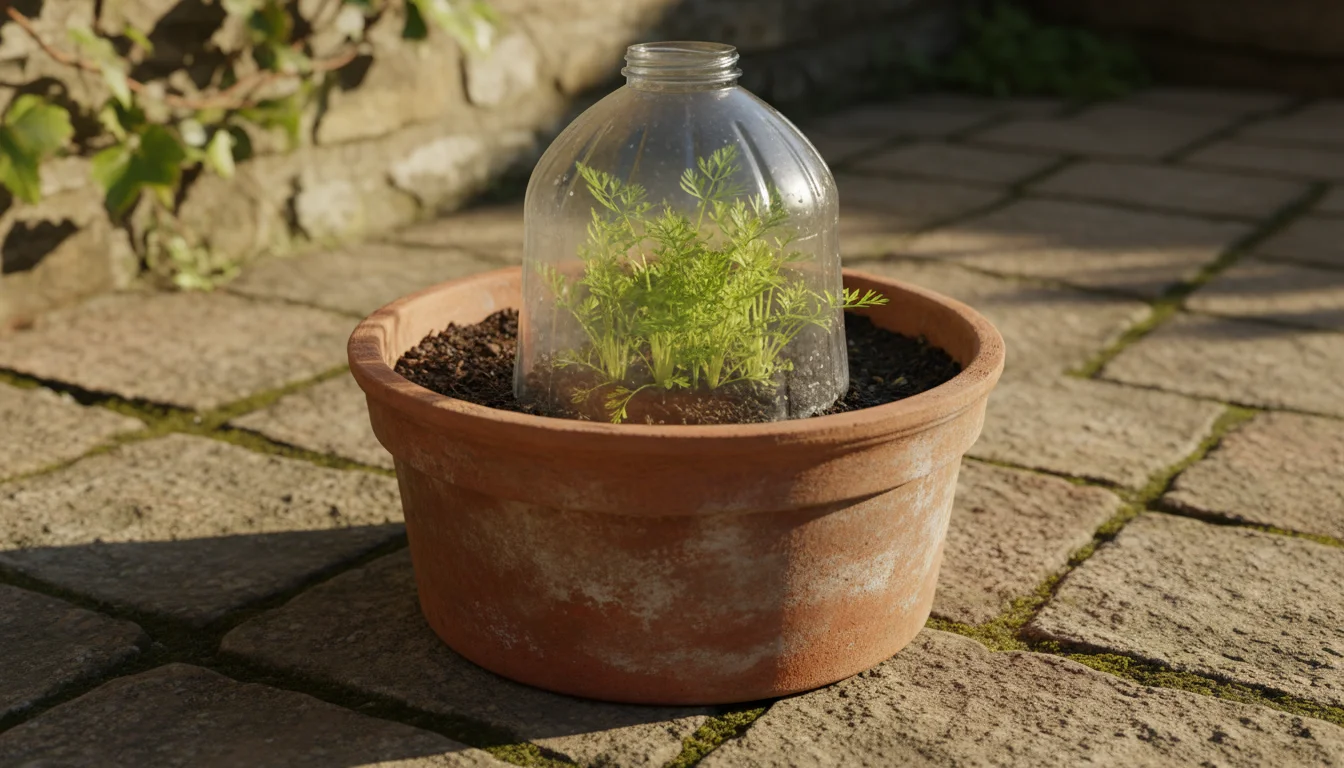
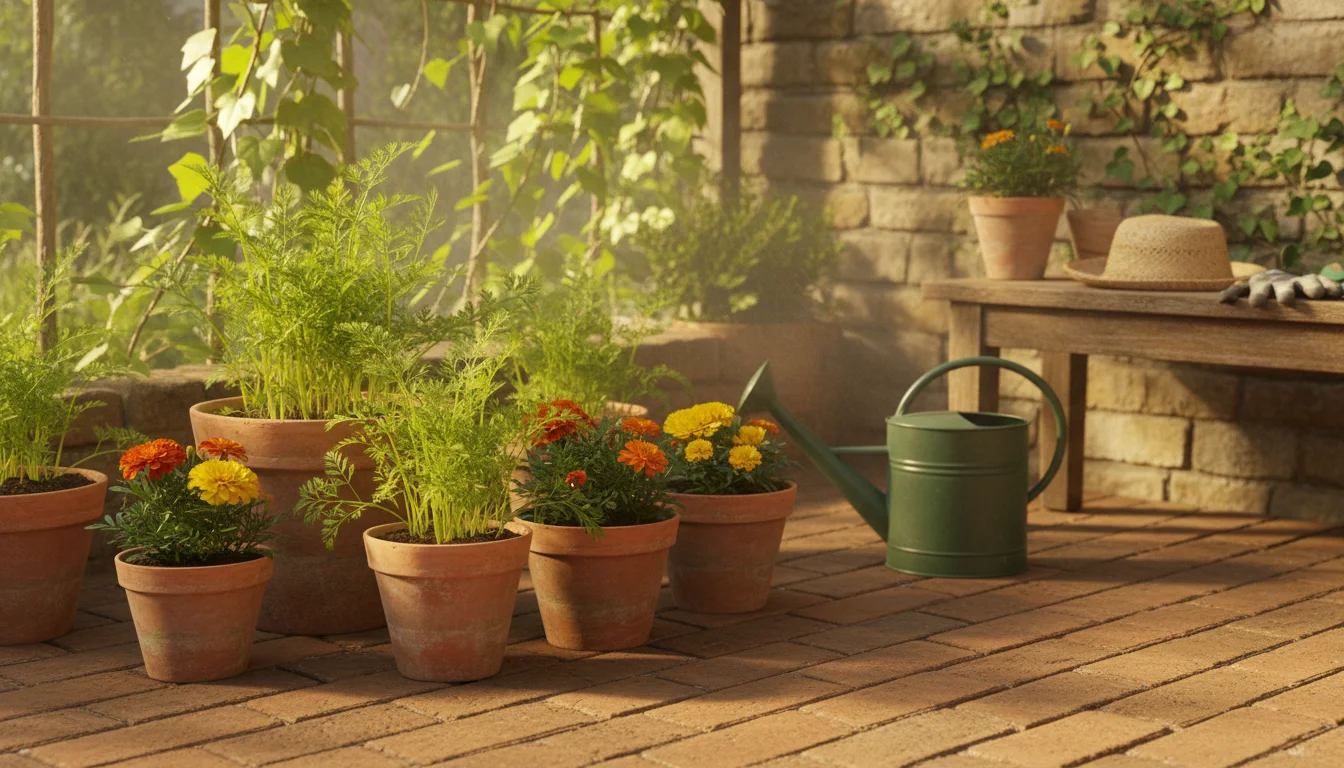
- Carrot Rust Fly: This pest lays eggs near the soil line, and the larvae tunnel into the roots, causing rust-colored tunnels. Fall planting often avoids the peak activity of the first generation. For protection, consider covering your containers with a fine mesh insect netting, or grow strongly scented companion plants like marigolds or rosemary nearby.
- Diseases: Carrots are generally hardy, but root rot can occur in overly wet, poorly draining soil. Ensure your containers have excellent drainage holes and you do not overwater.
Environmental Considerations and Eco-Friendly Practices
As a supportive and environmentally conscious gardener, you can integrate sustainable practices into your deep pot gardening:
- Water Conservation: Use watering cans instead of hoses where possible to better gauge water usage. Group containers together to create a microclimate that reduces evaporation. Consider using a drip tray to catch excess water and allow the plant to reabsorb it, but do not let pots sit in standing water for extended periods.
- Organic Pest Control: Rely on natural methods first. Hand-picking pests, using neem oil, or encouraging beneficial insects (e.g., by planting flowers nearby) are excellent eco-friendly strategies.
- Soil Reuse: At the end of the season, do not discard your potting mix. While it might be depleted of nutrients, it still has good structure. Amend it with fresh compost and a slow-release organic fertilizer for your next planting cycle. This reduces waste and saves money.
- Seed Saving (for open-pollinated varieties): If you grow open-pollinated carrot varieties, you could consider allowing a few to go to seed for the following year, though carrots are biennials and will only flower in their second year. This is an advanced technique but reduces reliance on purchased seeds.
The Virtue of Patience
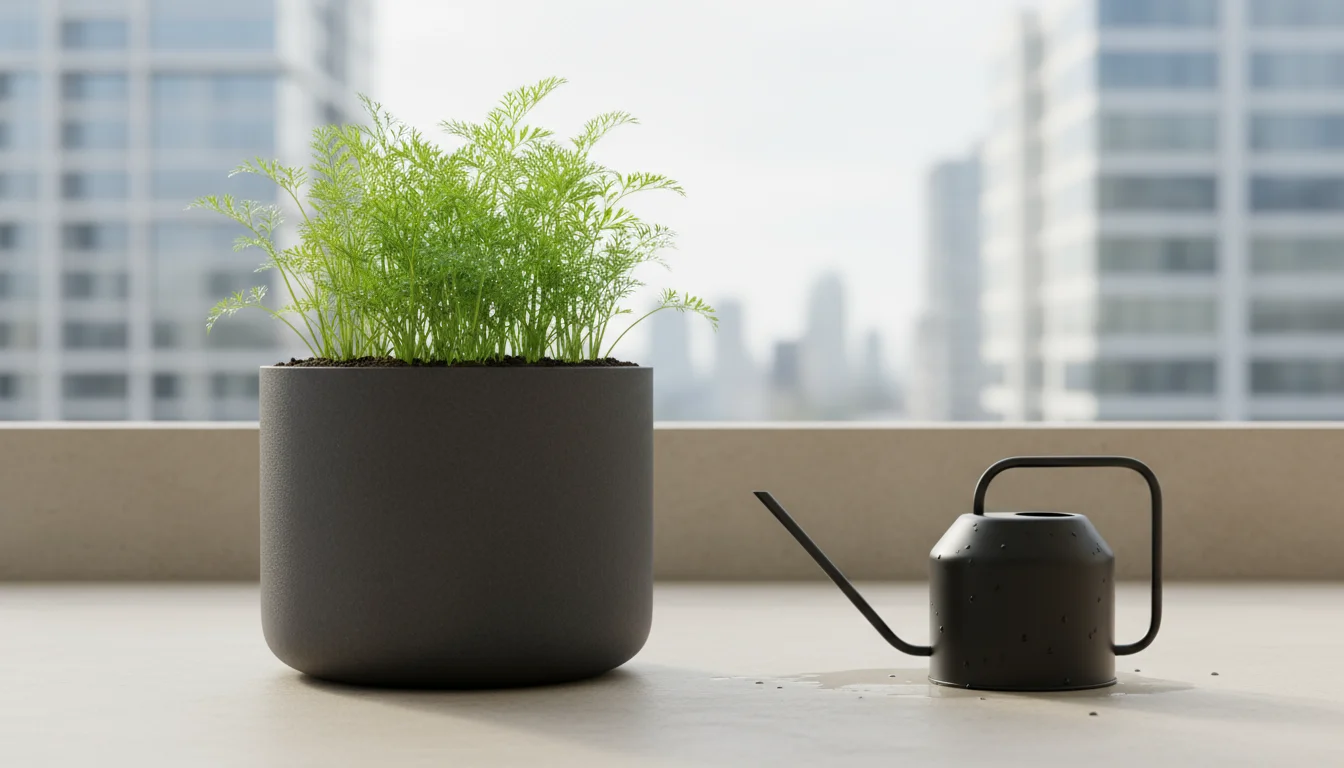
Carrots are not the fastest growing vegetables above ground. Much of their action happens out of sight. Be patient. Consistent care, especially maintaining soil moisture and thinning, will pay off. Resist the urge to frequently pull up carrots to “check” on them, as this disturbs their delicate root system. Trust the process, and your deep pot gardening efforts will be rewarded.
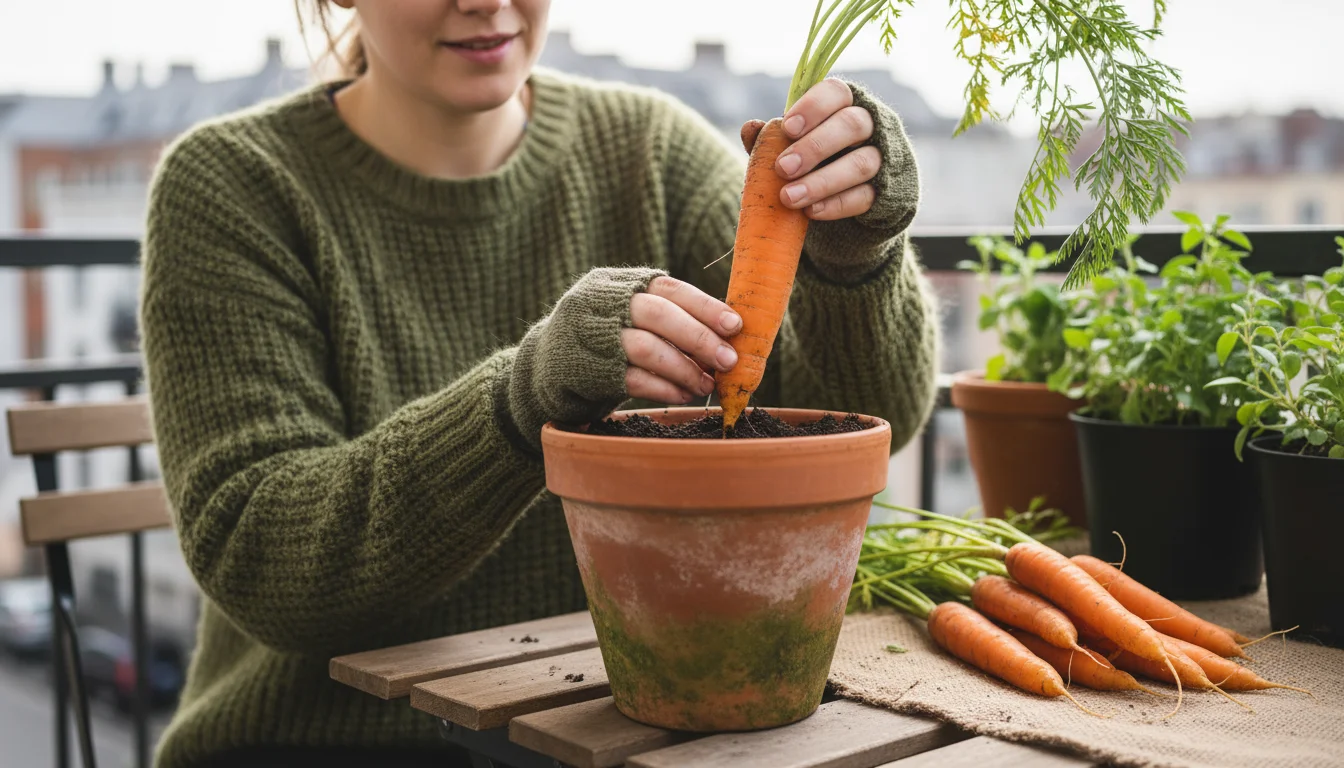
The Moment of Truth: Harvesting Your Container Carrots Before First Frost
After weeks of careful nurturing, the most exciting part of growing fall carrots arrives: the harvest! Knowing when and how to harvest ensures you get the sweetest, most tender roots from your deep pot gardening efforts. You also need to keep a keen eye on the weather to harvest your container carrots before first frost.
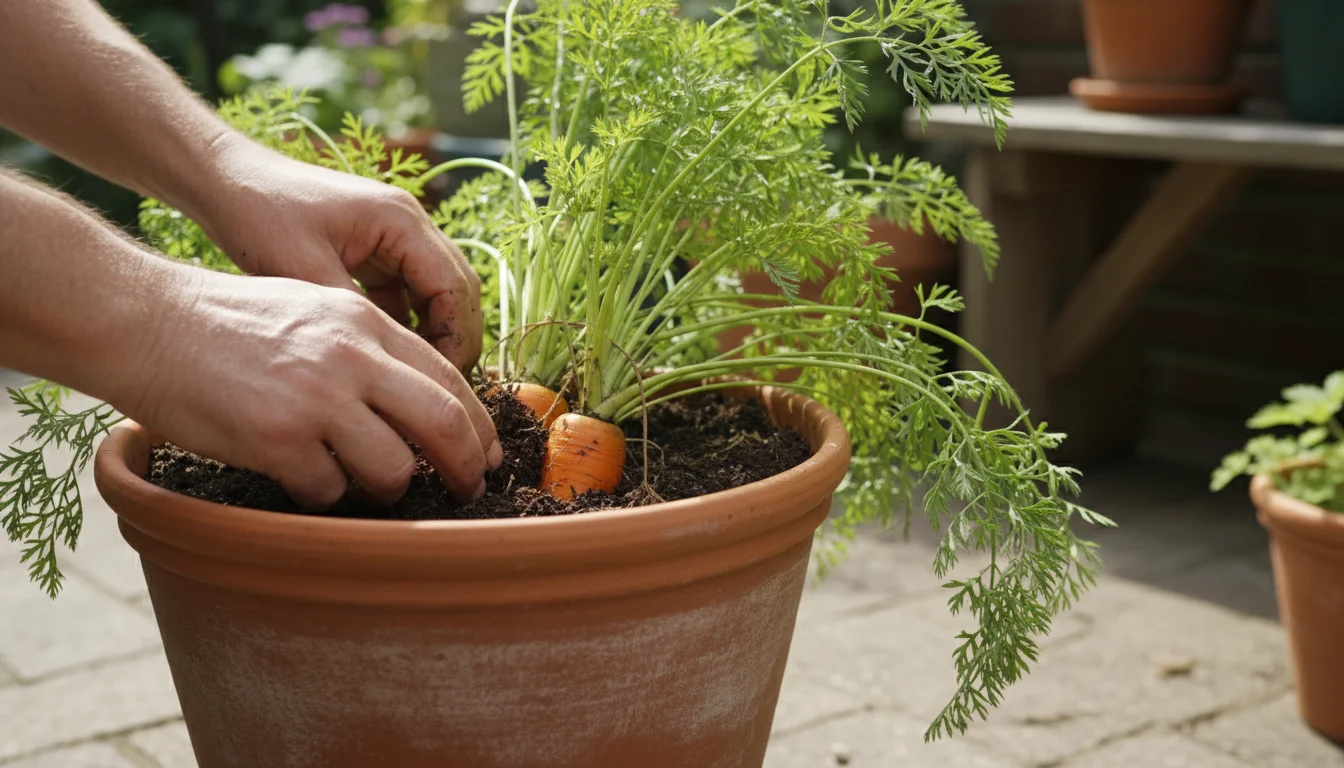
When Are Your Carrots Ready?
Several indicators tell you it is time to harvest:
- Days to Maturity: Refer to your seed packet for the “days to maturity.” This gives you a general timeline. For fall crops, this usually falls between 60 and 75 days from sowing.
- Root Diameter: Gently brush away a little soil from the top of a few carrots. You can often see the “shoulder” of the carrot poking out of the soil. When this visible portion reaches a diameter you prefer (typically 1/2 inch to 1 inch, depending on the variety), your carrots are ready. You can harvest some earlier for baby carrots.
- Taste Test: If unsure, pull one or two carrots to taste. If they are sweet and crisp, the rest are likely ready.
- Approaching Frost: This is critical for fall crops. While carrots can tolerate light frosts, a hard freeze will damage the roots, turning them soft and mushy. Plan to harvest all your container carrots before first frost, or at least before temperatures consistently drop below freezing.
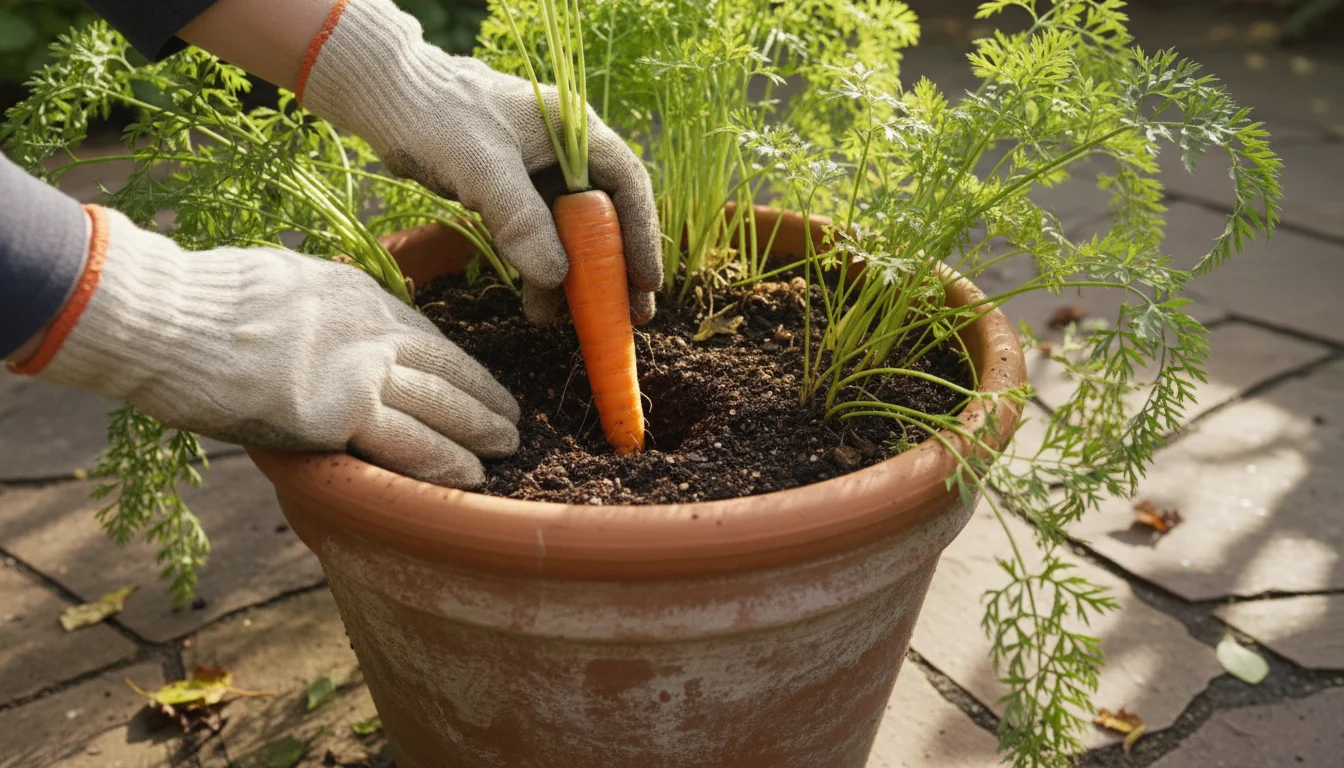
The Art of Harvesting Container Carrots
Harvesting from containers is often easier than from garden beds, as the soil tends to be looser. Here is a simple step-by-step guide:
- Water the Container: Water the container thoroughly a few hours before harvesting. Moist soil makes it much easier to pull carrots without breaking them.
- Grasp and Twist (Gently): Select a carrot and grasp the base of its foliage where it meets the soil. Gently twist and pull straight upward. In loose container soil, they should slide out relatively easily.
- Use a Trowel (If Needed): If a carrot resists, use a small hand trowel to loosen the soil around it, then pull again. Be careful not to damage adjacent carrots you plan to leave in the ground longer.
- Succession Harvesting: You do not have to harvest all your carrots at once. You can practice succession harvesting, pulling larger carrots as they mature and leaving smaller ones to grow a bit longer. This extends your harvest period.
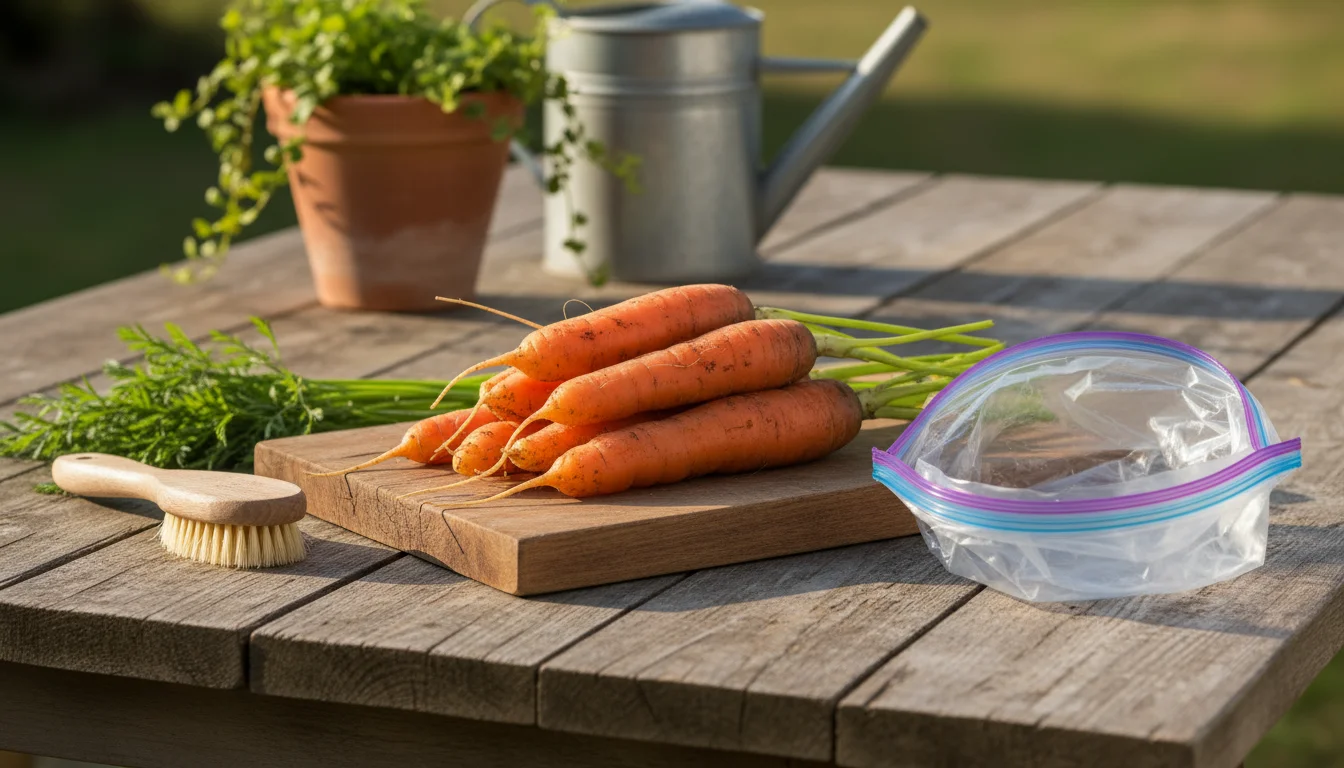
Post-Harvest Care
Once harvested:
- Remove Greens: Immediately twist off or cut the green tops, leaving about an inch of stem. This prevents the greens from drawing moisture and nutrients from the root, which can make the carrot rubbery. You can use the greens in pesto or salads if they are tender and healthy.
- Clean: Gently brush off excess soil. Avoid washing them until just before you use them, as moisture can encourage spoilage.
- Storage: Store unwashed carrots in a plastic bag in the crisper drawer of your refrigerator. They can last for several weeks this way.
The satisfaction of pulling your own vibrant fall root vegetables from a container is immense. Enjoy the fruits of your labor, knowing you achieved a successful underground harvest right in your small space.
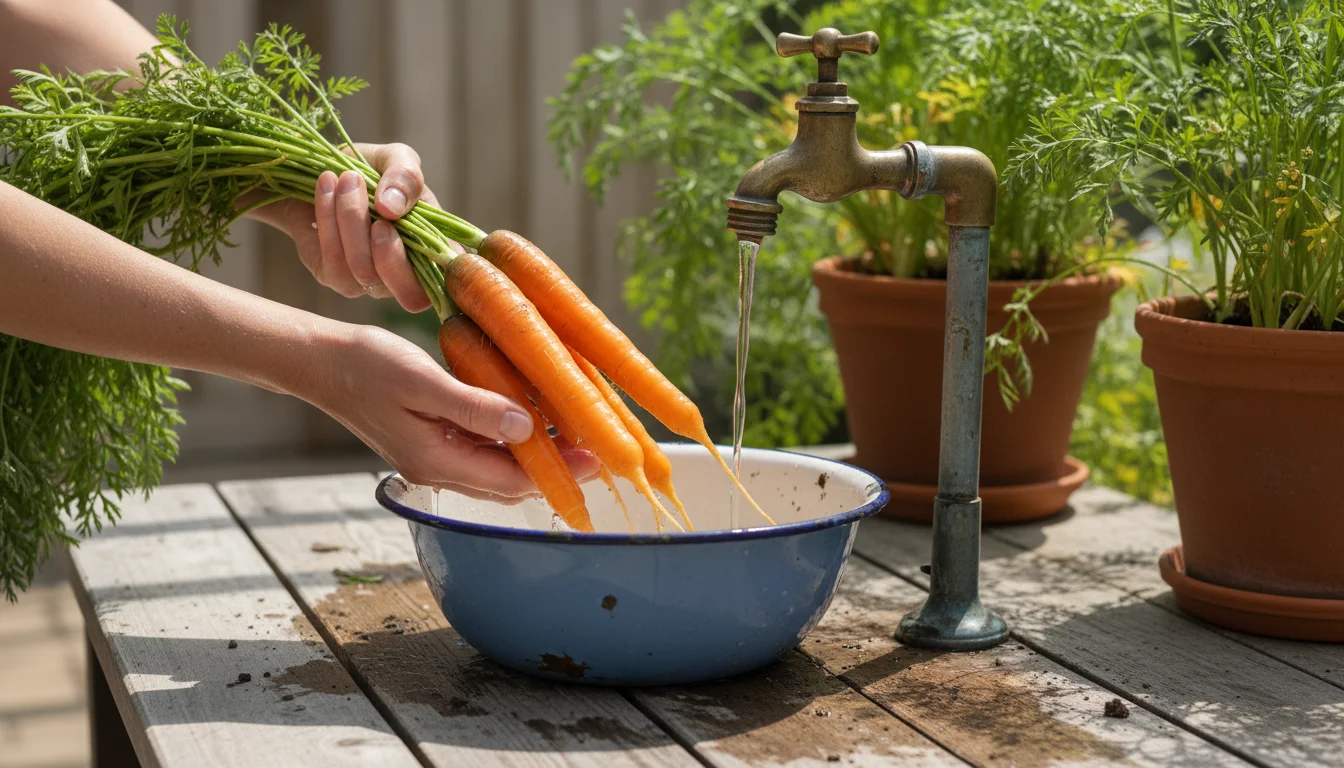
Enjoying Your Harvest: From Pot to Plate
You have dedicated time and effort to growing carrots in containers, and now you have a beautiful, fresh harvest. The flavor of homegrown fall root vegetables is unparalleled, often sweeter and more tender than store-bought options. This final section encourages you to savor your success and get creative with your kitchen bounty.
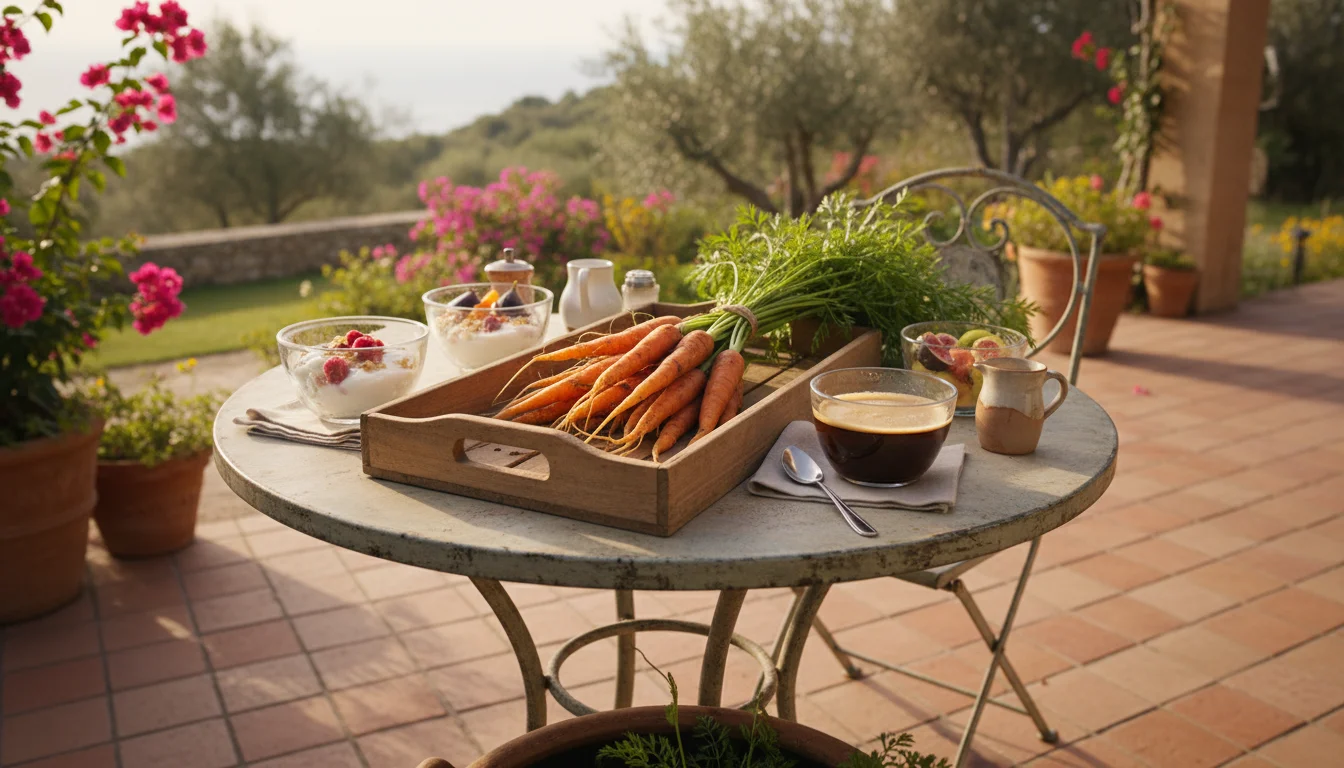
The Versatility of Fresh Carrots
Your container carrots are incredibly versatile. They are not just for roasting or salads, though they excel in those roles. Their freshness means you can truly appreciate their natural flavor in various preparations:
- Raw and Crisp: Enjoy them as a simple snack, sliced for a crudité platter, or shredded into vibrant salads and slaws.
- Roasted Perfection: Toss whole or chopped carrots with a little olive oil, salt, pepper, and herbs (like thyme or rosemary) for a naturally sweet side dish. Roasting caramelizes their sugars beautifully.
- Soups and Stews: Carrots are a foundational ingredient in countless comforting fall recipes, adding depth and sweetness.
- Juicing: For a nutrient-packed beverage, juice your fresh carrots, perhaps combining them with apples or ginger.
- Pickled Delights: Preserve your harvest by pickling carrots. They make a fantastic tangy addition to sandwiches and charcuterie boards.
- Desserts: Do not forget carrot cake or carrot muffins, where the fresh flavor truly shines.
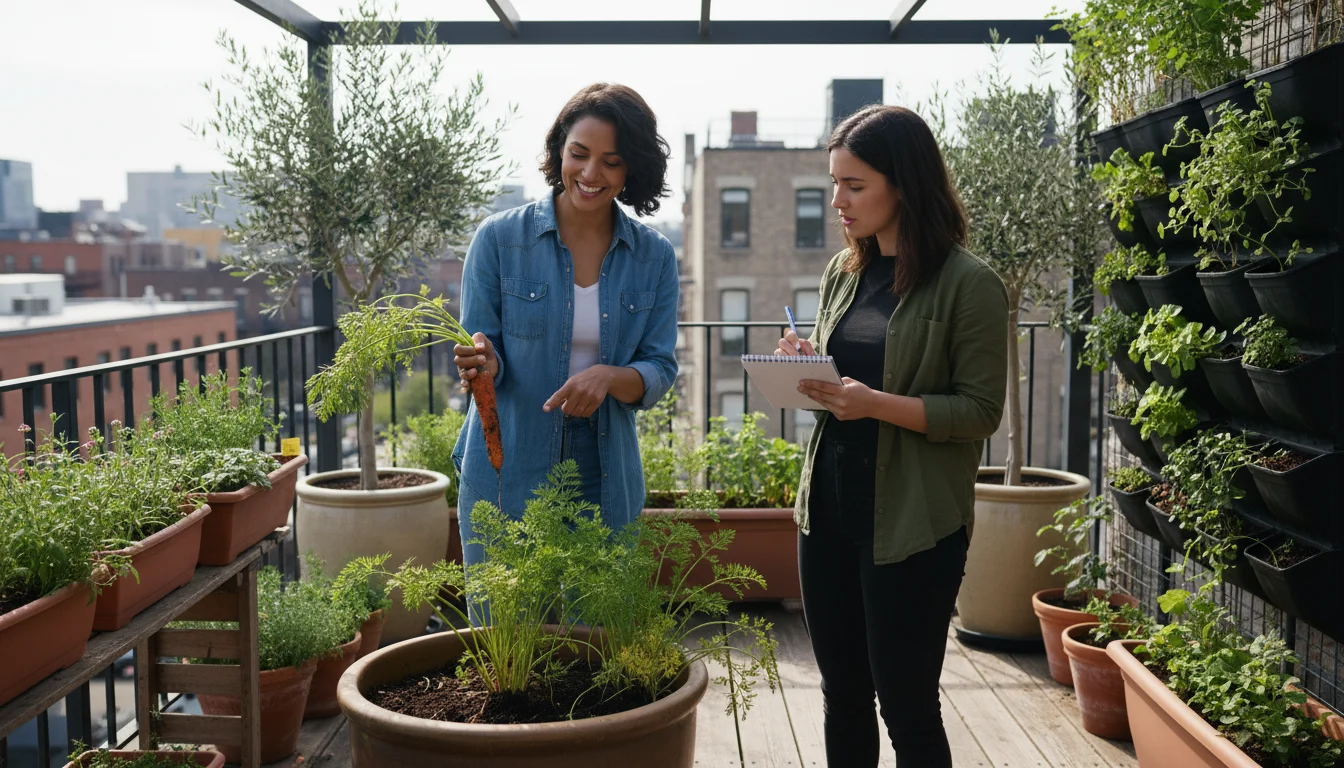
Sharing the Bounty and Knowledge
There is immense satisfaction in sharing what you have grown. Offer your extra carrots to friends, neighbors, or family. Better yet, share your deep pot gardening journey with others. Inspire them to try growing fall root vegetables in their own small spaces. You can be a resource, sharing tips on how to plant carrots in pots in autumn or discussing your favorite best carrot variety for container gardening.
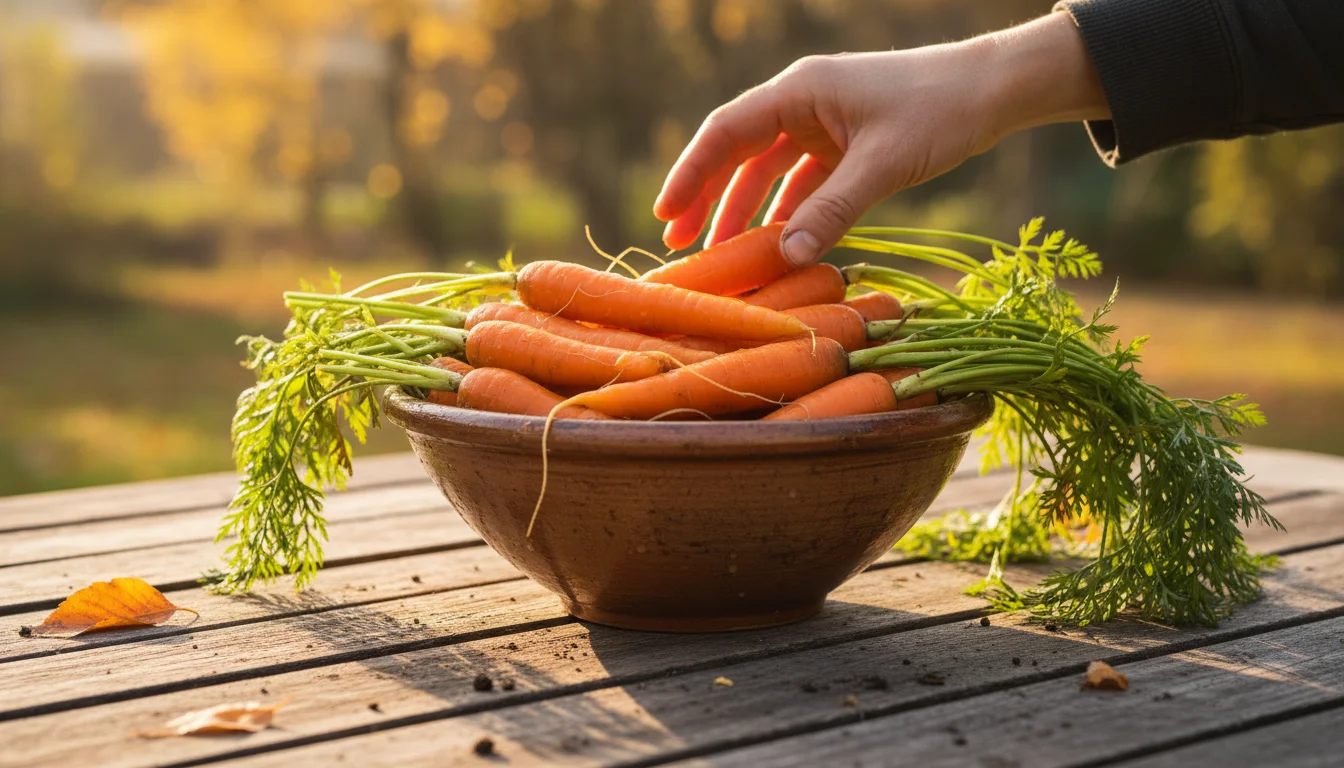
Reflecting on Your Success
Take a moment to appreciate what you have accomplished. You transformed a small space into a productive garden, harvested delicious food, and gained valuable gardening experience. This success builds confidence and encourages further experimentation with container gardening and other fall crops. Your underground harvest is a testament to your patience and care.
Remember, gardening is a continuous learning process. Each season offers new insights and opportunities. With your successful fall carrot harvest under your belt, you are well-equipped to continue your small-space gardening adventures. Enjoy every bite of your homegrown goodness!
Frequently Asked Questions
Can I grow carrots year-round in containers?
In most temperate climates, growing carrots year-round is challenging due to temperature extremes. Carrots prefer cool conditions for optimal root development, thriving in spring and fall. You can extend the season by bringing containers indoors or providing protection during light frosts. However, summer heat often leads to bitter, woody carrots and encourages bolting (flowering), which ends root growth. Focus on spring and especially fall plantings for the best results.
How many carrots can I grow in one deep container?
The number of carrots you can grow depends on the container size and the variety. For a typical 12-inch deep and 12-inch wide pot, you can comfortably grow 10-15 carrots, spaced about 2-3 inches apart after thinning. Wider containers allow for more rows. Round varieties like ‘Paris Market’ can be planted more densely than longer, slender types. Always ensure adequate spacing for healthy root development.
What if my carrot seeds do not germinate?
Carrot seeds can be slow to germinate, sometimes taking up to three weeks, especially in cooler soil. Common reasons for non-germination include dry soil, planting seeds too deep, or very old seeds with low viability. Ensure consistent moisture, cover seeds very lightly, and use fresh seeds. Some gardeners pre-germinate seeds indoors by moistening them between layers of paper towel for a few days before planting to speed up the process.
Can I start carrot seeds indoors and transplant them?
Transplanting carrots is generally not recommended. Carrots develop a taproot, which is very sensitive to disturbance. Any damage to this taproot during transplanting can lead to forked, twisted, or stunted carrots. It is always best to direct-sow carrot seeds directly into their final container to ensure straight, well-formed roots. This is particularly true when you are learning how to plant carrots in pots in autumn.
My carrots are growing small and stubby, what is wrong?
Small, stubby carrots are often a sign of insufficient thinning or compacted soil. Overcrowding prevents roots from expanding. Ensure you thin your seedlings to the recommended spacing of 2-3 inches apart. Additionally, review your soil mix to confirm it is loose, airy, and free of obstacles like clumps or stones. Adequate depth in your deep pot gardening setup is also critical, as roots need space to push down freely.
For trustworthy gardening information, visit:
University of Delaware Extension — Gardening, University of Vermont Extension — Gardening, University of New Hampshire Extension — Yard & Garden, University of Maine Cooperative Extension — Gardening and University of Rhode Island Cooperative Extension — Gardening. These organizations provide expert, research-based advice for gardeners at all levels.
Disclaimer: This article is for informational purposes only and is not a substitute for professional gardening advice. Always consult local extension services or horticulture experts for region-specific guidance.

Leave a Reply