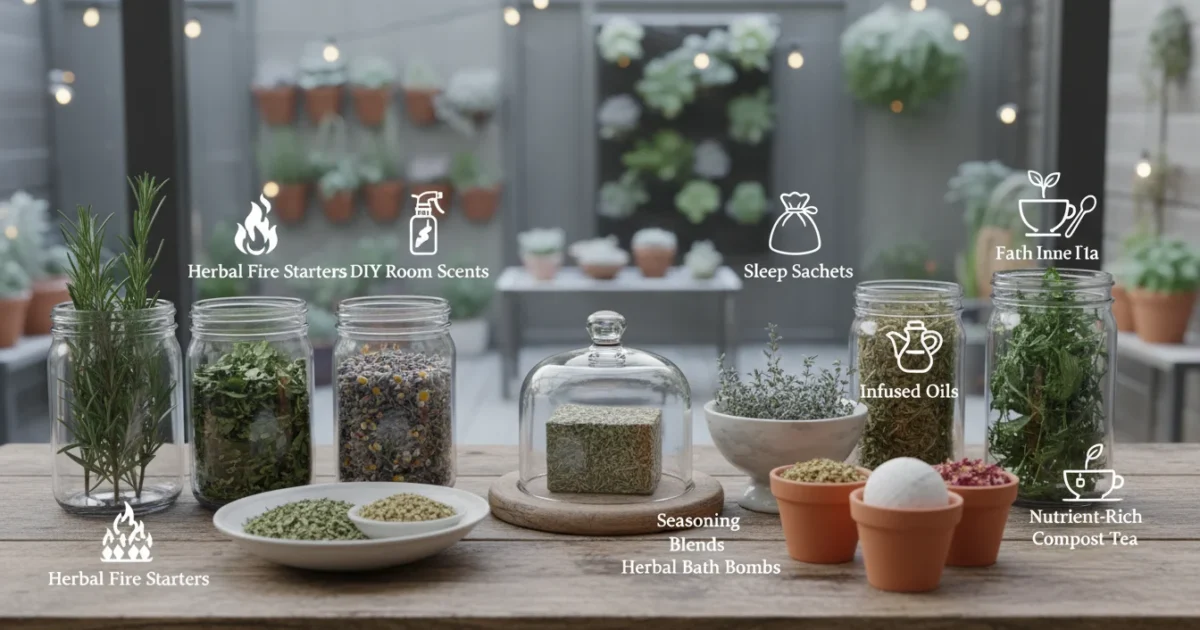
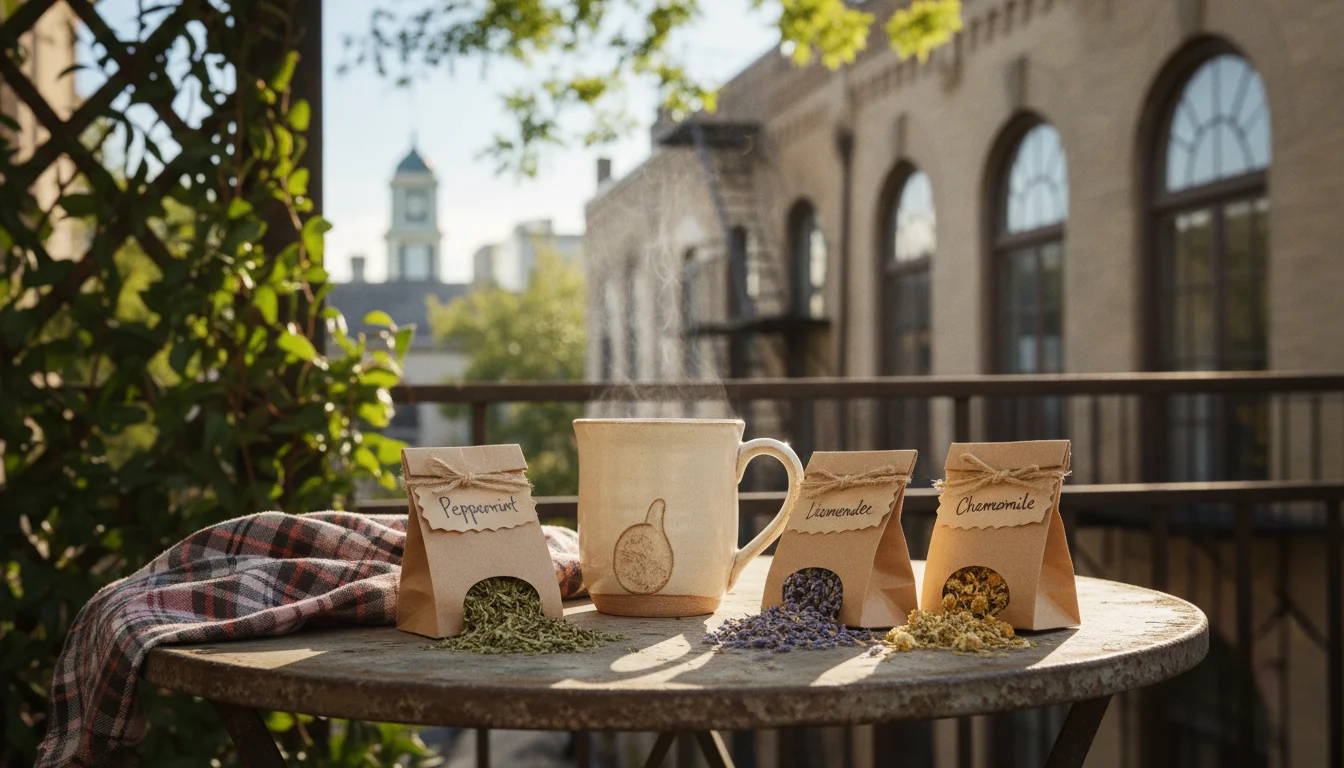
Beyond Tea: 7 Creative Ways to Use Your Dried Balcony Herbs All Winter Long
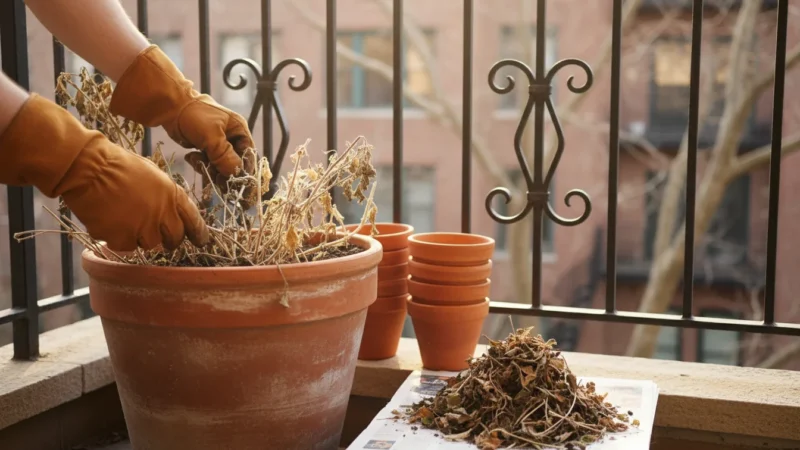
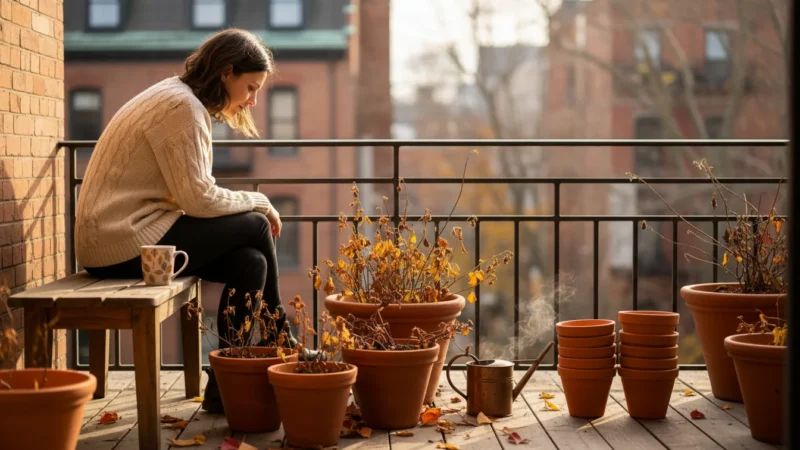
Your balcony garden provides a rewarding summer full of fresh, aromatic herbs. You carefully nurtured those basil plants, watched the mint flourish, and harvested fragrant lavender. When winter approaches, many gardeners assume the utility of their herbs diminishes, perhaps only suitable for a comforting cup of tea. Think again! Drying your homegrown herbs preserves their essence, allowing you to extend your harvest far beyond the growing season. This proactive step transforms a summer’s bounty into a treasure chest of possibilities for the colder months.
Before the frost hits, make sure you also know how to save seeds from your favorite plants to prepare for next spring.
If you want to focus on health-boosting properties, consider building a windowsill apothecary to support your wellness all season.
Small-space gardening often means maximizing every inch and every harvest. By creatively using your dried herbs, you not only enjoy their benefits year-round, you also embrace a sustainable approach to gardening. This guide shows you how to transform your preserved herbs into practical, beautiful, and delicious creations. Prepare to unlock the full potential of your balcony harvest and bring the joy of your garden indoors, even when snow covers the ground.
The Abundant Harvest: Why Dry Your Balcony Herbs?
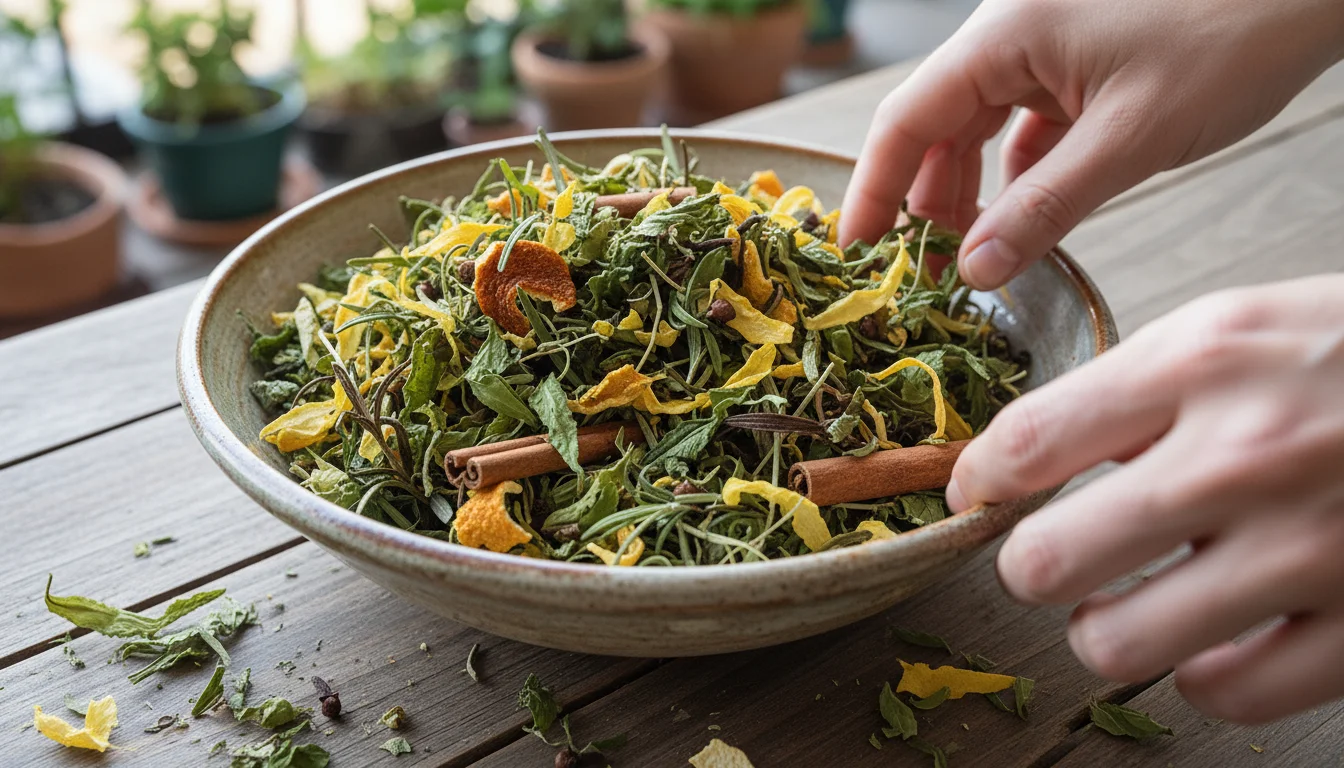
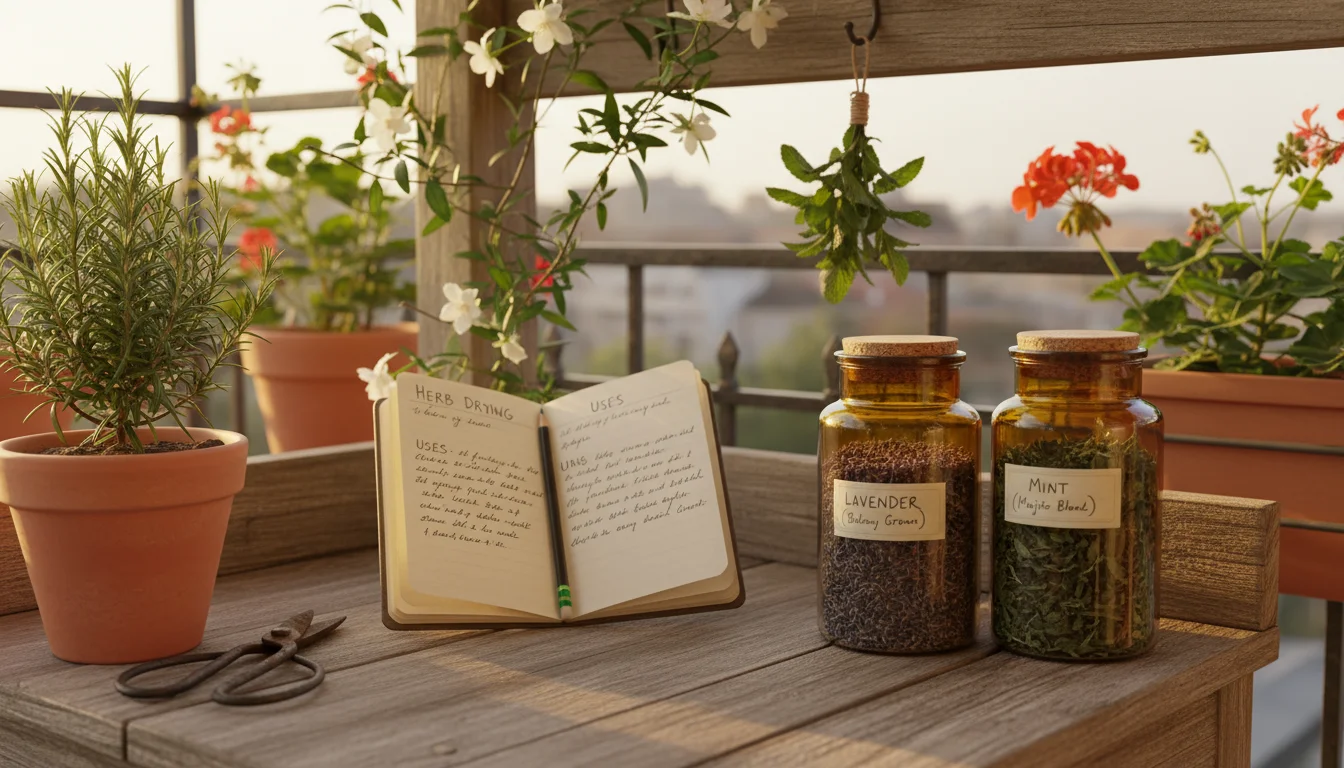
Preserving your herbs extends their life and keeps their aroma and flavor vibrant long after the growing season ends. Drying removes moisture, preventing spoilage and concentrating the natural compounds that give herbs their distinct characteristics. For balcony gardeners, this means no wasted harvest and a continuous connection to your gardening efforts. It empowers you to utilize every sprig and leaf you diligently cultivated, transforming fleeting freshness into enduring utility.
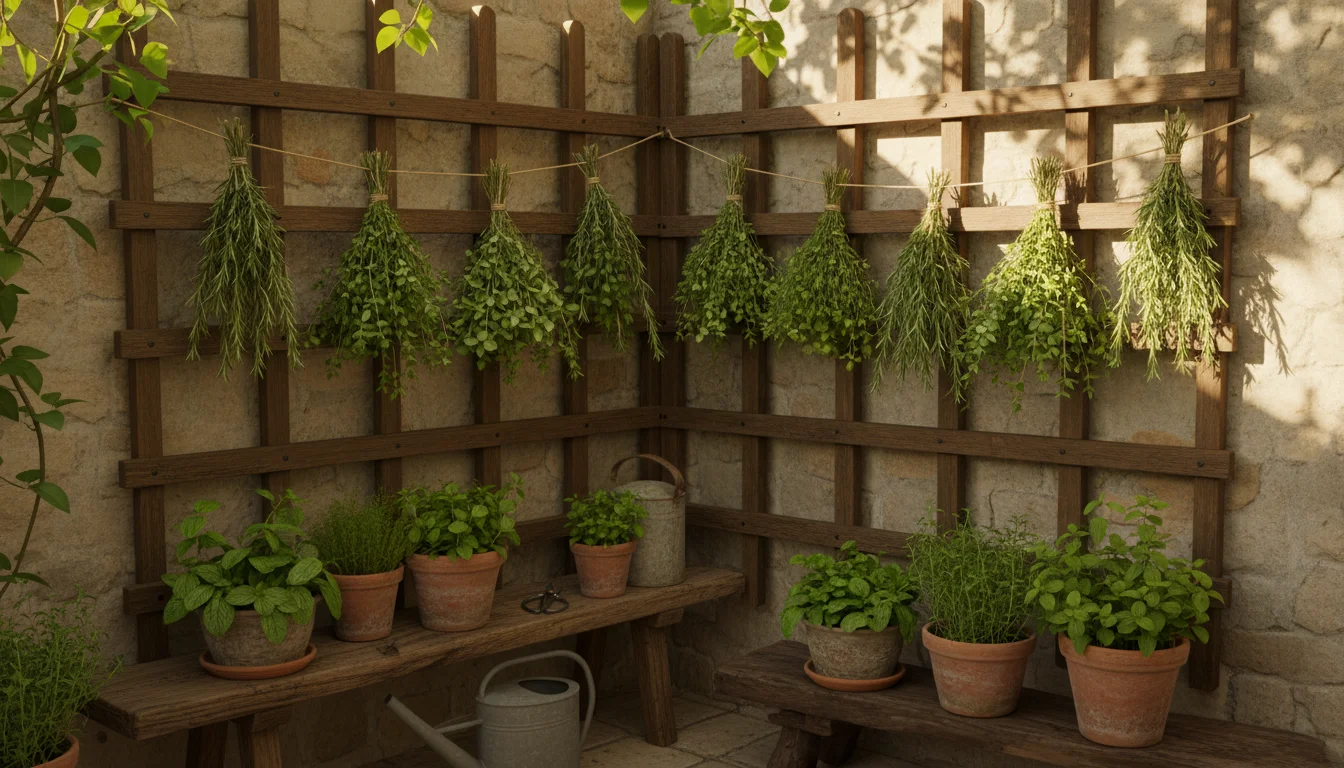
Properly harvesting and drying herbs in the fall is the essential first step toward building a successful winter herbal pantry.
The process of drying herbs is straightforward and requires minimal equipment. You can air-dry herbs by hanging bundles in a warm, dark, well-ventilated space. Alternatively, use a dehydrator set to a low temperature, or even your oven on its lowest setting with the door ajar. Ensure your herbs are completely dry, brittle to the touch, before storage. Any residual moisture leads to mold, rendering your hard work useless. Store dried herbs in airtight containers away from direct sunlight and heat to maintain their potency for six months to a year. Properly dried and stored herbs retain approximately 70-80% of their fresh flavor, making them incredibly valuable for culinary and craft projects.
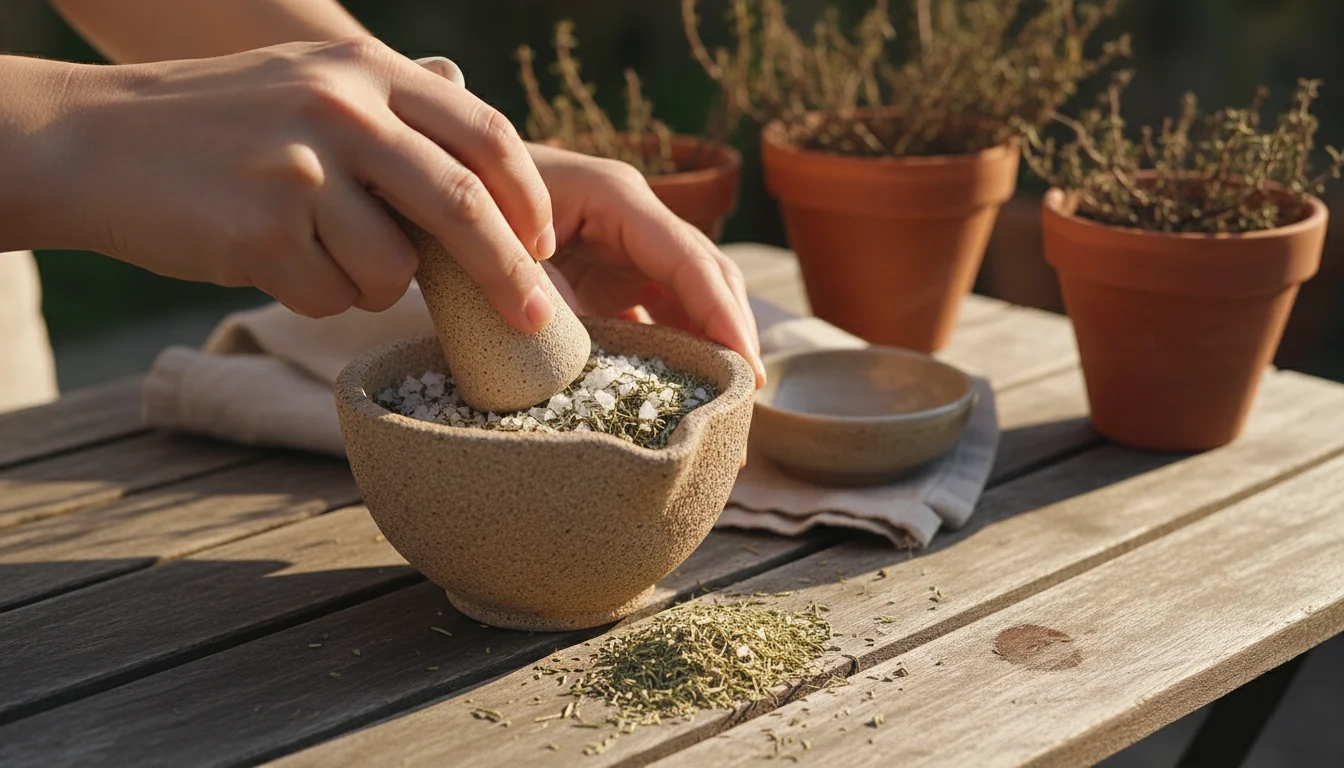
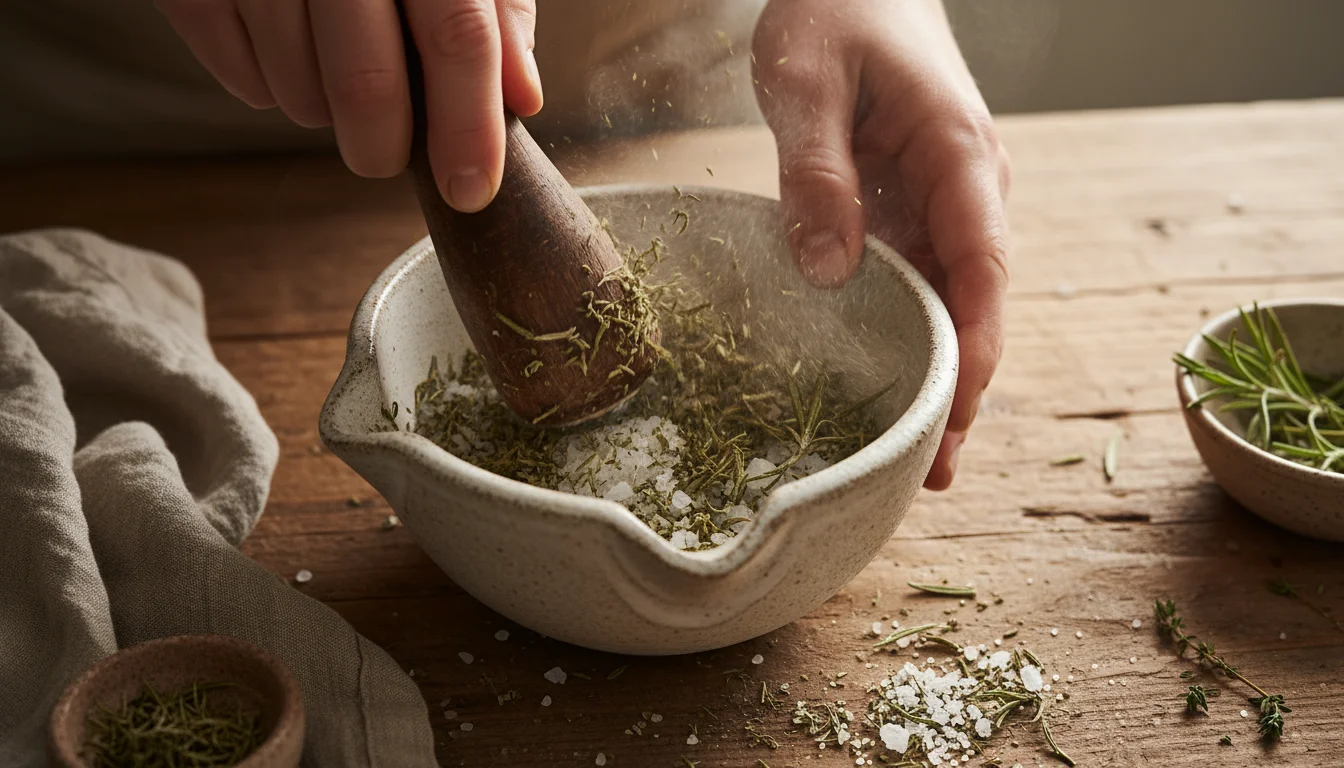
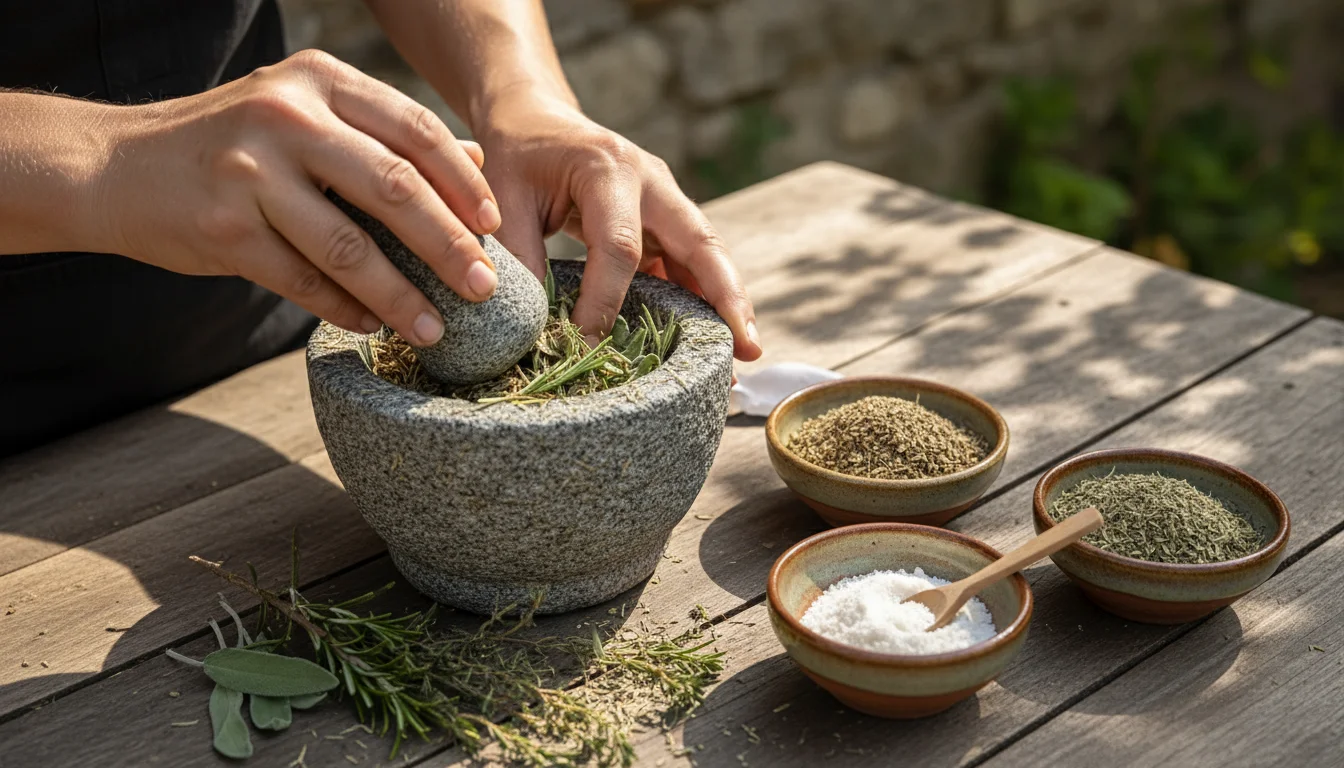
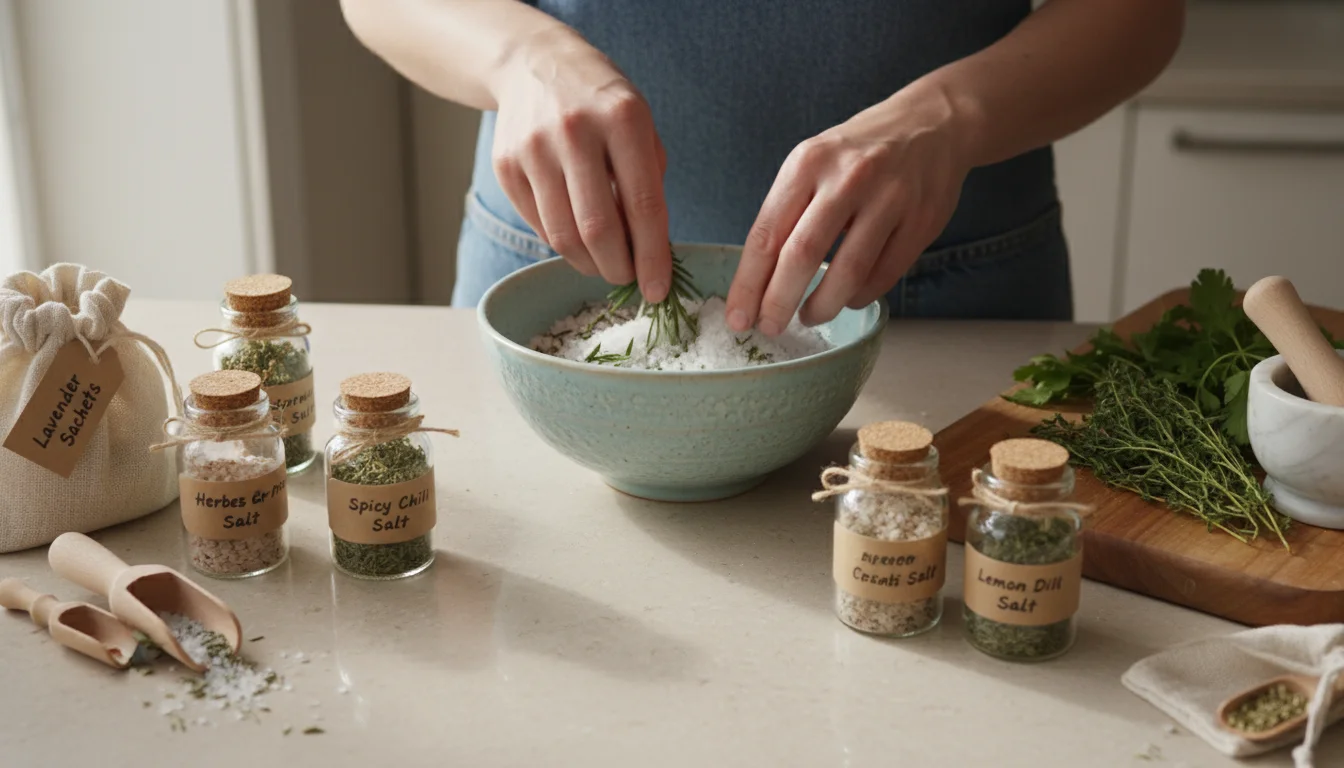
1. Crafting Flavorful Finishing Salts
Elevate your cooking with custom herb-infused finishing salts. These gourmet salts add a burst of flavor and a touch of elegance to any dish. They make excellent hostess gifts and showcase your gardening prowess in a delicious way. The key lies in selecting high-quality sea salt and combining it with your finely ground dried herbs. This process allows the salt crystals to absorb the aromatic oils from the herbs, creating a complex flavor profile.
You can also use these same drying principles for preserving your final balcony flowers to keep your home bright during the dark months.
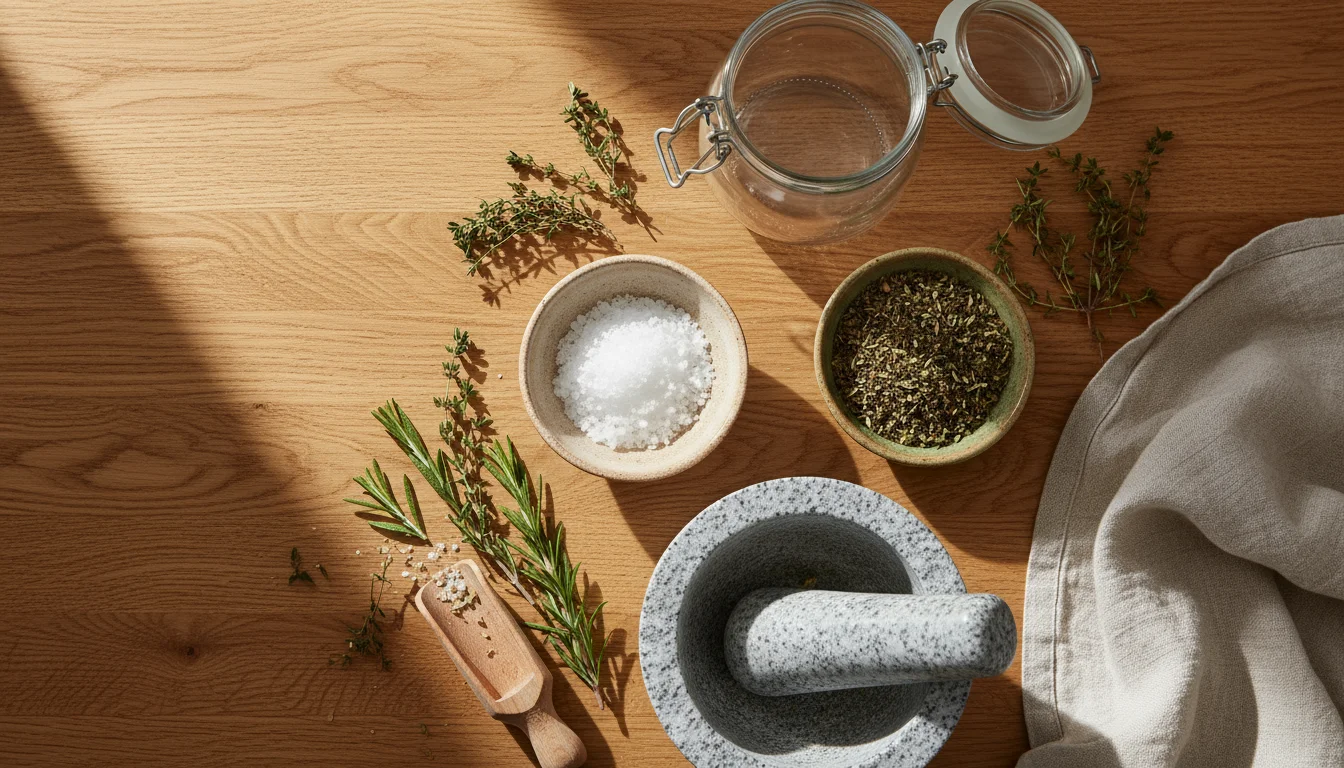


What You Need:
- 1 cup coarse sea salt or Kosher salt
- 2-3 tablespoons dried herbs, finely crushed (e.g., rosemary, thyme, oregano, sage, a blend of savory herbs, or even dried mint from the garden)
- A clean mortar and pestle or a small food processor
- An airtight jar for storage
Step-by-Step Guide:
- Prepare Your Herbs: Ensure your dried herbs are completely brittle. If they are not, gently crush them with your fingers or a rolling pin.
- Combine Ingredients: Place the sea salt and crushed dried herbs into a mortar. If using a food processor, pulse until the herbs are finely integrated with the salt, taking care not to over-process into a powder.
- Grind and Mix: Using your mortar and pestle, grind the salt and herbs together. This action further breaks down the herbs and helps release their essential oils, infusing them into the salt crystals. Continue until the herbs are evenly distributed and the salt has a consistent color and aroma.
- Spread and Dry (Optional but Recommended): For optimal flavor and moisture reduction, spread the herb salt mixture thinly on a baking sheet lined with parchment paper. Let it air dry for 24-48 hours in a dry room. This ensures no residual moisture from the herbs causes clumping.
- Store: Transfer the dried herb salt into an airtight jar. Label it clearly with the herb type and the date. Store in a cool, dark pantry.
Pro Tip: Experiment with different herb combinations. A blend of dried rosemary, thyme, and lemon zest (dried separately) creates a Mediterranean-inspired salt perfect for roasted vegetables or grilled chicken. Dried lavender adds a unique floral note to desserts or rimming glasses for cocktails. These creative uses for dried herbs demonstrate how versatile your balcony harvest can be.
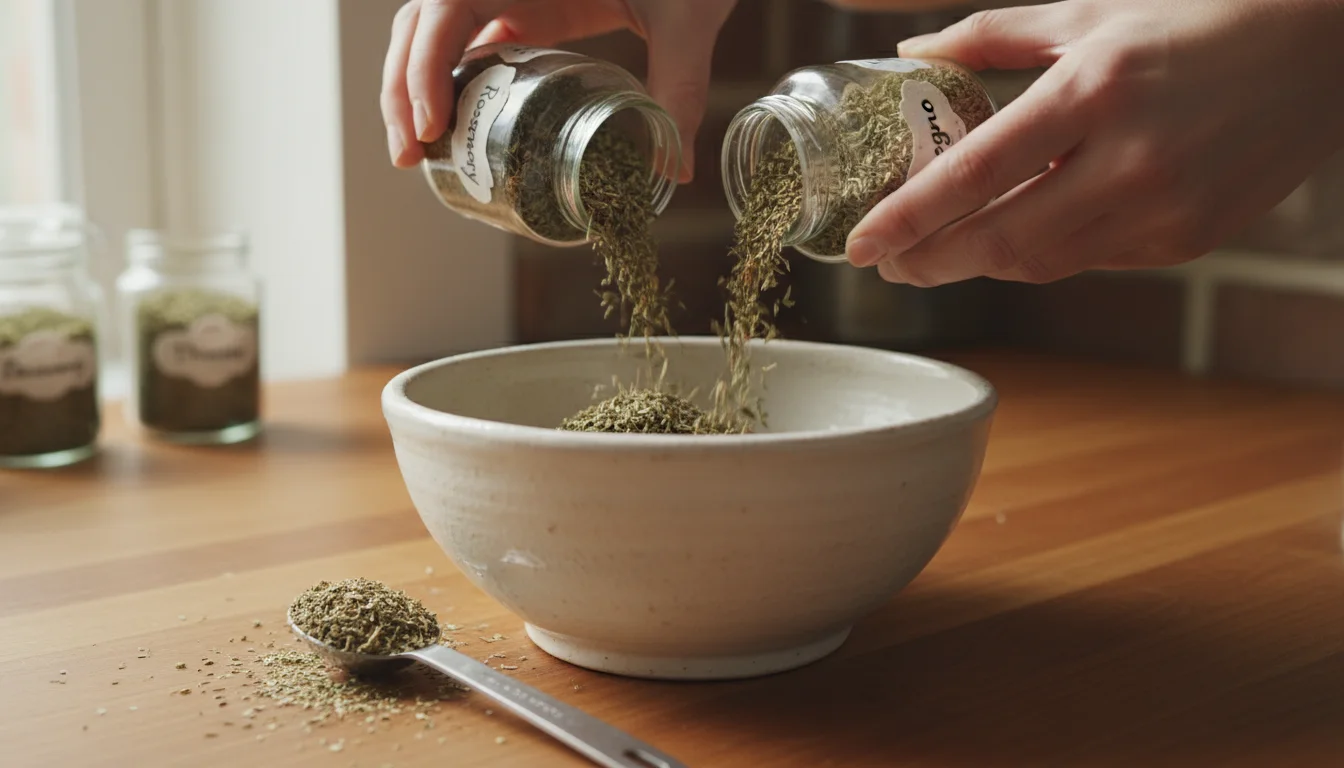
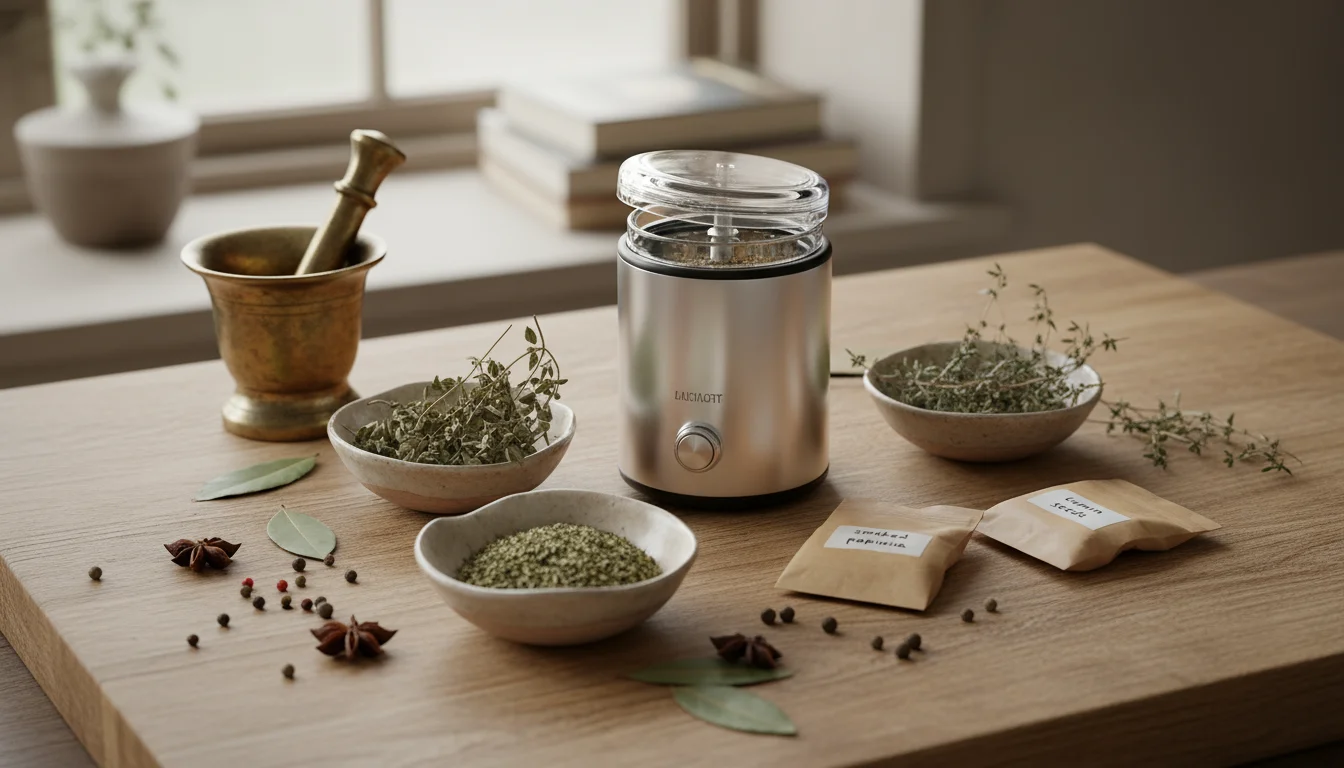
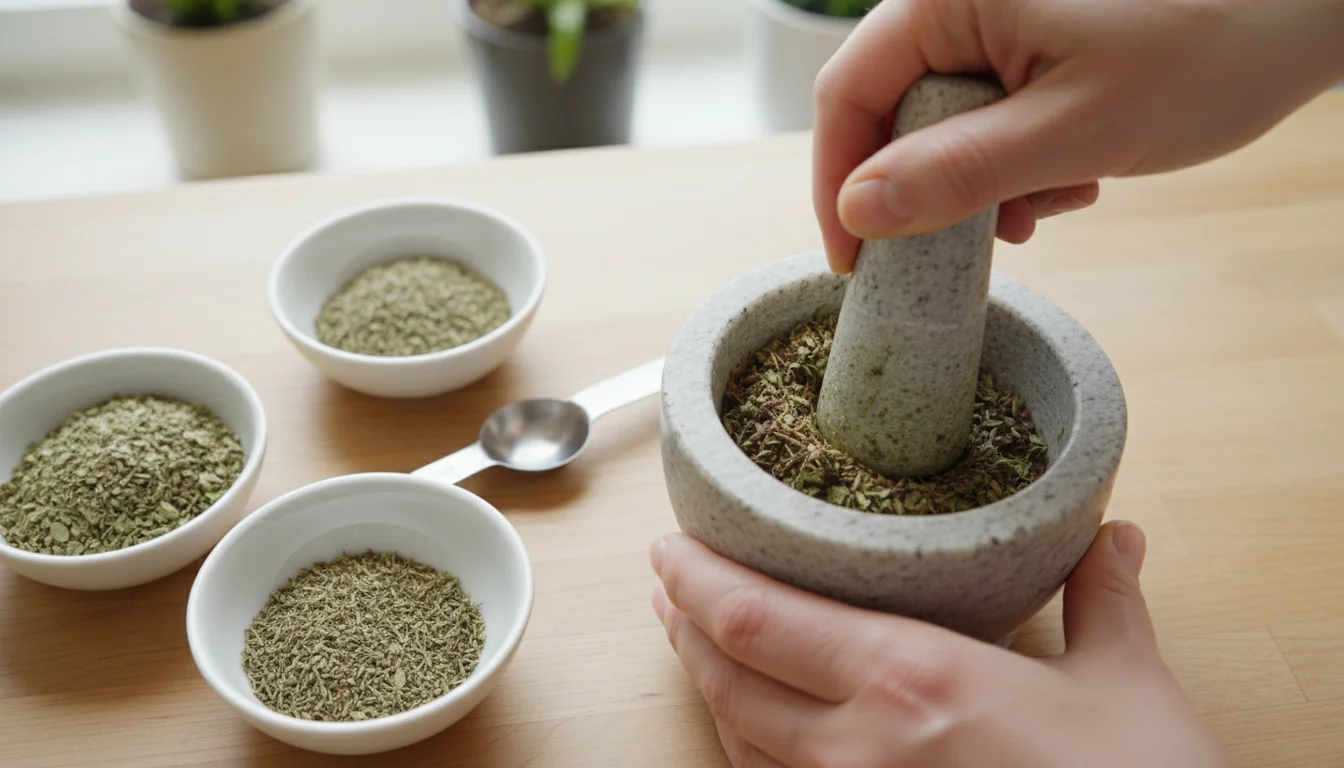
2. Blending Custom Herb Rubs and Spice Mixes
Beyond salt, your dried balcony herbs form the perfect foundation for custom spice rubs and seasoning blends. Store-bought mixes often contain fillers or excessive sodium. By making your own, you control the ingredients, ensuring freshness and tailoring flavors precisely to your taste. This allows you to explore unique combinations, making your winter meals truly special. Using dried herbs in this way transforms your kitchen into an apothecary of flavors, ready for any culinary adventure.
What You Need:
- Assortment of dried herbs (e.g., oregano, basil, thyme, marjoram, sage, parsley, dried mint from the garden for specific blends)
- Other spices (garlic powder, onion powder, paprika, black pepper, cumin, coriander)
- A clean spice grinder, coffee grinder (dedicated to spices), or mortar and pestle
- Airtight containers or spice jars
Step-by-Step Guide:
- Select Your Herbs and Spices: Choose herbs that complement each other. For example, a “poultry blend” might include dried sage, rosemary, thyme, and marjoram. A “pizza blend” could feature dried oregano, basil, and a touch of garlic powder.
- Measure and Combine: Start with equal parts of your primary herbs, then add smaller amounts of other spices to taste. For instance, combine 2 tablespoons each of dried oregano and basil, 1 tablespoon of dried thyme, 1 teaspoon of garlic powder, and 1/2 teaspoon of black pepper for an Italian-inspired blend.
- Grind to Desired Consistency: Place all ingredients into your spice grinder or mortar. Grind until the mixture reaches a fine powder or a coarser texture, depending on your preference. For rubs, a slightly coarser grind often works well.
- Test and Adjust: Taste a small pinch of your blend. Add more of any herb or spice to achieve your desired flavor profile. Remember, you can always add more, but you cannot take away.
- Store: Transfer your custom herb rub or spice mix into an airtight spice jar. Label with the name of the blend and the date. Store in a cool, dark place for up to six months for optimal flavor.
Recipe Example: Savory Poultry Rub
Combine 2 tablespoons dried sage, 2 tablespoons dried rosemary, 1 tablespoon dried thyme, 1 tablespoon dried marjoram, 1 teaspoon garlic powder, 1/2 teaspoon onion powder, 1/2 teaspoon black pepper, and 1/4 teaspoon cayenne pepper (optional for heat). Grind everything together. Use this rub generously on chicken, turkey, or pork before roasting.
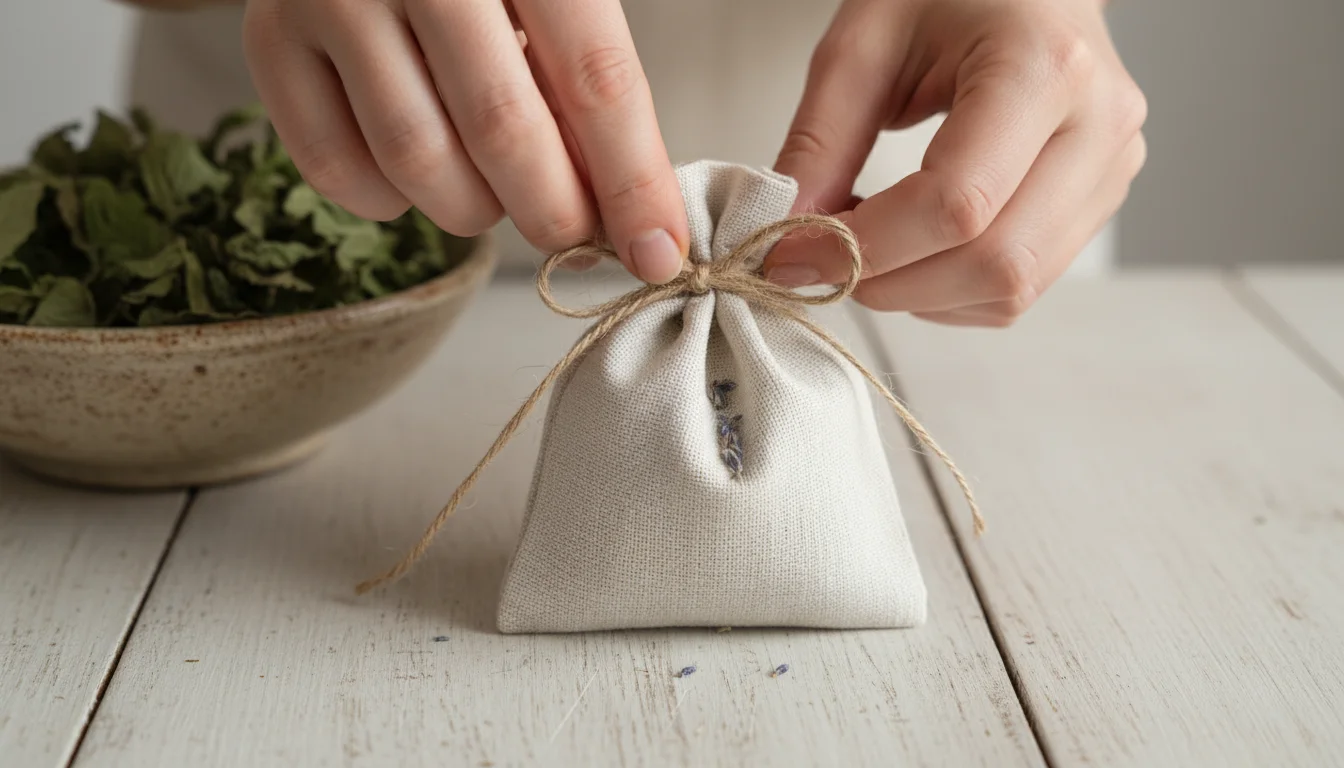
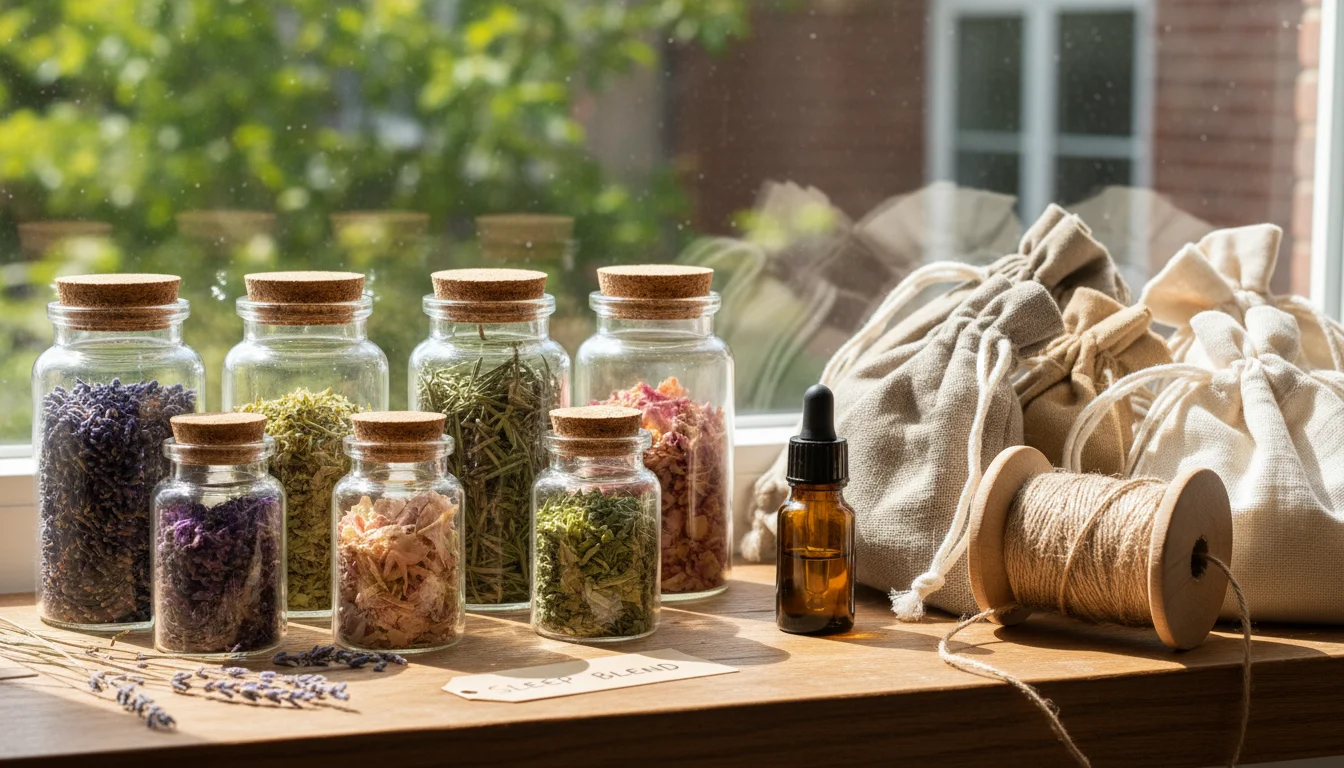
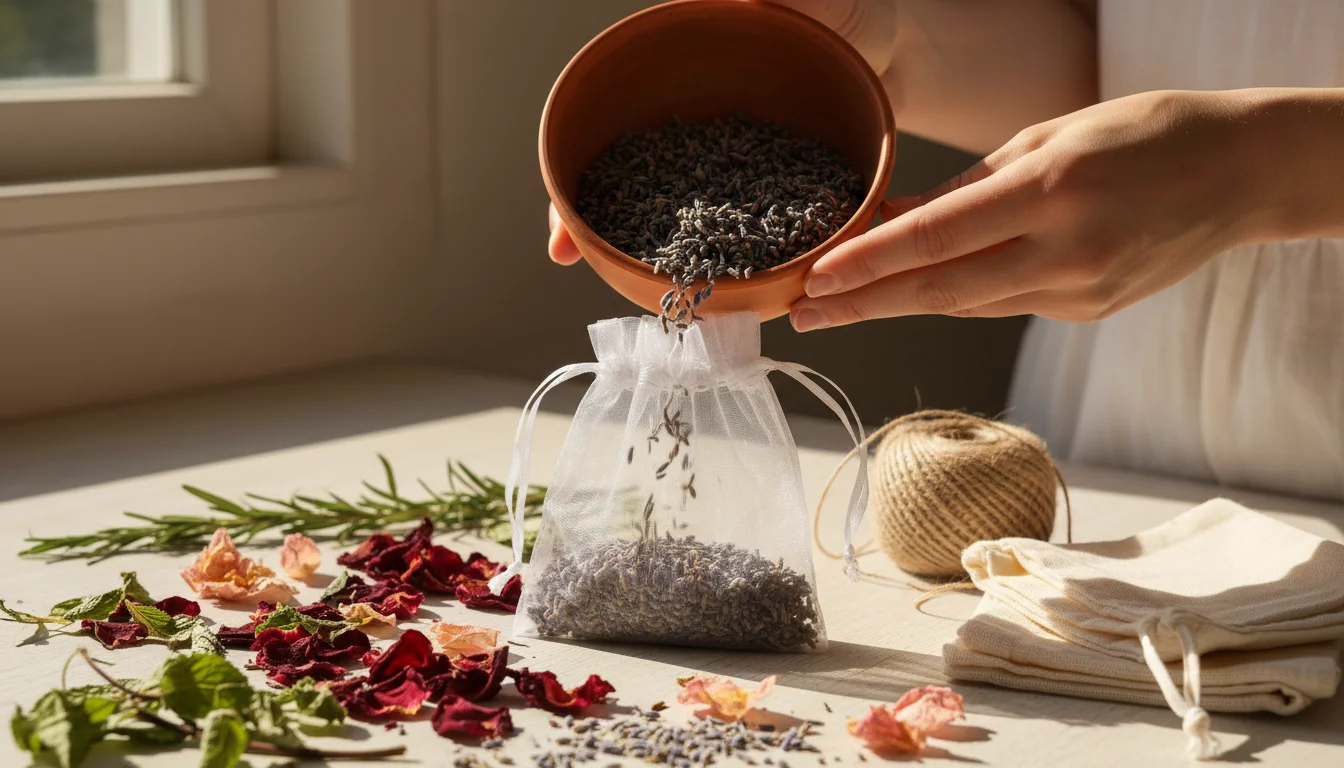
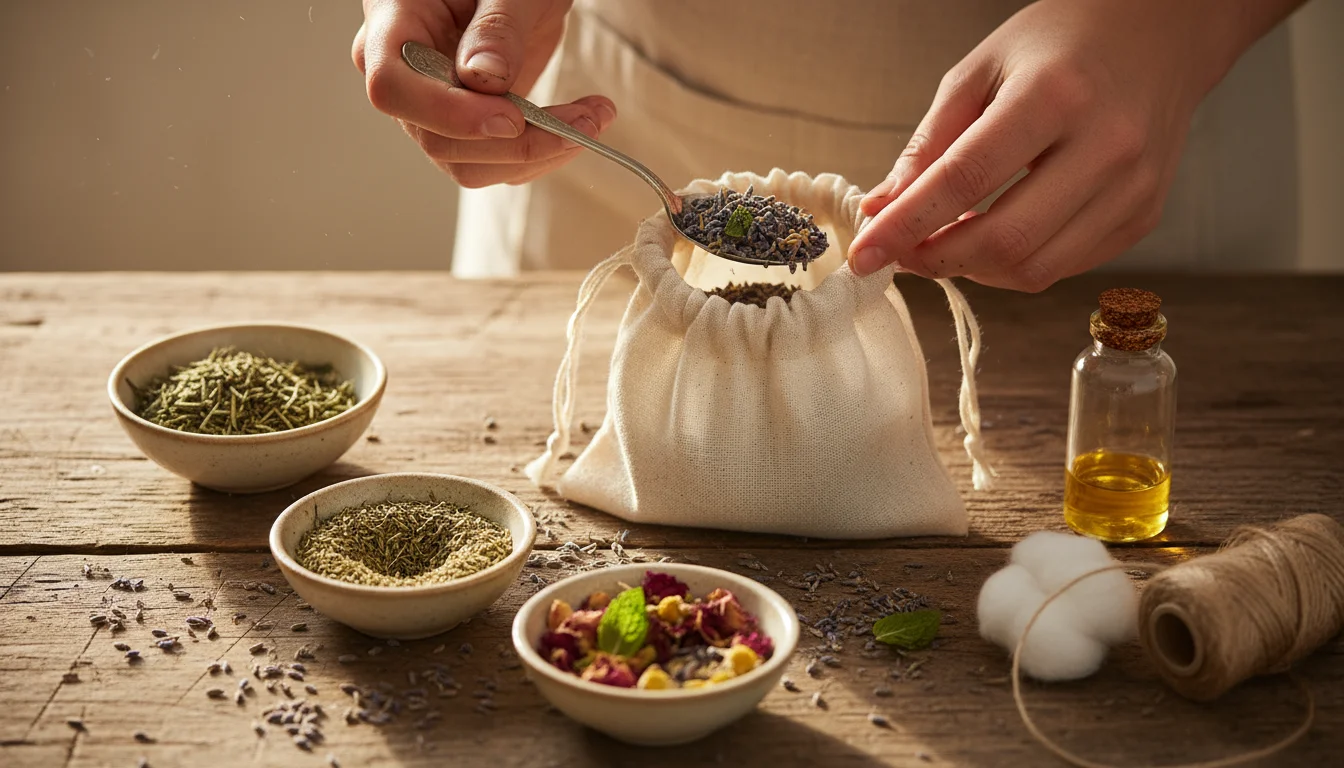
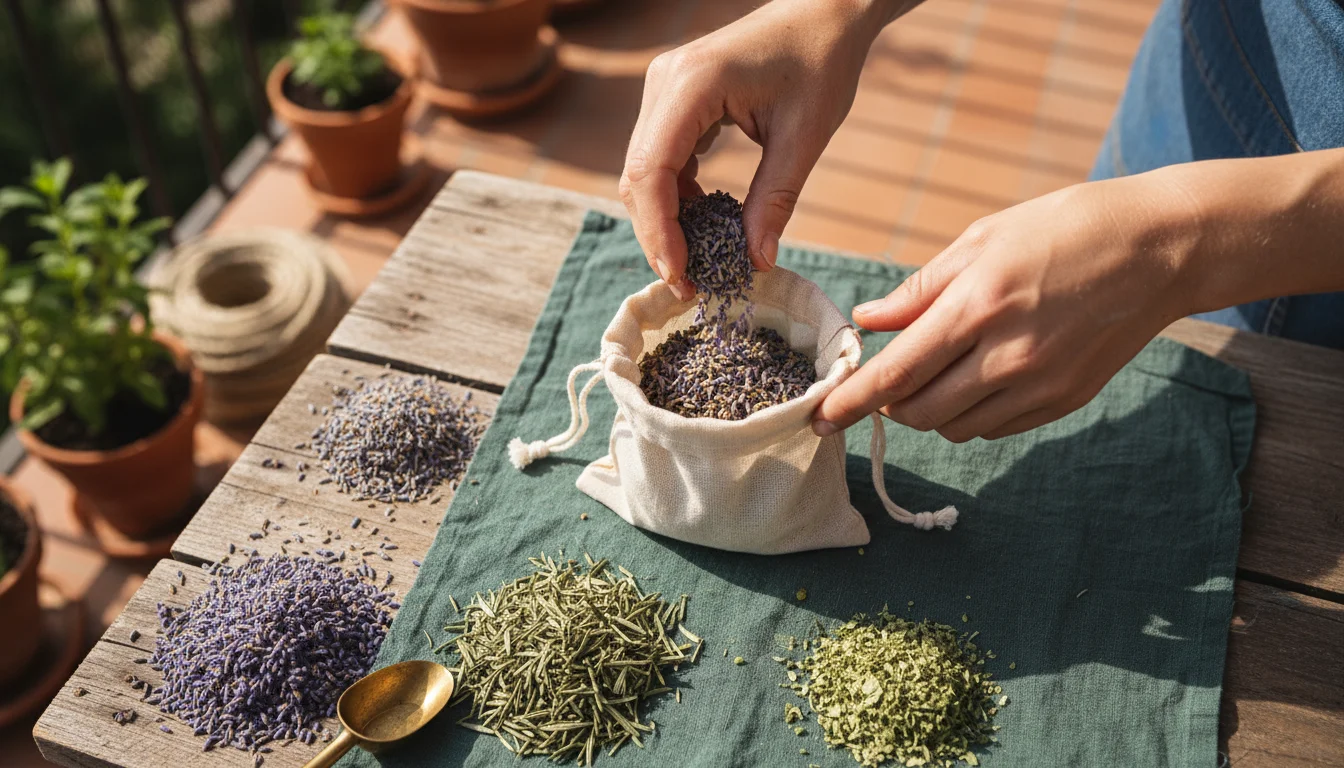
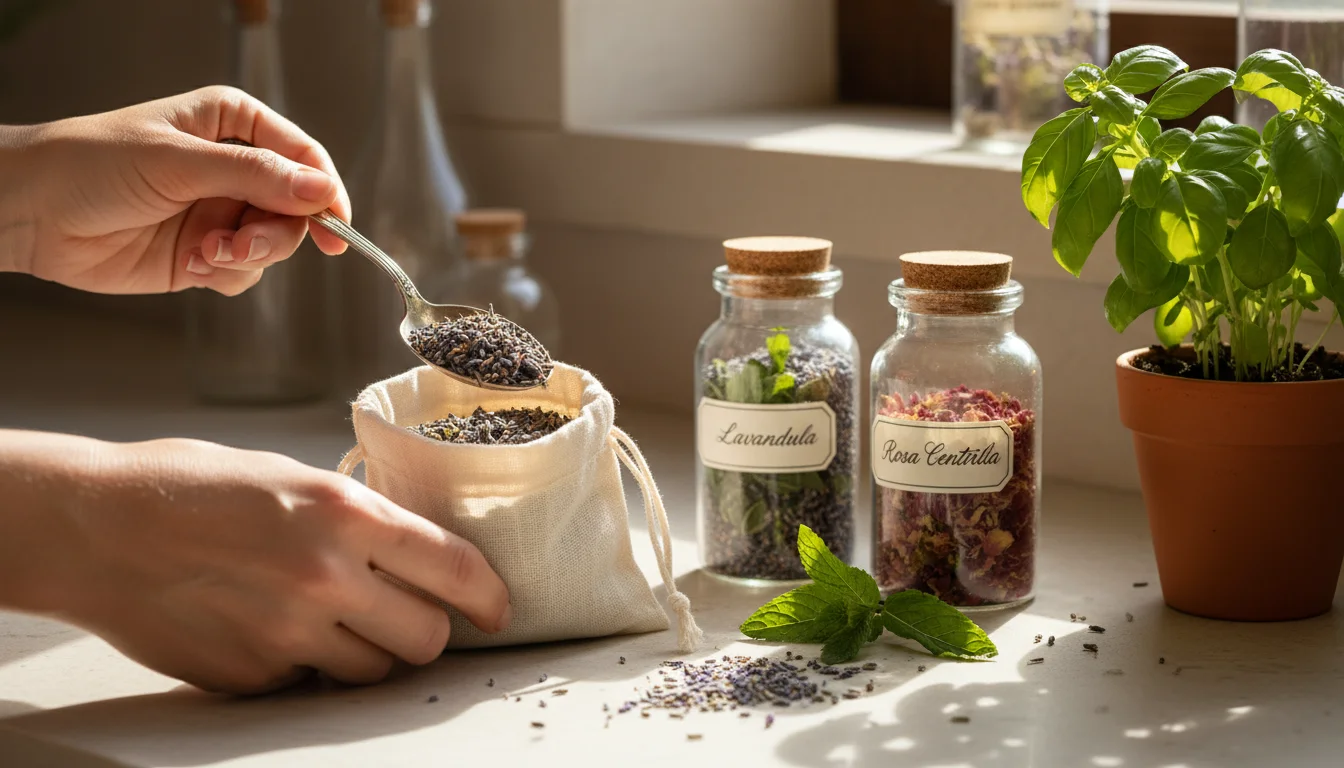
3. Creating Soothing Herb Sachets for Freshness
Dried herbs provide more than just culinary delight; they offer natural fragrance. Creating herb sachets allows you to infuse your home with subtle, calming, or invigorating scents. These small fabric bags filled with herbs freshen drawers, closets, or even pillows. They are a simple, eco-friendly alternative to synthetic air fresheners, embodying the true essence of `DIY herb crafts`. Imagine the delicate scent of lavender or the refreshing aroma of what to do with dried mint from the garden wafting from your linen closet.
What You Need:
- Dried herbs (lavender, dried mint from the garden, rosemary, lemon verbena, rose petals)
- Small fabric bags (muslin, organza, or cotton, roughly 3×4 inches)
- Ribbon or twine
- Optional: Cotton balls, a few drops of essential oil (to boost scent, if desired)
Step-by-Step Guide:
- Select and Prepare Herbs: Choose your desired dried herbs. Crush them gently with your hands to release their fragrance. Lavender, rosemary, and mint are popular for their strong, pleasant scents.
- Fill the Sachets: Open a small fabric bag. Place 2-3 tablespoons of your dried herb mixture inside. You can blend different herbs for a more complex aroma. For instance, dried lavender with a pinch of dried mint creates a relaxing yet fresh scent.
- Add Optional Boost: If you want to intensify the scent, add a few drops of a complementary essential oil to a cotton ball and place it inside the sachet with the herbs.
- Secure the Sachet: Gather the top of the fabric bag and tie it tightly with a ribbon or piece of twine. Ensure no herbs can escape.
- Placement: Place sachets in drawers, hanging in closets, tucked under pillows, or in any small space that could use a touch of natural fragrance.
Troubleshooting: Scent Fading?
The natural scent of dried herbs eventually fades. To refresh your sachet, gently squeeze it to release more oils. You can also open the sachet and add a few fresh drops of essential oil or simply replace the dried herbs with a new batch from your stored supply.

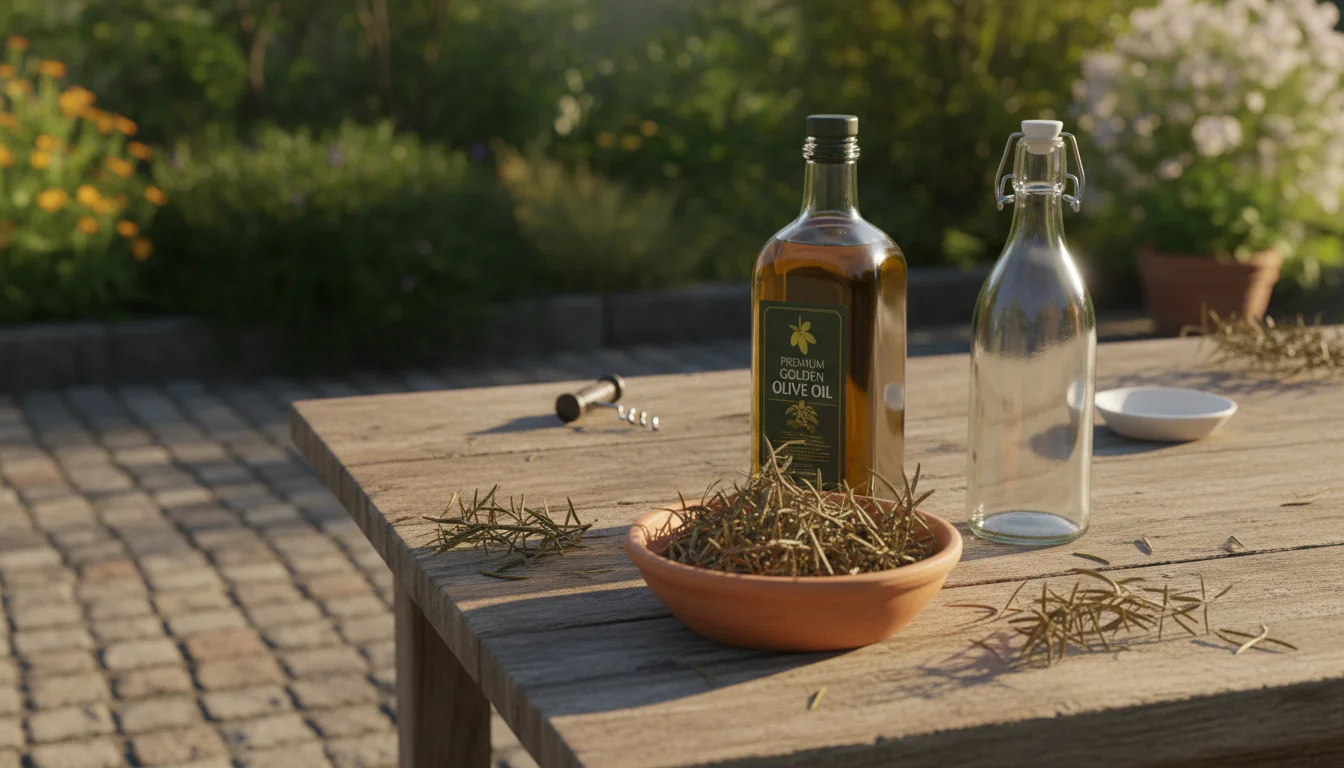
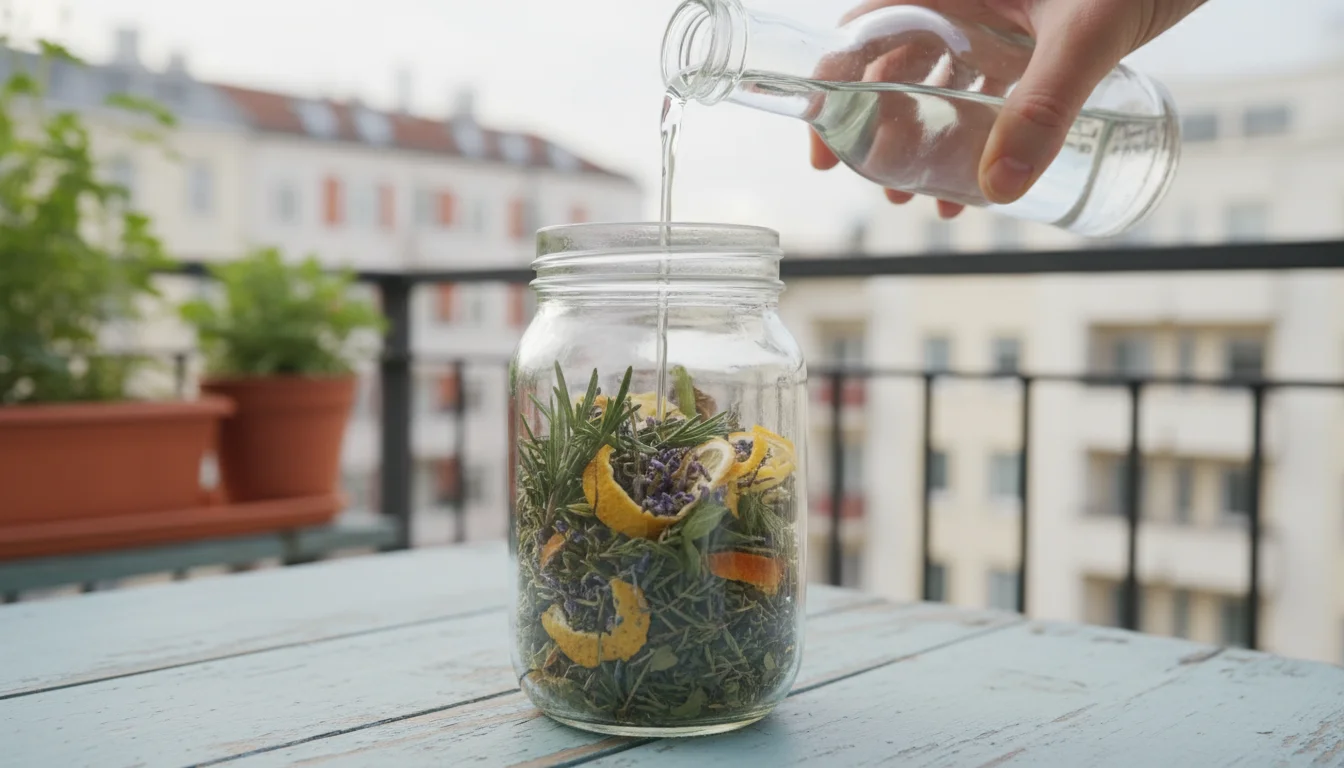
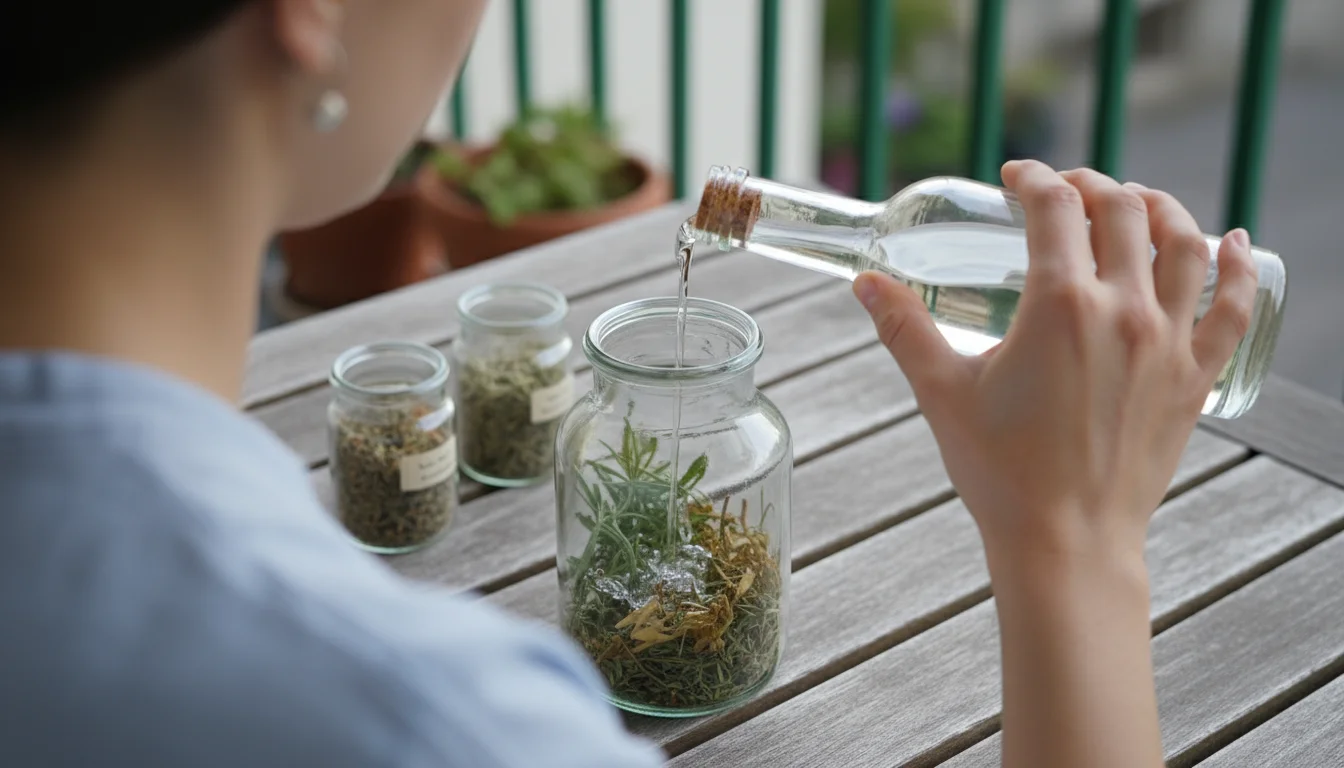
4. Infusing Oils and Vinegars for Gourmet Gifts
Herb-infused oils and vinegars are staples in gourmet cooking, adding a layer of sophisticated flavor to salads, marinades, and dipping sauces. Your dried balcony herbs, such as rosemary, thyme, oregano, or even a spicy chili blend, make perfect candidates for this process. These infusions are fantastic additions to your pantry and make thoughtful, personalized gifts during the winter holidays, embodying the spirit of `preserved herbs` in a practical, delicious form.
You can also create gourmet herb-infused oils and vinegars using leftover thyme or rosemary from your final harvest.
What You Need:
- Dried herbs (rosemary, thyme, oregano, bay leaves, chili flakes from dried peppers)
- High-quality olive oil or a neutral oil like grapeseed oil
- White wine vinegar or apple cider vinegar
- Clean, sterilized glass bottles with airtight lids
- Fine-mesh sieve or cheesecloth
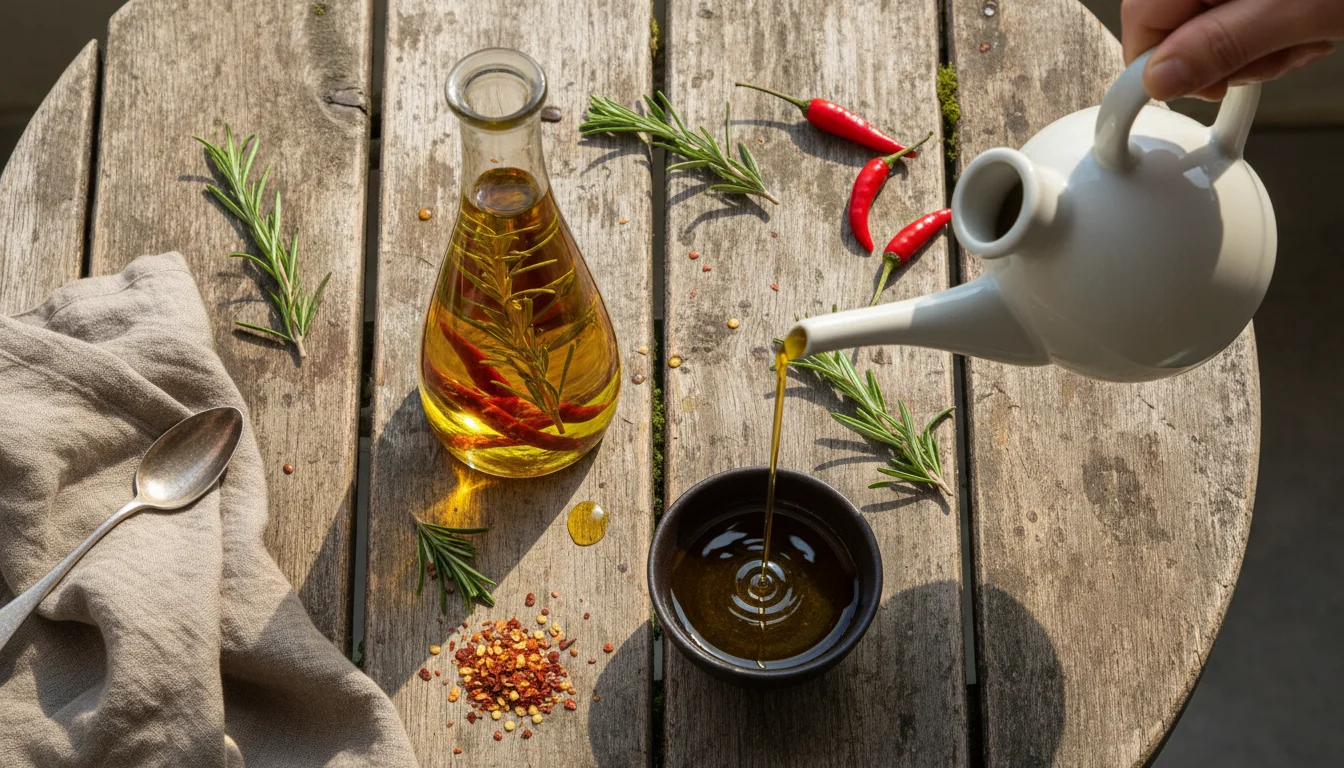
Step-by-Step Guide for Herb-Infused Oil:
- Sterilize Bottles: Wash and sterilize your glass bottles thoroughly. Allow them to air dry completely.
- Prepare Herbs: Place 2-3 tablespoons of dried herbs into each sterilized bottle. You can use whole sprigs of dried rosemary or thyme, or a mix of dried oregano and chili flakes. Ensure herbs are completely dry to prevent bacterial growth.
- Add Oil: Slowly pour your chosen oil over the herbs, filling the bottle to within an inch of the top. Make sure all herbs are submerged to prevent mold.
- Seal and Infuse: Cap the bottles tightly. Place them in a cool, dark place, such as a pantry, for 2-4 weeks. Shake the bottles gently every few days to encourage infusion.
- Strain (Optional): After infusion, you can strain the herbs out using a fine-mesh sieve or cheesecloth for a clearer oil. Some people prefer to leave the herbs in for visual appeal. If leaving herbs in, ensure they remain fully submerged.
- Label and Store: Label your infused oil with the type of herb and the date it was made. Store in a cool, dark place. For safety, consume infused oils within one month, or refrigerate them for up to three months.
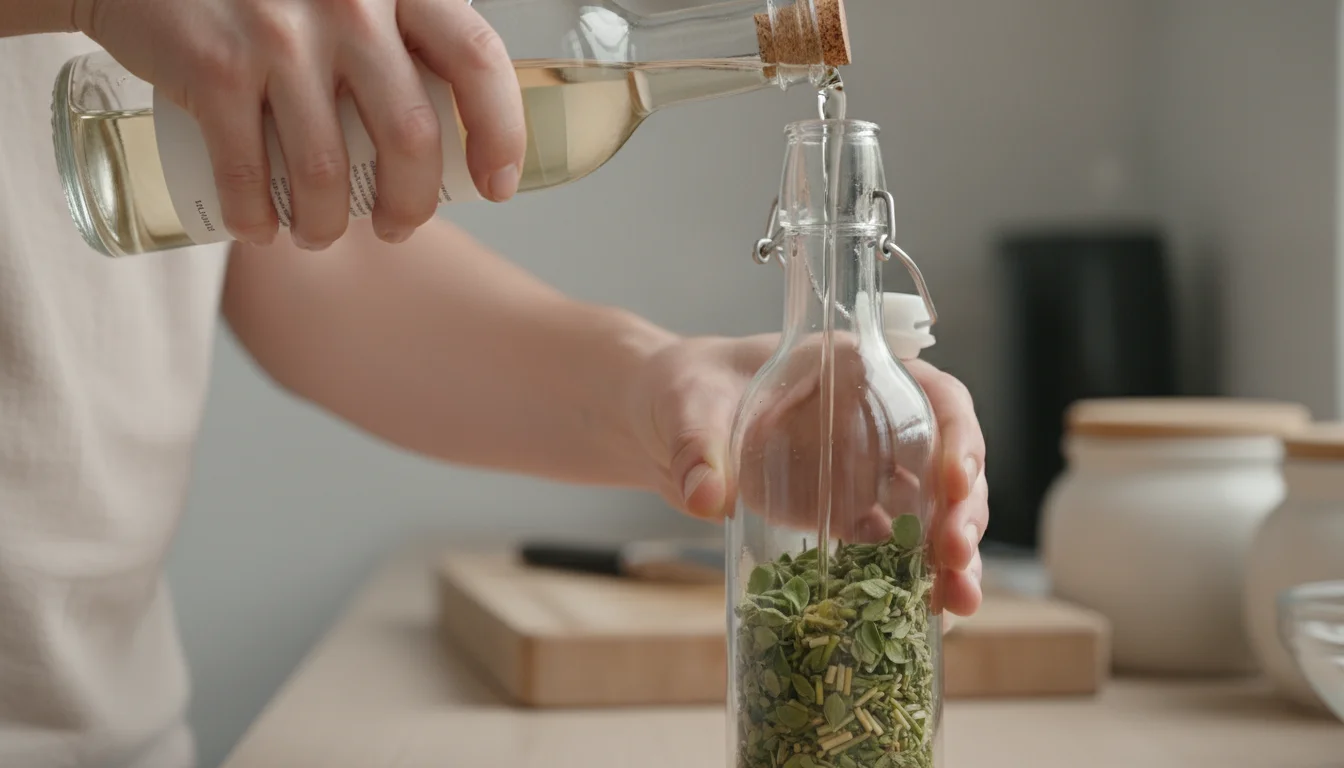
Step-by-Step Guide for Herb-Infused Vinegar:
- Sterilize Bottles: As with oils, thoroughly wash and sterilize your glass bottles.
- Prepare Herbs: Add 2-3 tablespoons of dried herbs to each bottle. Consider savory herbs like dried oregano and thyme, or a blend of dried dill and chives for a unique flavor.
- Add Vinegar: Pour your white wine or apple cider vinegar over the herbs, filling the bottle almost to the top.
- Seal and Infuse: Cap the bottles tightly. Store in a cool, dark place for 2-4 weeks, shaking occasionally.
- Strain: Strain the herbs from the vinegar using a fine-mesh sieve or cheesecloth. This prevents the herbs from deteriorating and clouding the vinegar.
- Label and Store: Transfer the strained infused vinegar back into clean bottles. Label with the herb type and date. Infused vinegars have a much longer shelf life than oils, typically lasting several months to a year in a cool, dark pantry.
Important Safety Note: When infusing oils with fresh herbs, there is a risk of botulism if not prepared and stored correctly, due to the low-oxygen environment. This article focuses on using dried herbs, which significantly reduces this risk. However, always ensure your dried herbs are truly dry and store your infused oils properly. When in doubt, refrigerate your infused oils and use them quickly.
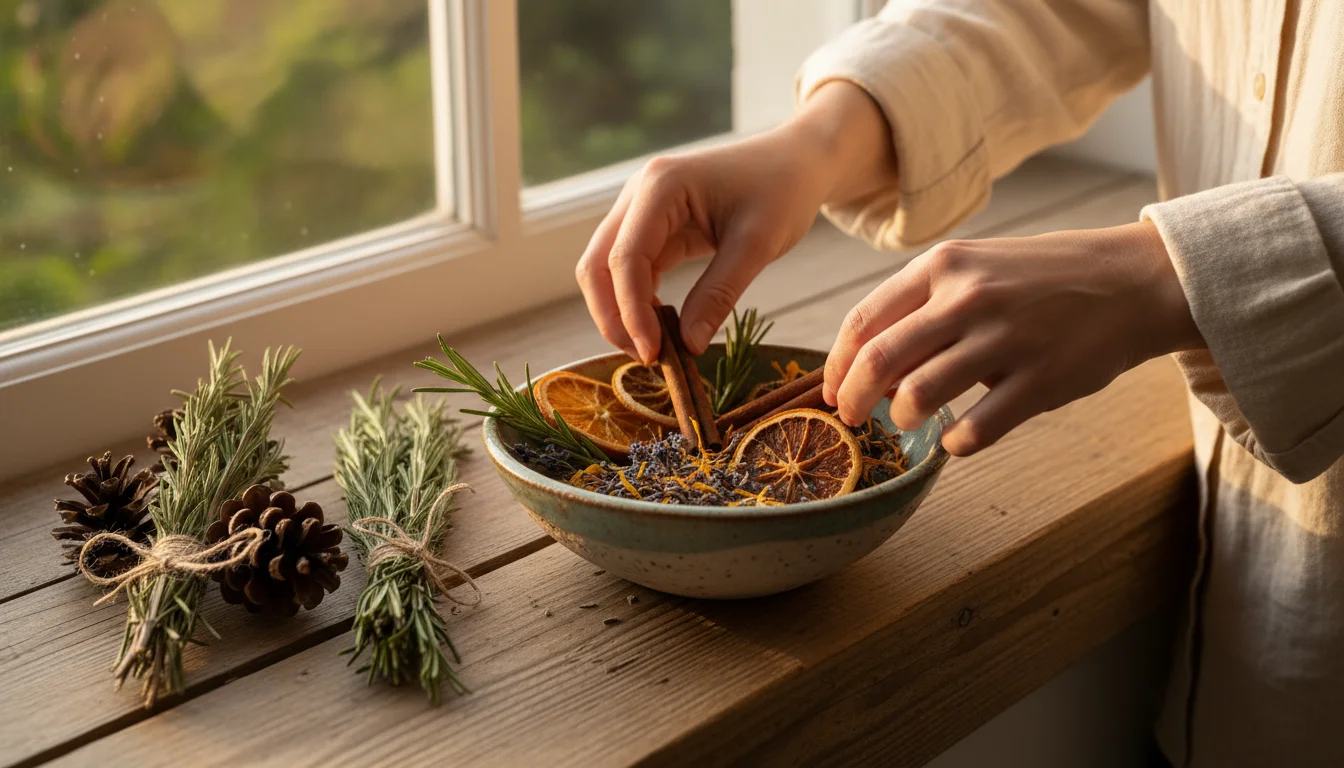
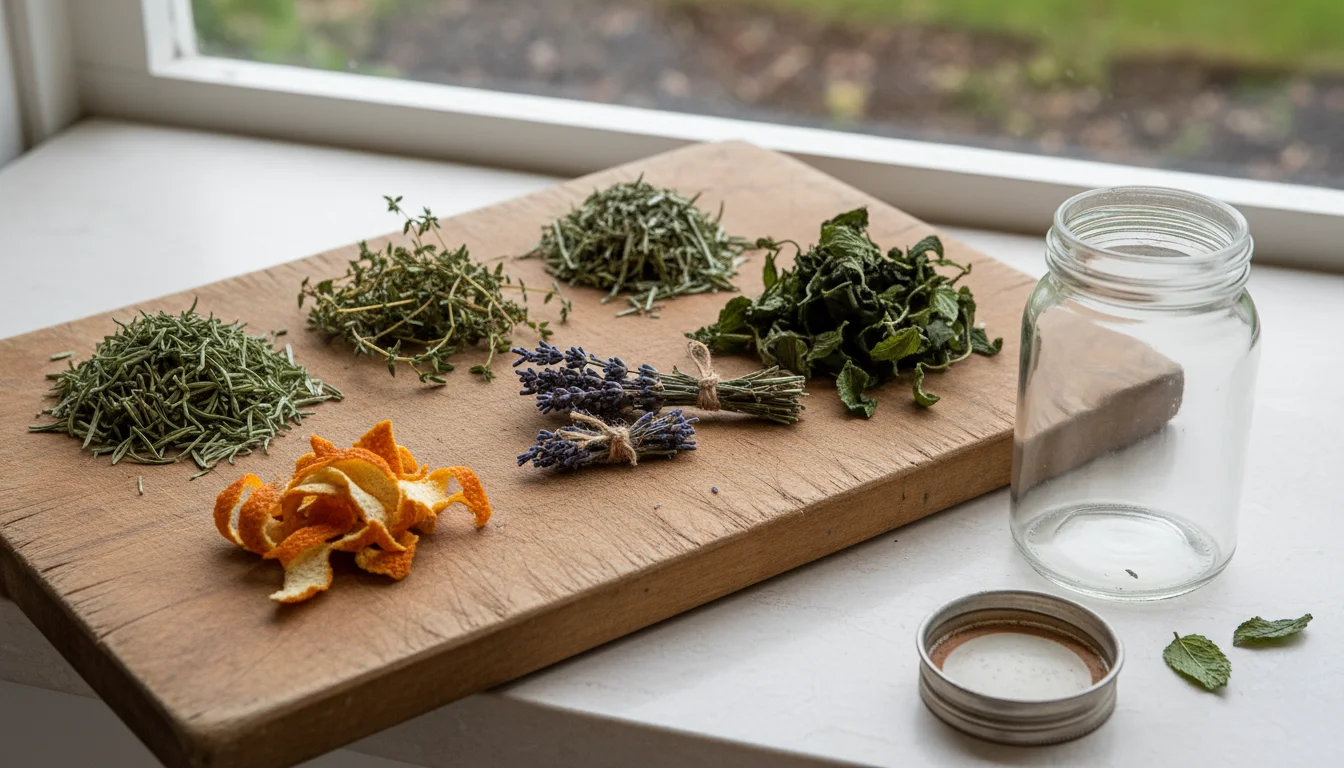
5. Handcrafting Delightful Potpourri and Fire Starters
Embrace the cozy warmth of winter by creating natural potpourri and fire starters with your dried balcony herbs. Potpourri fills your home with subtle, natural fragrances, creating an inviting atmosphere. Fire starters, on the other hand, offer a charming and practical way to ignite your fireplace or fire pit, perfect for those chilly evenings. Both options are delightful examples of `DIY herb crafts` that extend the life and utility of your garden’s bounty, particularly useful for `using dried herbs` that might have lost some culinary potency but retain their aromatic appeal.
Combine your dried cuttings with flower heads to create natural home scents that keep your apartment smelling fresh all winter.

What You Need for Potpourri:
- Dried herbs (lavender, rosemary, dried mint from the garden, lemon verbena, rose petals)
- Dried citrus peels (orange, lemon, grapefruit)
- Small pinecones, cinnamon sticks, whole cloves, star anise
- A few drops of essential oils (optional, to enhance scent)
- A decorative bowl or jar
Step-by-Step Guide for Potpourri:
- Gather Ingredients: Collect your thoroughly dried herbs and other aromatic elements. For a refreshing blend, combine dried mint with lemon verbena and dried lemon peels. For a warming scent, mix rosemary, dried orange peel, cinnamon sticks, and cloves.
- Crush and Mix: Gently crush the larger herb pieces and citrus peels to release more scent. Combine all ingredients in a large bowl.
- Add Essential Oils (Optional): If you desire a stronger or longer-lasting scent, add 5-10 drops of a complementary essential oil to the mixture. Stir well to distribute.
- Cure: Place the potpourri mixture in a paper bag or an airtight container for a few days to a week. This allows the scents to meld and strengthen. Shake the container daily.
- Display: Once cured, transfer your potpourri to a decorative bowl, shallow dish, or open-weave sachet bag. Place it in any room for a continuous, natural fragrance.
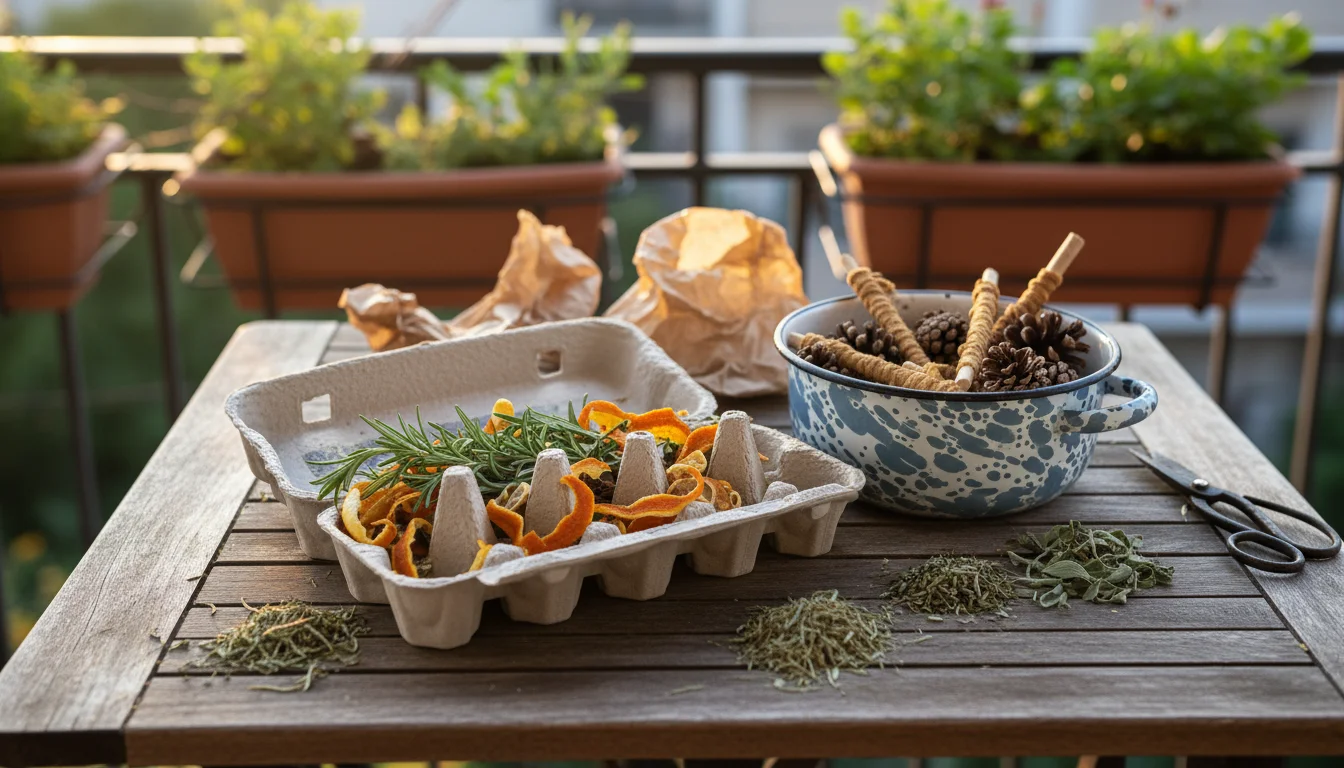
What You Need for Herb Fire Starters:
- Dried herbs (rosemary, thyme, sage – robust, woody herbs work best)
- Dried citrus peels or small pinecones
- Cardboard egg cartons or paper cupcake liners
- Paraffin wax or old candle wax
- Wicks (optional)
- Old saucepan and double boiler setup
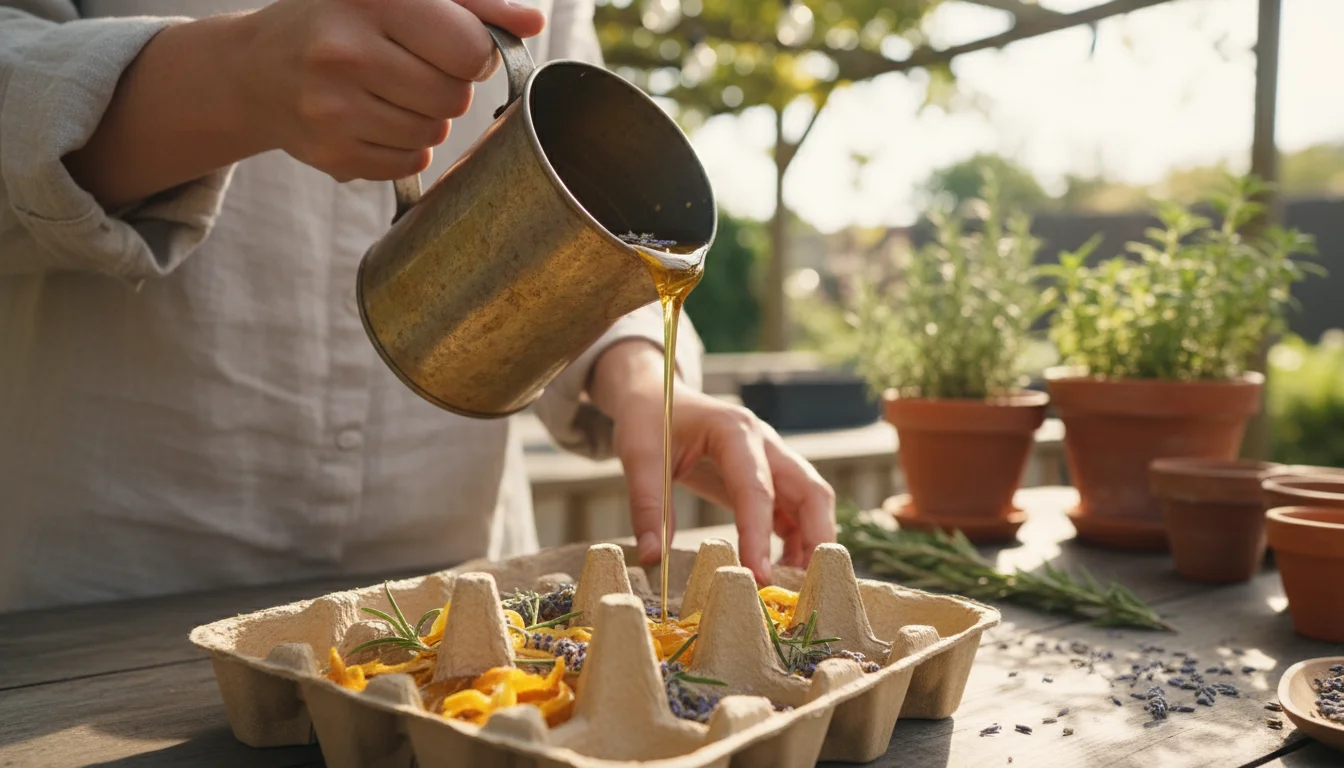
Step-by-Step Guide for Herb Fire Starters:
- Prepare Forms: Line a muffin tin with paper cupcake liners, or cut individual cups from a cardboard egg carton.
- Melt Wax: Using a double boiler, slowly melt paraffin wax or old candle wax. Never melt wax directly over high heat.
- Add Herbs: Once the wax is liquid, stir in a generous amount of your dried herbs, citrus peels, or small pinecones. The herbs will ignite, adding their aroma to your fire.
- Pour: Carefully pour the wax and herb mixture into your prepared egg carton cups or cupcake liners. If using wicks, insert one into the center of each cup before the wax sets.
- Cool and Harden: Allow the fire starters to cool completely and harden. This may take a few hours.
- Remove and Store: Once solid, carefully remove the fire starters from their molds. Store them in an airtight container in a cool, dry place until you are ready to use them. These make excellent, rustic gifts too!
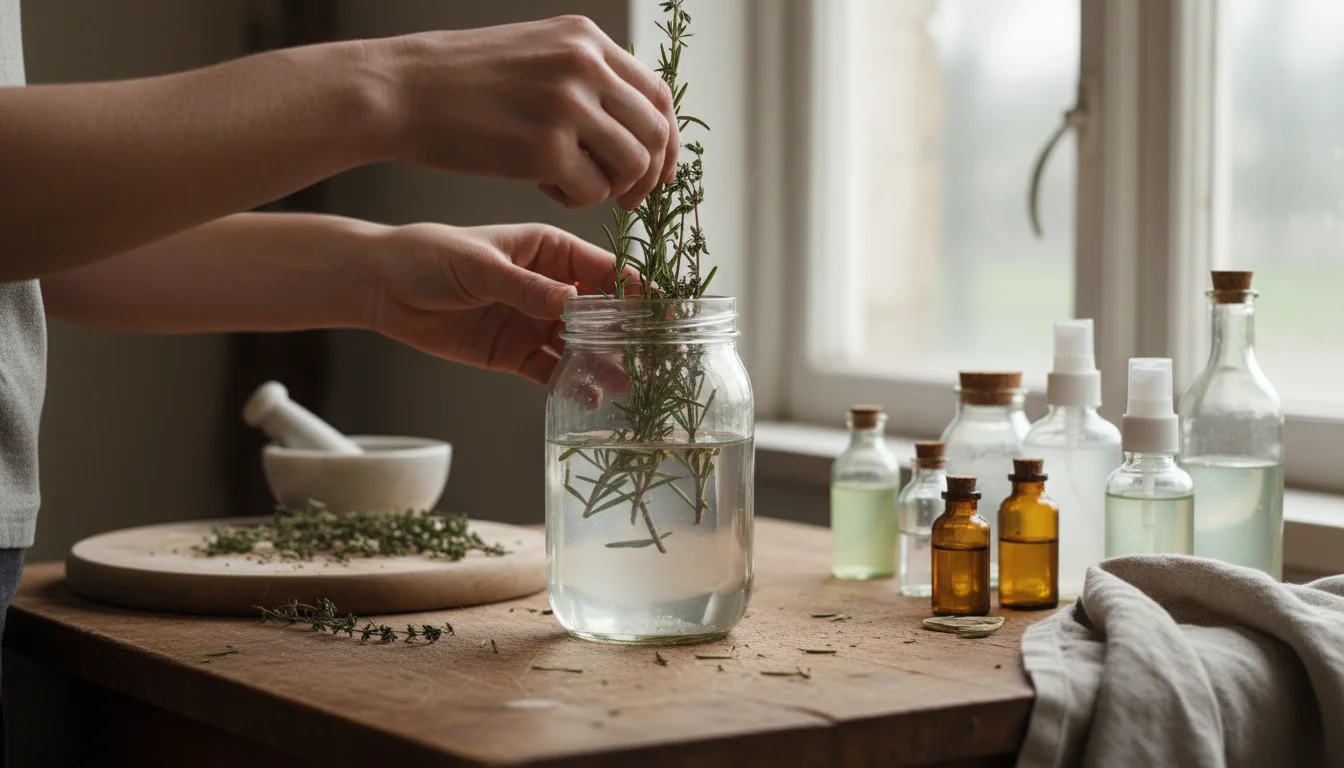
6. Building Your Own Natural Herb Cleaning Solutions
Transform your dried balcony herbs into effective, non-toxic cleaning solutions. This sustainable practice reduces your exposure to harsh chemicals and fills your home with pleasant, natural scents, directly connecting to `using dried herbs` in a practical, everyday way. Many herbs, like rosemary and thyme, possess natural antimicrobial properties, making them ideal for homemade cleansers. This approach aligns perfectly with eco-conscious gardening, extending the value of your harvest far beyond the kitchen. Your efforts to cultivate your balcony herbs now contribute to a cleaner, healthier home environment.
What You Need:
- Dried herbs (rosemary, thyme, dried mint from the garden, lavender, citrus peels)
- White vinegar
- Glass jar with a tight-fitting lid
- Spray bottle
- Optional: A few drops of castile soap or essential oils for extra cleaning power or scent.
Step-by-Step Guide for All-Purpose Herb Vinegar Cleaner:
- Prepare Herbs: Choose robust, aromatic dried herbs. Rosemary, thyme, and dried mint are excellent choices due to their cleansing properties and fresh scents. Fill a clean glass jar about one-quarter full with your chosen dried herbs.
- Infuse with Vinegar: Pour white vinegar over the herbs, filling the jar completely. Ensure all herbs are submerged.
- Seal and Steep: Place the lid on the jar tightly. Store the jar in a cool, dark place for 2-4 weeks. Shake the jar gently every few days to help with the infusion process.
- Strain: After the steeping period, strain the vinegar through a fine-mesh sieve or cheesecloth to remove all the herb pieces. This leaves you with a clear, herb-infused cleaning vinegar.
- Dilute and Use: Pour the infused vinegar into a clean spray bottle. For general cleaning, dilute it with an equal part of water. For tougher jobs, use it undiluted.
- Enhance (Optional): Add a few drops of pure essential oil (like tea tree or lemon) for extra antimicrobial power or a boost of scent. A teaspoon of liquid castile soap also adds cleaning efficacy.
- Label and Store: Label your spray bottle clearly. Store in a cool, dark place. This homemade cleaner is effective on countertops, glass, and sinks. Avoid using vinegar on natural stone surfaces.
Why It Works: Vinegar acts as a natural disinfectant and degreaser due to its acetic acid content. Infusing it with herbs not only adds a pleasant scent but can also contribute to its cleaning power through the herbs’ natural compounds. For instance, dried mint from the garden offers a refreshing aroma and can help deter pests, making it a natural choice for an all-purpose cleaner.
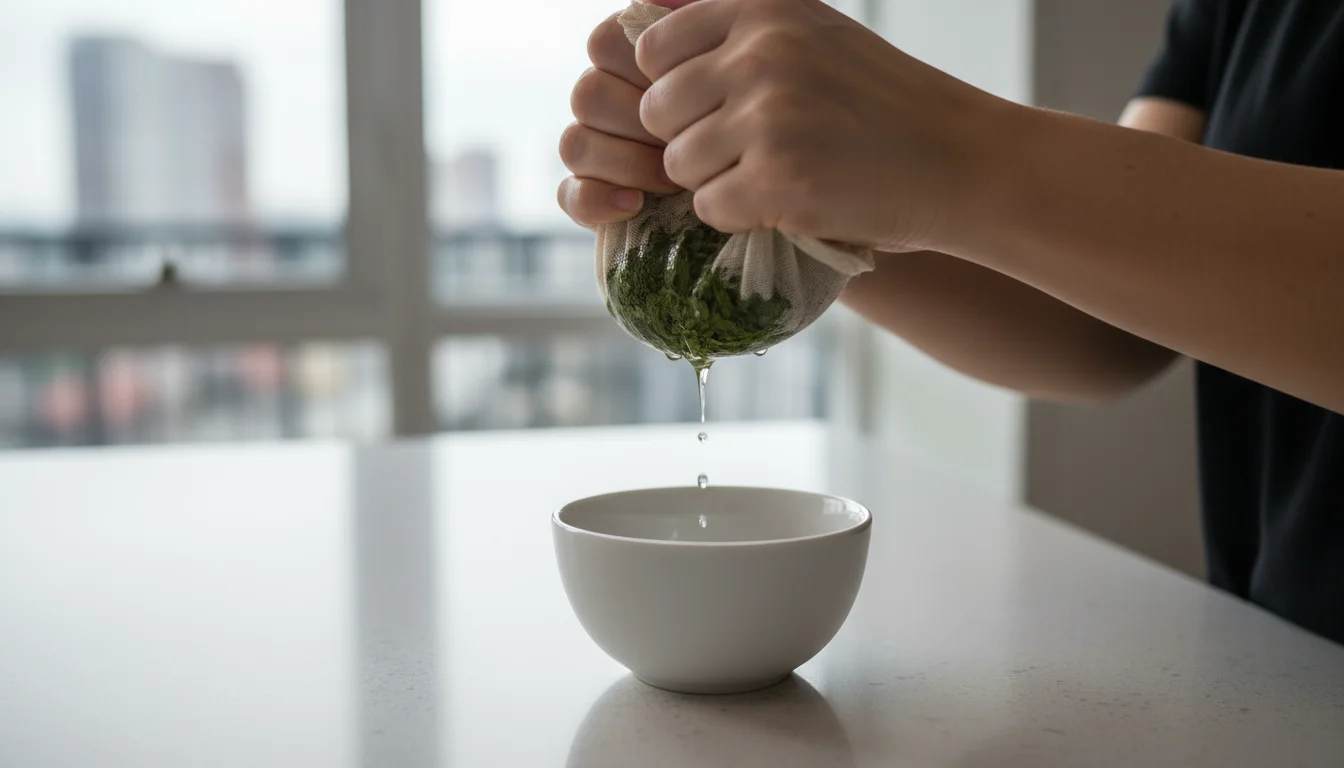
7. Crafting Herbal Comfort: Bath Teas and Compresses
Your dried balcony herbs offer a wonderful opportunity for self-care and relaxation. Creating herbal bath teas and compresses allows you to harness the soothing, invigorating, or therapeutic properties of your plants, providing natural comfort during the long winter months. This is a mindful way of `using dried herbs` that aligns with wellness, turning your garden’s gifts into a personal spa experience. From calming lavender to invigorating dried mint from the garden, your preserved herbs can become key ingredients in your self-care routine.
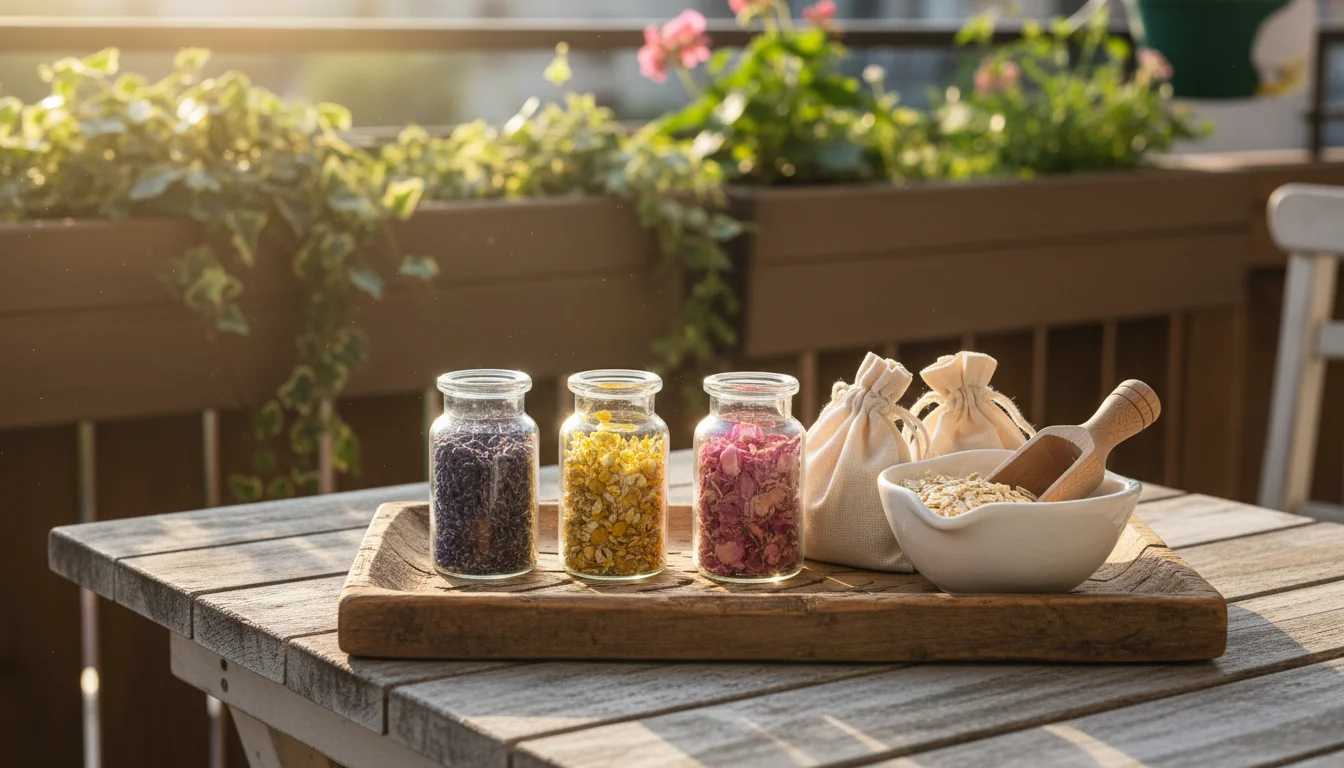
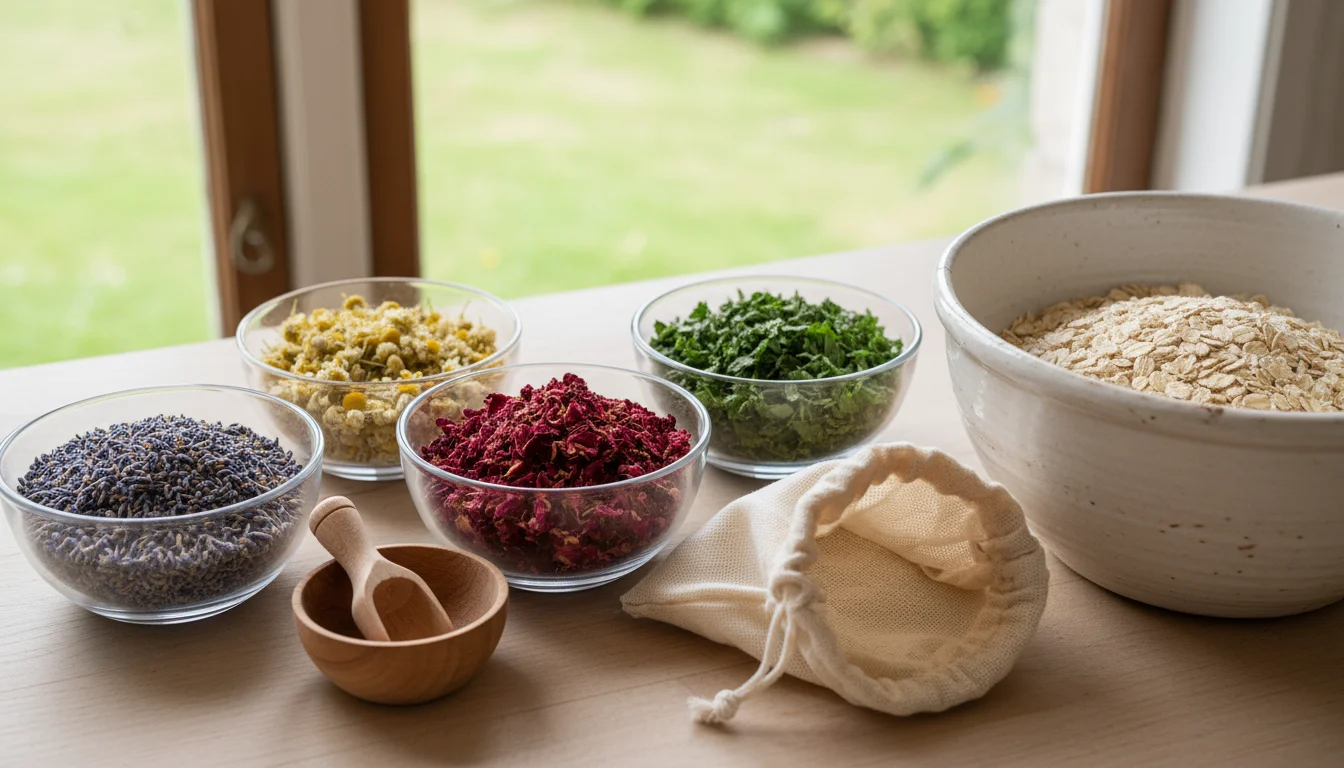
What You Need for Herbal Bath Teas:
- Dried herbs (lavender, chamomile, dried mint from the garden, rose petals, calendula)
- Oatmeal (optional, for skin soothing)
- Muslin bags, cheesecloth, or large tea bags
- Epsom salts (optional)
Step-by-Step Guide for Herbal Bath Teas:
- Select Your Herbs: Choose herbs based on their properties. Lavender and chamomile are excellent for relaxation. Dried mint from the garden offers an invigorating and refreshing scent, perfect for tired muscles. Rose petals add a luxurious touch and skin benefits.
- Mix Ingredients: In a bowl, combine 1/2 cup of your chosen dried herbs. You can blend several herbs. For example, a calming blend might be 1/4 cup lavender and 1/4 cup chamomile. Add 1/4 cup of plain rolled oats for skin softening, if desired.
- Fill Bags: Spoon the herb mixture into a muslin bag, a piece of cheesecloth tied with twine, or a large reusable tea bag. Ensure it is securely closed to prevent herbs from floating freely in the bathwater.
- Infuse the Bath: Hang the herb bag from the tub spout under running hot water as you fill your bath. Alternatively, simply drop the bag into the warm bathwater and allow it to steep for several minutes before getting in.
- Enjoy: Relax and soak in your herbal-infused bath. The warm water helps release the beneficial compounds and aromas from the herbs. Discard the herb bag after use.
What You Need for Herbal Compresses:
- Dried herbs (peppermint or dried mint from the garden for headaches, lavender for muscle aches, chamomile for soothing skin)
- A clean cloth (cotton or flannel works well)
- Hot water (for warm compress) or cold water (for cool compress)
Step-by-Step Guide for Herbal Compresses:
- Prepare Herbs: Place 2-3 tablespoons of your selected dried herbs in the center of a clean cloth.
- Form a Poultice: Gather the edges of the cloth and tie them securely with twine or a rubber band, forming a small pouch.
- Apply Heat or Cold:
- For a Warm Compress: Briefly dip the herb pouch into hot (but not boiling) water. Squeeze out excess water so it is warm and damp, but not dripping.
- For a Cool Compress: Dip the herb pouch into cold water, or wrap it in a damp cloth that has been chilled, if you prefer.
- Apply to Area: Place the warm compress on sore muscles, a chest for congestion, or a tense neck. Place a cool compress on your forehead for a headache (using dried mint from the garden or peppermint for this is particularly effective), or on tired eyes.
- Relax: Leave the compress in place for 10-15 minutes, or until it reaches body temperature. Re-warm or re-chill as needed.
Storing Your Creations for Lasting Enjoyment
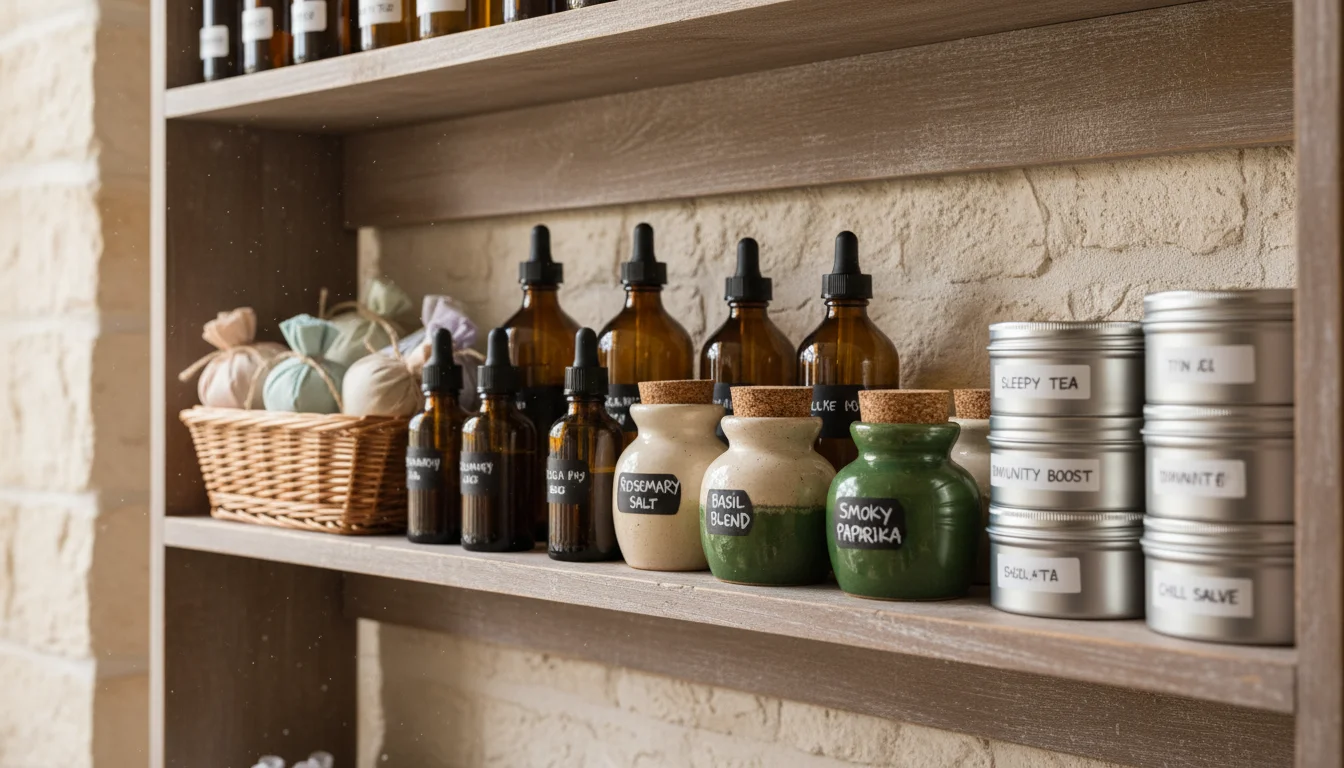
Proper storage ensures your homemade herb creations retain their potency, freshness, and appeal throughout the winter. Just as you carefully dried your herbs to preserve them, applying similar principles to your finished products protects your time and effort. Neglecting storage leads to diminished flavors, faded scents, or even spoilage, undermining the very purpose of `preserved herbs` and `DIY herb crafts`.
For more space-saving tips, try the garden-in-a-box method to keep your gardening supplies organized and out of the way until spring.

Key Principles for Optimal Storage:
- Airtight Containers: This is paramount for most herb creations, especially culinary blends and finishing salts. Exposure to air causes herbs to lose their volatile oils, which are responsible for their flavor and aroma. Use glass jars with tight-fitting lids, or metal tins for optimal protection.
- Cool, Dark Place: Light and heat are the enemies of dried herbs and their derivatives. They degrade the beneficial compounds and fade colors. Store your jars and bottles in a pantry, cupboard, or any location away from direct sunlight, stovetop heat, or warm appliances.
- Dry Environment: Moisture introduces the risk of mold and clumping. Ensure all containers are completely dry before filling them. For items like potpourri or fire starters, a dry environment prevents dampness and loss of effectiveness.
- Labeling: Always label your creations with the contents and the date you made them. This helps you track freshness and ensures you grab the correct blend for your needs. A small sticker or tag works perfectly.
- Observe Shelf Life: While dried herbs generally last 6-12 months, some creations have shorter shelf lives:
- Herb Salts and Rubs: Best used within 6 months to a year for peak flavor.
- Infused Oils: Due to potential botulism risk, especially with fresh ingredients (though we use dried), refrigerate homemade infused oils and use them within 3 months. When using dried herbs, the risk is greatly reduced, but it is still wise to practice caution. Consume quickly if unrefrigerated, within one month.
- Infused Vinegars: Store in a cool, dark place and use within 6 months to a year.
- Sachets and Potpourri: Scents naturally fade over time. Refresh them every 2-4 months or as needed.
- Cleaning Solutions: Vinegar-based cleaners typically last 6 months to a year.
- Bath Teas and Compresses: Best used within 6 months for maximum aromatic and therapeutic benefit.
By following these simple storage guidelines, you guarantee your dried balcony herbs continue to bring joy and utility into your home all winter long, showcasing the true value of `using dried herbs` effectively.
Frequently Asked Questions
Can I use any dried herb for these crafts?
While many dried herbs work wonderfully, selection depends on the specific project. Robust herbs like rosemary, thyme, oregano, and sage are excellent for culinary uses and cleaning solutions. Delicate, aromatic herbs such as lavender, dried mint from the garden, chamomile, and rose petals excel in sachets, potpourri, and bath products. Always consider the herb’s aroma, flavor profile, and any potential skin sensitivities before use.
How do I know if my dried herbs are still potent enough for these projects?
Perform a simple sniff test. Crumble a small piece of the dried herb between your fingers. If it releases a strong, recognizable aroma, it still retains much of its potency. If the scent is faint or dusty, the herb has likely lost most of its volatile oils and may be better suited for decorative potpourri rather than culinary uses or potent infusions. Properly stored dried herbs retain their quality for 6-12 months.
What if I don’t have enough dried herbs for all these ideas?
That is perfectly fine! Small-space gardening often yields modest harvests. Focus on one or two projects that appeal most to you. Even a small amount of dried mint from the garden can create several refreshing bath sachets or a flavorful finishing salt. You can also combine small quantities of different herbs for unique blends, making every bit count. The goal is to maximize your harvest, not necessarily to do everything.
Are there any herbs I should avoid using for certain applications?
Yes, some herbs are better suited for specific uses than others. For example, avoid using highly resinous herbs like pine needles in culinary infusions, as their flavor can be overwhelming. While dried mint from the garden is generally safe for many applications, be cautious with large quantities of strong essential oils in bath products if you have very sensitive skin. Always research individual herbs if you have any doubts, especially for internal or skin contact uses.
Can I re-dry herbs that have become damp or lost their crispness?
If herbs have absorbed a small amount of moisture and feel slightly pliable, you can sometimes re-dry them in a dehydrator or a very low oven. However, if they have become visibly moldy, they are unusable and must be discarded. Mold indicates bacterial growth, which can be harmful. The best practice is to ensure herbs are fully dry before storage and maintain an airtight, dry environment to prevent re-moisturizing.
Beyond the Balcony: Expanding Your Herb Horizon
Your journey with dried balcony herbs moves far beyond simple tea. By transforming your summer harvest into salts, rubs, sachets, infusions, and even cleaning solutions, you celebrate the full lifecycle of your plants and embrace a resourceful approach to home and kitchen management. These `DIY herb crafts` not only bring pleasure and utility but also deepen your connection to your gardening efforts, making every sprig you grew invaluable.
As you enjoy these creative uses for dried herbs this winter, remember the satisfaction of nurturing them from seed or seedling. This practice demonstrates how even a small-space garden on a balcony or patio provides an abundance of resources. You are not just gardening, you are creating a more sustainable, fragrant, and flavorful home. Continue to experiment, learn, and grow, discovering new ways to make your garden’s bounty a year-round source of joy and practical benefit.
For trustworthy gardening information, visit:
National Garden Bureau, National Wildlife Federation — Garden for Wildlife, Lady Bird Johnson Wildflower Center, Botanic Gardens Conservation International and American Public Gardens Association. These organizations provide expert, research-based advice for gardeners at all levels.
Disclaimer: This article is for informational purposes only and is not a substitute for professional gardening advice. Always consult local extension services or horticulture experts for region-specific guidance.


Leave a Reply