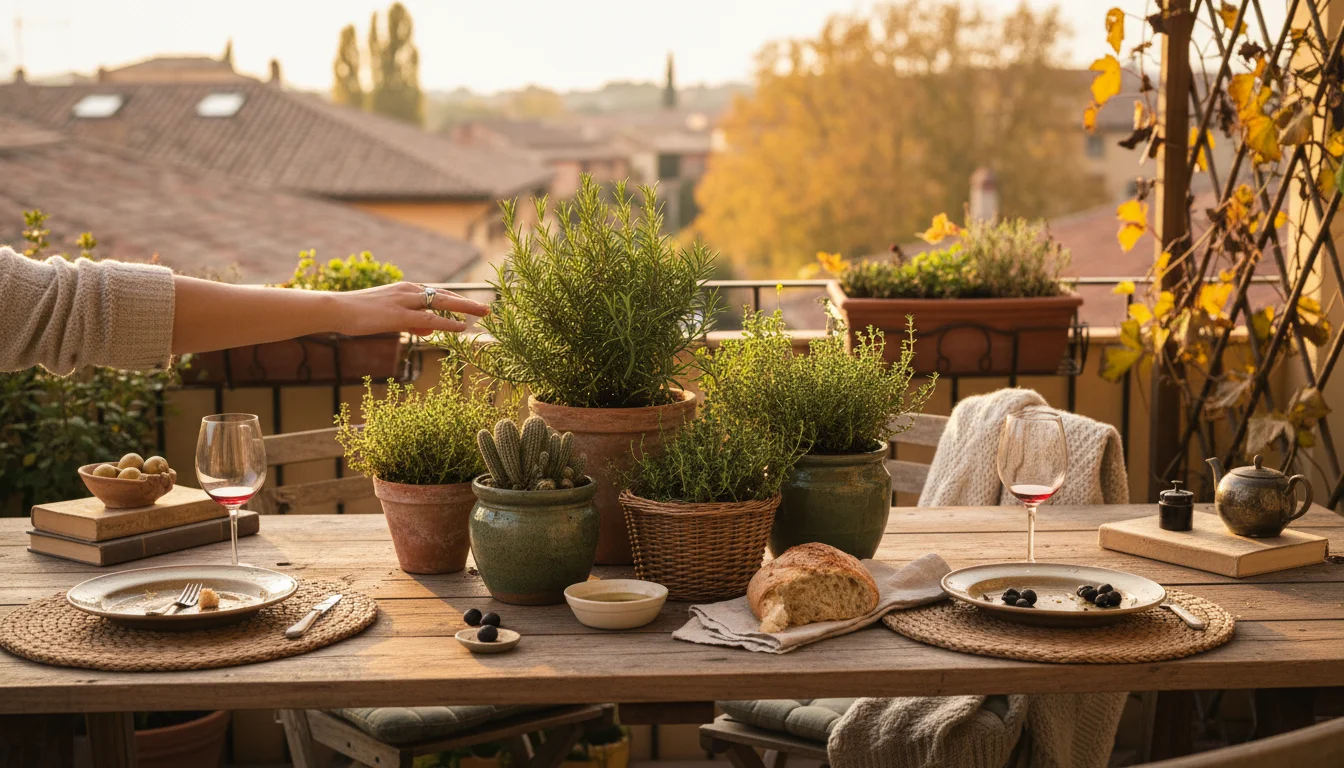
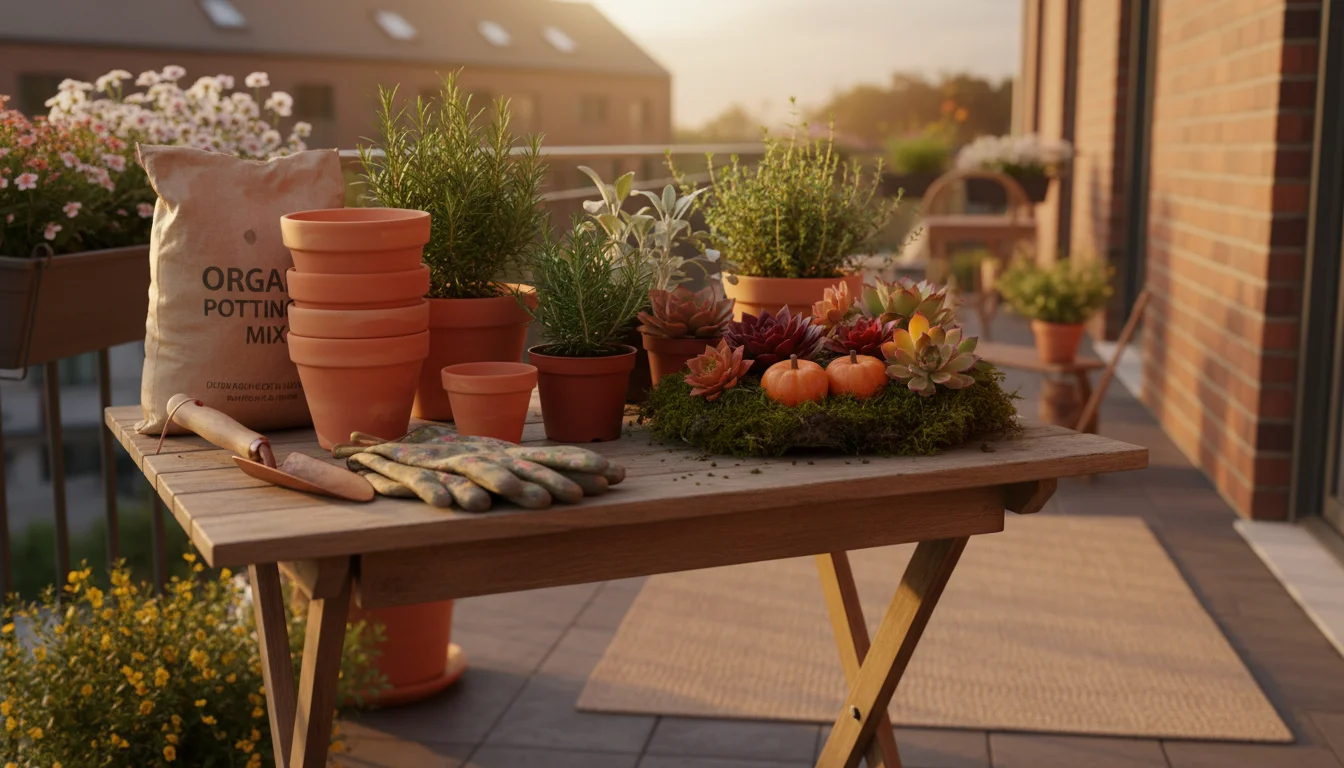
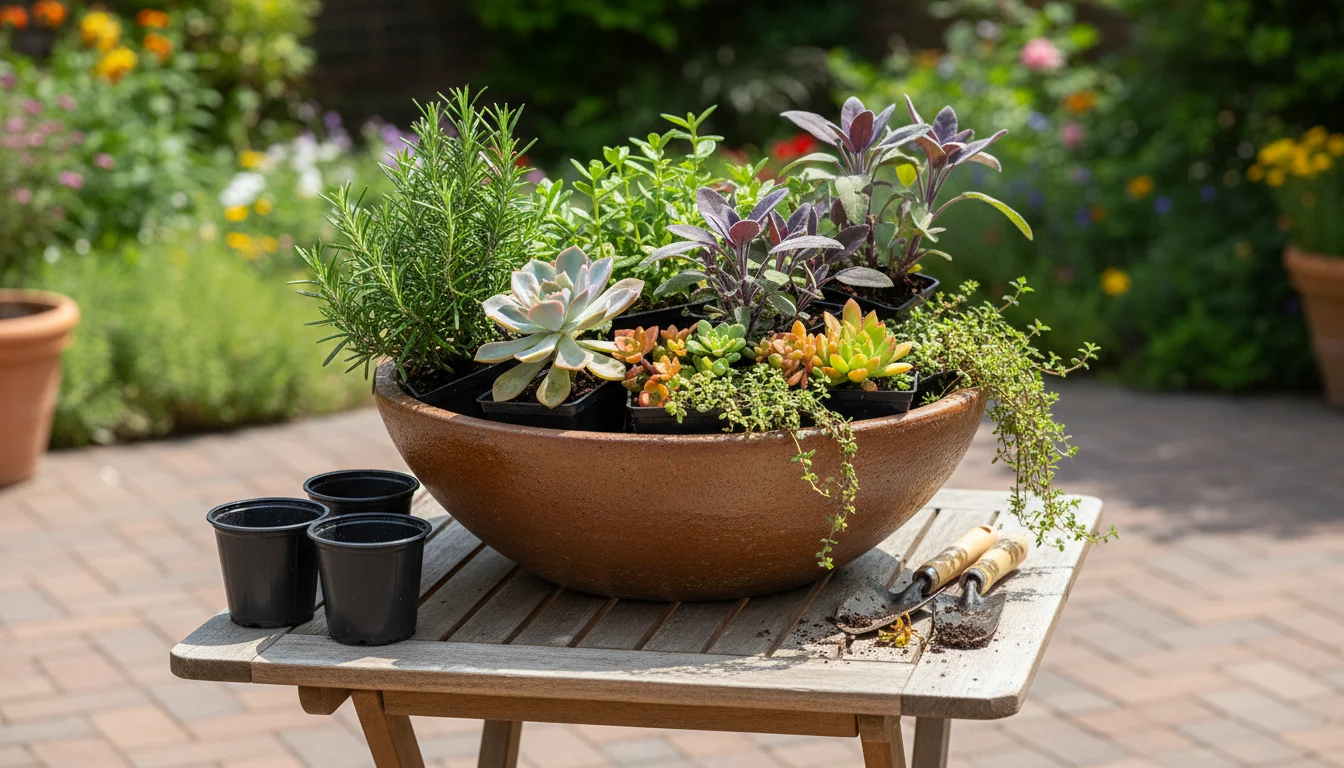
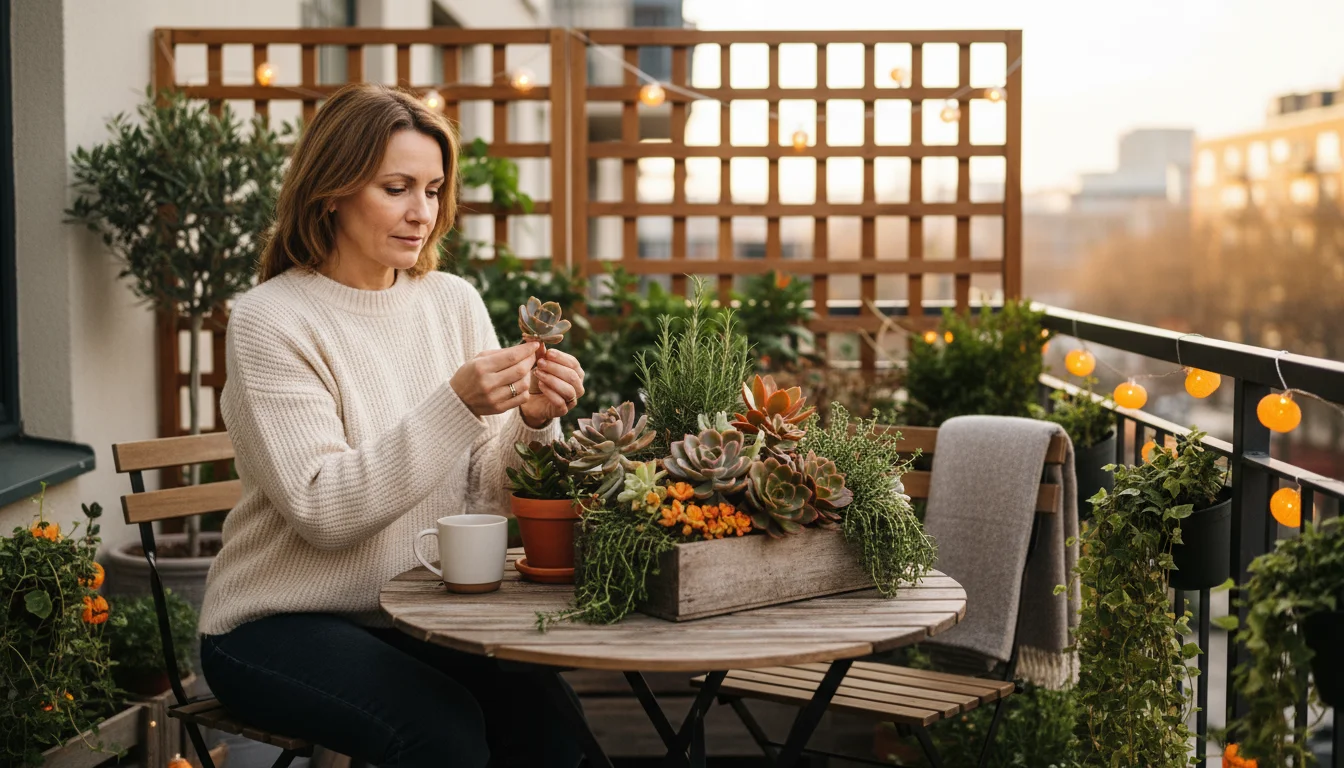
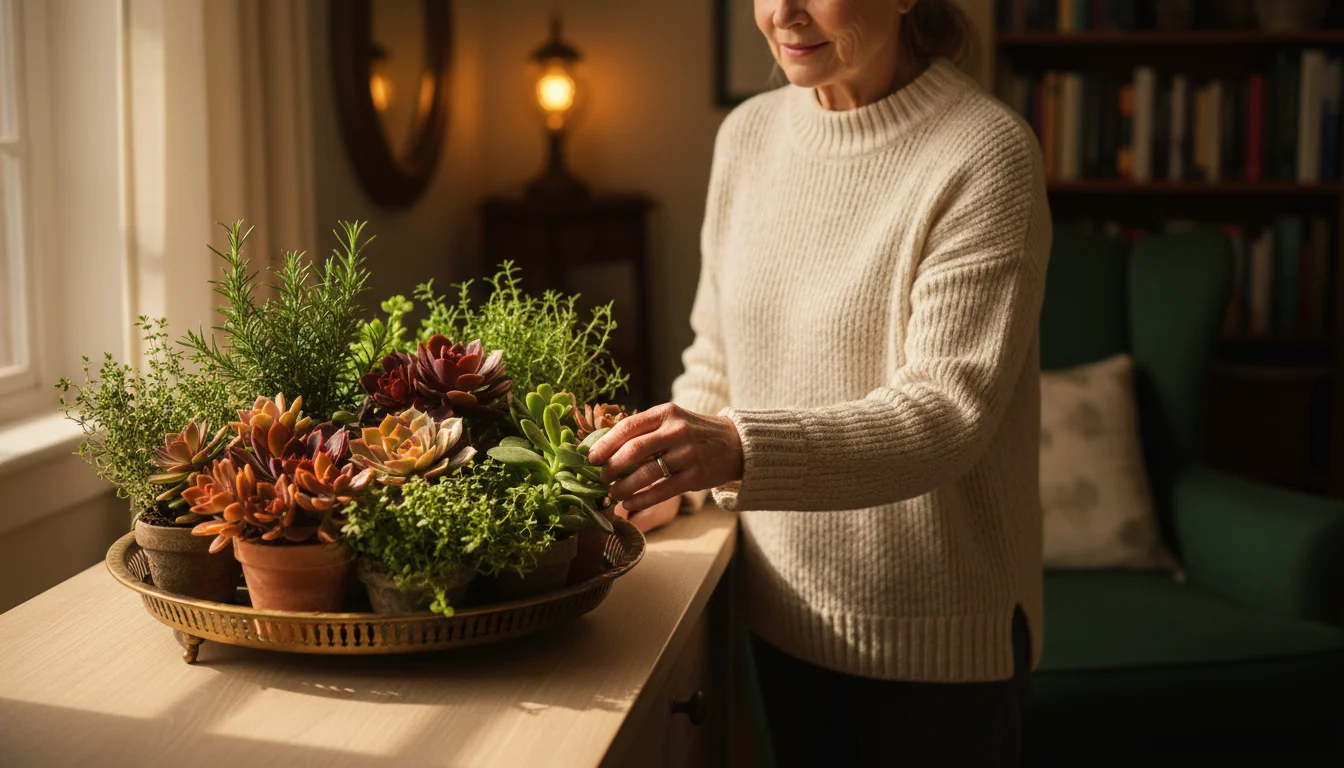
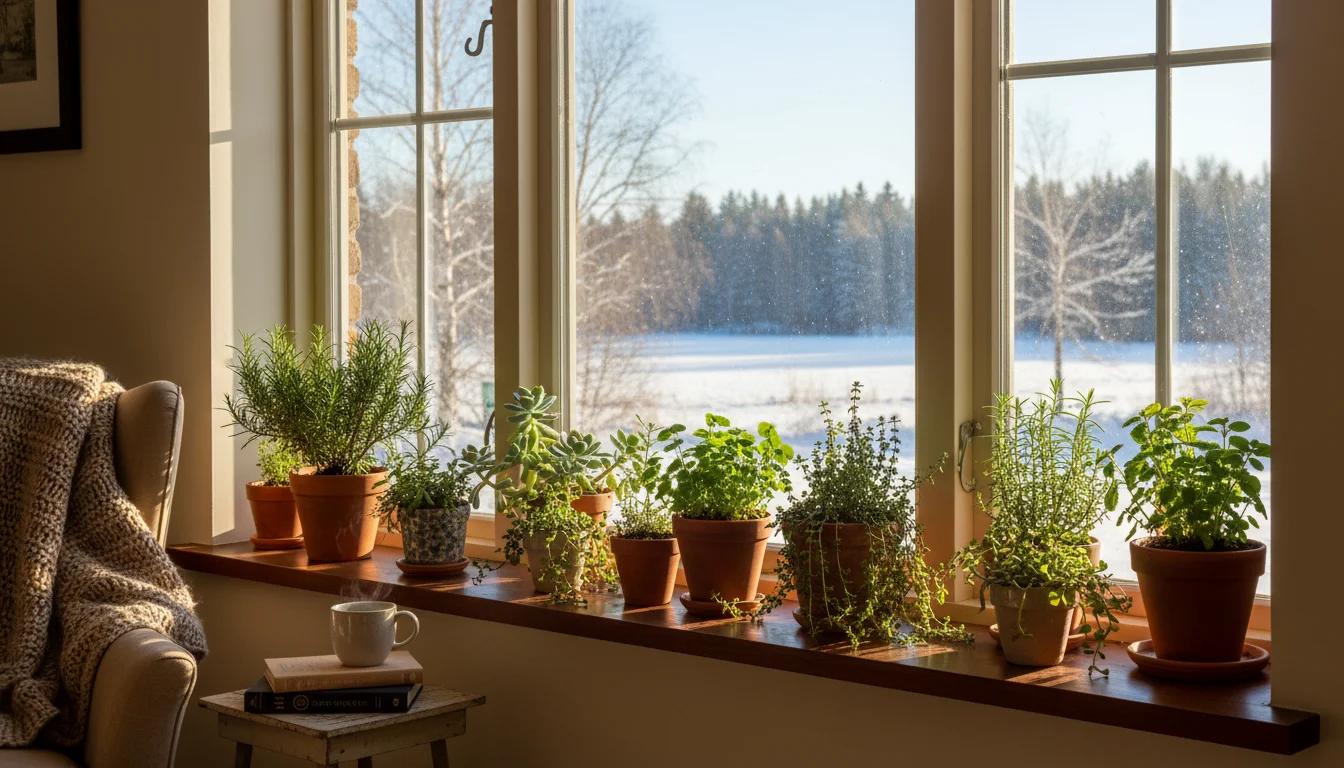
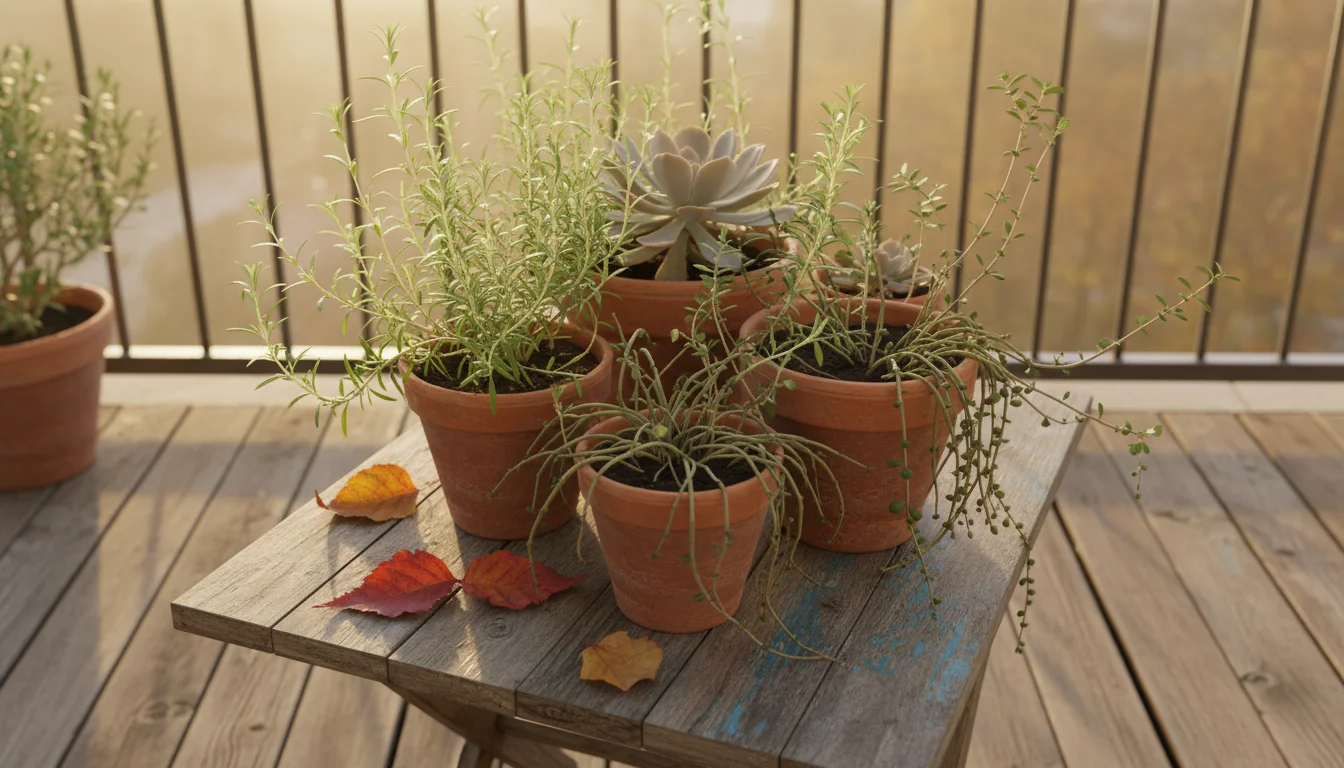
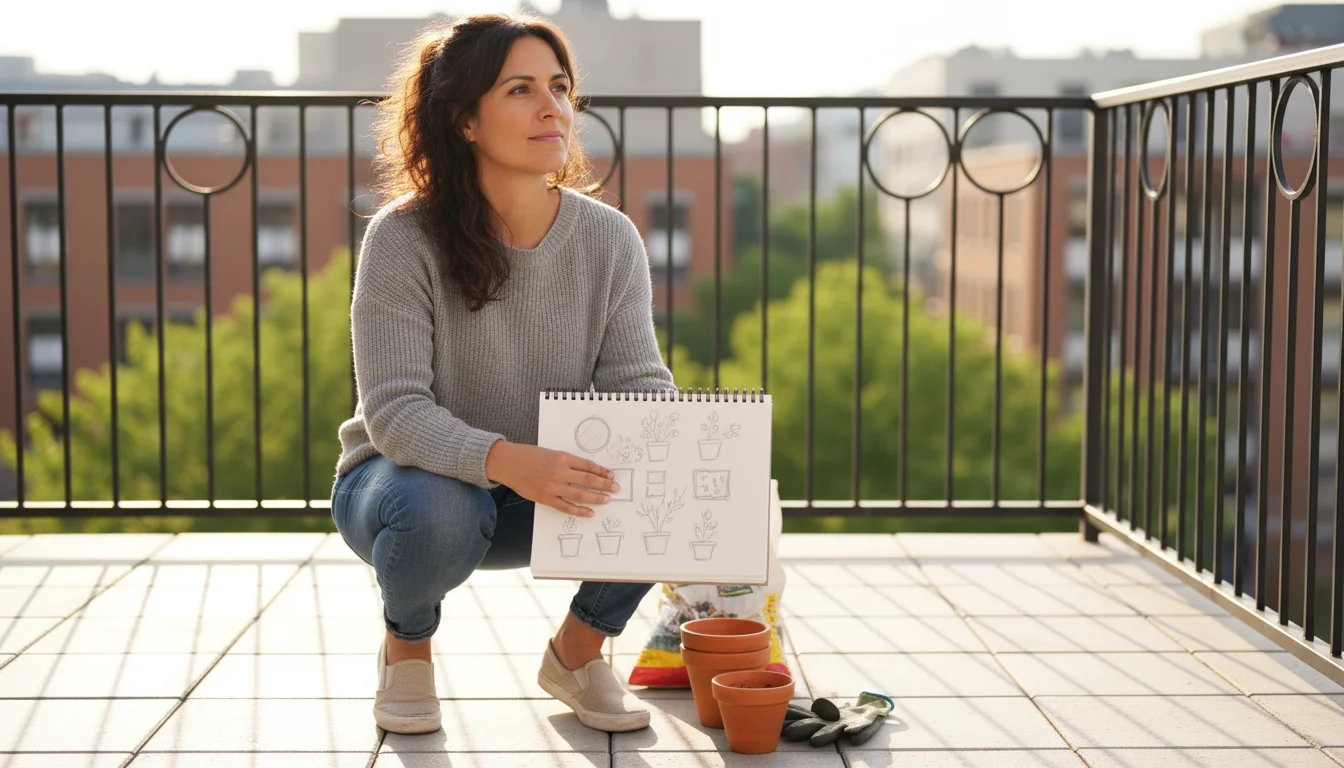
As the days grow shorter and a crispness enters the air, thoughts turn to cozy gatherings and the warm hues of autumn. You want your home to reflect this beautiful season, even if your gardening space is limited to a balcony, patio, or a small corner of your yard. Traditional fall decor often includes cut flowers or temporary arrangements, but what if you could create something truly special, something that not only enhances your fall table decor but also continues to thrive long after the last pumpkin spice latte? This guide shows you exactly how to craft a stunning living centerpiece using potted herbs and succulents, bringing sustainable beauty from your garden directly to your home.
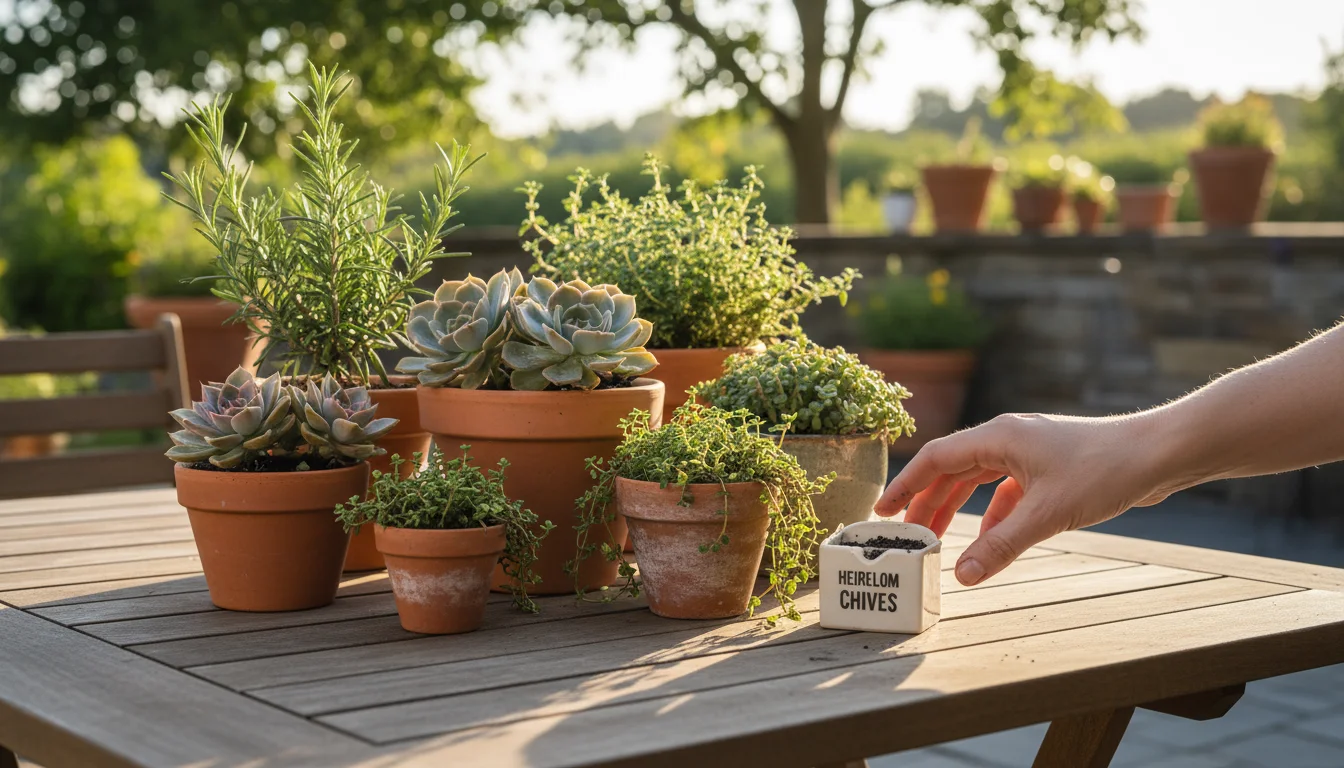
Imagine the rich textures of succulents mingling with the aromatic leaves of rosemary and sage, all arranged in a beautiful display that serves as the focal point of your autumn celebrations. This project is a fantastic diy fall centerpiece, perfect for both beginner and intermediate gardeners. You learn how to make a centerpiece with live plants that is both practical and visually appealing, offering fresh scents and vibrant greenery. It is a perfect solution for fall decor ideas for apartment dwellers or anyone seeking low-maintenance, long-lasting beauty. Get ready to transform your small space garden into an inspiring indoor display.
Why Choose a Living Centerpiece? Beyond Basic Decor
A living centerpiece offers numerous advantages over traditional cut flower arrangements, particularly for the environmentally conscious gardener with limited space. First, it champions sustainability. Unlike cut flowers that often travel long distances and have a short lifespan, a living centerpiece continues to grow and thrive. You reduce waste and support a more eco-friendly approach to home decoration. This aligns perfectly with the ethos of small-space gardening, where every plant serves multiple purposes.
If you are interested in more edible projects, you can also grow a one-pot wonder fall salad bar to harvest fresh greens alongside your herbs.
The practical benefits are equally compelling. Imagine the inviting aroma of fresh herbs filling your dining area, a subtle, natural fragrance far superior to artificial scents. Using potted herbs for decoration not only provides visual appeal but also offers fresh ingredients readily available for your culinary creations. You simply snip a few leaves of rosemary or thyme directly from your centerpiece to add to your fall recipes. This convenience transforms your centerpiece from a decorative item into a functional part of your kitchen and dining experience.
Furthermore, a living centerpiece proves incredibly cost-effective in the long run. While the initial investment in plants and containers might seem similar to a high-end floral arrangement, your living plants continue to provide beauty and utility for weeks, months, or even years. You can eventually transplant your herbs into larger pots or your garden, and succulents can grow into new arrangements or be propagated. This long-term value makes a succulent centerpiece an intelligent choice for savvy gardeners.
Finally, these centerpieces offer remarkable versatility. They adapt to various settings, from an intimate dinner party on a small patio to a grand holiday feast in a larger dining room. Their natural beauty complements any fall decor ideas for apartment living or small home spaces. You gain flexibility in styling and placement, making them a cornerstone of your seasonal decorating strategy.
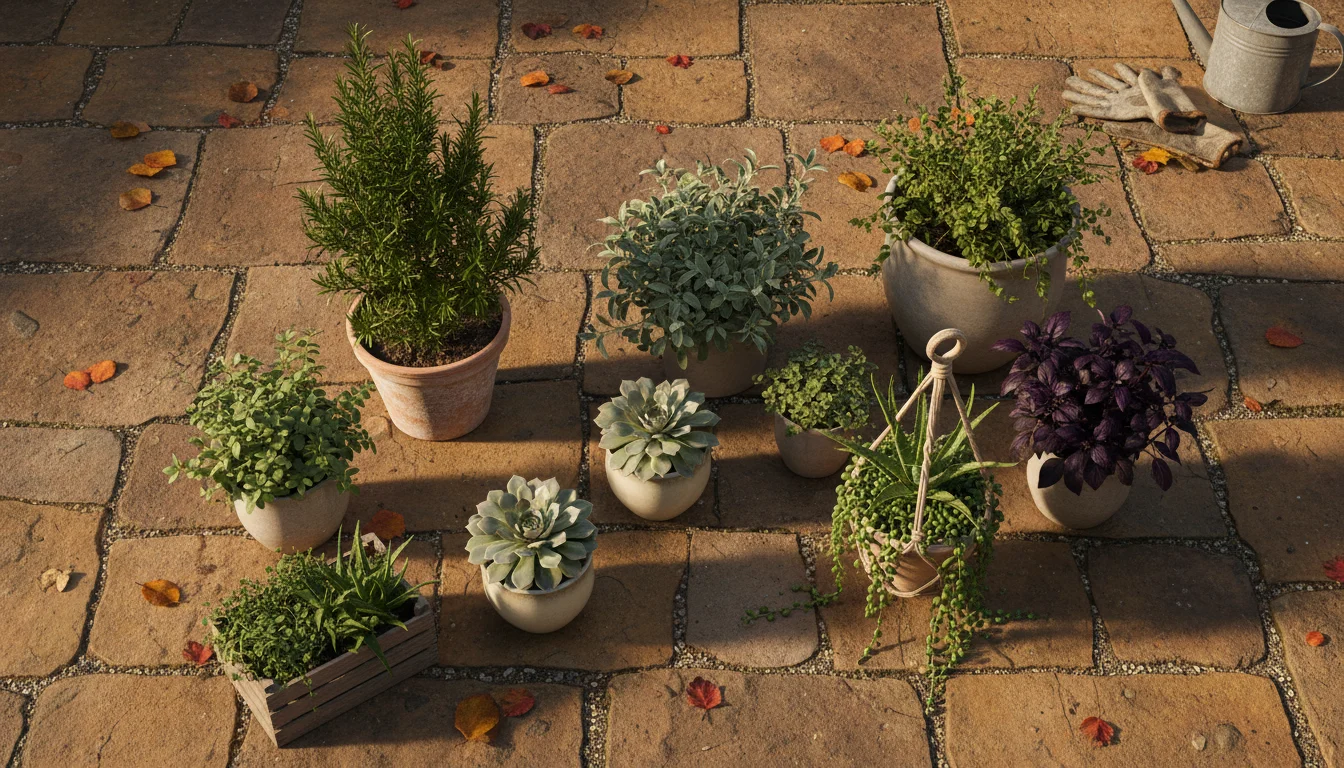
Selecting Your Green Stars: Herbs and Succulents
The success of your living fall centerpiece begins with choosing the right plants. You need resilient species that not only complement each other aesthetically but also share similar care requirements. Herbs and succulents fit this description perfectly, offering diverse textures, colors, and forms while thriving in similar conditions: good drainage and moderate light. Selecting appropriate plants ensures your diy fall centerpiece remains vibrant and healthy.
Before you begin your tabletop arrangement, you might also enjoy learning how to create a stunning fall succulent wreath to greet your guests at the door.
Hardy Herbs for Fall Splendor
When you consider using potted herbs for decoration, focus on woody, perennial varieties known for their robust nature and appealing foliage. These herbs offer both visual interest and delightful aromas:
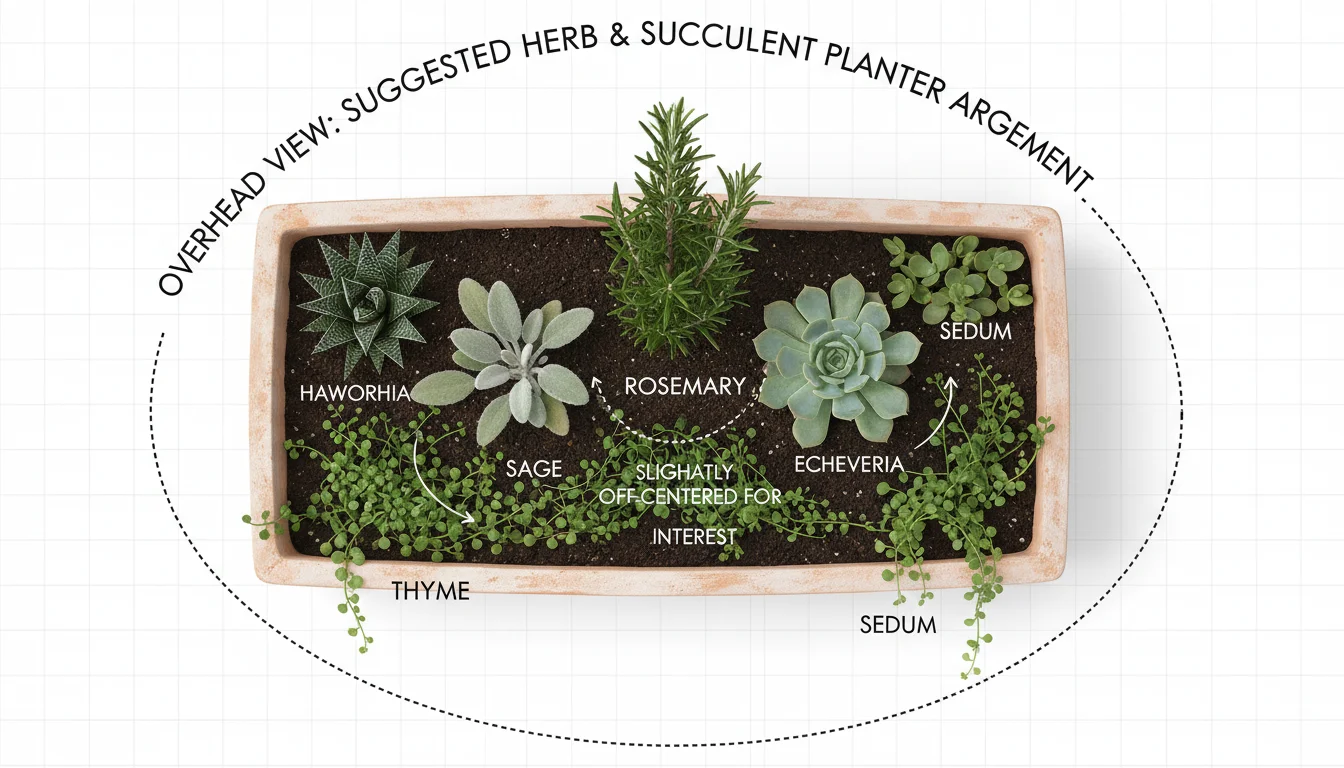
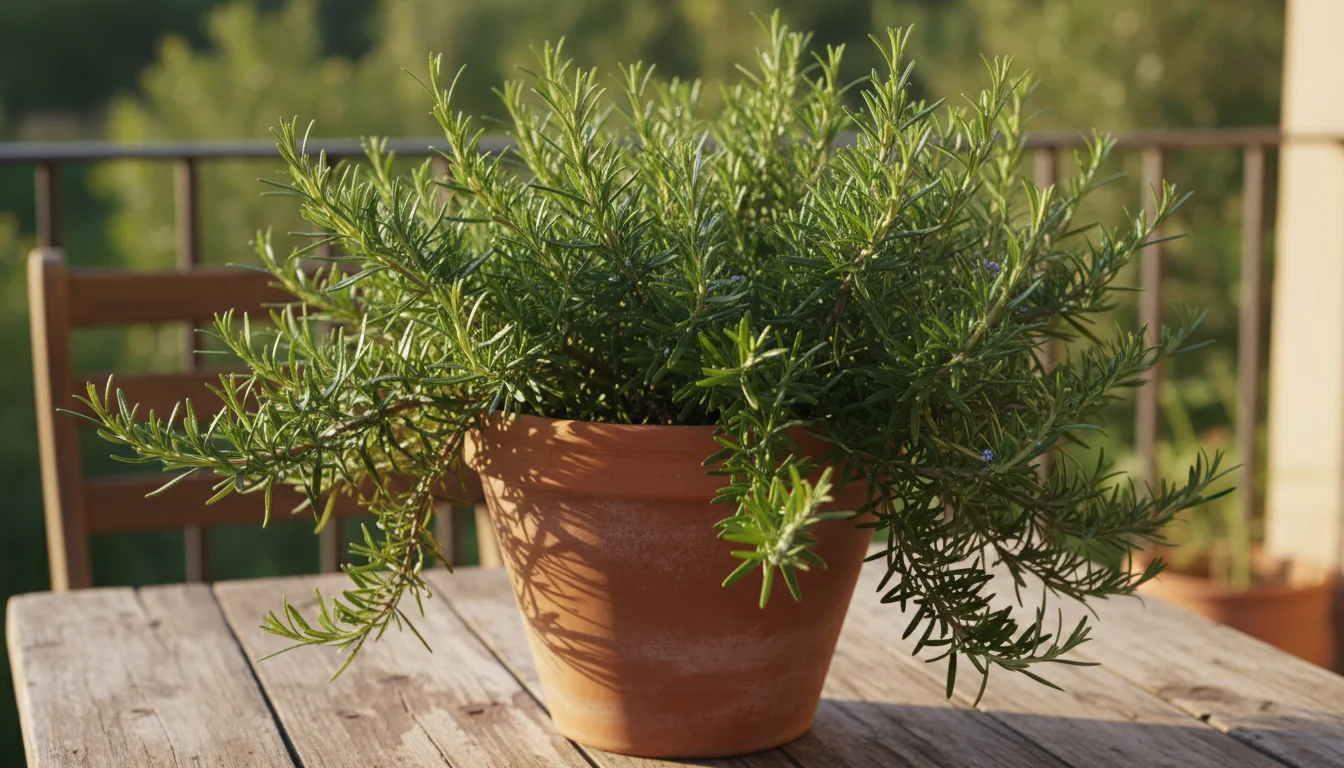
- Rosemary: Its upright, needle-like foliage and strong, piney scent evoke the essence of autumn. Varieties like ‘Prostratus’ offer a trailing habit, while upright types add height.
- Thyme: With its tiny leaves and creeping habit, thyme provides excellent groundcover and textural contrast. Lemon thyme adds a subtle citrus note.
- Sage: The soft, silvery-green leaves of garden sage, or the purple and tricolor varieties, bring beautiful color and texture. Its earthy fragrance is distinctly autumnal.
- Oregano: Similar to thyme, oregano offers a cascading effect and dense foliage, perfect for filling gaps.
Choose compact varieties of these herbs, often labeled as “dwarf” or “creeping,” to ensure they fit well within a centerpiece container. You want plants that maintain a manageable size, preventing them from overwhelming the arrangement.
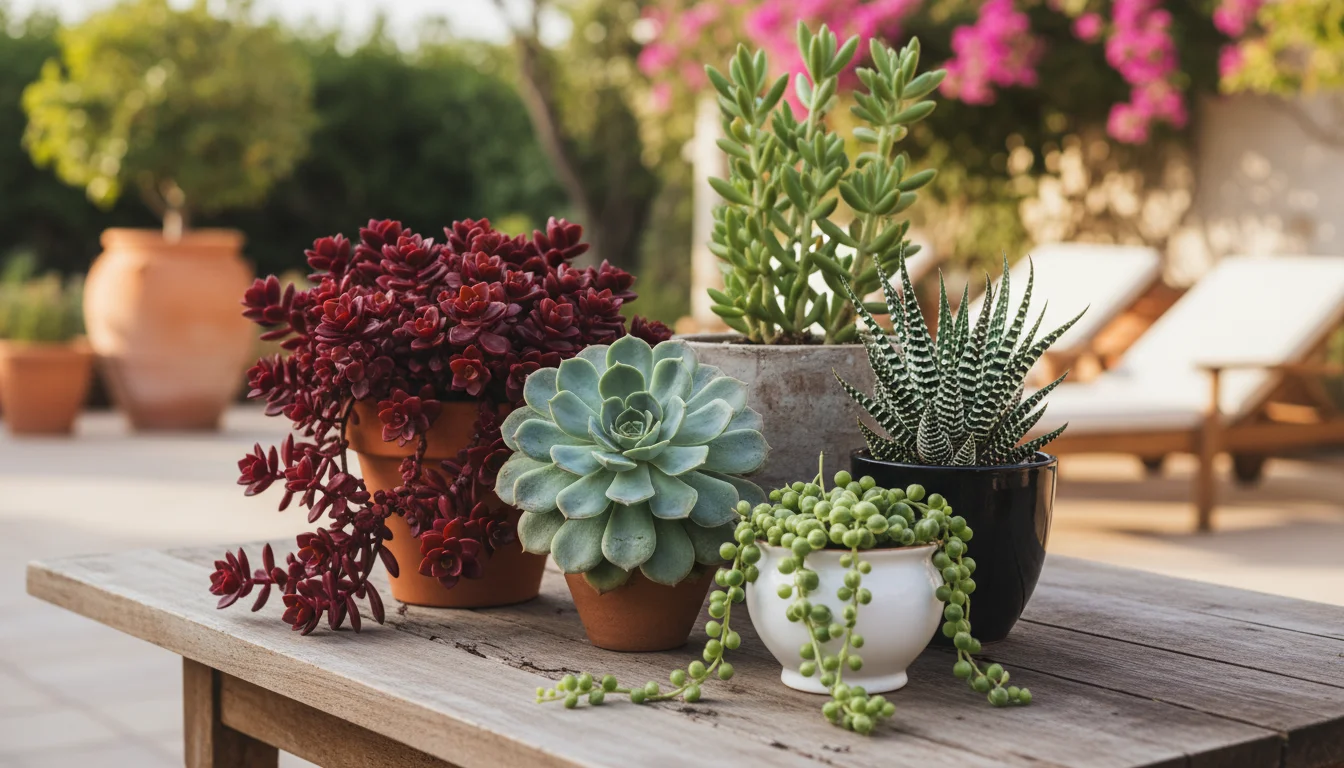
Resilient Succulents for Texture and Form
Succulents contribute architectural interest and a wide array of colors, from deep greens and blues to reds and purples, which deepen with cooler temperatures or brighter light. Their drought tolerance makes them ideal companions for herbs that prefer well-draining soil.
- Echeveria: These rosette-forming succulents come in many sizes and colors, providing a focal point or a beautiful filler. Their tight, sculptural forms are captivating.
- Sedum: Groundcover sedums offer cascading textures, while upright ‘Autumn Joy’ varieties provide a more substantial presence. Their diverse forms make them incredibly versatile for a succulent centerpiece.
- Haworthia: Known for their unique patterns and textures, often resembling miniature aloes, Haworthias add intriguing visual detail. They tolerate slightly lower light conditions better than some other succulents.
- Jelly Bean Plant (Sedum rubrotinctum): Its plump, bean-like leaves often turn reddish-orange in bright light, adding a pop of fall color.
Look for smaller, individual succulent plants or groupings in 2-4 inch pots. You want a variety of shapes and heights to create visual depth and interest in your living centerpiece.
Gathering Essential Supplies for Your Masterpiece
Before you embark on the creative process of designing your living fall centerpiece, assemble all the necessary tools and materials. Having everything at hand streamlines the project and ensures a smooth experience. You do not need a vast array of specialized equipment; most items are readily available at garden centers or even around your home. This preparation makes crafting your diy fall centerpiece enjoyable and efficient.
Choosing the Right Container
The foundation of your centerpiece is its container. Select one that provides adequate space for plant roots and complements your fall aesthetic. Key considerations include:
- Size: Opt for a container that is at least 6-8 inches deep and 8-12 inches wide to accommodate several plants comfortably. Shallow, wider bowls or rectangular planters work best for creating a cohesive display.
- Drainage: Crucial for the health of both herbs and succulents. Ensure your chosen container has drainage holes at the bottom. Without proper drainage, water accumulates, leading to root rot. Drainage allows excess water to escape, preventing your plant roots from sitting in soggy soil.
- Material: Terracotta pots offer a classic, earthy feel and promote airflow, which succulents appreciate. Ceramic or concrete bowls provide a more contemporary look. Woven baskets can work if lined with plastic to prevent water leakage.
- Aesthetics: Consider colors and textures that enhance your fall decor. Earth tones, rustic finishes, or even a brightly colored glazed pot can serve as a beautiful backdrop for your living centerpiece.
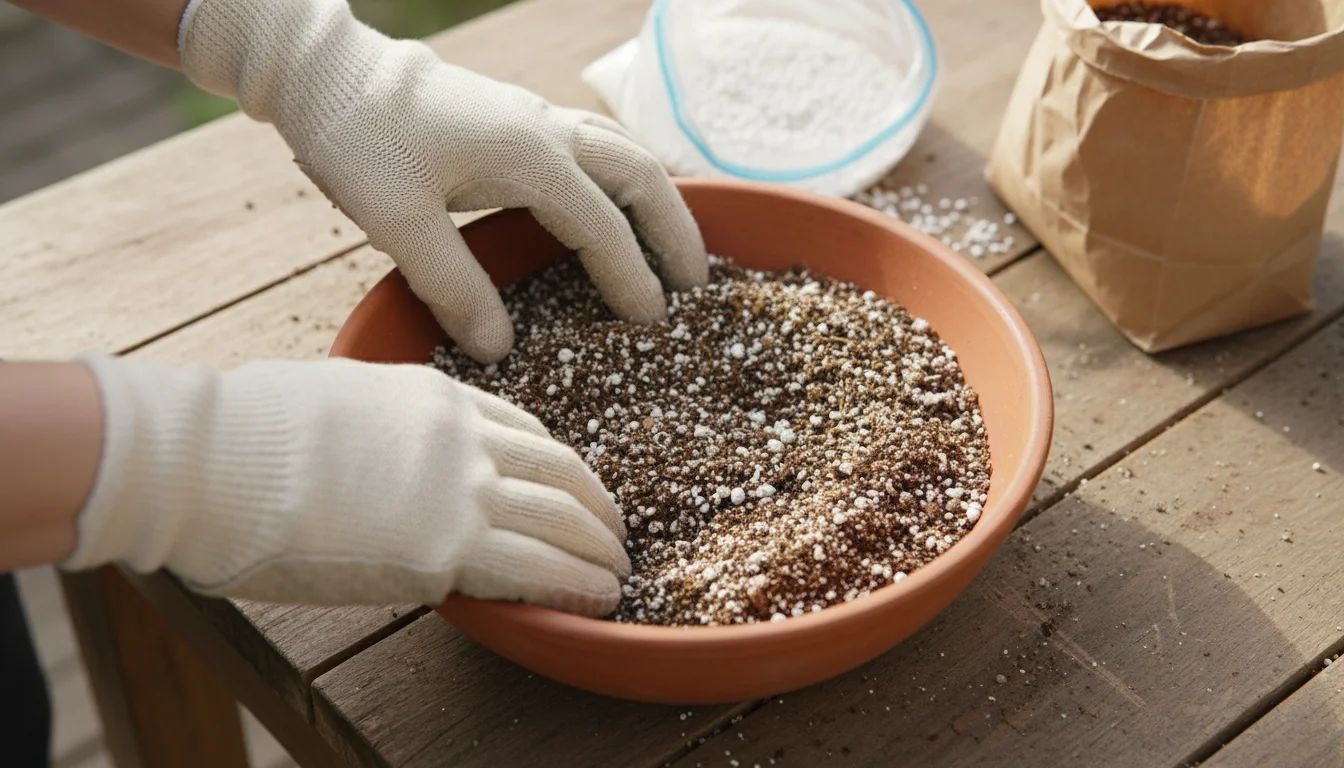
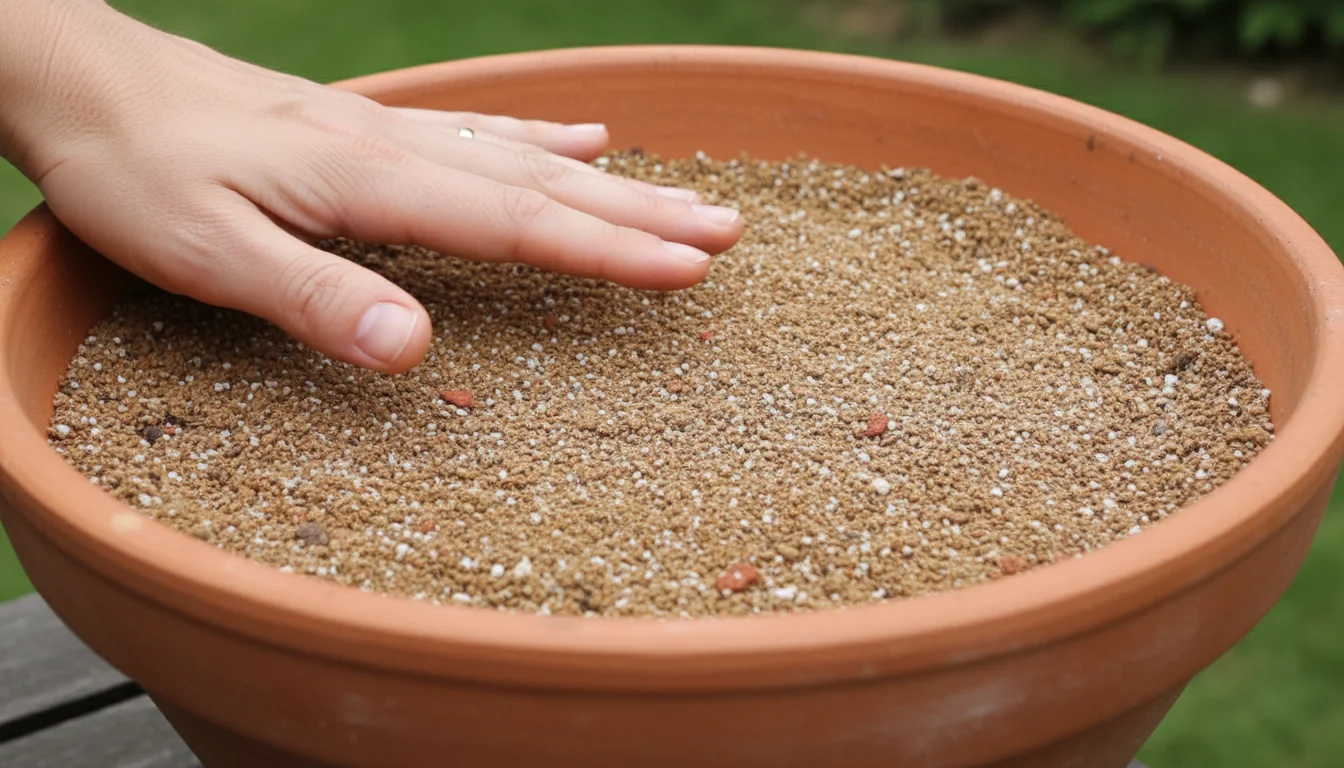
The Importance of Proper Potting Mix
Your plants need the right growing medium to thrive. Standard potting soil is too dense for succulents and many herbs, retaining too much moisture. You need a mix that drains quickly.
- Succulent/Cactus Mix: This specialized soil is formulated for excellent drainage, often containing perlite, pumice, or coarse sand. It prevents waterlogging, which is critical for succulents.
- Perlite or Pumice: If you cannot find a dedicated succulent mix, you can amend regular potting soil with 30-50 percent perlite or pumice. These lightweight, porous materials improve aeration and drainage significantly.
A well-draining soil prevents root rot, a common issue for overwatered plants, ensuring your succulent centerpiece remains healthy.
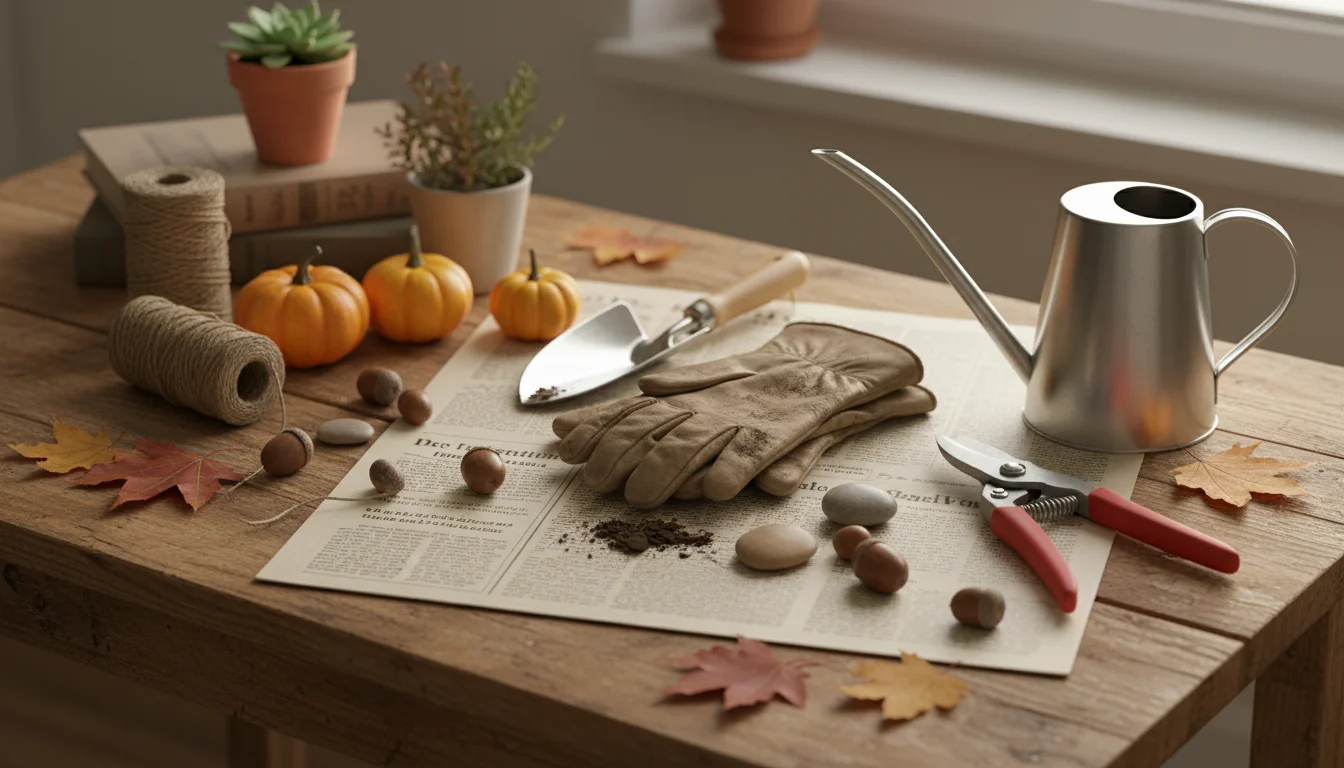
Tools and Decorative Elements
Gathering these additional items helps in both the planting process and the final styling of your living centerpiece:
- Gardening Gloves: Protect your hands from soil and plant thorns.
- Small Trowel or Scoop: For handling soil and planting.
- Pruners or Scissors: For trimming plant roots or foliage as needed.
- Watering Can with a Fine Spout: Allows for precise watering without disturbing the soil or plants.
- Newspaper or Tarp: To protect your work surface from soil spills.
- Decorative Rocks or Pebbles: Use these to top-dress your centerpiece. They add a finished look, help retain some soil moisture, and prevent soil from splashing out during watering.
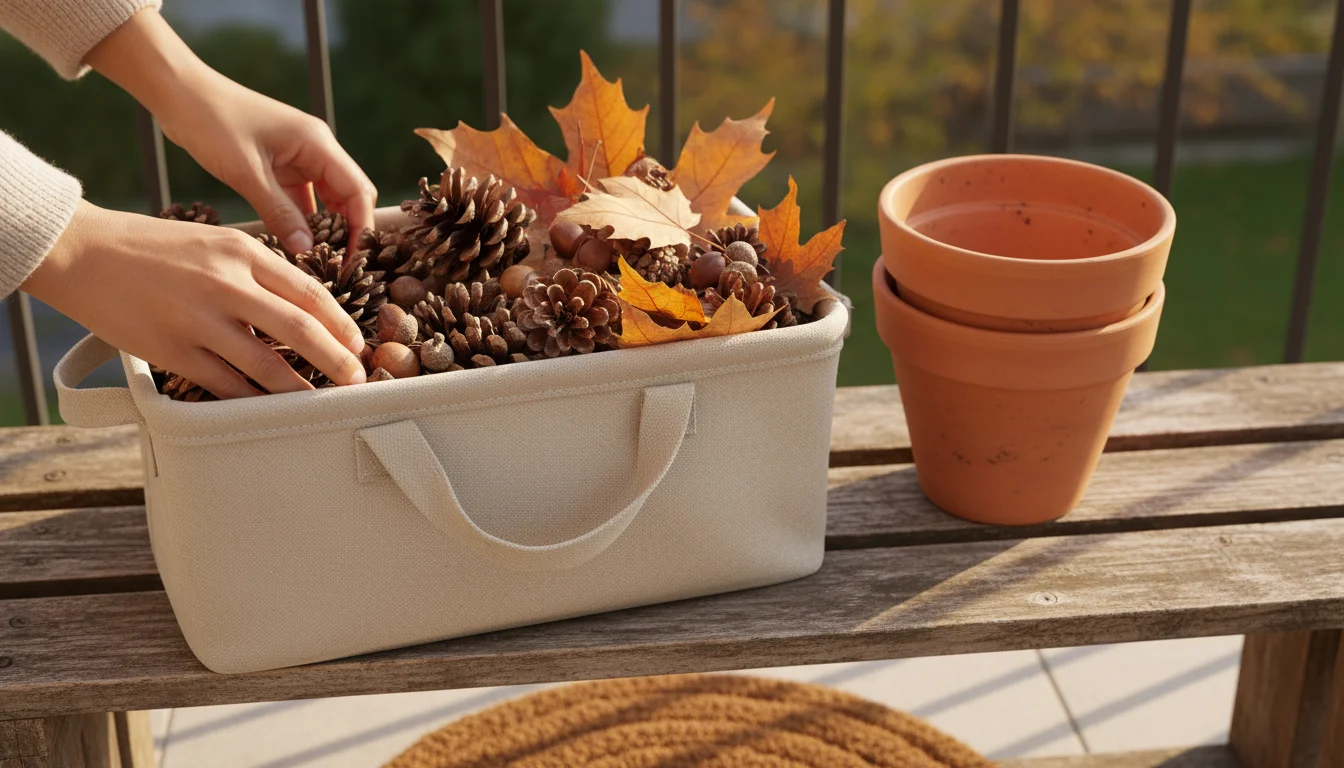
- Fall-Themed Embellishments: Small gourds, mini pumpkins, pinecones, acorns, dried berries, or cinnamon sticks can be artfully placed around the base of your plants. These elements enhance the fall table decor theme.
By having all these supplies ready, you set yourself up for a successful and enjoyable crafting experience, creating a beautiful living centerpiece with ease.
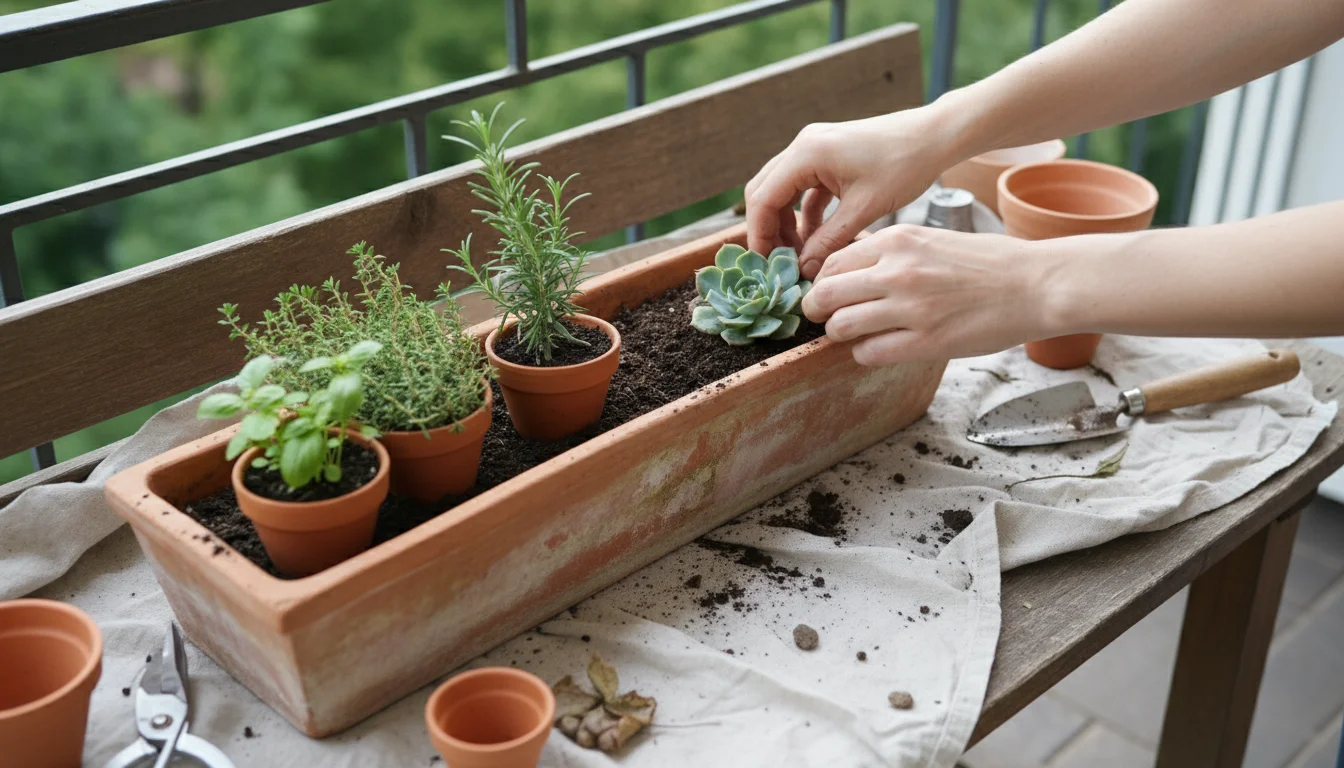
Crafting Your Centerpiece: A Step-by-Step Guide
Now that you have selected your plants and gathered all your supplies, it is time to bring your vision to life. This step-by-step guide walks you through the process of creating a beautiful and thriving living fall centerpiece. Remember to work on a protected surface, as potting can be a bit messy. Following these instructions ensures your diy fall centerpiece has the best start.
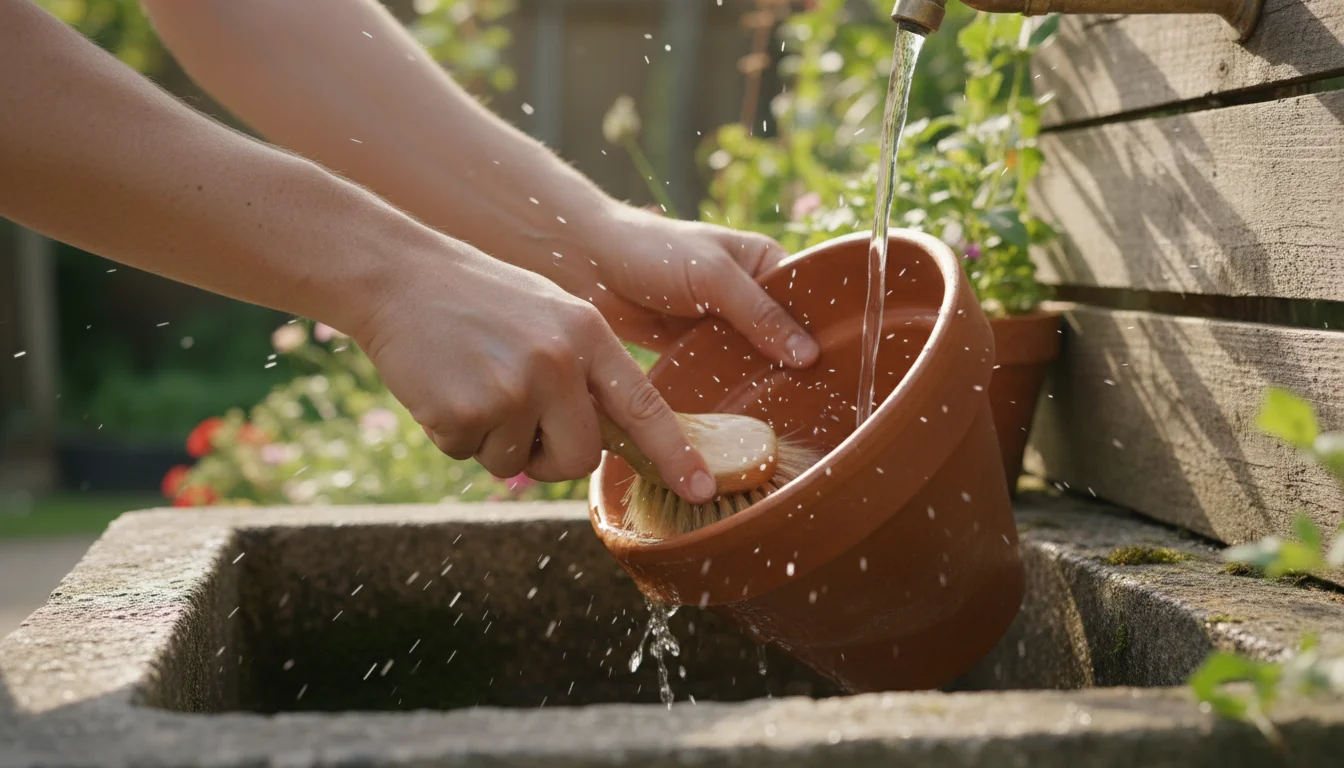
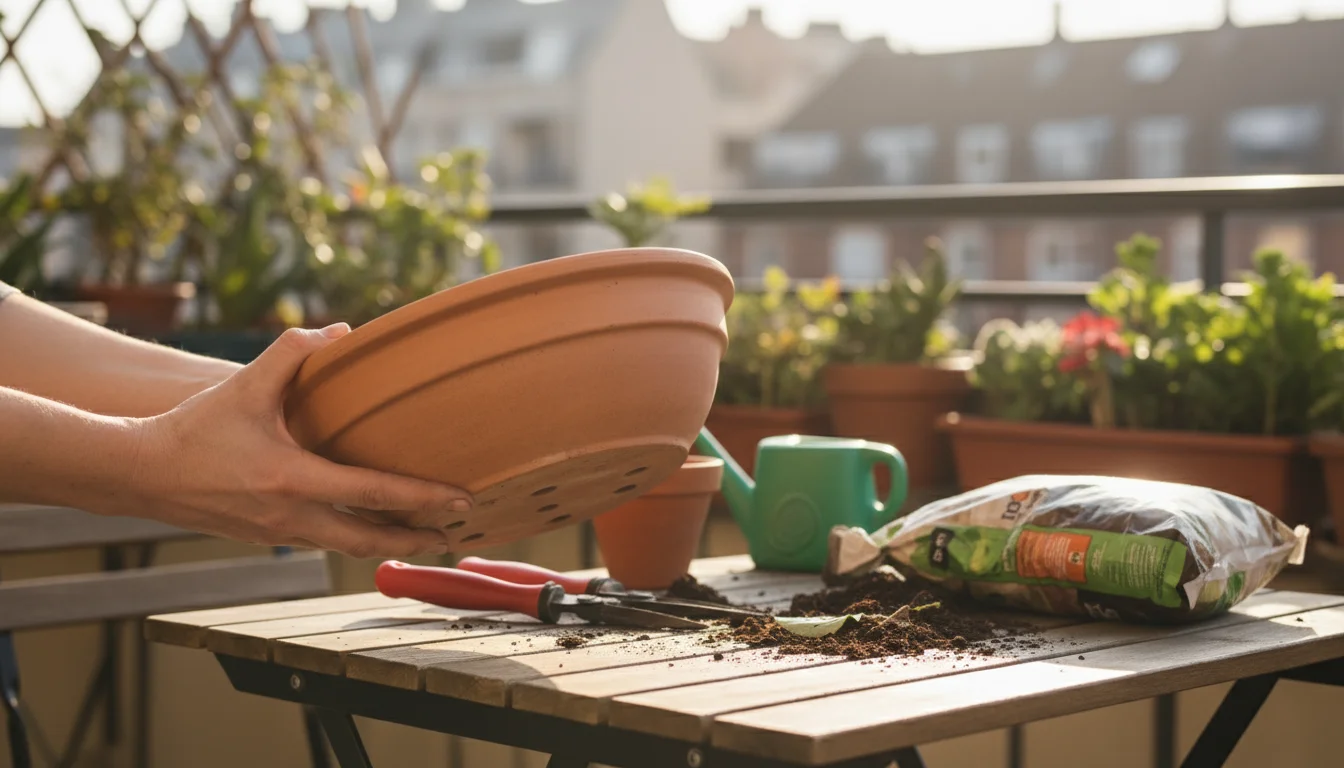
Step 1: Prepare Your Container
Begin by ensuring your chosen container is clean. If it is a used container, wash it thoroughly with soap and water to remove any lingering pests or diseases, then rinse well. Place a small piece of mesh screen or a coffee filter over the drainage holes. This prevents soil from washing out while still allowing water to drain freely. Avoid placing gravel or broken pottery at the bottom of the pot; this does not improve drainage and can actually hinder it by creating a perched water table.
Step 2: Add Potting Mix
Fill your container with the succulent/cactus potting mix, or your amended potting soil, up to about 1-2 inches from the rim. Gently pat it down to remove large air pockets, but do not compact it too much. You want the soil to remain relatively loose for healthy root development. This forms the bed for your plants, crucial for your how to make a centerpiece with live plants project.
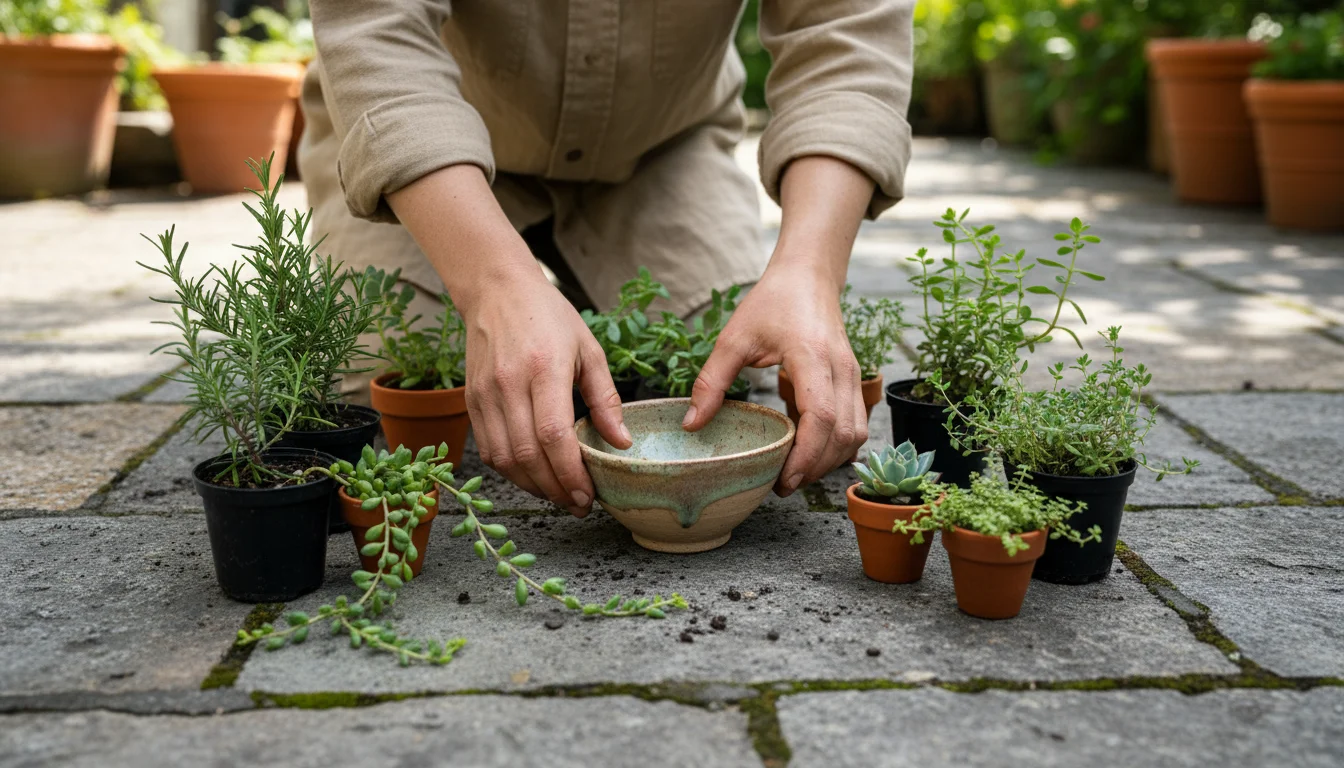
Step 3: Arrange Your Plants (Trial Layout)
Before planting, arrange your potted herbs and succulents on top of the soil in your container while they are still in their nursery pots. Experiment with different placements until you achieve a visually pleasing arrangement. Consider height, texture, and color. Place taller plants towards the center or back if viewing from one side, and shorter, trailing plants around the edges. This trial run allows you to visualize the final look without committing to planting. Aim for balance and harmony, ensuring each plant has space to grow.
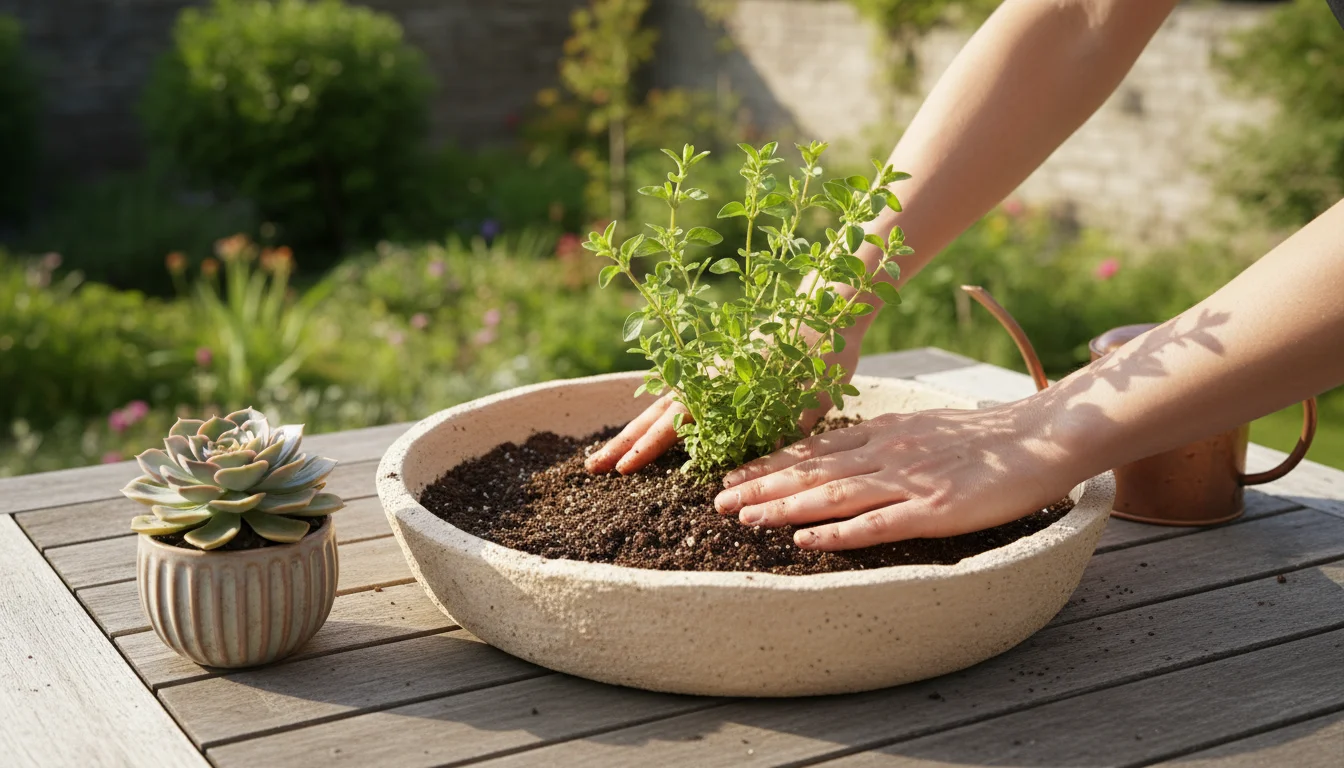
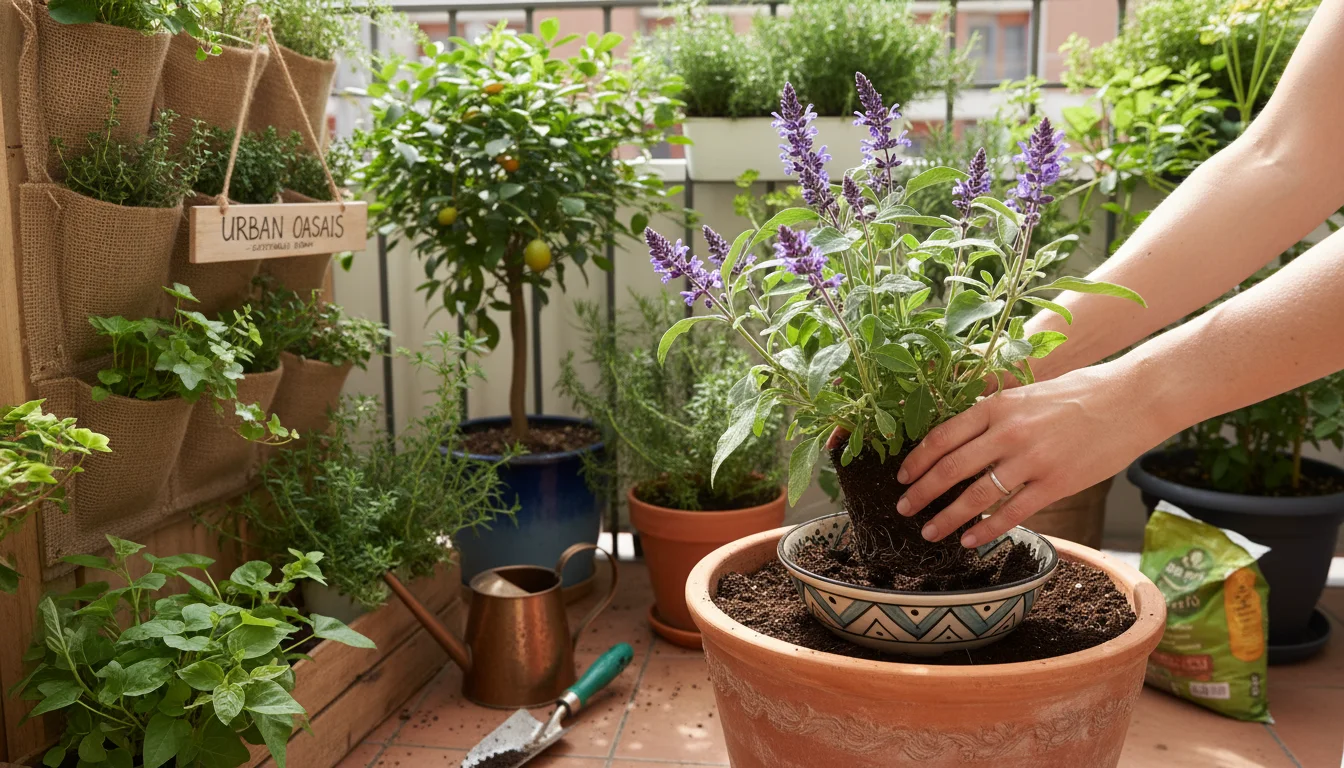
Step 4: Plant Your Herbs and Succulents
Once you are happy with the layout, carefully remove each plant from its nursery pot. Gently loosen any tightly bound roots at the bottom of the root ball. Create a small hole in your potting mix for each plant, ensuring it sits at the same depth it was in its original pot. Place the plant in the hole and backfill with soil, gently firming it around the base to stabilize the plant. Repeat this process for all your chosen herbs and succulents. As you plant, keep your overall design in mind, making slight adjustments as needed. This methodical approach helps you create a cohesive succulent centerpiece.

Step 5: Add Decorative Top Dressing
After all plants are in place, add a layer of decorative pebbles, small river rocks, or even coarse sand to the surface of the soil. This top dressing serves multiple purposes: it gives your living centerpiece a polished, finished look, helps to suppress weeds, and can reduce soil splash during watering. It also prevents the top layer of soil from drying out too quickly, though for succulents, you still want the soil beneath to dry thoroughly between waterings.
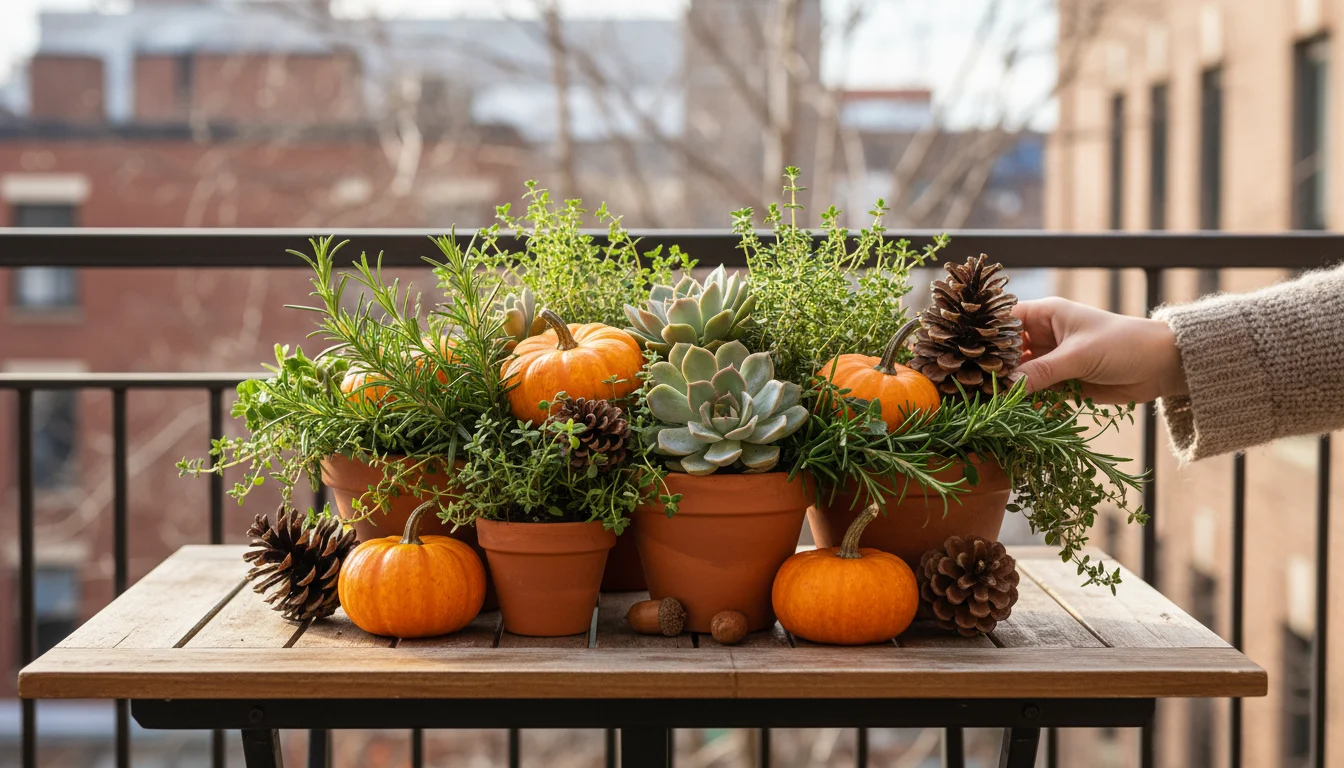
Step 6: Incorporate Fall Embellishments
Finally, artfully arrange your fall-themed embellishments among the plants. Tuck in small gourds, mini pumpkins, pinecones, or dried seed pods. These elements instantly transform your green arrangement into a festive fall table decor piece. You can change these seasonal additions throughout the autumn to refresh the look. Ensure these decorative items do not completely cover the soil surface around your plants, which could impede air circulation or proper watering. This final touch makes your living centerpiece truly unique.
Arranging for Impact: Design Principles for Beauty
Creating a visually appealing living centerpiece goes beyond simply placing plants in a pot. Applying basic design principles elevates your arrangement from a collection of plants to a cohesive work of art. You want to create a focal point for your fall table decor that draws the eye and delights the senses. Understanding these principles helps you craft a truly impactful succulent centerpiece.
Embrace Variety in Form and Texture
The most engaging arrangements feature a diverse mix of plant forms and textures. Think about creating contrast and interest:
- Height: Include plants that vary in height. A taller, upright herb like rosemary can serve as a central anchor, while lower-growing succulents like echeveria or trailing thyme fill in the surrounding space. This variation adds depth.
- Shape: Combine rosette-forming succulents, spiky upright herbs, and cascading groundcovers. The juxtaposition of different shapes creates dynamic visual interest.
- Texture: Contrast the soft, fuzzy leaves of sage with the smooth, plump leaves of a jelly bean succulent. Add the fine needles of rosemary next to the broader foliage of a kalanchoe. These textural differences make the arrangement more tactile and inviting.
Avoid using only plants with similar characteristics, as this can lead to a flat, uninspired look. A rich tapestry of forms and textures makes your how to make a centerpiece with live plants project truly stand out.

Color Harmony and Fall Palette
While herbs are primarily green, their hues vary from deep forest green to silvery-gray. Succulents offer an even wider palette, with many varieties displaying vibrant reds, oranges, purples, and blues, especially under cooler temperatures or bright light. You can leverage these natural colors to evoke the autumn season.
- Complementary Colors: Pair silvery sage with blue-green succulents for a cool, sophisticated look. Introduce succulents that blush red or orange to echo fall foliage.
- Monochromatic Schemes: Use various shades of green, relying on textural differences for interest. This creates a serene, natural aesthetic.
- Accent Colors: Utilize small, colorful succulents or decorative elements like mini pumpkins and berries to provide pops of vibrant fall color against a predominantly green backdrop.
Consider the colors of your dining table, tablecloth, or surrounding fall decor ideas for apartment living to ensure your living centerpiece integrates seamlessly with your overall scheme.

Balance and Focal Points
Achieving balance in your arrangement means distributing visual weight evenly. This does not necessarily mean perfect symmetry; asymmetrical balance often appears more natural and dynamic.
- Focal Point: Choose one prominent plant or grouping to be the star of your arrangement. This could be a particularly striking Echeveria rosette or a well-shaped rosemary plant. Arrange other plants to support and highlight this focal point.
- Weight Distribution: If you have a larger or more visually “heavy” plant on one side, counterbalance it with a cluster of smaller plants or a trailing element on the opposite side.
- Rhythm and Flow: Create a sense of movement in your centerpiece. Guide the viewer’s eye through the arrangement by repeating certain plant types or colors, or by using plants that seem to flow into one another.
Step back frequently during the arrangement process to view your work from different angles. This perspective helps you identify areas that might need more balance or a touch of additional texture, ensuring your diy fall centerpiece is captivating from every side.
Care and Longevity: Keeping Your Centerpiece Vibrant
One of the greatest appeals of a living centerpiece is its extended lifespan compared to cut flowers. With proper care, your potted herbs and succulents can remain healthy and beautiful throughout the fall season and beyond. Understanding their basic needs ensures your succulent centerpiece thrives, offering continuous enjoyment and fresh aromatics. This section outlines the essential care practices for maintaining your how to make a centerpiece with live plants creation.
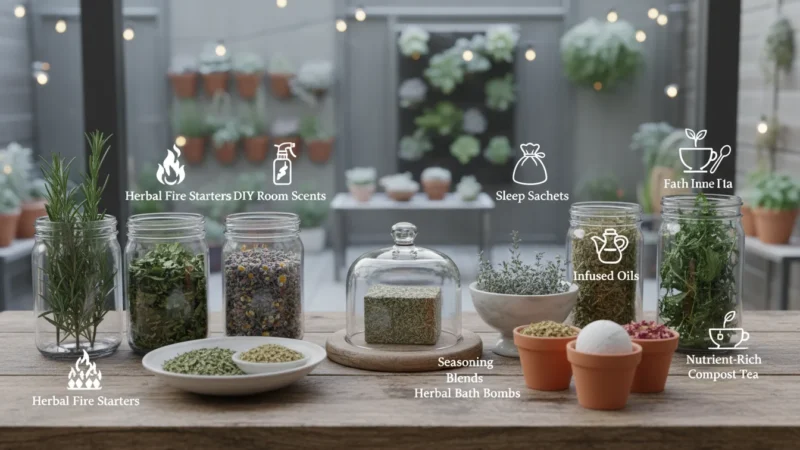
When trimming your plants to maintain their shape, you can save the clippings to make a natural home scent like homemade potpourri.
For more ways to style your home with natural elements, explore these diy fall decor ideas using cuttings from your existing garden.
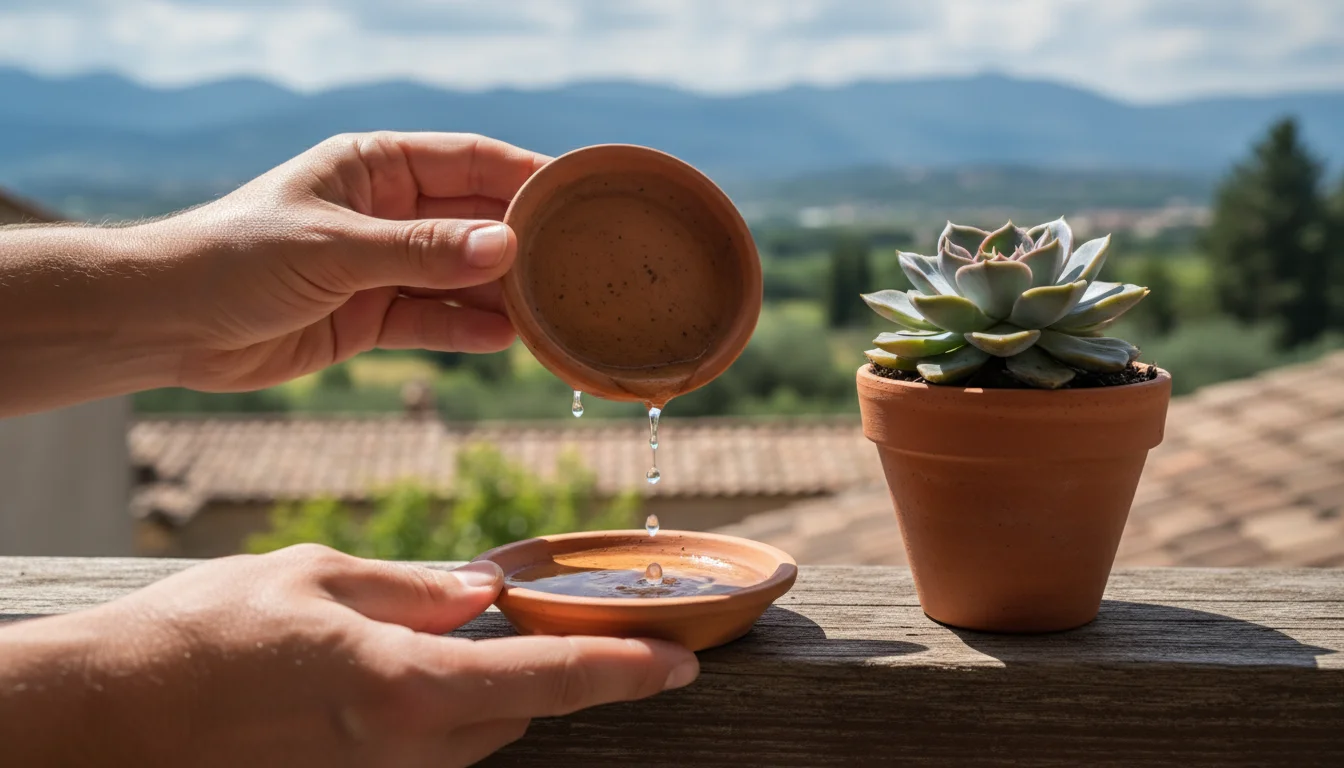
Watering Wisdom: Less is More
The most critical aspect of caring for both succulents and Mediterranean herbs is careful watering. Both plant types prefer dry conditions between waterings. Overwatering is the most common cause of plant failure in these arrangements.
- Check the Soil: Before watering, always check the soil moisture. Stick your finger about an inch or two into the soil. If it feels damp, wait. If it feels dry, it is time to water.
- Water Thoroughly, Then Drain: When you do water, provide enough water so it flows out of the drainage holes at the bottom of the container. This ensures the entire root ball gets hydrated. Immediately after watering, empty any excess water from the saucer beneath your container. Allowing plants to sit in standing water leads to root rot.
- Frequency: In a typical indoor environment, especially during cooler fall months, you might only need to water every 2-4 weeks. Factors like humidity, light exposure, and the size of your container influence this. Err on the side of underwatering rather than overwatering.
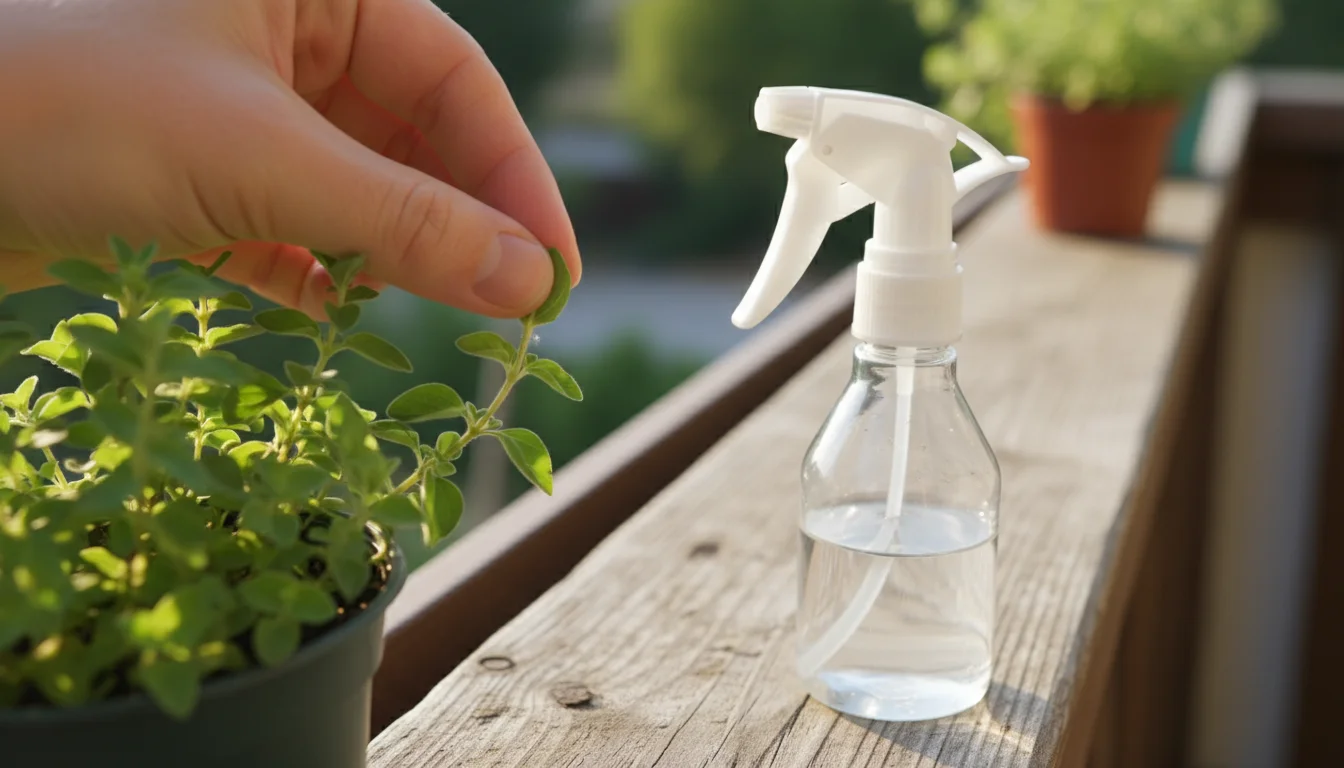
- Targeted Watering: Use a watering can with a fine spout to direct water precisely to the soil around each plant, avoiding getting water on the succulent leaves themselves, as this can sometimes lead to rot or unsightly spots.
By mastering this watering rhythm, you create an optimal environment for your plants, ensuring your living centerpiece remains robust.
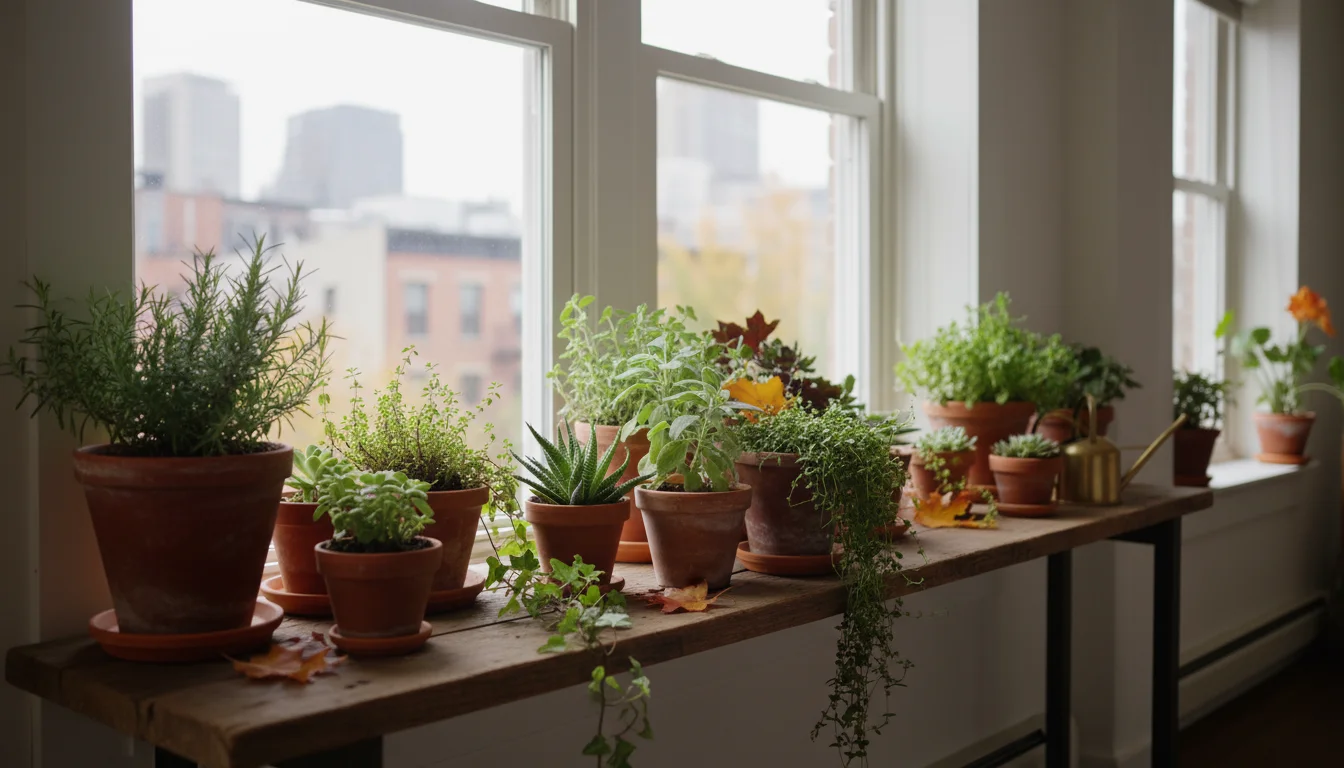
Light Requirements: Finding the Bright Spot
Both herbs and succulents are sun-loving plants. While they can tolerate lower light indoors for a temporary period, providing adequate light is key to their long-term health and vibrant color.
- Bright, Indirect Light: Place your centerpiece in a location that receives bright, indirect sunlight for at least 4-6 hours a day. A spot near a south or west-facing window is often ideal.
- Rotate Your Centerpiece: To ensure even growth and prevent plants from stretching towards the light (a phenomenon called etiolation), rotate your centerpiece every few days. This helps all sides of the plants receive light.
- Supplemental Light (Optional): If your indoor light is very low, especially during winter, consider using a small LED grow light placed discreetly near your centerpiece for a few hours daily. This can prevent plants from becoming leggy and pale.
Adequate light encourages compact growth and intensifies the natural colors of your succulents, enhancing the beauty of your fall table decor.
Temperature and Humidity: Indoor Comfort
Your living centerpiece prefers average room temperatures and relatively low humidity, which aligns well with typical indoor conditions.
- Temperature: Maintain temperatures between 60-75°F (15-24°C). Avoid placing your centerpiece near drafty windows, air conditioning vents, or heat sources, as sudden temperature fluctuations stress plants.
- Humidity: Succulents and woody herbs prefer drier air. Average household humidity is usually fine. Avoid placing the centerpiece in high-humidity areas like bathrooms unless specifically designed for high-humidity plants.
Feeding Your Centerpiece (Sparingly)
During the fall and winter months, most plants enter a period of reduced growth. Therefore, fertilizing your living centerpiece is generally not necessary, and can even be detrimental. If your plants show signs of nutrient deficiency after several months (e.g., yellowing leaves), use a diluted, balanced liquid fertilizer specifically formulated for succulents or herbs, applied at half strength, once every few months during their active growing season (spring and summer). For this fall decor, new plants likely have sufficient nutrients from fresh potting mix.
By adhering to these simple care guidelines, your living centerpiece will remain a stunning and aromatic addition to your home, offering lasting beauty and enjoyment as a sustainable fall decor item.
Seasonal Transitions: Extending Your Centerpiece’s Life
The beauty of a living centerpiece extends far beyond a single holiday or season. Unlike ephemeral decorations, your potted herbs and succulents offer the opportunity for continued enjoyment. With a little foresight and effort, you can transition your fall table decor into new displays or even integrate them back into your outdoor garden come spring. This approach not only provides sustainable gardening practices but also offers long-term value from your initial investment in a diy fall centerpiece.
Once the holidays are over, you can even repurpose your smaller succulents into a DIY tabletop terrarium for continued indoor enjoyment.
Repotting for Future Growth
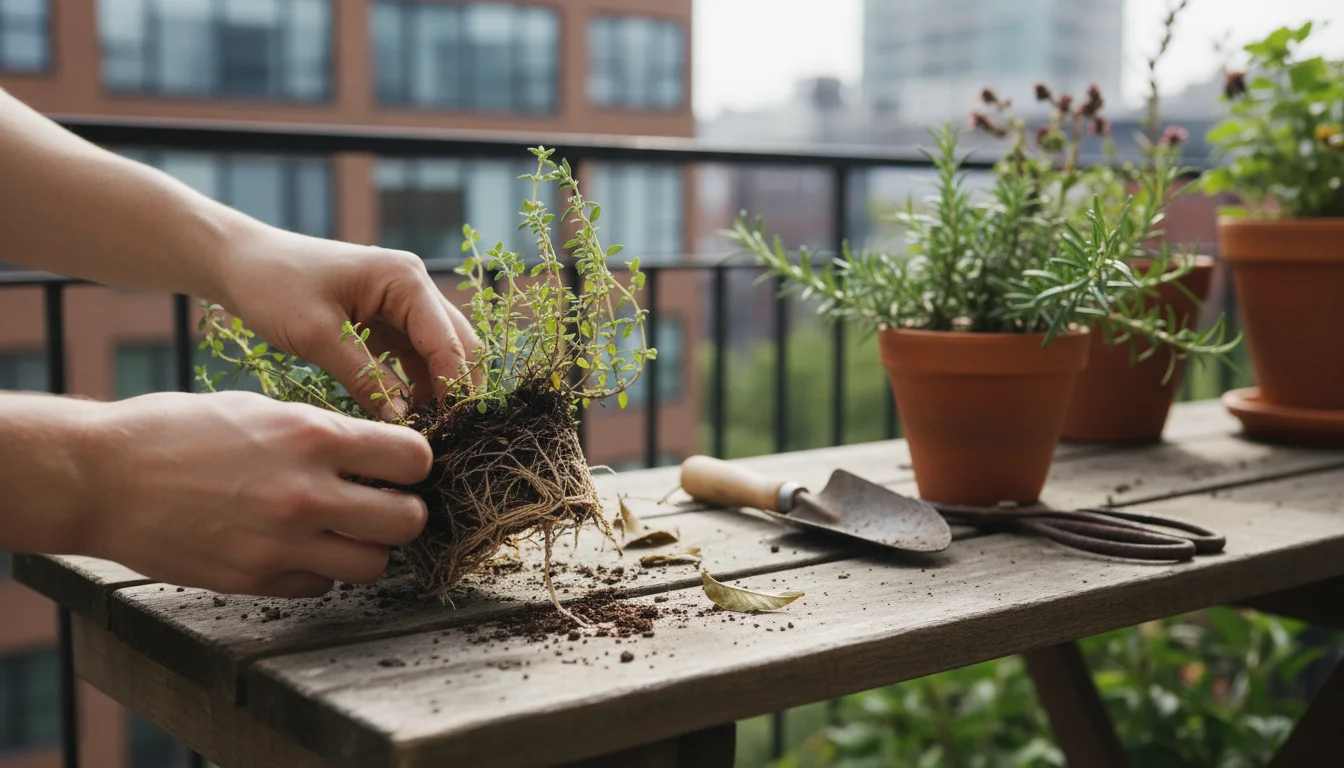
After several weeks or months, your plants may outgrow their current shared container. You will notice roots beginning to emerge from the drainage holes, or the plants appearing “root-bound” where the roots fill the pot tightly. This signals it is time for individual repotting.
- Gentle Separation: Carefully remove all plants from the centerpiece container. Gently separate the root balls, being as careful as possible to minimize damage.
- Individual Pots: Provide each herb and succulent with its own slightly larger pot, ensuring each new pot has good drainage. Use fresh, appropriate potting mix for each. For example, herbs might prefer a slightly richer mix than succulents, though both still need excellent drainage.
- Pruning for Health: At this stage, you can lightly prune your herbs to encourage bushier growth. For succulents, remove any dead or yellowing leaves.
Repotting gives your plants the space and nutrients they need to continue thriving, transforming your temporary fall display into permanent residents of your indoor or outdoor garden.
Overwintering and Relocation
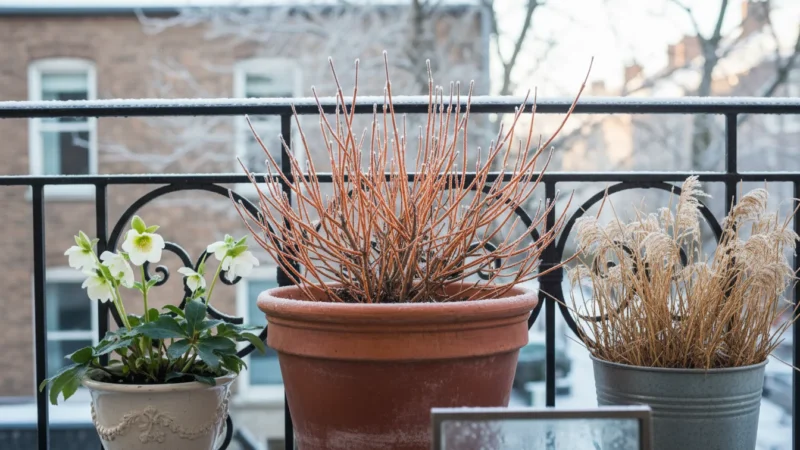
Most of the herbs and succulents chosen for fall centerpieces are not cold-hardy in many regions. If you plan to move them outdoors in spring, you need to protect them indoors through winter.
- Indoor Placement: After repotting, place individual plants in a bright, sunny window. South-facing windows are often best. Reduce watering frequency even further during winter dormancy.
- Monitoring for Pests: Indoor conditions can sometimes encourage pests like spider mites or mealybugs. Inspect your plants regularly and address any infestations promptly with insecticidal soap or neem oil.
- Transitioning Outdoors: Once spring arrives and all danger of frost has passed, you can gradually acclimate your plants to outdoor conditions. Start by placing them in a shaded spot for a few days, then gradually move them into brighter light over a week or two. This “hardening off” prevents shock and sunburn.
This careful transition allows your succulent centerpiece components to continue their life cycle, enriching your garden for seasons to come.
Reusing Decorative Elements
The beauty of your living centerpiece is its reusability. Once you have repotted your plants, the original container and any non-perishable decorative elements can be stored for future projects or repurposed:
- Container Reuse: Clean your centerpiece container thoroughly. It can become the base for a new living centerpiece next fall, a spring bulb display, or a succulent arrangement for another area of your home.
- Natural Embellishments: Pinecones, acorns, and dried elements can be stored in a dry place for next year’s fall decor ideas for apartment living or any autumn display. Small gourds and mini pumpkins are compostable or can be used as animal feed if untreated.
This emphasis on reuse and longevity underscores the environmentally conscious aspect of creating a living centerpiece, making it a truly sustainable choice for your home and garden.
Troubleshooting Common Challenges and Solutions
Even with the best intentions, you might encounter a few challenges when maintaining your living fall centerpiece. Do not worry; most common issues are easily resolved with a bit of knowledge and timely action. Addressing these problems quickly ensures your succulent centerpiece remains healthy and beautiful. This section equips you with practical solutions for keeping your how to make a centerpiece with live plants project vibrant.
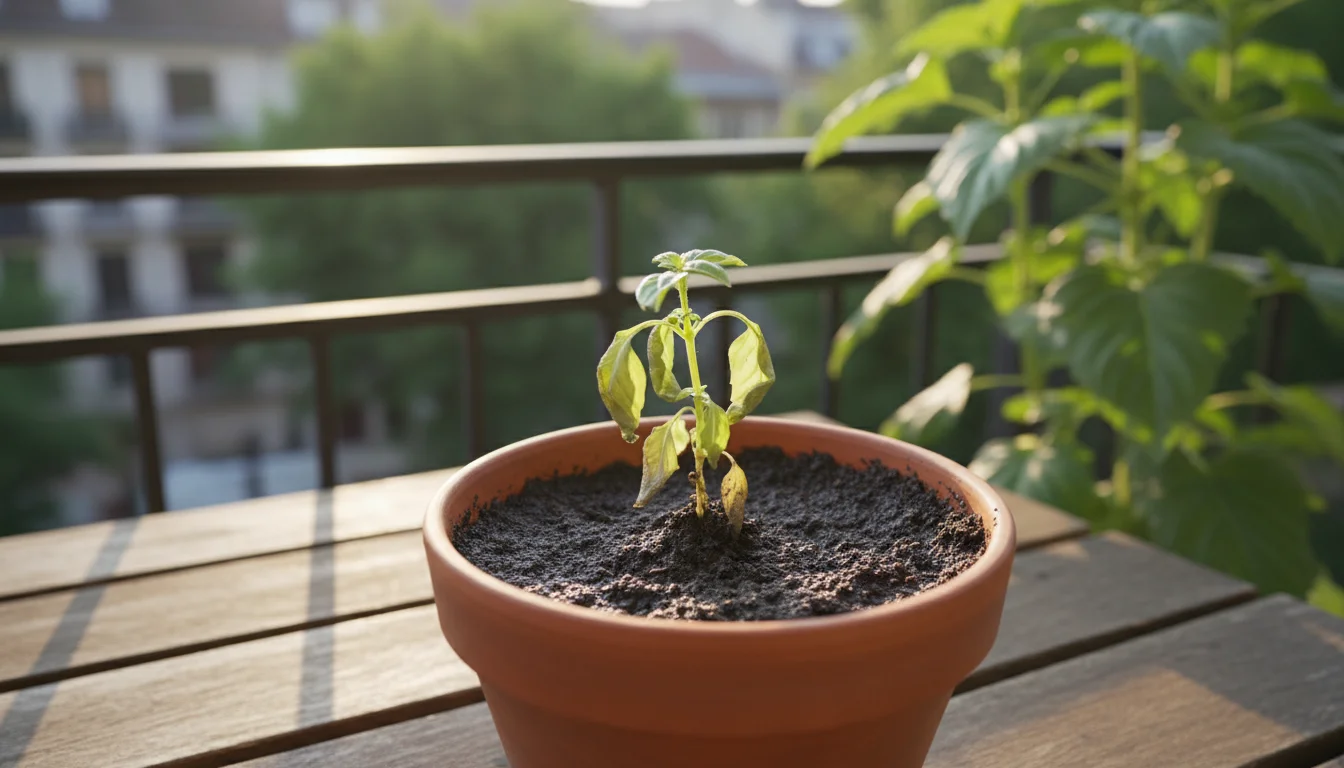
Yellowing or Drooping Leaves
This is a common symptom with a few potential causes:
- Overwatering: The most frequent culprit for both herbs and succulents. If leaves are yellowing and soft or mushy, and the soil feels constantly damp, you are likely overwatering.
- Solution: Immediately cease watering. Allow the soil to dry out completely. If the problem persists, gently unpot the plants, inspect roots for rot (mushy, black roots), and repot into fresh, dry succulent mix after trimming away any rotted sections. Ensure your container has adequate drainage.
- Underwatering: While less common for succulents, extremely dry conditions can cause lower leaves to yellow and dry up. For herbs, leaves might appear crispy and droopy.
- Solution: Give the plants a thorough watering until water drains from the bottom. Ensure you are watering deeply enough when you do water.
- Nutrient Deficiency: If older leaves yellow while newer growth remains green, it might indicate a lack of nitrogen.
- Solution: This is less common in new arrangements. If needed, apply a very diluted, balanced liquid fertilizer during the growing season (spring/summer).
Leggy or Stretched Plants (Etiolation)
If your herbs are reaching for the light with long, weak stems, or your succulents are stretching out with widely spaced leaves, they are not receiving enough light.
- Solution: Move your living centerpiece to a brighter location, ideally near a south or west-facing window, ensuring at least 4-6 hours of bright, indirect light daily. Consider supplementing with a grow light if natural light is insufficient. You can prune leggy herbs to encourage bushier growth, but succulent stretching is usually irreversible without propagation.
Pests: Mealybugs or Spider Mites
Pests can sometimes appear, especially if plants were not properly inspected before purchase or if they are stressed.
- Mealybugs: Look for white, cottony masses in leaf axils or under leaves. They suck plant sap, causing stunted growth.
- Solution: For light infestations, dab mealybugs with a cotton swab dipped in rubbing alcohol. For heavier infestations, use insecticidal soap or neem oil, following product instructions. Isolate affected plants immediately.
- Spider Mites: Tiny red or brown mites, often visible with fine webbing on leaves. Leaves might appear stippled or discolored.
- Solution: Increase humidity if possible (though be cautious with succulents). Rinse plants thoroughly with water, or use insecticidal soap or neem oil.
Regular inspection is your best defense against pests. Catching them early makes eradication much easier for your fall table decor plants.
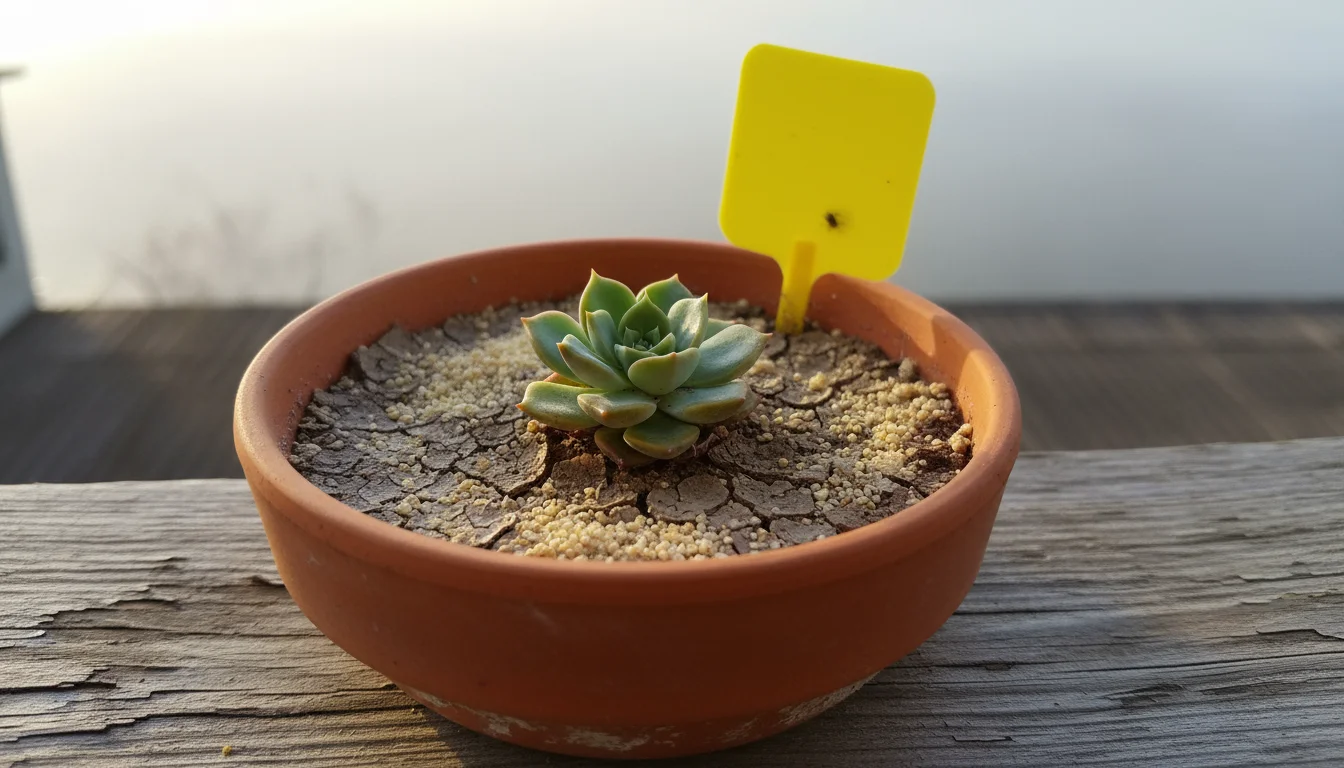
Fungus Gnats
These tiny, dark flies buzz around the soil surface and indicate consistently wet soil.
- Solution: Allow the soil to dry out completely between waterings. You can place sticky traps near the soil to catch adults. A thin layer of sand or diatomaceous earth on the soil surface can also deter them.
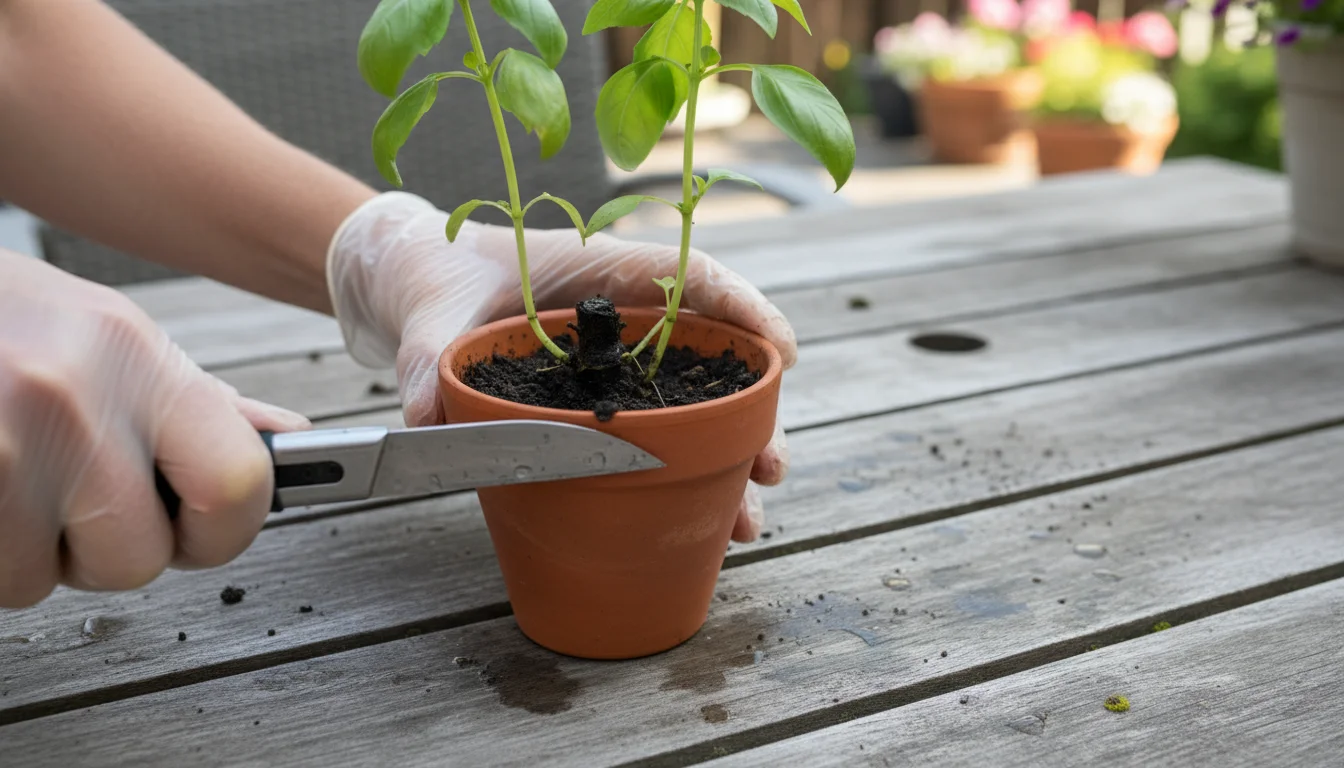
Rotting Plants
Mushy, black stems or leaves, especially at the base of the plant, are clear signs of rot, almost always caused by overwatering.
- Solution: This can be difficult to reverse. If only a small portion is affected, you might be able to save the plant by carefully cutting away all rotted tissue with a sterile knife, allowing the cut surface to callus for a few days, and then replanting in fresh, dry soil. For succulents, healthy leaves can sometimes be propagated from an affected plant.
By understanding these common challenges and implementing the appropriate solutions, you gain confidence in maintaining your living centerpiece, ensuring it continues to bring beauty and joy to your home.
Frequently Asked Questions
How long will a living centerpiece last?
A living centerpiece, particularly one made with resilient herbs and succulents, can last for many months, often throughout the entire fall and winter season, and even longer with proper care. Unlike cut flowers, these plants continue to grow. Factors like light, watering, and occasional maintenance such as repotting play a significant role in their longevity. With good conditions, you can enjoy your succulent centerpiece for a year or more, eventually transitioning individual plants to larger pots or an outdoor garden.
Can I use any herbs or succulents for my centerpiece?
While many varieties work, select herbs and succulents that share similar care requirements, primarily well-draining soil and moderate to bright light. Hardy herbs like rosemary, thyme, and sage pair well with most common succulents such as Echeveria, Sedum, and Haworthia. Avoid plants that need vastly different watering schedules or light intensities. Always check specific plant needs before combining them in a single container to ensure your diy fall centerpiece thrives.
What if my container does not have drainage holes?
A container without drainage holes significantly increases the risk of root rot for both herbs and succulents. If you absolutely must use a decorative container without drainage, you have two options: either use it as a cachepot (a decorative cover for a smaller pot with drainage holes inside), or create a robust false bottom. For a false bottom, add a thick layer of coarse gravel or leca at the very bottom, creating a reservoir for excess water, but this method is less reliable and still carries risks. The best practice for a how to make a centerpiece with live plants project is always to use a container with proper drainage.
How do I make my centerpiece look “fall-themed”?
Beyond the plants themselves, integrate seasonal elements to enhance the fall aesthetic. Use small gourds, mini pumpkins, pinecones, acorns, dried berries, or cinnamon sticks. Place these natural items artfully among your plants on top of the soil. You can also select succulents that naturally display red, orange, or purple hues, which often intensify in cooler temperatures. Rustic containers, or those in warm earthy tones, further contribute to the fall table decor theme. These additions are easily interchangeable, allowing you to refresh the look as the season progresses.
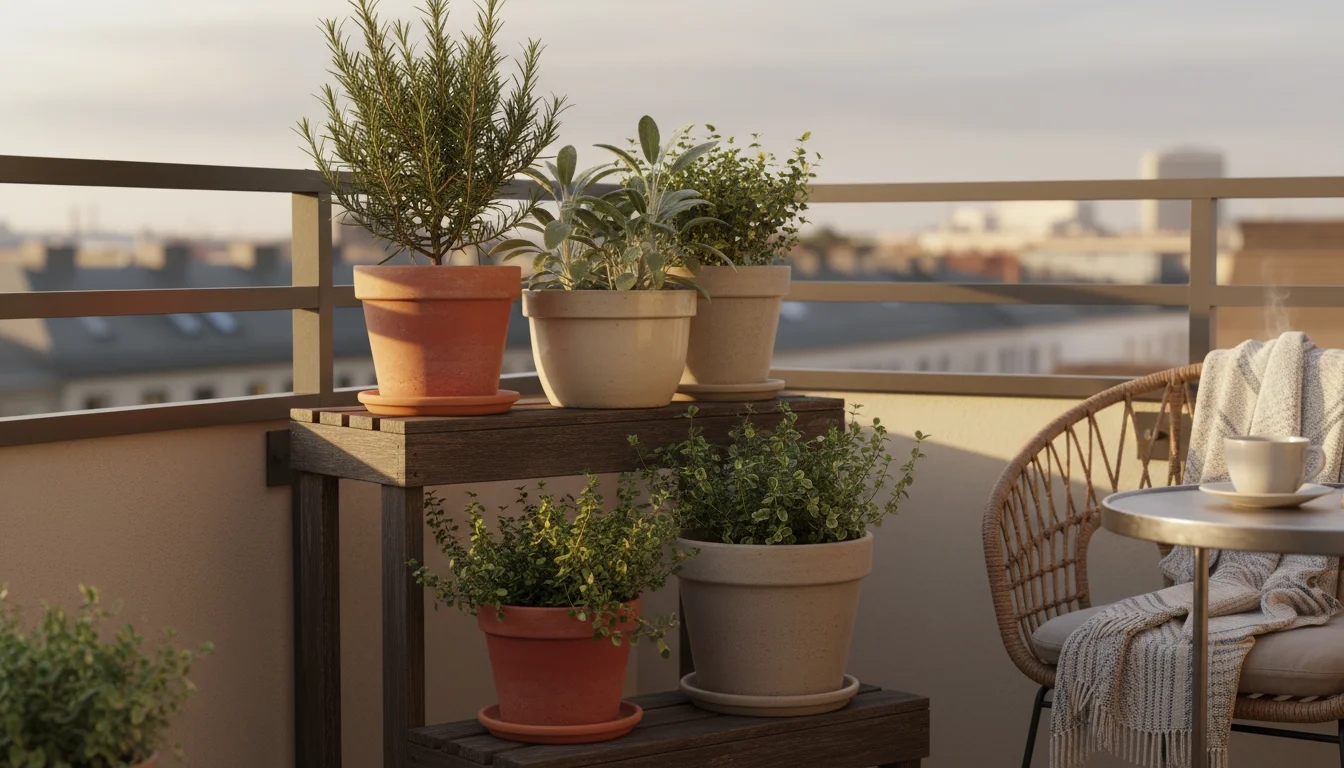
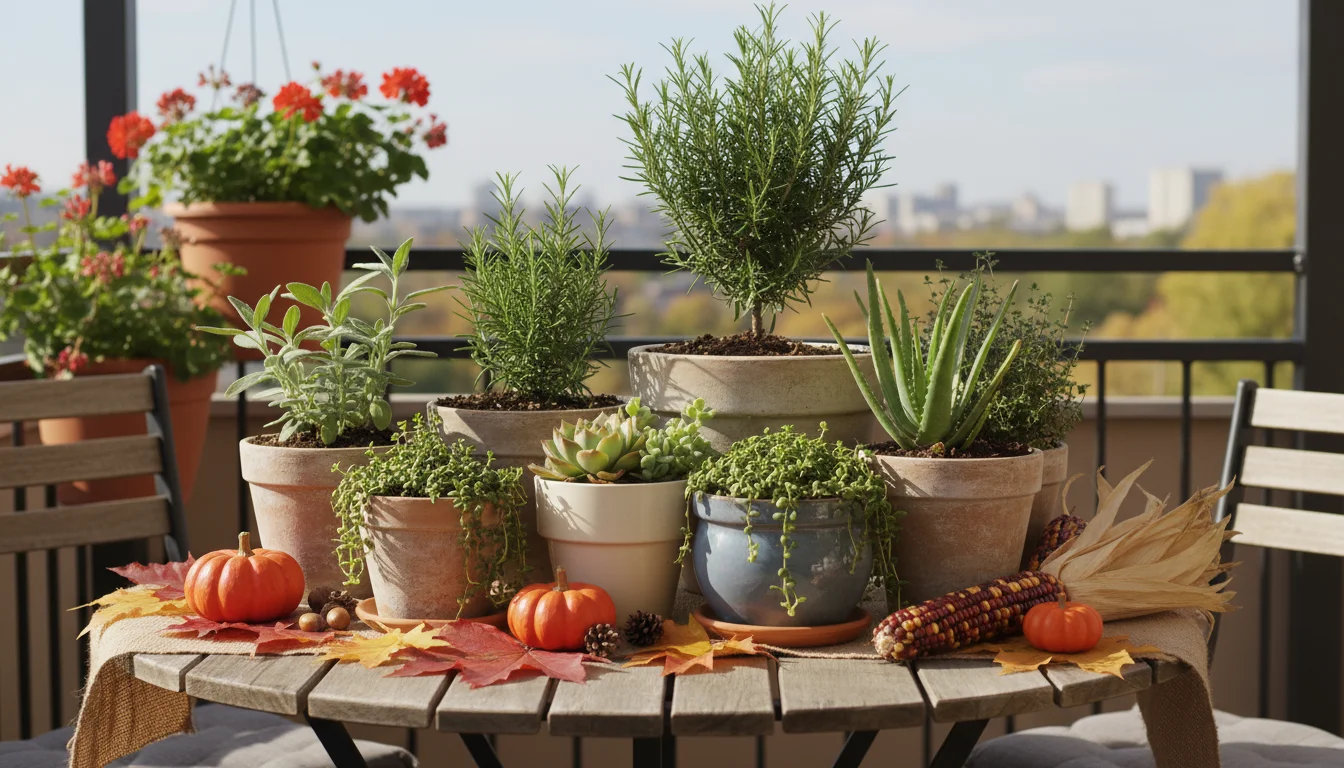
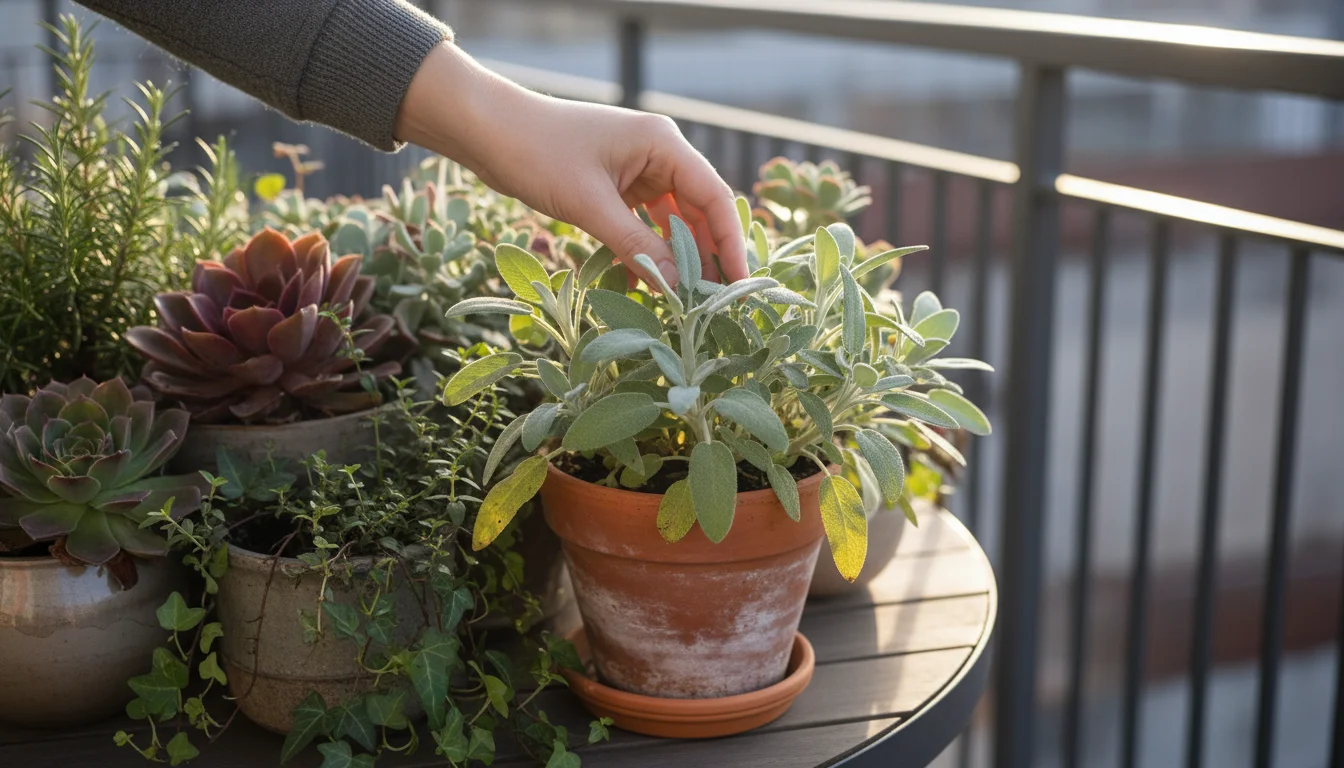
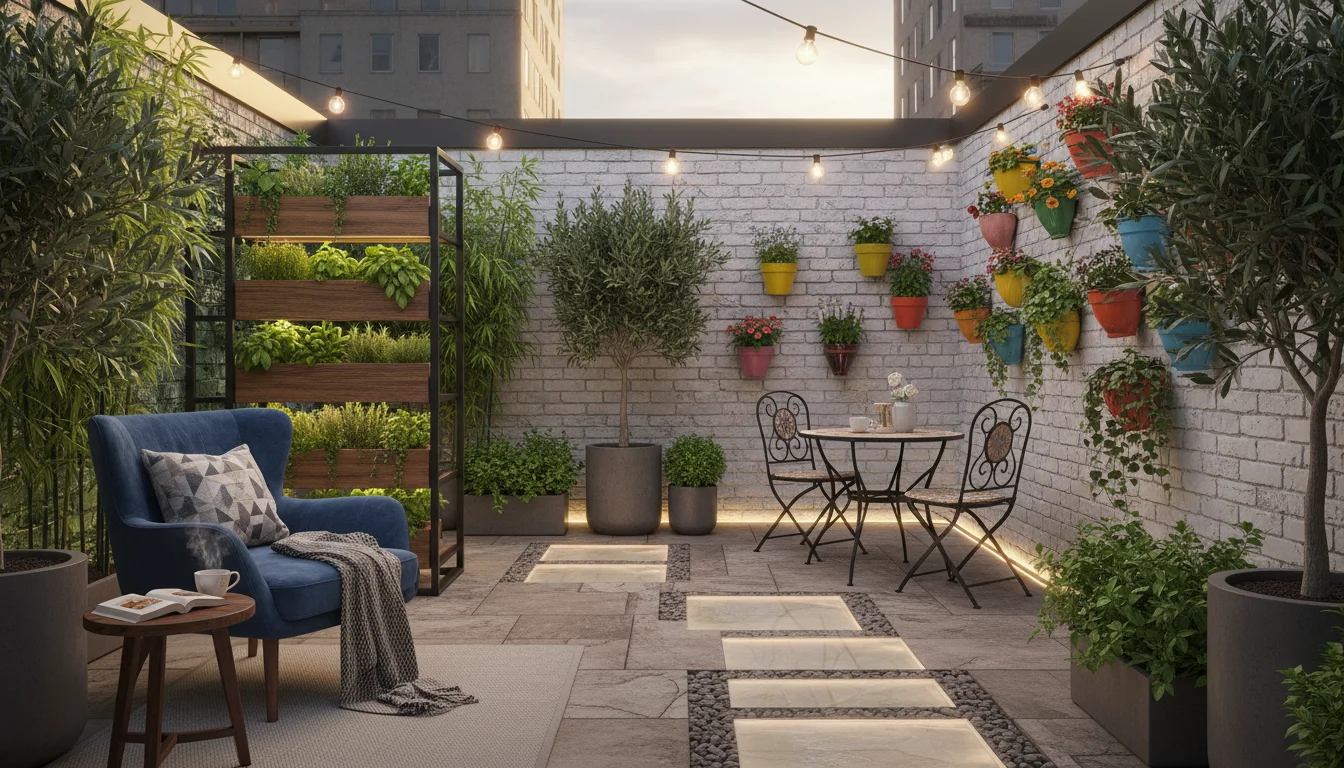
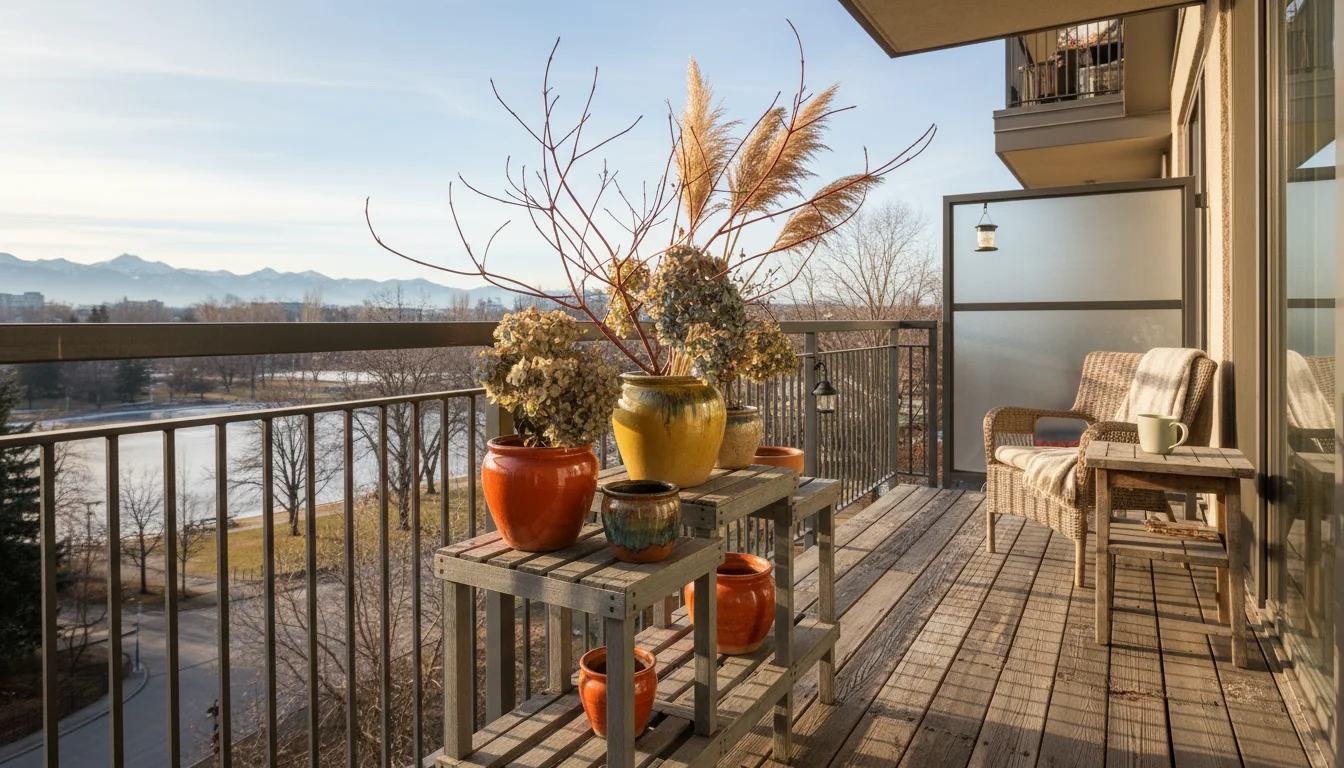
Can I keep my centerpiece outdoors on my balcony?
Yes, you can absolutely keep your living centerpiece outdoors on a balcony or patio as long as temperatures remain above 50°F (10°C). Many herbs and succulents actually thrive with more direct sunlight and fresh air. Be mindful of sudden temperature drops and bring the centerpiece indoors if frost is expected. Ensure it receives adequate light but also some protection from scorching afternoon sun, especially in warmer climates. Outdoor placement can be an excellent fall decor idea for apartment balconies, bringing life to your outdoor spaces before winter sets in.
For trustworthy gardening information, visit: Arkansas Extension — Yard & Garden, Kansas State University Extension — Horticulture and Oklahoma State University Extension — Lawn & Garden. These organizations provide expert, research-based advice for gardeners at all levels.
Disclaimer: This article is for informational purposes only and is not a substitute for professional gardening advice. Always consult local extension services or horticulture experts for region-specific guidance.


Leave a Reply