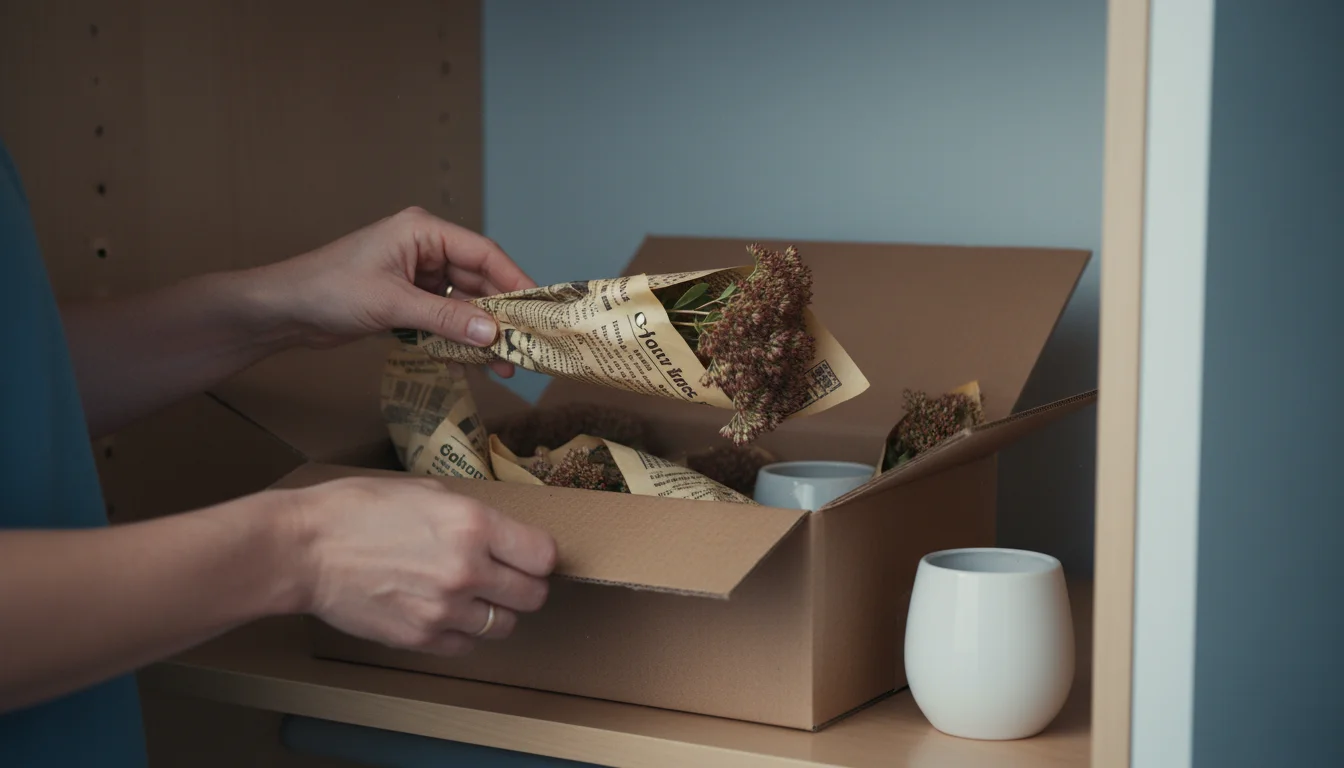
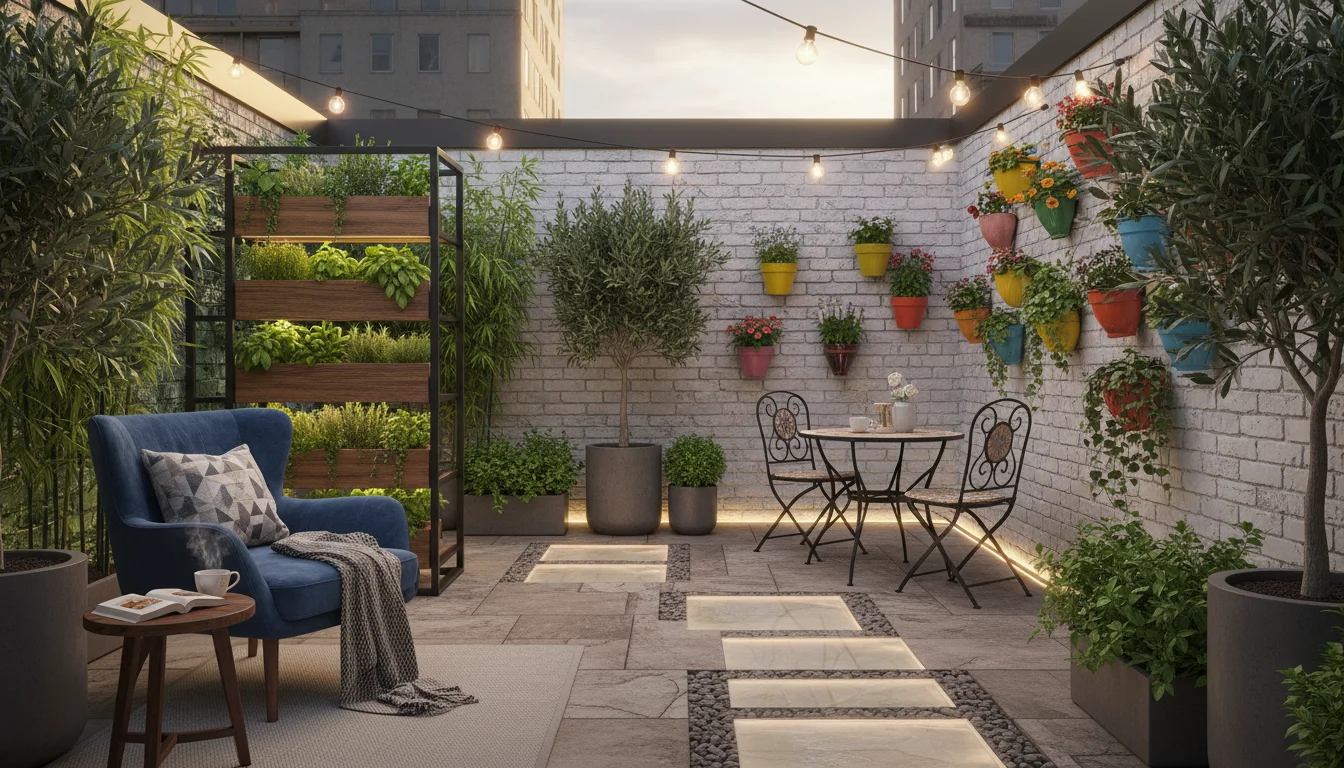
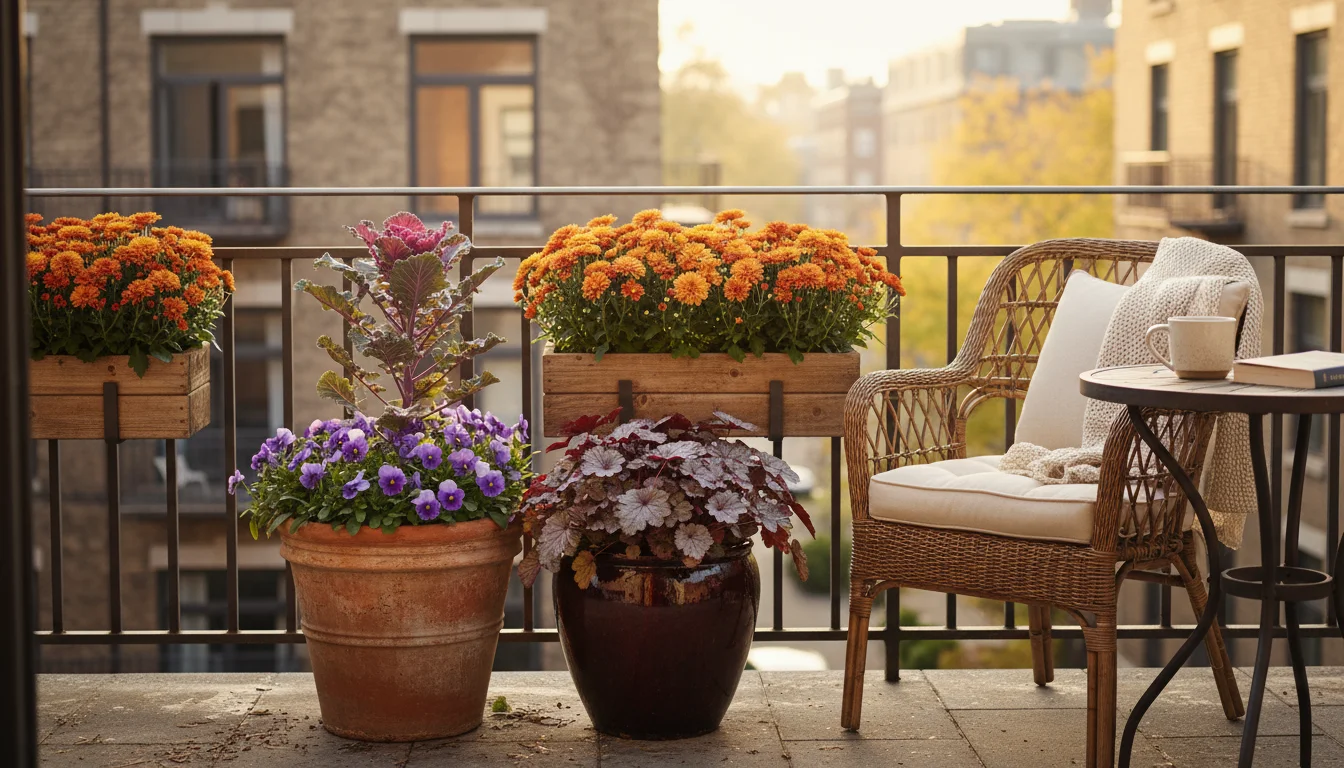
As summer’s vibrant display gently fades, your container garden offers a hidden treasure trove for autumn. You can transform the very plants you nurtured all season into stunning, unique fall decorations. This guide helps you craft beautiful, sustainable decor from your balcony, patio, or small yard, bringing the warm hues and textures of the season right to your doorstep. Forget store-bought plastics and embrace the natural bounty your garden provides. You will discover how simple it is to create eye-catching pieces that reflect your personal style and commitment to an eco-friendly home.
While you are gathering material for your project, it is also the perfect time to multiply your garden for free by taking cuttings for propagation.
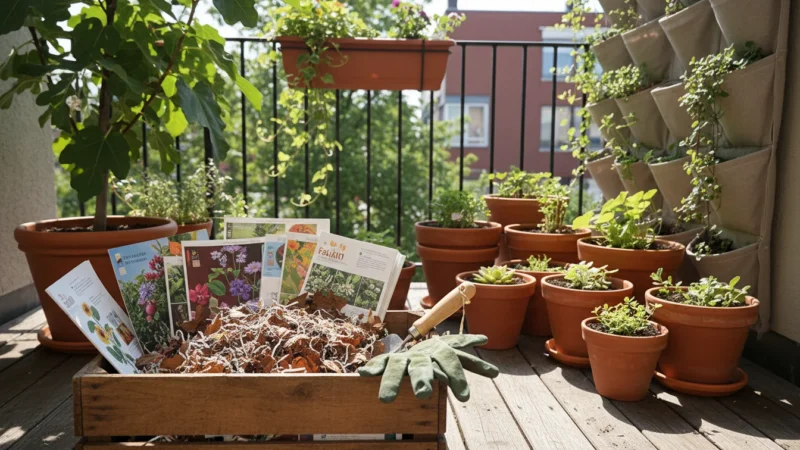
Why Your Garden Holds Fall Decor Gold
Your container garden, regardless of its size, provides an incredible resource for creating natural fall decorations. This approach offers numerous benefits beyond simple aesthetics. You engage in truly sustainable gardening practices, reducing waste by repurposing what you have grown. Instead of purchasing mass-produced decor that often involves plastics and extensive shipping, you utilize local, renewable materials. This commitment to sustainability impacts your carbon footprint positively, aligning with an environmentally conscious lifestyle.
Any leftover organic material that doesn’t make it into your decor can still be used to create a winter haven for beneficial insects within your containers.
Moreover, crafting with your own garden clippings results in truly unique pieces. Your decor will carry a personal touch and tell a story, reflecting the plants you diligently cared for throughout the growing season. This personal connection makes your fall arrangements more meaningful than anything you could buy. You discover the beauty in the often-overlooked spent blooms, seed heads, and foliage, appreciating the full life cycle of your plants.
Financially, creating your own decor offers significant savings. Fall decorations can quickly become an expensive seasonal expense, especially when you aim for a cohesive look across your porch or patio. By using what you already have, you drastically cut down on costs, allowing you to allocate your gardening budget to other areas, such as winter protection for your containers or seeds for next spring. This economic advantage makes beautiful fall decor accessible to everyone, regardless of budget constraints.
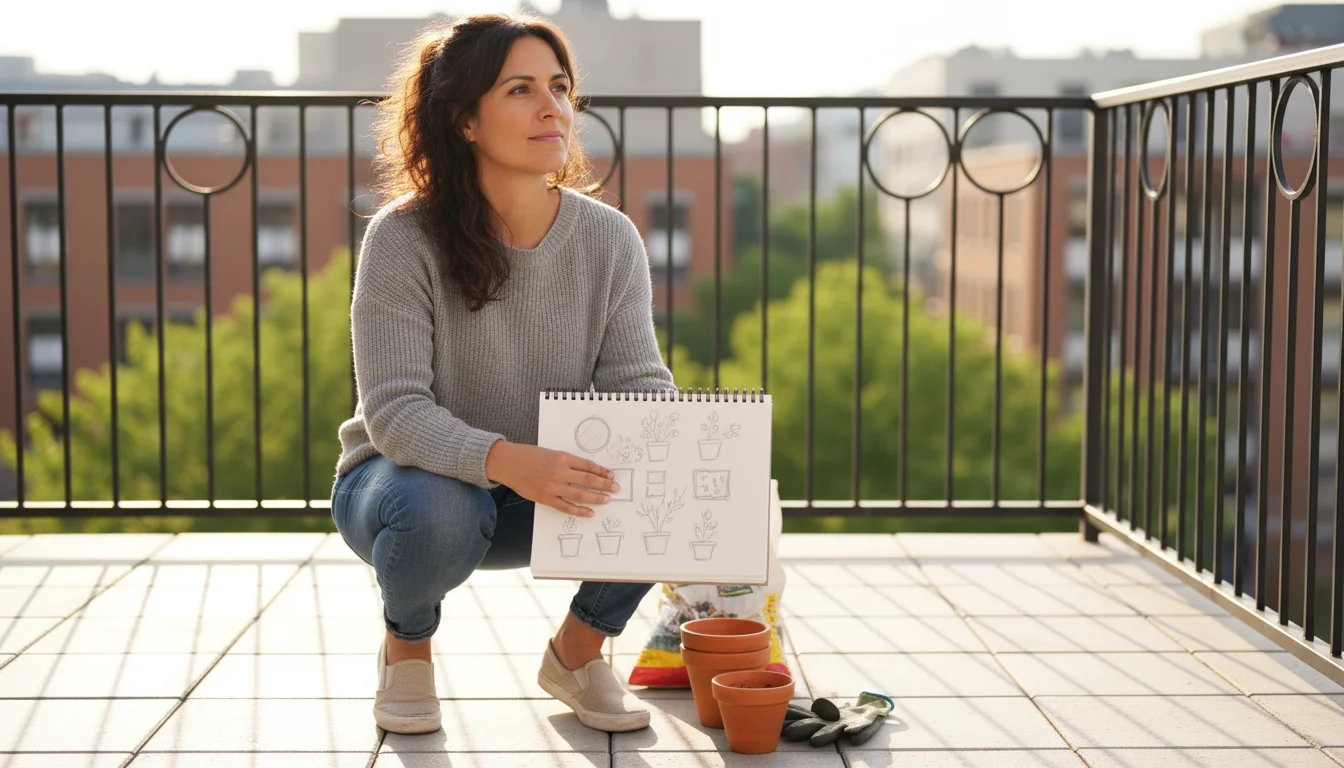
Finally, engaging in garden crafts provides a wonderful creative outlet. The process of designing and assembling your decor can be meditative and immensely satisfying. You work with your hands, connecting with nature and expressing your artistic side. This is more than just decorating; it is an extension of your gardening passion, a way to celebrate the changing seasons and the fruits of your labor.
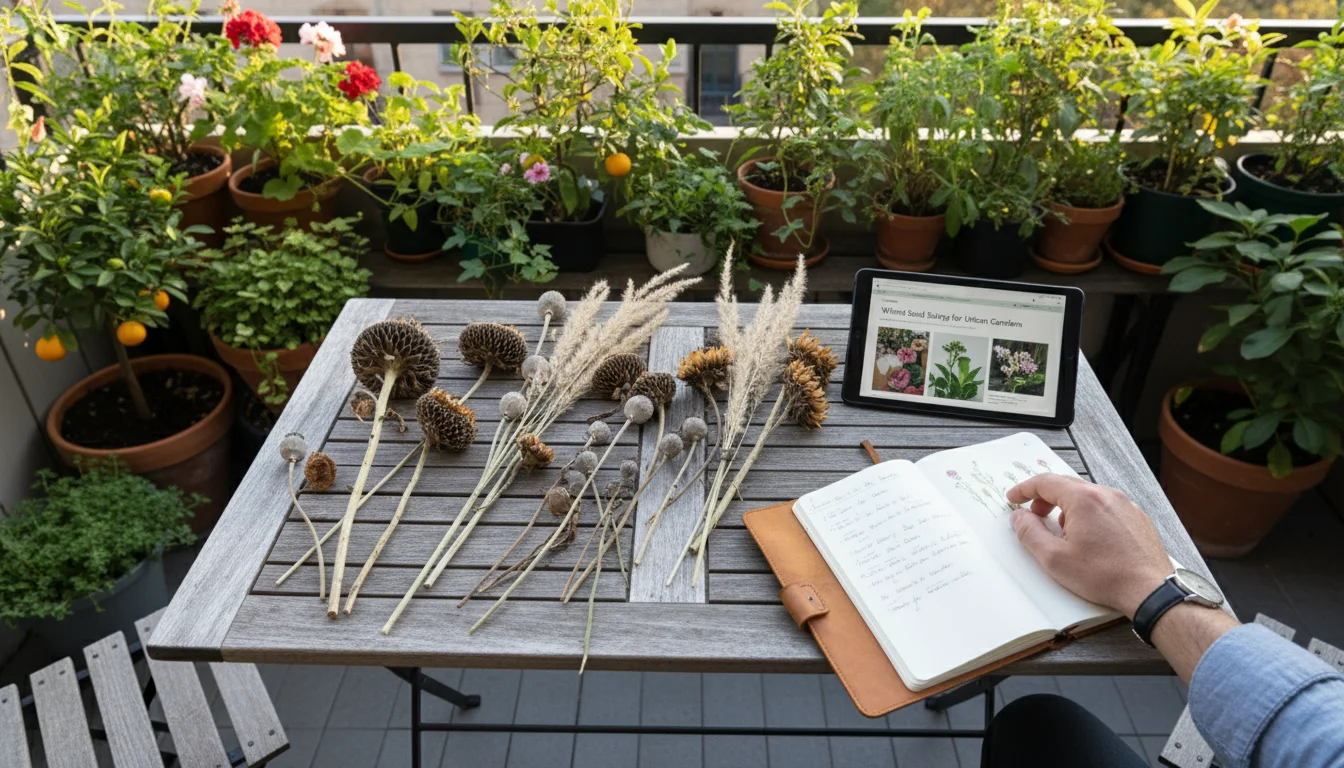
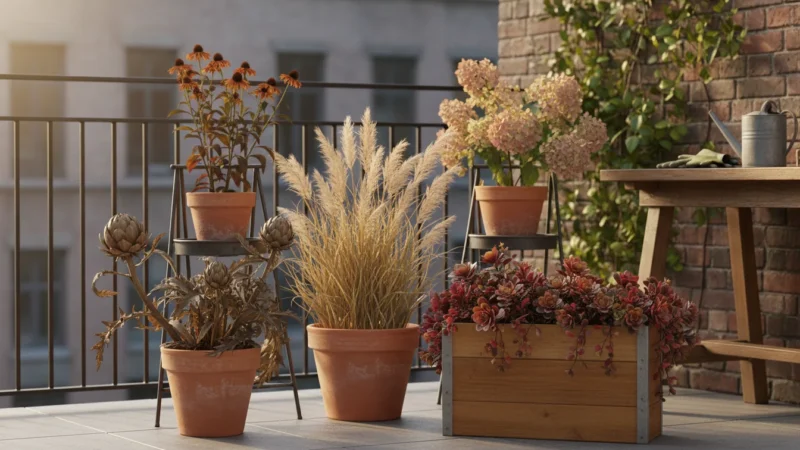
Prime Candidates for Fall Decor Harvesting
Many common container garden plants transition beautifully into dried decor elements. You likely have several excellent candidates already thriving on your porch or balcony. Knowing which plants offer the best textures, shapes, and durability for drying is key to successful DIY fall decor.
For flowers with flatter profiles, you might also enjoy pressing and preserving your fall container flowers to create botanical art.
Beyond basic drying, there are several ways to preserve your final balcony flowers so they maintain their charm for months.
You can also pair these dried elements with mini pumpkins grown in pots for a classic harvest porch display.
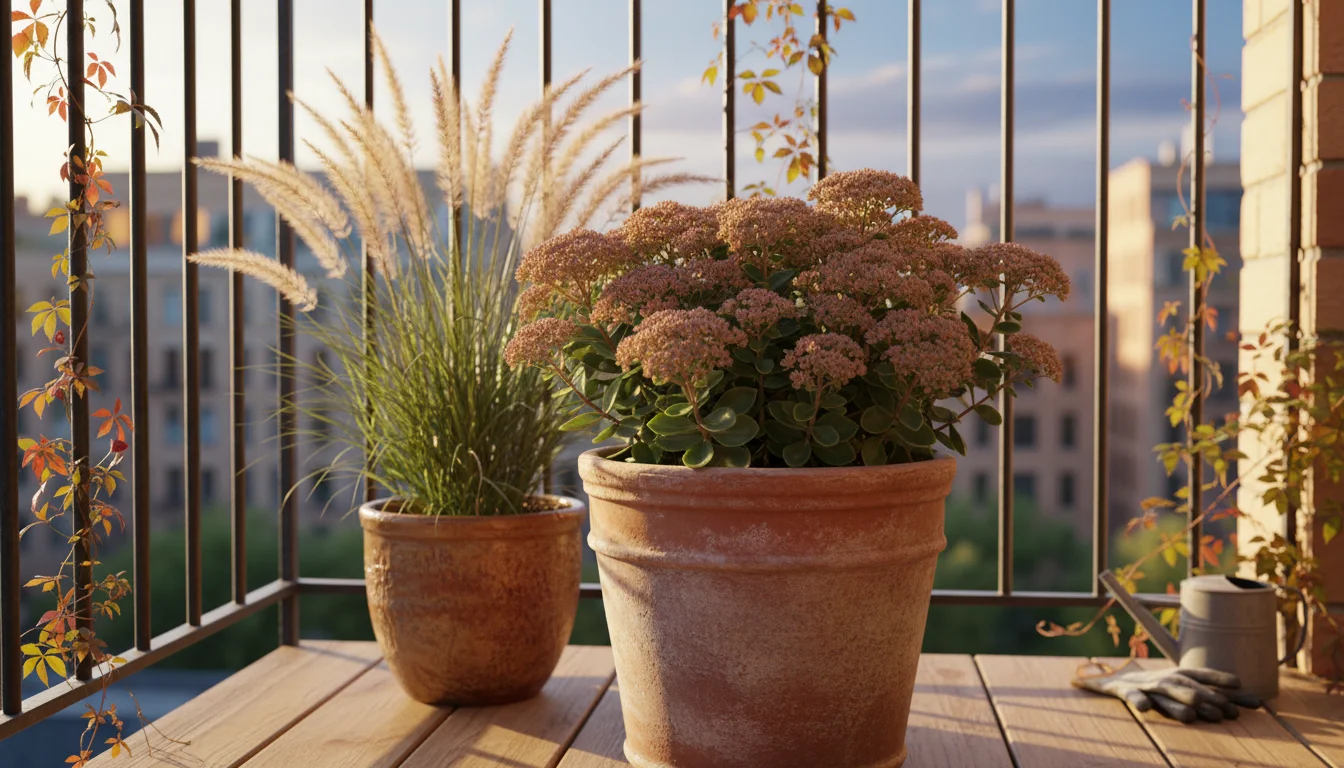
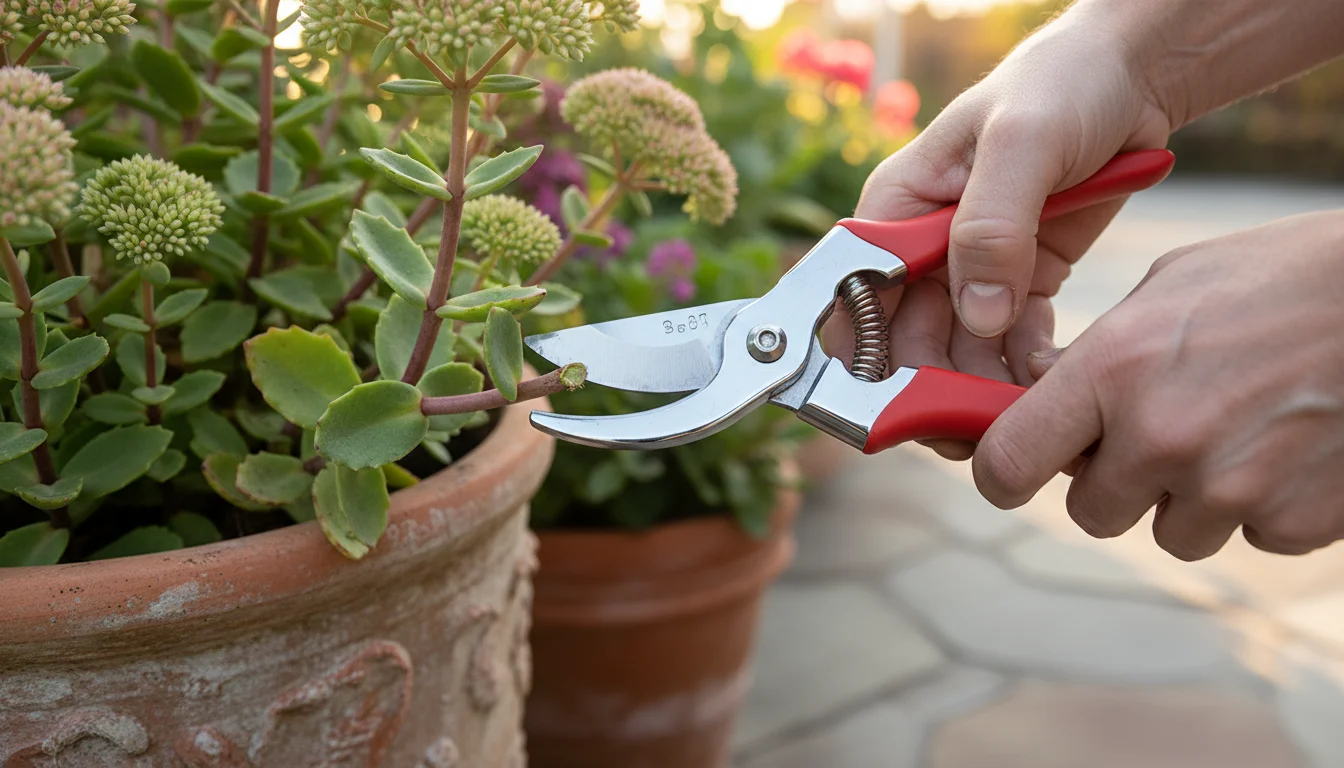
- Sedum varieties: Particularly ‘Autumn Joy’ or similar upright sedums, develop sturdy flower heads that dry exceptionally well, holding their shape and a lovely muted color. Their robust structure makes them ideal for wreaths and centerpieces.
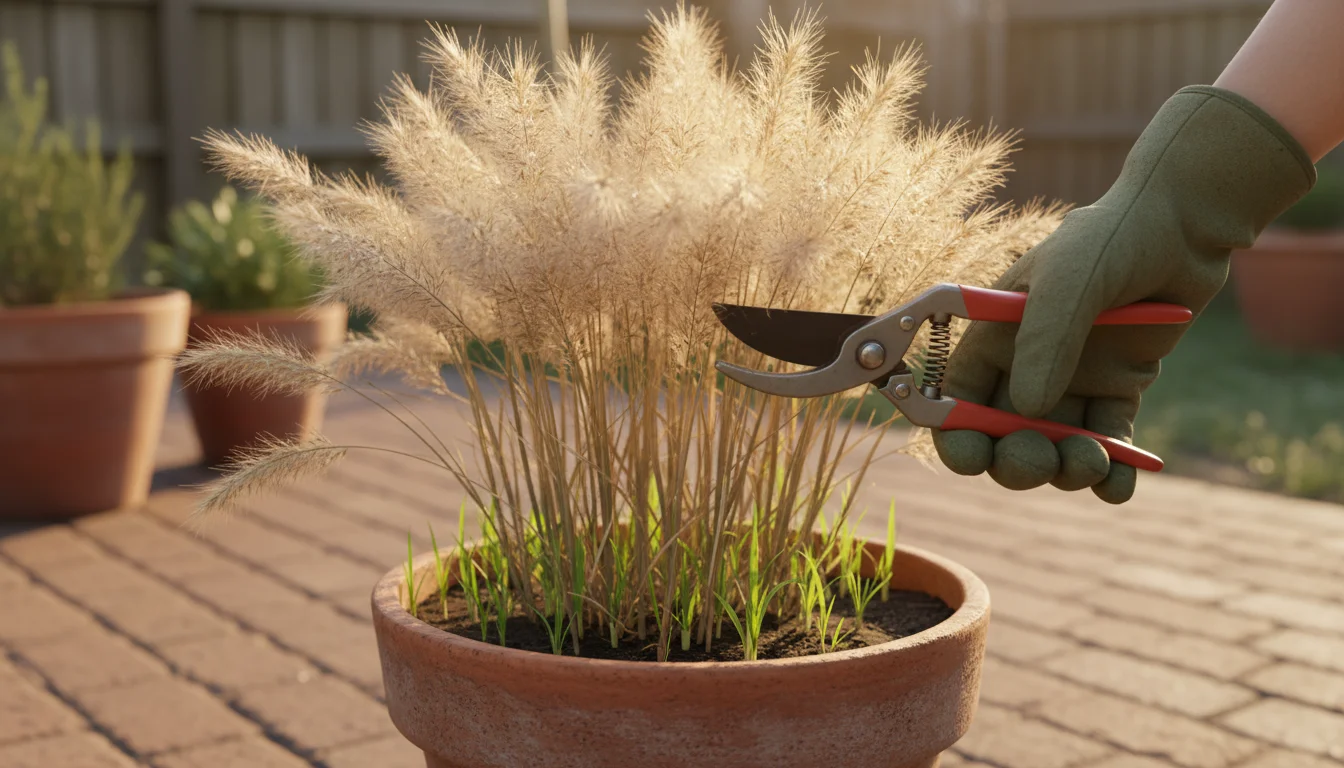
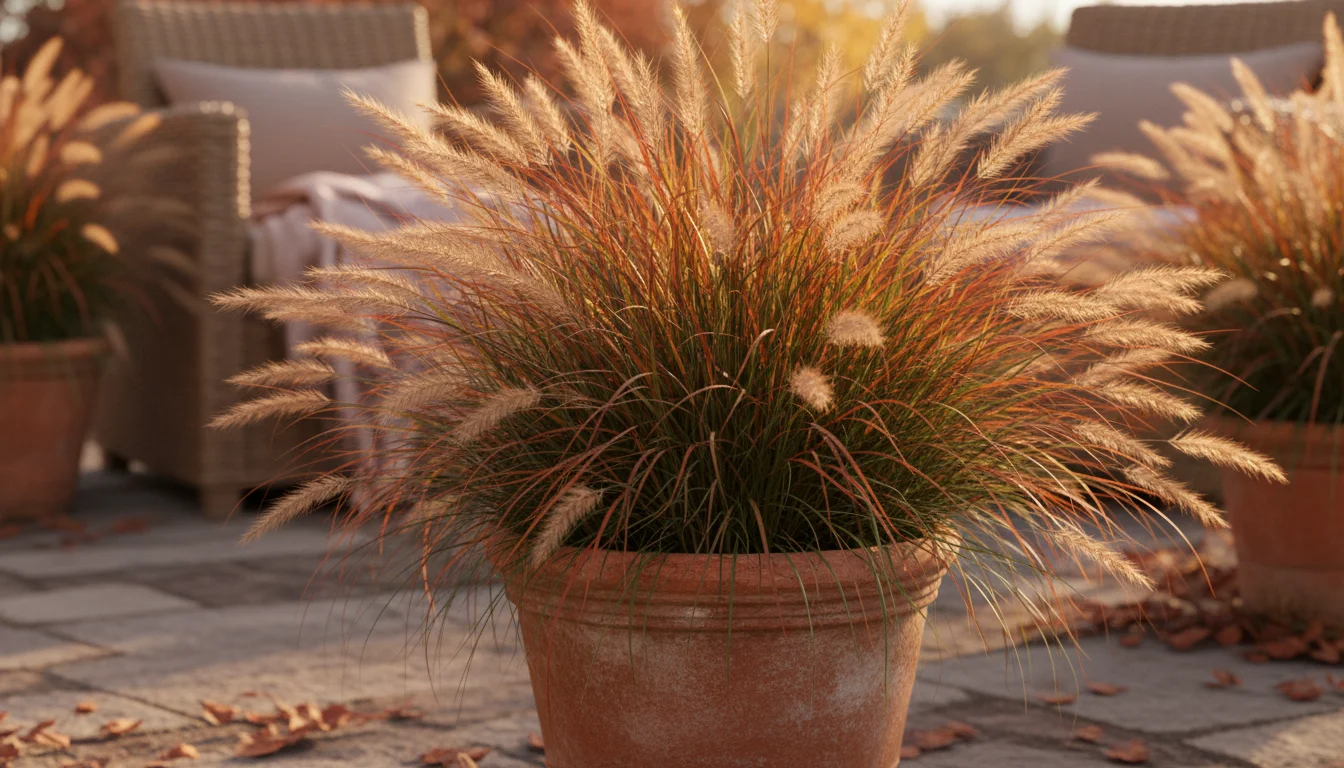
- Ornamental Grasses: Many varieties, like Fountain Grass (Pennisetum) or Blue Fescue (Festuca glauca), produce elegant plumes and seed heads that add wonderful texture and movement. Their feathery or architectural forms are perfect for adding height and an airy feel to arrangements.
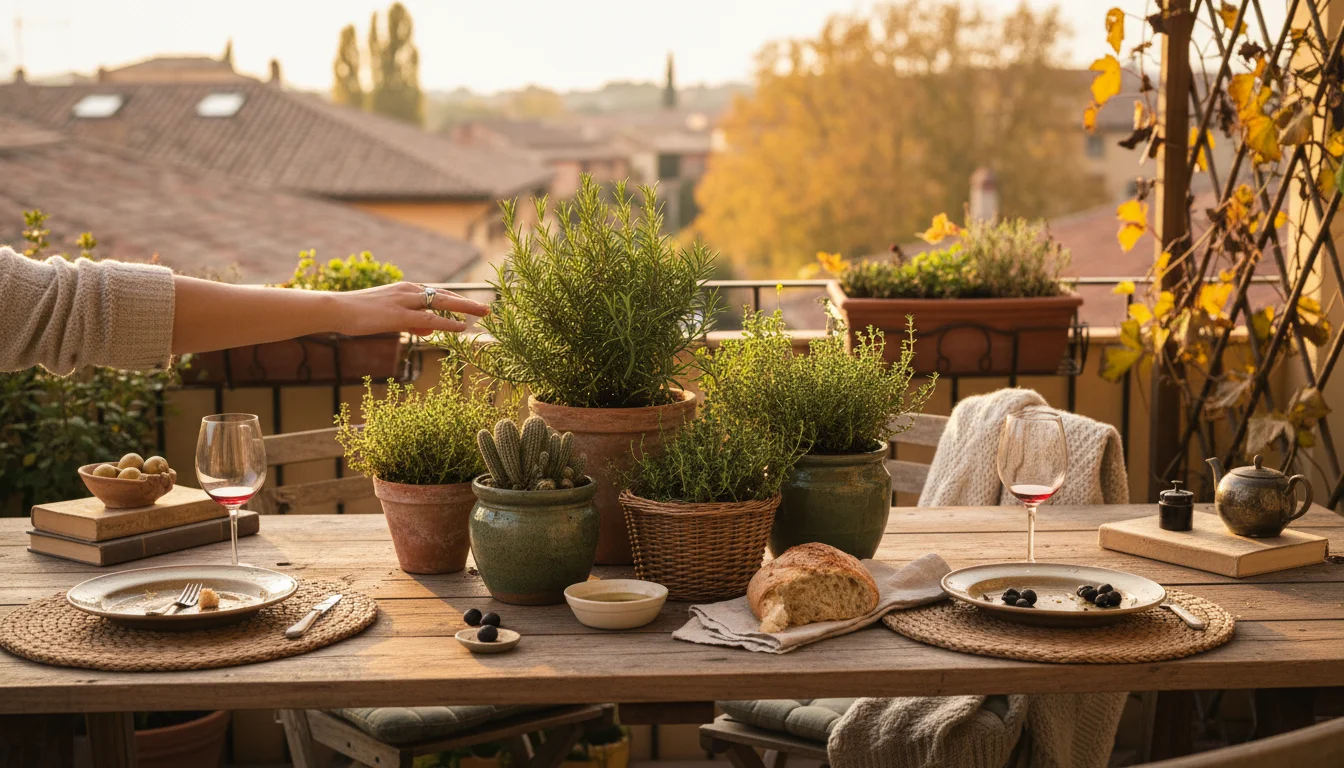
- Herbs: Lavender, rosemary, and even basil can dry beautifully. Lavender retains its color and fragrance, while rosemary provides structural, needle-like foliage. Dried herbs contribute both visual interest and a subtle, natural aroma to your decor.
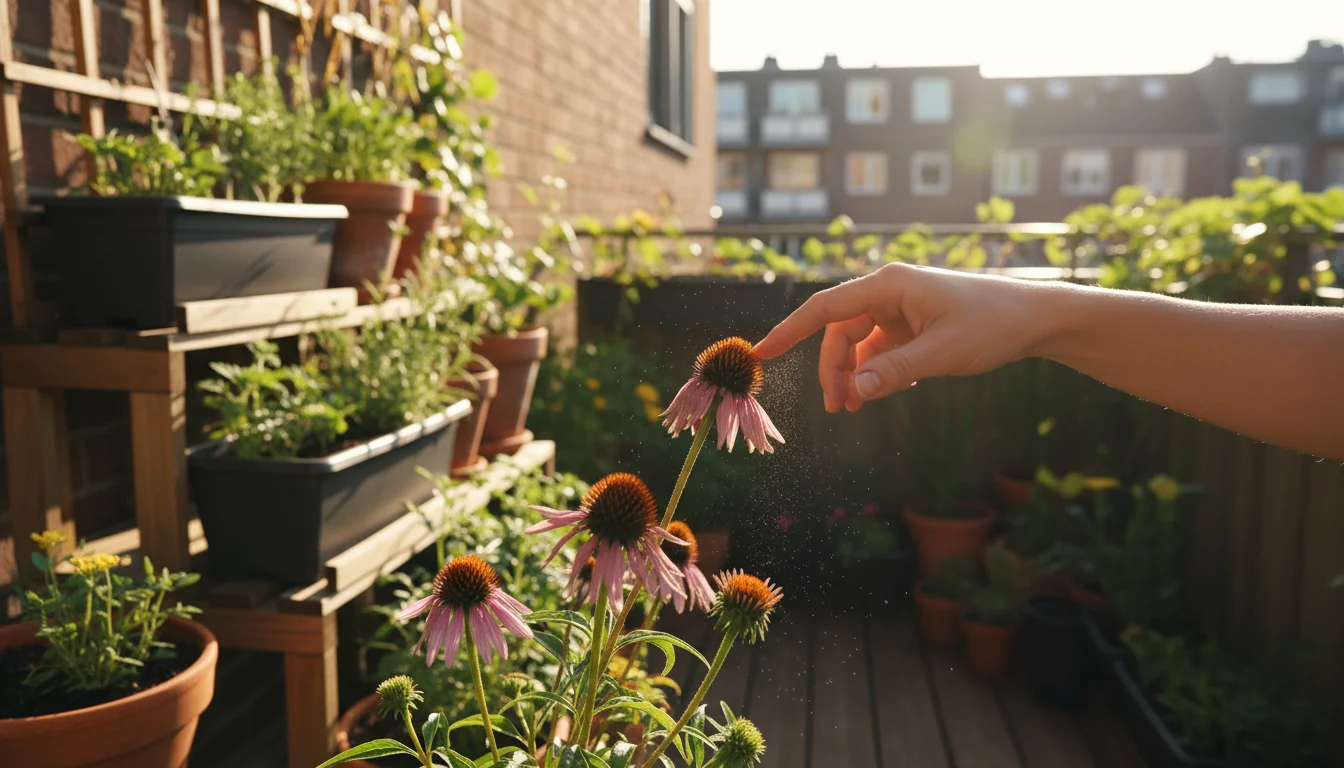
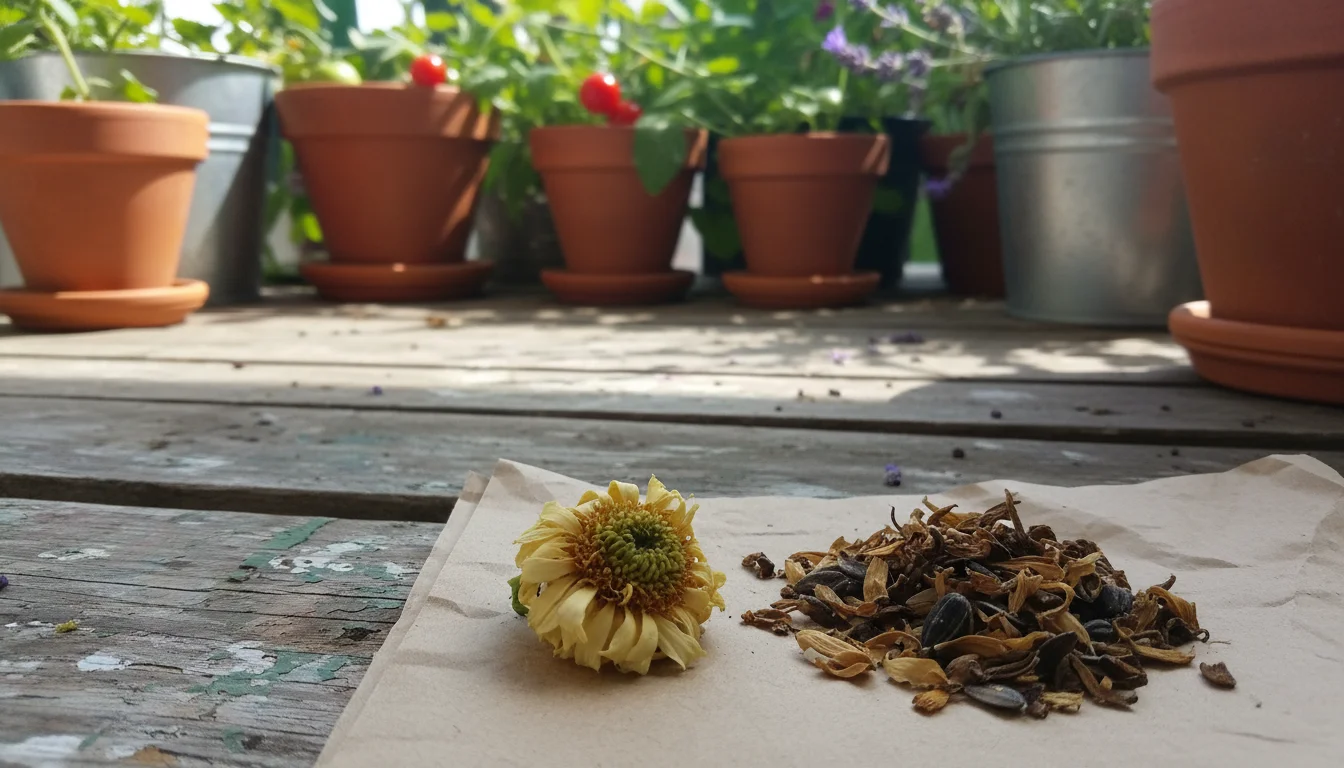
- Spent Annuals with interesting seed heads: Plants like Marigolds, Zinnias, and Coneflowers (Echinacea) leave behind intriguing seed pods or dried flower structures that add character. Even if their vibrant colors have faded, their skeletal forms bring a rustic charm.
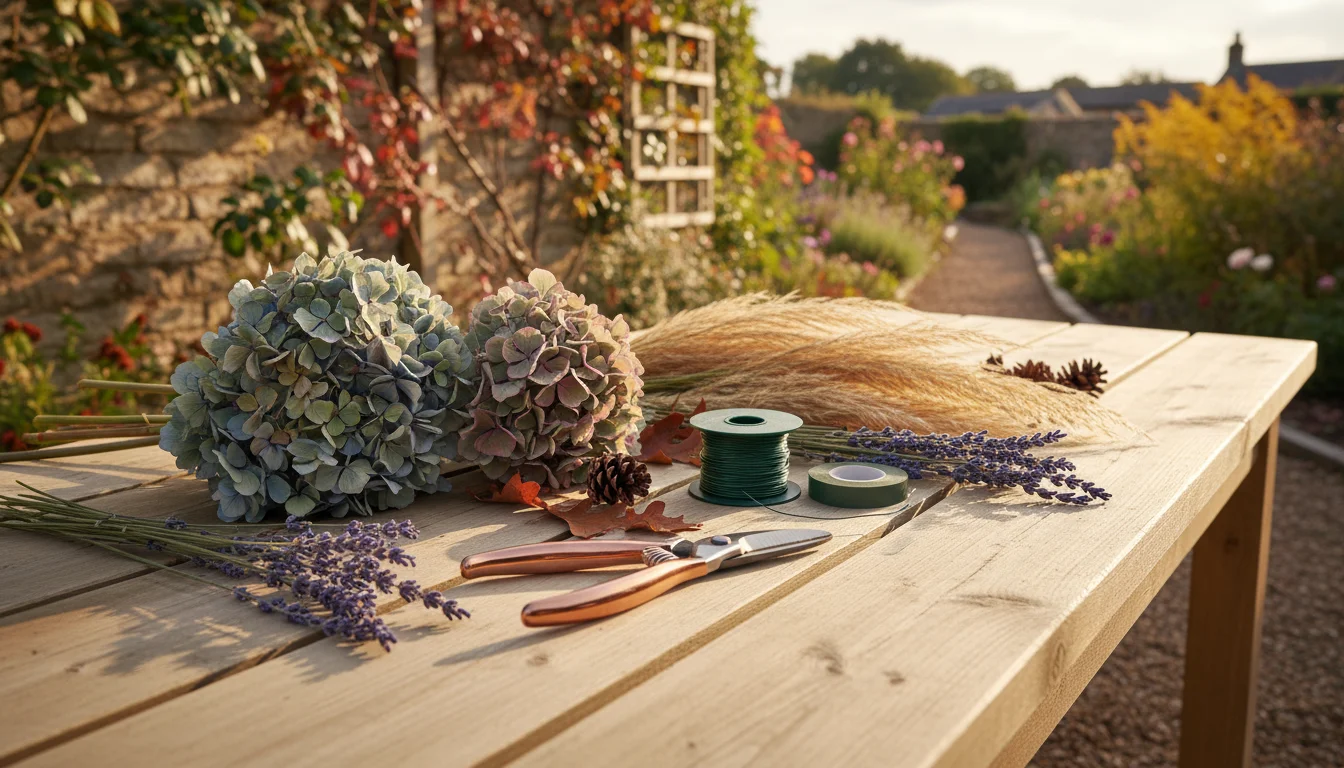
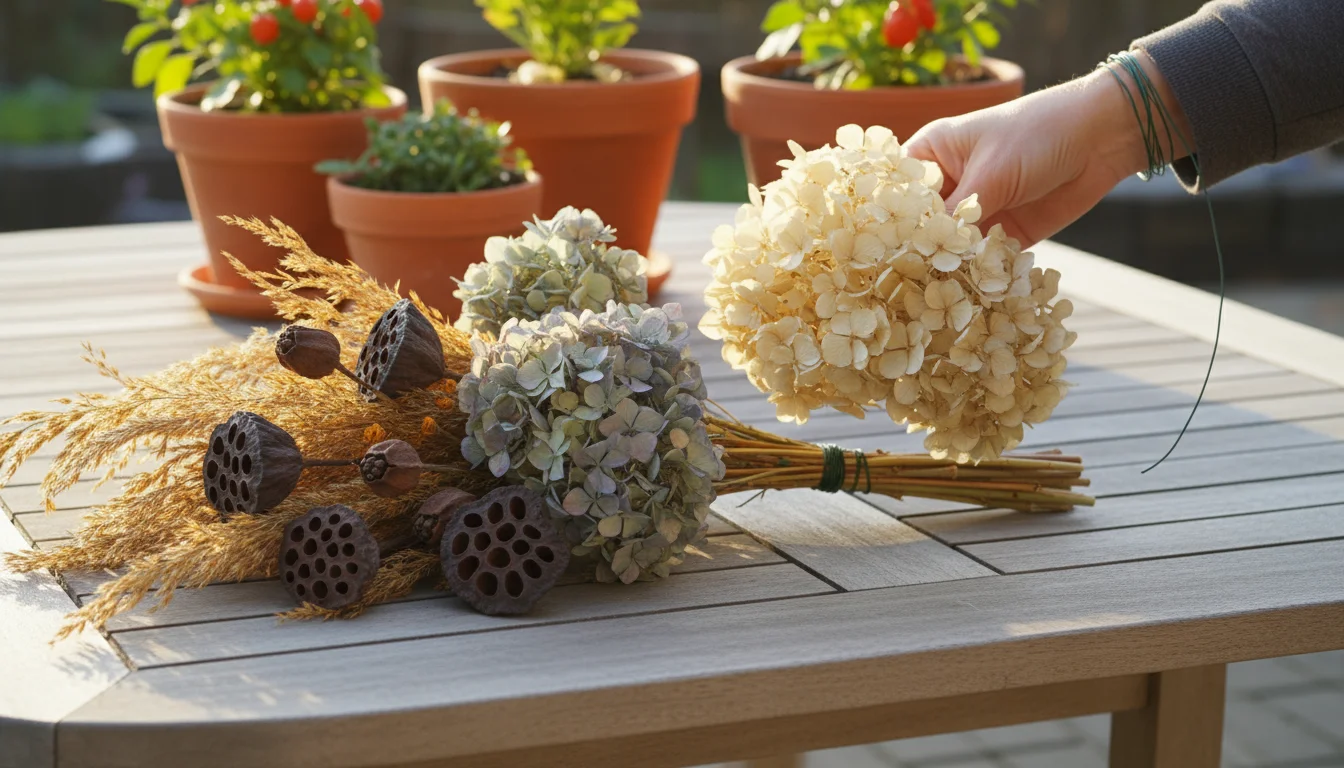
- Hydrangea Blooms: If you have hydrangeas in containers, their large, papery flower heads dry magnificently, often retaining a faded, antique hue that is perfect for fall. They provide significant visual weight and a classic autumnal feel.
- Strawflowers (Bracteantha): These are renowned for their ability to dry perfectly, holding their color and papery texture indefinitely. While you might grow them specifically for drying, any you have in your containers are excellent for harvesting.
- Love-in-a-Mist (Nigella): Its unique balloon-like seed pods are highly decorative and dry wonderfully, adding an interesting, whimsical element to any arrangement.
- Celosia: The feathery or cockscomb varieties dry well, maintaining their unique shapes and often vibrant colors, providing bold texture.
- Dusty Miller: While primarily grown for its silvery foliage, its velvety texture holds up well when dried and provides a fantastic neutral base or accent.
When selecting plants, consider not only their appearance but also their structural integrity once dried. Sturdier stems and less fleshy leaves tend to fare better. You will find that experimenting with different plants from your garden helps you discover new favorites for your natural fall decorations.
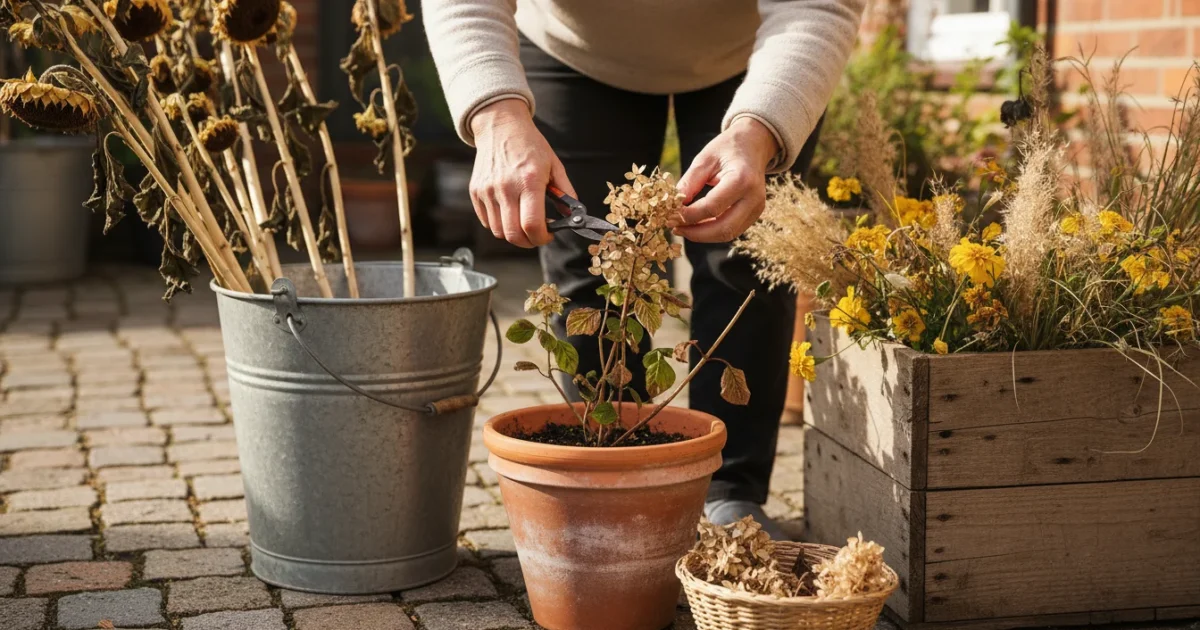
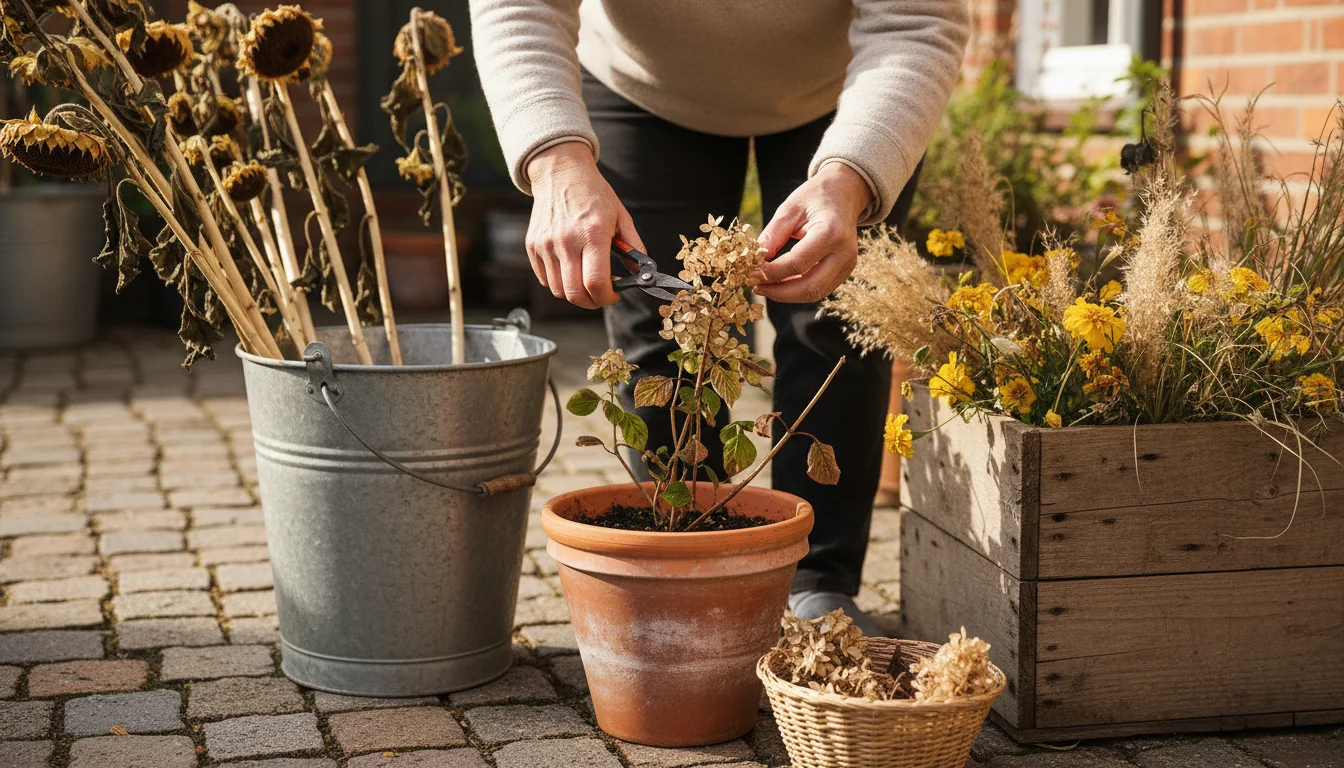
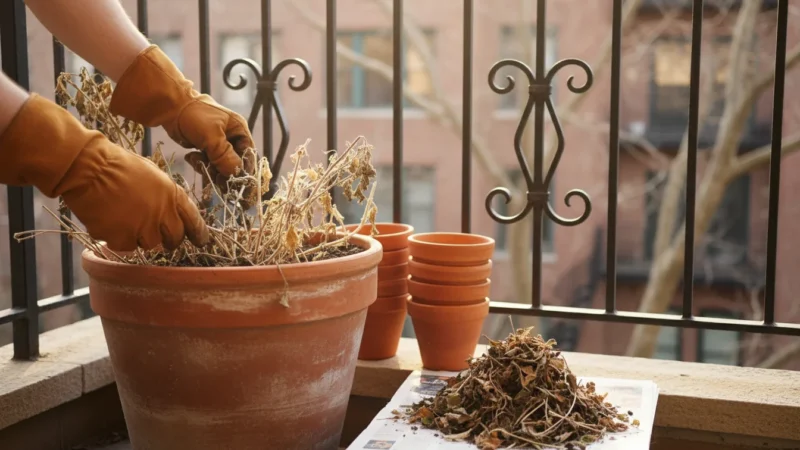
Mastering the Harvest: Responsible Cutting and Drying
Harvesting your plants for decor requires a thoughtful approach to ensure both the beauty of your clippings and the health of your container garden. You want to make cuts that benefit the plant, perhaps encouraging a final flush of growth or simply cleaning up spent material, while also providing you with ideal crafting components.
For those who prefer a more vibrant look, a fall succulent wreath offers a beautiful living alternative to dried arrangements.
When to Harvest
The best time to harvest most plant material for drying is on a dry day, preferably in the late morning after any dew has evaporated but before the intense midday sun. Moisture on the plants can lead to mold during the drying process, compromising your decor materials.
For flowers and foliage, aim to cut them when they are at their peak or just past their prime but still hold their shape and color well. For seed heads, wait until they are fully mature and dry on the plant. This often means the seed pods have hardened and possibly begun to change color, indicating the seeds inside are fully developed. This is particularly important for `using dried seed heads for decoration` as it ensures they hold their structure.
How to Harvest
You need sharp, clean pruning shears or scissors. Dull tools can crush stems, making it harder for water to escape during drying or causing damage to the mother plant. Make clean cuts.
- Choose Wisely: Select stems that are healthy and free from pests or diseases. Look for interesting shapes, colors, and textures. You might also want to select stems that are a bit longer than you think you need; you can always trim them down later.
- Cut Strategically: When cutting stems from your plants, make your cuts just above a leaf node or a branch junction. This encourages new growth on the plant, maintains its natural shape, and prevents unsightly stubs. Never remove more than about one-third of the plant’s total foliage at one time, especially from perennial plants, to avoid stressing it. For annuals nearing the end of their life cycle, you can be more generous.
- Remove Excess Foliage: Once you have your cuttings, strip off any leaves from the lower portions of the stems. These leaves can trap moisture and contribute to mold, hindering the drying process. They also are often not desirable in dried arrangements.
Drying Your Harvest
Air drying is the simplest and most effective method for most garden materials. It preserves the natural look and feel of the plant, ideal for `natural fall decorations`.
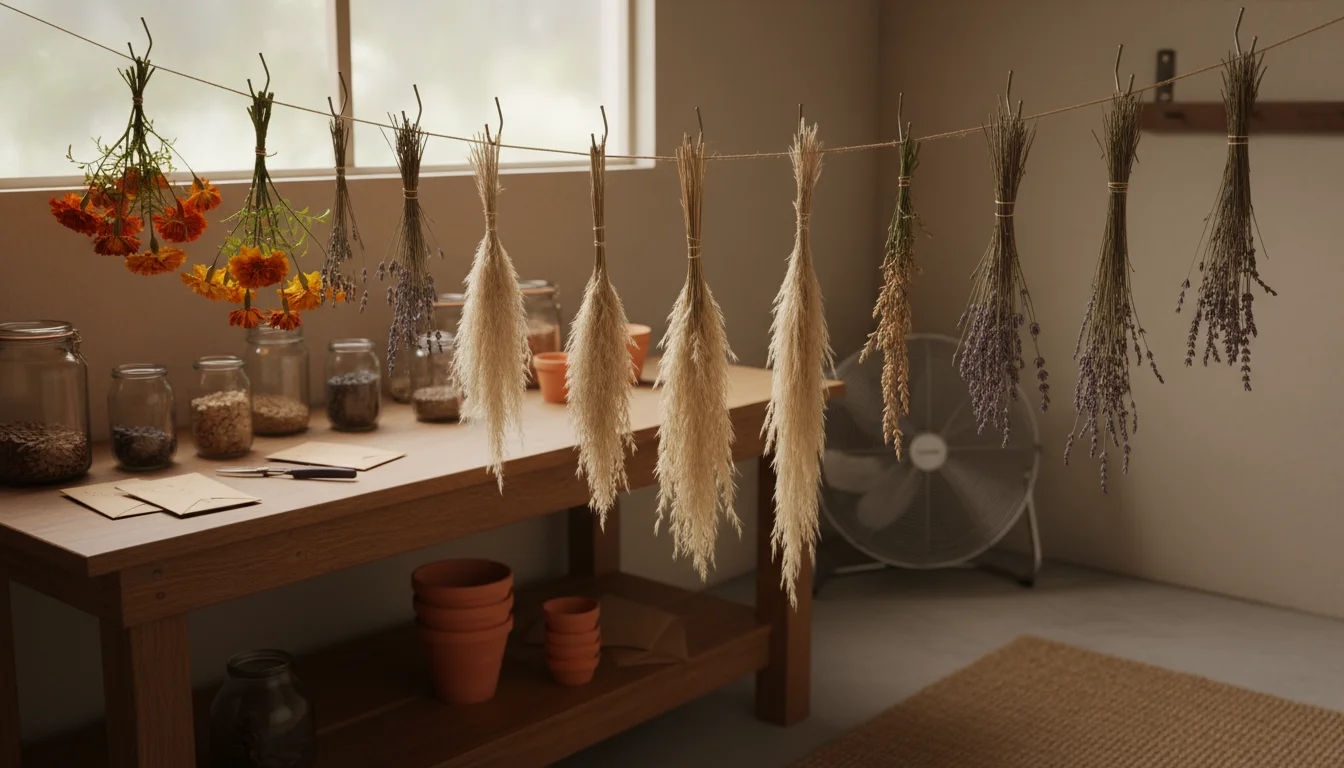
- Bundle and Hang: Gather small bunches of 3-5 stems. Secure them tightly at the base with a rubber band or twine. Rubber bands are excellent because as the stems shrink during drying, the band contracts, keeping the bundle secure.
- Find the Right Spot: Hang your bundles upside down in a cool, dark, dry, and well-ventilated area. An attic, closet, or even a corner of a garage works well. Avoid direct sunlight, which can fade colors, and damp areas, which can cause mold. Good air circulation is crucial.
- Give Them Space: Ensure there is enough space between each bundle so air can circulate freely around them. Overcrowding inhibits proper drying and can lead to mold.
- Monitor and Wait: Drying times vary depending on the plant material and humidity levels, typically ranging from two weeks to a month. You know they are fully dry when the stems snap cleanly, and the flowers or seed heads feel papery and rigid.
Once dried, your garden treasures are ready to become components of beautiful `diy fall decor`. Store any excess dried materials in open containers or boxes in a dry, dark place until you are ready to use them.
Essential Tools for Your Fall Crafting Station
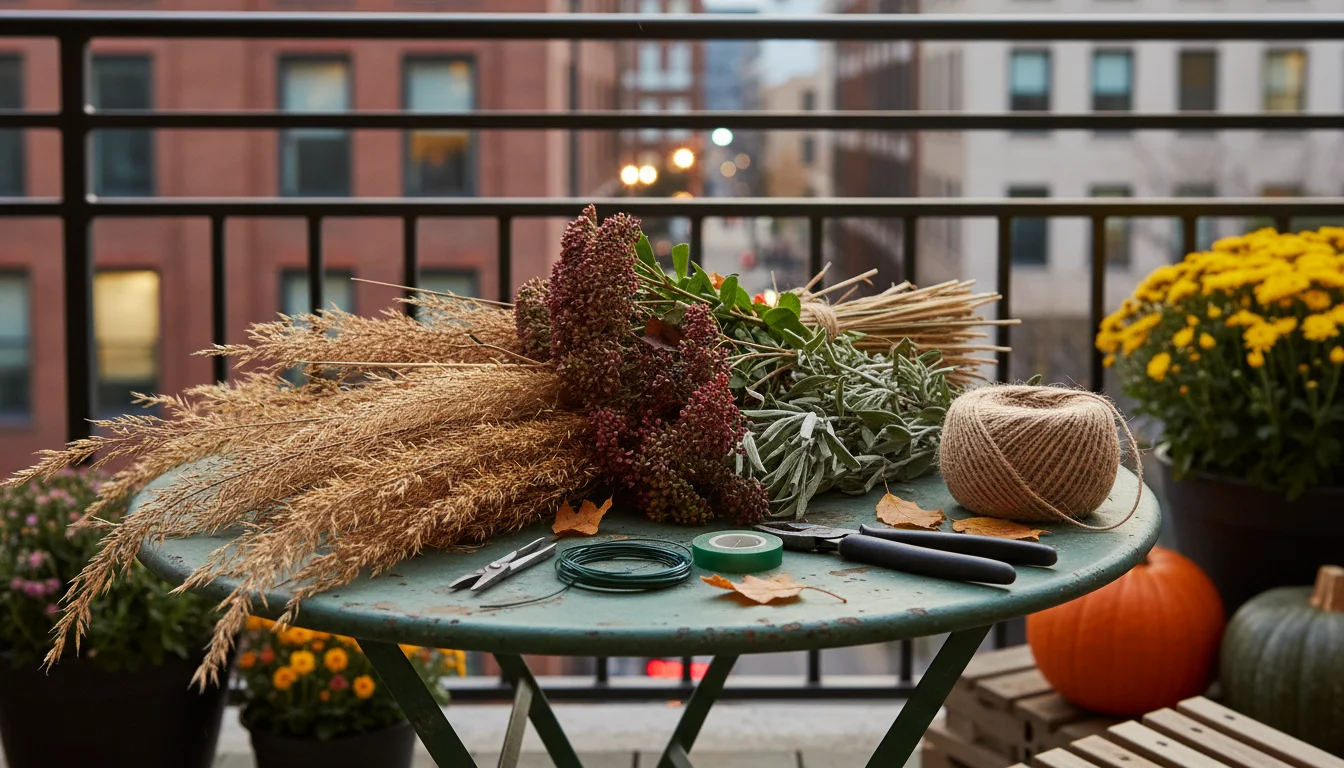
Setting up a basic crafting station with the right tools makes all your fall decor projects smoother and more enjoyable. You do not need an extensive collection of specialized equipment; a few key items will suffice for most `garden crafts` and natural arrangements.
- Sharp Pruning Shears or Floral Snips: Crucial for clean cuts when harvesting and shaping your dried materials. A good pair prevents crushing stems and makes working with brittle dried items easier.
- Floral Wire (various gauges): This is your primary structural tool. A 22-gauge wire is versatile for wrapping stems onto wreath forms, while a heavier 18-gauge might be useful for reinforcing larger elements. Green wire blends seamlessly with natural materials.
- Floral Tape: A stretchy, adhesive tape that adheres to itself. It is invaluable for discreetly binding stems together, particularly when you want to hide the wire.
- Hot Glue Gun and Glue Sticks: For securing delicate elements, attaching materials to non-flexible surfaces, or providing extra reinforcement where wire might not be enough. Use low-temperature settings for more delicate dried items to avoid scorching.
- Crafting Mat or Old Newspaper: Protect your work surface from glue drips, plant debris, and wire scratches.
- Gloves: Protect your hands from sap, thorns, or rough plant textures, especially when working with many clippings.
- Twine or Jute String: For a rustic look, use natural twine to tie bundles, create hangers, or even wrap around elements. It is also useful for the initial bundling of materials for drying.
- Wire Cutters: Essential for cleanly cutting floral wire to the desired lengths. Do not use your good pruning shears for wire, as it will dull them quickly.
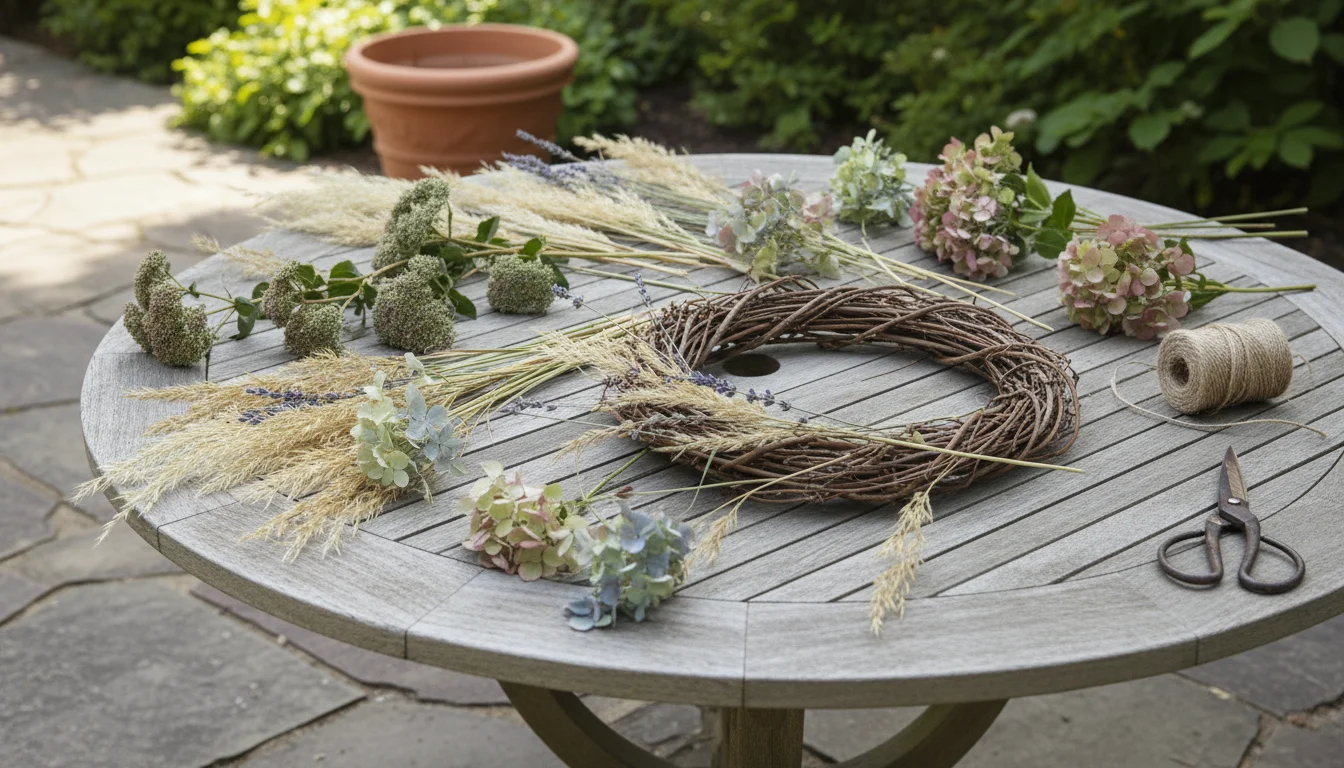
- Wreath Forms (optional): Grapevine, wire, or foam forms provide the base for your wreaths. Grapevine forms offer a rustic, natural aesthetic that complements garden materials beautifully.
- Small Containers/Vases: For your `fall centerpiece ideas from my balcony garden`, have various sizes and shapes of containers ready. Clear glass, ceramic, or even repurposed tin cans can work wonderfully.
Having these tools organized and within reach transforms your crafting experience. You move efficiently from concept to creation, focusing on the artistry of your `natural fall decorations` rather than searching for the right implement.

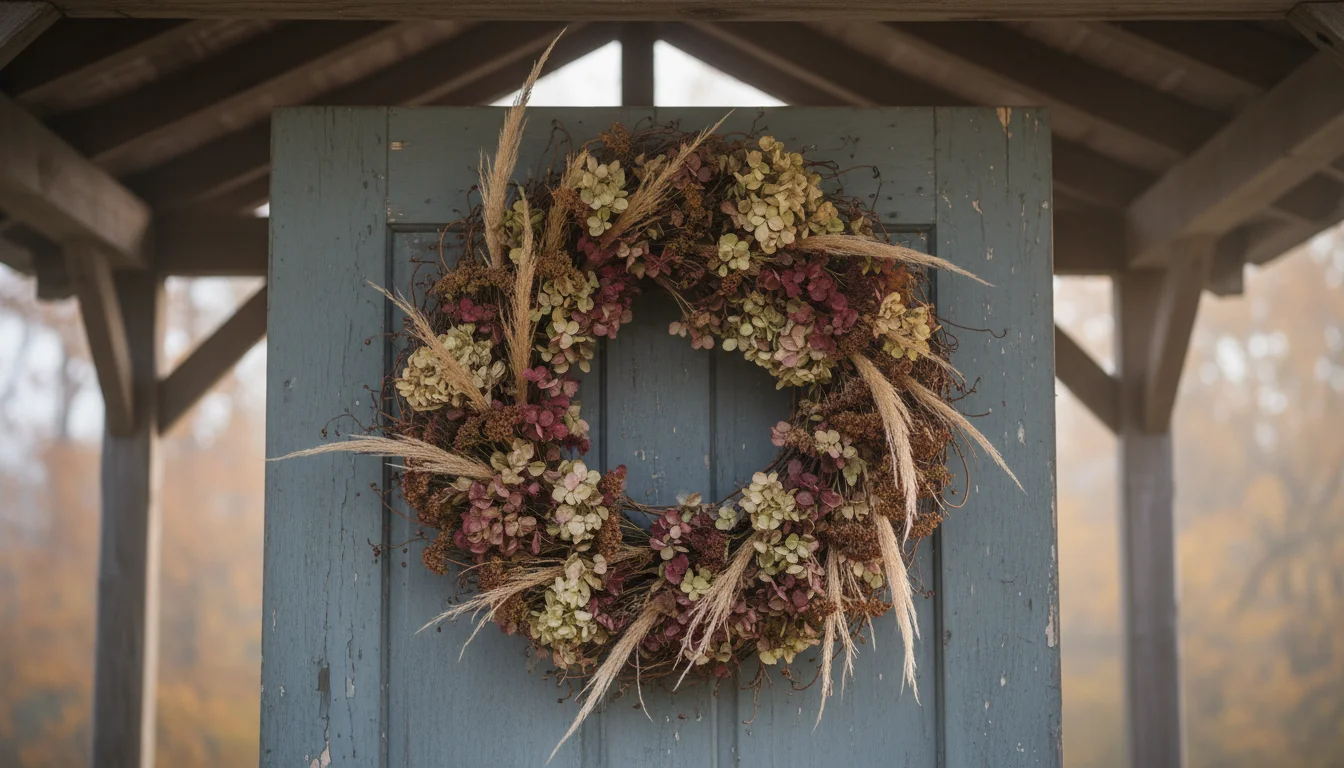
Project 1: Charming Mini-Wreaths from Garden Clippings
Creating a mini-wreath is a fantastic way to utilize your garden clippings, resulting in adorable, personalized fall decor that is perfect for small spaces, doors, or even as part of a larger display. This project addresses `how to make a wreath from garden clippings` directly.
Materials You Will Need:
- Dried garden clippings (sedum, ornamental grass plumes, small hydrangea heads, lavender stems, dusty miller, etc.)
- Small grapevine wreath form (4-8 inches in diameter) or a heavy gauge wire bent into a circle
- Floral wire (22-gauge, green)
- Wire cutters
- Floral snips or sharp scissors
- Hot glue gun and glue sticks (optional, for extra security)
- Twine or ribbon for hanging
Step-by-Step Instructions:
- Prepare Your Materials: Gather your dried clippings. Trim them into smaller, manageable pieces, generally 3-6 inches long. Separate them by type so you can easily access different textures and colors as you work.
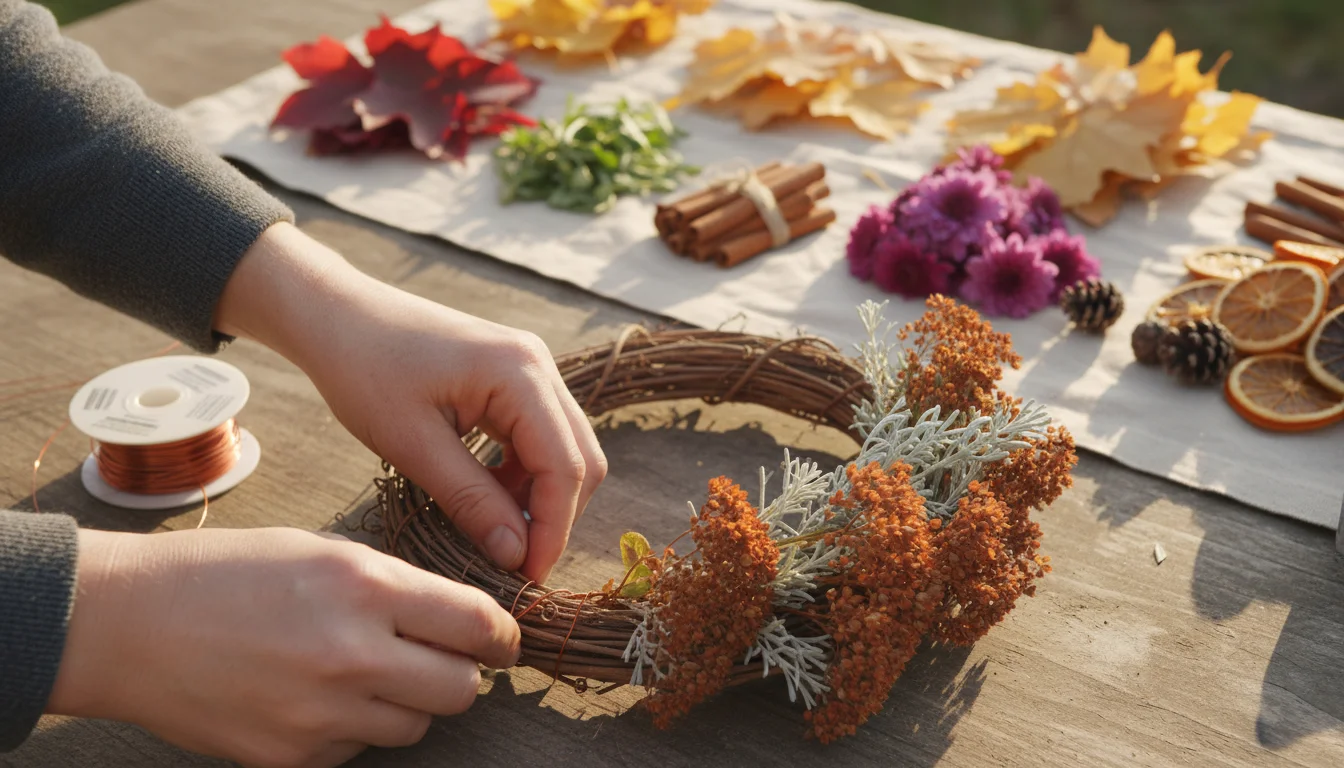
- Attach Your First Layer (Base): Take a small bundle of your sturdiest material, such as sedum or dried herbs, and place it on the wreath form. Secure it by wrapping floral wire tightly around the stems and the wreath form a few times. Do not cut the wire yet; you will use a continuous piece of wire for the entire wreath.
- Layering and Overlapping: Take another small bundle of clippings. Place it slightly overlapping the first bundle, covering the visible wire. Secure this new bundle by wrapping the continuous floral wire around its stems and the wreath form. You will work in one direction around the wreath, ensuring each new bundle covers the stems and wire of the previous one. This creates a seamless, full look.
- Incorporate Variety: As you work your way around, incorporate different textures and colors. Add a few sprigs of ornamental grass for airiness, a small dried hydrangea bloom for fullness, or some lavender for a touch of fragrance and color. Distribute your materials evenly to achieve balance.
- Completing the Circle: When you are about ¾ of the way around the wreath, carefully lift the first few bundles you attached. Tuck the stems of your final bundles underneath these initial pieces. This hides the last wire wraps and creates a continuous circle. Once the final bundles are secured, cut the floral wire, leaving a small tail. Tuck this tail securely into the back of the wreath or twist it around existing wire to hide it.
- Refine and Secure (Optional): Gently fluff your wreath. Use your floral snips to trim any unruly pieces or reshape the wreath as needed. If any small, delicate pieces seem loose, use a tiny dot of hot glue to secure them in place on the wreath form or to other stems.
- Add a Hanger: Loop a piece of twine or ribbon through the top of your wreath and tie it securely. Your beautiful, handmade mini-wreath is now ready to adorn your door, wall, or a special spot on your porch.
This project allows immense creativity. Experiment with different plant combinations and sizes of wreaths. You will find that these `garden crafts` add a charming, rustic touch to any small space.
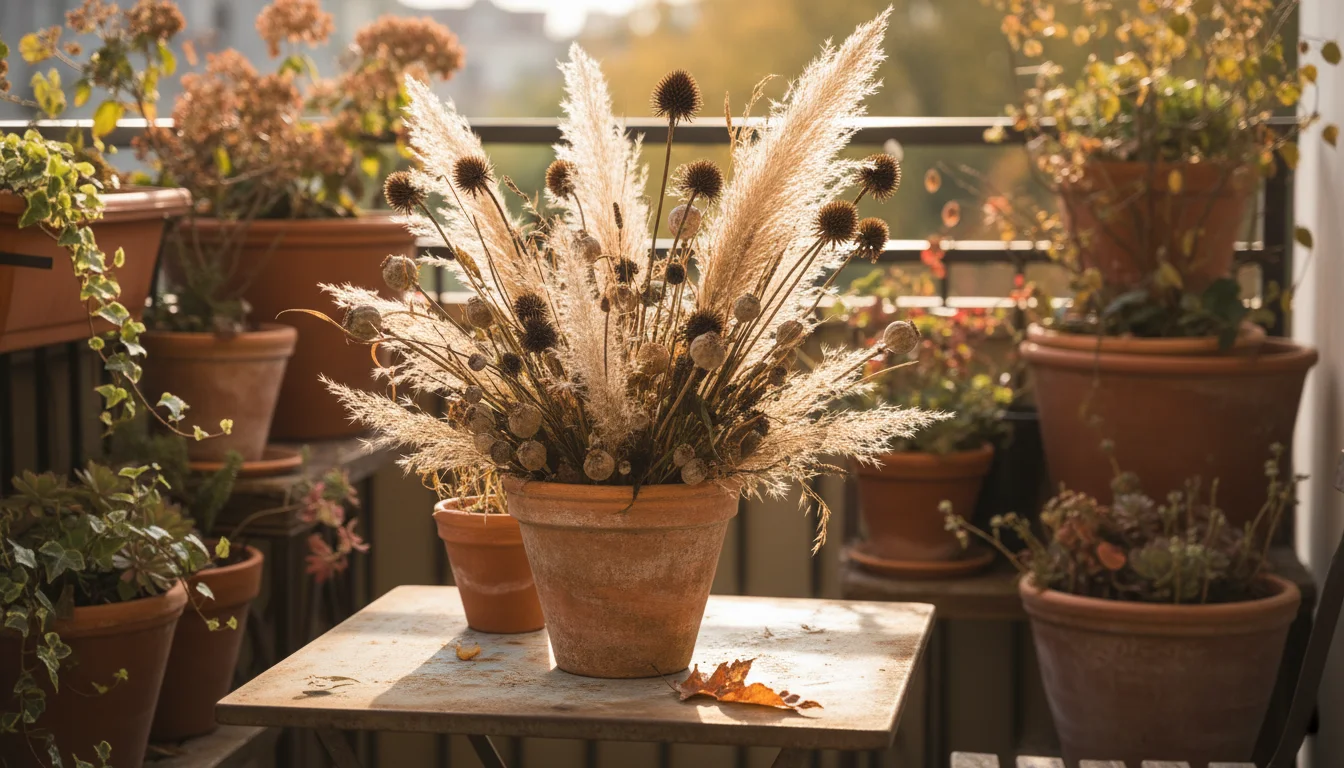
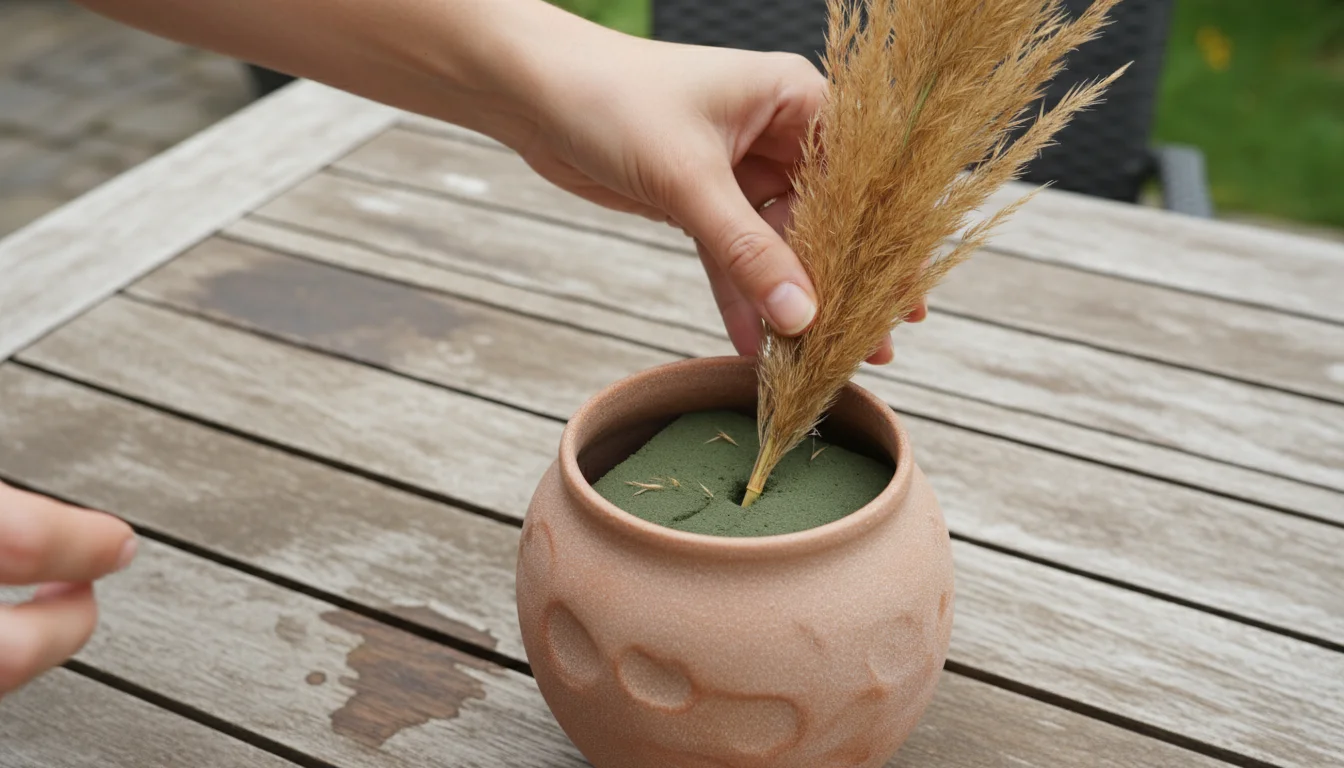
Project 2: Elegant Dried Seed Head Centerpieces
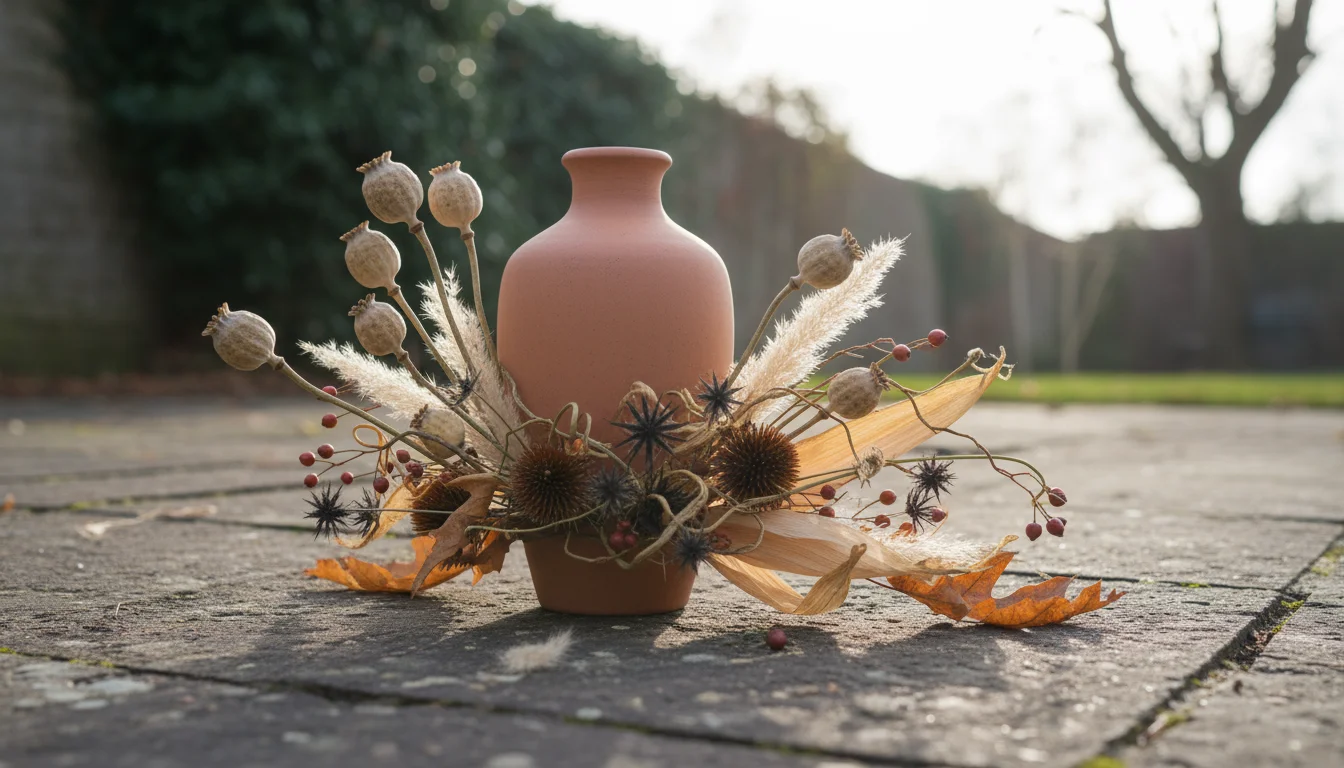
Your container garden’s dried seed heads offer an architectural beauty perfect for creating sophisticated fall centerpiece ideas from my balcony garden. These arrangements celebrate the season’s quiet elegance and bring a natural, sculptural element to your table or patio. The key to a stunning centerpiece lies in thoughtful selection and arrangement, emphasizing varying heights, textures, and forms.
If you enjoy working with live plants as well, you can create a living fall centerpiece using herbs and succulents from your balcony.
Materials You Will Need:
- Assorted dried seed heads (nigella, ornamental grass plumes, poppy pods, dried allium, spent coneflower heads, etc.)
- Dried foliage (e.g., dusty miller, dried fern fronds, eucalyptus if available from another source)
- Dried flower clippings (sedum, small hydrangea blooms, strawflowers)
- A vase or container (ceramic, glass, or even a repurposed jar)
- Floral foam (dry foam, specifically for dried arrangements) or crumpled chicken wire (for a sustainable alternative)
- Floral snips or sharp scissors
- Floral wire (22-gauge, optional, for reinforcing weak stems)
Step-by-Step Instructions:
- Prepare Your Container: If using floral foam, cut it to fit snugly into your vase. Ensure it is secure and does not wobble. If using crumpled chicken wire, form it into a loose ball that fits inside your container; this creates a grid to hold stems in place.
- Establish Your Foundation: Begin by inserting your tallest and most prominent seed heads or dried foliage into the center of the foam/wire. These establish the height and overall shape of your arrangement. Consider an asymmetrical design for more visual interest, with one side slightly taller than the other.
- Build Your Outline: Next, insert medium-height materials around your central pieces, extending outwards to define the width and depth of your centerpiece. Use longer, graceful elements like ornamental grass plumes here to create a natural flow. Think about the overall silhouette you want to achieve.
- Add Volume and Texture: Start filling in the gaps with your bulkier dried flowers or seed heads, such as sedum or hydrangea blooms. These add volume and help to connect the taller and shorter elements. Vary the textures; combine fluffy grass plumes with rigid seed pods and flat flower heads. This creates visual interest and depth, which is vital when `using dried seed heads for decoration`.
- Incorporate Detail and Contrast: Introduce smaller, more delicate seed heads or contrasting foliage. Perhaps a few small poppy pods or some dried lavender. Place these at varying depths within the arrangement to draw the eye around the piece. Consider contrasting colors, like silvery dusty miller against darker seed heads, for a dynamic effect.
- Refine and Balance: Step back and observe your arrangement from all angles. Adjust any stems that seem out of place. Ensure there is a sense of balance, even if it is an asymmetrical balance. Trim stems as needed to achieve desired heights. If a stem is too short, you can wire it to a longer piece of floral wire to extend its reach.
- Final Touches: Check that no floral foam or chicken wire is visible. You can cover any exposed areas with smaller clippings or preserved moss if desired.
These elegant centerpieces transform `using dried seed heads for decoration` into an art form. They bring a sophisticated, natural touch to any autumn gathering or simply enhance your living space with the beauty of your garden’s enduring charm. Experiment with different containers and combinations to find your perfect `fall centerpiece ideas from my balcony garden`.
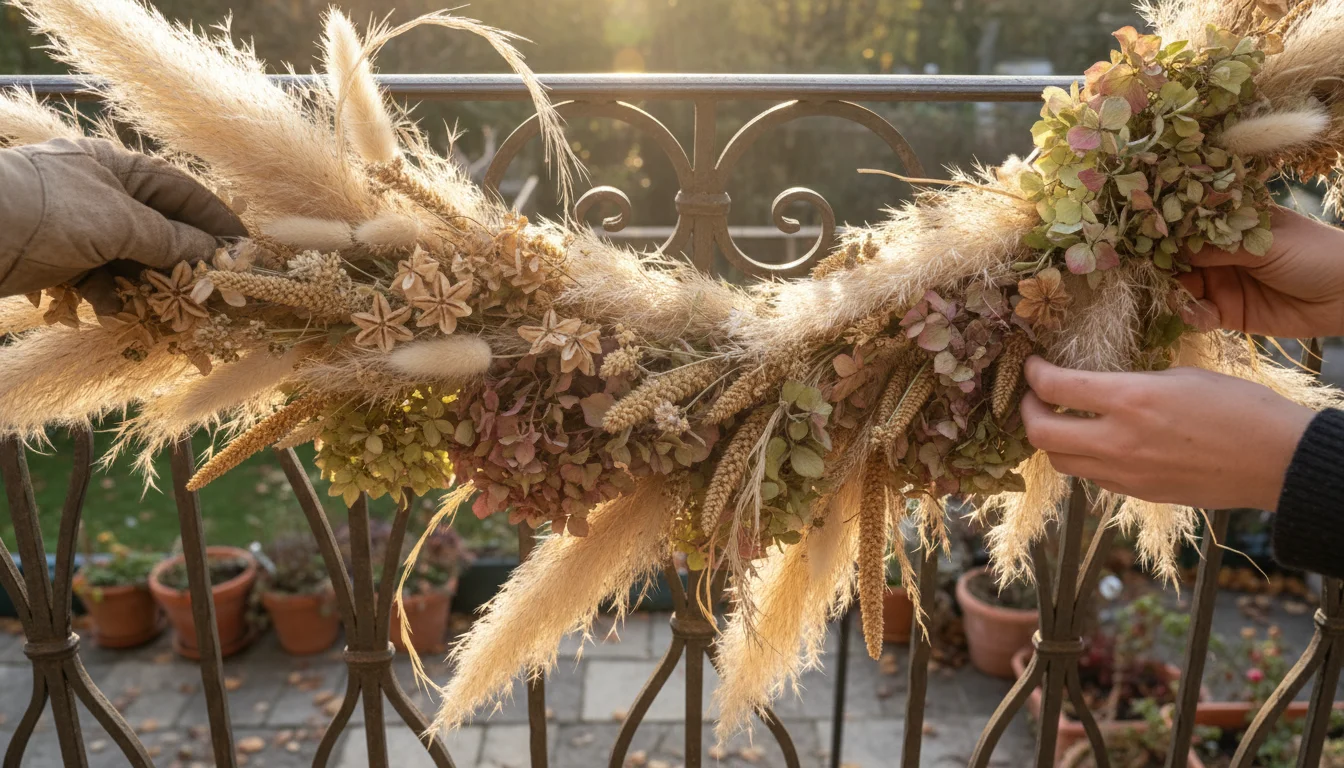
Project 3: Creating Natural Garlands and Swags
Garlands and swags provide a wonderful way to drape natural beauty across a railing, mantel, or entryway, making them ideal `diy fall decor` elements for small spaces like balconies and porches. They offer a fluid, flowing aesthetic that can soften architectural lines and introduce organic charm. While garlands are continuous, swags are typically shorter, decorative bundles. Both methods effectively utilize your container garden clippings.
Materials You Will Need:
- A selection of dried garden clippings (long stems of ornamental grass, flexible branches of herbs, sedum, small spent annuals)
- Floral wire (22-gauge, green)
- Floral tape (green, optional for a cleaner finish)
- Wire cutters
- Floral snips or sharp scissors
- Twine or strong string (for the garland base)
Instructions for a Garland:
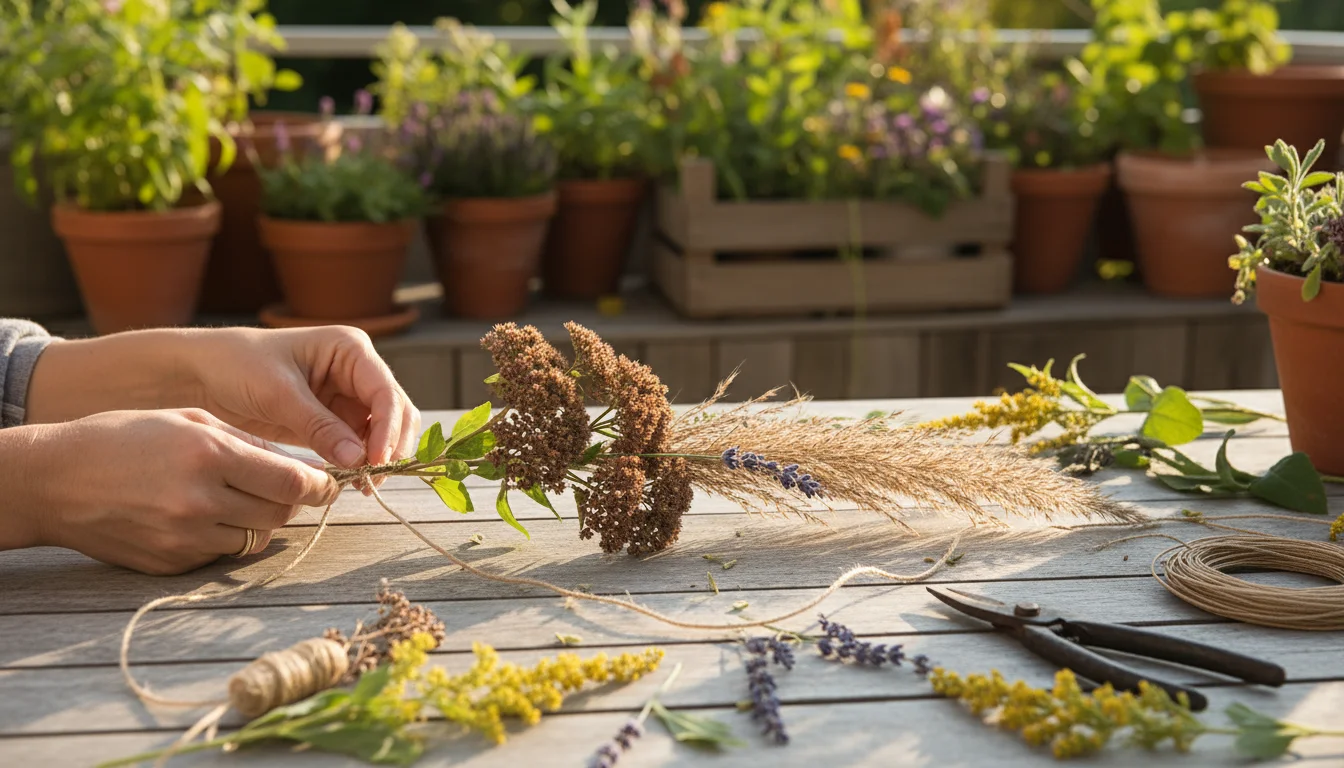
- Prepare Your Base: Cut a length of sturdy twine or string to your desired garland length, adding an extra foot for tying and securing. This forms the spine of your garland.
- Create Small Bundles: Group your dried clippings into small, attractive bundles. Each bundle should have a mix of textures and lengths. For example, a few stems of ornamental grass, a sedum head, and a sprig of dried lavender. Ensure the stems are at least 4-6 inches long.
- Attach the First Bundle: Lay your first bundle on top of one end of your twine base, with the stems facing away from the starting point. Using floral wire, tightly wrap the stems of the bundle to the twine. Do not cut the floral wire; you will use it continuously.
- Layer and Overlap: Take your second bundle and place it just below the first, overlapping the stems and the floral wire used to secure the previous bundle. Secure this bundle to the twine with your continuous floral wire, wrapping tightly.
- Continue the Pattern: Repeat this layering process, always overlapping to cover the stems and wire of the previous bundle. Work your way down the length of the twine, ensuring a consistent density and flow. Periodically step back to check for evenness and to ensure the `natural fall decorations` are balanced.
- Finish the Garland: When you reach the desired length, make sure your last bundle covers the stems of the previous one. Secure the floral wire tightly around the final stems and twine, then cut the wire, leaving a small tail to tuck in securely.
- Fluff and Hang: Gently fluff the garland, adjusting any pieces for a fuller look. Use the extra length of twine at the ends to tie your garland to a railing, banister, or hooks on your porch.
Instructions for a Swag:
- Gather Your Materials: Select a more concentrated collection of dried clippings. Think about a focal point for your swag, such as a large hydrangea head or a prominent seed pod cluster.
- Form the Base Bundle: Take your longest, sturdiest pieces and arrange them into the desired shape of your swag. Typically, swags are wider at the top and taper slightly at the bottom, or they can be symmetrical.
- Layer and Wire: Begin layering smaller clippings, working outwards from your central pieces. Use floral wire to tightly bind the stems together at the top, creating a secure “neck” for your swag. You can use floral tape over the wire for a neater finish, wrapping it tightly around the bound stems.
- Add Embellishments: Attach any focal elements or decorative pieces, like a large dried poppy pod or a cluster of vibrant strawflowers, to the top or center of the swag using smaller pieces of floral wire or a hot glue gun.
- Create a Hanger: Form a loop with a piece of floral wire and attach it securely to the bound “neck” of your swag. Alternatively, use a piece of twine or ribbon.
- Display: Hang your finished swag on a door, above a window, or as an accent piece on your porch. These `garden crafts` add a charming, welcoming touch.
Both garlands and swags bring a dynamic, flowing element to your fall decor. They are an excellent way to extend the beauty of your container garden beyond individual pots, creating a cohesive and inviting autumnal display.
Care and Longevity for Your Natural Fall Decor
While your `natural fall decorations` are inherently ephemeral, you can take steps to extend their beauty and prevent premature deterioration. Proper care ensures your handmade pieces remain vibrant and intact throughout the autumn season.
If you have leftover branches or pods, consider using them for a winter sculpture project to keep your balcony looking artistic through the coldest months.
Protection from the Elements:
- Humidity is the Enemy: Dried plant materials are highly susceptible to moisture. High humidity can cause them to reabsorb water, leading to wilting, drooping, or even mold growth. If your porch is exposed to frequent rain or fog, consider placing your decor in a more sheltered spot, such as under an overhang or in an enclosed balcony.
- Avoid Direct Sunlight: Intense, direct sunlight, even in fall, can cause colors to fade significantly over time. Position your wreaths, centerpieces, and garlands in areas that receive indirect light or are shaded during the brightest parts of the day to preserve their hues.
- Wind and Physical Damage: Strong winds can easily dislodge delicate components or even blow away lighter pieces of decor. Secure wreaths firmly to doors with strong hangers. Place centerpieces in sturdy containers that resist tipping. For garlands, ensure they are tightly woven and securely fastened along their entire length.
Cleaning and Maintenance:
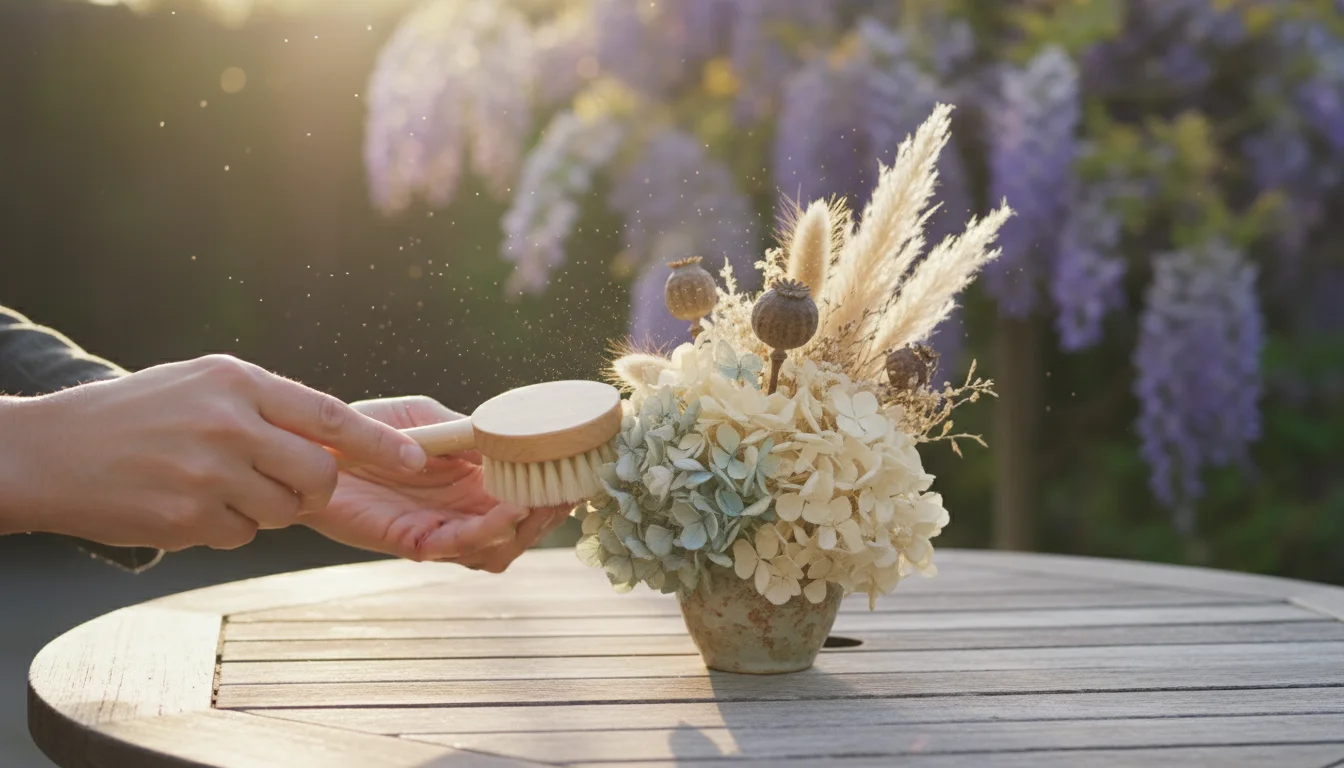
- Dust Gently: Dust accumulation can dull the appearance of your dried decor. Use a soft brush, a feather duster, or a can of compressed air (held at a distance on a low setting) to gently remove dust. Avoid wiping with a damp cloth.
- Inspect for Pests: While less common with properly dried materials, occasionally small insects might find their way into your decor. Periodically inspect your pieces. If you notice any activity, remove the affected section or discard the piece to prevent further infestation.
- Reinforce as Needed: Over time, some pieces might become loose. Keep your hot glue gun or floral wire handy to reattach any stray elements, ensuring your `garden crafts` maintain their integrity.
Storage for Future Seasons (If Applicable):
Some more robust pieces, particularly those made with very sturdy seed heads or carefully preserved blooms, can last for more than one season. If you wish to store your decor:
- Clean Thoroughly: Ensure the piece is completely dry and free of dust.
- Wrap Gently: Wrap delicate items in tissue paper or newspaper.
- Store in a Dry, Dark Place: Place items in an airtight container or box to protect them from humidity, dust, and pests. Add silica gel packets to absorb any residual moisture. Store the container in a cool, dark environment like a closet or attic. Avoid plastic bags, which can trap moisture.
By following these simple care tips, you can enjoy your beautiful `diy fall decor` for weeks, if not months, extending the charm of your garden’s bounty through the entire autumn season.
Troubleshooting: Common Mistakes in Natural Decorating
Creating `natural fall decorations` from your garden is a rewarding endeavor, but like any craft, you might encounter a few challenges. Understanding common pitfalls and how to avoid them helps ensure your projects are successful and long-lasting.
- Harvesting Too Early or Too Late:
- Problem: Cutting flowers when they are too young results in them shriveling and losing shape upon drying. Cutting them when they are too old means they might be discolored, brittle, or fall apart easily.
- Solution: Harvest flowers just after they reach their peak bloom but before they start to brown or drop petals. For seed heads, wait until they are fully mature and dry on the plant. Observation is key; you will learn the optimal stage for each plant in your garden over time.
- Improper Drying Conditions:
- Problem: Drying in a humid, poorly ventilated area leads to mold, mildew, and rotting, ruining your materials. Drying in direct sunlight causes colors to fade rapidly.
- Solution: Always dry plant material in a cool, dark, dry place with good air circulation. Hang bundles upside down and ensure adequate space between them. If your home is very humid, consider using a dehumidifier in your drying area.
- Overcrowding Arrangements:
- Problem: Stuffing too many elements into a wreath or centerpiece makes it look cluttered and heavy, obscuring the beauty of individual pieces.
- Solution: Practice restraint. Allow each element to breathe. Create focal points and negative space. Sometimes, less is more, especially for `fall centerpiece ideas from my balcony garden` where you want an elegant, not overwhelming, look.
- Inadequate Securing of Elements:
- Problem: Not using enough floral wire or hot glue, or not securing pieces tightly enough, leads to your decor falling apart prematurely.
- Solution: Be generous but discreet with your floral wire. Wrap it tightly. Use hot glue as a reinforcement, especially for delicate or heavier elements that need extra adhesion. Always check for wobbles before considering a piece finished.
- Ignoring Scale and Proportion:
- Problem: Using very large clippings on a small wreath form, or conversely, tiny elements in a large vase, creates an imbalanced and awkward appearance.
- Solution: Consider the final placement of your decor. A mini-wreath should have appropriately sized clippings. A centerpiece for a large table can accommodate larger elements. Match the scale of your materials to the scale of your project and its intended location. This attention to detail elevates `how to make a wreath from garden clippings` from simple assembly to thoughtful design.
- Lack of Variety in Texture:
- Problem: Using only one type of plant or material can make your `diy fall decor` look flat and uninteresting.
- Solution: Strive for a mix of textures. Combine soft, feathery ornamental grasses with rigid, architectural sedum heads or smooth poppy pods. This textural interplay adds depth and visual interest, making your pieces more engaging and professional. This is especially important when `using dried seed heads for decoration` as it prevents a monotonous display.
By being mindful of these common issues, you elevate your crafting skills and create truly beautiful, durable `garden crafts` that showcase the best of your container garden.
Frequently Asked Questions
How long will my natural fall decor last?
Properly dried and cared for natural fall decor can last throughout the entire autumn season, typically 2-3 months. If kept away from direct sun, high humidity, and physical disturbance, some pieces, especially those made with robust seed heads and strawflowers, can even last for years if stored correctly during the off-season. Delicacy varies by plant material.
Can I use fresh cuttings, or do I always need to dry them first?
For most durable fall decor, drying is essential. Fresh cuttings will wilt, shrivel, and likely mold within a few days or a week, especially in arrangements without water. You want to aim for longevity, so fully dried materials are usually the best choice. Some very woody stems might temporarily hold their shape fresh, but they will not last as long as dried materials.
What if my dried clippings are too brittle to work with?
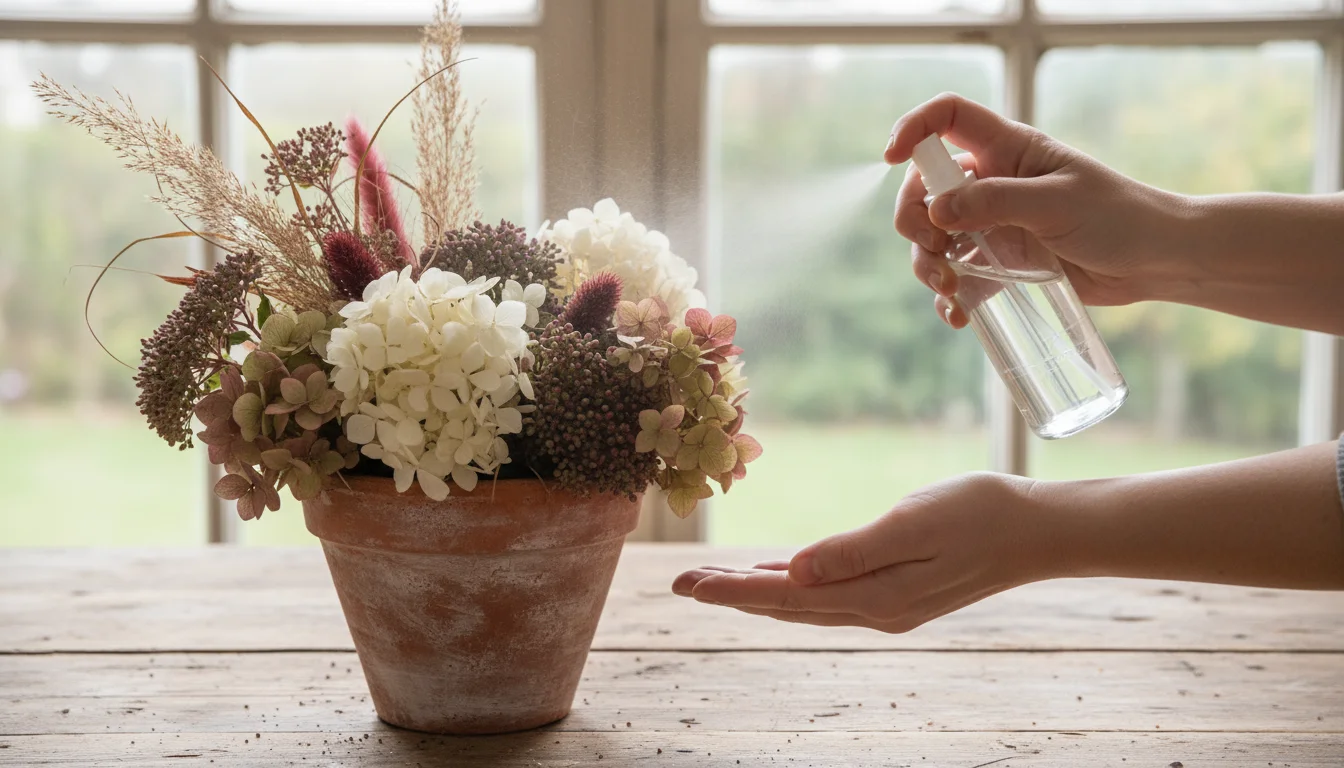
Brittle clippings are a common challenge. You can gently rehydrate them slightly by misting them with water from a fine spray bottle, or placing them in a steamy bathroom for a short period. This makes them more pliable for a few hours. However, do not over-moisten them, as this encourages mold. Work quickly after rehydration. If they are extremely brittle, they might be past their prime for crafting.
Can I spray my finished decor with anything to protect it?
You can use a clear, matte floral sealant spray, often available at craft stores, specifically designed for dried flowers. This can help to strengthen delicate pieces, reduce shedding, and offer a very minor barrier against humidity. Always test on a small, inconspicuous piece first to ensure it does not alter the color or texture in an undesirable way. Apply it in a well-ventilated area.
My container garden is very small. Will I have enough material for decor?
Absolutely! Even small container gardens yield surprising amounts of material. Focus on creating mini-wreaths, small swags, or petite centerpieces for a desk or windowsill. You might also supplement your garden’s bounty with a few found elements from nature, like pinecones or acorns, or even a few store-bought accent pieces like dried oranges. The beauty of `diy fall decor` is its adaptability to your available resources.
For trustworthy gardening information, visit:
University of Minnesota Extension, Penn State Extension — Trees, Lawns and Landscapes, Clemson University Extension — Home & Garden, Colorado State University Extension — Gardening and North Carolina State Extension — Gardening. These organizations provide expert, research-based advice for gardeners at all levels.
Disclaimer: This article is for informational purposes only and is not a substitute for professional gardening advice. Always consult local extension services or horticulture experts for region-specific guidance.
Leave a Reply