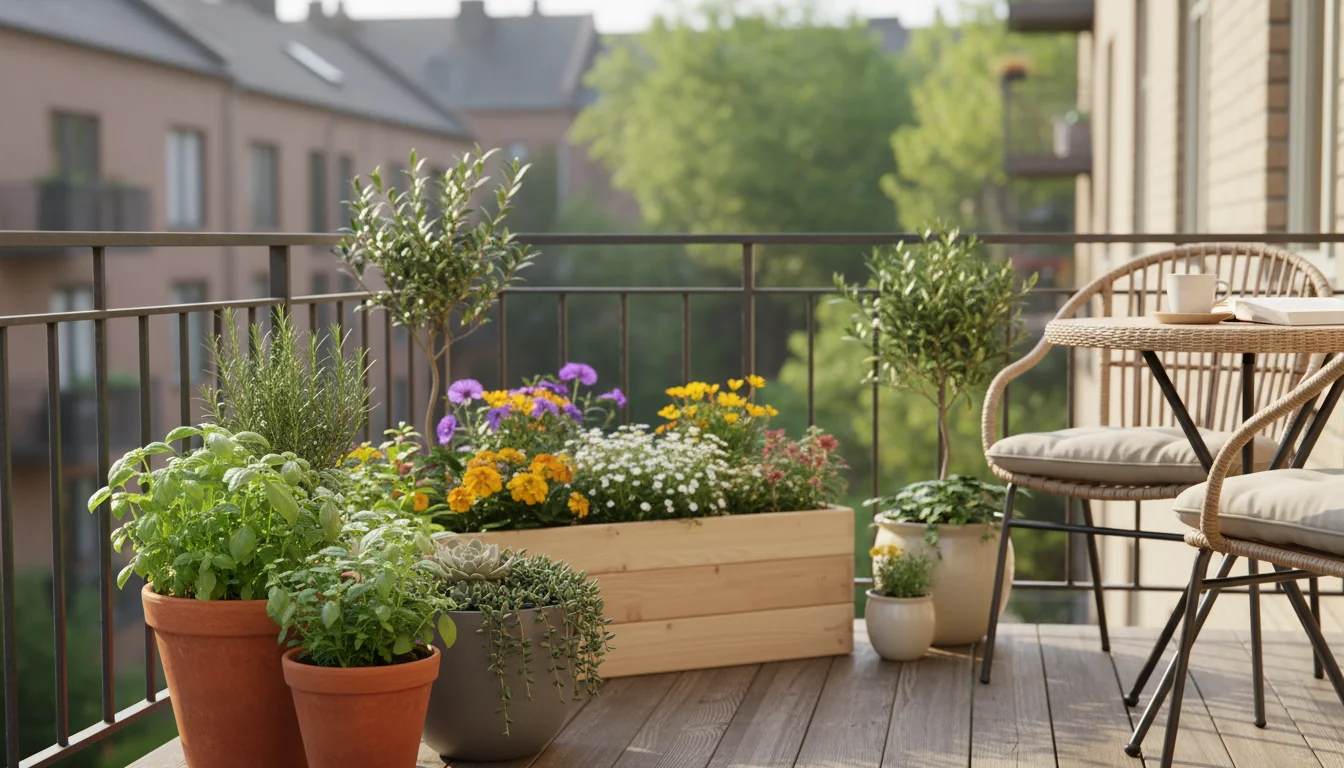
Transforming your small outdoor space into a beautiful, low-maintenance garden is entirely achievable. The secret often lies in how you arrange your containers. Simply placing individual pots can lead to a cluttered, disconnected appearance, but learning how to mix garden pots for a cohesive look elevates your design from haphazard to harmonious. This guide provides practical, actionable insights for creating stunning container design ideas that feel intentional and inviting, even in the most compact areas. You will discover how to select, arrange, and plant your containers to achieve a truly coordinated garden design.
For year-round appeal, you can easily rotate your plants within your existing pot collection to keep the look fresh as the seasons change.
For design and plant selection guidance, visit Oregon State Extension — Gardening, Chicago Botanic Garden, Brooklyn Botanic Garden, New York Botanical Garden and Royal Horticultural Society (RHS).
Disclaimer: This article is for informational purposes only and is not a substitute for professional advice. Consult local extension services for region-specific recommendations.
Understanding Cohesive Container Design
Cohesive container design means your collection of pots and plants feels intentional, unified, and harmonious. It is about creating a visual story in your small space rather than presenting a random assortment of individual elements. When you achieve cohesion, your garden space looks larger, feels more organized, and provides a calming, inviting atmosphere. This approach moves beyond simply filling pots with plants, encouraging you to consider the overall aesthetic. You begin to think about how different elements, like materials, colors, shapes, and textures, work together.
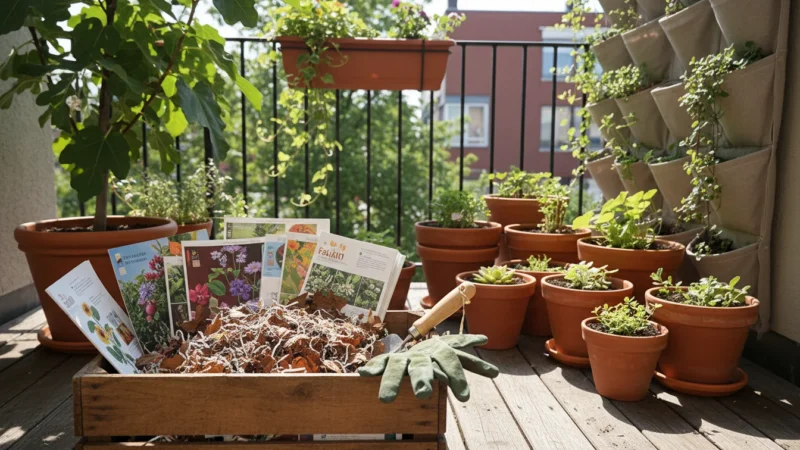
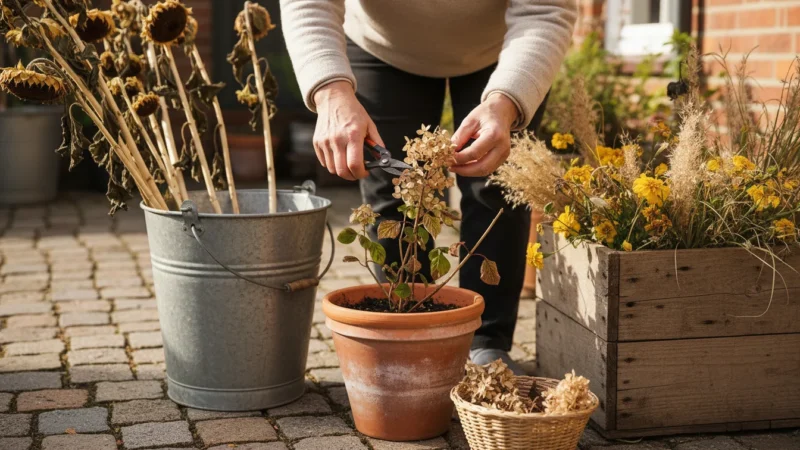
Before starting your redesign, consider the great pot purge to clear out damaged or distracting containers that no longer serve your vision.
To achieve this look on a budget, you can incorporate creative upcycling ideas for garden containers that match your chosen aesthetic.
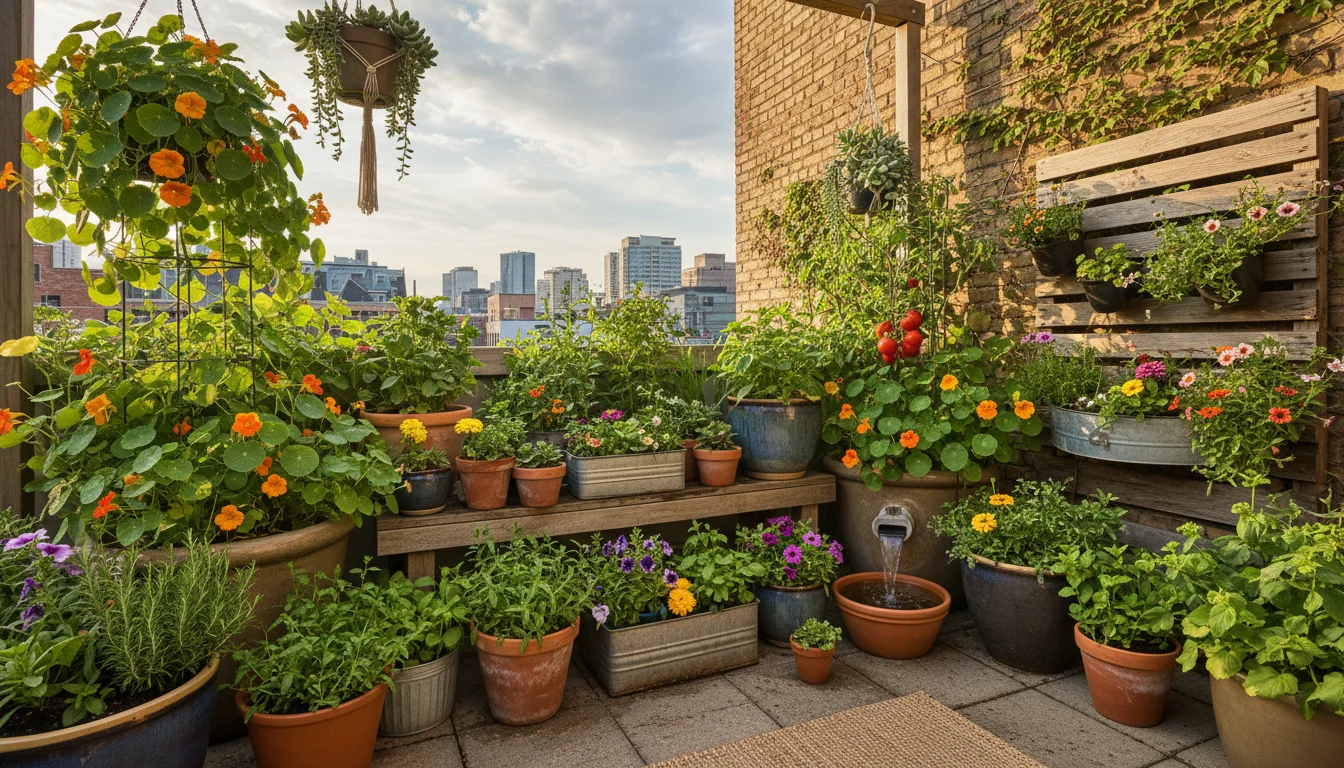
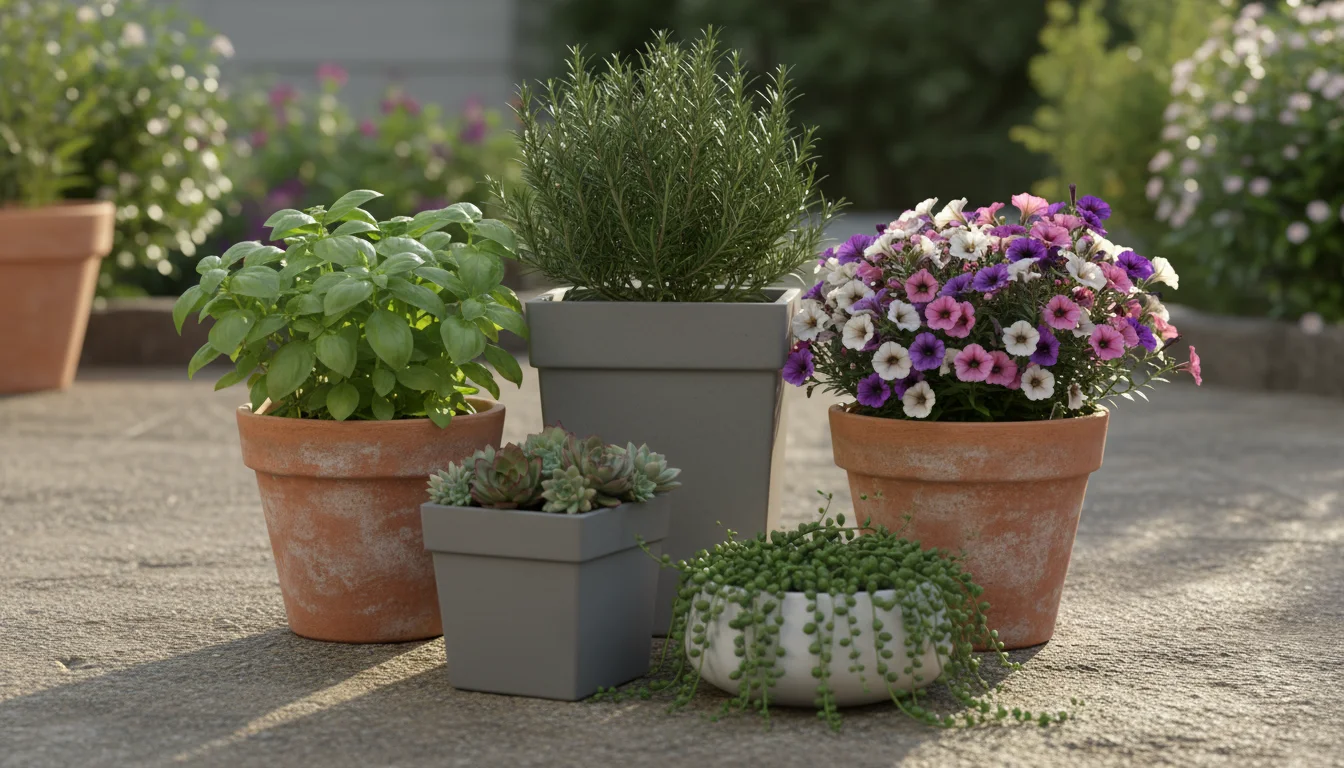
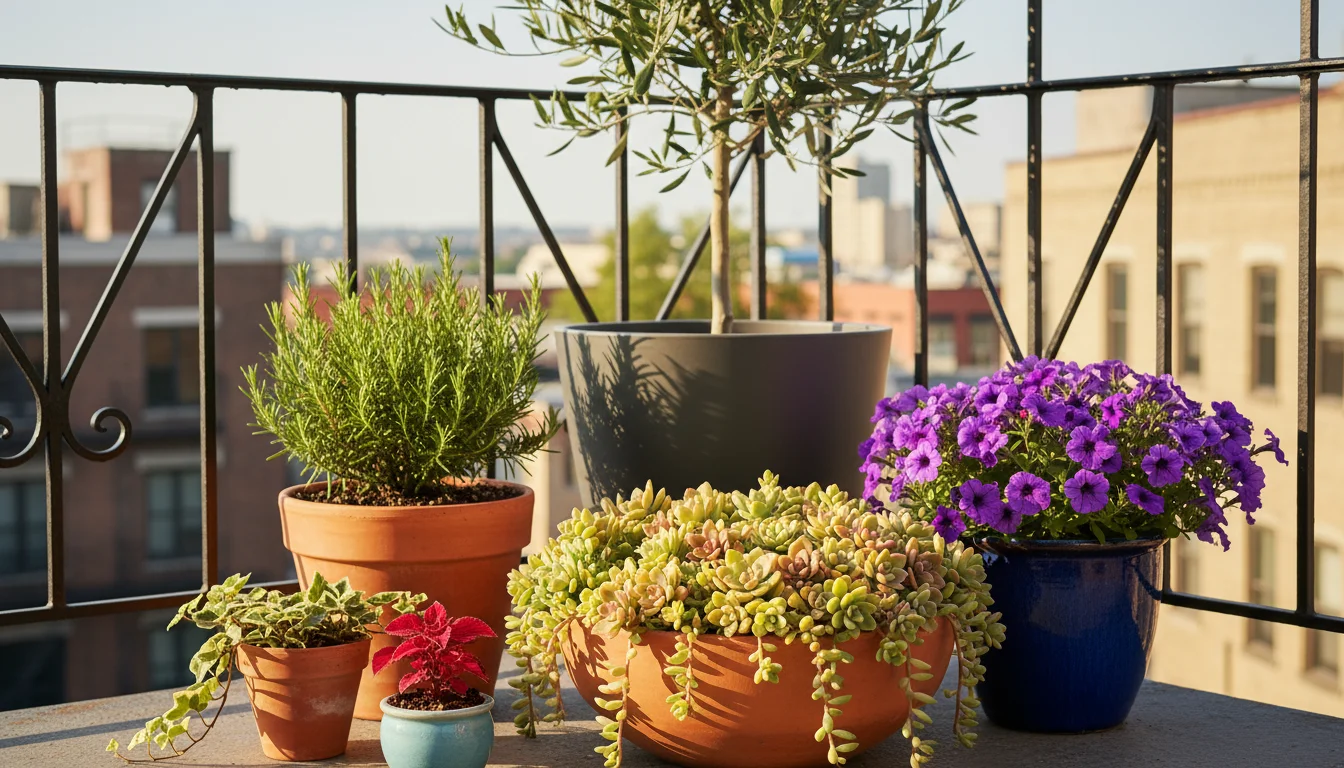
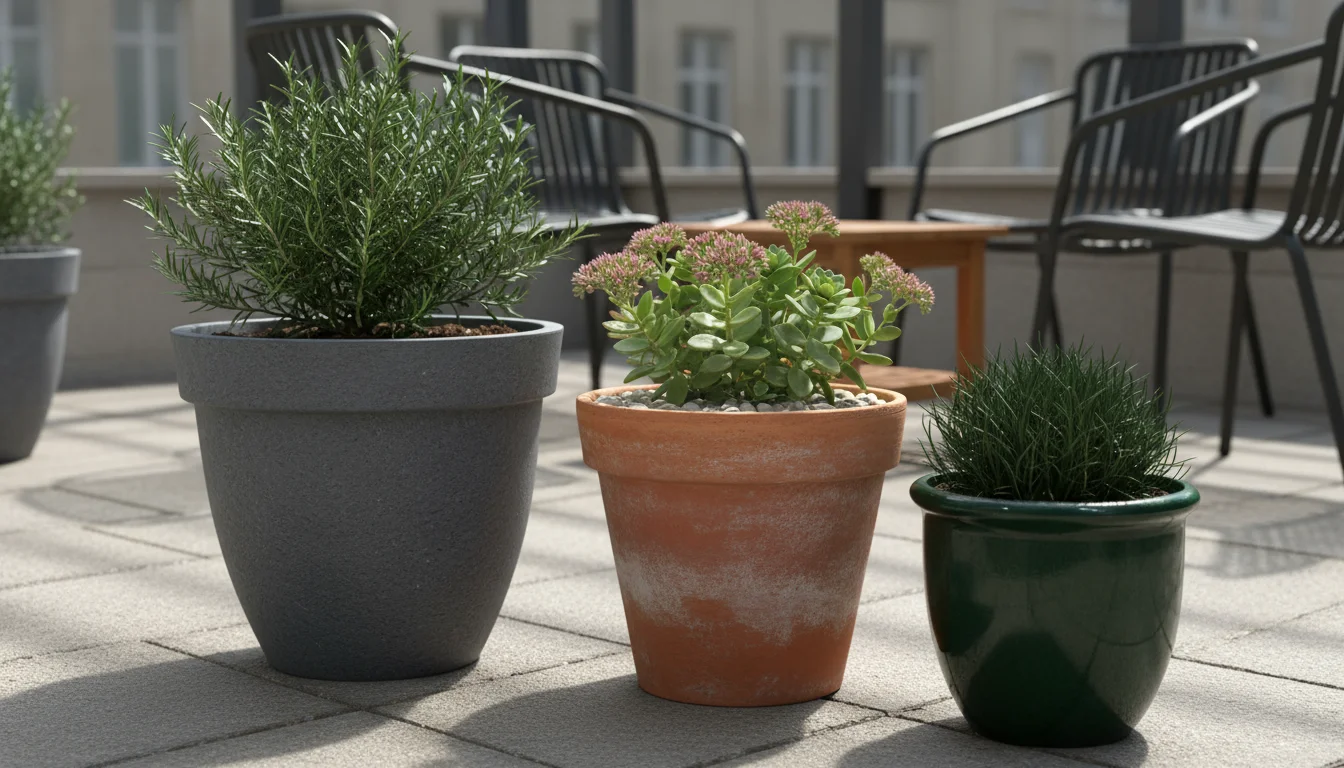
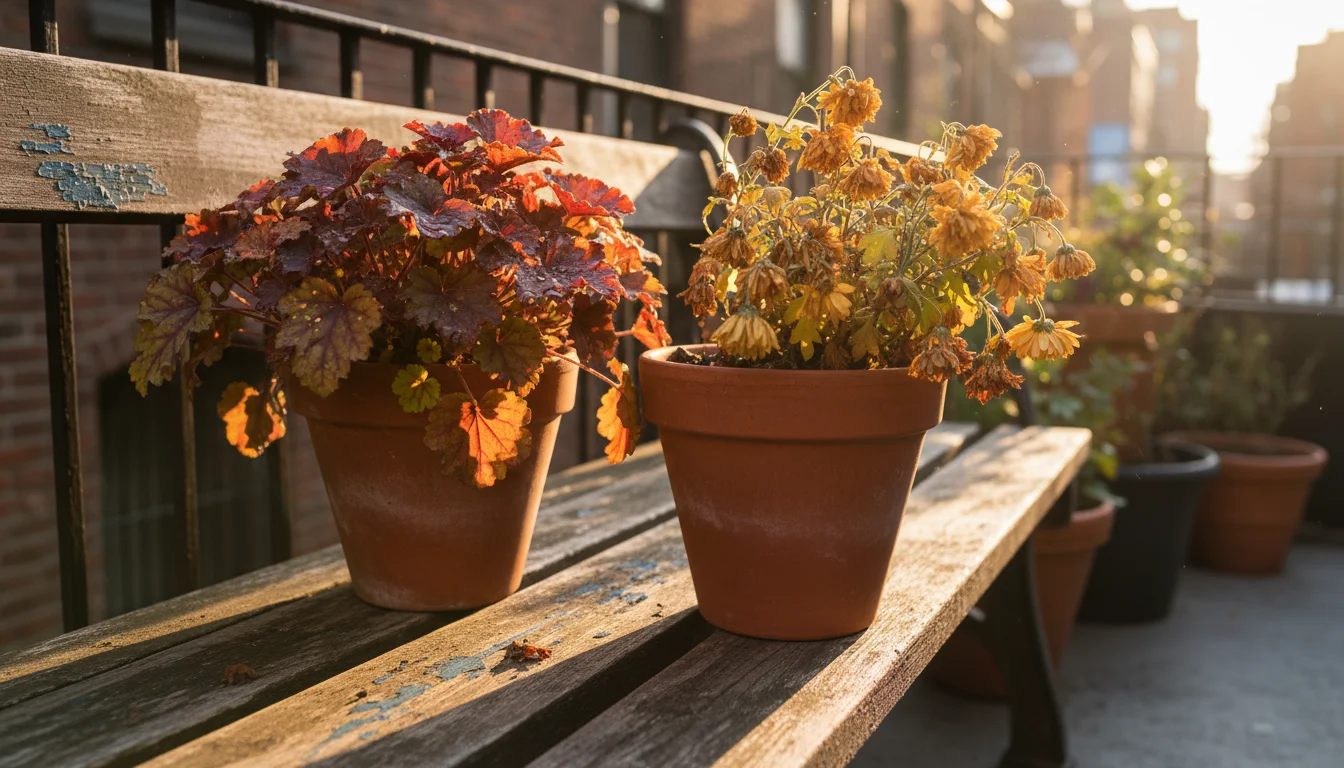
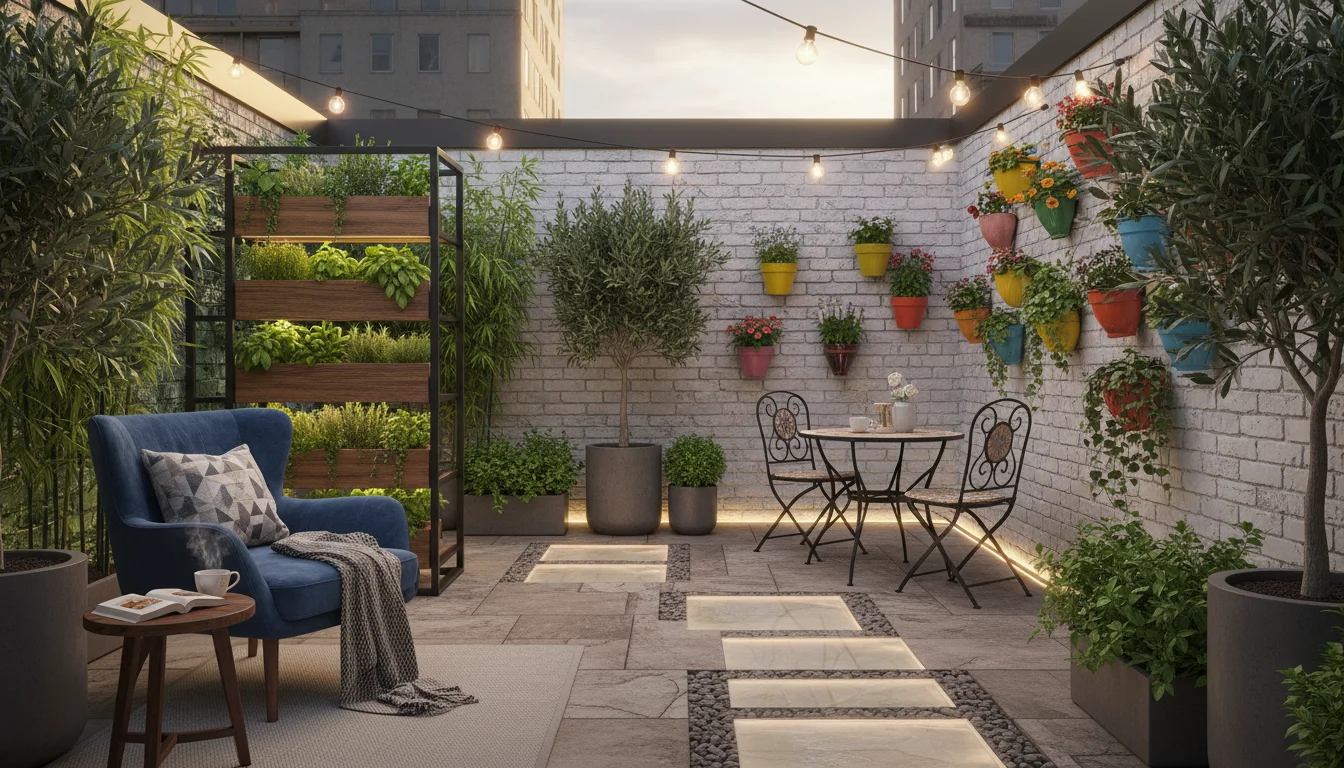
For a small balcony or patio, cohesion prevents your space from feeling cluttered. Every item holds its place and contributes to the larger picture. For instance, imagine a balcony with five different pots: one bright red ceramic, one rough terracotta, one shiny metal, one plastic, and one mosaic. Each pot might be beautiful on its own, but together, they create visual noise. A cohesive design, by contrast, might feature pots primarily in shades of grey and white, using varying textures, which instantly brings a sense of calm and sophistication to the same small space. This thoughtful approach directly impacts your enjoyment of your garden, making it a true extension of your living area.
Developing Your Garden’s Design Theme and Palette
Before you even choose your first plant, establish a clear design theme and palette for your container garden. A “theme” defines the overall mood or style you aim to create, such as modern, rustic, tranquil, or vibrant. Your “palette” refers to the specific range of colors and materials you use for your pots, complementing your theme. These foundational choices provide the framework for every decision you make, ensuring your mix garden pots effort results in a coordinated garden design.
While aesthetic choices are vital, remember that building healthy soil is the key to ensuring your plants thrive in their new designer homes.
Once your palette is set, you can plan for year-round beauty by selecting seasonal container displays that complement your theme.
Start by observing your surroundings. What is the architecture of your home or building? What colors dominate your existing outdoor furniture or decor? If your space leans contemporary, clean lines and monochrome pots might fit best. If it is more traditional, classic terracotta or ornate ceramic pots could be ideal. Your goal is to create a seamless transition from your indoor living areas to your outdoor sanctuary. For example, if your living room uses cool blues and greys, extending those colors into your outdoor pots creates an immediate sense of continuity.
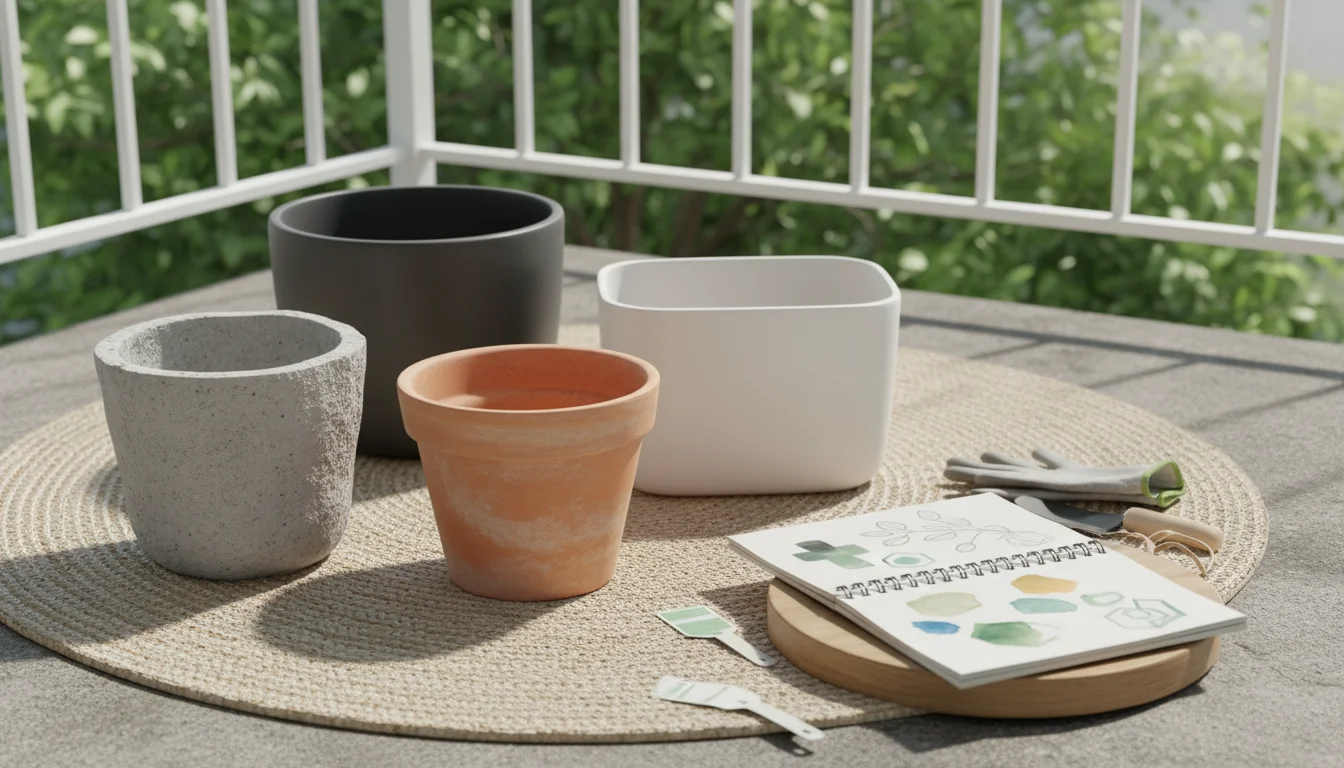
Choosing Your Pot Materials Wisely
The material of your pots significantly impacts your garden’s aesthetic and its maintenance needs. Aim for consistency, either by using one primary material or by selecting a few materials that share similar characteristics, such as texture or finish. For example, a collection of unglazed terracotta pots creates a warm, Mediterranean feel, while sleek fiberglass or concrete pots lend a modern, minimalist vibe. Here is a comparison of common pot materials to help you make informed decisions:
| Material | Characteristics | Pros | Cons | Best for Theme/Palette |
|---|---|---|---|---|
| Terracotta (Unglazed) | Earthy, porous, natural reddish-brown | Excellent drainage, breathable, classic look, affordable | Dries out quickly, fragile, prone to cracking in freezes, can develop salt residue | Rustic, Mediterranean, traditional, natural |
| Glazed Ceramic | Shiny or matte finish, non-porous, wide color range | Retains moisture well, vibrant colors, durable (if quality), frost resistant (some types) | Heavy, can be expensive, poor drainage if no hole, prone to cracking if not frost-proof | Modern, eclectic, colorful, formal |
| Lightweight Composites (Fiberglass, Resin, Plastic) | Variety of finishes (mimic stone, metal, terra cotta), non-porous, lightweight | Extremely durable, lightweight, easy to move, good moisture retention, often affordable | Can look artificial if low quality, may fade in intense sun over time, less breathable | Modern, minimalist, large-scale, easy-care |
| Concrete/Stone | Heavy, industrial, natural grey or dyed colors | Very durable, weather-resistant, provides stability for large plants, excellent insulation | Extremely heavy, can be very expensive, can crack in extreme freezes, alkaline leaching | Modern, industrial, sculptural, urban contemporary |
| Metal (Zinc, Steel, Copper) | Sleek, often industrial, can patina over time | Durable, modern look, unique character as they age | Can heat up in direct sun (damaging roots), expensive, some can rust, drainage can be an issue | Modern, industrial, contemporary, minimalist |
| Wood (Cedar, Redwood) | Natural, warm, rustic appearance | Insulative, blends with natural settings, good for edible gardens | Can rot over time, requires liners for longevity, prone to pests, heavier than composites | Rustic, cottage, natural, edible gardens |
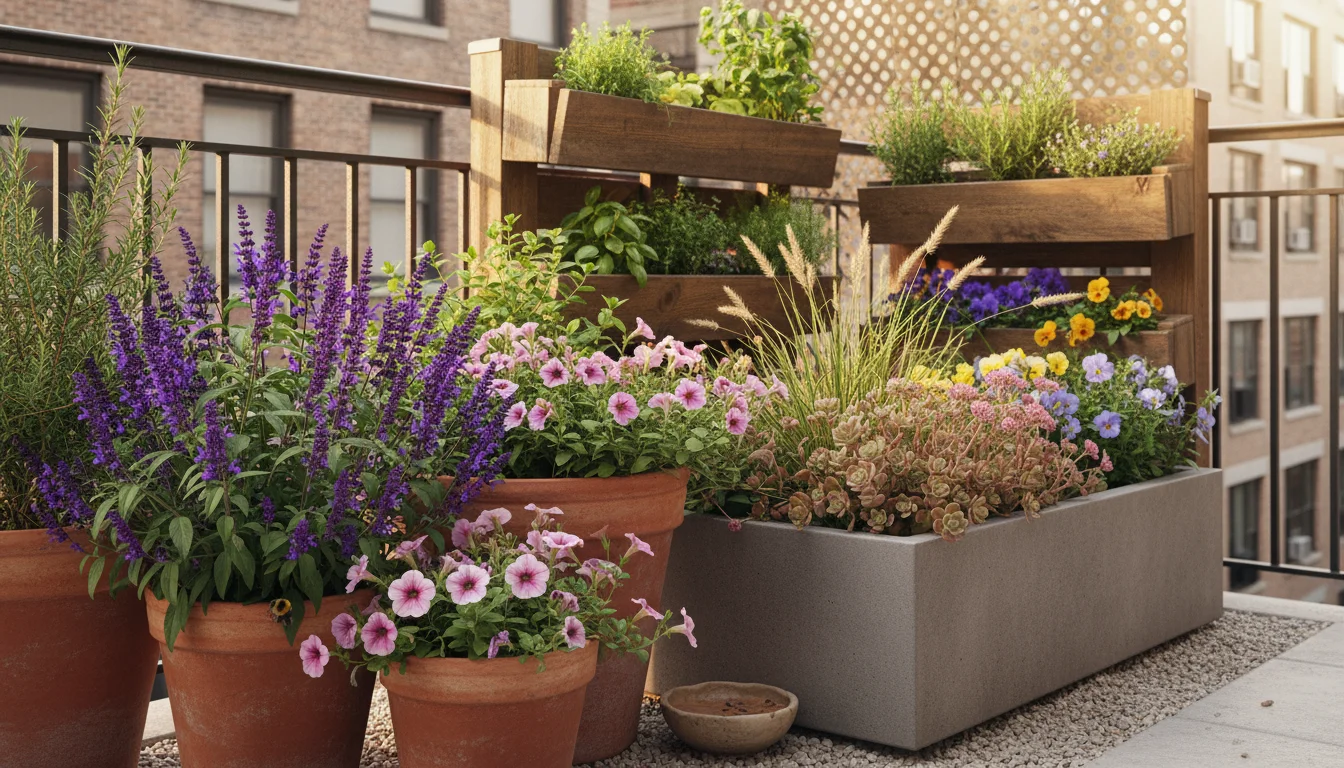
To ensure a coordinated garden design, try to select 2-3 primary materials that complement each other. For example, combine unglazed terracotta with natural wood for a rustic, earthy feel. Or, pair sleek glazed ceramics with lightweight fiberglass in similar finishes for a modern, sophisticated look. The key is a deliberate choice, not a random assembly. For instance, a small urban balcony might benefit from lightweight composite pots that mimic concrete, paired with one or two genuine concrete planters as anchors, creating a contemporary yet grounded feel.
Establishing a Color Palette for Your Pots
Once you select your materials, decide on a pot color palette. This applies to the pots themselves, not the plants, which we will discuss later. You can achieve cohesion by:
- Monochromatic: Using different shades of the same color, like various greys, whites, or blacks. This creates a very sophisticated and calming effect, allowing your plants to be the stars.
- Neutral: Relying on earth tones like terracotta, stone, or natural wood. These blend seamlessly with most environments and provide a timeless look.
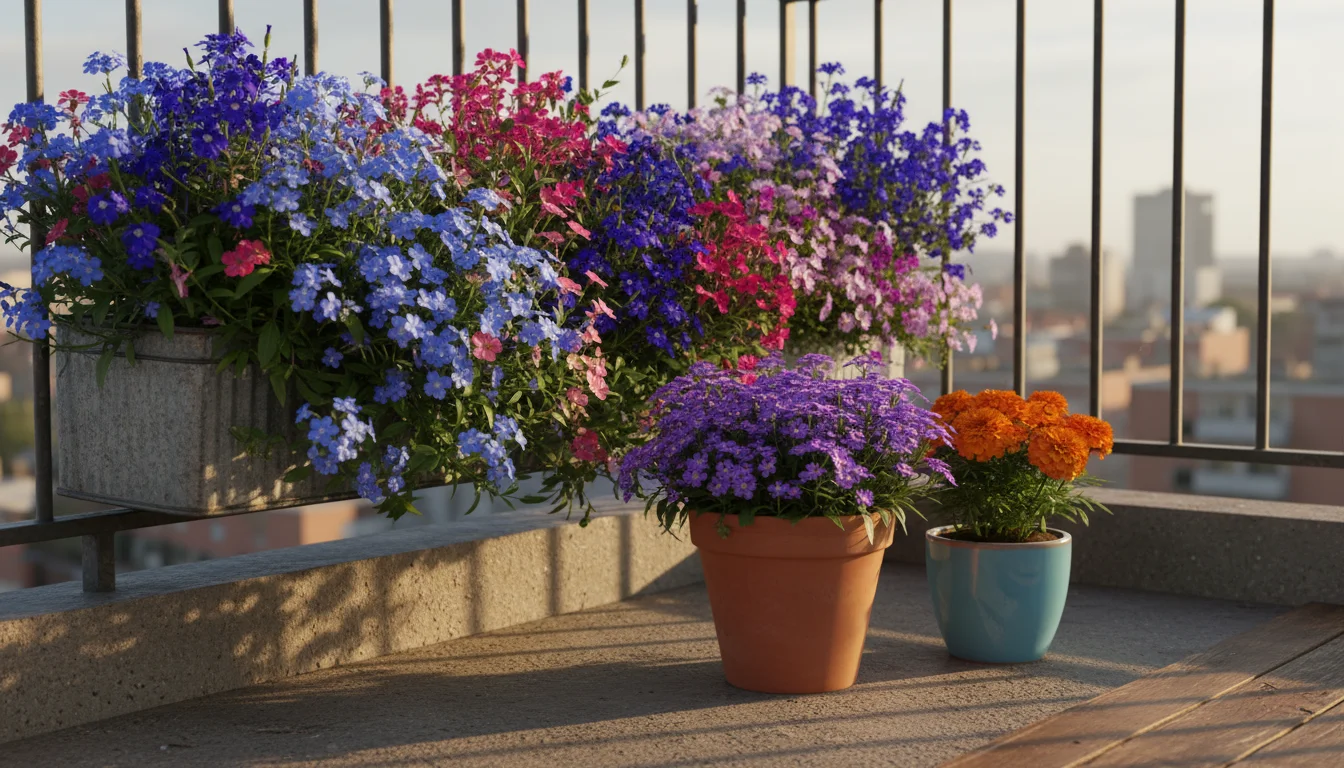
- Limited Accent: Choosing mostly neutral pots and introducing one or two pots in an accent color. This adds a pop of vibrancy without overwhelming the space. For example, all grey pots with one vibrant blue pot draws the eye and injects energy.
- Harmonious Hues: Selecting colors that are close to each other on the color wheel, such as various shades of blue and green. This creates a gentle, soothing progression.
A good starting point for a coordinated garden design is to select 60% of your pots in your dominant neutral color (e.g., grey, terracotta), 30% in a complementary neutral or darker shade (e.g., black, dark grey, deep brown), and 10% in an accent color if you choose to use one. This ratio helps balance your mix garden pots effectively.
The Power of Pot Groupings and Layouts
Arranging your pots thoughtfully makes a significant difference in how your space feels. Instead of scattering pots randomly, create deliberate groupings. This is a fundamental aspect of container design ideas for small spaces. Grouping pots creates visual weight, makes your collection look more abundant, and allows you to create mini-landscapes within your compact area. You are essentially creating “zones” in your small-space layouts.
Selecting the right species for these clusters is also key; for example, native plants that thrive in containers often provide the most resilient and low-maintenance options.
Creating Container Groupings
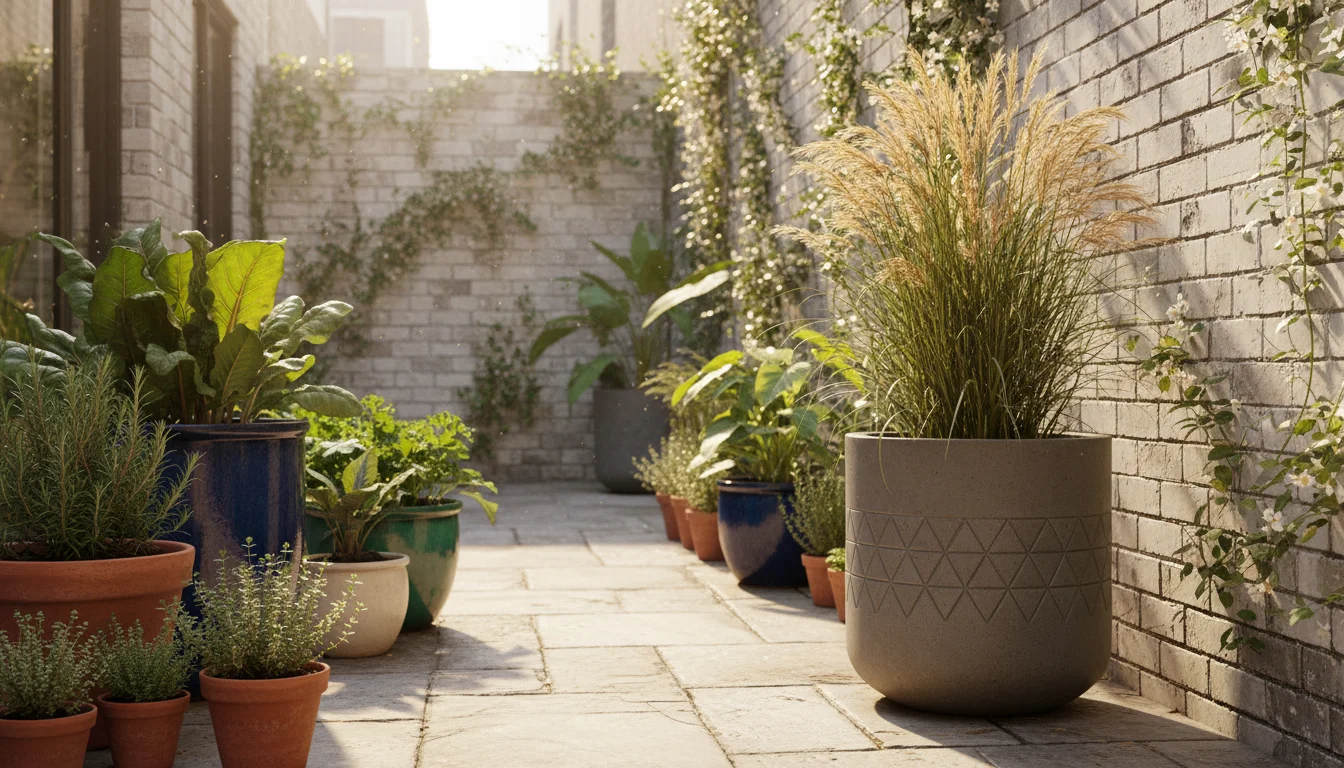
Group your pots in odd numbers—three, five, or seven—for a more natural and visually appealing arrangement. Place them close together so their rims almost touch. This creates the illusion of a single, larger planting rather than individual pots. Think of a tight cluster of three pots: one tall, one medium, and one low. This variation in height adds dynamic interest and depth.
When forming groupings:
- Vary Heights: Use pots of different heights to create a sense of natural elevation. A tall pot acts as an anchor, while shorter pots fill the foreground. You can also use risers or overturned pots to elevate some containers.
- Mix Shapes: Combine round, square, or rectangular pots within a grouping to add visual interest. Ensure the materials or colors remain consistent to maintain cohesion.
- Consider Proportion: Ensure the sizes of the pots within a grouping are proportional to each other and to the overall space. A giant pot next to a tiny one can look unbalanced unless done with specific intent.
- Leave Room for Movement: While grouping is important, avoid overcrowding your space. Maintain clear “traffic flow” paths. For a small balcony, this might mean keeping a minimum of 24 inches (60 cm) clear for walkways. On a patio, ensure enough space around seating areas for comfortable movement, usually at least 36 inches (90 cm) behind chairs.
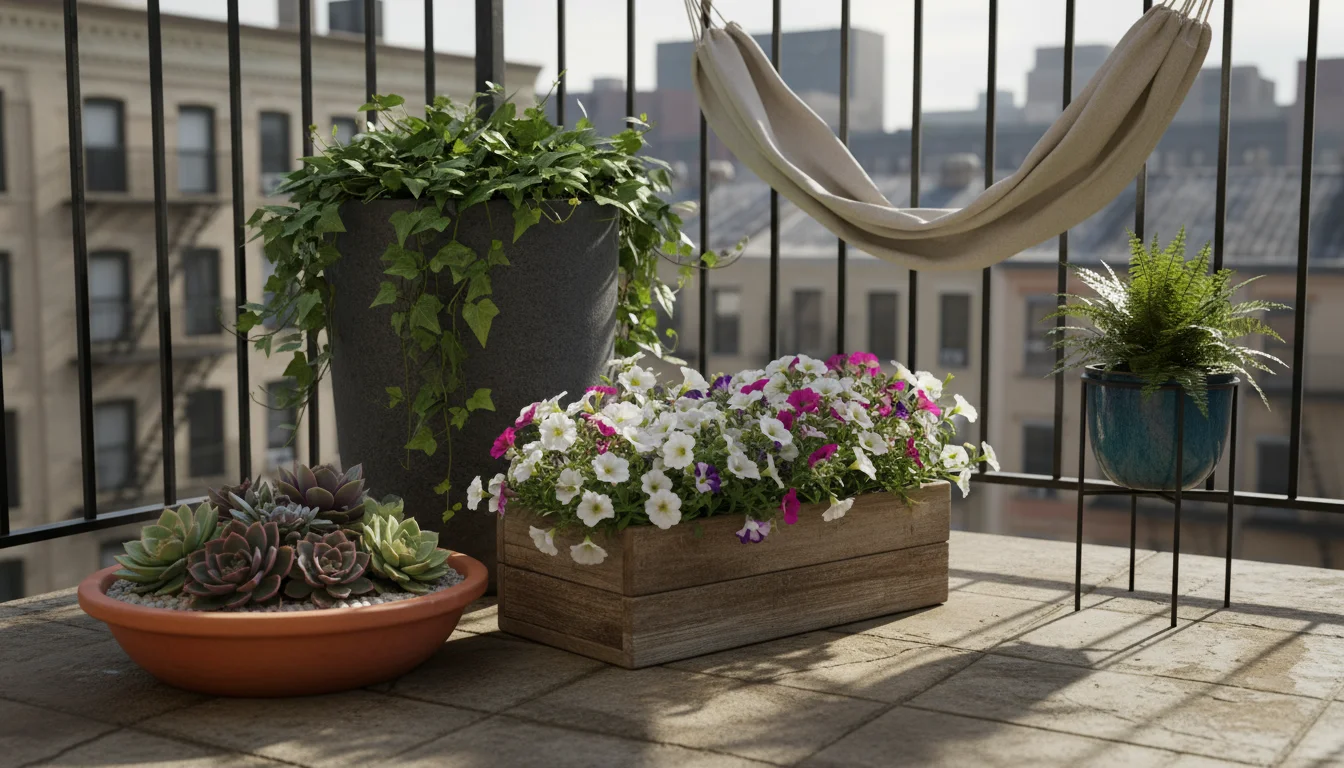
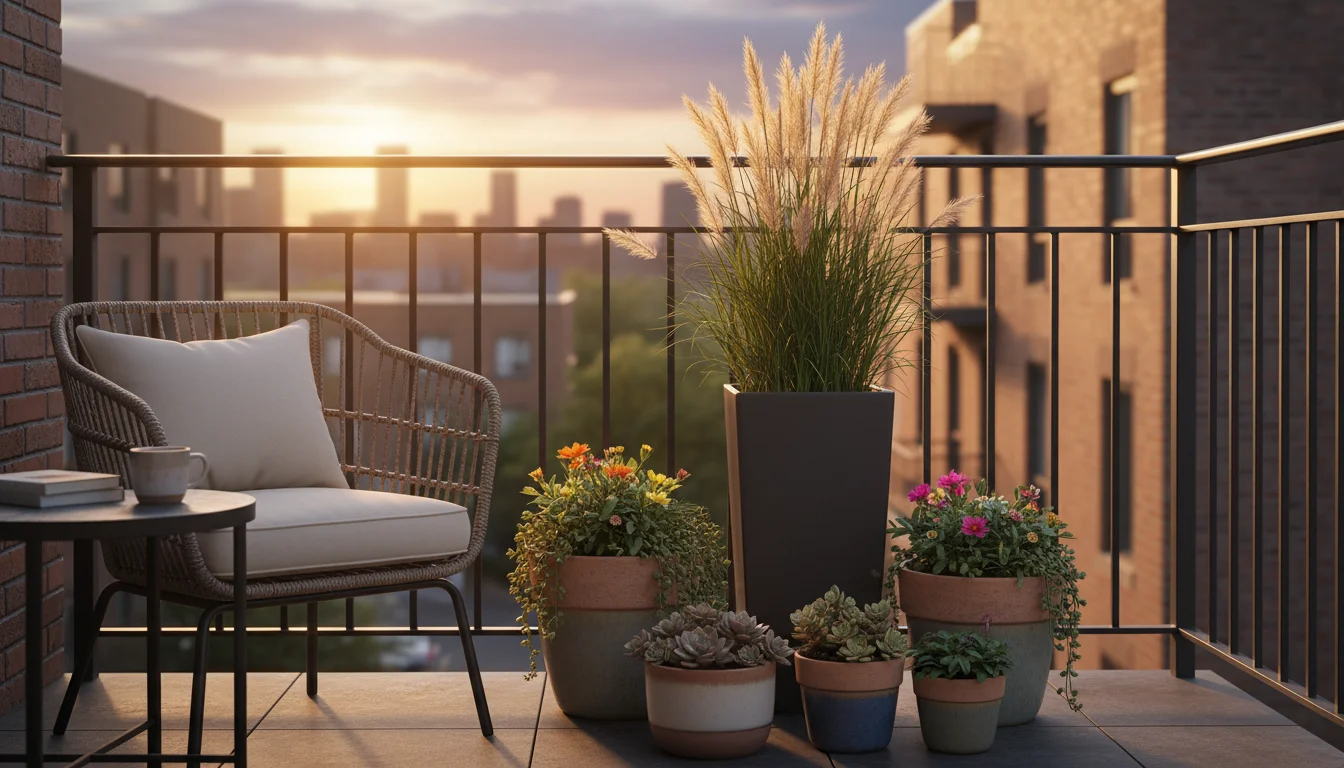
For example, you might place a large, neutral-colored pot containing a small tree or shrub at the back of a corner, flanked by two medium-sized pots with flowering plants, and then a small, low bowl of succulents at the front. This creates a multi-layered effect that draws the eye into the grouping.
Strategic Placement for Small-Space Layouts
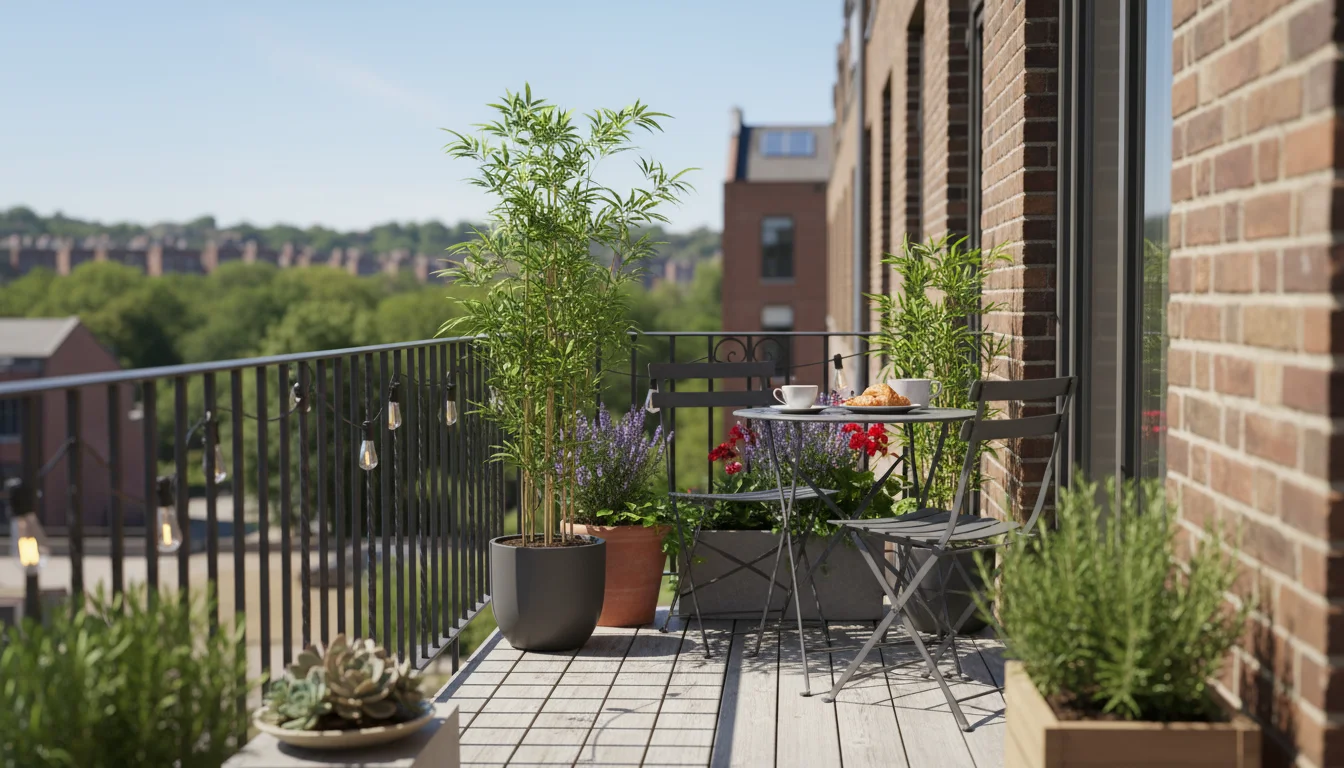
In compact areas, every inch counts. Use your container groupings to define different zones within your outdoor space. A long, narrow balcony might benefit from a grouping at one end for a small dining nook, with another smaller grouping near the door. For a courtyard, use groupings to delineate a seating area from a more functional utility zone.
Consider the “zoning” of your space. Do you need an area for relaxation, an area for eating, or a small workspace? Container groupings can subtly define these areas without needing permanent structures. For instance, a cluster of tall, leafy pots can act as a natural screen, suggesting a boundary for a cozy reading nook on a larger patio. Always keep your primary purpose for each area in mind as you place your coordinated garden design elements.
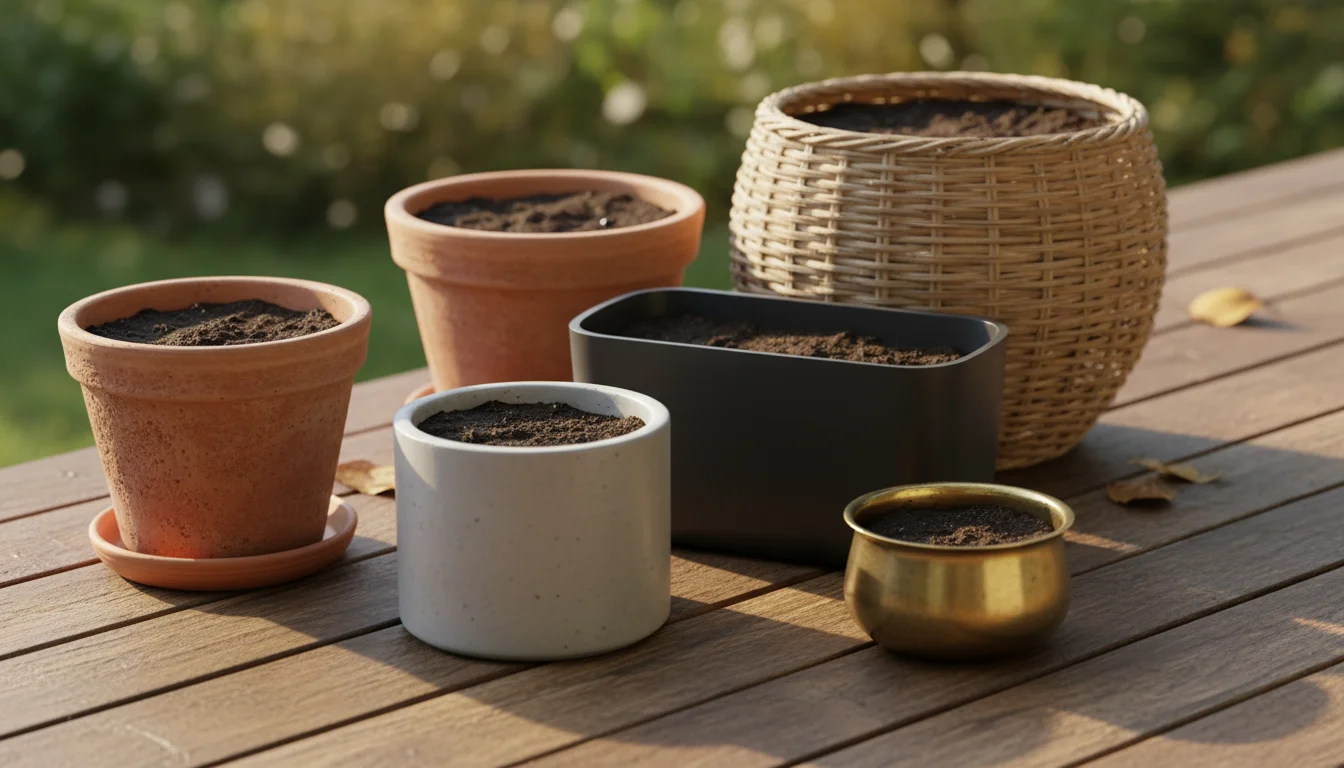
Selecting Container Sizes and Shapes Strategically
The sizes and shapes of your containers are critical for a visually appealing and healthy container garden. They impact not only the aesthetic but also the long-term success of your plants and the perceived spaciousness of your area. Thinking strategically about these aspects contributes significantly to achieving a cohesive design with your mix garden pots.
Proportion and Scale
When selecting containers, consider the scale of your space. In a small area, oversized pots can quickly overwhelm, while too many tiny pots can look messy and fussy. Aim for a mix of sizes that feel balanced. A good rule of thumb for small spaces is to have a few larger, anchor pots (perhaps 15-20 inches in diameter or height) and several medium-sized pots (10-14 inches), with only a couple of very small accent pots (under 8 inches). This creates visual hierarchy and depth.
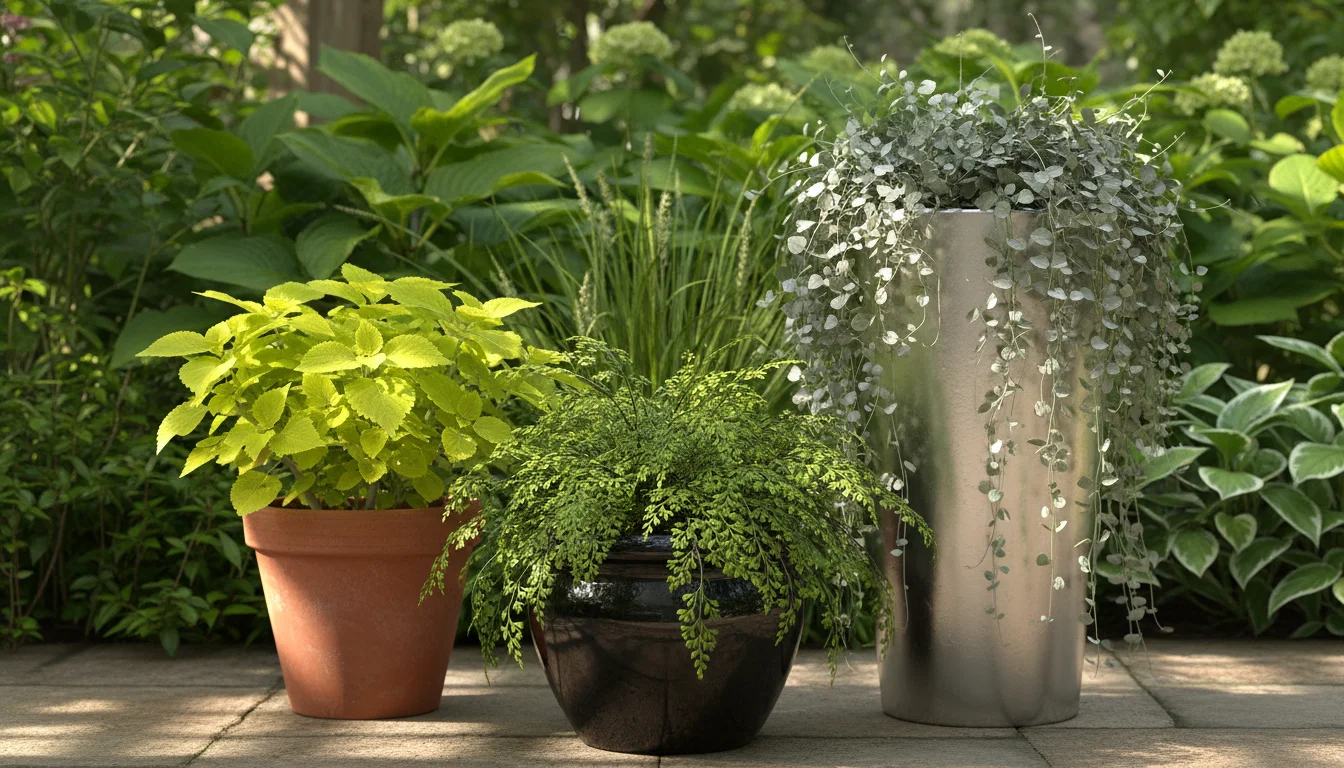
The shape of your pots also influences the overall feel. Tall, narrow pots create vertical interest, drawing the eye upward. Wide, shallow bowls are excellent for showcasing groundcovers or succulents. Round pots offer a soft, organic look, while square or rectangular planters provide clean lines and a modern edge. Mixing these shapes within a consistent material and color palette adds dynamic interest without sacrificing cohesion. For instance, a trio of pots could include a tall square, a medium round, and a low rectangular planter, all in a charcoal grey composite material.
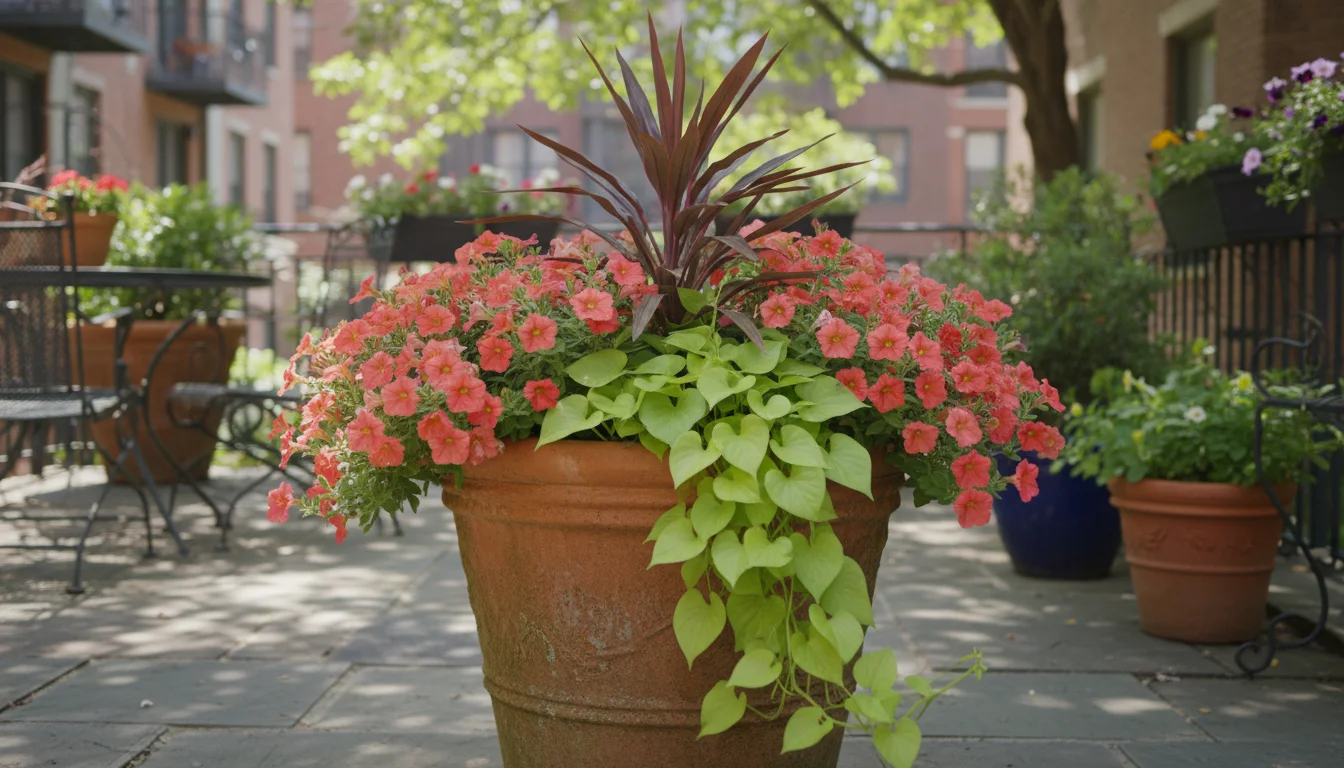
The “Thriller, Filler, Spiller” Concept for Potting
This classic planting concept helps you create dynamic and balanced arrangements within individual pots, which in turn contributes to the overall coordinated garden design. It encourages you to think about different plant roles and how they interact visually.
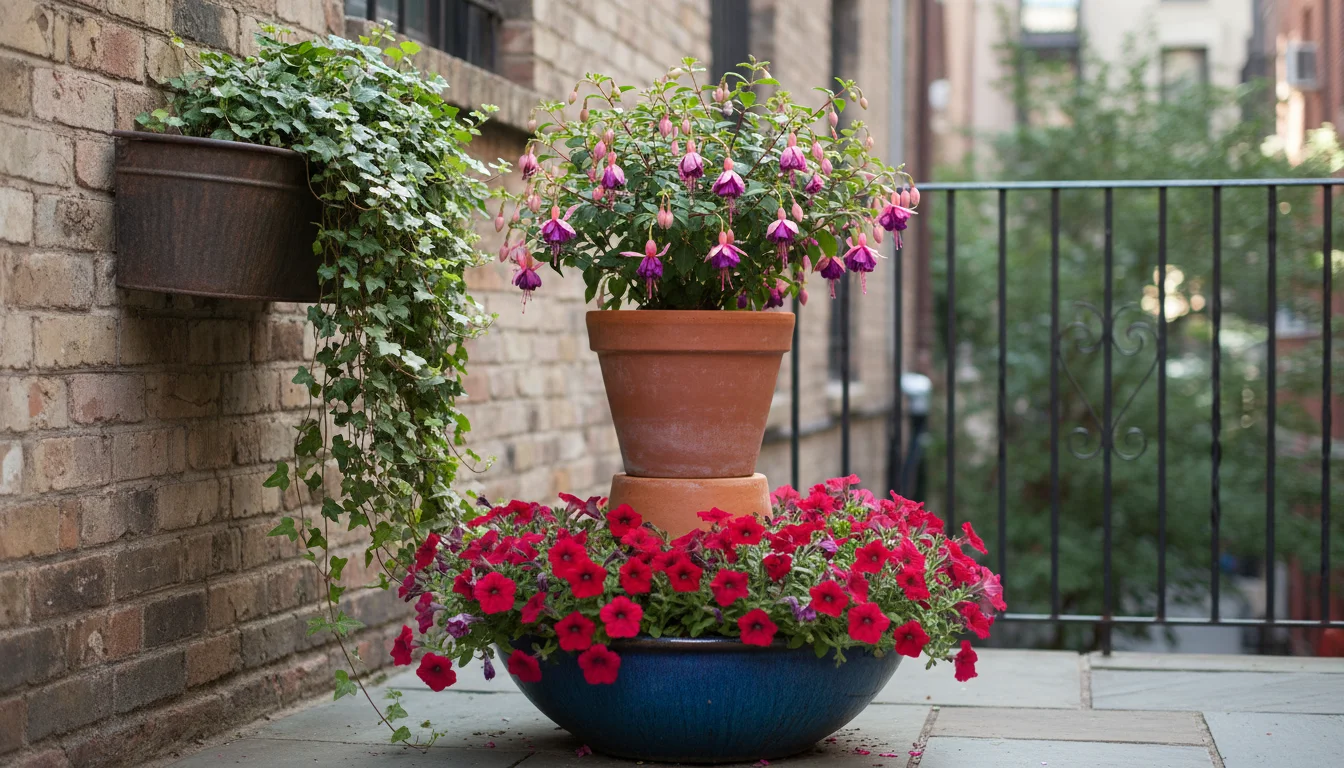
- Thriller: This is your star plant. It is tall, dramatic, and provides vertical interest or a focal point. Think of ornamental grasses, small upright shrubs, cannas, or upright fuchsias. Place it in the center or back of your pot.
- Filler: These plants are mounding or bushy and fill in the space around the thriller. They add volume and often contribute complementary colors or textures. Examples include impatiens, petunias, coleus, or calibrachoa.
- Spiller: These plants trail over the edge of the pot, softening its hard lines and adding a cascading effect. Examples are sweet potato vine, creeping jenny, lobelia, or nasturtiums.
Using this concept consistently across your mix garden pots ensures each container is a mini-masterpiece. For example, a large terracotta pot might feature a dwarf cypress as the thriller, surrounded by a white calibrachoa filler, with a silvery dichondra spilling over the sides. The combination creates a rich, full look from a single container.
Mastering Color and Texture Through Foliage and Flowers
While the pots provide the structural foundation, the plants themselves bring your container garden to life. Mastering color and texture in your plant choices is essential for creating a visually rich and cohesive display. Remember, a coordinated garden design prioritizes thoughtful plant selection that complements your chosen pot palette.
Beyond Blooms: Foliage as a Primary Design Element
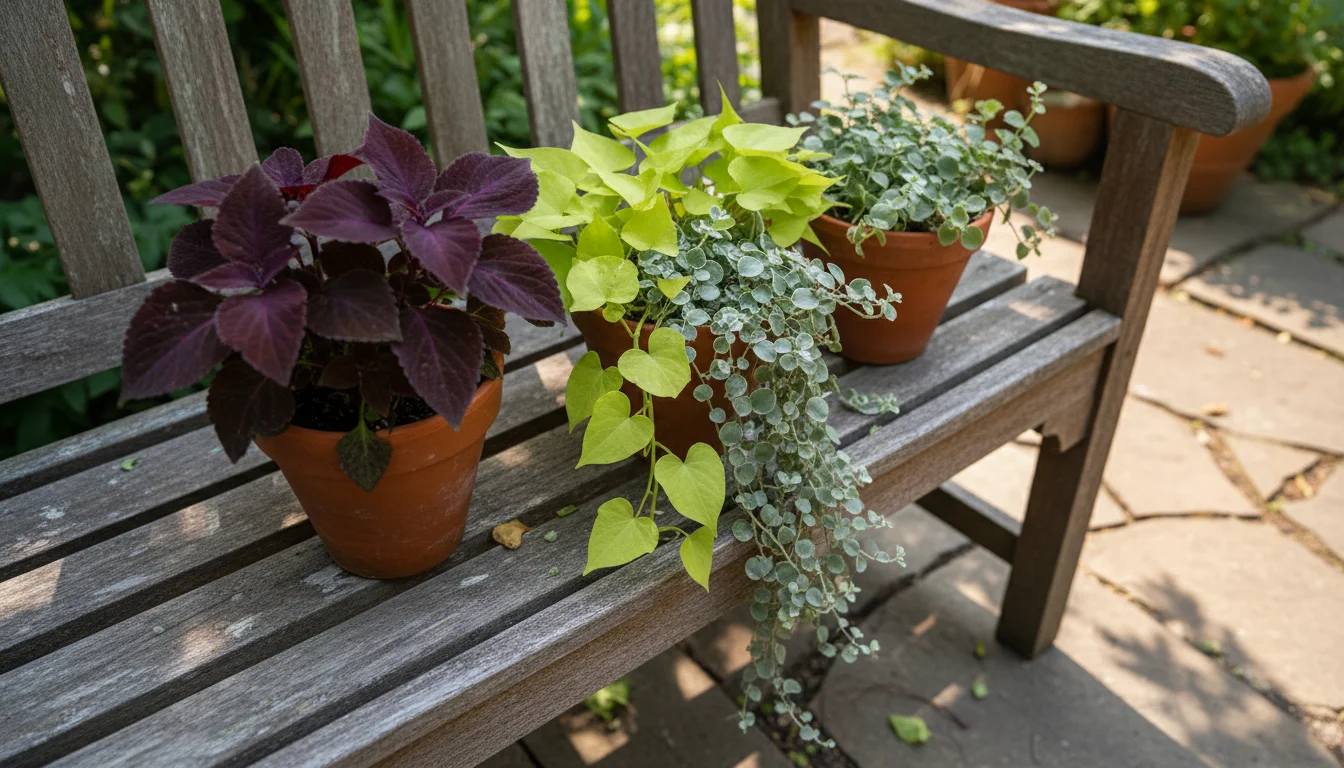
Many beginner gardeners focus solely on flower color, but foliage offers texture, shape, and long-lasting color that blooms often cannot. Foliage plants provide structure and interest even when flowers are not present. Consider plants with varied leaf shapes (broad, narrow, feathery), sizes (large hosta leaves, tiny sedum leaves), and colors (lime green, deep burgundy, variegated, silver). These elements contribute significantly to the overall texture of your planting.
For example, combine the bold, dark leaves of a coleus with the delicate, lacy fronds of a fern and the fine, wispy blades of an ornamental grass. Even if all three are green, their contrasting textures create a fascinating visual tapestry. Incorporating silver foliage plants, like lamb’s ear or dusty miller, adds a cooling element and pairs beautifully with almost any color scheme.
Developing a Plant Color Palette
Just as you chose a color palette for your pots, select one for your plants. This is where you bring your coordinated garden design vision to full fruition. You can choose:
- Monochromatic: Using different shades of a single color for your flowers and foliage. For example, a pot filled with various shades of purple petunias, calibrachoa, and verbena creates a sophisticated and unified look.
- Analogous: Selecting colors that are next to each other on the color wheel, such as blues, purples, and pinks, or yellows, oranges, and reds. This creates a harmonious, soothing flow.
- Complementary: Pairing colors opposite each other on the color wheel, like blue and orange, or purple and yellow. This creates high contrast and vibrant energy. Use complementary colors sparingly for strong focal points.
- Limited Palette with Neutrals: Focus on green foliage as your dominant “color,” then introduce a limited palette of 2-3 flower colors. This allows the plants’ forms and textures to shine. For instance, a mix of green hostas, ferns, and white impatiens offers elegance and tranquility.
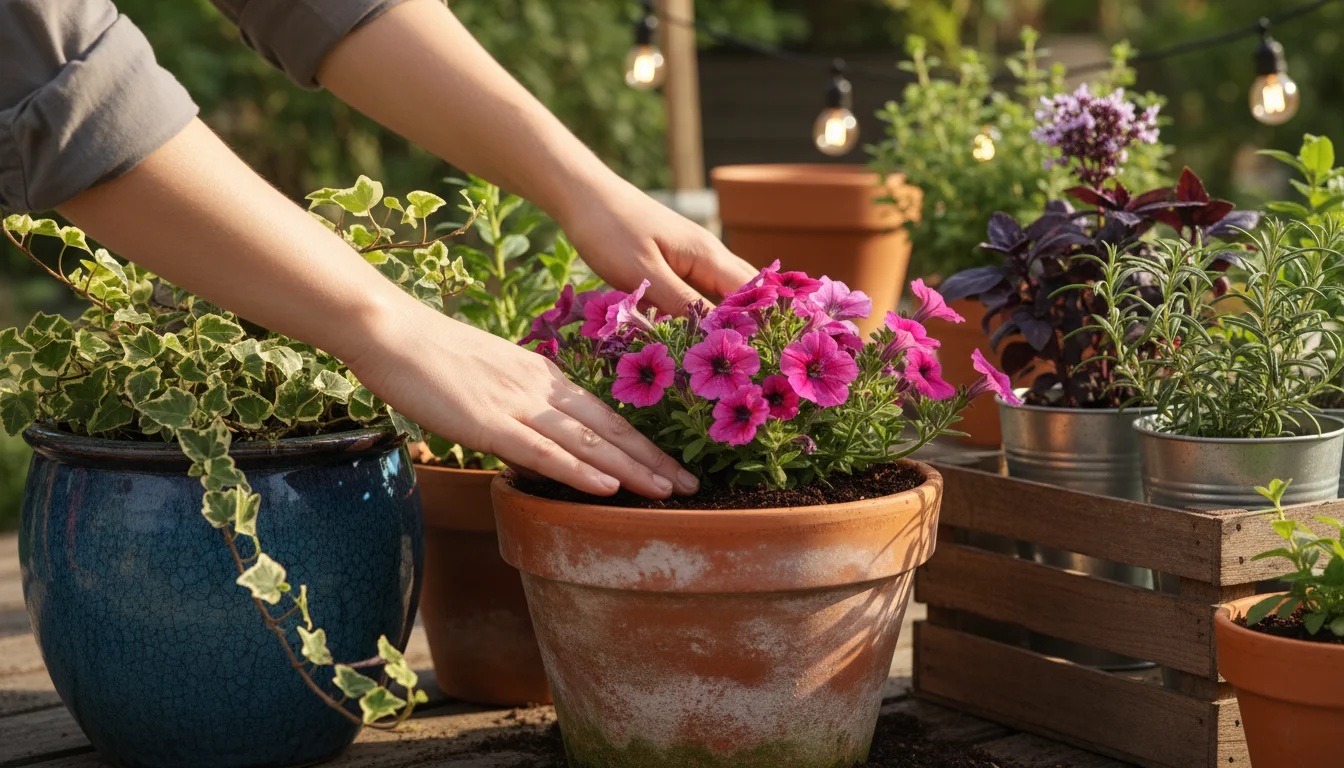
When you mix garden pots, consider how the plants’ colors complement your pot choices. If your pots are a neutral grey, you have freedom with plant colors. If your pots are a bold blue, you might choose plants with yellow or orange flowers for a complementary pop, or white and silver plants for a cooler, more serene feel.
Seasonal Interest and Bloom Sequence
Plan your plantings to ensure continuous interest throughout the growing season. This involves selecting plants with different bloom times or those that offer attractive foliage for an extended period. For instance, pair spring-blooming bulbs with summer-flowering annuals and autumn-interest plants like ornamental grasses or cold-tolerant pansies. This ensures your coordinated garden design remains vibrant for months.
Prioritize water-wise choices, especially in hot climates, to reduce maintenance and conserve resources. Succulents, sedums, lavender, and many ornamental grasses thrive with less water. Incorporate native and pollinator-friendly plants whenever possible. Examples include coneflowers, salvia, bee balm, and various herbs. These plants support local ecosystems and often require less care once established, aligning perfectly with a low-maintenance ethos. Your garden becomes a haven for bees and butterflies, contributing to environmental health.
Creating Visual Flow and Focal Points
An effective container garden design guides the viewer’s eye through the space, creating a journey rather than a static display. This is “visual flow.” Within this flow, “focal points” are the specific elements or groupings that immediately capture your attention. Strategically using these elements elevates your mix garden pots into a truly coordinated garden design.
Guiding the Eye
Visual flow is achieved by arranging your pots in a way that leads the eye from one element to the next. You can create this flow through:
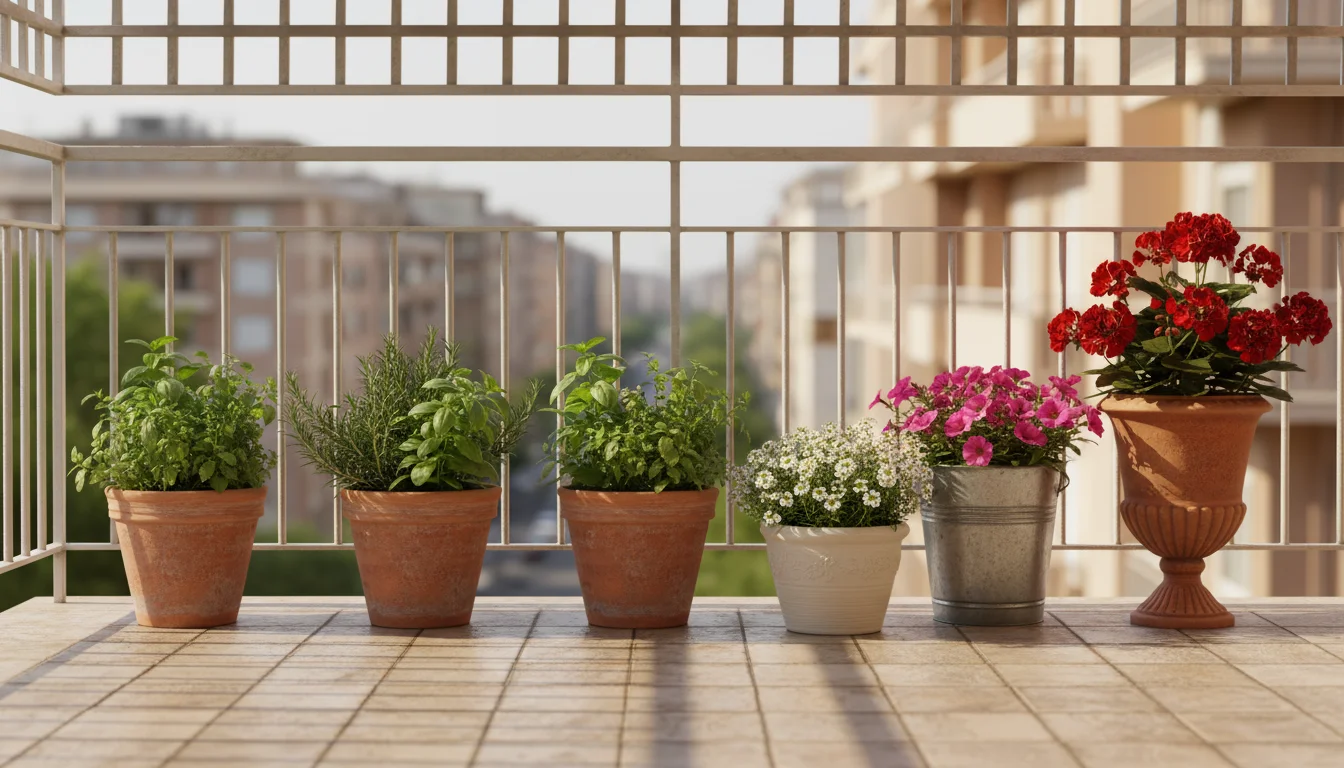
- Repetition: Repeat certain pot colors, plant types, or even a particular pot shape throughout your space. This creates a rhythm and continuity that gently moves the eye along. For instance, using the same style of medium-sized terracotta pot at regular intervals along a railing.
- Progression: Arrange pots from smallest to largest, or from lightest color to darkest. This creates a subtle sense of movement and draws the eye deeper into a grouping or along a path. Imagine a line of three pots, gradually increasing in height, each containing a plant with an escalating burst of color.
- Lines and Curves: Use the natural lines created by your container groupings. A straight line of pots along a wall provides a clear path, while a curved arrangement can create a more meandering, inviting feel.
From indoors, consider the view you have through your windows or doors. Your outdoor space is an extension of your indoor environment. Place anchor pots or striking plant combinations where they are most visible from key indoor vantage points. A beautiful container arrangement seen through a kitchen window can make doing dishes a much more pleasant experience, for example.
Defining Focal Points
A focal point is the first thing your eye notices when you look at a specific area. In a small container garden, you do not want too many focal points, or the space will feel busy. One or two strong focal points per distinct zone are sufficient. These can be created by:
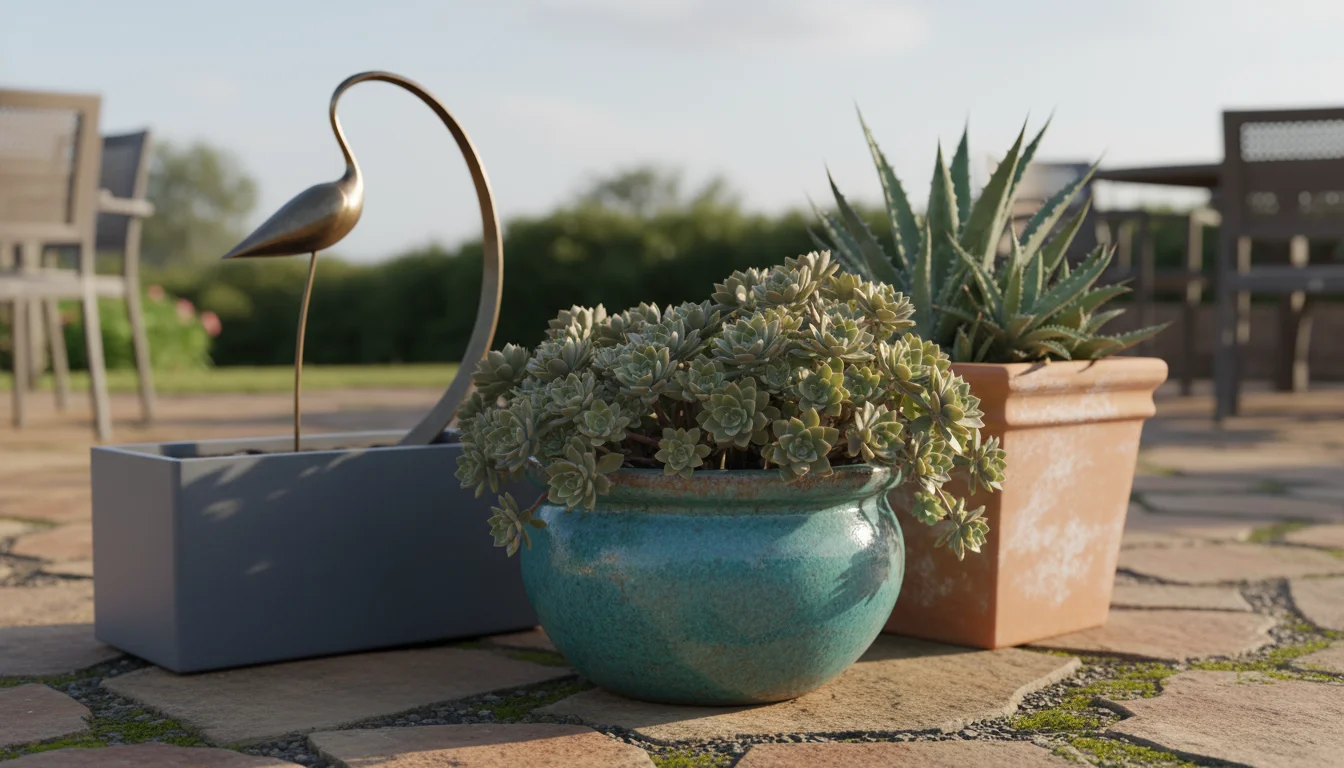
- A Unique Pot: An unusually shaped pot, a pot in a striking accent color, or one with intricate texture naturally draws attention. For example, a large, sculptural concrete planter in a cluster of smaller, simpler pots immediately stands out.
- A Distinctive Plant: A plant with striking foliage (e.g., a large-leafed hosta), a dramatic bloom (e.g., an orchid in a sheltered spot, a vibrant canna), or a sculptural form (e.g., a bonsai, a carefully pruned small shrub) can serve as a focal point.
- Height: A very tall plant or a pot elevated on a stand creates an immediate focal point by drawing the eye upwards. An ornamental grass that sways gently in the breeze at eye level becomes a dynamic anchor.
You can use either symmetry or asymmetry to arrange your focal points. Symmetry, where identical elements mirror each other, creates a formal, balanced, and calming look, often used around doorways or on either side of a bench. Asymmetry uses different but balanced elements to create a more dynamic, natural, and modern feel. For example, a large pot with a striking plant on one side of a seating area might be balanced by a grouping of three smaller, varied pots on the other side, achieving equilibrium without identical mirroring.
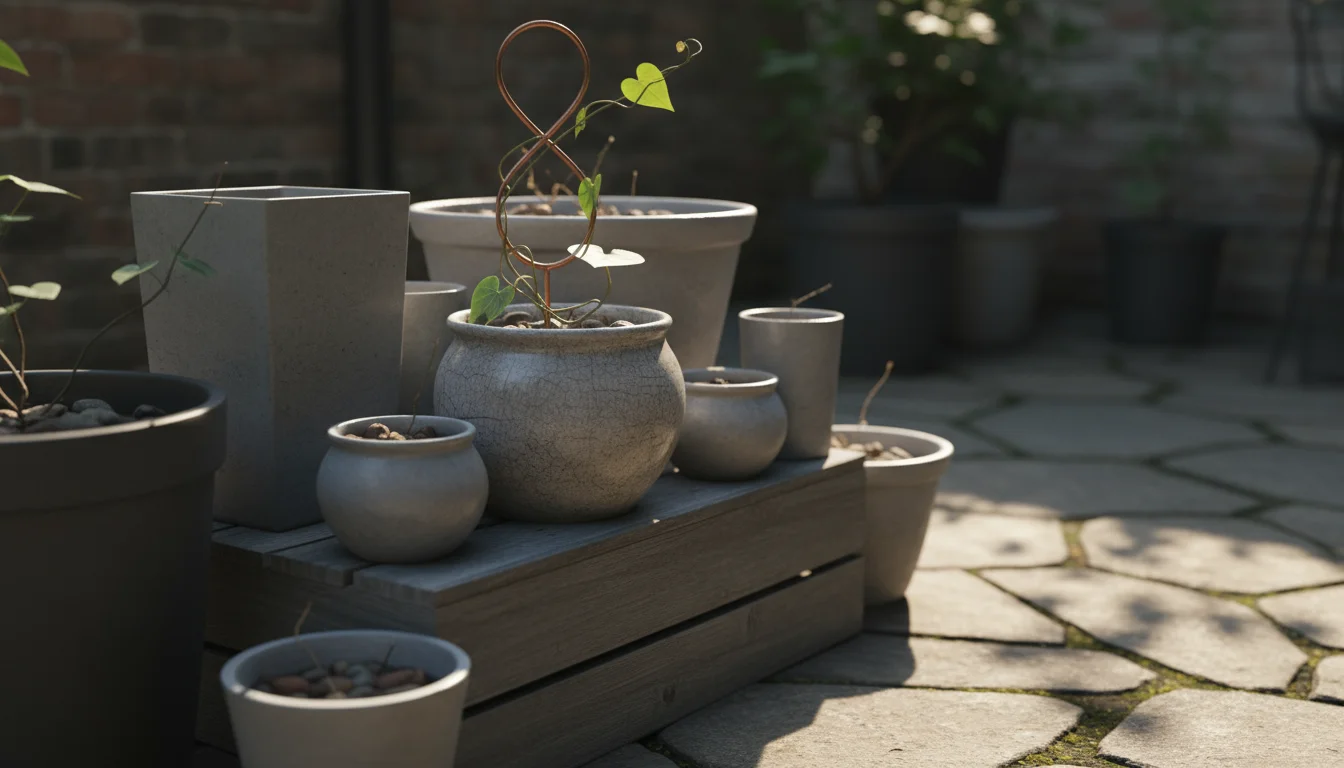
Integrating Vertical Elements and Tiered Displays
In small-space gardening, thinking vertically is essential. Walls, railings, and even the air above your patio offer valuable planting real estate. Integrating vertical elements and tiered displays dramatically expands your growing capacity and adds dynamic visual interest, making your container design ideas truly impactful.
Maximizing Height in Small Spaces
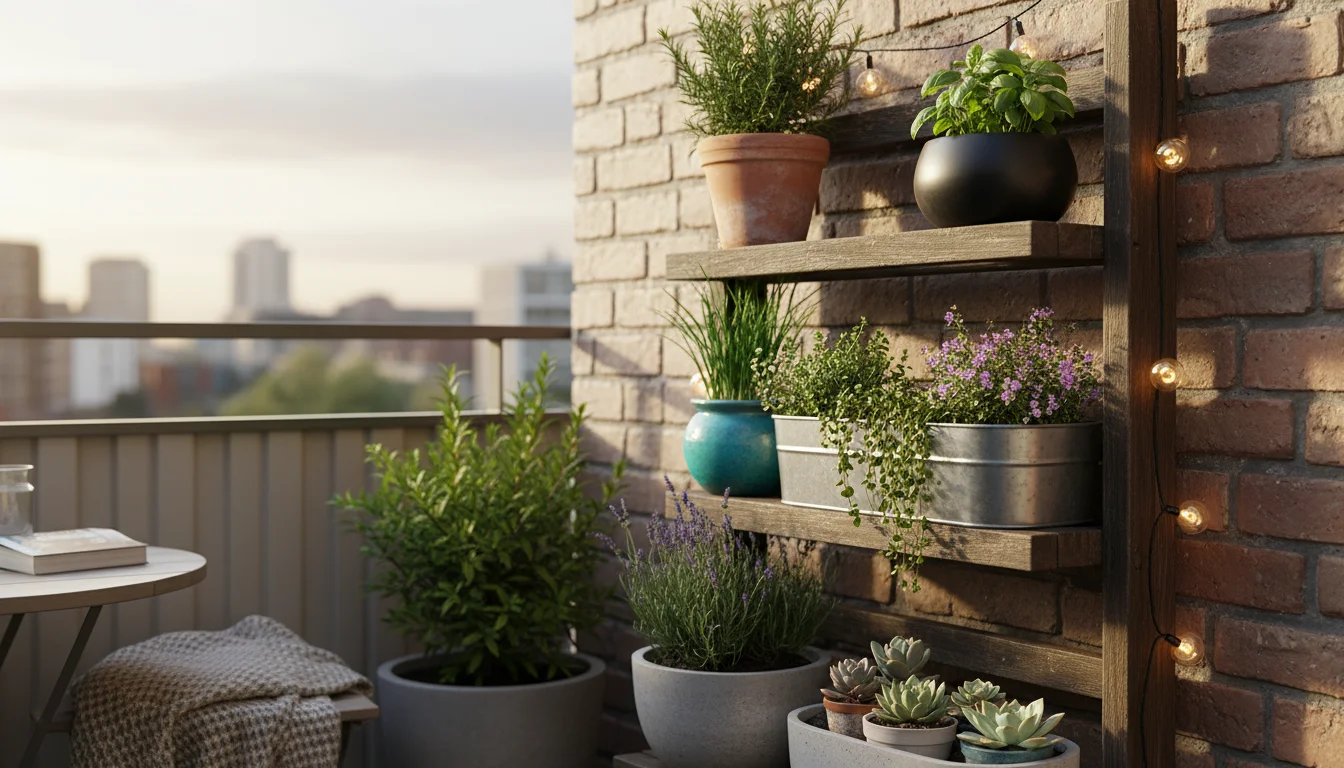
Vertical gardening allows you to layer plants at different heights, creating a lush, multi-dimensional look that makes your space feel bigger and more abundant. This is particularly effective for achieving a coordinated garden design when floor space is limited.
Consider these vertical solutions:
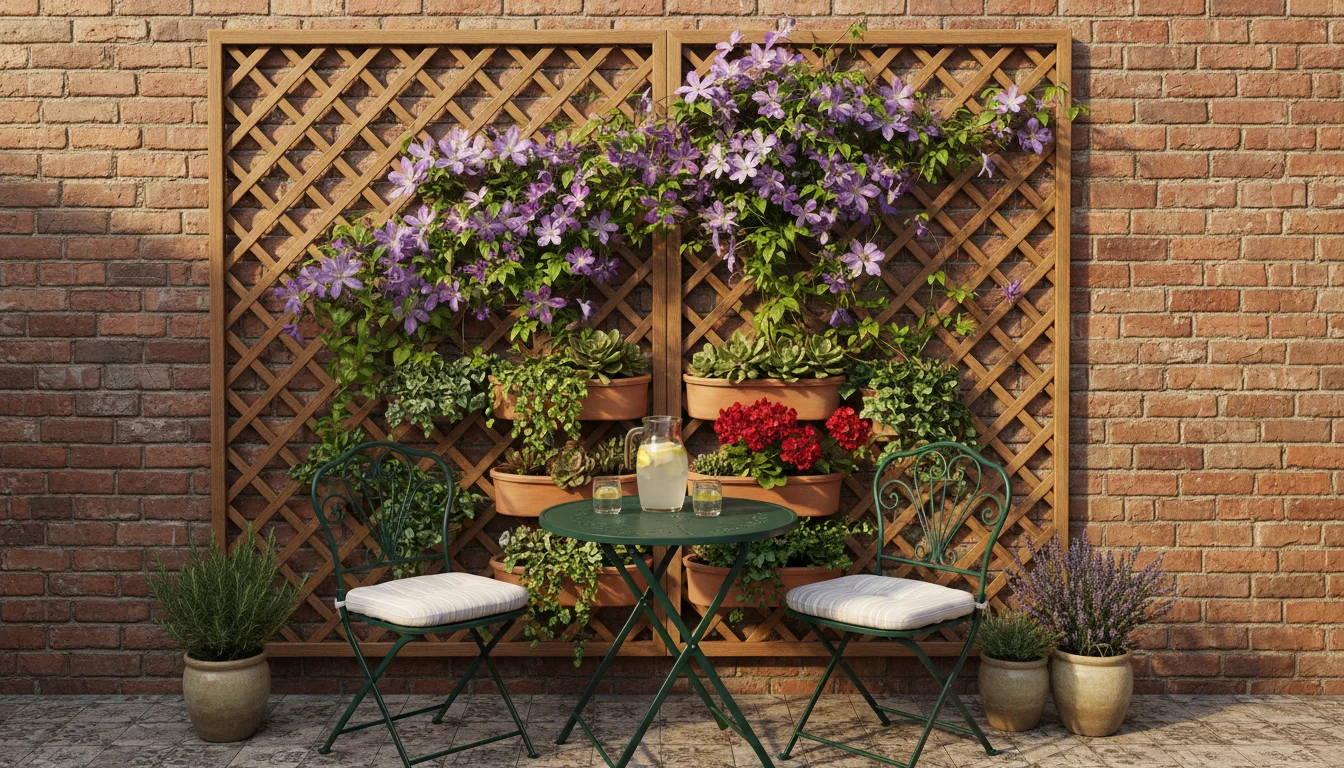
- Trellises: Attach a trellis to a wall or place one inside a larger pot. Grow climbing plants like clematis, morning glories, or even edible peas and beans. The trellis itself can be a design element, chosen to match your garden’s theme (e.g., ornate metal for traditional, simple wood for rustic). Ensure trellises are securely fastened to prevent tipping, especially in windy conditions.
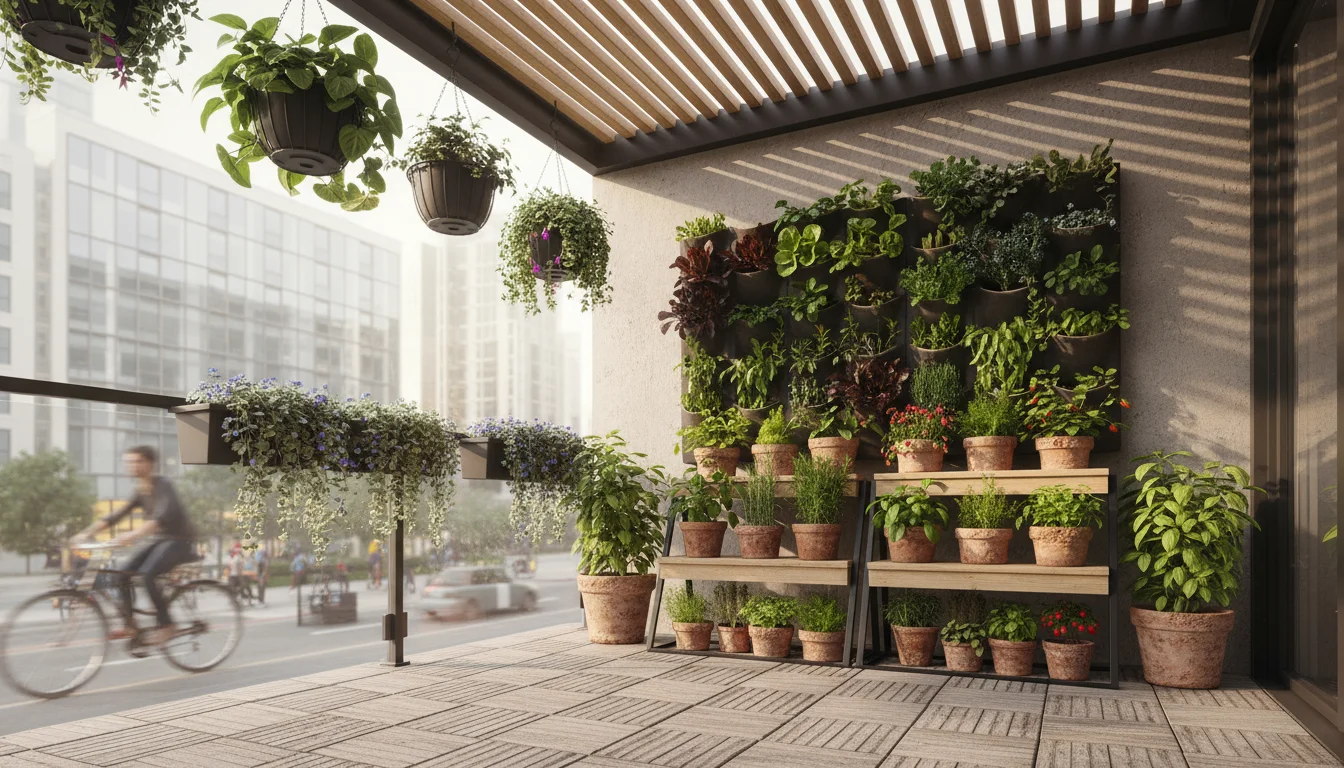
- Wall Planters: These come in various forms, from individual pockets to modular systems. Plant them with succulents, herbs, or small annuals. Wall planters transform a blank wall into a living work of art, freeing up floor space. Ensure the wall can support the weight of the planters when filled with wet soil and plants.
- Tiered Stands: A tiered plant stand holds multiple pots at varying heights within a compact footprint. This creates an instant vertical grouping and offers an excellent way to display a collection of smaller plants. Choose a stand material that matches or complements your pot palette for cohesion.
- Hanging Baskets: While common, carefully selected hanging baskets can add another layer of height. Choose baskets with a consistent liner material (e.g., coconut coir) and plant them with trailing varieties that cascade beautifully. Ensure hooks and supports can safely hold the weight of wet baskets.
Creating Height Transitions
When you combine vertical elements with your floor-level pots, aim for smooth height transitions. Avoid sudden jumps from very low to very high without anything in between. Imagine a gentle slope from your tallest wall planter down to your lowest floor pot. This creates a natural, flowing visual effect rather cable-stacked containers.
For example, a tall trellis with a climbing vine can be flanked at its base by a medium-height pot containing a bushy plant, which then leads to a lower, wider pot spilling over the edge. This layering effect adds depth and complexity, drawing the eye through your entire display. You might also use an inverted pot or a sturdy plant caddy to subtly elevate a medium-sized pot, bridging the gap between a ground-level planter and a higher tiered display.
Always consider the weight and stability of your vertical structures. A wall-mounted planter full of wet soil can be very heavy. Use appropriate fasteners for your wall type. For freestanding tiered stands, place heavier pots on the bottom to improve stability. If you live in a windy area, secure any tall structures or choose heavier pots for stability. Wind can easily topple lightweight pots and tall plants.
Maintenance by Design: Practical Choices for Lasting Beauty
A truly successful container garden is not just beautiful; it is also manageable. Integrating “maintenance by design” means making choices during the planning phase that reduce ongoing effort and ensure your garden remains vibrant with minimal fuss. This aligns perfectly with the Simple Garden Joy ethos of low-maintenance gardening and helps you sustain your coordinated garden design long-term.
Selecting Low-Upkeep Pots and Plants
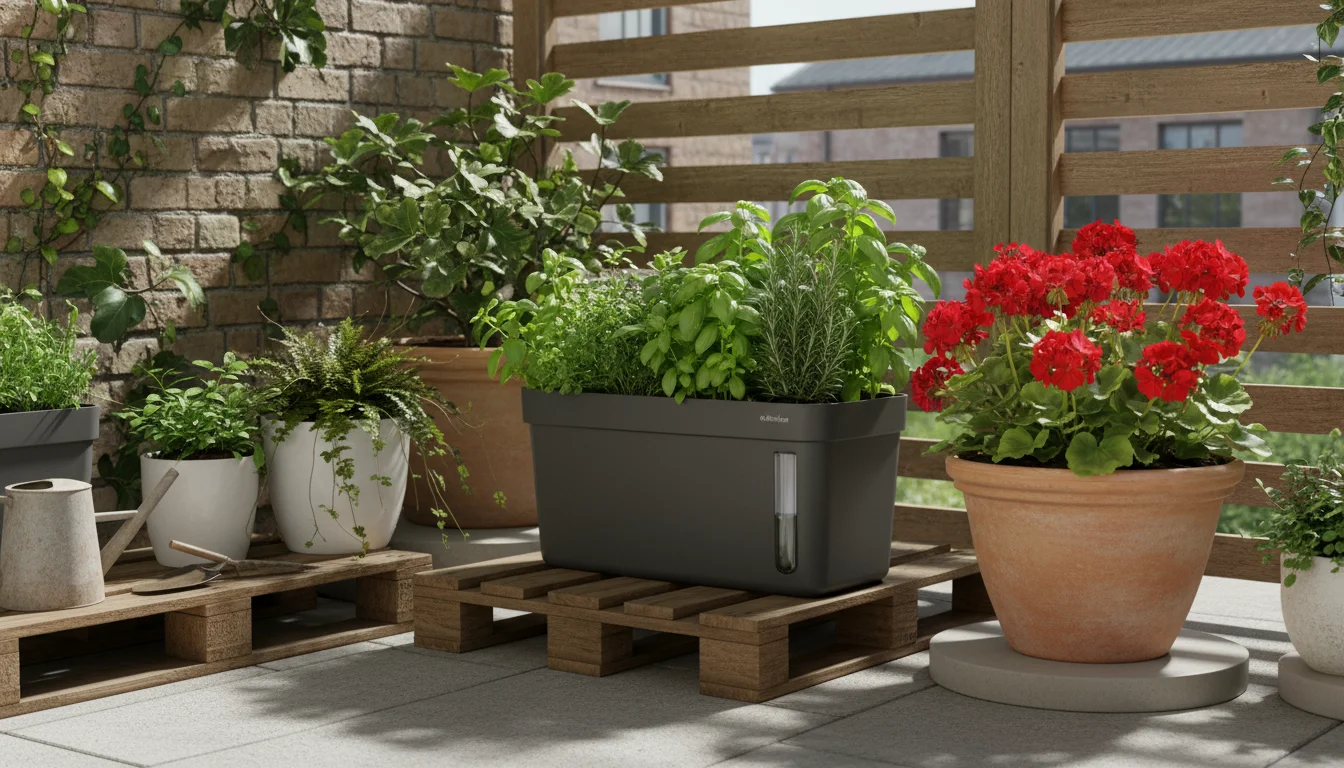
Your choice of containers directly impacts maintenance. Lightweight composite pots, for example, are easier to move for seasonal protection or redesign. Glazed ceramic or plastic pots retain moisture longer than unglazed terracotta, meaning less frequent watering, particularly in hot climates. If you opt for terracotta, ensure you are prepared for more frequent watering or consider using a cachepot (a decorative outer pot with the plant in a plain inner pot) to reduce moisture loss.
When choosing plants, prioritize those suited to your local climate and sun conditions. Drought-tolerant plants, like succulents, sedums, lavender, and many ornamental grasses, require less water. Opt for varieties known for disease resistance to minimize pest and disease management. Native plants are often an excellent choice as they are adapted to your region, typically requiring less water, fertilizer, and pest control once established. Pollinator-friendly plants like salvia, verbena, and coneflowers not only support local ecosystems but are also often robust and low-maintenance. They thrive in pots with proper drainage.
For example, instead of a high-maintenance rose, consider a dwarf rosemary bush for its fragrance, texture, and resilience. Replace thirsty annuals with a mix of perennial herbs (thyme, oregano) and succulents that require less attention and offer continuous interest. This mindful selection simplifies your gardening routine significantly.
Efficient Watering Systems and Potting Mix
Proper watering is perhaps the most critical maintenance task for container gardens. Designing for efficient irrigation saves you time and ensures your plants thrive. Consider these options:
- Self-Watering Pots: These pots have a reservoir at the bottom that wicks water up to the soil, extending the time between waterings. They are excellent for busy gardeners.
- Drip Irrigation: For larger container collections, a simple drip irrigation system connected to a timer can automate watering. This delivers water directly to the plant’s roots, minimizing waste.
- Watering Globes: While not fully automated, these decorative glass or plastic spheres release water slowly into the soil, providing a consistent moisture supply for several days.
- Right-Sized Pots: Smaller pots dry out faster than larger ones. Using larger pots for substantial plants reduces watering frequency, ensuring your mix garden pots remain hydrated.
The quality of your potting mix also plays a crucial role. Always use a high-quality, peat-free potting mix specifically designed for containers. Peat-free mixes are more environmentally sustainable and often retain moisture and nutrients effectively. Refreshing the top few inches of potting mix annually, or entirely repotting every 1-2 years, provides fresh nutrients and improves drainage. This simple practice revitalizes your plants without needing constant fertilization.
When preparing your containers, ensure every pot has adequate drainage holes. Placing a layer of broken pottery or landscape fabric over the drainage hole prevents soil from washing out while allowing water to escape freely. Stagnant water causes root rot, a common killer of container plants. For very large pots, wheeled bases or dollies make moving heavy containers much easier for cleaning, rearrangement, or protecting plants from frost. This simple foresight provides flexibility and reduces physical strain, making your coordinated garden design more adaptable and enjoyable.
Frequently Asked Questions
How many pots should I use in a small space?
Focus on quality over quantity. Instead of many tiny, disparate pots, use fewer, larger pots grouped intentionally. Aim for 3-7 substantial containers or groupings. This creates a fuller, more impactful display without cluttering your space. For instance, three well-chosen groupings of pots often look better than ten individual, scattered pots.
Can I mix different pot colors?
Yes, you absolutely can mix pot colors, but do so with intention for a cohesive look. Choose a dominant neutral color (e.g., grey, terracotta, black) for most of your pots, then introduce one or two accent colors. Alternatively, stick to a monochromatic palette of various shades of the same color, like light and dark greys, or different earthy tones. This creates variety while maintaining harmony.
What plants are best for low-maintenance container gardening?
Select plants that match your local climate and sun conditions. Succulents, sedums, ornamental grasses, herbs like rosemary and lavender, and many native perennials are excellent, low-maintenance choices. Look for plants known for drought tolerance and disease resistance. These will thrive with less frequent watering and care, ensuring your coordinated garden design remains beautiful without constant effort.
How do I make my container garden look bigger?
Use vertical space with trellises, wall planters, or tiered stands. Create cohesive groupings of pots with varied heights and sizes to add depth. Use a limited, harmonious color palette for both pots and plants to create a calm, unified feel that makes the space seem less busy. Additionally, choose larger pots over many small ones to create a sense of abundance and scale.
Leave a Reply