You love your houseplants, and you want them to thrive. Often, keeping your indoor plants healthy and vibrant in a compact living space requires a little seasonal adjustment. Understanding when and how to manage their environment ensures they receive the right nutrients and enough room to grow without demanding excessive effort from you. This comprehensive guide helps you master the essential practices of repotting plants and applying indoor plant fertilizer, turning seasonal houseplant care into a simple, rewarding routine.
For those living in smaller apartments, a winter survival guide for fussy ferns can be particularly helpful for managing delicate species in climate-controlled spaces.
This is especially useful for maintaining indoor trees for small homes, which often require more precise nutrient management.
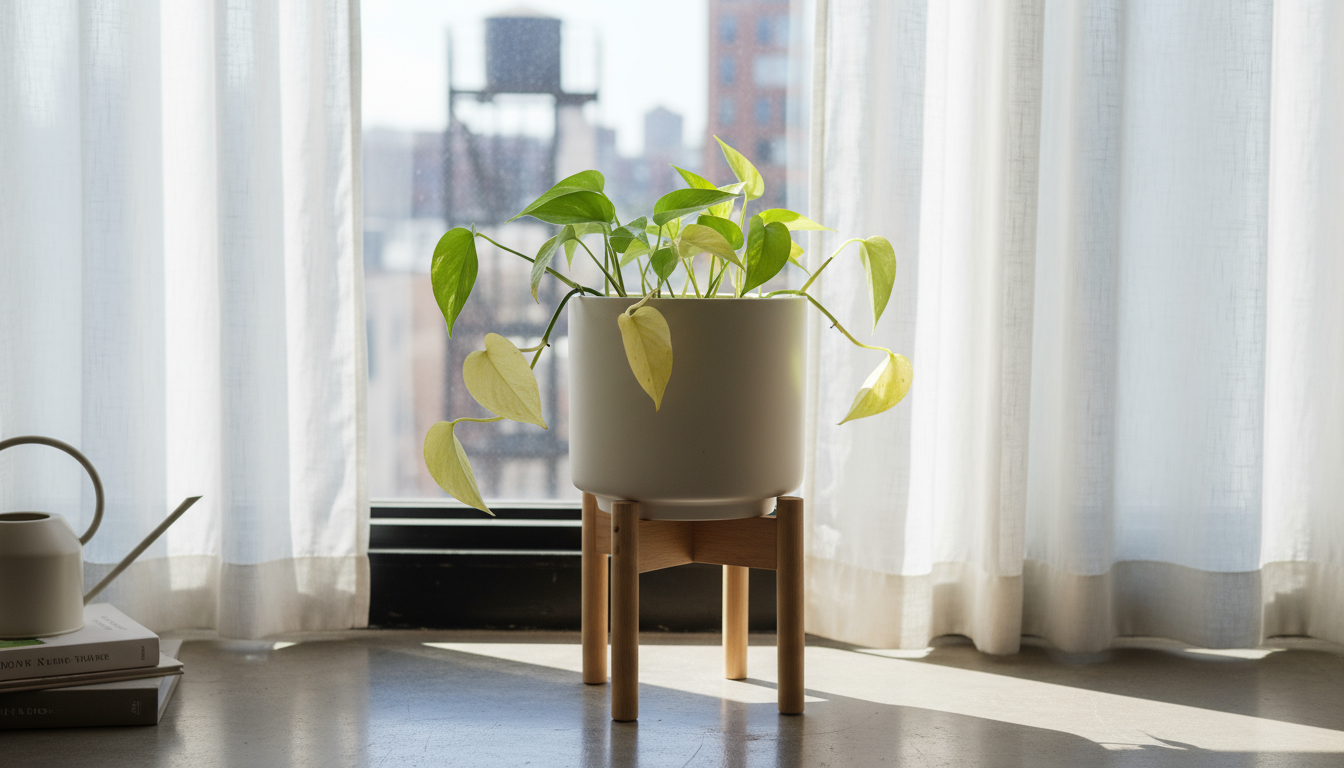
We focus on practical, actionable advice for apartment dwellers and those with limited space, ensuring your green companions remain happy and healthy year-round. You will learn to identify your plant’s needs, choose appropriate tools and mixes, and apply sustainable gardening practices that benefit both your plants and the planet.
Understanding Your Plant’s Seasonal Needs
Your houseplants, like all living organisms, respond to the changing seasons. Their growth cycles directly influence their requirements for water, light, nutrients, and space. During spring and summer, when days are longer and light intensity is higher, most plants enter an active growth phase. They produce new leaves, stems, and sometimes flowers. This period demands more resources from their environment. As autumn progresses into winter, light levels decrease, and many plants slow down, entering a period of dormancy or reduced activity. This seasonal shift is critical for effective seasonal houseplant care.
To ensure your collection survives the transition between seasons, performing a 5-point winter inspection can help you identify subtle signs of stress early.
Ignoring these natural rhythms leads to issues like stunted growth, nutrient deficiencies, or even plant death. For example, fertilizing a plant heavily during its winter dormancy provides unused nutrients that can build up as harmful salts in the soil, potentially burning roots. Repotting a plant when it is not actively growing stresses it unnecessarily, hindering its recovery. You become a more effective plant parent when you align your care routine with your plant’s natural life cycle, anticipating their needs before problems arise. This approach makes your plant care more efficient and your plants much happier.
Think of it as providing a balanced diet and comfortable living space. During active growth, your plant needs more food and room to expand. During rest, it needs less. You can provide these conditions with minimal effort by focusing on two key practices: timely repotting plants and strategic application of indoor plant fertilizer. These actions support robust health and longevity, especially vital for maintaining thriving plants in small indoor environments where resources are naturally limited.

When to Repot: Reading Your Plant’s Signals
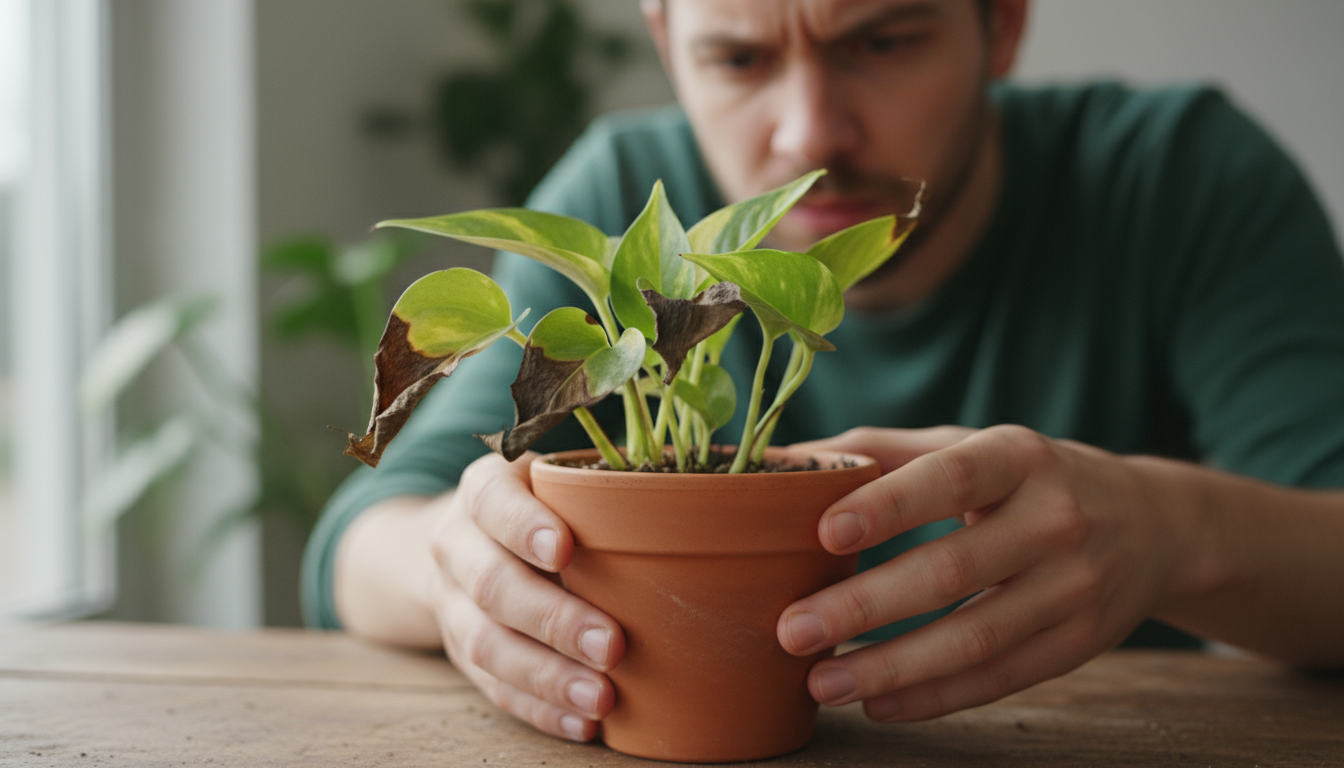
Repotting plants gives them fresh soil and more space, directly impacting their access to water and nutrients. You might think you need to repot every year, but many houseplants prefer to be slightly pot-bound. Knowing when to repot saves you time and reduces stress on your plants. Look for these clear signals from your plant, indicating it is time for a change:
If your plant is healthy but its container looks a bit worn, simple seasonal plant swaps can refresh your home’s aesthetic without the work of a full repot.
If you want to provide nutrients without the stress of moving the plant, consider a mid-winter soil refresh instead.
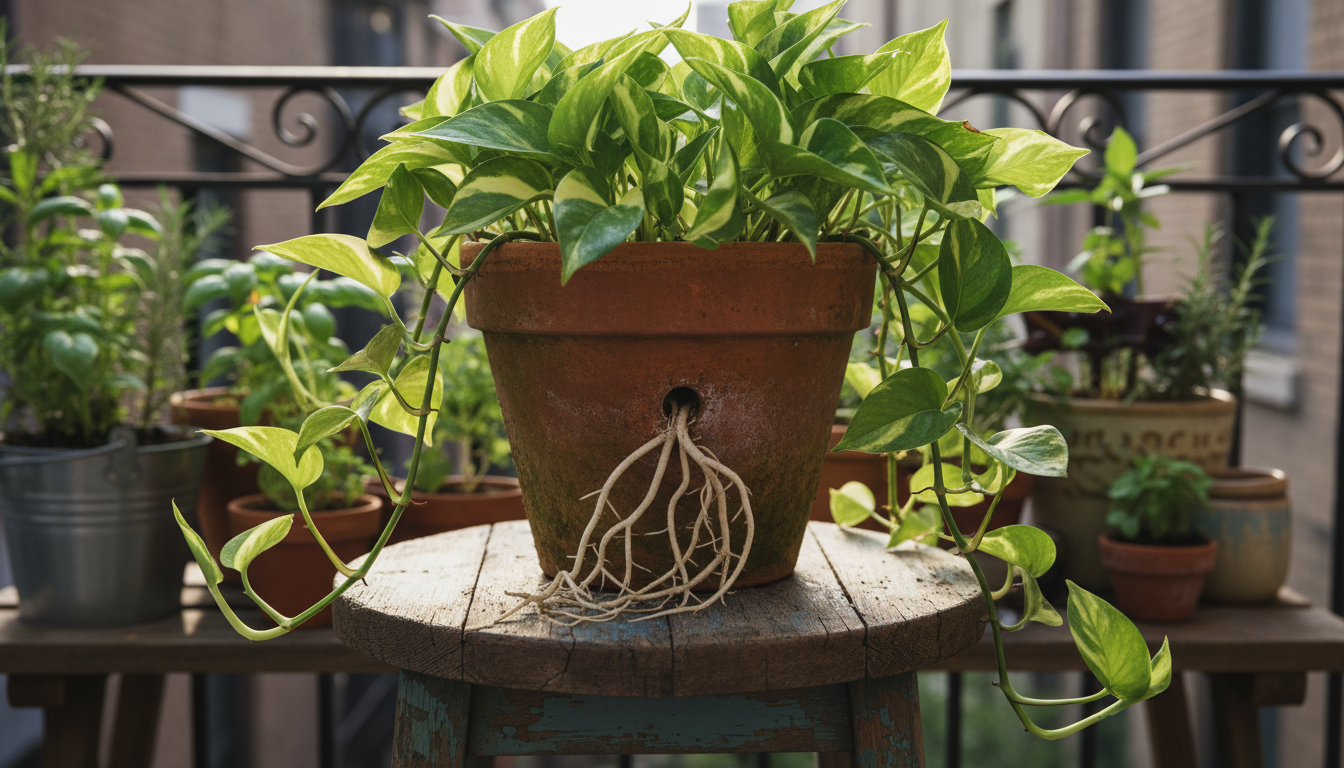
- Roots Emerging from Drainage Holes: This is the most obvious sign. If you see roots peeking out of the bottom of the pot, your plant has outgrown its current container.
- Stunted Growth: If your plant has not grown significantly in size or produced new leaves for a long time, even during its active growing season, it might lack space or nutrients.
- Water Draining Too Quickly or Sitting on Top: When water runs straight through the pot without soaking into the soil, or pools on the surface, it often means the soil is compacted or the pot is packed with roots, leaving no room for water absorption.
- Frequent Watering Requirements: If you find yourself watering your plant much more often than usual, it indicates the pot holds little soil relative to the root mass, drying out rapidly.
- Plant is Top-Heavy and Tipping Over: A disproportionately large plant for a small pot is a clear sign it needs a larger, more stable base.
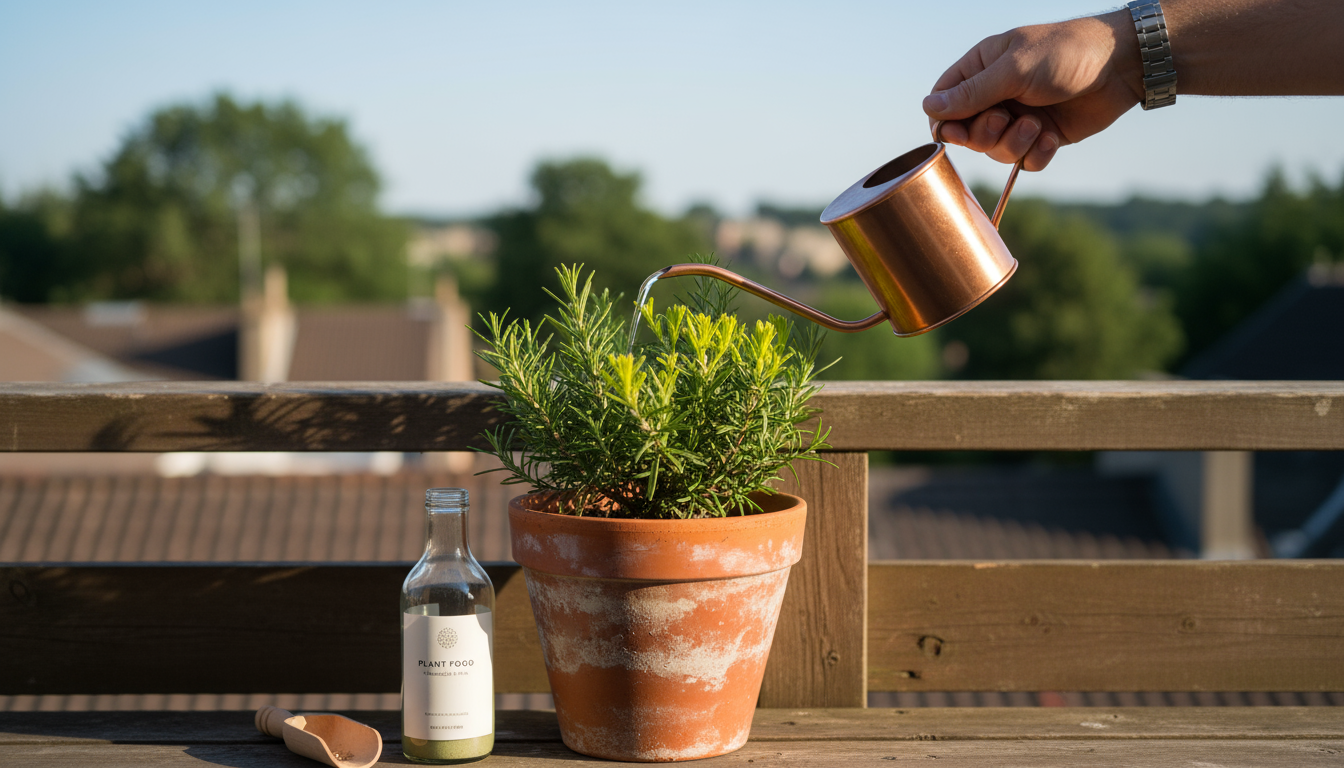
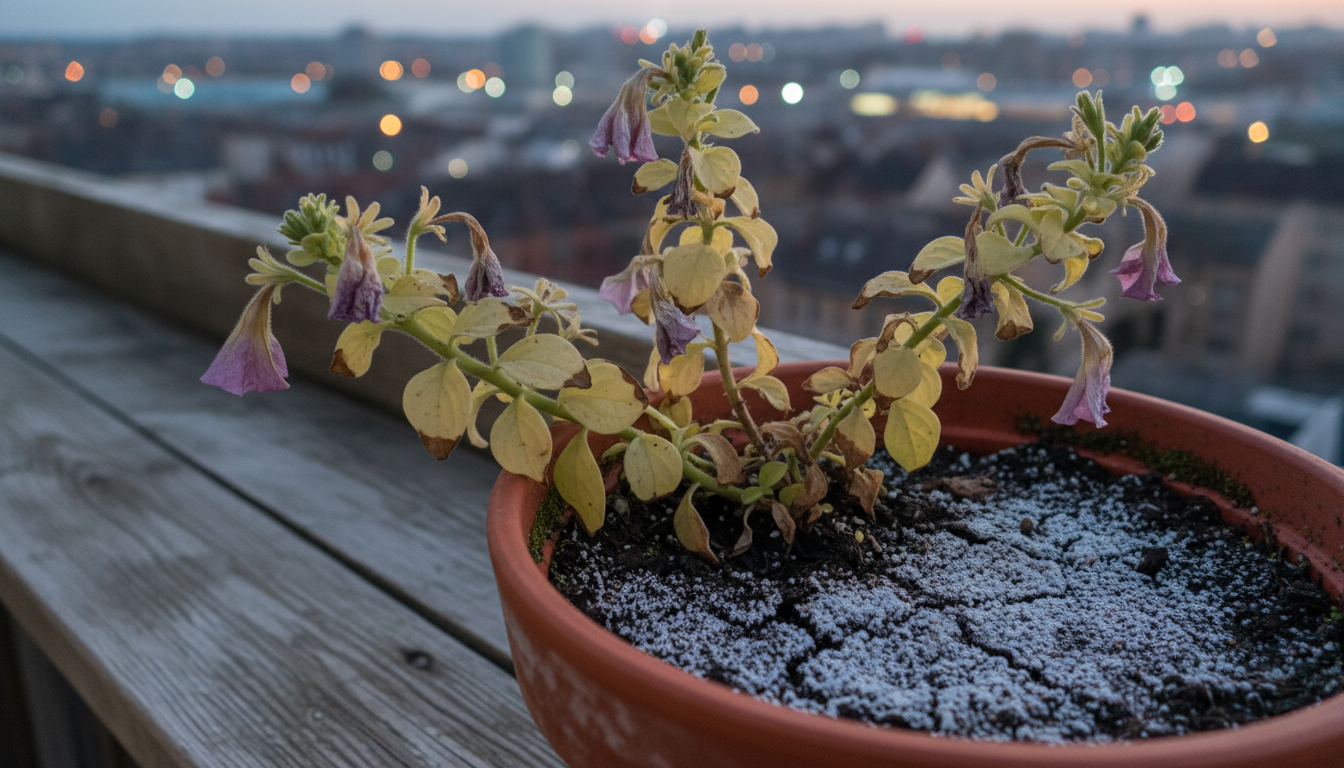
- Visible Salt Buildup: A white crust on the soil surface or pot rim suggests mineral accumulation, indicating old soil that needs replacing.
Seasonal Timing for Repotting
The ideal time for repotting plants is typically in spring or early summer. This aligns with most plants’ natural active growth period. During these months, increased light and warmth encourage vigorous growth, helping your plant quickly recover from the stress of repotting. It establishes new roots in its fresh soil and larger pot much faster. Repotting during fall or winter, when many plants are dormant, can shock them. They recover more slowly, potentially leading to decline.
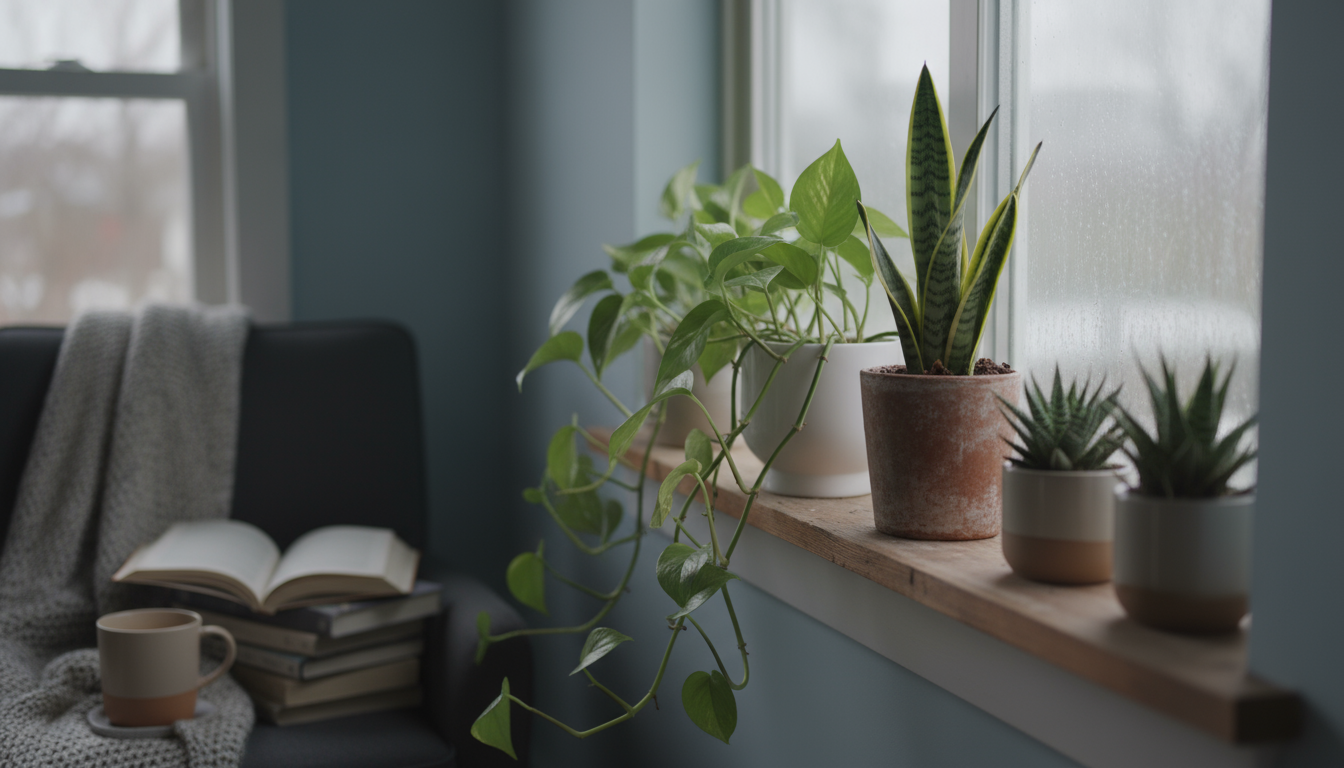
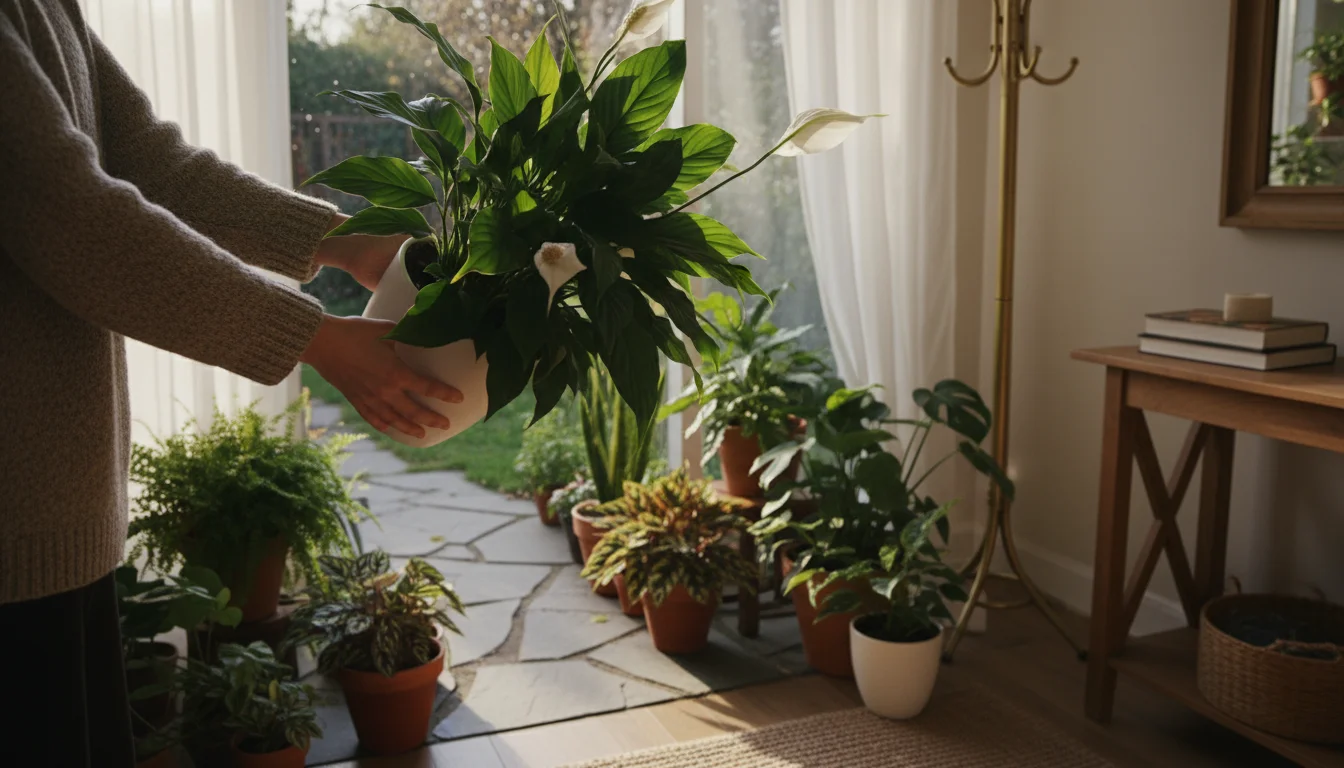
You do not need to repot every plant every year. Fast-growing plants, like many philodendrons or pothos, may need repotting annually. Slower-growing plants, such as ZZ plants or snake plants, thrive for several years in the same pot. Always prioritize your plant’s signals over a strict calendar schedule. Some plants, like Peace Lilies, actually bloom better when slightly root-bound, so consider the specific needs of your plant variety.
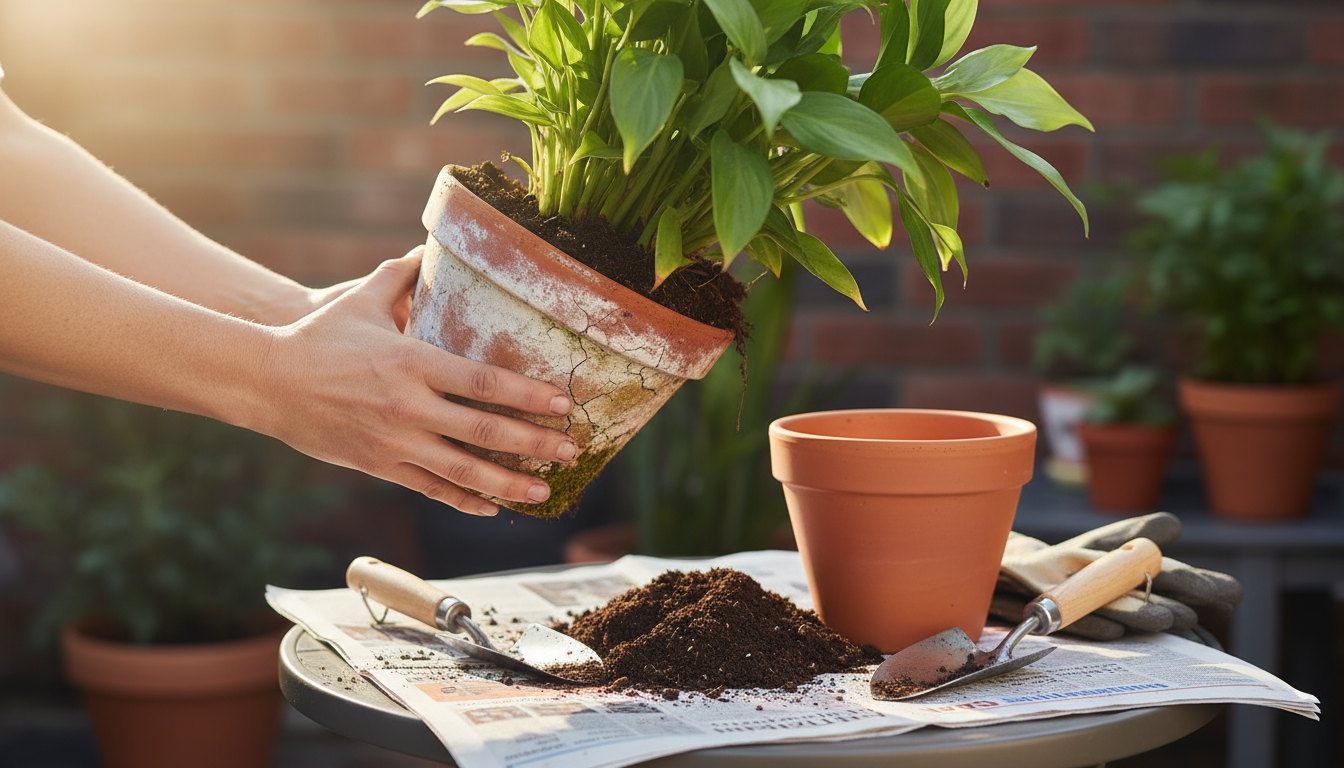
The Art of Repotting: Step-by-Step Guide
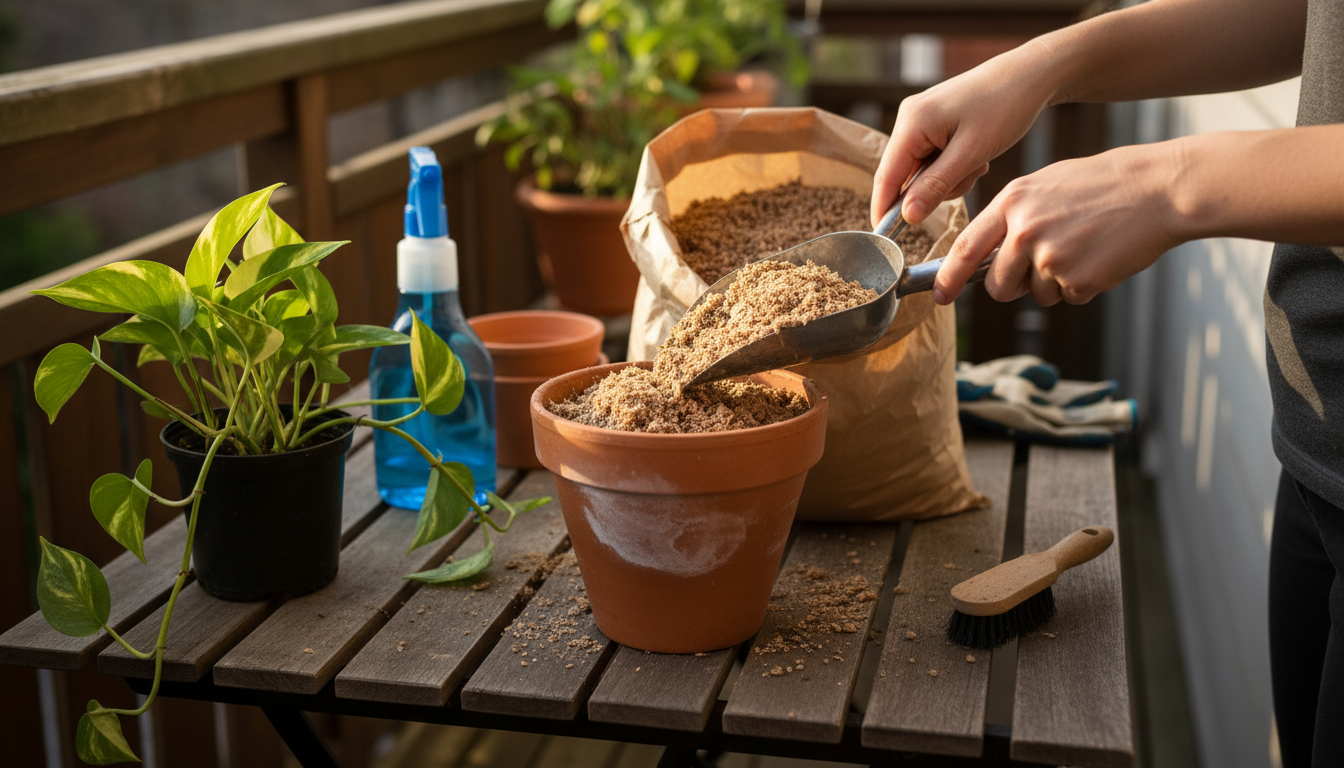
Repotting plants seems daunting, but it is a straightforward process when you know the steps. With a little preparation and gentle handling, you give your plant a new lease on life. You need a new pot (one size up), fresh potting mix, and a trowel or scoop.
To keep your living area clean, assembling a ‘no-mess’ indoor gardener’s toolkit is a great first step before you begin.
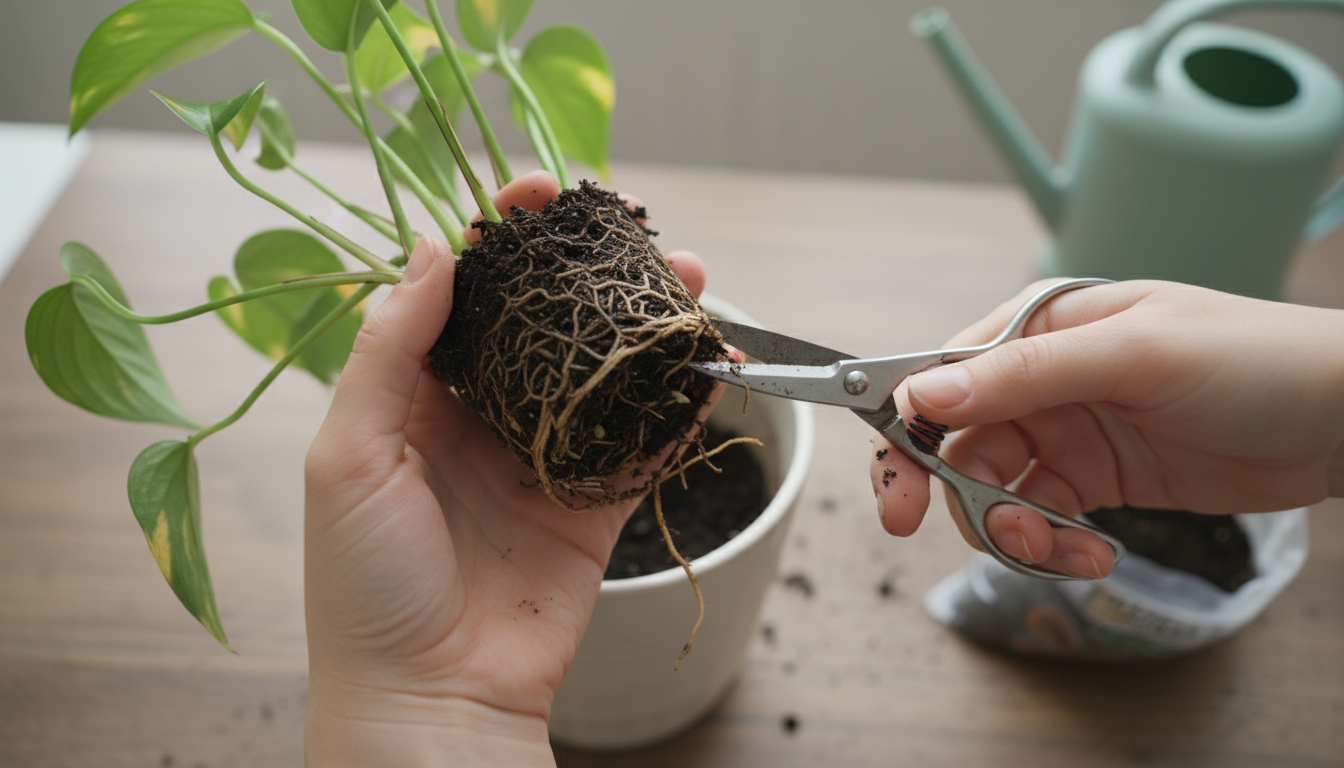
- Prepare Your Workspace: Lay down newspaper or a tarp to catch spilled soil. Gather your new pot, fresh potting mix, and any tools like pruners for root trimming.
- Water Your Plant: Water your plant thoroughly a day or two before repotting. Moist soil makes it easier to remove the plant from its old pot and reduces transplant shock.
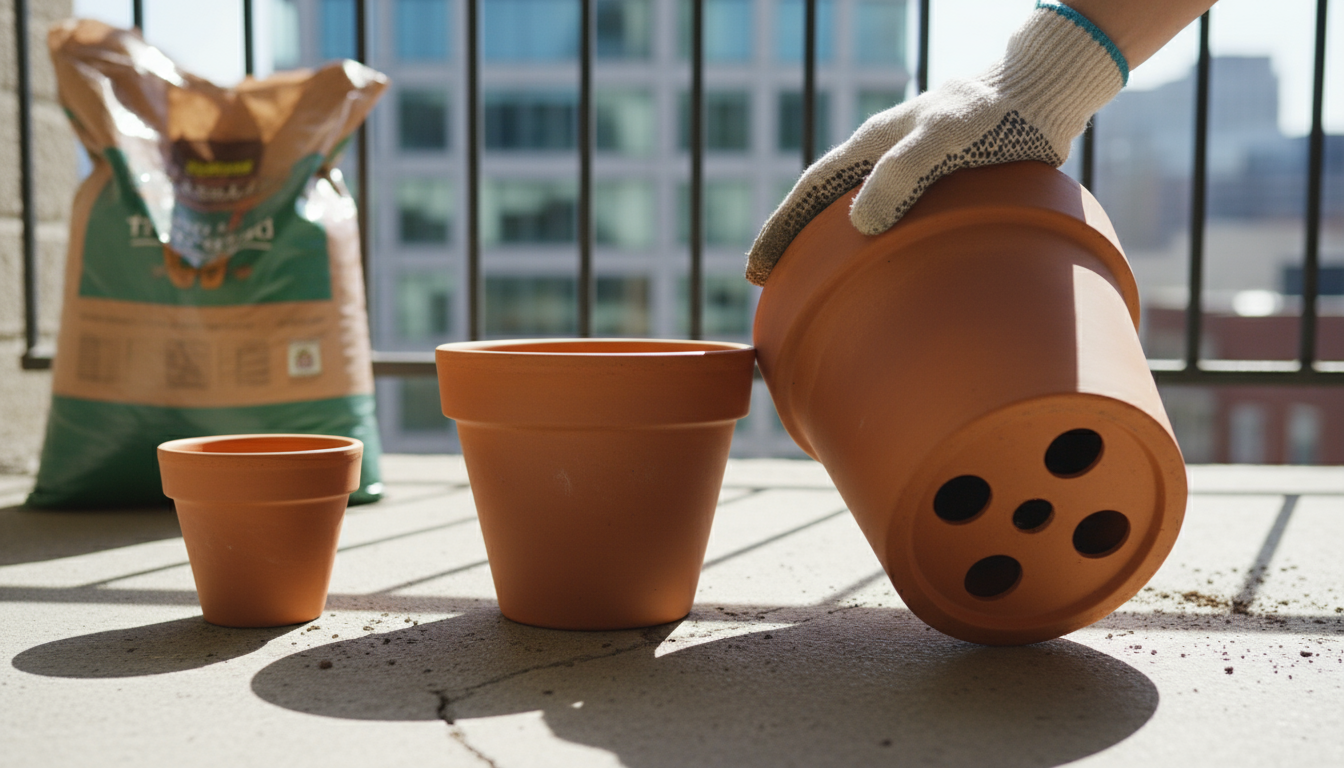
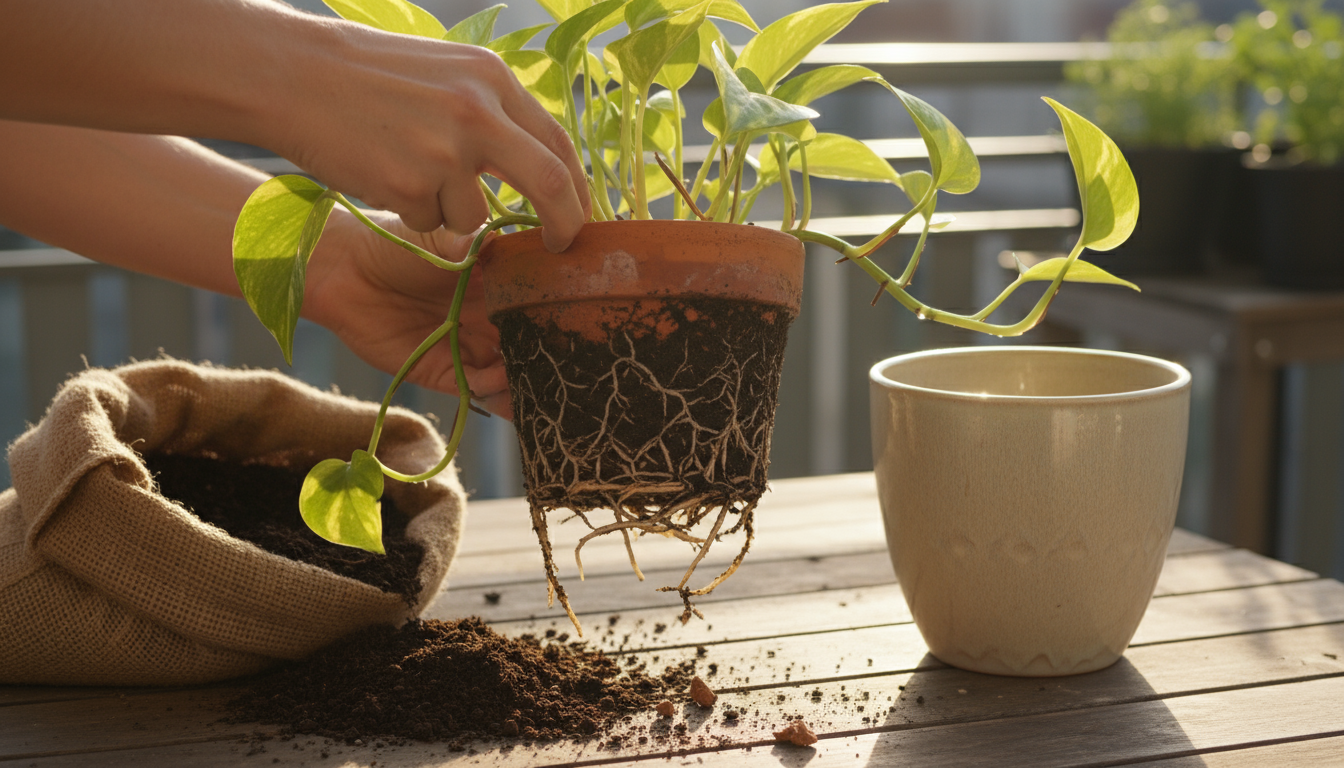
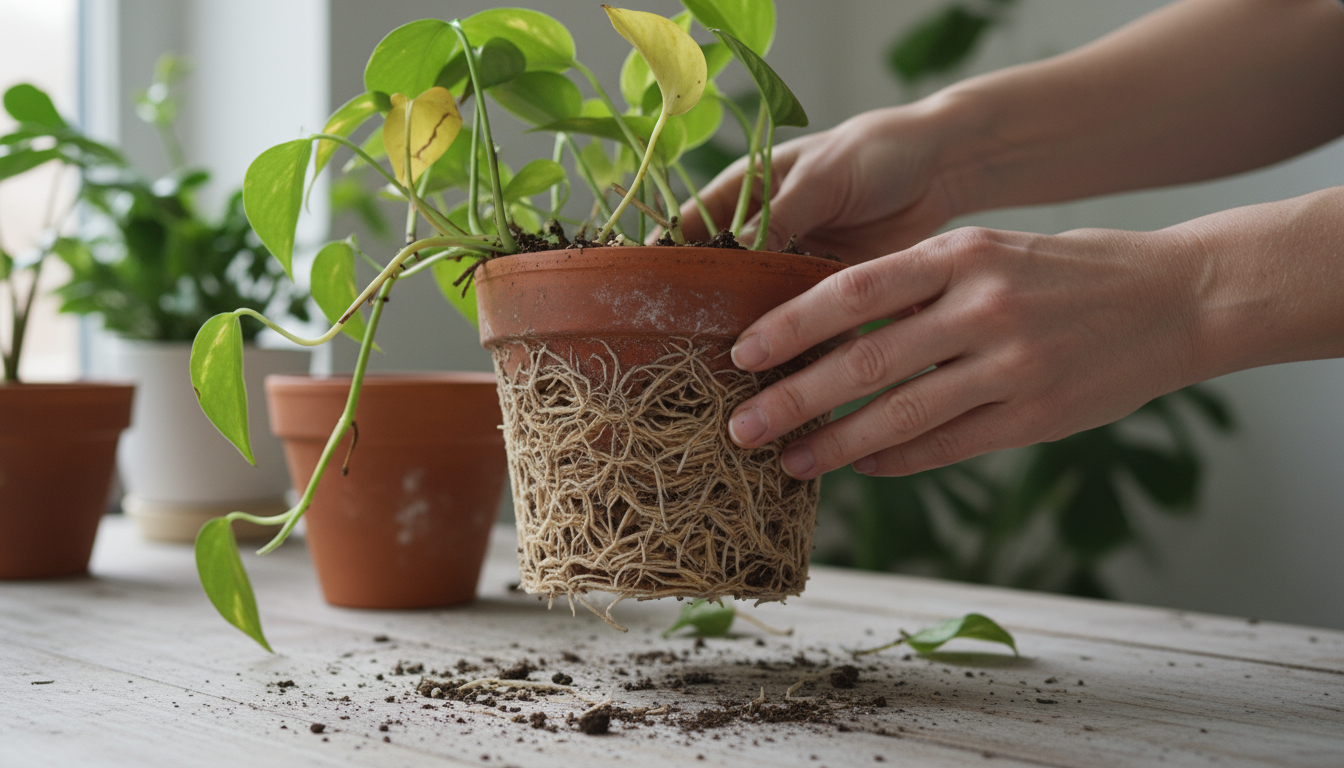
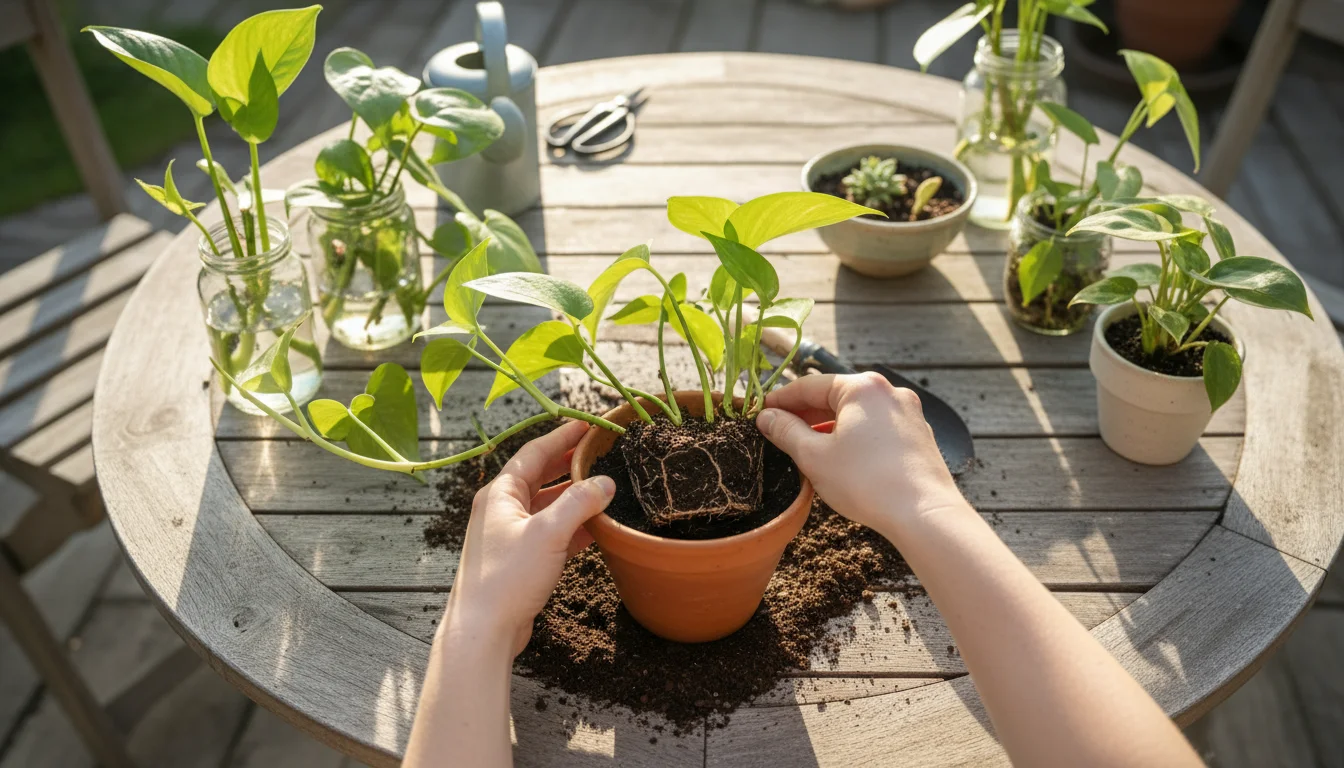
- Remove the Plant from its Old Pot: Gently tip the pot on its side, or even upside down, while supporting the plant’s base with your hand. Tap the pot’s bottom or sides to loosen the root ball. You might need to gently pull on the plant at the base, but avoid pulling on stems or leaves. If the plant is stubborn, run a knife around the inside edge of the pot.
- Inspect and Loosen Roots: Once out of the pot, examine the root ball. If roots are tightly circling the pot’s shape, gently tease them apart with your fingers. This encourages them to grow outwards into the new soil. You can also trim any dead, mushy, or excessively long roots. Aim to remove about 1/4 of the root mass if severely root-bound, but avoid excessive cutting.
- Add Fresh Soil to the New Pot: Place a layer of fresh potting mix at the bottom of the new pot. Ensure it is deep enough so that when your plant rests on it, the top of its root ball sits about 1 inch below the rim of the new pot. This provides space for watering.
- Position the Plant: Center your plant in the new pot. Add more potting mix around the sides, gently pressing down to remove large air pockets. Ensure the soil level remains consistent with its previous depth; burying the stem too deeply can lead to rot.
- Water Thoroughly: Water your newly repotted plant immediately. This helps settle the soil around the roots and eliminates any remaining air pockets. Allow the water to drain completely.
- Post-Repotting Care: Place your plant in a location with bright, indirect light and avoid fertilizing for about 4-6 weeks. This gives the roots time to settle and recover. Your plant needs time to adjust to its new environment.
The entire repotting process usually takes less than an hour, and the benefits for your plant’s health and vigor are well worth the effort. You provide crucial space for root expansion and replenish vital nutrients, setting the stage for continued growth.
Choosing the Right Pot and Potting Mix
The pot and the soil you use are fundamental to your plant’s health. They dictate water retention, aeration, and nutrient availability. Making smart choices here reduces common issues like root rot and nutrient deficiencies.
Keep in mind that specialty plants, such as potted lemon and lime trees, often have very specific drainage and aeration needs compared to standard foliage plants.
Choosing the correct vessel is a foundational skill for container gardening in small spaces and ensures long-term plant health.
Selecting the Right Pot
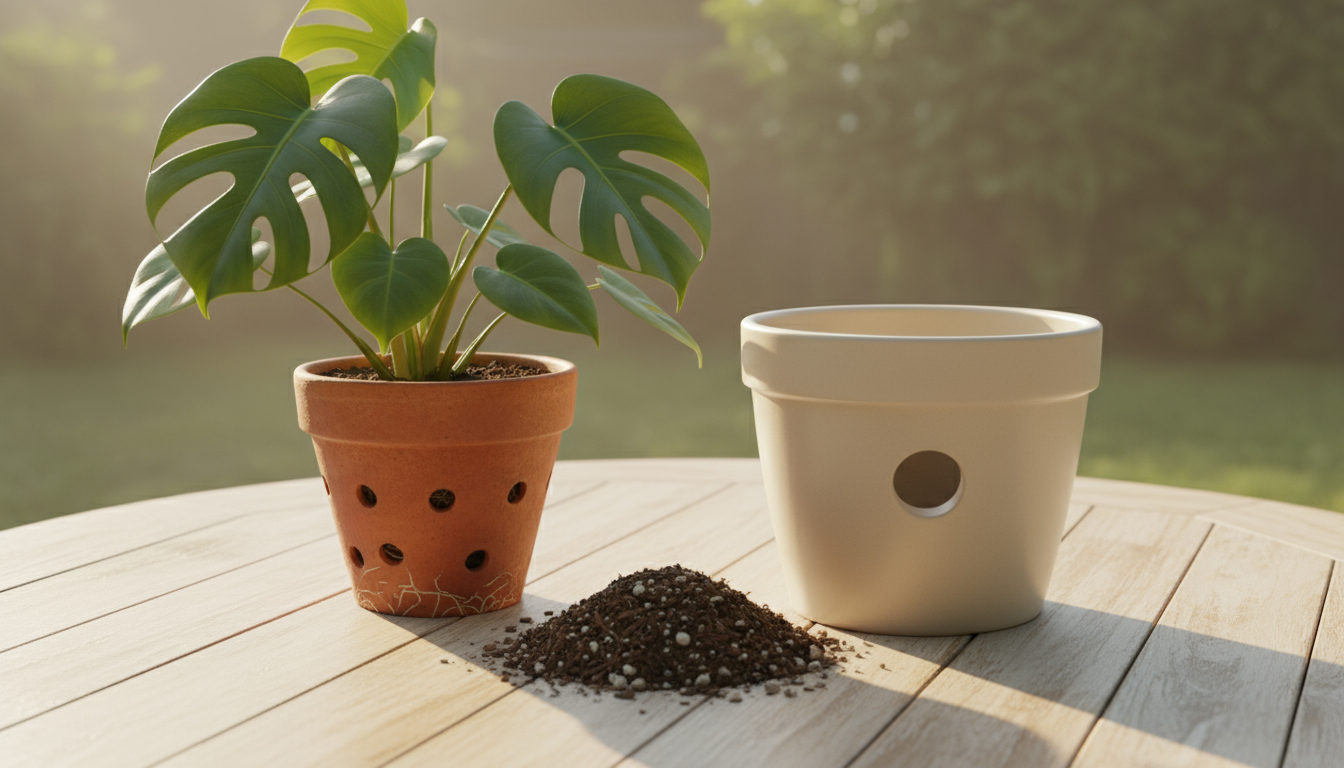
- Size Matters: When repotting plants, choose a pot only one size larger than the current one. If your plant is in a 6-inch pot, move it to an 8-inch pot. Moving to a much larger pot causes the soil to retain too much moisture, increasing the risk of root rot. Most roots prefer a snug fit.
- Drainage Holes Are Non-Negotiable: Every pot must have drainage holes. Without them, water collects at the bottom, suffocating roots and leading to root rot. If you love a decorative pot without drainage, use it as a cachepot, a decorative cover, and place your plant in a nursery pot with drainage inside. Remove the plant for watering, allowing excess water to drain before returning it to the cachepot.
- Pot Material:
- Plastic Pots: These retain moisture longer, making them ideal for plants that prefer consistently moist soil or for busy plant parents who water less frequently. They are lightweight and affordable.
- Terracotta Pots: Porous terracotta allows air and moisture to pass through, promoting faster drying. This makes them excellent for plants that prefer drier conditions, like cacti and succulents, or for those prone to root rot. You will need to water more frequently in terracotta.
- Ceramic/Glazed Pots: These are less porous than terracotta but more decorative. They retain moisture similarly to plastic pots.
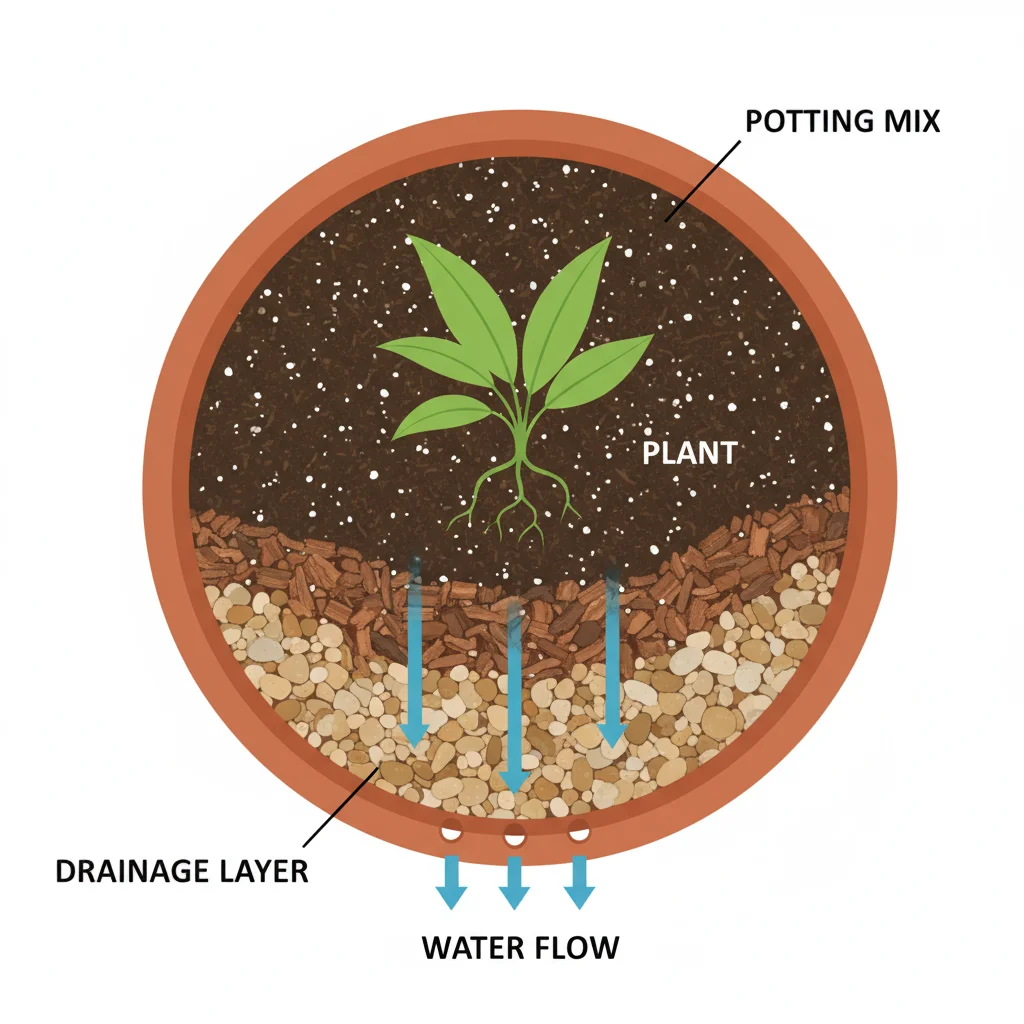
- Avoid Drainage Layers: The myth of adding gravel or pot shards to the bottom of pots for better drainage is false. This practice actually creates a “perched water table,” where water accumulates just above the drainage layer, exacerbating root rot issues. Always place soil directly over the drainage holes.
Choosing the Best Potting Mix
The right potting mix provides essential support, aeration, drainage, and nutrients. Avoid using garden soil for houseplants; it compacts too easily and often contains pests or diseases. Look for a mix specifically formulated for indoor plants.
- Peat-Free Mixes: You can choose environmentally conscious options by selecting peat-free potting mixes. Peat harvesting degrades natural peat bogs, which are vital carbon sinks and ecosystems. Many excellent peat-free alternatives are available, often using coco coir, composted wood fibers, rice hulls, or compost. You contribute to environmental preservation by choosing peat-free options.
- Well-Draining: A good potting mix feels light and airy. It drains water quickly while retaining enough moisture for roots. Ingredients like perlite, pumice, or coarse sand improve drainage and aeration.
- Nutrient-Rich: Some potting mixes include slow-release indoor plant fertilizer or compost to give your plants a head start. These are excellent for initial nutrient supply.
- Customization: You can amend standard potting mixes to suit specific plant needs:
- For succulents and cacti: Add extra perlite, pumice, or coarse sand for very sharp drainage.
- For aroids (like Monstera, Philodendron, Pothos): Mix in orchid bark, coco coir, and perlite to create a chunky, airy, and well-draining substrate.
- For moisture-loving plants: Incorporate a bit more coco coir or compost to boost water retention slightly, without making it waterlogged.
Investing in a high-quality, appropriate potting mix is one of the best ways you can support your plant’s long-term health. It forms the foundation for strong roots and vibrant growth.
The Science of Fertilizing: Fueling Growth
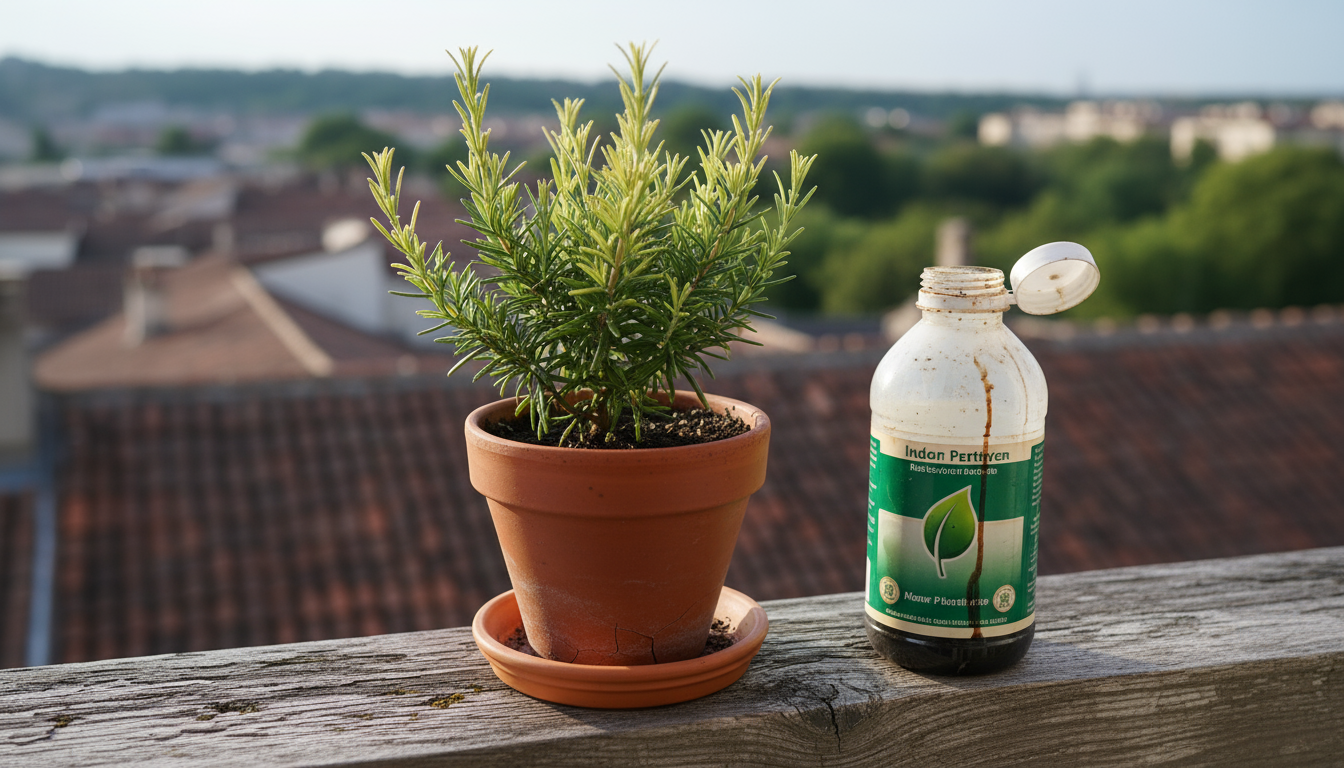
Just like you need a balanced diet, your plants need specific nutrients to grow and thrive. While fresh potting mix provides some initial nutrients, these deplete over time, especially during active growth periods. This is where indoor plant fertilizer becomes essential. Fertilizing replenishes these vital elements, ensuring your plant has the fuel it needs for healthy leaves, strong stems, and vibrant blooms.
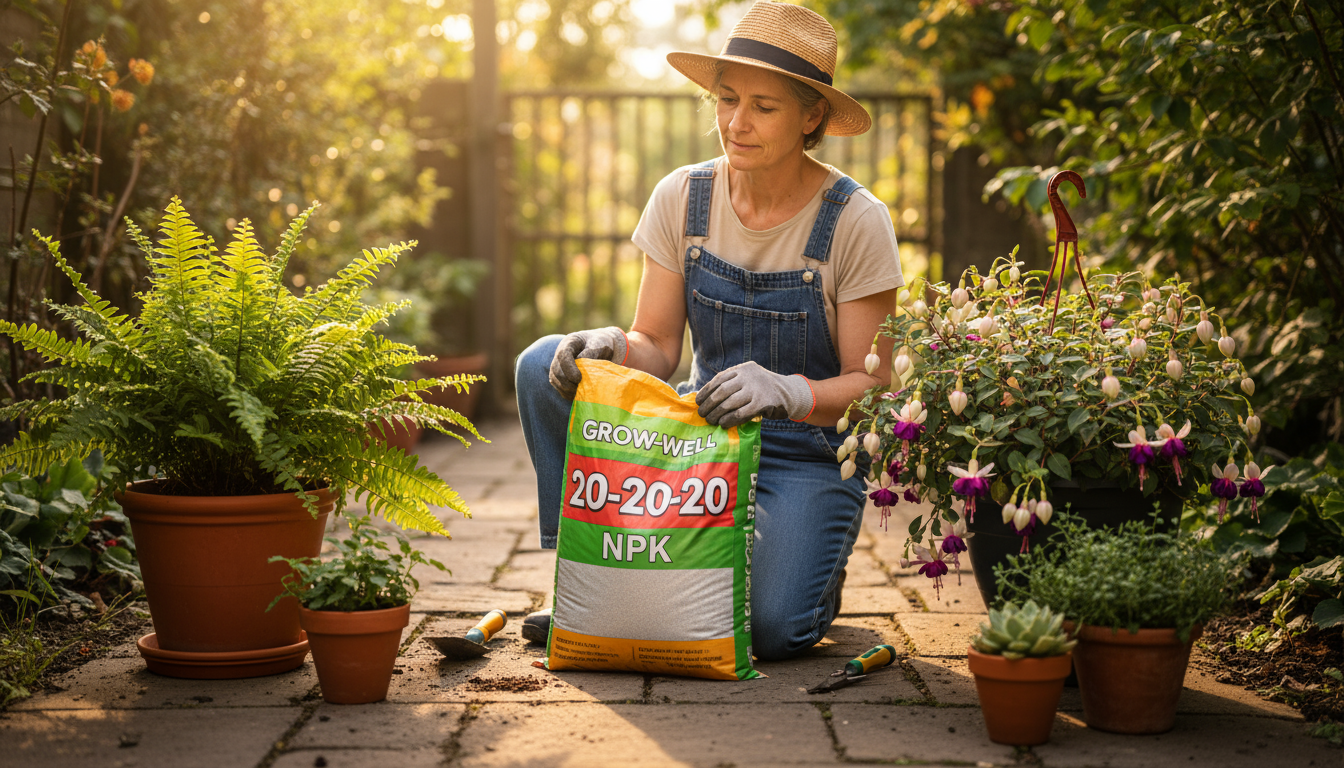
Understanding NPK: The Core Nutrients
You often see three numbers on fertilizer labels, like 10-10-10 or 2-1-2. These represent the NPK ratio, standing for Nitrogen (N), Phosphorus (P), and Potassium (K) – the three macronutrients plants require in the largest quantities:
- Nitrogen (N): Promotes lush, green foliage growth. High nitrogen fertilizers are excellent for leafy plants like ferns, pothos, and philodendrons.
- Phosphorus (P): Supports root development, flowering, and fruiting. Good for flowering plants or those establishing strong root systems.
- Potassium (K): Enhances overall plant health, disease resistance, and water regulation. Essential for general vigor.
Different plants have different NPK needs. A balanced fertilizer, for example 10-10-10, works well for most houseplants. For specific plants, you might choose a fertilizer with a higher ratio of one nutrient; for example, a “bloom” fertilizer might have a higher “P” number.
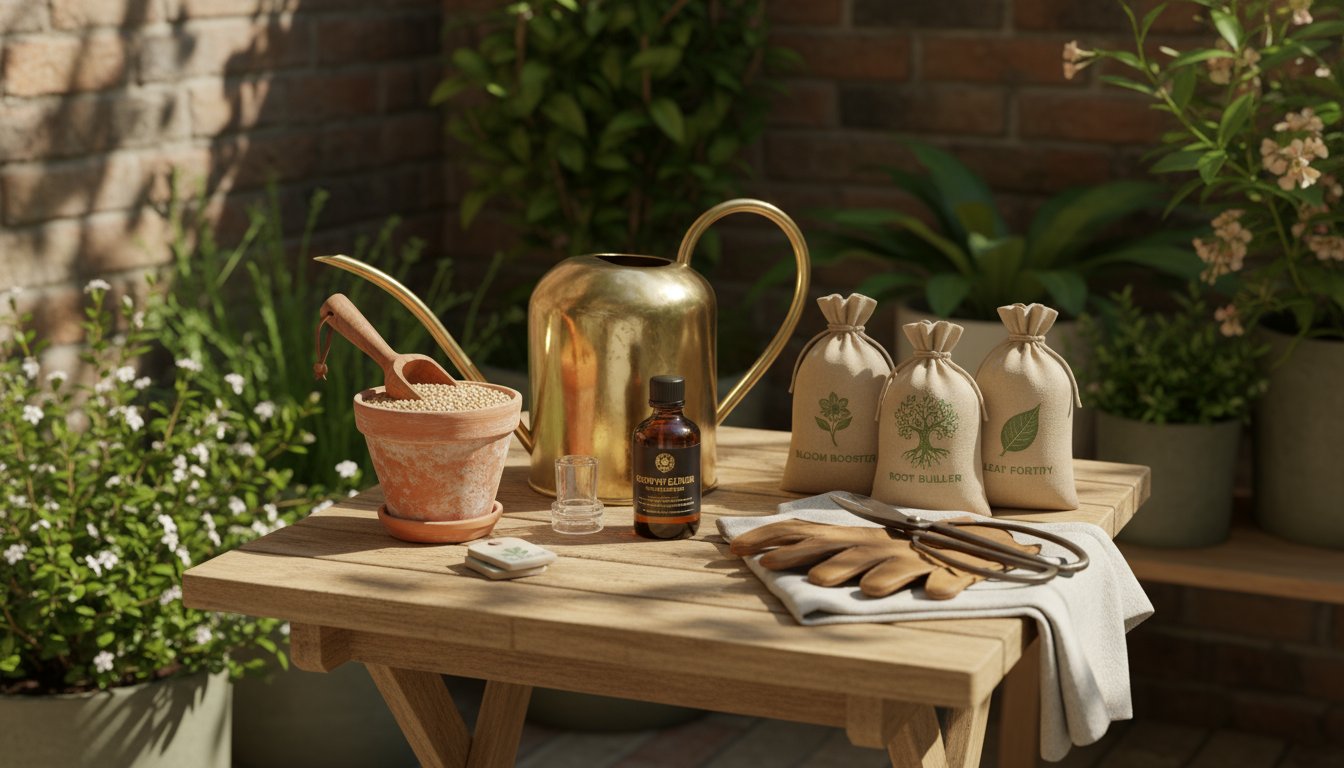
Types of Indoor Plant Fertilizer
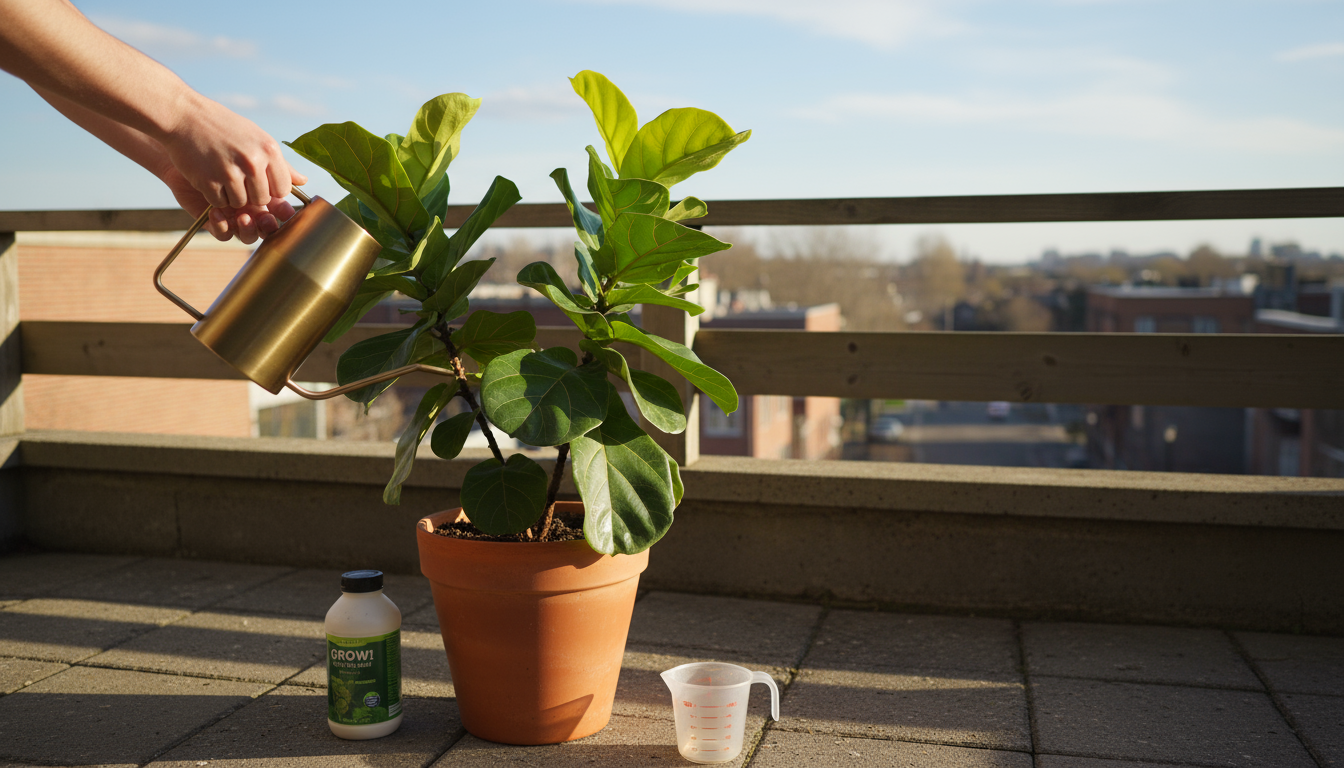
- Liquid Fertilizers: These are diluted in water and applied during regular watering. They offer immediate nutrient availability and allow you precise control over dosage. You easily adjust the concentration based on your plant’s needs and the season.
- Slow-Release Granules: These are mixed into the potting mix or sprinkled on top. They release nutrients gradually over several months, reducing the frequency of application. This is a convenient option for busy individuals.
- Organic Fertilizers: Options like worm castings, compost tea, or fish emulsion provide nutrients more slowly as microbes break them down. They also improve soil structure and microbial activity. These are excellent for sustainable houseplant care.
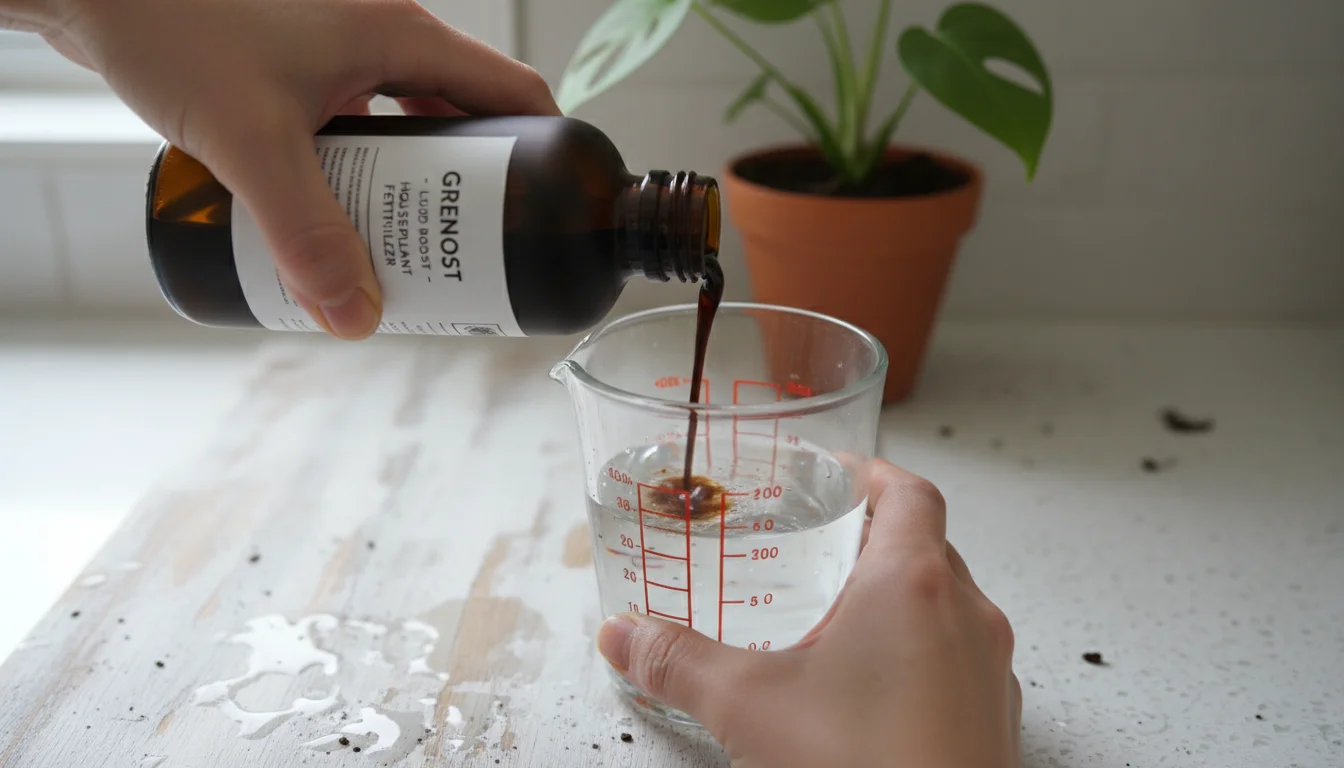
The Importance of Dilution
You must always dilute liquid indoor plant fertilizer, often to half or even quarter strength, especially for houseplants. Commercial fertilizers are typically formulated for outdoor gardens and are too concentrated for the enclosed environment of a pot. Over-fertilizing causes nutrient burn, manifesting as crispy, brown leaf tips and margins. It also leads to a buildup of salts in the soil, which damages roots. When in doubt, under-fertilize; it is easier to add more later than to fix an over-fertilized plant.
Remember, fertilizer is not plant food; it is a vitamin supplement. Plants produce their own food through photosynthesis, using light. Fertilizer provides the raw materials. Therefore, adequate light is always more important than heavy fertilization.
Your Seasonal Fertilizing Calendar
Adapting your indoor plant fertilizer routine to the seasons is a cornerstone of effective seasonal houseplant care. This approach supports your plants during their active growth and prevents issues during dormancy.
Spring (March, April, May)
Action: Begin Fertilizing Regularly.
As days lengthen and temperatures rise, your plants awaken from their winter slowdown. You will see new growth emerging. This is the ideal time to start a consistent fertilizing regimen. Begin with a diluted liquid fertilizer, half strength is often sufficient, every 2-4 weeks. For plants recently repotted with fresh, nutrient-rich soil, you can delay the first fertilization for 4-6 weeks to avoid overfeeding. Many people find a balanced liquid fertilizer, like a 5-5-5 or 10-10-10, works well for most houseplants during this period.
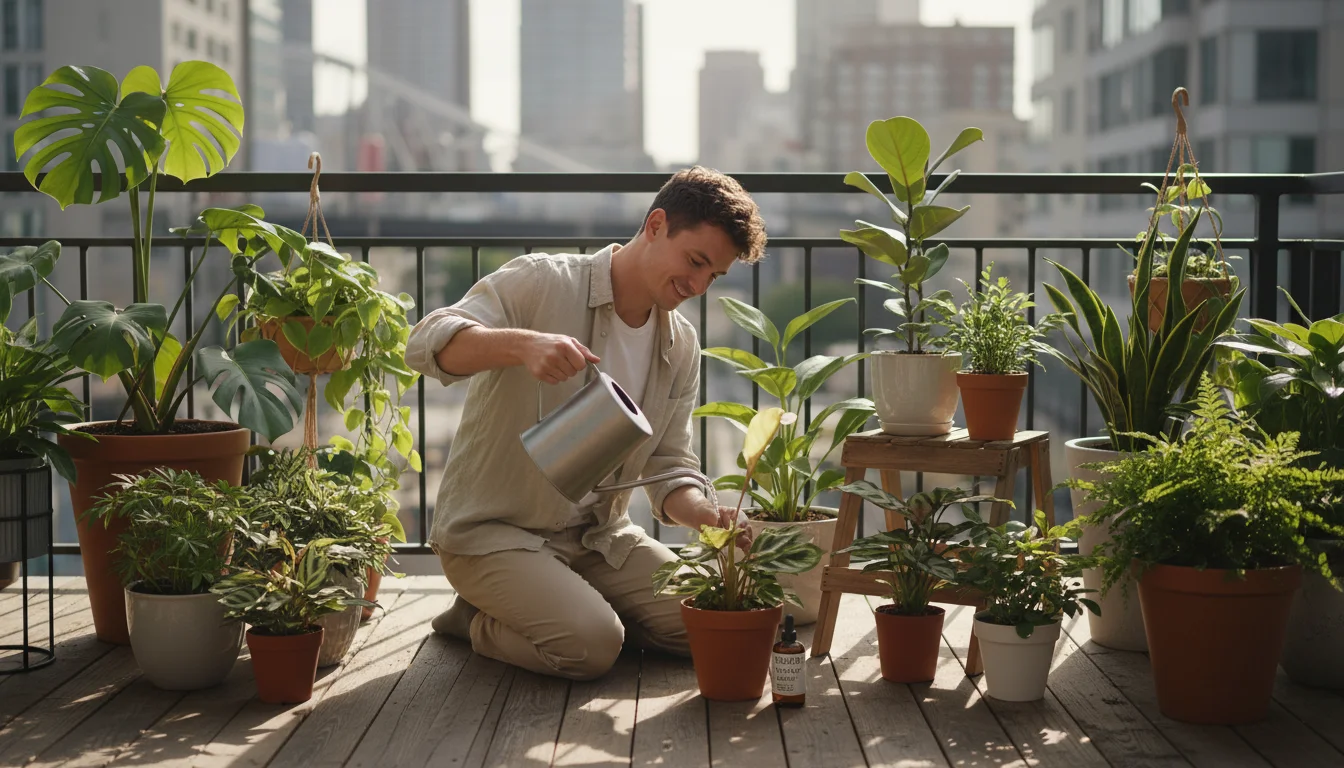
Summer (June, July, August)
Action: Continue Consistent Fertilizing.
Your plants are in their peak growth phase during summer. Continue to fertilize regularly, every 2-4 weeks, using a diluted liquid indoor plant fertilizer. Observe your plant’s response; if you see very rapid, healthy growth, you are on the right track. If leaves look pale, consider increasing frequency slightly or moving to a full-strength dilution for a few cycles, always observing for signs of nutrient burn. Ensure your plants receive adequate light and water to utilize these nutrients effectively.
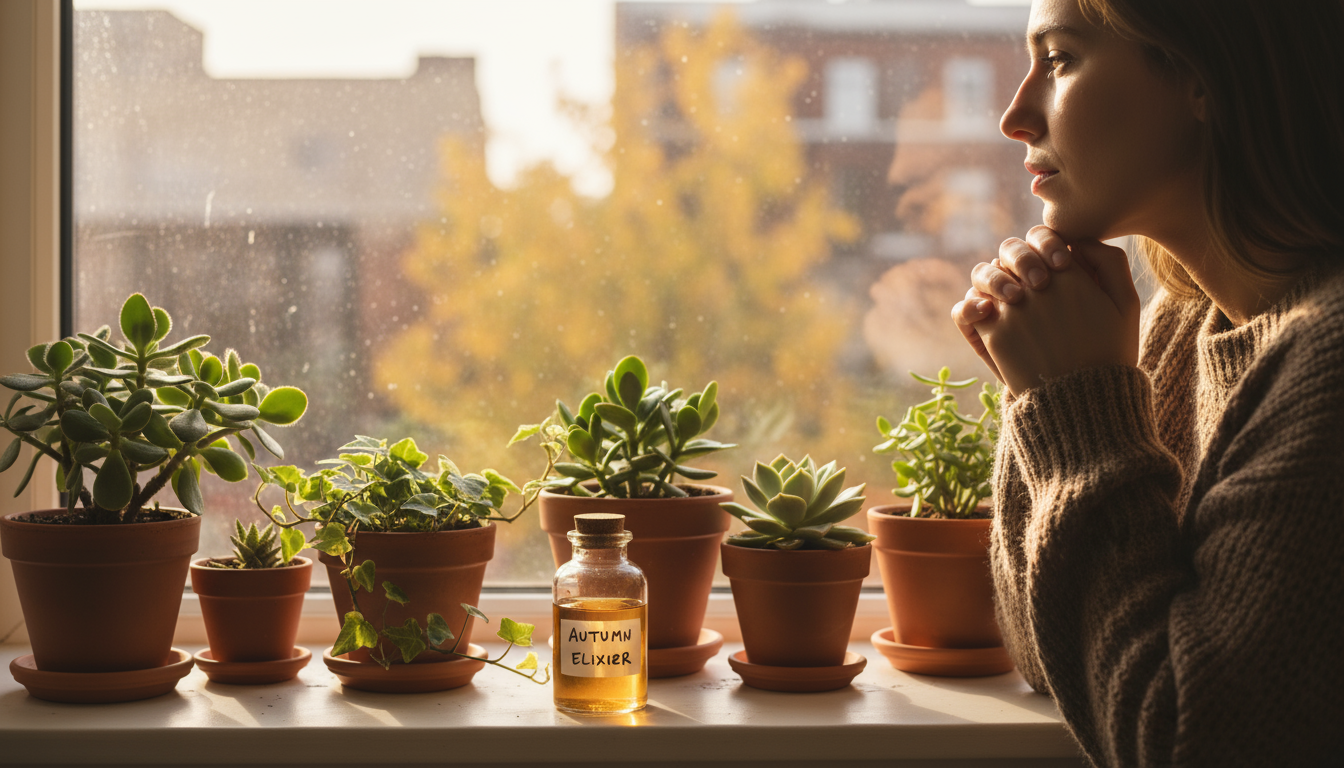
Fall (September, October, November)
Action: Gradually Reduce Fertilizing.
As autumn approaches, daylight hours shorten, and light intensity diminishes. Your plants naturally begin to slow their growth. You should gradually reduce the frequency of your indoor plant fertilizer applications. Switch to once every 4-6 weeks, or even less frequently for very slow growers. You can also further dilute the fertilizer to quarter strength. This prepares your plants for their winter rest period, preventing a buildup of salts in the soil.
Winter (December, January, February)
Action: Stop or Drastically Reduce Fertilizing.
For most houseplants, winter is a period of dormancy or significantly reduced growth. Light levels are at their lowest, and plants conserve energy. You should completely stop applying indoor plant fertilizer during these months. Providing nutrients when your plant cannot actively use them leads to salt accumulation, which damages roots. Resume fertilizing in early spring when you observe new growth. Cacti and succulents also benefit from a winter rest period without fertilizer.
Exception: A few specific plants, like African Violets, might bloom in winter and benefit from very light, specific flowering fertilizer, but this is an exception rather than the rule for general houseplant care. Always research your specific plant’s winter needs.
Troubleshooting: Common Repotting and Fertilizing Issues
Even with the best intentions, you might encounter issues with your plants related to repotting plants or indoor plant fertilizer. Recognizing the symptoms helps you quickly diagnose and resolve problems, keeping your plants healthy.
Signs of Over-Fertilization (Nutrient Burn)
This is a common issue for eager plant parents. Over-fertilization manifests as:
- Crispy, Brown Leaf Tips and Margins: The edges and tips of leaves turn brown and brittle, appearing burnt. This indicates a buildup of salts in the soil, drawing moisture out of the leaves.
- Yellowing Lower Leaves: While yellowing can signal various issues, rapid yellowing of lower leaves followed by crispy edges often points to nutrient burn.
- Stunted Growth: Paradoxically, too much fertilizer can inhibit growth, as the roots struggle to absorb water due to high salt concentration.
- White Crust on Soil Surface or Pot Rim: This is a visible accumulation of fertilizer salts.
Solution: Flush the soil thoroughly. Place the pot in a sink or shower and run water through it for several minutes, allowing it to drain completely. This washes away excess salts. Avoid fertilizing for at least 6-8 weeks, and then resume with a much more diluted solution. Consider repotting with fresh soil if the problem is severe.
Signs of Under-Fertilization (Nutrient Deficiency)
When your plant lacks essential nutrients, you might observe:
- Overall Pale Green or Yellowing Leaves (Chlorosis): This often indicates a nitrogen deficiency, as nitrogen is crucial for chlorophyll production.
- Stunted or Slow Growth: If your plant is not growing during its active season despite adequate light and water, it might lack the building blocks from fertilizer.
- Small New Leaves: New foliage appears smaller than usual, sometimes with poor coloration.
- Failure to Flower: If your flowering plant is not blooming, it could lack phosphorus or other micronutrients necessary for flower development.
Solution: Begin or resume a consistent, diluted indoor plant fertilizer regimen. Ensure you use a balanced fertilizer or one tailored to your plant’s specific needs. Observe your plant’s response over several weeks. Often, patience is key, as recovery takes time.
Repotting Shock
Even with careful handling, some plants experience “repotting shock,” a temporary stress response after being moved. Symptoms include:
- Temporary Wilting: Leaves may droop, even if the soil is moist.
- Yellowing or Dropping Leaves: Your plant might shed a few lower leaves as it adjusts.
- Stunted Growth: A temporary pause in new growth.
Solution: Provide a stable environment. Keep the repotted plant in a spot with bright, indirect light, consistent temperatures, and good humidity. Avoid direct sun, drafts, or extreme temperature fluctuations. Do not fertilize for several weeks, allowing roots to recover. Water only when the top inch or two of soil feels dry. Most plants recover from repotting shock within a few weeks.
Root Rot
While not always directly linked to repotting or fertilizing, root rot often results from poor drainage or overwatering, issues sometimes exacerbated by incorrect repotting or excessive soil amendments. Symptoms include:
- Wilting Leaves, Despite Moist Soil: Roots are compromised and cannot absorb water.
- Mushy, Brown, or Black Roots: Healthy roots are firm and white or light tan.
- Foul Odor from the Soil: Indicates anaerobic conditions and decay.
Solution: Immediate action is crucial. Gently remove the plant from its pot. Prune away all affected, mushy roots using clean, sharp scissors. Repot into a smaller, clean pot with fresh, well-draining potting mix. Ensure the new pot has excellent drainage. Adjust your watering habits to allow the soil to dry out more between waterings. Root rot is easier to prevent than to cure; always prioritize good drainage and avoid overwatering.
By learning to read your plants, you can proactively address these common issues, ensuring your small space remains a thriving haven for your green companions.
Sustainable Practices for Houseplant Care
As a conscious plant parent, you have the opportunity to incorporate environmentally friendly practices into your seasonal houseplant care. These small changes benefit the planet and often lead to healthier, more resilient plants.
- Embrace Peat-Free Potting Mixes: As discussed, peat harvesting degrades natural peat bogs, which are vital carbon sinks and ecosystems. Many high-quality, sustainable alternatives are available, often using coco coir, composted wood fibers, rice hulls, or compost. You contribute to environmental preservation by choosing peat-free options.
- Reuse and Repurpose Pots: Before buying new, consider if you can reuse existing pots. Clean them thoroughly with a dilute bleach solution, 1 part bleach to 9 parts water, to sterilize and prevent disease transfer. You save resources and reduce waste.
- Compost Your Plant Trimmings: Do not just throw away fallen leaves, spent flowers, or pruning clippings. If you have a compost bin, even a small indoor one, add these organic materials. The resulting compost enriches your potting mix, creating a closed-loop system of nutrient return.
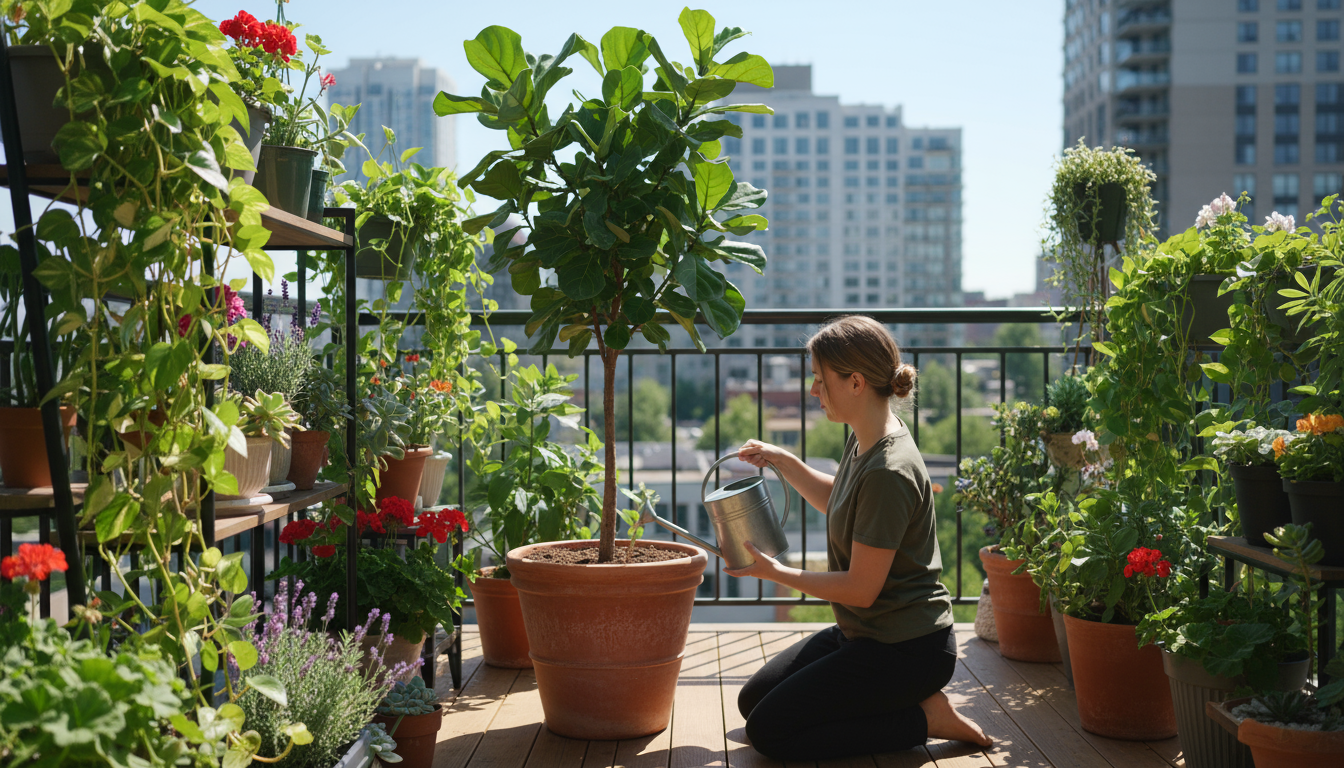
- Collect Rainwater or Repurpose Household Water: Rainwater contains fewer dissolved minerals than tap water, making it excellent for plants. If you live in an apartment, simply place a bucket on your balcony or outside your window during a rain shower. You can also save water from washing vegetables or cooling boiled water for plants, provided it is free of soap or oil. This reduces tap water usage.
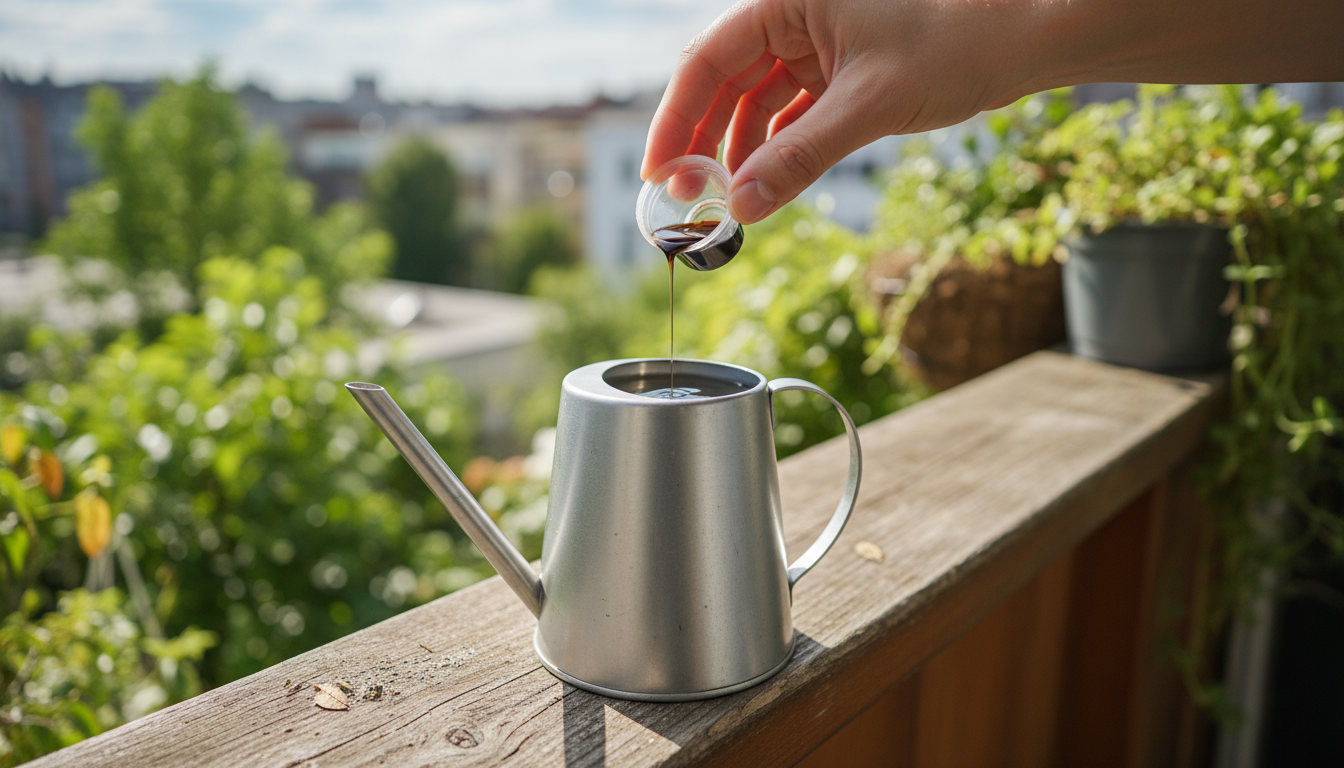
- Make Your Own Organic Fertilizers: Explore simple DIY fertilizers like “compost tea” made by steeping compost in water, or a dilute solution of leftover coffee or tea, ensure it is cold and unsweetened. These provide gentle nutrient boosts and enrich soil microbial life without relying on synthetic chemicals.
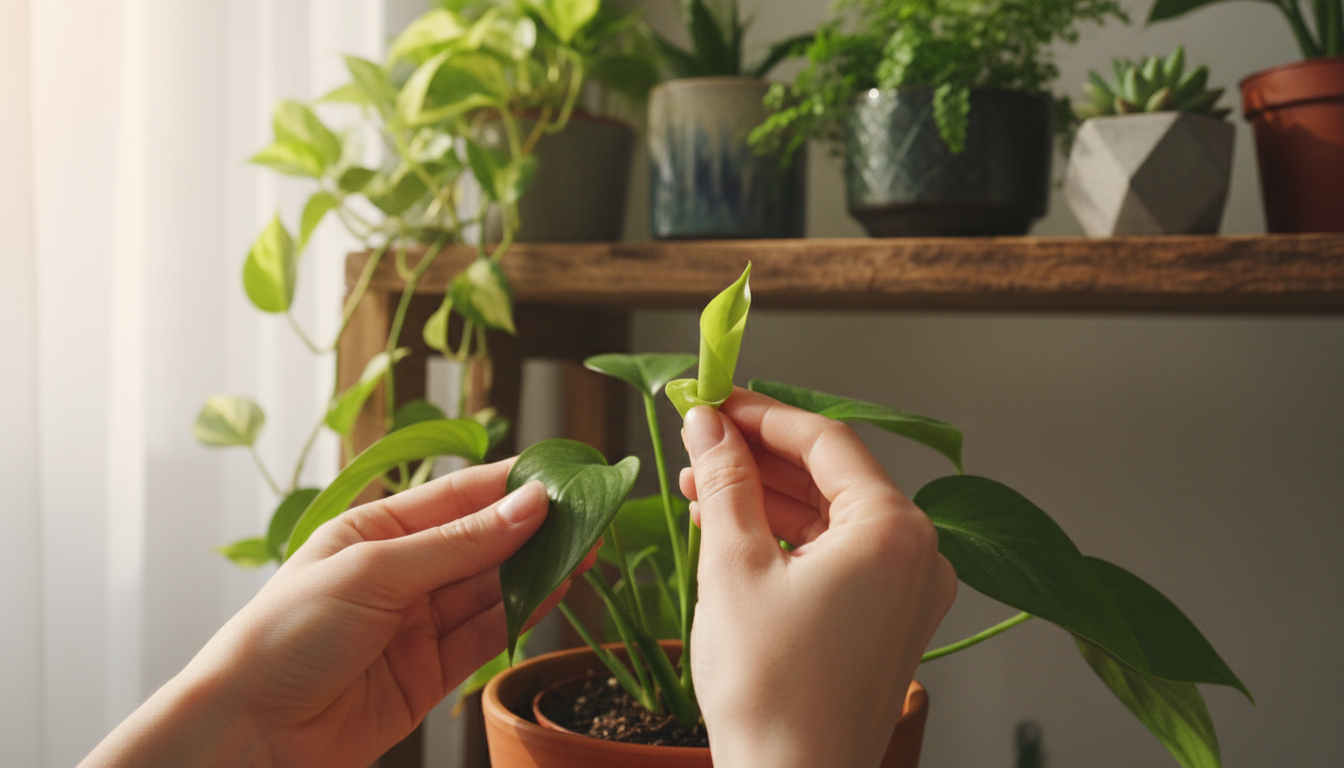
- Propagate to Share or Replace: Instead of buying new plants, propagate existing ones. Taking cuttings from healthy plants allows you to expand your collection, replace older plants, or share with friends. This reduces the demand for commercially grown plants, which often have a larger carbon footprint due to transport and production.
- Integrated Pest Management (IPM): When dealing with pests, prioritize non-toxic, eco-friendly solutions. Start with wiping leaves, using insecticidal soap, or introducing beneficial insects before resorting to chemical pesticides. You protect your indoor environment and reduce harmful chemical runoff. The University of California Statewide Integrated Pest Management Program offers excellent resources on this topic.
Embracing these practices makes your small-space gardening more sustainable and connects you more deeply with the natural cycles your plants embody. You become a steward of not just your plants, but also the broader environment.
Frequently Asked Questions
Can I repot my plant during winter if it is desperately root-bound?
While spring and early summer are ideal for repotting plants, if your plant is severely root-bound, showing extreme signs of stress like rapid wilting or complete halt in growth, you can carefully repot it during winter. Minimize disturbance to the roots and place the plant in a stable, warm spot with good indirect light afterward. Avoid fertilizing until spring, and expect a slower recovery.
How often should I use indoor plant fertilizer?
The frequency depends on the plant type, the season, and the fertilizer concentration. During active growth, spring and summer, most plants benefit from a diluted liquid fertilizer every 2-4 weeks. Slow-release fertilizers last for several months. Always follow product instructions and err on the side of caution with dilution. Stop or drastically reduce fertilizing in fall and winter when plants are dormant.
My plant is root-bound, but I do not want it to get any larger. What should I do?
You can “root prune” your plant. Remove it from its pot, gently loosen the root ball, and prune about 25-30% of the outer and bottom roots using clean, sharp scissors. Repot the plant back into the same size pot with fresh potting mix. This rejuvenates the plant, provides new nutrients, and allows it to maintain its current size. Treat it as a repotting and provide similar post-care.
Is organic indoor plant fertilizer better than synthetic?
Both organic and synthetic fertilizers have benefits. Organic fertilizers, like worm castings or compost tea, release nutrients slowly as microbes break them down, improving soil health over time. They are often safer for the environment. Synthetic fertilizers offer precise nutrient ratios and immediate availability, which can be beneficial for plants needing a quick boost. For small-space gardening, a balanced approach often works well. You can supplement a good quality potting mix with organic amendments and use a diluted synthetic liquid fertilizer during peak growth for an immediate boost.
How do I know if my plant needs less or more light when considering fertilizer use?
Light is crucial for plants to utilize fertilizer effectively. If your plant receives insufficient light, even a perfectly balanced fertilizer will not help it thrive. Symptoms of low light include leggy growth, pale leaves, and a lack of new development. Signs of too much direct light can be scorched or bleached leaves. Before adjusting fertilizer, assess your plant’s light exposure. “Bright indirect light” means near a window but shielded from direct sun by a sheer curtain or positioned where the sun’s rays do not directly hit the leaves. A plant in low light will need significantly less fertilizer, as its growth rate is naturally reduced.
For research-based houseplant care, visit Cornell Garden-Based Learning, UF/IFAS Gardening Solutions, Oregon State Extension — Gardening, Royal Horticultural Society, and Missouri Botanical Garden.
Disclaimer: This article is for informational purposes only and is not a substitute for professional advice. Consult local extension services for region-specific recommendations.

Leave a Reply