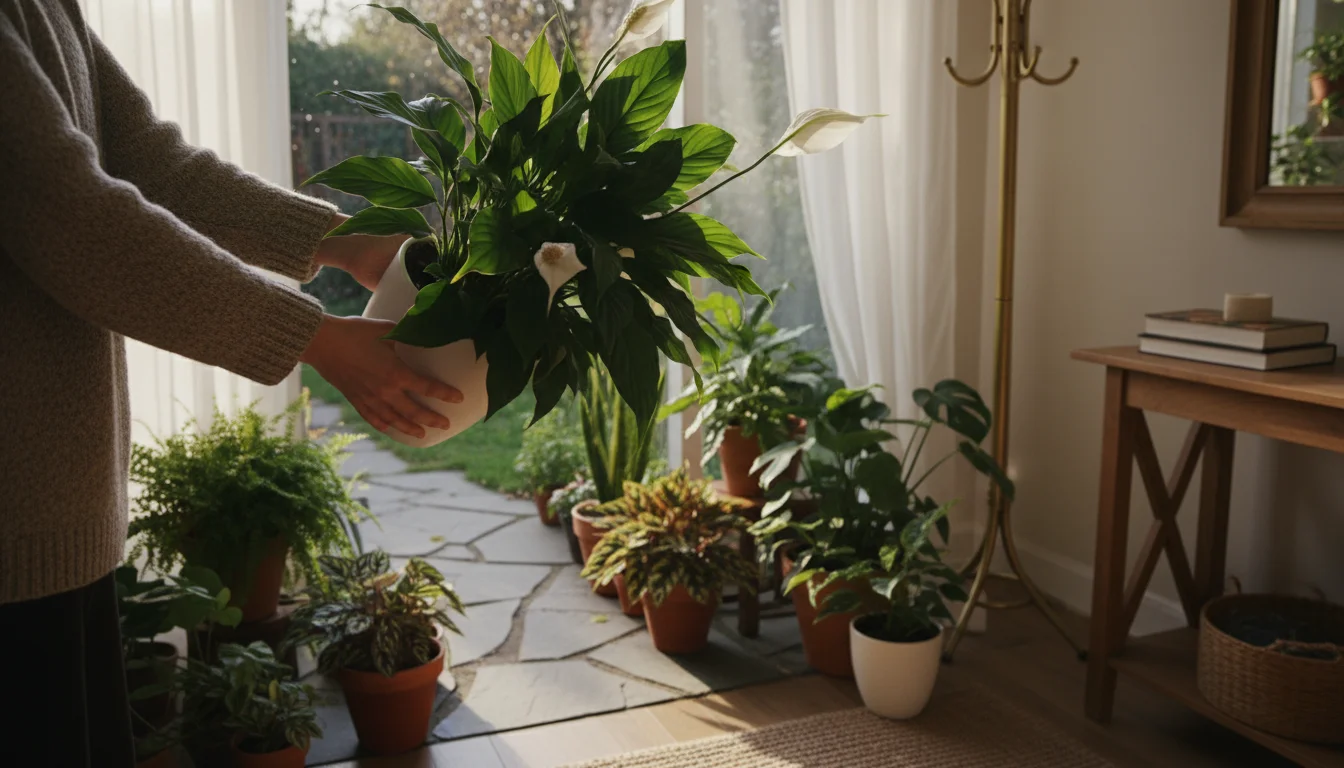
As the crisp air of fall approaches, many gardeners face the annual task of bringing their beloved houseplants back inside. Your outdoor plants, which thrived in the summer sun, often carry hidden guests: pests. These unwelcome hitchhikers can quickly infest your entire indoor plant collection, turning a cozy autumn transition into a frustrating battle. This guide provides a practical, step-by-step checklist to ensure your plants move indoors pest-free, healthy, and ready to brighten your home throughout the cooler months. You will learn how to identify common outdoor pests, effectively remove them, and acclimate your plants to their new indoor environment, minimizing stress and maximizing their chances of survival and continued growth.
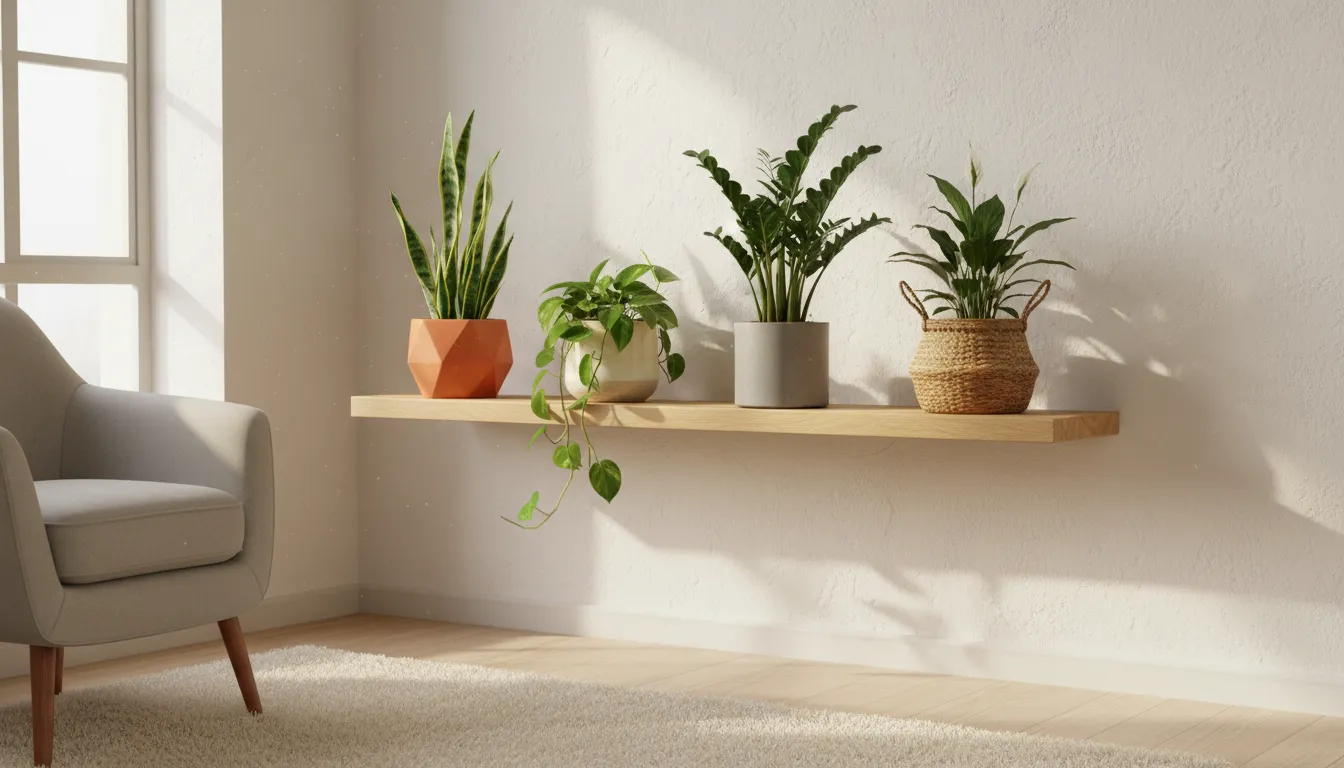
Managing your indoor collection is one of the most important fall gardening tasks for apartment and patio growers as the season shifts.
Why Bring Them Inside? Protecting Your Investment
Many of your favorite houseplants, like peace lilies, ferns, and tropical foliage, cannot withstand cold temperatures. They thrive outdoors in summer, benefiting from increased light, humidity, and fresh air, but fall brings a threat of frost that can quickly damage or kill them. Bringing these plants indoors protects them from freezing temperatures, strong winds, and sudden environmental shifts. Beyond survival, it allows you to extend your gardening season, keeping vibrant greenery in your home when the outdoor landscape turns dormant. Consider the financial investment you have made in your plants, along with the joy and beauty they add to your living space. Protecting them from winter’s harshness ensures they continue to flourish for years, providing clean air and a touch of nature indoors.
When you bring plants inside, you also protect your home environment. Pests that thrive outdoors, such as aphids, spider mites, or mealybugs, will seek refuge indoors as temperatures drop. If you introduce them without proper inspection and treatment, these pests will quickly spread to your existing indoor plants. This creates an infestation that is far harder to control once established in the controlled environment of your home. A proactive approach saves you significant effort, expense, and potential loss of plants later on. Your diligence ensures a healthier, pest-free indoor garden, maintaining the ecological balance of your home’s ecosystem.
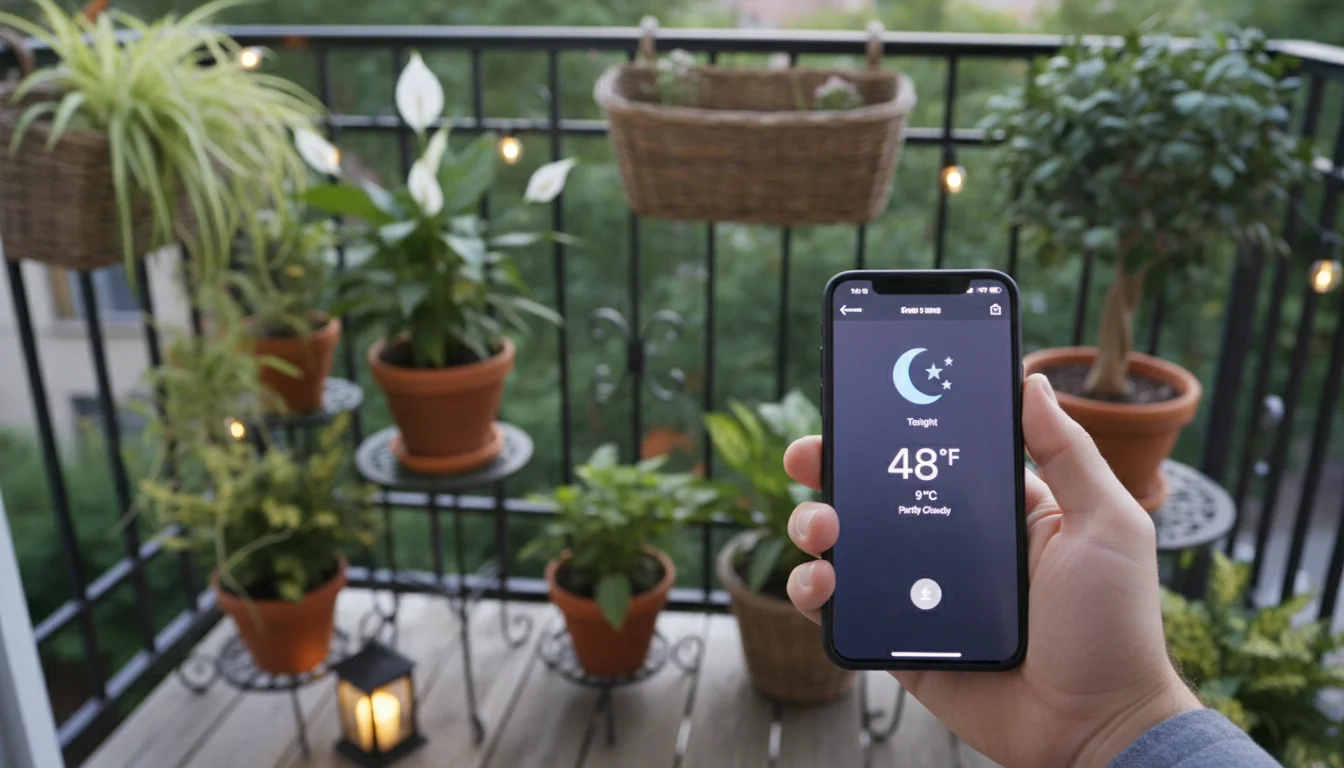
Timing is Everything: When to Start the Transition
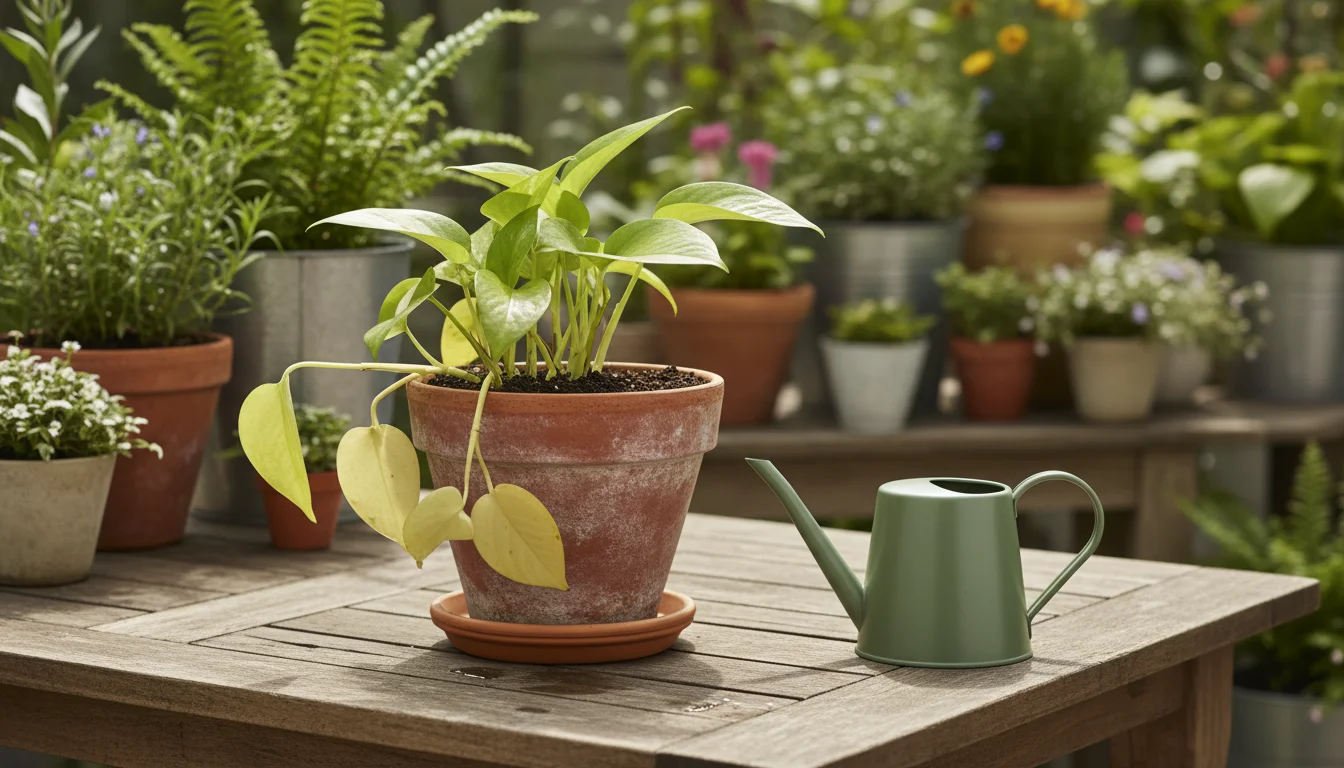
The success of bringing plants indoors largely depends on timing. You want to move your plants inside before temperatures drop too low, but not so early that you cut short their beneficial outdoor growing season. A good rule of thumb is to start the process when nighttime temperatures consistently fall below 50-55°F (10-13°C). For many tropical plants, temperatures below 45°F (7°C) can cause significant stress, leading to leaf drop or even death. Monitor local weather forecasts closely; a sudden cold snap can occur unexpectedly, so plan to move your plants a week or two before the first predicted frost in your area.
For those growing food or flowers in larger balcony pots, check out our guide on how to overwinter container plants for specialized cold-protection tips.
Transitioning too late risks exposure to cold damage, which manifests as wilting, browning leaves, or stunted growth. Conversely, moving them indoors too early means they miss out on the beneficial light and air circulation of the outdoor environment. This balance ensures your plants maximize their outdoor growth period while avoiding the shock of sudden temperature drops. Aim for a gradual transition, if possible, where plants spend a few days in a protected, semi-shaded spot outdoors before their final move. This eases the shock of reduced light intensity and humidity indoors, preparing them for their winter quarters.
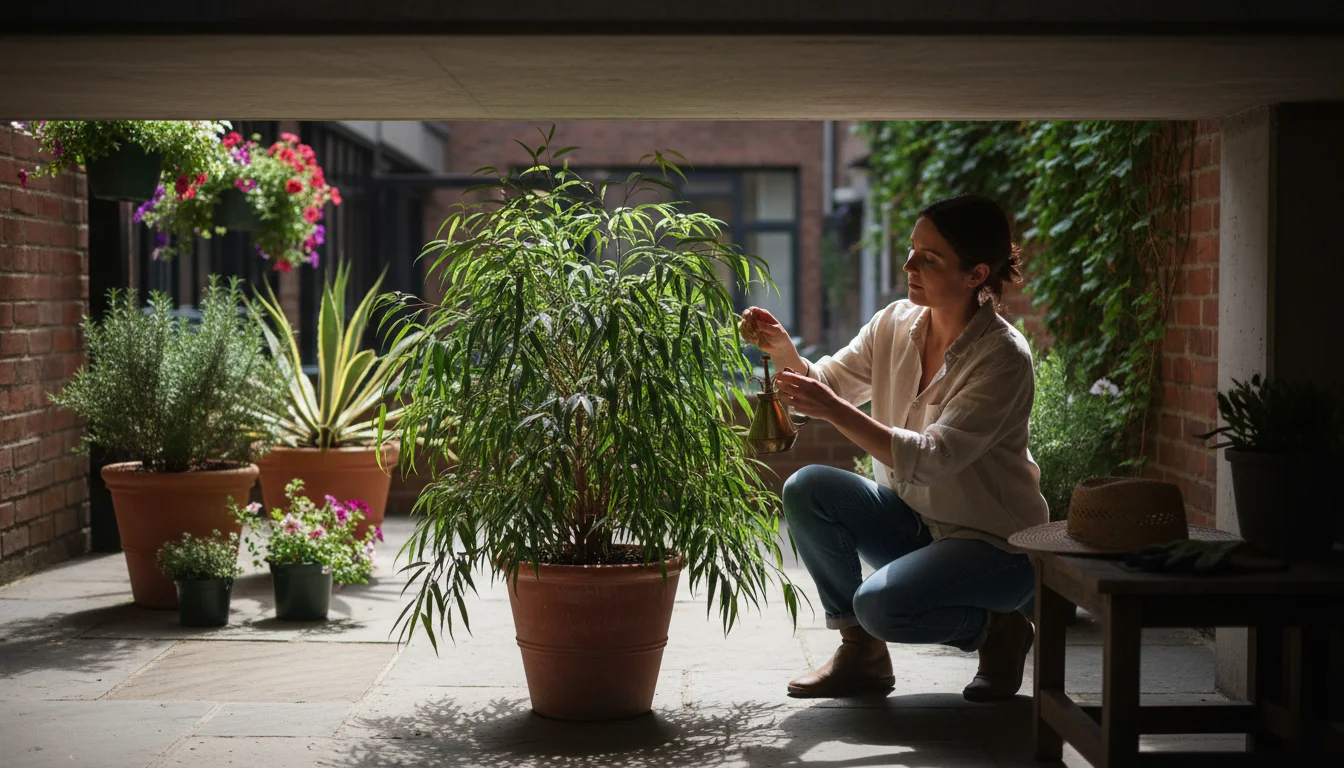
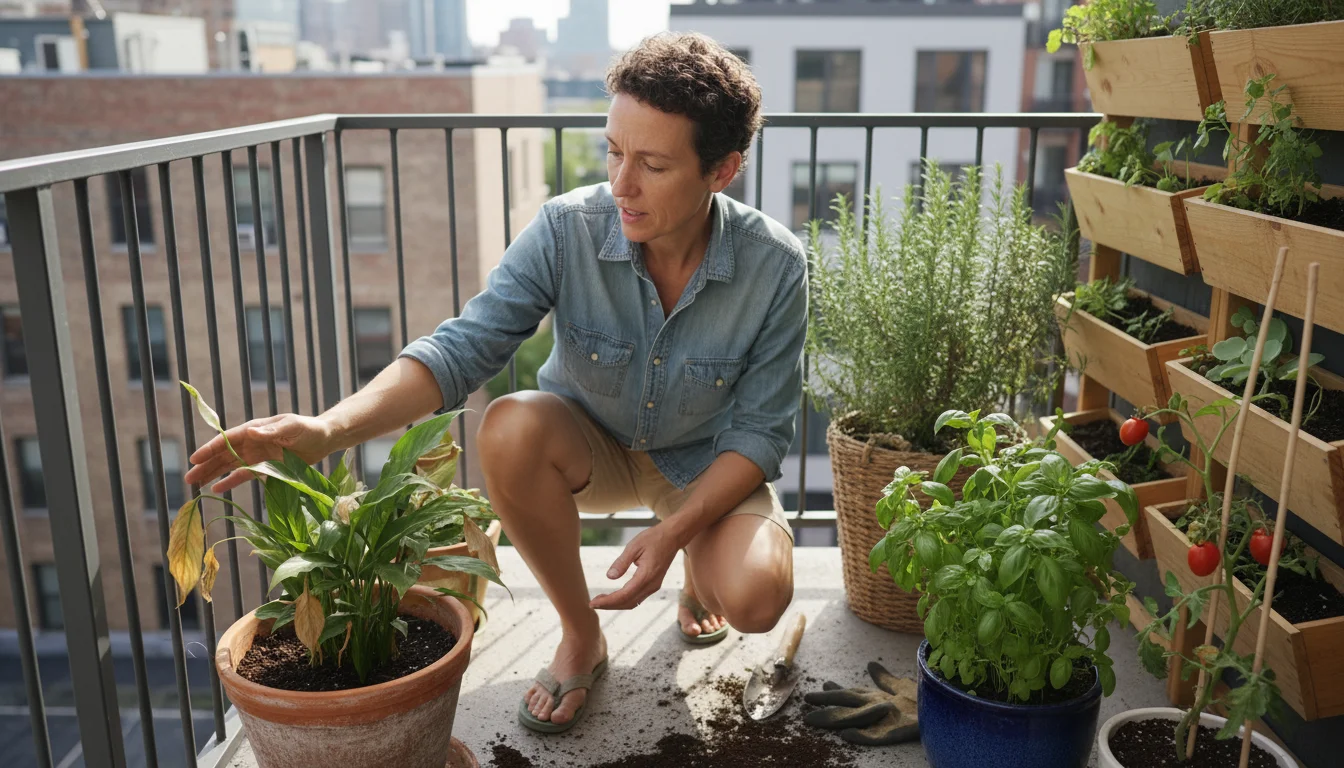
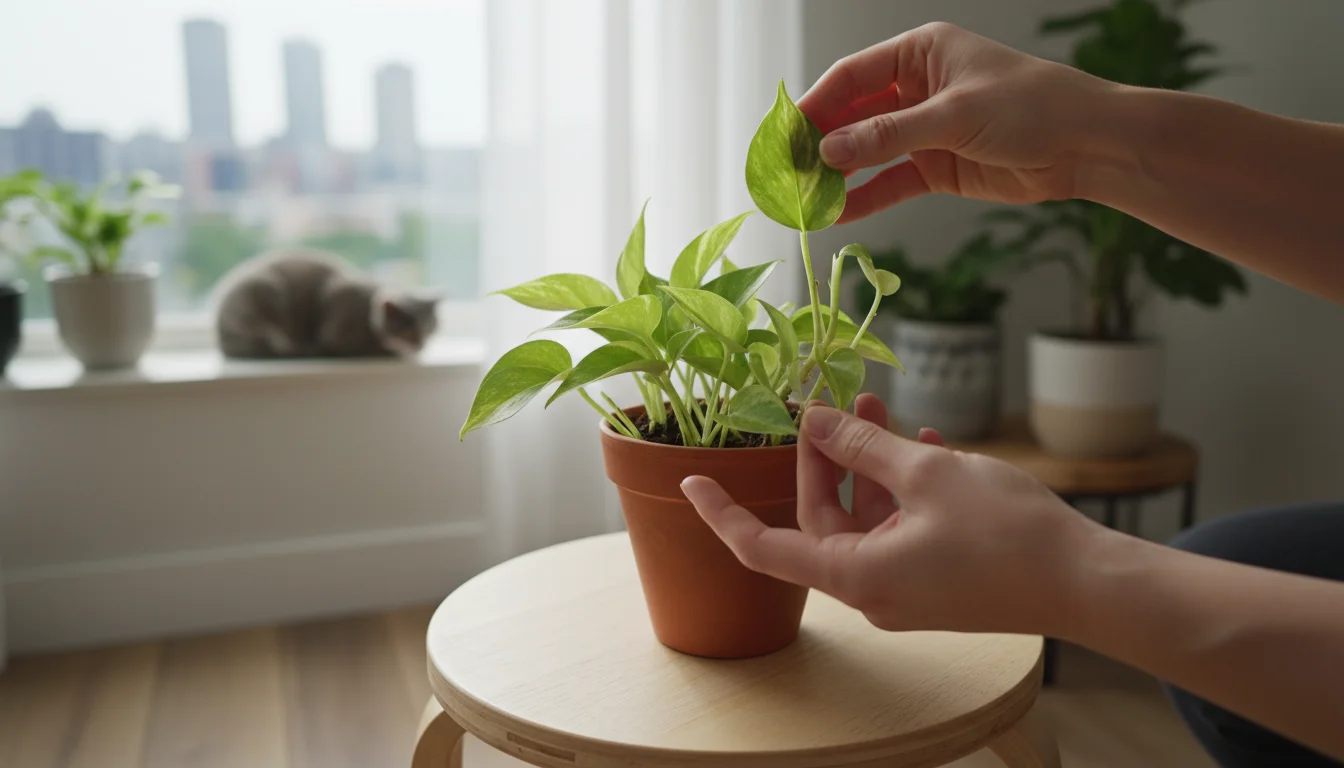
The Essential Pest Patrol: Debugging Before Entry
This is arguably the most critical step in bringing plants indoors: a thorough pest inspection and removal process. Skipping this step often leads to frustrating infestations that spread rapidly through your indoor collection. Dedicate ample time to this, examining every part of each plant meticulously. The goal is to eradicate any existing pests and their eggs before they cross your threshold.
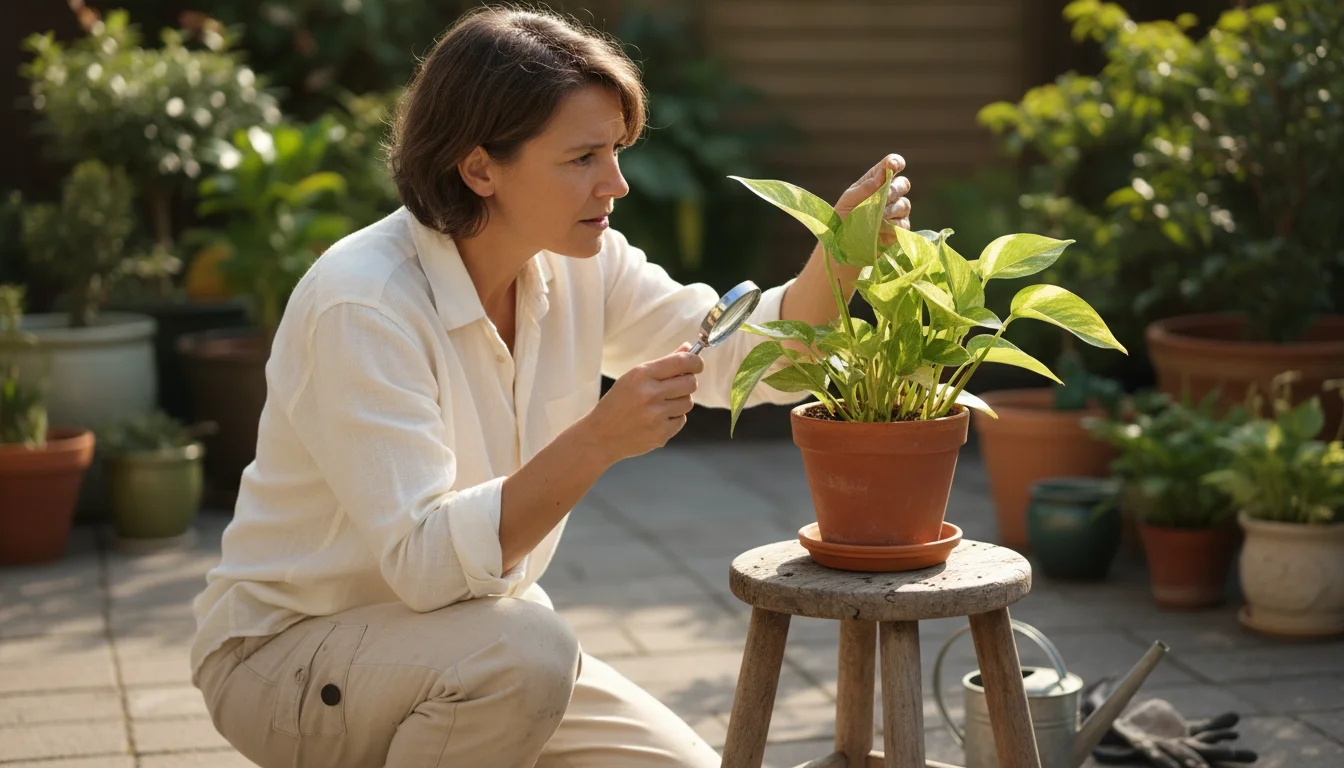
Step 1: Isolate and Inspect
- Isolate each plant: Before bringing any plant near your house, take it to a separate, well-lit area, perhaps a garage or a shaded spot on your patio. This prevents pests from jumping onto other plants while you work.
- Examine thoroughly: Carefully inspect all parts of the plant. Look under leaves, along stems, in leaf axils (where leaves meet stems), and on the soil surface. Pay close attention to new growth, as pests often target tender tissues. Use a magnifying glass for tiny pests like spider mites.
- Common pests to identify:
- Spider Mites: Tiny, reddish-brown or green mites. Look for fine webbing, especially on leaf undersides and where stems meet leaves. Leaves may appear stippled or speckled.
- Aphids: Small, pear-shaped insects, often green, black, or red. They cluster on new growth, stems, and leaf undersides, sucking sap.
- Mealybugs: White, cottony masses found in leaf axils and along stems. They secrete a sticky honeydew.
- Scale Insects: Small, immobile, dome-shaped bumps on stems and leaves. They can be brown, black, or white and are often mistaken for part of the plant.
- Whiteflies: Tiny, white, winged insects that flutter when disturbed, typically found on leaf undersides.
- Fungus Gnats: Small, dark, mosquito-like flies that hover around the soil surface. Their larvae feed on organic matter and fine roots in moist soil.
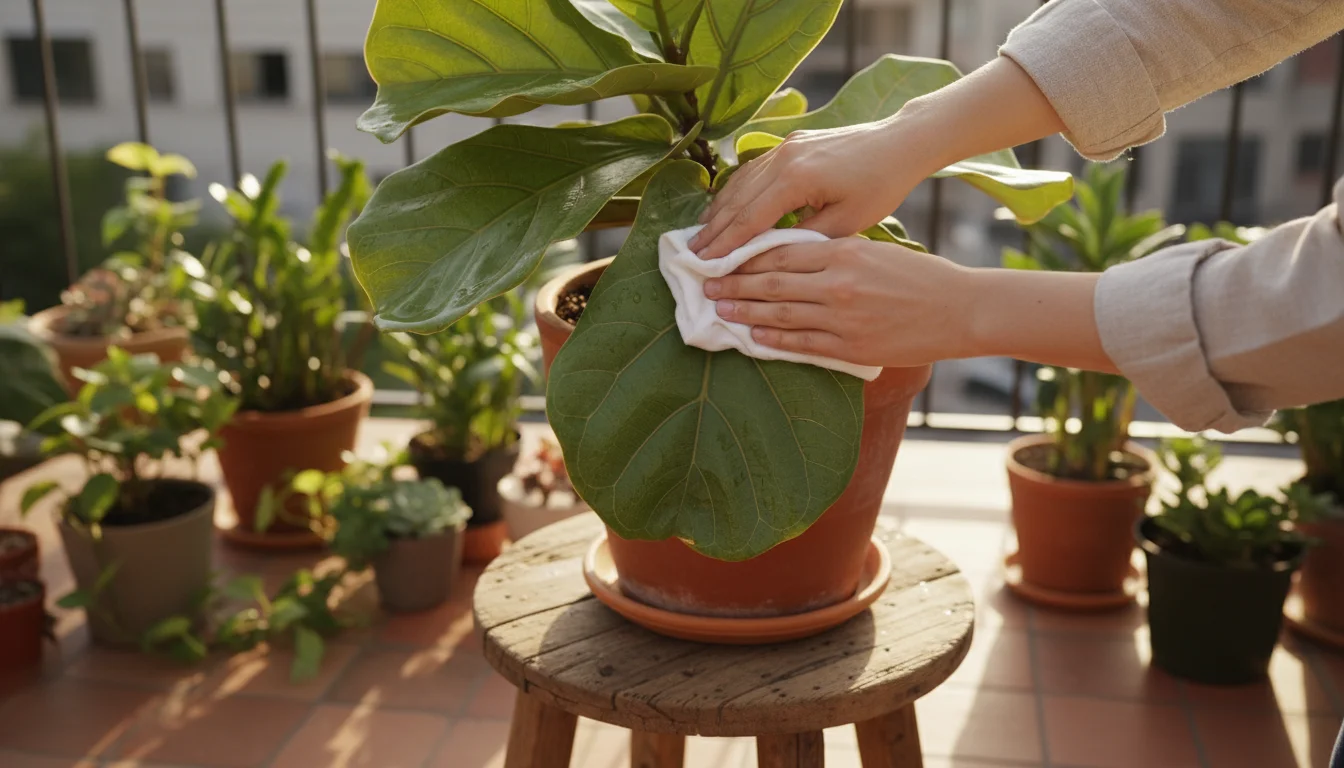
Step 2: Physical Removal and Cleaning
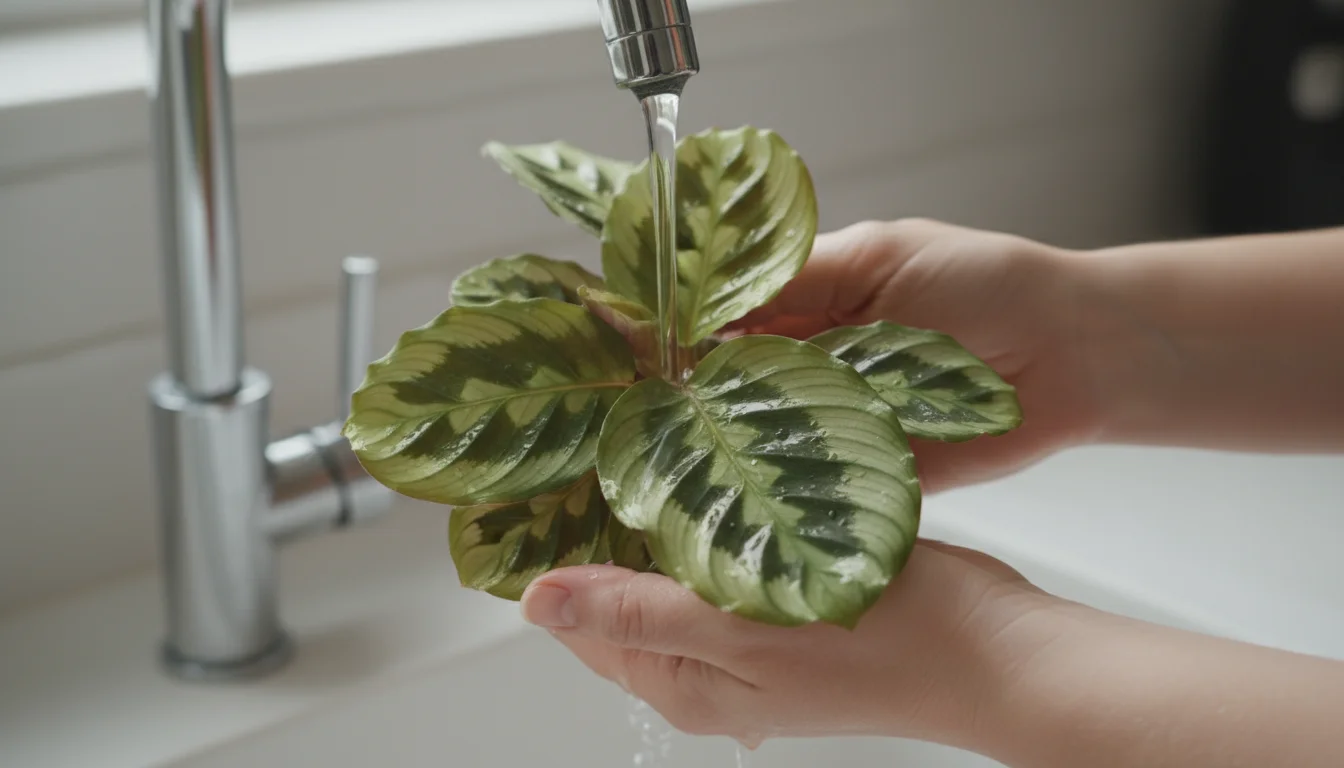
- Rinse plants thoroughly: Use a strong stream of water from a hose to dislodge pests. Focus on the undersides of leaves and stems. For plants with delicate foliage, use a gentler spray or a handheld sprayer.
- Wipe down leaves: For plants with sturdy leaves, wipe both sides with a damp cloth or sponge. You can add a drop of mild dish soap to the water for extra cleaning power, ensuring you rinse thoroughly afterward. This removes dust, dirt, and any lingering pests or eggs.
- Remove visible pests: For larger pests like mealybugs or scale, use a cotton swab dipped in rubbing alcohol to directly remove them. The alcohol dissolves their waxy coating, making them vulnerable. Physically scrape off scale insects with your fingernail or a soft brush.
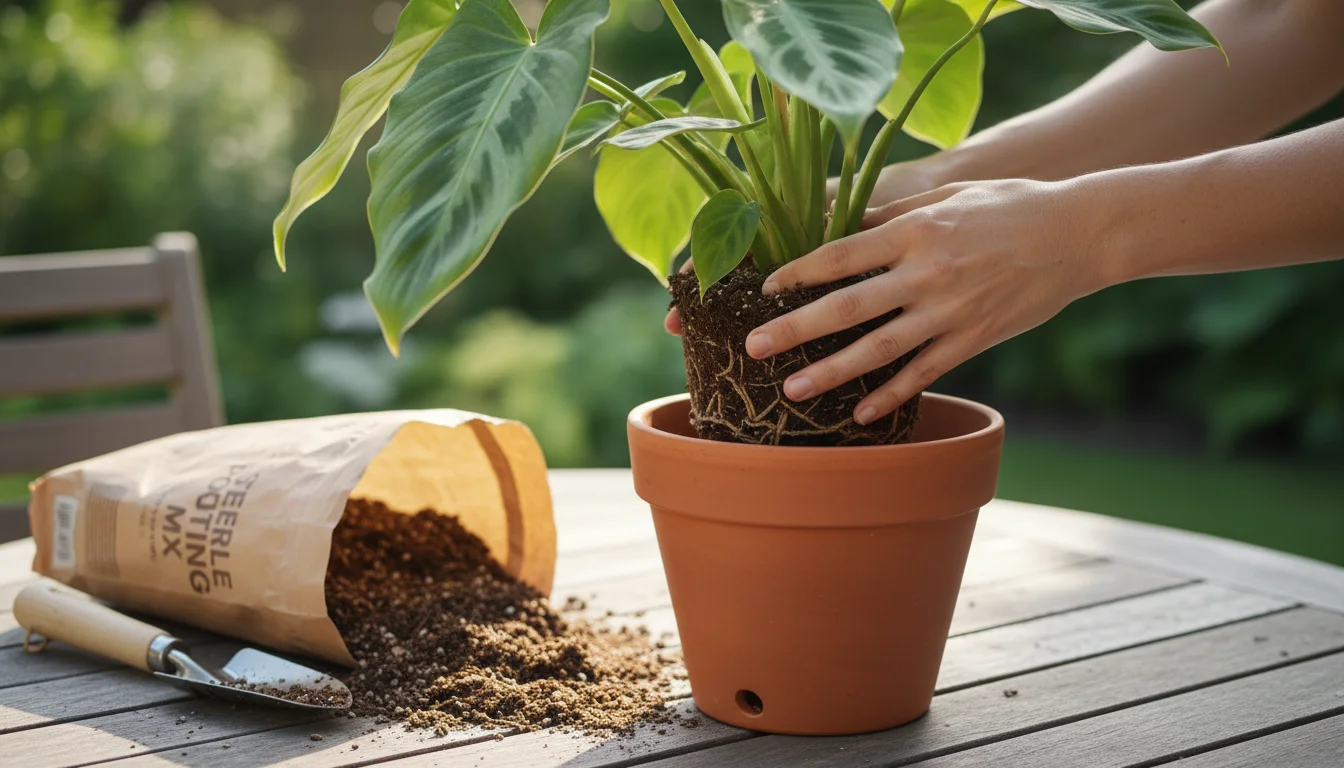
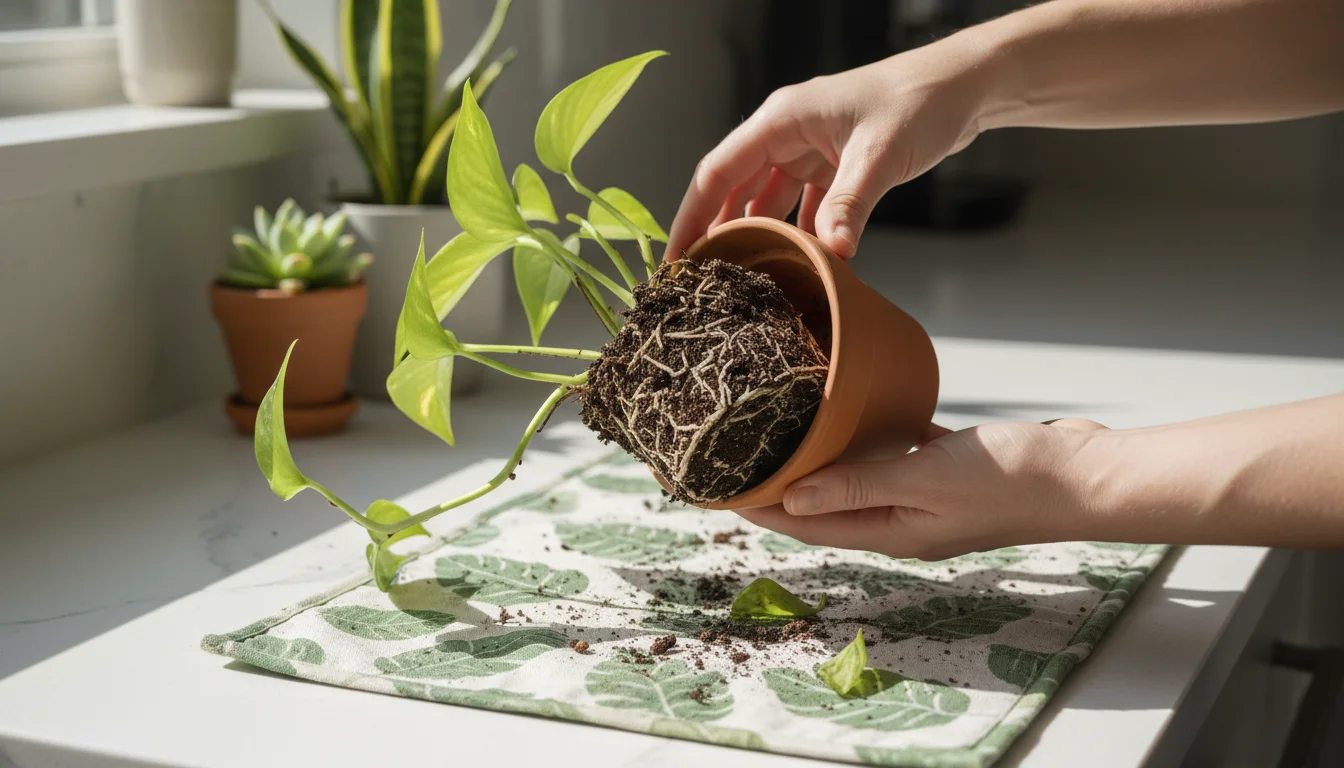
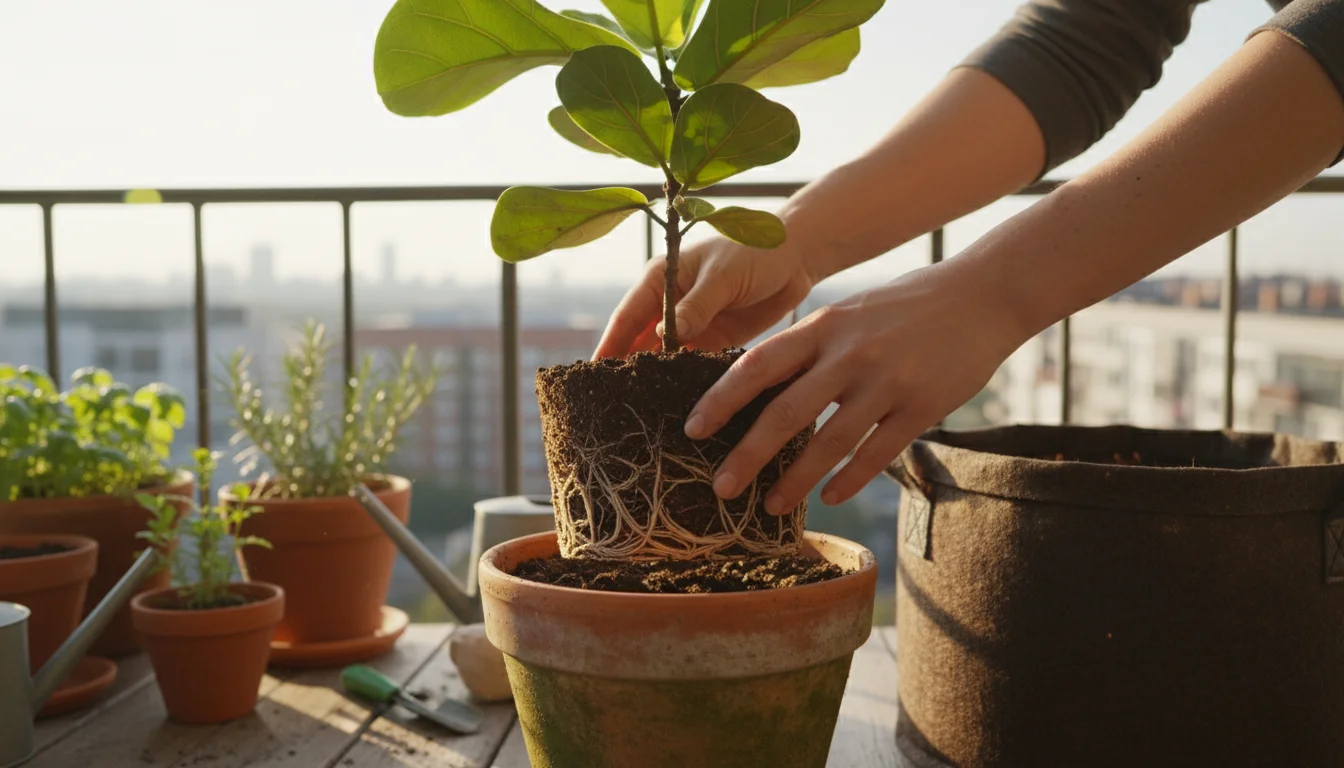
Step 3: Soil Treatment and Repotting
The soil itself can harbor eggs, larvae, and adult pests. Treating the soil is crucial for a truly pest-free transition.
- Inspect the soil surface: Look for any signs of activity, like tiny insects crawling, or even worms.
- Consider repotting: For many plants, a fresh start with new potting mix is the best defense against soil-borne pests. Gently remove the plant from its current pot, shaking off as much old soil as possible without damaging the roots. Inspect the roots for any signs of disease or pests. Repot into a clean pot with fresh, sterile potting mix. Ensure the new pot has adequate drainage holes; good drainage is vital for root health and preventing waterlogged soil, which attracts fungus gnats.
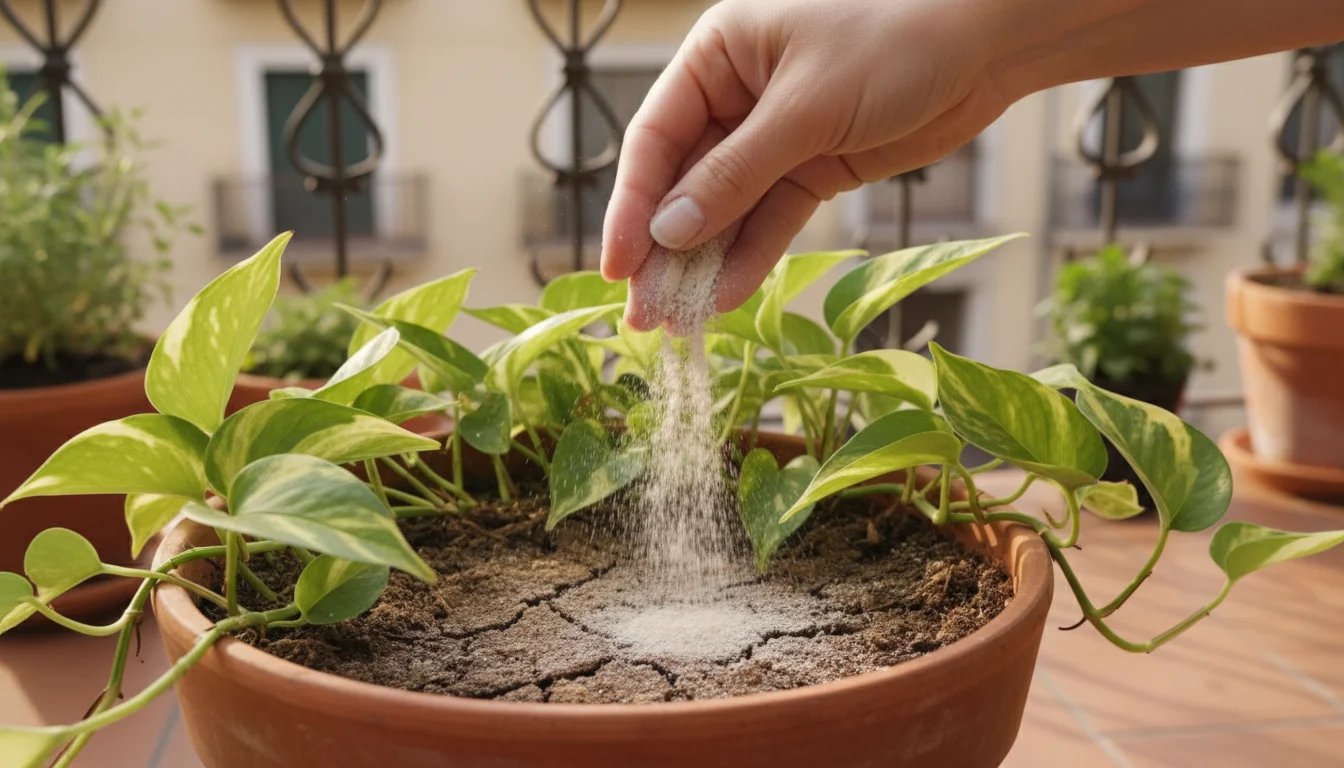
- Soil drench for persistent pests: If repotting is not feasible or if you suspect persistent soil pests, consider a systemic insecticide drench (follow product instructions carefully) or a natural alternative like neem oil solution applied to the soil. For fungus gnats, a top dressing of diatomaceous earth or horticultural sand can help prevent adults from laying eggs and larvae from emerging. Beneficial nematodes, microscopic worms that prey on soil pests, offer another excellent eco-friendly solution for larger collections.
Perform this pest patrol at least a week, ideally two weeks, before the final indoor move. This allows you time for follow-up treatments if you discover any lingering pests. Remember, persistence pays off in preventing a full-blown infestation later on.
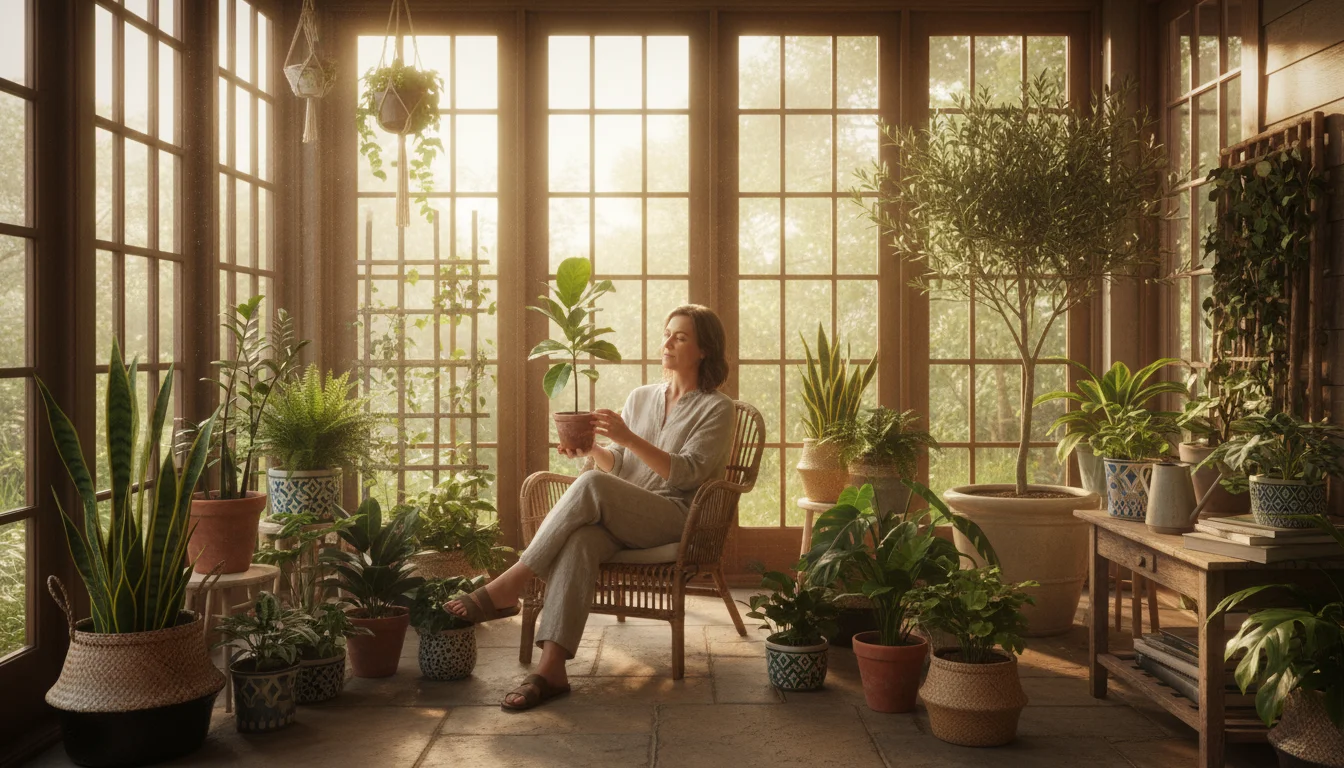
Acclimating Your Plants: Easing the Indoor Shock
Moving a plant from a bright, humid outdoor environment to a dimmer, drier indoor setting can be a significant shock. Without proper acclimation, your plants may drop leaves, wilt, or simply struggle to adjust. Gradual adjustment is key to minimizing stress and ensuring a smooth transition.
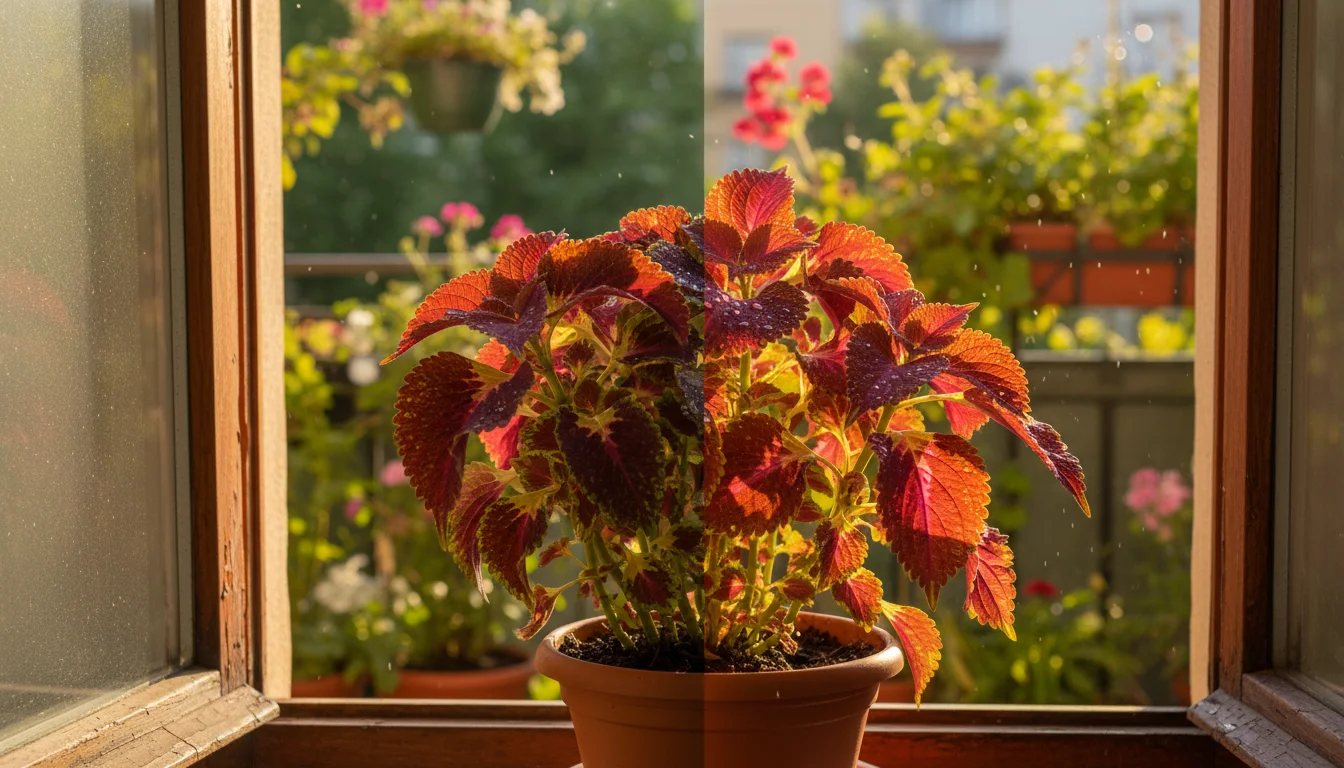
Understanding the Environmental Shift
- Light: Outdoor light is significantly more intense than indoor light, even near a bright window. A plant accustomed to full sun outdoors will find indoor conditions comparatively dim.
- Humidity: Outdoor humidity is generally higher than typical indoor home humidity, especially once your heating system kicks in.
- Temperature: While you are moving them indoors to avoid cold, the indoor temperature might be consistently warmer or fluctuate less than outdoor temperatures.
- Air Circulation: Outdoor plants benefit from constant fresh air movement, which strengthens stems and helps prevent fungal issues. Indoor air is often stagnant.
The Acclimation Process
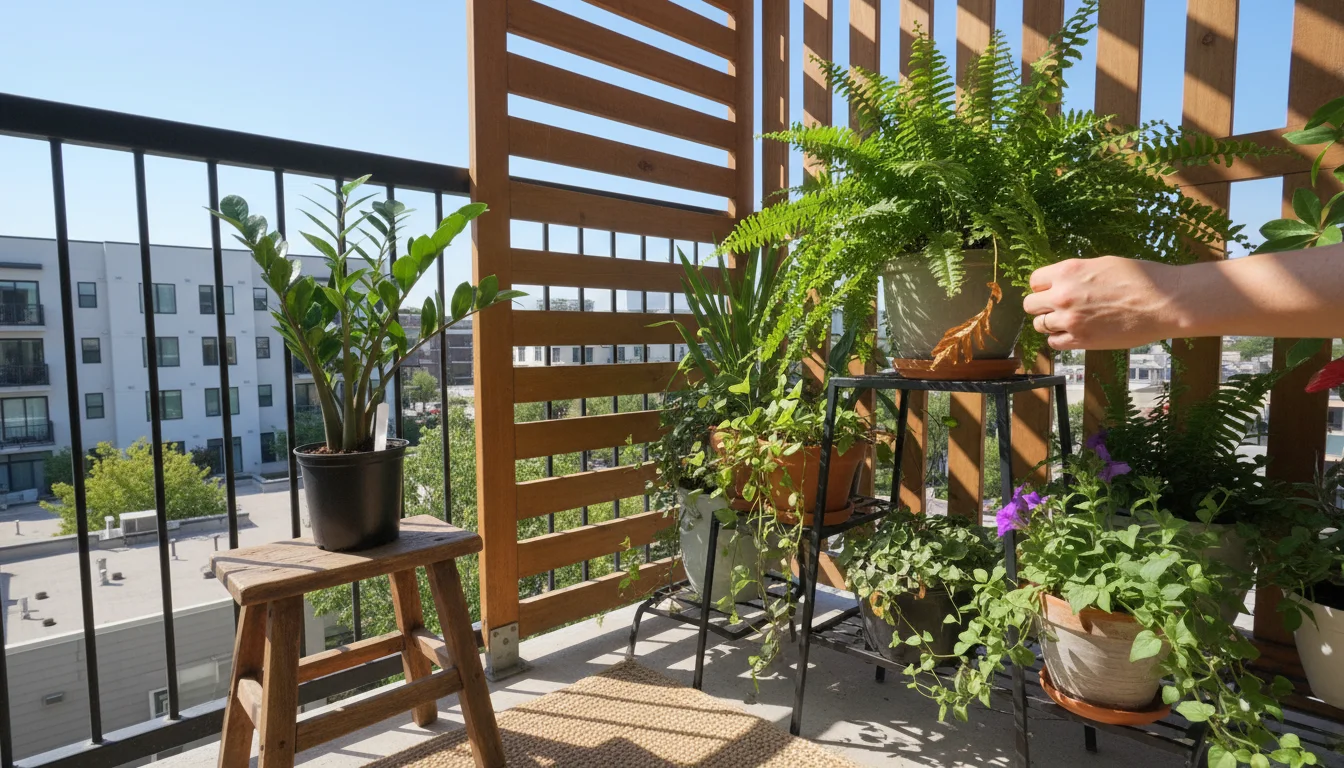
- Gradual Light Reduction: Over a period of 7-10 days, slowly move your plants to shadier outdoor locations. Start by placing them under a tree, then under a covered patio, and finally in a garage or porch with indirect light. This prepares them for the lower light levels indoors. Avoid moving them directly from full sun to a dimly lit room, which causes severe shock.
- Introduce to Indoor Conditions: Once the plants have had their pest patrol and light adjustment, bring them into an indoor space that mimics their final winter spot. Initially, choose a room with moderate light and consistent temperatures. Do not immediately place them in the darkest corner.
- Monitor for Stress: Over the first few weeks indoors, watch for signs of stress: yellowing leaves, leaf drop, wilting, or stunted growth. Some leaf drop is normal as the plant adjusts to lower light, but excessive shedding indicates deeper issues.
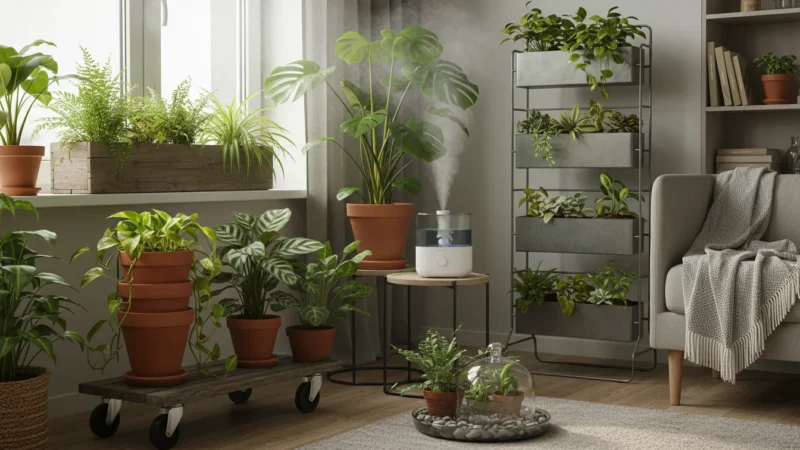
- Increase Humidity (Optional but Recommended): For humidity-loving plants, place them near a humidifier, group them with other plants, or use pebble trays filled with water. As the water evaporates, it creates a localized pocket of humidity around the plants.
- Ventilation: While indoor air circulation is limited, occasionally opening a window (if temperatures allow) or using a small fan on a low setting can provide beneficial air movement, but avoid direct drafts.
This careful, step-by-step approach prevents drastic environmental changes, allowing your plants to adapt their physiology to the new conditions. You invest time upfront to save your plants from significant stress, ensuring they continue to thrive and grow indoors.
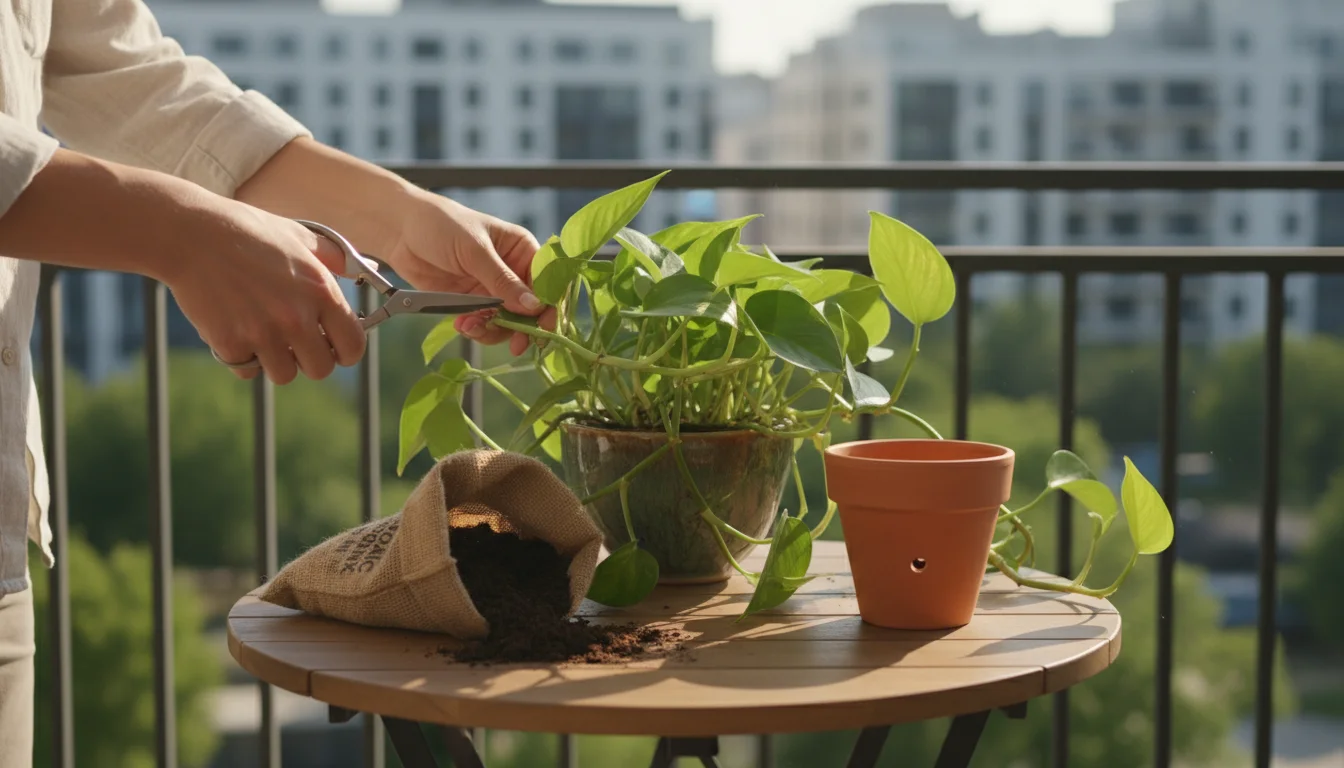
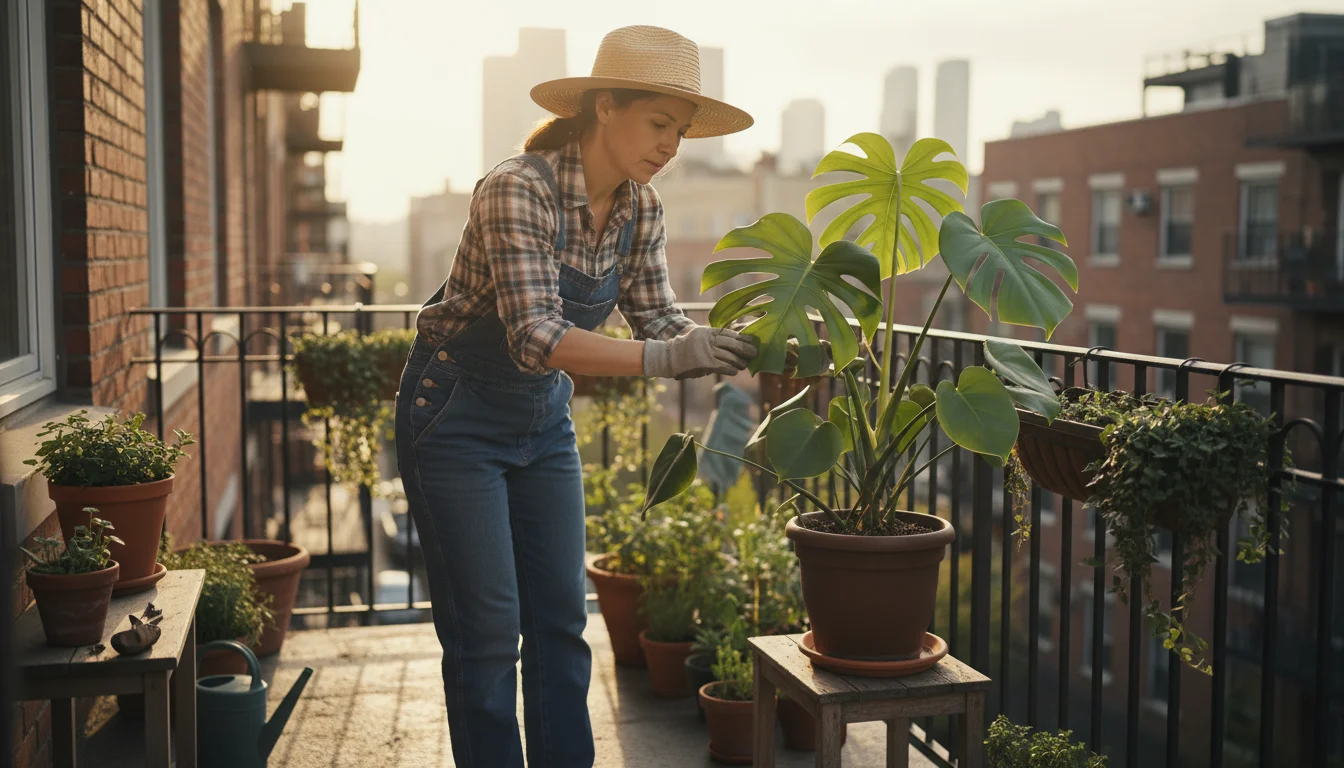
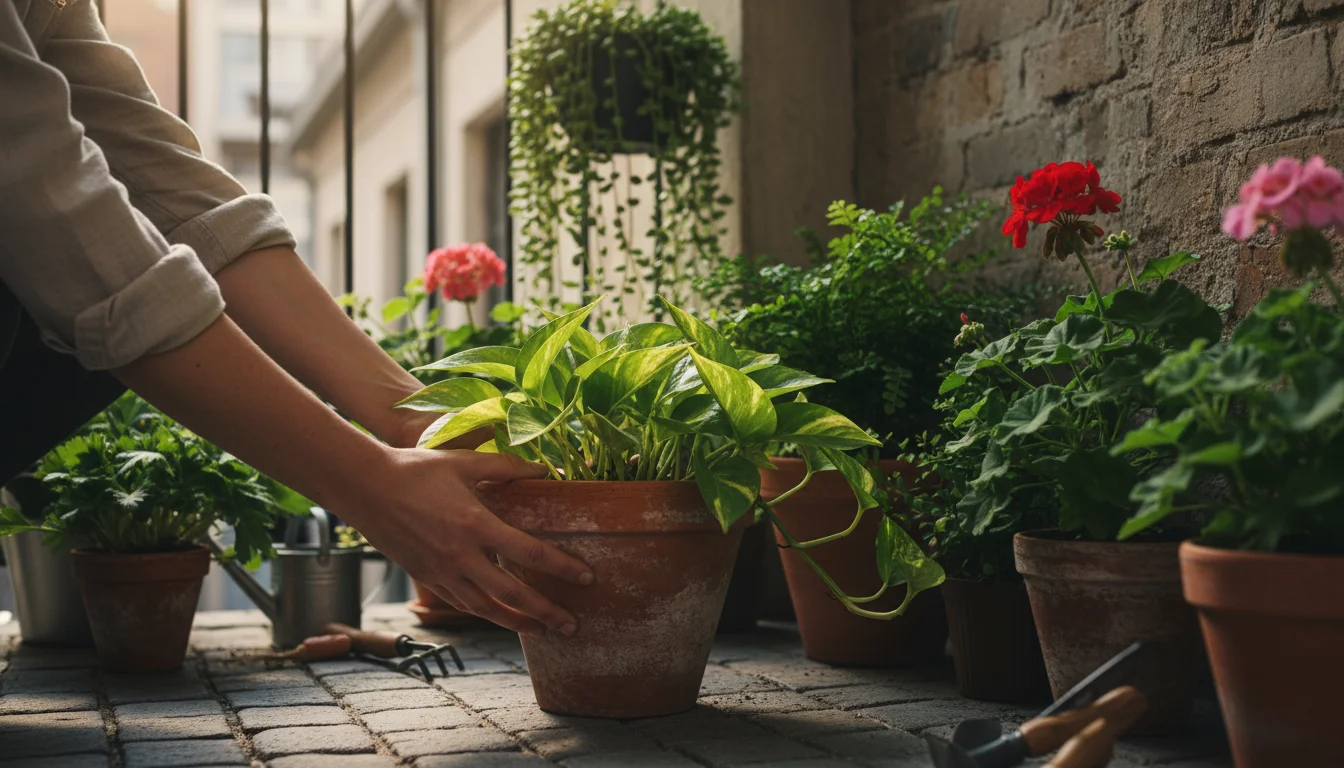
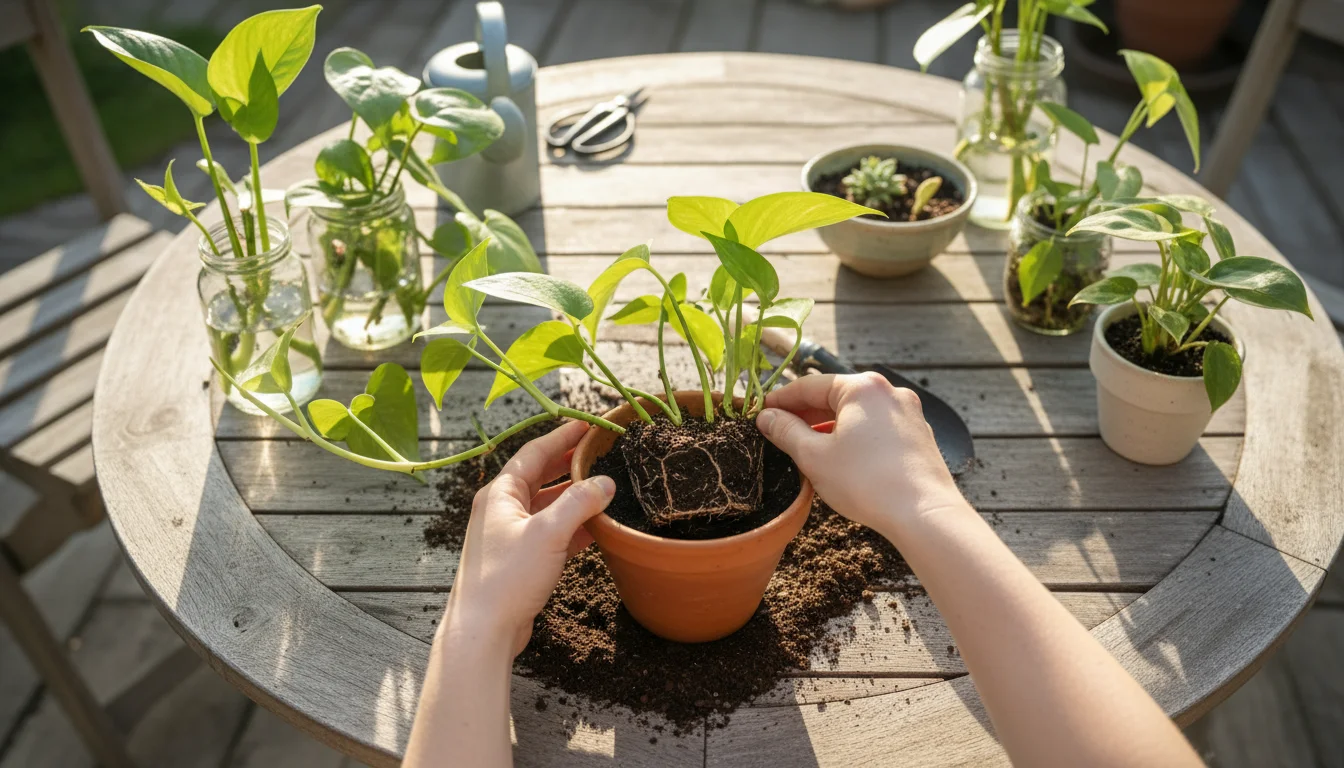
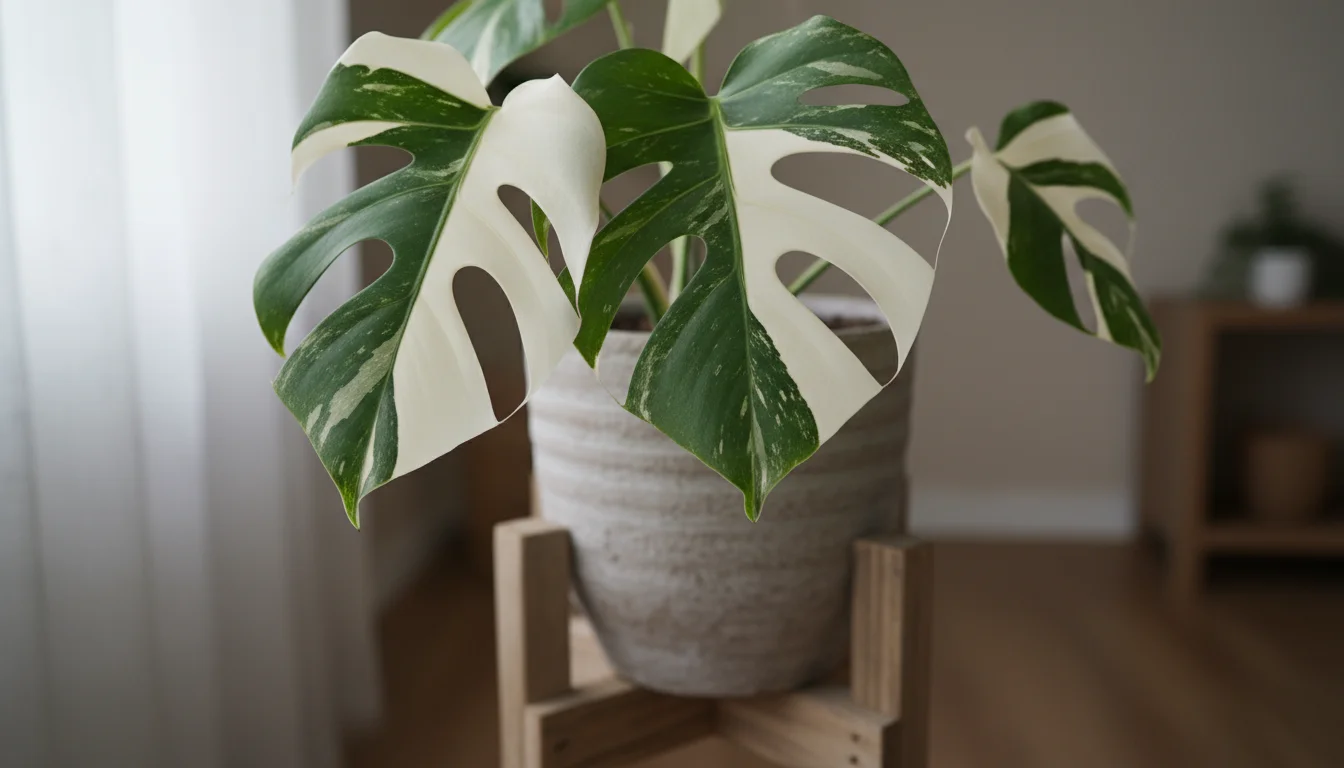
Potting and Pruning for Indoor Success
Repotting and pruning are integral parts of preparing your plants for their indoor stay. These practices address root health, plant size, and overall vigor, contributing to a healthy transition. You want to ensure your plants are in suitable containers with good soil and have an appropriate growth habit for indoor living.

Repotting Considerations
- Evaluate Pot Size: If a plant has outgrown its current pot, meaning roots are circling the bottom or emerging from drainage holes, now is the time to repot. Choose a pot only one size larger (e.g., from 6-inch to 8-inch). Too large a pot holds excess moisture, leading to root rot.
- Fresh Potting Mix: As mentioned in the pest patrol section, fresh, sterile potting mix is crucial. It minimizes the risk of bringing in soil-borne pests or diseases. A good potting mix provides aeration, drainage, and nutrients. Drainage refers to how easily water moves through the soil, preventing roots from sitting in stagnant water. Ensure your chosen mix is appropriate for your specific plant type; succulents prefer fast-draining gritty mixes, while ferns need moisture-retentive but still well-draining soil.
- Clean Pots: Always use clean pots, whether they are new or previously used. Sterilize old pots with a 10% bleach solution (1 part bleach to 9 parts water) to kill any lingering pathogens or pest eggs.
- Root Health Check: When repotting, inspect the roots. Trim off any rotten, mushy, or damaged roots with clean, sharp shears. Healthy roots appear firm and typically white or light colored.
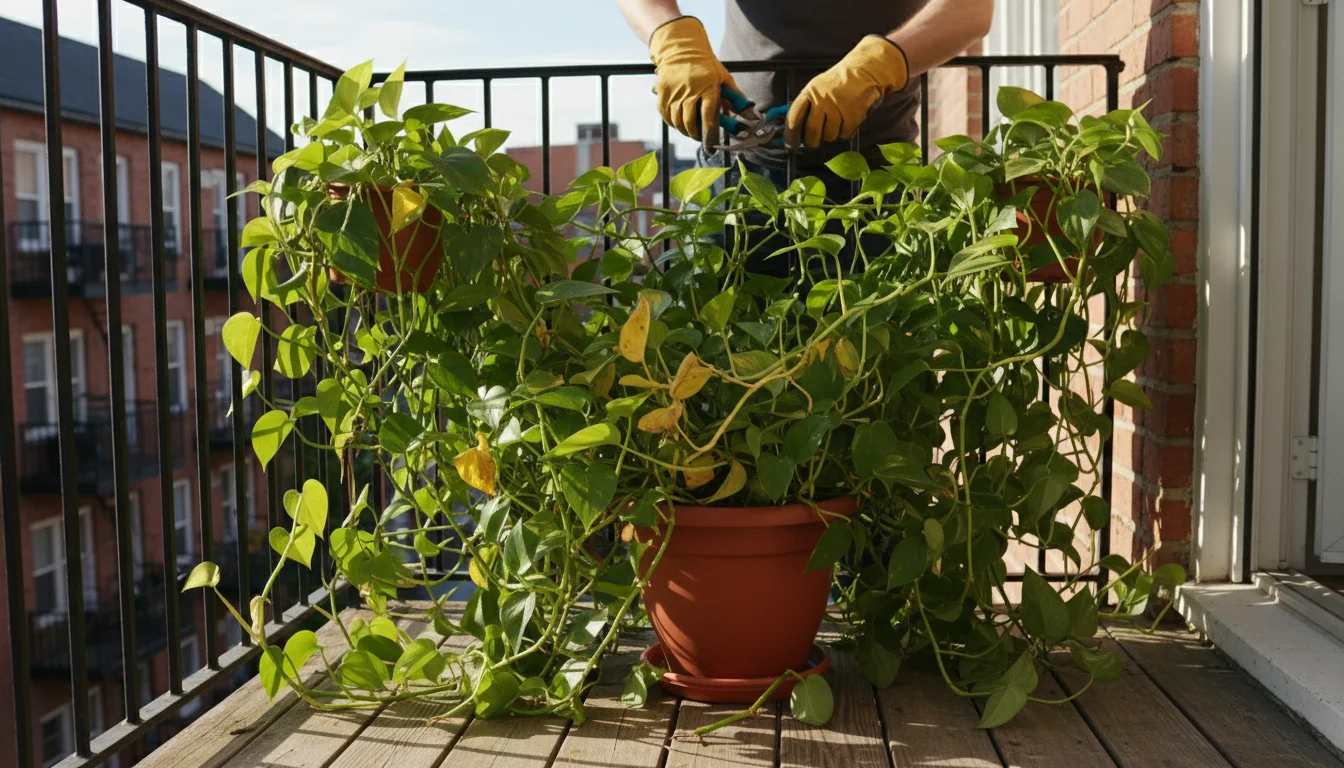
Strategic Pruning
Pruning before moving indoors offers several benefits:
- Remove Damaged Growth: Cut off any dead, diseased, or yellowing leaves and stems. This prevents the spread of disease and directs the plant’s energy towards healthy growth.
- Reduce Size: Large plants can become cumbersome indoors. Pruning back excessive growth helps manage their size, making them fit better in your living space. It also reduces the plant’s overall demand for light and water, which are typically less abundant indoors.
- Shape the Plant: Use pruning to improve the plant’s shape, encouraging bushier growth or directing its form. Cut just above a node (where a leaf or branch emerges) to stimulate new growth from that point.
- Minimize Pest Hiding Spots: Dense foliage provides excellent hiding spots for pests. Thinning out the plant improves air circulation and makes future pest inspections easier.
- Manage Flowering: For some flowering plants, you might prune off spent blooms or even some developing buds to encourage the plant to put energy into root and leaf development during the transition, rather than expending energy on flowers that may not fully develop indoors due to changing conditions.
Use clean, sharp pruning shears or scissors to make clean cuts, preventing damage that could invite disease. Sterilize your tools between plants to avoid transmitting any pathogens. These efforts ensure your plants are in their best possible shape to thrive in their new indoor environment.
Watering, Light, and Humidity: New Indoor Routines
Once your plants are indoors, their care routine must change significantly from their outdoor summer schedule. Indoor conditions, especially during fall and winter, differ greatly from the bright, airy, and often more humid outdoors. Adjusting your watering, light, and humidity strategies is crucial for their survival and health.
Watering Wisdom
The most common mistake gardeners make with indoor plants is overwatering. Indoors, plants typically use less water because of lower light levels, reduced air circulation, and often cooler temperatures. Their growth slows down, requiring less moisture. Water deeply but infrequently.
- Check Soil Moisture: Do not water on a fixed schedule. Instead, feel the soil. Stick your finger about an inch or two into the soil. If it feels dry, it is time to water. For larger pots, a moisture meter can provide a more accurate reading.
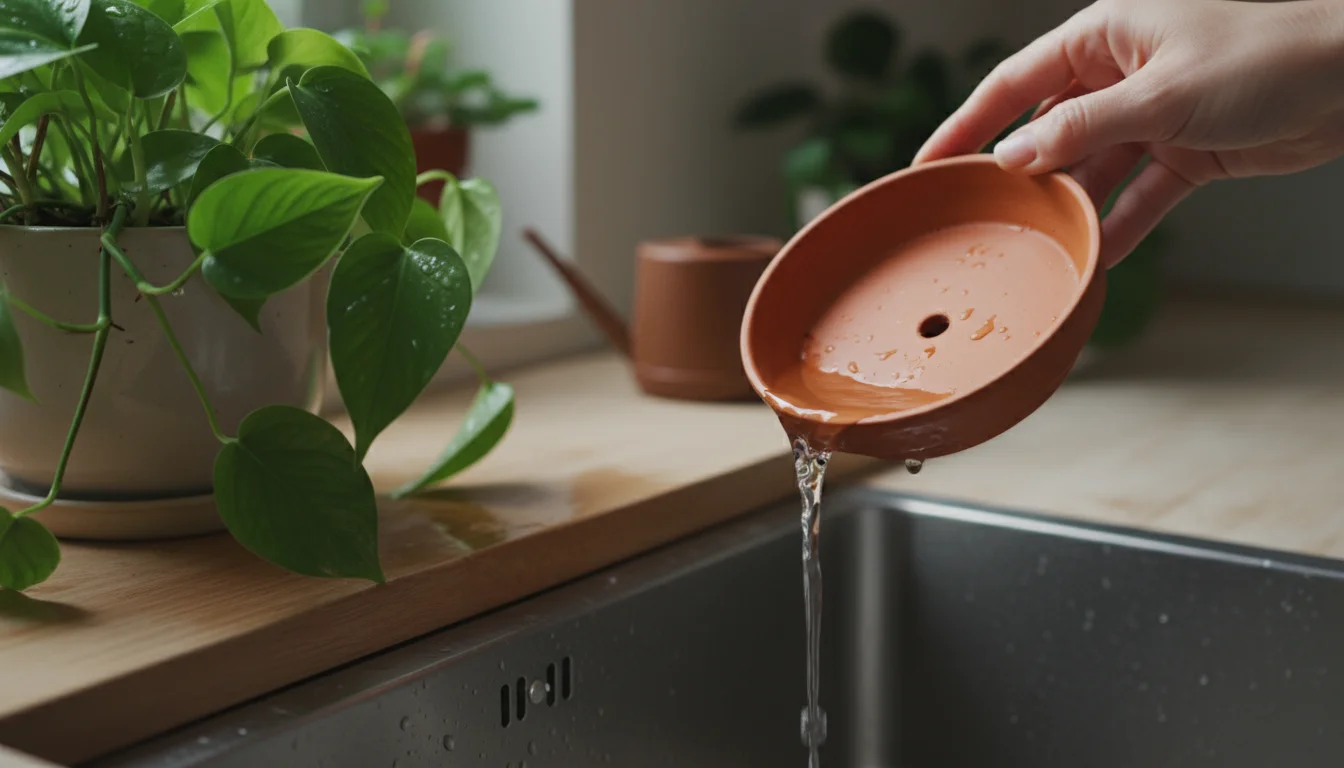
- Drainage is Key: Always ensure your pots have drainage holes. When you water, allow water to flow freely from the bottom of the pot. Empty any excess water from the saucer after 15-30 minutes. This prevents roots from sitting in standing water, which leads to root rot.
- Adjust for Dormancy: Many plants enter a period of semi-dormancy in winter. They require even less water during this time.
- Water Temperature: Use room-temperature water. Cold water can shock roots.
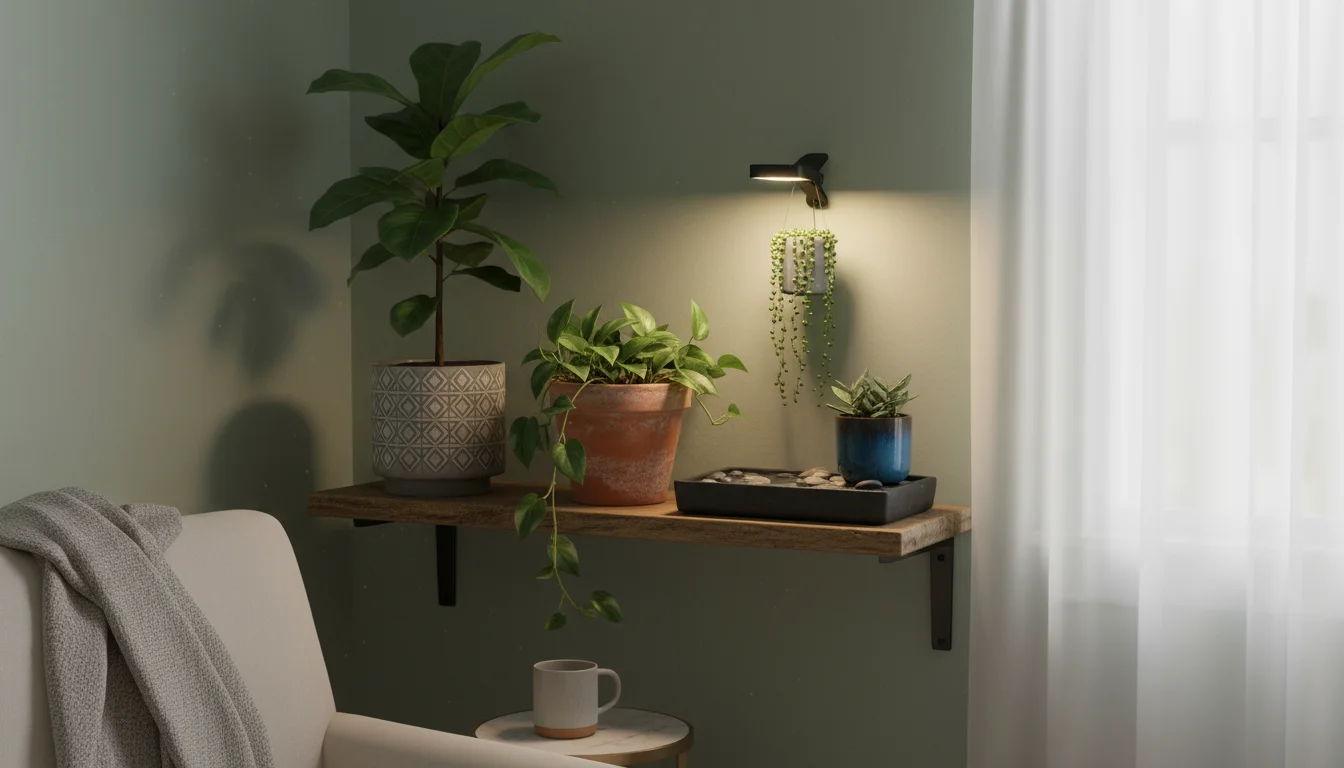
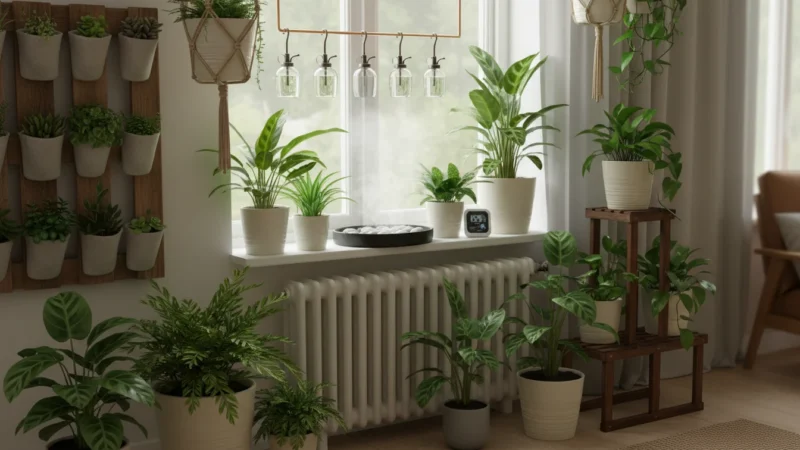
Light Considerations
Indoor light is often insufficient, especially during shorter fall and winter days. Most homes offer far less natural light than plants receive outdoors.
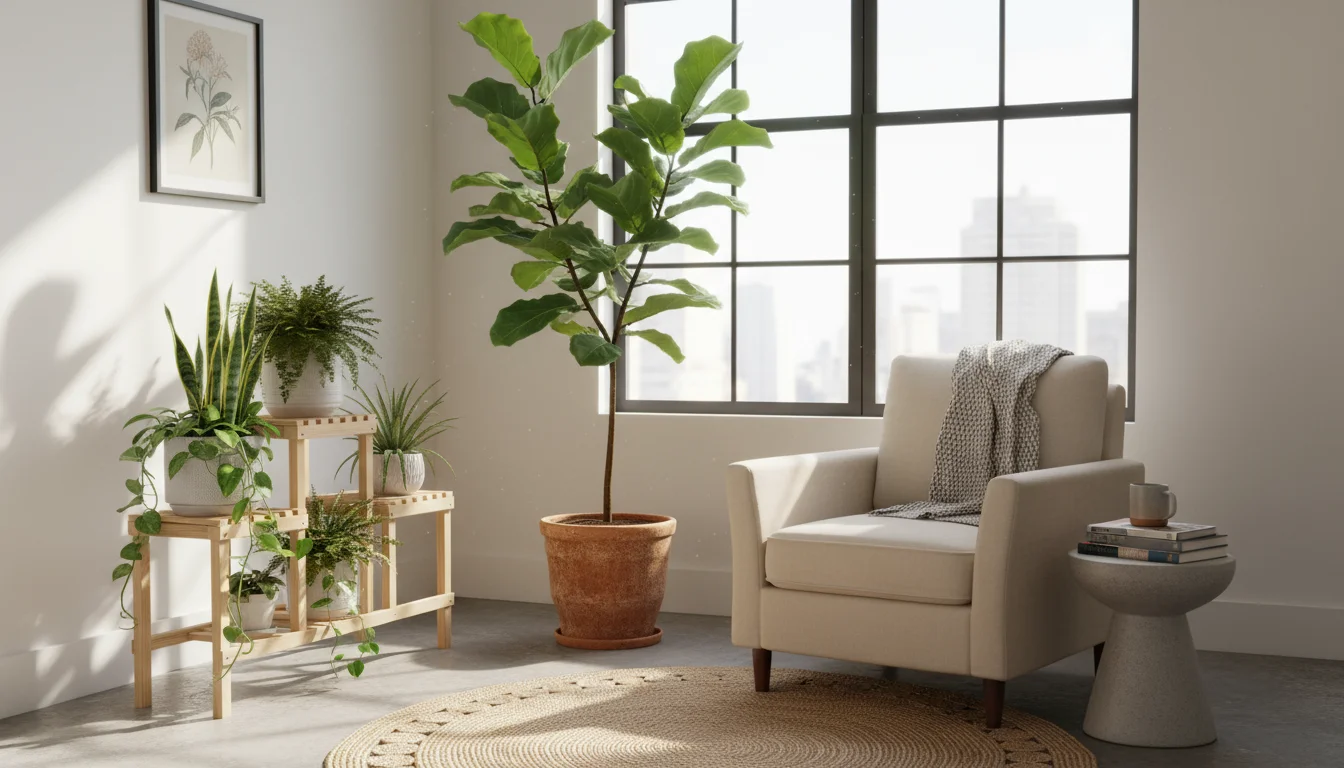
- Assess Available Light: Identify the brightest spots in your home. South-facing windows offer the most intense light, followed by east and west. North-facing windows provide the least.
- Rotate Plants: To ensure even growth, rotate your plants every week or two. This prevents them from leaning towards the light source.
- Supplement with Grow Lights: If natural light is inadequate, especially for light-loving plants or during exceptionally dark winters, consider using artificial grow lights. Modern LED grow lights are energy-efficient and effective, providing the full spectrum of light plants need. Position them according to the manufacturer’s instructions, typically 12-24 inches above the plant canopy, for 10-14 hours daily.
- Clean Leaves: Dust accumulates on leaves, blocking light absorption. Gently wipe leaves clean with a damp cloth every few weeks.
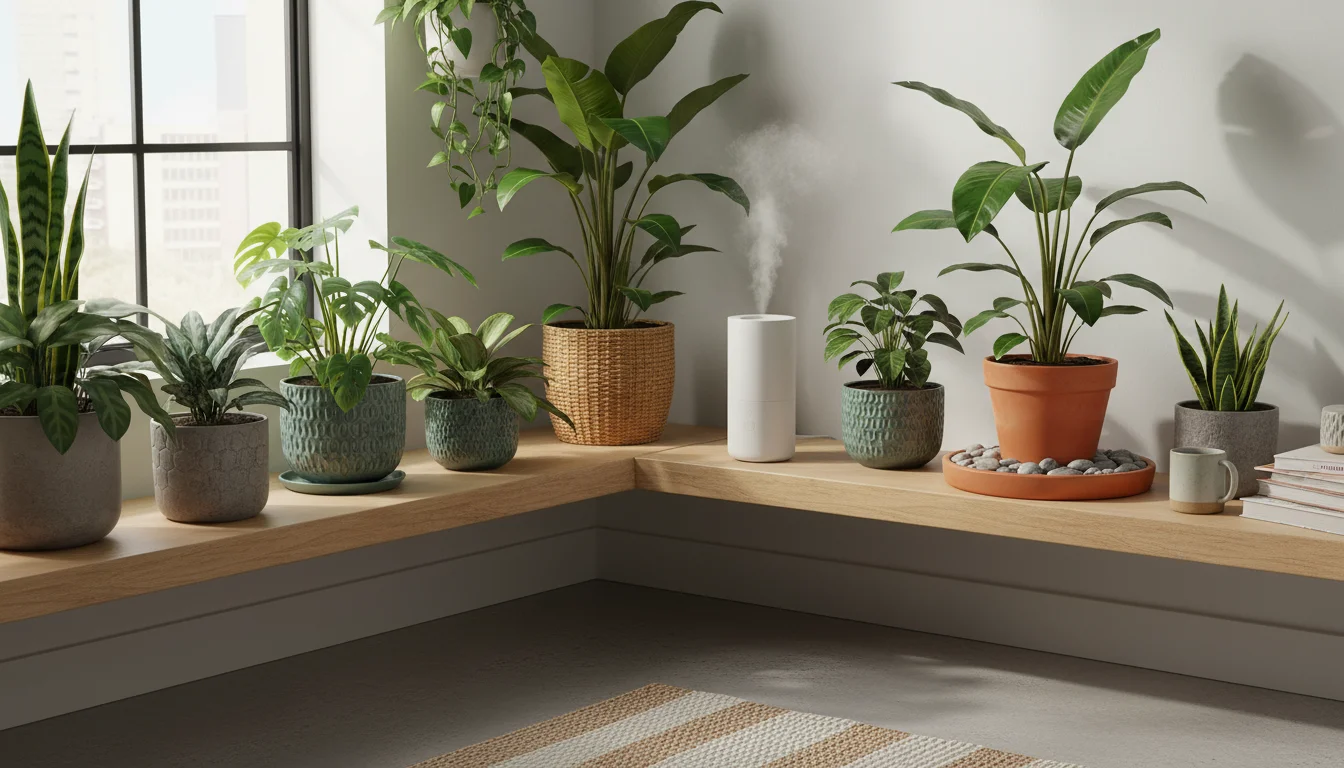
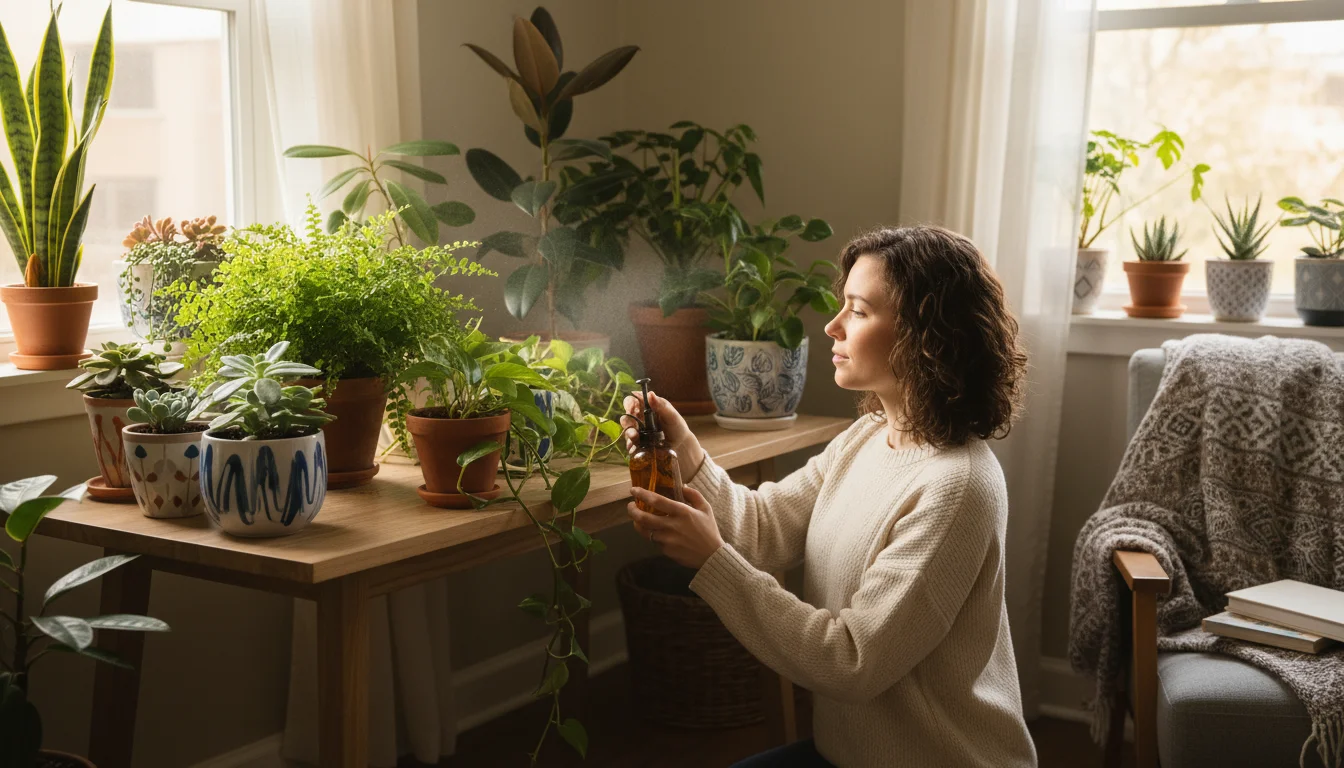
Humidity Hacks
Indoor heating systems drastically reduce humidity, which can stress many tropical houseplants. Symptoms of low humidity include brown leaf tips, wilting, and increased susceptibility to spider mites.
- Humidifiers: The most effective way to increase ambient humidity is to use a room humidifier.
- Pebble Trays: Place pots on trays filled with pebbles and water, ensuring the bottom of the pot does not sit in the water. As the water evaporates, it raises humidity around the plant.
- Group Plants: Plants release moisture through transpiration. Grouping them together creates a microclimate with slightly higher humidity.
- Avoid Misting (mostly): While misting provides a temporary boost, it often raises humidity for only a few minutes and can encourage fungal diseases if water sits on leaves for too long. Focus on more consistent methods.
By carefully adjusting these three crucial factors, you provide your indoor plants with the best possible conditions to thrive, ensuring they stay healthy and vibrant throughout the colder months.
Preventing Fungus Gnats and Other Indoor Pests
Even with thorough debugging, indoor environments present new challenges and attract different types of pests. Fungus gnats are perhaps the most common and annoying indoor pest, but others can also emerge. Proactive prevention is always easier than eradication.
Understanding Fungus Gnats
Fungus gnats are small, dark, mosquito-like flies that hover around the soil surface of houseplants. The adults are harmless to plants, but their larvae, which live in the top layers of moist soil, can feed on delicate roots, especially in seedlings or stressed plants. They thrive in consistently wet soil.
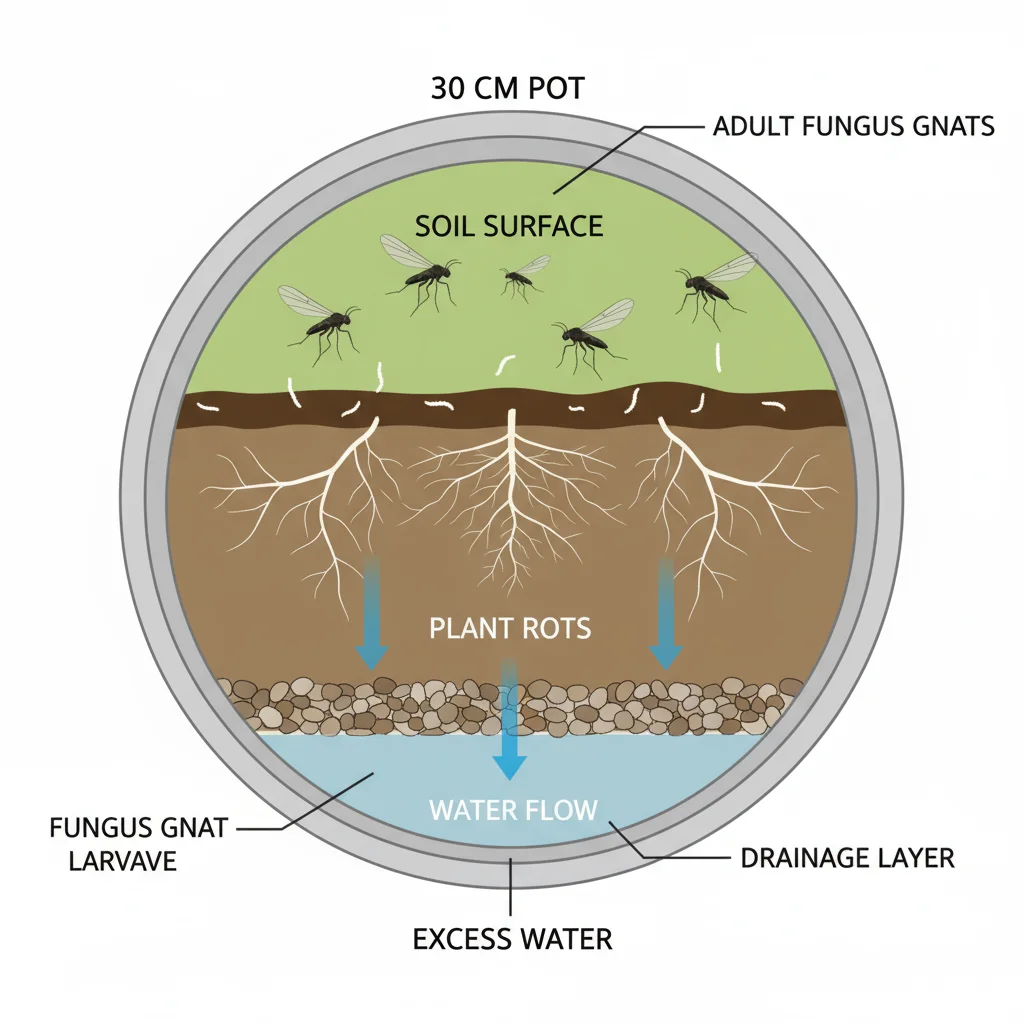
- Prevention: Water Control: The best prevention is to avoid overwatering. Allow the top inch or two of soil to dry out completely between waterings. This creates an inhospitable environment for fungus gnat larvae.
- Prevention: Top Dressing: You can apply a layer of horticultural sand, fine gravel, or diatomaceous earth (a natural, abrasive powder) on the soil surface. This creates a physical barrier that prevents adult gnats from laying eggs in the soil and emerging larvae from reaching the surface.
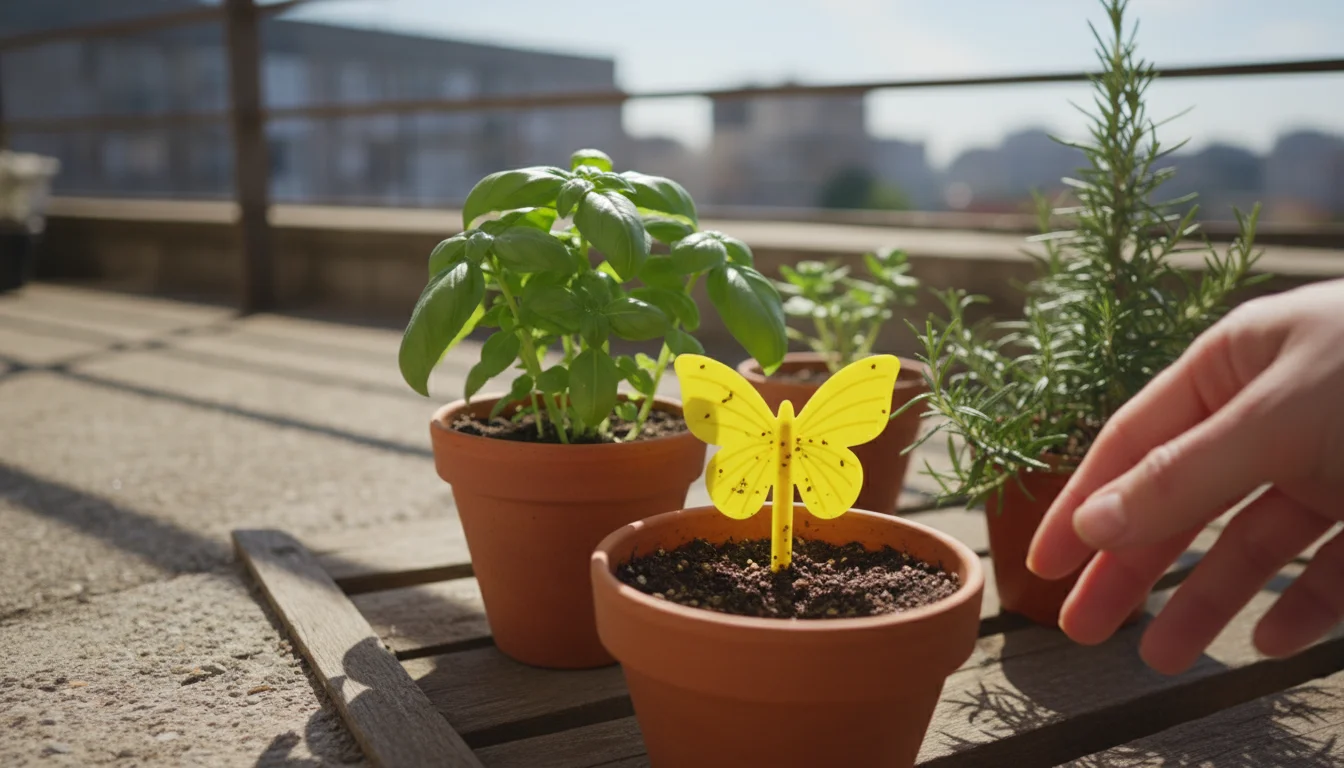
- Treatment: Yellow Sticky Traps: Place yellow sticky traps near your plants. Adult fungus gnats are attracted to the color yellow and will get stuck, helping to reduce the adult population and interrupt their breeding cycle.
- Treatment: BTI (Bacillus thuringiensis israelensis): This naturally occurring bacterium, available in various products (like Mosquito Bits), can be steeped in your watering can. When applied to the soil, the larvae ingest it and die. It is safe for humans, pets, and beneficial insects.
Dealing with Other Common Indoor Pests
Despite your best efforts, sometimes pests resurface or new ones appear.
- Spider Mites: These tiny pests thrive in dry, warm conditions. Increase humidity around affected plants. Rinse foliage with water frequently. Use insecticidal soap or neem oil spray, ensuring you cover the undersides of leaves. Repeat applications are necessary to break their life cycle.
- Mealybugs and Scale: Continue to use rubbing alcohol on a cotton swab for direct removal. For larger infestations, insecticidal soap or neem oil applied thoroughly can help. Systemic insecticides may be considered for severe, recurring problems, but use them cautiously and always follow label directions.
- Aphids: Often less common indoors unless brought in, aphids are easily controlled with strong water sprays to dislodge them, or insecticidal soap.
General Pest Management Strategies
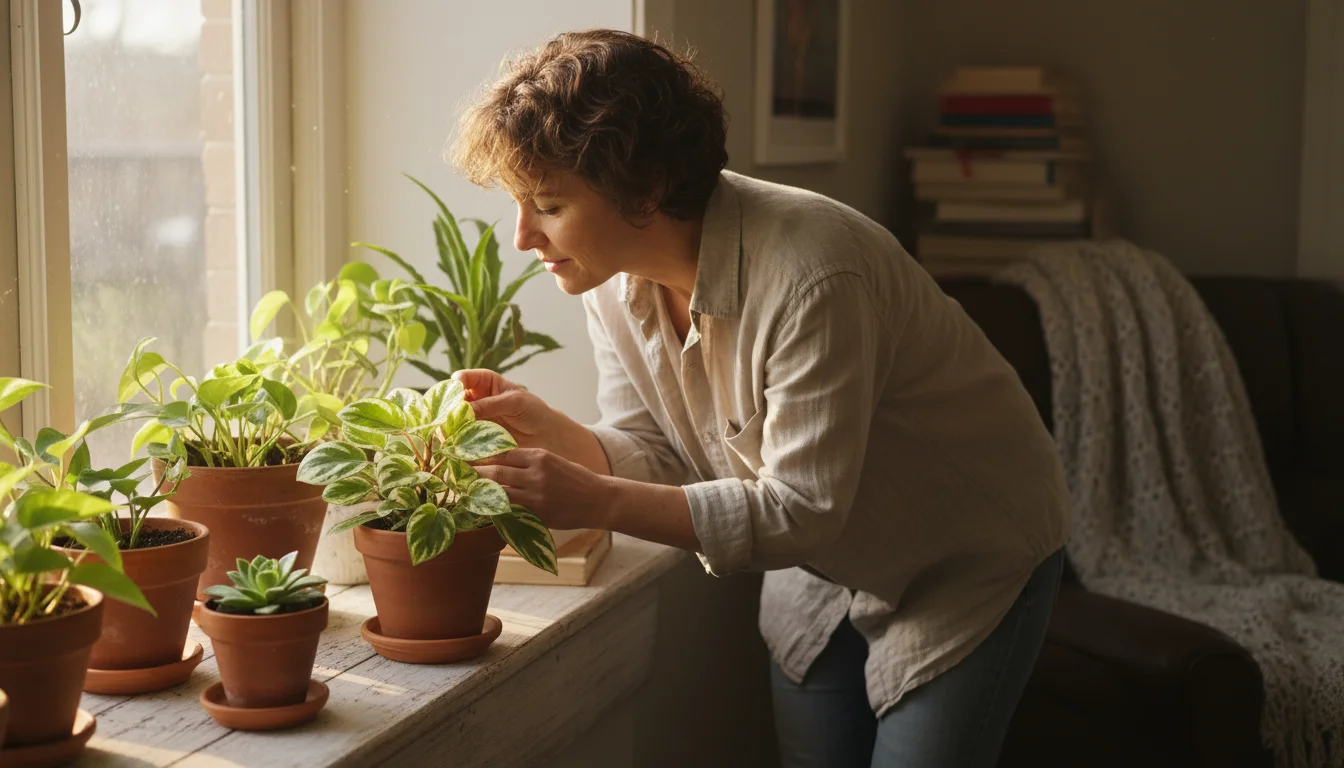
- Regular Inspection: Make checking your plants for pests a weekly habit. Early detection makes eradication much easier.
- Quarantine New Plants: Always isolate any new plant you bring into your home for a few weeks before introducing it to your existing collection. This prevents any hidden pests from spreading.
- Good Air Circulation: Proper air circulation can deter some pests and prevent fungal issues that weaken plants, making them more susceptible to infestations.
- Cleanliness: Remove fallen leaves or debris from the soil surface and around pots. These can provide hiding spots for pests.
Your consistent vigilance and appropriate responses will ensure your indoor garden remains a healthy and thriving sanctuary, free from persistent pest problems. You empower yourself to maintain a vibrant living space without resorting to harsh chemicals if you understand these preventative and reactive measures.
Troubleshooting Common Indoor Houseplant Problems
Even with the best intentions and meticulous care, your houseplants might show signs of distress indoors. Understanding these common problems and their solutions allows you to quickly diagnose and address issues, keeping your plants healthy.
Yellowing Leaves
- Cause: Overwatering. This is the most frequent culprit. Roots deprived of oxygen begin to rot, preventing water and nutrient uptake.
- Solution: Allow the soil to dry out more between waterings. Check the soil moisture depth before watering. Ensure good drainage.
- Cause: Underwatering. While less common for overall yellowing, severely underwatered plants can show yellow, crispy lower leaves.
- Solution: Water thoroughly until water drains from the bottom. Establish a consistent watering rhythm based on soil dryness.
- Cause: Nutrient Deficiency. Yellowing, especially in older leaves, can indicate a lack of nitrogen or other essential nutrients.
- Solution: Fertilize sparingly during the growing season (spring and summer) with a balanced houseplant fertilizer. Reduce or stop fertilizing in fall and winter when growth slows.
- Cause: Light Deficiency. Plants moved to a much darker spot can yellow as they shed leaves no longer efficient in low light.
- Solution: Move the plant to a brighter location or supplement with a grow light.
Brown Leaf Tips or Edges
- Cause: Low Humidity. Indoor heating dries out the air, leading to brown, crispy leaf tips.
- Solution: Increase humidity around the plant using a humidifier, pebble tray, or grouping plants together.
- Cause: Underwatering. Insufficient water supply prevents moisture from reaching the extremities of leaves.
- Solution: Check soil moisture and water thoroughly when the top few inches are dry.
- Cause: Mineral Buildup. Salts and minerals from tap water or fertilizer can accumulate in the soil, causing brown tips.
- Solution: Flush the soil periodically by watering thoroughly until water drains freely for several minutes. Consider using filtered water or rainwater.
Drooping or Wilting Leaves
- Cause: Underwatering. The plant lacks sufficient water to keep its cells turgid.
- Solution: Water thoroughly. The plant should perk up within a few hours.
- Cause: Overwatering (Root Rot). Ironically, root rot prevents roots from absorbing water, leading to wilting despite moist soil.
- Solution: Inspect roots; if mushy, repot in fresh, well-draining soil after trimming diseased roots. Adjust watering frequency.
- Cause: Temperature Stress. Sudden cold drafts or extreme heat can cause wilting.
- Solution: Move the plant away from windows, doors, or heating vents where temperatures fluctuate.
Stunted Growth or No New Growth
- Cause: Insufficient Light. Plants need light for photosynthesis, which fuels growth.
- Solution: Move to a brighter location or use a grow light.
- Cause: Nutrient Deficiency. Lack of essential nutrients inhibits growth.
- Solution: Fertilize during the active growing season (spring/summer).
- Cause: Pot-Bound. Roots have filled the pot, restricting growth.
- Solution: Repot into a slightly larger container.
- Cause: Dormancy. Many plants naturally slow or stop growth in fall and winter.
- Solution: This is normal. Reduce watering and stop fertilizing during this period.
By learning to read your plants’ signals, you can quickly become an expert at addressing their needs. Your ability to troubleshoot these common issues will keep your indoor garden flourishing, providing continuous joy and beauty throughout the year.
Frequently Asked Questions
Q: Can I bring outdoor annuals indoors?
A: Most outdoor annuals are genetically programmed to complete their life cycle in one growing season and typically do not transition well indoors for the winter. Plants like petunias, impatiens, and marigolds usually decline quickly indoors due to insufficient light and humidity, and they are often prone to bringing in heavy pest loads. While you can attempt to overwinter some, such as geraniums or coleus, by taking cuttings or providing exceptional conditions, it is generally more practical to compost them and start fresh with new plants in spring.
Q: Do all houseplants need to be repotted when brought inside?
A: No, not all houseplants require repotting when moved indoors. Repot only if the plant has clearly outgrown its current container, meaning roots are emerging from drainage holes or circling tightly within the pot, or if you suspect significant soil-borne pest issues that a full soil change would resolve. Otherwise, leave the plant in its existing pot. Repotting can be stressful, and combining it with the stress of an environmental change might be too much for the plant. A general rule is to repot in spring when the plant enters its active growing phase, not right before or during its dormant period.
Q: How often should I fertilize my plants once they are indoors for winter?
A: Reduce or completely stop fertilizing your plants once they are indoors for the fall and winter months. Most houseplants naturally enter a period of slower growth or dormancy due to decreased light levels and cooler temperatures. Fertilizing during this time can lead to a buildup of salts in the soil, which can burn roots and cause damage. Resume a regular fertilizing schedule in spring when you observe new, active growth. If you use a slow-release fertilizer, its effectiveness will naturally wane over the winter period, aligning with your plant’s needs.
Q: What if I find pests after bringing plants indoors?
A: If you discover pests after your plants are already indoors, immediately isolate the affected plant to prevent further spread. Begin with physical removal: wipe leaves, pick off larger pests, or spray with a strong stream of water in a sink or shower. For persistent pests, apply an insecticidal soap or neem oil spray, ensuring thorough coverage, especially on leaf undersides. Repeat treatments every 7-10 days for several weeks to break the pest’s life cycle. For fungus gnats, let the soil dry out significantly between waterings and use yellow sticky traps. Consistent monitoring and quick action are essential to control infestations.
Q: Is it safe to use chemical pesticides indoors?
A: Using chemical pesticides indoors requires extreme caution. Many products are not formulated for indoor use and can release harmful fumes, posing risks to humans and pets. Prioritize non-chemical methods like manual removal, water sprays, insecticidal soaps, neem oil, and sticky traps. If you must use a chemical pesticide, choose one specifically labeled for indoor use, apply it in a well-ventilated area (or even take the plant outdoors temporarily), wear appropriate protective gear, and follow all label instructions precisely. Always check if the product is safe for use around children and pets. For trustworthy information regarding pet safety and plants, you can visit ASPCA Animal Poison Control.
Enjoying Your Indoor Oasis This Fall and Winter
Bringing your houseplants indoors for fall is more than just a chore; it is an opportunity to cultivate a vibrant, living space that combats the grays of winter. By following this comprehensive checklist, you have taken significant steps to ensure a pest-free transition and set your plants up for success. You have proactively protected your garden investment, preventing common indoor gardening frustrations like pest outbreaks and plant decline.
Remember, your role as a gardener shifts slightly indoors. It becomes less about rapid growth and more about consistent care, observation, and providing stable conditions. Pay attention to your plants’ subtle cues; they will communicate their needs through their leaves, growth patterns, and overall vigor. Adjust your watering based on the plant’s actual needs, rather than a rigid schedule. Monitor light levels and supplement if necessary. Prioritize humidity, especially for tropical varieties, to prevent common winter ailments.
As you settle into your indoor gardening routine, you will find immense satisfaction in watching your plants thrive. They will continue to purify your air, add beauty, and bring a sense of calm and connection to nature, even when snow blankets the ground outside. Enjoy the peace and greenery your indoor oasis provides, knowing you have created a healthy environment for both your plants and your home. Your thoughtful efforts now guarantee a flourishing indoor garden throughout the colder months, a testament to your dedication and care.
For trustworthy gardening information, visit: New York Botanical Garden, ASPCA Animal Poison Control and Michigan State University Extension — Gardening. These organizations provide expert, research-based advice for gardeners at all levels.
Disclaimer: This article is for informational purposes only and is not a substitute for professional gardening advice. Always consult local extension services or horticulture experts for region-specific guidance.


Leave a Reply