
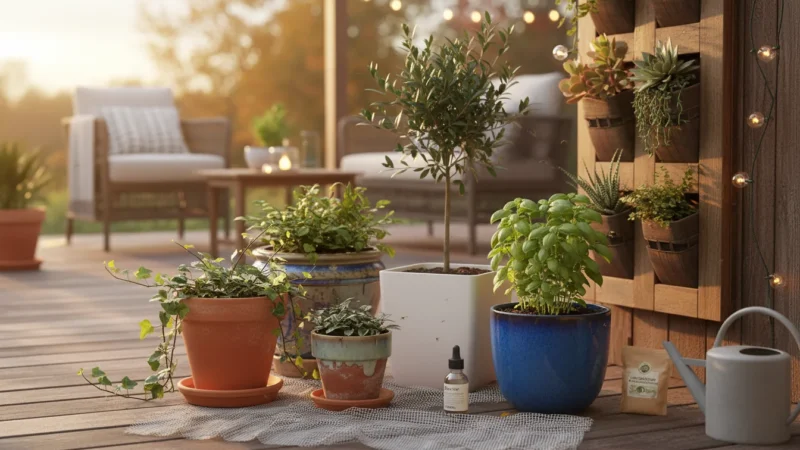
As the days shorten and temperatures drop, your beloved outdoor plants need a safe transition indoors. Bringing plants indoors for the colder months protects them from frost and extends their vibrant life. However, this process carries a hidden risk: introducing unwelcome pests into your home. A single unnoticed aphid or spider mite can quickly multiply, infesting your entire houseplant collection. You need a proactive strategy to safeguard your indoor green oasis.
This guide helps you establish a plant hospital, a dedicated quarantine zone, ensuring only healthy, pest-free plants join your indoor environment. We will walk you through setting up an effective plant isolation area in an apartment or any small space, detailing the necessary supplies, the inspection process, and ongoing care. By following these steps, you prevent houseplant pest prevention issues before they even begin, keeping your existing indoor plants safe and thriving.
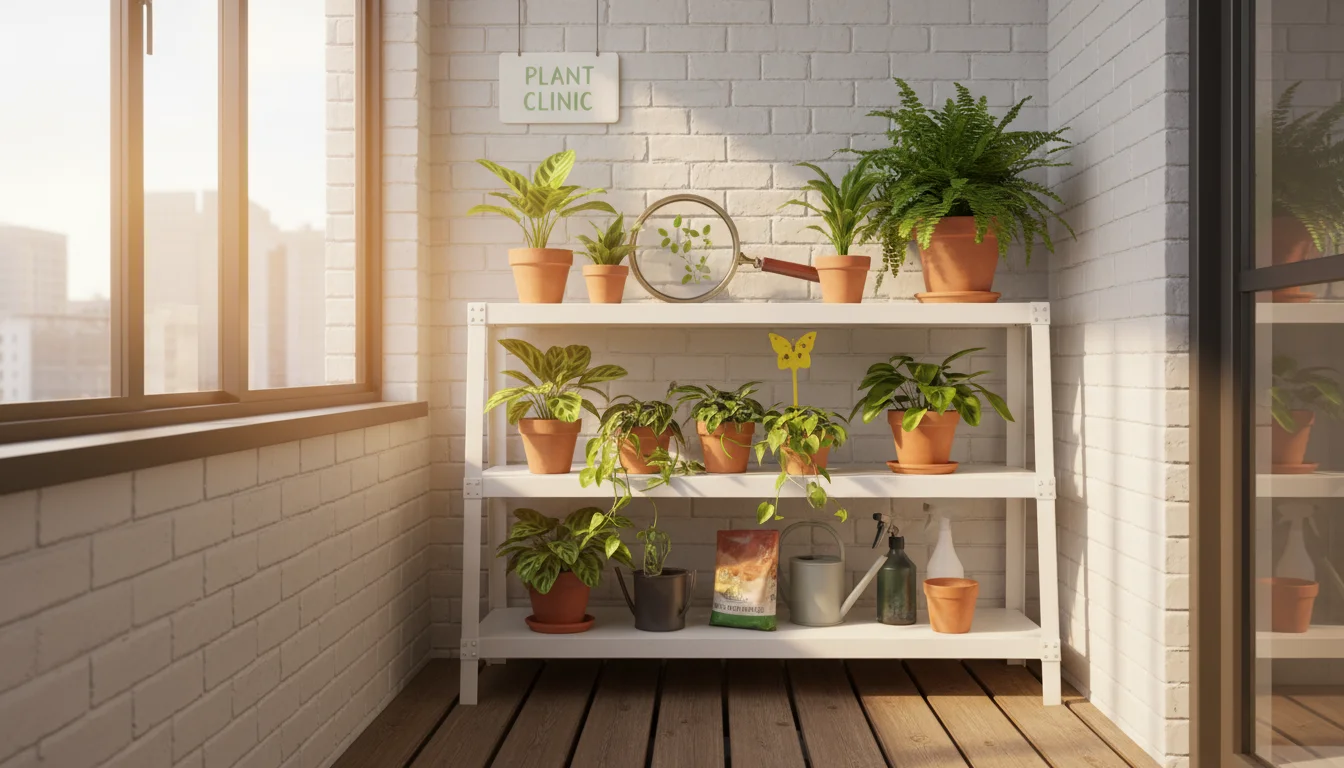
Why a Plant Hospital is Essential: Protecting Your Indoor Greenery
Imagine dedicating weeks to nurturing a vibrant houseplant, only for it to succumb to a sudden pest infestation. This scenario becomes a harsh reality for many gardeners bringing plants indoors without proper precautions. Outdoor environments teem with insects, some beneficial, others highly destructive to indoor plants. When you move plants inside, you inadvertently bring along any hitchhiking pests. These tiny invaders, like spider mites, mealybugs, or aphids, thrive in the stable, warm conditions of your home, quickly reproducing and spreading from one plant to another.
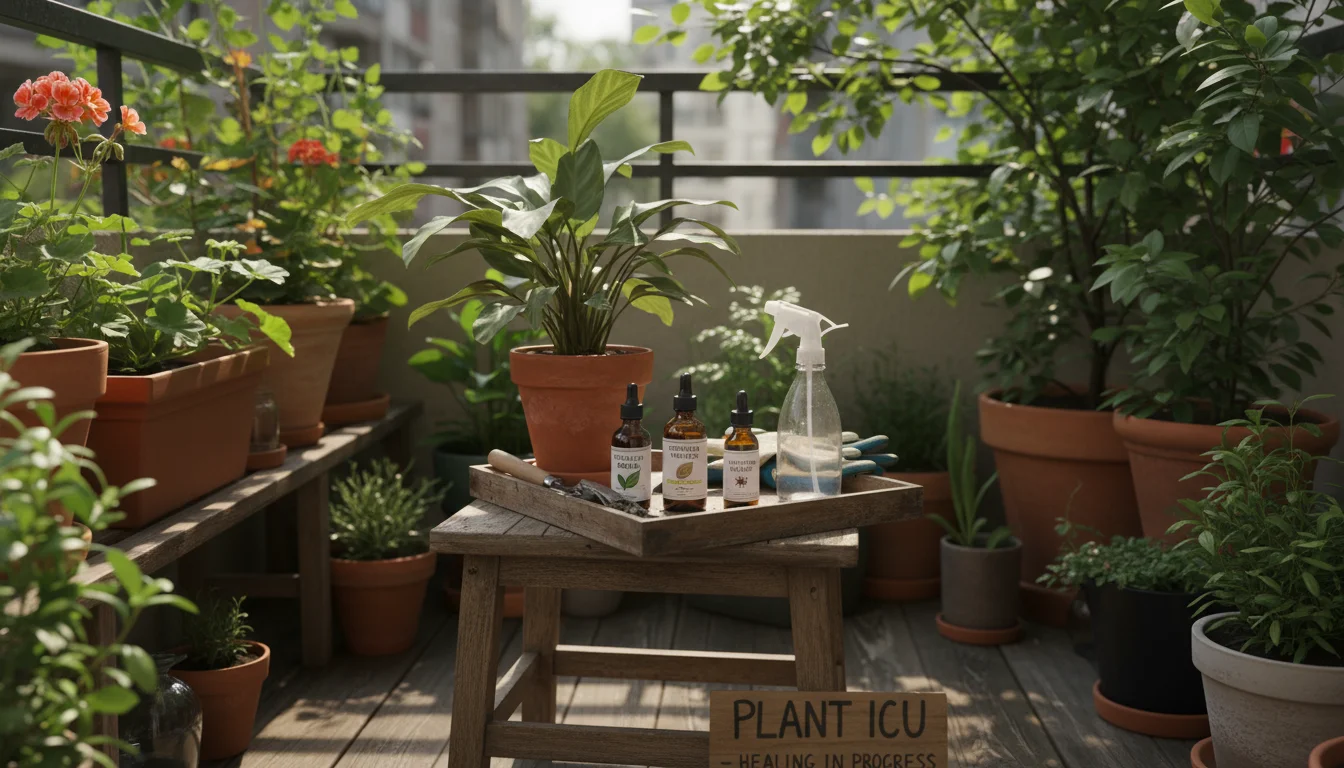
A plant hospital serves as a critical barrier, stopping these pests before they infiltrate your main collection. Think of it as an intensive care unit for your plants, where you can closely monitor their health, detect any issues early, and treat them without risking cross-contamination. This proactive approach saves you time, money, and the heartache of battling widespread infestations. It is a fundamental component of effective houseplant pest prevention. For instance, a single adult fungus gnat flying out of a newly introduced potted plant can lay hundreds of eggs in the moist soil of other plants, leading to a pervasive problem within weeks. Establishing a quarantine zone, even in a small apartment, cuts off this chain of transmission. You gain control over your indoor plant environment, ensuring it remains a sanctuary for healthy growth rather than a breeding ground for pests.
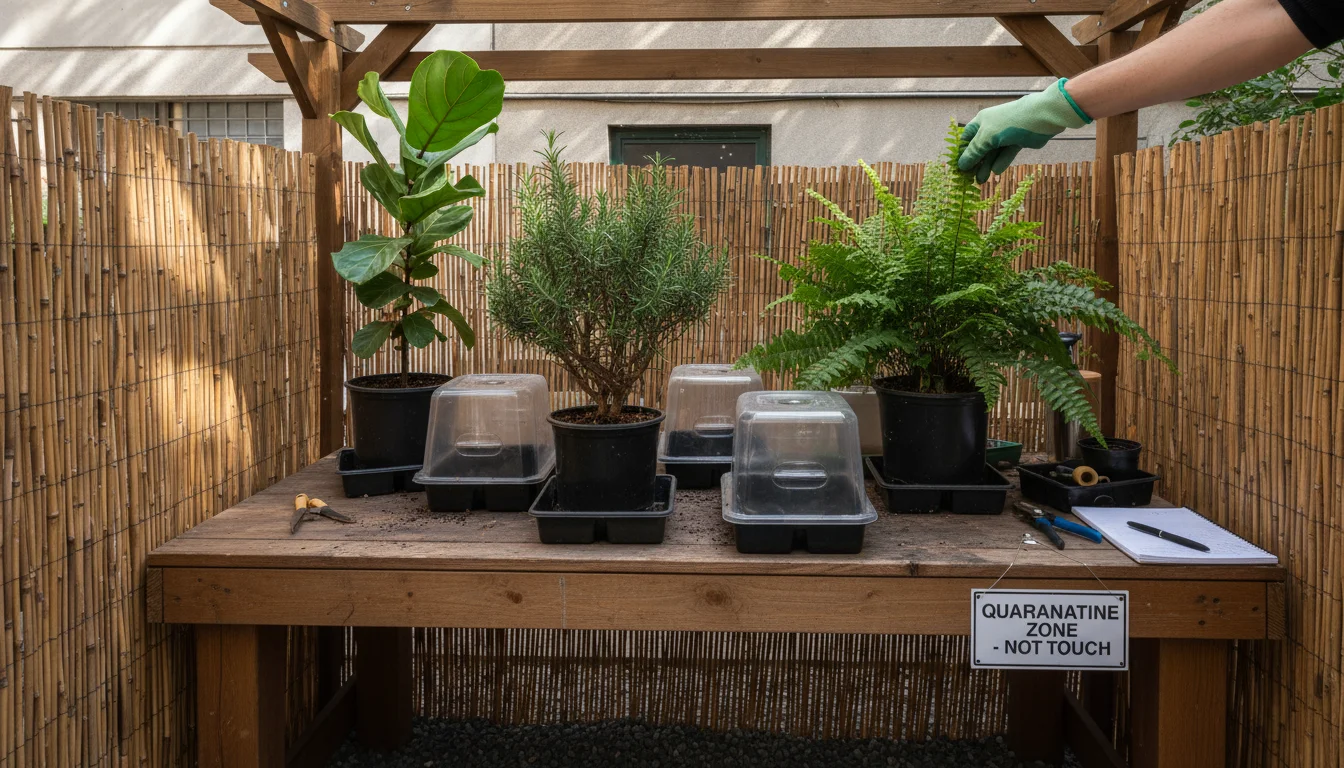
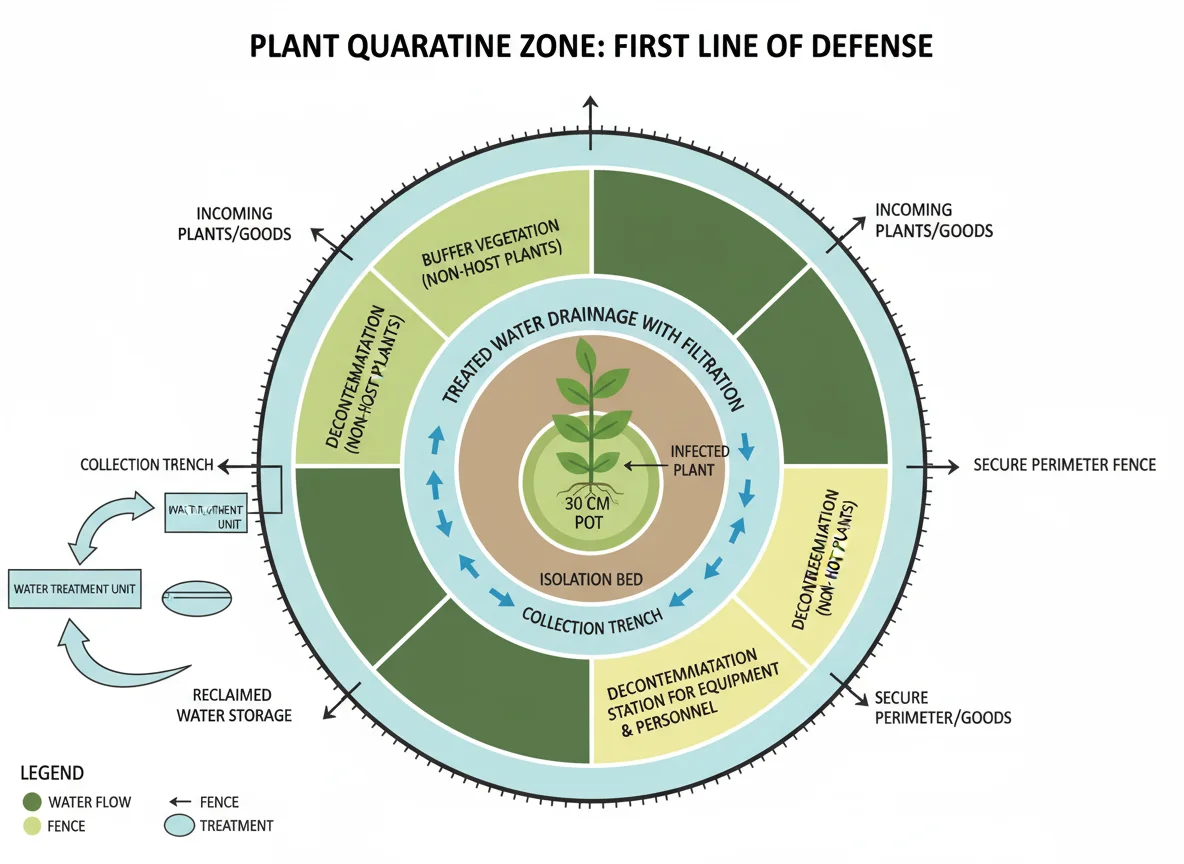
What is a Plant Quarantine Zone? Your First Line of Defense
A plant quarantine zone is a designated, isolated area where you keep new or returning plants for a specific period before introducing them to your established indoor collection. The primary goal is to observe these plants for any signs of pests or diseases and to treat any detected problems away from your other plants. This physical separation is vital for preventing the spread of infestations. Without a quarantine area, an unseen pest on one plant can jump to an adjacent plant, and then another, until your entire collection is compromised.
Effective quarantine involves more than just setting a plant in a separate room; it requires active monitoring and intervention. You provide the plant with its basic needs—light, water, and appropriate temperature—while meticulously inspecting it daily or every other day. This vigilance allows you to catch issues at their earliest, most manageable stage. For example, if you notice a few tiny, white cottony masses on a leaf stem, you immediately identify them as mealybugs. In a quarantine zone, you can treat that specific plant without worrying about the mealybugs crawling onto your prized fiddle leaf fig sitting nearby. This dedicated space empowers you to manage potential threats efficiently and effectively, turning potential crises into minor inconveniences.
Choosing the Right Location for Your Plant Hospital
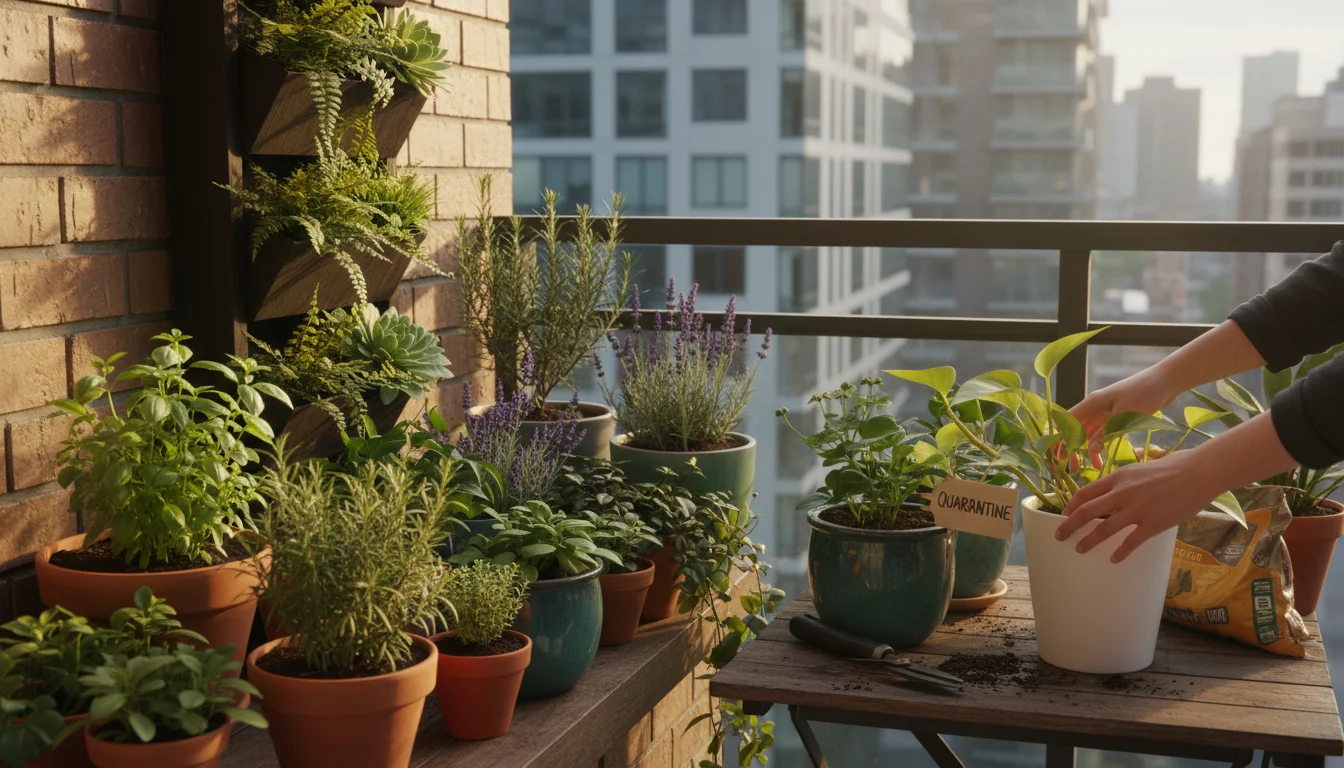
Selecting the ideal spot for your plant hospital is paramount, especially when space is limited, such as when setting up a plant isolation area in an apartment. The area must be physically separate from your main plant collection. This separation prevents any potential pests from migrating. Think about areas with good air circulation to deter fungal issues, and consider the light requirements of the plants you will be quarantining.
Keep in mind that indoor air can be quite dry, so you may need to boost humidity for plants during their isolation period.
Here are key considerations for choosing your plant hospital location:
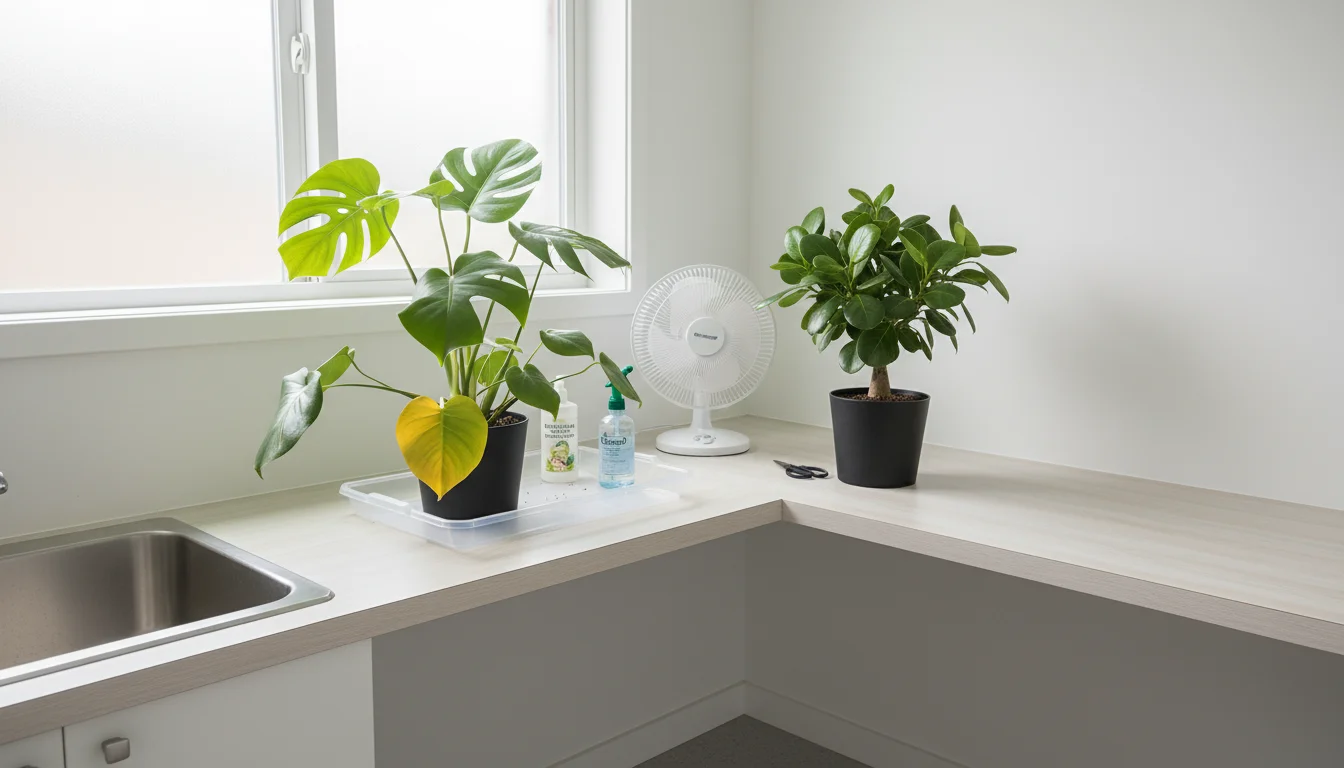
- Isolation: The most crucial factor. This area should be in a different room or at least several feet away from any existing indoor plants. A spare bedroom, a quiet corner of a bathroom, or even a section of a garage or utility room with adequate light works well. If you live in a small apartment, consider using a separate shelf or a dedicated table positioned far from your other plants, perhaps by a window in a rarely used area.
- Lighting: Most plants need light, even during quarantine. Choose a spot that offers natural light similar to what the plant prefers. If natural light is insufficient, consider supplementing with a grow light. Many affordable, compact LED grow lights are perfect for small spaces and provide the necessary spectrum for plant health without excessive heat.
- Temperature and Humidity: Maintain consistent temperatures, ideally between 60-75°F (15-24°C), which suits most houseplants. Avoid drafts from windows or heating vents, which can stress plants. While some pests, like spider mites, thrive in dry conditions, high humidity can also encourage fungal diseases. Strike a balance or adjust humidity as needed for specific plants.
- Accessibility: You need easy access to the plants for daily inspections, watering, and potential treatments. Do not tuck them away in a hard-to-reach corner where you might neglect regular checks.
- Surface Protection: Place plants on a waterproof tray or a protected surface. This protects your furniture from water spills and allows you to easily collect any pest debris or spilled soil during treatment.
For apartment dwellers, a small, collapsible shelving unit or a dedicated corner near a window that is not near your primary plant display can function perfectly. You prioritize distance and the ability to easily clean and monitor.
Essential Supplies for Your Plant Isolation Area
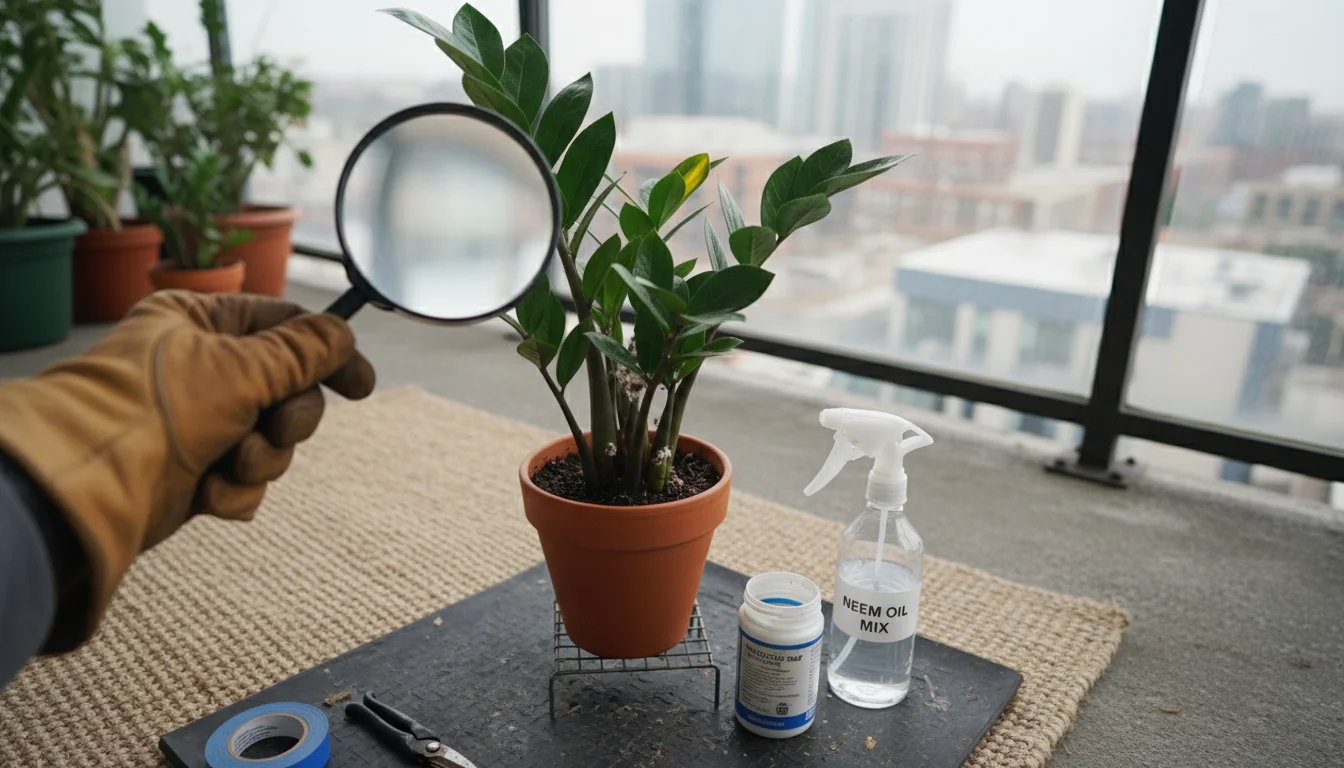
Setting up an effective plant hospital requires more than just a designated space. You need a specific toolkit to handle inspections, treatments, and general care without contaminating your other plants. Gathering these supplies beforehand makes the entire process of bringing plants indoors smoother and more efficient.
Before starting your quarantine, it is also helpful to know the best methods for cleaning and disinfecting your containers to ensure no pathogens remain from the summer season.
Using low-tech sticky traps is also a great way to monitor for any flying insects that might have hitched a ride indoors.
Here is a checklist of essential items for your plant isolation area:
- Waterproof Tray or Saucer: Use a sturdy, appropriately sized tray for each plant or a larger tray for multiple smaller plants. This catches excess water, keeps your surface clean, and contains any runoff from pest treatments.
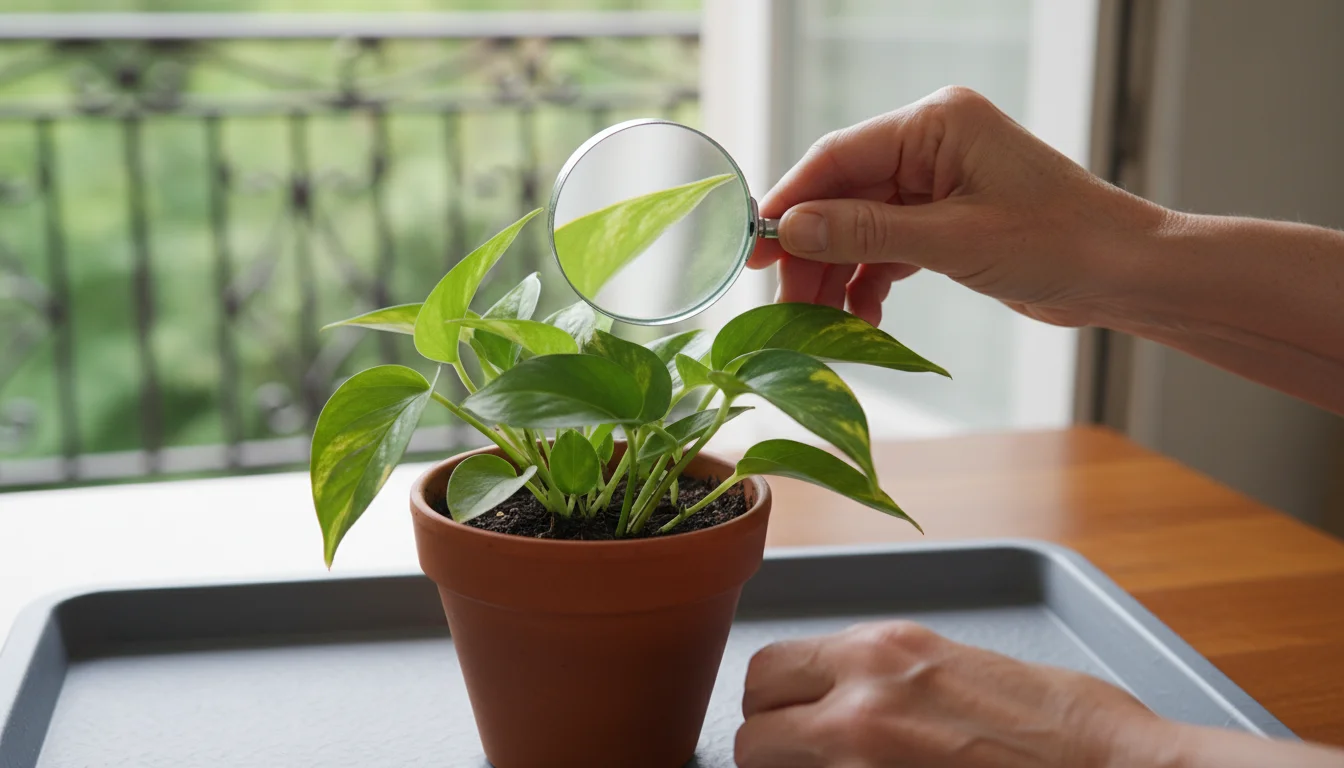
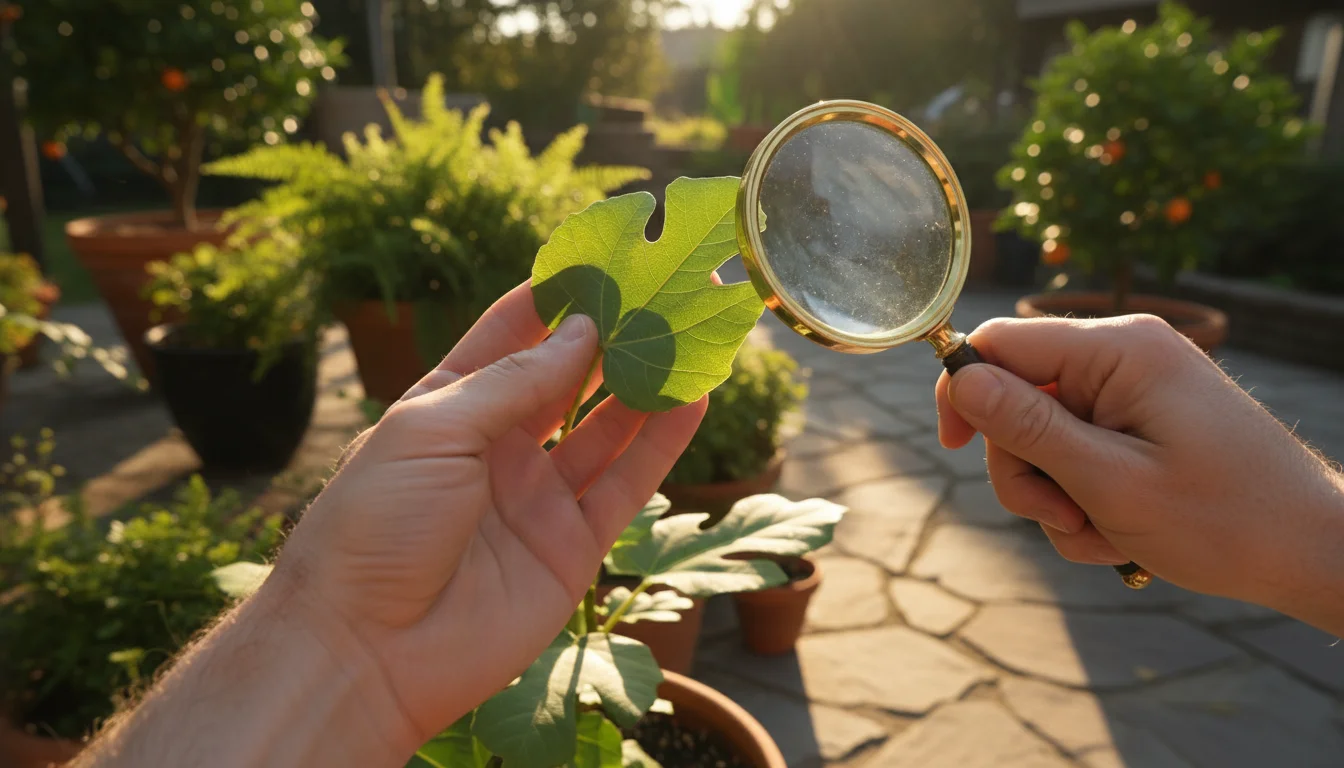
- Magnifying Glass: Pests are tiny. A good magnifying glass (10x magnification is ideal) reveals early signs of spider mites, thrips, or mealybug nymphs that are invisible to the naked eye. This tool is indispensable for your pest checklist for indoor plants.
- Rubbing Alcohol (70% isopropyl): An excellent contact killer for many soft-bodied pests like mealybugs and aphids. Keep a small spray bottle filled with it. Always test on a small leaf area first to ensure no adverse reaction.
- Insecticidal Soap: A non-toxic option effective against a broad range of common plant pests. You can buy pre-mixed solutions or make your own using mild liquid soap and water (ensure it is pure soap, not detergent). Always follow dilution instructions.
- Neem Oil: An organic pesticide and fungicide. Neem oil works as an anti-feedant and growth disruptor for many pests. Apply it as a foliar spray according to package directions. It also provides some systemic protection.
- Cotton Swabs or Soft Cloths: For wiping down leaves and gently removing visible pests by hand. Dip cotton swabs in rubbing alcohol for direct application to stubborn mealybugs.
- Pruning Shears or Scissors: Keep a dedicated pair for your quarantine area. Sterilize them before and after each use with rubbing alcohol to prevent disease transmission. You will use these to trim away damaged or heavily infested leaves.
- Gloves: Protect your hands when handling plants or applying treatments.
- Spray Bottle: A separate spray bottle for water to increase humidity or for applying treatment solutions. Label it clearly.
- Trash Bag: For disposing of infested leaves, soil, or dead pests. Seal it immediately and remove it from your home to prevent re-infestation.
- Small Brush or Soft Toothbrush: Useful for gently scrubbing pests off stems or out of leaf axils.
- Grow Light (Optional but Recommended): If your quarantine area lacks sufficient natural light, a compact grow light ensures your plants remain healthy and less stressed during isolation. Stressed plants are more susceptible to pests.
Having these items readily available in your plant isolation area streamlines the quarantine process, allowing you to react quickly and effectively to any pest detection.
The Step-by-Step Quarantine Process: How to Quarantine New Plants
The heart of houseplant pest prevention lies in a thorough, consistent quarantine process. This systematic approach ensures you catch and address any potential issues before they become widespread problems. Follow these steps for every plant you bring indoors from an outdoor environment, or even new plants acquired from a nursery.
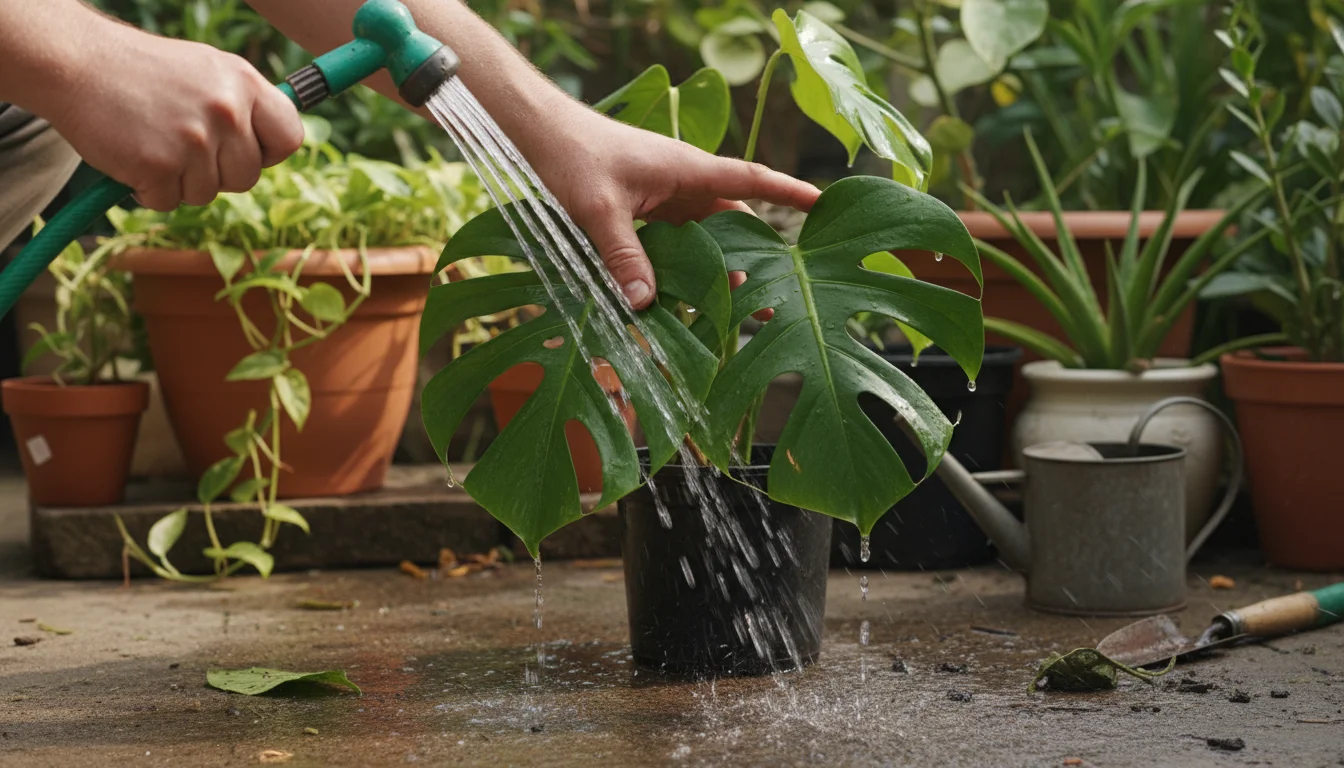
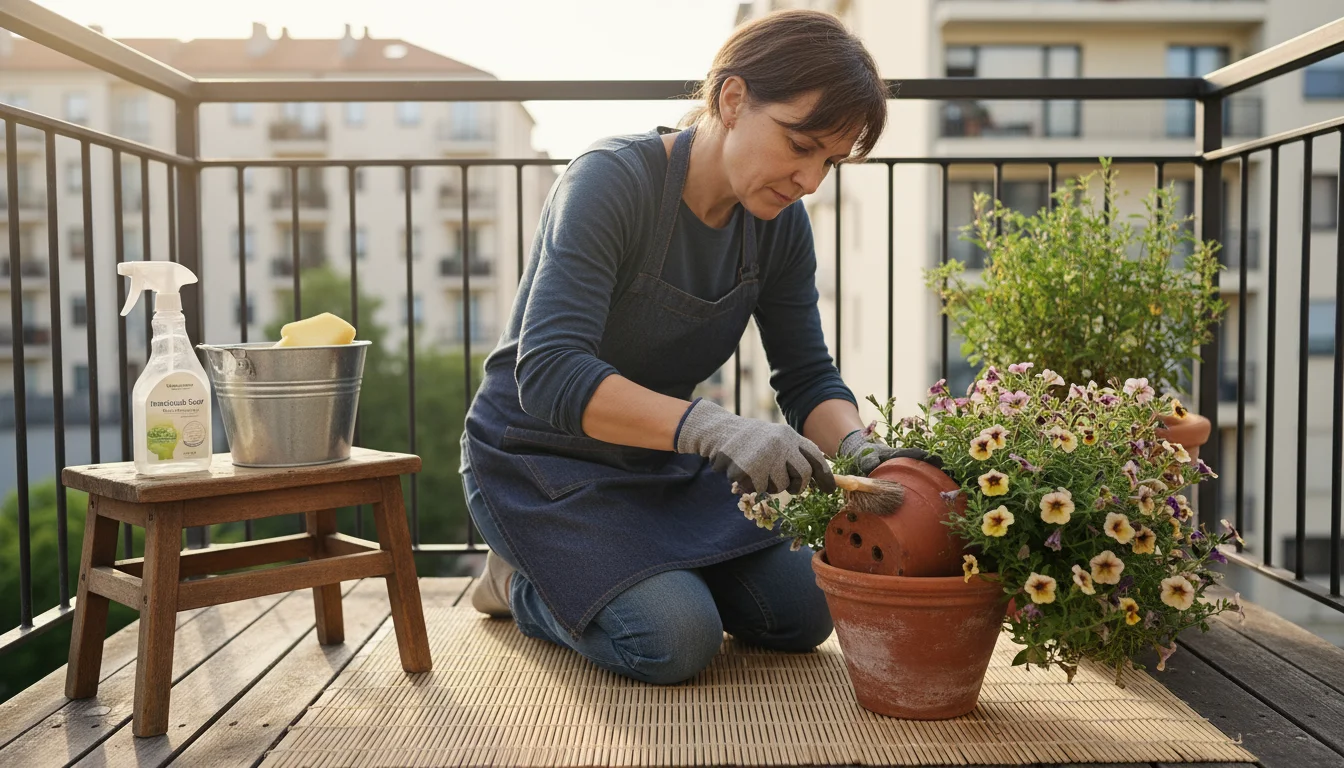
- Initial Inspection and Prep (Day 1):
- Outside Cleaning: Before bringing the plant into your house, give it a thorough rinse with a strong stream of water from a hose, focusing on the undersides of leaves and stems. This dislodges many surface pests.
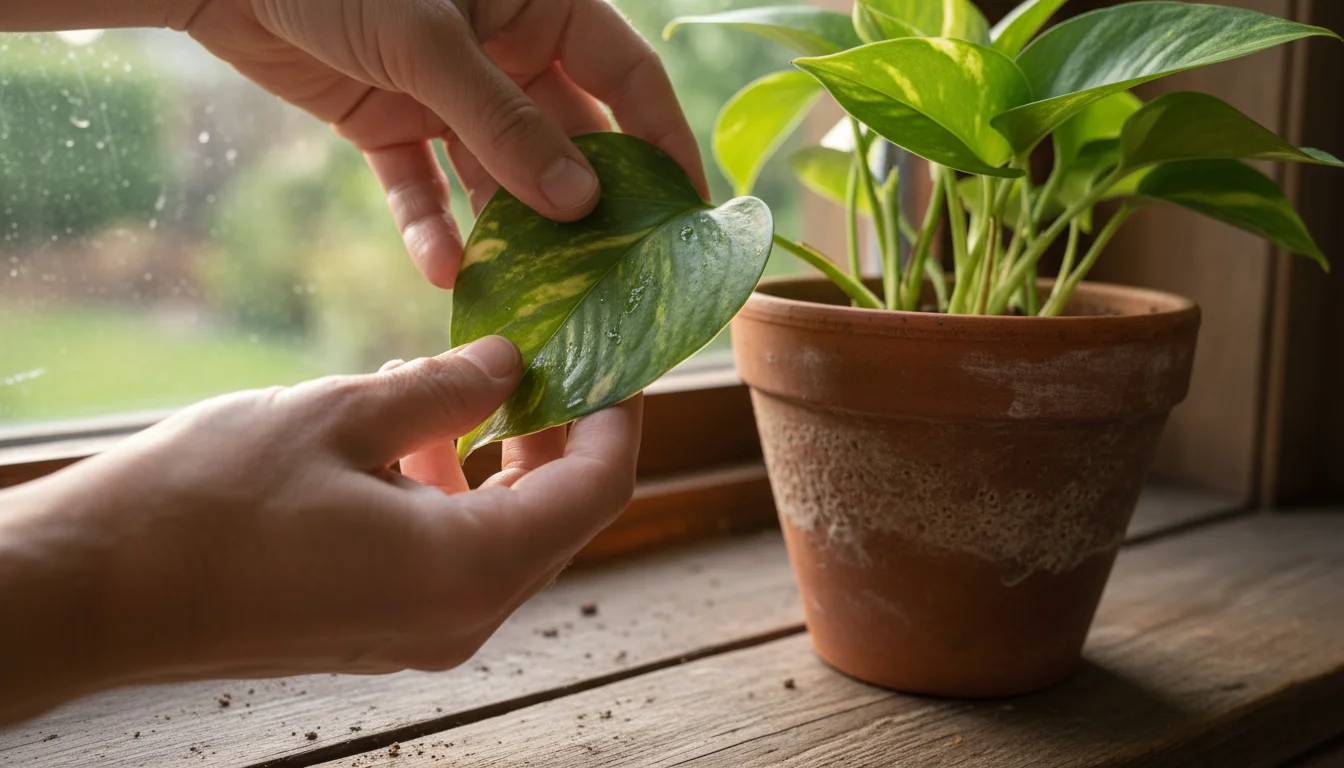
- Examine Thoroughly: Use your magnifying glass. Systematically check every part of the plant: tops and bottoms of leaves, stems, leaf axils (where leaves meet the stem), and the surface of the soil. Look for any movement, tiny dots, webbing, sticky residue, or cottony masses. Refer to the pest checklist below.
- Repot (Optional but Recommended): Consider repotting your plant into fresh, sterile potting mix. This eliminates any soil-borne pests (like fungus gnat larvae or certain nematodes) and gives you a chance to inspect the roots. Gently remove as much old soil as possible, inspect roots for rot or pests, and then replant in a clean pot with new soil. If you prefer not to repot, scrape off the top inch or two of soil and replace it with fresh soil.
- Clean the Pot: If reusing the old pot, scrub it thoroughly with soapy water and rinse. For ceramic or plastic pots, a 10% bleach solution can sterilize them, followed by a thorough rinse.
- Wipe Down Leaves: Using a soft cloth dampened with a mild insecticidal soap solution or diluted rubbing alcohol, carefully wipe down all leaf surfaces, top and bottom. This physically removes pests and eggs.
- Place in Quarantine Zone: Immediately move the prepped plant to your designated plant hospital, away from all other plants. Place it on its waterproof tray.
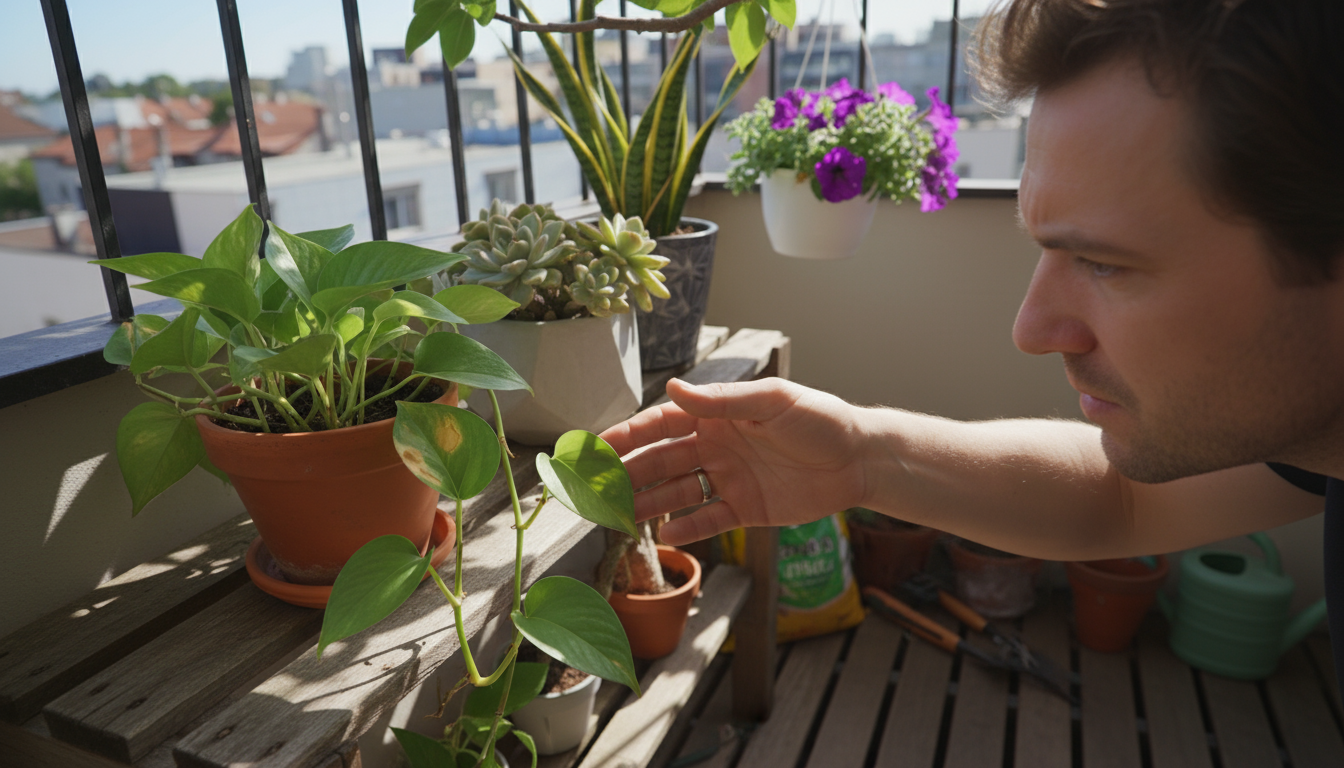
- Daily Monitoring (Weeks 1-2):
- Visual Checks: For the first two weeks, inspect the plant daily. Use your magnifying glass for close-ups. Look for any new signs of pests, unusual spots, or wilting. Early detection is key.
- Watering: Water the plant as needed, ensuring proper drainage. Overwatering can stress plants and encourage certain pests or diseases.
- Adjust Conditions: Ensure the plant receives adequate light and stable temperatures.
- Treatment if Pests are Detected (Ongoing):
- Identify the Pest: Accurate identification guides your treatment. (See the pest checklist section for common pests).
- Isolate Further (if possible): If one plant in your quarantine zone shows heavy infestation, consider moving it to an even more isolated spot, like a bathroom, for intensive treatment.
- Apply Treatment:
- Small infestations: Use cotton swabs dipped in 70% rubbing alcohol to directly dab individual pests like mealybugs or scale. Physically remove pests where possible.
- Larger infestations: Apply insecticidal soap or neem oil spray, covering all plant surfaces, especially leaf undersides. Repeat applications according to product instructions, usually every 5-7 days for several weeks, to break pest life cycles.
- Soil pests: For fungus gnats, allow the top inch of soil to dry out completely between waterings. Consider beneficial nematodes if the problem persists.
- Re-inspect: After each treatment, continue daily monitoring to confirm efficacy and catch any survivors.
- Quarantine Duration:
- Maintain the quarantine for at least 4-6 weeks, even if you see no signs of pests after initial cleaning. Many pest eggs hatch within this timeframe, revealing hidden problems. If you find pests and treat them, restart the 4-6 week count from the last day you observed pests or applied treatment.
This structured approach to bringing plants indoors drastically reduces the risk of pest introduction, protecting your entire collection and giving you peace of mind.
Your Comprehensive Pest Checklist for Indoor Plants
Knowing what to look for makes your quarantine efforts much more effective. Different pests leave distinct clues. Utilize this pest checklist for indoor plants during your inspections to identify potential invaders quickly.
| Pest Type | What to Look For | Common Locations | Impact on Plant |
|---|---|---|---|
| Spider Mites | Tiny red, brown, or black dots. Fine webbing, especially between leaves and stems. Stippling (tiny yellow or white dots) on leaves. | Undersides of leaves, leaf axils, new growth. | Yellowing, bronze, or browning leaves. Stunted growth. Severe infestations cause leaf drop. |
| Mealybugs | Small, soft-bodied insects covered in white, cottony, waxy secretions. Sticky honeydew on leaves/surfaces. Sooty mold (black fungus) growing on honeydew. | Leaf axils, undersides of leaves, stem joints, along veins. | Yellowing, wilting, stunted growth. Leaf drop. Can lead to plant death in severe cases. |
| Aphids | Small, pear-shaped insects (green, black, yellow, red, or brown) clustered on new growth. Sticky honeydew. Cast skins (white flakes). | New growth, tender stems, undersides of young leaves, flower buds. | Distorted, curled, or yellowing leaves. Stunted growth. Failure to flower. |
| Scale Insects | Small, immobile, hard-shelled or soft, waxy bumps (brown, black, tan) on stems and leaves. Sticky honeydew. Sooty mold. | Stems, leaf undersides, along veins. Difficult to remove without scraping. | Yellowing leaves, stunted growth, branch dieback. |
| Fungus Gnats | Tiny, dark, flying insects resembling mosquitoes, often seen flying around the soil or crawling on leaves. Small, clear, worm-like larvae in the soil. | Flying around plant, surface of soil. Larvae in moist soil. | Larvae feed on fine roots, causing wilting, yellowing, and stunted growth, especially in seedlings. Adults are harmless but annoying. |
| Thrips | Tiny, slender insects (black or pale) that move quickly. Silvery or streaky damage on leaves, sometimes with tiny black specks (frass, or droppings). Distorted new growth. | Undersides of leaves, in leaf axils, flower petals. | Distorted leaves, silvery streaks, stunted growth. Flower deformation. |
| Whiteflies | Tiny, white, moth-like insects that fly up in a cloud when disturbed. Nymphs (immature stages) are flat, oval, and scale-like on leaf undersides. Sticky honeydew. | Undersides of leaves. | Yellowing, wilting. Stunted growth. Sooty mold. |
Regular, detailed inspection using this checklist helps you catch problems early. Remember, prevention is far easier than eradication.
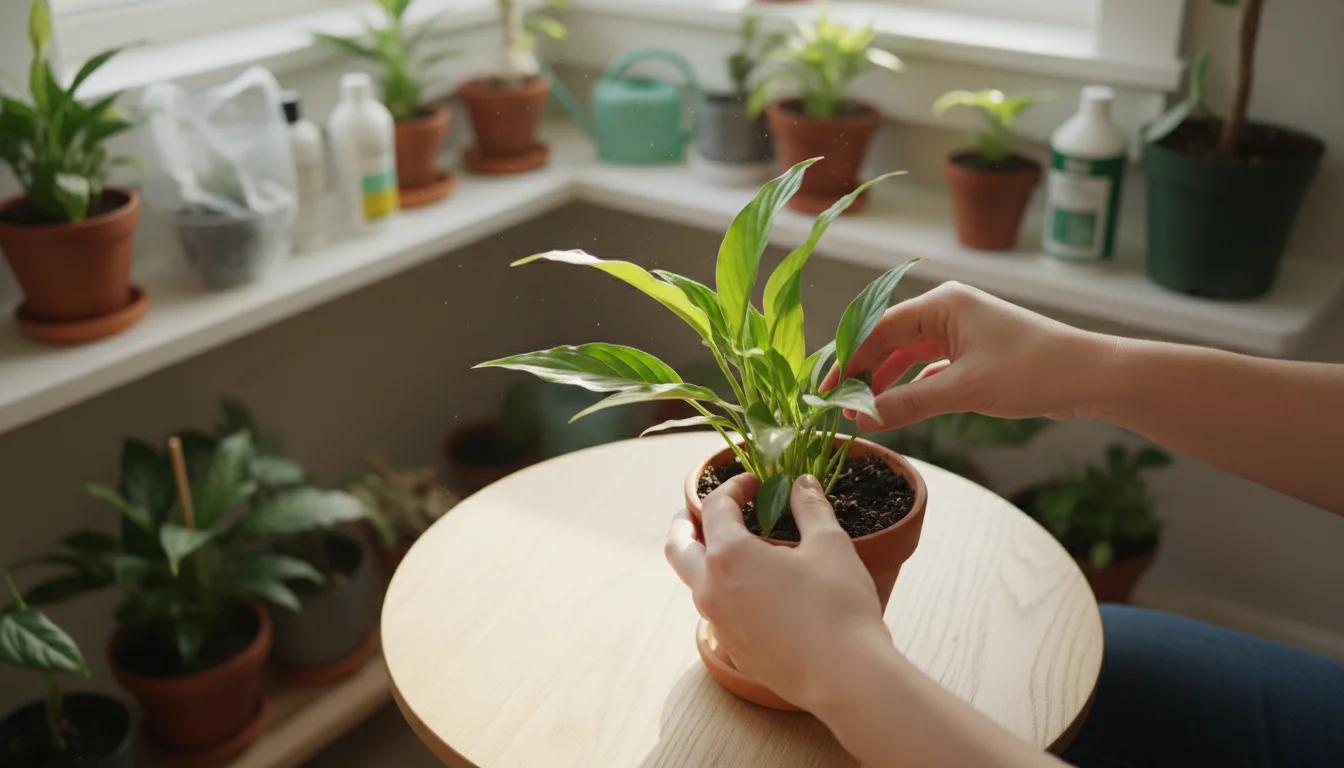
After Quarantine: Integrating Your Healthy Plants
Once your plant successfully completes its 4-6 week quarantine period, showing no signs of pests or disease, you can confidently integrate it into your main collection. This final step should also be thoughtful to ensure a smooth transition and maintain the health of your existing plants.
First, give your plant one last thorough inspection. Even after weeks of isolation, a quick check ensures nothing new developed. Look at the leaves, stems, and soil surface carefully. If everything appears clear, you are ready to proceed.
Next, consider the plant’s ideal growing conditions. You have observed it in its temporary hospital, so you know its light, water, and humidity preferences. Choose a spot within your main collection that closely matches these needs. Avoid placing a plant that loves bright, indirect light into a dark corner, even if that spot is aesthetically pleasing. Plants thrive when their environmental needs are met, and a happy plant is generally more resilient against future pest challenges.
When you bring the plant to its new permanent home, gently introduce it to its neighbors. Place it near other plants but not immediately touching them. This gives both the new plant and your existing collection a chance to adjust. Over the next few days, observe how the new plant responds to its surroundings. Watch for any signs of stress, like drooping or yellowing leaves, which might indicate a need for a slight adjustment in location or care. Gradually, you can move it closer to other plants as you confirm its continued health and adaptation.
This careful integration prevents sudden environmental shock for the plant and provides one last opportunity to ensure no hidden issues arise. Your diligence throughout the quarantine process ensures the new addition enriches your indoor garden, pest-free.
Sustainable Practices for Your Plant Hospital
As a supportive and practical gardening coach, SimpleGardenJoy.com encourages environmentally conscious practices in all aspects of gardening, including your plant hospital. Incorporating sustainability reduces your environmental footprint and often leads to healthier, more resilient plants.
Here are ways to make your plant quarantine zone eco-friendly:
- Embrace Organic Pest Control: Prioritize natural and organic pest control methods. Insecticidal soap, neem oil, and rubbing alcohol are generally safer for the environment and for you than harsh chemical pesticides. These options break down more quickly and do not leave harmful residues.
- Homemade Solutions: Consider making your own insecticidal soap by diluting a pure, unscented liquid Castile soap with water. Always test on a small leaf section first. This reduces packaging waste and gives you control over ingredients.
- Water Conservation: Be mindful of your watering practices. Only water plants when the top inch or two of soil feels dry. Use a watering tray to catch excess water, which you can then reuse for other plants or discard responsibly, ensuring no treated water goes down storm drains. Avoid leaving plants sitting in standing water for extended periods.
- Reuse and Repurpose: Look for opportunities to reuse materials. Old plastic containers can become temporary pots or saucers. Repurpose clean plastic bags to create temporary humidity domes for stressed plants. Clean and sterilize old pots and tools rather than buying new ones.
- Healthy Soil: If repotting, use high-quality, sustainable potting mixes that may include coco coir or composted materials, reducing reliance on peat moss which has environmental concerns. Healthy soil promotes strong root growth, making plants more resistant to pests.
- Proper Disposal: When disposing of heavily infested plant parts or used soil, seal them tightly in a plastic bag before placing them in the trash. This prevents pests from escaping and re-infesting other plants or gardens. Avoid composting infested material unless you know your compost pile gets hot enough to kill pests and pathogens.
By integrating these sustainable practices, you create a healthier environment not only for your plants but also for your home and the planet. This mindful approach aligns perfectly with low-maintenance, small-space gardening.
Troubleshooting Common Quarantine Challenges
Even with the best preparation, you might encounter challenges in your plant hospital. Recognizing common issues and knowing how to address them quickly keeps your quarantine process on track and your plants healthy.
Spotting Pests Late
You have been inspecting diligently, but suddenly you notice a flurry of tiny flies around your plant, or sticky residue you missed. This happens. Do not panic. Immediately re-evaluate the pest checklist for indoor plants to accurately identify the culprit. If it is fungus gnats, let the soil dry out more between waterings. For other pests, increase the frequency of your treatments (e.g., insecticidal soap every 3-5 days for severe infestations) and ensure you are thoroughly covering all plant surfaces. Extend the quarantine period until you have observed no new pest activity for at least 4-6 consecutive weeks.
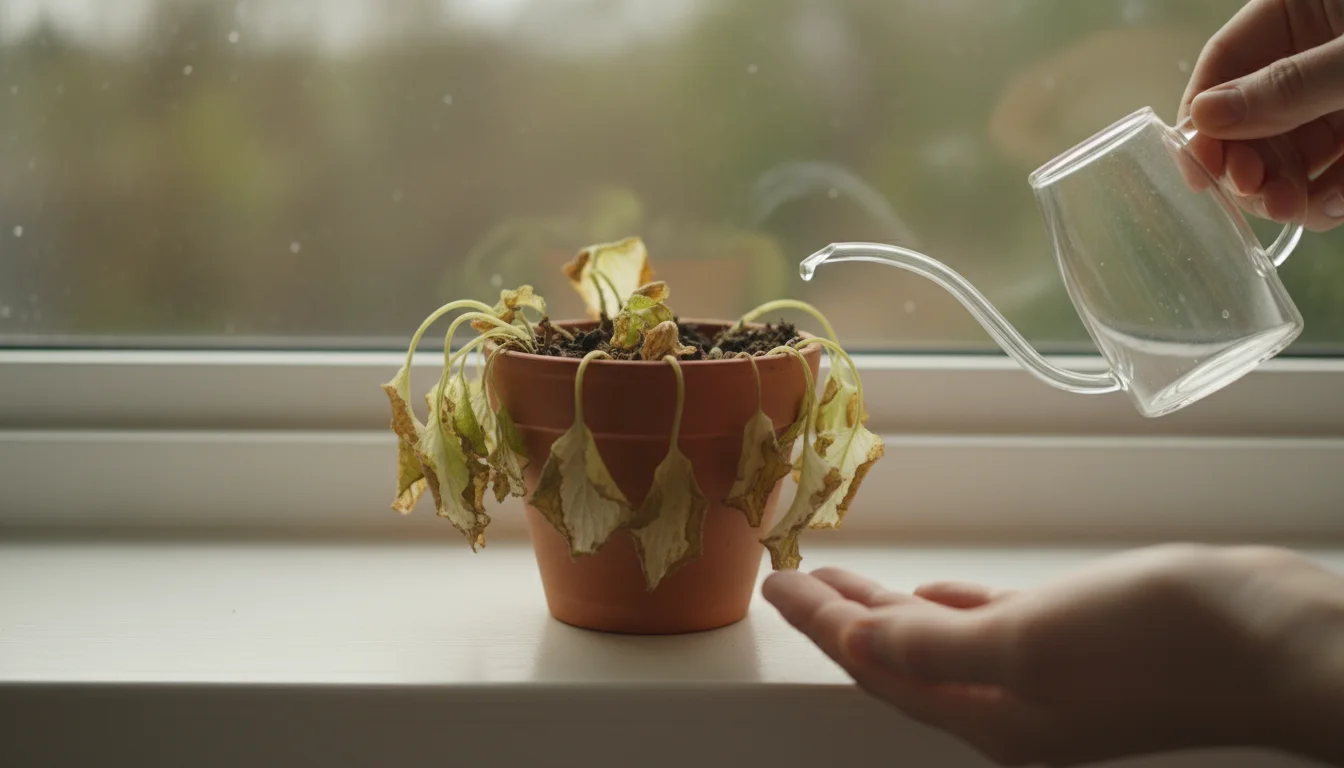
Plant Stress During Quarantine
Plants can show signs of stress, such as yellowing leaves or drooping, even without pests. Consider the quarantine environment. Is it getting enough light? Is the temperature stable? Have you overwatered or underwatered? Sometimes, the stress of moving indoors or being repotted causes temporary symptoms. Provide optimal care, and if the plant continues to decline, investigate for root rot (often caused by overwatering) or nutrient deficiencies. Remember, a healthy plant resists pests better, so maintaining good growing conditions is part of pest prevention.
Pests Keep Coming Back
Persistent pest issues often indicate an incomplete treatment cycle or hidden populations. Many pests have complex life cycles involving eggs, nymphs, and adults. A single treatment only kills adults, leaving eggs to hatch later. This is why repeated applications (usually weekly for 3-4 weeks) are crucial. You must target the entire life cycle. Also, check less obvious spots like pot rims, drainage holes, and the very base of the plant stem for hidden pests. Ensure you are cleaning all tools and surfaces in the quarantine area regularly.
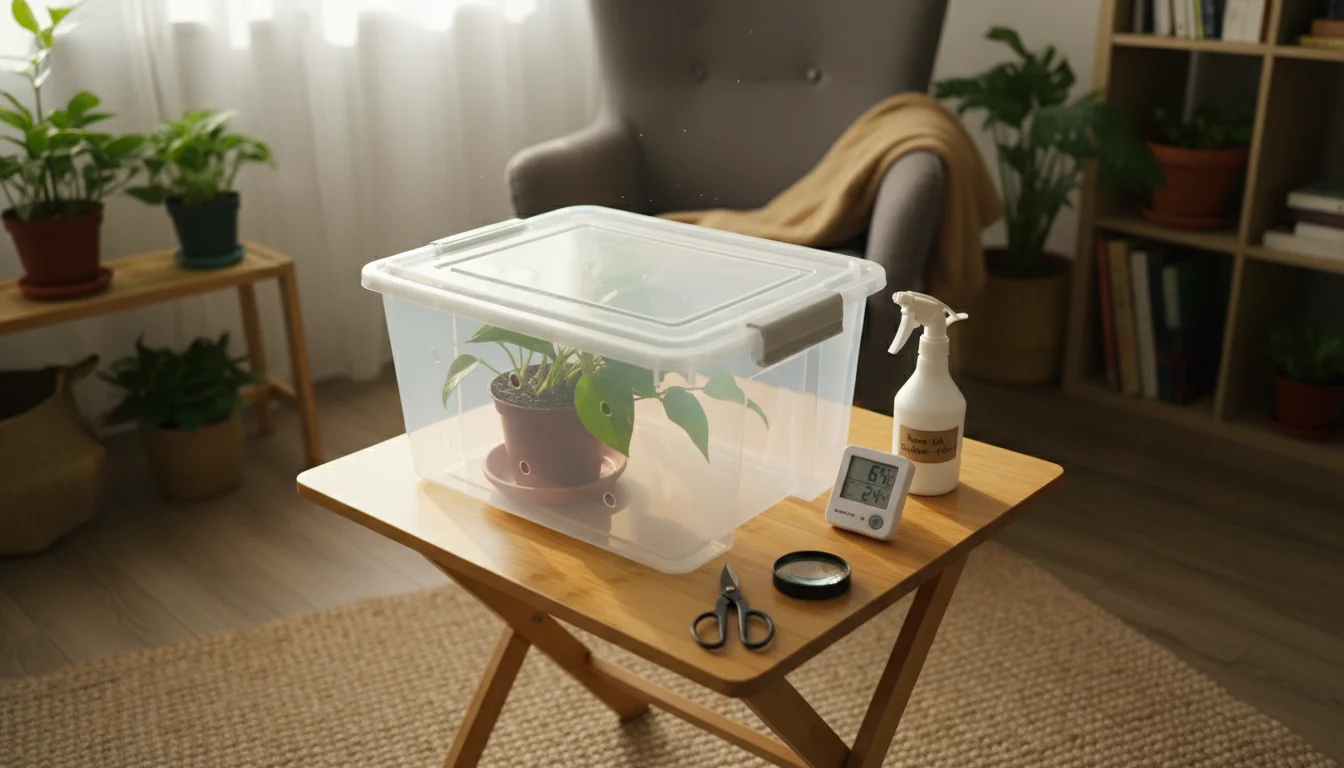
Lack of Space for Isolation
For those with very limited space, setting up a plant isolation area in an apartment can feel daunting. If a separate room is impossible, create the largest possible buffer zone. Use a dedicated shelf, a foldable table, or even a large, clear plastic storage container (with air holes) to create a micro-quarantine unit. Place a barrier, like a curtain or screen, between the quarantined plant and your main collection. The goal is to minimize direct contact and airflow between the two groups of plants. Your ingenuity in isolation directly impacts your success in bringing plants indoors safely.
Addressing these challenges promptly with a practical mindset helps you maintain a successful plant hospital and ensures your plants thrive.
Frequently Asked Questions
What is the ideal length of time for plant quarantine?
You should quarantine plants for a minimum of 4-6 weeks. This timeframe allows most pest eggs to hatch and reveal themselves, giving you enough time to observe and treat any issues. If you detect and treat pests, restart the 4-6 week countdown from the last day you see any signs of infestation or apply treatment.
Can I quarantine multiple plants together?
Yes, you can quarantine multiple plants together in your plant hospital, provided they are not touching each other and you maintain individual inspection and care. If one plant shows signs of heavy infestation, immediately move it to an even more isolated spot for focused treatment to prevent spread within the quarantine zone itself.
Do I need to quarantine plants purchased from a reputable nursery?
Absolutely. Even the most reputable nurseries can have pest issues. Plants are often exposed to various environments and can pick up hitchhikers. You need to assume every new plant, regardless of its source, could potentially harbor pests. This diligence forms the foundation of robust houseplant pest prevention.
What if I find a pest after the plant has joined my main collection?
If you discover a pest after integration, immediately isolate the affected plant again. Move it back to the quarantine zone. Then, thoroughly inspect the surrounding plants in your main collection that were near the infested plant. Treat any affected plants promptly and consistently until all signs of pests disappear.
Can I use natural predators for pest control during quarantine?
You can consider using beneficial insects, such as ladybugs or lacewings, as part of your pest control strategy. However, releasing them in a small indoor quarantine area might not be the most effective use of these predators. They often require specific environmental conditions and may simply fly away. Focus on direct treatments like insecticidal soap or neem oil for isolated plants in a small-space quarantine.
For trustworthy gardening information, visit:
Denver Botanic Gardens, San Diego Botanic Garden and U.S. National Arboretum. These organizations provide expert, research-based advice for gardeners at all levels.
Disclaimer: This article is for informational purposes only and is not a substitute for professional gardening advice. Always consult local extension services or horticulture experts for region-specific guidance.


Leave a Reply