As autumn arrives and the temperatures drop, many gardeners feel a pang of sadness as their outdoor plots wind down. You do not have to put away your gardening gloves, though. You can keep fresh, flavorful greens on your plate all season long. Imagine adding a vibrant, peppery kick to your fall and winter meals, grown right on your kitchen windowsill. This is entirely possible with indoor microgreens, especially the spicy varieties that truly enliven dishes.
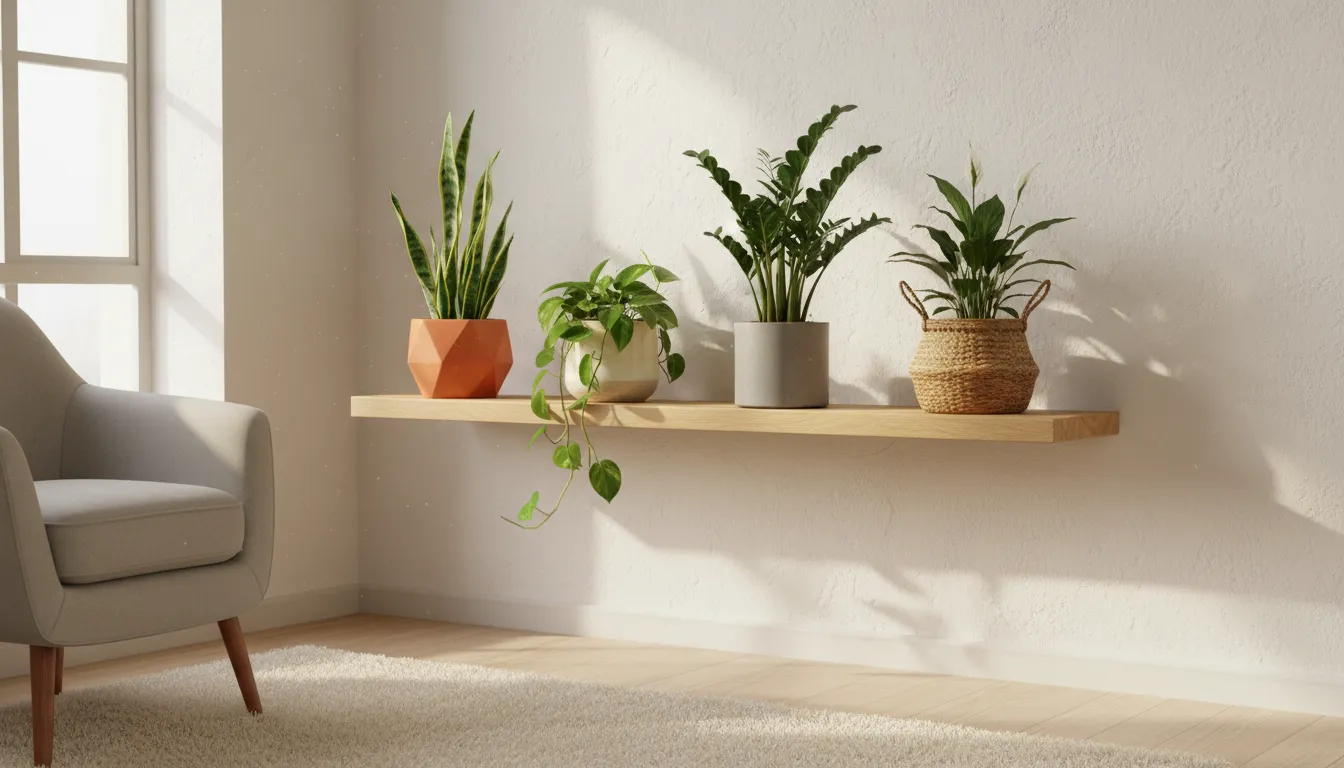
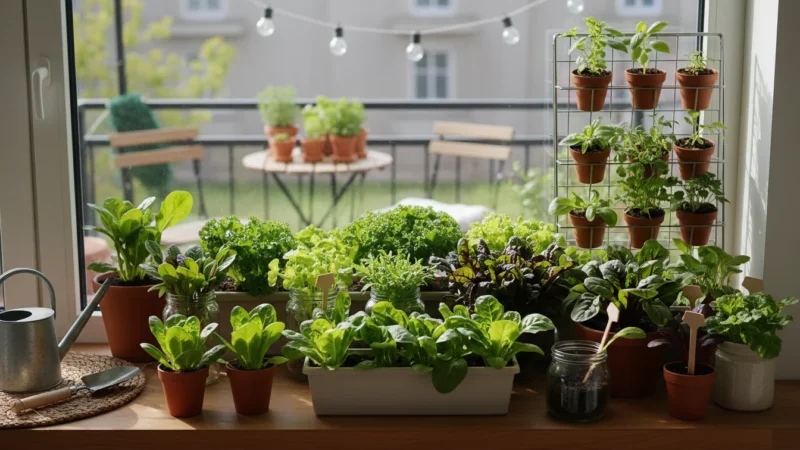
For those with limited space, learning to grow microgreens on your kitchen counter is the perfect starting point for your indoor garden.
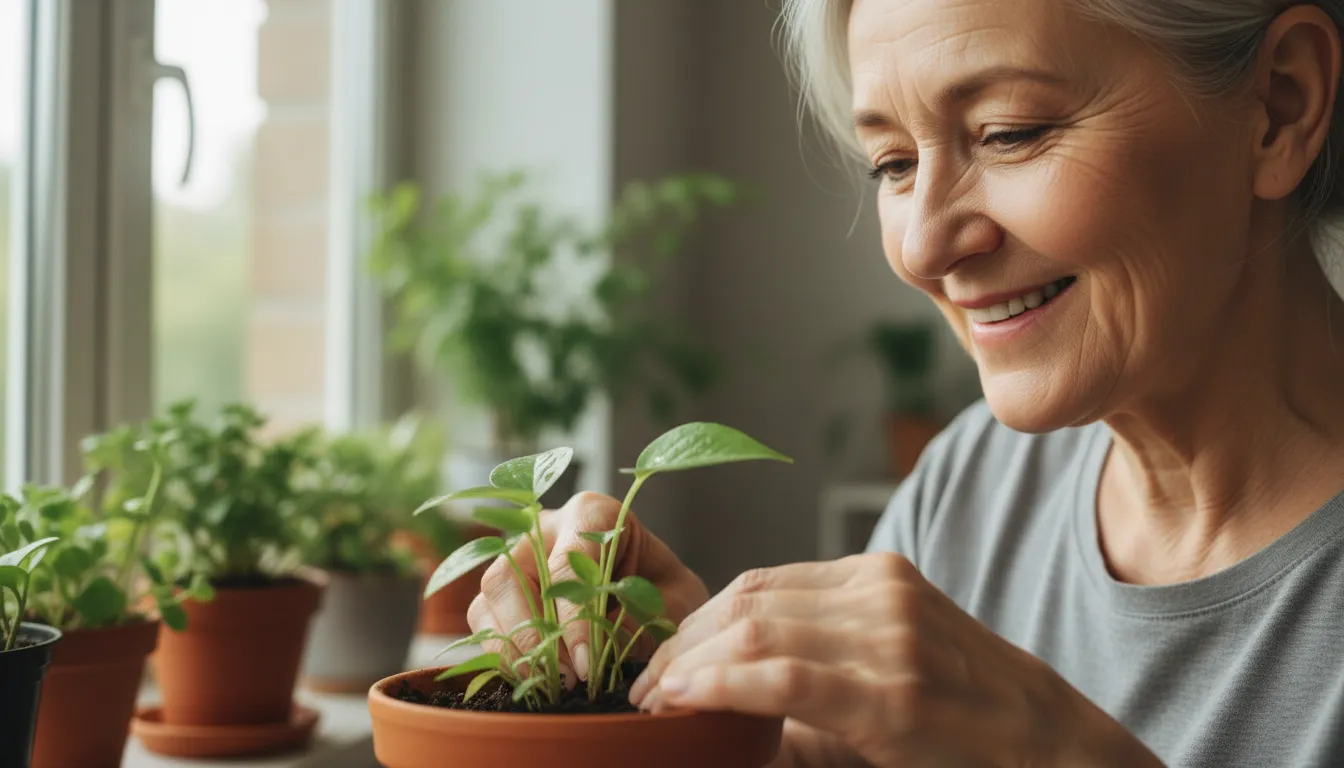
Growing indoor microgreens offers a fantastic way to enjoy gardening year-round, regardless of your outdoor space or local climate. These tiny powerhouses pack an incredible amount of flavor and nutrition into a small package. They grow quickly, demand minimal attention, and fit perfectly into small spaces like a balcony, patio, or even just a sunny windowsill. This guide focuses on five specific spicy microgreens that thrive indoors, providing you with a constant supply of zesty ingredients to brighten your meals as the weather cools.
What is the Buzz About Microgreens, and Why Go Spicy?
Microgreens are simply young vegetable greens, harvested when they are just a few inches tall, typically 7 to 21 days after germination. They are older than sprouts but younger than baby greens. Think of them as concentrated bursts of flavor and nutrients. Research indicates that microgreens often contain significantly higher levels of vitamins, minerals, and antioxidants compared to their mature counterparts. For example, a study published in the International Society for Horticultural Science (ISHS) journal reported that red cabbage microgreens had 40 times more vitamin E than mature red cabbage. This makes them a nutritional powerhouse you can easily cultivate in your own home.
If you enjoy these sharp profiles, you can also explore growing spicy mustards and wasabi arugula in cool-weather containers for a similar kick.
The appeal of spicy microgreens extends beyond their nutritional benefits. They offer an unparalleled flavor boost, transforming everyday dishes with their intense, concentrated taste. While many greens offer a mild, earthy flavor, spicy varieties like radish, mustard, and arugula introduce a peppery, pungent, or even zesty kick. This makes them perfect for elevating salads, garnishing soups, or adding a vibrant note to sandwiches. As outdoor harvests diminish, bringing these robust flavors indoors ensures your meals remain exciting and fresh.
You can achieve a continuous supply of these flavorful indoor microgreens with minimal effort. Their rapid growth cycle means you enjoy a quick turnaround from seed to harvest. This immediacy creates a highly rewarding gardening experience, perfect for beginner and intermediate gardeners alike who seek efficient, small-space solutions. Plus, growing your own greens reduces food miles, supports sustainable practices, and puts you in control of what you eat.
Your Indoor Microgreen Haven: Essential Setup
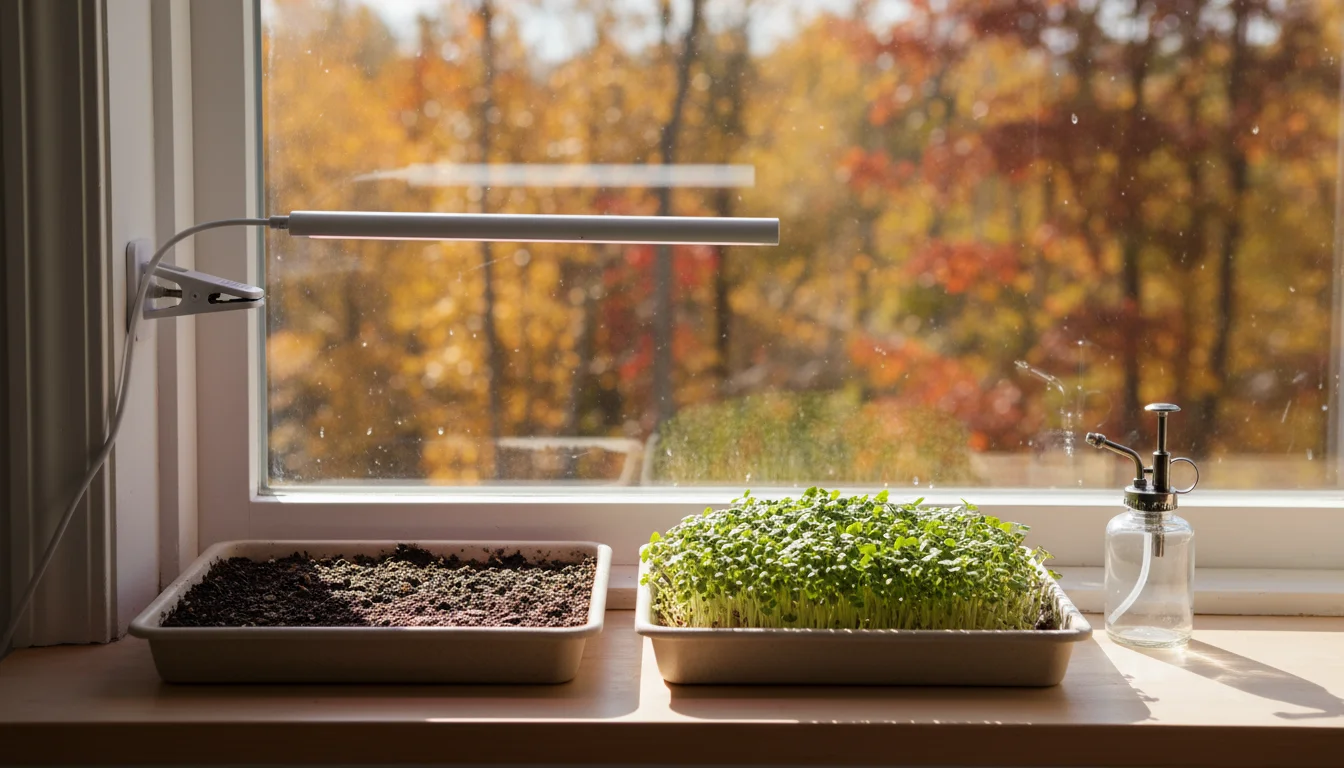
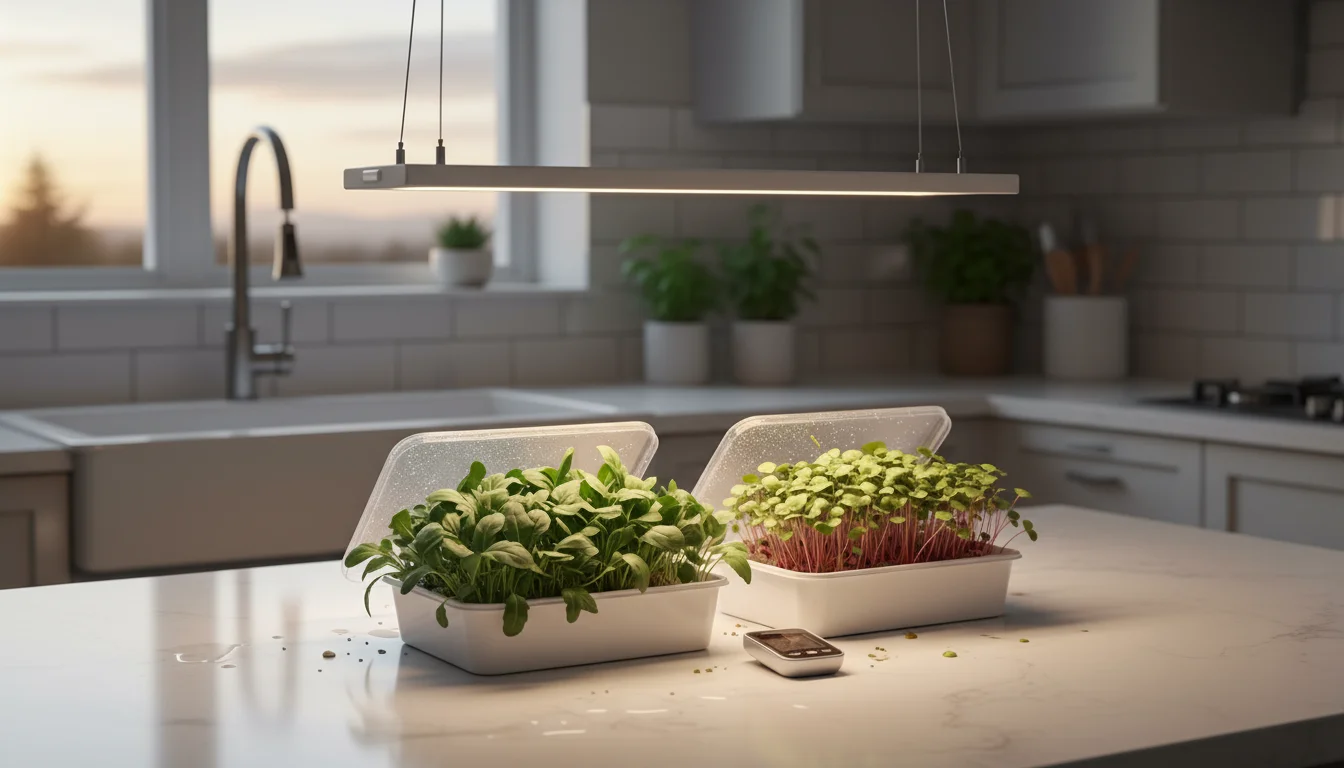
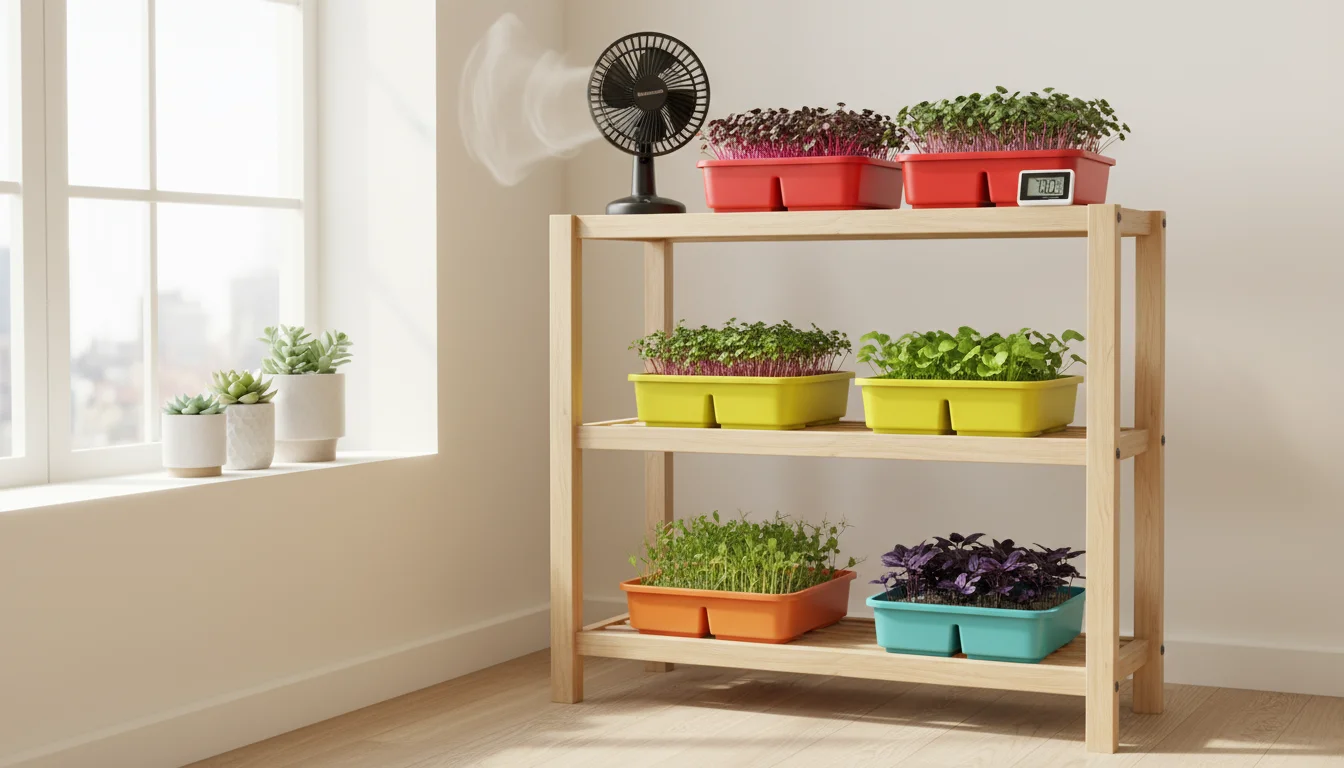
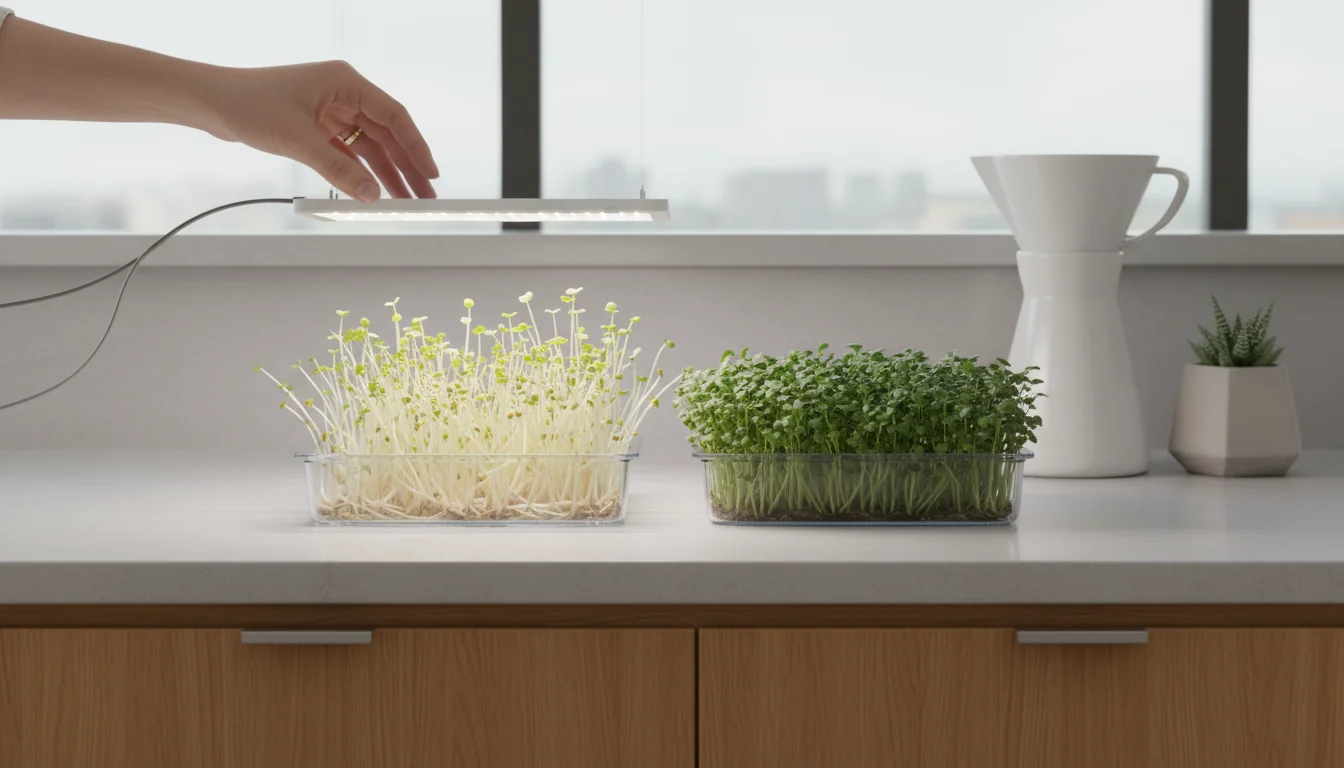
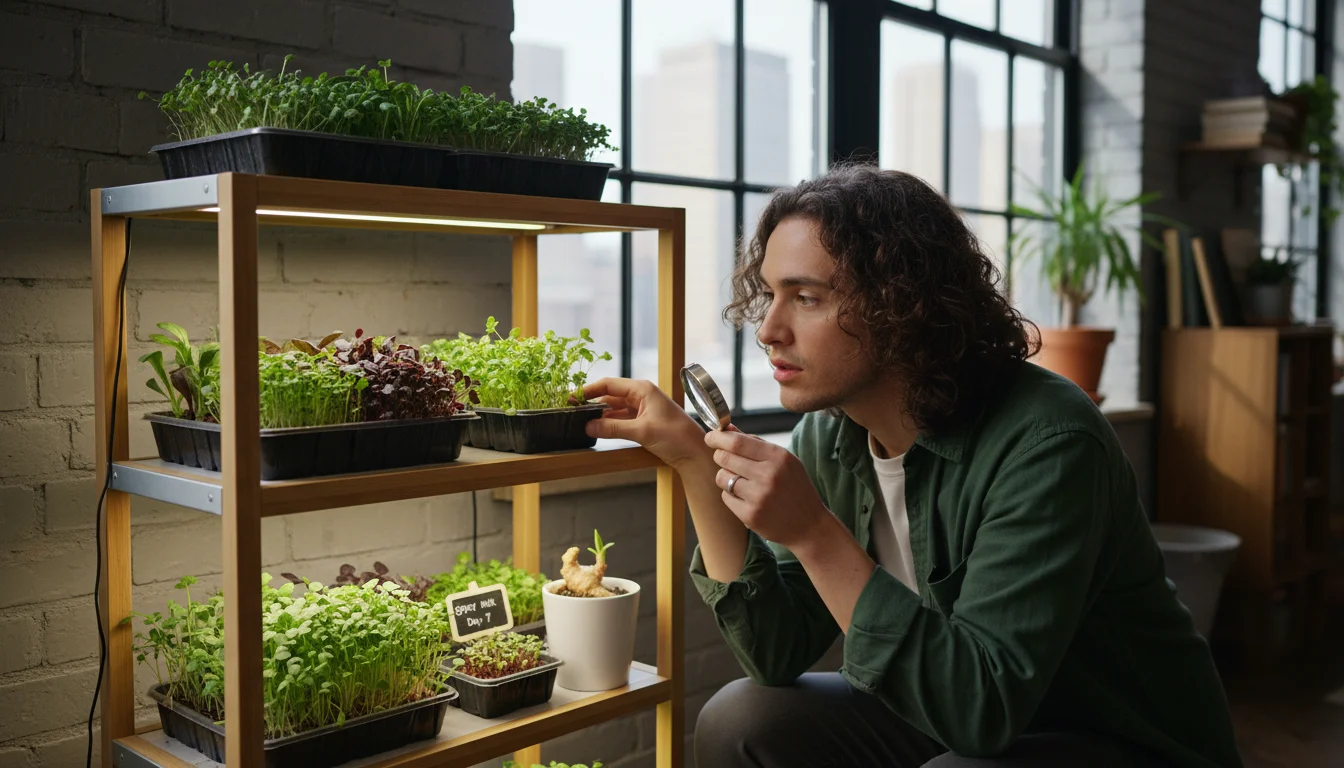
Setting up your indoor microgreen garden requires only a few basic items. The beauty of microgreens lies in their simplicity and minimal space requirements. You do not need a dedicated grow room or extensive equipment. A sunny windowsill often suffices, though supplemental lighting ensures the best results, especially during shorter fall and winter days.
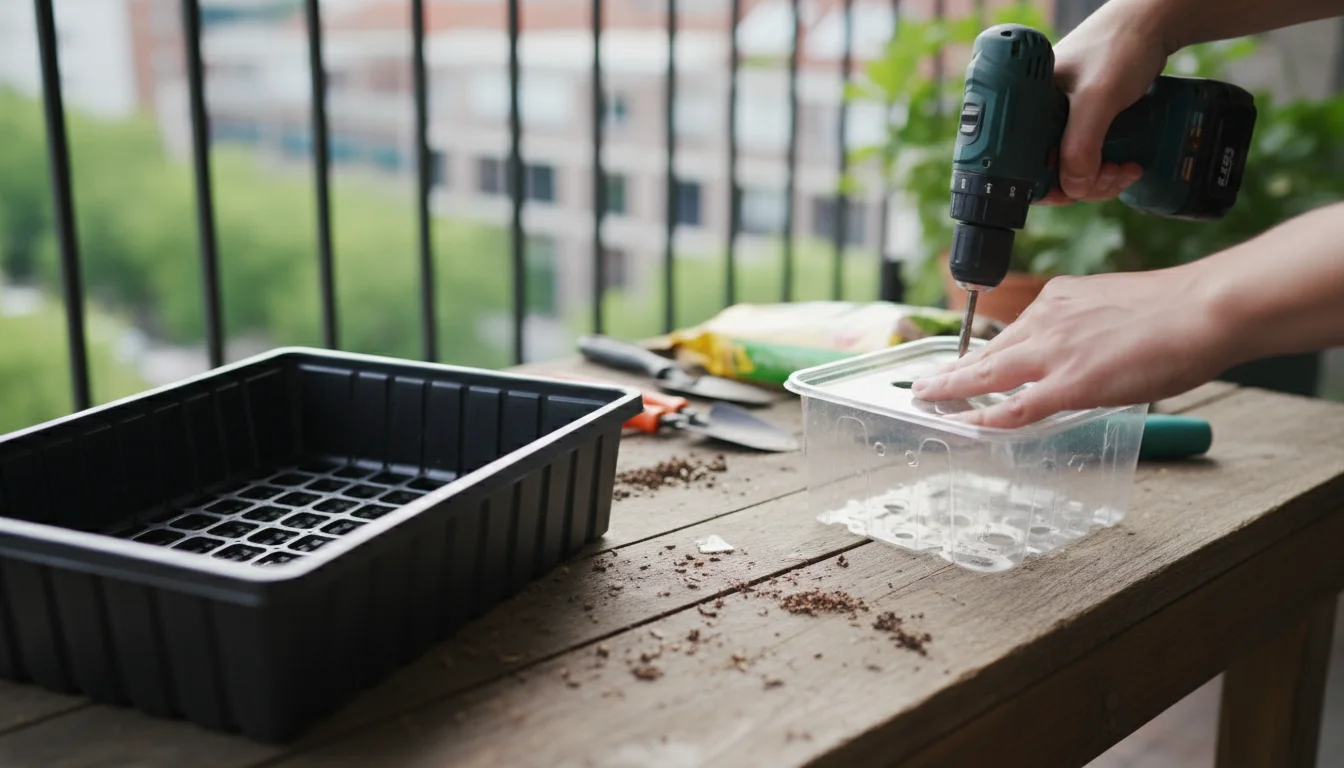
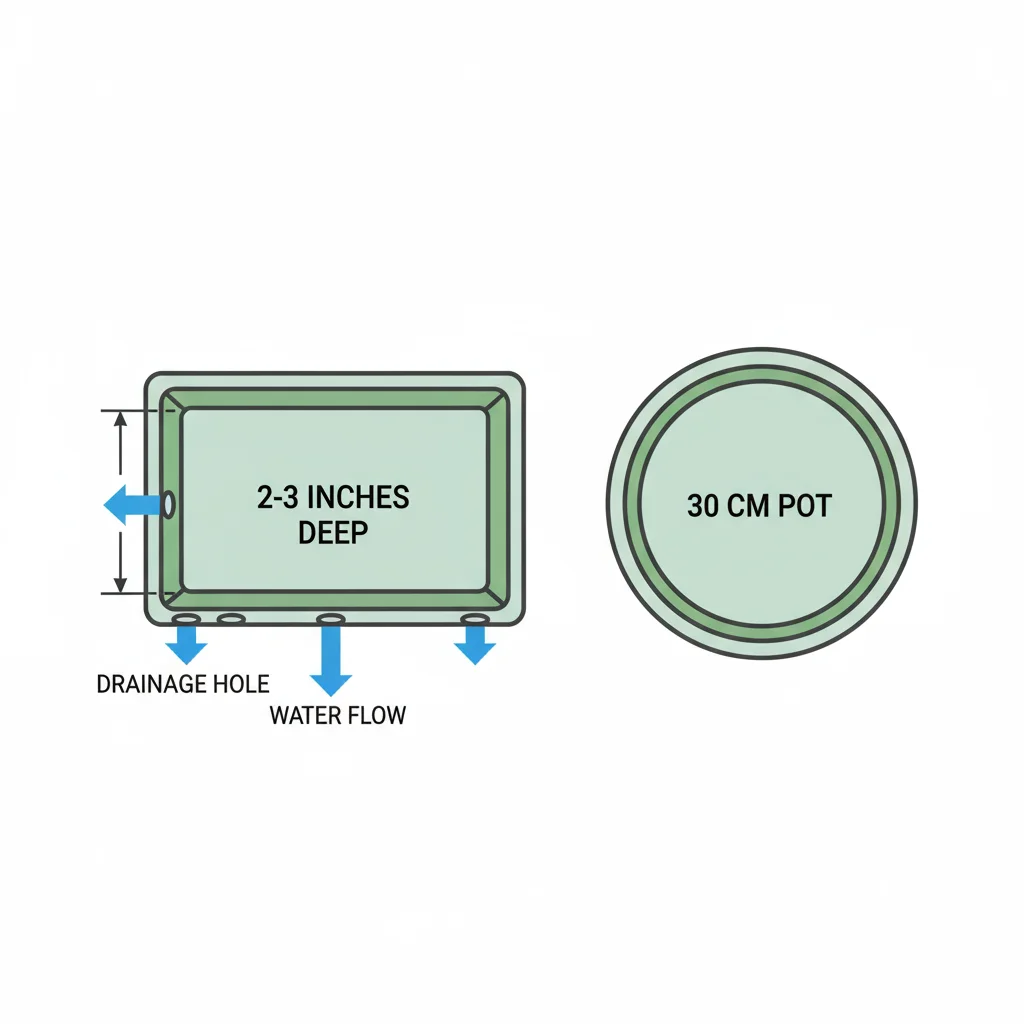
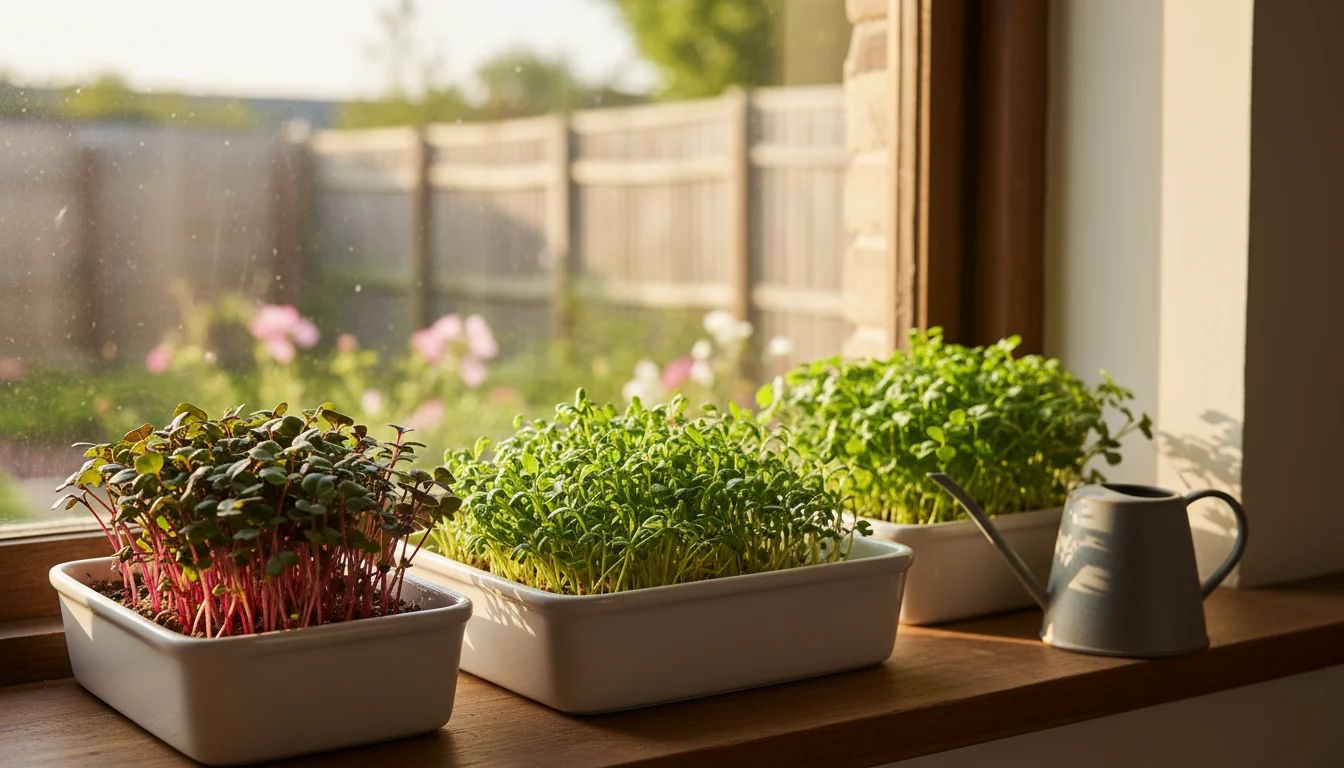
Selecting Your Growing Trays
Choose shallow trays, ideally 2-3 inches deep. You need trays with drainage holes to prevent waterlogging, which can lead to mold and rot. Many gardeners use two trays: one with holes for planting and a solid tray beneath it to catch excess water. Standard nursery flats or even repurposed plastic containers can work, as long as you ensure proper drainage by drilling small holes if necessary. Aim for food-grade plastic or durable materials that can be cleaned and reused.
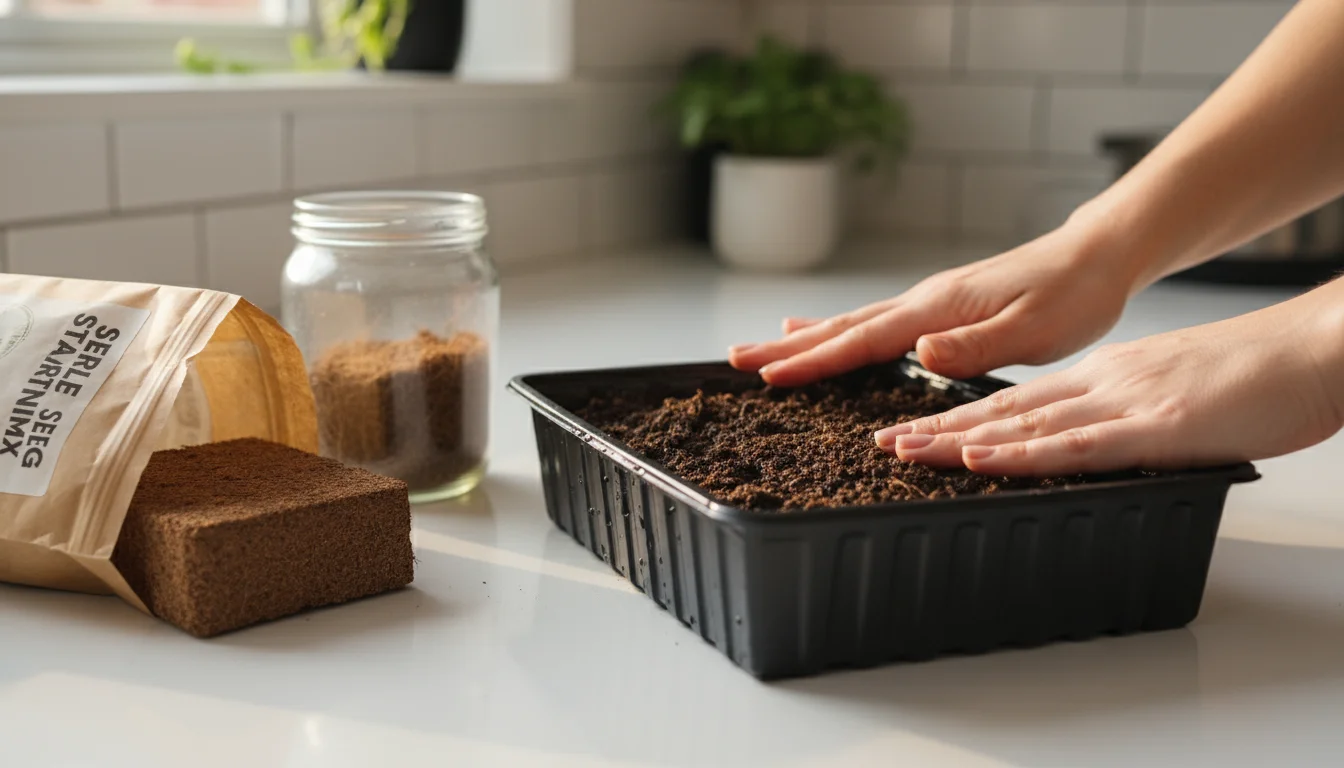
Choosing the Right Growing Medium
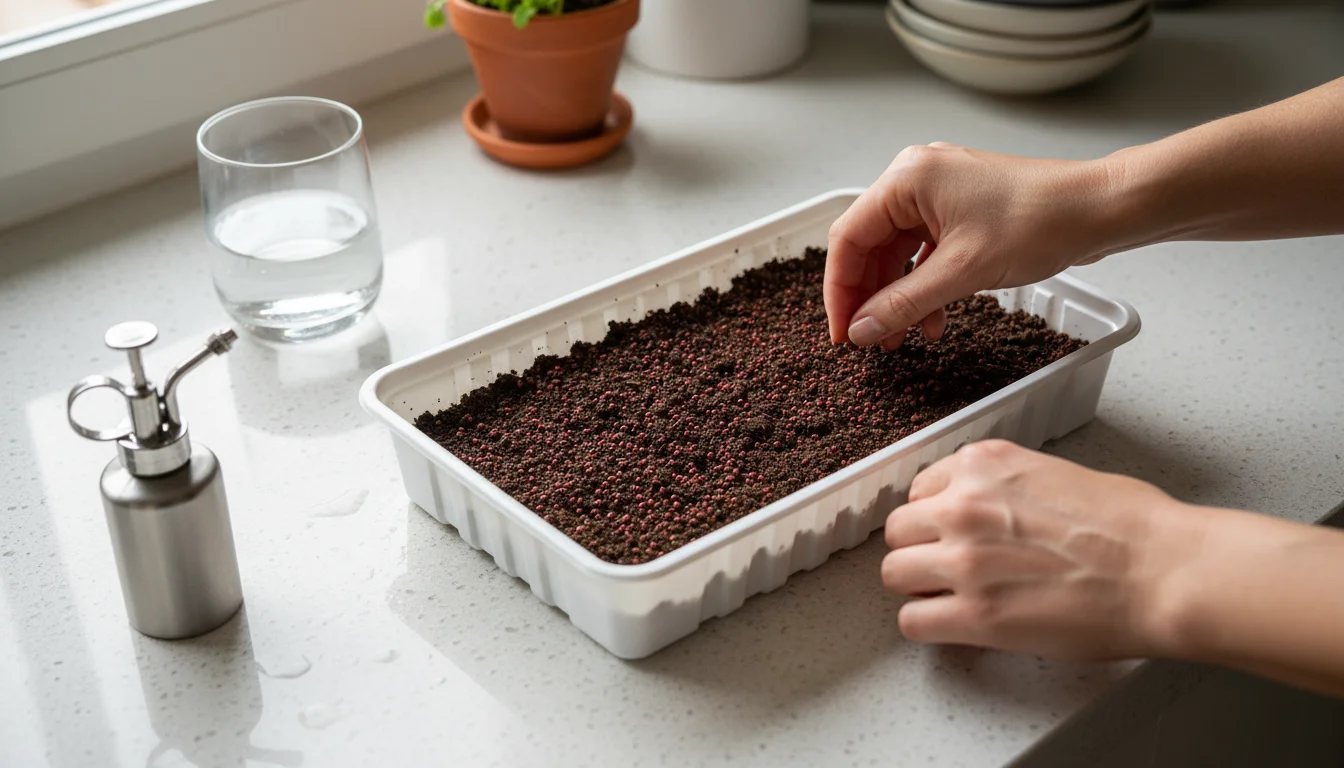
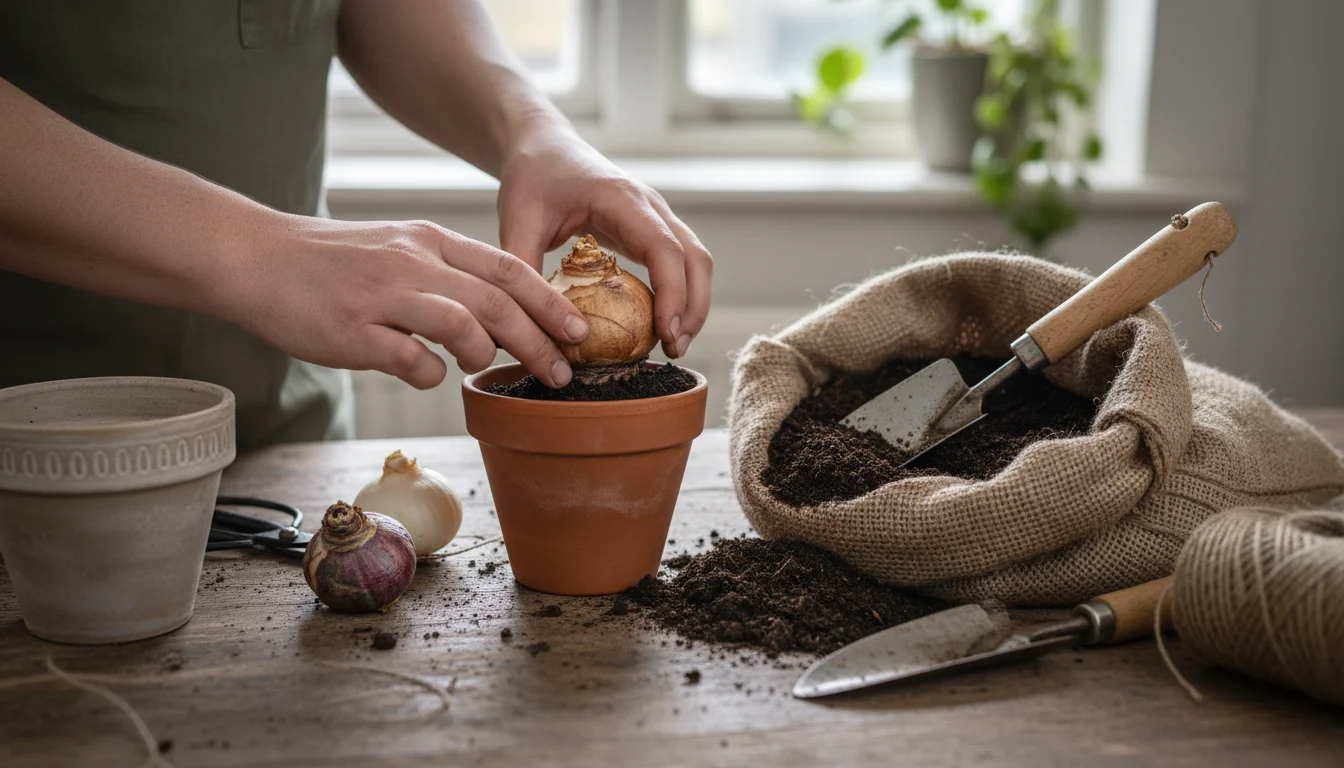
The soil you use plays a crucial role. Opt for a fine-textured, sterile seed starting mix. This provides a clean environment, free of weed seeds and pathogens, which is vital for young plants. Coconut coir, a sustainable option derived from coconut husks, also performs excellently. It retains moisture well while offering good aeration, which is how oxygen reaches the roots. Avoid using garden soil, as it can contain pests, diseases, and large particles that impede germination. Fill your trays to about three-quarters full, lightly compacting the medium to create a smooth, even surface for your seeds.
Light Requirements for Vigorous Growth
Microgreens need ample light to prevent legginess, a condition where stems stretch and become weak due to insufficient light exposure. A south-facing window typically offers the most natural light indoors. However, during fall and winter, daylight hours shorten, and the sun’s intensity decreases. For optimal growth and to ensure dense, vibrant greens, consider using a simple LED grow light. Position the light 4-6 inches above the growing tray for 12-16 hours a day. LED lights are energy-efficient and emit minimal heat, making them ideal for small indoor setups.
Mastering Your Watering Technique
Proper watering is critical. Microgreens have shallow roots and are susceptible to both drying out and overwatering. The best method for indoor microgreens is bottom watering. This involves placing your planting tray (with drainage holes) into a larger, solid tray filled with about an inch of water. The growing medium wicks up the water from below, keeping the top surface drier and reducing the risk of mold. Remove the planting tray once the top layer of soil appears moist. Water every one to three days, depending on your home’s humidity and the dryness of the soil. Aim for consistently moist, but not soggy, conditions.
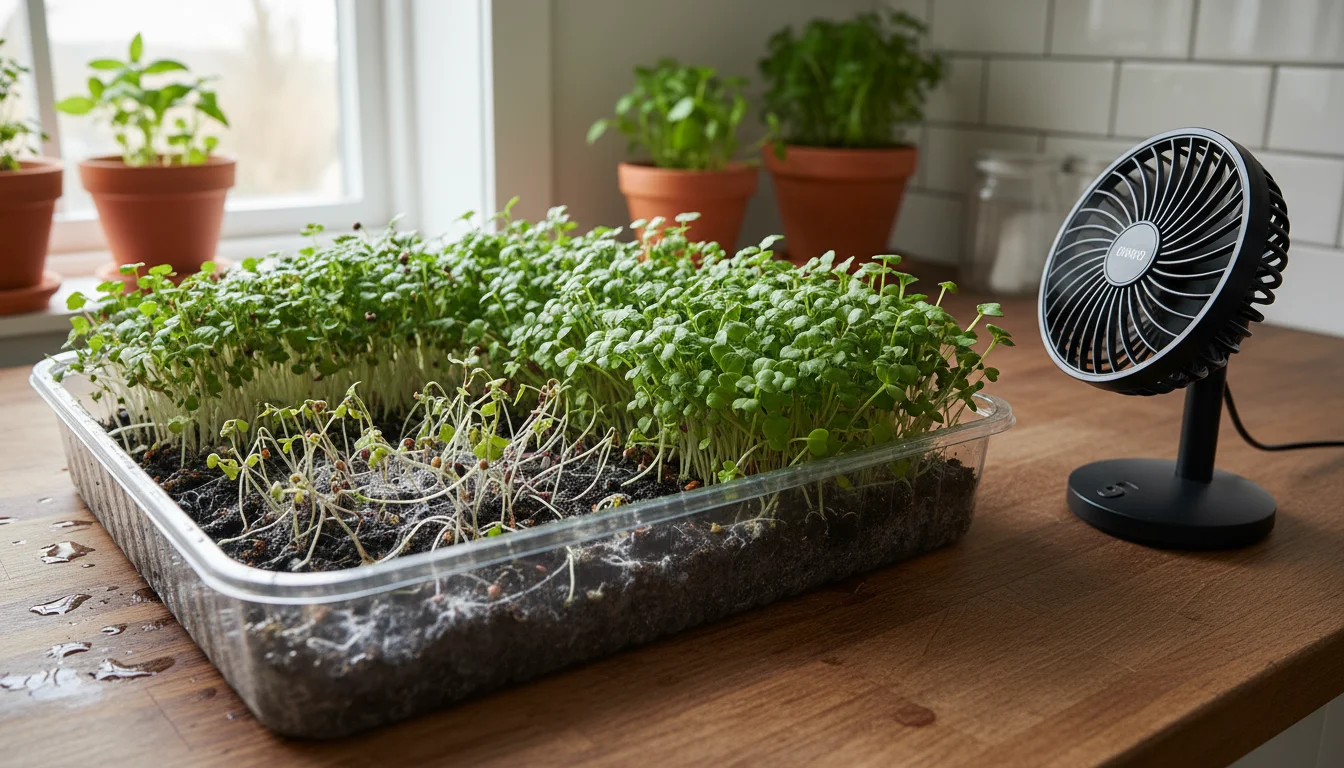
Temperature and Air Circulation
Most microgreens thrive in typical indoor temperatures, between 65-75°F (18-24°C). Extreme fluctuations can stress the plants. Good air circulation is equally important. Stagnant, humid air creates an ideal environment for fungal diseases like damping off, which causes seedlings to collapse. A small, oscillating fan set on a low setting for a few hours daily can provide gentle air movement, strengthening stems and preventing mold issues. Avoid direct blasts of air, which can dry out your tender greens too quickly.
Simple Steps to Planting Your Spicy Microgreens
Growing spicy greens indoors is an incredibly rewarding experience, and the process itself is straightforward. Follow these steps for successful germination and robust growth, ensuring a constant supply of fresh flavor throughout the cooler months.
For even faster results, you might also like to learn how to sprout nutritious lentils and beans right on your windowsill.
Step 1: Prepare Your Seeds
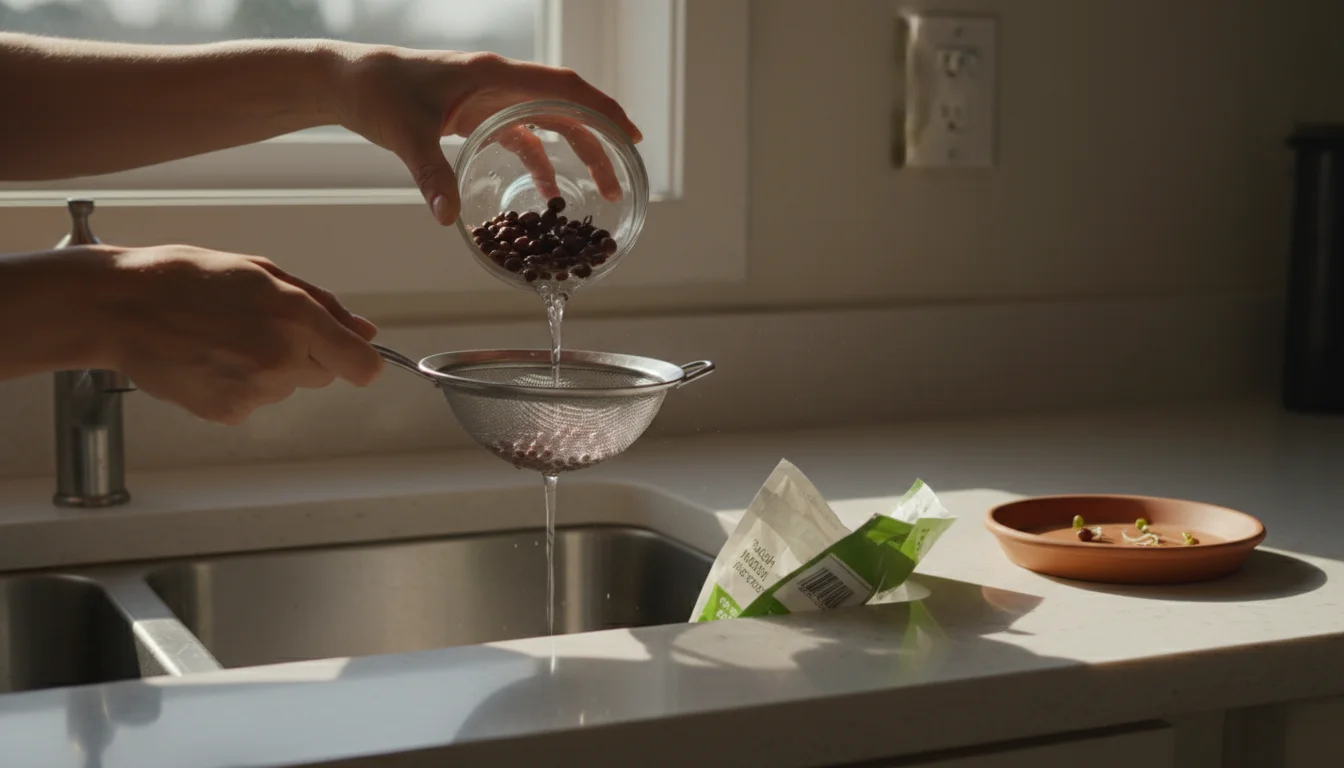
Some microgreen seeds benefit from a short soak before planting. This softens the seed coat, aiding germination. For example, larger seeds like radish or mustard can soak in cool water for 4-6 hours. Arugula and cress generally do not require soaking. After soaking, drain the seeds thoroughly. Always check specific seed packet instructions, as recommendations can vary.
Step 2: Fill and Level Your Tray
Take your shallow planting tray with drainage holes. Fill it with about 1.5 to 2 inches of your chosen seed starting mix or coco coir. Gently level and compact the medium with a flat object, like another tray bottom or a piece of cardboard. You want a smooth, even surface for consistent seed-to-soil contact. Avoid pressing too hard, as this can impede drainage and root development.
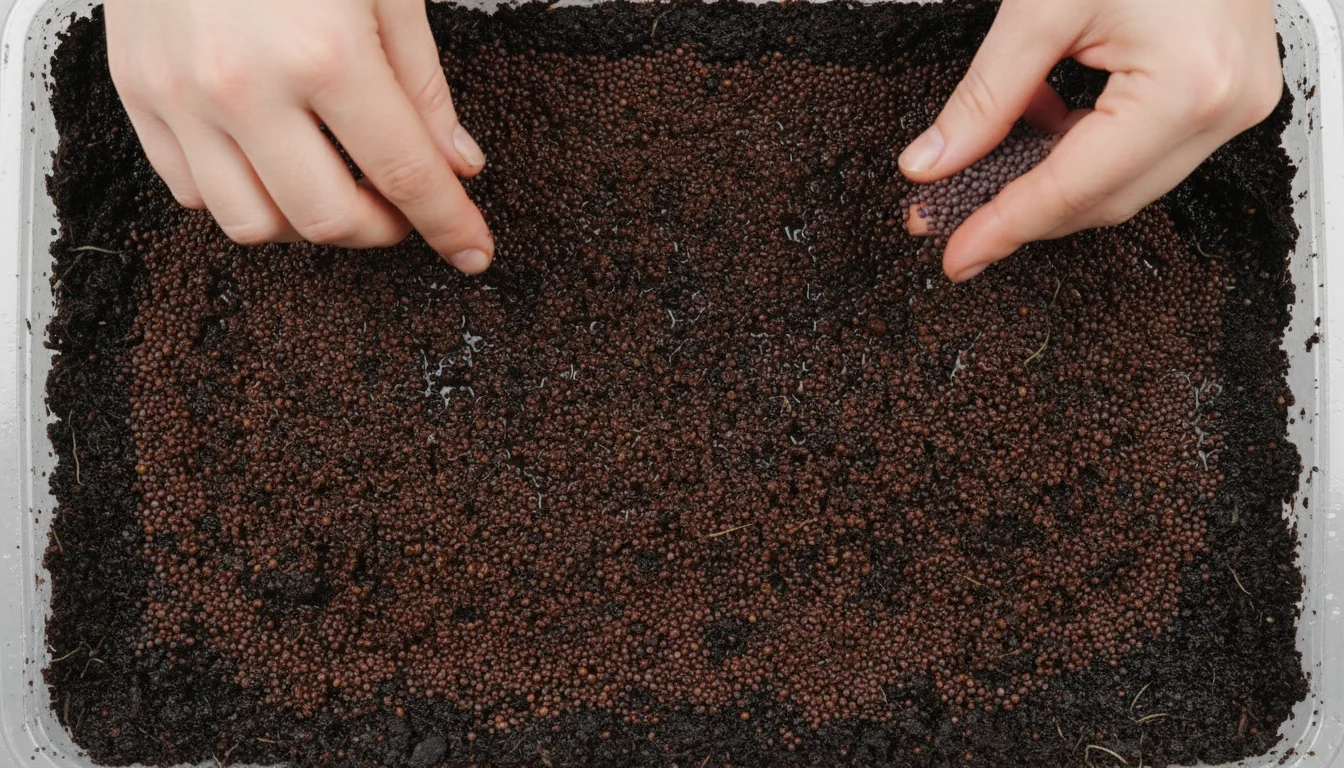
Step 3: Sow Your Seeds Densely
This is where microgreens differ from traditional gardening. You want to sow seeds densely across the entire surface of the growing medium. Aim for an even layer, with seeds touching but not overlapping excessively. This dense planting ensures a full, thick canopy of greens. For a standard 10×20 inch tray, you might use 10-20 grams of radish seeds or 8-15 grams of mustard seeds. Adjust quantity based on seed size and desired density. Even distribution helps prevent patchy growth and ensures each plant gets adequate resources.
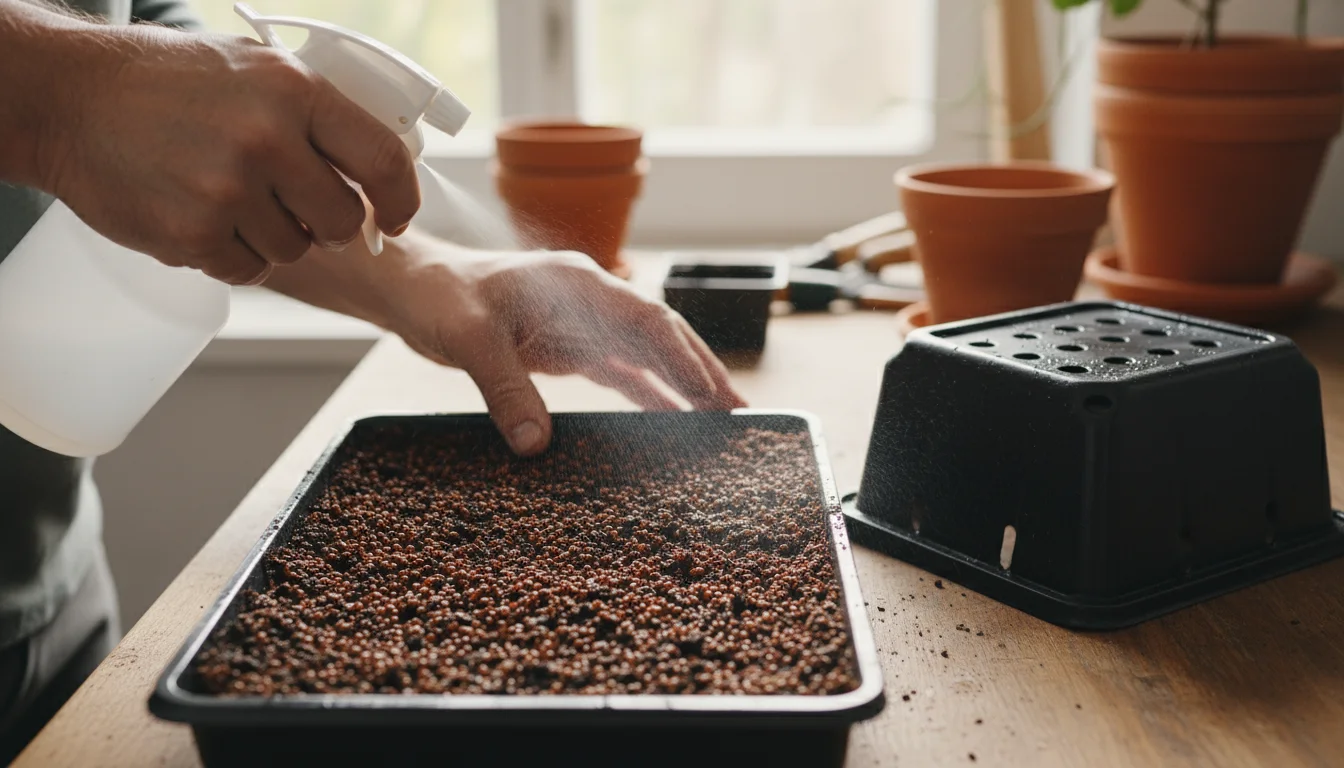
Step 4: Water and Cover (or Not)
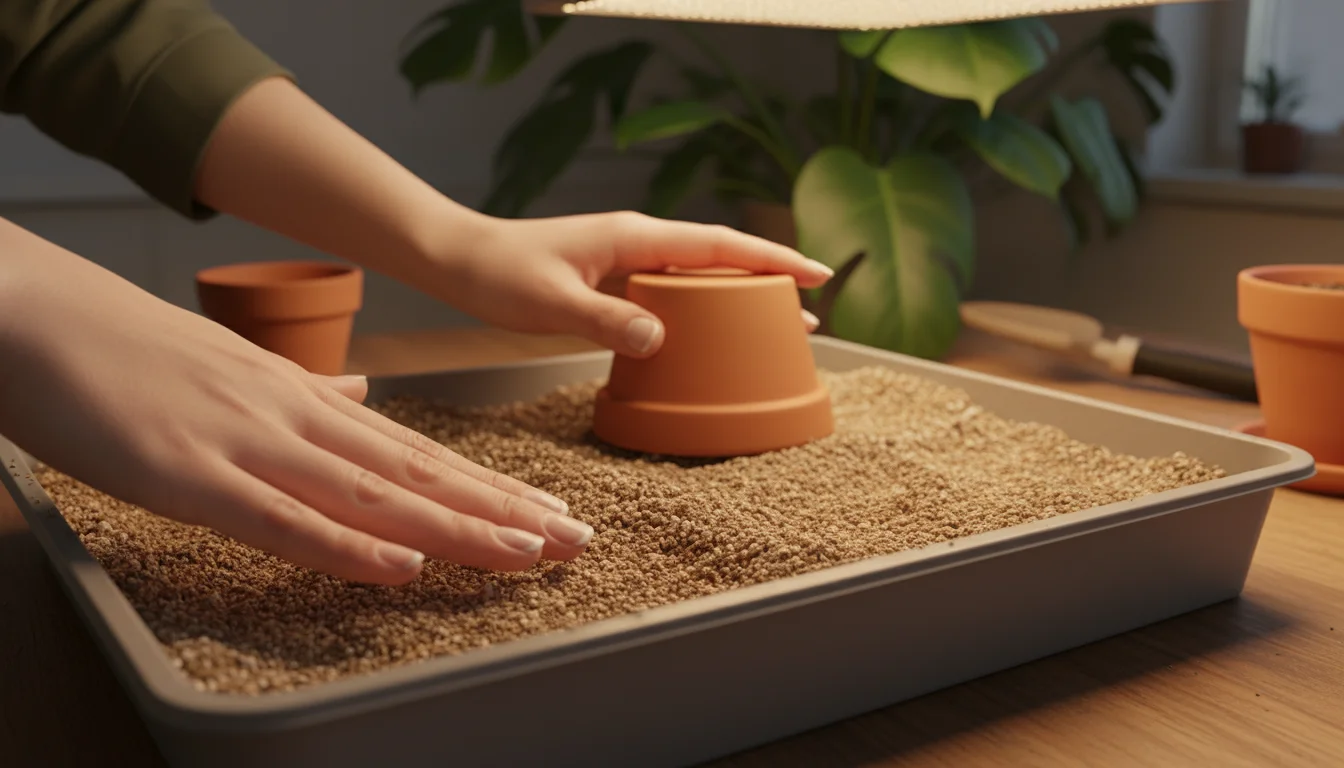
After sowing, gently mist the seeds with water to settle them. For most spicy microgreens, a very thin layer of growing medium (about 1/8 inch) or a light sprinkling of vermiculite over the seeds can improve germination by keeping them moist. Some seeds, like many brassicas (radish, mustard), can germinate well exposed on the surface. Again, consult your specific seed packet. For the first few days, you can cover the tray with a blackout dome or another tray to create a dark, humid environment that encourages germination. This period usually lasts 2-4 days, until you see most of the seeds sprouting.

Step 5: Introduce Light and Maintain Moisture
Once your seeds have germinated and you see green sprouts emerging, remove the blackout cover. Place the tray under your grow light or in your brightest windowsill. Position the light 4-6 inches above the seedlings. Begin bottom watering to maintain consistent moisture. Check the soil moisture daily by gently touching the surface; if it feels dry, it is time to water. Ensure good air circulation by running a small fan for a few hours a day to prevent fungal issues.
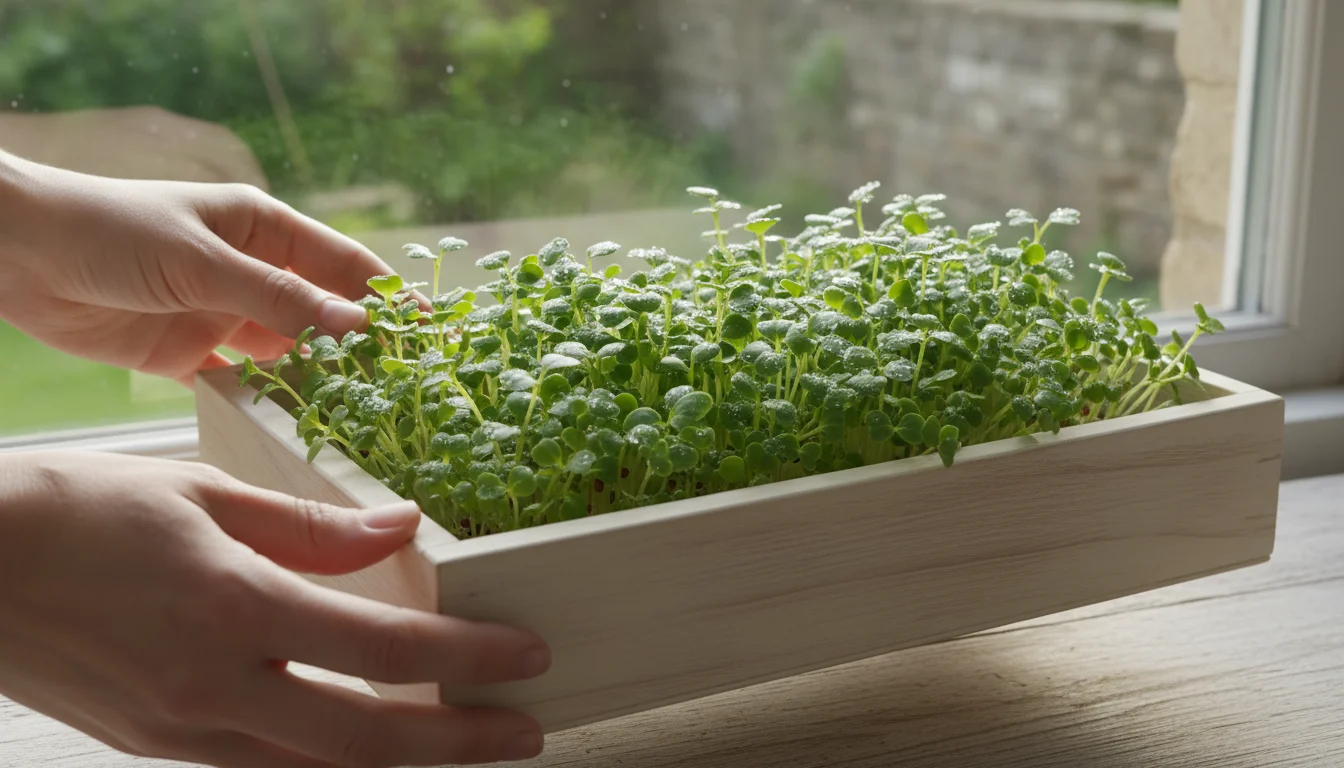
Step 6: Monitor and Wait
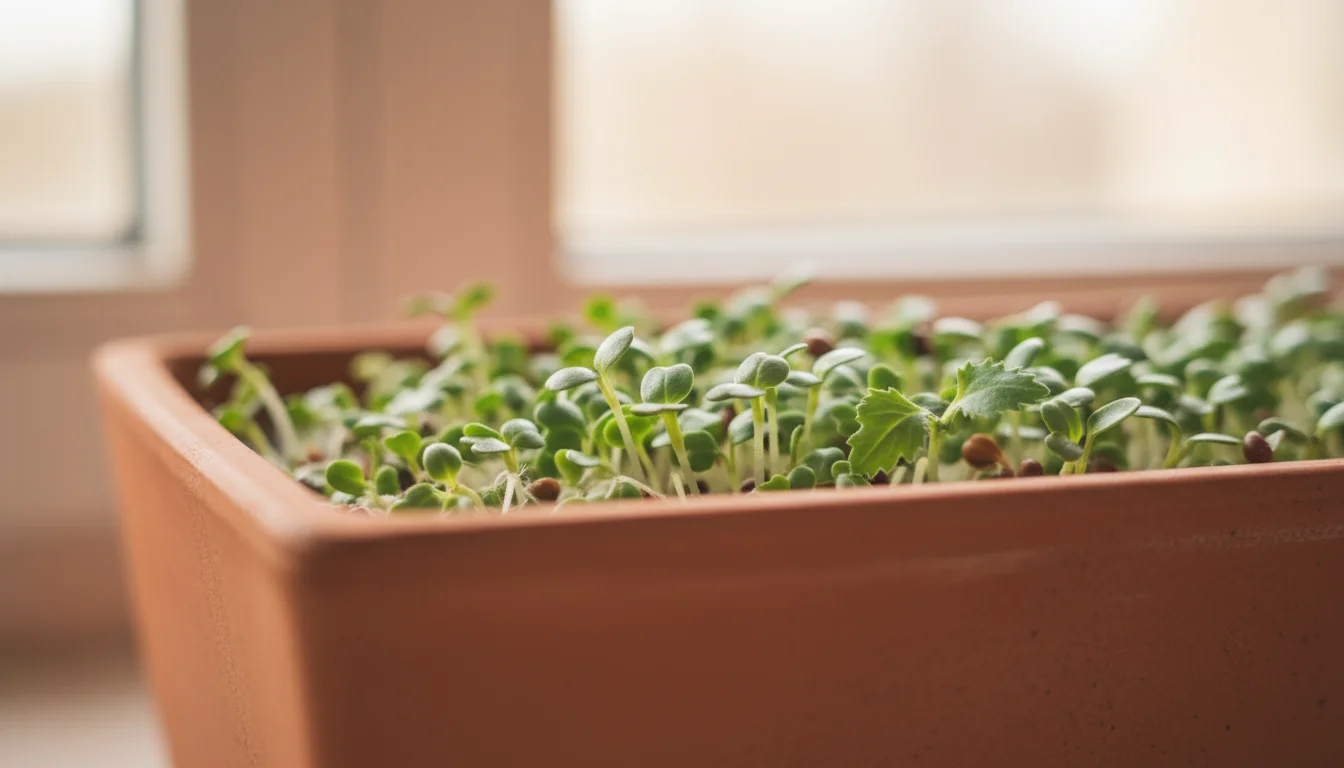
Over the next 7-14 days, your microgreens will grow rapidly. Continue to monitor moisture levels and light exposure. Rotate your tray if using natural light to ensure even growth. You will observe the first tiny leaves, called cotyledons, appearing, followed by their first “true” leaves. The cotyledon stage is typically when microgreens are at their peak flavor and nutritional density, and usually the best time to harvest.
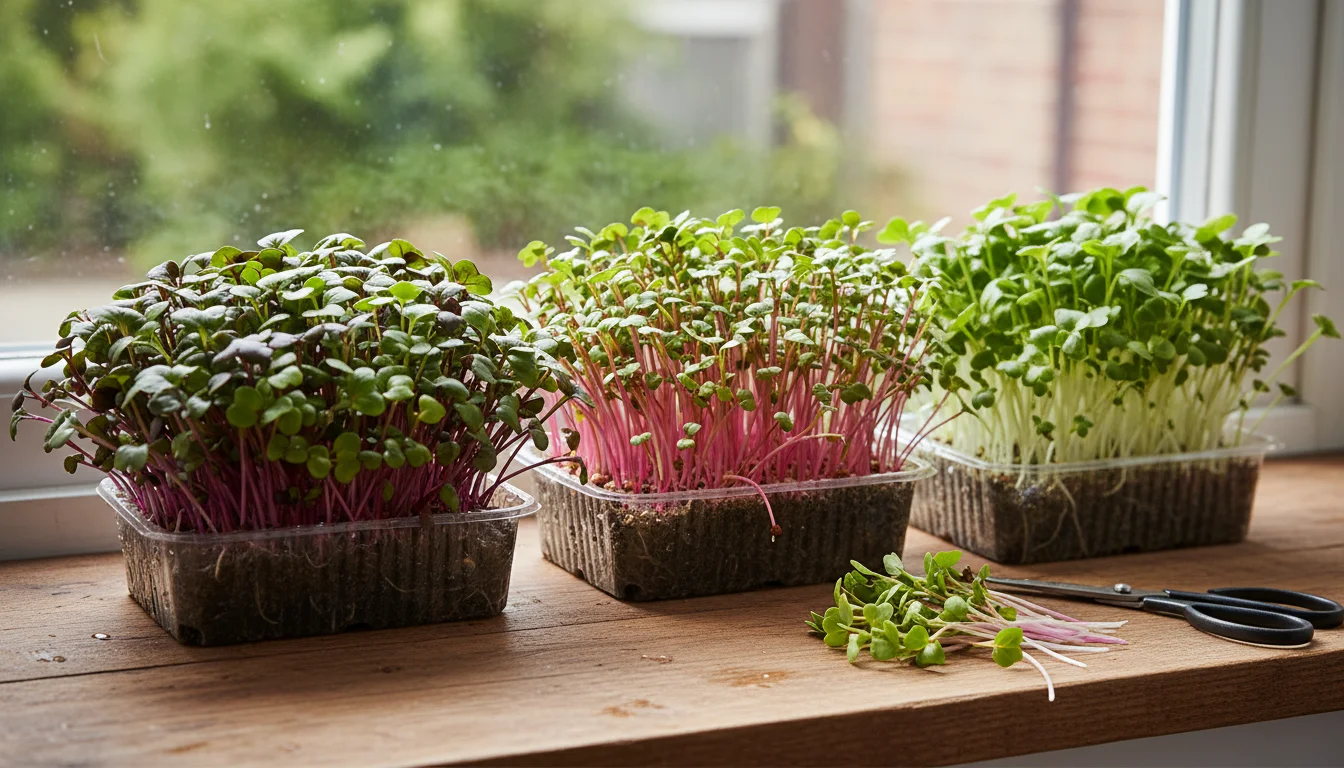
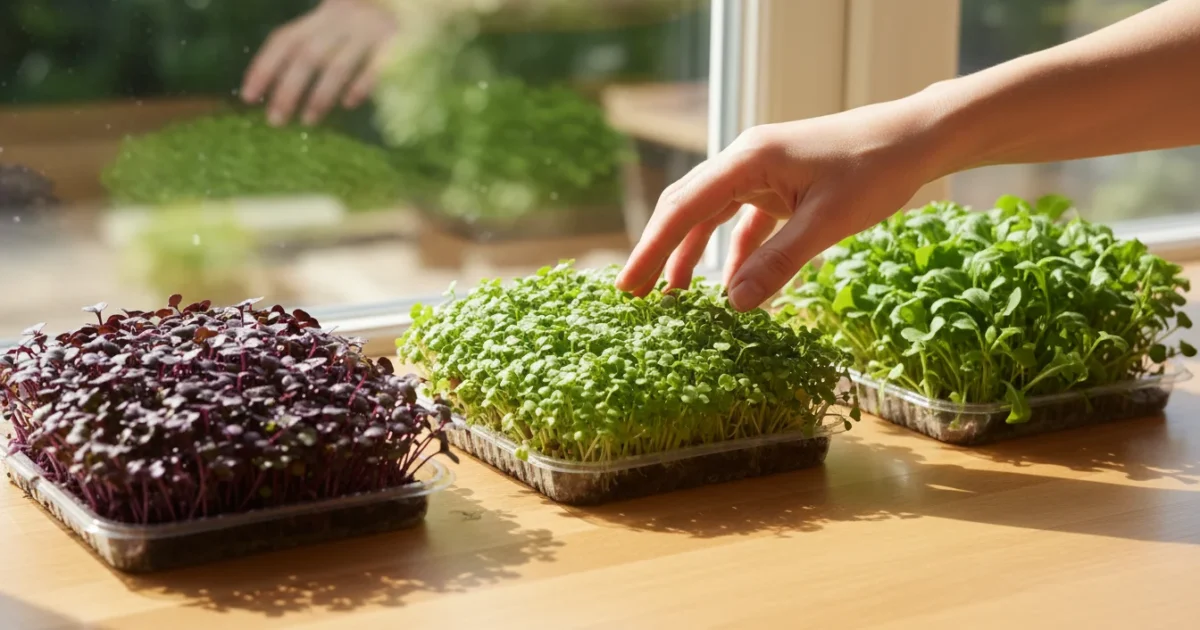
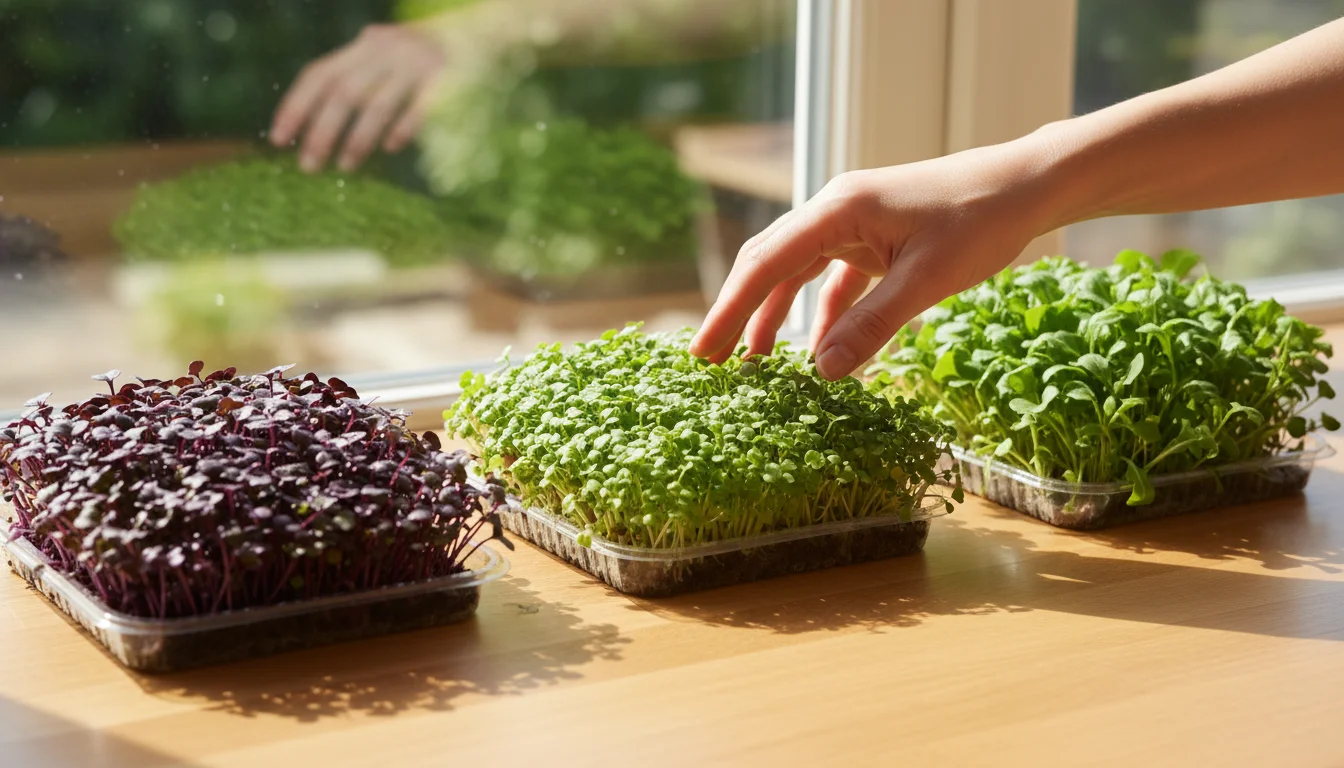
Top 5 Spicy Microgreens for Fall Flavor
As the outdoor garden hibernates, these five spicy microgreens bring a vibrant, peppery kick to your indoor growing efforts. They are among the best microgreens for fall and winter because they grow quickly, taste fantastic, and are straightforward to cultivate on a windowsill.
-
Radish Microgreens: The Peppery Powerhouse
Radish microgreens offer a distinct, peppery, and often spicy bite reminiscent of a mature radish root. Varieties like Sango (purple stems, green leaves), China Rose (pink stems), and Daikon (green with white stems) provide visual appeal alongside their pungent flavor. They germinate quickly and are ready for harvest in as little as 7-10 days, making them a fantastic choice for instant gratification.
Growing Tips: Radish seeds are relatively large and benefit from a 4-6 hour soak. Sow them densely and cover with a thin layer of growing medium or vermiculite. They are excellent candidates for how to grow radish microgreens on a windowsill because of their speed and compact growth. Provide bright light to prevent them from becoming leggy.
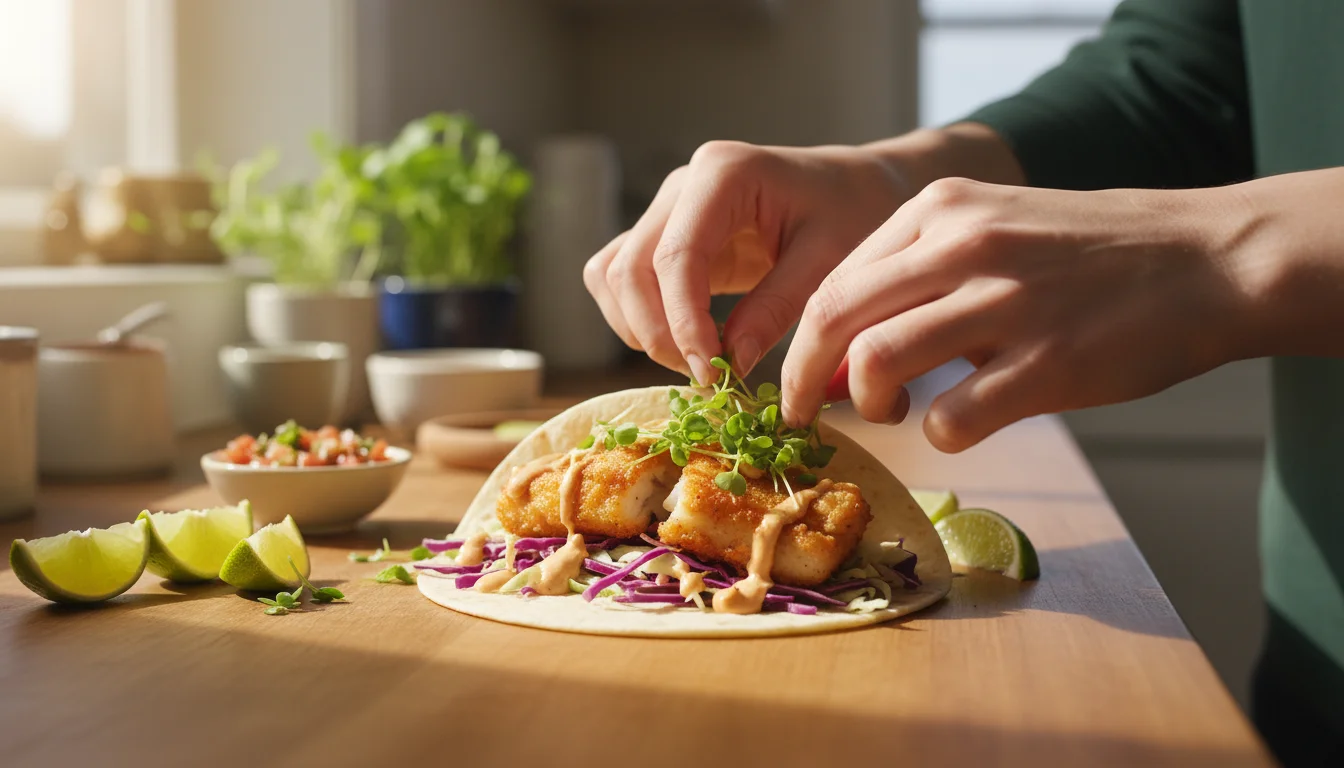
Culinary Uses: Their crisp texture and sharp flavor make them ideal for topping tacos, sandwiches, omelets, and salads. You can use them as a garnish for Asian-inspired dishes or blend them into savory smoothies for an unexpected kick.
-
Mustard Microgreens: The Bold Flavor Provider
Mustard microgreens deliver a strong, pungent, and often hot flavor profile, much like the prepared mustard you enjoy. Varieties such as Osaka Purple, Red Giant, and Southern Giant Curled offer different shades of green and purple, adding visual interest. They are robust growers, typically ready for harvest in 8-12 days, and provide a substantial volume of greens.
Growing Tips: Mustard seeds are usually small and round. A short soak of 2-4 hours can help, though it is not strictly necessary for all varieties. Sow densely and cover lightly, or use a blackout period for consistent germination. Growing mustard greens indoors is a reliable way to get a strong peppery flavor. Ensure good air circulation to prevent common issues like damping off.
Culinary Uses: Their intense flavor stands up well to rich foods. Add them to hearty winter salads, stir-fries (after cooking), or use them as a vibrant garnish for grilled meats or roasted vegetables. They also make an exciting addition to homemade pestos.
-
Arugula Microgreens: The Peppery and Nutty Delight
Arugula microgreens possess a distinct peppery taste with a pleasant, slightly nutty undertone. This flavor profile is a bit milder than radish or mustard but still delivers a satisfying kick. They grow quickly, generally ready for harvest in 8-14 days, offering a consistent supply of fresh greens.
Growing Tips: Arugula seeds are small and do not typically require soaking. Sow them densely on the surface of your growing medium and lightly mist. A blackout period for the first 2-3 days helps achieve even germination. Arugula thrives in consistent moisture and good light, producing healthy, flavorful leaves.
Culinary Uses: Excellent in salads, pasta dishes, and as a topping for pizzas or flatbreads. They pair wonderfully with cheese, especially goat cheese or fresh mozzarella. You can also blend them into a vibrant green sauce or a peppery dip.
-
Wasabi Mustard Microgreens: The Intense Kick
For those who love heat, Wasabi Mustard microgreens provide an exhilarating, clear-your-sinuses wasabi-like pungency. These greens are specifically bred for that intense, horseradish-like bite, making them a unique addition to your indoor garden. They mature in about 10-14 days, offering a potent flavor experience.
Growing Tips: Treat Wasabi Mustard seeds similarly to other mustard varieties. A short soak might be beneficial. Sow densely and ensure consistent moisture throughout germination and growth. Due to their potent flavor, you might grow smaller batches more frequently, allowing you to use them fresh.
Culinary Uses: Use these sparingly as a garnish to add a significant punch to sushi, sashimi, or grilled fish. They also enhance savory soups and stews or can be finely chopped and mixed into dressings for an adventurous flavor twist.
-
Garden Cress Microgreens: The Tangy and Zesty Green
Garden Cress microgreens offer a unique, tangy, and slightly peppery flavor that is distinct from mustard or radish. They have a fresh, bright taste that is wonderfully zesty. They are perhaps the fastest-growing microgreen, often ready for harvest in just 5-8 days, making them perfect for frequent, small harvests.
Growing Tips: Cress seeds are very small and become mucilaginous (gel-like) when wet, so do not soak them. Sprinkle them evenly and densely on the surface of the growing medium. Do not cover them with soil. Maintain high humidity during germination by covering the tray, and mist lightly to keep the seeds moist. They respond very well to consistent moisture and good light.
Culinary Uses: Their delicate texture and lively flavor make them a superb addition to egg dishes, cream cheese spreads, and delicate sandwiches. They also provide an excellent fresh garnish for almost any savory dish, adding a burst of freshness and tang.
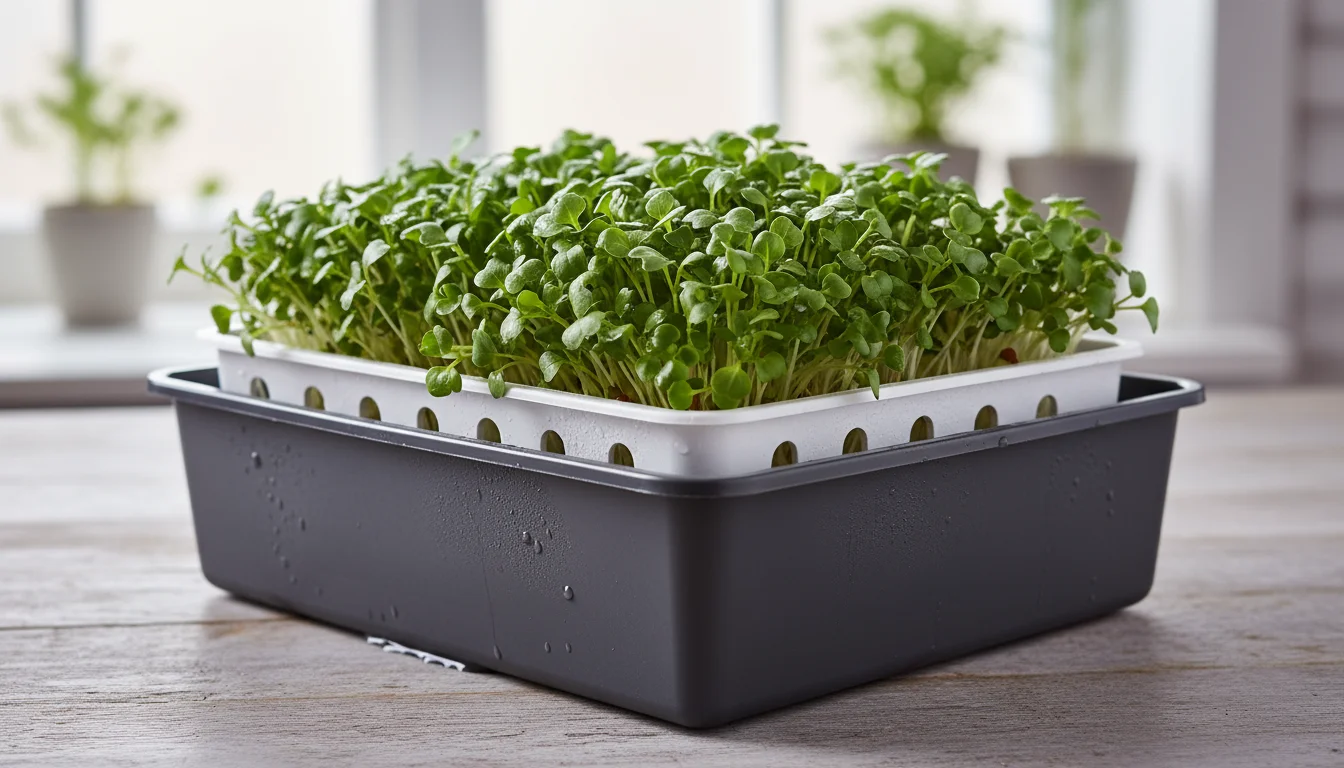
Harvesting Your Flavorful Bounty
Harvesting your indoor microgreens at the right time ensures maximum flavor and nutritional value. You want to capture them when they are vibrant and tender, before they become too large or their flavor diminishes.
When to Harvest
Most spicy microgreens are ready for harvest when their first set of true leaves begins to emerge, typically 7 to 21 days after planting, depending on the variety. The cotyledons, which are the plant’s embryonic leaves, provide excellent flavor and texture. Waiting until the true leaves appear can sometimes yield more volume, but the flavor might be less concentrated and the texture slightly tougher for some varieties. Observe your plants closely: they should look robust and have developed good color.

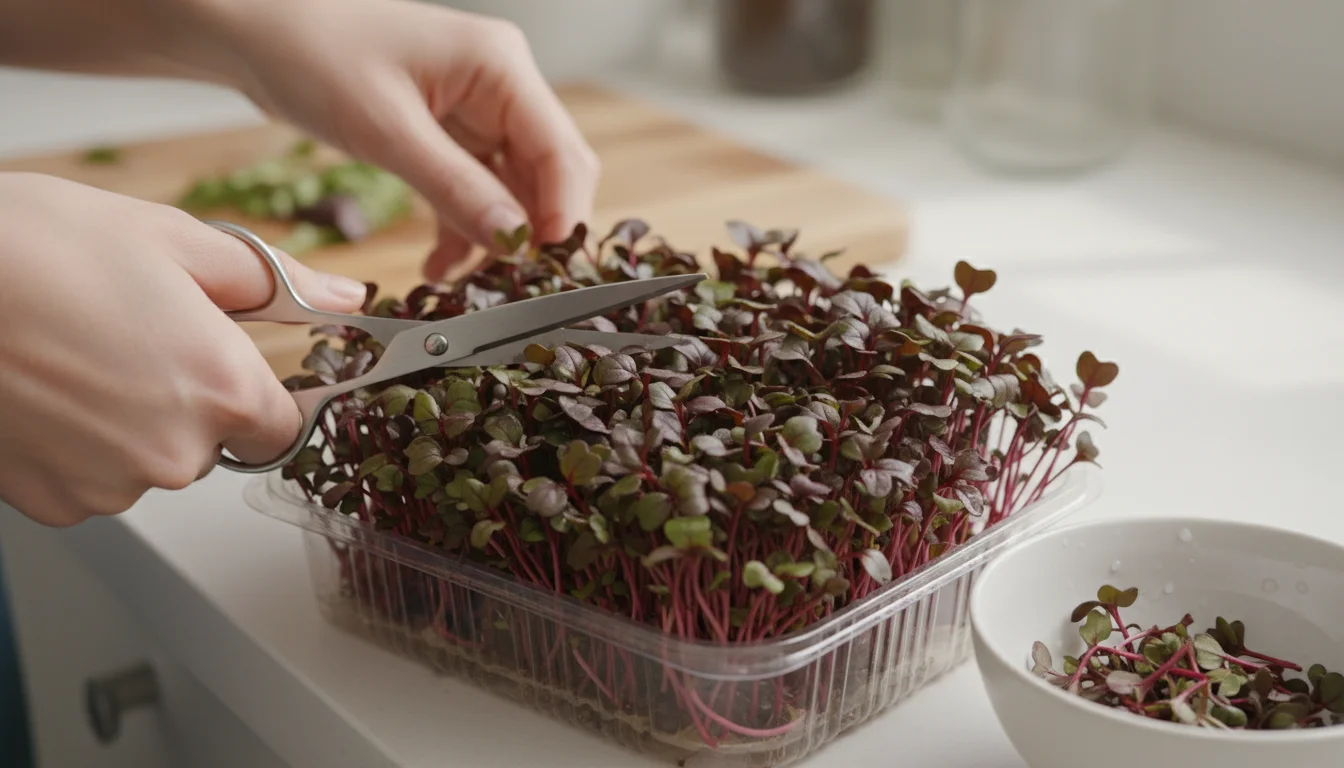
How to Harvest
Harvesting microgreens is quick and simple. Use a clean, sharp pair of scissors or a very sharp knife. Gather a small section of greens in one hand and carefully snip them just above the soil line. Aim to cut them about 0.5-1 inch from the base. Avoid cutting into the soil, as this can introduce dirt into your harvest. Work systematically across your tray. You generally get only one harvest from microgreens; they do not typically regrow from the cut stems in a way that yields a second substantial crop. For a continuous supply, plan staggered plantings every 1-2 weeks.
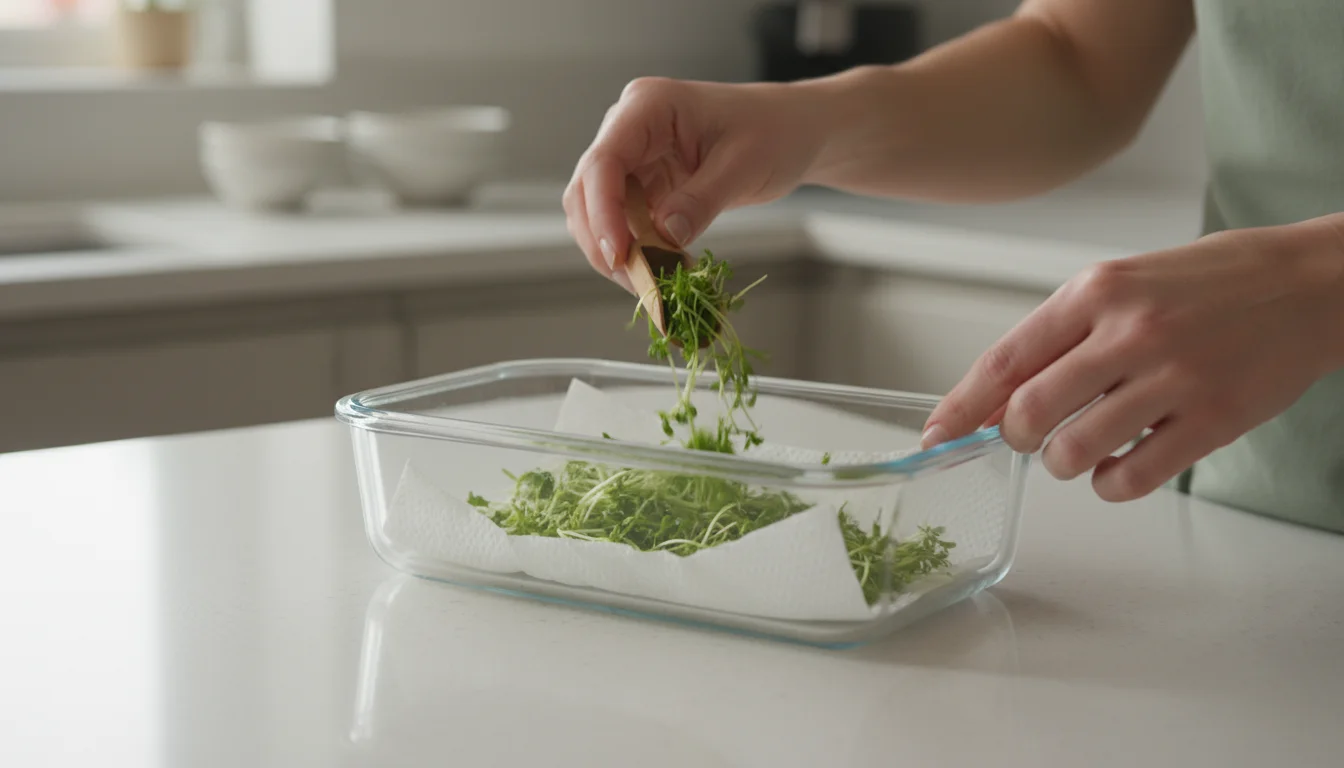
Storing Your Harvest
Once harvested, microgreens are best used immediately to enjoy their peak freshness and flavor. If you need to store them, gently rinse them in cool water and thoroughly pat them dry with a clean cloth or paper towel. Excess moisture is the enemy of fresh greens during storage. Place the dried microgreens in an airtight container lined with a paper towel. Store them in the crisper drawer of your refrigerator. They typically remain fresh for 5-7 days this way, though their vitality and flavor are highest in the first few days after cutting.
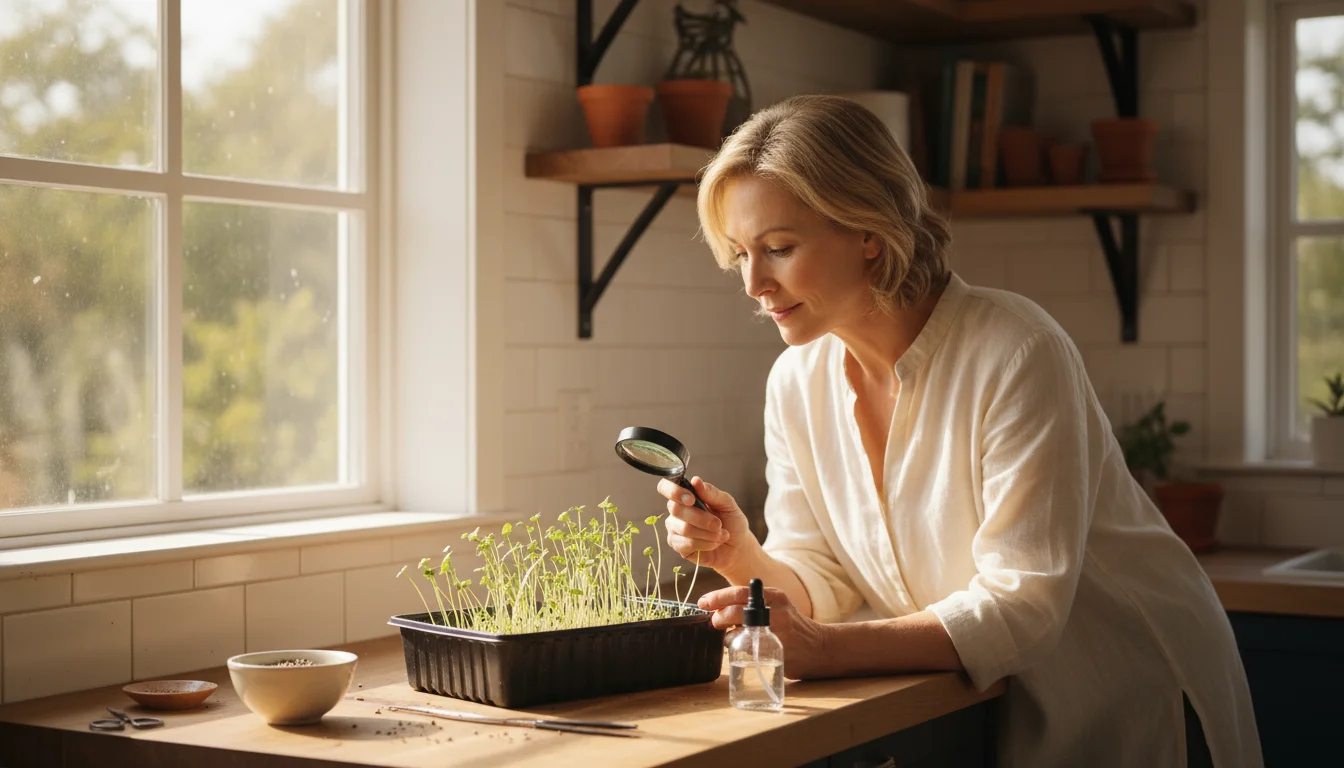
Troubleshooting Common Microgreen Challenges
While growing indoor microgreens is generally straightforward, you might encounter a few common issues. Understanding these challenges and knowing how to address them helps ensure a successful harvest every time.
Legginess: When Stems Stretch Too Much
Problem: Your microgreens look tall and spindly, with long, weak stems and small leaves. This is called “legginess.”
Solution: Legginess almost always indicates insufficient light. Move your trays to a brighter location, such as a sunnier windowsill, or lower your grow light. Ensure your grow light is positioned 4-6 inches above the plants and runs for 12-16 hours a day. Strong light encourages compact, sturdy growth.
Mold or Damping Off: Fungal Foes
Problem: You notice fuzzy white or grey patches on the soil surface, on the seedlings, or at the base of the stems. Seedlings might suddenly collapse. This is often mold or a fungal disease called “damping off.”
Solution: Mold thrives in damp, stagnant conditions. The most effective solutions involve improving air circulation and reducing moisture.
- Air Circulation: Run a small fan intermittently for a few hours daily to gently move air around the trays.
- Watering: Ensure you are bottom watering correctly and not overwatering. Allow the top layer of the growing medium to dry slightly between waterings.
- Sanitation: Use sterile seed starting mix and clean trays. Dispose of any moldy trays and their contents immediately to prevent spread.
Maintaining these practices prevents mold from taking hold, protecting your growing spicy greens.
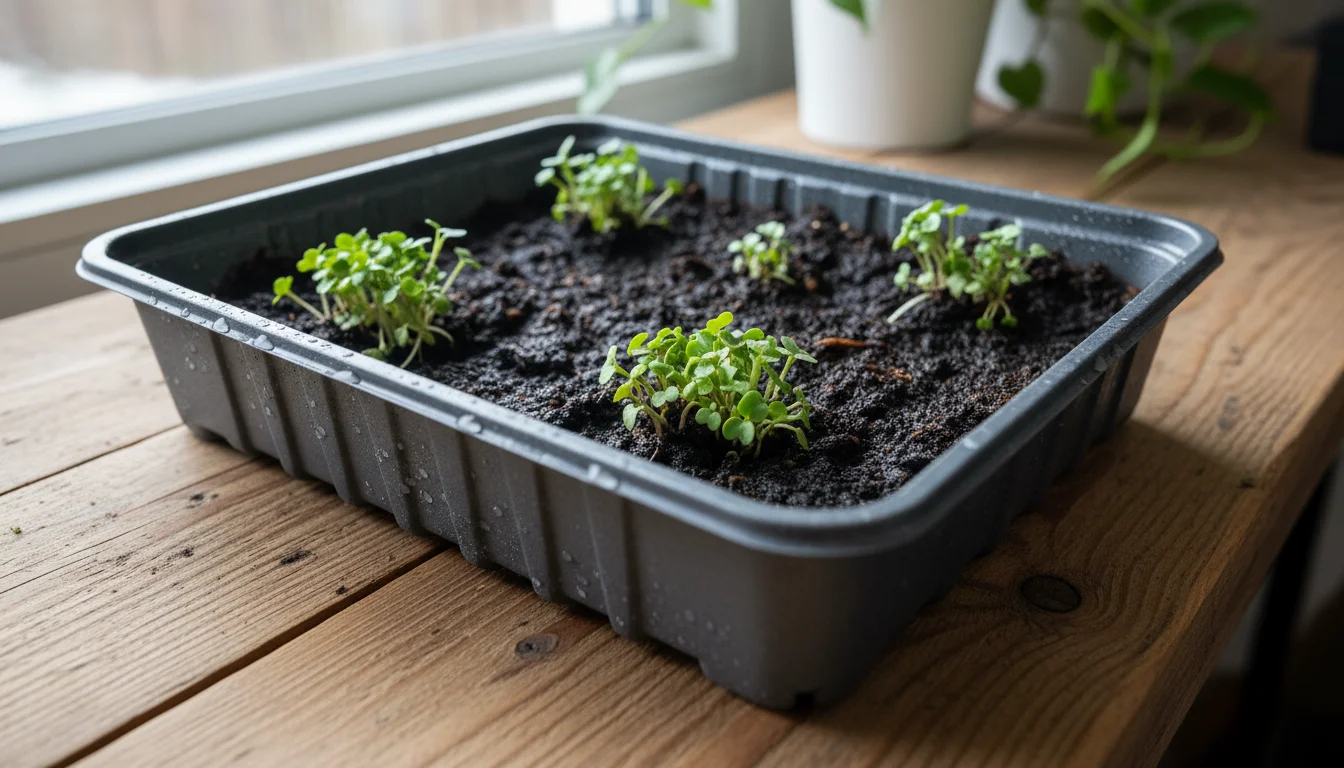
Uneven Germination: Patchy Growth
Problem: Some areas of your tray are bare, while others are growing well, leading to a patchy crop.
Solution: Uneven germination can stem from several factors:
- Seed Quality: Ensure you are using fresh, high-quality seeds from a reputable supplier. Old seeds have lower germination rates.
- Moisture Consistency: Inconsistent moisture during the germination phase can lead to some seeds drying out while others sprout. Use consistent bottom watering and a blackout cover to maintain even humidity.
- Sowing Density: Ensure you distribute seeds evenly across the entire tray.
- Temperature: Keep the growing area at a consistent temperature suitable for germination (around 65-75°F or 18-24°C).
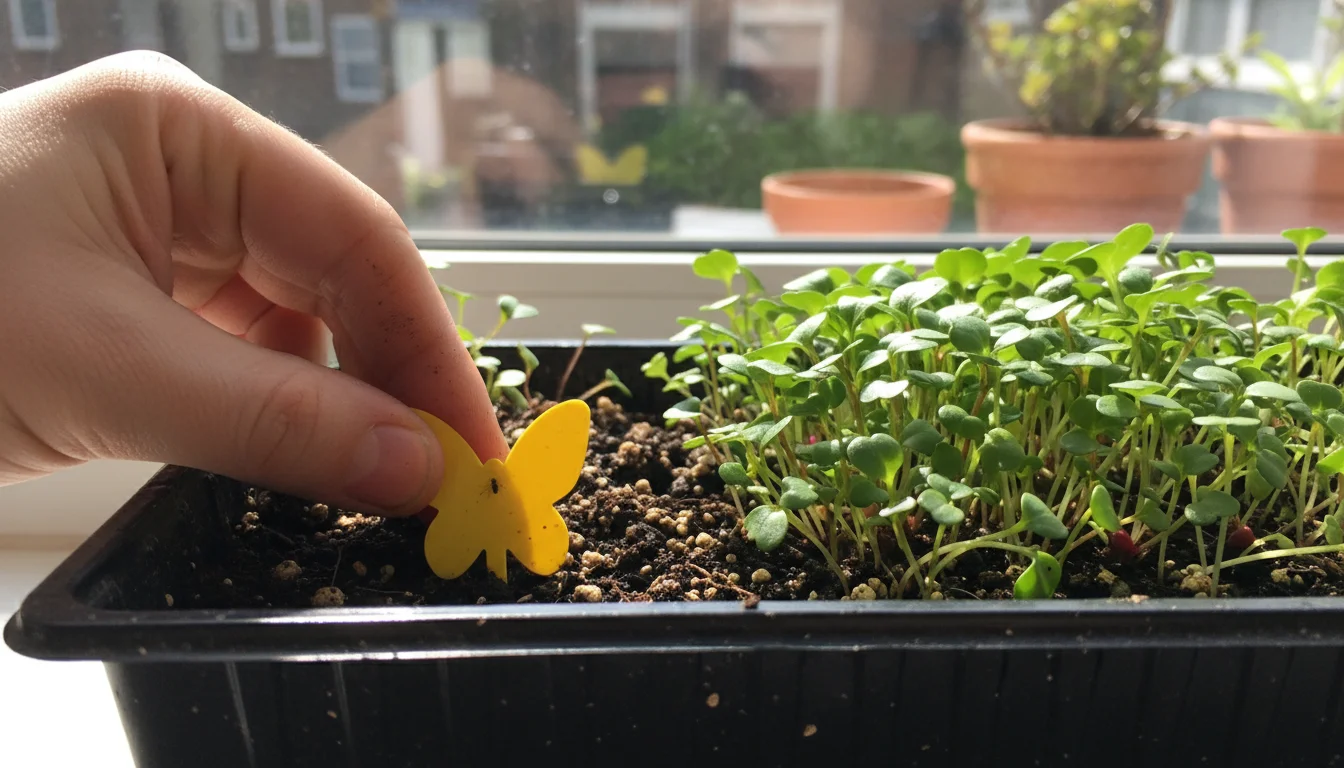
Pests: Unwanted Visitors
Problem: Though rare indoors, you might occasionally spot tiny gnats or other small insects around your microgreens.
Solution:
- Prevention: Use sterile growing medium. Avoid bringing outdoor soil indoors.
- Treatment: If you see fungus gnats, they are often a sign of overly moist soil. Allow the top layer of the medium to dry out more. You can also use sticky traps to catch adult gnats. For other pests, a gentle spray of insecticidal soap (check if it is safe for edibles) can help, though usually microgreens are harvested before pests become a major issue.
Generally, because microgreens have such a short growth cycle, serious pest infestations are uncommon.

Maximizing Flavor and Nutrition: Culinary Tips
You have successfully grown your spicy indoor microgreens, and now the fun begins: incorporating them into your daily meals. These tiny greens are more than just a garnish; they are a culinary ingredient that adds intense flavor, vibrant color, and a nutritional boost to countless dishes. Always add microgreens just before serving or after cooking to preserve their delicate texture, potent flavor, and beneficial nutrients. High heat degrades many of the valuable compounds they contain.

Elevate Your Everyday Meals
- Salads: Transform a simple green salad into a gourmet experience. Mix radish microgreens with mixed greens, or layer spicy mustard microgreens on top for an invigorating bite.
- Sandwiches and Wraps: Replace limp lettuce with a generous handful of fresh, peppery microgreens. Arugula or cress microgreens add a wonderful crunch and zing to turkey, hummus, or cheese sandwiches.
- Eggs: Sprinkle chopped spicy microgreens over scrambled eggs, omelets, or frittatas immediately after cooking. The heat of the eggs will release their aromatic oils.
- Soups and Stews: Garnish creamy tomato soup, a hearty lentil stew, or a simple chicken noodle soup with a vibrant pile of radish or mustard microgreens. They provide a fresh contrast to rich, warm flavors.
Creative Culinary Applications
- Tacos and Burritos: Add a fresh, zesty crunch to your Mexican-inspired dishes. Wasabi mustard microgreens on fish tacos provide an adventurous kick.
- Stir-fries and Bowls: For a delightful texture and flavor contrast, scatter microgreens over Asian-style stir-fries, grain bowls, or noodle dishes once they are off the heat.
- Pizzas and Flatbreads: After baking, top your homemade pizza or flatbread with a handful of fresh arugula microgreens. The residual heat will slightly wilt them, intensifying their flavor.
- Smoothies: For a hidden health boost, blend milder spicy microgreens like cress or a small amount of arugula into green smoothies. The flavor will integrate well with fruits and other greens.
- Pestos and Sauces: Experiment with incorporating spicy microgreens into homemade pestos. A mustard microgreen pesto, for instance, would offer a robust, peppery alternative to traditional basil pesto.
The key is to use them fresh and creatively. Their concentrated flavors mean a little goes a long way, making your small indoor garden incredibly impactful in your kitchen.
Frequently Asked Questions
Can I use regular garden soil for growing indoor microgreens?
You should avoid using regular garden soil for indoor microgreens. Garden soil often contains weed seeds, pests, and pathogens that can harm delicate seedlings or introduce unwanted elements into your indoor environment. It also tends to be too dense, which can hinder proper drainage and root development. Always opt for a sterile, fine-textured seed starting mix or coco coir for the best results, ensuring a clean and healthy growing medium for your plants.
Do I absolutely need a grow light for indoor microgreens?
While you can grow some microgreens on a very bright, south-facing windowsill, especially during longer, brighter seasons, a grow light is highly recommended, particularly for fall indoor gardening and throughout winter. Natural light intensity decreases significantly in cooler months. A dedicated LED grow light, positioned correctly, ensures your plants receive consistent, adequate light, preventing legginess and promoting dense, vigorous growth. This leads to a much more successful and flavorful harvest of your indoor microgreens.
How long can I store harvested microgreens?
Harvested microgreens are at their peak freshness and flavor when used immediately. If you need to store them, rinse them gently, pat them thoroughly dry, and place them in an airtight container lined with a paper towel. Store this container in the crisper drawer of your refrigerator. Under these conditions, they typically maintain good quality for 5-7 days. However, you will notice their vitality and crispness gradually decrease over time, so plan to enjoy them as soon as possible.
Can I grow microgreens without soil?
Yes, you can absolutely grow microgreens without soil using hydroponic methods. This typically involves using inert growing mats made from hemp, coco coir, or rockwool. These mats sit in shallow trays, and you provide a nutrient-rich water solution instead of soil. This method can be very clean and efficient, often resulting in quicker harvests. It is an excellent option for those looking to avoid soil indoors or wanting to experiment with different growing techniques for their growing spicy greens.
What if my microgreens get moldy? Can I save them?
Unfortunately, if your microgreens develop mold, it is best to dispose of the entire tray and start fresh. Mold spreads quickly and can be harmful. Trying to salvage moldy plants often proves unsuccessful and risks contaminating future crops or introducing spores into your home. Focus on preventing mold by ensuring good air circulation, avoiding overwatering, using sterile growing medium, and maintaining proper hygiene with your trays. These preventative measures are far more effective than trying to treat an existing mold issue.
The Joy of Year-Round Flavor
As the days shorten and the chill sets in, your indoor microgreen garden offers a bright spot of green, fresh flavor. Growing spicy greens indoors is not just a practical way to ensure a continuous supply of nutritious, delicious ingredients; it is also a rewarding connection to nature, even when your outdoor garden sleeps. You actively participate in providing fresh, healthy food for yourself and your family, right from your kitchen.
Embracing this form of fall indoor gardening transforms any small space into a productive haven. Whether you are growing pungent mustard, zesty cress, or peppery radish microgreens on a windowsill, you are boosting your meals with flavor and nutrition. This simple, low-maintenance approach empowers you to enjoy gardening year-round, proving that even with limited space, you can cultivate abundance and vibrant taste. Start your first tray today, and experience the profound satisfaction of harvesting your own fall flavor boost.
For trustworthy gardening information, visit: Pollinator Partnership, International Society for Horticultural Science (ISHS) and Plantlife (UK). These organizations provide expert, research-based advice for gardeners at all levels.
Disclaimer: This article is for informational purposes only and is not a substitute for professional gardening advice. Always consult local extension services or horticulture experts for region-specific guidance.
Leave a Reply