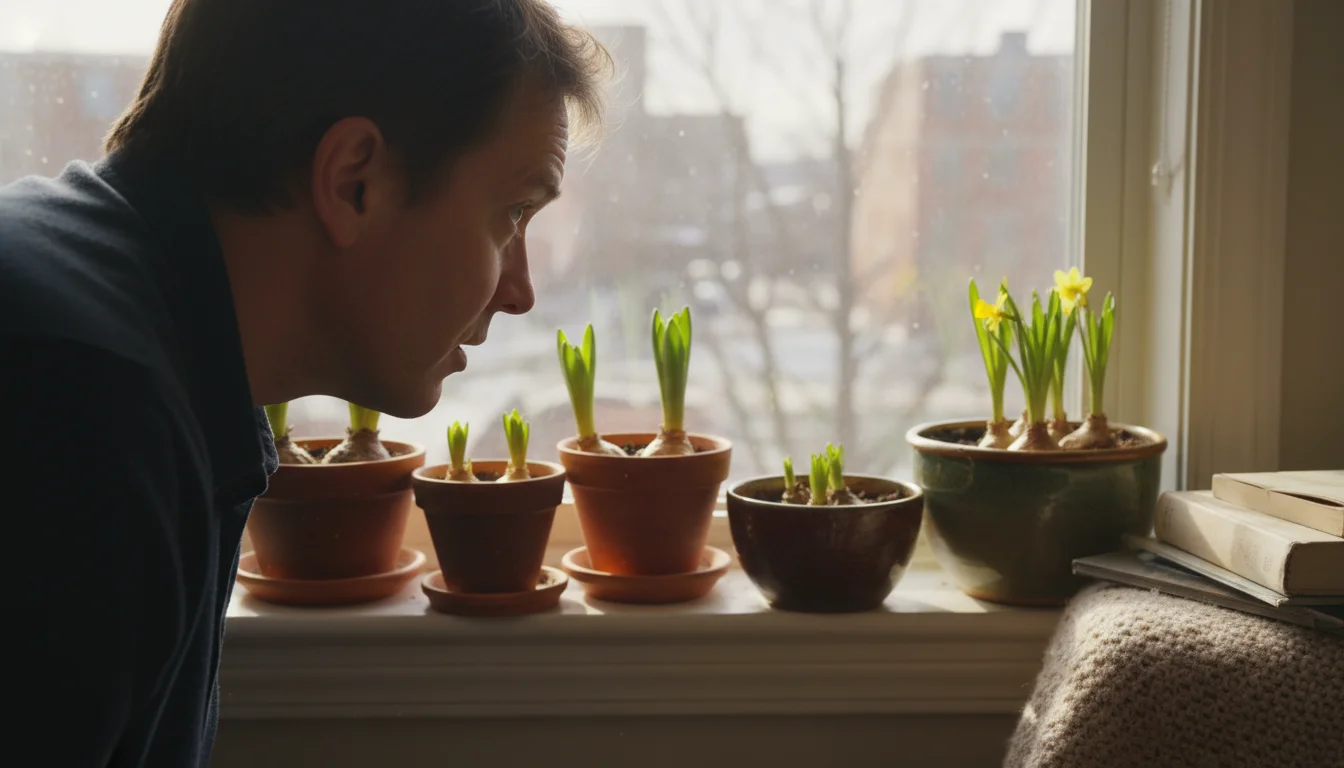
Imagine your home filled with the sweet fragrance and vibrant colors of spring flowers, even as winter snows fall outside. This isn’t a fantasy for experienced gardeners alone. You can easily achieve this with a simple, rewarding project called forcing bulbs indoors. It transforms dormant bulbs into a stunning display of early blooms, bringing life and cheer to your compact home or apartment during the colder months.
Forcing bulbs indoors is an accessible way to enjoy beautiful, low-maintenance flowers without needing a garden plot or extensive outdoor space. It requires minimal supplies and offers incredible satisfaction. As your houseplant coach, I will guide you through every step, ensuring your success in cultivating your own display of winter flowers.
What is Bulb Forcing?
Bulb forcing means tricking spring-flowering bulbs into blooming earlier than their natural outdoor schedule. You simulate the cold winter period and subsequent warming of spring, prompting the bulbs to sprout and flower indoors. This process allows you to enjoy the beauty of tulips, hyacinths, daffodils, and other spring favorites when the outdoor garden remains dormant. It’s a fantastic solution for apartment dwellers and anyone seeking a splash of color and fragrance during the grimmest parts of winter.
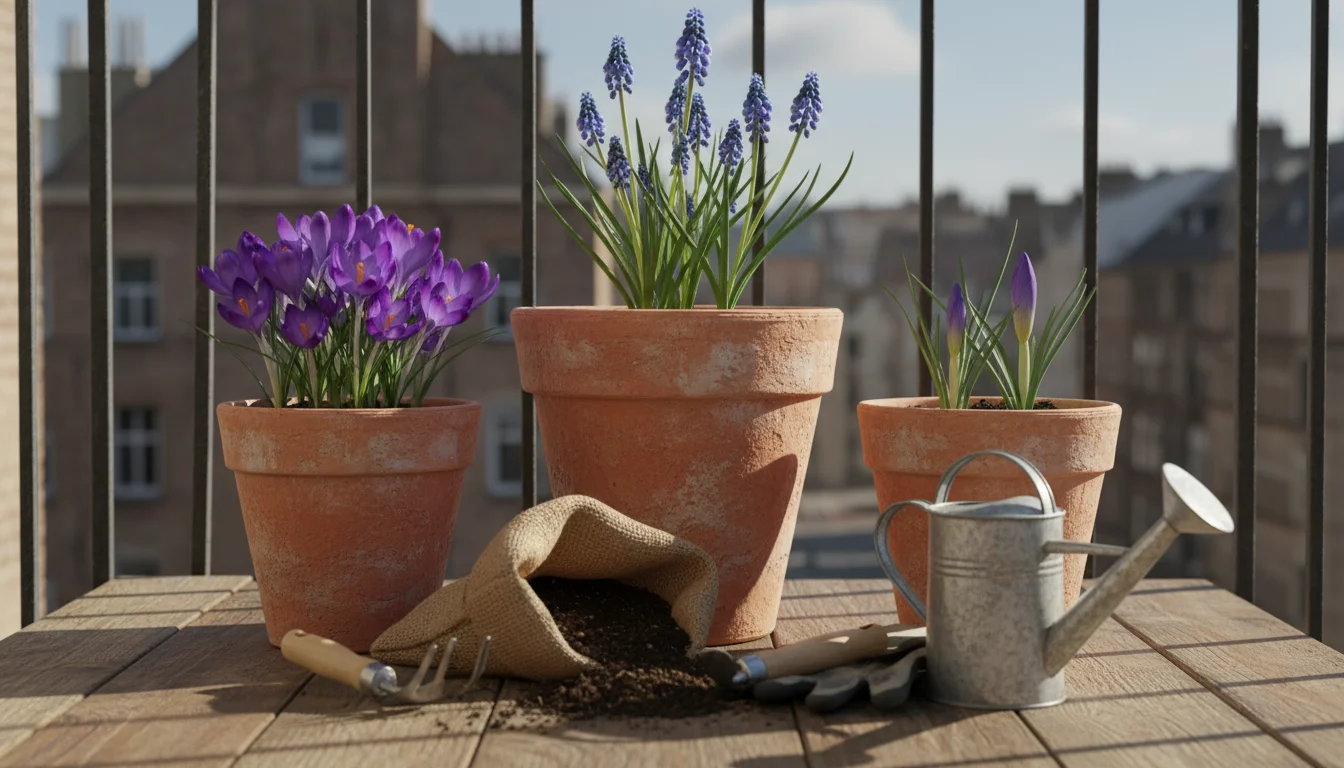
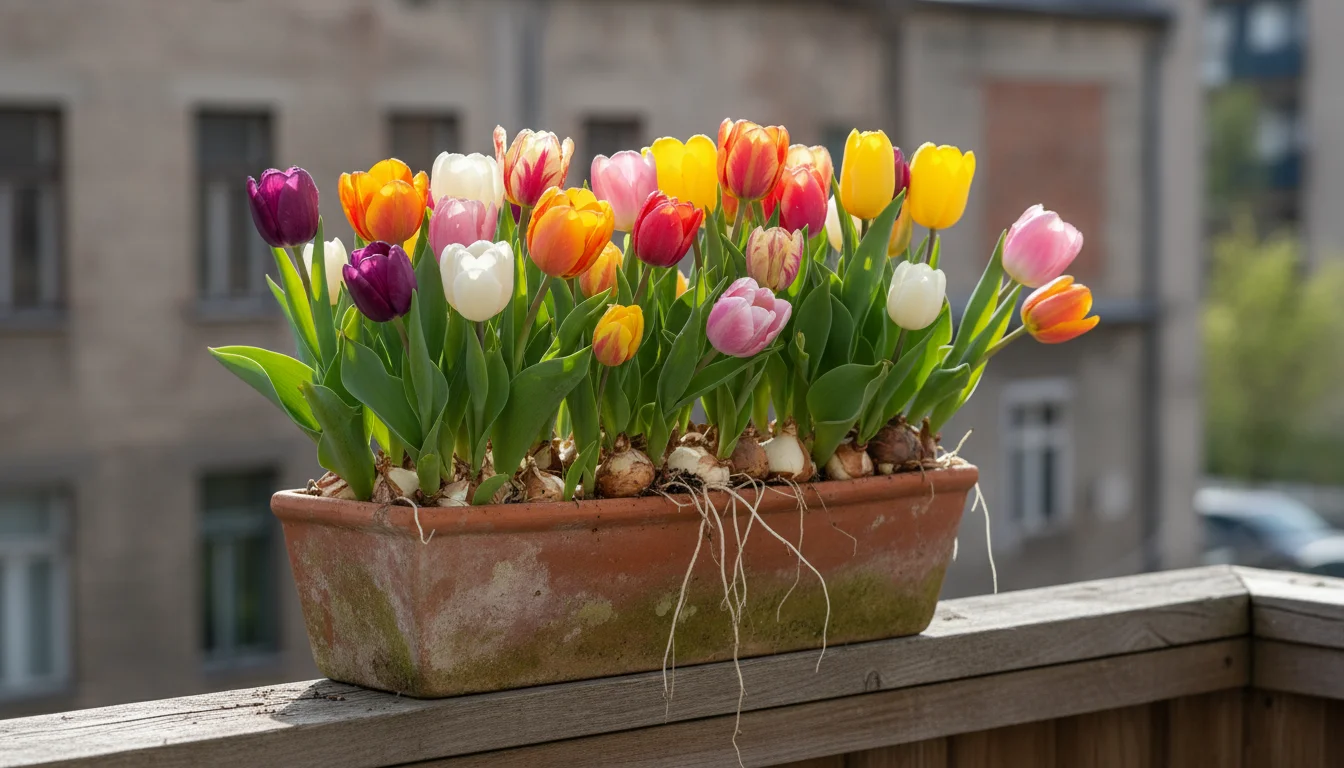
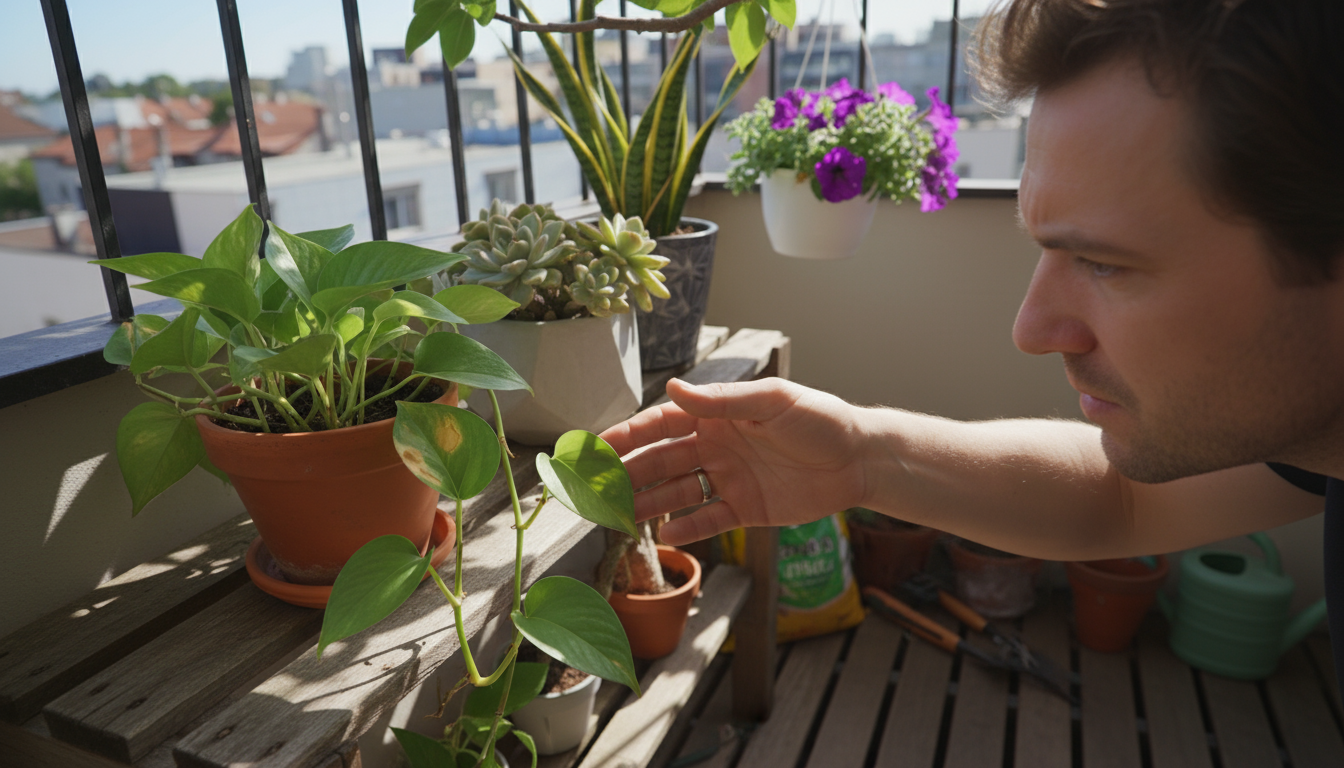
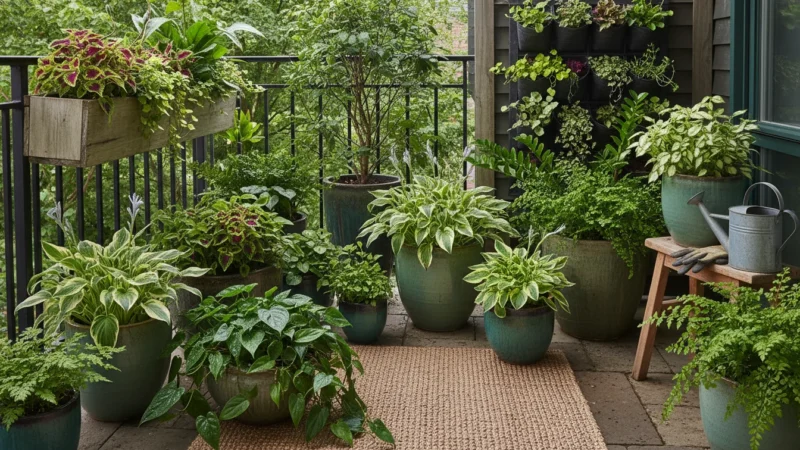
If you have a cold balcony or patio, you can actually use the outdoor chill to force bulbs in pots instead of finding space in your refrigerator.
If you enjoy this process, you can also learn about forcing branches indoors to add vertical interest and early spring color to your home.
The magic of forcing bulbs lies in its simplicity. You don’t need a green thumb or specialized equipment. You only need a few basic supplies and a cool, dark spot for a temporary “winter nap” for your bulbs. This beginner-friendly project delivers practical, actionable insights into nurturing life indoors, providing a fulfilling experience without significant effort.
Think about the psychological lift a fresh bloom offers during short, gray days. Studies suggest that interacting with plants reduces stress and improves mood. Bringing these vibrant winter flowers into your home provides more than just decoration; it offers a direct connection to nature’s cycles, boosting your well-being. This project helps you cultivate beauty and a sense of accomplishment.
Choosing Your Indoor Bulbs: Best for Beginners
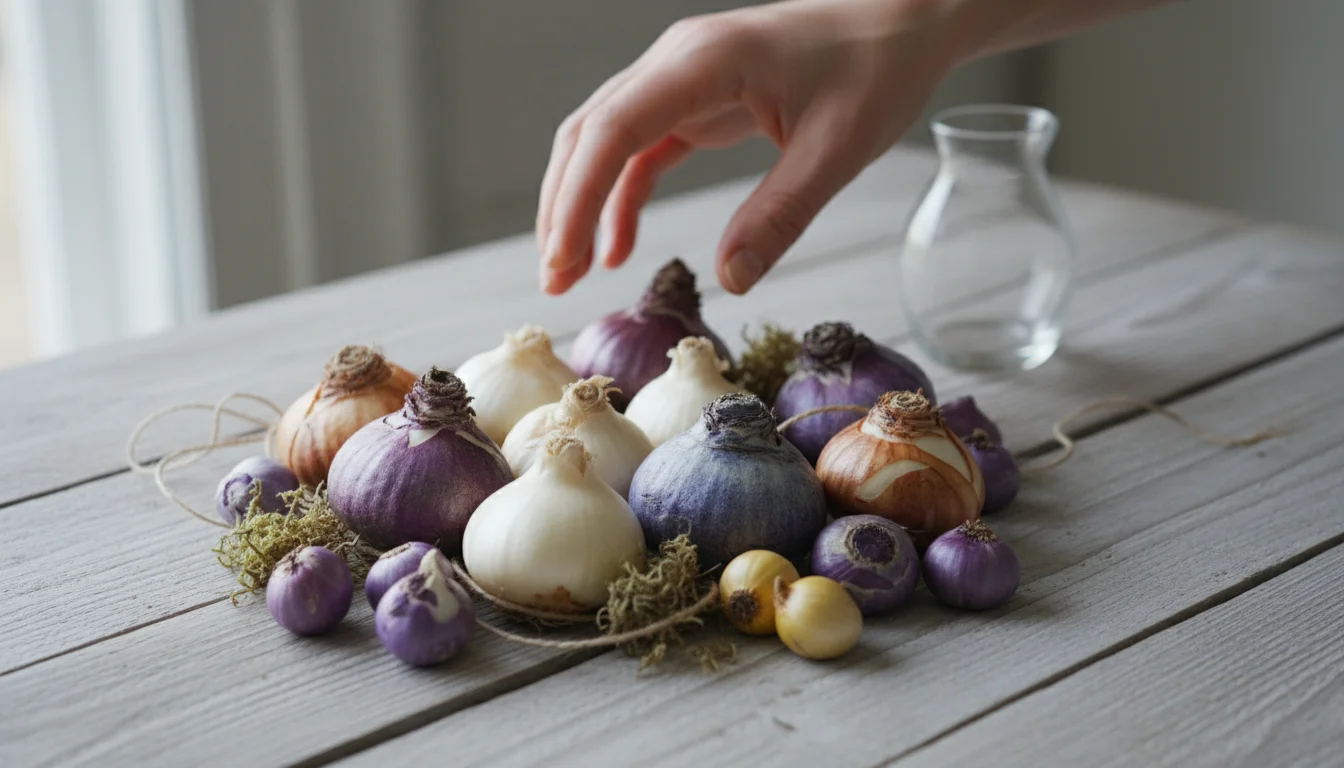
Success starts with selecting the right bulbs. While many bulbs can be forced, some are much easier and more reliable for beginners. Your goal is bright, fragrant blooms with minimal fuss. Focus on varieties known for their ease of forcing, particularly those that thrive as indoor bulbs.
For a truly impressive display that lasts weeks, consider planting a lasagna bulb pot by layering varieties with different bloom times.
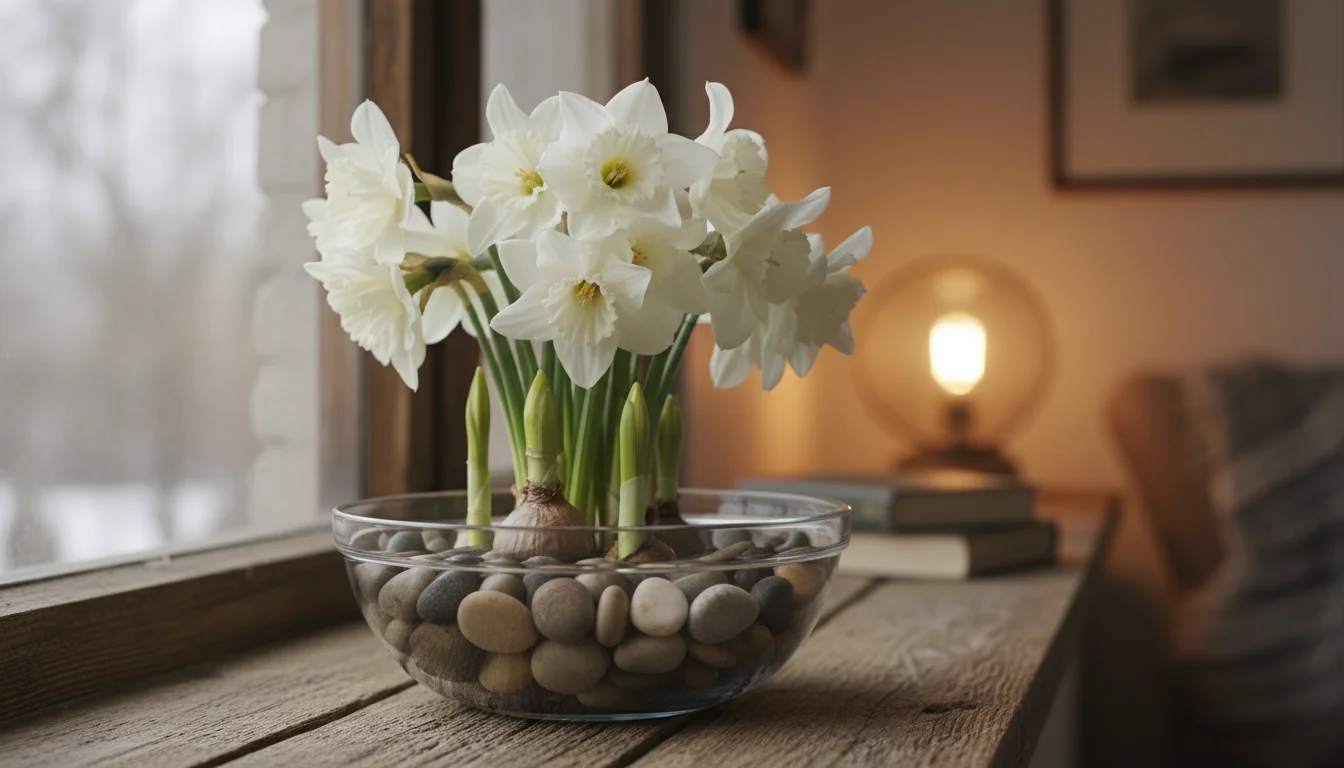
Paperwhites (Narcissus tazetta)
Paperwhites are the superstars of indoor forcing, especially when you want quick results. They are incredibly easy to grow because they do not require a chilling period. You can plant them and see blooms in as little as 3-4 weeks. This makes them perfect for holiday decorations, offering fragrant winter flowers, and a beautiful way to learn how to force paperwhites indoors for christmas. Their delicate white flowers and strong, sweet scent fill a room quickly, making them a popular choice for immediate gratification. You simply place them in a shallow dish with pebbles and water, making them ideal for small spaces and decorative displays.
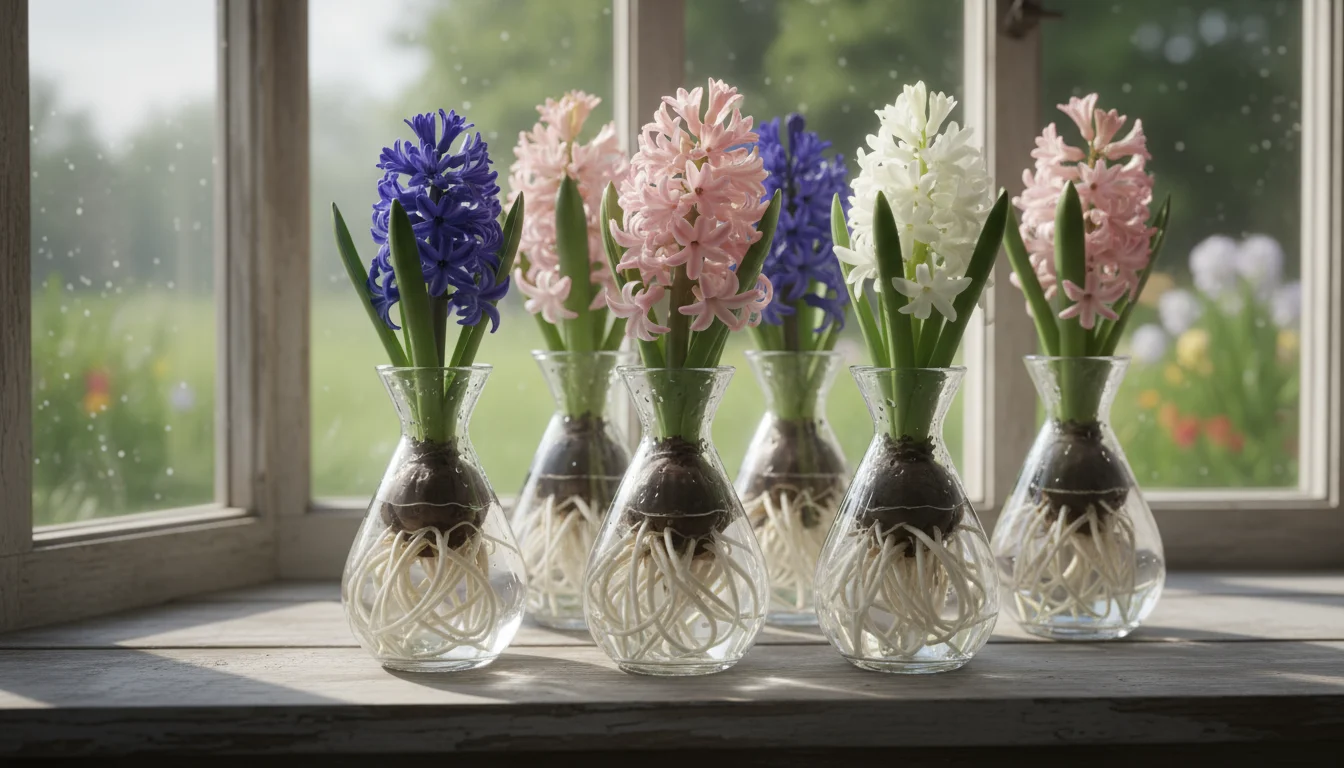
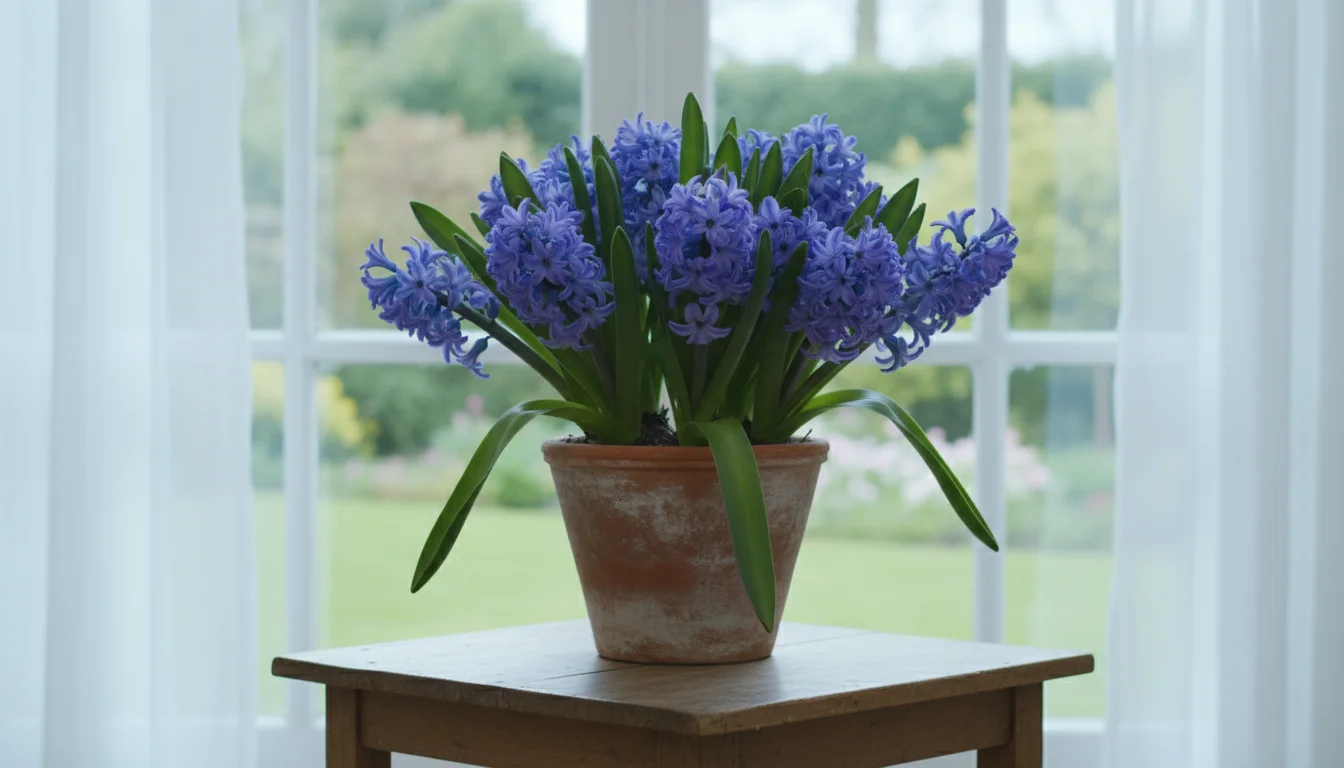
Hyacinths (Hyacinthus orientalis)
Hyacinths offer dense spikes of intensely fragrant flowers in a range of colors, including blue, pink, purple, and white. They are another excellent choice for indoor forcing, but they do require a chilling period to develop properly. This makes them a slightly longer-term project but no less rewarding. Their sturdy stems and compact growth habit make them perfect for windowsills or small tables. Many people enjoy forcing hyacinth bulbs in water using special hourglass-shaped hyacinth vases, which elegantly display the roots as well as the blooms.
Other Easy-to-Force Bulbs
- Crocus: These small, cheerful flowers signal the earliest signs of spring. They require chilling but are quite forgiving.
- Muscari (Grape Hyacinth): With their distinctive clusters of bell-shaped flowers, muscari are charming and relatively easy to force after a chilling period.
- Dwarf Irises (Iris reticulata): These elegant, miniature irises provide striking blue or purple blooms with a delightful scent. They also require chilling.
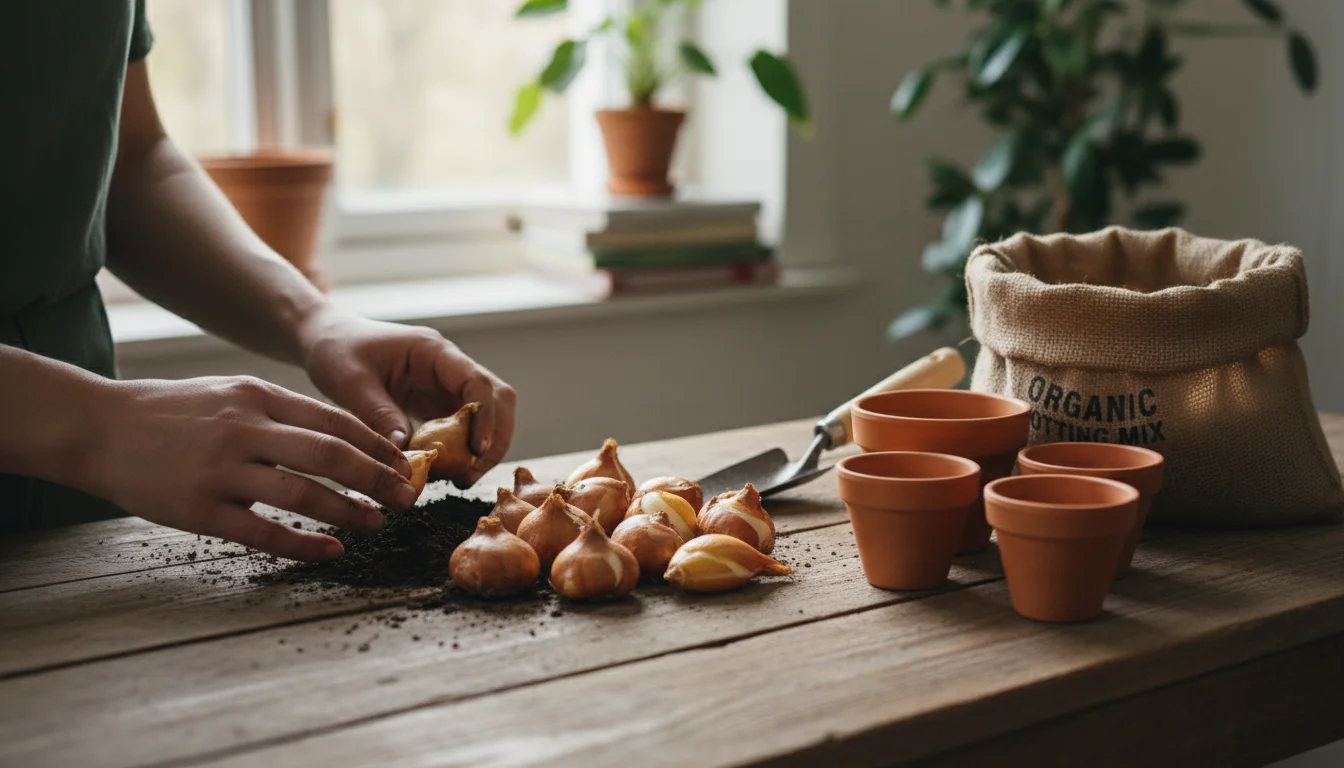
When purchasing bulbs, always look for firm, healthy bulbs without any soft spots, mold, or damage. Larger bulbs generally produce more and bigger flowers. For the best chance of success, especially with varieties needing chilling, buy bulbs specifically labeled as “prepared” or “pre-chilled,” which significantly shortens the cold period you need to provide at home. This attention to detail ensures you choose the best bulbs to force indoors for winter bloom, setting you up for a beautiful outcome.
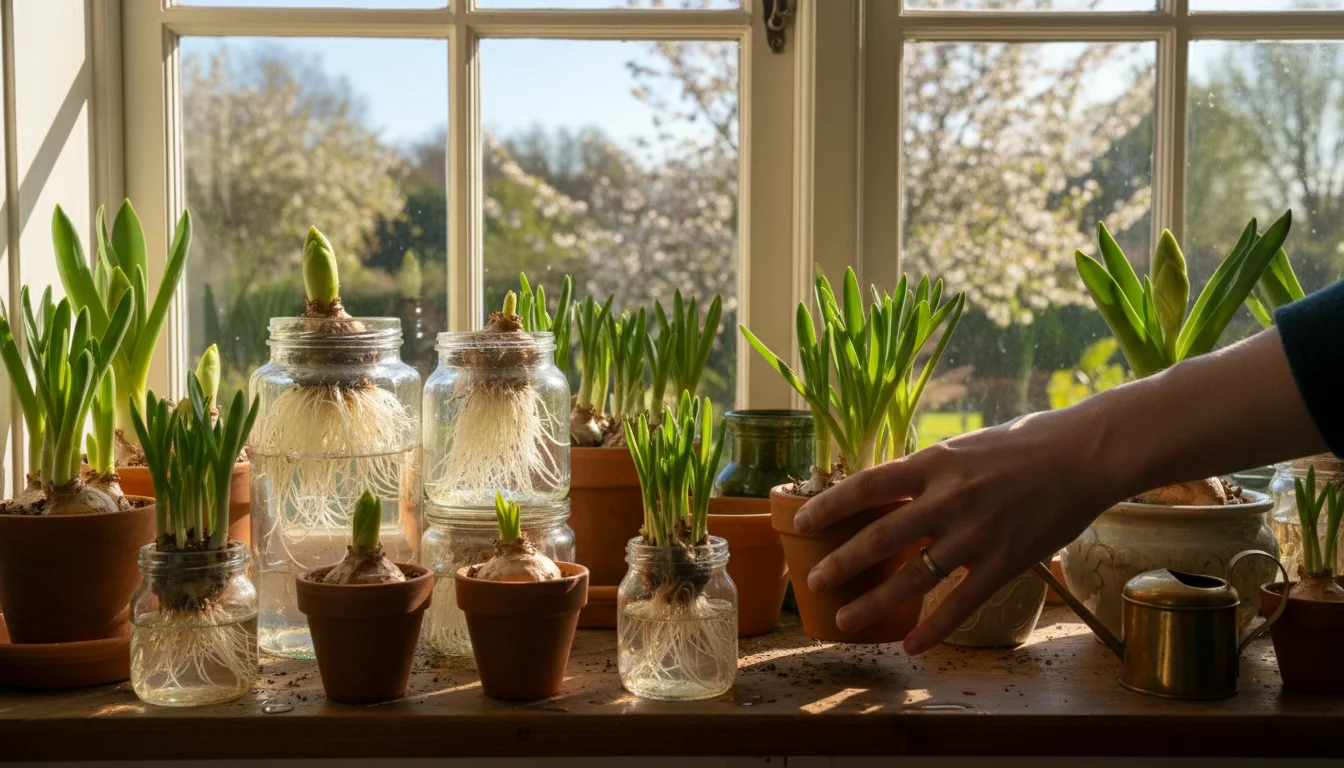
Gathering Your Materials: The Essentials
You already have a handle on choosing your bulbs. Now, let’s gather the other essential items for your forcing project. You likely have many of these items around your home already, minimizing extra purchases.
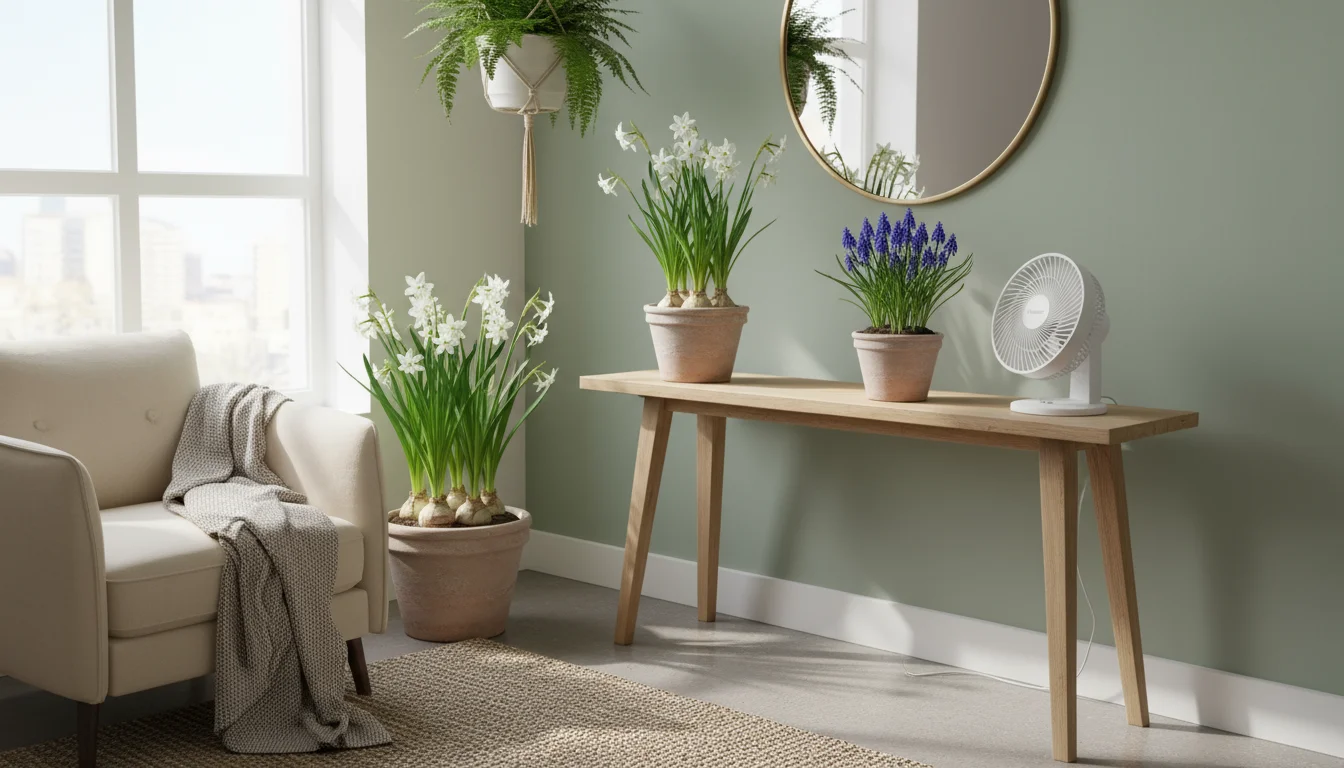
Setting up a propagation station on your windowsill is another great way to use these same glass containers during the winter months.
Bulbs
Purchase fresh, healthy bulbs from a reputable nursery or garden center. Avoid bulbs from grocery stores that might have been stored incorrectly or treated with growth inhibitors.
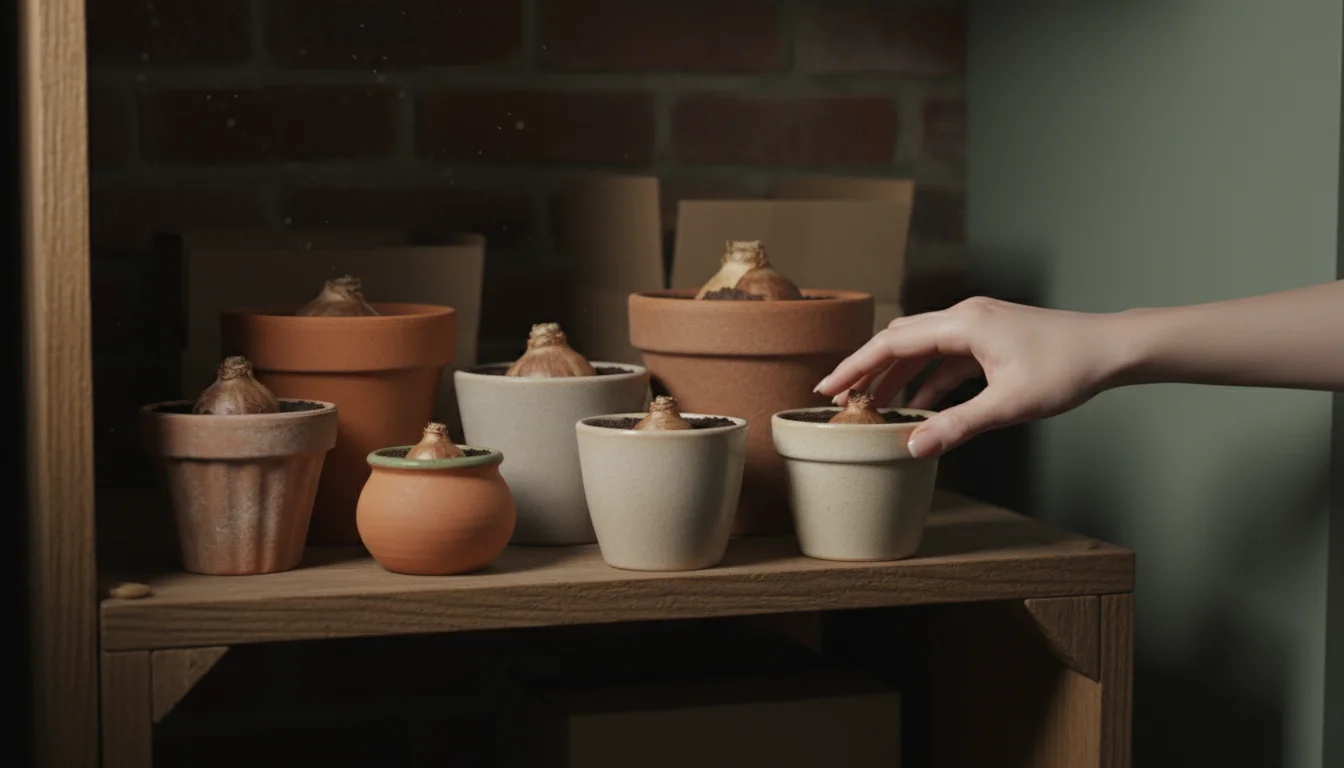
Containers
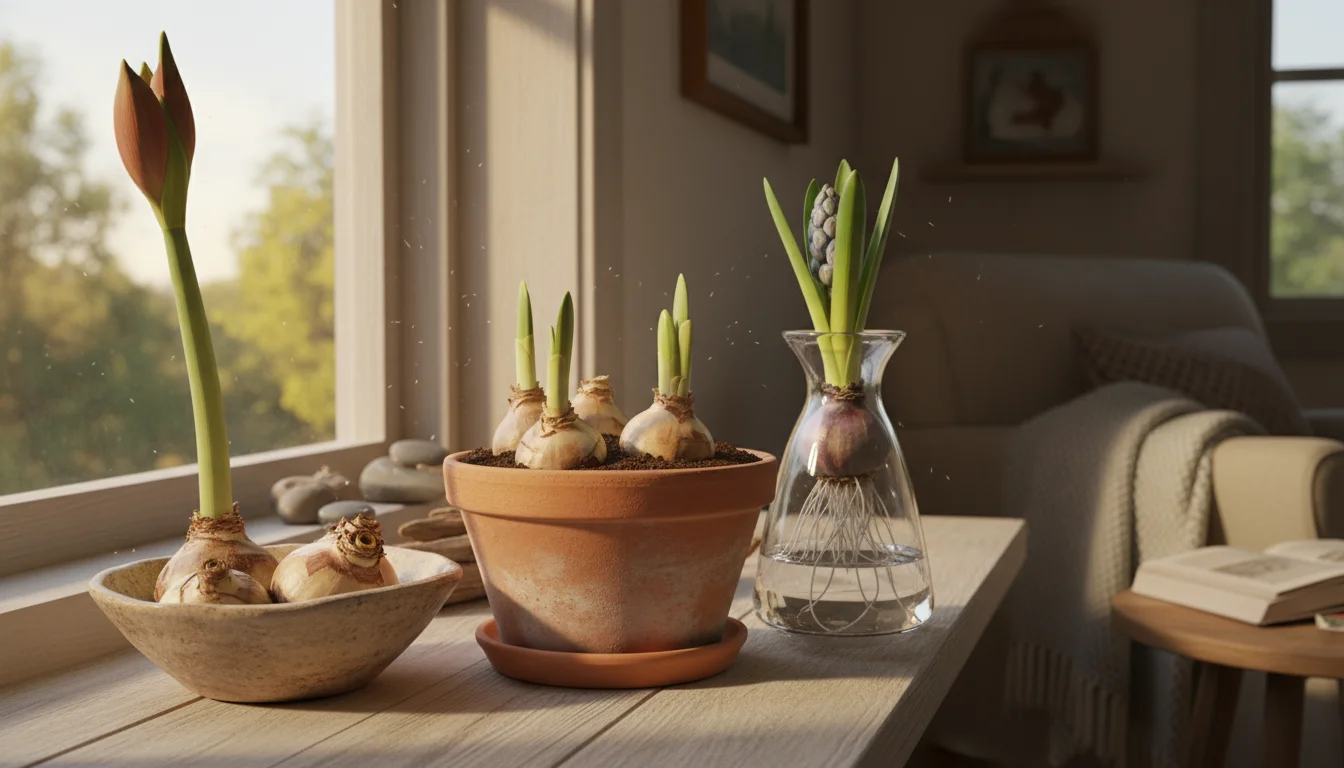
- Pots with Drainage Holes: For bulbs planted in soil, drainage is critical. Choose pots slightly larger than your bulb grouping, ensuring water can escape, preventing root rot. Terracotta pots offer good breathability, while plastic pots retain moisture more effectively. Both work well, so choose based on your aesthetic preference and watering habits.
- Forcing Vases: If you plan on forcing hyacinth bulbs in water, a specialized hyacinth vase is ideal. These vases have a wide base for water and a narrow neck to hold the bulb just above the water level, allowing roots to grow down without the bulb sitting in standing water. Shallow bowls or decorative glass containers work perfectly for paperwhites, providing support with pebbles.
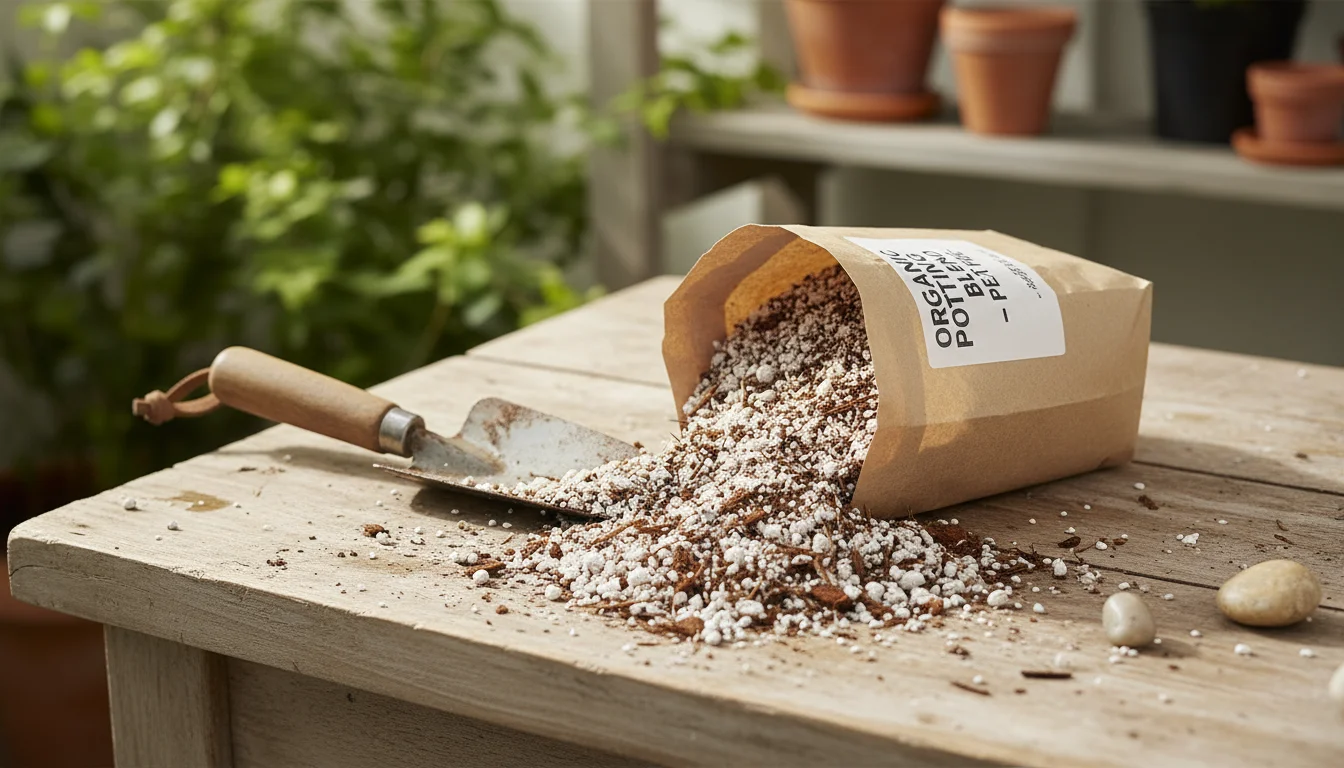
Potting Mix
A high-quality, well-draining potting mix is crucial for bulbs grown in soil. Look for peat-free options to support environmental sustainability. A good mix contains components like coco coir, perlite, and compost, providing aeration and moisture retention without becoming waterlogged. Avoid garden soil, which compacts too much in containers and lacks proper drainage for indoor bulbs.

Water
Clean tap water is generally fine. If your tap water is heavily chlorinated, let it sit out for 24 hours to allow the chlorine to dissipate. This practice provides a gentler environment for your bulbs.
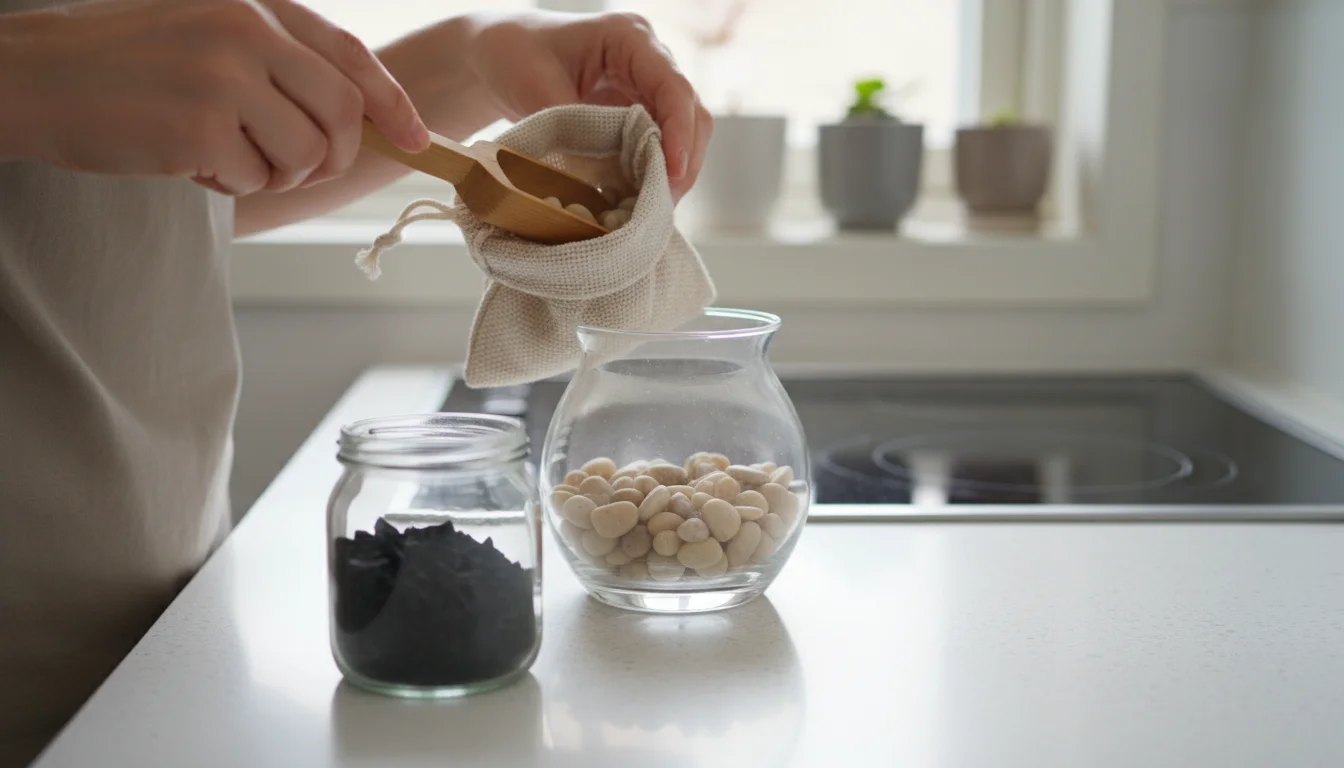
Support Materials (Optional but Recommended)
- Pebbles or Decorative Stones: Essential for paperwhites and other bulbs forced in water. They provide stability for the bulbs and a pleasing aesthetic.
- Activated Charcoal (Optional): A small layer at the bottom of a water-forcing container can help keep the water cleaner longer, though it is not strictly necessary for short-term forcing projects.
Gathering your materials beforehand simplifies the planting process. You will find that most of these items are readily available and reusable for future forcing bulbs projects. This approach promotes efficiency and reduces waste, aligning with our ethos of practical and environmentally conscious gardening.
Understanding the Chilling Period: Mimicking Winter
The chilling period is arguably the most critical step for most spring-flowering bulbs, acting as nature’s alarm clock. Without this essential cold dormancy, many bulbs simply will not flower, or their blooms will be stunted and poor. Paperwhites are a notable exception, as they do not require chilling, which makes them incredibly popular for quick, festive winter flowers.
If you don’t have a cold basement or spare refrigerator space, you can learn how to use your cold patio to force spring bulbs using the outdoor winter temperatures to your advantage.
Why is Chilling Necessary?
In their natural environment, spring bulbs experience a sustained period of cold temperatures during winter. This cold period signals to the bulb that winter is passing and prepares it to break dormancy and sprout when warmer temperatures arrive in spring. When you are forcing bulbs indoors, you must replicate these conditions.

How Long to Chill
The duration of the chilling period varies by bulb type. Most spring bulbs, including hyacinths, crocuses, and dwarf irises, require 10 to 16 weeks of cold. Some varieties might need a little less or a little more, so always check specific bulb instructions if available. Pre-chilled bulbs bypass this step for you, offering a shortcut to blooms.
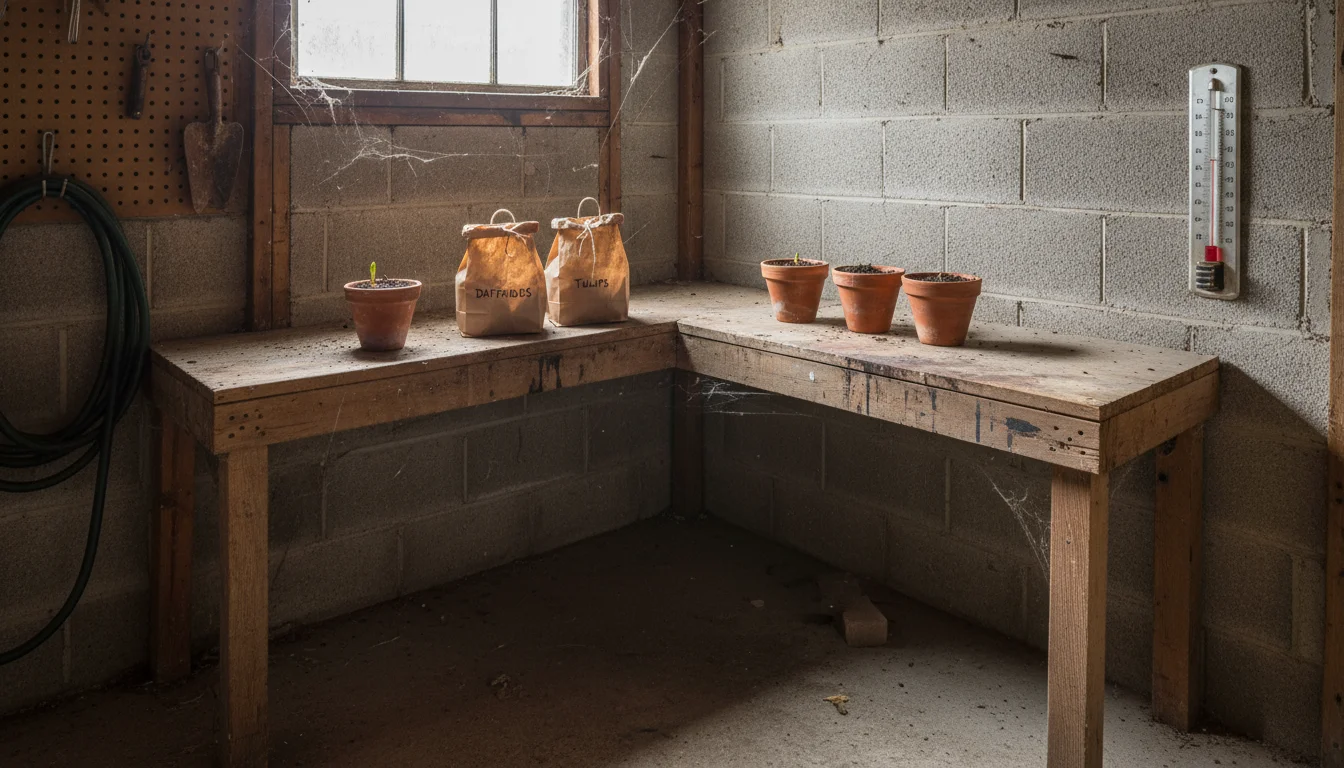
Where to Chill Your Bulbs
You need a consistently cold and dark environment for effective chilling. Ideal locations maintain temperatures between 35-45°F (2-7°C). Here are common options:
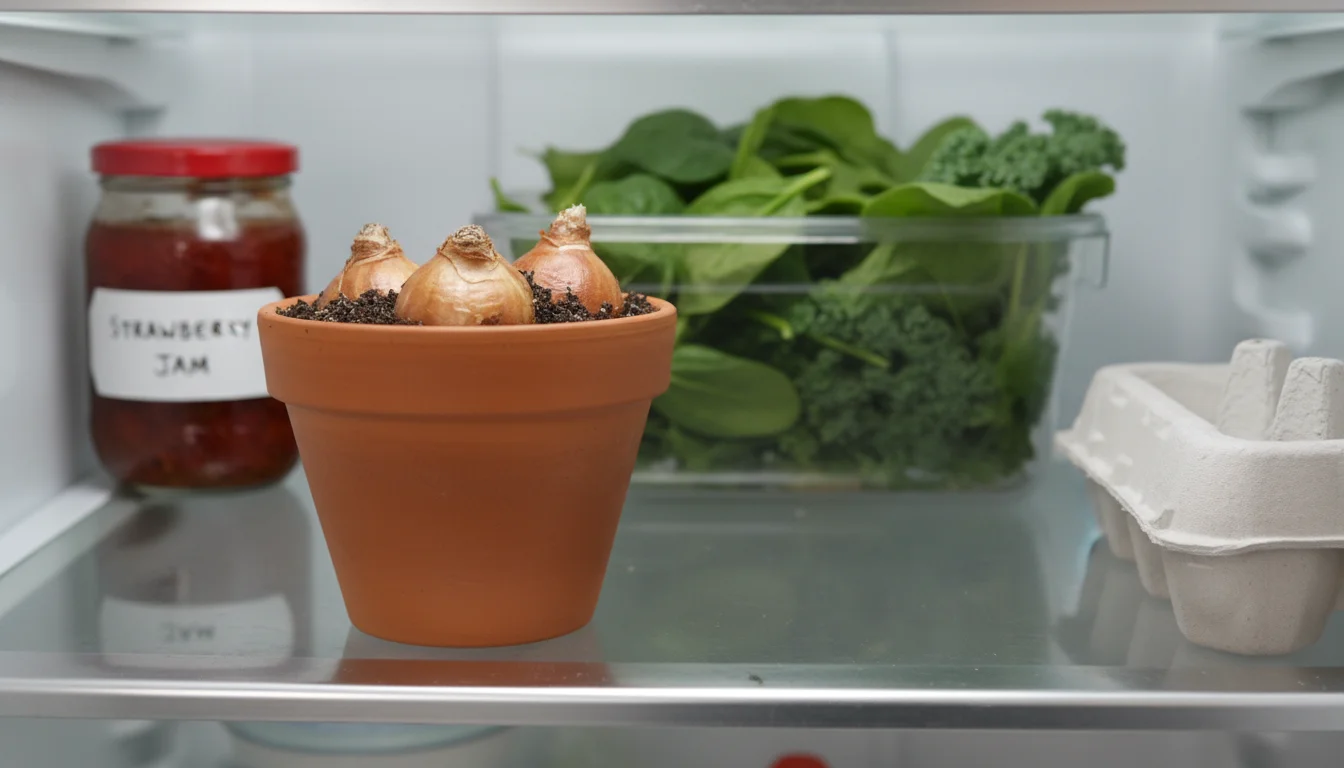
- Refrigerator: This is often the most convenient option for apartment dwellers. Place your potted bulbs or bulbs stored in paper bags in the crisper drawer. Importantly, keep them away from ripening fruits like apples and bananas. These fruits release ethylene gas, a natural plant hormone that can inhibit flowering or even kill your bulbs. Use a separate refrigerator or a tightly sealed container if fruit is present.
- Unheated Garage or Shed: If you have access to one, an unheated garage or shed can provide suitable conditions, provided the temperature remains consistently within the optimal range and does not freeze too hard.
- Cool Basement: A section of a cool, dark basement can also work. Ensure it is not too damp to prevent mold growth.
During the Chilling Period
If you plant bulbs in soil before chilling, ensure the soil remains lightly moist. Check it every few weeks, adding a small amount of water if it feels dry to the touch. Avoid overwatering, which leads to rot. For bulbs chilling in dry storage (e.g., in a paper bag), no moisture is needed. Remember, patience during this stage yields beautiful results. Your consistency in providing the right conditions directly impacts the success of your indoor bulbs.
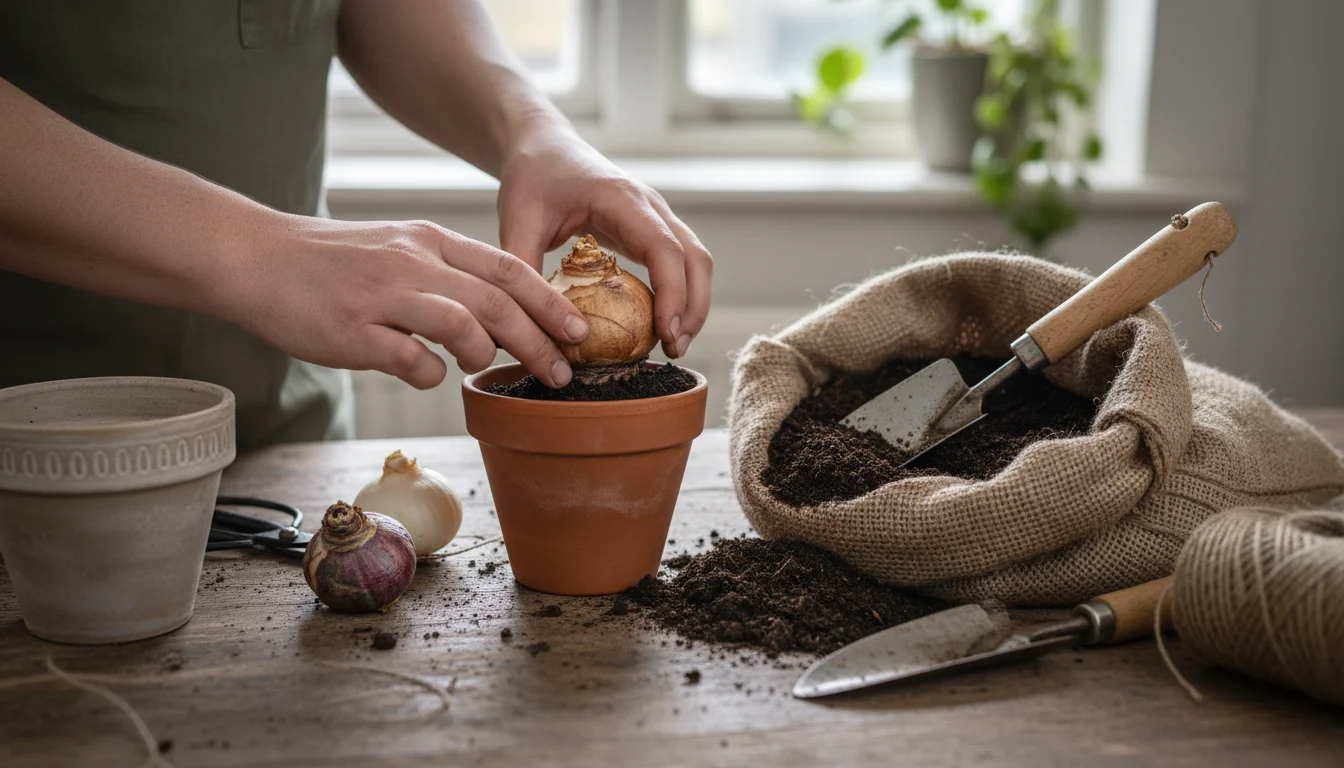
Planting Your Bulbs: A Step-by-Step Guide
With your materials gathered and an understanding of chilling, you are ready to plant. The method depends on whether you choose soil or water forcing. We will cover both, providing clear, actionable steps.
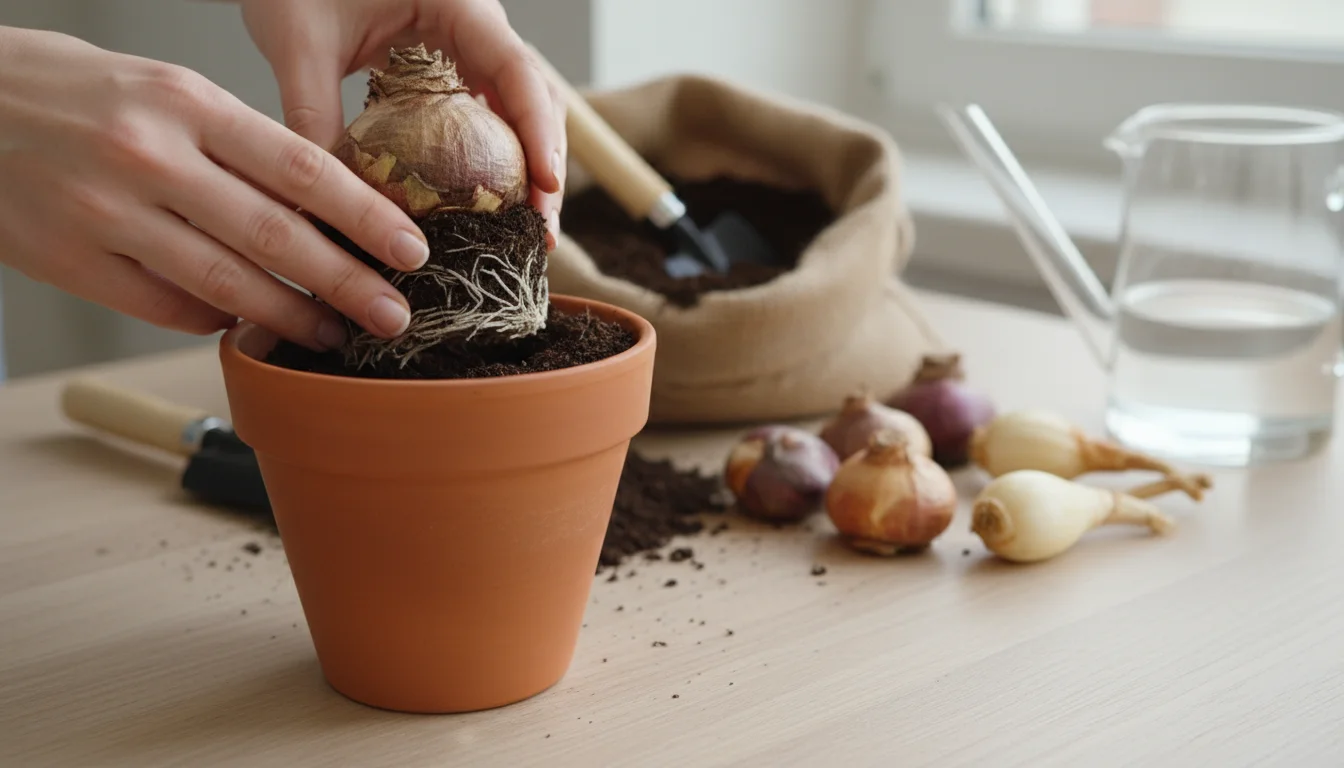
Method 1: Soil Planting (for most chill-requiring bulbs)
This method works best for hyacinths, crocuses, muscari, and dwarf irises if you plan to pot them.
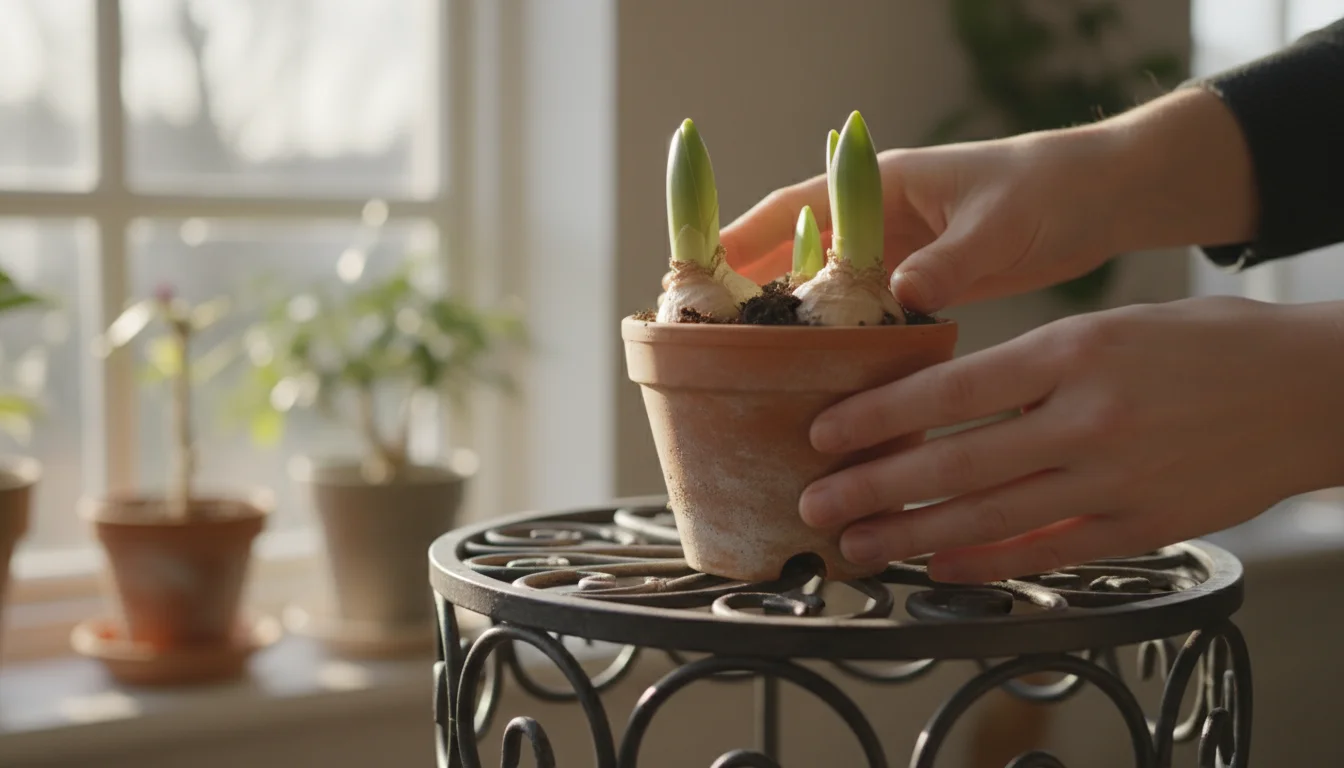
- Choose Your Pot: Select a pot with good drainage holes, ideally 6-8 inches deep, allowing for root development.
- Prepare the Potting Mix: Fill the bottom 2-3 inches of your pot with a well-draining, peat-free potting mix. Gently moisten the mix if it feels very dry.
- Position the Bulbs: Place your bulbs close together but not touching, with the pointed end facing up. You can plant them in layers for a more dramatic display, ensuring the larger bulbs are at the bottom. For most bulbs, about 1/2 to 2/3 of the bulb should be below the soil line.
- Cover with Soil: Gently cover the bulbs with potting mix, leaving the very tips exposed or barely covered. Press down lightly to ensure good contact between the bulbs and the soil.
- Water Thoroughly: Water your potted bulbs until water drains from the bottom. This settles the soil around the bulbs.
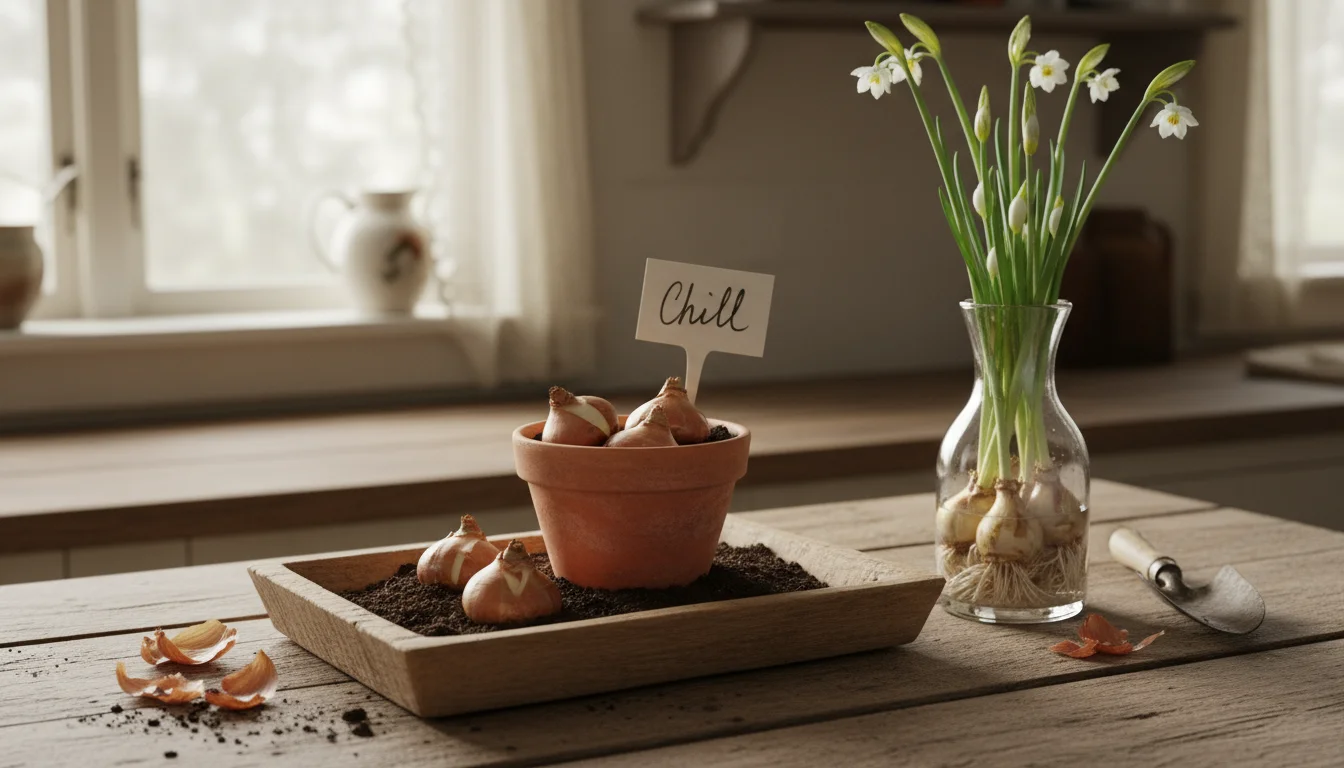
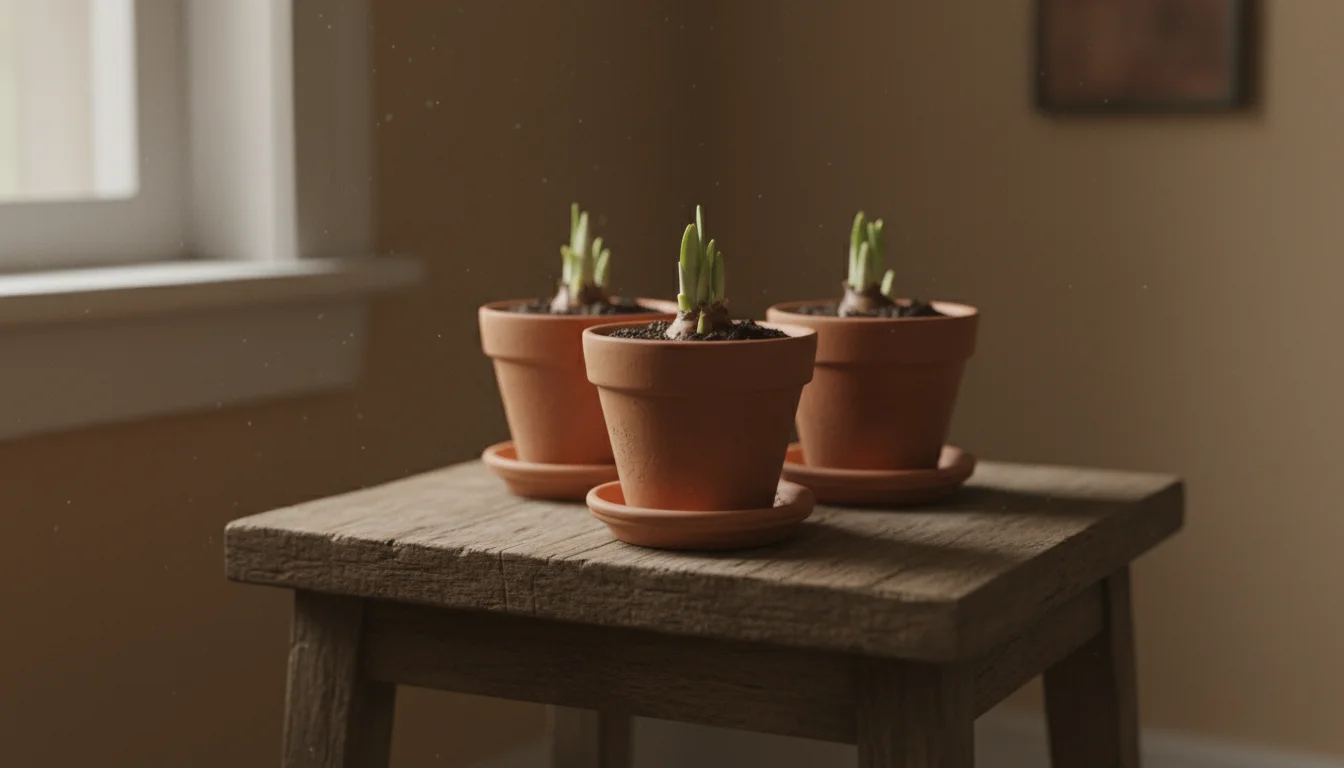
- Initiate Chilling (if needed): If your chosen bulbs require chilling, place the potted bulbs in your chosen chilling location (refrigerator, cool basement) for the recommended 10-16 weeks. Remember to keep the soil slightly moist during this period.
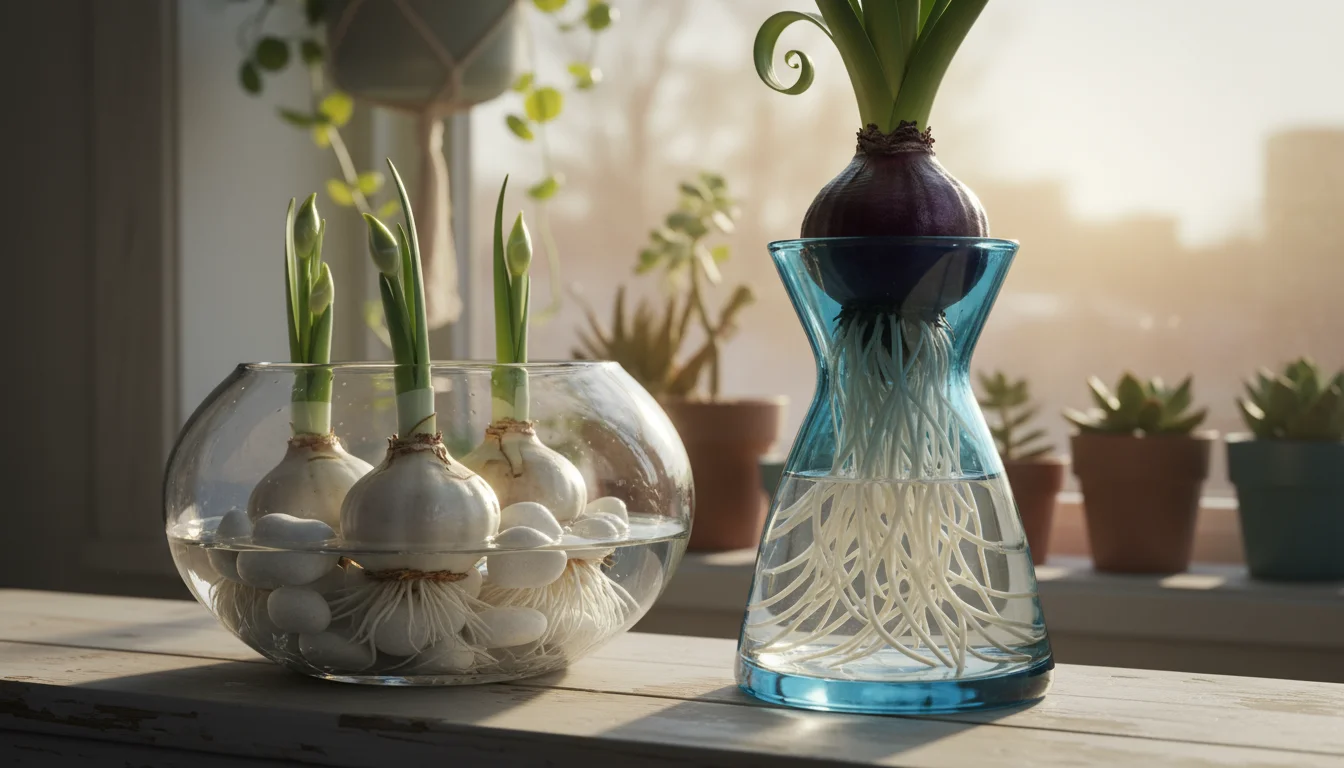
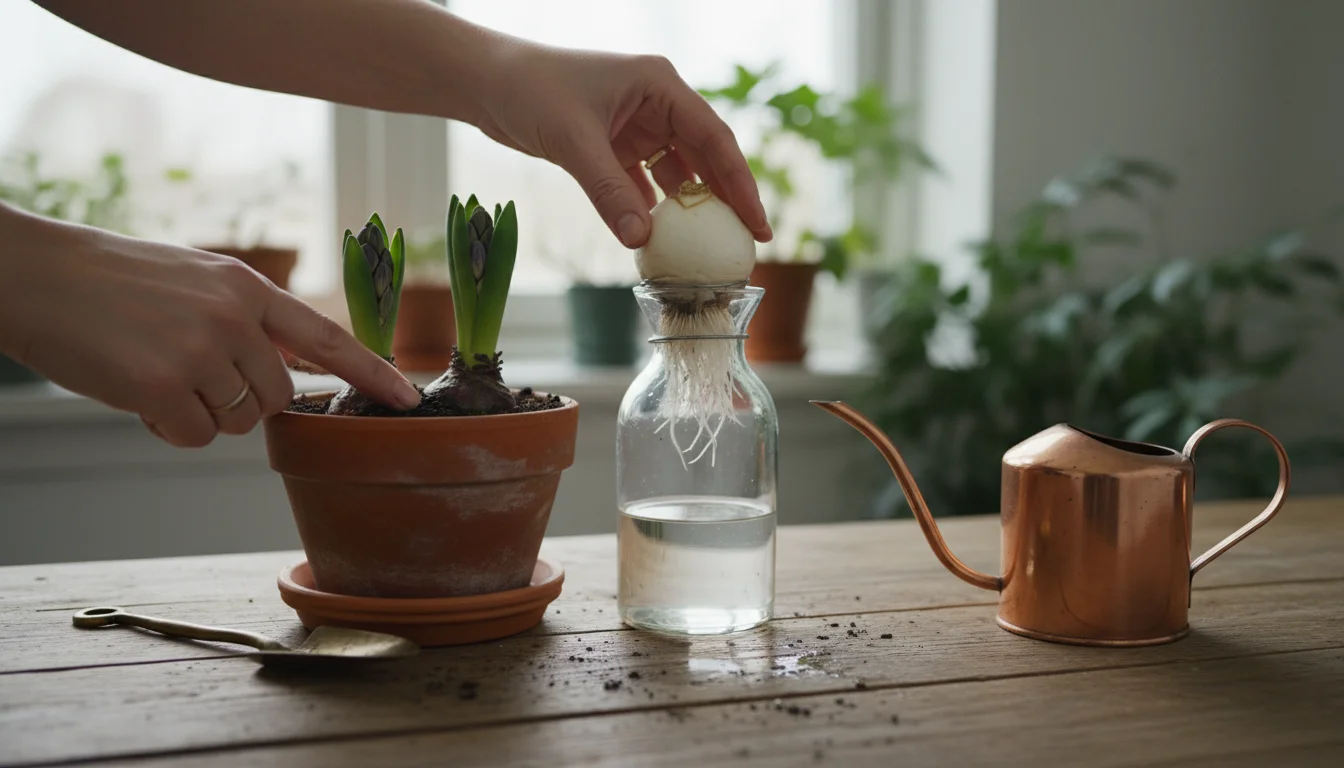
Method 2: Water Forcing (ideal for paperwhites and hyacinths)
This method is popular for its clean, decorative appeal, especially for how to force paperwhites indoors for christmas and forcing hyacinth bulbs in water.
Forcing Paperwhites Indoors for Christmas:
- Select Your Container: Choose a shallow bowl, a decorative glass container, or a ceramic dish without drainage holes.
- Add Pebbles for Support: Pour a layer of decorative pebbles, marbles, or small stones into the bottom of your container, about 1-2 inches deep. This provides a stable base for the bulbs.
- Position the Bulbs: Place the paperwhite bulbs on top of the pebbles, pointed end up. Arrange them closely together for a full display. You can gently press them into the pebbles for stability.
- Add Water: Carefully pour water into the container until it just reaches the very base of the bulbs, but does not cover them. You want the roots to grow into the water, not for the bulb itself to sit submerged, as this leads to rot.
- Place in Light: Since paperwhites do not need chilling, place your container in a cool spot with bright indirect light. Avoid direct, intense sunlight initially, as this can cause leggy growth. Monitor the water level daily, replenishing as needed. You will see roots and sprouts quickly, often within a week.
Forcing Hyacinth Bulbs in Water:
- Use a Hyacinth Vase: This specialized vase holds the bulb perfectly above the water.
- Add Water: Fill the vase with water up to the neck, ensuring the water just touches, or comes very close to, the base of the bulb but does not submerge it.
- Position the Bulb: Place the hyacinth bulb in the neck of the vase, pointed end up.
- Initiate Chilling: This is crucial for hyacinths. Place the vase with the bulb in your chilling location (refrigerator, cool basement) for 10-14 weeks. Keep the water level consistent throughout this period. You will notice roots developing during this time.
This structured approach simplifies the process, making it easy for you to achieve beautiful winter flowers. You directly influence the outcome through careful planting and consistent care.
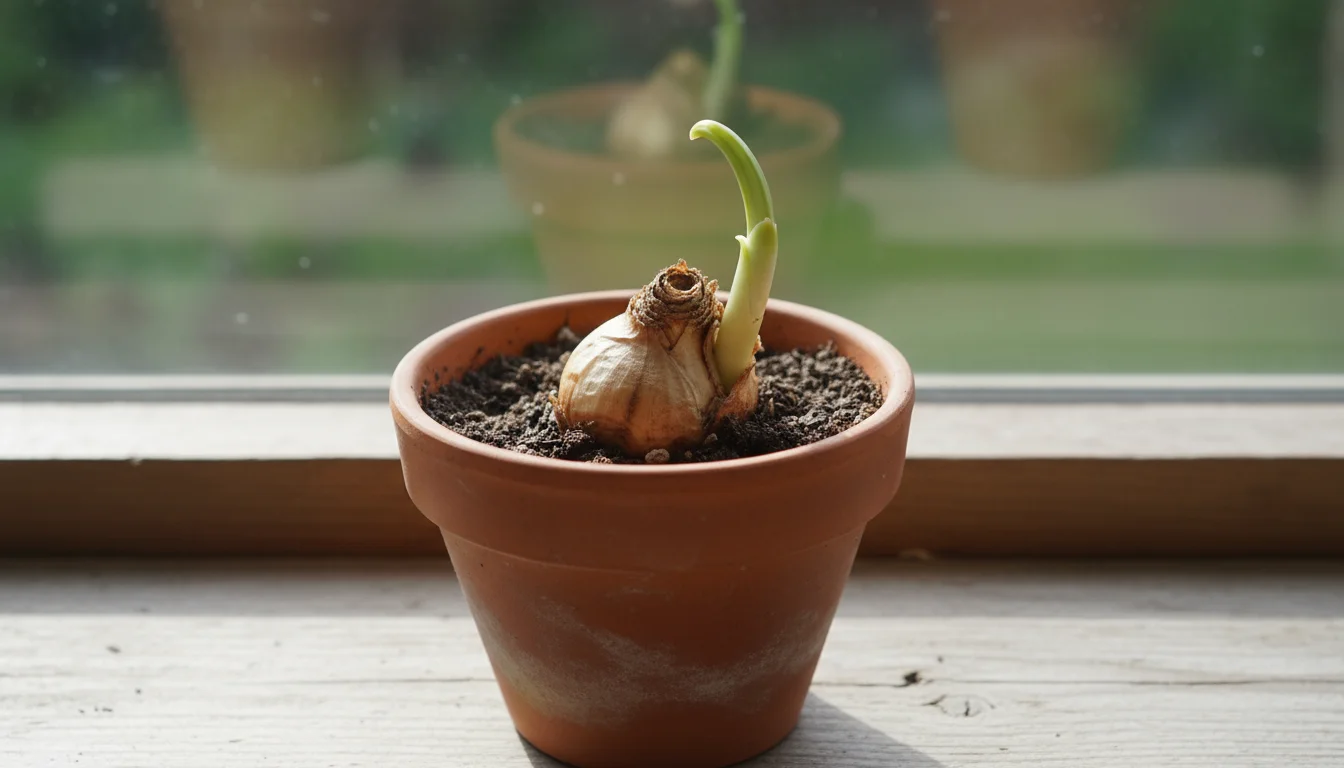
Bringing Them to Light: The Grand Reveal
The moment you have waited for arrives after the chilling period (or immediately for paperwhites). This transition from dormancy to active growth requires careful handling to ensure strong, vibrant blooms for your indoor bulbs. Your patience during the chilling phase now pays off as you usher your bulbs towards their spectacular display.
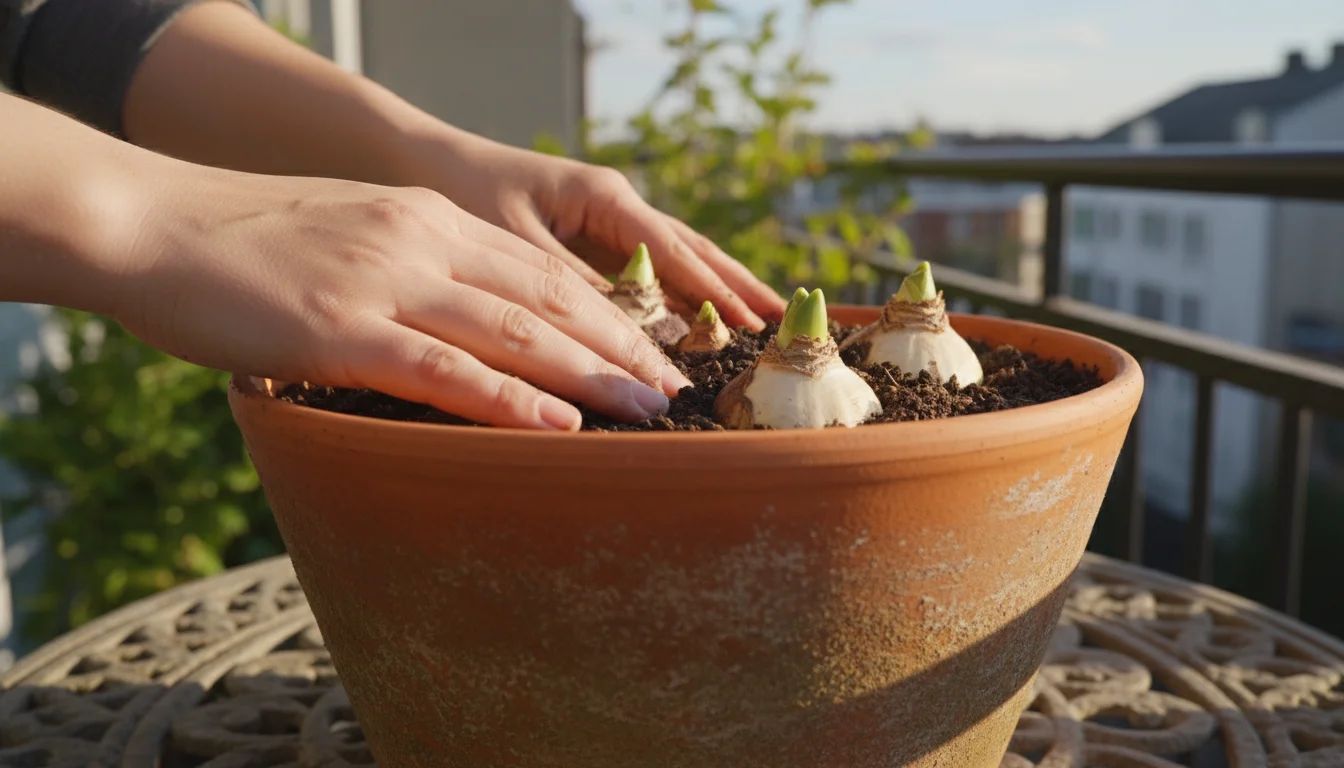
Gradual Acclimation to Light
Once your chill-requiring bulbs have completed their dormancy period, or as soon as paperwhites are planted, do not immediately expose them to full, bright light. This sudden change can shock the plant and lead to leggy or stunted growth. Instead, introduce them gradually:
- Start in a Dim, Cool Spot: For the first week or so, place your potted bulbs in a cool, dimly lit area. A spare bedroom, a north-facing window, or even a corner away from direct light works well. You will observe small green shoots emerging.
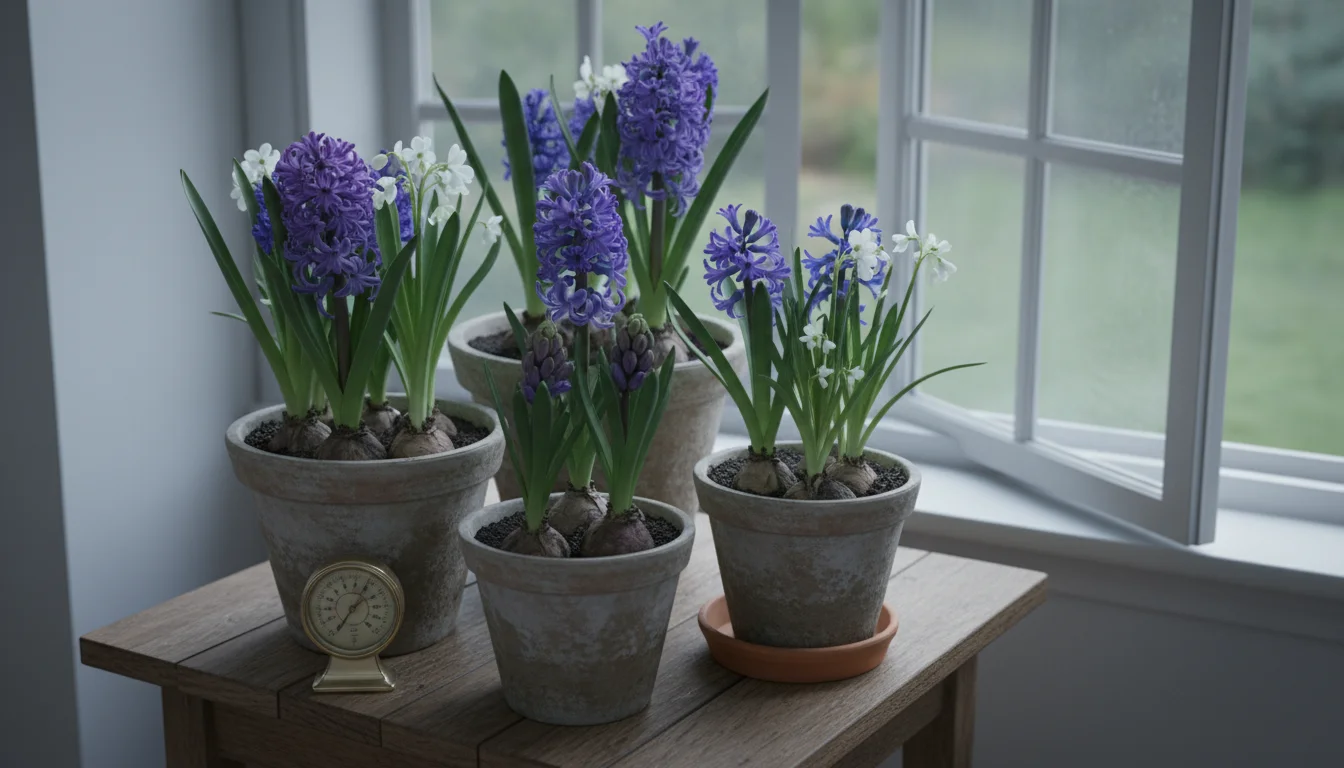
- Transition to Bright Indirect Light: After initial sprouts appear and begin to green up, move your bulbs to a location with bright indirect light. This means a spot near a window where the light is ample but the sun’s direct rays do not hit the leaves for extended periods. A sheer curtain can diffuse intense light, protecting your plants from scorching. South or west-facing windows often provide bright light, while north or east-facing windows offer more gentle exposure. Experiment to find the sweet spot in your home.
Temperature Matters
Cooler temperatures extend the life of your blooms. While the bulbs are actively growing and flowering, aim for a room temperature between 60-65°F (15-18°C). Warmer temperatures accelerate growth, often resulting in taller, weaker stems and a shorter bloom period. Keeping your forced bulbs slightly cooler helps them maintain their vibrant display for longer, giving you more time to enjoy your winter flowers.
What to Expect
You will notice remarkable changes over a few weeks:
- Root Development: For water-forced bulbs, you will see a network of white roots growing into the water. For soil-planted bulbs, roots are developing unseen.
- Shoot Emergence: Green shoots will emerge from the bulb tips, growing taller each day.
- Bud Formation: Small buds will begin to form at the top of the shoots.
- Flowering: Finally, the buds will open, revealing the beautiful, fragrant blooms you have cultivated.
Rotate your containers every few days to encourage even growth towards the light. This prevents stems from leaning dramatically in one direction. Observing these growth stages provides immense satisfaction, validating your efforts in forcing bulbs.
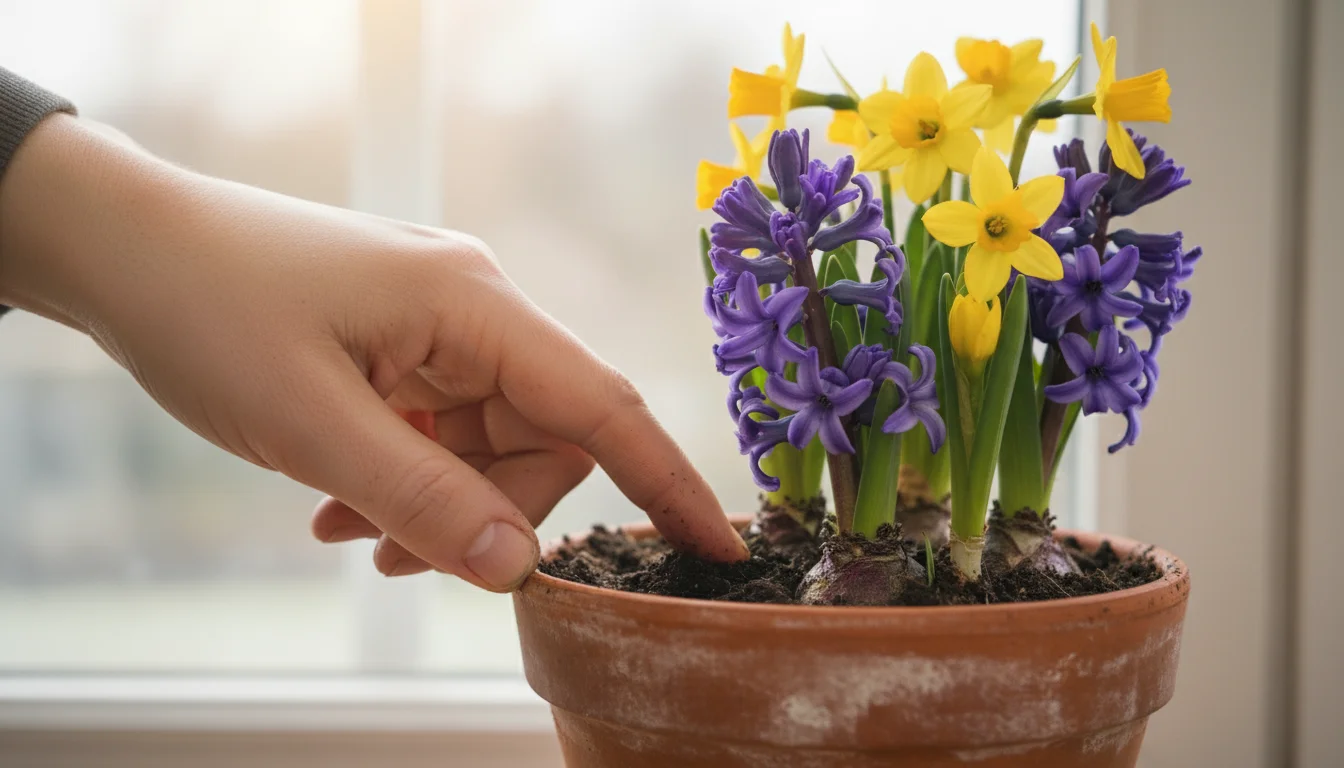
Care for Your Blooming Bulbs: Simple Maintenance
Once your bulbs are actively growing and beginning to bloom, their care routine remains straightforward and low-effort. You focus on maintaining consistent conditions to prolong the life and beauty of your indoor bulbs. Remember, these plants are in a temporary state of bloom, drawing all their energy from the stored nutrients within the bulb itself.
While forced bulbs are temporary, you can apply these same skills to keep your regular houseplants alive throughout the dry winter season.
Watering: The Golden Rule
- For Soil-Planted Bulbs: Keep the potting mix consistently moist but never waterlogged. Feel the top inch of soil; if it feels dry, water thoroughly until it drains from the bottom of the pot. Avoid letting the pot sit in standing water, as this leads to bulb rot.
- For Water-Forced Bulbs (Paperwhites, Hyacinths): Maintain the water level so it just touches the base of the bulb or covers the bottom roots. Replenish the water every few days, or as often as needed to keep the level consistent. Change the water entirely every week or two to keep it fresh and prevent bacterial buildup.
Overwatering is the most common pitfall for forced bulbs. Ensure adequate drainage for potted bulbs, and avoid submerging water-forced bulbs completely. Your attention to these details directly impacts the health and longevity of your winter flowers.
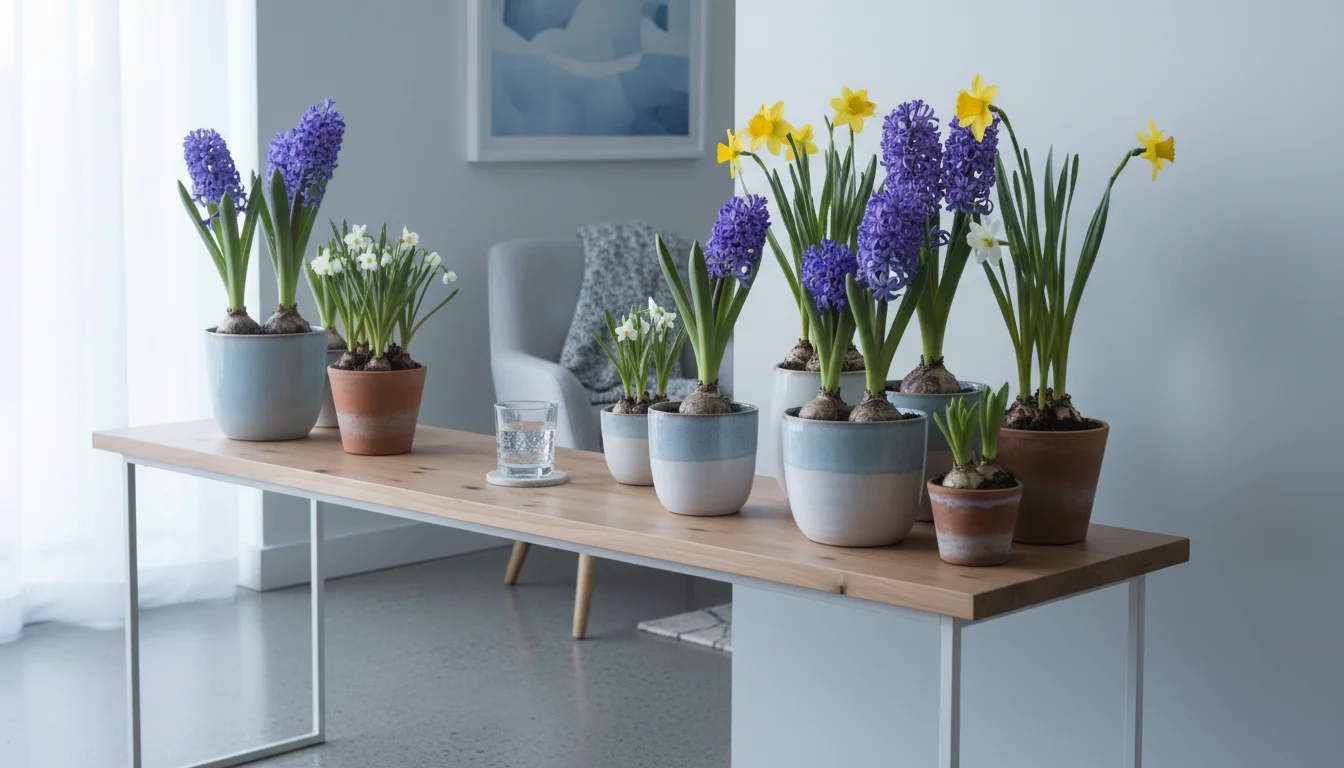
Light and Temperature
Continue to provide bright indirect light. As mentioned, a cooler room temperature (60-65°F / 15-18°C) significantly extends the bloom period. If your home is warmer, your blooms may fade more quickly. Move your blooming bulbs away from heat vents or direct, scorching sunlight, which can dry them out rapidly.
No Fertilizer Needed
Forcing bulbs rely entirely on the energy stored within the bulb. They do not require any additional fertilizer during their blooming period. Adding fertilizer is unnecessary and can potentially harm the plant by encouraging unwanted foliage growth instead of flower development.
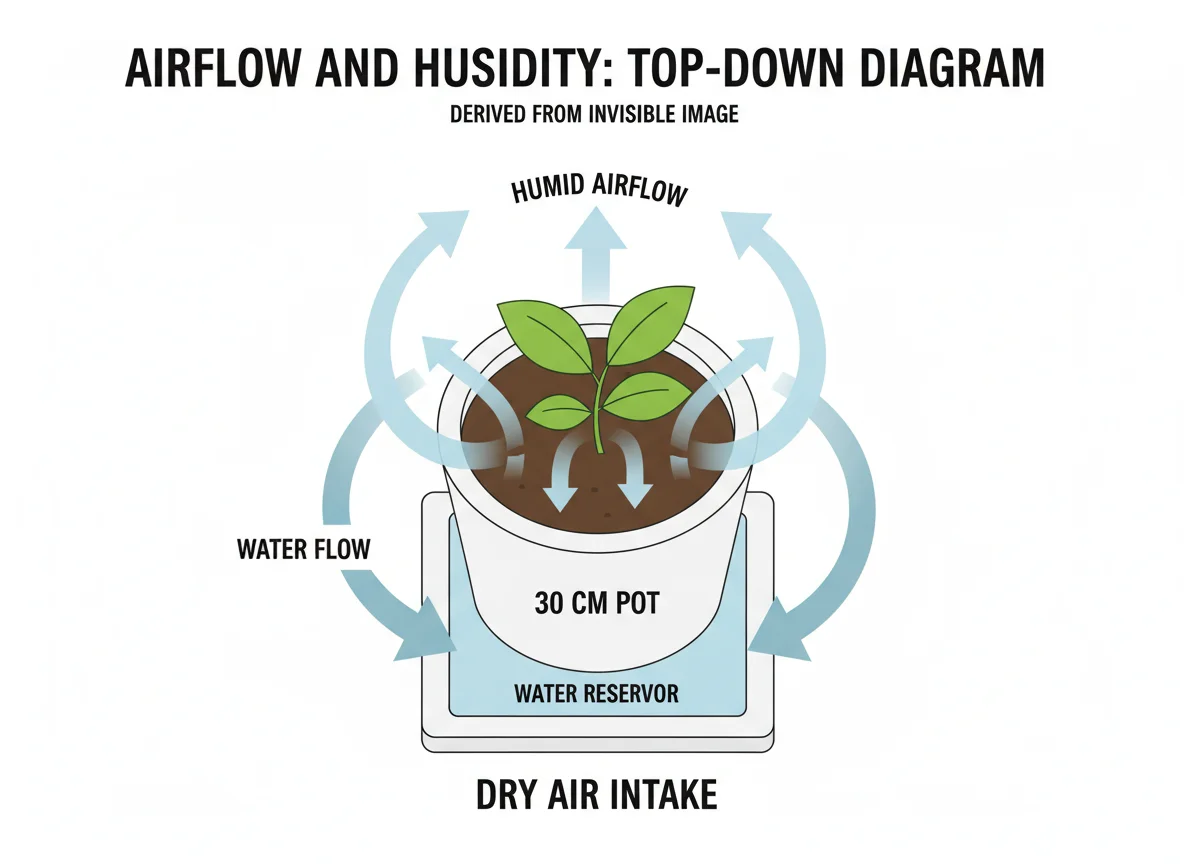
Airflow and Humidity
Good air circulation helps prevent fungal issues, particularly in crowded groupings of bulbs. If your space feels stagnant, opening a window briefly or running a fan on a low setting nearby can help. Forced bulbs do not typically require high humidity, making them ideal for average household conditions.
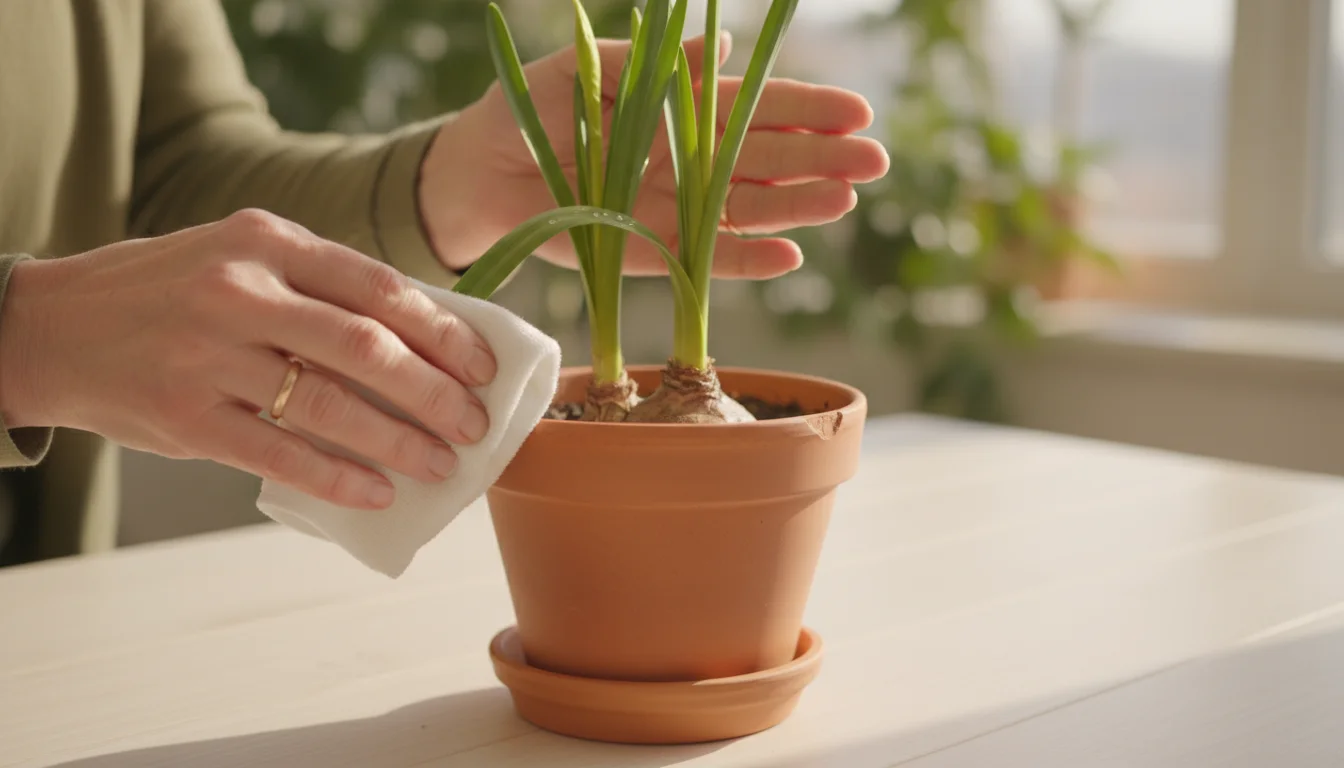
Pest Watch
Forced bulbs are generally robust and less prone to pests than other houseplants, especially since they are typically in your home for a relatively short period. However, occasionally you might encounter fungus gnats (if the soil stays too wet) or aphids. Address these issues promptly with simple solutions like sticky traps for gnats or a gentle wipe with a damp cloth for aphids. Integrated Pest Management (IPM) focuses on prevention and minimal intervention, protecting your plants and your home environment.
Troubleshooting Common Issues
Even with careful planning, sometimes your forcing bulbs might not perform as expected. Do not worry; most issues have simple solutions. Identifying the problem quickly allows you to take corrective action and maximize your chances of enjoying those beautiful winter flowers.
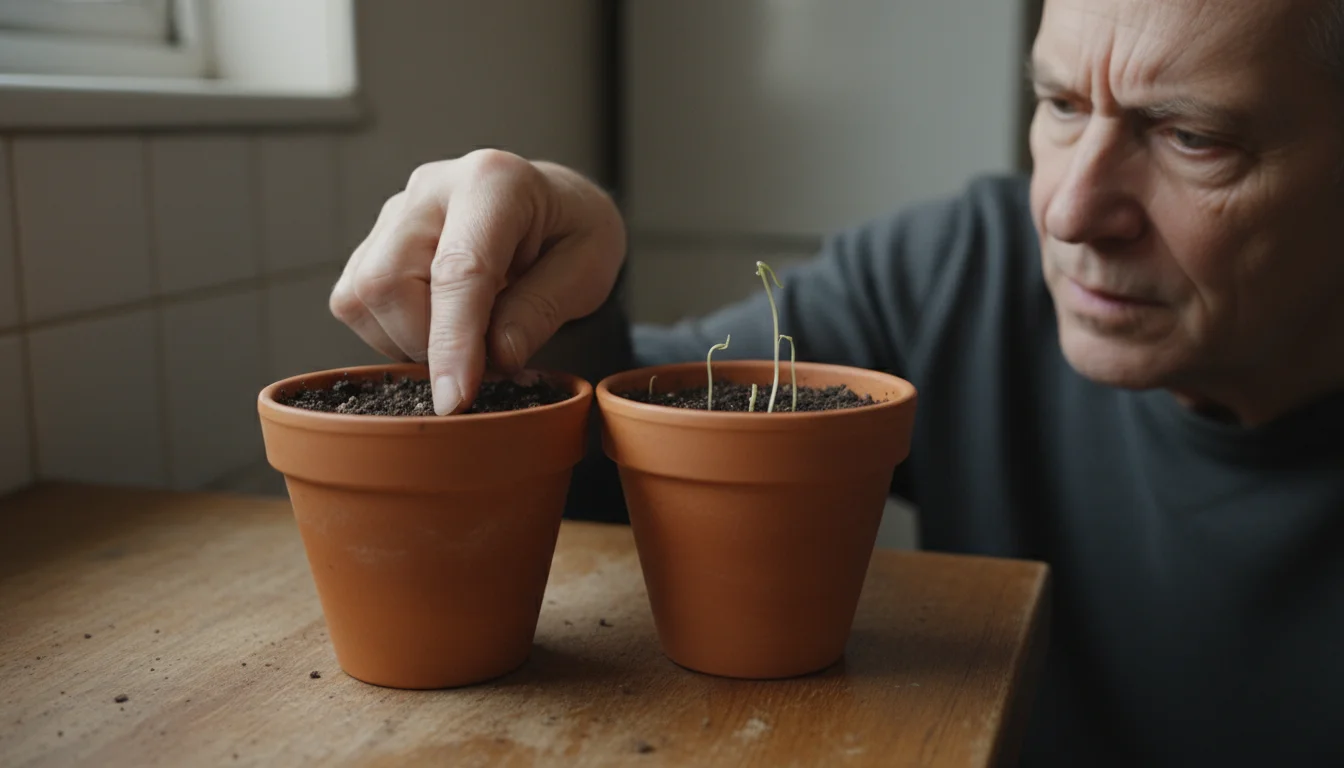
No Growth or Very Slow Growth
- Insufficient Chilling: For bulbs requiring it (hyacinths, crocuses), the most common reason for no growth is an inadequate chilling period. If the bulb did not experience enough cold for long enough, it simply will not get the signal to sprout.
- Dry Bulbs: If bulbs in soil were allowed to dry out completely during chilling, they may have died.
- Old or Poor Quality Bulbs: Bulbs that are too old or were not healthy to begin with may not have enough stored energy to sprout.
- Too Warm During Chilling: If the chilling temperature was too high, the bulb may not have fully entered dormancy.
Solution: For insufficient chilling, you can try extending the chilling period if the bulb still feels firm. For dry or old bulbs, replacement is usually the best option. Always buy fresh, quality bulbs from reputable sources.
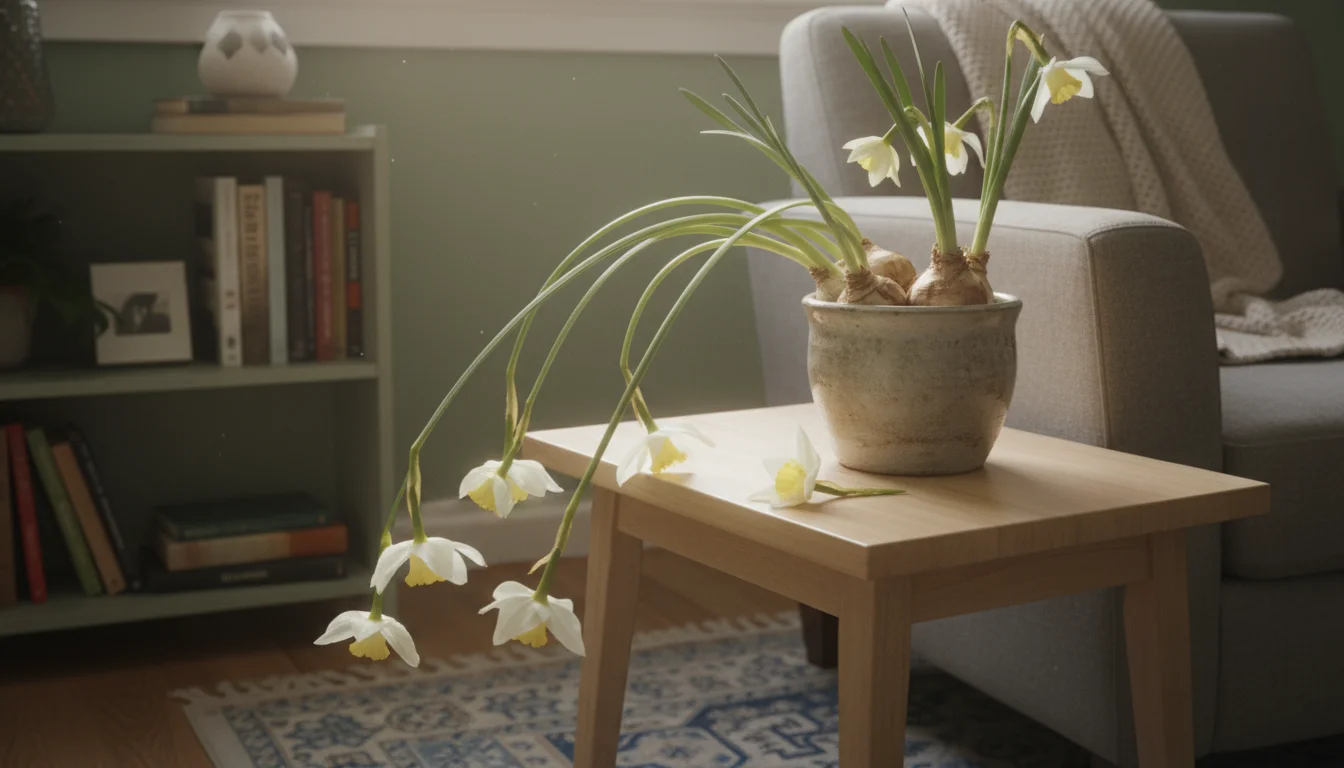
Leggy, Floppy Growth
- Not Enough Light: This is a very common issue, especially for paperwhites. If your bulbs are reaching desperately for a light source, their stems will become elongated and weak, often flopping over.
- Too Warm: Warm temperatures accelerate growth but often lead to spindly, stretched-out stems rather than sturdy ones.
Solution: Move your bulbs to a brighter spot with consistent bright indirect light. If stems are already very leggy, you might need to provide some support with small stakes or decorative ribbons. You can also try adding a small amount of rubbing alcohol to the water for paperwhites (about 5-7% of total water volume) which can inhibit stem elongation without impacting flower size, but this is an advanced technique and requires careful measurement.

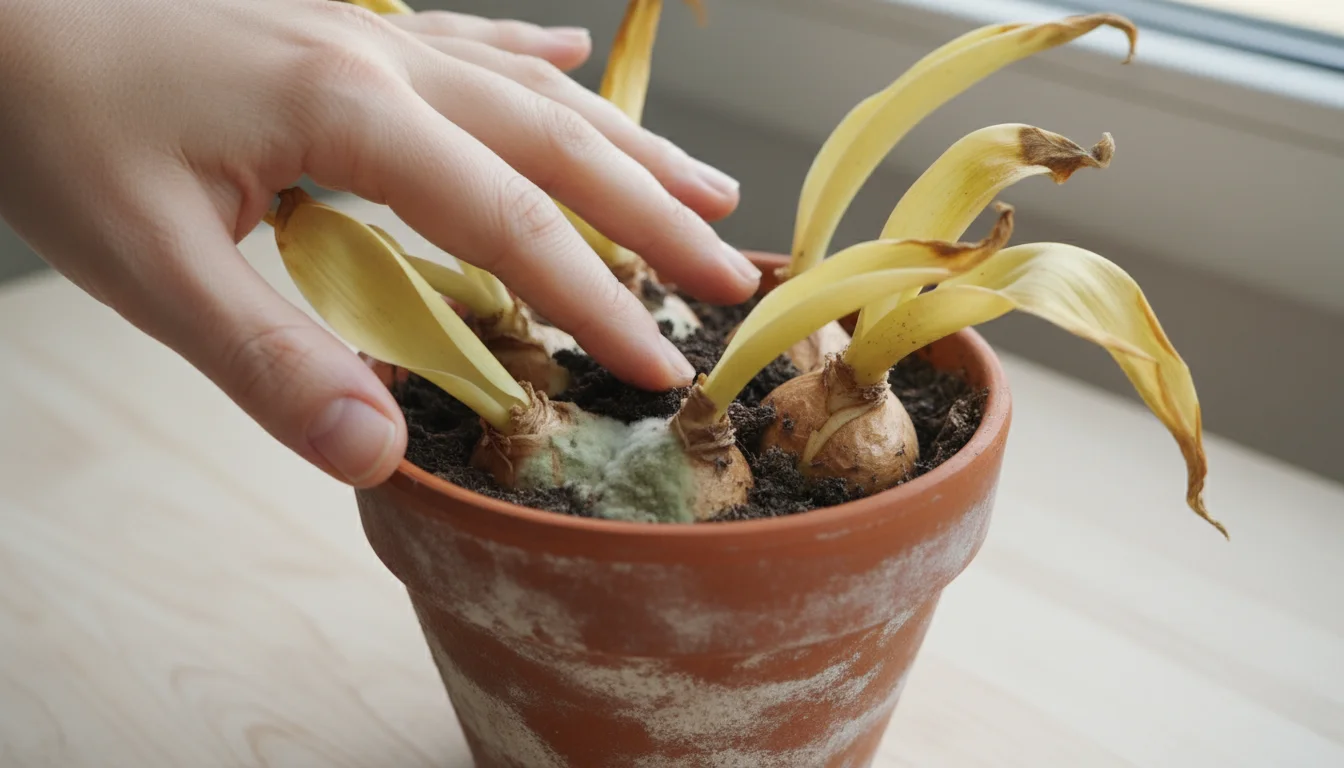
Bulb Rot or Mold
- Overwatering: Too much water, especially if bulbs sit submerged or in soggy soil, causes the bulb to rot. You will notice a foul smell and soft, mushy bulbs.
- Poor Air Circulation: Stagnant, humid conditions can encourage mold growth on the bulb surface or soil.
Solution: Immediately remove any rotting bulbs to prevent the spread to healthy ones. For soil-planted bulbs, ensure proper drainage and allow the soil to dry slightly between waterings. For water-forced bulbs, ensure only the roots or the very base of the bulb touches the water, never the entire bulb. Improve airflow around your plants. If mold appears, gently wipe it away with a damp cloth and adjust watering.
Flowers Fading Quickly
- Too Warm: High room temperatures significantly shorten the bloom life.
- Direct Sunlight: Intense, direct sunlight can cause blooms to wilt and fade prematurely.
Solution: Move your blooming bulbs to a cooler location in your home. Ensure they receive bright indirect light rather than harsh direct sun.
Addressing these common challenges promptly helps you enjoy your indoor bulbs for as long as possible. You are building practical skills that apply to many aspects of houseplant care, leading to greater success with all your indoor plants.
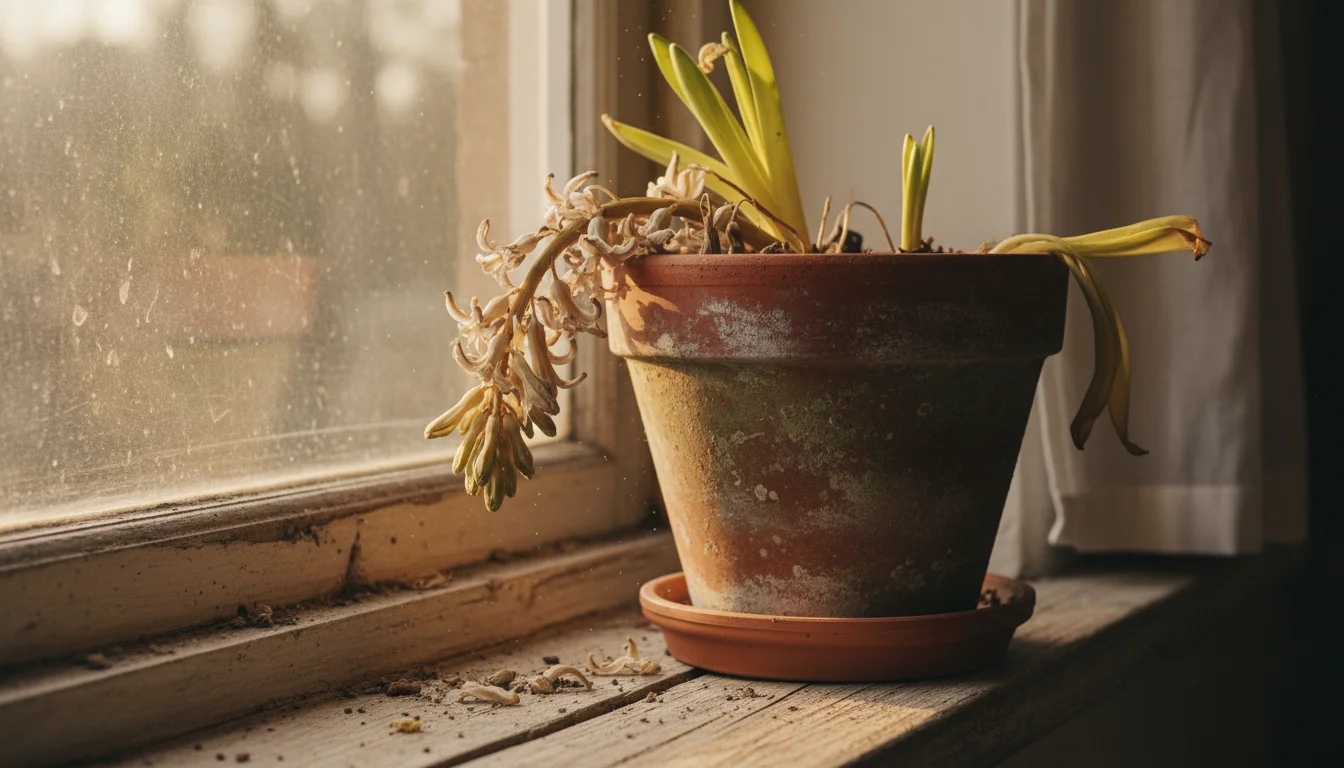
What to Do After Blooming: Sustainable Practices
Once your beautiful winter flowers fade, you might wonder about the next steps for your forced bulbs. The answer often depends on the type of bulb and your commitment to a long-term gardening project. For most indoor forced bulbs, especially those like paperwhites and hyacinths, their energy is largely depleted after one spectacular display. Their primary purpose for you as a small-space gardener is often a single, vibrant winter show.
Learning how to properly overwinter plants helps reduce waste and allows you to enjoy your favorite flowers year after year.
Compost Exhausted Bulbs
For the majority of bulbs forced indoors, particularly paperwhites and hyacinths, it is best to compost them after they finish blooming. These bulbs expend nearly all their stored energy to produce such an early and prolific display. They usually do not have enough reserves left to re-bloom reliably indoors in subsequent years. Trying to save them often results in a weak, disappointing performance. Composting them returns their organic material to the earth, a truly sustainable practice. Remove the spent flowers, greenery, and bulbs from their pots or vases and add them to your compost bin or pile.
Why Re-blooming is Difficult for Indoor Forced Bulbs
Bulbs naturally require a specific cycle of growth, dormancy, and chilling to replenish their energy stores for the next bloom cycle. When you force them indoors, you accelerate this process significantly and often deplete their reserves entirely. The conditions inside a home rarely perfectly replicate the outdoor environment needed for a bulb to recover and store enough energy for a second indoor bloom. Factors like consistent cool temperatures, specific light levels, and nutrient availability in the soil are hard to maintain over many months indoors for bulb regeneration.
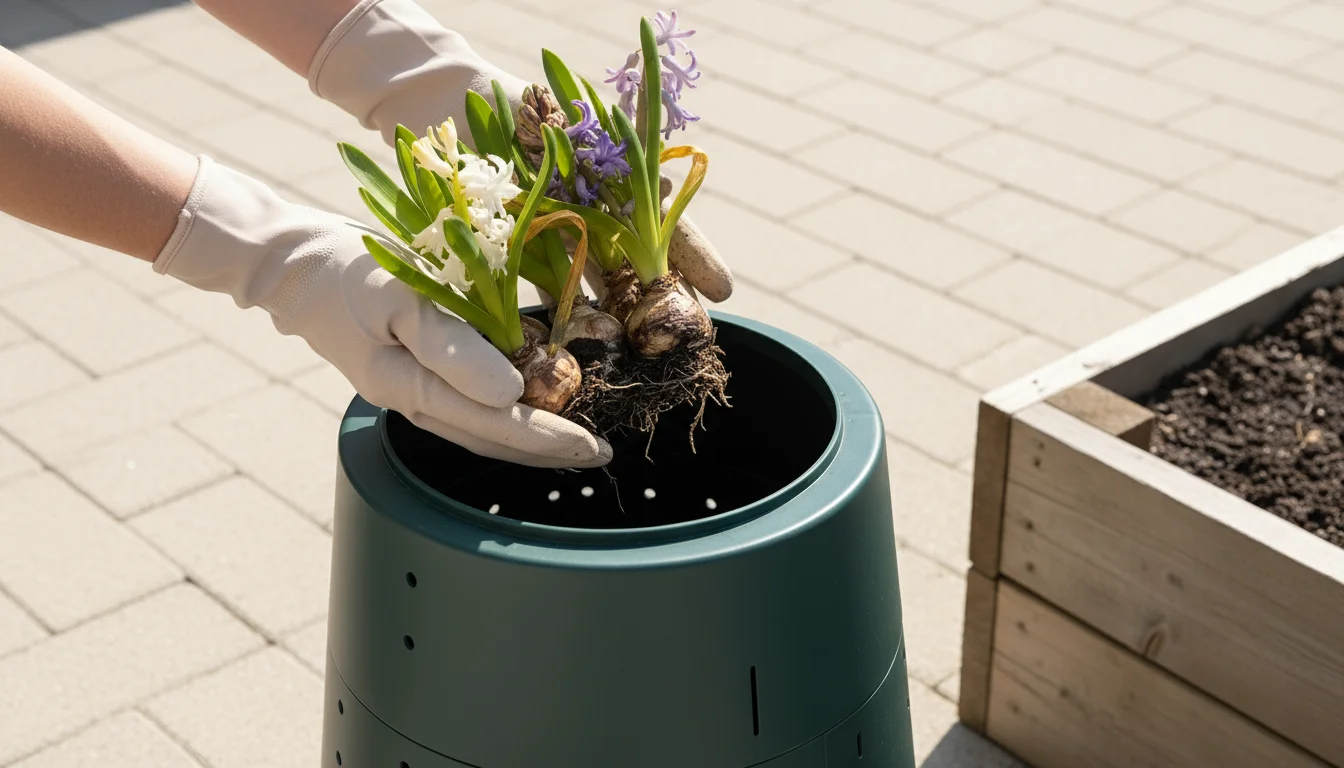
Exceptions and Outdoor Planting (Limited Success for Forced Bulbs)
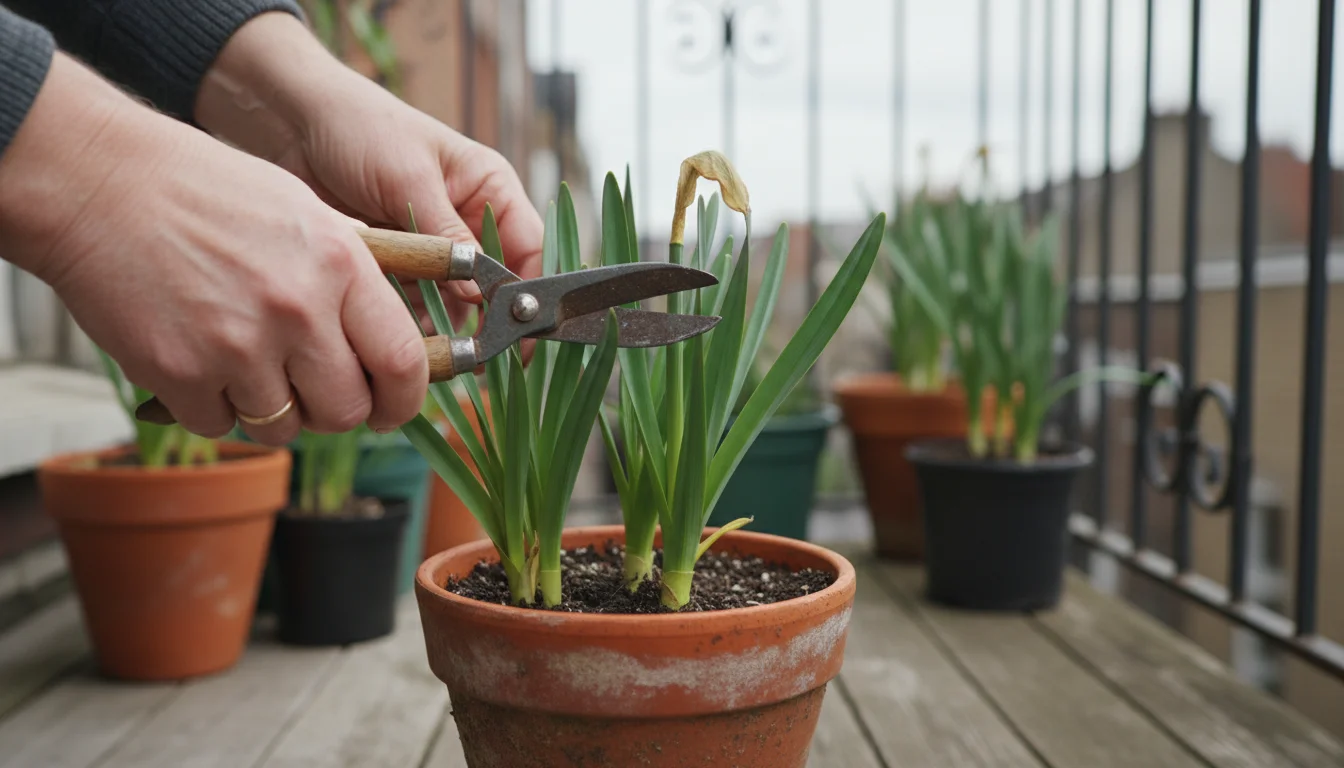
Some smaller, hardier bulbs, such as certain varieties of daffodils (Narcissus) or crocus, might have a chance of re-blooming if you plant them outdoors in a suitable climate zone immediately after they finish flowering indoors. To attempt this, follow these steps:
- Cut Back Foliage: Once the flowers fade, cut off the spent flower stalks, but leave the foliage (leaves) intact.
- Continue Care: Keep watering the plant and providing bright light. The foliage uses photosynthesis to recharge the bulb with energy.
- Gradually Reduce Water: As the foliage naturally yellows and dies back (typically over several weeks), gradually reduce watering.
- Plant Outdoors: Once the foliage is completely dead, carefully remove the bulb from its pot. Plant it in a prepared garden bed or a larger outdoor container in a sunny spot, ensuring good drainage. Plant at the depth recommended for that specific bulb type.
Even with these efforts, success is not guaranteed for previously forced bulbs. They often take a year or two to recover and may not bloom as vigorously as fresh, unforced bulbs. This option is primarily for those with outdoor gardening space and a desire to experiment. For most small-space gardeners focused on indoor beauty, composting remains the most practical and environmentally sound choice for spent indoor bulbs.
By understanding this lifecycle, you make informed decisions about your plants, supporting both their short-term beauty and long-term environmental health. You complete the cycle of bringing winter flowers into your home with confidence and ecological awareness.
Frequently Asked Questions
Can I reuse forced bulbs next year?
Generally, no. Bulbs forced indoors expend most of their stored energy producing their spectacular winter blooms. They lack the opportunity to properly recharge their energy reserves as they would in an outdoor garden. For reliable results and vibrant displays, it is best to start with fresh, new bulbs each season. Consider composting your spent bulbs as a sustainable practice.
My bulbs are growing too tall and leggy, what should I do?
Leggy growth, characterized by long, weak stems, usually indicates insufficient light or temperatures that are too warm. Move your forced bulbs to a brighter location with consistent bright indirect light. A cooler room temperature (around 60-65°F or 15-18°C) will also help slow down growth and encourage sturdier stems. For paperwhites, a diluted solution of rubbing alcohol in their water can help inhibit stem elongation.
How long do the blooms last on forced bulbs?
The bloom period for forced bulbs typically lasts 2 to 4 weeks, depending on the bulb variety and environmental conditions. Cooler room temperatures and consistent bright indirect light help extend the flowering period. Warmer temperatures or direct, intense sunlight often cause blooms to fade more quickly.
What is the easiest bulb to force indoors for a beginner?
Paperwhite narcissus (Narcissus tazetta) is hands down the easiest bulb for beginners to force indoors. They require no chilling period and grow quickly, often blooming within 3-4 weeks of planting. This makes them a perfect, low-effort project for anyone wanting to enjoy fragrant winter flowers with almost guaranteed success.
What if my bulbs don’t bloom at all after chilling?
The most common reasons for a lack of bloom after chilling include an insufficient chilling period, bulbs that were too dry during chilling, or bulbs that were old or of poor quality. Ensure your bulbs received the full recommended chilling time at the correct temperature. Check for firmness; a soft bulb may have rotted or dried out. Starting with fresh, high-quality “prepared” bulbs significantly increases your chances of success.
For research-based houseplant care, visit
Denver Botanic Gardens,
San Diego Botanic Garden and
U.S. National Arboretum.
Disclaimer: This article is for informational purposes only and is not a substitute for professional advice. Consult local extension services for region-specific recommendations.
Leave a Reply