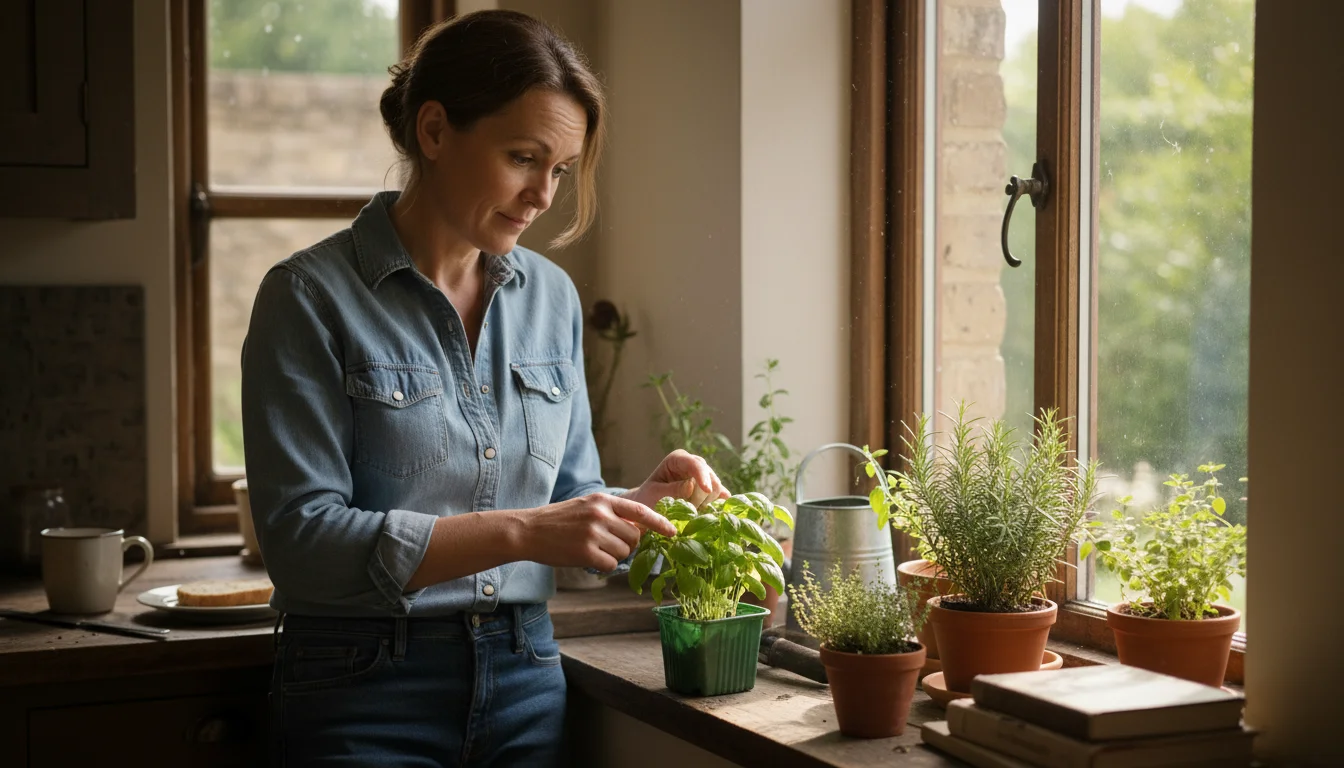
The aroma of freshly baked turkey, savory stuffing, and warm pumpkin pie signals the arrival of the holiday season. Imagine enhancing these festive dishes with vibrant, homegrown herbs, plucked directly from your windowsill. An indoor herb garden offers unparalleled freshness, convenience, and a touch of green vibrancy, even in the smallest of spaces. You do not need a sprawling backyard or complex equipment to cultivate these flavorful additions. With a few simple steps, you can cultivate a thriving indoor herb garden, ensuring your Thanksgiving table and future meals are infused with the unmistakable taste of your own efforts.
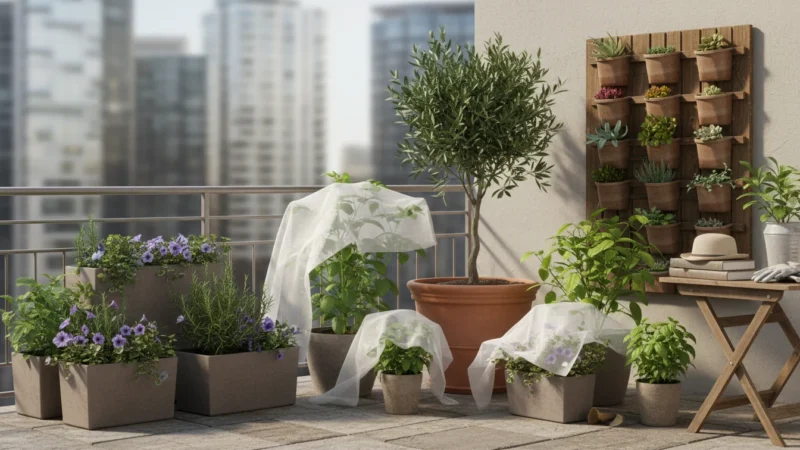
To prepare for the season, you can also harvest and dry herbs from your outdoor containers to ensure your pantry is fully stocked before the first frost.
Starting an indoor herb garden brings a unique satisfaction, connecting you directly to the food you prepare. For apartment dwellers and those with compact homes, this approach perfectly aligns with a low-maintenance, high-reward gardening philosophy. This guide provides practical, actionable insights, enabling you to grow best herbs for holiday cooking with confidence and ease. Prepare to transform your culinary creations with fresh sage, rosemary, thyme, and parsley, all while embracing sustainable practices and maximizing your living space.
The Magic of an Indoor Herb Garden for the Holidays
The holiday season, particularly Thanksgiving, revolves around food, family, and gratitude. Fresh herbs play a starring role in many traditional recipes, from savory turkey dressings to aromatic roasted vegetables and spiced desserts. While store-bought herbs are readily available, growing your own offers distinct advantages. Imagine the convenience of stepping into your kitchen and snipping exactly what you need, minutes before adding it to your dish. You eliminate last-minute grocery runs, reduce food waste, and enjoy superior flavor. Herbs harvested just before use retain their maximum potency and aroma, elevating your holiday cooking to new heights.
This selection of plants helps create an indoor display that smells like autumn and enhances the festive atmosphere of your kitchen.
Beyond harvesting for recipes, you can use these same plants to create a living fall centerpiece to decorate your Thanksgiving table.
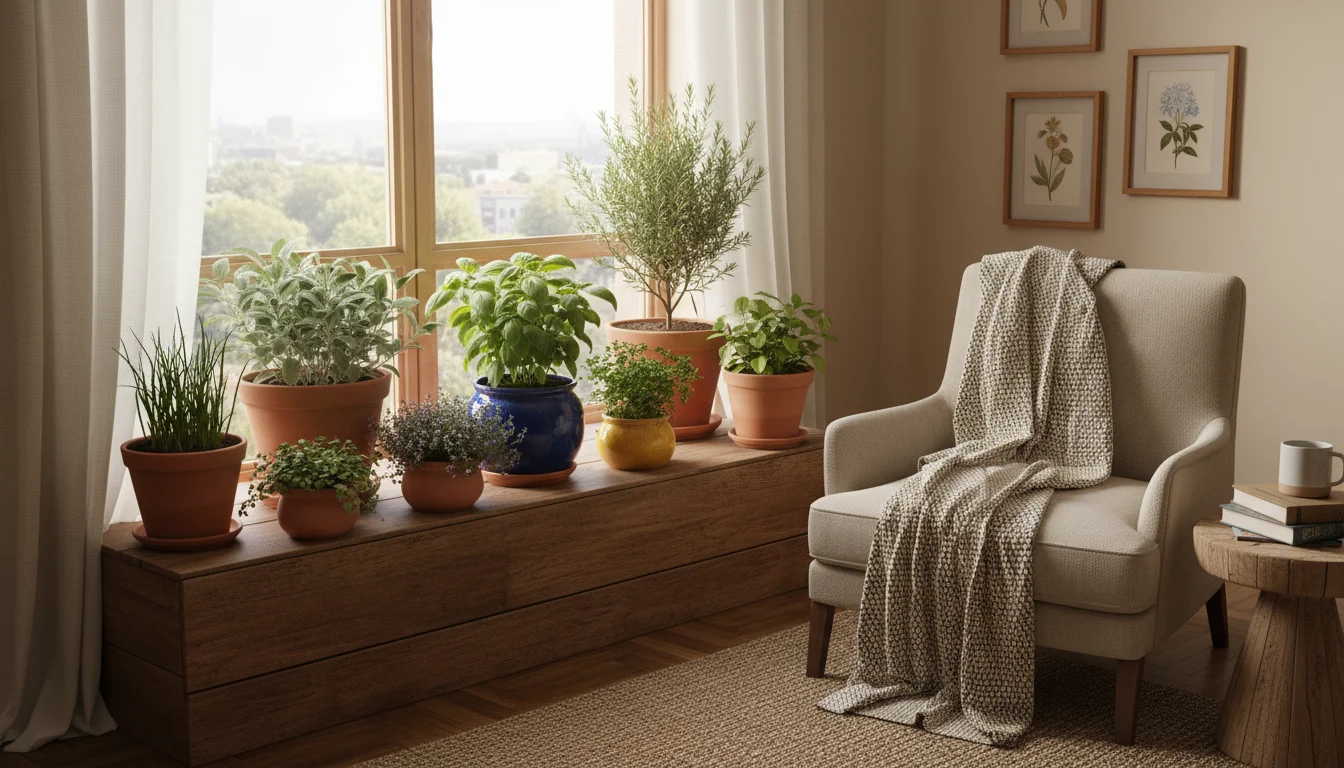
An indoor herb garden also brings a piece of nature indoors, especially welcome during the colder months. It adds greenery and a pleasant fragrance to your home, transforming a simple windowsill or a corner shelf into a vibrant, living display. This project perfectly suits small-space living, requiring minimal square footage and delivering significant returns in terms of culinary enhancement and aesthetic appeal. Your efforts in cultivating an indoor herb garden provide a sustainable source of flavor, minimizing packaging waste and supporting a more self-sufficient lifestyle. As a plant coach, I advocate for these low-effort routines that connect you with nature without demanding extensive resources or expertise. This season, let your home garden contribute directly to the festive spirit, making your holiday meals truly unforgettable.
Choosing Your Holiday Herb Stars: Best Varieties for Indoor Success
Selecting the right herbs is the first crucial step toward a successful indoor herb garden. For Thanksgiving and general holiday cooking, certain herbs stand out due to their robust flavor, versatility in the kitchen, and adaptability to indoor conditions. Focus on these `fall herbs` to maximize your success and culinary impact.
You can even expand your collection to include herbs for an autumnal tea garden to enjoy warm, homegrown infusions alongside your holiday desserts.
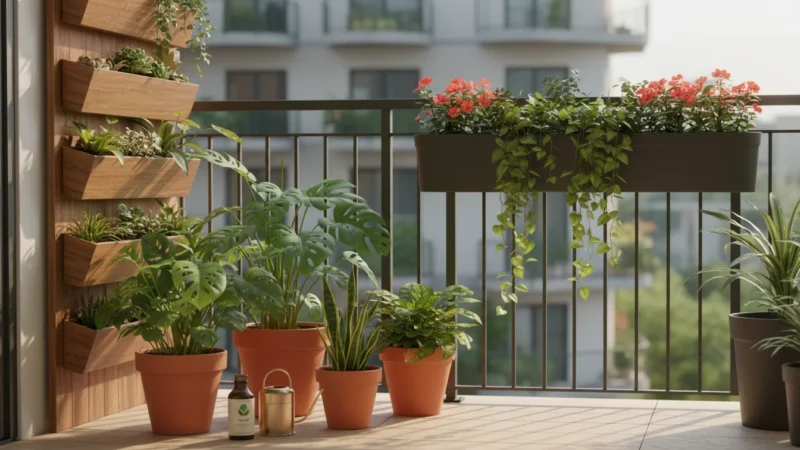
If you are bringing plants in from a balcony, follow a rosemary rescue guide to help them transition successfully to indoor life.
In addition to traditional herbs, you might also grow microgreens on your kitchen counter for fresh, nutrient-dense additions to your holiday salads.
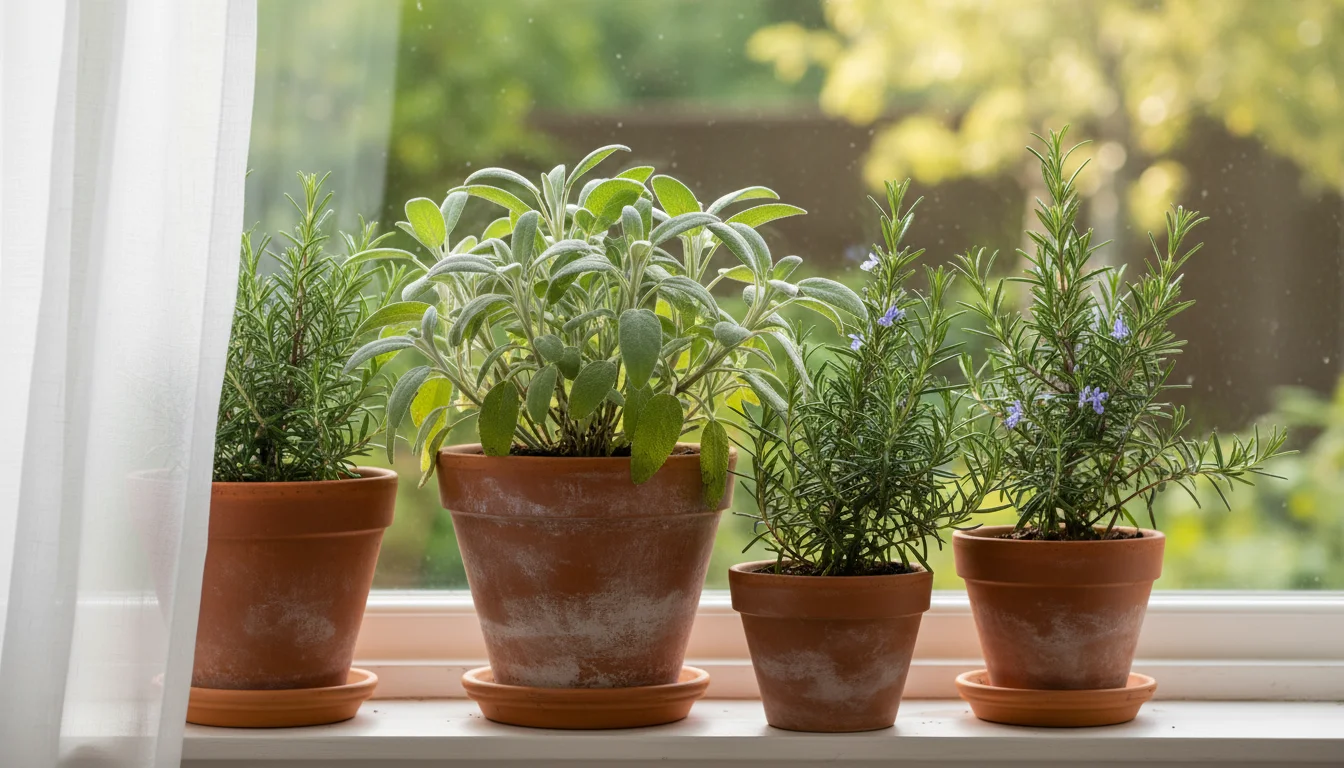
Sage (Salvia officinalis): This herb is synonymous with Thanksgiving. Its earthy, slightly peppery flavor is indispensable for turkey stuffing, gravies, and roasted root vegetables. Sage thrives indoors with bright light and good air circulation. It tends to be a bit more drought-tolerant than other herbs, so avoid overwatering. When you are `growing sage and rosemary on a windowsill`, ensure sage gets the brightest spot.
Rosemary (Rosmarinus officinalis): Pungent and piney, rosemary brings a distinct aromatic quality to roasted meats, potatoes, and even breads. It is a woody perennial that appreciates ample light, mimicking its Mediterranean origins. Rosemary plants grown indoors can become quite architectural, offering a beautiful visual element. Like sage, `growing sage and rosemary on a windowsill` requires consistent bright light.
Thyme (Thymus vulgaris): Delicate yet incredibly flavorful, thyme complements almost any savory dish. Use it in poultry, soups, stews, and vegetable preparations. Thyme is generally forgiving indoors, preferring well-draining soil and plenty of light. Its small leaves and creeping habit make it an attractive addition to a mixed herb pot.
Parsley (Petroselinum crispum or P. neapolitanum): Flat-leaf (Italian) parsley offers a more robust flavor than its curly counterpart, making it ideal for culinary use. It is a cornerstone herb for garnishes, sauces, and fresh additions to almost any meal. Parsley needs consistent moisture and bright, indirect light to flourish. It is a heavy feeder compared to the woody herbs, meaning it benefits from regular, gentle fertilization.
Chives (Allium schoenoprasum): While not strictly a “holiday herb” in the traditional sense for Thanksgiving, chives offer a mild oniony flavor that brightens many dishes. They are easy to grow indoors, even in slightly lower light conditions than woody herbs, and can be harvested repeatedly. Consider adding chives for versatility in your `winter herb garden kit ideas` for broader cooking applications.
You can start these herbs from seeds, but for quicker results, especially with woody herbs like sage and rosemary, purchase small starter plants from a nursery. Look for healthy, compact plants without signs of pests or disease. This approach significantly shortens the time until your first harvest, ensuring you have fresh herbs ready for `holiday cooking`.
Light Made Simple: Illuminating Your Indoor Herb Garden
Light stands as the most critical factor for a thriving `indoor herb garden`, particularly when `growing sage and rosemary on a windowsill`. Most culinary herbs are sun-loving plants by nature, requiring at least 4-6 hours of direct sunlight or 8-12 hours of bright, indirect light daily to produce flavorful foliage. Understanding your home’s light conditions is essential for placing your herbs optimally.
Once you have mastered herb lighting, consider how to grow your own ginger indoors as another rewarding, low-maintenance winter project.
A bright window is also the ideal location for a propagation station to multiply your favorite herbs for free.
Bright Indirect Light: This refers to a location near a window where the light is abundant but the sun’s direct rays do not hit the plant’s leaves for extended periods. Think of a spot beside a south or west-facing window, perhaps diffused by a sheer curtain, or a few feet away from an unobstructed east-facing window. Direct, intense afternoon sun, especially through glass, can scorch delicate herb leaves.
Window Orientation:
- South-facing windows offer the most intense and consistent light throughout the day. These are often ideal for sun-loving herbs like rosemary and sage, but you might need a sheer curtain to prevent scorching, especially during midday.
- West-facing windows provide strong afternoon light, which can be quite hot. Similar to south-facing, use caution or a sheer curtain.
- East-facing windows receive gentle morning sun, which is less intense and generally excellent for a wide variety of herbs, including parsley and thyme.
- North-facing windows provide the least amount of light, primarily bright indirect light. While some low-light tolerant plants might survive here, it is generally insufficient for most culinary herbs to thrive and produce robust flavor.
Position your herbs as close to the light source as possible without touching the cold glass in winter. Rotate your pots every few days to ensure all sides of the plant receive adequate light, promoting even growth.
When natural light is insufficient, especially during shorter winter days or in north-facing rooms, supplemental lighting becomes crucial. Compact fluorescent lights (CFLs) or LED grow lights are efficient and effective options. A small LED grow light strip positioned 6-12 inches above your herbs for 12-14 hours a day can make a significant difference, preventing leggy growth and ensuring robust flavor. This is particularly useful for maximizing the yield from your `fall herbs` throughout the darker months.

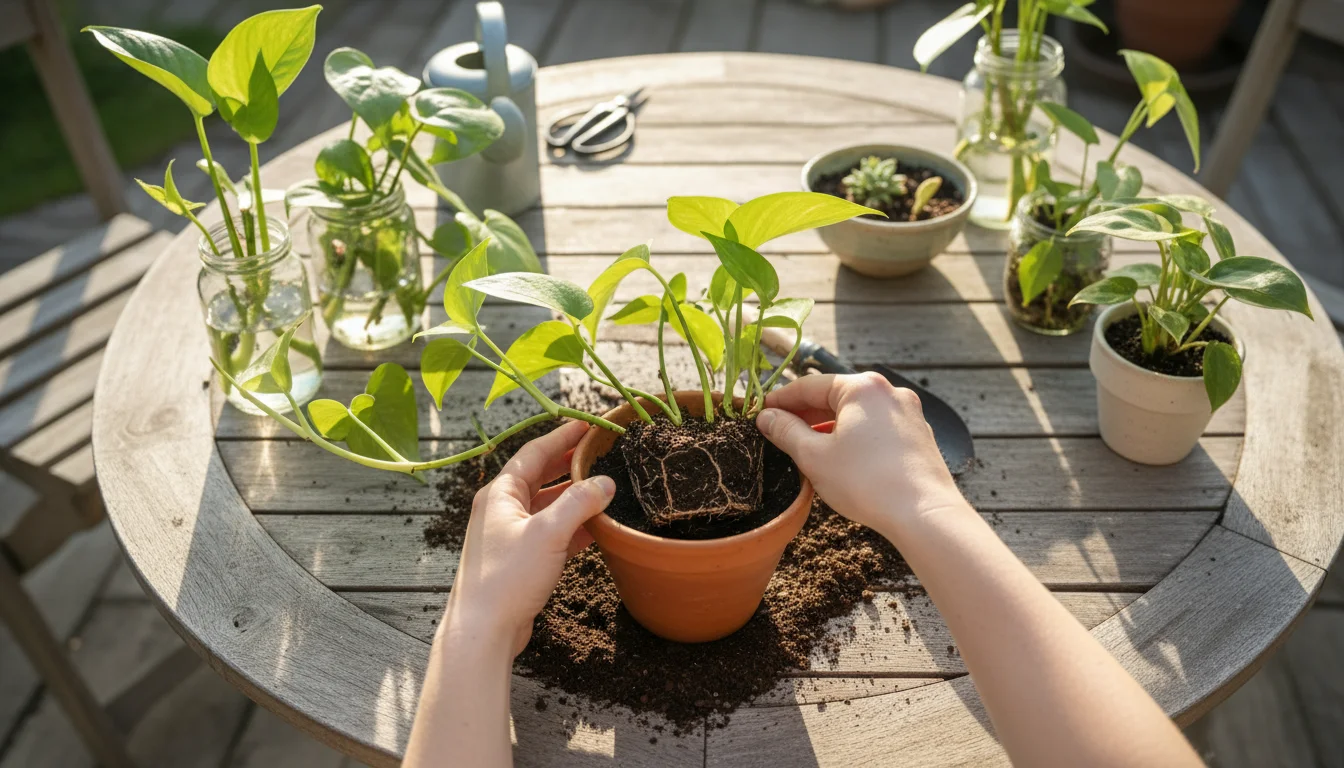
The Right Home: Pots and Potting Mix for Thriving Herbs
Choosing the correct container and potting mix lays the foundation for a healthy `indoor herb garden`. These elements directly impact water retention, drainage, and nutrient availability, which are all critical for vigorous growth, especially for your chosen `holiday cooking` herbs.
Choosing the Right Pot:
The most important feature of any pot is a drainage hole. Without adequate drainage, water accumulates at the bottom, leading to root rot, the silent killer of many houseplants.
- Terracotta Pots: These are porous, allowing air and moisture to pass through their walls. This helps prevent overwatering and is excellent for herbs that prefer slightly drier conditions, such as rosemary and sage. However, they dry out faster, requiring more frequent watering.
- Plastic Pots: Lightweight and inexpensive, plastic pots retain moisture more effectively than terracotta. They are a good choice for herbs like parsley that prefer consistently moist soil. Ensure adequate drainage holes are present.
- Ceramic Pots: These can be very decorative. Glazed ceramic pots retain moisture similarly to plastic, while unglazed ones behave more like terracotta. Always check for a drainage hole.

For individual herbs, choose pots that are 6-8 inches in diameter. This size provides enough space for root development without being so large that the soil stays wet for too long. If you plan to create a `winter herb garden kit ideas` arrangement with multiple herbs, use a larger trough-style container, ensuring each plant has adequate space and light.
Potting Mix:
Your herbs require a well-draining, airy potting mix that provides good aeration for roots. Avoid using garden soil, which compacts easily in pots, suffocating roots and hindering drainage.
- Peat-free potting mix: Opt for peat-free options made from sustainable materials like coco coir, composted bark, and perlite or pumice. Peat extraction can be environmentally damaging, so choosing peat-free aligns with eco-conscious gardening.
- Additives for drainage: If your chosen potting mix feels too dense, amend it with additional perlite or pumice. A ratio of 3 parts potting mix to 1 part perlite or pumice often works well. These materials create air pockets, preventing compaction and improving drainage.
- Nutrient content: A good quality potting mix usually contains some nutrients to get your plants started. However, remember that container plants deplete nutrients faster, so you will need to supplement later.
Never place a layer of gravel or broken pot shards at the bottom of your pot. This actually hinders drainage by creating a “perched water table” where water accumulates just above the gravel layer, still leading to root rot. Instead, ensure a good quality potting mix and a proper drainage hole are your main concerns.
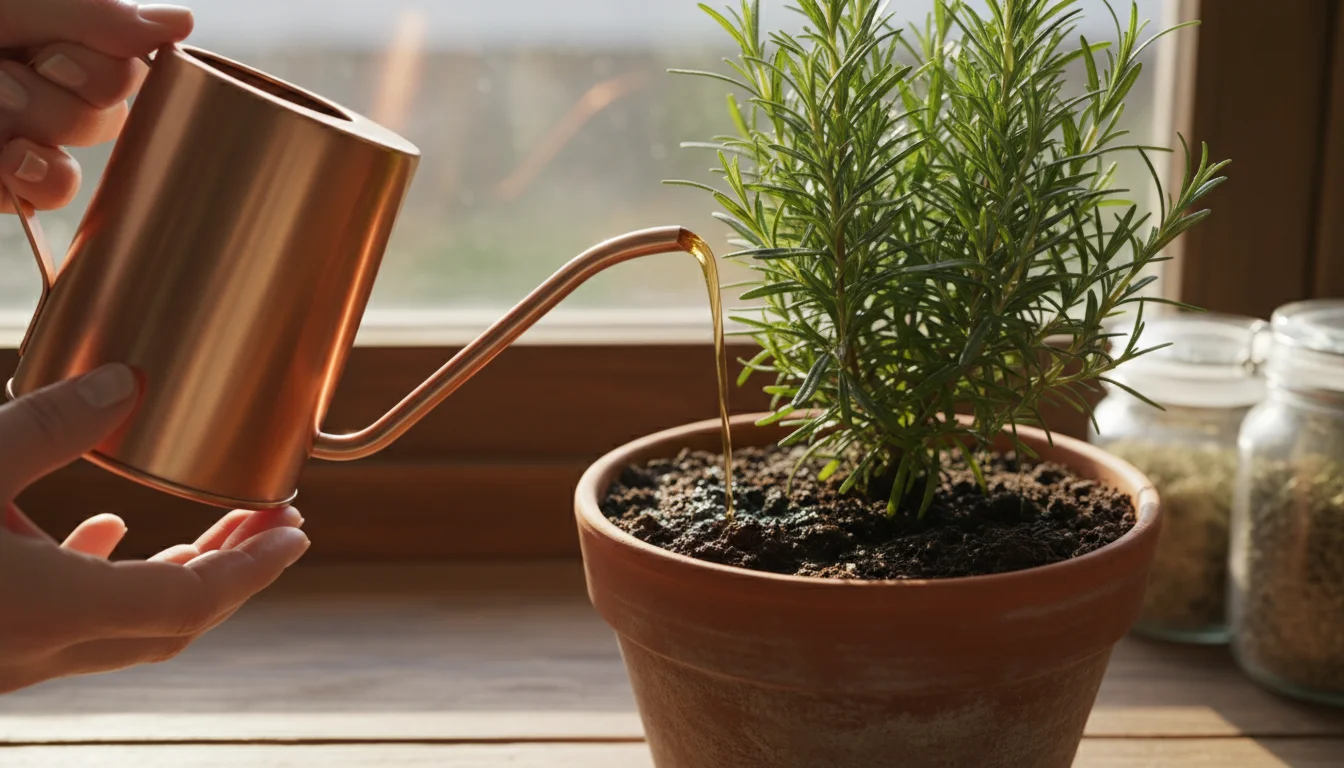
Watering Wisdom: Keeping Your Holiday Herbs Hydrated, Not Drowned
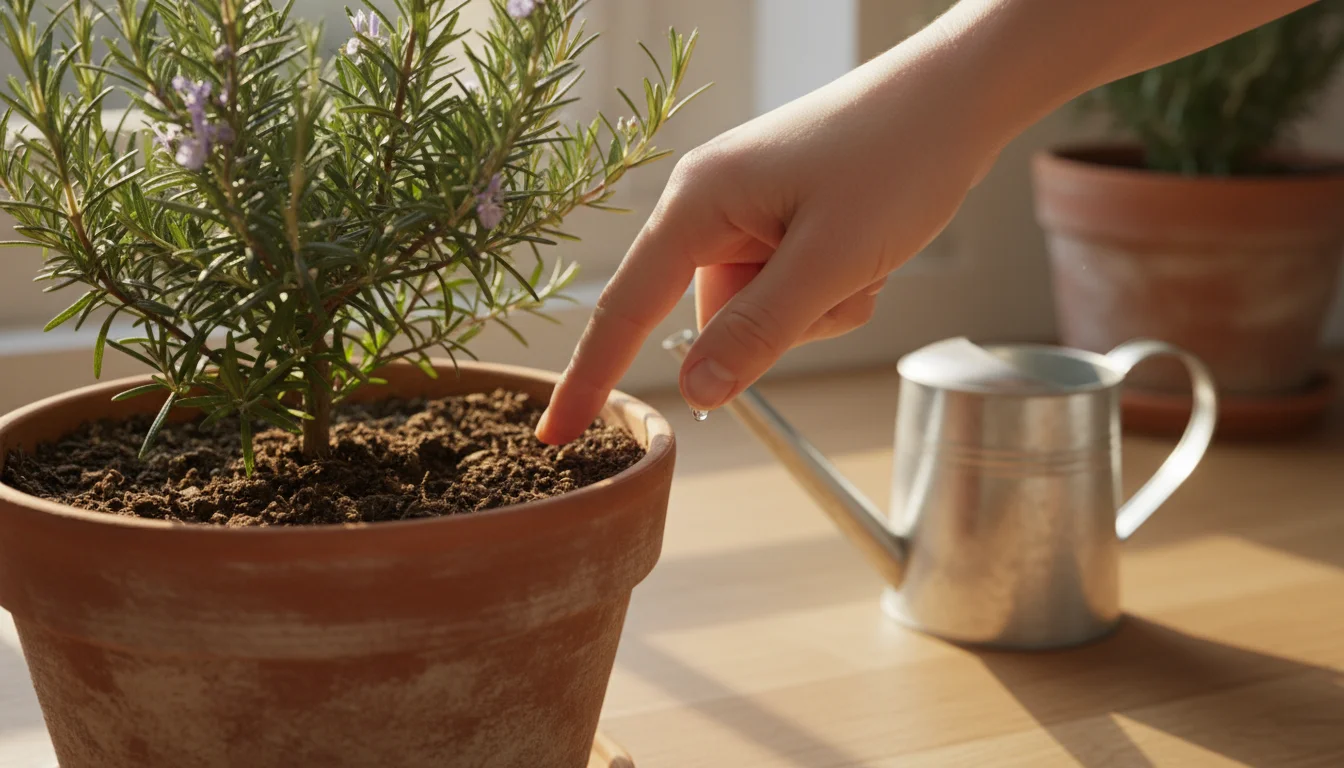
Watering correctly is paramount for a successful indoor herb garden. Both overwatering and underwatering can cause significant stress, leading to yellowing leaves, wilting, and ultimately, plant death. Your goal is to provide consistent moisture without waterlogging the soil.
The Finger Test: Your Best Guide
Forget rigid watering schedules. The most reliable way to determine if your herbs need water is the “finger test.”
- Stick your index finger about 1-2 inches deep into the soil.
- If the soil feels dry at that depth, it is time to water.
- If it feels moist, wait a day or two and retest.
This method accounts for variations in temperature, humidity, and pot material, all of which affect how quickly soil dries out. Woody herbs like sage and rosemary prefer the top 1-2 inches of soil to dry out completely between waterings. Leafy herbs like parsley and chives prefer more consistent moisture, meaning you should water when the top inch of soil feels just barely dry.
How to Water:
When you water, do so thoroughly. Pour water slowly over the entire surface of the soil until it begins to drain out of the bottom of the pot. Ensure the entire root ball gets saturated. Empty any excess water from the saucer within 15-30 minutes. Allowing your plant to sit in standing water invites root rot. Use room-temperature water, as cold water can shock plant roots.
Signs of Trouble:
- Drooping or wilting leaves: This can indicate either too little or too much water. Perform the finger test. If the soil is bone dry, water thoroughly. If it is soggy, you are likely overwatering.
- Yellowing leaves: Often a sign of overwatering. Root rot prevents roots from absorbing nutrients, leading to yellow foliage.
- Crispy, browning leaf tips: Typically points to underwatering or low humidity.
Sustainable Watering Practices:
Consider capturing rainwater or using filtered tap water if your local water is heavily chlorinated. Mulching the soil surface with a thin layer of coco coir or fine bark chips can help reduce evaporation, especially in dry indoor environments. Understanding your herbs’ individual needs and observing their response to your watering habits empowers you to provide optimal care, ensuring a robust `indoor herb garden` ready for `holiday cooking` and beyond.
Feeding Your Fall Herbs: Gentle Nutrition for Robust Growth
While light and water are the primary drivers of plant growth, nutrients play a supporting yet crucial role, especially for herbs grown in containers. Potting mixes initially provide some nutrients, but these become depleted over time as your herbs grow and you harvest their leaves. Regular, gentle fertilization ensures your `fall herbs` remain vigorous and flavorful throughout their indoor life.
When to Fertilize:
Begin fertilizing your indoor herbs approximately 4-6 weeks after potting them in fresh soil. During the active growing seasons (spring and summer), you can fertilize every 2-4 weeks. However, during fall and winter, when light levels are lower and plant growth naturally slows, reduce fertilization to once every 4-6 weeks or even less frequently. Overfertilizing during slower growth periods can lead to nutrient burn and harm your plants. Observe your herbs; if new growth appears pale or stunted, they may need a boost.
Choosing the Right Fertilizer:
Opt for a balanced liquid fertilizer formulated for edibles or houseplants. Look for an N-P-K ratio (Nitrogen, Phosphorus, Potassium) that is relatively even, such as 5-5-5 or 10-10-10, or slightly higher in nitrogen for leafy growth (e.g., 2-1-2).
- Liquid Organic Fertilizers: These are excellent choices for edible plants, as they often contain a broader range of micronutrients and improve soil health over time. Examples include diluted fish emulsion or seaweed extract.
- Synthetic Liquid Fertilizers: If using synthetic options, always dilute them to half or even quarter strength of the manufacturer’s recommendation. Herbs are sensitive to excessive salts, and over-fertilization can quickly lead to burnt leaf tips and stunted growth.
How to Fertilize:
Always apply liquid fertilizer to moist soil, never dry. Fertilizing dry roots can cause root burn. Mix the diluted fertilizer according to instructions and water your herbs as you normally would, using the fertilizer solution instead of plain water. This ensures even distribution and minimizes the risk of concentrated nutrient pockets.
Remember, less is often more when it comes to fertilizing `indoor herb garden` plants. You aim to supplement, not overwhelm. Consistent, gentle feeding supports healthy foliage, ensuring your herbs deliver peak flavor for `holiday cooking` and beyond, making your `winter herb garden kit ideas` truly productive.
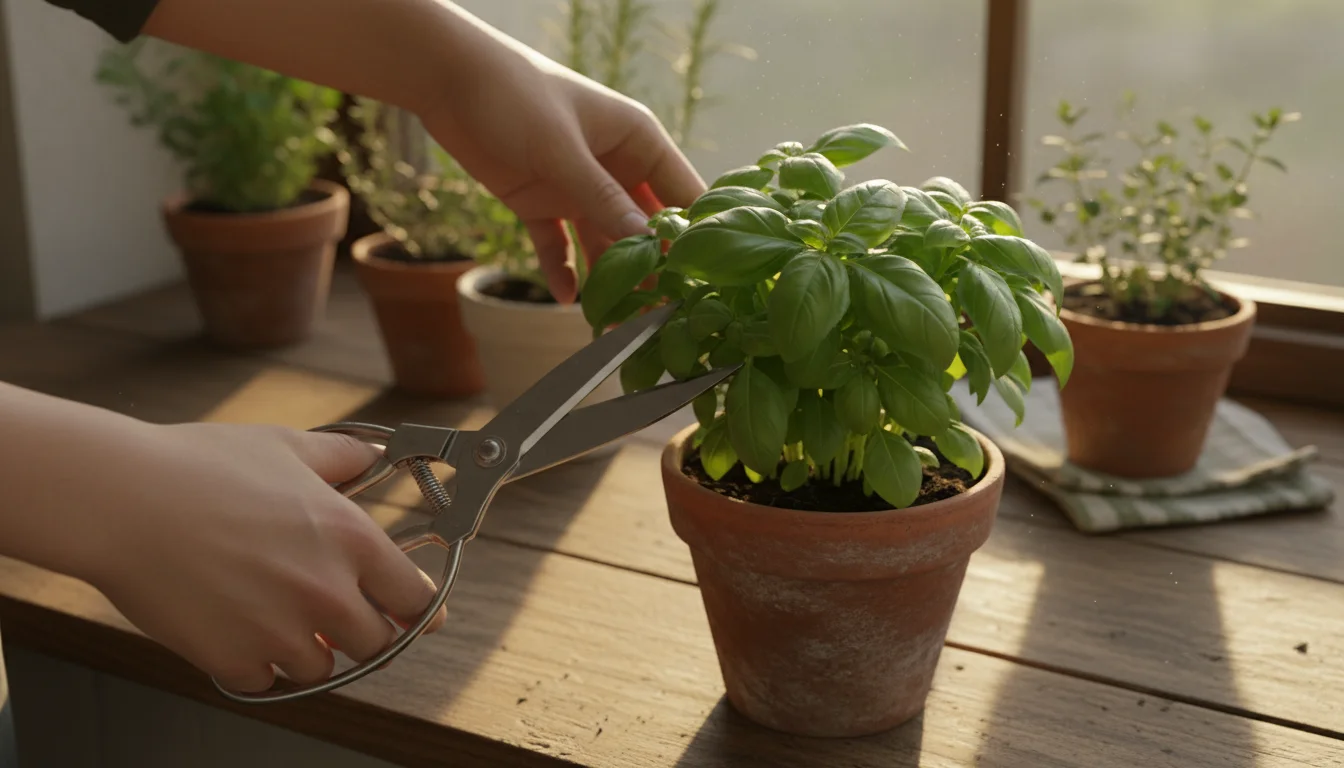
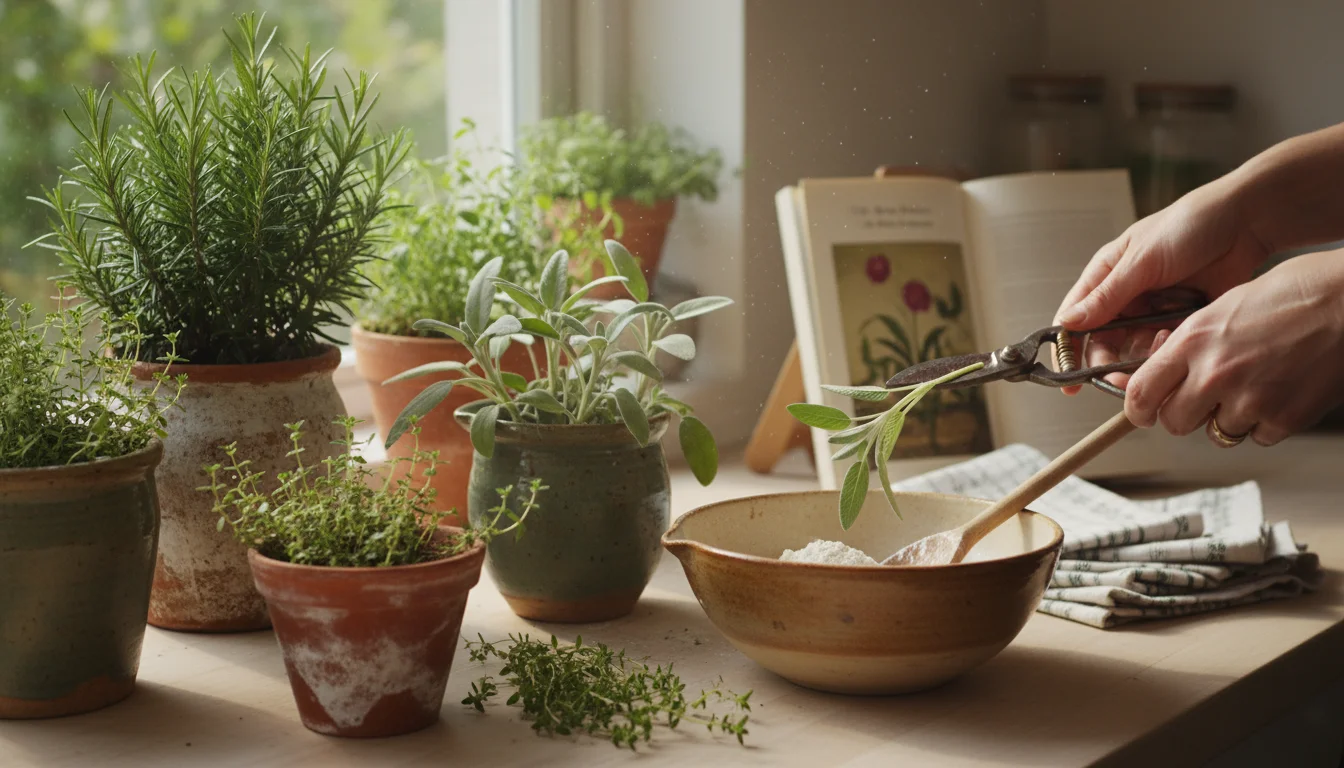
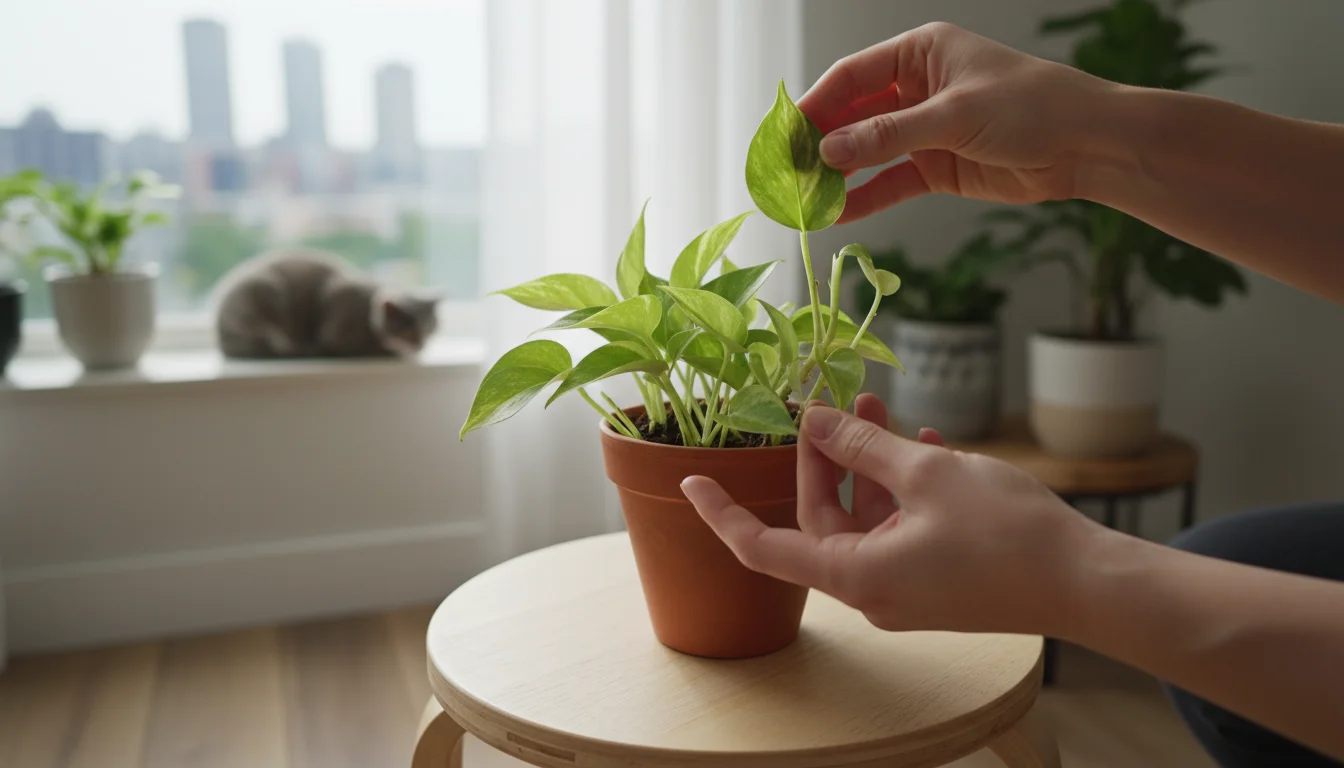
Harvesting and Pruning: Maximizing Your Holiday Yield
Harvesting your herbs correctly is a key skill that not only provides you with fresh ingredients for `holiday cooking` but also encourages your plants to grow bushier and more productive. Think of harvesting as a form of pruning, guiding your herb’s growth habit.
The Art of Harvesting:
- Start early: Begin harvesting once your herb plants are established and have several sets of true leaves. For most herbs, this means when they are 6-8 inches tall. Early, light harvesting stimulates growth.
- Use sharp tools: Always use clean, sharp scissors or pruning shears to make clean cuts. This prevents crushing stems and minimizes the risk of disease.
- Harvest from the top: For most bushy herbs like basil, mint, and thyme, snip off the top few sets of leaves, just above a leaf node (the point where leaves or branches emerge from the main stem). This encourages the plant to branch out, resulting in a fuller, more robust plant. Avoid removing more than one-third of the plant’s foliage at a time to prevent shocking it.
- Target outer leaves: For herbs like parsley or cilantro, you can harvest outer leaves near the base of the plant. This allows the inner, younger leaves to continue growing.
- Pinch off flowers: If your herbs begin to produce flower stalks (a process known as “bolting”), pinch them off immediately. Flowering often signals the end of the plant’s life cycle for annuals, and it can cause the leaves to become bitter. Removing flowers directs the plant’s energy back into leaf production, prolonging your harvest.
Specific Herb Harvesting Tips:
- Rosemary and Sage: These woody herbs benefit from regular tip pruning. Snip off new growth at the tips of branches, just above a leaf node. This prevents them from becoming leggy and encourages branching. Be mindful when `growing sage and rosemary on a windowsill` to harvest strategically to maintain their shape and productivity.
- Thyme: You can snip off whole sprigs or just the tips. Thyme responds well to frequent, light harvesting.
- Parsley: Harvest individual stems with leaves from the outer parts of the plant, cutting close to the base.
Regular harvesting is a positive feedback loop: the more you harvest correctly, the more your `indoor herb garden` produces. This practice ensures a continuous supply of fresh, aromatic herbs for your `holiday cooking` and keeps your plants healthy and vibrant throughout the colder months.
Troubleshooting Common Indoor Herb Challenges
Even experienced gardeners encounter challenges, and your indoor herb garden is no exception. Understanding common issues and their solutions empowers you to quickly diagnose problems and keep your `fall herbs` thriving. Most problems stem from environmental factors or basic care practices.
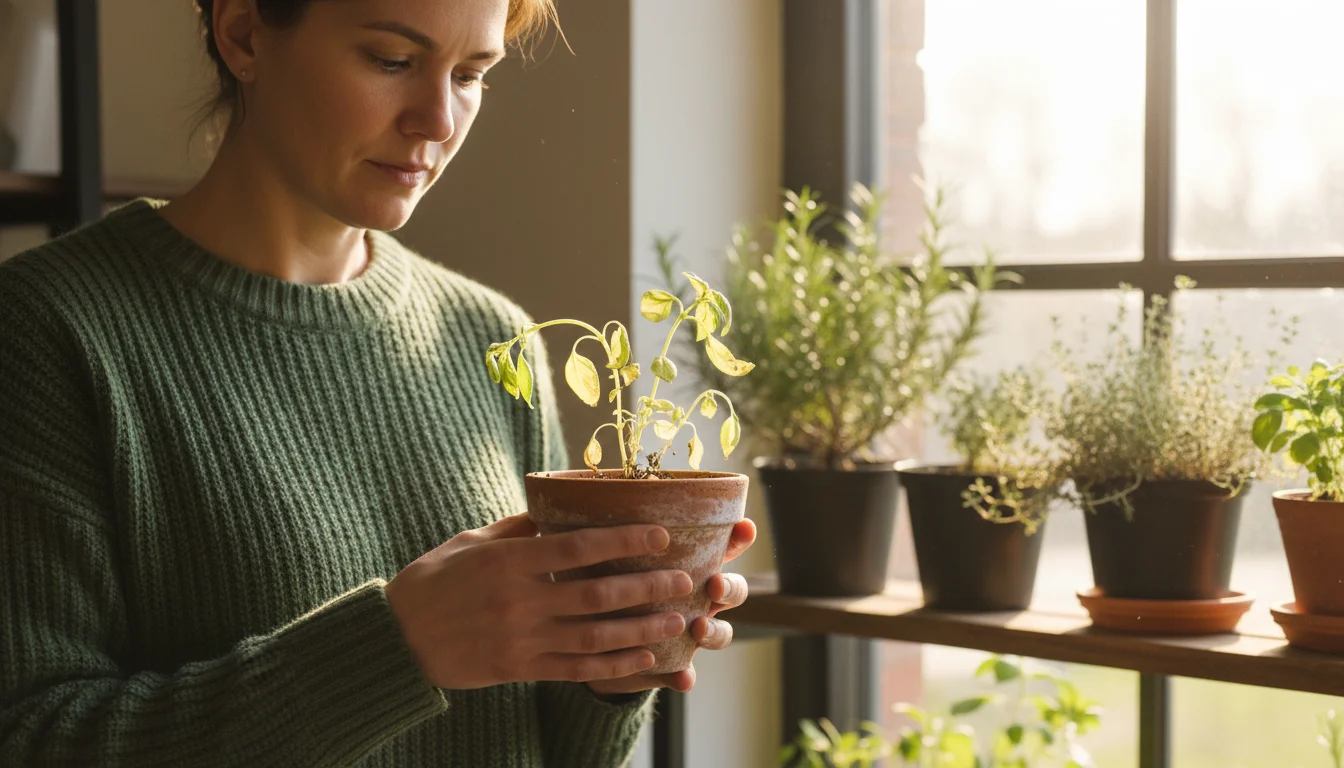
1. Yellowing Leaves:
This is one of the most frequent complaints.
- Overwatering: The most common cause. Yellowing leaves, often accompanied by soft, mushy stems or a musty odor from the soil, point to root rot. Immediately reduce watering, ensure good drainage, and consider gently removing the plant from its pot to inspect roots. If roots are brown and mushy, prune affected parts and repot into fresh, well-draining soil.
- Underwatering: While less common than overwatering for yellowing, prolonged dryness can cause lower leaves to yellow and eventually crisp up. The plant will also appear generally droopy. Water thoroughly when the soil is dry.
- Nutrient Deficiency: After prolonged growth in the same pot, the soil’s nutrients deplete. General yellowing, especially in older leaves, suggests a need for fertilization. Refer to the section on feeding your herbs.
- Insufficient Light: Plants might yellow and stretch (become “leggy”) if they are not receiving enough light. Move your `indoor herb garden` closer to a bright window or provide supplemental grow lights.
2. Leggy, Stretched Growth:
If your herbs are reaching dramatically for the light, with long stems and sparse leaves, they are “legging out.” This directly indicates insufficient light. Relocate your plants to a brighter spot or invest in a grow light. Regular pruning (as described in the harvesting section) can also help encourage bushier growth, but addressing the light issue is paramount. This often happens with `growing sage and rosemary on a windowsill` if the light is not intense enough.
3. Wilting:
Leaves drooping and losing their firmness.
- Underwatering: The soil is bone dry, and the plant has no water to support its cell structure. Water immediately and thoroughly. The plant should perk up within a few hours.
- Overwatering/Root Rot: Roots cannot absorb water if they are rotting. The symptoms mimic underwatering, but the soil will be saturated. Check the soil moisture and follow steps for overwatering.
- Extreme Temperatures: Sudden drops or spikes in temperature can cause wilting. Ensure your herbs are not in drafty areas or too close to heat vents.
4. Pests:
Common indoor herb pests include fungus gnats, aphids, and spider mites.
- Fungus Gnats: Small, dark flies buzzing around the soil. They are attracted to consistently wet potting mix. Let the top inch or two of soil dry out between waterings. Yellow sticky traps can help catch adults.
- Aphids: Tiny, pear-shaped insects often found on new growth. They suck plant sap, causing distorted leaves. Wipe them off with a damp cloth, spray with insecticidal soap, or use a strong jet of water (do this outside or in a sink).
- Spider Mites: Microscopic, they create fine webbing, especially on the undersides of leaves. They thrive in dry conditions. Increase humidity and regularly wipe down leaves with a damp cloth or use insecticidal soap.
For any pest, early detection is key. Regularly inspect your plants, especially the undersides of leaves. For severe infestations, consult a local garden center for appropriate, organic solutions safe for edible plants. These troubleshooting tips ensure your `indoor herb garden` remains productive for all your `holiday cooking` needs.
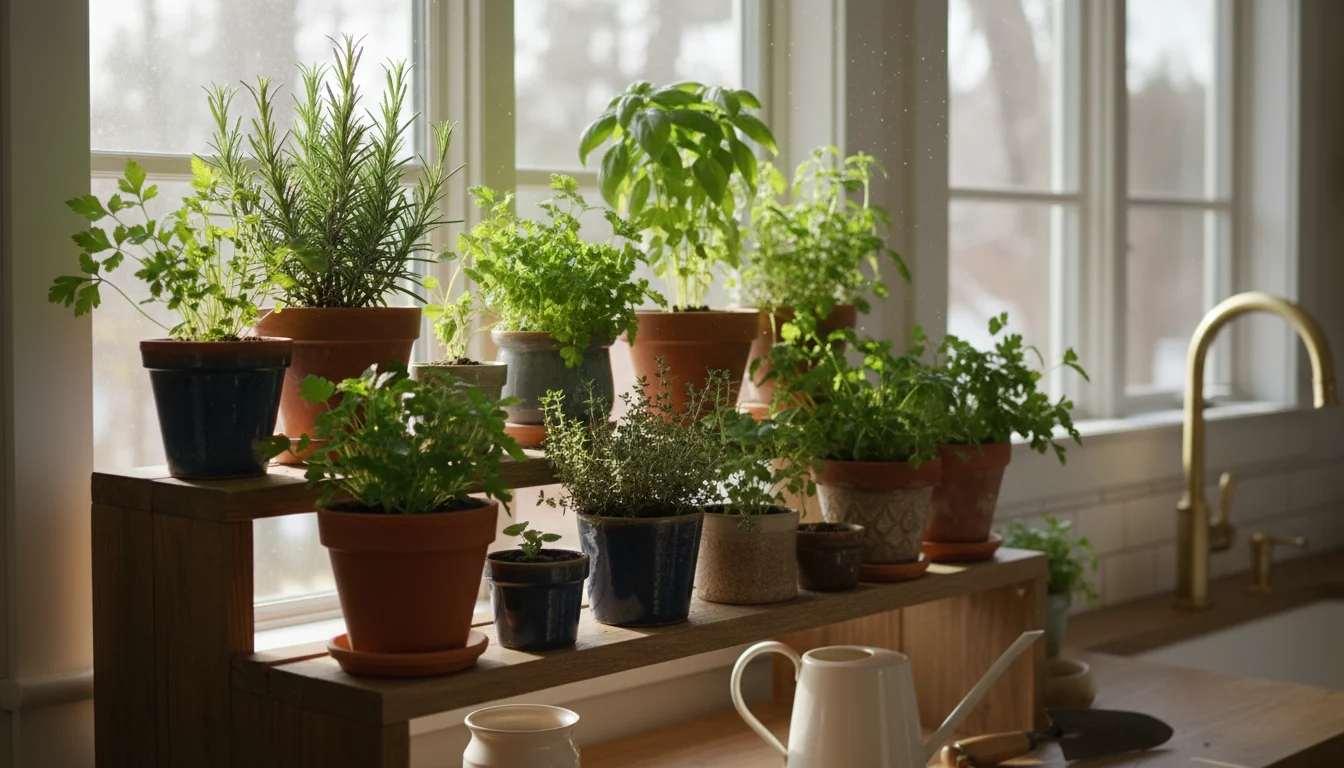
Expanding Your Winter Herb Garden: Beyond Thanksgiving Meals
While your initial focus centers on `fall herbs` for `holiday cooking`, your `indoor herb garden` offers fresh flavors throughout the entire winter season and beyond. The beauty of these low-maintenance plants is their ability to provide continuous harvests, transforming your kitchen into a year-round culinary oasis.
Continuing the Harvest:
The same care principles you applied for Thanksgiving herbs—adequate light, judicious watering, and regular harvesting—will sustain your plants through winter. During shorter, darker days, growth naturally slows. Reduce watering frequency and fertilizer application to match this slower pace. Your herbs may not produce as prolifically as they do in summer, but they will still offer fresh sprigs for soups, stews, roasted dishes, and herbal teas. `Growing sage and rosemary on a windowsill` can provide you with these robust flavors all winter long.
Exploring More Winter Herbs:
Once you master the holiday essentials, consider expanding your `indoor herb garden`. Many other herbs thrive indoors and can diversify your winter culinary repertoire:
- Mint: Varieties like peppermint or spearmint are wonderfully fragrant and great for teas or desserts. Keep mint in its own pot, as it spreads vigorously.
- Oregano: A hardy herb that tolerates somewhat less light than rosemary, perfect for Italian or Mediterranean dishes.
- Bay Laurel: While slower growing, a small bay tree can provide fresh bay leaves for stews and sauces for years. It requires bright light.
- Lemon Balm: Known for its soothing, lemony scent, ideal for teas and light desserts.
Winter Herb Garden Kit Ideas:
Consider creating or gifting `winter herb garden kit ideas`. These typically include:
- A selection of small pots (with drainage holes, of course!).
- High-quality peat-free potting mix.
- Seeds or starter plants of easy-to-grow herbs.
- A small pair of plant snips.
- Optional: A compact LED grow light for optimal growth.
These kits make excellent gifts for fellow foodies or aspiring indoor gardeners, fostering a connection with fresh produce even when outdoor gardens are dormant. You can also assemble a themed kit, like a “Tea Lover’s Herb Garden” with mint, lemon balm, and chamomile, or an “Italian Kitchen Collection” with oregano, parsley, and basil (though basil is often more challenging in low winter light). Your success with `holiday cooking` herbs can be a stepping stone to a diverse and productive `indoor herb garden` that brings joy and flavor all year.
Frequently Asked Questions
Can I grow herbs from grocery store cuttings?
Yes, you can propagate many herbs from cuttings taken from grocery store purchases, particularly rosemary, sage, and mint. Select healthy, non-flowering stems about 4-6 inches long. Remove the lower leaves and place the cutting in a glass of water. Change the water every few days. Once roots develop (this can take several weeks), plant the cuttings in a small pot with well-draining potting mix. Keep the soil consistently moist until the plant is established.
How much light do my herbs *really* need?
Most culinary herbs, especially those used in `holiday cooking` like sage and rosemary, truly thrive with at least 6 hours of direct sunlight daily. If direct sun is unavailable, aim for 8-12 hours of bright, indirect light. This means placing them very close to a south, east, or west-facing window, or supplementing with an LED grow light for 12-14 hours per day to ensure they produce robust flavor and vigorous growth.
Why are my herb leaves turning yellow?
Yellowing leaves most commonly indicate overwatering. Check the soil moisture. If it feels soggy, reduce watering frequency and ensure your pot has adequate drainage. Other causes include underwatering (leaves may also become crispy), nutrient deficiency (especially in older leaves), or insufficient light (plants might also appear leggy). Address the underlying cause to restore your herb’s vitality.
What is the best way to harvest herbs for cooking?
Use clean, sharp scissors or pruners. For most herbs, snip off the top few sets of leaves, just above a leaf node, to encourage bushier growth. For herbs like parsley, harvest individual stems from the outer parts of the plant, cutting close to the base. Always avoid removing more than one-third of the plant’s foliage at a single time to prevent stressing it.
Do I need a special indoor herb garden kit?
No, a special `indoor herb garden` kit is not necessary. You can easily assemble your own using readily available components. You need pots with drainage holes, a good quality peat-free potting mix, seeds or starter plants of your preferred `fall herbs`, and adequate light. While commercial kits can be convenient, understanding the basic needs of your plants allows you to create a thriving herb garden with simple, everyday supplies.
Growing an indoor ‘Holiday Flavors’ herb garden is a rewarding and practical endeavor. You enhance your `holiday cooking` with the freshest ingredients, bring natural beauty into your home, and cultivate a sense of accomplishment. With these practical tips and a little attention, you will enjoy a vibrant `indoor herb garden` not just for Thanksgiving, but as a continuous source of joy and flavor throughout the colder months. Enjoy the process, savor the results, and let your `winter herb garden kit ideas` flourish.
For research-based houseplant care, visit
University of Delaware Extension — Gardening,
University of Vermont Extension — Gardening and
University of New Hampshire Extension — Yard & Garden.
Disclaimer: This article is for informational purposes only and is not a substitute for professional advice. Consult local extension services for region-specific recommendations.


Leave a Reply