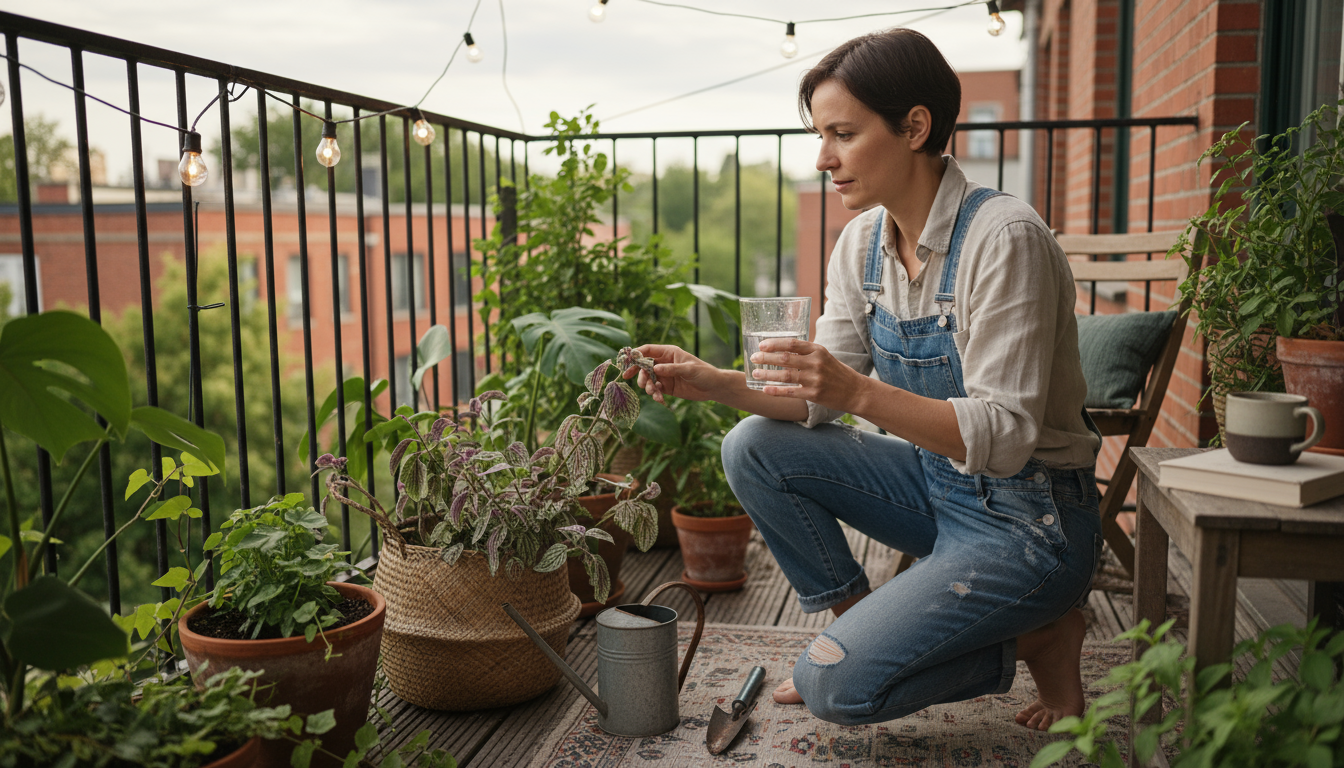
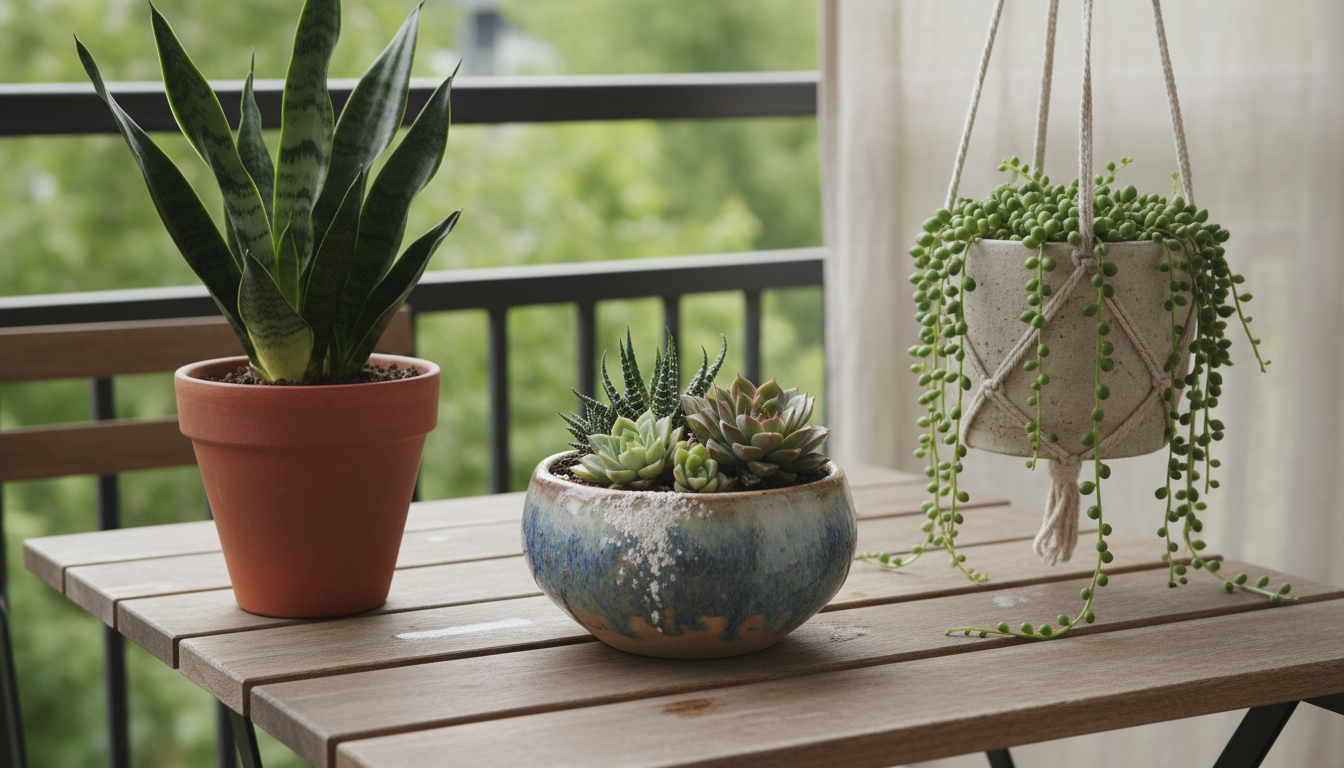
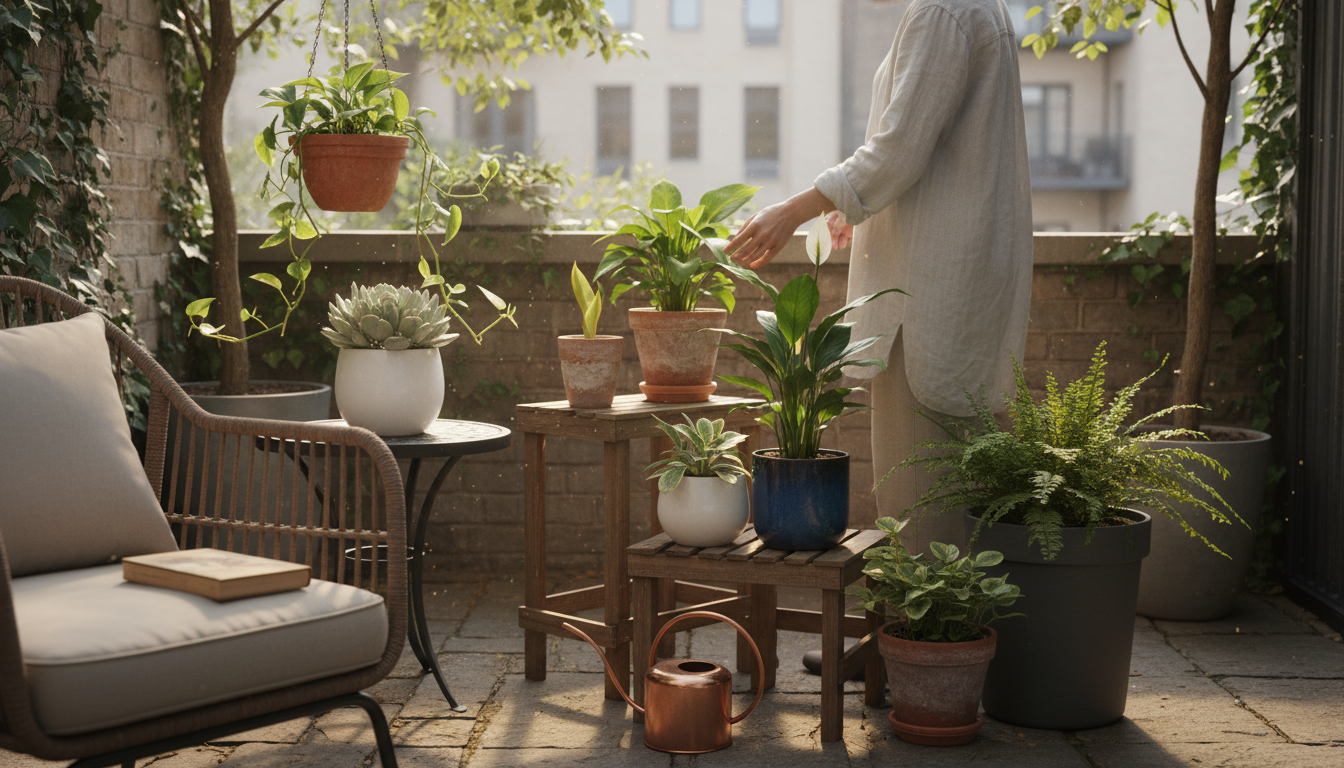
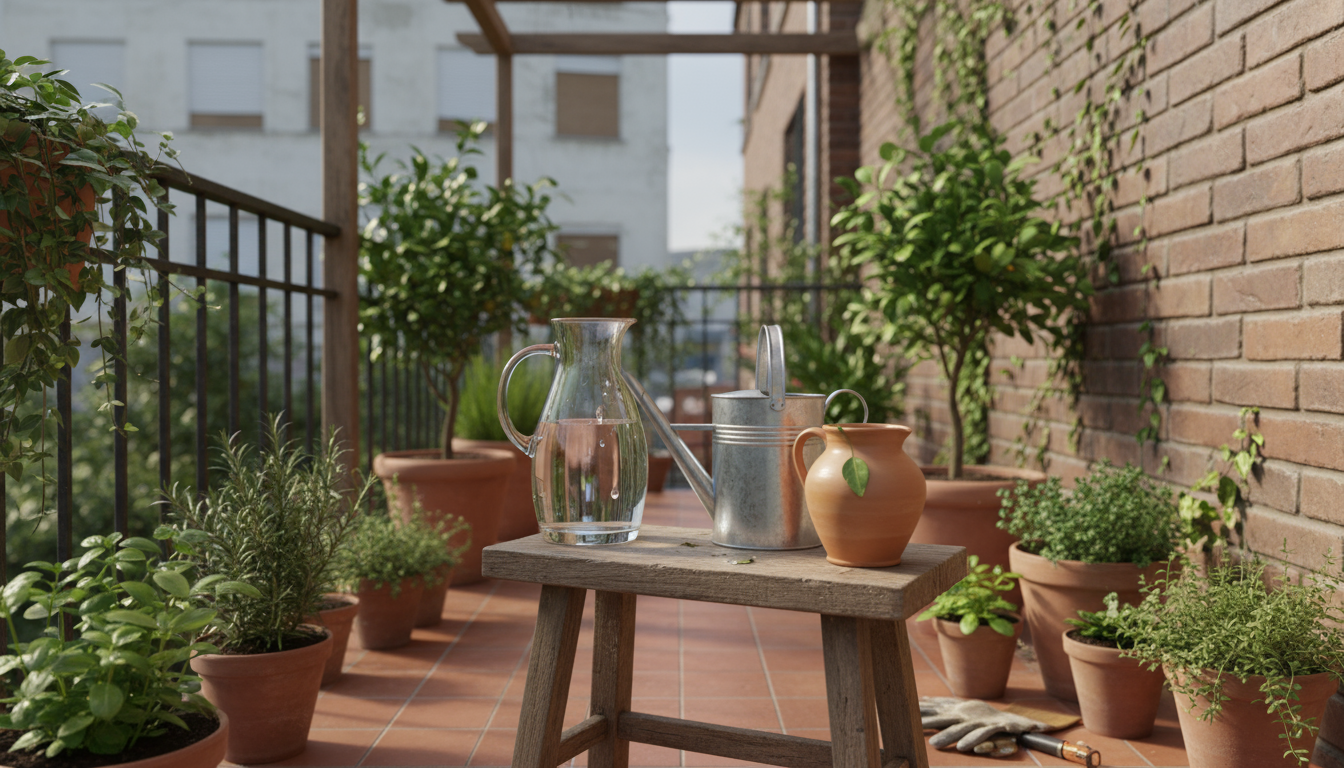
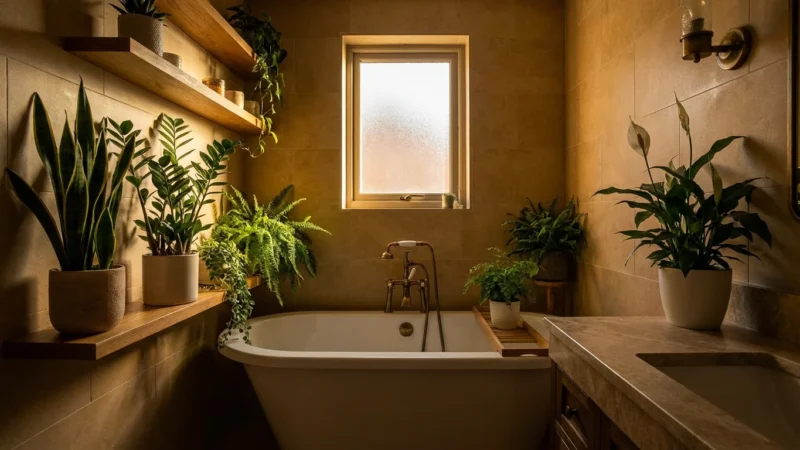
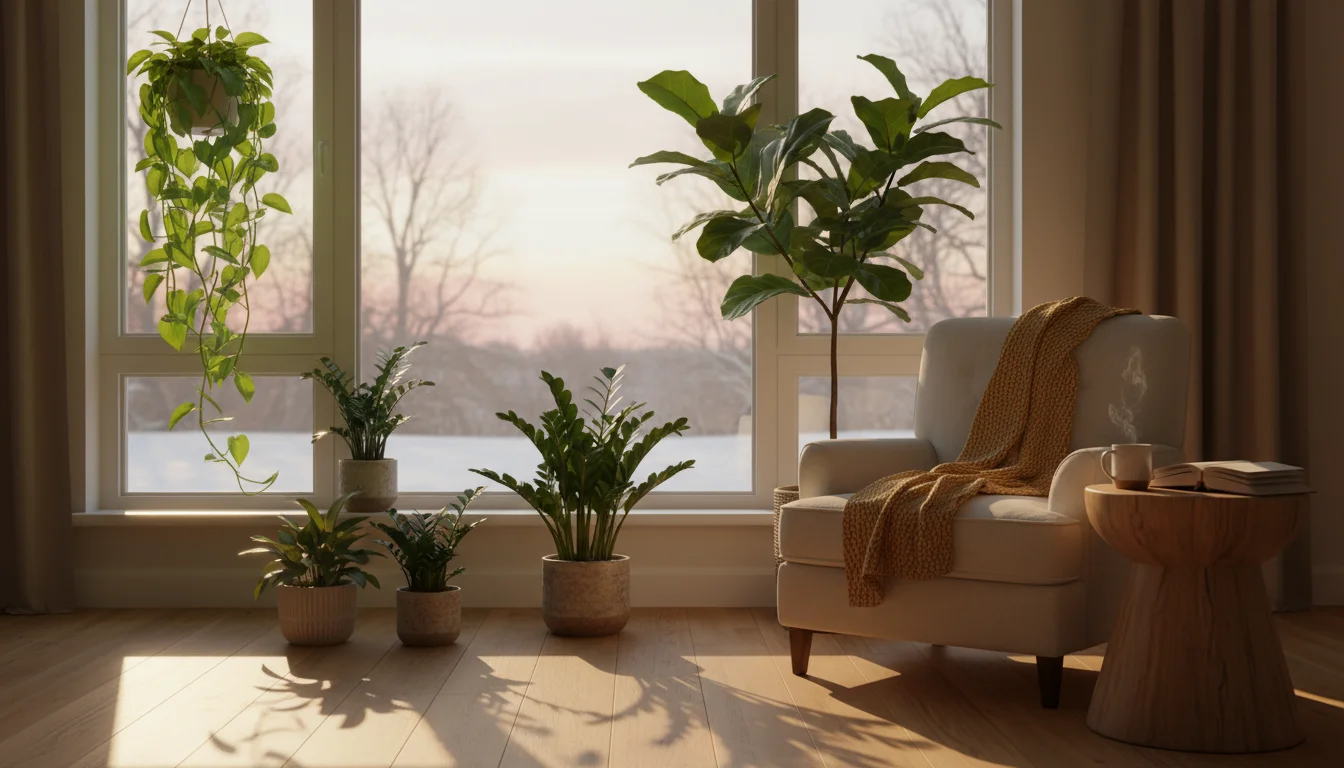
Caring for houseplants provides joy, beauty, and a connection to nature, even in the smallest urban apartment. Yet, many plant keepers find themselves stumped by one fundamental task: watering. The internet teems with advice, but much of it consists of outdated or misleading “rules” that often harm plants more than they help. You need a practical, reliable approach to houseplant watering, one tailored to your compact living space and low-maintenance lifestyle.
This is especially true for temperature-sensitive species, where following the ice cube watering myth can actually shock the root systems of your tropical plants.
This guide will equip you with actionable strategies to water your plants effectively, debunking common plant care myths along the way. You will discover how to read your plant’s unique needs, understand your environment’s impact, and develop a watering routine that fosters thriving greenery without constant guesswork. Stop believing these pervasive houseplant watering myths, and start cultivating a healthier, happier indoor garden today.
The Myth of Scheduled Watering: Why Your Plants Don’t Have a Clock
One of the most common pieces of advice beginners receive is “water every Sunday” or “water twice a week.” This myth, while seemingly helpful, sets you up for failure because it ignores the dynamic nature of a plant’s environment. Your plants do not operate on a rigid calendar. Their watering needs fluctuate significantly based on several factors, making a fixed schedule detrimental.
While hands-on checking is vital, keep in mind that the finger test can be misleading during the transition to cooler fall weather when evaporation slows down.
Why Schedules Fail You
Think about your own thirst. You do not drink water at precisely 9 AM and 3 PM every day regardless of your activity level or the temperature. Plants are similar. Here is why a schedule for houseplant watering is often a bad idea:
- Environmental Changes: The temperature in your home varies throughout the year. Your apartment might be warmer in summer, causing soil to dry faster. Conversely, cooler winter temperatures, combined with reduced natural light, slow plant metabolism, meaning plants use less water. Humidity levels also play a role. A dry indoor environment, common with heating or air conditioning, accelerates water evaporation from the soil and transpiration from leaves.
- Light Exposure: Plants in bright, indirect light perform more photosynthesis, which requires more water uptake from the roots. A plant in a low-light corner will use water much slower. Even moving a plant a few feet closer to or further from a window can drastically alter its watering requirements.
- Plant Growth Stage: A rapidly growing plant, putting out new leaves and roots, demands more water to fuel its development. A dormant plant, resting during winter, needs significantly less. You cannot expect a plant to maintain the same water consumption throughout its life cycle.
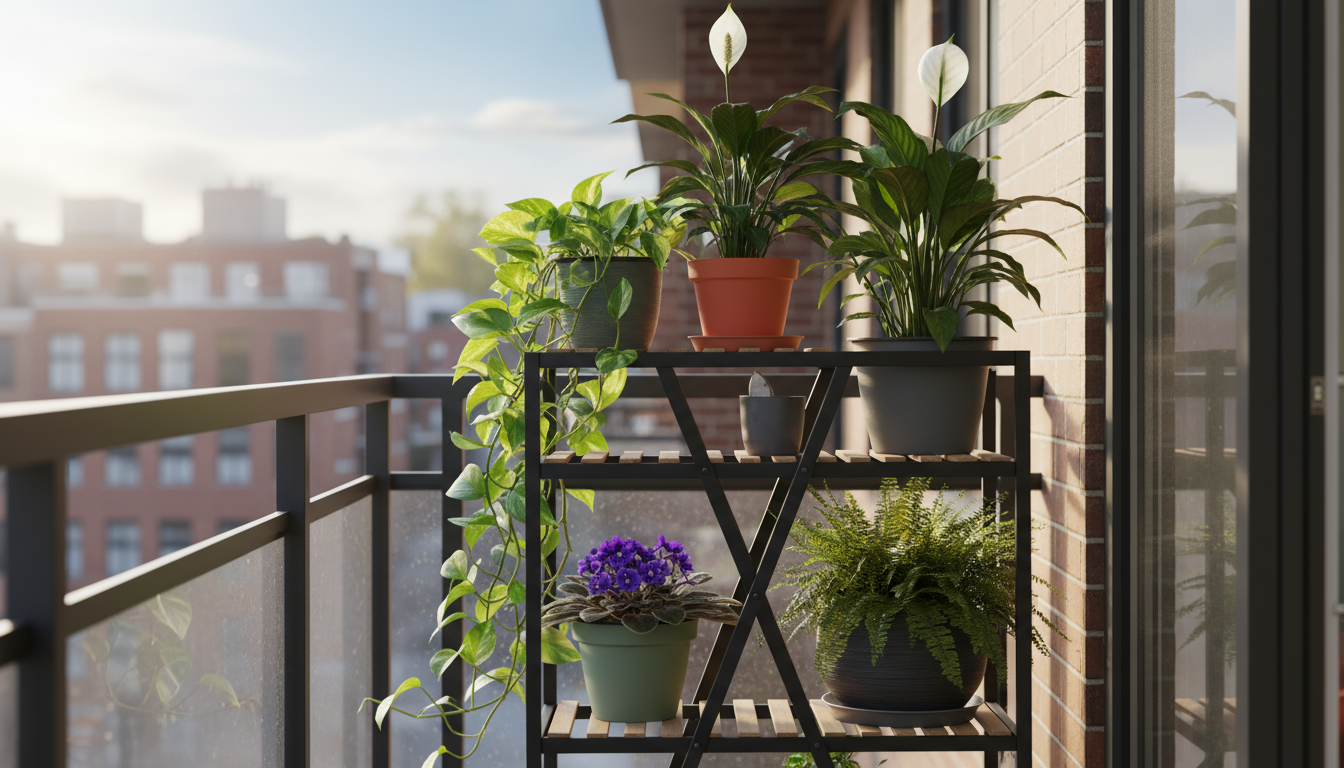
- Potting Material & Size: Terracotta pots are porous, allowing water to evaporate through their walls, causing soil to dry faster than in non-porous plastic or glazed ceramic pots. Smaller pots hold less soil and therefore less water, drying out more quickly than larger pots.

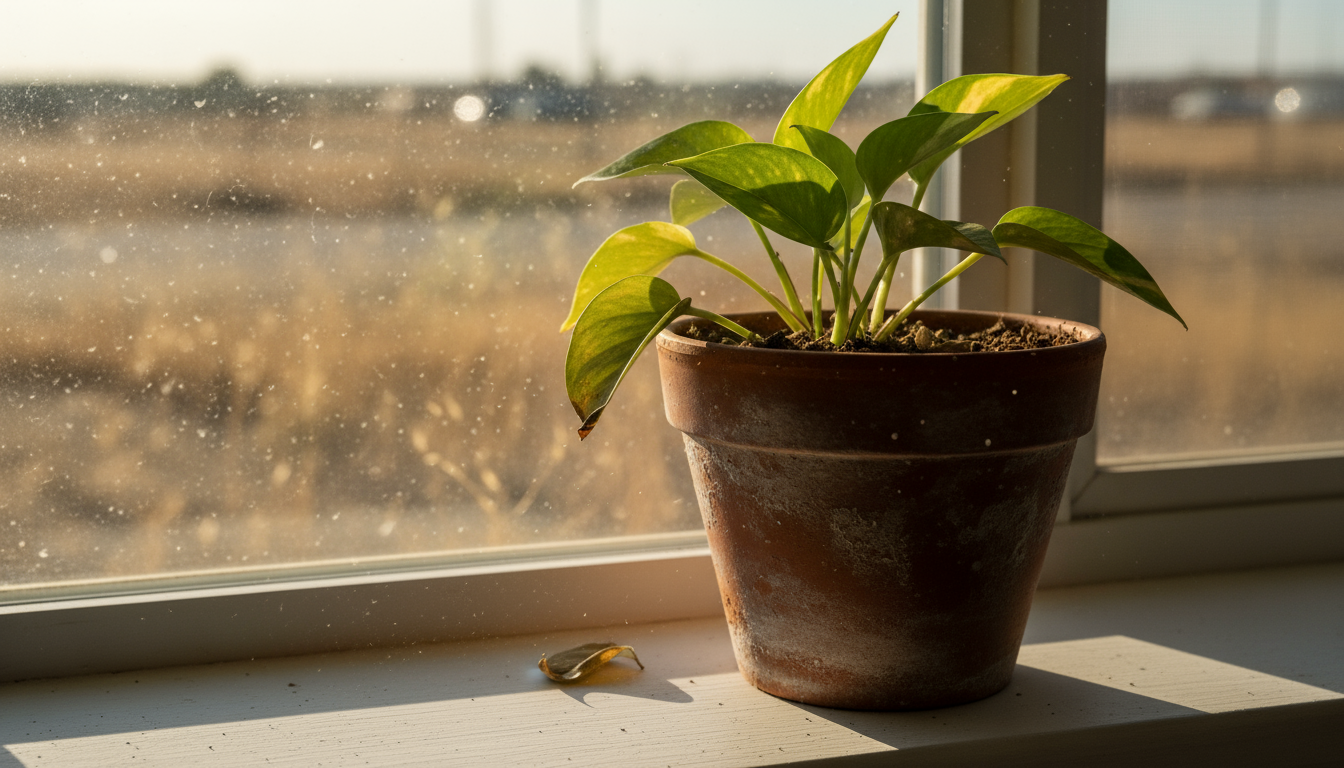
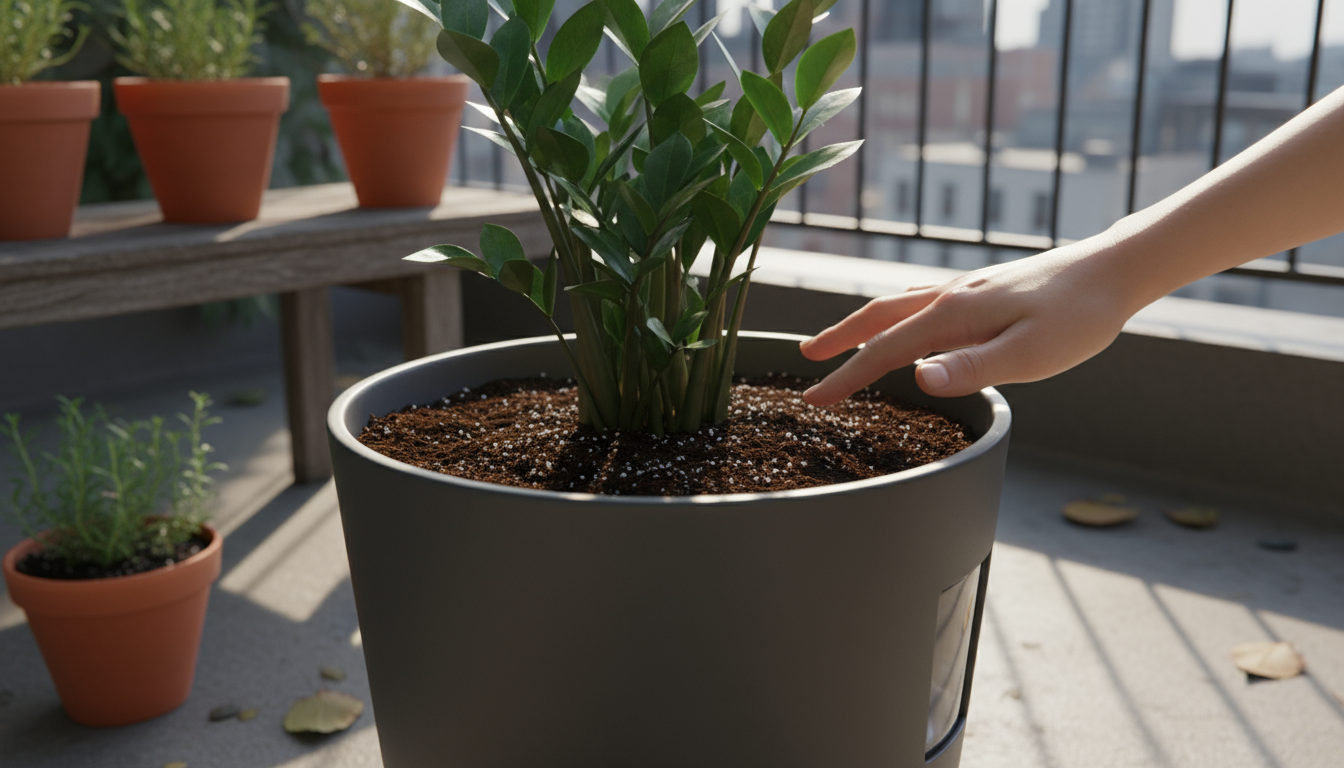
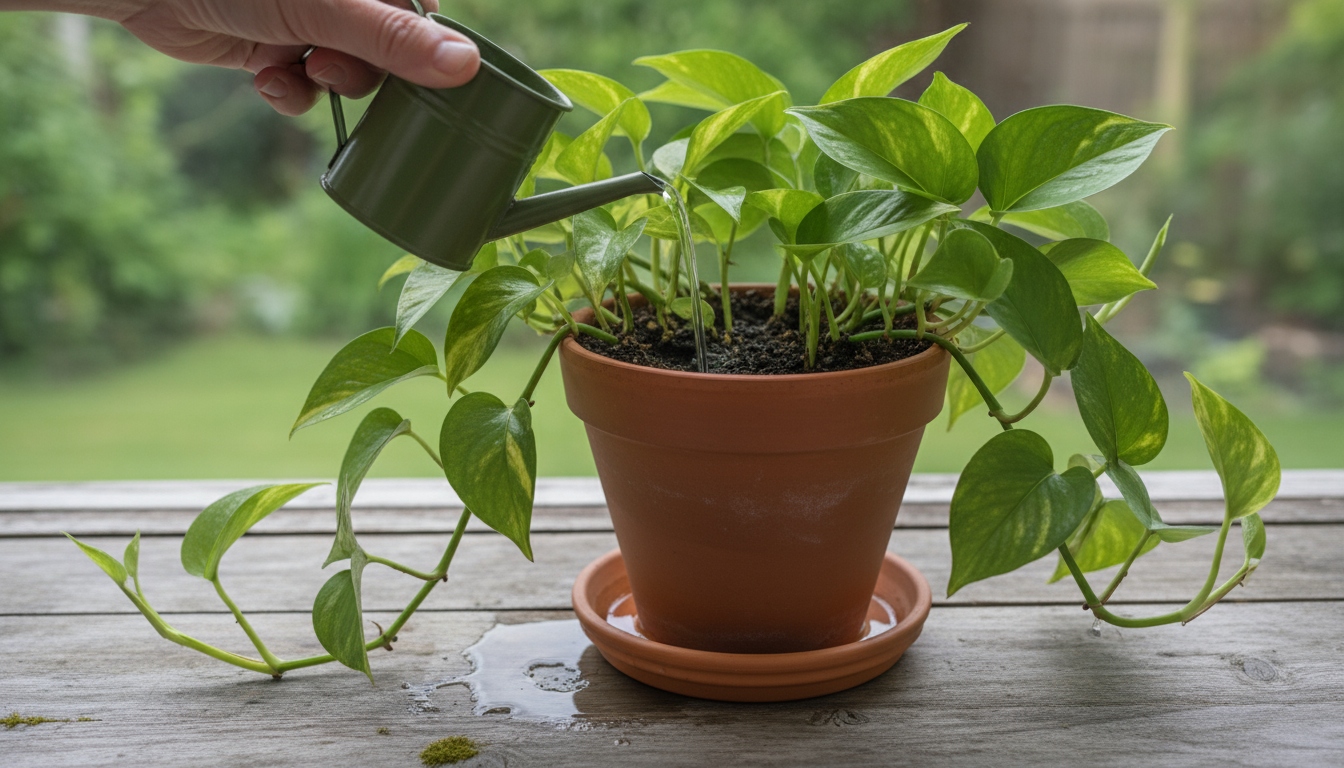
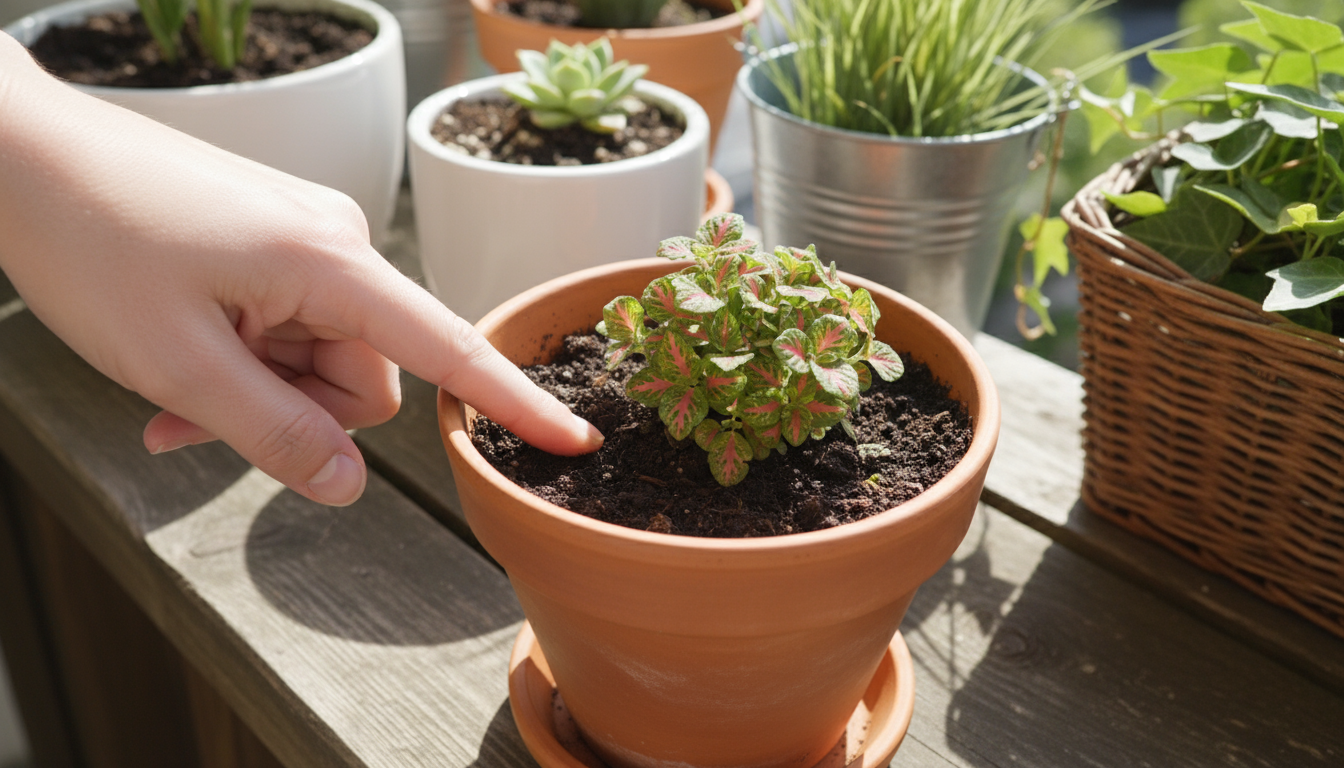
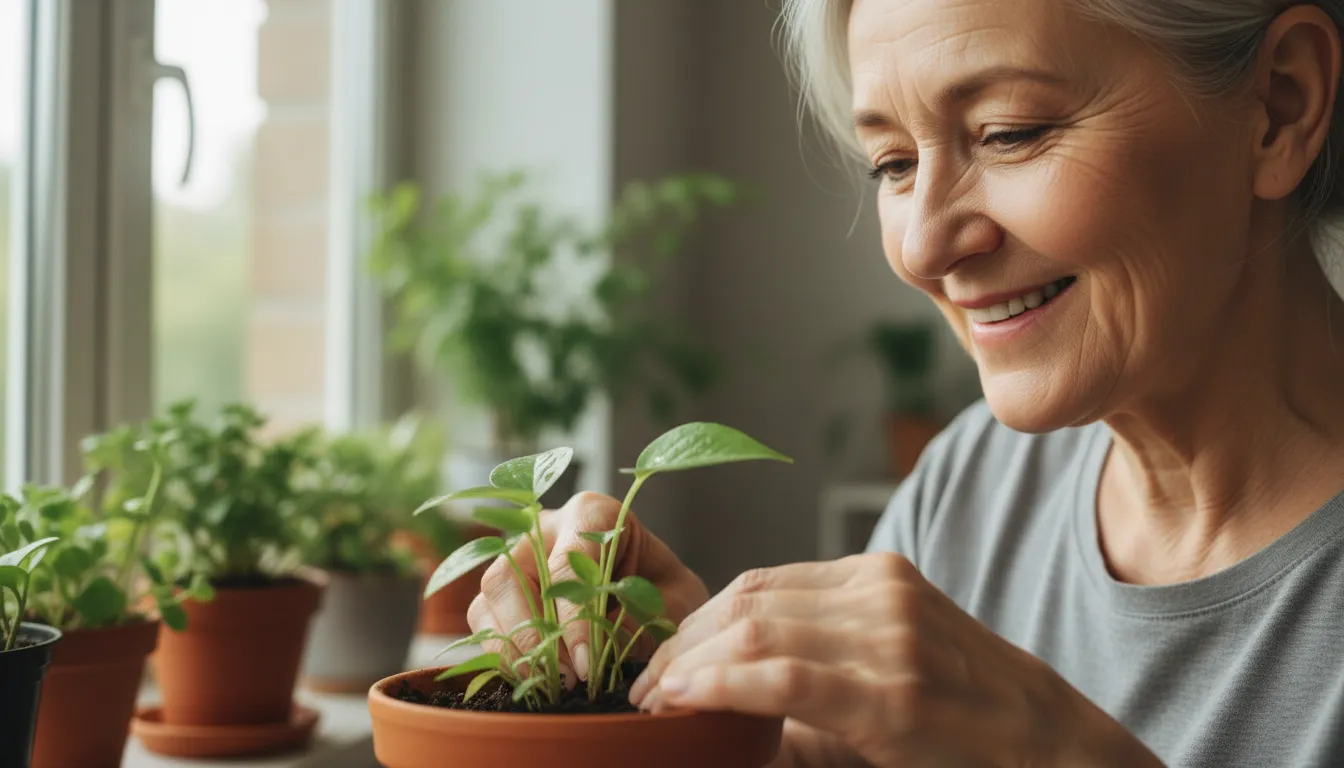
Your Actionable Solution: The Finger Test
Abandon the calendar and embrace the “finger test.” This simple, effective method allows you to assess the soil moisture directly, telling you precisely when your plant needs a drink.
- Insert Your Finger: Gently push your index finger about two inches deep into the soil. For smaller pots, one inch may suffice.
- Feel for Moisture:
- If the soil feels dry at that depth, it is time to water.
- If it still feels moist, check again in a day or two.
- Adjust for Plant Type:
- For most tropical houseplants (like Pothos, Philodendron, Fittonia), water when the top 1-2 inches of soil feel dry.
- For succulents and cacti (like Snake Plants, ZZ Plants, Cacti), allow the soil to dry out almost completely before watering thoroughly. You might even wait for the bottom half of the soil to dry.
- For moisture-loving plants (like Ferns, Peace Lilies), aim to keep the soil consistently moist, but never soggy. Water when the top half-inch feels dry.
This hands-on approach ensures you respond to your plant’s actual needs, preventing both overwatering and underwatering, the two most common killers of houseplants.
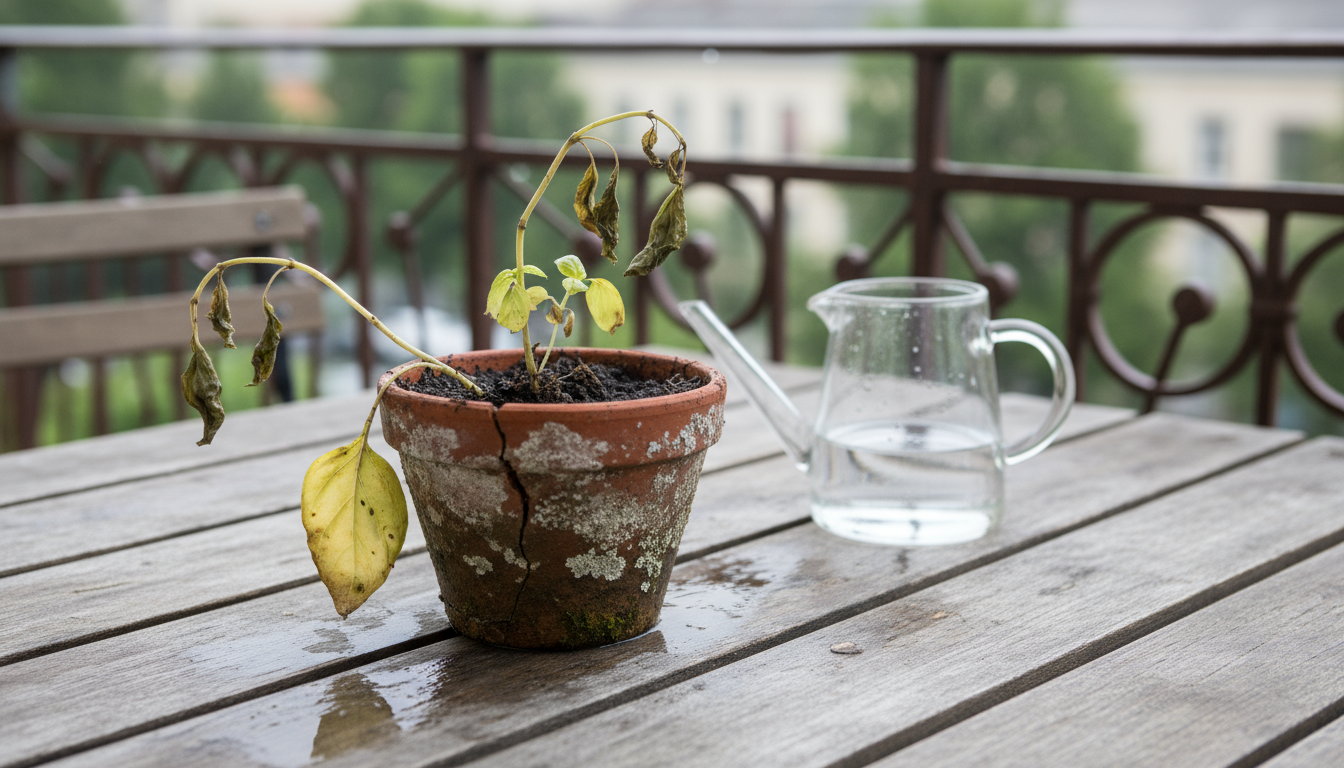
More Is Not Always Merrier: The Dangers of Overwatering Plants
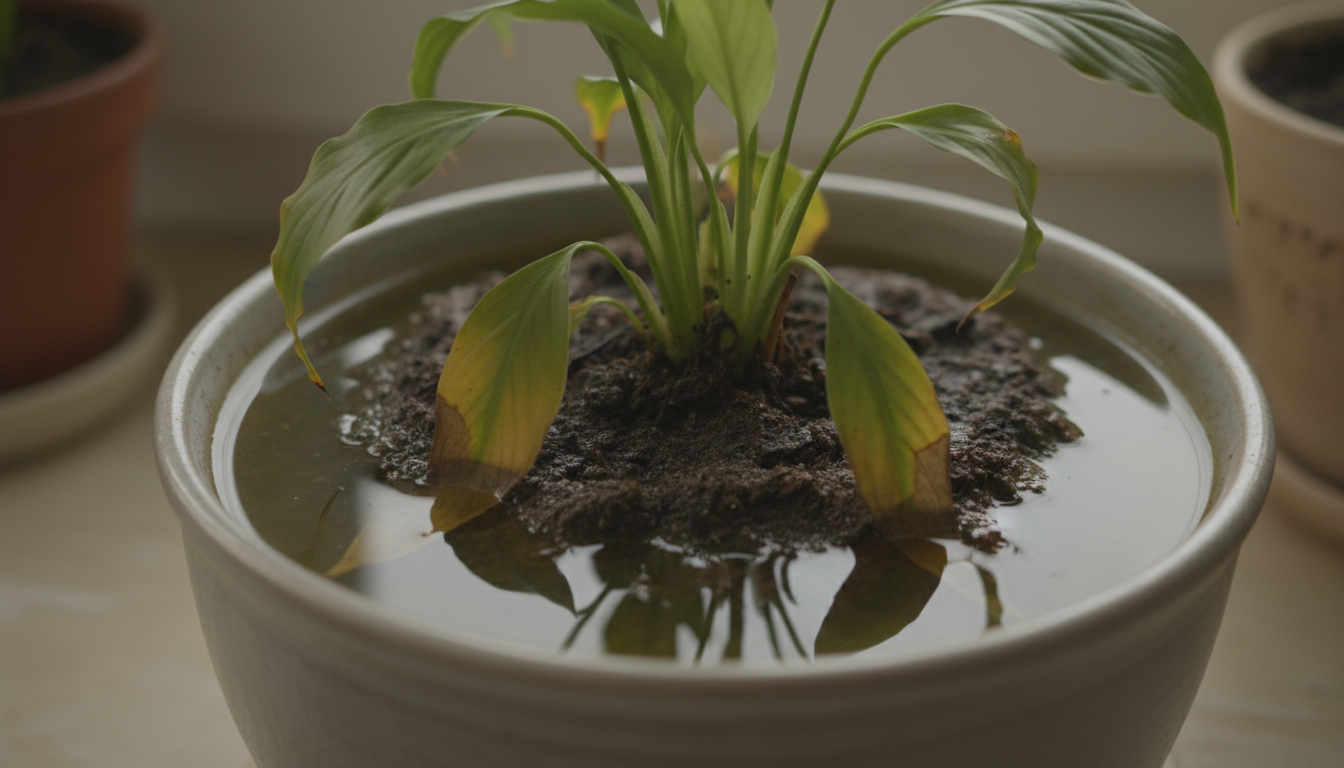
The instinct to nurture often leads new plant owners to believe that if a little water is good, more water must be better. This is a critical houseplant watering myth. Overwatering is, in fact, the number one cause of houseplant demise. It is not about the *amount* of water you give each time, but the *frequency* and the resulting lack of oxygen in the root zone. When you overwater, you essentially drown your plant’s roots.
Understanding Root Rot
Plant roots need oxygen to respire, absorb nutrients, and function correctly. When soil remains waterlogged for too long, the air pockets in the soil fill with water, depriving the roots of oxygen. This anaerobic environment creates ideal conditions for harmful fungal and bacterial pathogens to thrive. These pathogens attack the oxygen-starved roots, causing them to rot. This condition, known as root rot, is incredibly destructive and often fatal if not caught early.
For more detailed information on preventing and identifying root rot, consult resources from botanical gardens and university extension programs. For example, the Brooklyn Botanic Garden provides excellent insights into root rot identification and prevention.
Symptoms of Overwatering Plants
Identifying overwatering can be tricky because some symptoms mimic underwatering. However, a combination of these signs usually points to too much moisture:
- Yellowing Leaves: Often starting with lower leaves, they turn yellow and may feel soft or mushy. This indicates a disruption in nutrient uptake due to damaged roots.
- Wilting Despite Wet Soil: This is a classic sign. The plant looks droopy, but the soil is clearly saturated. The roots cannot absorb water because they are damaged or rotting.
- Stunted Growth: Overwatered plants struggle to grow new foliage, and existing leaves may appear small or discolored.
- Foul Odor from Soil: A sour, stagnant, or rotten smell emanating from the potting mix indicates anaerobic conditions and root decay.
- Mushy Stems or Base: The stem, especially near the soil line, might feel soft and mushy to the touch. This signals advanced root and stem rot.
- Fungus Gnats: These tiny flying insects are attracted to constantly wet soil, laying their eggs in the moist top layers. Their presence often indicates persistent overwatering.
Recovering from Overwatering
If you suspect your plant is suffering from overwatering, act quickly:
- Stop Watering Immediately: Do not give it another drop until the soil significantly dries out.
- Improve Air Circulation: Move the plant to a well-ventilated area. If possible, gently loosen the top layer of soil to encourage evaporation.
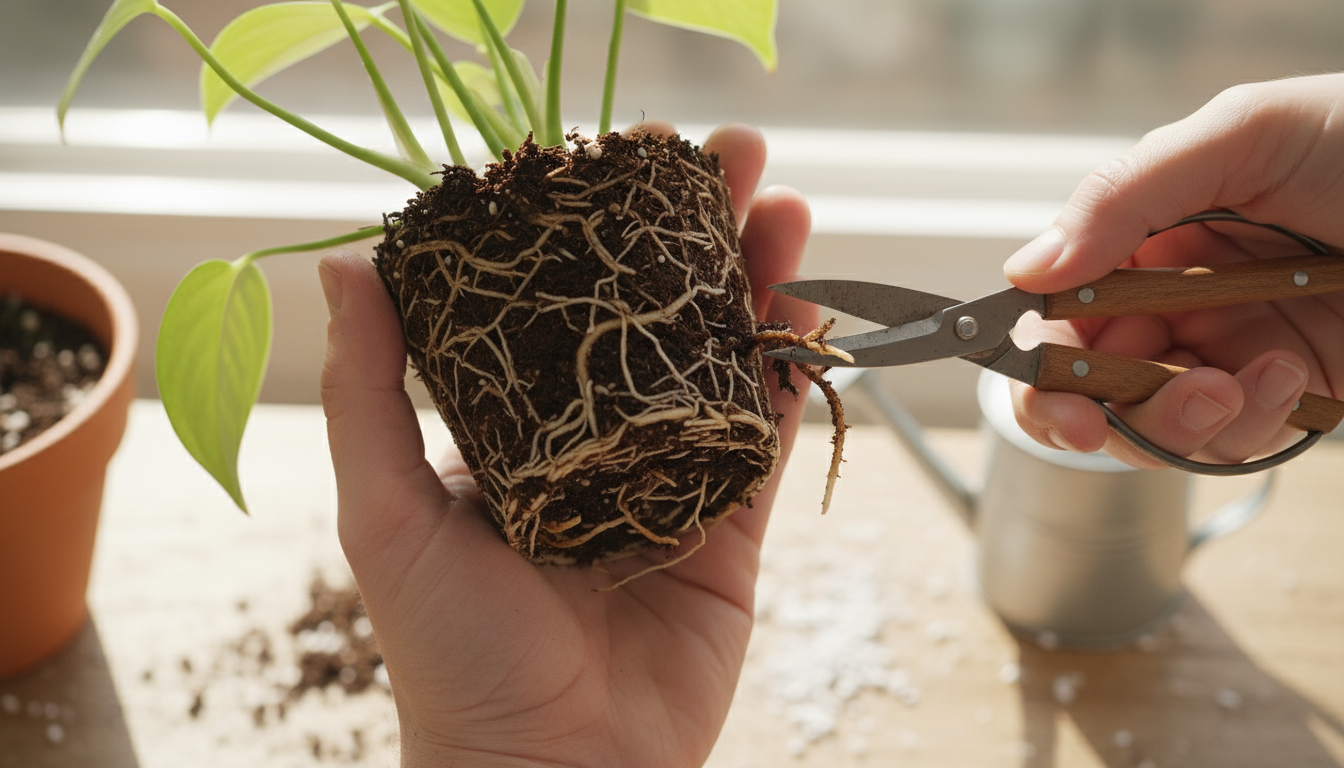
- Check for Root Rot: Carefully remove the plant from its pot. Gently brush away excess soil from the roots. Healthy roots are typically firm and white or tan. Rotted roots appear dark, mushy, and often smell foul.
- Prune Affected Roots: Using sterile scissors, cut away all soft, dark, or mushy roots. Trim away any severely yellowed or damaged foliage.
- Repot if Necessary: If root rot is extensive, repot the plant into fresh, dry, well-draining potting mix. Consider using a slightly smaller pot if you removed a significant portion of the root ball.
- Be Patient: Recovery takes time. Do not water again until the soil passes the finger test, as discussed in the previous section.
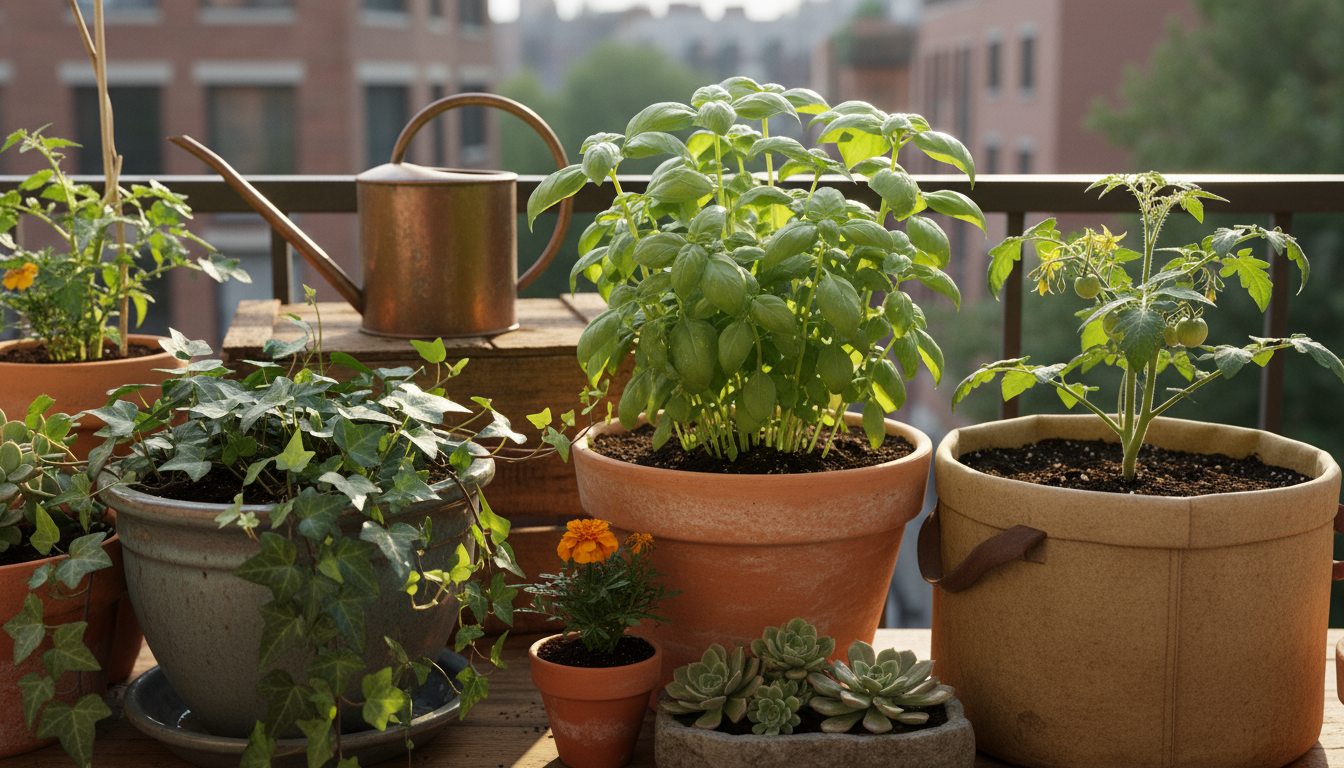
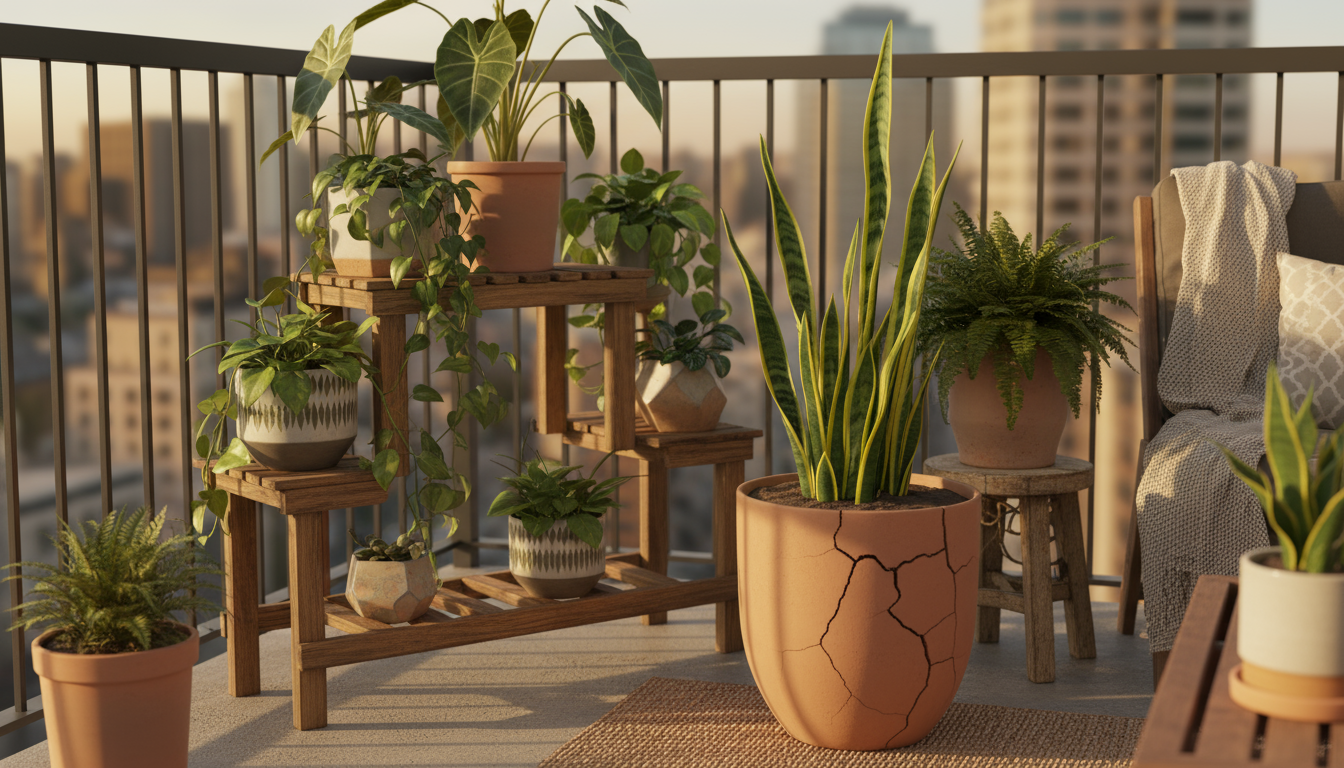
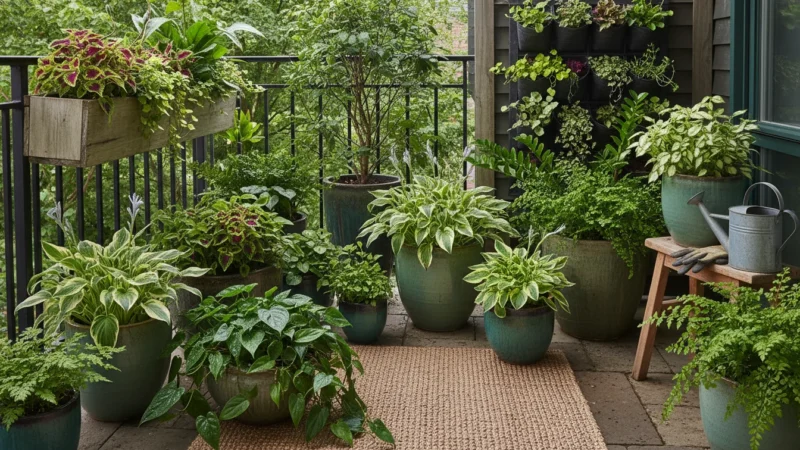
One Size Does Not Fit All: Tailoring Your Watering Approach
Another prevalent houseplant watering myth suggests a universal watering strategy for all plants. This overlooks the incredible diversity in the plant kingdom. A succulent from an arid desert environment has vastly different needs from a tropical fern originating in a humid rainforest. Understanding these differences is crucial for effective plant care.
Learning to implement a dormancy diet for your plants will ensure they survive their rest period and emerge ready for spring growth.
It is easy to find yourself loving your houseplants to death by maintaining a summer watering pace during the winter when your indoor garden’s metabolism naturally slows.
Factors Dictating Individual Plant Needs
Beyond the general environmental factors, specific plant characteristics dictate their water requirements:
- Plant Species: This is the most significant factor.
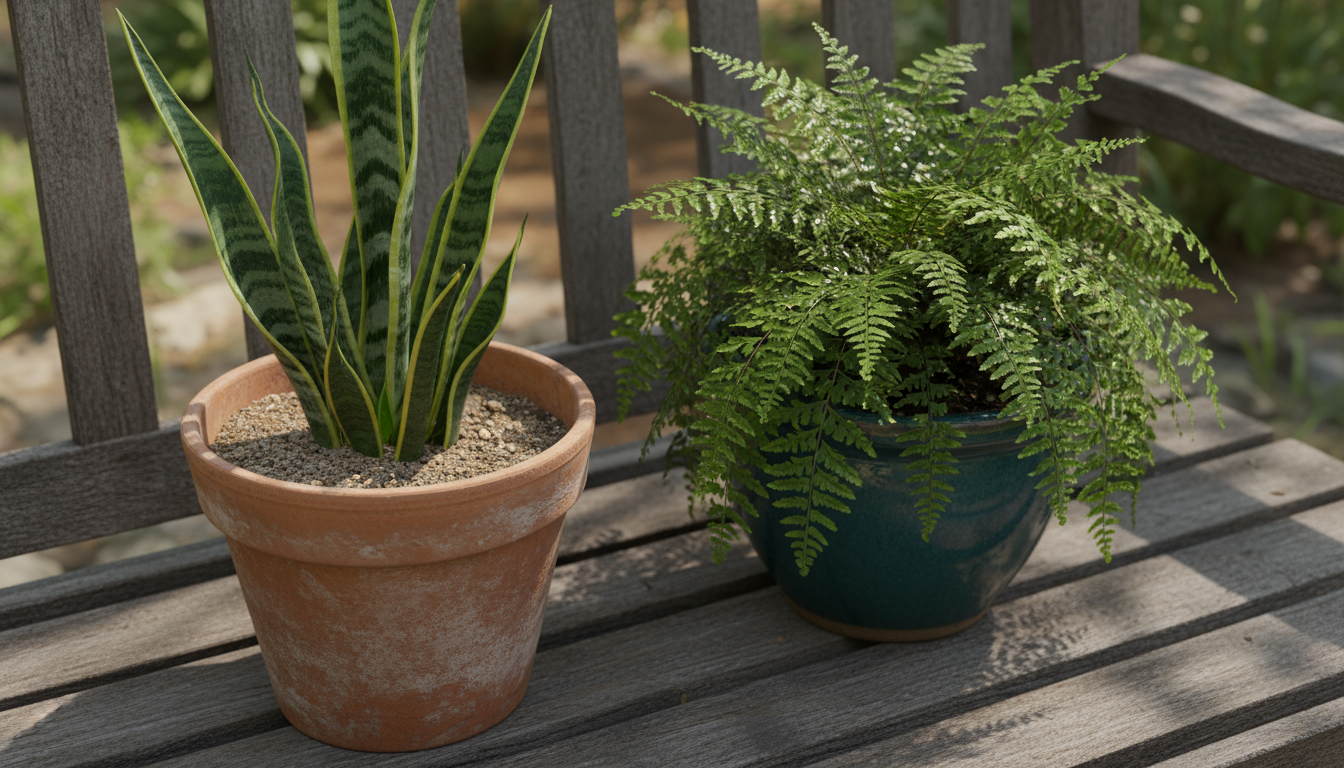
- Xerophytes (e.g., Cacti, Succulents, ZZ Plants, Snake Plants): These plants store water in their leaves, stems, or roots. They thrive on infrequent, deep watering, followed by a prolonged dry period. You risk overwatering them if you water before the soil completely dries out.
- Mesophytes (e.g., Pothos, Philodendron, Spider Plants, Peace Lilies): Most common houseplants fall into this category. They prefer consistently moist soil, but not soggy. Allow the top inch or two of soil to dry before watering again.
- Hydrophytes (e.g., some Ferns, Fittonia, Carnivorous Plants): These plants need constant moisture and cannot tolerate drying out. Keep their soil consistently damp, but ensure adequate drainage to prevent stagnation.
- Foliage Density and Leaf Type: Plants with dense foliage or large, thin leaves (like a Prayer Plant or Calathea) transpire more water and often need more frequent watering than plants with sparse foliage or thick, waxy leaves (like a Hoya or Peperomia).
- Root System: Plants with extensive, fibrous root systems can absorb water more efficiently and might require more frequent watering than those with shallower root systems, given similar pot sizes.
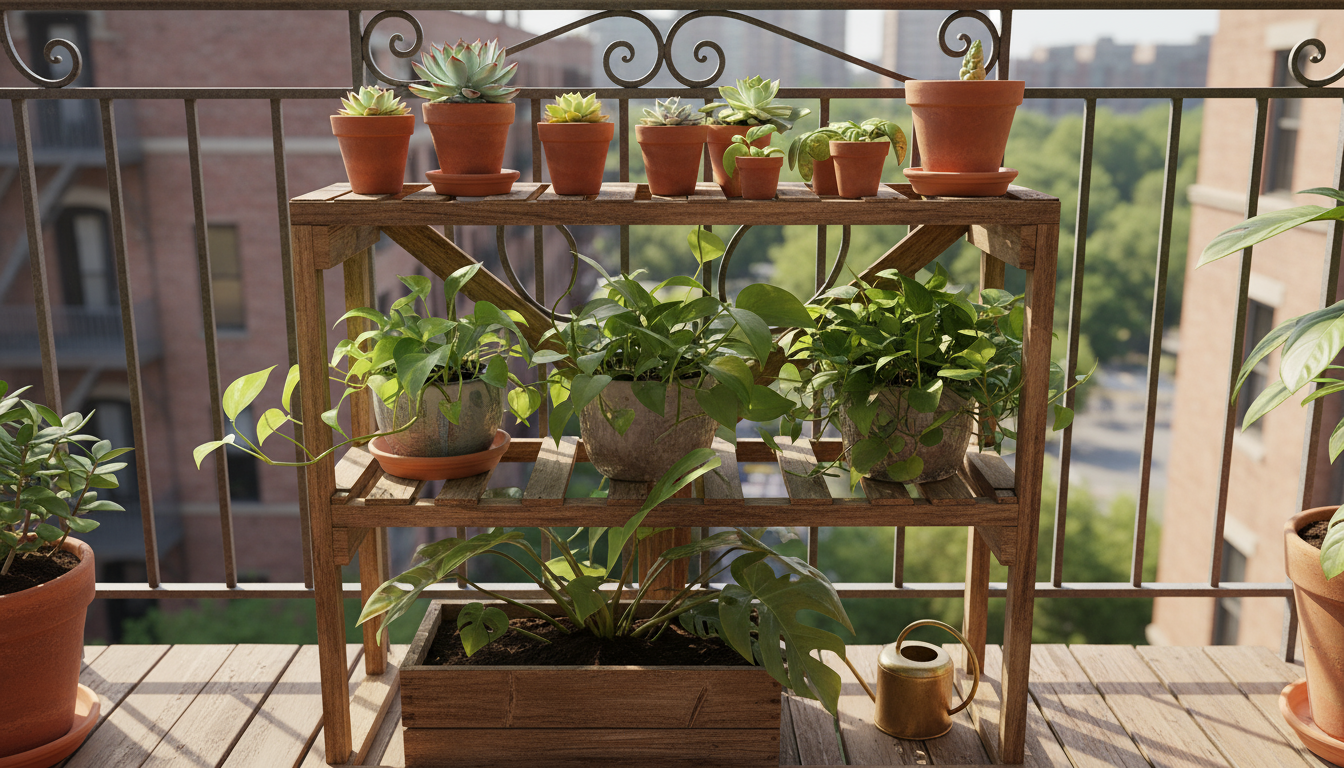
Practical Application for Your Collection
To tailor your watering approach, group your plants by their basic water needs.
- Group by Thirst Level: Place succulents and cacti together, mesophytes together, and moisture-lovers together. This makes it easier to remember their general needs.
- Observe Individual Cues: Even within a group, each plant is an individual. Learn to recognize specific signals:
- Succulents/Cacti: Leaves may wrinkle or feel softer when thirsty.
- Pothos/Philodendron: Leaves might slightly droop or curl when needing water.
- Peace Lily: Dramatic wilting is a clear sign it is thirsty, but it recovers quickly after watering.
- Ferns: May crisp at the edges or entire fronds might look dull and brittle.
- Record Keeping (Optional but Helpful): For a few weeks, consider a small notebook or app to track when you water each plant and how it responds. This helps you learn their rhythm.
This personalized strategy moves beyond generic advice and empowers you to provide precise care, which is crucial when dealing with a diverse collection in a small space.
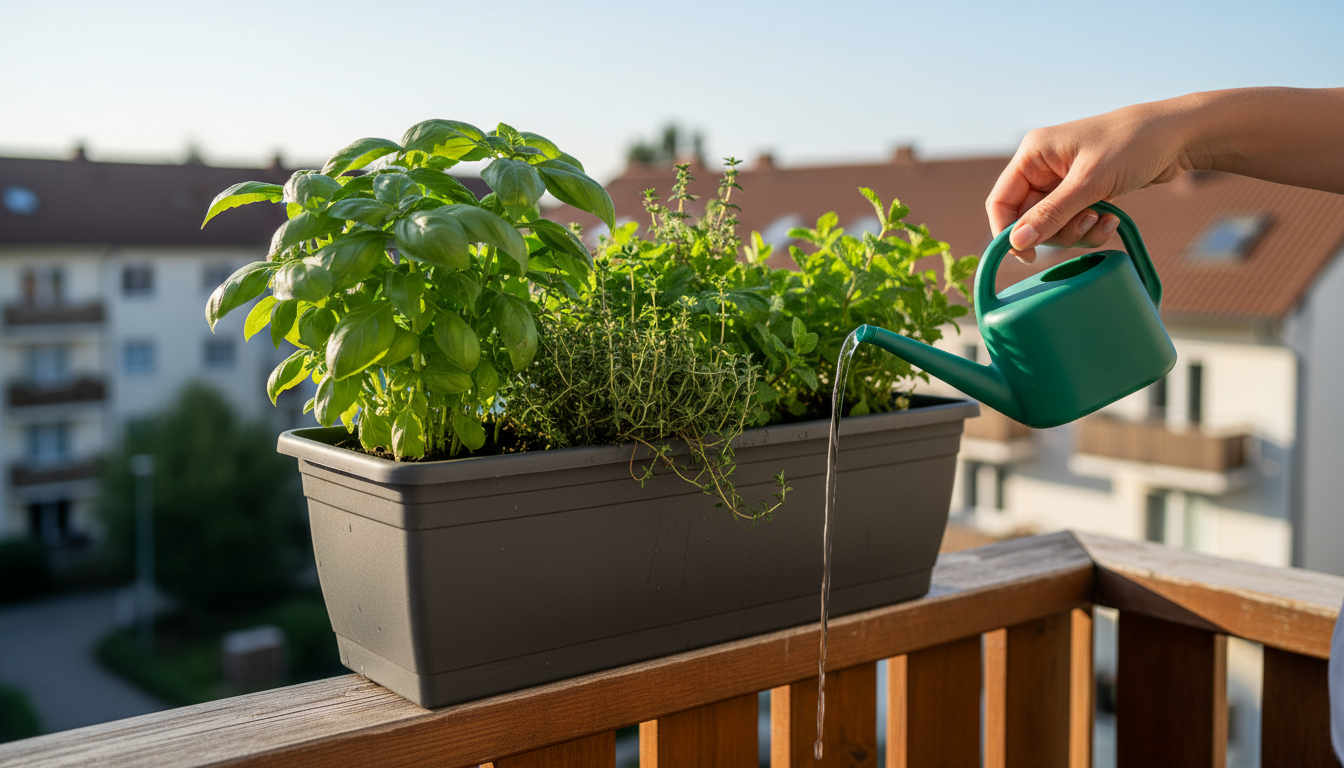
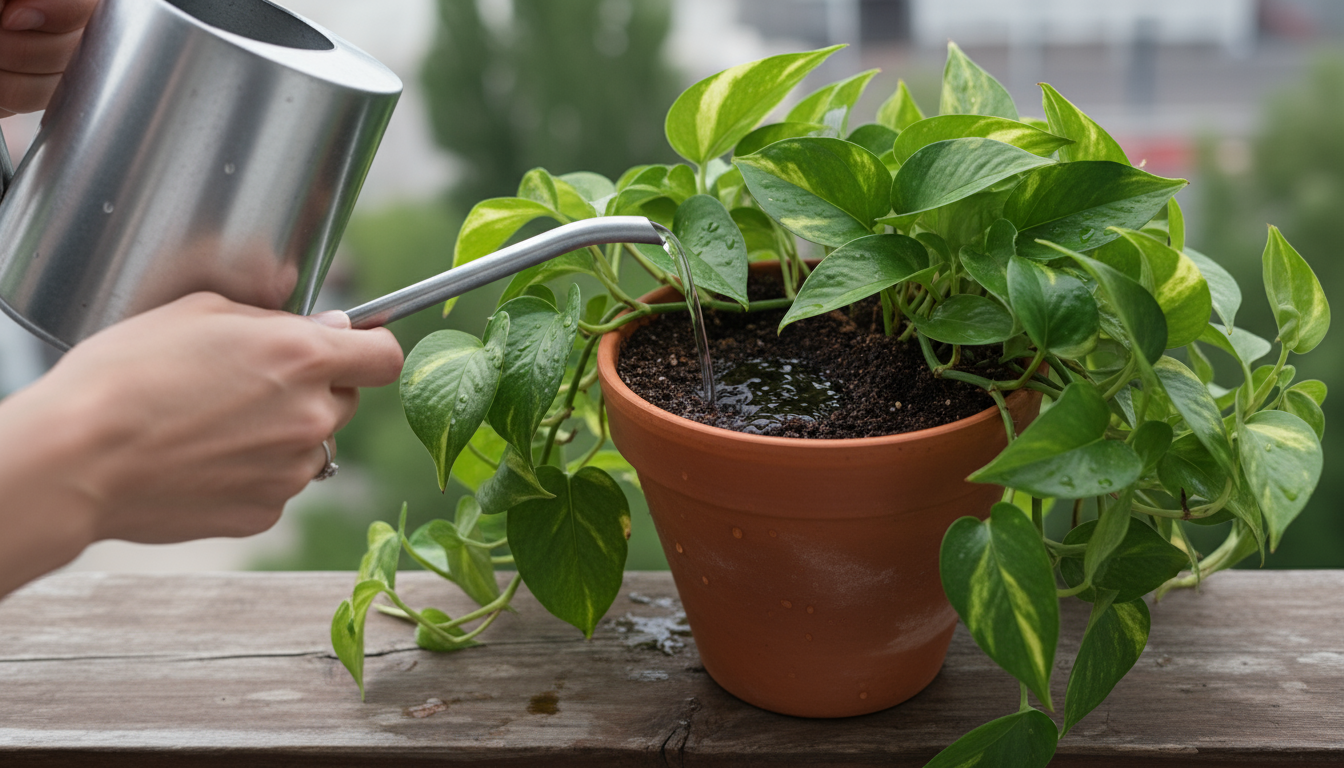
The Bottom Line on Watering: Top vs. Bottom Watering Explained
When you approach houseplant watering, you have two primary methods: watering from the top or watering from the bottom. Both have their merits, and understanding when and how to use each can significantly improve your plant’s health. The myth is that one method is inherently superior for all situations.
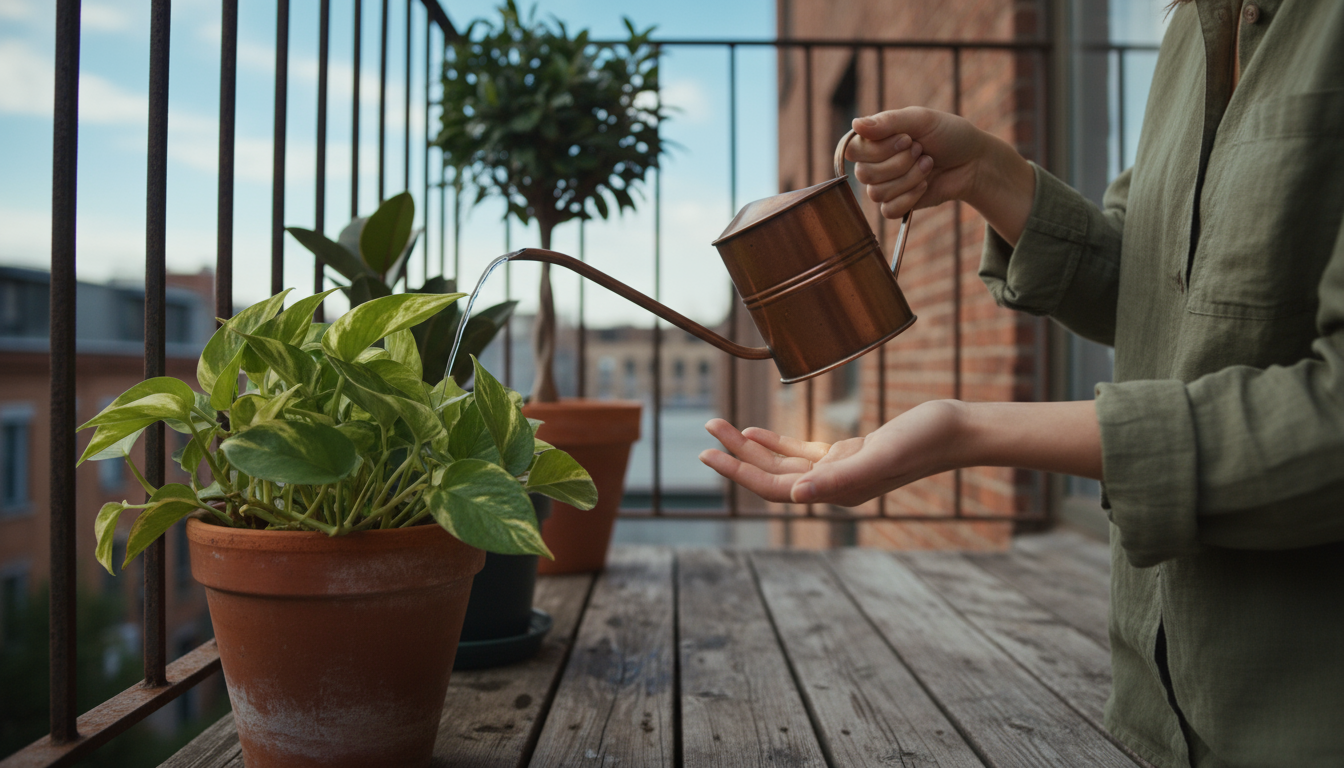
Top Watering
This is the most common method. You pour water onto the soil surface until it drains out of the bottom of the pot.
Pros:
- Flushes Salts: Top watering helps flush mineral salts and fertilizers that accumulate in the soil down and out through the drainage holes. This prevents harmful buildup that can damage roots over time.
- Simplicity: It is straightforward and requires no special equipment beyond a watering can.
- Can Rinse Leaves: If done carefully, it can help rinse dust off foliage, though this is not its primary purpose.
Cons:
- Uneven Saturation: If the soil becomes compacted or very dry, water can channel straight down the sides of the pot, leaving the root ball largely dry.
- Soil Compaction: A strong stream of water can compact the soil over time, reducing aeration.
- Pest & Disease Risk: Constantly wet topsoil can encourage fungus gnats and some fungal issues.
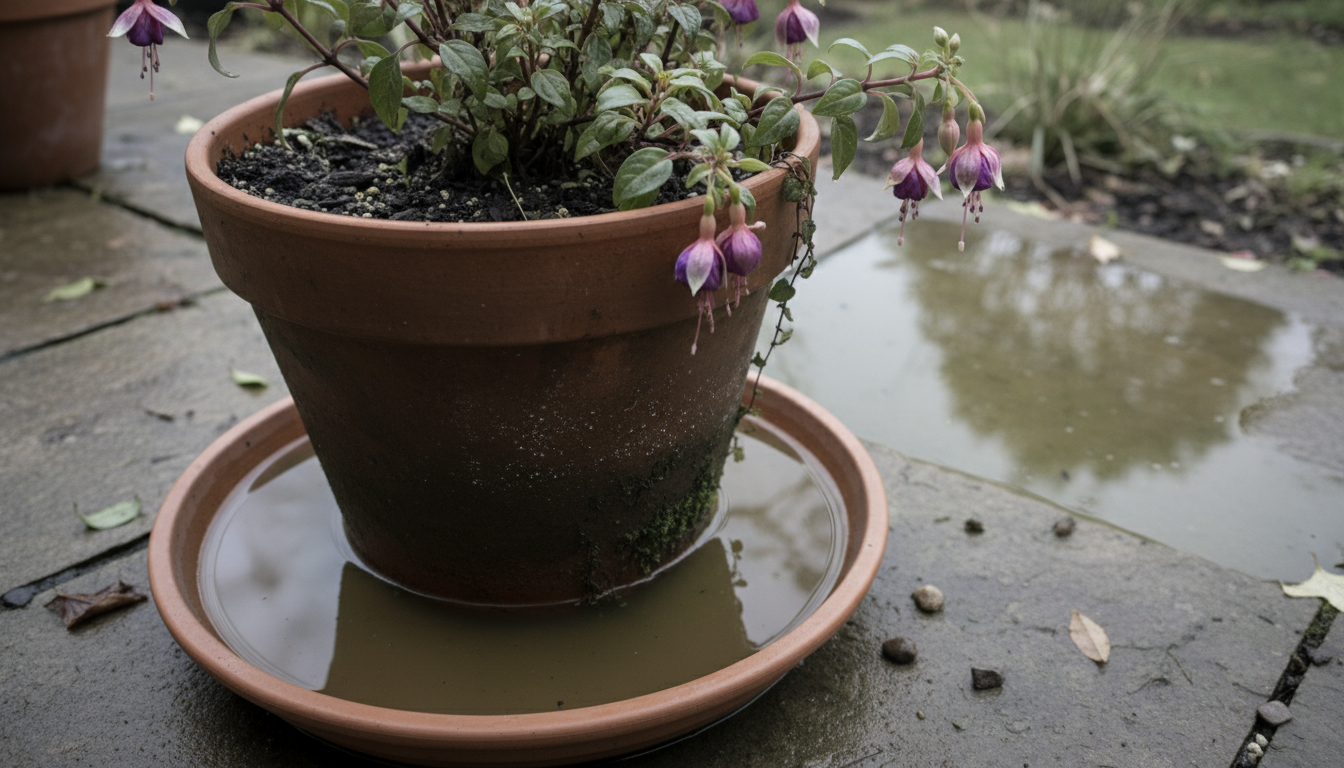
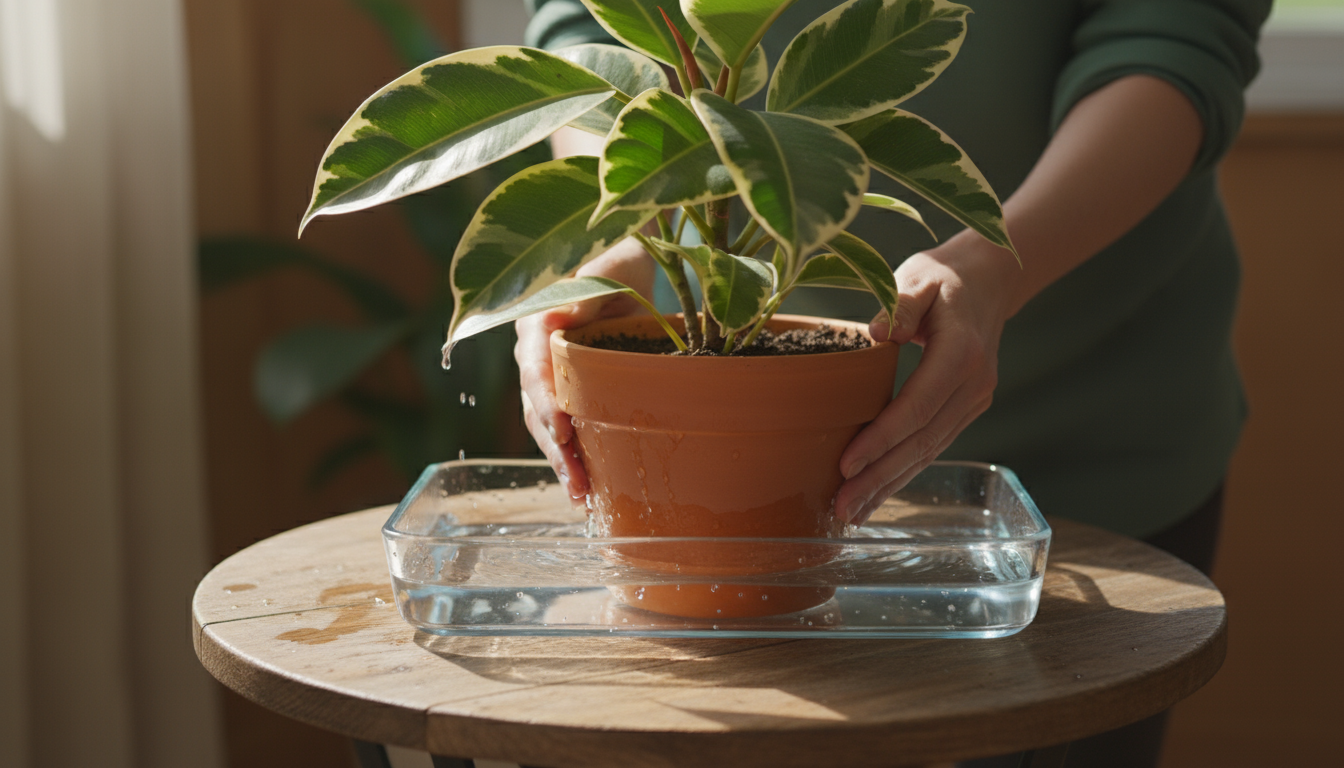
Bottom Watering
With bottom watering, you place your potted plant into a tray or sink filled with water, allowing the plant to soak up moisture from the drainage holes. The water wicks upwards through capillary action.
Pros:
- Thorough & Even Saturation: The soil absorbs water slowly and evenly, ensuring the entire root ball gets hydrated, even if the soil was previously very dry or compacted.
- Encourages Root Growth: Roots are encouraged to grow downwards in search of moisture, leading to a stronger, deeper root system.
- Prevents Fungus Gnats: The top layer of soil remains drier, which deters fungus gnats from laying eggs.
- Gentle on Delicate Plants: It avoids disturbing delicate foliage or small seedlings.
Cons:
- Salt Buildup: Mineral salts and excess fertilizer can accumulate on the soil surface over time since they are not flushed out. You will need to top water occasionally to prevent this.
- Time-Consuming: It takes longer for plants to soak up enough water compared to top watering.
- Logistics: Requires a basin or tray for each plant or a batch of plants, which can be cumbersome for a large collection in a small apartment.
When to Use Each Method
- Primarily Top Water: Most of the time, top watering is perfectly fine and often preferred to flush out salts. Always ensure the water drains thoroughly from the bottom.
- Incorporate Bottom Watering: Use bottom watering periodically, perhaps once a month, or when:
- You have plants prone to fungus gnats.
- You notice water running straight through the pot when top watering, indicating dry, hydrophobic soil.
- You have delicate plants with foliage that dislikes getting wet (e.g., African Violets).
- You want to encourage deeper root growth.
A balanced approach, incorporating both methods as needed, provides the best care for your plants. Remember to always use the finger test to determine when to water, regardless of your chosen method.
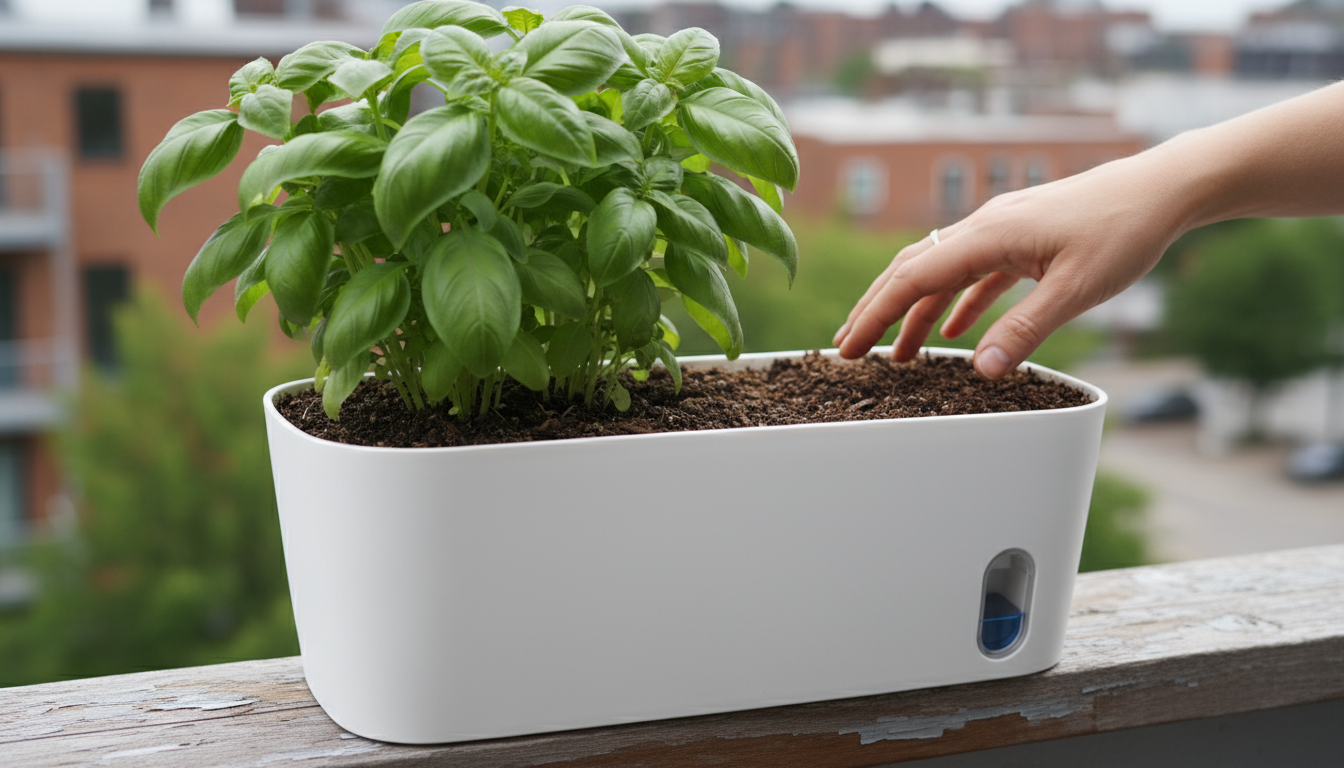
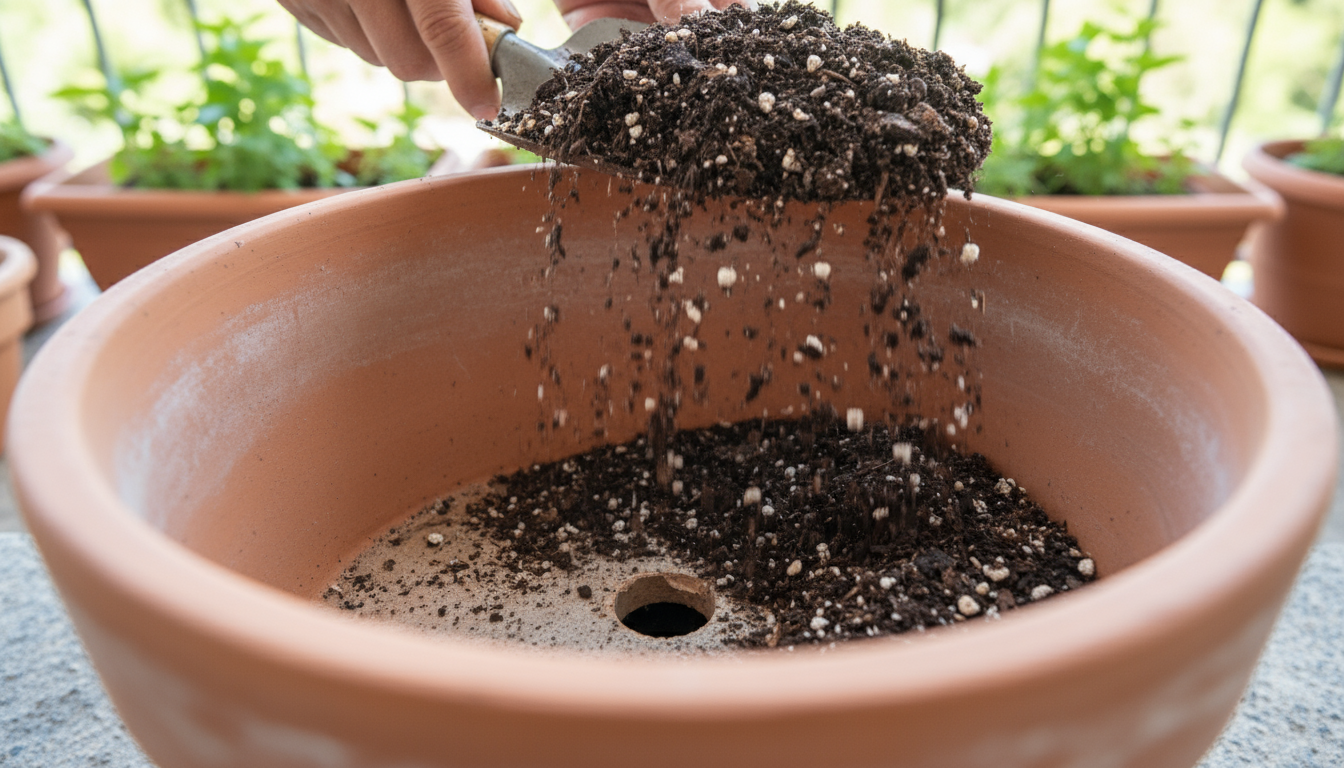
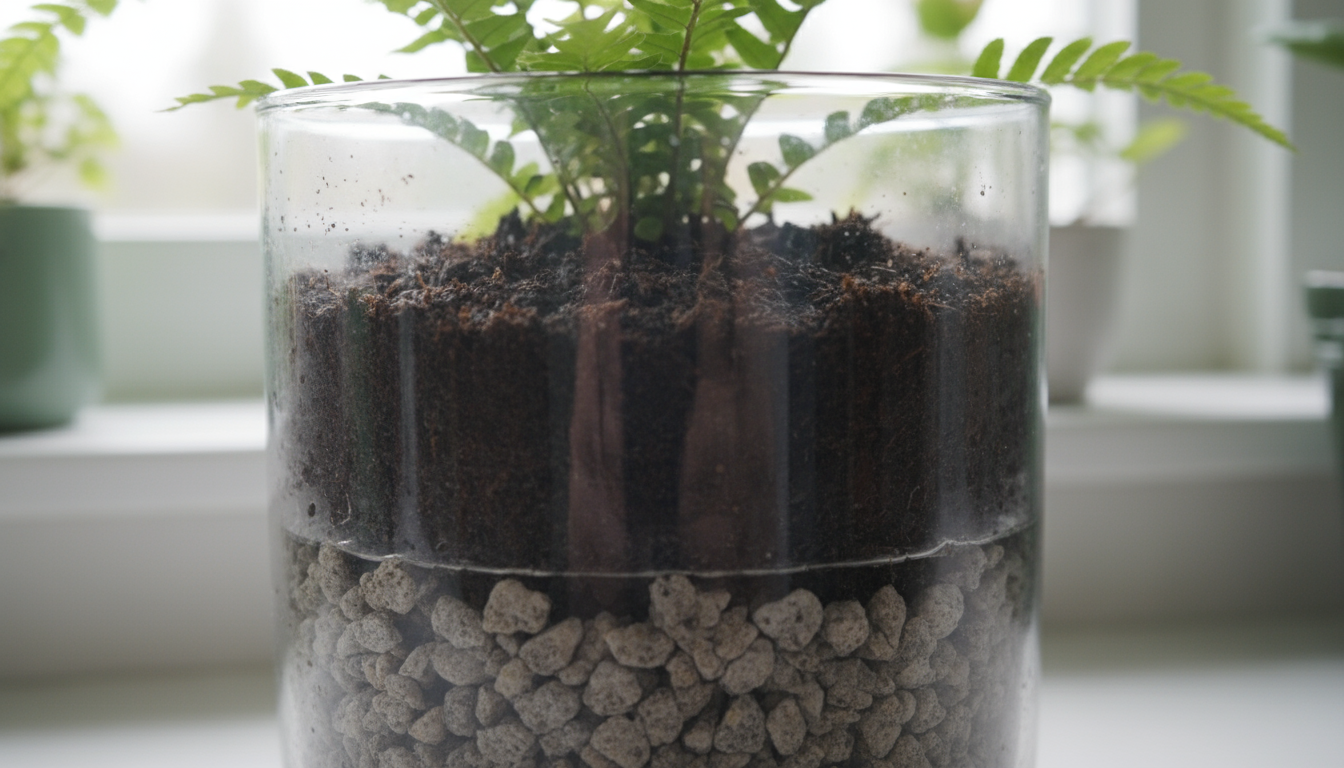
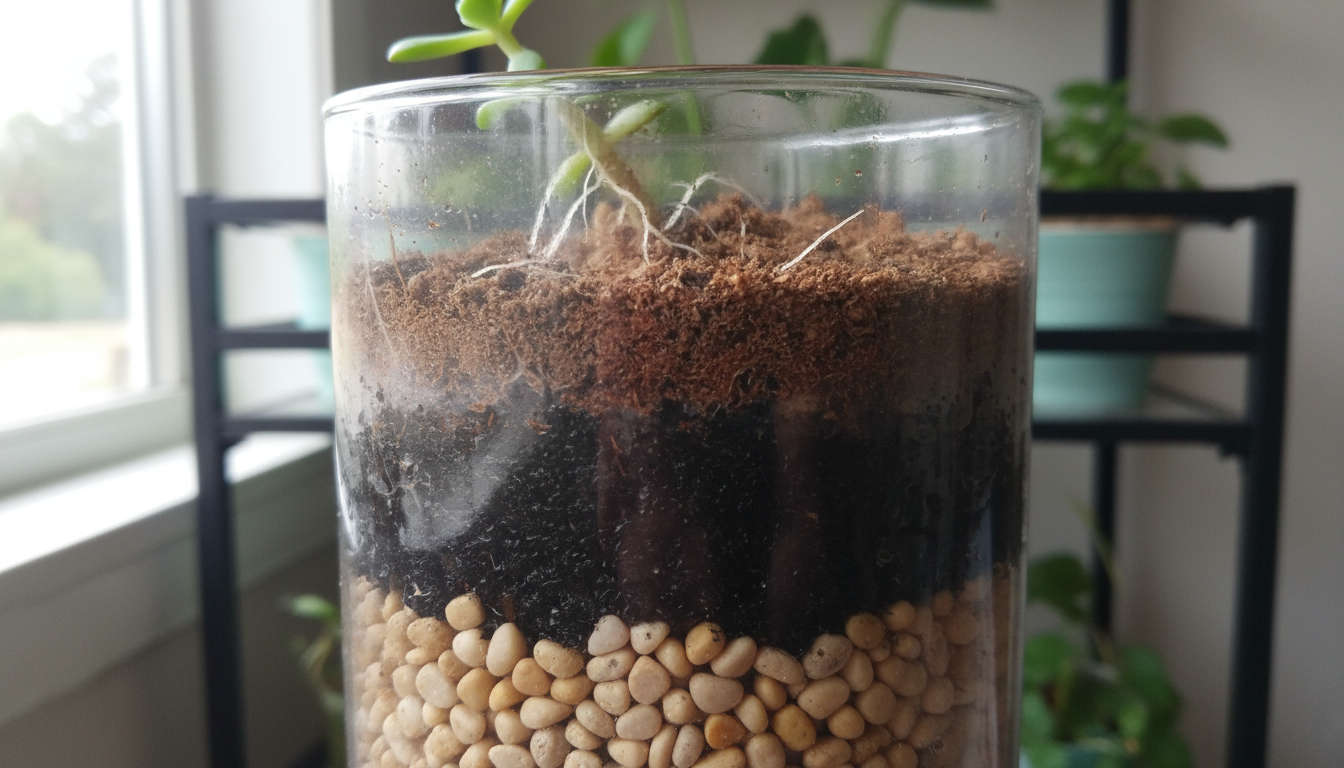
The Drainage Layer Lie: What Your Pot Really Needs
Many new plant enthusiasts believe adding a layer of gravel, pebbles, or broken pot shards at the bottom of a pot improves drainage. This is a persistent and harmful houseplant watering myth. In reality, a drainage layer does the opposite of what you intend, potentially leading to root rot and other issues. Your pot does not need this layer; it needs proper potting mix and drainage holes.
The Science of the Perched Water Table
Here is why drainage layers fail: Water does not easily move from a finer texture (potting mix) to a coarser texture (gravel) until the finer texture is completely saturated. This phenomenon is called the “perched water table.”
When you water a plant with a gravel layer, the water drains through the potting mix until it hits the interface between the soil and the gravel. Instead of draining into the gravel, the water “perches” within the potting mix directly above the gravel layer, creating a saturated zone. This means your plant’s roots sit in waterlogged soil for longer, precisely what causes root rot. The gravel layer effectively reduces the usable depth of well-draining soil, exacerbating moisture issues.
For more scientific information on soil drainage and plant health, resources like the Oregon State University Extension Service offer valuable, research-backed guidance on container gardening practices.
What Your Pot Truly Needs for Optimal Drainage
Instead of a misleading drainage layer, focus on these two critical elements:
1. Drainage Holes
Every plant pot must have at least one drainage hole at the bottom. This is non-negotiable for houseplant health. Drainage holes allow excess water to escape, preventing the soil from becoming waterlogged and ensuring oxygen can reach the roots. If a beautiful decorative pot lacks drainage holes, use it as a cachepot. A cachepot is simply a decorative outer pot that holds a nursery pot with drainage holes. You can remove the plant in its nursery pot for watering, allowing it to drain thoroughly before returning it to the cachepot.
2. High-Quality, Well-Draining Potting Mix
The type of potting mix you use is paramount. A good mix provides structural support, retains essential moisture and nutrients, and, crucially, allows excess water to drain freely while providing air pockets for roots.
Key components of a well-draining potting mix include:
- Peat-free base: Opt for environmentally conscious peat-free options, such as coco coir, which is a sustainable alternative to peat moss. Peat extraction contributes to carbon emissions and habitat destruction.
- Perlite or Pumice: These lightweight, porous materials significantly improve drainage and aeration. They prevent compaction and ensure roots get the oxygen they need. Aim for 20-30% of the mix, or more for succulents.
- Coarse Sand or Horticultural Grit: Especially useful for succulents and cacti, these add weight and improve drainage. Ensure it is horticultural sand, not play sand, which is too fine.
- Bark or Leca: For plants that prefer very airy, fast-draining conditions, such as orchids or aroids, bark chips or expanded clay aggregate (LECA) can be excellent additions to a chunky mix.
You can purchase specialized potting mixes for different plant types (e.g., succulent mix, aroid mix) or create your own by amending a good quality all-purpose peat-free mix with perlite, pumice, or bark. This ensures your plant receives the ideal balance of moisture retention and drainage.
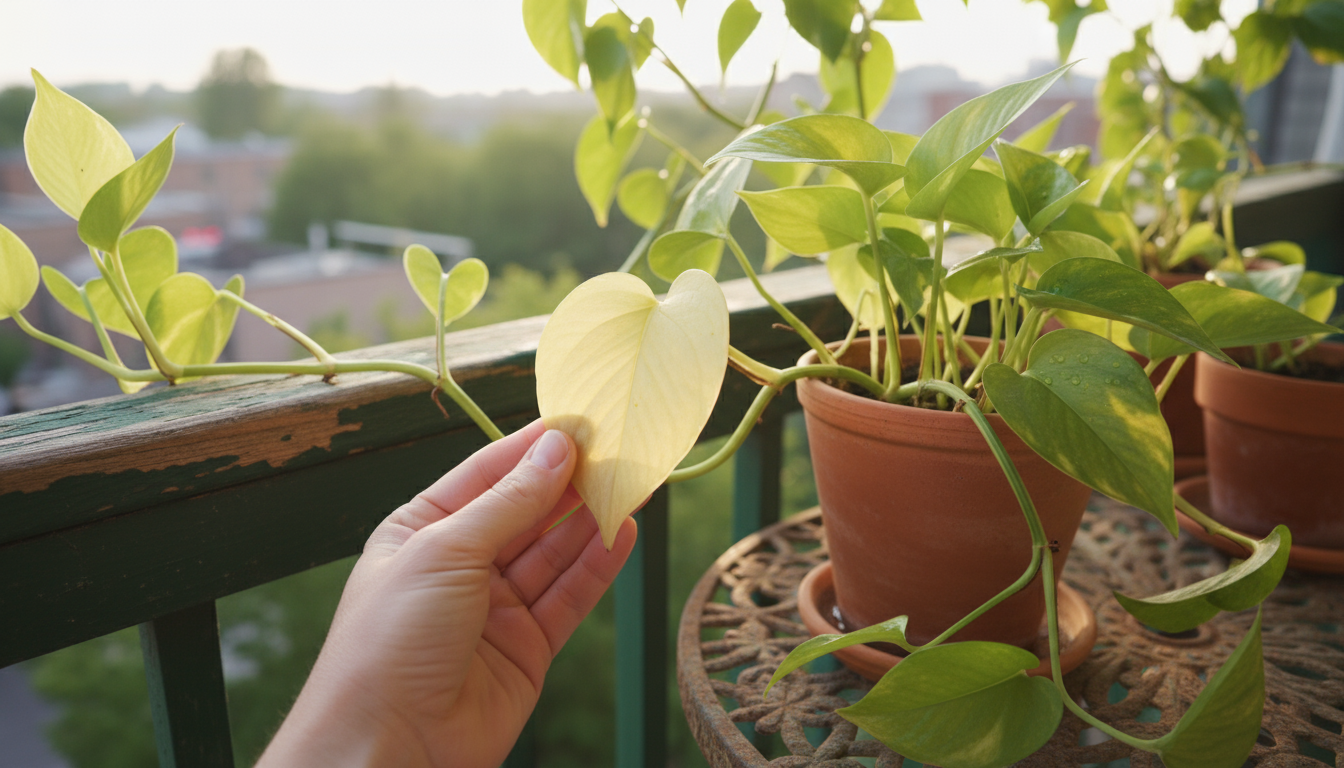
Yellow Leaves & Wilting: Decoding Your Plant’s Distress Signals
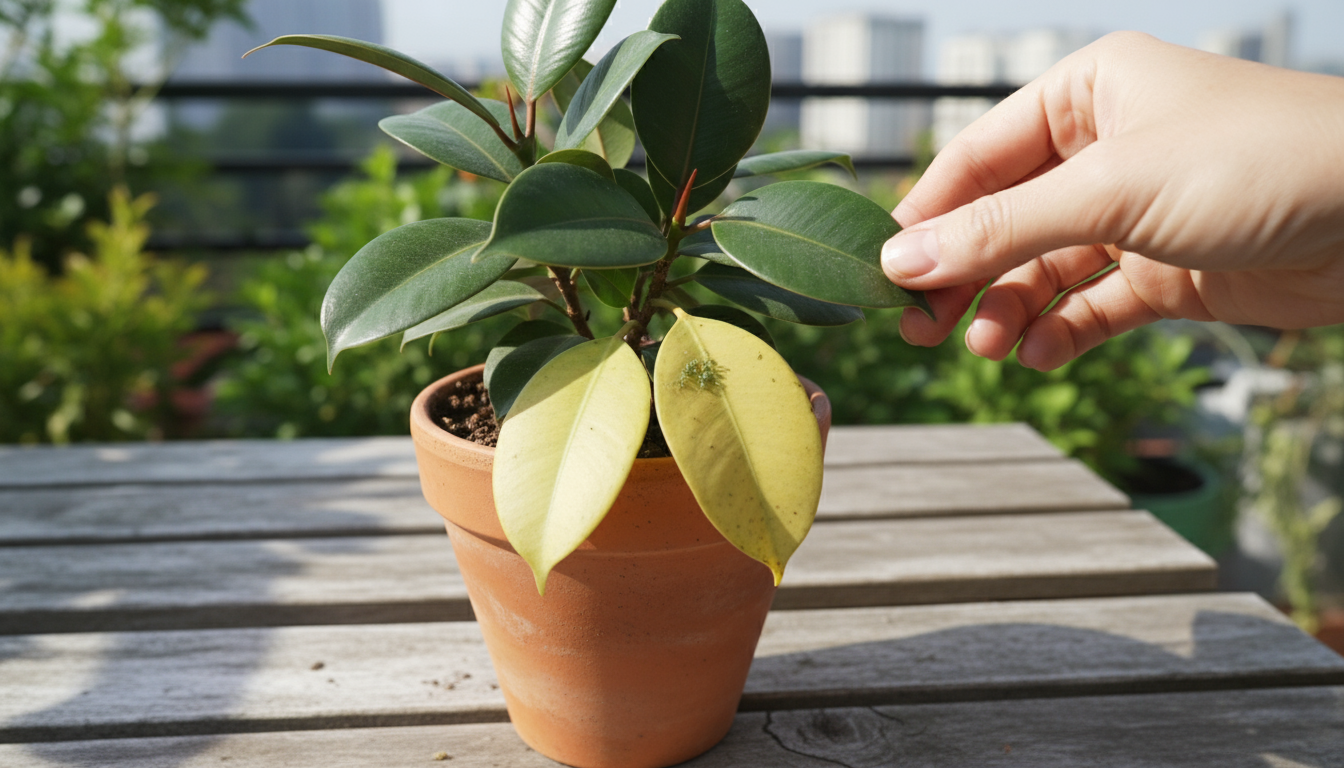
When your plant shows signs of distress, like yellow leaves or wilting, your first instinct might be to reach for the watering can. However, this is where another common houseplant watering myth arises: assuming all yellowing or drooping leaves indicate thirst. These symptoms can signal both underwatering and overwatering, making accurate diagnosis crucial. Understanding the nuances helps you provide the correct care.

Distinguishing Between Overwatering and Underwatering Symptoms
While some symptoms overlap, specific characteristics help differentiate the cause:
Signs of Overwatering:
- Yellowing, Soft Leaves: Leaves turn yellow, often starting from the bottom, and feel limp, soft, or even mushy. They might fall off easily.
- Wilting with Wet Soil: The plant looks droopy, but the soil is clearly wet to the touch and heavy. The roots are suffocating and cannot transport water effectively.
- Black or Brown Spots/Edges: Dark, soft spots or edges on leaves can indicate fungal issues exacerbated by excess moisture.
- Stunted Growth: The plant struggles to produce new, healthy growth.
- Foul Odor: A musky or rotten smell from the soil signals root decay.
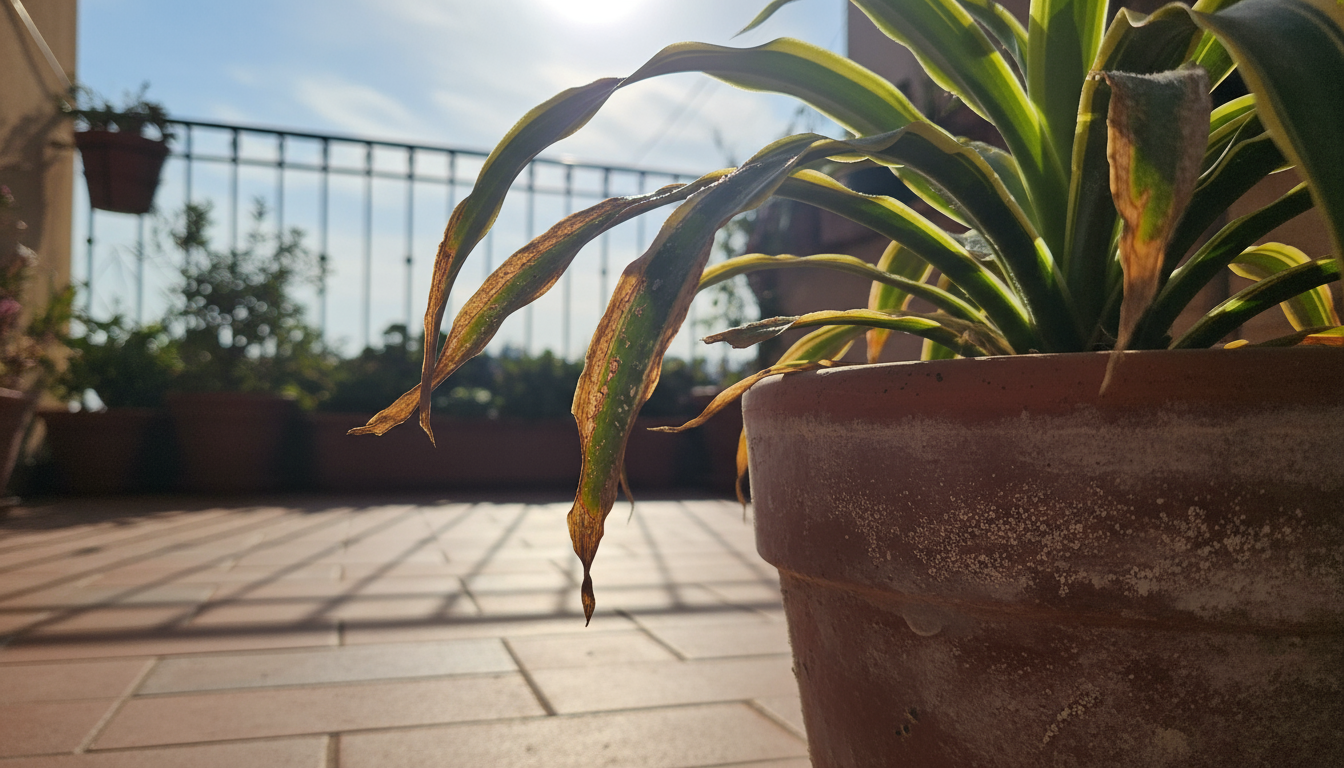
Signs of Underwatering:
- Yellowing, Crispy Leaves: Leaves turn yellow, often starting from the bottom, but feel dry and crispy. They might curl inwards or fall off readily.
- Wilting with Dry Soil: The plant looks droopy and limp, and the soil is bone dry, often pulling away from the sides of the pot. The plant lacks sufficient water to maintain turgor pressure.
- Crispy Brown Edges or Tips: The edges or tips of leaves turn brown and become brittle.
- Slowed Growth: The plant stops putting out new growth, or new leaves are very small.
- Lightweight Pot: The pot feels noticeably lighter than usual.
Other Factors Causing Yellow Leaves or Wilting
It is important to note that watering issues are not the only culprits. Other environmental factors can also cause similar symptoms:
- Nutrient Deficiencies: Lack of essential nutrients can lead to yellowing.
- Lack of Light: Insufficient light often causes lower leaves to yellow and drop.
- Pests: Sap-sucking pests can cause yellowing, spotting, and wilting as they deplete the plant’s resources. Inspect your plant carefully for tiny insects or sticky residue.
- Temperature Stress: Sudden temperature fluctuations or extreme cold/heat can stress plants, leading to leaf discoloration or droop.
- Acclimation Stress: A new plant often sheds a few leaves as it adjusts to its new environment.
- Natural Aging: Older leaves naturally yellow and drop as the plant focuses energy on new growth. This is normal for lower leaves.
Your Actionable Response
When you notice yellowing or wilting, resist the urge to immediately water. Instead:
- Perform the Finger Test: Check the soil moisture first and foremost. This tells you if it is a watering issue.
- Examine the Leaves: Feel their texture. Are they soft and mushy (overwatering) or dry and crispy (underwatering)?
- Check for Pests: Look under leaves and along stems for any signs of insects.
- Assess Light and Temperature: Consider recent changes in your plant’s environment.
- Adjust Accordingly:
- If overwatered, stop watering, improve airflow, and check for root rot.
- If underwatered, give a thorough, deep watering.
- If other factors are at play, address them specifically (e.g., move to better light, treat pests).
By systematically diagnosing the problem, you move beyond guesswork and provide targeted care that genuinely helps your plant recover.
Understanding Your Water Source: When Tap Water Isn’t Enough
Most houseplant keepers use tap water for convenience. While tap water is generally acceptable for many plants, it is not universally perfect. Another common houseplant watering myth is that all tap water is benign. Depending on your location, your tap water might contain dissolved minerals, chemicals, or other elements that can negatively impact your sensitive houseplants. Understanding your local water quality empowers you to make informed decisions for your plants.
Common Tap Water Issues for Plants
- Chlorine: Municipal water supplies often use chlorine to kill bacteria. While generally safe in small amounts, high levels can damage sensitive plant roots and beneficial soil microorganisms over time.
- Chloramines: A more stable form of chlorine, chloramines, can be harder to remove from water.
- Fluoride: Some areas add fluoride to drinking water. Certain plants, particularly Dracaenas, Spider Plants, and Prayer Plants, are highly sensitive to fluoride and can develop brown tips or edges on their leaves from accumulation.
- Hard Water: Water with high concentrations of dissolved minerals like calcium and magnesium is called “hard water.” While not directly toxic, these minerals can build up in the soil as white crusts on the pot’s rim or soil surface. This accumulation can alter soil pH and make it harder for plants to absorb nutrients.
- Soft Water (Sodium): If you have a water softener, your water may contain high levels of sodium, which is detrimental to most plants. Sodium can lead to burnt leaf tips and stunted growth.
Practical Solutions for Better Water
You do not need to install a complex filtration system to provide better water for your plants. Here are practical, actionable steps:
- Let Tap Water Sit Out: For chlorine (but not chloramines), simply fill a watering can or open container with tap water and let it sit uncovered for 24-48 hours. The chlorine will dissipate into the air.
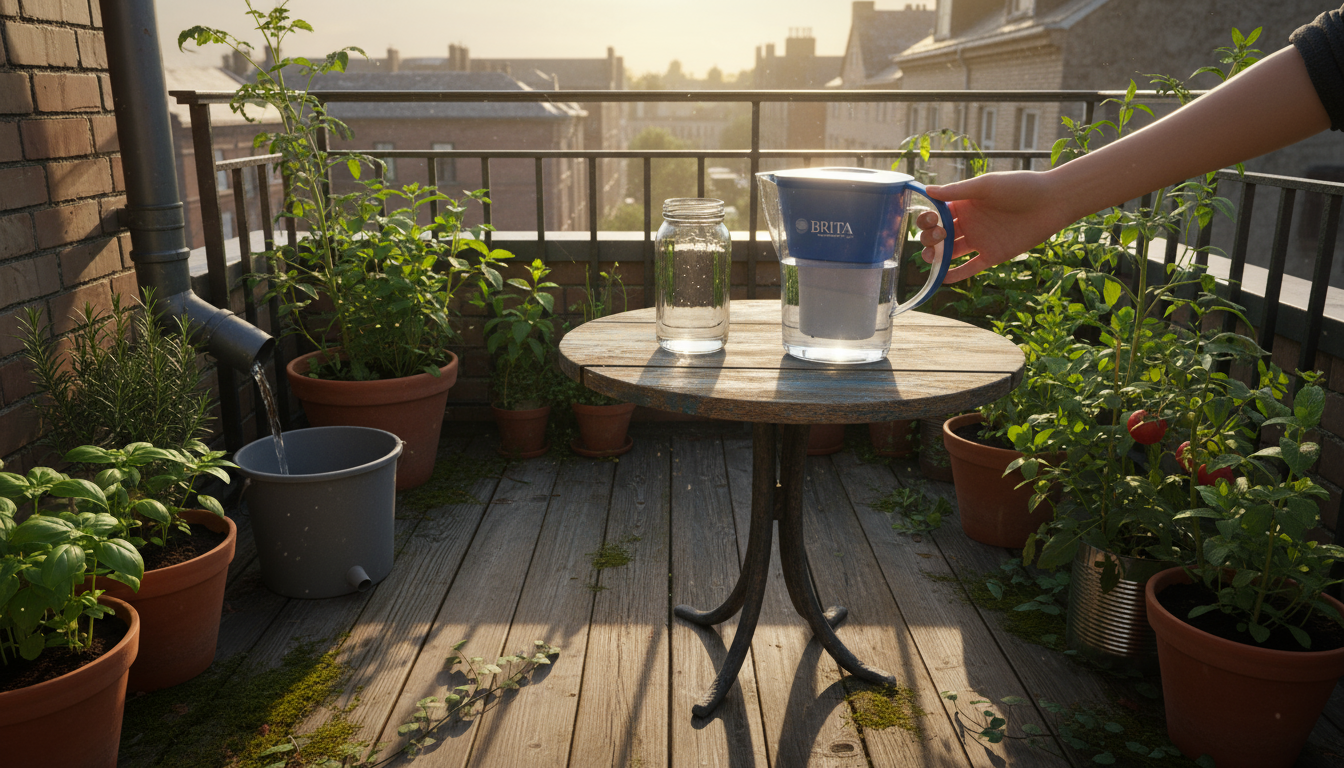
- Use a Water Filter: A simple activated carbon filter (like a Brita pitcher filter) can effectively remove chlorine, some chloramines, and other impurities. This is an easy and affordable solution for small-space gardeners.
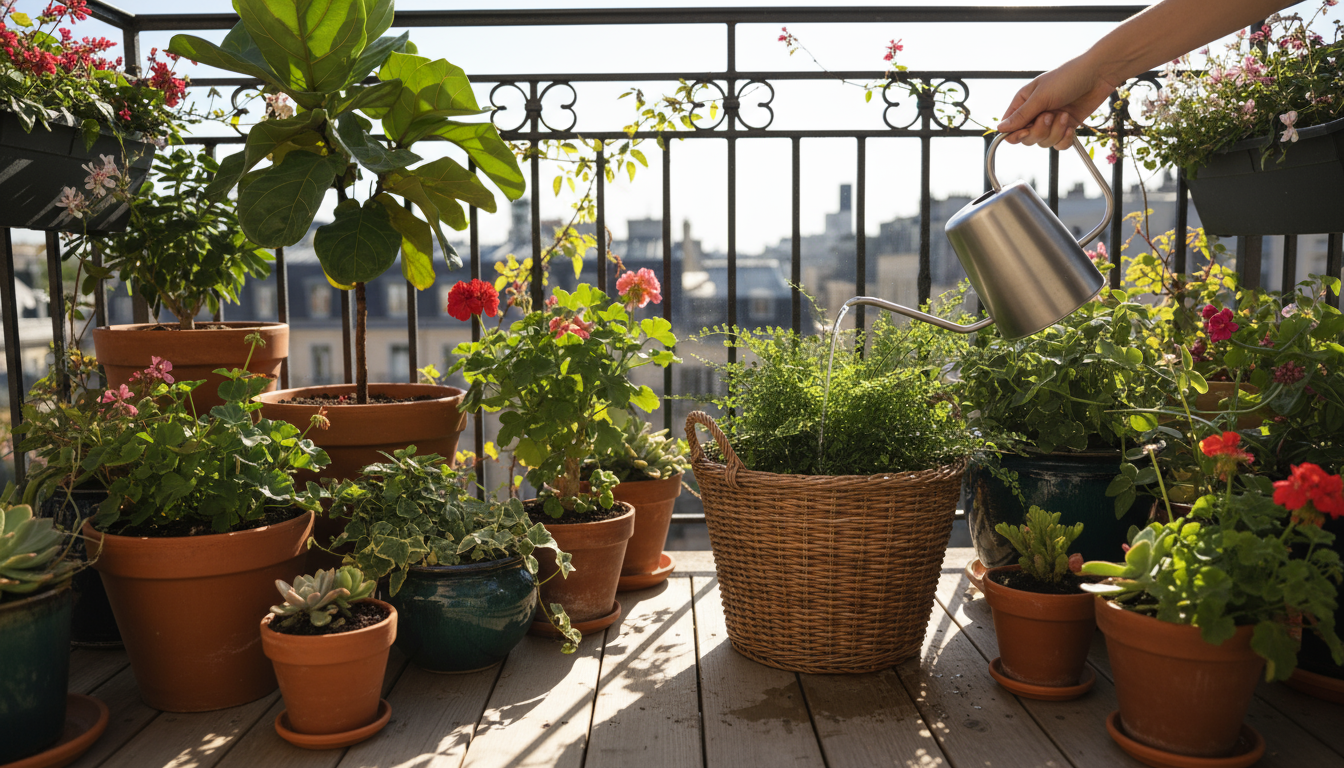
- Collect Rainwater: This is arguably the best water for houseplants, as it is naturally soft and free of chemicals. If you have a balcony or patio, you can easily set up a small rain barrel or even just a bucket to collect rainwater. Ensure your collection method is clean to avoid introducing pathogens.
- Consider Distilled or Reverse Osmosis (RO) Water: For highly sensitive plants or if your tap water is exceptionally problematic (e.g., very hard, high fluoride, or softened with sodium), distilled or RO water is an option. However, these waters are devoid of minerals, so you will need to supplement with a balanced plant fertilizer regularly to ensure your plants get essential nutrients. Use these sparingly for plants that absolutely require it, as it is less sustainable and more costly.
- Avoid Water from Softeners: If your home uses a water softener, bypass it for your plants or use one of the alternative water sources mentioned above.
For more specific information on water quality and its effects on gardening, check resources from environmental protection agencies or your local university extension service, such as the University of Minnesota Extension’s advice on watering container gardens.
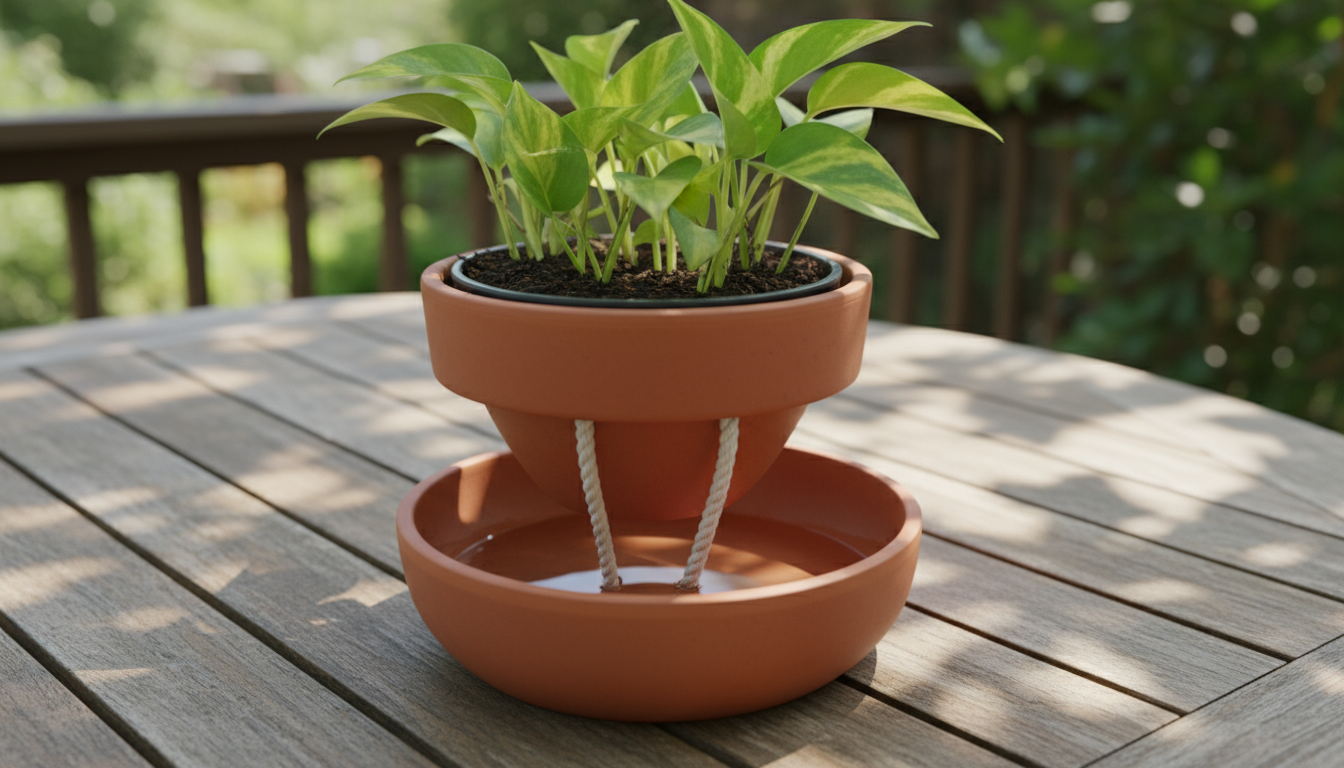
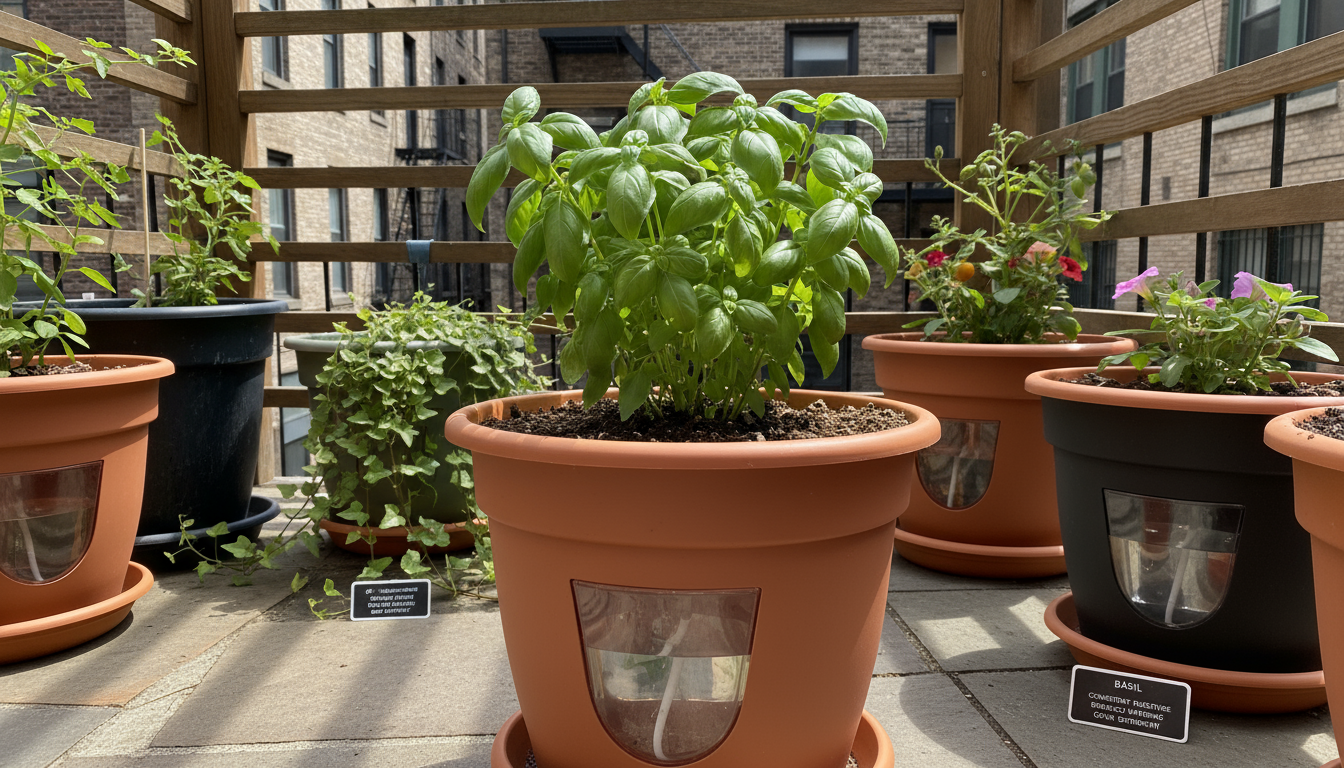
Self-Watering Solutions: Convenience with a Caveat
For those seeking low-effort routines and small-space solutions, self-watering pots sound like a dream come true. They promise consistent moisture and reduced watering frequency, appealing greatly to busy individuals or those prone to forgetting. However, the myth is that self-watering pots are a universal panacea for all plants and all watering woes. While beneficial for certain plants and situations, they come with their own set of considerations.
How Self-Watering Pots Work
Most self-watering pots consist of two main components:
- An inner pot: This holds the plant and potting mix, often with wicking material (like a cotton rope or fabric strip) extending from the bottom.
- An outer reservoir: This holds water and usually has a fill port.
The wicking material draws water from the reservoir up into the potting mix, providing a steady supply of moisture to the plant’s roots. Some systems rely on the soil itself wicking water directly from a saturated base.
Benefits of Self-Watering Pots
- Reduced Watering Frequency: You refill the reservoir less often than you would manually water. This is excellent for busy schedules or vacation watering.
- Consistent Moisture: Plants that prefer constantly moist soil thrive in self-watering systems, as they avoid cycles of drying out and re-wetting.
- Prevents Underwatering: It removes much of the guesswork, reducing the chances of plants suffering from drought.
- Bottom Watering Advantage: As water wicks up, the topsoil tends to stay drier, helping to deter fungus gnats.
Caveats and Considerations
- Risk of Overwatering for Some Plants: The constant moisture in the soil can be detrimental to plants that prefer to dry out between waterings, such as succulents, cacti, ZZ plants, and Snake Plants. These plants are highly susceptible to root rot in a continuously wet environment.
- Salt Buildup: Since water wicks upwards, mineral salts and fertilizer residues can accumulate on the soil surface and around the plant’s stem. This buildup needs occasional flushing.
- Limited Aeration: Some designs can lead to less aeration in the lower soil, increasing the risk of root issues if the potting mix is too dense.
- Potting Mix Matters: You still need a well-draining, airy potting mix. A heavy, moisture-retentive mix in a self-watering pot significantly increases root rot risk.
- Cleaning: Reservoirs need occasional cleaning to prevent algae or bacterial growth.
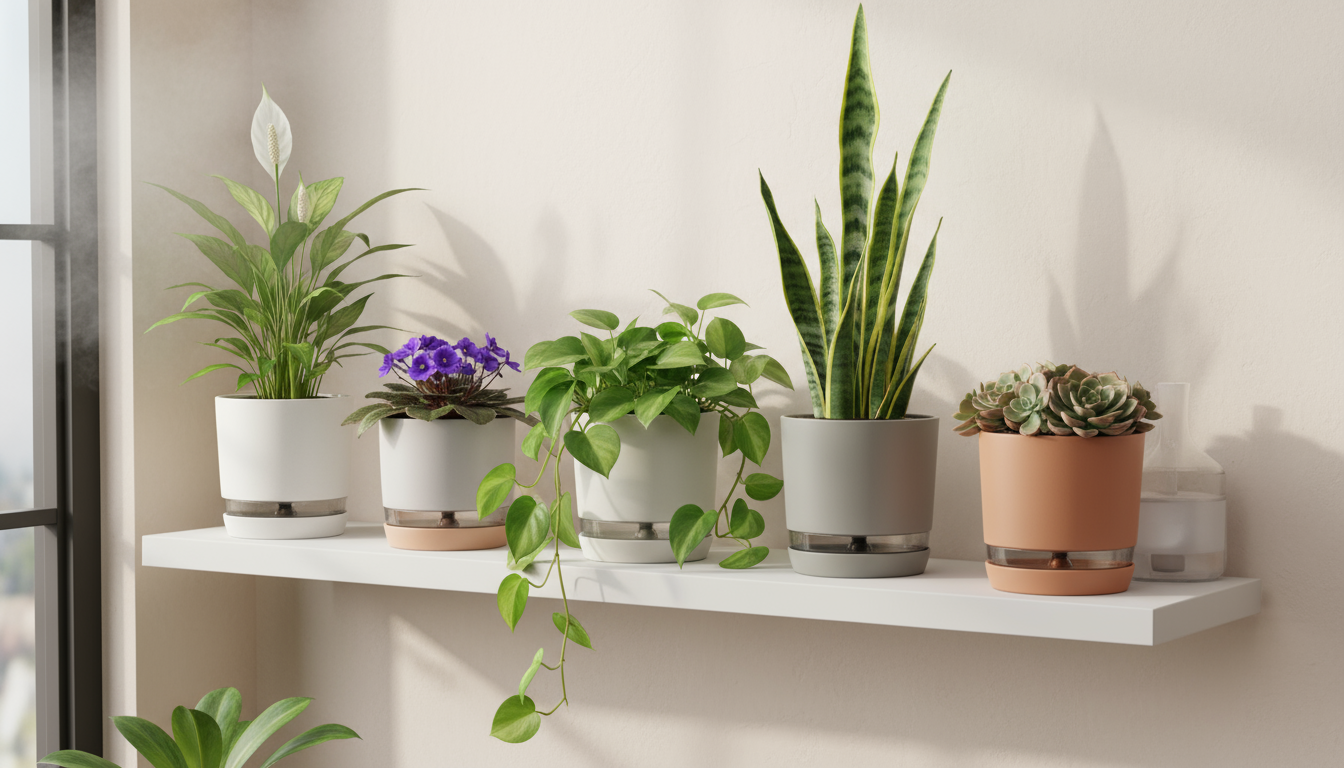
Which Plants Thrive in Self-Watering Pots?
Self-watering pots are best suited for plants that enjoy consistently moist soil and are less prone to root rot. Excellent candidates include:
- Peace Lilies
- African Violets
- Ferns (e.g., Boston Fern, Kimberly Queen Fern)
- Pothos
- Philodendrons
- Spider Plants
- Some Herbs (if grown indoors)
- Calatheas and Marantas (Prayer Plants)

Practical Use for Small Spaces
If you choose to use self-watering pots, remember these tips:
- Choose Wisely: Select plants known to prefer constant moisture.
- Monitor Soil: Even with a reservoir, periodically check the soil moisture with your finger to ensure the wicking system works effectively and to avoid over-saturation.
- Flush Periodically: Once every 1-2 months, top water your plant thoroughly until water drains from the bottom. This flushes out accumulated salts.
- Use Good Potting Mix: Never skimp on quality. Ensure your mix is airy and well-draining, even for moisture-loving plants.
Self-watering solutions offer convenience, but they require you to understand your plant’s needs and the system’s limitations. They are a tool, not a complete replacement for observant plant care.
Seasonal Adjustments: Adapting Your Watering Habits Year-Round
You might think your houseplant watering routine should remain constant, but this is another myth that can lead to problems. Your indoor environment, and by extension your plants’ needs, shifts with the seasons. Ignoring these changes leads to either overwatering in winter or underwatering in summer. A successful houseplant keeper adapts their watering practices throughout the year.
Winter Slowdown: Less Light, Less Water
For most of us in temperate climates, winter brings shorter days, lower light intensity, and often cooler indoor temperatures. These factors significantly impact your plants:
- Reduced Light: Less light means reduced photosynthesis. Plants need less water for this process.
- Dormancy or Slowed Growth: Many plants enter a period of dormancy or significantly slow their growth during winter. They are not actively putting out new leaves and therefore require less energy and water.
- Cooler Temperatures: Cooler ambient temperatures slow down evaporation from the soil.
- Heating Systems: While cooler temperatures reduce evaporation, central heating can drastically dry out indoor air. This might seem contradictory, but the overall lower light and plant activity usually mean less *root uptake* of water, even if surface evaporation is high. Still, extremely dry air can cause crispy leaf tips on some plants, so increasing humidity (not more water in the soil) might be necessary.
Your Winter Watering Strategy:
- Increase Time Between Waterings: Use the finger test, but expect to water much less frequently. A plant watered every week in summer might only need water every 2-3 weeks, or even less, in winter.
- Reduce Fertilizer: Most plants do not need fertilizer during their winter dormancy.
- Maintain Humidity: If dry air is a problem, consider grouping plants, using pebble trays, or a small humidifier, but do not increase soil moisture.
Summer Growth: More Light, More Water
Summer offers longer, brighter days and warmer temperatures, creating a more active environment for your plants:
- Increased Light: Brighter light means plants are actively photosynthesizing, driving up their water consumption.
- Active Growth: Many plants experience their primary growth phase in spring and summer. They are actively producing new leaves and roots, which demands more water and nutrients.
- Warmer Temperatures: Higher ambient temperatures accelerate evaporation from the soil and transpiration from leaves.
- Air Conditioning: While it cools your home, air conditioning can also dry out the air, contributing to faster water loss.
Your Summer Watering Strategy:
- Increase Watering Frequency: You will likely need to water more often, potentially every few days for some thirsty plants. Always rely on the finger test.
- Monitor Closely: Check your plants more frequently, especially if they are in bright windows or smaller pots.
- Consider Fertilizing: This is the prime time to fertilize your plants according to product directions, as they are actively growing.
- Move Plants (if needed): Some plants might appreciate a move closer to a window, or conversely, a slight move away if they show signs of scorching from intense direct sun.
Spring and Autumn Transitions
These are transitional seasons where you gradually adjust your watering. In spring, as light increases and growth resumes, slowly increase watering frequency. In autumn, as days shorten, begin to taper off your watering. Pay close attention to your plant’s individual cues during these periods of change.
By consciously adjusting your houseplant watering routine with the seasons, you align your care with your plant’s natural rhythms, ensuring optimal health and vibrant growth year-round. Always observe, test the soil, and adapt.

Frequently Asked Questions
How do I know if I am overwatering or underwatering?
Perform the finger test: stick your finger two inches into the soil. If it is wet and your plant’s leaves are yellow and mushy, you are likely overwatering. If it is bone dry and the leaves are crisp and wilting, you are underwatering. Overwatered plants often wilt despite wet soil, while underwatered plants perk up quickly after a drink. Always check the soil first; it provides the most direct answer.
Can I use ice cubes to water my orchids?
While some sources suggest using ice cubes for orchids, this is generally not recommended as a primary watering method for most plants. The cold temperature can shock roots, and the slow melt may not provide a thorough, even saturation of the potting medium. A better approach is to provide a thorough watering with room-temperature water, ensuring it drains completely, or bottom water for a few minutes. Orchids benefit from high humidity, not necessarily constantly wet roots.
Is it okay to use distilled water for all my plants?
Distilled water is pure and free of minerals, which makes it excellent for highly sensitive plants or those suffering from tap water issues. However, it lacks beneficial minerals. If you use distilled water for all your plants, you must provide all essential nutrients through a balanced fertilizer. For most common houseplants, filtered tap water or rainwater is a more sustainable and equally effective choice, especially since they already contain trace minerals.
How important is humidity for watering?
Humidity is crucial, but it impacts how quickly your plant transpires water from its leaves, not how much water you should add to the soil. In dry environments, plants transpire more, leading to increased water uptake from the soil. However, increasing humidity through methods like pebble trays, grouping plants, or humidifiers is usually a better solution than simply watering more often, which can lead to overwatering and root rot. Many tropical plants thrive in higher humidity, reducing overall plant stress.
What is the best time of day to water plants?
For houseplants, the best time of day to water is generally in the morning. This allows any excess moisture on the leaves or soil surface to evaporate throughout the day, reducing the risk of fungal growth. Watering at night, especially in cooler indoor environments, can leave plants wet for too long, potentially fostering disease. However, consistency and proper soil moisture assessment are far more critical than the exact time of day you water.
Disclaimer: This article is for informational purposes only and is not a substitute for professional advice. Consult local extension services for region-specific recommendations.

Leave a Reply