
Is Your Heater Cooking Your Plants? How to Create Microclimates for Houseplants in a Dry Apartment
Winter brings cozy warmth indoors, but your heating system often dries out the air. This dry environment, while comfortable for you, can wreak havoc on your beloved houseplants. Many popular indoor plants, including tropical varieties, originate from humid jungle or rainforest environments. They struggle when air moisture drops significantly, leading to stress, stunted growth, and even death. Do not let your heater cook your plants this winter. You possess the power to transform your dry apartment into a thriving oasis for your green companions. This guide provides practical, actionable strategies for creating microclimates, ensuring your houseplants survive and flourish through the colder months.
If you are looking for new additions that can handle these conditions, consider air-purifying plants that thrive in dry heat to keep your apartment air fresh.
Understanding Dry Air’s Impact on Your Houseplants
Your heating system, whether forced air, radiant, or electric, reduces ambient humidity. As it warms the air, it also dries it, dropping relative humidity levels dramatically. During summer, indoor humidity might hover between 40-60 percent. In winter, with continuous heating, levels can plummet to 10-20 percent, significantly lower than the 60-80 percent many tropical houseplants prefer. This condition of houseplants dry air creates a challenging environment.
Plants rely on a process called transpiration, where water vapor evaporates from their leaves through tiny pores called stomata. This process pulls water up from the roots, delivering nutrients throughout the plant. When the air surrounding a plant lacks humidity, it pulls moisture from the leaves more rapidly, forcing the plant to transpire at an accelerated rate. Imagine your plant as a tiny pump working overtime to maintain its hydration in a desert. This rapid water loss stresses the plant, leading to various visible symptoms. Understanding this fundamental process helps you appreciate why maintaining adequate indoor plant humidity is crucial for their health and survival during winter.
Why Microclimates Matter for Indoor Plant Humidity
A microclimate refers to a small, localized area with atmospheric conditions differing from the general surrounding area. For your houseplants, this means creating tiny pockets of higher humidity right where they need it most. You cannot realistically humidify your entire home to tropical levels without significant expense and potential issues like mold growth. However, you can create these beneficial microclimates on a smaller scale, making a big difference for your plants. This approach proves especially effective for small spaces like apartments, where a large, whole-room humidifier might be overkill or impractical.
By implementing targeted strategies, you effectively control the immediate environment around your plants, elevating humidity levels where they reside. This helps reduce the stress of rapid transpiration and allows your plants to thrive, even when the rest of your home remains dry. It offers a sustainable, efficient way to provide essential indoor plant humidity without overhauling your entire living space.

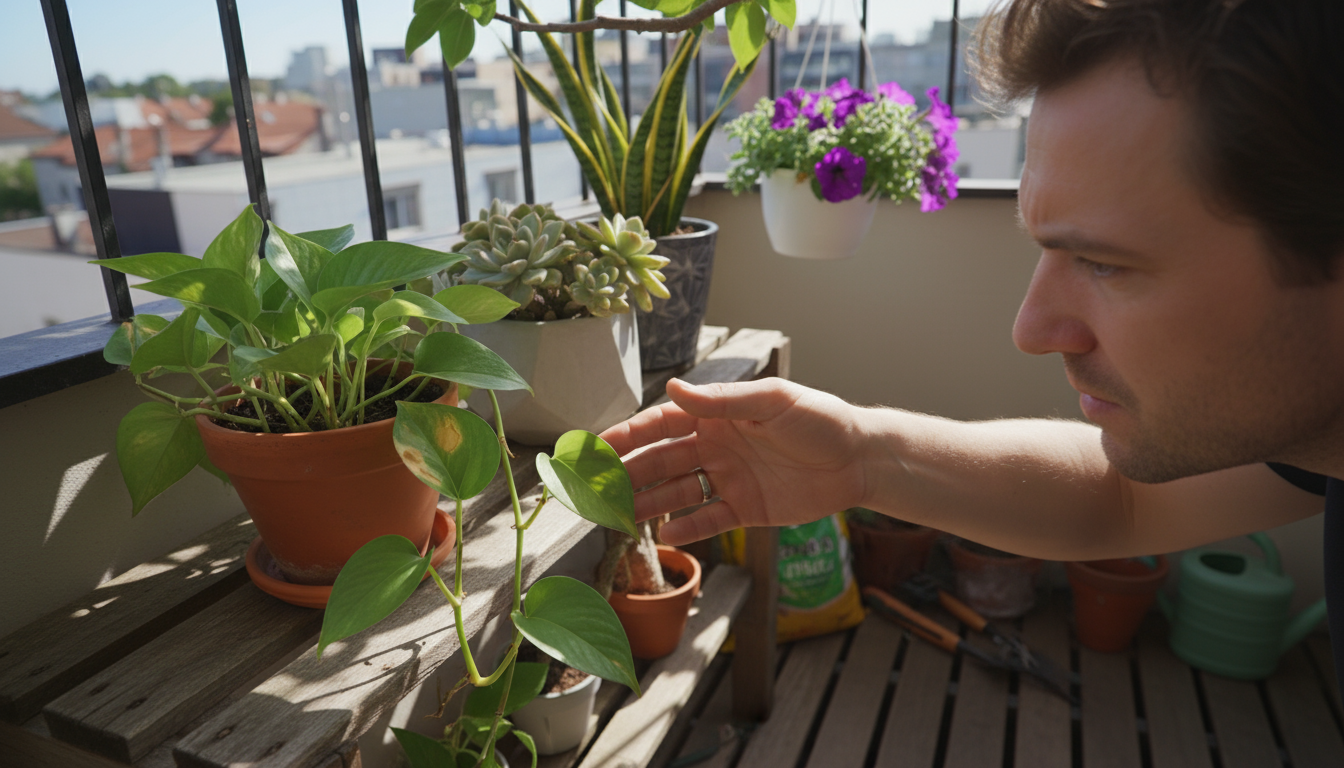
Identifying Dry Air Stress in Your Houseplants
Before you implement solutions, you must recognize the signs of stress in your plants. Recognizing these symptoms early allows for timely intervention and prevents irreversible damage. Here are common indicators that your plants are suffering from winter plant care challenges and low humidity:
Beyond humidity, remember that your watering needs change too; following a winter watering and feeding schedule will help prevent overwatering stress.
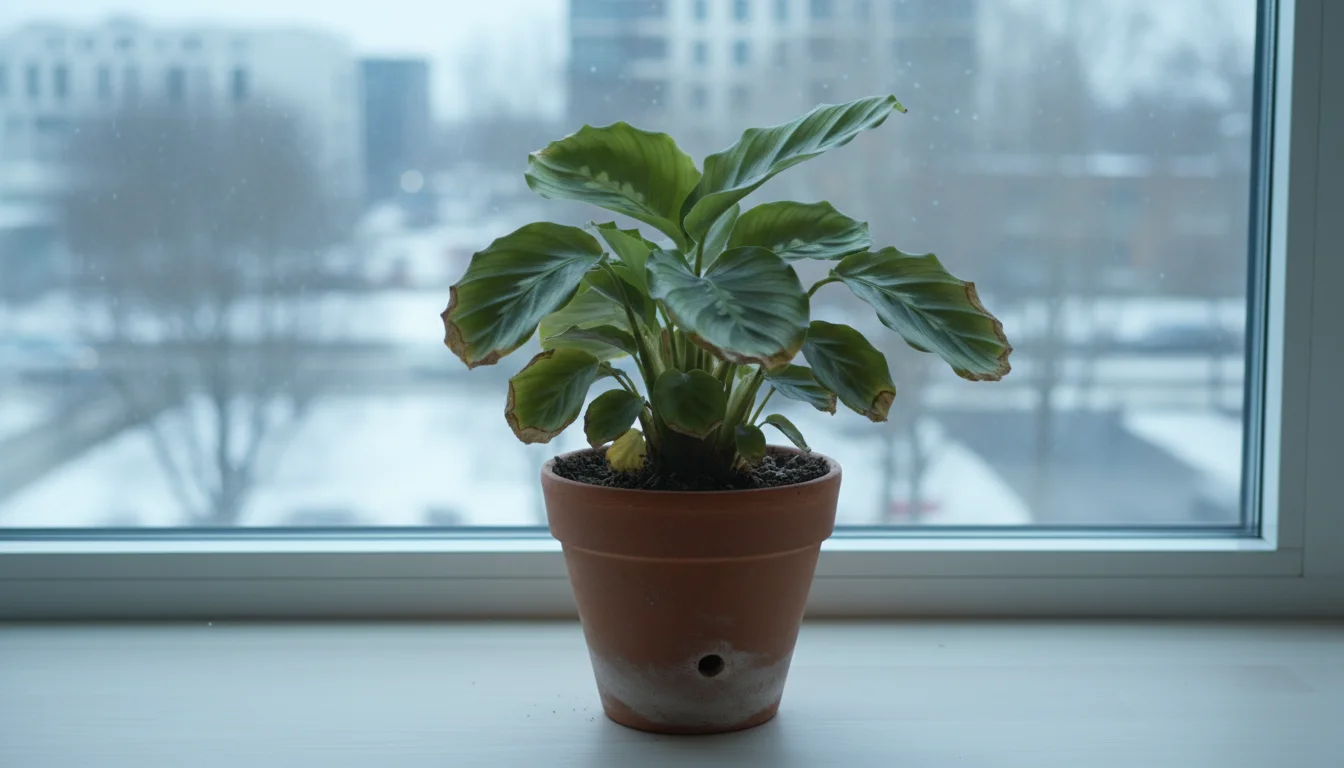
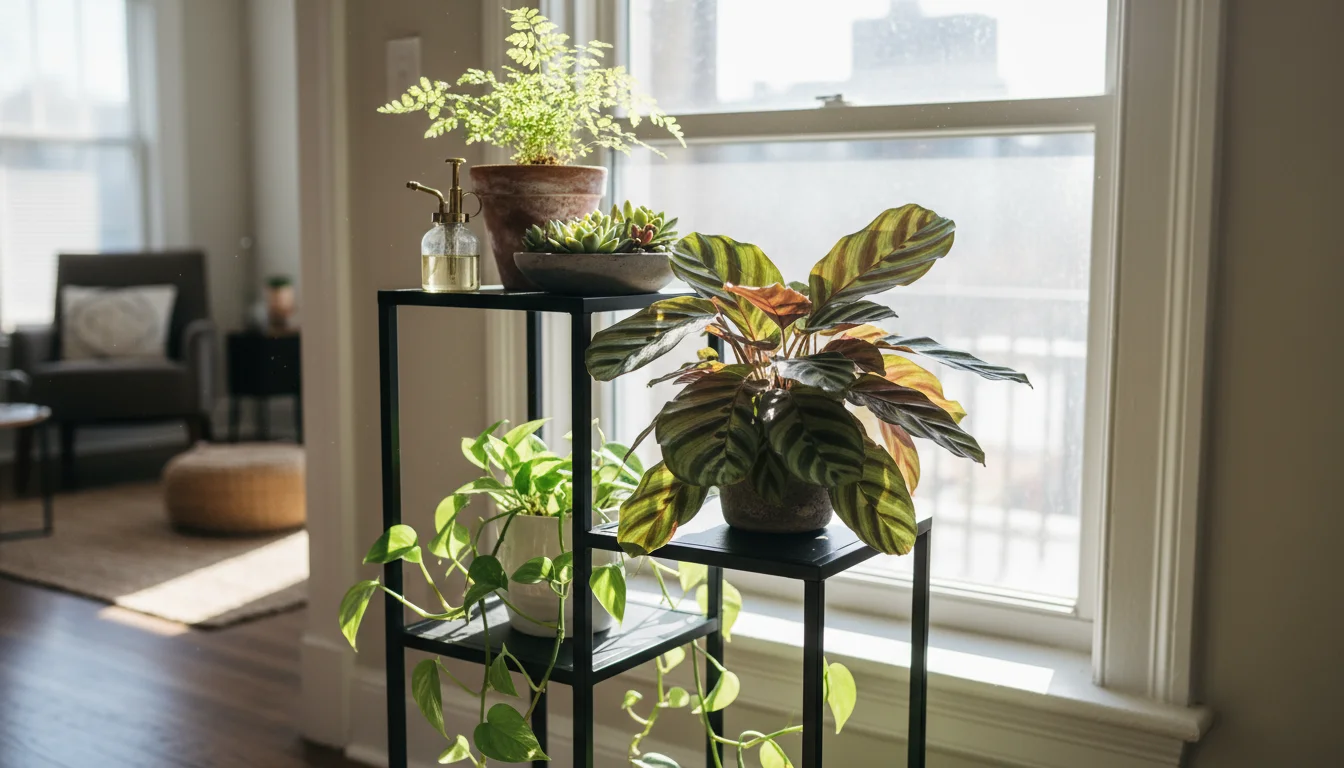
- Brown, Crispy Leaf Tips and Edges: This is the most common symptom. Leaves, particularly on plants like Calatheas, Prayer Plants, or even Ficus varieties, develop dry, brown, or yellow patches along their edges or tips. These areas feel brittle to the touch.
- Stunted Growth: Plants slow down their growth in winter anyway, but extremely dry air inhibits new leaf production and overall vigor. You will notice very small new leaves or a complete halt in growth.
- Dropping Leaves: Some plants shed lower leaves as a survival mechanism, sacrificing older foliage to conserve moisture. While some leaf drop is normal, excessive shedding signals distress.
- Wilting or Limp Leaves: Even if you water your plant adequately, it might appear droopy. This happens because the dry air pulls water from the leaves faster than the roots can replenish it.
- Bud Drop: If you have flowering plants, dry air often causes flower buds to shrivel and drop before they open.
- Increased Pest Susceptibility: Pests like spider mites thrive in dry conditions. They attack stressed plants more easily, feeding on their weakened tissues. You might notice fine webbing or tiny red/brown dots on the undersides of leaves.
Closely observing your plants helps you catch these issues early. Remember, healthy leaves are pliable and vibrant, while dry, crispy textures or dull appearances indicate a need for increased humidity.

Strategically Protecting Plants from Heater Vents
The most direct way your heater damages plants involves placing them too close to a vent or radiator. Hot, dry air blasting directly onto foliage rapidly dehydrates leaves and can even scorch them. Preventing this direct exposure is your first and most critical step in how to protect plants from heater vent issues.
While focusing on heat, don’t overlook cold spots, as fixing window drafts is just as important for maintaining a stable microclimate.
If your home uses older steam heat, you may need specific strategies for protecting plants from radiators to avoid scorched leaves.
Follow these practical steps:
- Relocate Plants: Move any plants currently sitting directly in the path of a heater vent, radiator, or fireplace. Even if a plant appears fine initially, prolonged exposure will cause stress. Aim for at least 3-5 feet of distance from direct heat sources.
- Assess Airflow: Stand near your plants and feel the air. Can you feel a strong, dry draft from a vent? If so, your plants are too close. Remember, warm air rises, so even plants on shelves above a vent can suffer.
- Use Physical Barriers: If relocation is not possible, employ barriers.
- Vent Deflectors: These inexpensive plastic or magnetic covers attach to floor or wall vents, redirecting airflow away from plants.
- Furniture as a Shield: Position a piece of furniture, such as a sturdy bookcase or side table, between the vent and your plant. Ensure air still circulates around the plant, preventing stagnant conditions.
- Thick Curtains or Blinds: For windows above radiators, closing thick curtains or blinds at night helps insulate the plant from the dry, rising heat. Ensure you open them during the day for adequate light.
- Monitor Thermostat Settings: While you need warmth, avoid excessively high indoor temperatures. Lowering your thermostat a few degrees, especially at night, can reduce the intensity of dry air exposure for your plants and save energy.
By actively managing the immediate environment around your plants, you prevent the most damaging effects of direct heat. This forms the foundation for all other humidity-boosting strategies.

The Power of Humidity Trays for Plants
A humidity tray provides an excellent, low-tech, and cost-effective way to increase localized humidity around your plants. It works on the principle of evaporation. As water evaporates from the tray, it increases the moisture content in the air directly surrounding your plant’s foliage. This method proves highly effective for individual plants or small groupings. Learning creating a humidity tray for plants is simple.
For a complete breakdown of other moisture-boosting methods, see our ranking of humidity hacks to see what really works.
Here is a step-by-step guide:
- Gather Your Materials:
- A shallow, waterproof tray: Use a plant saucer, an old baking tray, a serving tray, or even a deep dinner plate. Ensure it is wider than your plant’s pot.
- Pebbles or gravel: Any type of small stones works. You can also use expanded clay aggregate (LECA balls) or even marbles.
- Water.
- Prepare the Tray: Spread a single layer of pebbles or gravel across the bottom of your chosen tray. Aim for enough depth so your plant pot can sit on top of the pebbles without its base directly touching the water.
- Add Water: Pour water into the tray until it reaches just below the top surface of the pebbles. Do not completely submerge the pebbles, and definitely do not let the water touch the bottom of your plant pot.
- Place Your Plant: Set your potted plant directly on top of the pebbles in the tray. Ensure the pot’s drainage holes remain above the water level. This prevents your plant’s roots from sitting in stagnant water, which can lead to root rot.
- Monitor and Refill: As the water evaporates, you will need to refill the tray regularly. In dry winter conditions, you might need to top it up every day or every other day. You will quickly establish a routine based on your home’s humidity and the tray’s size.
The beauty of humidity trays lies in their simplicity and effectiveness. They provide a continuous, gentle source of moisture without overwatering your plant. Combine this with proper plant placement, and you create an ideal microclimate.
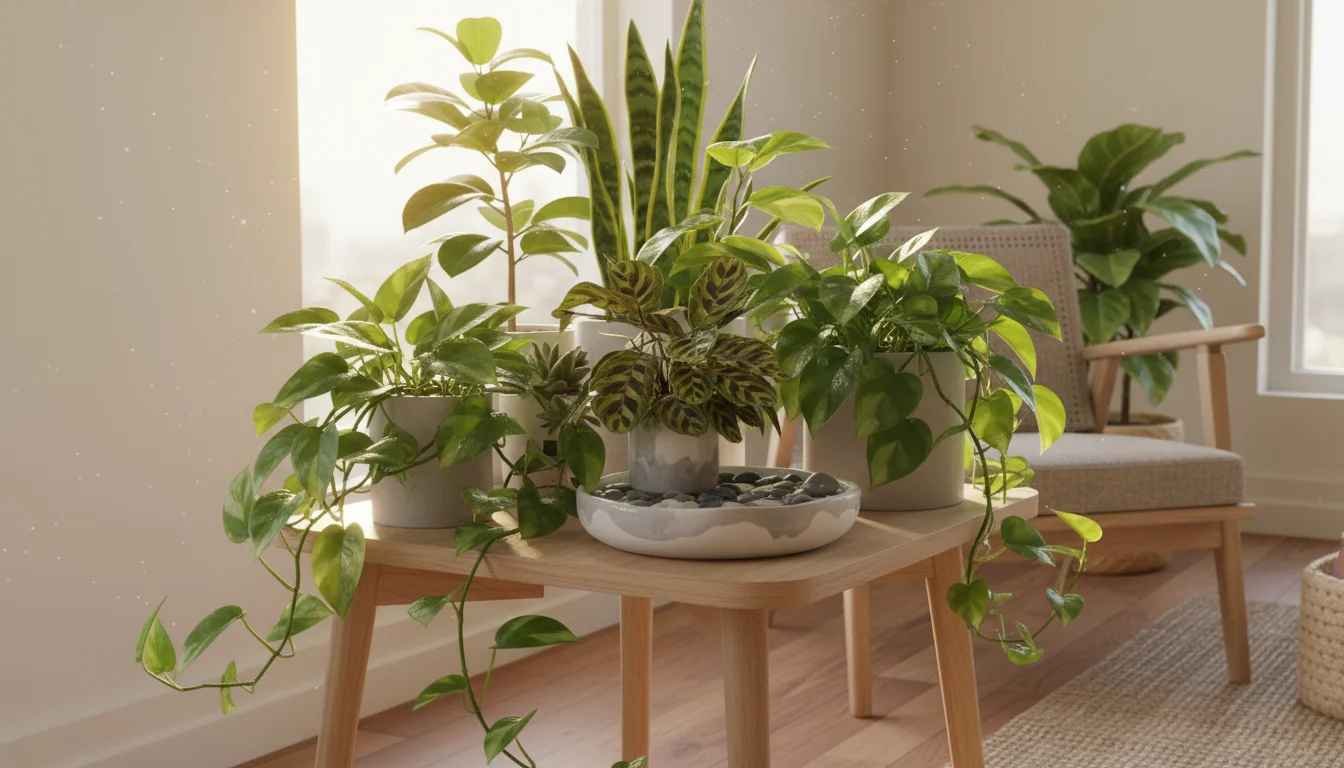
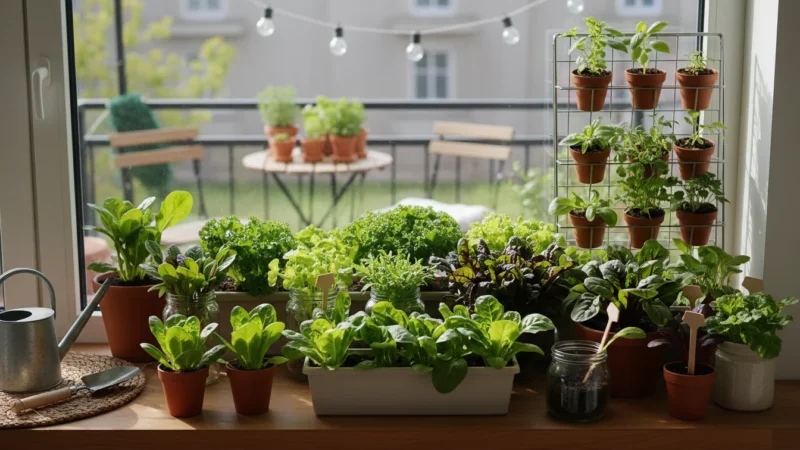
Grouping Houseplants for Enhanced Humidity
Mimicking nature offers another powerful strategy for boosting localized humidity. In their natural habitats, plants grow in communities, sharing resources and influencing their immediate environment. When you group houseplants, they essentially create their own small, humid ecosystem. This method, often called grouping houseplants for humidity, leverages a plant’s natural process of transpiration.
Understanding how to group your plants effectively creates a communal moisture reserve that protects the whole collection.
Each plant releases water vapor through its leaves. When you place several plants close together, the moisture transpiring from one plant gets trapped around its neighbors, increasing the overall humidity in that small cluster. It is like forming a tiny, self-humidifying huddle.
Here is how to group your plants effectively:
- Cluster Tightly, But Allow Airflow: Arrange your plants so their foliage is close, almost touching, but not so dense that air circulation becomes completely blocked. Good airflow prevents fungal diseases. Leave small gaps between leaves and ensure no leaves are pressed against glass or walls.
- Consider Plant Size and Light Needs: Place taller plants at the back or center of a group, allowing smaller plants to receive adequate light. Ensure all plants in the grouping have similar light requirements to avoid stressing some plants while others thrive.
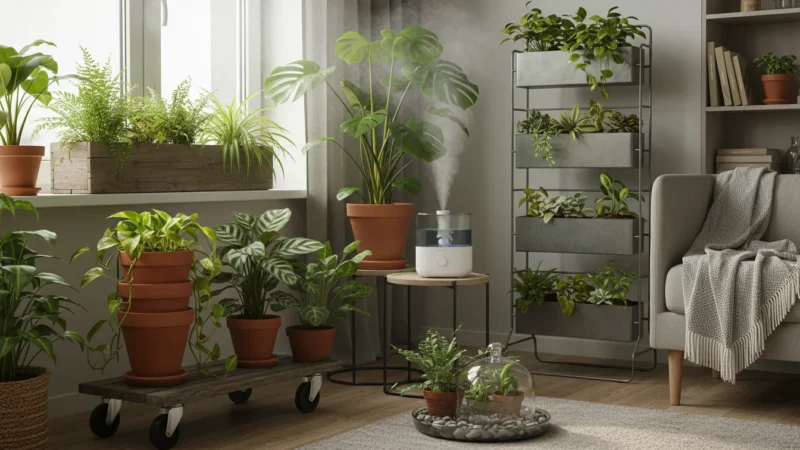
- Combine with Humidity Trays: Maximize the effect by placing your grouped plants on a large humidity tray. A single, wide tray can accommodate several pots, multiplying the benefit.
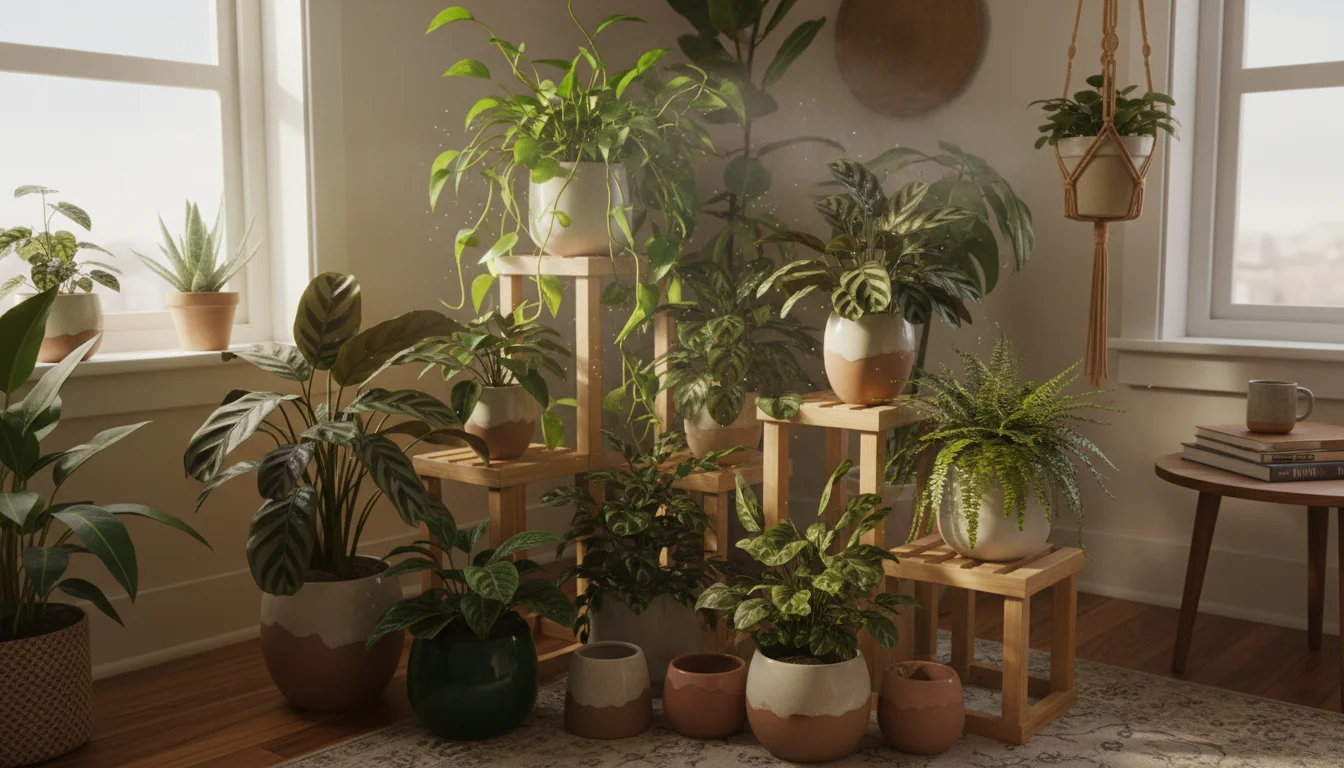
- Utilize Shelves and Plant Stands: Tiered plant stands or shelves allow you to group plants vertically, creating a lush, multi-level microclimate. This strategy also maximizes space in smaller apartments.
- Introduce a Water Source: Incorporate a small, open container of water within the grouping. A decorative bowl filled with water, nestled among the plants, adds to the evaporative effect.
This technique works best for plants that enjoy similar growing conditions. A well-executed grouping not only boosts humidity but also creates an attractive, dense display, perfect for small living spaces. This method is particularly efficient for plants that prefer consistent, moderate humidity, proving the power of a collective approach to plant care.
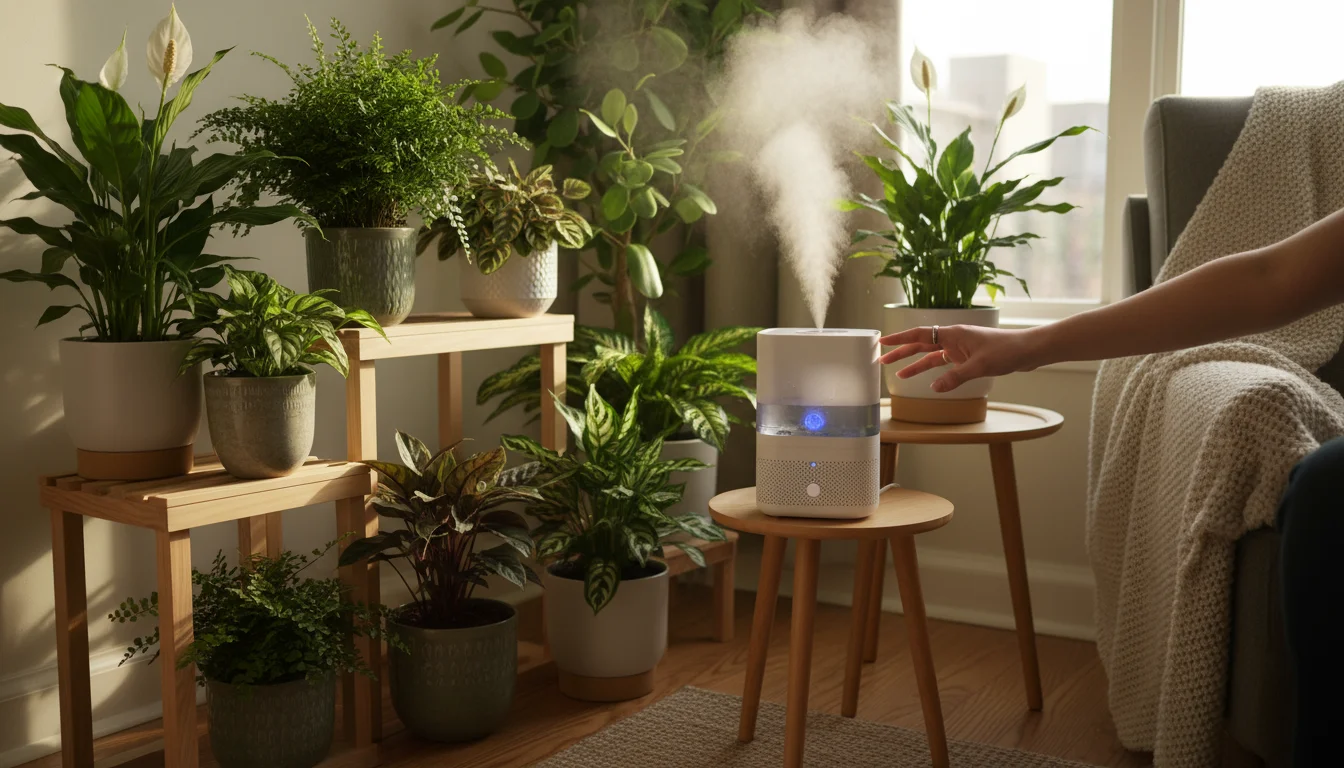
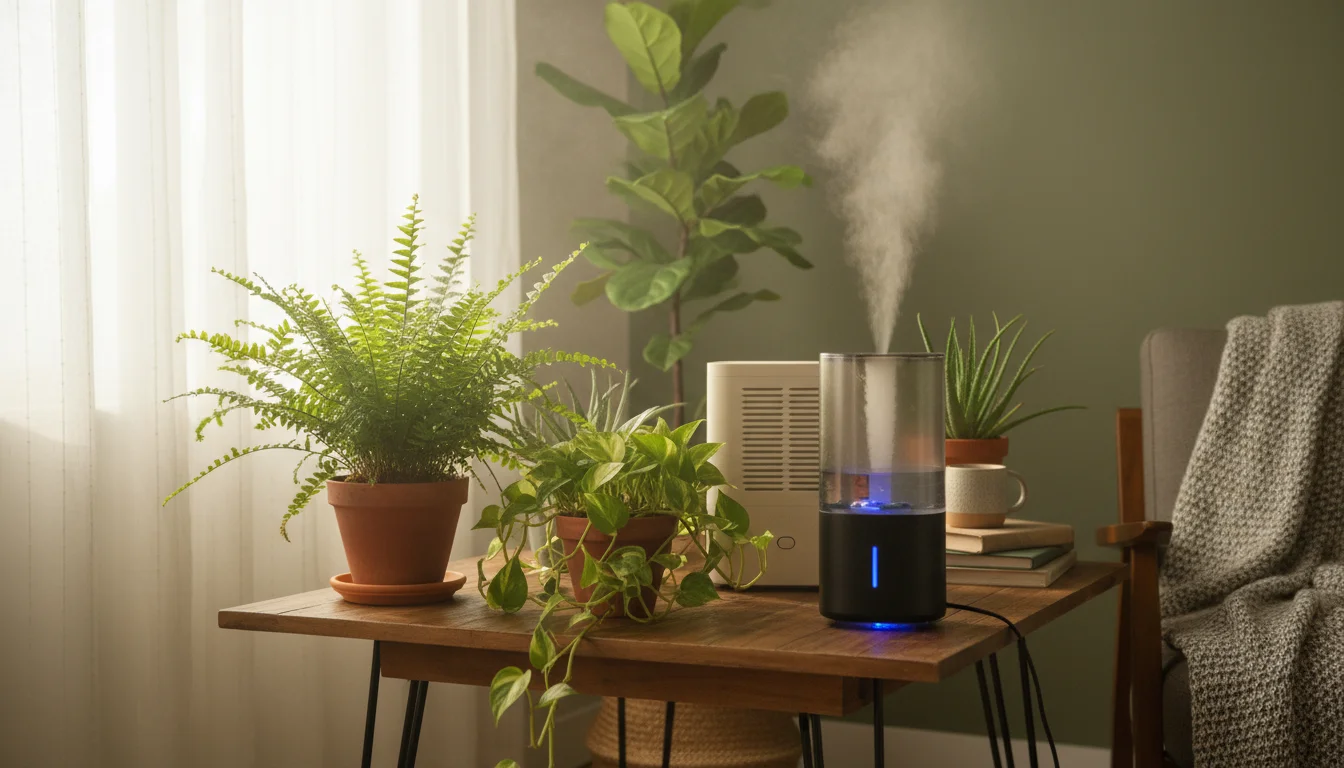
Selecting Humidifiers for Optimal Plant Health
When localized solutions like humidity trays and grouping do not suffice, a humidifier provides the most effective and consistent way to boost indoor plant humidity. For dedicated plant enthusiasts, particularly those with many high-humidity plants, a humidifier is an essential tool. You have several types of humidifiers available, each with its advantages.
To keep your equipment organized, consider assembling a mini winter tool kit for quick maintenance tasks.
Types of Humidifiers:
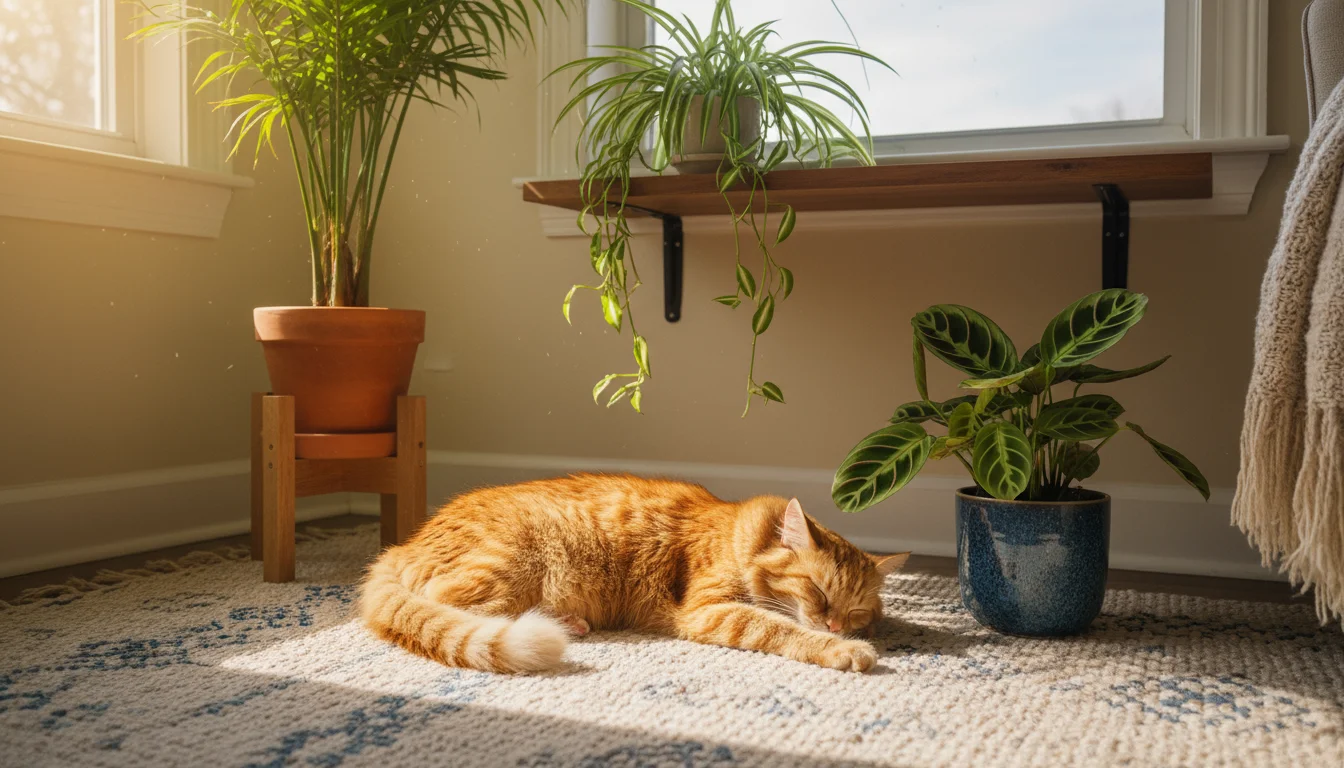
- Cool Mist Humidifiers: These use a fan to blow air through a wick filter that absorbs water, or an ultrasonic plate that vibrates to create a cool mist. They are generally safer for homes with children and pets, as they do not produce hot water or steam. They also consume less energy than warm mist types.
- Warm Mist Humidifiers: These boil water to create a warm, sterile mist. They can slightly raise room temperature and kill bacteria in the water before release. However, they use more energy and pose a burn risk.
- Evaporative Humidifiers: These use a fan to draw air through a moistened wick filter, releasing invisible moisture into the air. They are self-regulating, meaning they only release as much moisture as the air can absorb, reducing the risk of over-humidifying.
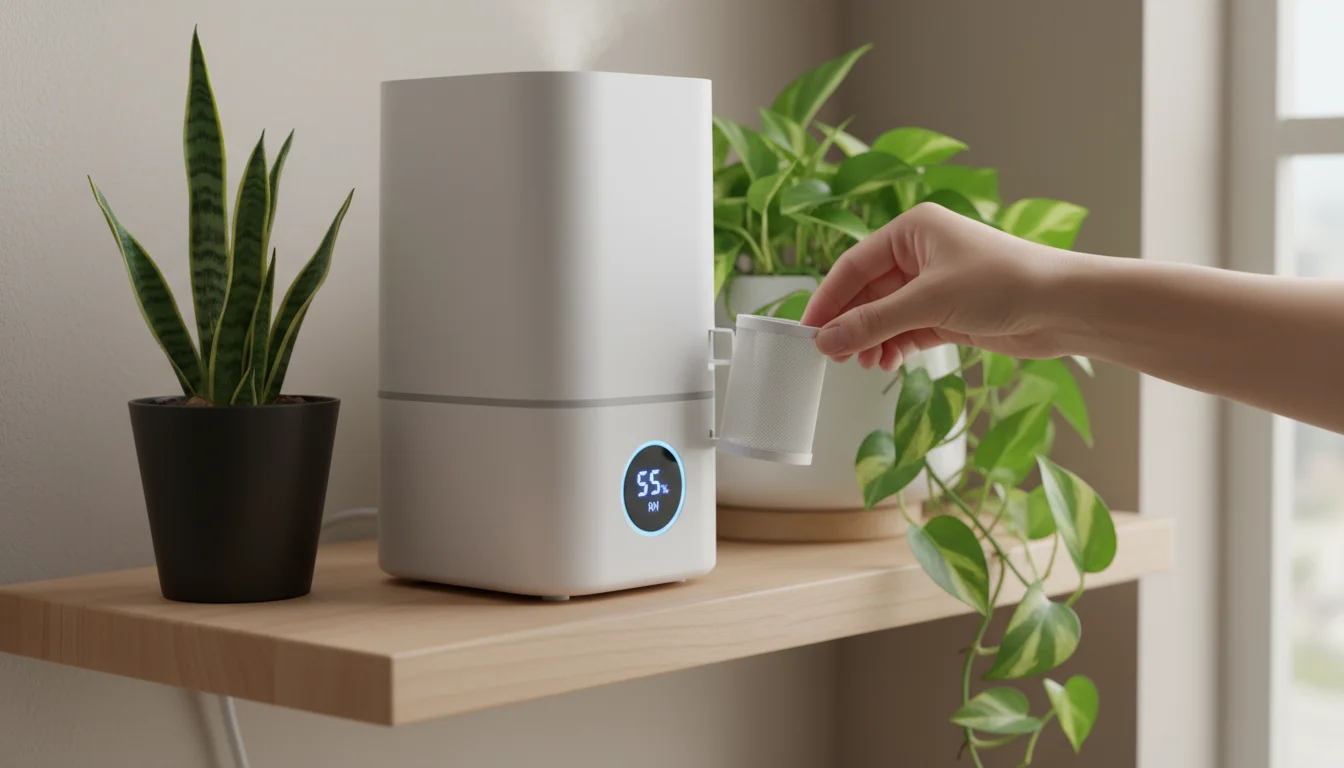
- Ultrasonic Humidifiers: These use high-frequency vibrations to produce a fine, cool mist. They are very quiet and often come with advanced features like adjustable mist output and timers. However, they can sometimes leave white dust if you use hard water.
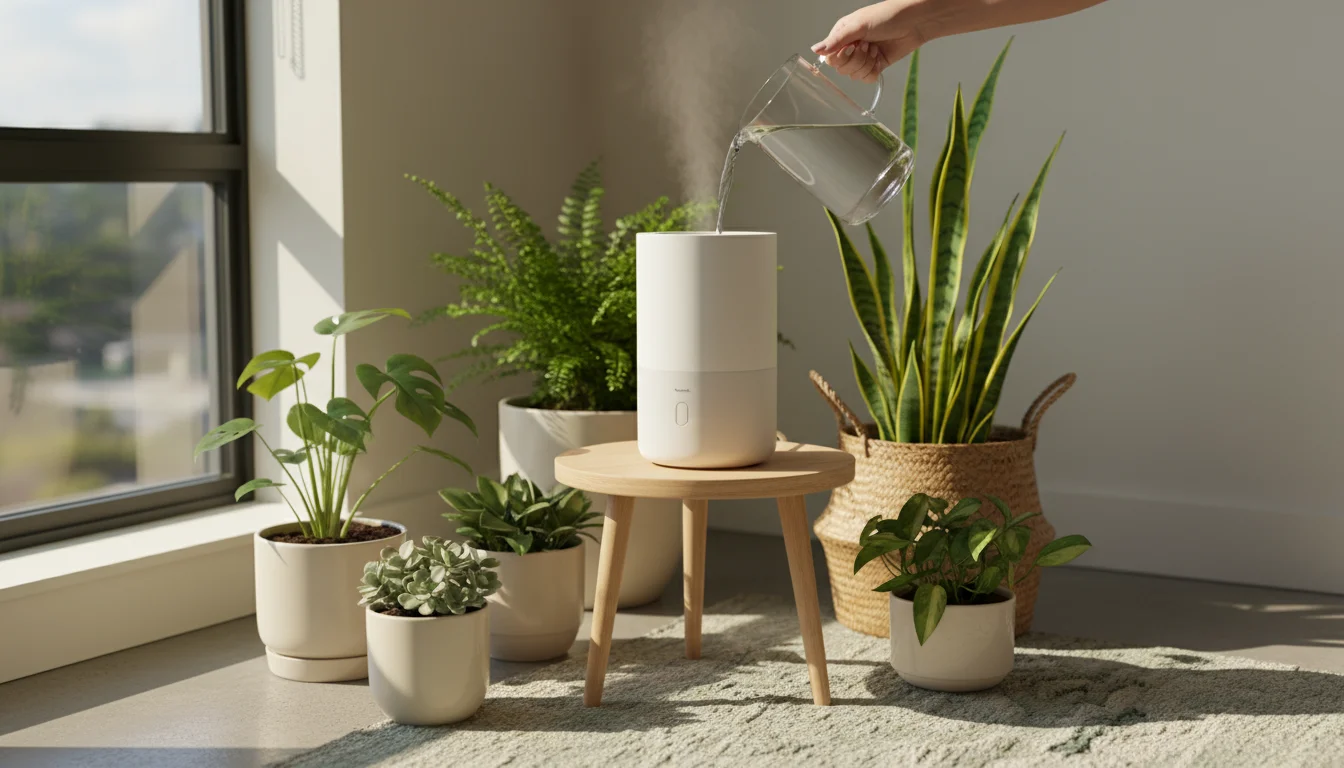
Placement and Maintenance:
Position your humidifier near your cluster of plants, but not so close that the mist directly wets the foliage for prolonged periods. Aim for a central location within your plant display. Clean your humidifier regularly according to the manufacturer’s instructions, typically every few days. This prevents the buildup of mold, bacteria, and mineral deposits, ensuring healthy mist output. Using distilled water can prevent mineral buildup and white dust, especially with ultrasonic models.
Eco-Friendly Considerations:
Choose an energy-efficient model, especially an evaporative or cool mist ultrasonic humidifier, to minimize your electricity consumption. Look for models with an automatic shut-off feature and a built-in humidistat, which maintains a desired humidity level by turning the unit on and off as needed. This conserves energy and prevents over-humidification, which can encourage mold growth. Prioritize models with easily replaceable and washable filters to reduce waste. A well-maintained humidifier provides consistent benefits for your plants and for your home environment, especially when addressing winter plant care.
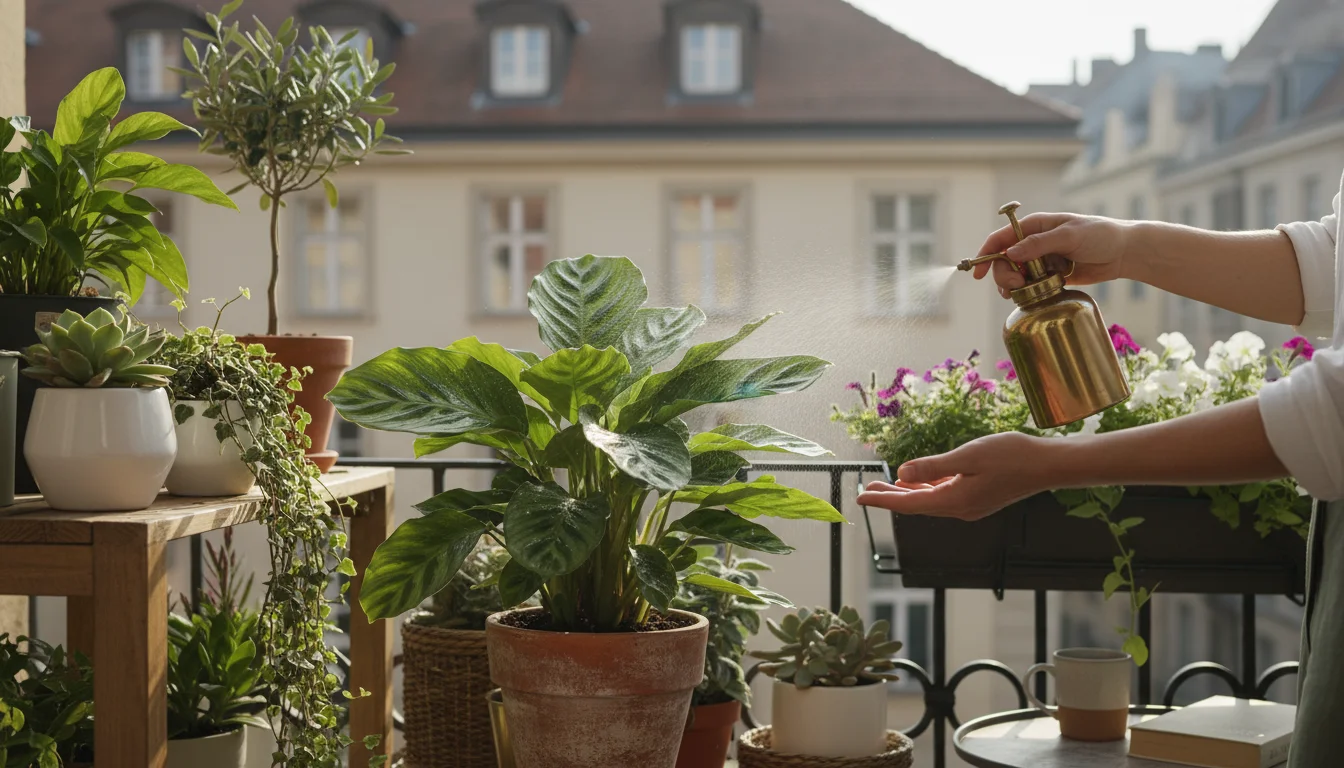
Misting and Other Quick Humidity Boosters
Misting plant foliage provides a quick, temporary boost of humidity, but its effectiveness is often misunderstood. While it feels intuitive to mist, the benefits are short-lived, lasting only as long as the water droplets remain on the leaves, which is usually less than an hour in a dry environment. As the water evaporates, it momentarily increases humidity, but it does not provide the sustained moisture plants need.
While you monitor your humidity levels, you can stay busy with these creative indoor gardening projects perfect for cold days.
However, misting can offer other benefits. It helps clean dust from leaves, allowing for more efficient photosynthesis. For some plants, like ferns and orchids, it can provide a refreshing feel. If you choose to mist, use filtered or distilled water to prevent mineral spots on leaves. Mist in the morning so leaves have time to dry before nightfall, reducing the risk of fungal diseases. Focus on the undersides of leaves where stomata are located.
Other Quick Boosters:
- Pebble Trays (as discussed): These offer a continuous, gentle source of humidity, far more effective than misting alone.
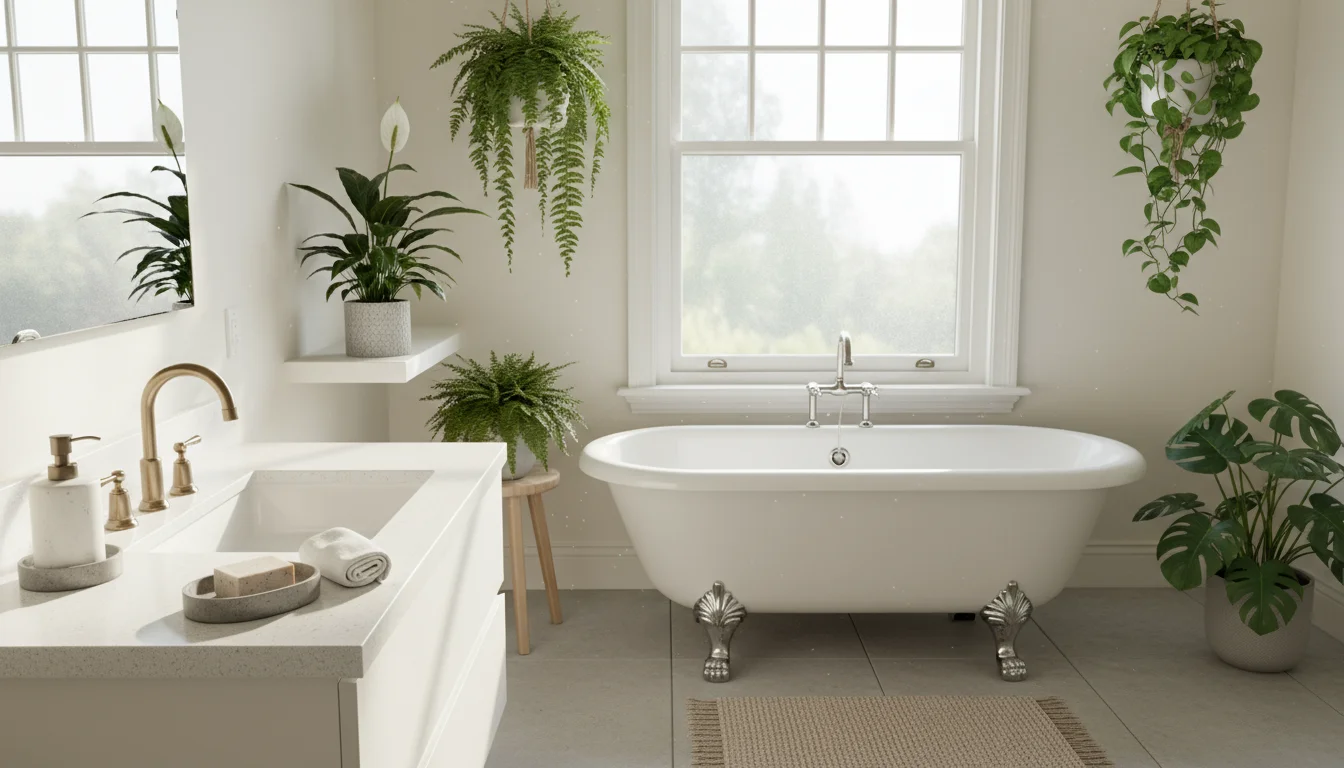
- Placing Plants in Bathrooms: If you have a bright bathroom, it often experiences higher humidity from showers and baths. This can provide a natural, temporary humid environment for some plants. Just ensure adequate light.
- Open Water Containers: Simply placing bowls or vases of water near your plants contributes to ambient humidity as the water evaporates. While not as dramatic as a humidifier, it offers a consistent, passive increase.
- Indoor Water Features: A small tabletop fountain or other water feature can add both aesthetic appeal and a modest humidity boost through evaporation.
Remember that misting should complement other humidity-boosting strategies, not replace them. For sustained indoor plant humidity, rely on methods like humidity trays, grouping, or humidifiers.
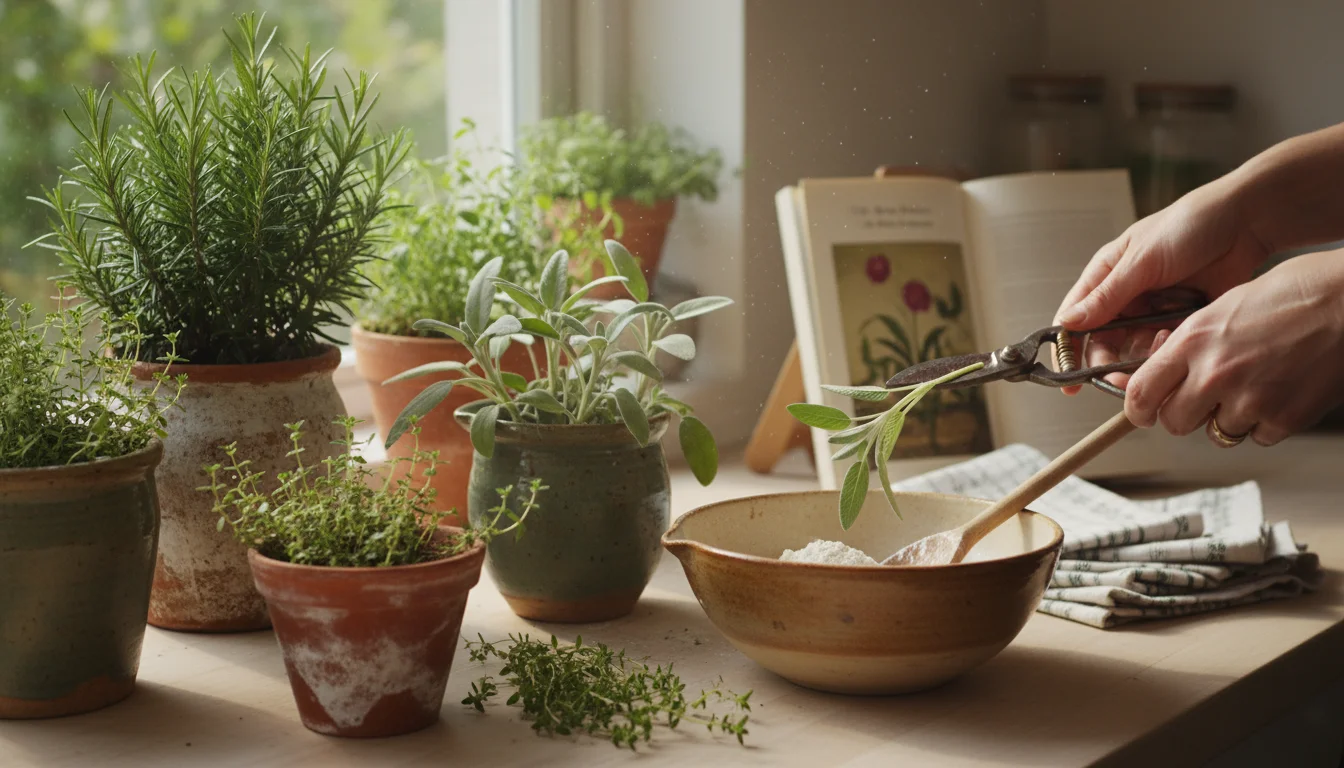
Choosing the Right Plants for Dryer Environments
While many popular houseplants thrive in higher humidity, some tolerate or even prefer drier conditions, making them ideal choices for homes where boosting humidity is a persistent challenge. Understanding which plants adapt best helps you curate a collection that truly flourishes in your space.
Plants Tolerant of Drier Air (Low Humidity Lovers):
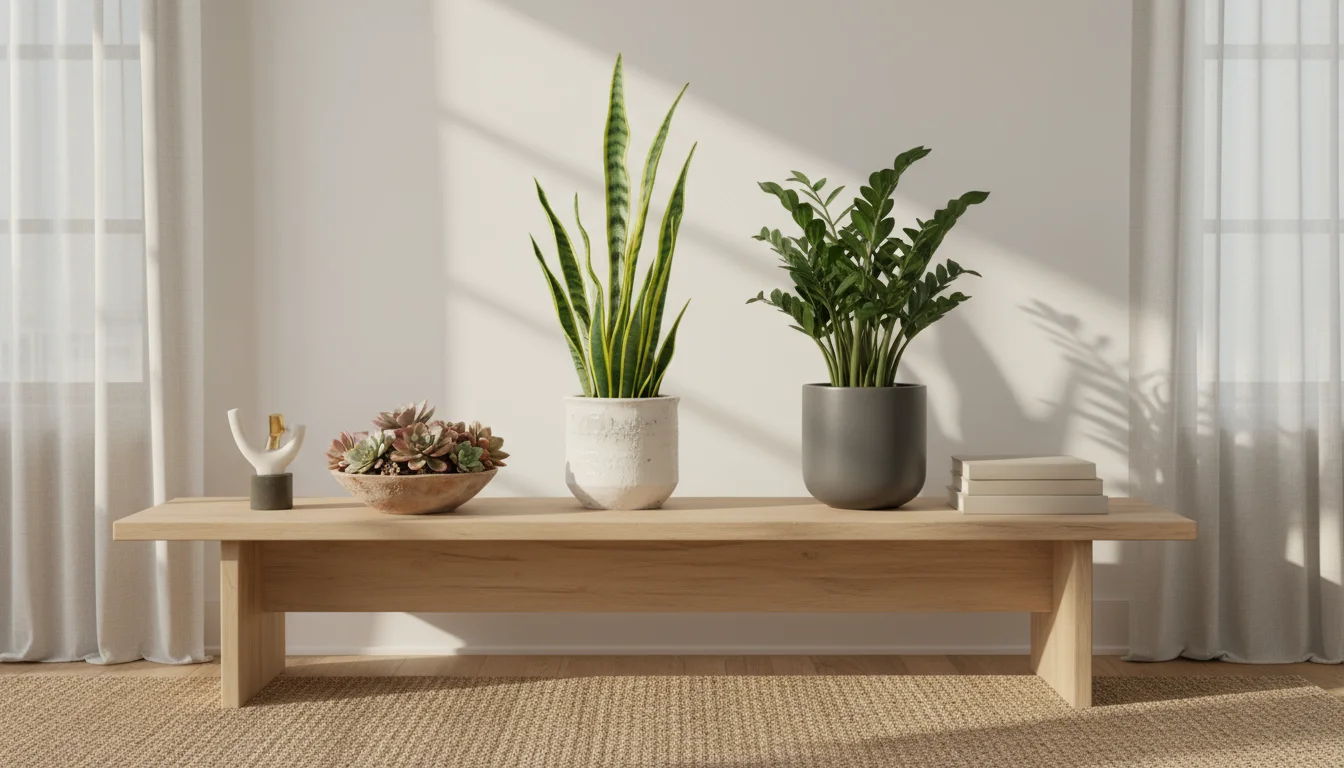
- Cacti and Succulents: These plants are naturally adapted to arid environments, storing water in their leaves and stems. They require very little humidity and too much can even harm them.
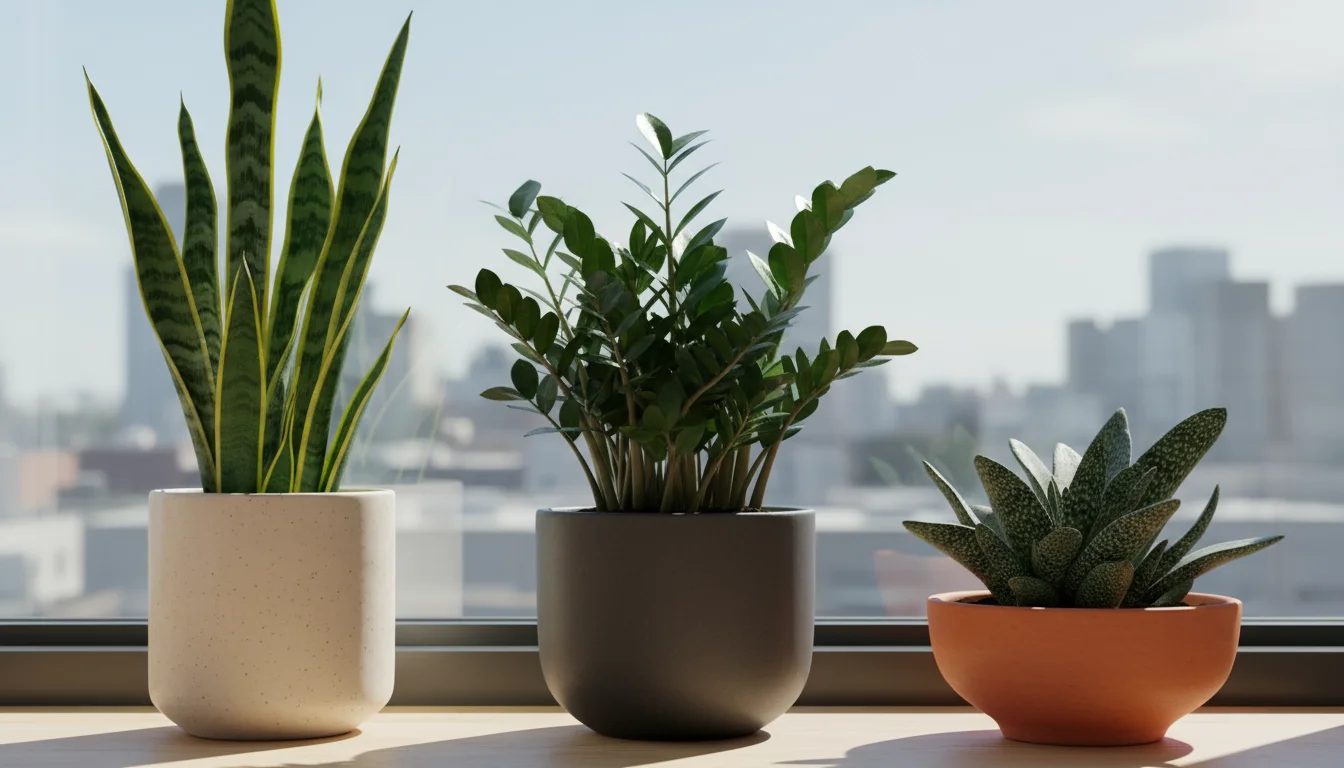
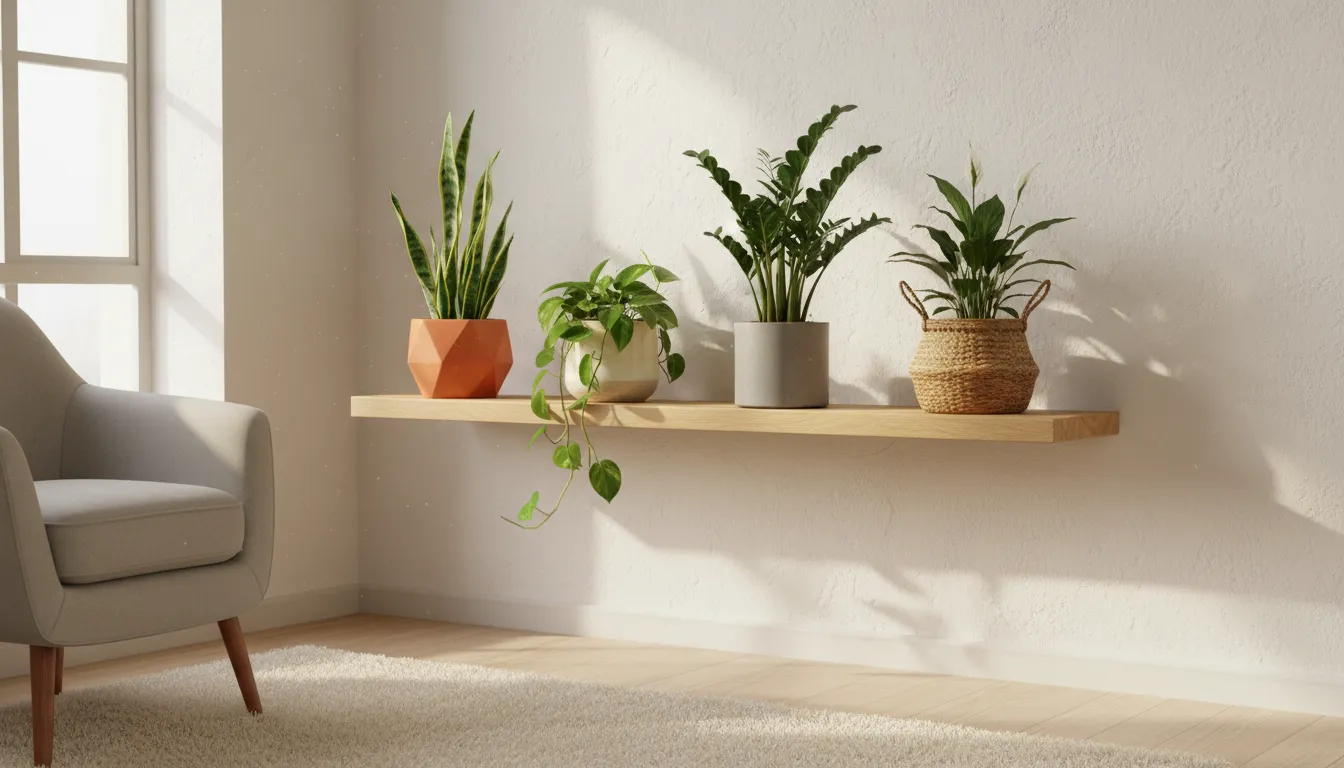
- Snake Plant (Sansevieria): Extremely hardy and tolerant of a wide range of conditions, including low humidity.
- ZZ Plant (Zamioculcas zamiifolia): Another low-maintenance superstar that handles dry air with ease.
- Pothos (Epipremnum aureum): While they appreciate humidity, Pothos are quite forgiving and can adapt to lower moisture levels.
- Spider Plant (Chlorophytum comosum): Generally adaptable, although extremely dry air can cause brown tips.
- Cast Iron Plant (Aspidistra elatior): Lives up to its name, tolerating neglect and dry conditions remarkably well.
- Aloe Vera: A succulent that thrives in dry, sunny spots.

Plants that Demand High Humidity (Humidity Seekers):
These plants will especially benefit from your microclimate efforts or a dedicated humidifier. They are the ones most likely to show symptoms of houseplants dry air distress.
- Ferns (e.g., Boston Fern, Maidenhair Fern): Famous for their love of moisture.
- Calatheas and Marantas (Prayer Plants): Their thin, delicate leaves quickly show crispy edges in dry air.
- Orchids (Phalaenopsis, Oncidium): Many popular orchid varieties require high humidity to bloom and remain healthy.
- Alocasias and Colocasias: Known for their large, dramatic leaves, they need consistent humidity.
- Fittonia (Nerve Plant): A compact plant that wilts dramatically without sufficient humidity.
- Peace Lily (Spathiphyllum): While adaptable, they perform much better with higher humidity, showing healthier foliage and more consistent blooms.
- Carnivorous Plants (e.g., Venus Flytrap, Pitcher Plants): These often come from boggy environments and demand very high humidity.
Consider your home’s natural environment and your willingness to create microclimates when selecting plants. Matching plants to your conditions ensures greater success and enjoyment.
Troubleshooting and Common Mistakes
Even with the best intentions, you might encounter challenges or make mistakes when trying to boost humidity. Here is how to troubleshoot common issues and avoid pitfalls:
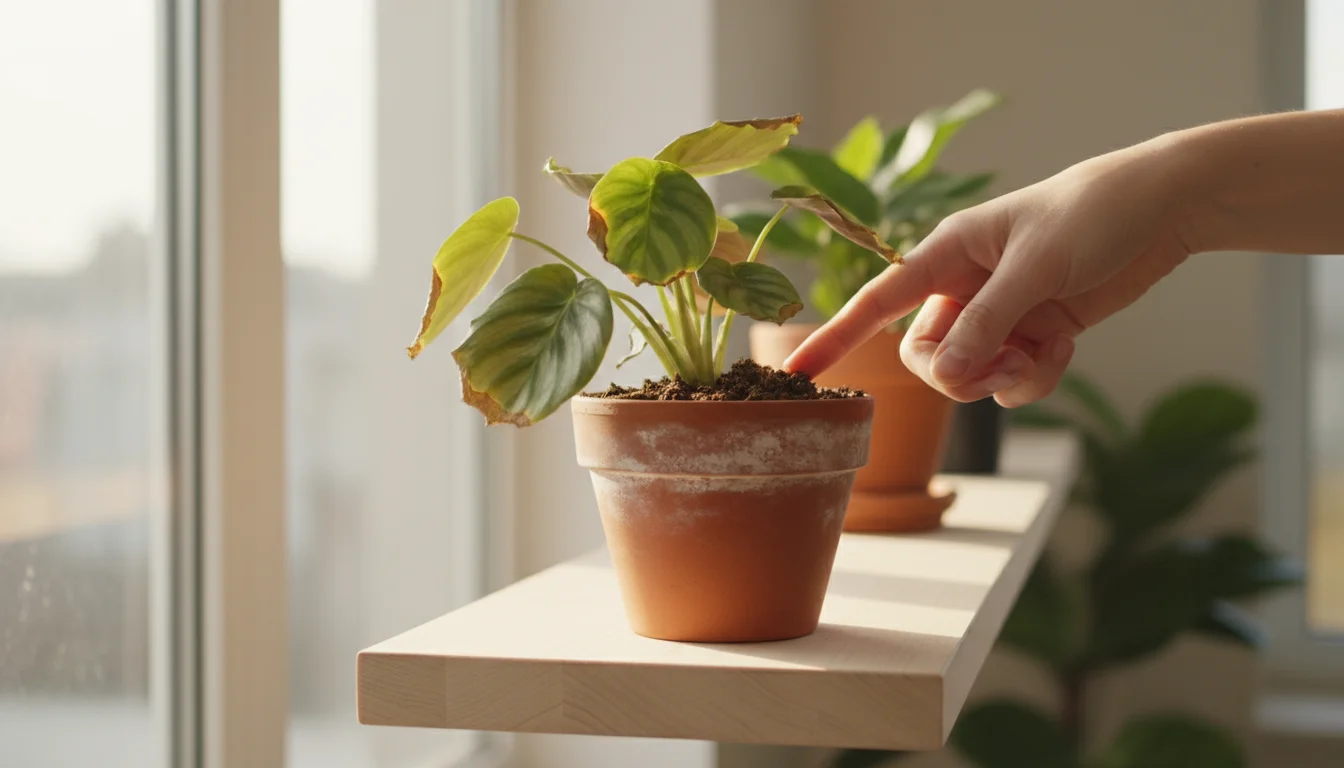
- Overwatering in Response to Dry Air Symptoms: A common mistake involves increasing watering when leaves show brown, crispy tips. These symptoms often mimic underwatering, but the true cause is dry air. Overwatering a plant already struggling with low humidity can lead to root rot, as the plant cannot transpire efficiently and thus uses less water. Always check soil moisture before watering. Stick your finger about an inch or two into the soil; water only if it feels dry.
- Stagnant Air and Fungal Issues: While you aim for higher humidity, you still need good air circulation. Too much stagnant, humid air encourages fungal diseases like powdery mildew or botrytis. Ensure you provide gentle air movement. A small fan set on a low setting, not directly blowing on plants, can help circulate air in a densely planted area. Open a window for a few minutes on a mild day.
- White Dust from Ultrasonic Humidifiers: If you use an ultrasonic humidifier and notice white powdery residue on leaves or furniture, hard water is the culprit. The humidifier atomizes minerals present in tap water. Switch to distilled water or filtered water to eliminate this issue.
- Inconsistent Humidity: Fluctuations in humidity levels, where it is high one day and very low the next, can stress plants as much as consistently low humidity. Aim for consistent practices. Refill humidity trays daily and keep humidifiers running on a schedule or with a humidistat.
- Pest Infestations in Dry Conditions: Dry air often weakens plants, making them more susceptible to common indoor pests, particularly spider mites. These tiny arachnids thrive in dry, warm conditions. Inspect your plants regularly, especially the undersides of leaves, for signs of pests. Maintain good hygiene by wiping leaves clean and isolating new plants before introducing them to your collection.
- Misinterpreting Plant Needs: Not all plants need high humidity. As discussed, cacti and succulents prefer dry air. Providing excessive humidity to these plants can cause problems like rot. Always research your specific plant’s needs.
By understanding these potential issues, you can refine your plant care practices and ensure your efforts to create microclimates genuinely benefit your houseplants. Consistent attention and observation remain your best tools for success in winter plant care.
Frequently Asked Questions
What is the ideal humidity level for most houseplants?
Most common houseplants, especially tropical varieties, thrive in relative humidity levels between 50 percent and 70 percent. While some can tolerate slightly lower, consistent levels below 40 percent generally cause stress and visible symptoms of dry air. A hygrometer helps you accurately measure your indoor humidity.
Can I use a smart plug with my humidifier?
Yes, you can use a smart plug with most basic humidifiers. This allows you to set schedules, integrate with smart home routines, and control the humidifier remotely via an app. However, if your humidifier has an internal humidistat, it might conflict with the smart plug’s on/off cycling. For optimal results, use a humidifier with a built-in humidistat or pair a smart plug with an external smart hygrometer for precise control.
Are terrariums good for increasing humidity?
Terrariums are excellent for creating high-humidity microclimates. Closed terrariums effectively trap moisture, maintaining near 100 percent humidity, ideal for humidity-loving plants like ferns, mosses, and some carnivorous plants. Open terrariums offer a less dramatic increase but still provide a localized boost compared to ambient room air.
How often should I clean a humidity tray?
Clean your humidity tray every two to four weeks, or more frequently if you notice algae growth or mineral buildup. Empty the water, scrub the pebbles and tray with warm, soapy water, and rinse thoroughly. This prevents bacterial or algal growth, ensuring a healthy environment for your plants and preventing foul odors. Always use fresh water when refilling.
Creating microclimates for your houseplants ensures they remain vibrant and healthy, even in the driest winter apartment. You do not need a greenhouse to provide the humidity your plants crave. By implementing these practical, actionable steps, from strategically placing plants away from heater vents to utilizing humidity trays and grouping, you transform your living space into a thriving sanctuary. Embrace these techniques, and watch your green companions flourish year-round. Happy gardening!
For trustworthy gardening information, visit: Michigan State University Extension — Gardening, University of Wisconsin Extension — Horticulture, Iowa State University Extension — Yard & Garden, Washington State University Hortsense and University of Minnesota Extension. These organizations provide expert, research-based advice for gardeners at all levels.
Disclaimer: This article is for informational purposes only and is not a substitute for professional gardening advice. Always consult local extension services or horticulture experts for region-specific guidance.

Leave a Reply