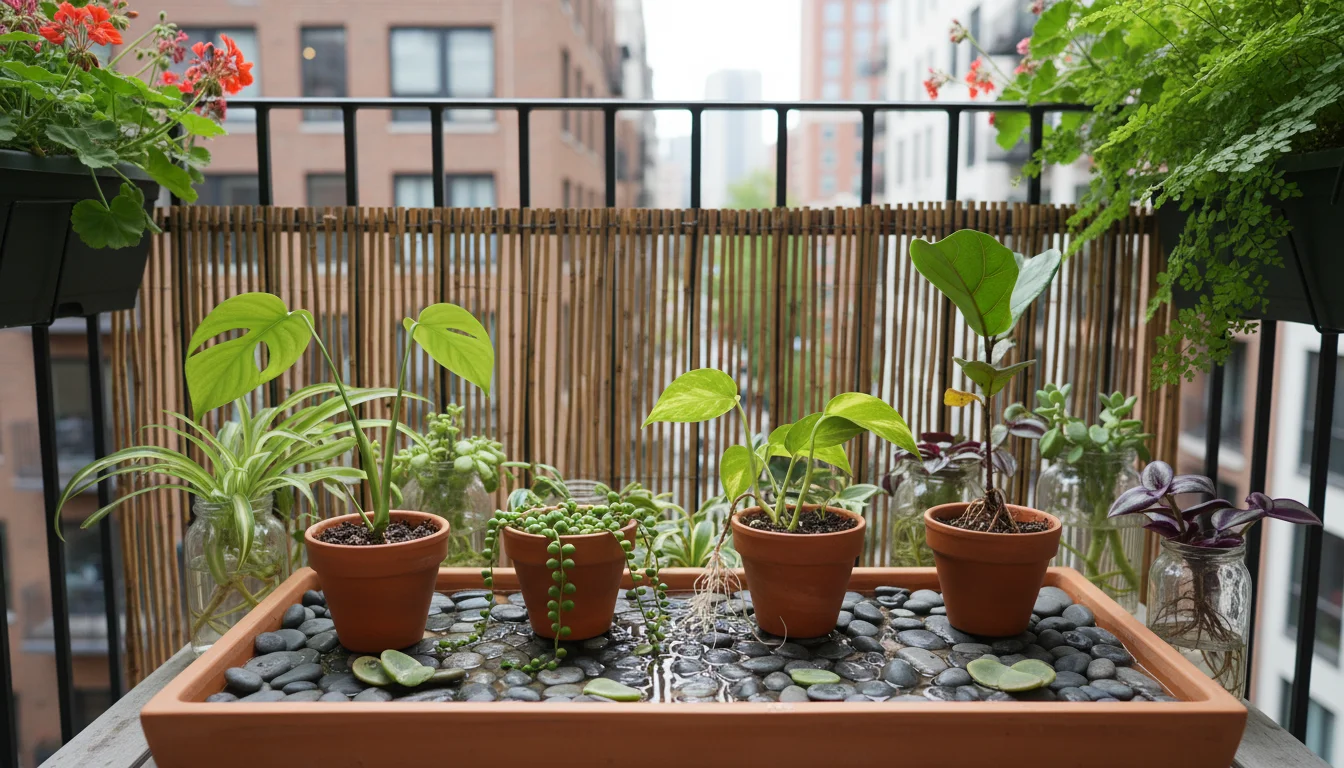
Expanding your indoor plant collection does not require constant trips to the nursery. You can easily multiply your favorite houseplants, creating new specimens from existing ones. This practice, known as plant propagation, offers a rewarding, sustainable, and budget-friendly way to fill your home with greenery, especially for those living in compact spaces. It allows you to share plants with friends, replace declining specimens, or simply grow new plants for yourself, all while deepening your understanding of plant life cycles.
If you are looking for unique additions to your indoor garden, consider exploring some rare houseplants worth collecting.
Learning how to propagate plants transforms you into a more confident and self-sufficient plant parent. You will discover the resilience of your plants and unlock an endless supply of green companions. This guide provides practical, actionable insights for beginner and intermediate plant keepers, ensuring your efforts to grow new plants are successful and enjoyable.
Why Propagate Your Houseplants?
Propagating your houseplants offers numerous benefits beyond simply increasing your plant count. You gain a deeper connection to your plants by observing their growth cycles and assisting in their reproduction. This process helps you understand your plants at a fundamental level, making you a more knowledgeable and intuitive gardener.
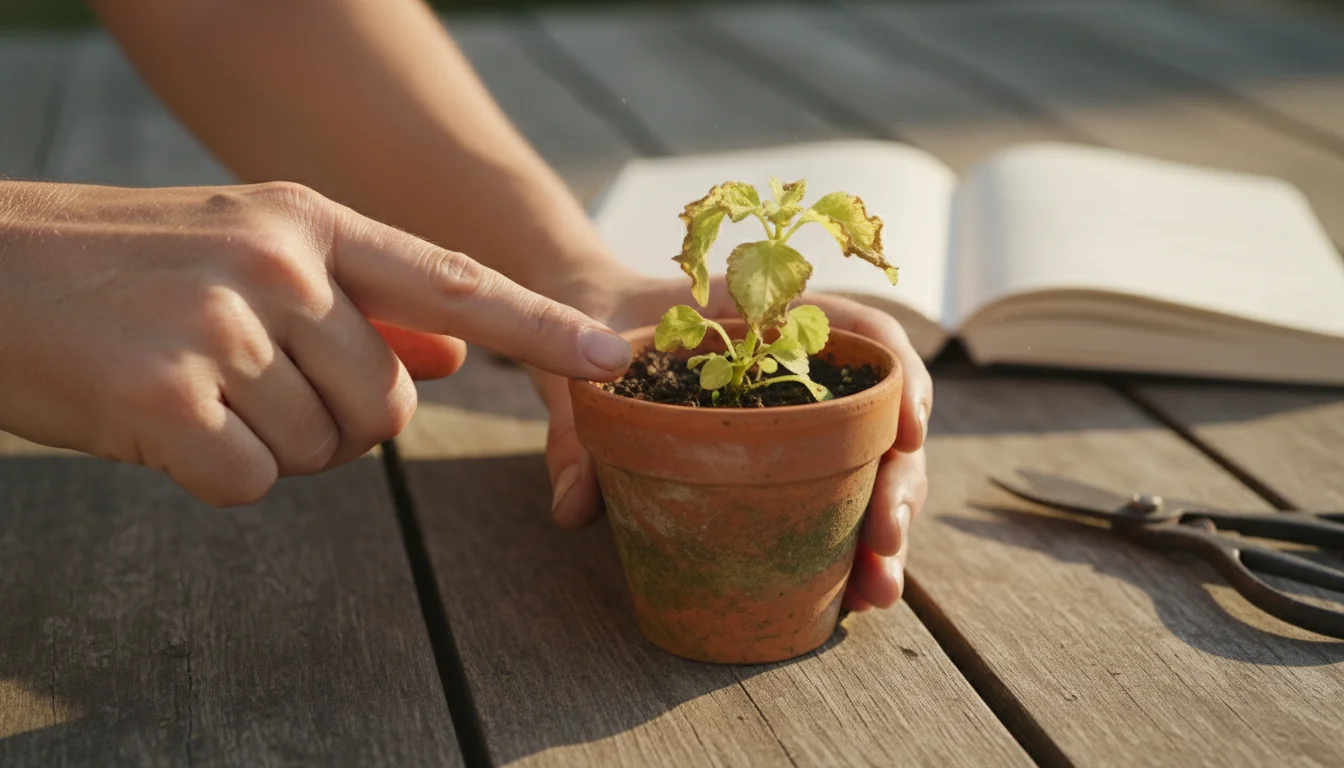
Regular maintenance, such as pruning to shape and maintain plants, often provides the perfect opportunity to gather healthy cuttings.
- Cost Savings: Instead of buying new plants, you create them for free. This significantly reduces your gardening expenses, allowing you to grow a vibrant collection without financial strain.
- Sharing and Gifting: Propagated plants make thoughtful, personalized gifts. Share your plant bounty with friends, family, or fellow plant enthusiasts, spreading green joy and fostering community.
- Replacing and Refreshing: When a favorite plant becomes leggy, overgrown, or shows signs of decline, you can take cuttings to create a rejuvenated version. This ensures the plant’s legacy continues, even if the parent plant eventually fades. It also helps manage plant size in small spaces.
- Learning and Experimentation: Propagation is a hands-on learning experience. You experiment with different methods, observe root development, and gain a practical understanding of plant biology. This builds confidence and provides a rewarding sense of accomplishment.
- Environmental Sustainability: By propagating existing plants, you reduce the demand for commercially grown plants, which often travel long distances and contribute to carbon emissions. You also decrease waste by using cuttings that might otherwise be discarded. Using recycled materials for propagation further enhances this sustainable approach.
- Space Management: For apartment dwellers, propagation offers a clever way to keep plant sizes manageable. You can take cuttings from a large plant, creating smaller versions that fit your compact living area.
The satisfaction of watching a tiny cutting develop roots and grow into a full-fledged plant is immense. This simple act transforms you into a creator, connecting you more intimately with the natural world right inside your home. It proves that gardening does not require vast outdoor spaces. You can cultivate a thriving, expanding garden right on your windowsill or shelf.
Understanding Propagation Methods
Various methods exist for propagating plants, each suited to different plant types and offering unique advantages. Understanding these methods helps you choose the most effective approach for your specific plant. Most houseplants fall into categories that respond well to vegetative propagation, which involves taking a piece of the parent plant to grow a genetically identical new one.
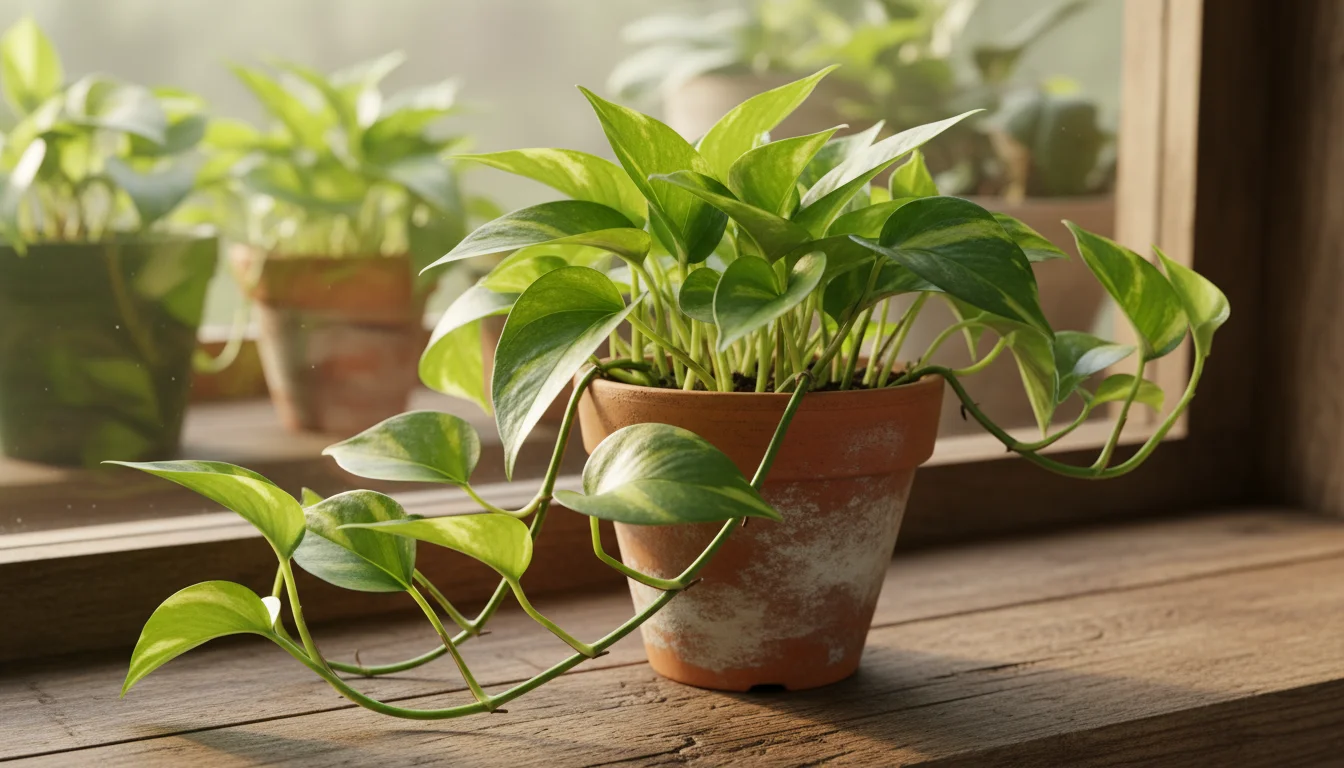
- Stem Cuttings: This is arguably the most common and easiest method for many houseplants. It involves taking a section of a stem that includes at least one node, the point where leaves or branches emerge. Many popular plants like Pothos, Philodendron, and Monstera root readily from stem cuttings.
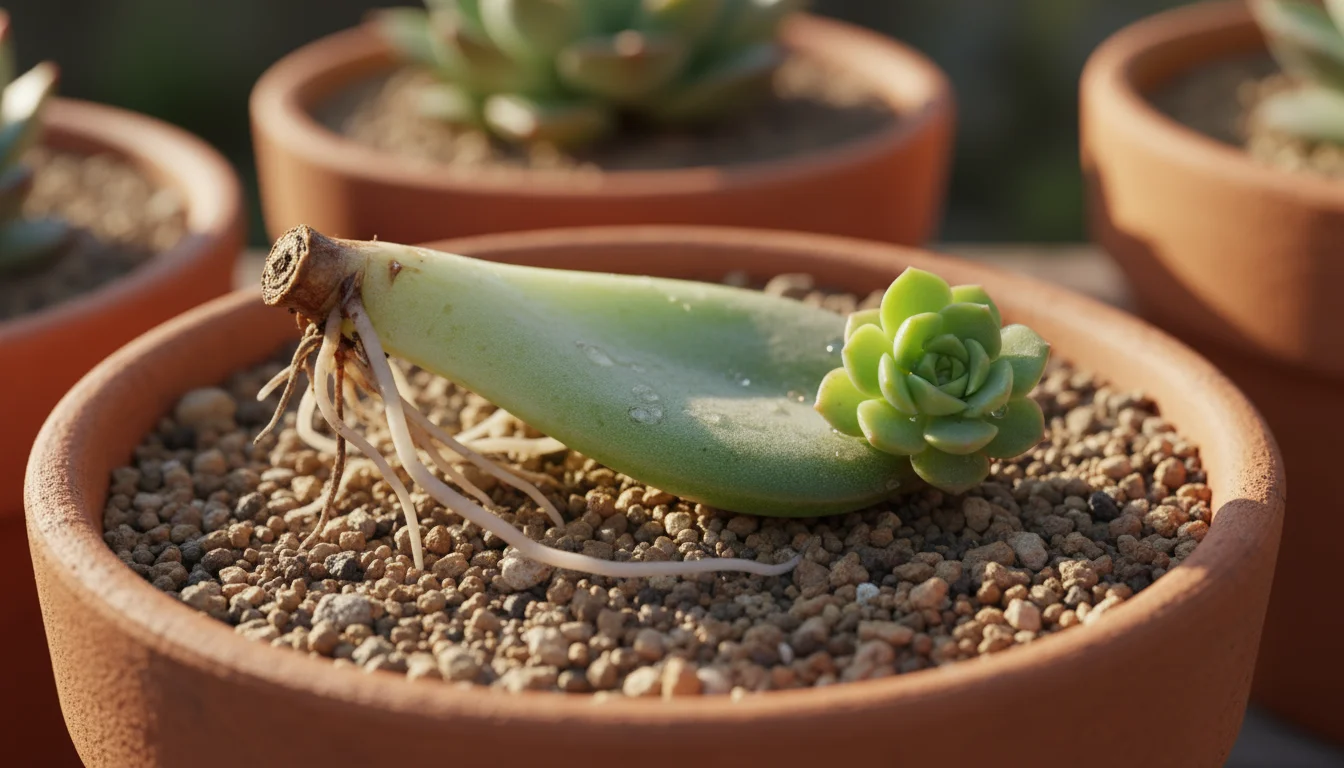
- Leaf Cuttings: Certain plants can grow an entirely new plant from a single leaf. Succulents, such as Sedum and Echeveria, are excellent candidates for leaf propagation, as are African Violets and Sansevieria. This method often requires more patience, but yields charming results.
- Division: For plants that grow in clumps, like Snake Plants (Sansevieria) or certain Ferns, dividing the root ball is a straightforward way to create new plants. You simply separate the plant into smaller sections, ensuring each section has roots and some foliage.
- Air Layering: This method involves encouraging roots to form on a stem while it is still attached to the parent plant. It works well for larger, woody plants like Ficus or Dracaena. While more advanced, it offers a high success rate for establishing larger new plants.
- Offsets/Pups: Some plants naturally produce “babies” or “pups” at their base or along stolons. Spider Plants, Aloe Vera, and many succulents are examples. You simply detach these offsets and plant them as new individuals.
For most indoor gardeners focused on common houseplants and ease of use, stem cuttings, leaf cuttings, and division will be your primary go-to methods. These techniques do not require specialized equipment and generally yield high success rates with minimal effort.

Essential Tools and Supplies for Successful Propagation
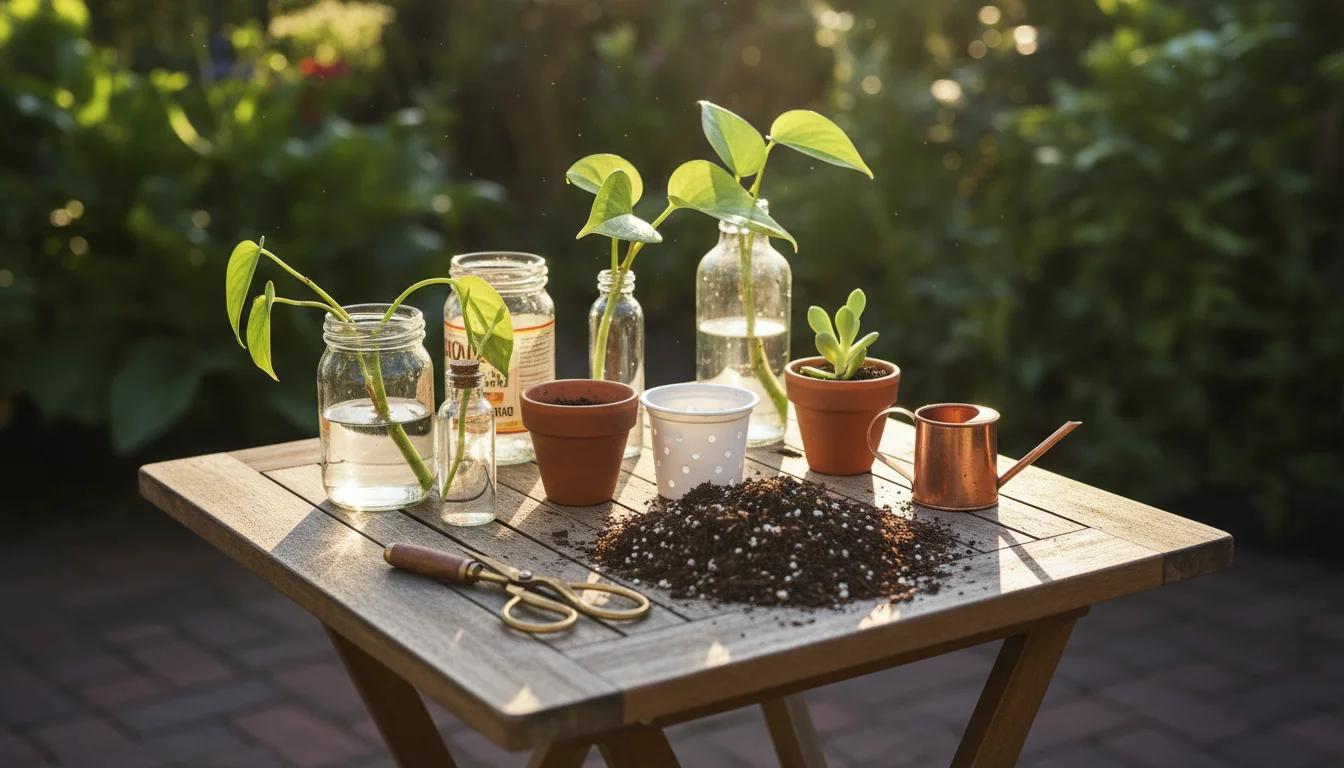
Successful plant propagation begins with having the right tools and supplies. You do not need an extensive collection of expensive equipment. A few basic items ensure clean cuts, healthy rooting, and a smooth process. Prioritizing cleanliness is crucial to prevent the spread of diseases and maximize your success rate.
If you enjoy the challenge of starting from the very beginning, you might also try starting common houseplants from seed during the slower winter months.
Key Tools:
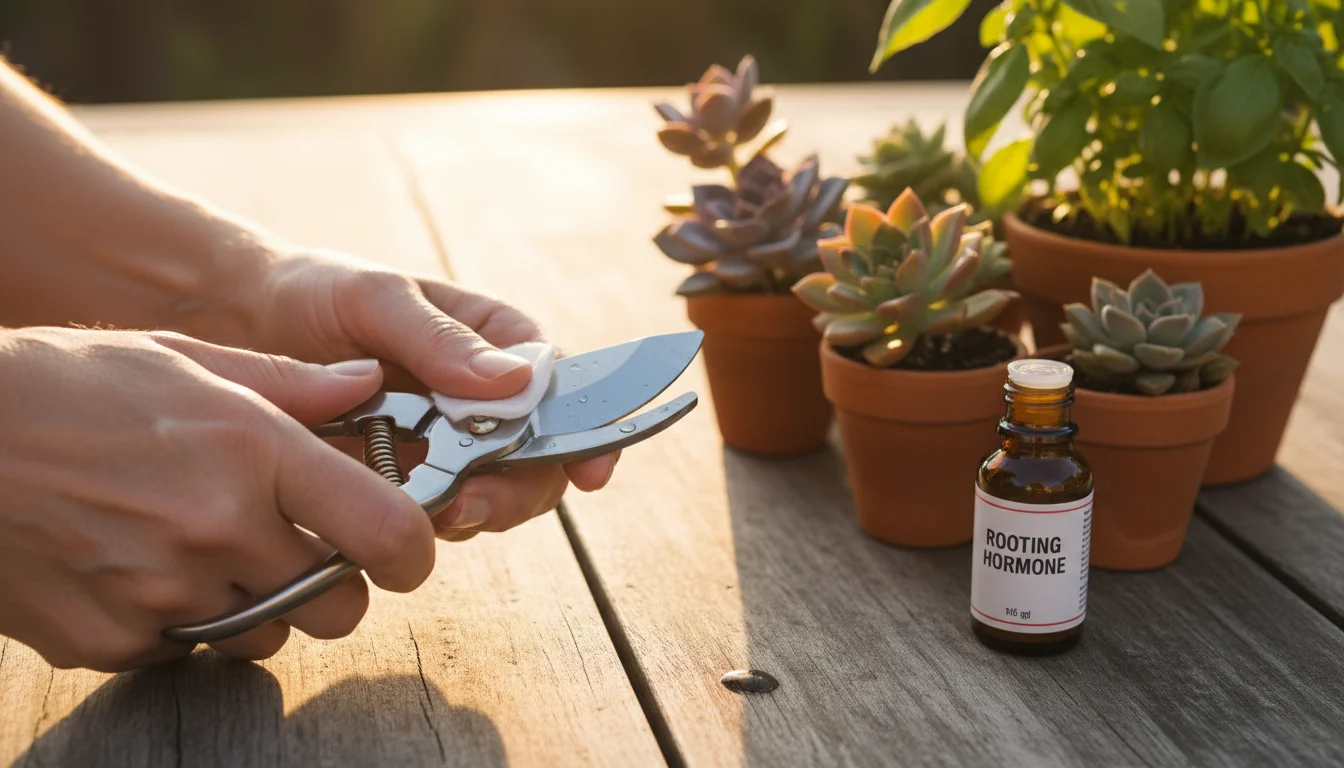
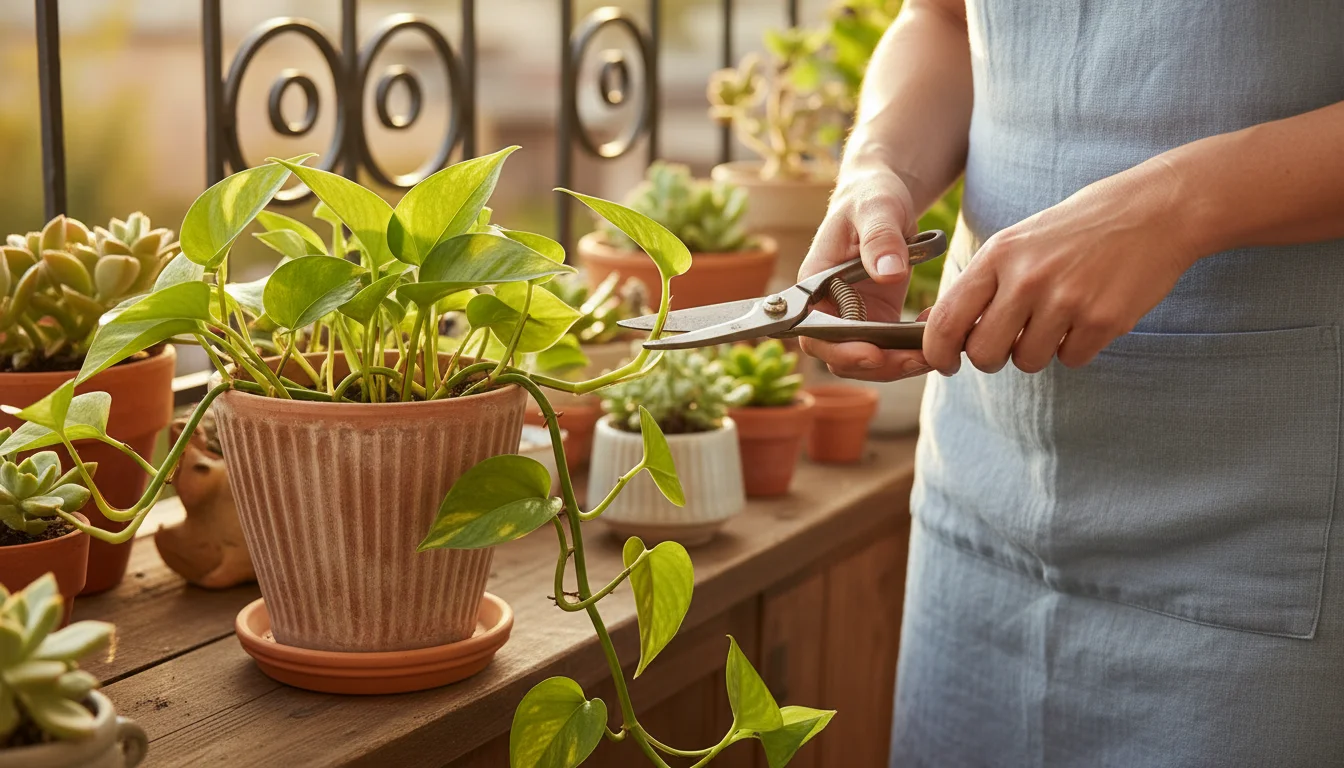
- Sharp Scissors or Pruning Shears: A clean, sharp cut minimizes damage to the parent plant and the cutting, promoting faster healing and reducing the risk of infection. Use small, sharp scissors for delicate stems and pruning shears for thicker ones.
- Rubbing Alcohol: Always sterilize your cutting tools before and after each use. A quick wipe with a cotton pad soaked in rubbing alcohol prevents the transfer of pests or diseases between plants.
- Rooting Hormone (Optional, but Recommended): Rooting hormone, available in powder or gel form, contains auxins that encourage root development. While many plants root without it, applying a small amount to the cut end of your stem or leaf cutting can significantly increase success rates and speed up rooting, particularly for more challenging species.
Supplies for Rooting:
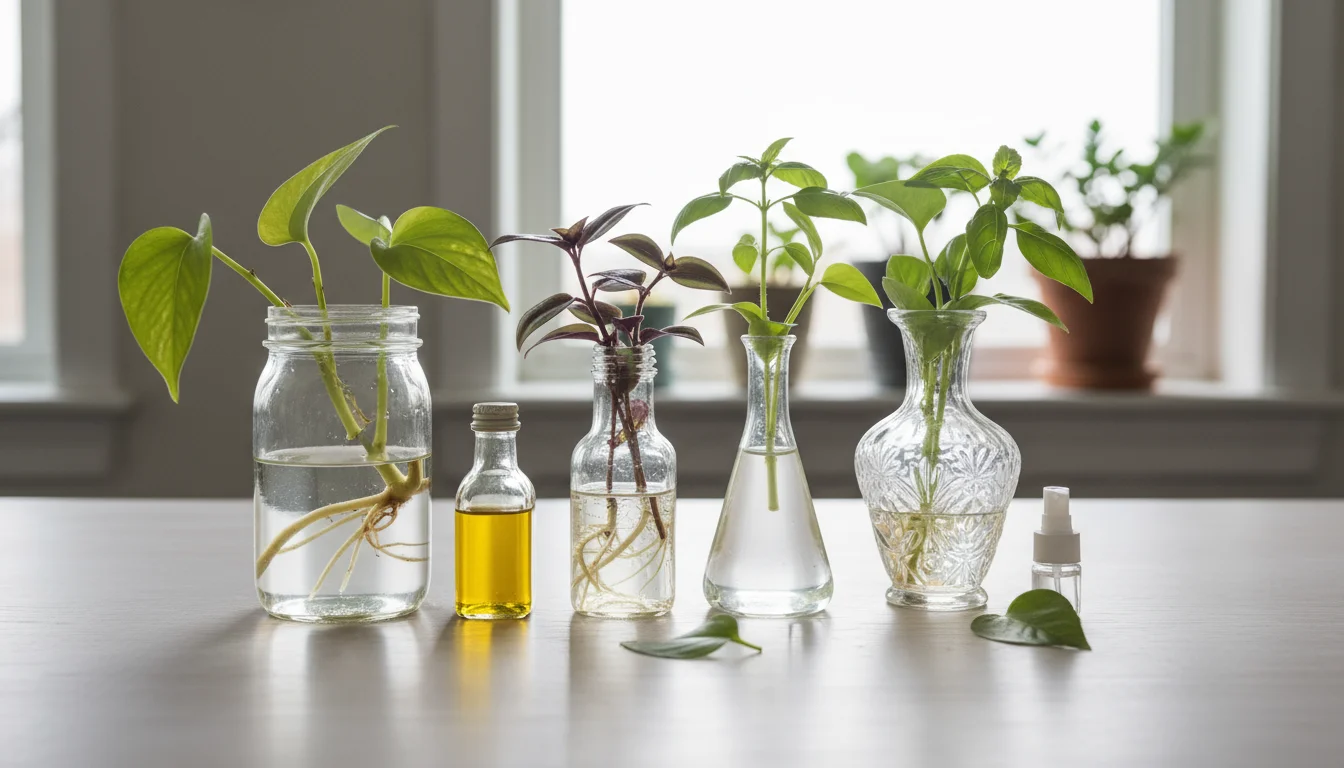
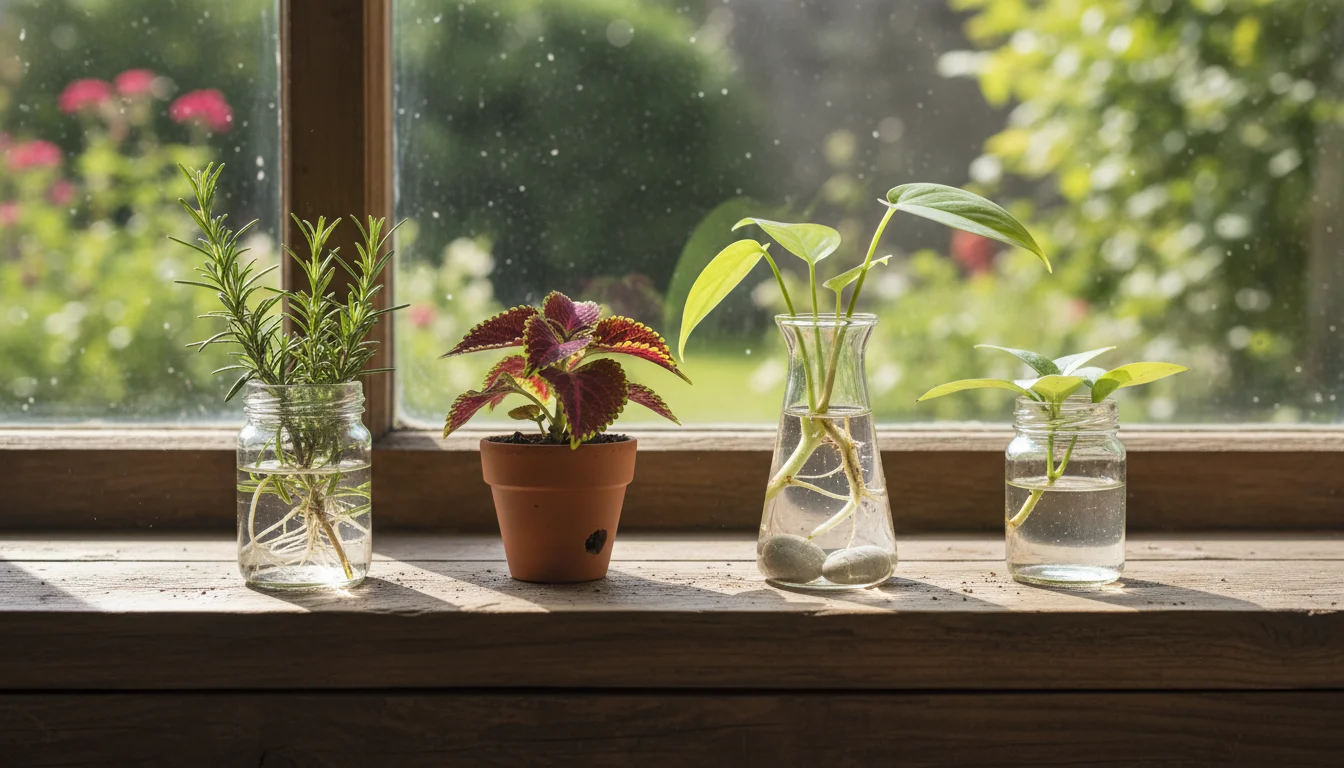
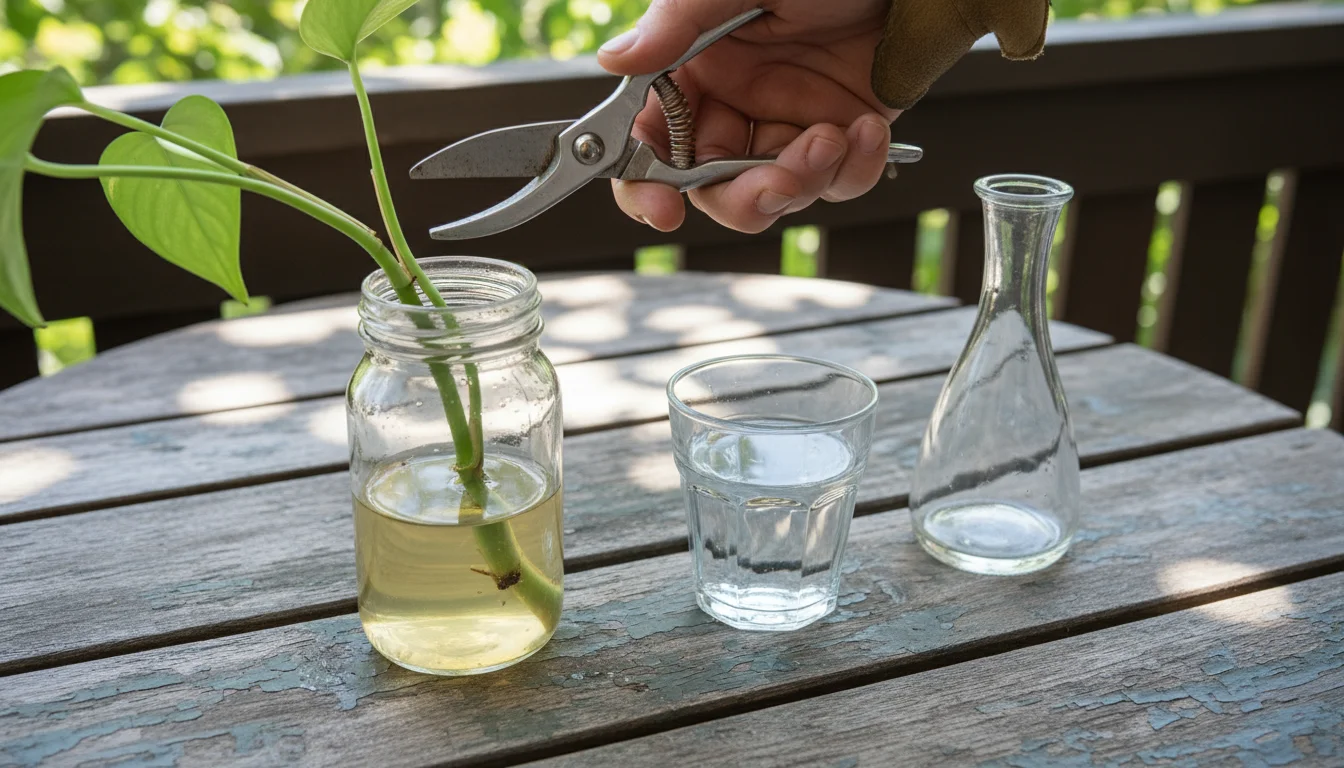
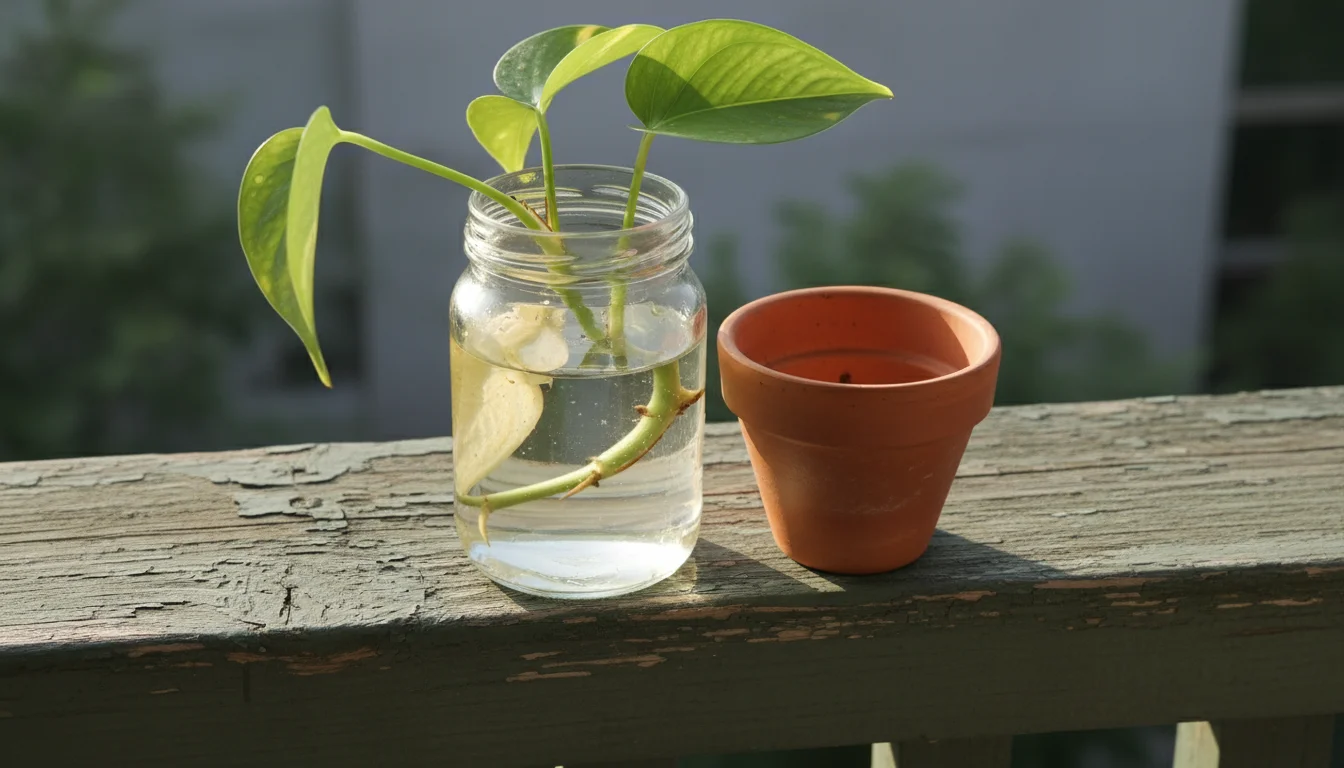
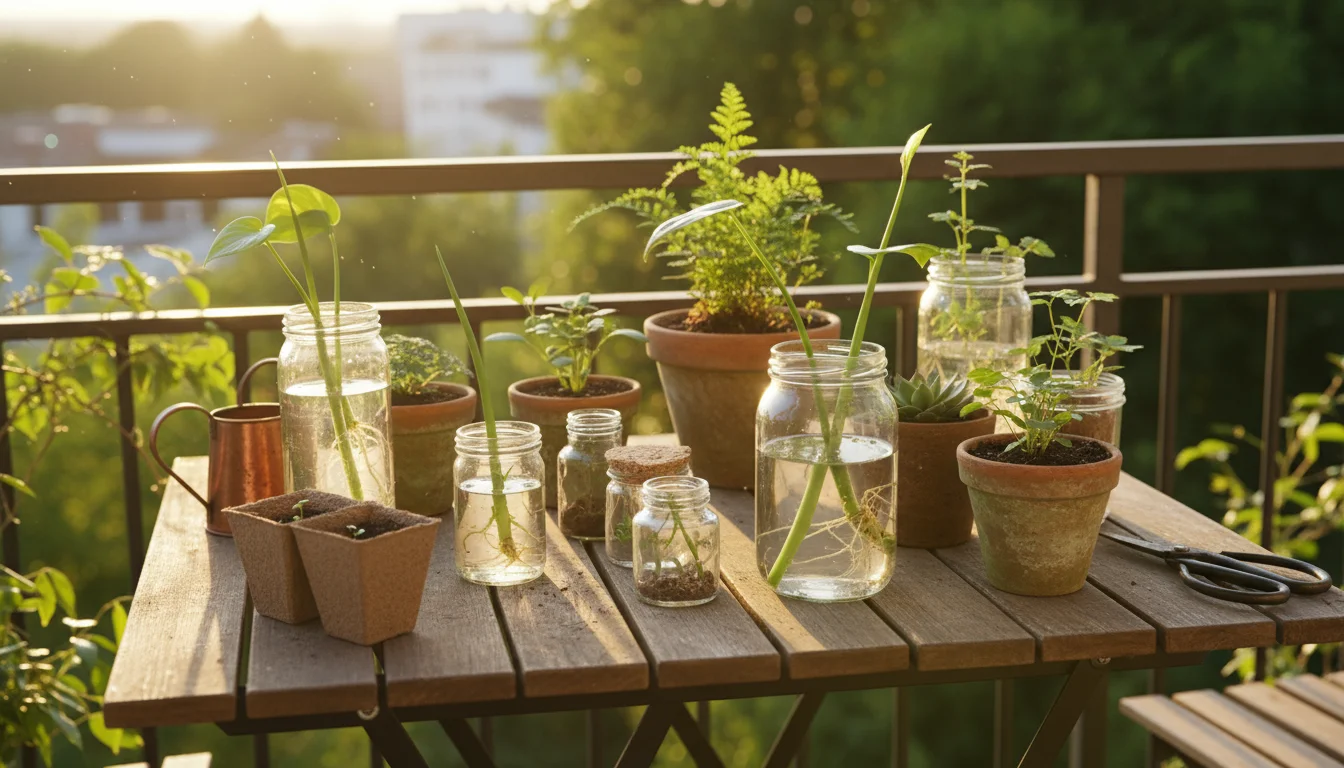
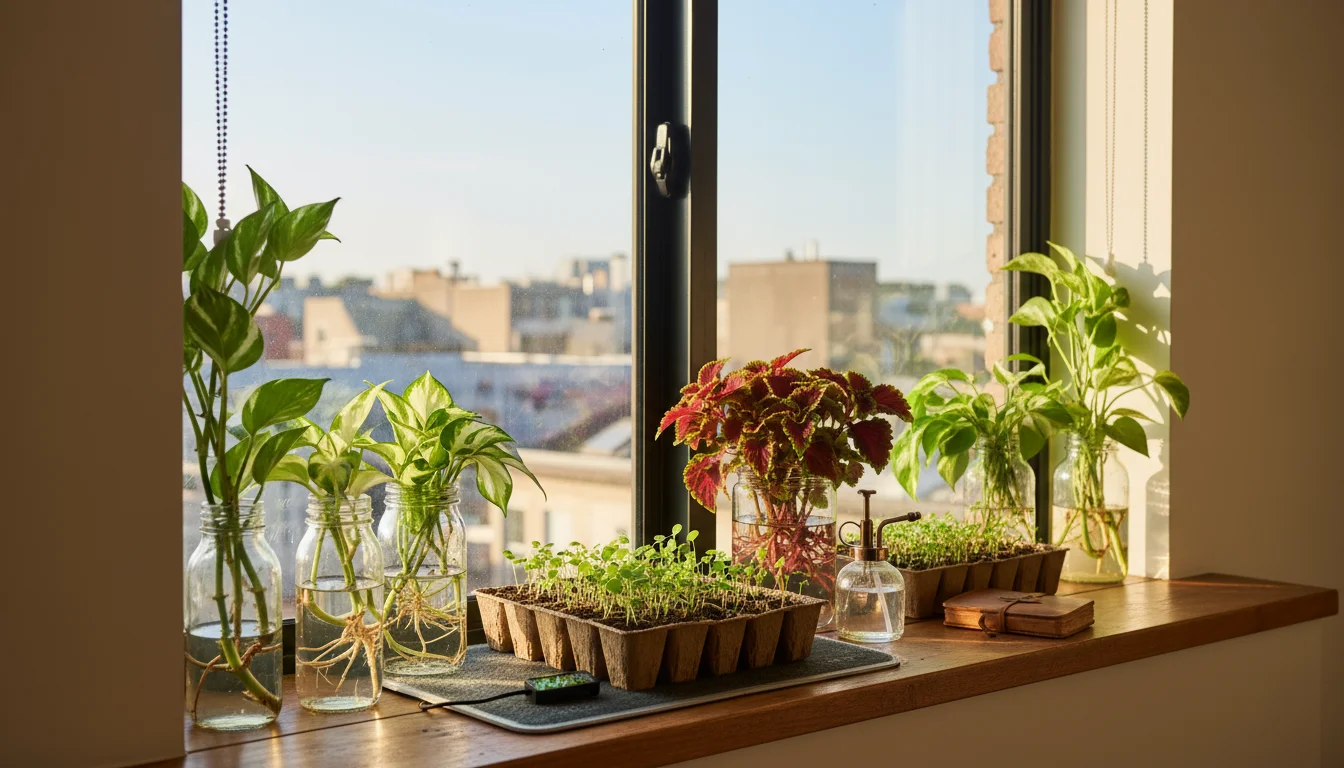
- Small Containers for Water Propagation: Clear glass jars, bottles, or small vases work perfectly. Transparency allows you to monitor root development easily. Repurpose old glass food jars to practice eco-friendly propagation.
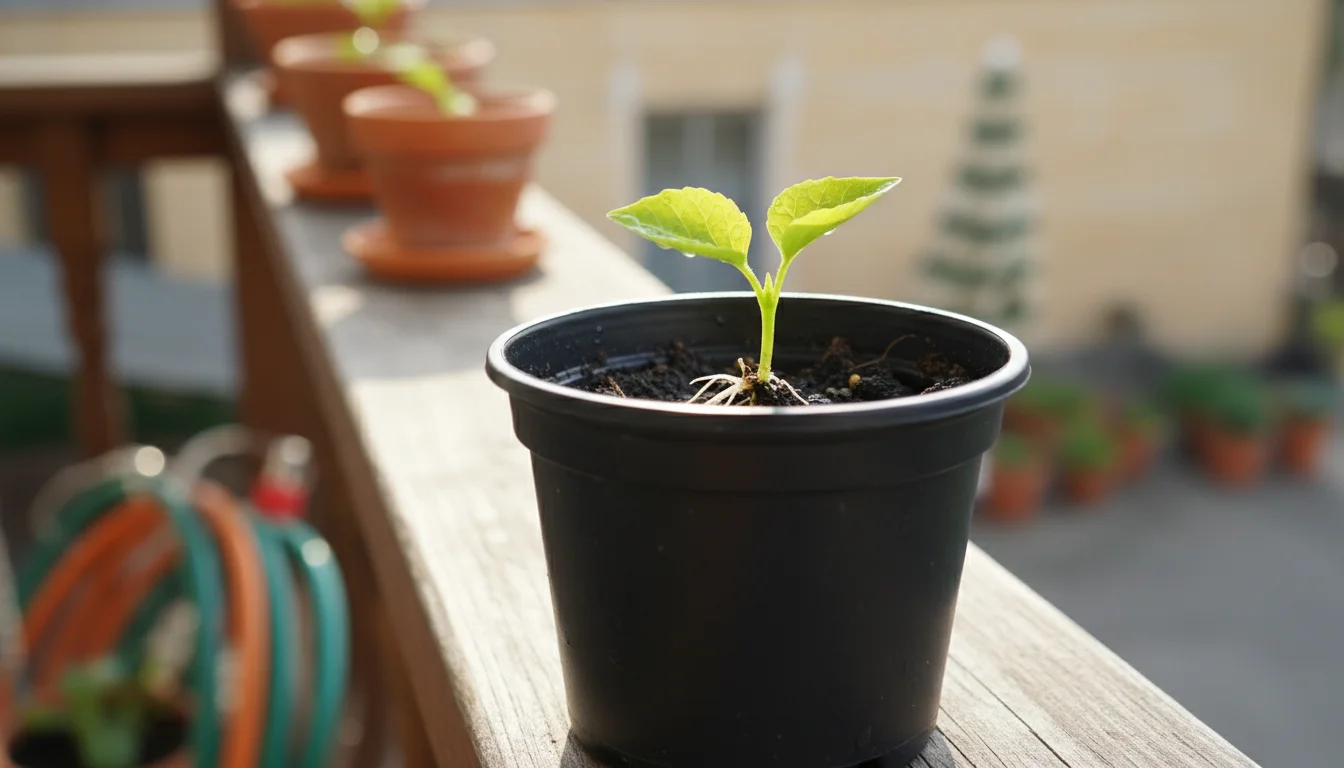
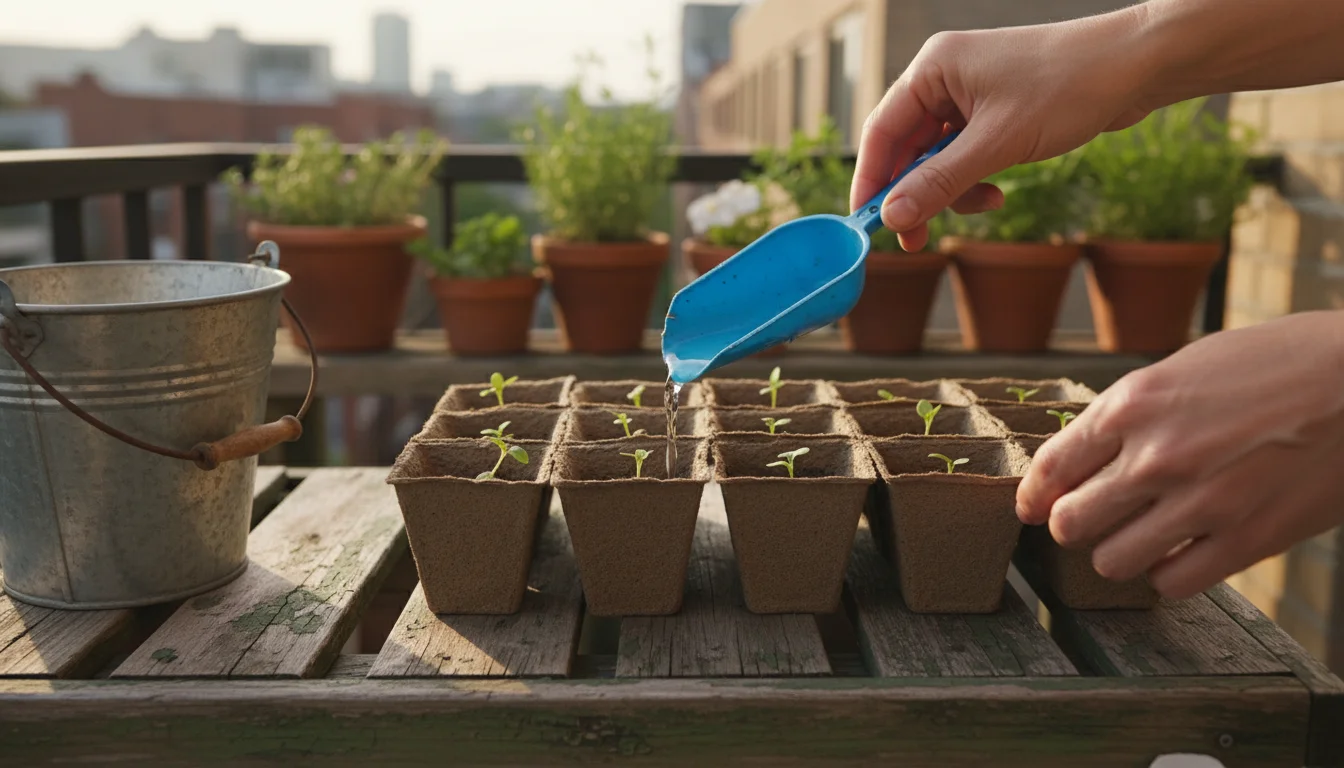
- Small Pots or Trays for Soil Propagation: Use containers with drainage holes. Seedling trays, small plastic pots, or even repurposed yogurt cups with poked holes work well. Size matters; too large a pot holds excess moisture, inviting rot. A 2-4 inch pot is generally sufficient for a single cutting.
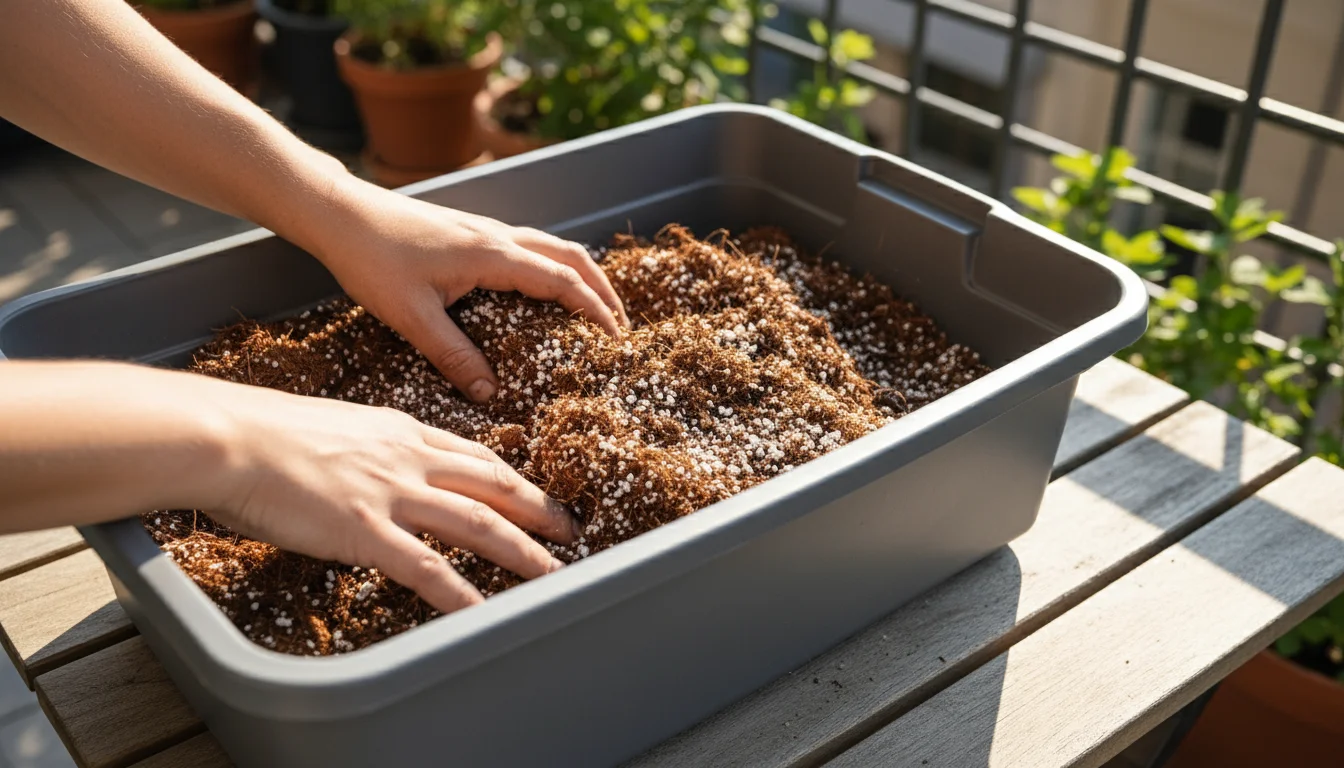
- Peat-Free Potting Mix or Seed Starting Mix: Choose a well-draining, lightweight mix. Peat-free options are environmentally conscious and effective. Look for mixes containing perlite or vermiculite for aeration. A good mix prevents waterlogging, which can lead to rot. For succulents, a specialized cactus or succulent mix provides the necessary drainage. For more information on sustainable mixes, organizations like the University of Minnesota Extension offer excellent resources on soil and compost.
Environmental Aids:
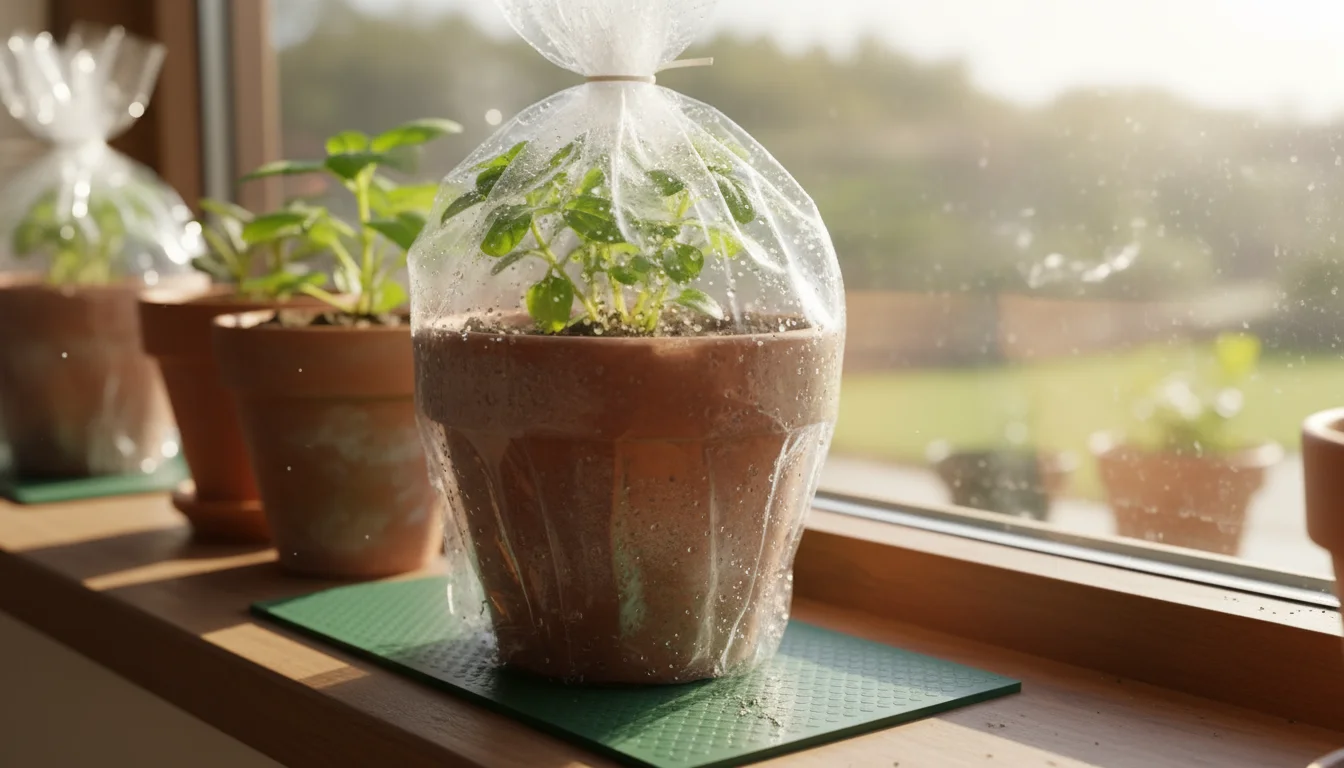
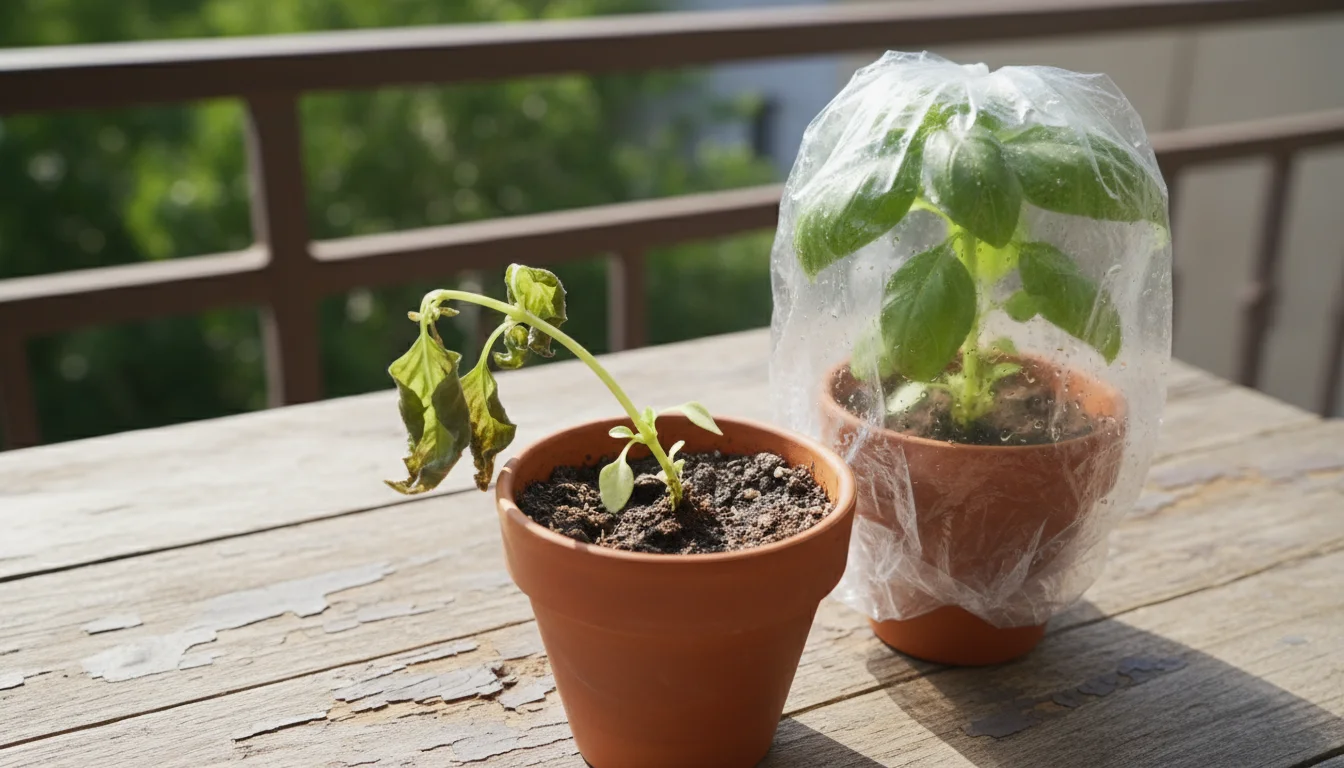
- Humidity Dome or Clear Plastic Bag: For cuttings that require high humidity, a clear plastic dome or a Ziploc bag placed over the pot creates a miniature greenhouse effect. This helps prevent desiccation of the cutting while it focuses energy on root production.
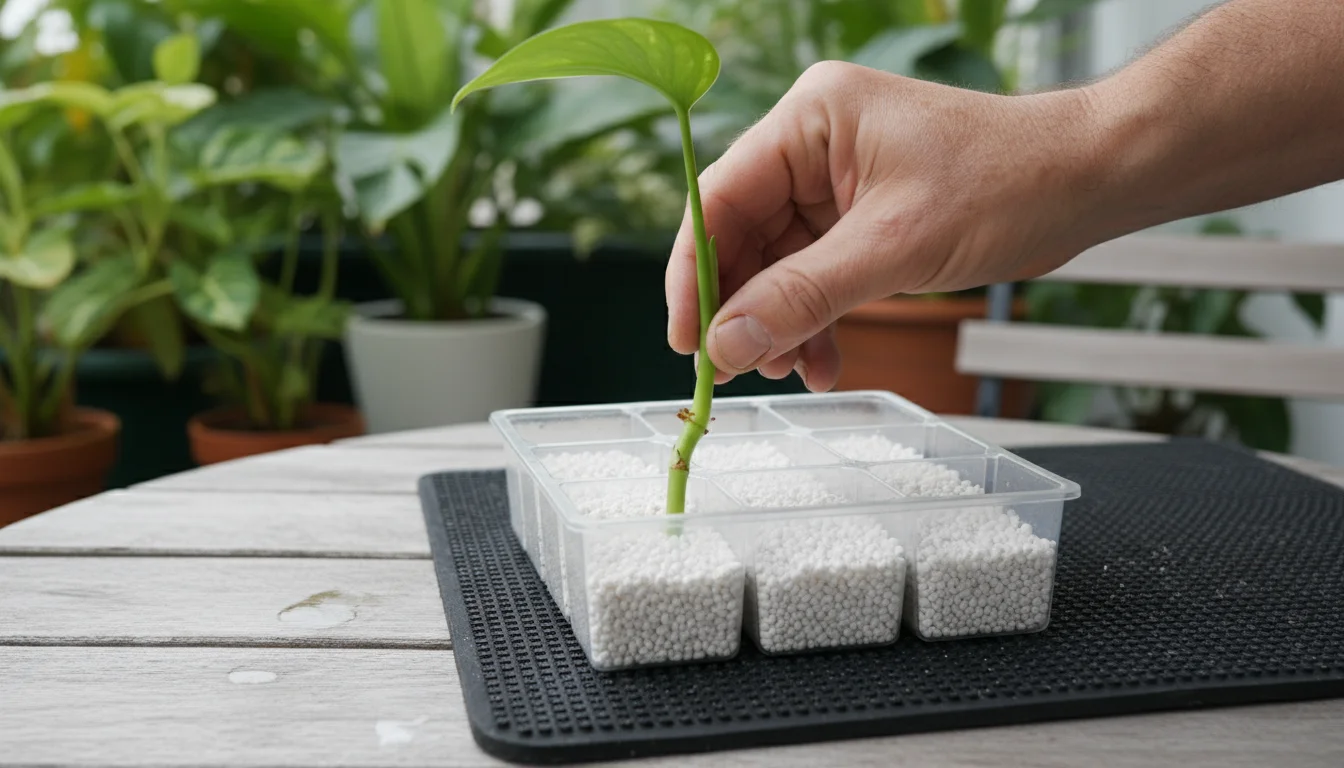
- Heat Mat (Optional): A propagation heat mat provides gentle bottom heat, which can accelerate root development, especially during cooler months or for plants that prefer warmer soil temperatures.
By gathering these simple items, you prepare yourself for a smooth and successful propagation journey. Remember, the key is cleanliness and creating an optimal environment for your tiny plant hopefuls.
Mastering Stem Cuttings: A Step-by-Step Guide
Stem cuttings represent one of the most reliable and popular methods for multiplying a wide range of common houseplants. This section guides you through the process, ensuring you make healthy cuts and provide the best chance for new roots to form.
To ensure your parent plant remains healthy after you take your snips, refer to our indoor plant survival guide for maintenance tips.
Step-by-Step Process for Stem Cuttings:
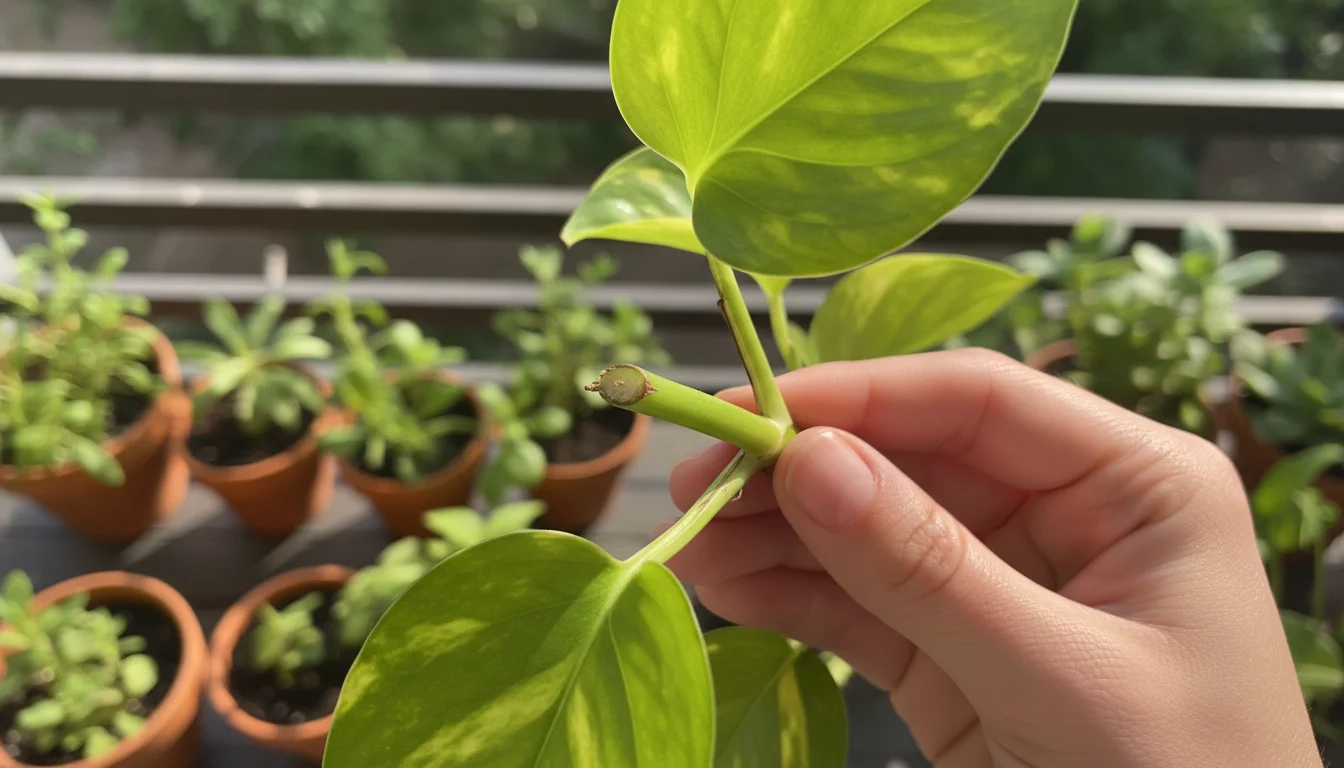
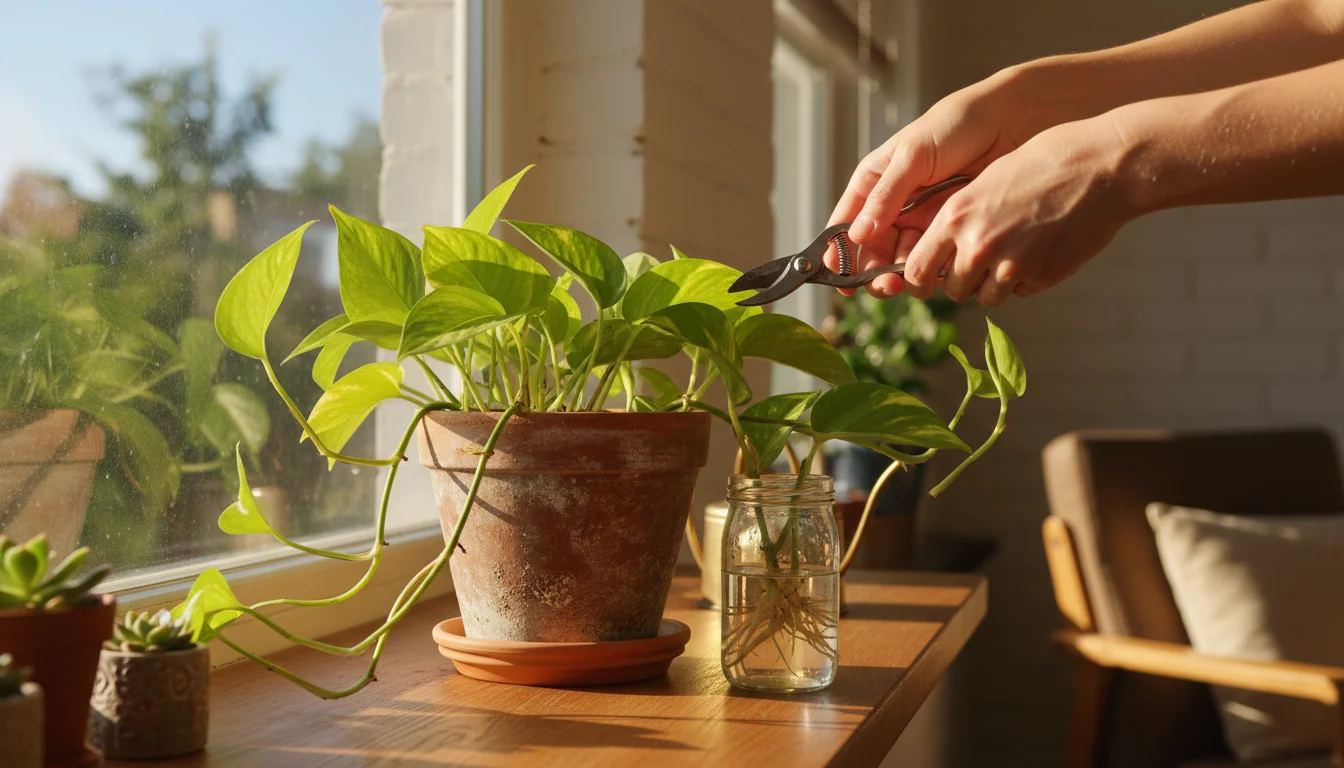
- Identify a Healthy Stem: Choose a vigorous, non-flowering stem from the parent plant. Look for a stem with at least 2-3 nodes. A node is where leaves or aerial roots emerge. These nodes contain dormant meristematic cells, which are crucial for root development. Avoid overly woody or extremely soft, new growth.
- Make the Cut: Using your sterilized sharp scissors or pruning shears, make a clean cut about 0.5 to 1 inch (1-2.5 cm) below a node. The cutting should be 4-6 inches (10-15 cm) long, though this can vary by plant. For trailing plants like Pothos or Philodendron, aim for a section with 2-3 leaves.
- Prepare the Cutting: Remove any leaves from the bottom 1-2 nodes. These lower leaves would be submerged in water or buried in soil and would rot, potentially causing fungal issues. If using rooting hormone, dip the cut end and the exposed nodes into the powder or gel, tapping off any excess.
- Choose Your Rooting Medium: Decide whether you will root in water or soil. Both methods are effective, but some plants show preference or greater success with one over the other. The “Rooting Mediums: Water Versus Soil” section later in this article offers detailed guidance on this choice.
- Place the Cutting:
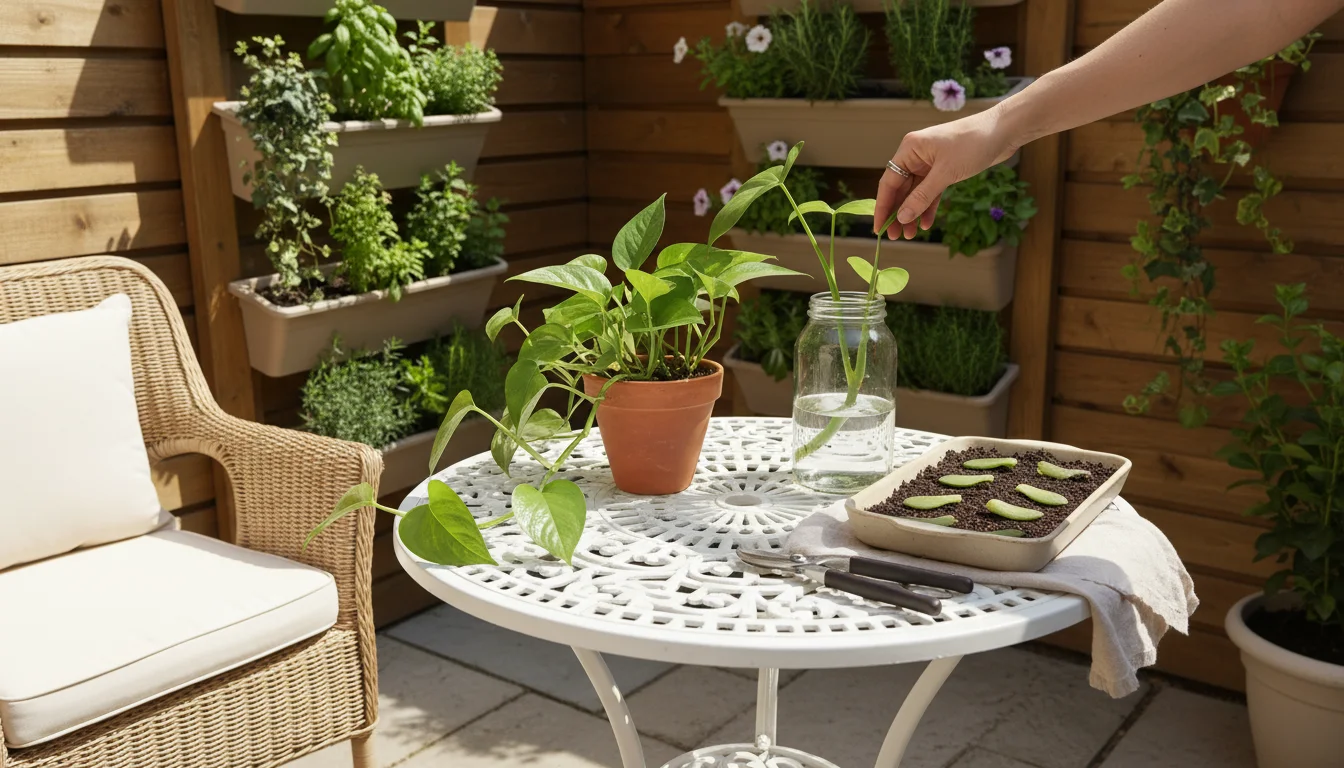
- For Water Propagation: Place the prepared cutting into a clean jar or glass filled with fresh water. Ensure at least one node is submerged and no leaves are in the water. Position the jar in a location receiving bright, indirect light.
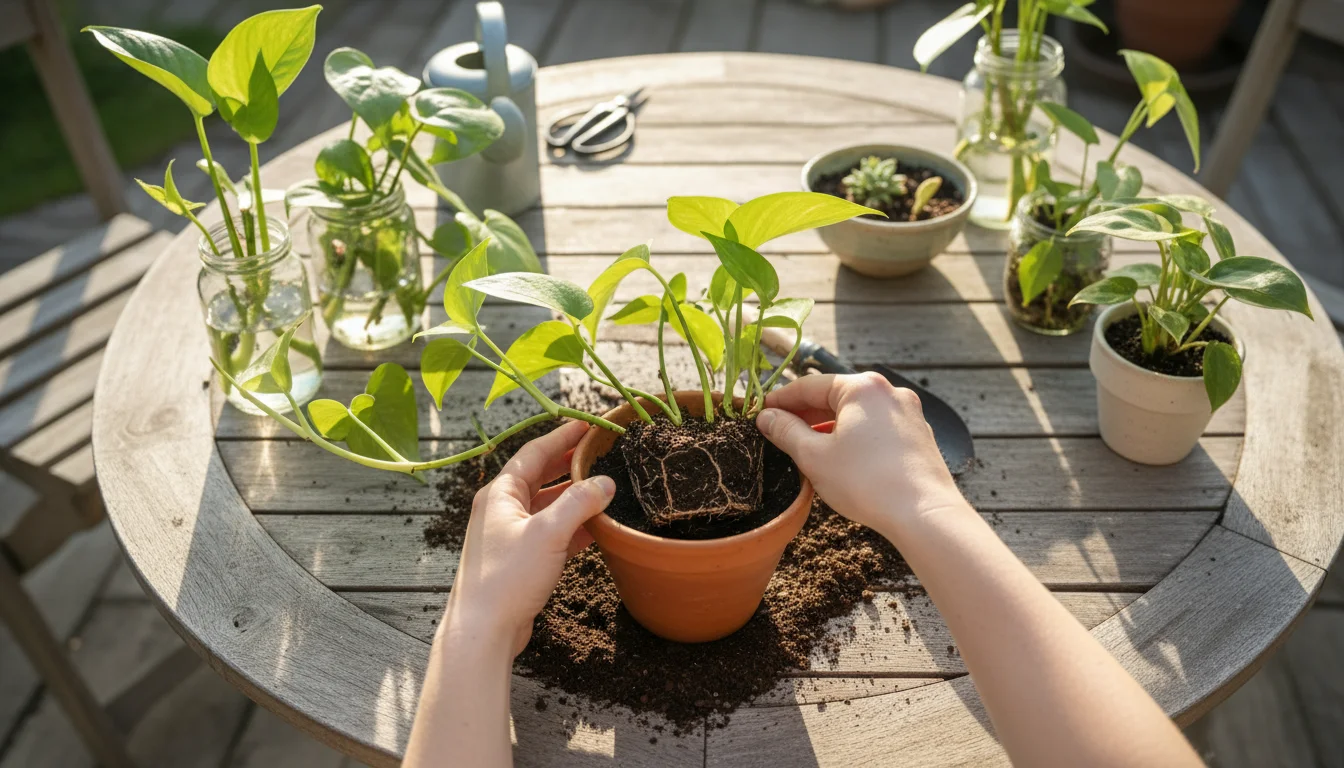
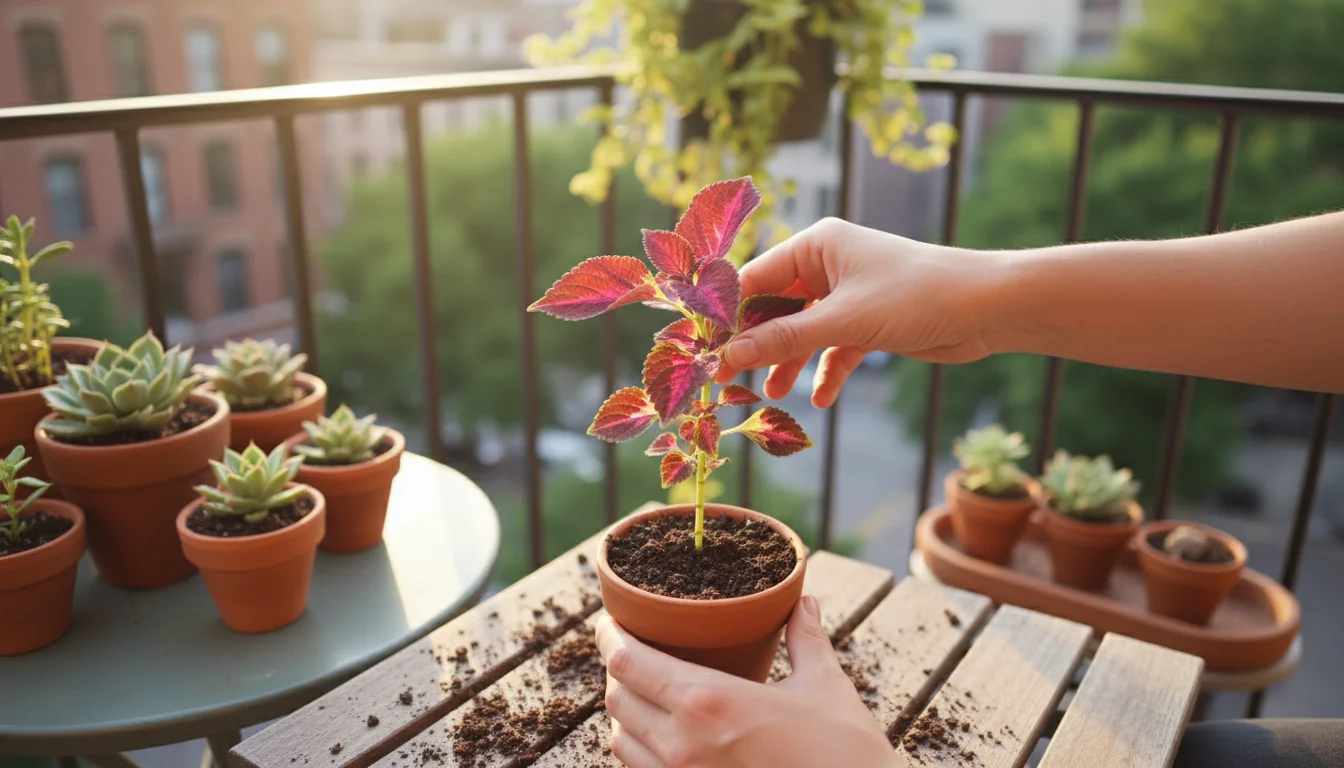
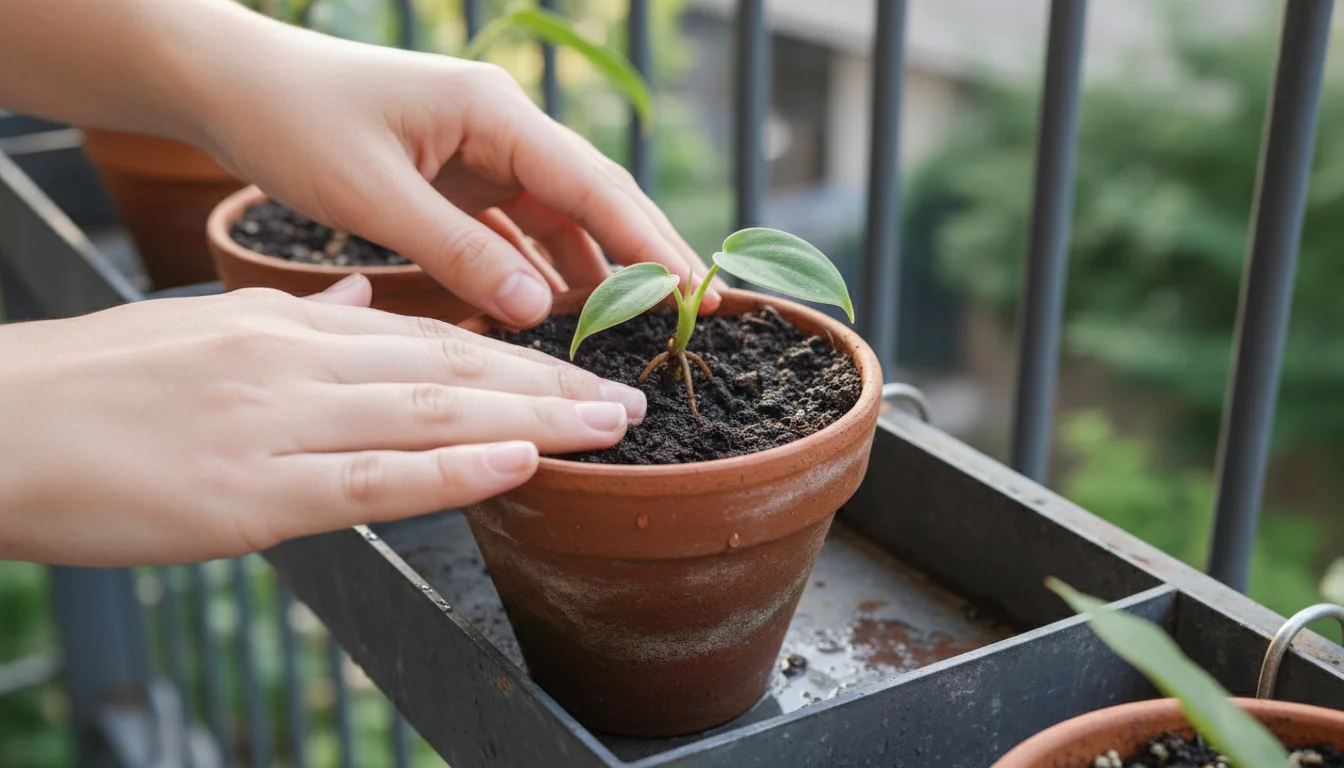
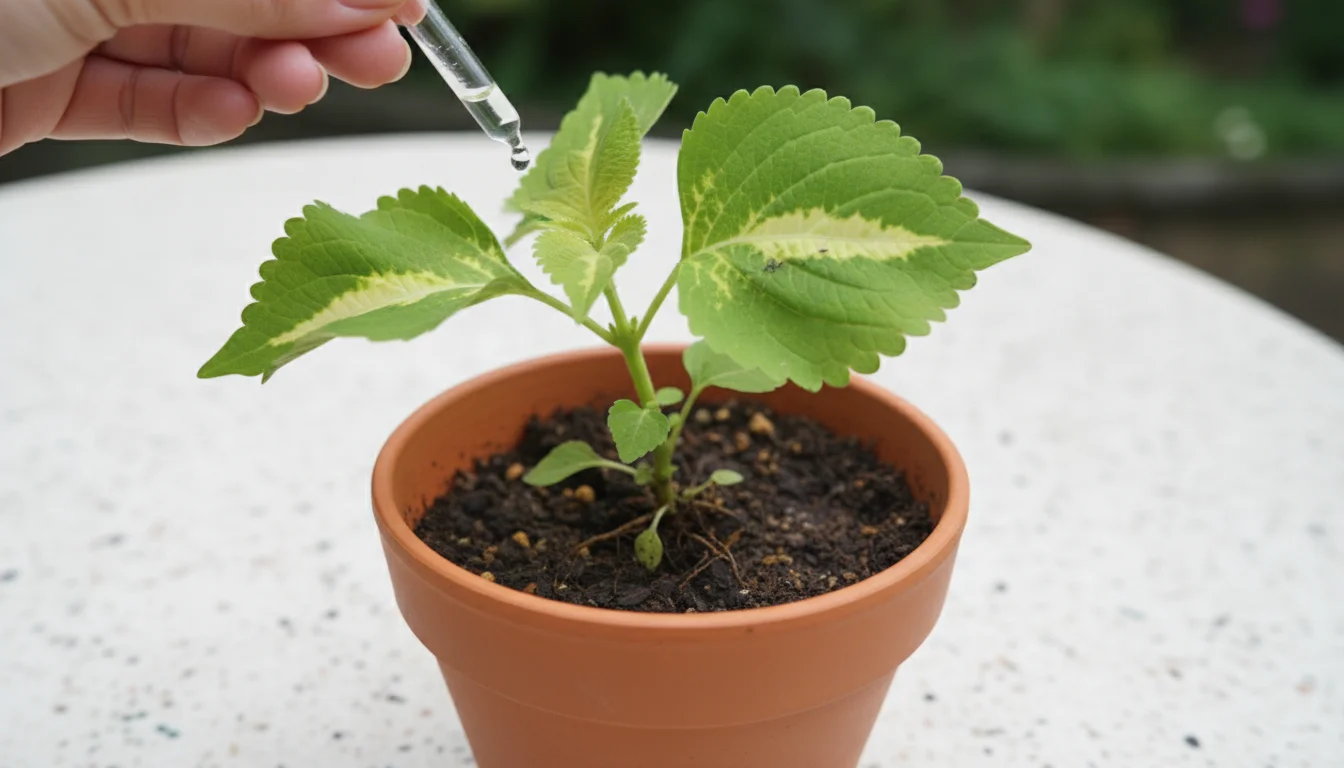
- For Soil Propagation: Gently insert the cutting into a small pot filled with moist, well-draining potting mix. Ensure at least one node is buried in the soil. Firm the soil lightly around the cutting to provide stability.
- Provide Optimal Conditions:
- Light: All cuttings, regardless of medium, thrive in bright, indirect light. Direct sun can scorch delicate new growth and deplete moisture too quickly.
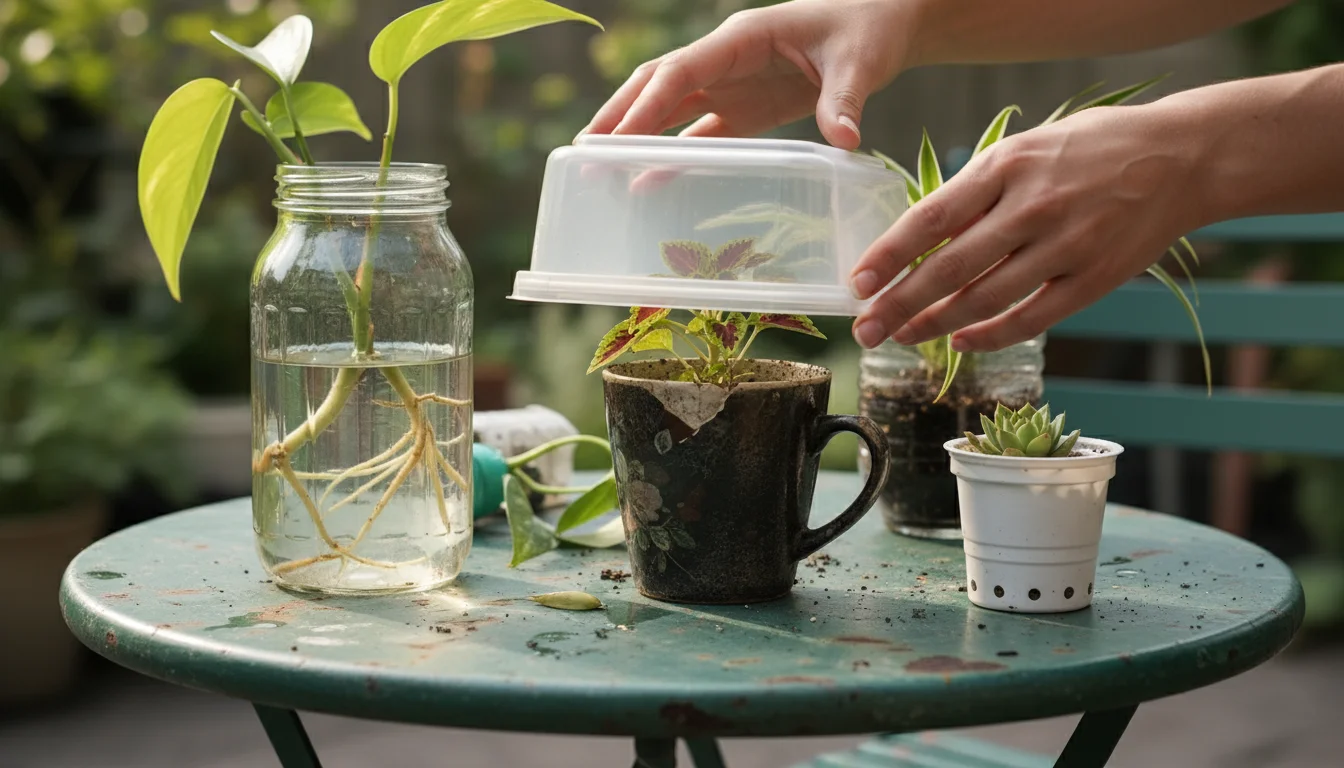
- Humidity: Many cuttings benefit from increased humidity. If rooting in soil, cover the pot with a clear plastic bag or a humidity dome to create a mini-greenhouse effect. Vent it occasionally to prevent mold.
- Temperature: Maintain a consistent room temperature, ideally between 65-75°F (18-24°C).
- Monitor and Maintain:
- For Water Cuttings: Change the water every few days to prevent bacterial growth. You should see roots developing within a few weeks, depending on the plant.
- For Soil Cuttings: Keep the soil consistently moist but not soggy. Mist the cutting periodically if not under a humidity dome. Gently tug on the cutting after a few weeks; resistance indicates root formation.
- Potting Up (for water-rooted cuttings): Once roots are 1-2 inches (2.5-5 cm) long, pot the cutting into a small pot with a well-draining potting mix. Transitioning water-rooted plants to soil requires careful watering initially, as water roots are different from soil roots. Keep the soil consistently moist for the first few weeks to ease the transition.
Popular plants that thrive with stem cuttings include Pothos, Philodendron, Monstera, Coleus, Tradescantia, and many types of Peperomia. With consistent care and a little patience, you will soon have a thriving new plant.
Leaf Cuttings and Other Techniques
While stem cuttings are versatile, some plants prefer or respond better to other propagation methods. Leaf cuttings, division, and offsets are fantastic ways to multiply specific types of houseplants, often with minimal effort.
Leaf Cuttings:
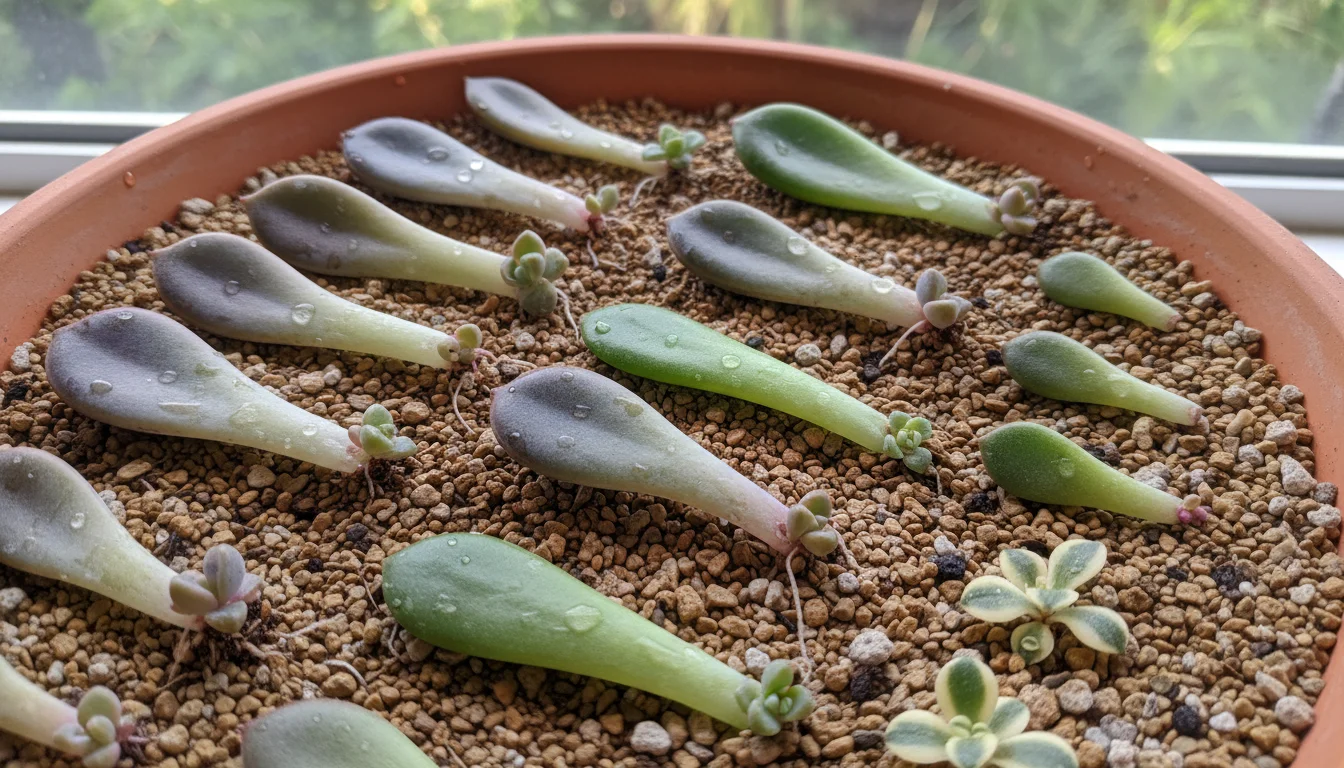
Leaf propagation is particularly effective for plants with thick, fleshy leaves that store water and nutrients, such as succulents. The entire leaf, or a portion of it, can produce a new plant. This method requires patience, as new growth can take weeks or even months to appear.
Leaf Cutting Process:
- Select a Healthy Leaf: Choose a firm, undamaged leaf from the parent plant. For succulents, gently twist or snap the entire leaf off the stem, ensuring the base of the leaf remains intact. For African Violets, cut a healthy leaf with about 1-2 inches (2.5-5 cm) of petiole (leaf stem) attached.
- Callus (for Succulents): Allow succulent leaves to “callus over” for 2-7 days by leaving them in a dry, well-ventilated spot. This dry scab prevents rot when the leaf is exposed to moisture.
- Planting the Leaf:
- For Succulents: Lay the callused leaf flat on top of a well-draining succulent potting mix. Alternatively, you can gently insert the callused end into the soil.
- For African Violets: Insert the petiole of the leaf cutting into moist, peat-free seed starting mix or perlite, ensuring the base of the leaf blade is just above the soil surface.
- Provide Care:
- Light: Place leaf cuttings in bright, indirect light.
- Watering: Mist succulent leaves lightly every few days, or when the soil surface is dry, to encourage root formation. For African Violets, keep the medium consistently moist but not soggy.
- Humidity: African Violet leaf cuttings benefit from a humidity dome or clear plastic bag.
- Observe Growth: After several weeks or months, you will see tiny roots emerging from the base of the succulent leaf, followed by a tiny “pup” or new plantlet. For African Violets, new plantlets will emerge from the base of the petiole. Once the new plant is established and the mother leaf shrivels, you can separate and pot the new plant.
Plants suitable for leaf cuttings include Sansevieria (Snake Plant), Echeveria, Sedum, Kalanchoe, and African Violets.
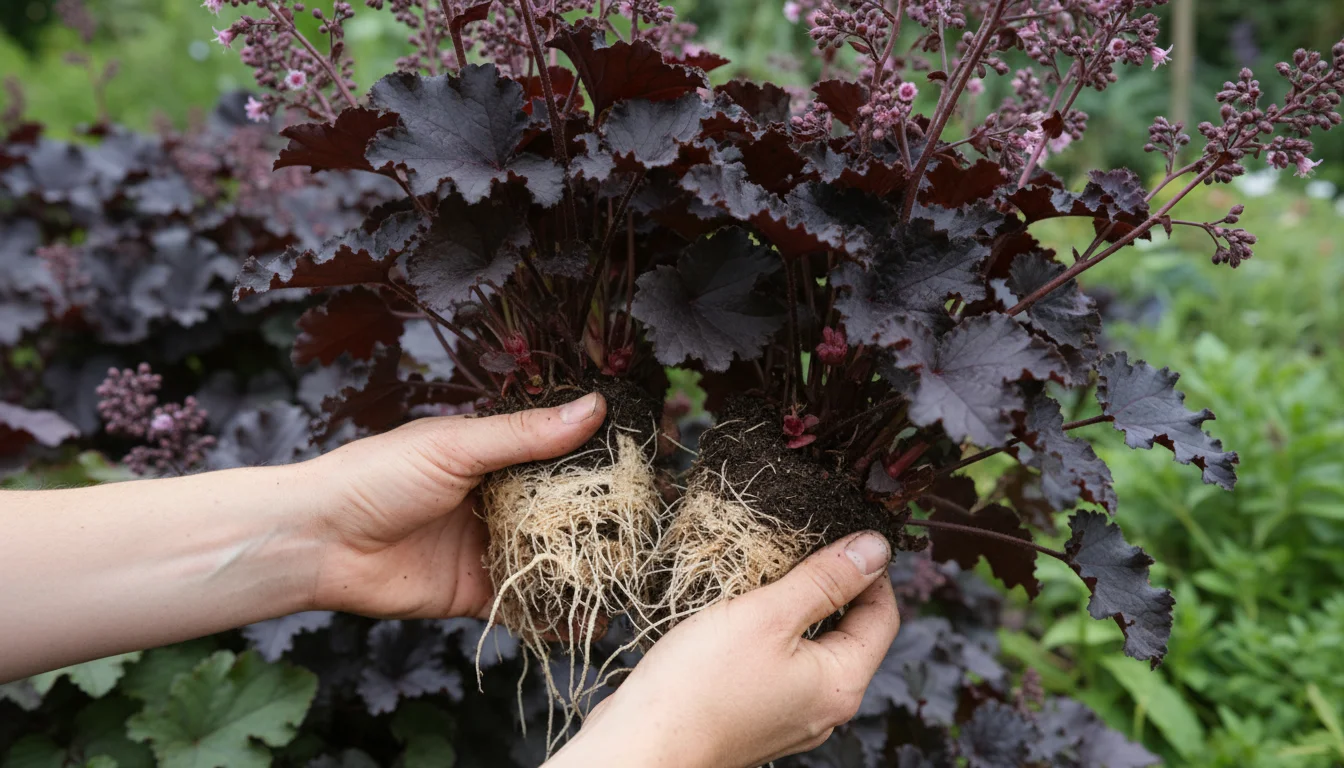
Division:
Division is the simplest method for many clumping plants, requiring minimal preparation and offering immediate results. This method is ideal for plants that grow multiple stems from a central root system, creating natural clumps.
Division Process:
- Remove from Pot: Gently remove the parent plant from its pot. Loosen excess soil to expose the root ball.
- Identify Divisions: Look for natural sections or clumps with their own roots and foliage. For very dense plants, you might need to use a clean, sharp knife to carefully cut through the root ball. For Snake Plants, you can often snap off individual “pups” with a small section of rhizome attached.
- Separate: Carefully pull or cut the plant into smaller sections, ensuring each new division has a healthy portion of roots and at least a few leaves.
- Pot Up: Plant each division into its own pot filled with fresh, well-draining potting mix. Water thoroughly after potting.
Excellent candidates for division include Spider Plants (by detaching plantlets), Snake Plants, Peace Lilies, many Ferns, and prayer plants.
Offsets/Pups:
Some plants conveniently produce small, miniature versions of themselves, known as offsets or pups. These are essentially pre-propagated plants ready for separation.
Offset Separation Process:
- Identify a Mature Offset: Wait until the offset is a reasonable size, typically at least one-third the size of the parent plant, and has developed its own root system (if visible).
- Separate: Use clean, sharp scissors or a knife to carefully cut the stolon (connecting stem) or detach the offset from the base of the parent plant. For plants like Aloe Vera, gently dig around the base to find the small pups and carefully sever their connection to the mother plant.
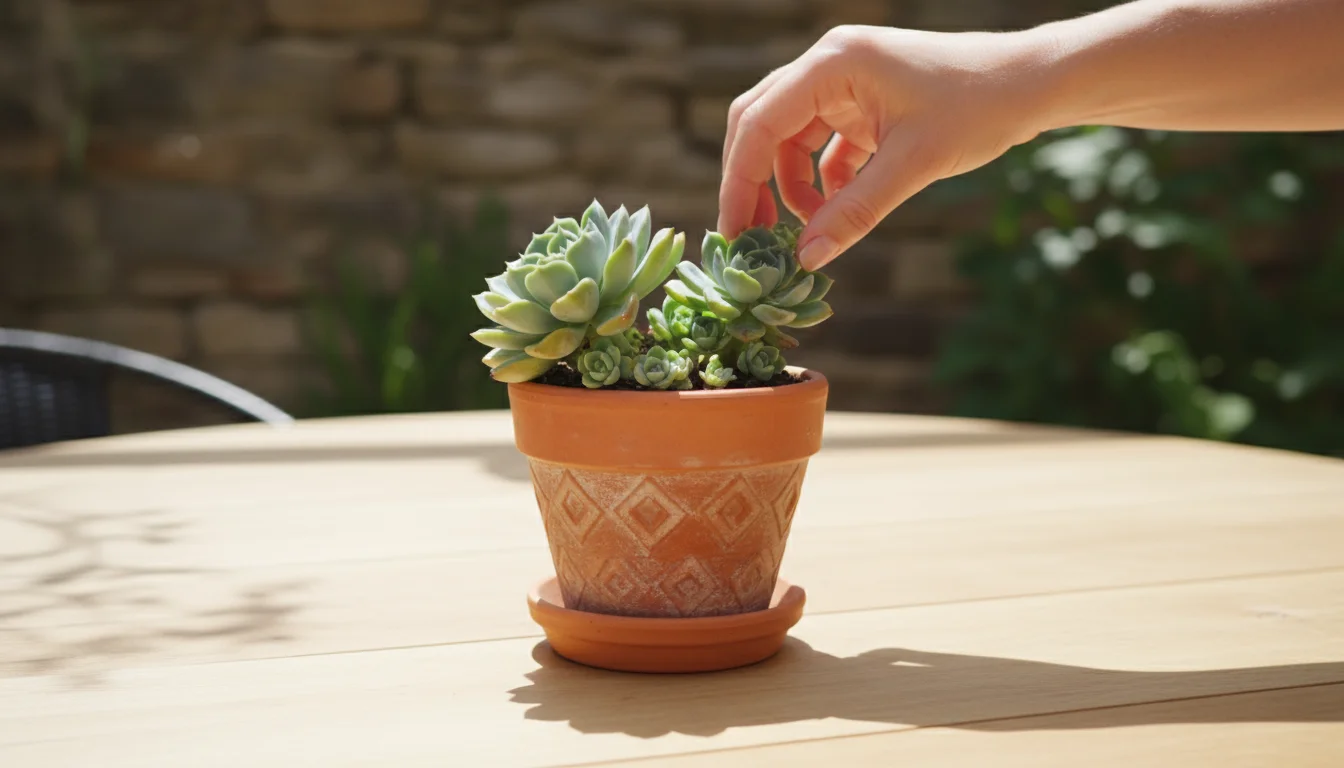
- Plant: Pot the offset directly into a small pot with appropriate potting mix.
Spider Plants, Aloe Vera, and various succulents frequently produce offsets ready for propagation. This method is incredibly easy and has a very high success rate.
Rooting Mediums: Water Versus Soil
When you have your cuttings prepared, the next decision involves choosing a rooting medium. The two primary options are water and soil. Each has advantages and disadvantages, and your choice often depends on the plant species, your personal preference, and the environment you can provide.
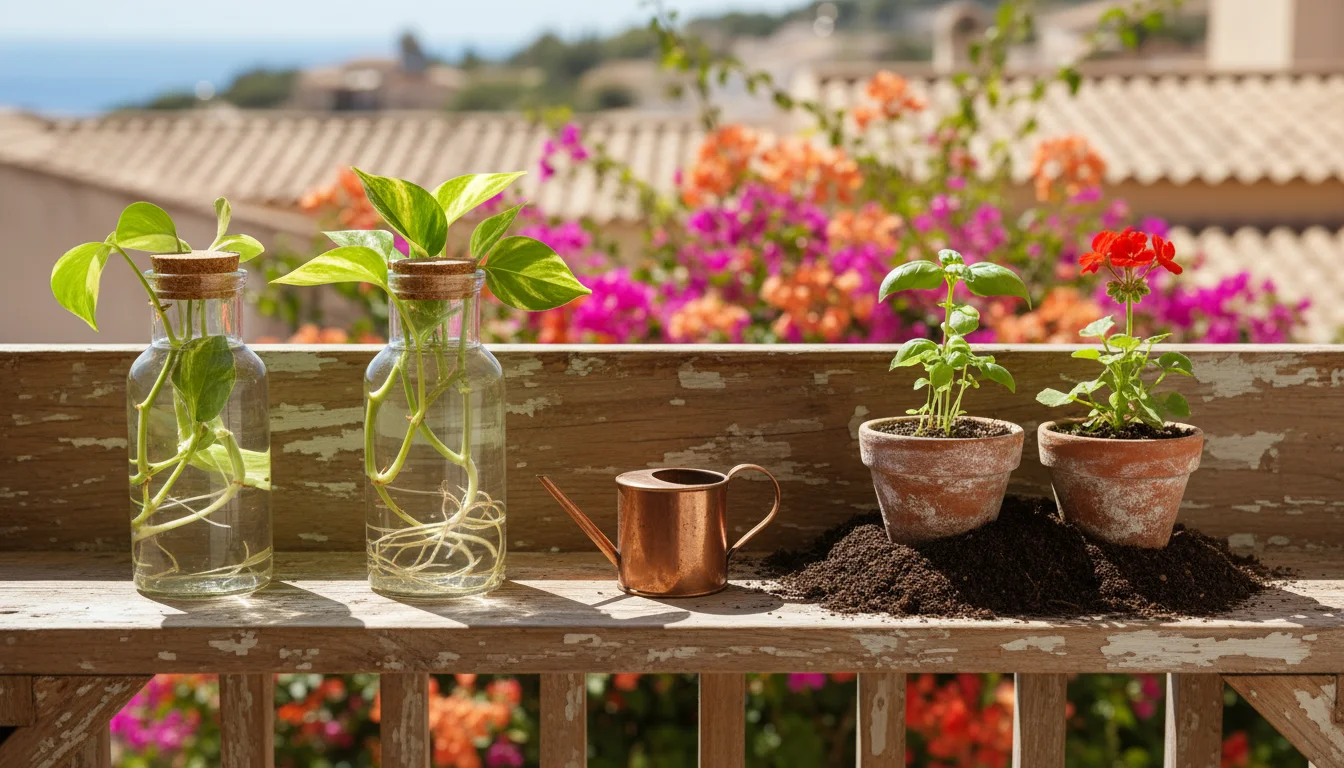
Water Propagation:
Water propagation is popular because it allows you to visibly watch roots develop, which many find highly satisfying. It is also cleaner and less prone to certain soil-borne pests. Many common houseplants root readily in water.
Advantages of Water Propagation:
- Visual Appeal: You can observe the entire rooting process, making it an engaging and educational experience.
- Ease of Setup: Requires only a glass container and water. It is ideal for small living spaces where minimal mess is a priority.
- Reduced Rot Risk (initially): For some plants, water allows the cutting to focus solely on root production without the immediate challenge of adapting to soil microorganisms.
- Convenience: Less prone to fungal issues compared to overly wet soil.
Disadvantages of Water Propagation:
- Root Transition Challenges: Roots that develop in water are physiologically different from soil roots. They are often thinner and less robust. Transplanting a water-rooted plant into soil can be a shock, sometimes leading to “transplant melt” or stunted growth as the plant adapts.
- Nutrient Deficiency: Water contains no nutrients. Once roots form, the cutting needs to be moved to soil to access essential minerals for sustained growth. Leaving plants in water too long can lead to nutrient deficiencies.
- Algae Growth: Stagnant water can encourage algae, though this is usually harmless. Changing the water regularly helps prevent it.
Tips for Water Propagation:
- Use clean, non-chlorinated water (tap water left out for 24 hours or filtered water works).
- Change the water every 2-3 days to provide fresh oxygen and prevent bacterial buildup.
- Place cuttings in bright, indirect light.
- Pot up cuttings when roots are 1-2 inches (2.5-5 cm) long. Longer roots make the transition to soil harder.
Plants that do exceptionally well in water include Pothos, Philodendron, Tradescantia, Basil, and many types of mint.
Soil Propagation:
Rooting cuttings directly in soil mimics their natural growth environment and can lead to stronger, more robust root systems from the start. This method often results in a smoother transition to long-term growth.
Advantages of Soil Propagation:
- Natural Root Development: Roots formed in soil are accustomed to the soil environment, making the transition to a larger pot seamless.
- Nutrient Access: Soil provides immediate access to nutrients, supporting healthier overall growth from the outset.
- Stability: Cuttings are generally more stable when planted in soil, which is beneficial for plants with larger leaves or stems.
Disadvantages of Soil Propagation:
- Monitoring Difficulty: You cannot see root development, making it harder to gauge progress.
- Rot Risk: Overwatering or using a heavy, poorly draining soil mix significantly increases the risk of rot before roots can form.
- Pest Potential: Soil can harbor fungus gnats or other pests, especially if kept too wet.
Tips for Soil Propagation:
- Use a lightweight, well-draining, peat-free potting mix. A mix of equal parts potting soil, perlite, and coarse sand often works well.
- Moisten the soil lightly before inserting cuttings.
- Ensure at least one node is buried for root development.
- Provide high humidity, especially for plants prone to wilting. A clear plastic bag or humidity dome helps.
- Keep the soil consistently moist but never soggy. Use your finger to check the top inch of soil; if it feels almost dry, it is time to water.
- Place pots in bright, indirect light and a warm spot.
Many plants succeed with soil propagation, including most succulents, Sansevieria, Dracaena, and often those that also do well in water, such as Pothos and Philodendron, if the soil conditions are ideal.
Ultimately, the best method often comes down to experimentation and observation. Try both methods with different plants and see what works best for your specific environment and plant types. Always prioritize well-draining mediums and appropriate light conditions for optimal results. The National Gardening Association offers further insights into plant propagation techniques.
Caring for Your New Plant Babies
Once your cuttings show signs of rooting, they transition from a vulnerable state to becoming independent plants. This phase requires consistent, thoughtful care to ensure healthy establishment and vigorous growth. Think of them as delicate infants needing a gentle hand.
Light: The Foundation of Growth
All newly rooted cuttings need bright, indirect light. This means placing them near a window where they receive plenty of ambient light but no direct sunbeams hitting their leaves. Direct sunlight can scorch tender new foliage and quickly dry out the young plant, which lacks an established root system to absorb water efficiently. A north or east-facing window often provides ideal conditions, or a south/west-facing window with a sheer curtain to diffuse intense light. Data suggests that optimal light levels for rooting can significantly increase success rates, with most cuttings performing best in conditions that mimic their parent plant’s preferred indirect light environment.

Watering: The Right Balance
New plants require consistent moisture but are highly susceptible to overwatering. The goal is to keep the potting mix evenly moist, like a wrung-out sponge, not soaking wet. Water when the top inch of soil feels dry to the touch. For water-rooted plants transitioning to soil, keep the soil slightly wetter for the first few weeks to help the water roots adapt to their new environment. As the plant establishes, gradually reduce watering frequency to match the needs of a mature plant.
- Small Pots Dry Faster: Remember that small pots, often used for cuttings, dry out more quickly than larger ones. Check them frequently.
- Drainage is Key: Ensure all pots have drainage holes. Standing water leads to root rot, especially deadly for young, fragile roots.
- Bottom Watering: Consider bottom watering by placing the pot in a tray of water for 15-20 minutes. This encourages roots to grow downwards and helps prevent fungus gnats.
Humidity: A Helping Hand
Many young cuttings, especially those that love tropical environments, benefit from elevated humidity. High humidity reduces water loss through the leaves, allowing the plant to conserve energy for root development. If you used a humidity dome during rooting, gradually acclimate the plant to ambient room humidity by opening the dome for increasingly longer periods over a week or two.
Practical ways to boost humidity for small plants include:
- Pebble Trays: Place pots on a tray filled with pebbles and water. As the water evaporates, it increases localized humidity.
- Grouping Plants: Plants release moisture through transpiration. Grouping them creates a microclimate with slightly higher humidity.
- Misting: While less effective than other methods for long-term humidity, occasional misting can provide a temporary boost, particularly in very dry environments. Ensure good airflow to prevent fungal issues.
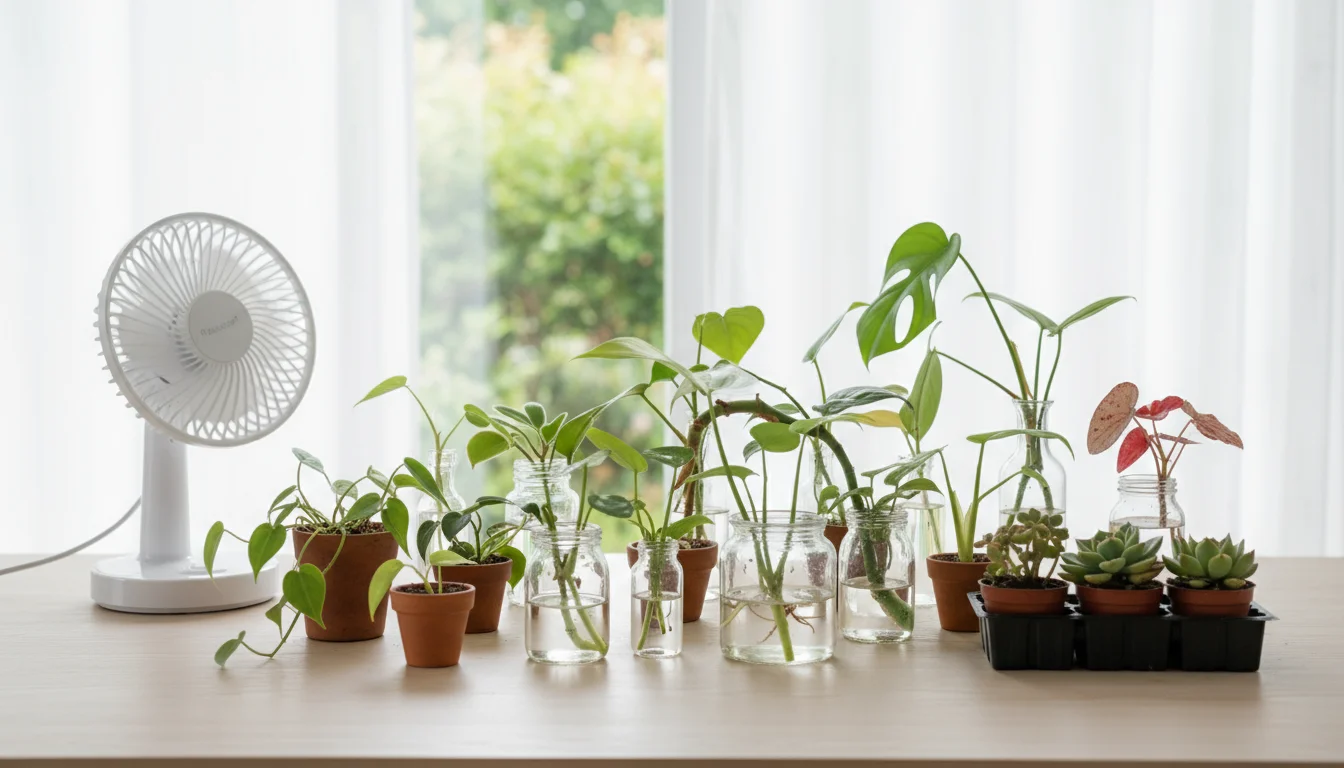
Temperature and Airflow: Steady Conditions
Maintain consistent room temperatures, ideally between 65-75°F (18-24°C). Avoid extreme fluctuations or cold drafts. Good airflow is important to prevent fungal diseases, especially in humid conditions. Avoid placing plants in stagnant corners. A gentle breeze from an open window or a small fan on a low setting can be beneficial, but avoid strong, direct drafts that dry out plants quickly.
Fertilizing: Wait and Watch
Resist the urge to fertilize newly rooted cuttings. Their delicate root systems are sensitive to concentrated nutrients, which can “burn” them. Wait until the plant has put out several new leaves and is actively growing before introducing a very diluted, balanced liquid fertilizer (e.g., at quarter strength). This usually means waiting at least 4-6 weeks after potting up.
Repotting: Not Yet
Avoid repotting your new plant until it is visibly root-bound in its current pot, with roots emerging from the drainage holes. Frequent repotting stresses young plants. Allow them to establish fully in their current home before considering an upgrade.
By providing these attentive, consistent care conditions, you empower your newly propagated plants to grow strong and healthy, ready to become thriving members of your indoor garden.
Common Propagation Challenges and Solutions
Even with careful preparation, propagation does not always go perfectly. Encountering challenges is a normal part of the learning process. Understanding common problems and their solutions helps you quickly diagnose issues and improve your success rate. Do not get discouraged; every failed cutting teaches you something valuable.
Challenge 1: Cuttings Rotting
Observation: The stem or leaves of your cutting turn mushy, black, or develop a foul odor.
Cause: Overwatering, poor drainage, or bacterial/fungal infection. This is the most common reason for propagation failure.
Solution:
- For Water Cuttings: Change the water every 2-3 days. Ensure no leaves are submerged. If part of the stem looks rotted, recut above the rot with sterilized scissors and place in fresh water.
- For Soil Cuttings: Ensure your potting mix is very well-draining. Consider adding more perlite or coarse sand. Allow the top inch of soil to dry out before watering again. If you suspect rot, gently remove the cutting, inspect the base, and if rotted, recut to healthy tissue and try rooting in fresh, sterile medium.
- Cleanliness: Always sterilize your tools to prevent pathogen transfer.
Challenge 2: Cuttings Shriveling and Drying Out
Observation: Leaves turn crispy, edges brown, or the entire cutting wilts and dries up without rooting.
Cause: Low humidity, insufficient watering (for soil cuttings), or too much direct sunlight. The cutting is losing water faster than it can absorb it.
Solution:
- Increase Humidity: Place cuttings under a humidity dome or cover them loosely with a clear plastic bag. Mist them regularly if not enclosed.
- Adjust Watering: For soil cuttings, ensure the soil remains consistently moist but not soggy. Check soil moisture frequently.
- Optimize Light: Move cuttings to a location with bright, indirect light. Avoid direct, intense sunlight which can dehydrate plants rapidly.
Challenge 3: No Roots Forming
Observation: After several weeks, there is no sign of root development, and the cutting appears stagnant but otherwise healthy.
Cause: Insufficient warmth, incorrect cutting technique (no nodes present), wrong season, or simply a slow-rooting plant.
Solution:
- Check for Nodes: Ensure your stem cutting includes at least one node, as this is where roots emerge. Recut if necessary.
- Provide Warmth: A consistent room temperature of 70-75°F (21-24°C) often speeds up rooting. Consider a propagation heat mat.
- Be Patient: Some plants are naturally slower to root. For example, some succulents can take months.
- Rooting Hormone: Apply rooting hormone if you did not initially use it. It can provide the boost needed.
- Seasonal Timing: Plants generally root best during their active growing season (spring and summer) when light levels are higher and temperatures are warmer.
Challenge 4: Leaves Turning Yellow
Observation: Leaves on the cutting turn yellow, especially lower leaves.
Cause: Natural shedding (the plant sacrificing older leaves to conserve energy for roots), nutrient deficiency (in water propagation), or occasionally overwatering/underwatering.
Solution:
- Natural Shedding: If only one or two lower leaves yellow and fall off, this is usually normal. Remove them gently.
- Nutrient Deficiency: For water cuttings, yellowing often indicates a need for nutrients. This means it is time to pot the cutting into soil.
- Watering Check: Review your watering schedule for both soil and water propagation. Adjust as needed.
Challenge 5: Pests on Cuttings
Observation: Small insects, sticky residue, or distorted growth on cuttings.
Cause: Pests were present on the parent plant or introduced through contaminated soil.
Solution:
- Inspect Parent Plant: Always inspect your parent plant for pests before taking cuttings. Treat any infestations.
- Sterile Medium: Use fresh, sterile potting mix for soil propagation.
- Treatment: For minor infestations, rinse cuttings thoroughly with water. For more persistent pests, a gentle application of insecticidal soap can help. For serious issues, it may be better to discard the cutting and start fresh to protect other plants. For more information on identifying and treating common plant pests, consult resources from organizations like the Clemson University Home & Garden Information Center.
Addressing these challenges proactively increases your confidence and mastery in the art of plant propagation. Persistence and observation are your best allies.
Sustainable Propagation for Small Spaces
Embracing plant propagation is inherently a sustainable act. It reduces waste, conserves resources, and encourages a deeper connection with your plants. For those in small spaces, integrating sustainable practices into propagation efforts becomes even more impactful, transforming limited areas into green, eco-conscious havens.
Reusing and Repurposing Materials:
You can significantly reduce your environmental footprint by looking beyond new purchases for propagation supplies.
- Containers: Repurpose glass jars from food (jam, pickles), plastic takeout containers, yogurt cups, or even old ceramic mugs for rooting. Simply ensure they are thoroughly cleaned and, if needed, have drainage holes poked in them. This saves money and diverts waste from landfills.
- Humidity Domes: Clear plastic food containers, sandwich bags, or even a cut-in-half plastic bottle can serve as effective humidity domes, creating a mini-greenhouse effect without buying specialized equipment.
Choosing Sustainable Growing Mediums:
The type of potting mix you use has a significant environmental impact.
- Peat-Free Mixes: Opt for peat-free potting mixes. Peat moss harvesting degrades vital wetland ecosystems, releasing stored carbon dioxide into the atmosphere. Sustainable alternatives include coco coir, compost, aged bark, and rice hulls. These materials often offer superior aeration and water retention, benefiting your plants and the planet.
- Homemade Mixes: Create your own propagation mix using materials like compost, perlite, and vermiculite. This allows you to control the ingredients and ensure sustainability.
Water-Wise Practices:
Water conservation remains a key aspect of sustainable gardening, even for small indoor plants.
- Rainwater Collection: If practical, collect rainwater for watering your plants. It is naturally soft and free of chlorine, which can benefit sensitive cuttings. Even a small bucket on a balcony can gather enough for your propagation needs.
- Avoid Overwatering: Overwatering not only harms your plants but also wastes water. Learn to read your plant’s needs and the soil moisture levels.
- Reuse Water: If you use a pebble tray for humidity, the evaporating water goes back into the air rather than down the drain.
Energy Efficiency:
Even small propagation efforts can be more energy-efficient.
- Natural Light: Prioritize natural light over artificial grow lights whenever possible. Place cuttings near bright windows.
- Optimized Warmth: If using a heat mat, ensure it is truly necessary for your plant type and consider placing it on a timer to avoid continuous use. During warmer months, use natural room temperature.
Closed-Loop Gardening:
Propagation is a core component of closed-loop gardening, where you produce new plants from existing ones, reducing the need to purchase from external sources. This approach minimizes transport emissions and supports local biodiversity within your home. When you grow new plants from indoor cuttings, you become an integral part of this sustainable cycle, fostering a thriving, self-sustaining indoor ecosystem. This practice aligns perfectly with the ethos of low-maintenance, small-space gardening, proving that impactful green living is accessible to everyone. The USDA Agricultural Research Service provides extensive research on sustainable horticulture, offering valuable context for these practices.
Frequently Asked Questions
How long does it take for cuttings to root?
Rooting time varies significantly by plant species and environmental conditions. Fast-rooting plants like Pothos or Philodendron can show roots in as little as 1-2 weeks in water. Slower propagators, such as many succulents or some woody stems, might take 4-8 weeks or even several months. Patience is crucial. Consistent warmth and bright, indirect light generally accelerate the process.
Can I mix different plant cuttings in the same propagation jar?
You can mix cuttings from different plant species in the same water jar or soil tray, but ensure they have similar light, temperature, and humidity requirements. Be aware that some plants release natural rooting hormones into the water, potentially benefiting other cuttings, while others may be more prone to rot. If one cutting shows signs of disease, it can spread to others. Separating them once roots appear or if issues arise is a good practice.
What should I do if my cutting gets moldy?
If you see mold on your cutting, especially at the cut end or on submerged leaves, it usually indicates excessive moisture and poor airflow. Immediately remove the cutting, rinse it gently, and use sterilized scissors to recut above the moldy section. Replant in fresh, sterile medium (water or soil), ensuring better airflow and reducing humidity. For soil propagation, ensure excellent drainage and allow the top layer of soil to dry out between waterings.
When should I fertilize my newly propagated plant?
Wait until your newly propagated plant has developed a robust root system and shows visible signs of new foliar growth. This typically means waiting at least 4-6 weeks after potting up from water, or until several new leaves emerge on soil-rooted cuttings. When you do fertilize, use a very diluted liquid fertilizer, perhaps at quarter strength, to avoid shocking or burning the delicate roots of your young plant.
My plant is root-bound. Can I take cuttings before repotting?
Yes, taking cuttings from a root-bound parent plant is often a good strategy. A root-bound plant may be stressed, and removing some growth for propagation can sometimes alleviate that stress. Plus, healthy cuttings ensure genetic continuity. After taking cuttings, you can then proceed with repotting the parent plant into a larger container, giving it a fresh start as well.
For research-based houseplant care and horticultural information, explore resources from reputable institutions such as the Brooklyn Botanic Garden, the New York Botanical Garden, and the Royal Horticultural Society (RHS).
Disclaimer: This article is for informational purposes only and is not a substitute for professional advice. Consult local extension services for region-specific recommendations.


Leave a Reply