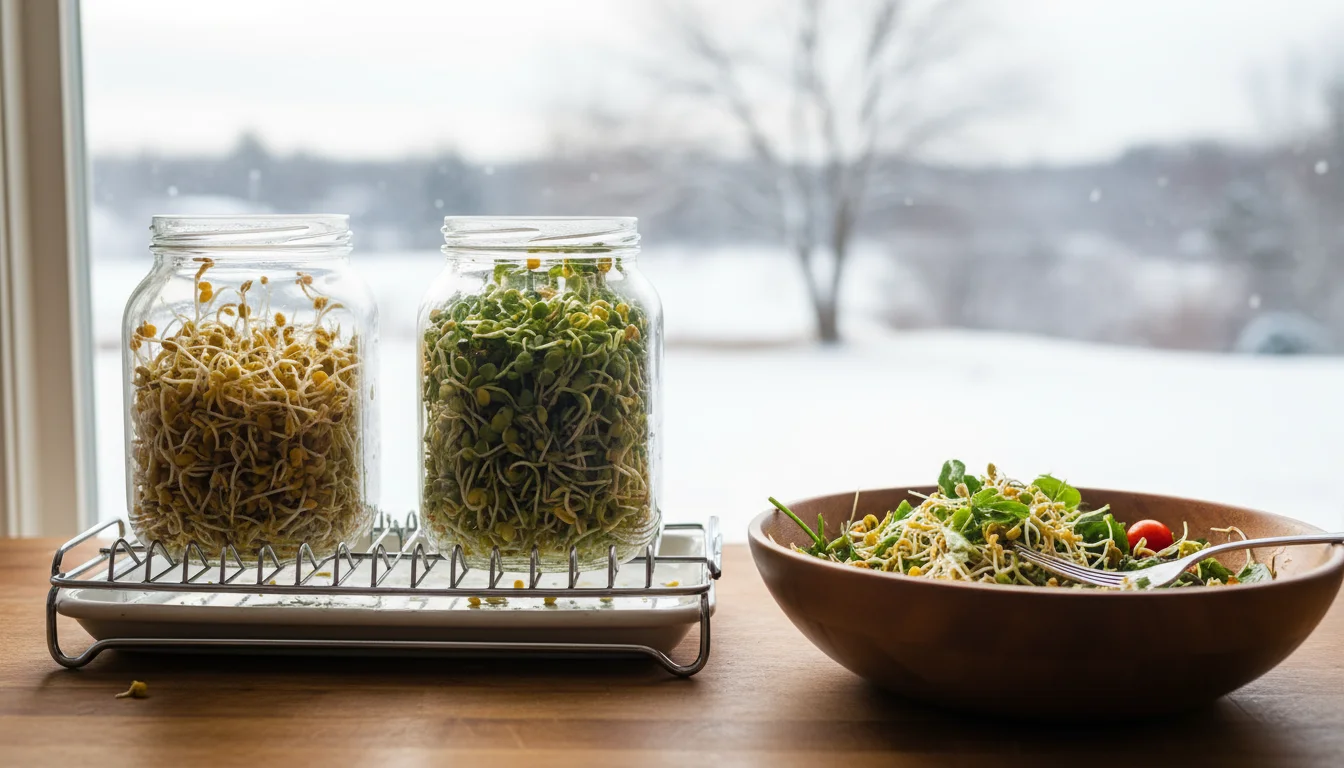
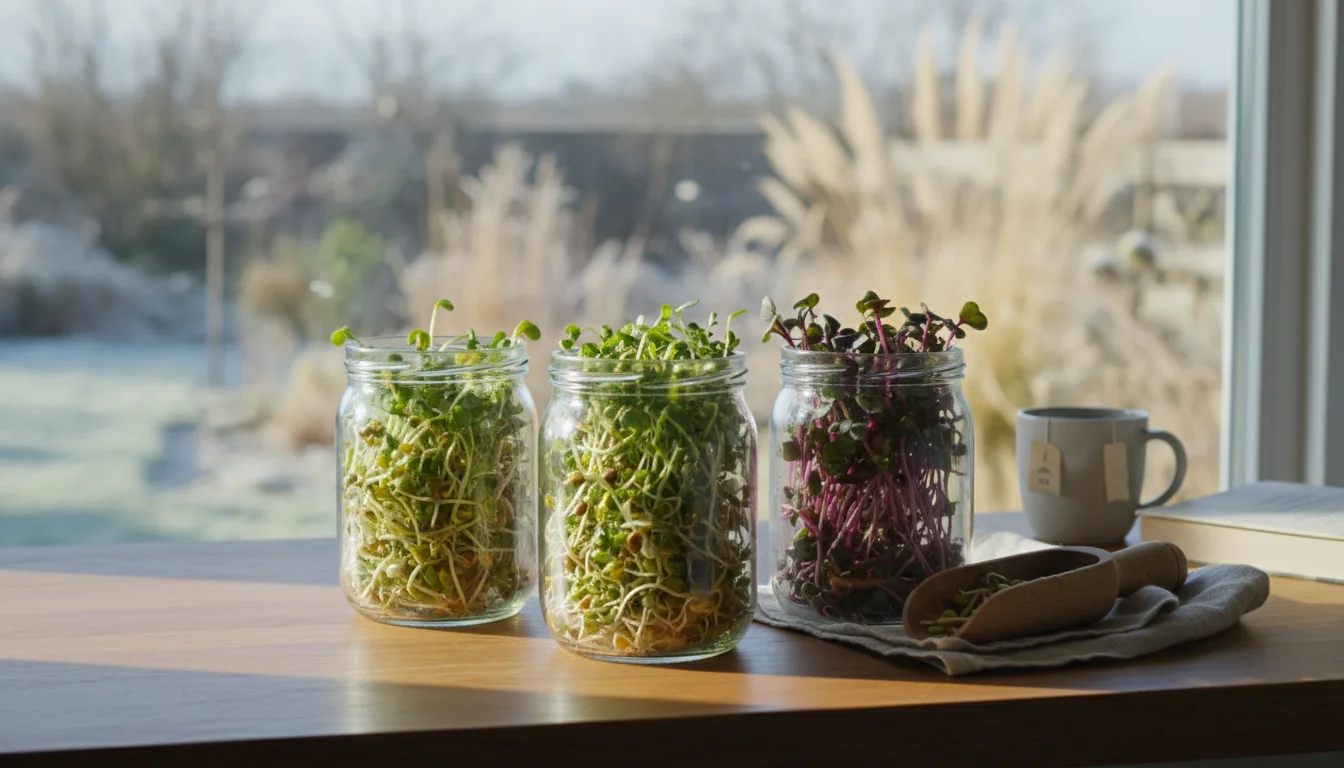
Imagine fresh, vibrant greens gracing your plate, even when snow blankets the ground outside. You might think of complicated indoor grow lights, expensive hydroponic setups, or a dedicated greenhouse. What if I told you that your easiest winter harvest requires none of those? You can grow a bounty of nutrient-packed food right on your kitchen counter, with minimal effort and absolutely no soil or special lighting. Welcome to the world of jar sprouting!
For another simple and productive windowsill project, you can also grow your own ginger indoors with minimal equipment.
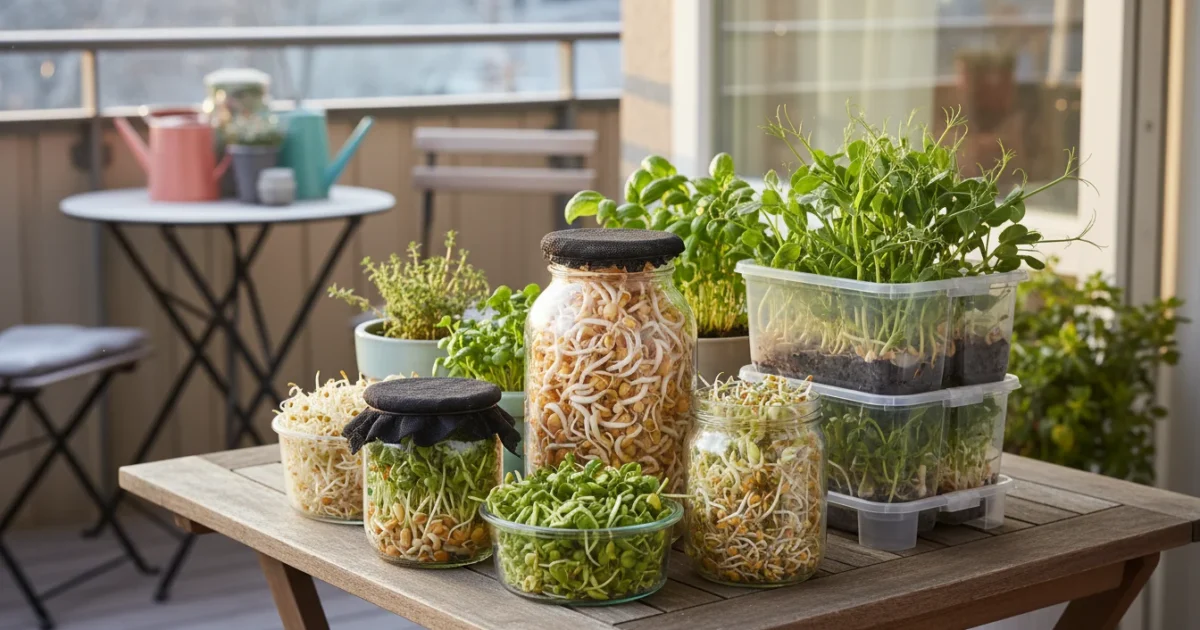
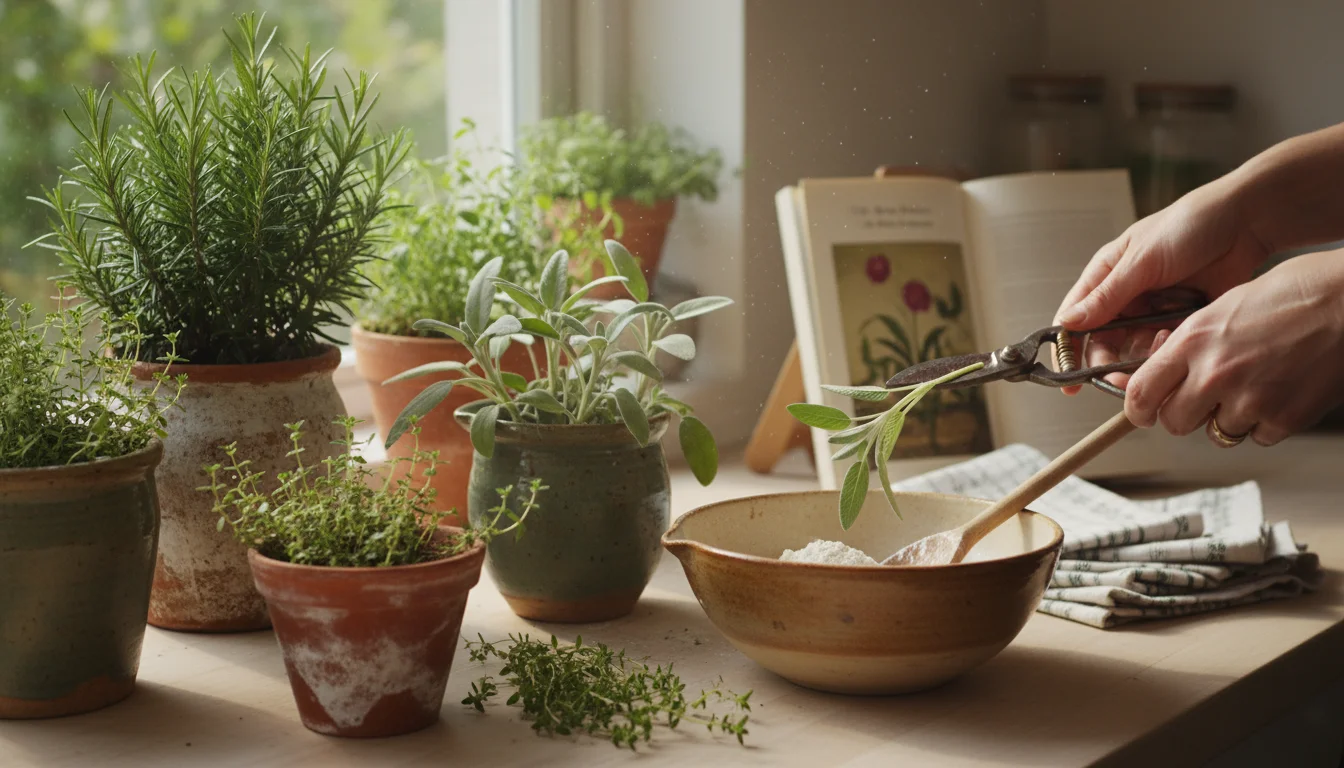
Starting with a simple jar is a fantastic entry point into winter indoor gardening that keeps your home green all year long.
This simple, satisfying method of indoor gardening winter transforms tiny seeds into edible powerhouses in just a few days. It’s the ultimate solution for beginner gardeners, apartment dwellers, or anyone seeking to add fresh, homegrown goodness to their diet year-round. You don’t need a green thumb; you only need a jar, some seeds, and a commitment to daily rinsing. Let’s unlock the secret to growing delicious, crunchy sprouts, even in the darkest months.
Why Sprout? Your Easiest Winter Garden Awaits
Growing sprouts offers a host of compelling benefits, making them an ideal choice for anyone looking to increase their access to fresh food. Perhaps the most attractive aspect for many is the sheer simplicity of growing sprouts. Unlike traditional gardening which demands specific soil conditions, ample sunlight, and often significant outdoor space, jar sprouting requires none of these. You transform tiny seeds into a vibrant, edible crop right on your countertop, turning a minimal investment of time and resources into a substantial dietary reward.
To bring a touch of seasonal color to your indoor space, forcing bulbs indoors is another easy way to garden during the cold months.
While alfalfa is a classic choice, learning to sprout lentils and beans can provide a more substantial and protein-rich indoor harvest.
Consider the nutritional punch these tiny greens pack. Sprouts are living foods, meaning they retain a high concentration of vitamins, minerals, enzymes, and antioxidants. The sprouting process itself enhances the nutritional profile of seeds, often increasing levels of certain B vitamins and Vitamin C, and making proteins more digestible. For example, studies show that sprouting can increase protein content in some legumes by up to 30%, while reducing anti-nutrients that can hinder mineral absorption. You get a boost of wellness in every bite, helping to fortify your diet, especially during months when fresh, local produce can be scarce or expensive.
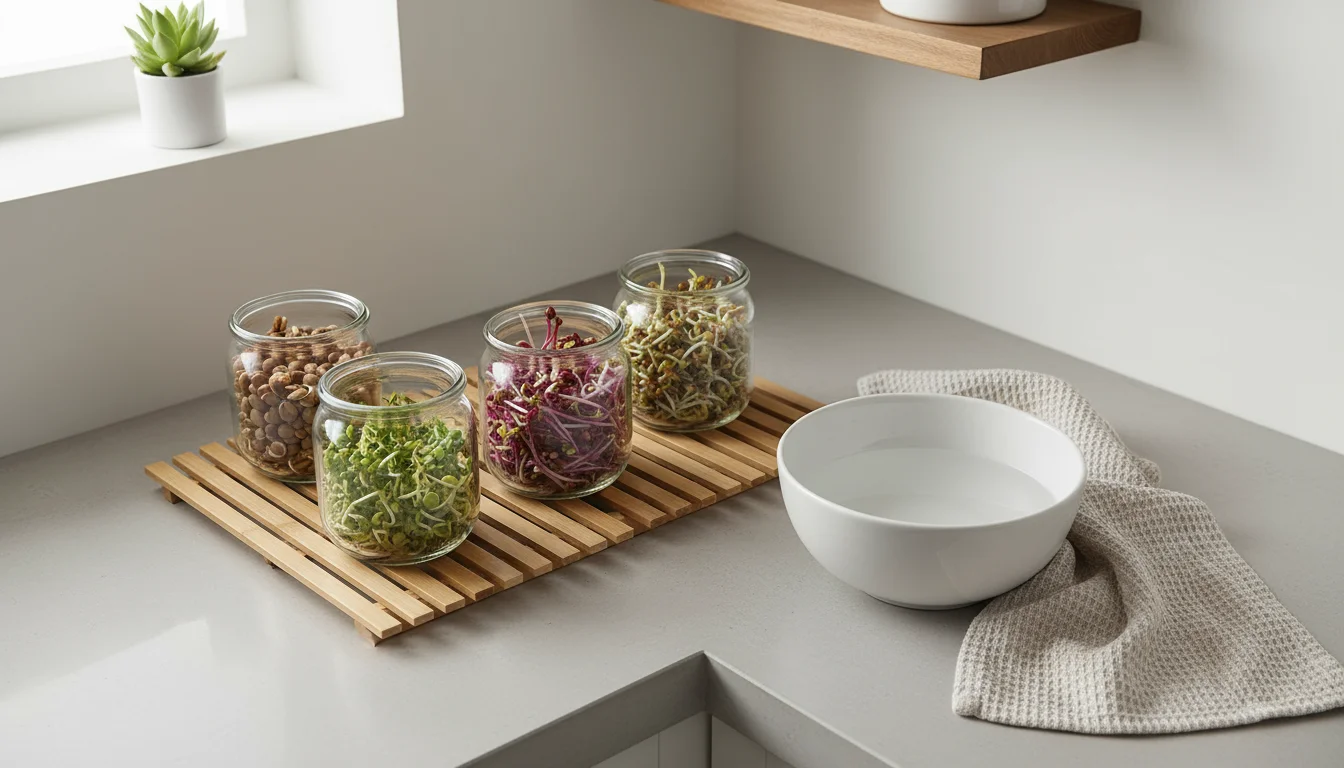
Beyond nutrition, think about the practical advantages for small-space gardeners. If you live in an apartment, condominium, or a home with a small patio or balcony, traditional gardening can feel out of reach. Growing food indoors without soil eliminates space constraints entirely. Your “garden” fits into a single Mason jar, occupying only a small footprint in your kitchen. This method provides the joy of nurturing plants and harvesting your own food, regardless of your living situation or the season outside. It offers a rewarding connection to your food source, fostering a sense of accomplishment and self-sufficiency.
Furthermore, sprouts offer incredible versatility in the kitchen. They add a fresh, crunchy texture and often a peppery or subtly sweet flavor to a wide variety of dishes. Sprinkle them on salads, sandwiches, tacos, or stir-fries. Blend them into smoothies for an extra nutritional kick. Incorporate them into omelets, wraps, or even pasta dishes. Your culinary creations will benefit from their vibrant appearance and distinct taste. This makes them a valuable addition to your diet, providing an easy way to elevate everyday meals with wholesome, homegrown ingredients.
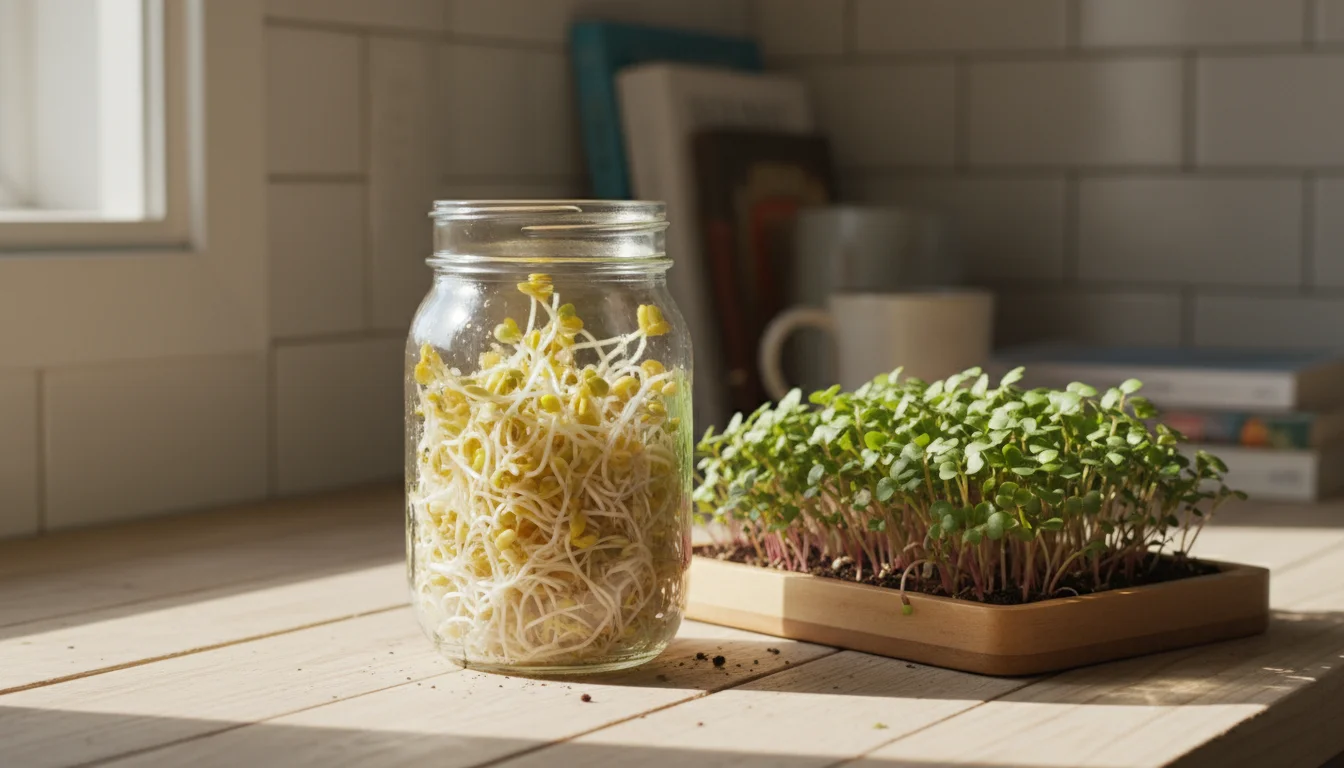
Sprouts Versus Microgreens: Understanding the Difference
When you begin exploring indoor gardening winter, you often encounter two terms: sprouts and microgreens. While both are young, edible plants grown indoors, they represent distinct stages of plant development and require different cultivation methods. Understanding this distinction is crucial for successful growing sprouts, as our focus here is on the no-soil, no-light method.
If you find the process of water-based germination fascinating, you might also enjoy the long-term project of sprouting an avocado seed in a glass.
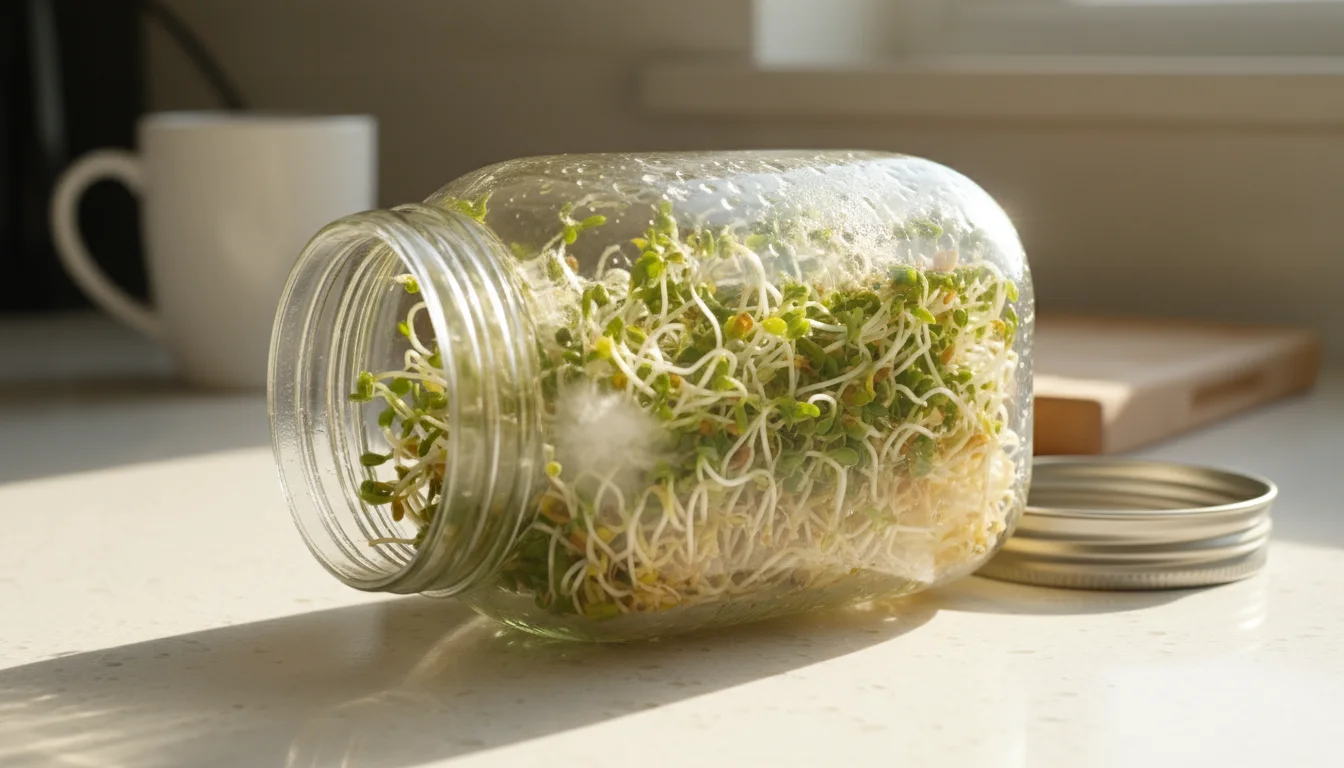
Sprouts are germinated seeds that you consume whole: the seed, the root, and the tiny shoot. The entire plant, from root tip to emerging leaves, is edible. You typically harvest them within 3-7 days of germination, when they are very young. The defining characteristic of sprouts is their growth environment: they thrive in a moist, contained, and often dark environment, such as a jar, without any soil or growing medium. The process involves soaking, rinsing, and draining, allowing the seeds to sprout using only water and internal seed reserves. Because you eat the entire plant, including the root, maintaining excellent hygiene throughout the jar sprouting process is paramount to prevent bacterial growth.
Microgreens, in contrast, are slightly more mature plants. You grow them in a thin layer of soil or another growing medium, such as coco coir or a hydroponic mat. They require light to photosynthesize and develop their first true leaves. You harvest microgreens by cutting them above the soil line, consuming only the stems and leaves, not the roots or seed hull. This means you do not eat the growing medium. The growth cycle for microgreens is longer than sprouts, typically 10-21 days, depending on the variety. While also packed with nutrients, microgreens generally require more equipment, including growing trays, a substrate, and often grow lights to ensure adequate light exposure.
The key takeaway for you as a beginner is this: if you want the absolute simplest, fastest way to get fresh greens without any soil, grow lights, or specialized equipment, sprouts are your answer. If you are ready to invest in trays, a growing medium, and light sources for a longer growing cycle and a different type of harvest, then microgreens might be your next step. For now, let’s master the art of growing food indoors without soil through jar sprouting.
Essential Tools for Your Jar Sprouting Journey
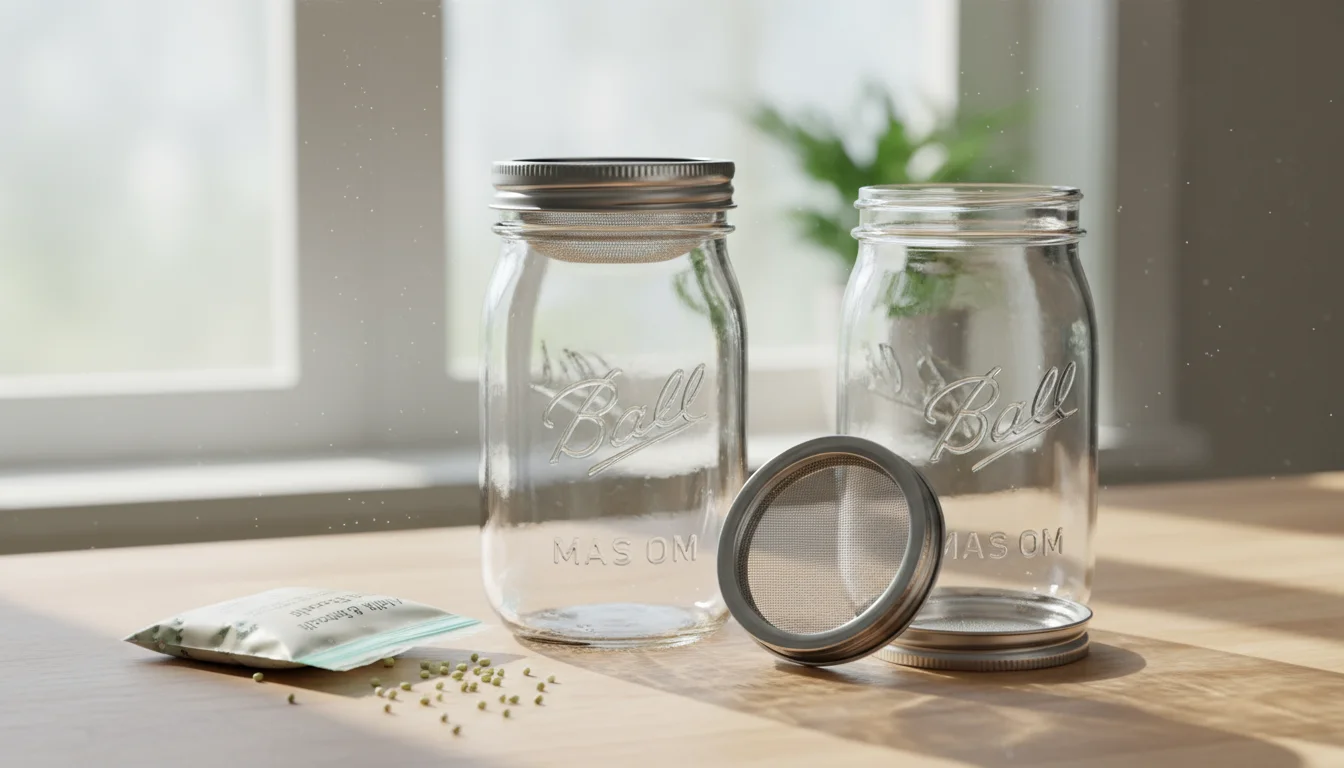
One of the most appealing aspects of jar sprouting is its accessibility. You do not need an extensive shopping list or expensive gadgets to get started. The beauty lies in its simplicity. Here is a breakdown of the few essential items you need to begin your journey, proving that how to grow sprouts in a jar for beginners is truly uncomplicated.
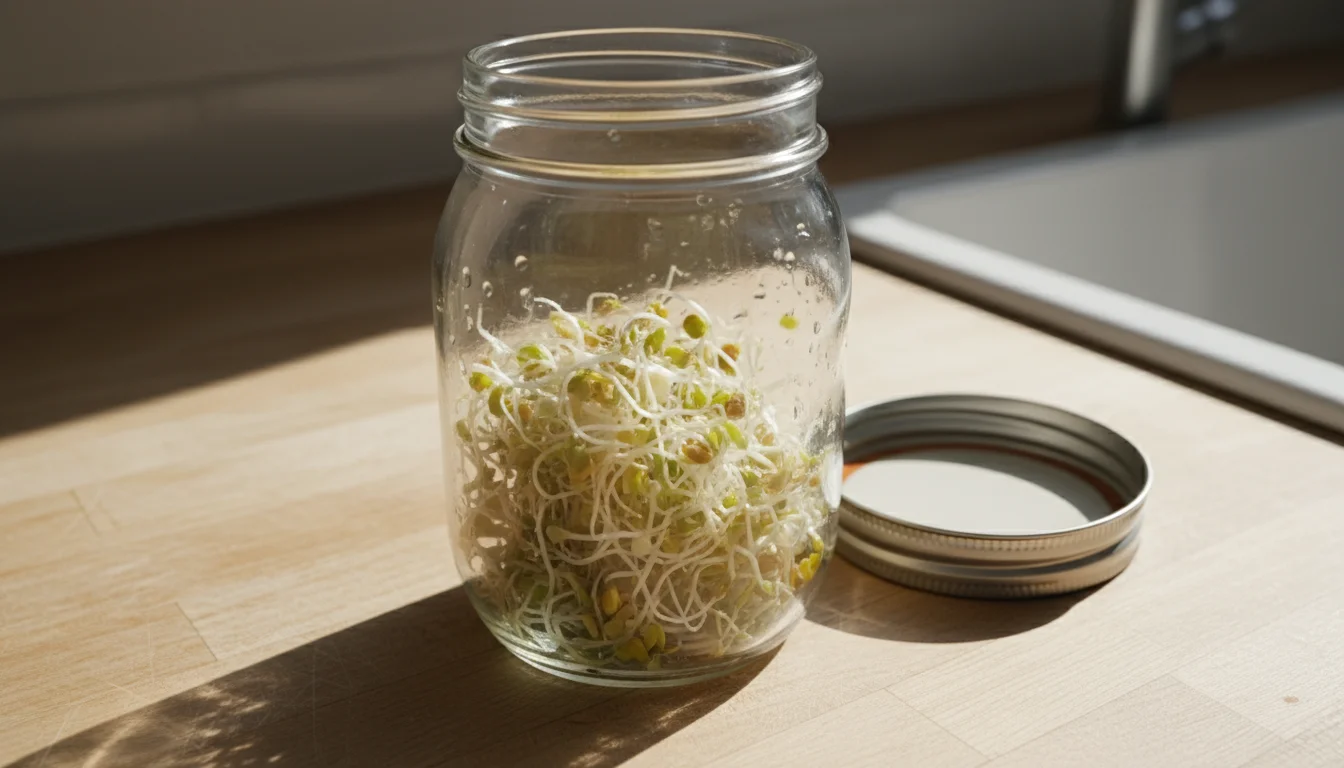
- Wide-Mouth Mason Jars (Quart Size): These are your primary growing vessels. The wide mouth makes it easy to add seeds, rinse, drain, and eventually remove your finished sprouts. Quart-sized jars (32 oz) typically offer enough space for a good batch of sprouts without overcrowding, which helps prevent issues like mold. You can use smaller jars, but they will yield smaller batches.
- Sprouting Lids or Mesh Screens: This is a crucial component for proper drainage and airflow.
- Sprouting Lids: These are specialized lids, often made of plastic or stainless steel, designed with a built-in mesh screen. They screw directly onto your Mason jar. These are incredibly convenient, simplifying the rinsing and draining process.
- Mesh Screens with Rings: Alternatively, you can use a piece of food-grade mesh (like plastic canvas or stainless steel screening) cut to fit under a standard Mason jar band. This creates a similar effect to the sprouting lid. Some people even use cheesecloth secured with a rubber band, but ensure the weave is fine enough to prevent seeds from escaping and strong enough to withstand daily rinsing.
The key is to allow water to drain completely and air to circulate freely.
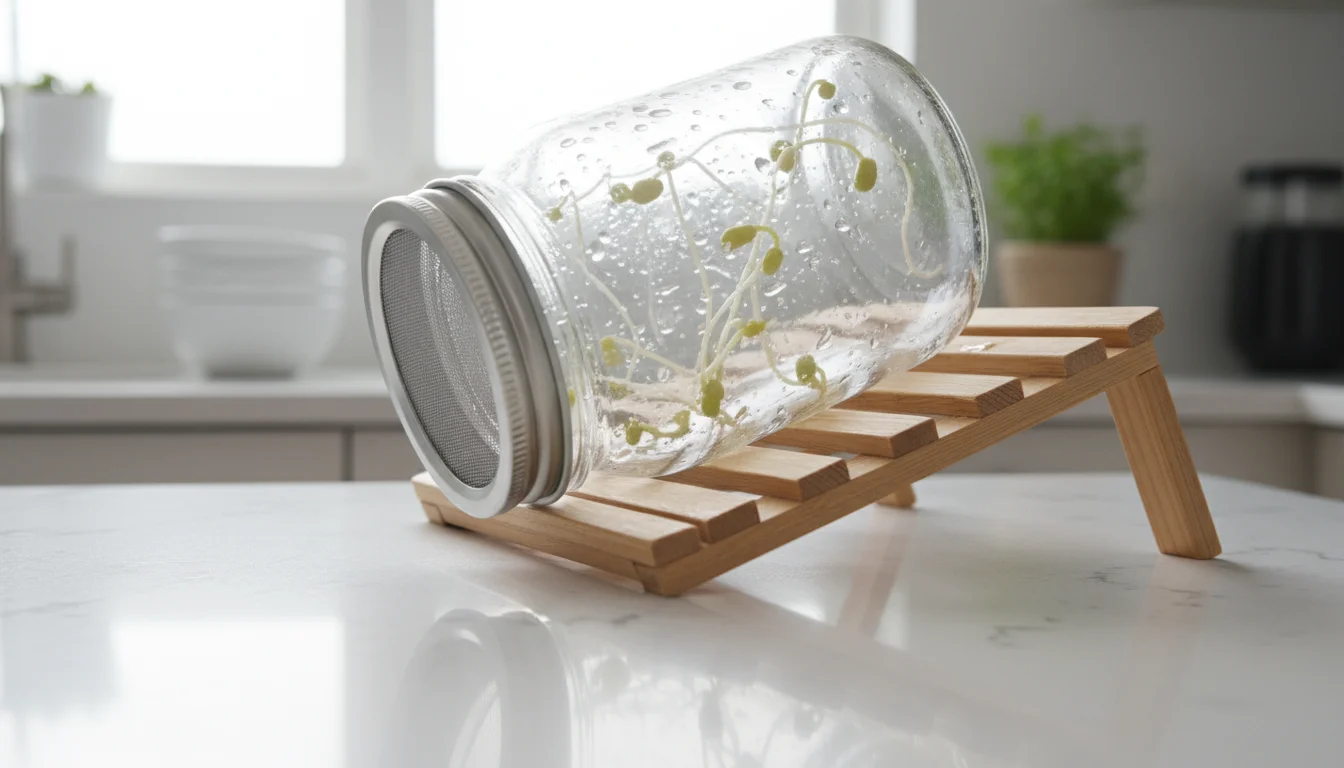
- A Bowl or Container for Draining: After each rinse, you will place your jar upside down at an angle to allow excess water to drip out. A small bowl, a dish drying rack, or even a tiered dish drainer provides a perfect spot for this, catching any residual water. Positioning the jar at an angle ensures maximum drainage and prevents standing water inside the jar, which is critical for preventing spoilage.
- Quality Sprouting Seeds: This is arguably the most important “tool.” Do not use garden seeds intended for planting in soil. You need seeds specifically labeled for sprouting. These seeds undergo rigorous testing for pathogens and often have higher germination rates. We will delve deeper into seed selection in the next section.
- Clean Water: Tap water is usually fine for sprouting, but if your tap water contains high levels of chlorine or chloramines, consider using filtered water. Chlorine can inhibit germination and potentially affect the taste of your sprouts.
That’s it! With these basic items, you possess everything necessary for successful growing food indoors without soil. You do not need fancy equipment, just a few household staples and dedicated sprouting seeds. Your minimal investment sets you up for abundant, fresh harvests all winter long.
Choosing the Best Seeds for Sprouting Indoors
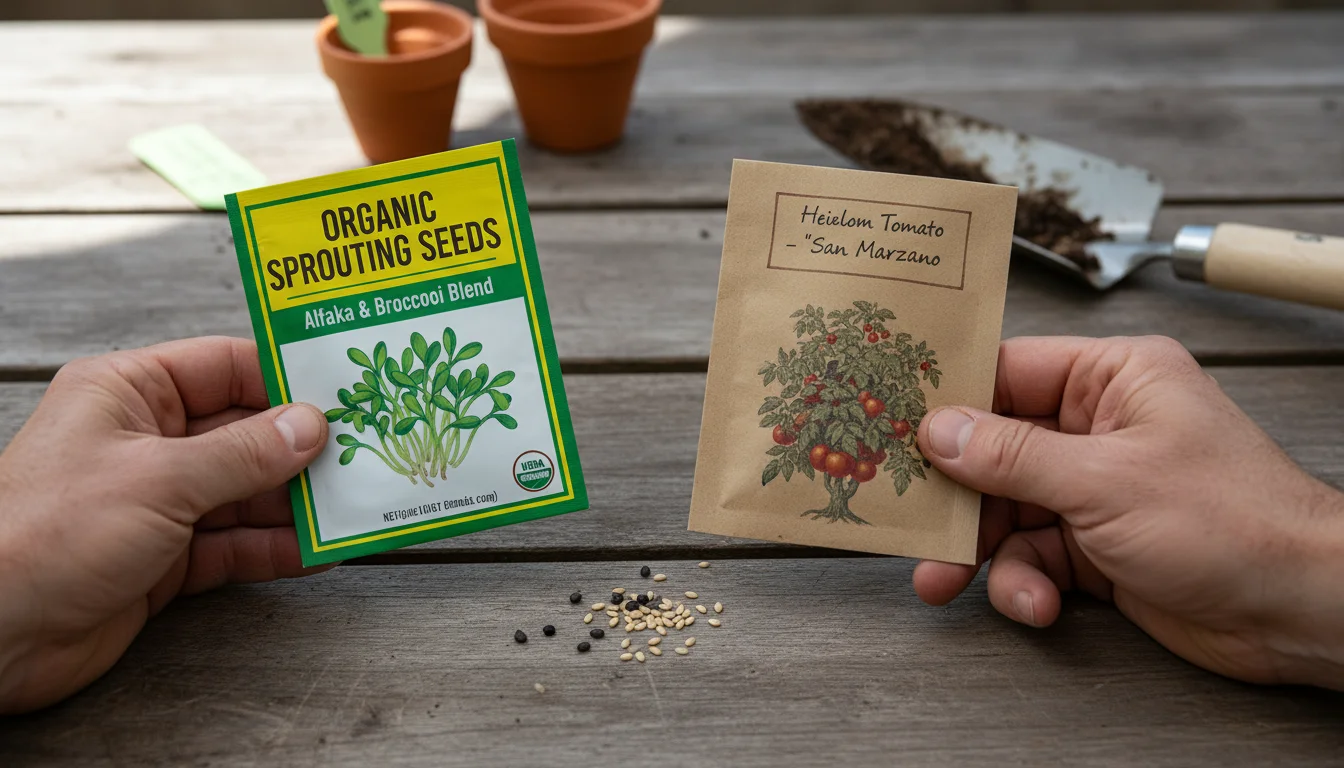
The success of your jar sprouting efforts begins with selecting the right seeds. This is not a step to overlook. As mentioned, you must use seeds specifically packaged and sold for sprouting. These seeds undergo specialized cleaning and testing to minimize the risk of bacterial contamination, which is crucial since you consume the entire young plant. Avoid using garden seeds from your local nursery or packets intended for outdoor planting, as these may carry pathogens or be treated with chemicals unsuitable for direct consumption.
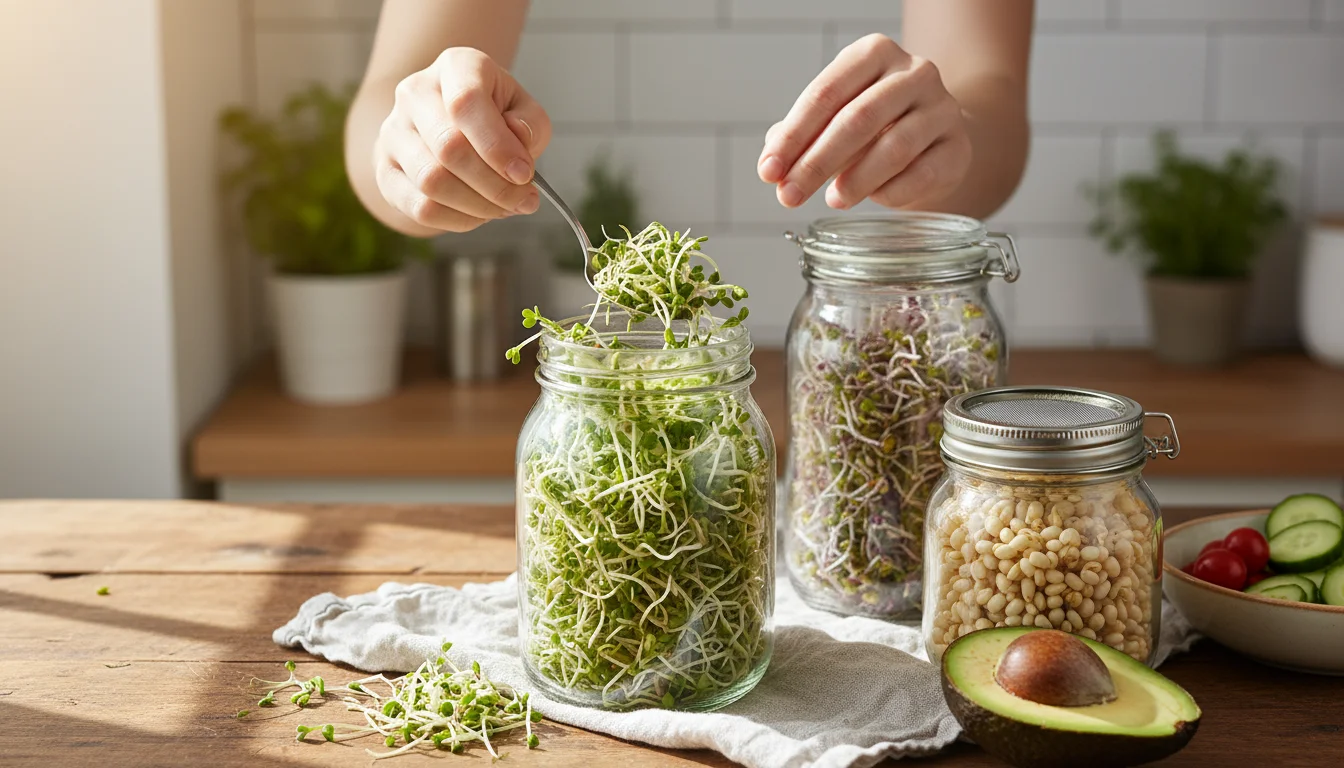
When selecting the best seeds for sprouting indoors, consider both ease of growth and flavor profile. Some seeds sprout more readily and offer a milder taste, making them perfect for beginners. Others provide a bolder flavor or require a bit more attention. Here is a list of popular and easy-to-grow sprouting seeds that consistently yield excellent results:
- Alfalfa: These are perhaps the quintessential sprout. Alfalfa sprouts are mild, delicate, and slightly sweet. They produce a fine, hair-like sprout that integrates beautifully into salads and sandwiches. They are very easy to grow and have a high germination rate, making them ideal for your first growing sprouts experience.
- Broccoli: Known for their potent sulforaphane content, broccoli sprouts are a nutritional powerhouse. They have a slightly peppery, pungent flavor, similar to mature broccoli, but milder. They sprout quickly and are robust, making them a popular choice for health enthusiasts.
- Mung Bean: These produce the thick, crunchy sprouts commonly found in Asian cuisine. Mung beans are hearty, easy to sprout, and offer a satisfying bite. You can add them to stir-fries, spring rolls, or salads. They grow significantly larger than alfalfa or broccoli sprouts.
- Radish: If you enjoy a kick, radish sprouts deliver. They have a distinct spicy flavor, reminiscent of mature radishes, making them excellent for adding a zing to tacos, sandwiches, or as a garnish. They sprout quickly and reliably.
- Lentil: Brown, green, or French lentils sprout easily and offer a mild, earthy flavor. They develop a small root and a tiny green shoot. Lentil sprouts are substantial enough for salads, grain bowls, or light soups.
- Clover: Similar to alfalfa, clover sprouts are mild, sweet, and offer a pleasant crunch. They have a slightly thicker texture than alfalfa and are equally easy to grow, providing a reliable and tasty sprout.
- Fenugreek: These sprouts have a unique, slightly bitter, curry-like flavor. While not for everyone, they are highly nutritious and can add an interesting dimension to specific dishes. They sprout readily but require good air circulation to prevent sliminess.
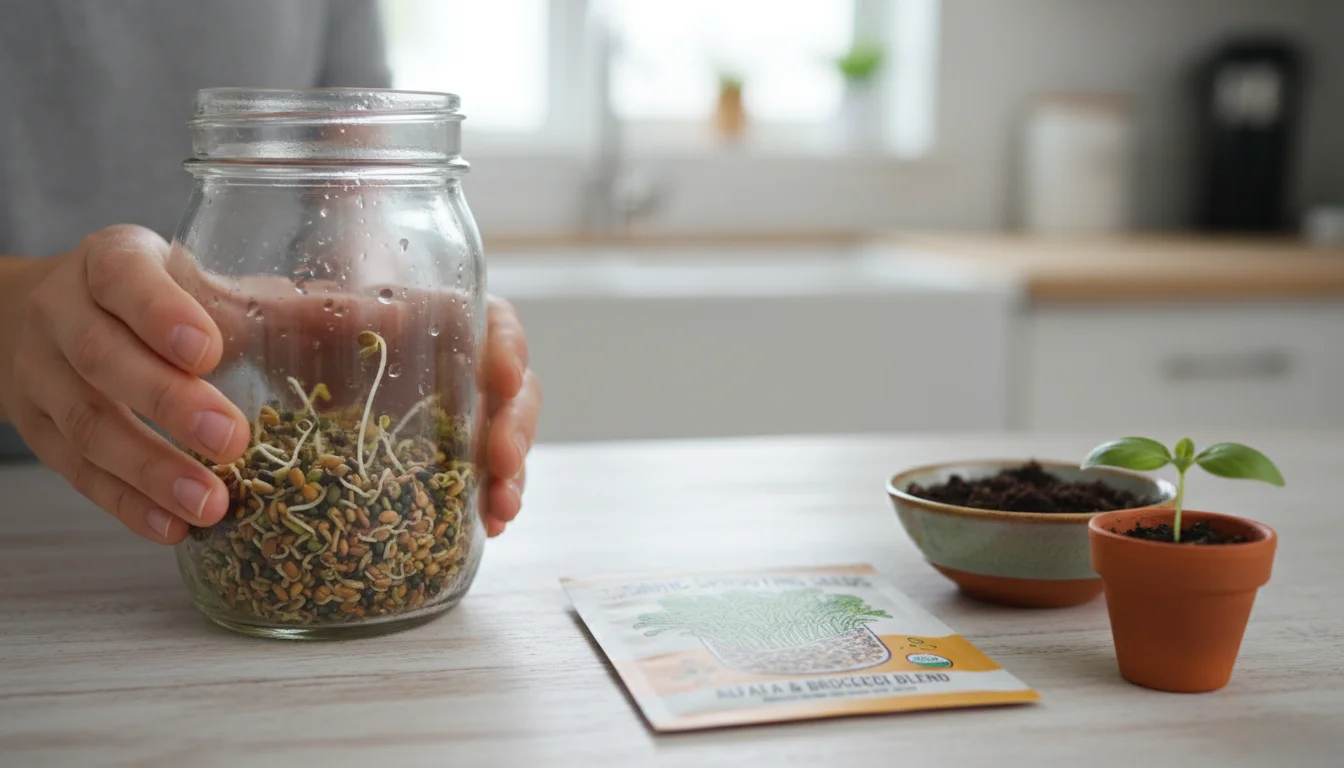
When you purchase your seeds, always check the label for “sprouting seeds” or “for sprouting.” Reputable suppliers will also specify the germination rate and often provide guidelines for how to grow sprouts in a jar for beginners. Experiment with different varieties to discover your favorite textures and flavors. Many seed suppliers also offer mixed seed blends, which provide a convenient way to enjoy a variety of sprouts with a single batch.
Step-by-Step Guide: How to Grow Sprouts in a Jar for Beginners
Now that you have your tools and seeds ready, let’s walk through the simple, step-by-step process of how to grow sprouts in a jar for beginners. This method is incredibly forgiving, and you will likely see results within just a few days, making it one of the most rewarding forms of indoor gardening winter.
- Measure and Rinse Seeds:
- For a quart-sized Mason jar, start with about 1-2 tablespoons of small seeds (like alfalfa, broccoli, clover) or 1/4 – 1/2 cup of larger seeds (like mung beans, lentils). This amount will expand significantly as the seeds sprout.
- Place your chosen sprouting seeds into the clean Mason jar.
- Cover the seeds with cool, fresh water. Swirl the jar gently.
- Drain off this initial rinse water immediately through your sprouting lid or mesh screen. This removes any dust or debris from the seeds.
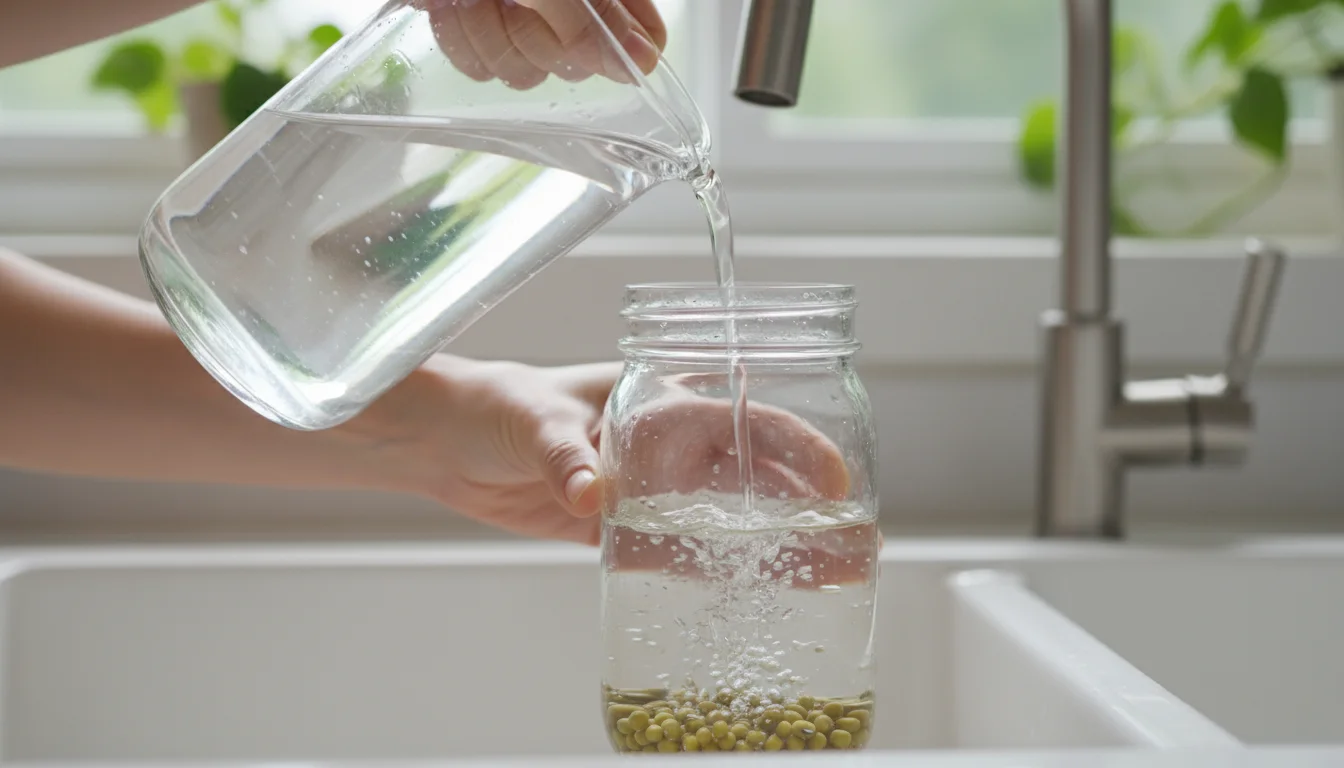
- Initial Soak:
- After the initial rinse, refill the jar with cool, fresh water, ensuring the seeds are completely submerged. Use enough water to cover the seeds by at least an inch or two, as they will begin to absorb water and swell.
- Attach your sprouting lid or mesh screen.
- Let the seeds soak for 6-12 hours at room temperature. Smaller seeds often require a shorter soak (6-8 hours), while larger seeds like mung beans or lentils might benefit from 10-12 hours. Do not exceed 12 hours, as prolonged soaking can lead to fermentation or suffocation of the seeds.
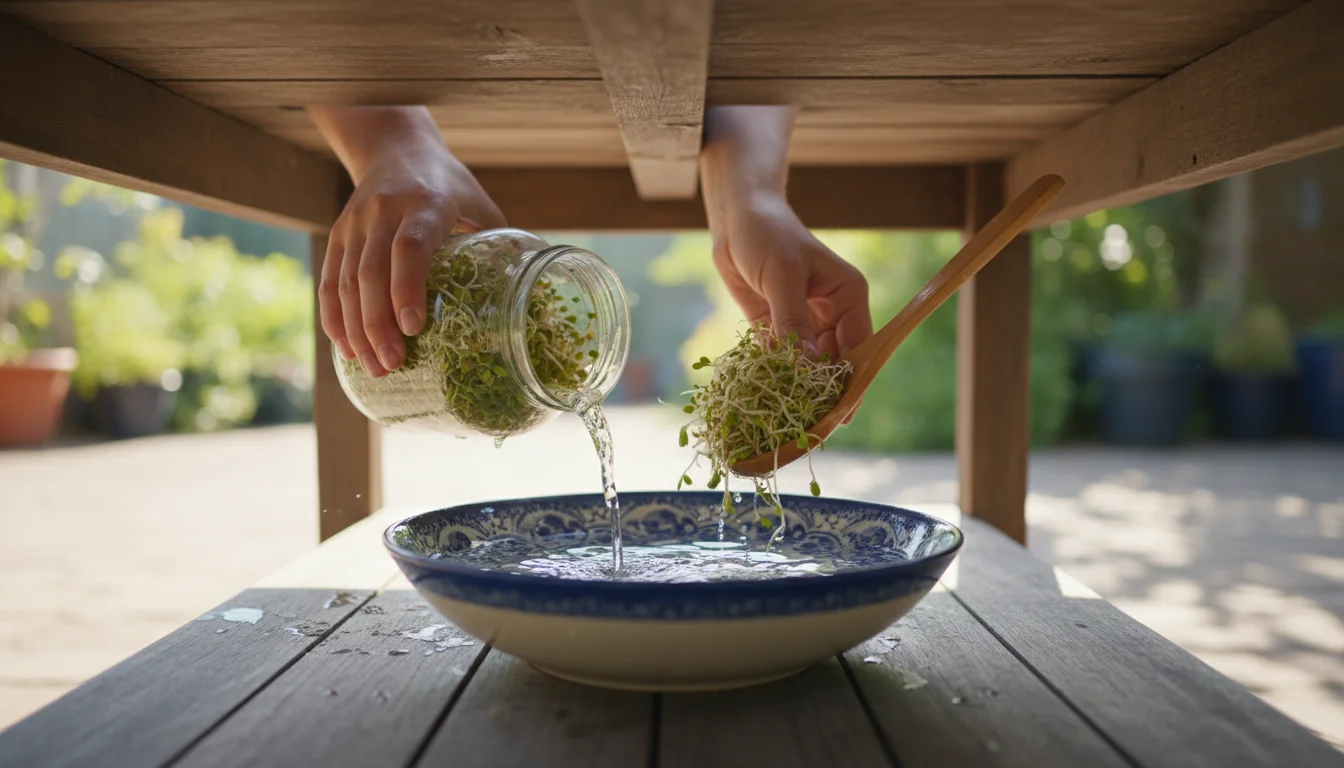
- Drain and Rinse (The Daily Routine Begins):
- After the initial soak, thoroughly drain all the water from the jar through the sprouting lid. Shake the jar gently to dislodge any water droplets clinging to the seeds. This step is critical; standing water leads to mold.
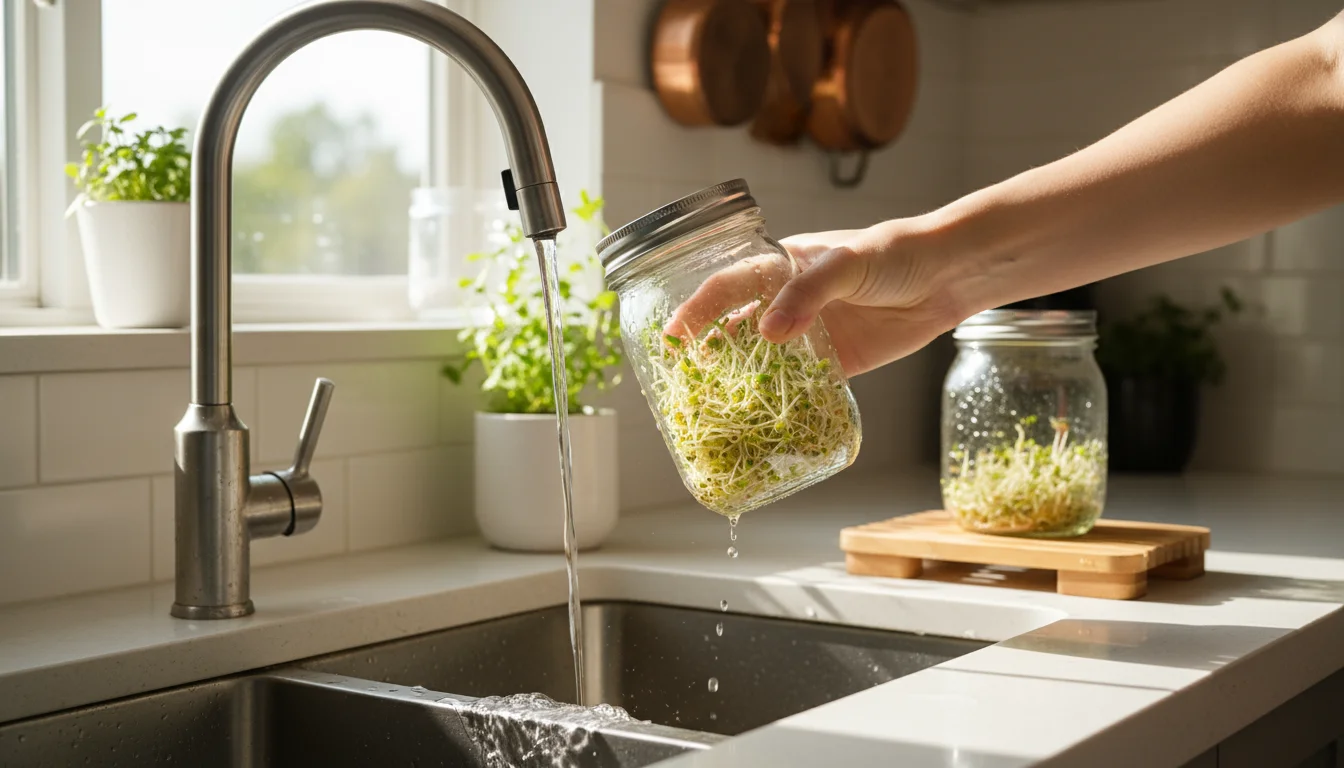
- Rinse the seeds again with fresh, cool water. Swirl the water around, making sure it reaches all the seeds.
- Drain the water completely once more. Again, shake out as much excess water as possible.
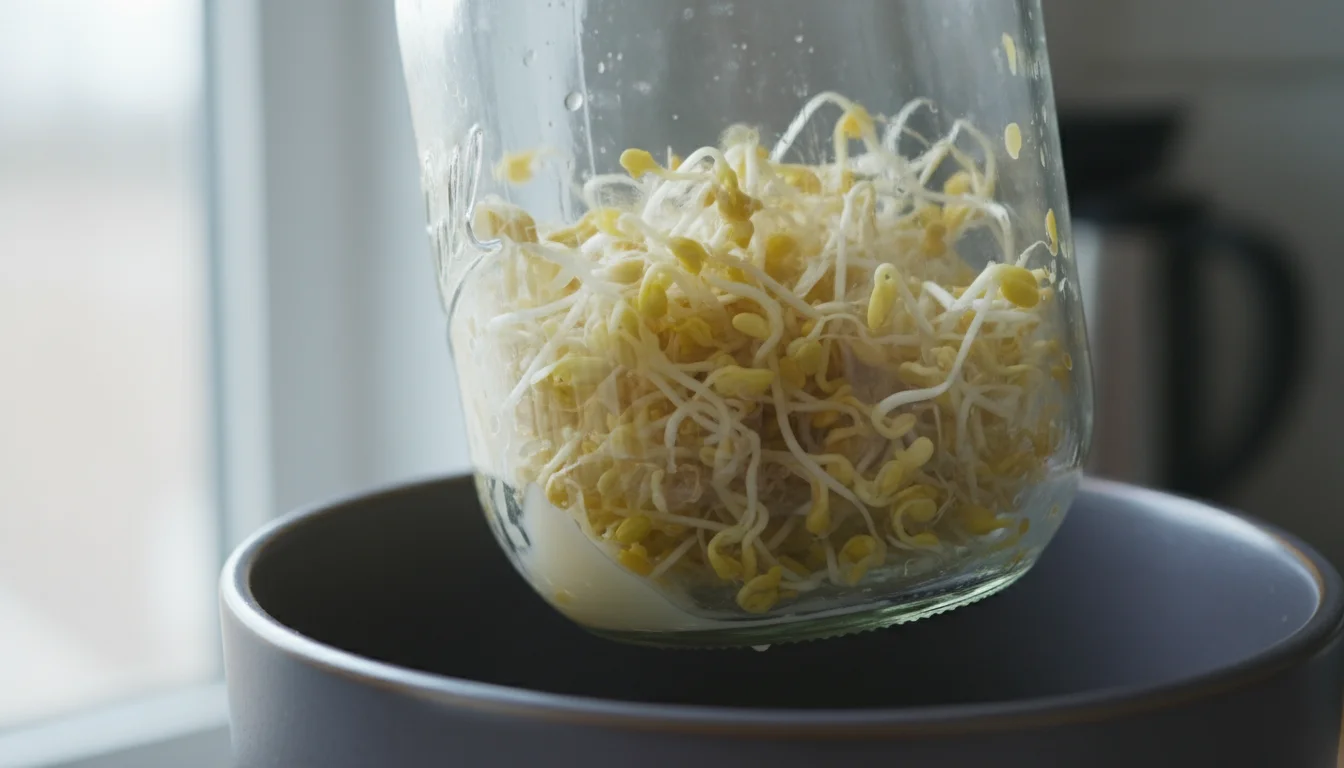
- Place the jar upside down at an angle in your draining bowl or dish rack. This position allows any remaining water to drip away and ensures proper air circulation around the seeds. You want the seeds to be moist, but not wet.
- Repeat Rinsing and Draining:
- You will repeat step 3 two to three times per day, typically morning and evening, for the next 3-7 days. Consistency is key here.
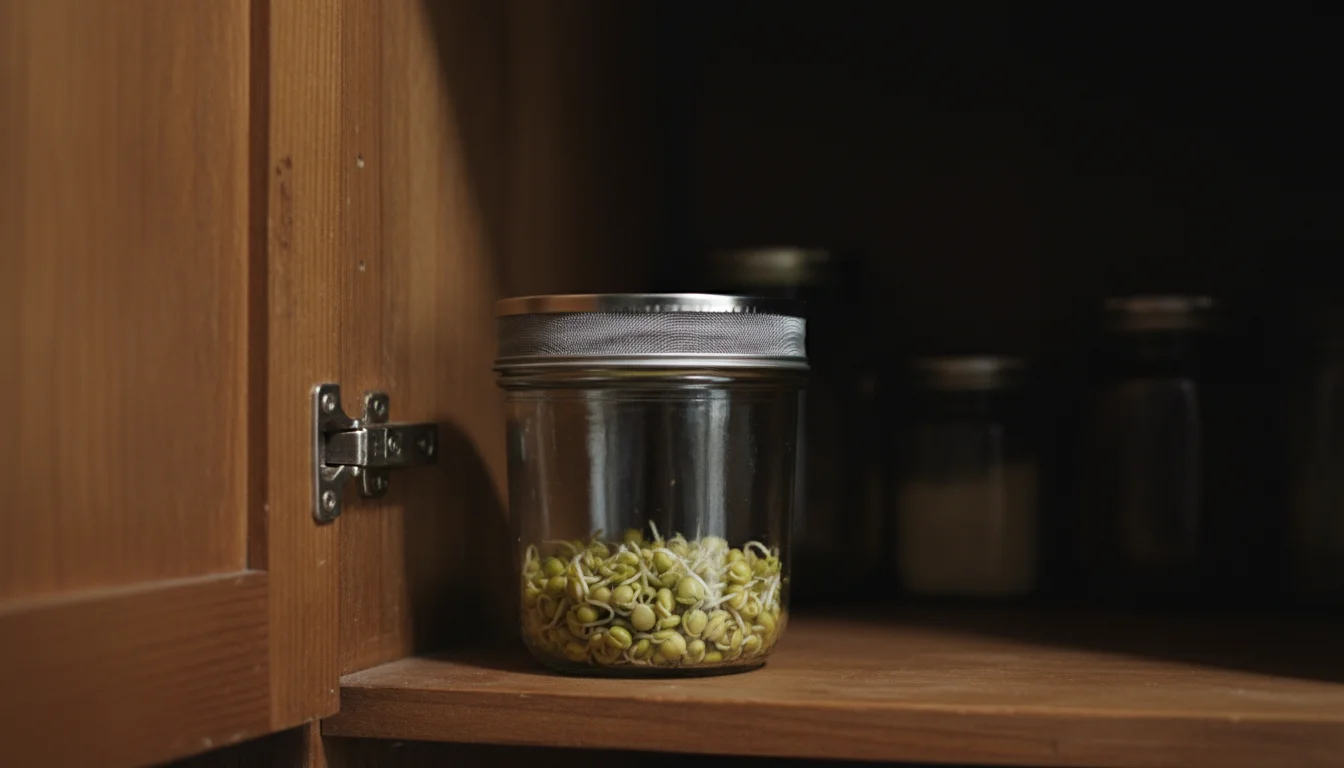
- Keep the jar out of direct sunlight during this phase. A kitchen counter, pantry, or cupboard provides an ideal environment. Darkness encourages initial root growth and protects the delicate sprouts.
- You will observe tiny rootlets emerging from the seeds, often within 24-48 hours. These are your sprouts beginning their incredible transformation.
- Introducing Light (Optional, but Recommended for Greenery):
- Once your sprouts have developed a small root and you see tiny leaves beginning to emerge (this usually happens around day 3-5, depending on the seed type), you can expose them to indirect light.
- Move the jar to a spot on your counter with ambient light, but avoid direct sun, which can cook the delicate sprouts. This exposure to light helps the sprouts develop chlorophyll, turning them green and enhancing their flavor and nutrient content.
- Continue rinsing and draining two to three times a day.
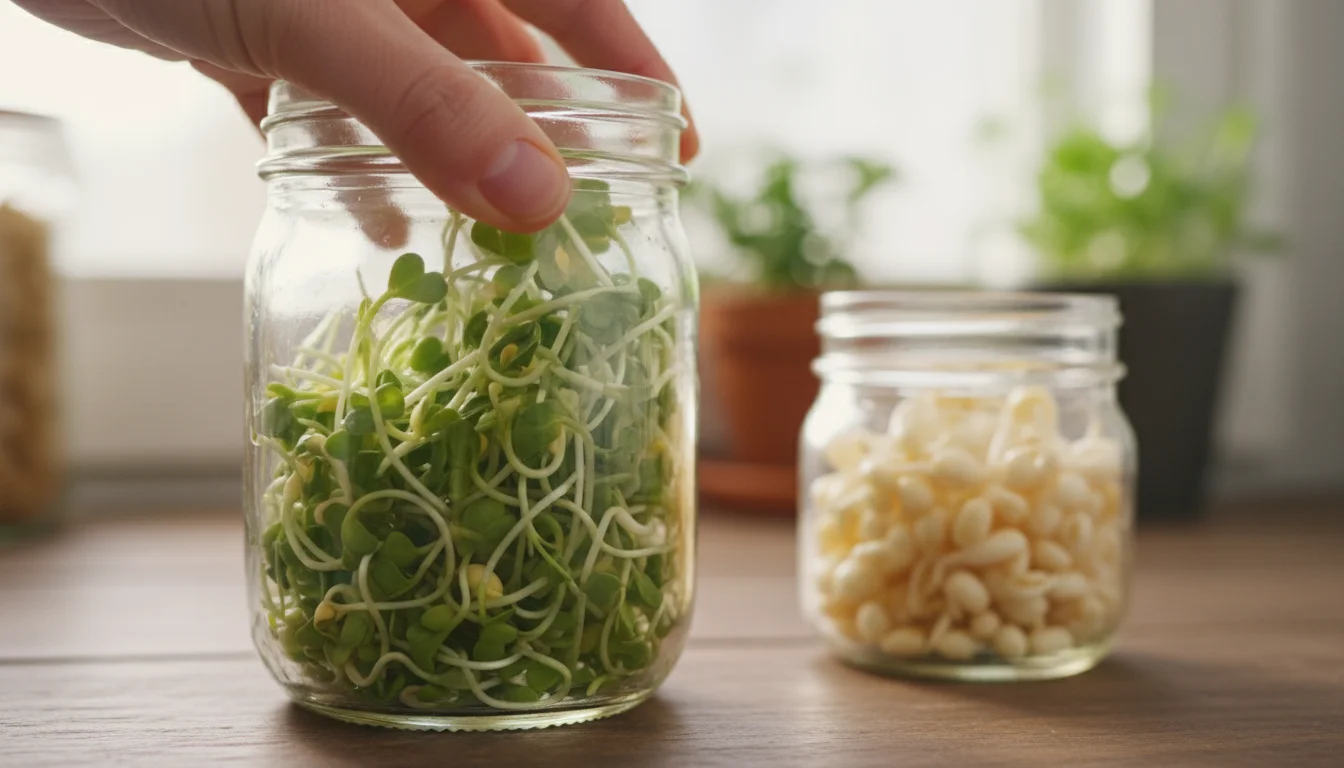
- Harvesting Your Sprouts:
- Your sprouts are ready to harvest when they reach your desired size, typically 1-2 inches long. This usually occurs between day 3 and day 7.
- Mung beans will be thick and crunchy. Alfalfa and clover will have delicate green leaves.
- Give them a final thorough rinse and drain exceptionally well. You want them as dry as possible before storage.
This simple cycle of soaking, rinsing, and draining is all it takes for successful growing food indoors without soil. You are essentially mimicking nature’s process, providing just enough moisture and air for the seeds to germinate and grow into nutritious, edible sprouts. Enjoy watching your tiny garden flourish!

Caring for Your Sprouts: Rinsing, Draining, and Light Exposure
Successful growing sprouts largely hinges on consistent care, particularly with rinsing and draining. These two steps are paramount for both the health of your sprouts and your safety. Think of rinsing as providing essential hydration and cleaning, and draining as preventing potential problems.
The Critical Role of Rinsing and Draining
You need to rinse your sprouting seeds and developing sprouts two to three times a day. This frequent rinsing accomplishes several vital tasks:
- Hydration: Water is the lifeblood of your sprouts. Each rinse rehydrates the seeds and provides the necessary moisture for germination and continued growth.
- Waste Removal: As seeds sprout, they release metabolic waste products. Rinsing washes these away, ensuring a clean and healthy environment for growth.
- Preventing Stagnation: Stagnant water creates an anaerobic environment, which is perfect for harmful bacteria and mold to thrive. Consistent rinsing and draining prevents this.
- Temperature Regulation: Cool water helps maintain an optimal temperature, especially in warmer environments, preventing the sprouts from overheating.
Immediately after each rinse, thorough draining is equally important. In fact, it is arguably the most critical step in preventing spoilage and ensuring healthy sprouts. When we talk about “drainage” for jar sprouts, we mean removing every last drop of excess water. If water pools in the bottom of your jar, even a small amount, it creates a breeding ground for mold and bacteria, and can cause the sprouts to rot. You achieve proper drainage by:
- Shaking the jar vigorously after rinsing to dislodge water.
- Inverting the jar at an angle (45 degrees or more) in a bowl or dish rack. Gravity does the rest, pulling all remaining water out.
- Ensuring good air circulation around the jar while it drains.
You want your sprouts to be moist, but never sitting in water. This balance is fundamental to your success with growing food indoors without soil.
Understanding Light Exposure for Sprouts
Unlike most plants, sprouts do not require direct light for the majority of their growth cycle. In fact, initial darkness or indirect light is beneficial. When you first start the jar sprouting process, keep your jar in a dark or dimly lit area, such as a pantry, cupboard, or a corner of your kitchen that does not receive direct sunlight. This encourages the seeds to focus their energy on root development, producing strong, healthy sprouts.
Once the sprouts have developed small roots and started to show tiny leaves (typically after 3-5 days, depending on the seed type), you can introduce them to indirect light. Placing the jar on a kitchen counter, away from a sunny window, is usually sufficient. This ambient light exposure helps the sprouts to green up, a process called photosynthesis. The development of chlorophyll not only makes your sprouts more visually appealing but also slightly enhances their flavor and nutritional profile, particularly increasing vitamin C content. You do not need grow lights or intense sunlight; gentle, indirect light is all they require for this final stage.
Remember, the goal is not to grow large, leafy plants, but small, tender sprouts. Too much direct sun can dry them out, cook them, or promote undesirable growth. Consistent rinsing, thorough draining, and appropriate light exposure are the trifecta for a successful and safe harvest of your best seeds for sprouting indoors.
Troubleshooting Common Sprouting Challenges
While jar sprouting is remarkably simple, you might encounter a few common issues, especially when you are just starting your indoor gardening winter adventure. Identifying and addressing these problems quickly ensures a successful and safe harvest. Here are some of the most frequent challenges and practical solutions:
1. Slimy or Mushy Sprouts
This is arguably the most common and concerning issue. Sliminess usually indicates bacterial growth or insufficient drainage.
- Cause: Inadequate rinsing, poor drainage resulting in standing water, overcrowding of seeds, or high ambient temperatures.
- Solution: Immediately discard any slimy sprouts. Do not attempt to salvage them. When starting a new batch, ensure you rinse and drain thoroughly two to three times a day. Shake out every last drop of water after each rinse. Do not overfill your jar with seeds; allow them ample space to breathe and expand. Consider rinsing with slightly cooler water, particularly if your kitchen is warm. You can also try adding a tiny splash of food-grade hydrogen peroxide (3%) to one of your daily rinses (about 1 teaspoon per quart of water) as an antiseptic, though this is usually unnecessary with proper hygiene.
2. Mold Growth (Fuzzy White Stuff)
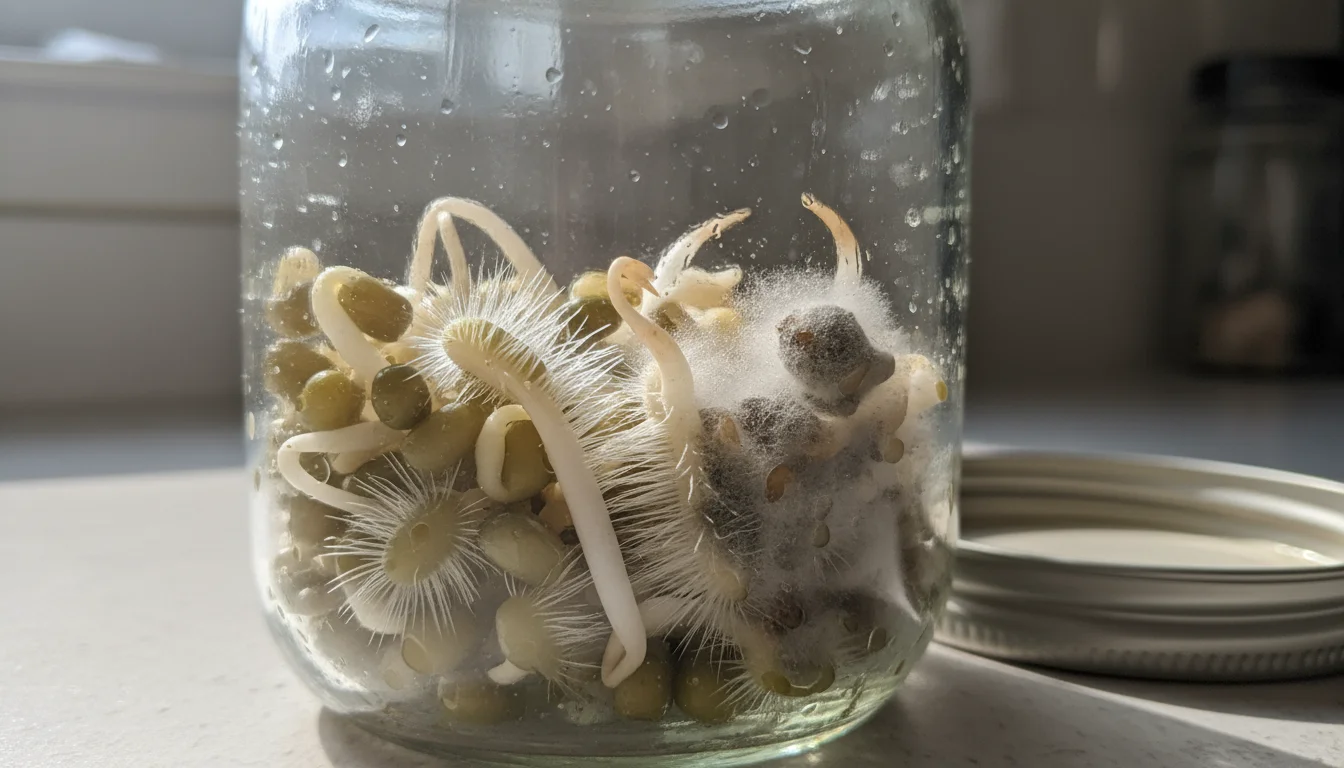
Distinguishing between mold and sprout “fuzz” (root hairs) is important. Root hairs are tiny, white, fuzzy filaments that grow directly from the sprout root and stand perpendicular to it. They appear dry. Mold, on the other hand, often looks like cottony patches, can be grayish or black, and typically appears on the seeds or along the jar walls. It can also have an off-smell.
- Cause: Insufficient air circulation, excessive moisture, contaminated seeds, or prolonged dark conditions.
- Solution: If you suspect mold, discard the entire batch. Clean your jar thoroughly with hot, soapy water before your next batch. Ensure your jar drains completely and is angled for airflow. Do not overcrowd your seeds. If mold is a persistent problem, switch to a new seed supplier, as some batches can carry mold spores. Moving the sprouts to indirect light earlier can also help, as mold thrives in darkness.
3. No Germination or Poor Germination Rate
If your seeds are not sprouting or only a few are, there are a few likely culprits.
- Cause: Old or expired seeds, seeds not specifically for sprouting, improper soaking time, or water that is too cold/hot or heavily chlorinated.
- Solution: Always use fresh, high-quality seeds specifically labeled “for sprouting.” Check expiration dates. Ensure your initial soak time is appropriate for the seed type (6-12 hours). Use cool, but not icy, filtered water if your tap water is heavily chlorinated. Some seeds, like smaller ones, have higher germination rates than others.
4. Sprouts Drying Out
If your sprouts appear withered, crispy, or shriveled, they are not receiving enough moisture.
- Cause: Not enough daily rinses, insufficient water during rinses, or an overly dry environment.
- Solution: Increase your rinsing frequency to three times a day, especially in warmer or drier climates. Ensure you thoroughly wet all the seeds during each rinse. After draining, ensure the jar is not in a location with excessive airflow or direct heat (like above a stove).
5. Seeds Not Draining Properly
If water collects at the bottom of your jar even after draining.
- Cause: Jar not angled sufficiently, screen clogged, or too many seeds for the jar size.
- Solution: Ensure your jar is inverted at a sharp enough angle (at least 45 degrees, ideally more) to allow gravity to pull out all water. Check that your sprouting lid or mesh screen is not clogged with seed hulls. Reduce the number of seeds you are sprouting in a single jar to prevent overcrowding, which can block drainage.
By understanding these common issues and implementing these solutions, you can overcome hurdles and enjoy consistent success with your growing food indoors without soil project. Remember, good hygiene, proper rinsing, and thorough draining are your best defenses against most sprouting problems.
Harvesting and Storing Your Fresh Sprouts
After a few days of diligent rinsing and draining, you are ready for the most exciting part: harvesting your homegrown sprouts! This simple act completes your indoor gardening winter cycle and brings fresh, living food directly to your plate. Proper harvesting and storage techniques are crucial for maintaining the freshness, crunch, and nutritional value of your sprouts.
When to Harvest Your Sprouts
You can harvest sprouts at various stages, depending on your preference for size and flavor, but most are ready between 3-7 days.
- Alfalfa, Clover, Radish, Broccoli: These delicate sprouts are typically ready when they have grown 1-2 inches long and their tiny green leaves (cotyledons) have emerged and turned green from light exposure. This usually takes 4-6 days.
- Mung Beans, Lentils: These larger sprouts are often harvested when their white roots are about 1 inch long and they have a distinct crunch. They may not develop significant green leaves in a jar before harvest, usually ready in 3-5 days.
You are the ultimate judge of when they are perfect for you. Observe their growth daily, and once they reach a size and appearance you like, it’s time to prepare them for storage.
The Harvesting Process
Harvesting is straightforward. There is no cutting involved, unlike with microgreens, because you consume the entire sprout.
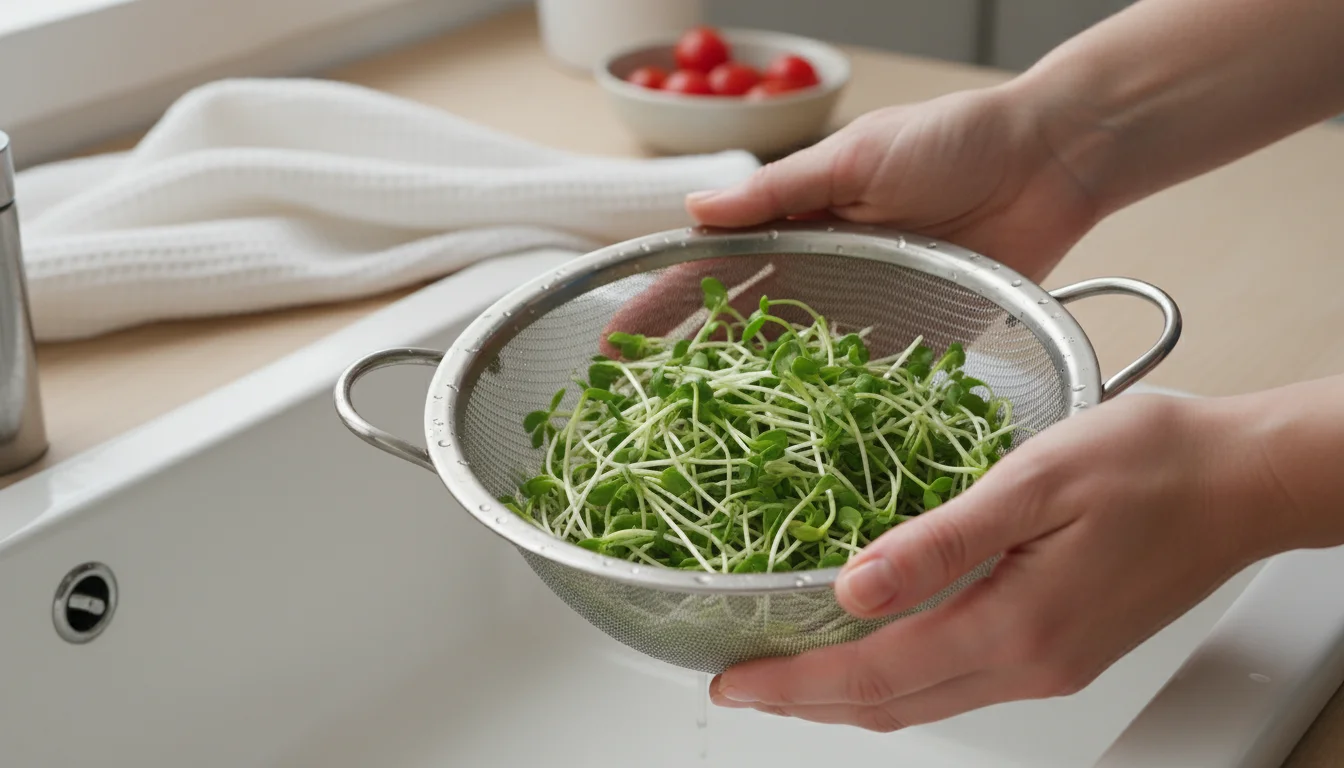
- Final Rinse: Give your sprouts one last very thorough rinse under cool, running water. Ensure all seed hulls are washed away. You can often remove loose hulls by swirling the sprouts vigorously in a bowl of water, then draining them in a colander.
- Thorough Draining: This step is paramount for good storage. You must remove as much excess water as possible. Place the sprouts in a colander and shake it well. You can even gently pat them dry with a clean paper towel or spin them in a salad spinner for a few seconds. The drier your sprouts are, the longer they will last in the refrigerator.
Storing Your Fresh Sprouts
Proper storage is essential to prolong the life and quality of your homemade sprouts. You want to keep them cool, dry, and with a little airflow.
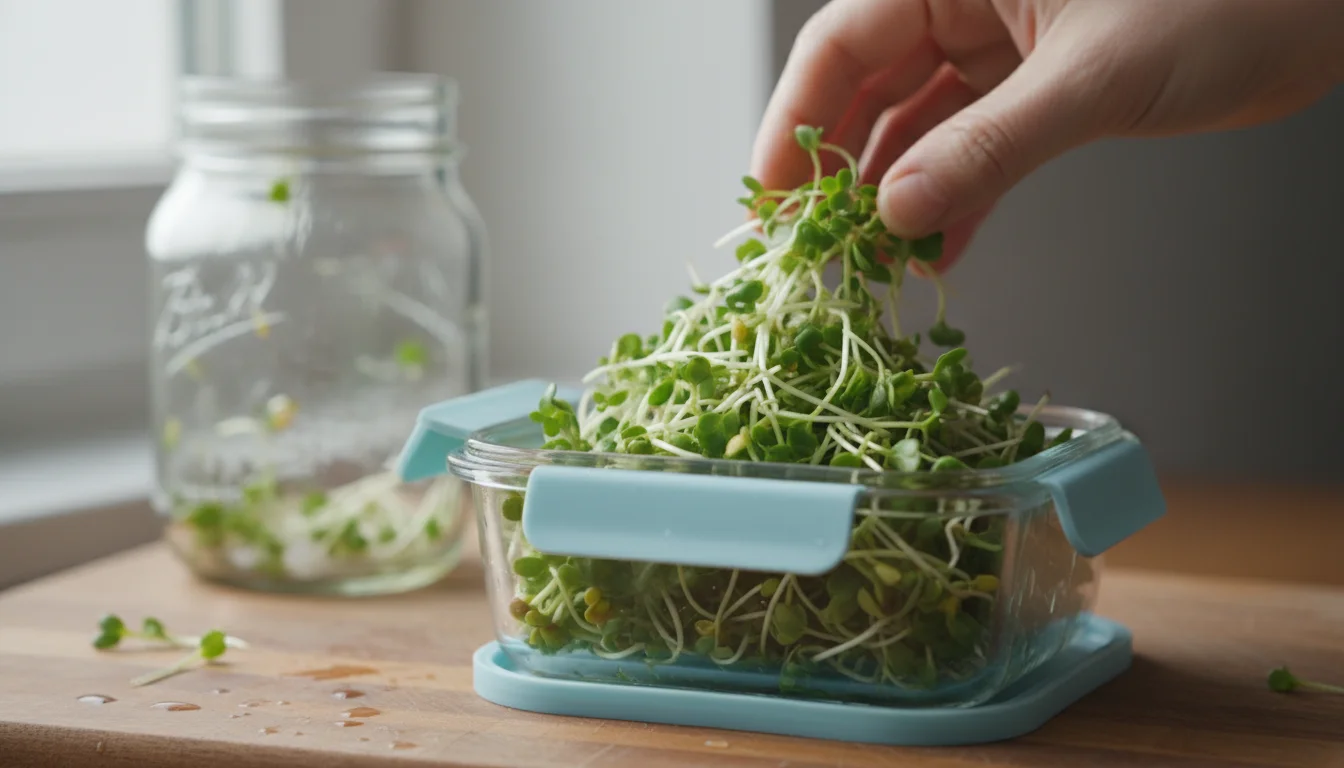
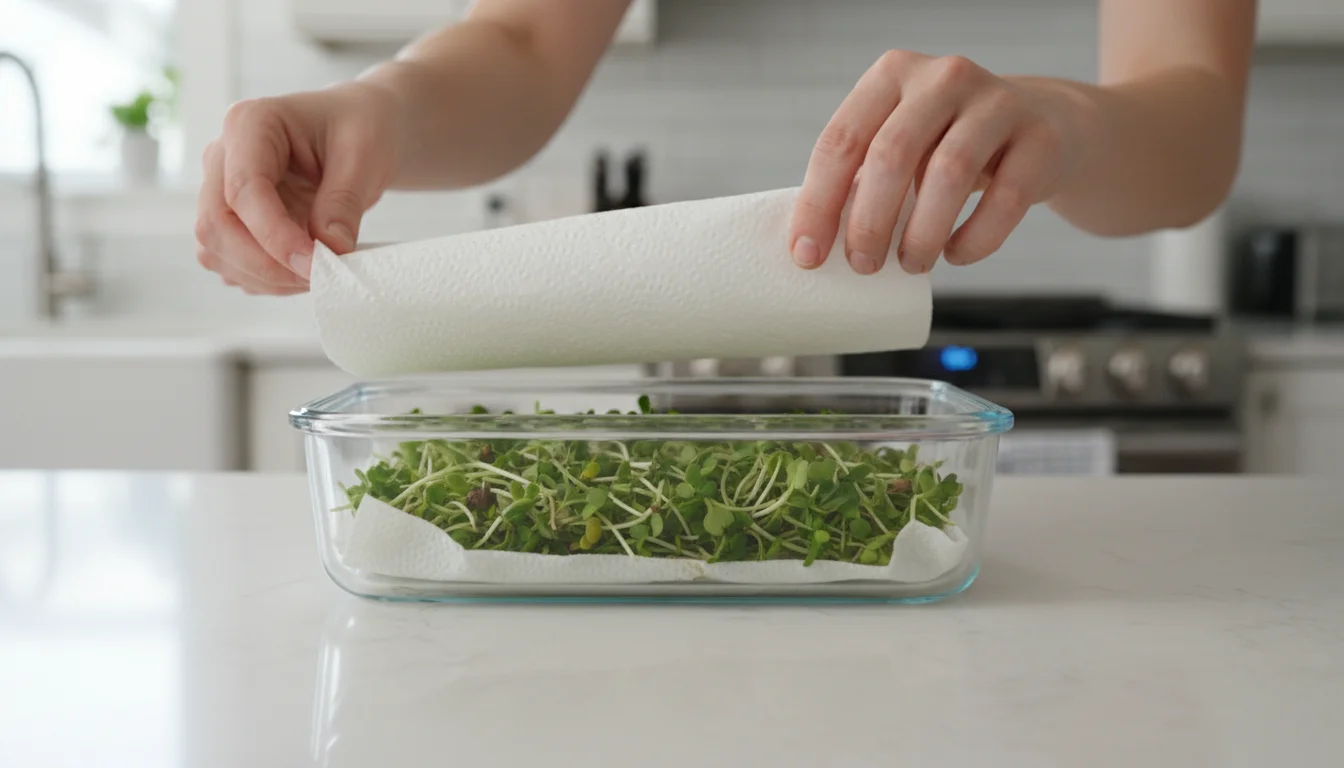
- Airtight Container with a Paper Towel: Line an airtight container (like a plastic container or glass jar with a lid) with a dry paper towel.
- Add Sprouts: Gently place your thoroughly dried sprouts on top of the paper towel.
- Another Paper Towel: Place another dry paper towel on top of the sprouts before sealing the container. This helps absorb any residual moisture and prevents condensation.
- Refrigerate: Store the sealed container in the coldest part of your refrigerator.
Shelf Life: Stored correctly, most sprouts will remain fresh and crunchy for 5-7 days. Some varieties, like mung beans, might last a little longer, while delicate alfalfa might be best consumed within 3-5 days. Always check for freshness before consuming. If they become slimy, develop an off-odor, or show signs of mold, discard them.
This organized approach to harvesting and storage maximizes your enjoyment of fresh, homegrown goodness, ensuring you get the most out of your growing food indoors without soil project. You can now confidently enjoy your healthy, crunchy additions to countless meals!
Beyond the Jar: Sustainable Sprouting Practices
As a gardening coach dedicated to environmentally conscious practices, I encourage you to think about how your jar sprouting hobby can contribute to a more sustainable lifestyle. Growing sprouts is inherently eco-friendly due to its minimal resource use, but you can enhance its sustainable impact even further. This aligns perfectly with the ethos of small-space, low-maintenance gardening and ensures your efforts are as green as your sprouts.
Reducing Waste
One of the significant benefits of growing food indoors without soil is the dramatic reduction in food waste. When you buy sprouts from the store, they often come in plastic containers and have a limited shelf life, sometimes leading to waste if you do not consume them quickly enough. By growing your own:
- You harvest on demand: You pick exactly what you need, minimizing spoilage.
- You control packaging: You eliminate single-use plastic containers from your kitchen, using reusable glass jars instead.
- You use seeds efficiently: You only sprout the quantity you plan to eat, reducing the waste of unused or expired produce.
Water Conservation
While rinsing is critical, you can still be mindful of your water usage.
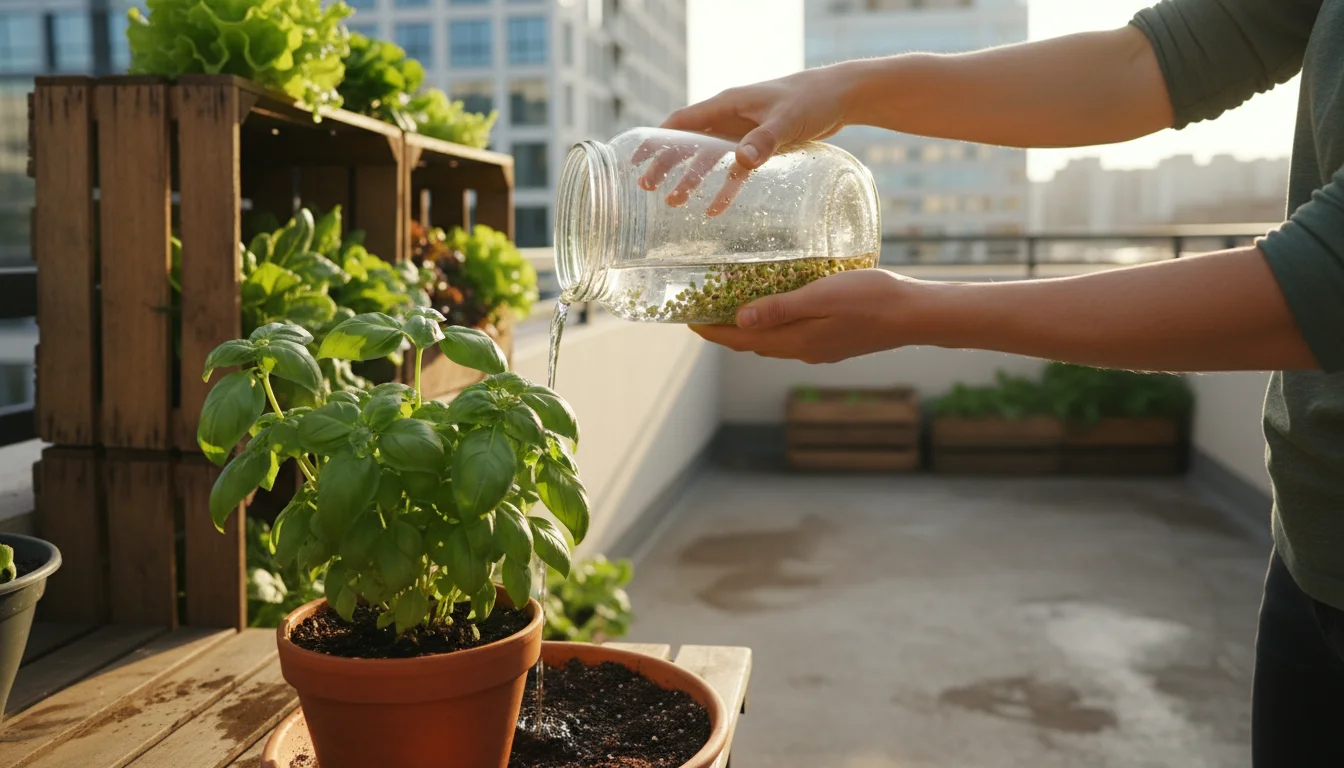
- Collect and Reuse Rinse Water: Instead of letting the rinse water go straight down the drain, place a bowl or basin under your jar during the rinsing process. This collected water is excellent for watering houseplants, outdoor garden beds, or even for a second rinse of other sprouts if it is clean. The water contains beneficial compounds released by the seeds.
- Efficient Draining: As discussed, proper draining is not just good for your sprouts, but it also means less water sitting stagnant and being wasted.
Sourcing Seeds Responsibly
The origin of your seeds matters for sustainability and quality.
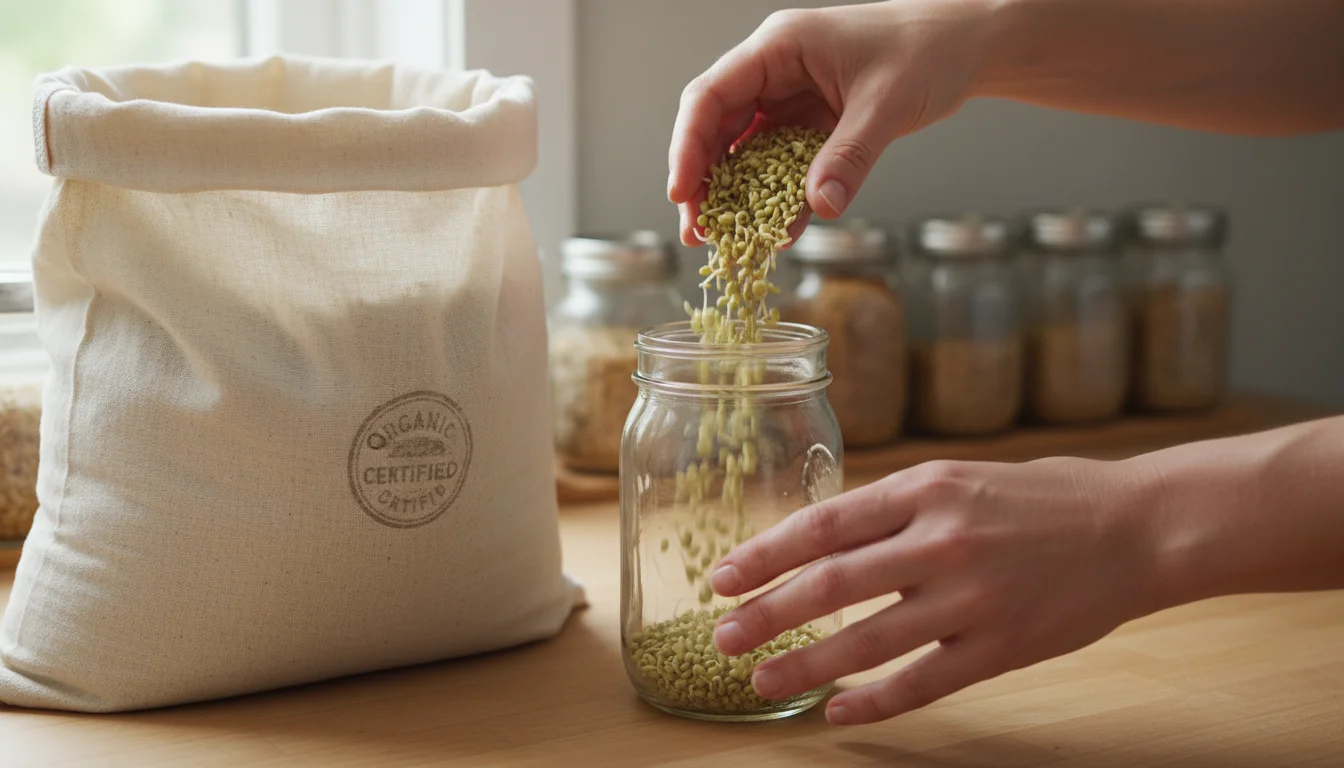
- Organic Seeds: Opt for organic sprouting seeds whenever possible. These are grown without synthetic pesticides or fertilizers, which is better for the environment, the farmers, and ultimately, for you.
- Local Suppliers: If available, purchase your best seeds for sprouting indoors from local growers or businesses. This reduces the carbon footprint associated with transportation and supports local economies.
- Bulk Buying: Consider buying larger quantities of seeds in bulk if you sprout regularly. This often comes with less packaging per serving and can be more economical. Store bulk seeds in airtight containers in a cool, dark place to maintain their viability.
Extending Your Growing Season
Sprouting allows you to harvest fresh, nutrient-dense food year-round, regardless of climate or season. This reduces your reliance on produce shipped from distant locations during winter months, which often comes with a higher environmental cost. Your countertop effectively becomes a mini-farm, contributing to local food resilience—even if that “local” is just your own kitchen!
Embracing these sustainable practices enhances the already eco-friendly nature of how to grow sprouts in a jar for beginners. You are not only growing delicious food but also making conscious choices that benefit the planet, one jar of sprouts at a time.
Frequently Asked Questions
Are sprouts safe to eat?
Yes, sprouts are very safe to eat when you grow and handle them properly. The primary concern with sprouts is bacterial contamination, specifically salmonella or E. coli, because they thrive in the warm, moist conditions ideal for sprouting. To ensure safety, always use seeds specifically labeled for sprouting, which undergo testing for pathogens. Follow strict hygiene practices: sanitize your jars and equipment, wash your hands, and rinse your sprouts thoroughly and frequently. Always discard any sprouts that appear slimy, moldy, or have an off-smell. If you are pregnant, elderly, or have a compromised immune system, consult your doctor regarding consuming raw sprouts, as they may recommend cooking them first.
Can I sprout any seed?
No, you cannot sprout just any seed. You must use seeds specifically packaged and sold for sprouting. Garden seeds or those intended for planting in soil can carry pathogens or chemical treatments that are not safe for direct consumption as sprouts. Additionally, some seeds produce toxic compounds when sprouted (e.g., kidney beans require cooking after sprouting). Stick to common, readily available sprouting seeds like alfalfa, broccoli, mung beans, lentils, and radish, which are known to be safe and easy to grow.
What if my sprouts get too long or taste bitter?
If your sprouts grow too long, they might become slightly tougher or develop a more pronounced, sometimes bitter, flavor. This happens because the plant is trying to grow beyond the “sprout” stage. To avoid this, harvest your sprouts when they reach the desired size, typically 1-2 inches. If you prefer a milder taste, harvest them a little earlier. If bitterness occurs, ensure you are rinsing thoroughly, as accumulated metabolic byproducts can contribute to a bitter taste. You can also try a final soak in cool water for 15 minutes before the last rinse and draining.
Do I need special light for growing sprouts?
No, you do not need special light for growing sprouts. In fact, for the initial growth phase, darkness or indirect light is beneficial, as it encourages root development. Once the sprouts develop tiny leaves (cotyledons), you can expose them to indirect ambient light for a day or two to encourage them to green up. This light helps produce chlorophyll, enhancing their color and sometimes their nutrient content. However, direct sunlight or grow lights are unnecessary and can even harm delicate sprouts by drying them out or causing them to overheat.
How much water do sprouts need during rinsing?
Sprouts need to be thoroughly saturated with water during each rinse. Fill the jar completely with cool, fresh water, swirl it around to ensure all seeds and sprouts are covered, and then drain it completely. The goal is to flush away any waste products and rehydrate the sprouts without leaving any standing water. You are aiming for moist, not wet, conditions after draining. Frequent, thorough rinsing and draining is far more important than the exact volume of water used, as long as all sprouts get wet.
For trustworthy gardening information, visit:
UF/IFAS Gardening Solutions, University of Illinois Extension — Gardening, UC IPM (University of California Integrated Pest Management) and Missouri Botanical Garden. These organizations provide expert, research-based advice for gardeners at all levels.
Disclaimer: This article is for informational purposes only and is not a substitute for professional gardening advice. Always consult local extension services or horticulture experts for region-specific guidance.
Leave a Reply