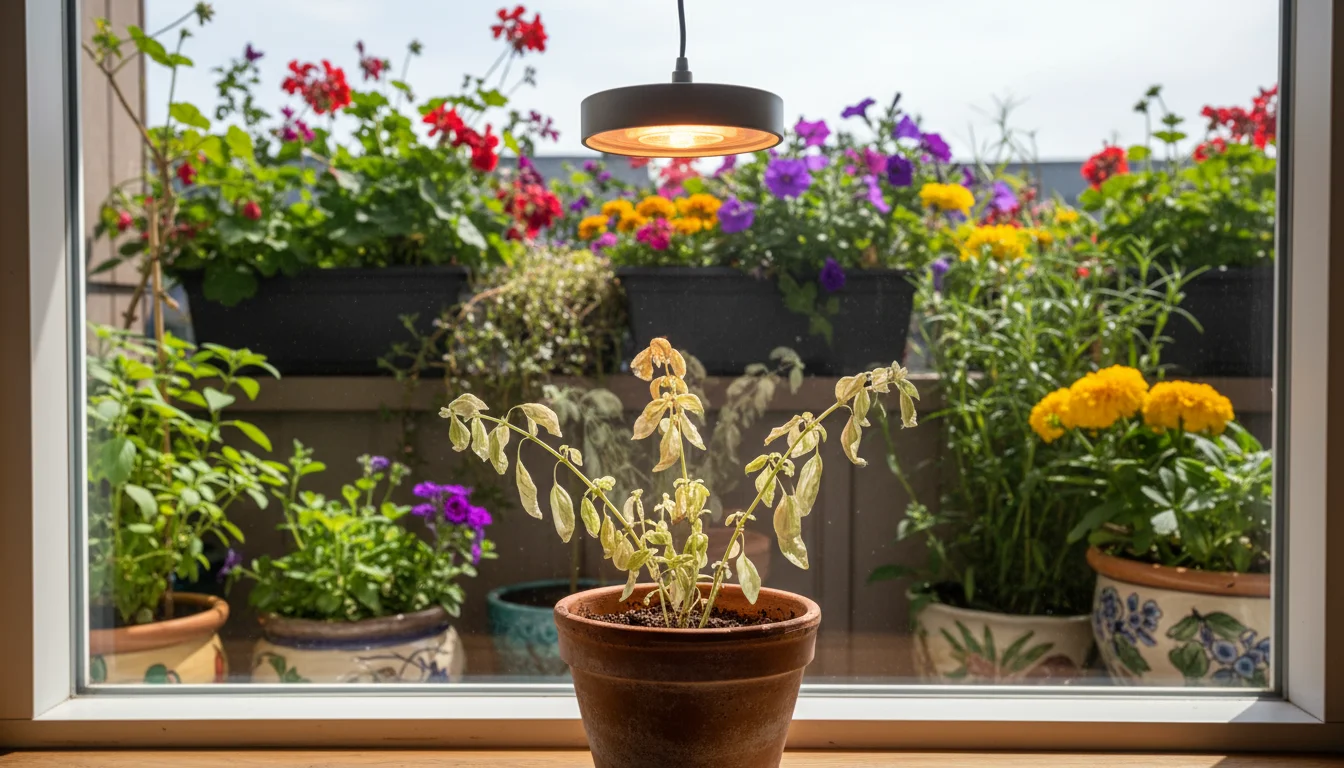
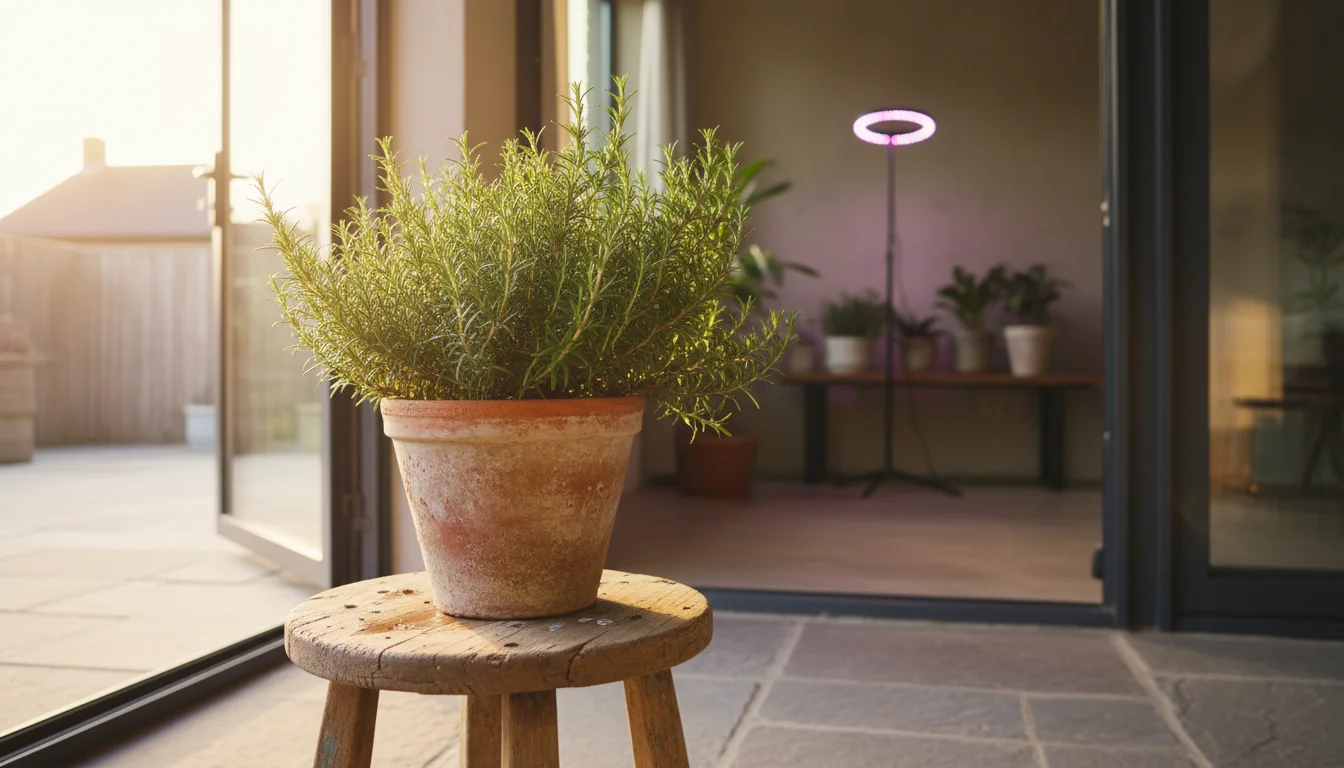
As the days shorten and the chill of winter approaches, your beloved sun-loving plants face a significant challenge. Moving them indoors offers protection from the cold, but it also exposes them to a drastically different light environment. This sudden change can lead to “light shock,” causing stress, leaf drop, and overall decline. But don’t worry, you can easily avoid this common problem. With the right strategy and a bit of preparation, you can successfully transition your outdoor beauties to thrive under indoor grow lights all winter long.
Successfully transitioning your plants is a key part of any comprehensive indoor plant survival guide for small-space gardeners.
This guide provides practical, step-by-step advice to help you acclimate your plants to their new indoor home. You will learn how to choose the right grow lights for your small space, gradually introduce your plants to artificial light, and maintain their health until spring. Let’s make this winter a season of thriving, not just surviving, for your garden.
What is Light Shock and Why Do Plants Experience It?
Light shock describes the stress plants experience when abruptly moved from one light condition to a significantly different one. When you bring plants indoors after a summer outdoors, they face a dramatic reduction in light intensity and a change in light spectrum. Outdoor sunlight, even on a cloudy day, delivers significantly more light energy than even the brightest indoor grow light.
Think about the difference: A bright summer day can provide over 100,000 lux (a measure of light intensity), while a typical indoor grow light might only offer a few thousand lux, even at close range. Plants evolved to harness the immense power of the sun. Their cells adapt to these high light levels by producing ample chlorophyll for photosynthesis and developing protective pigments. When moved indoors, suddenly receiving much less light, their physiological processes become overwhelmed.
Your plants respond to this sudden reduction in light by shedding leaves. They do this because maintaining too many leaves with insufficient light becomes an energy drain. This leaf drop is a survival mechanism, allowing the plant to conserve energy and focus resources on a smaller number of leaves that can photosynthesize effectively in the lower light. You might also notice yellowing leaves, slowed growth, or even general wilting. Understanding this response helps you guide your plants through the transition smoothly, preventing severe stress and ensuring healthy winter plant care.
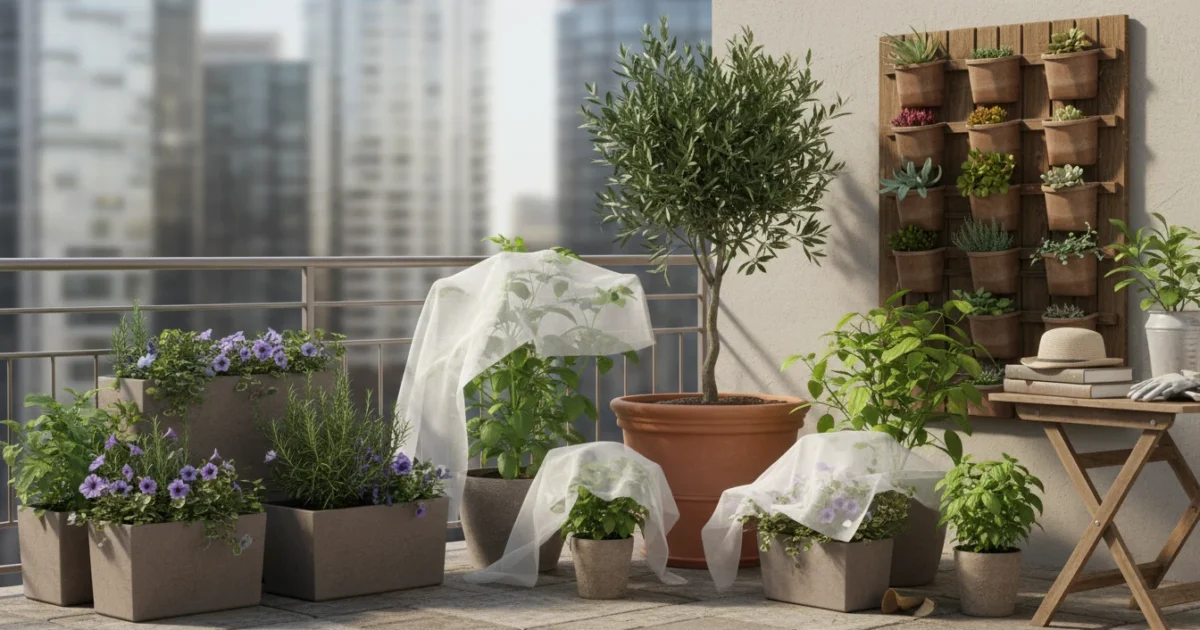
Preparing Your Plants for Their Winter Retreat
Before you even think about setting up grow lights for plants, prepare your plants for their indoor stay. This crucial step minimizes stress and reduces the risk of bringing unwelcome pests inside.
Properly prepping your containers is the first step toward successful winter indoor gardening that lasts until spring.
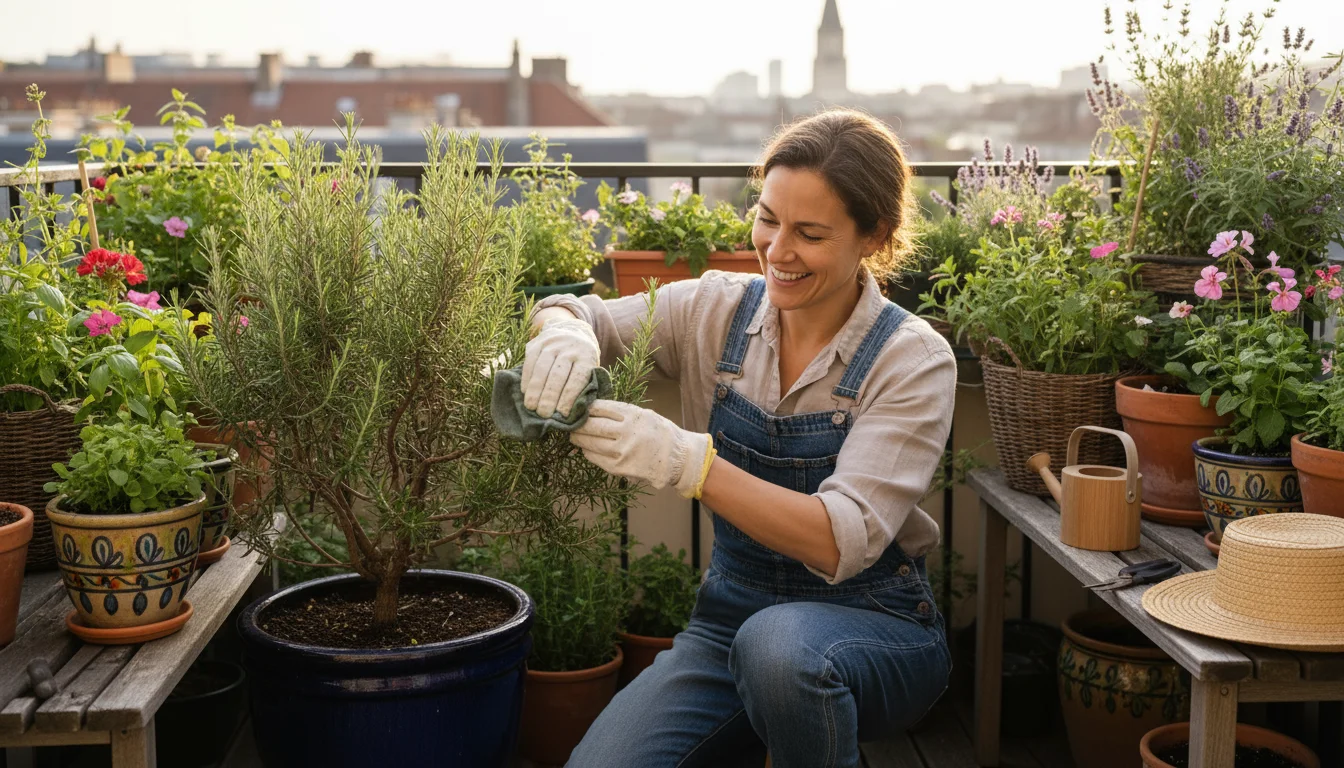
1. Inspect for Pests
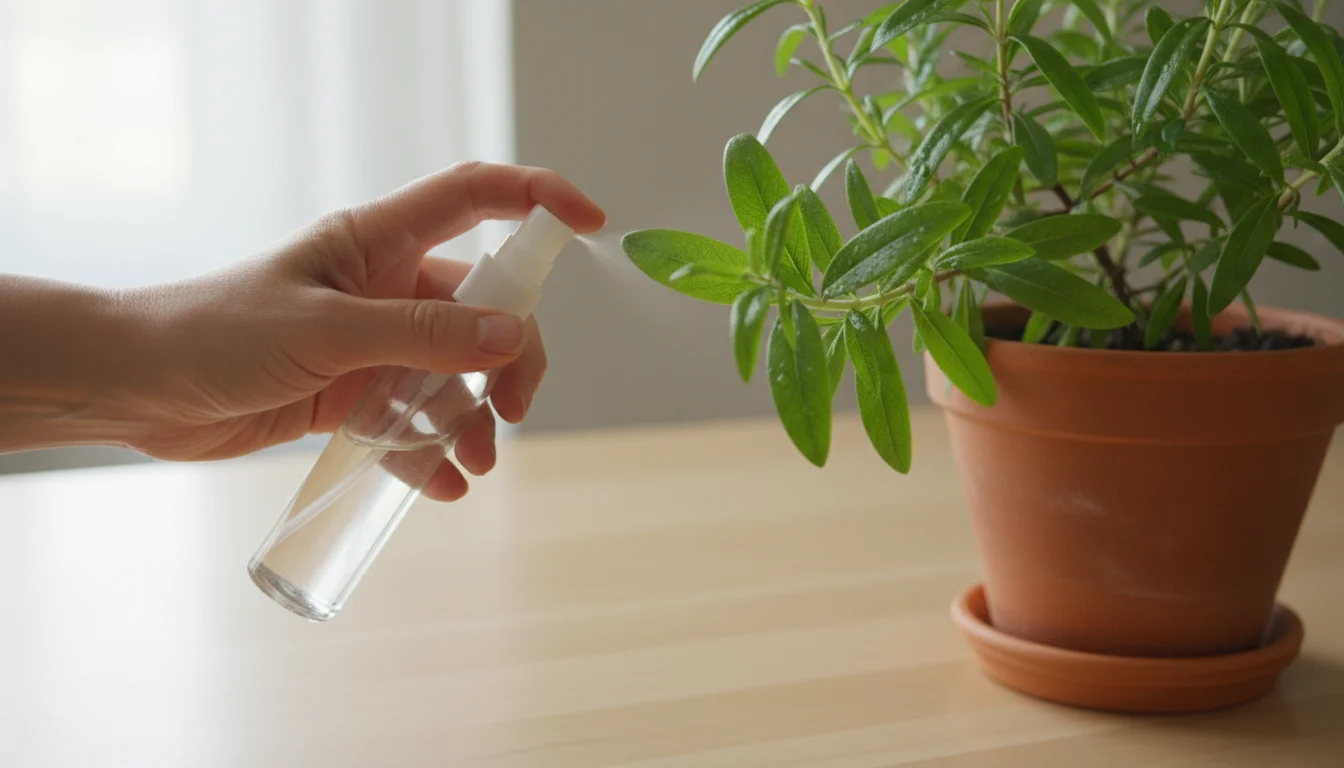
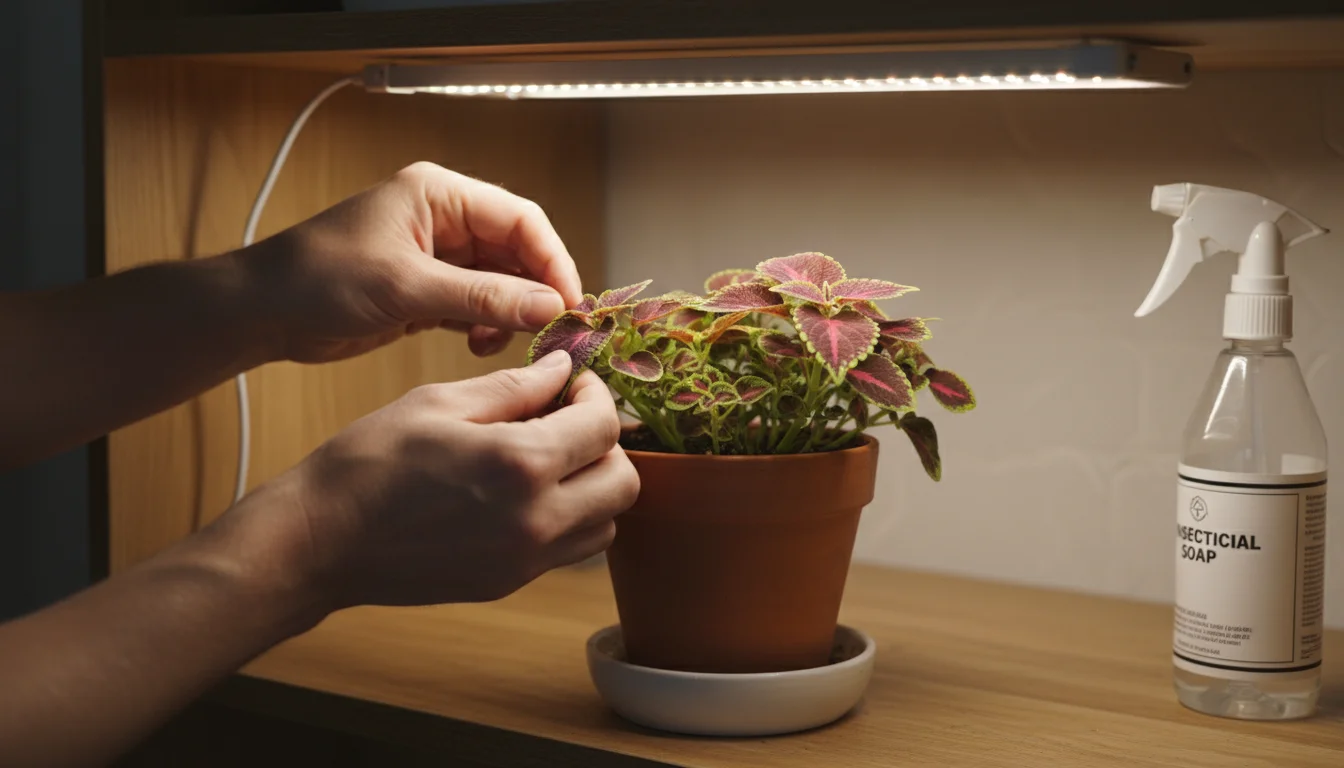
Thoroughly inspect every inch of your plants, including the undersides of leaves, stems, and the soil surface. Look for aphids, spider mites, mealybugs, and other common garden pests. You can rinse off many pests with a strong stream of water from a hose. For more persistent infestations, consider using insecticidal soap or neem oil, following product instructions carefully. Repeat treatments may be necessary to catch new hatches.

2. Clean Foliage
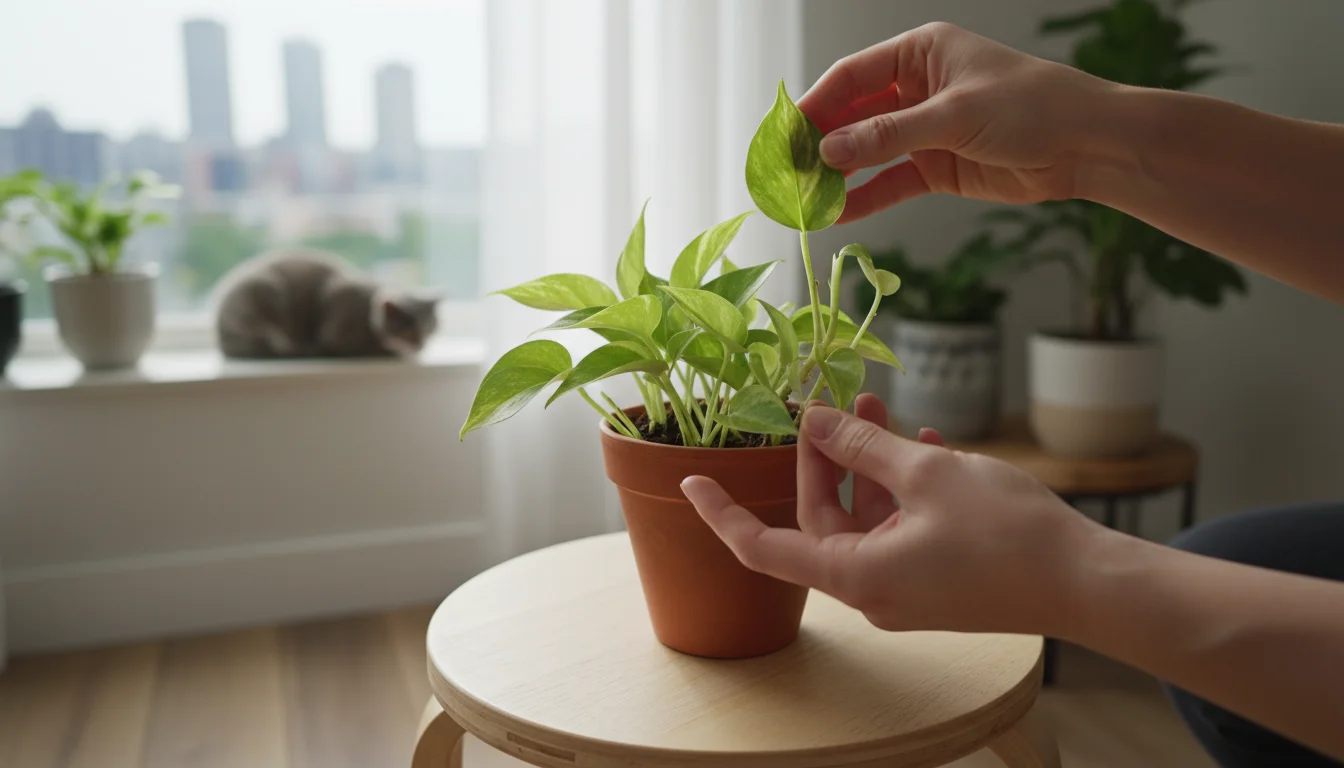
Wipe down all leaves with a damp cloth to remove dust, dirt, and any lingering insects or their eggs. Clean leaves photosynthesize more efficiently, which is vital as your plants adapt to less intense indoor light. This also helps you spot any pests you might have missed.
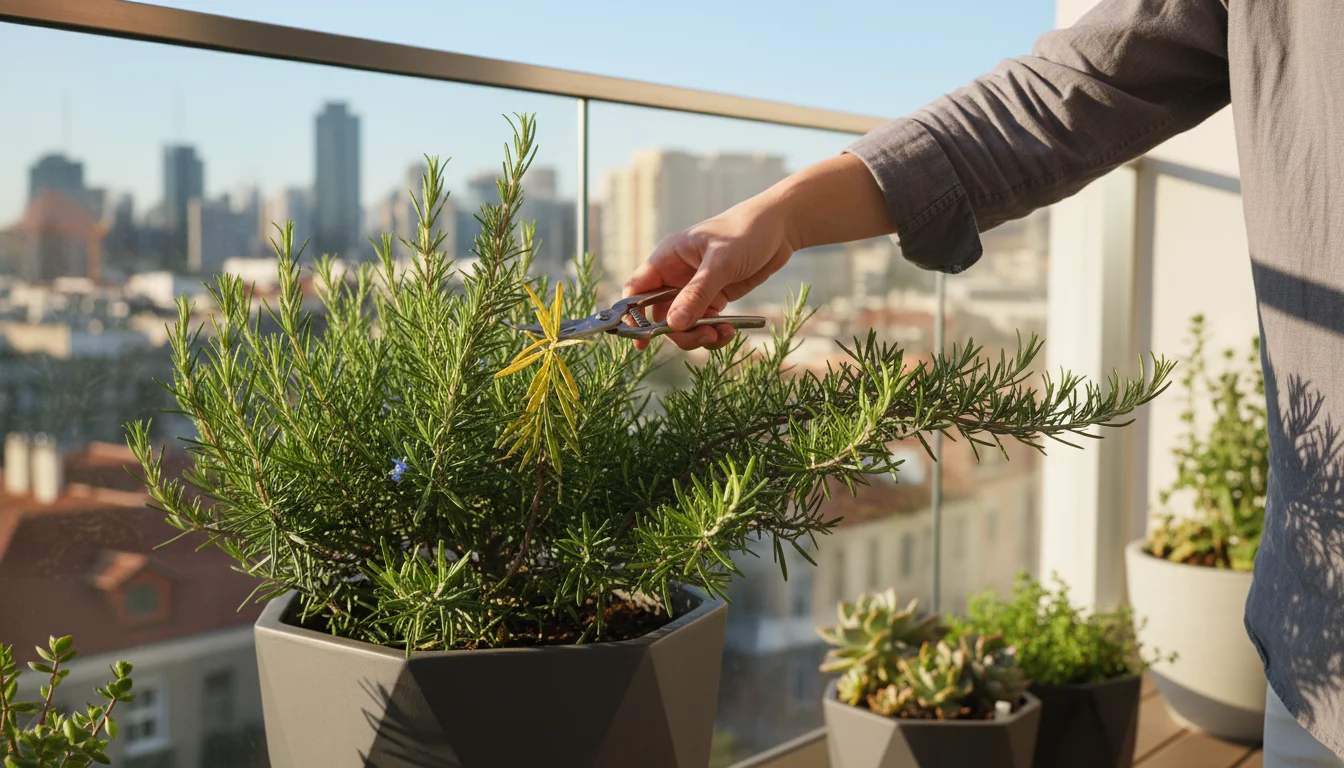
3. Prune as Needed
Remove any dead, diseased, or damaged leaves and stems. Light pruning can also help shape your plant for its indoor space and reduce its overall leaf mass, easing the transition to lower light levels. Avoid heavy pruning at this stage, as it can add additional stress.
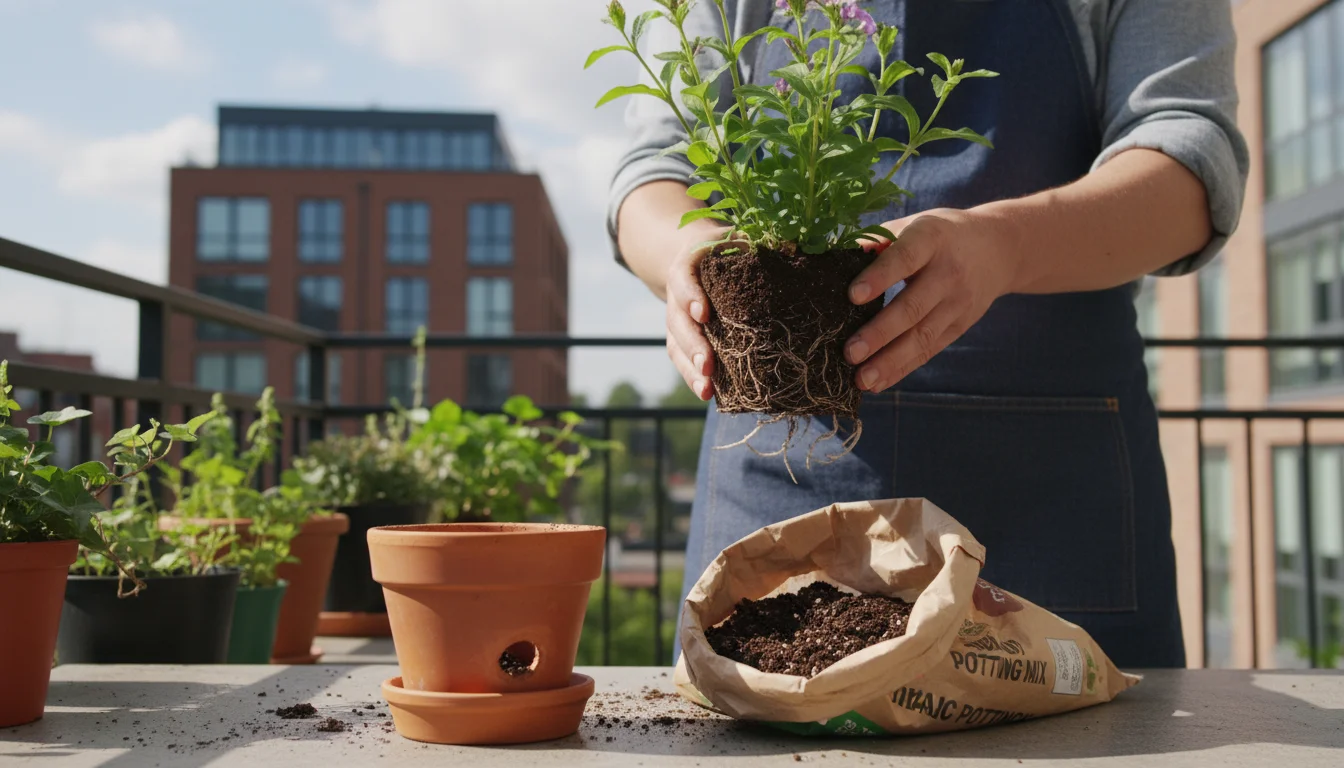
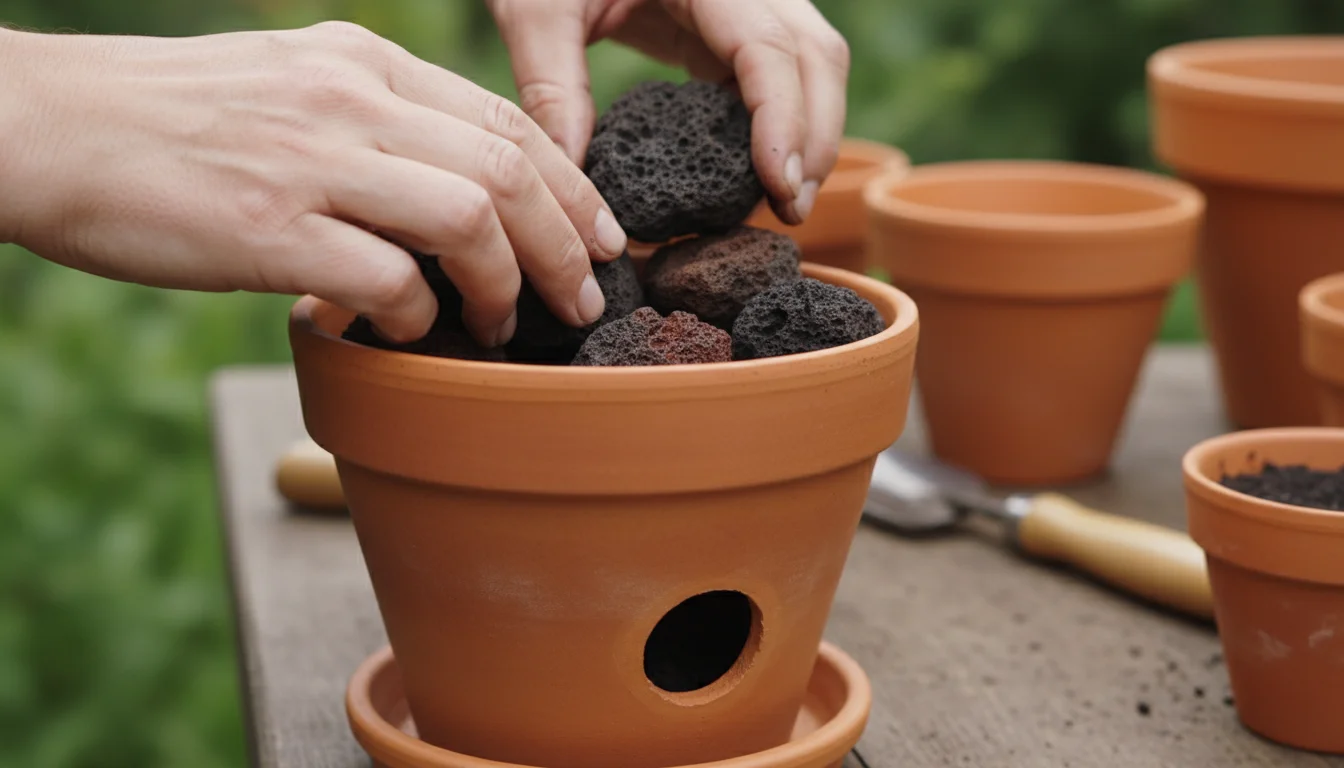
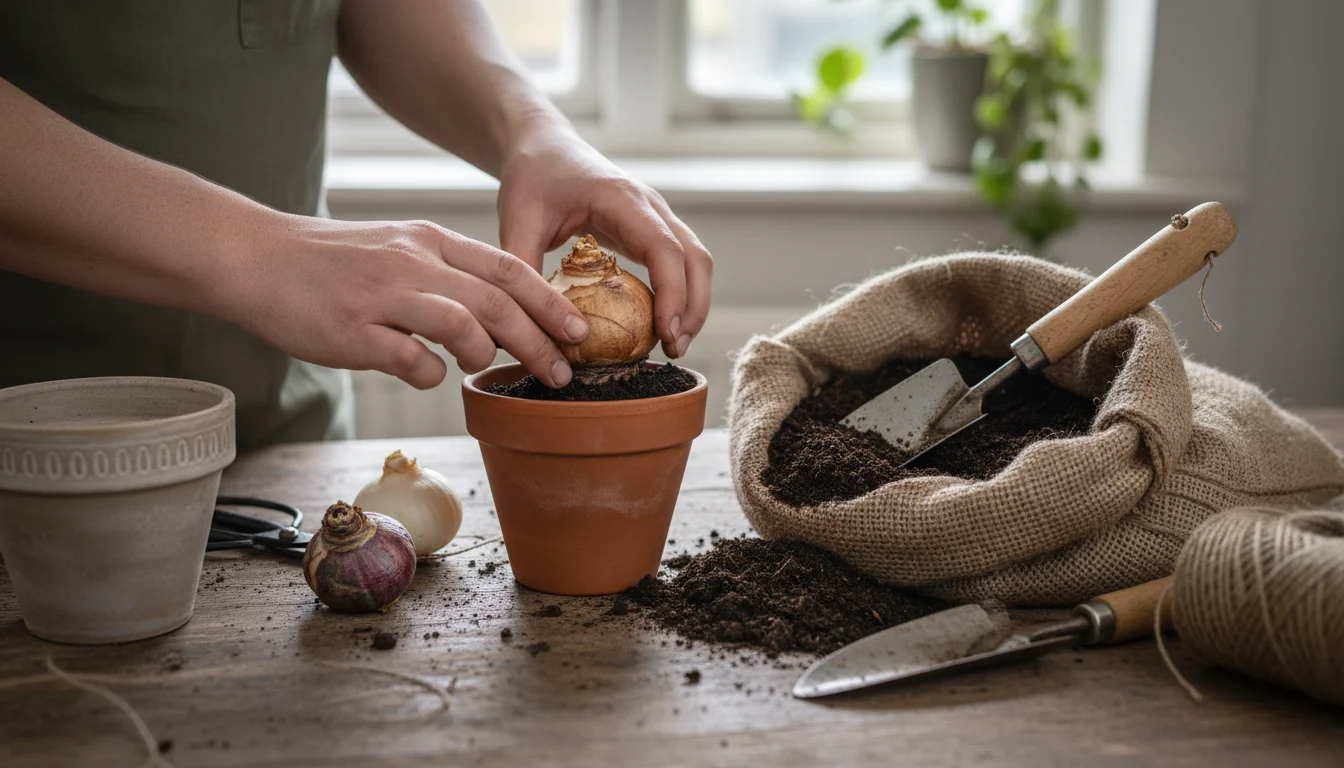
4. Refresh Soil and Check Drainage
Examine the soil. If it looks compacted, has a white crust (mineral buildup), or smells off, consider repotting with fresh potting mix. Ensure your pots have excellent drainage holes. Proper drainage means water can flow freely out of the bottom of the pot, preventing waterlogged roots that lead to root rot. If a plant is root-bound, meaning its roots are circling the pot excessively, repot it into a slightly larger container with fresh, well-draining soil. This provides a healthier foundation for its indoor journey.
5. Consider a “Pre-Transition” Period
If possible, move your plants to a shadier outdoor spot for a week or two before bringing them fully indoors. This helps them begin to adjust to lower light conditions more gradually, easing the shock when they move under artificial grow lights.
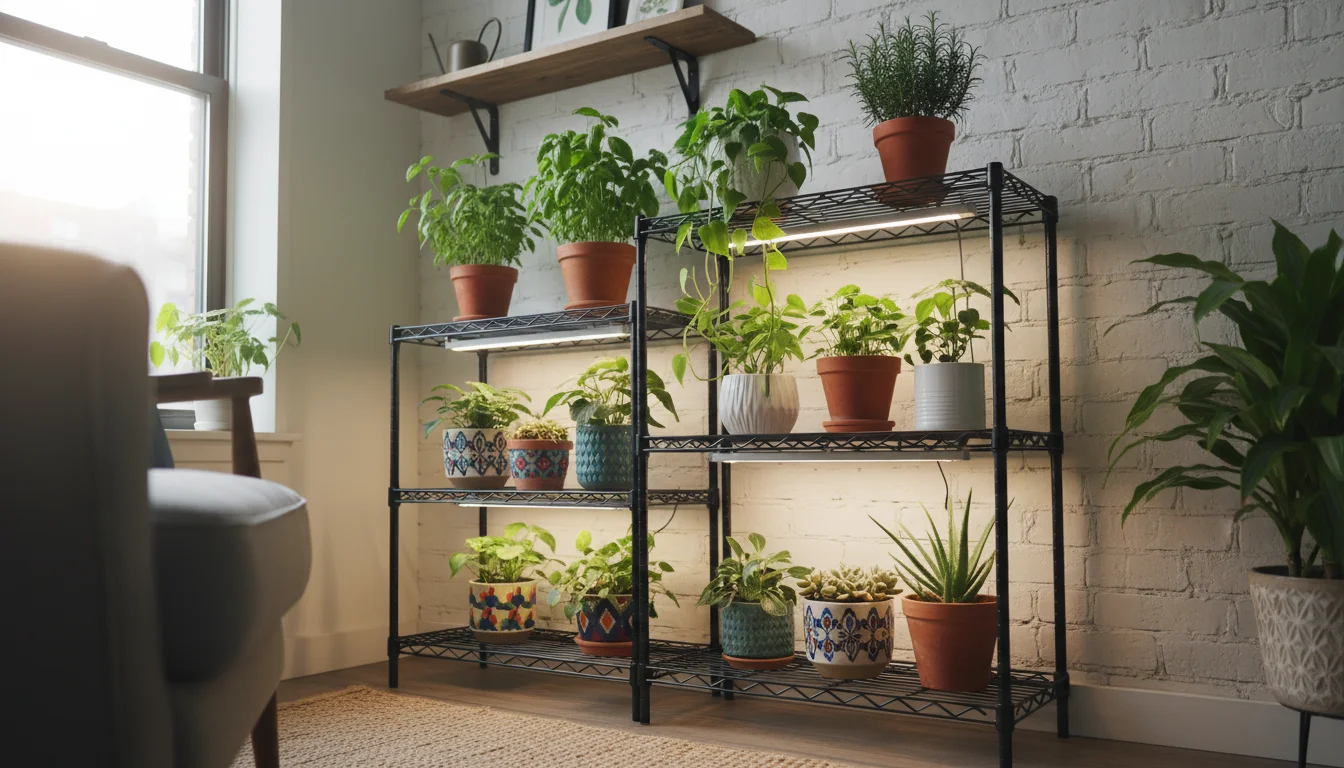
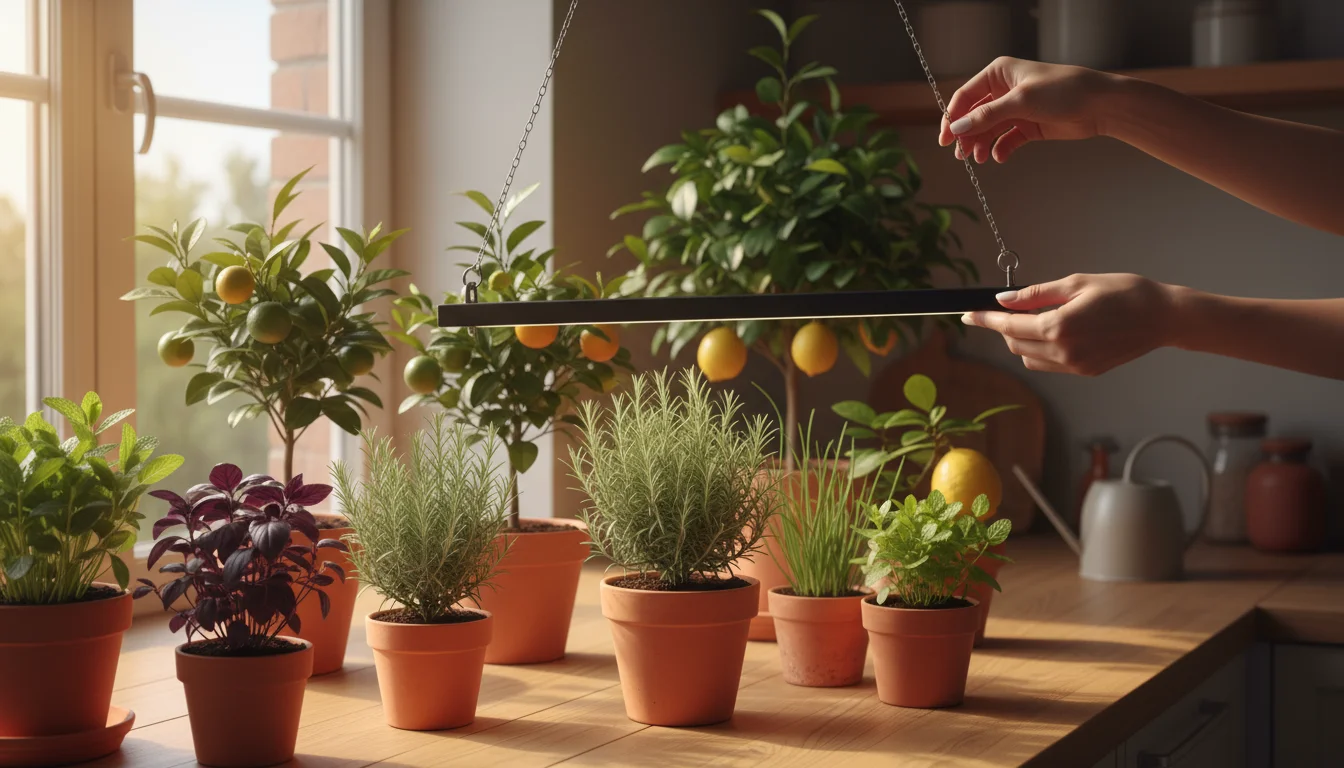
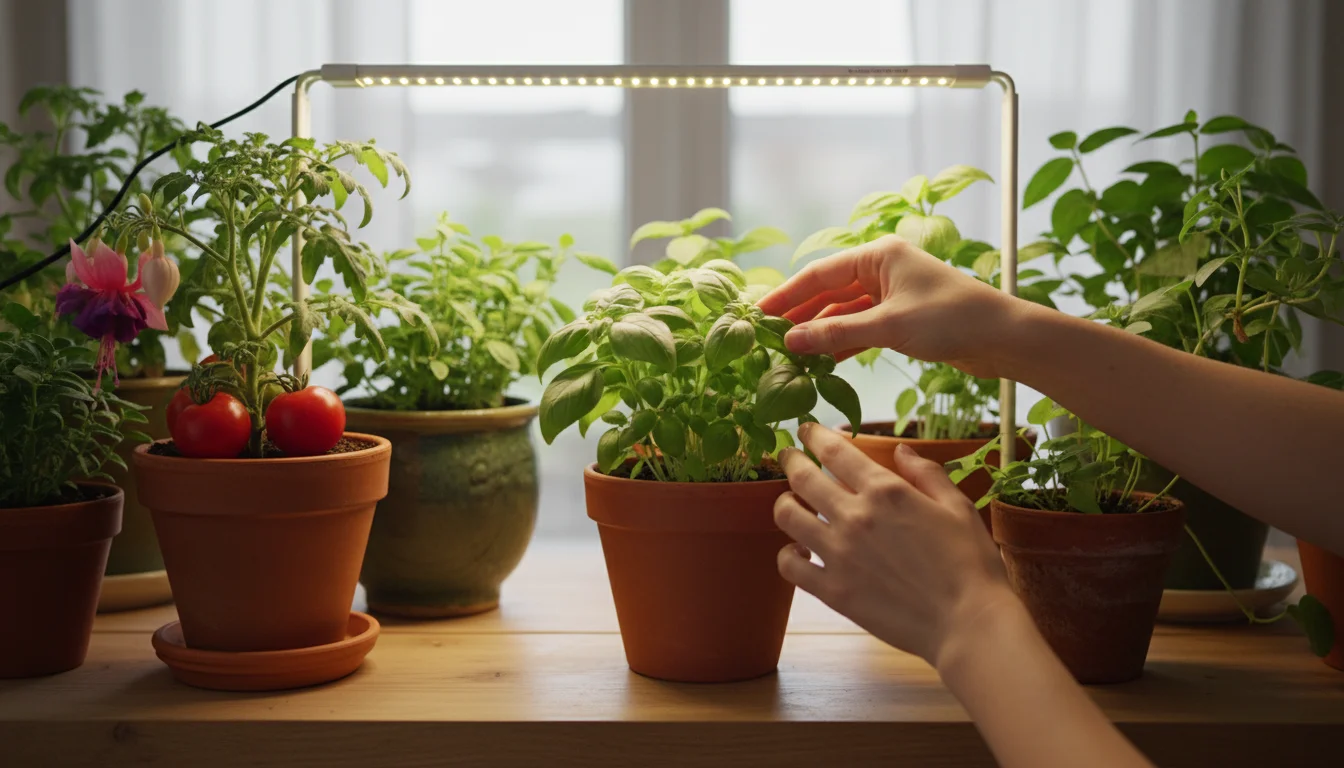
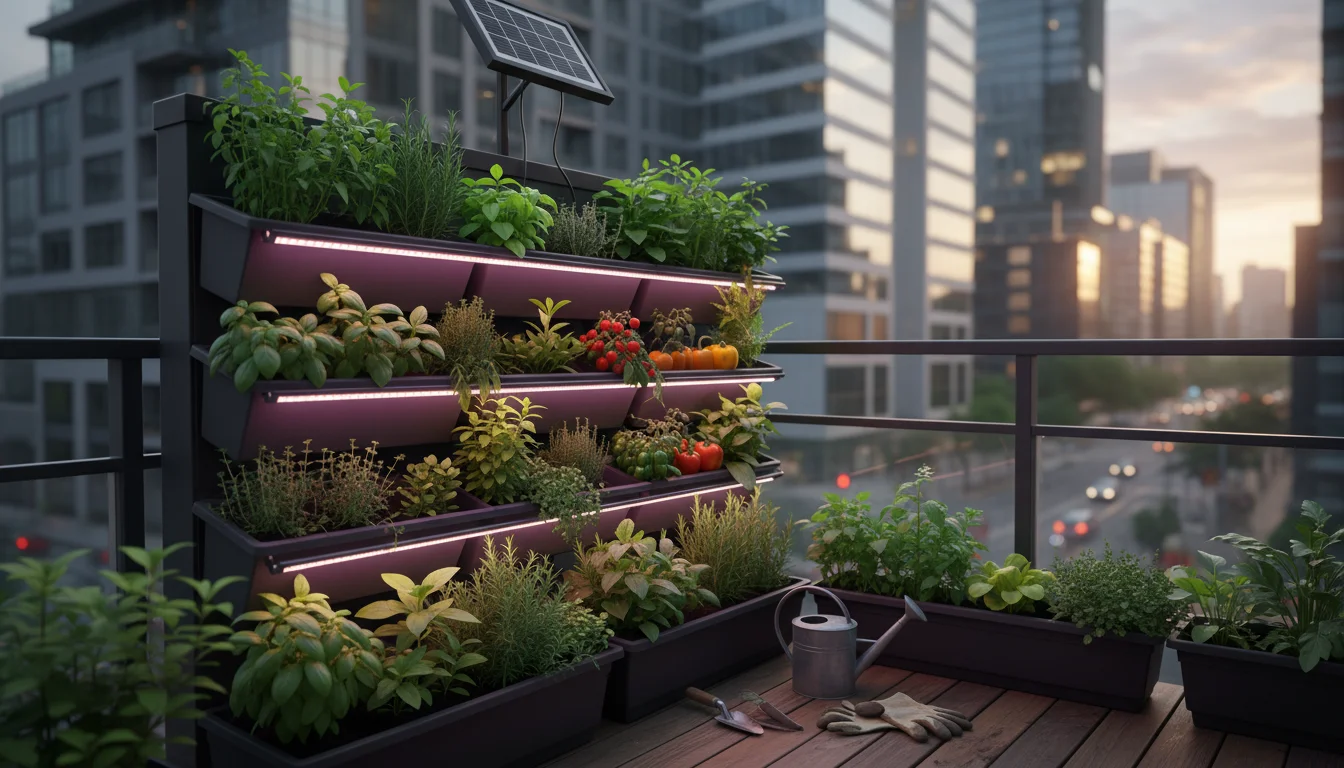
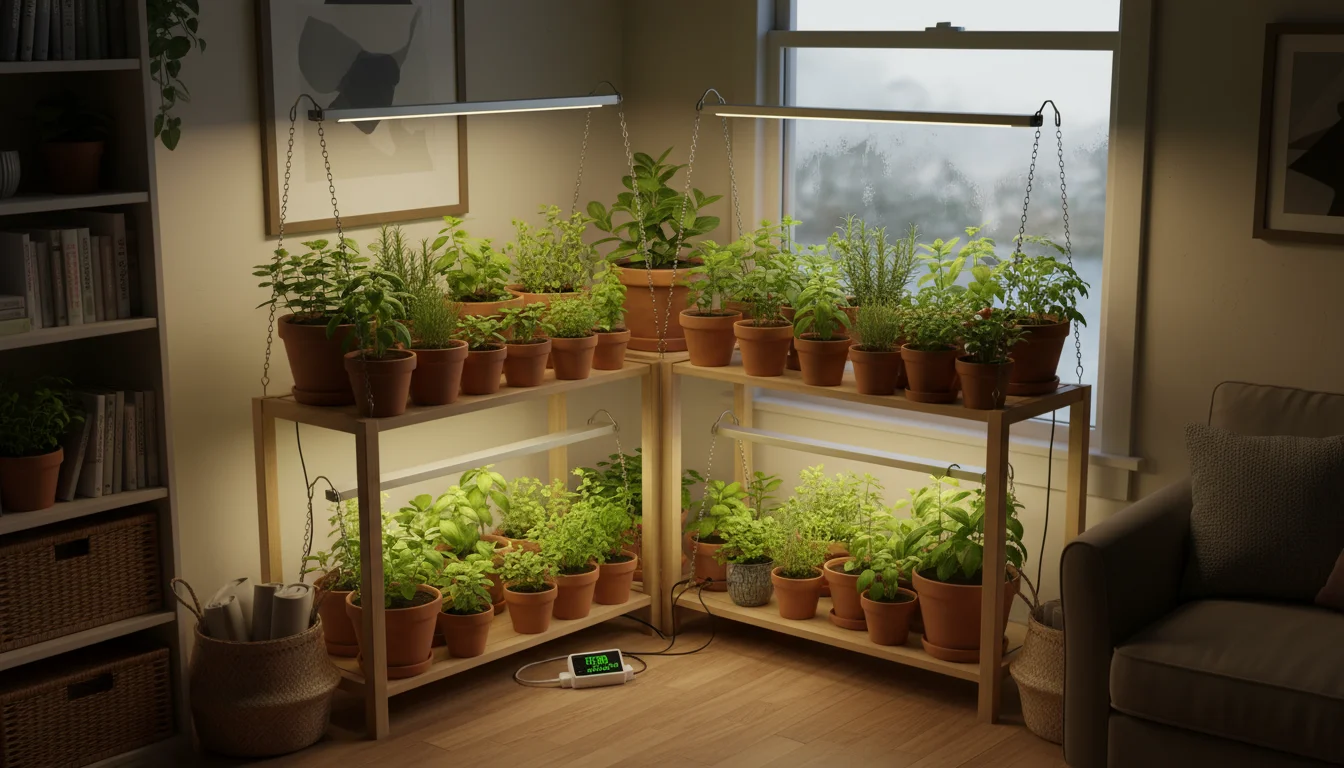
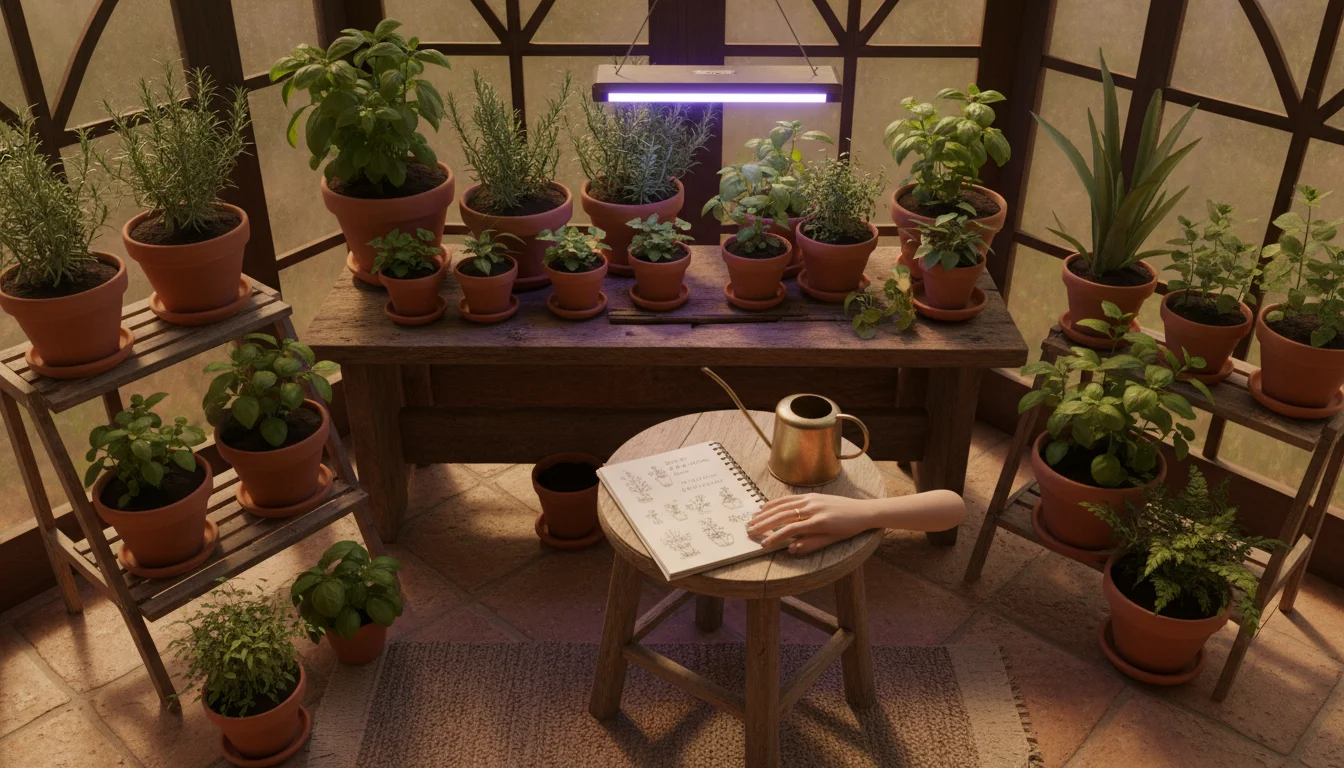
Selecting the Right Grow Lights for Small Spaces
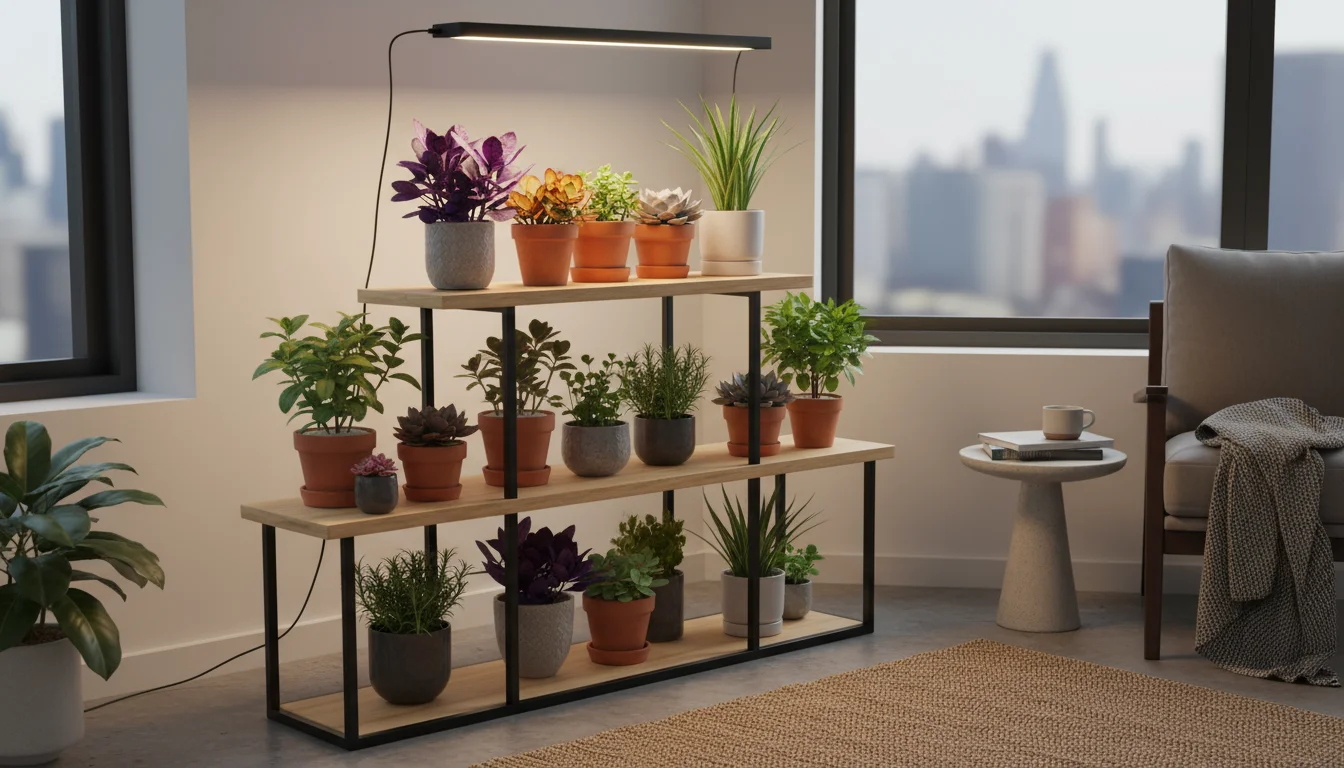
Choosing the correct grow lights for your plants is fundamental to their winter success. Not all grow lights are created equal, especially when considering small spaces like balconies, patios, or cozy indoor corners. You need lights that are effective, energy-efficient, and fit your space without overwhelming it.
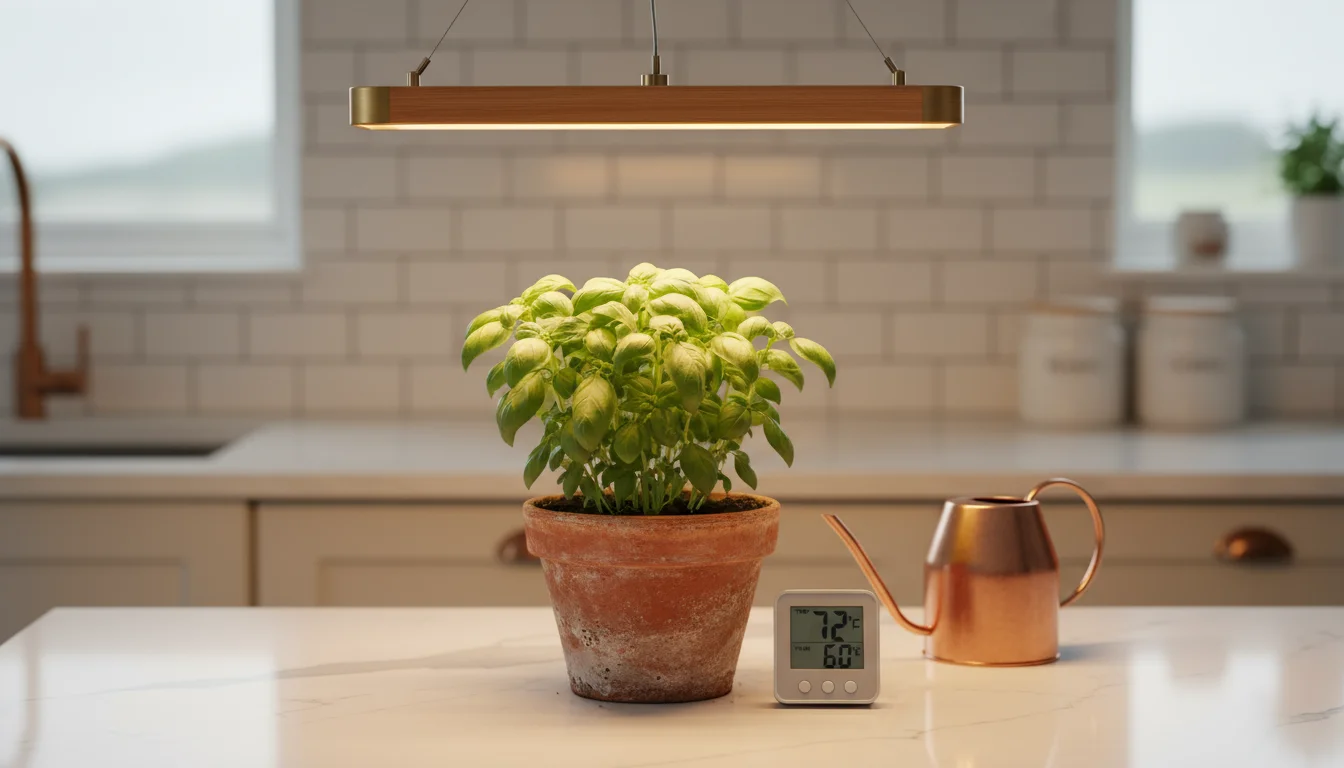
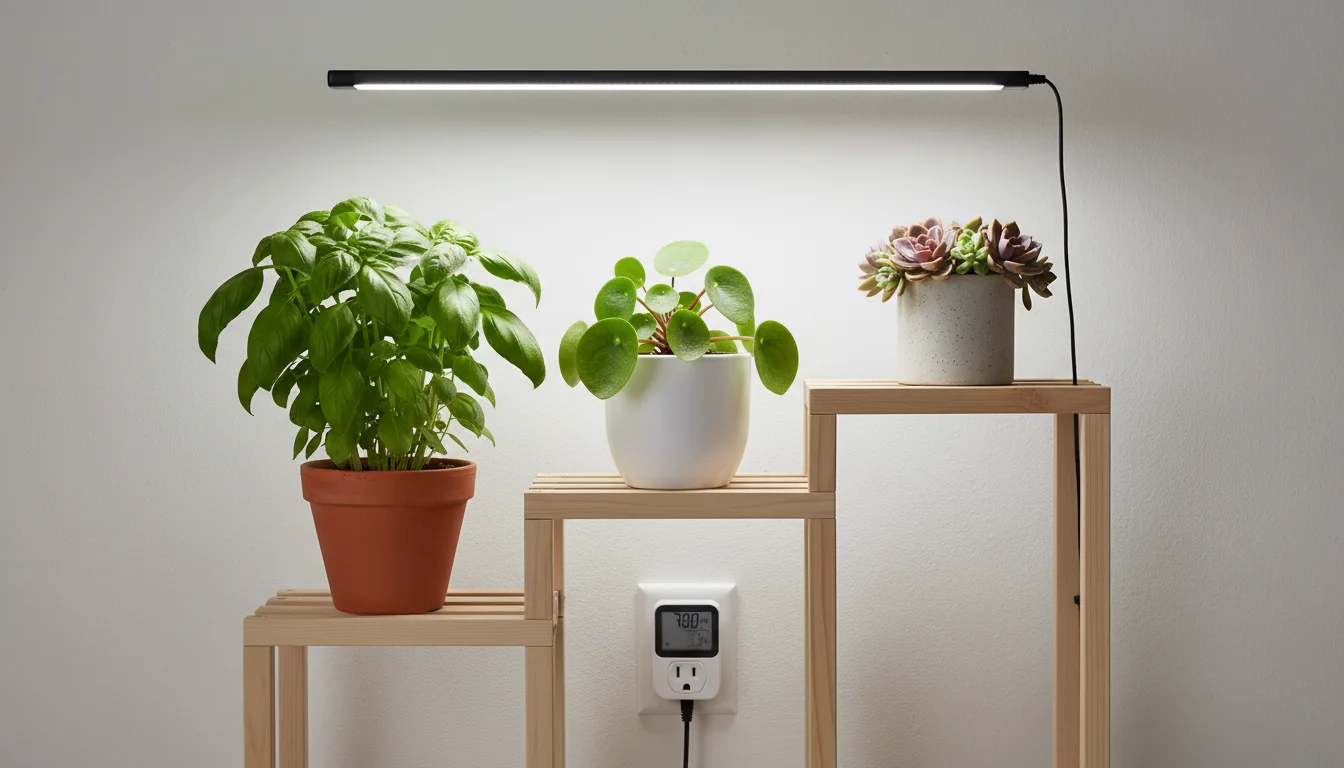
Beyond just the bulbs, assembling a few essential gadgets like timers and light meters can make your setup much more effective.
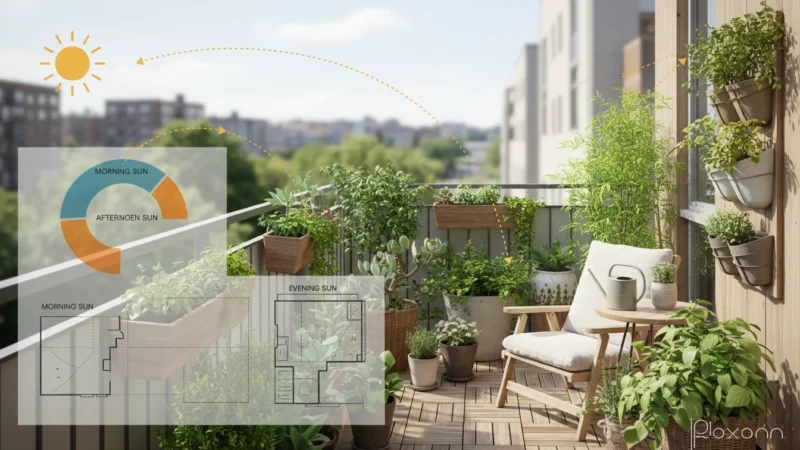
Before purchasing equipment, it is worth asking do you really need grow lights or if natural light can be maximized through a few furniture shifts.
Understanding Grow Light Essentials
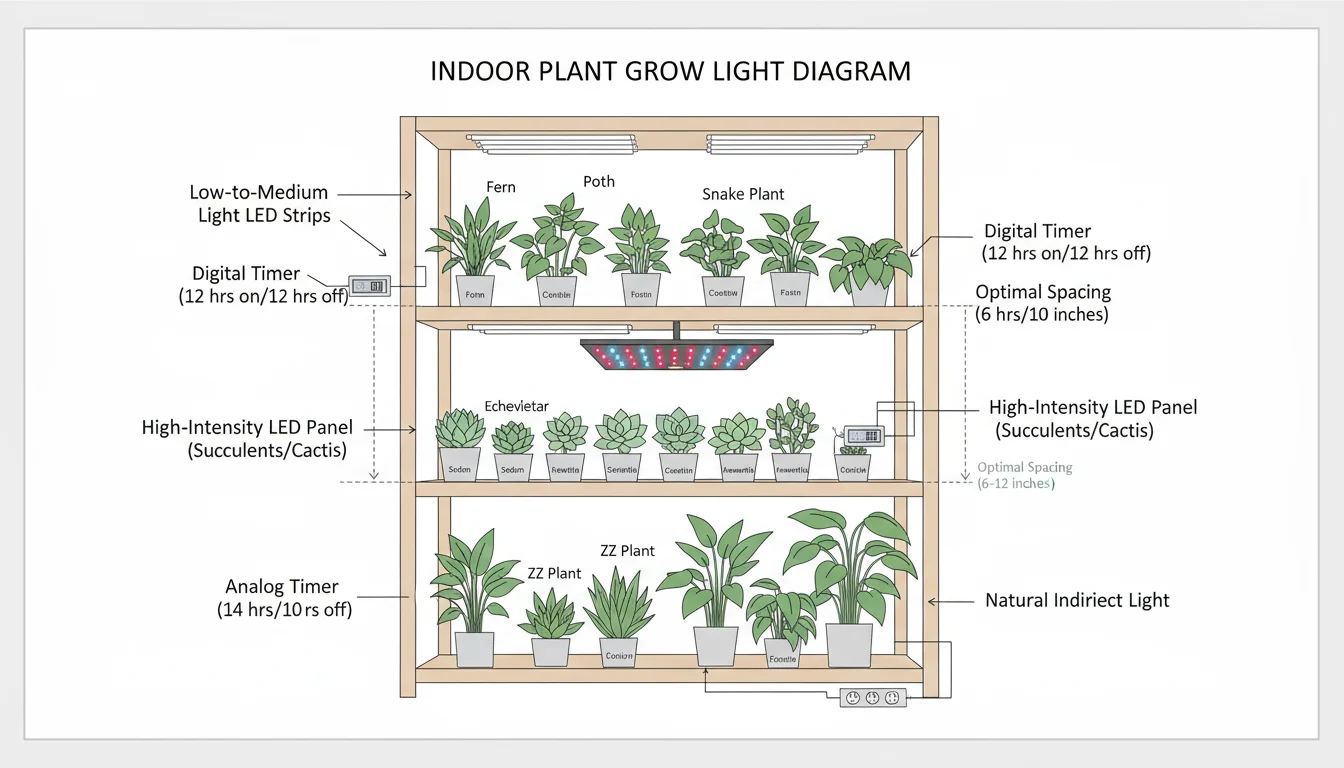
- Spectrum: Plants primarily use red and blue light for photosynthesis. “Full-spectrum” grow lights mimic natural sunlight, providing a balanced light spectrum that benefits most plants.
- Intensity: Measured by PAR (Photosynthetically Active Radiation), intensity indicates how much light energy is available for photosynthesis. Sun-loving plants, like many succulents, require higher PAR levels than shade-loving plants.
- Duration: The number of hours your plants spend under the grow light. Most plants need 12-16 hours of light per day, mimicking summer daylight hours.
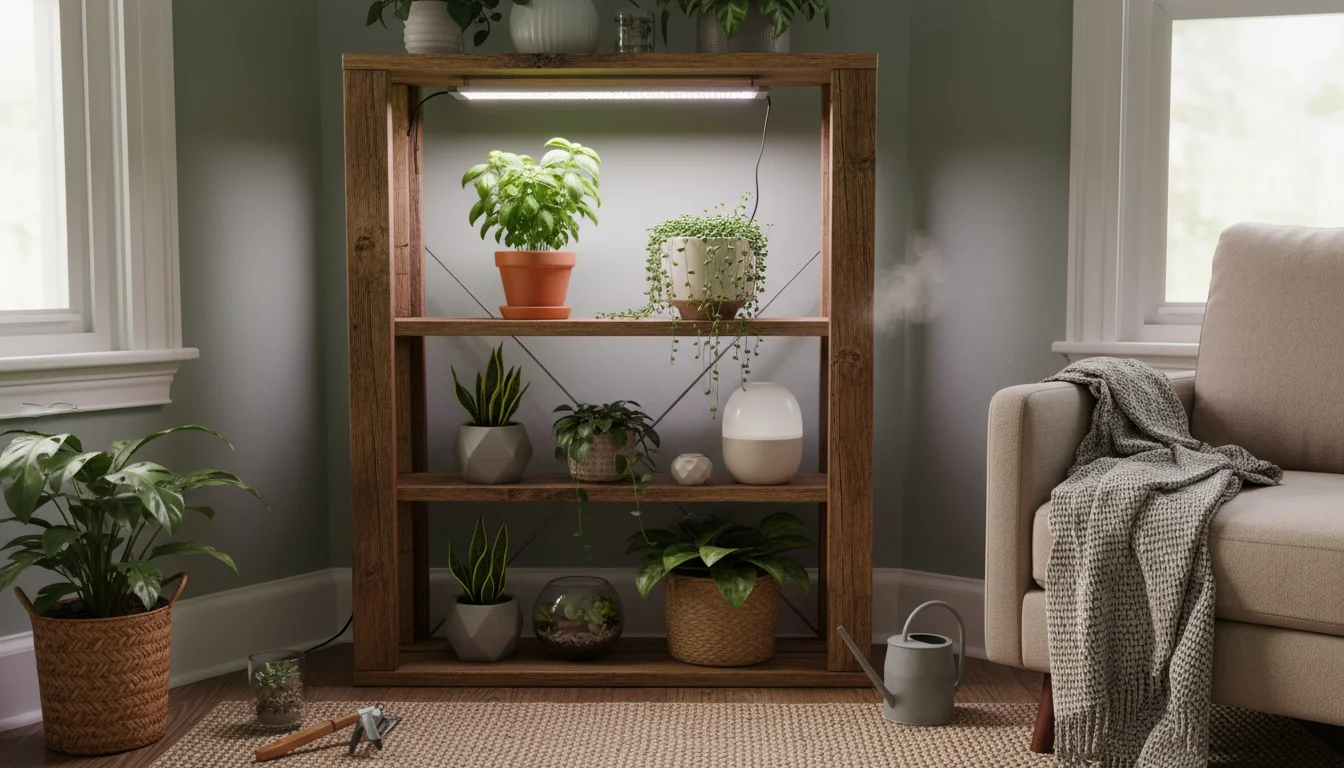
Types of Grow Lights for Small-Space Gardeners
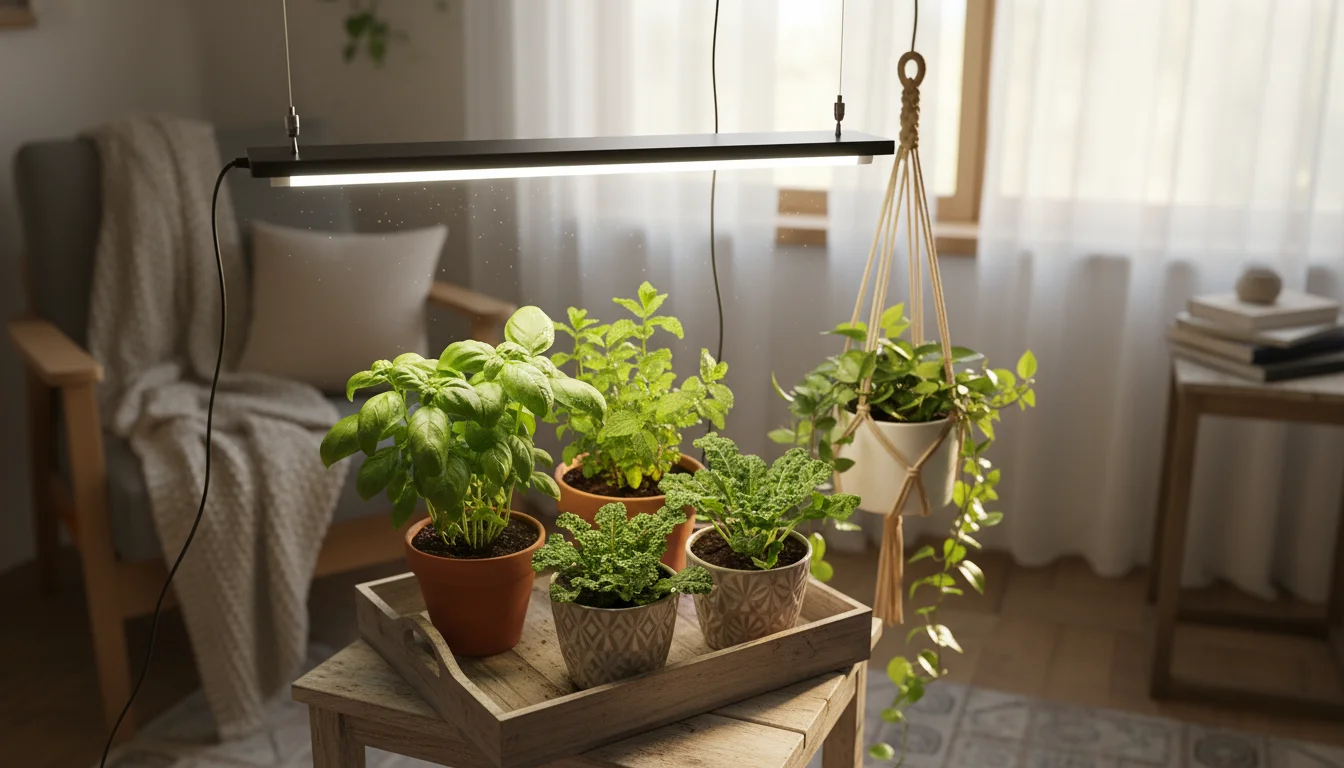
1. LED Grow Lights
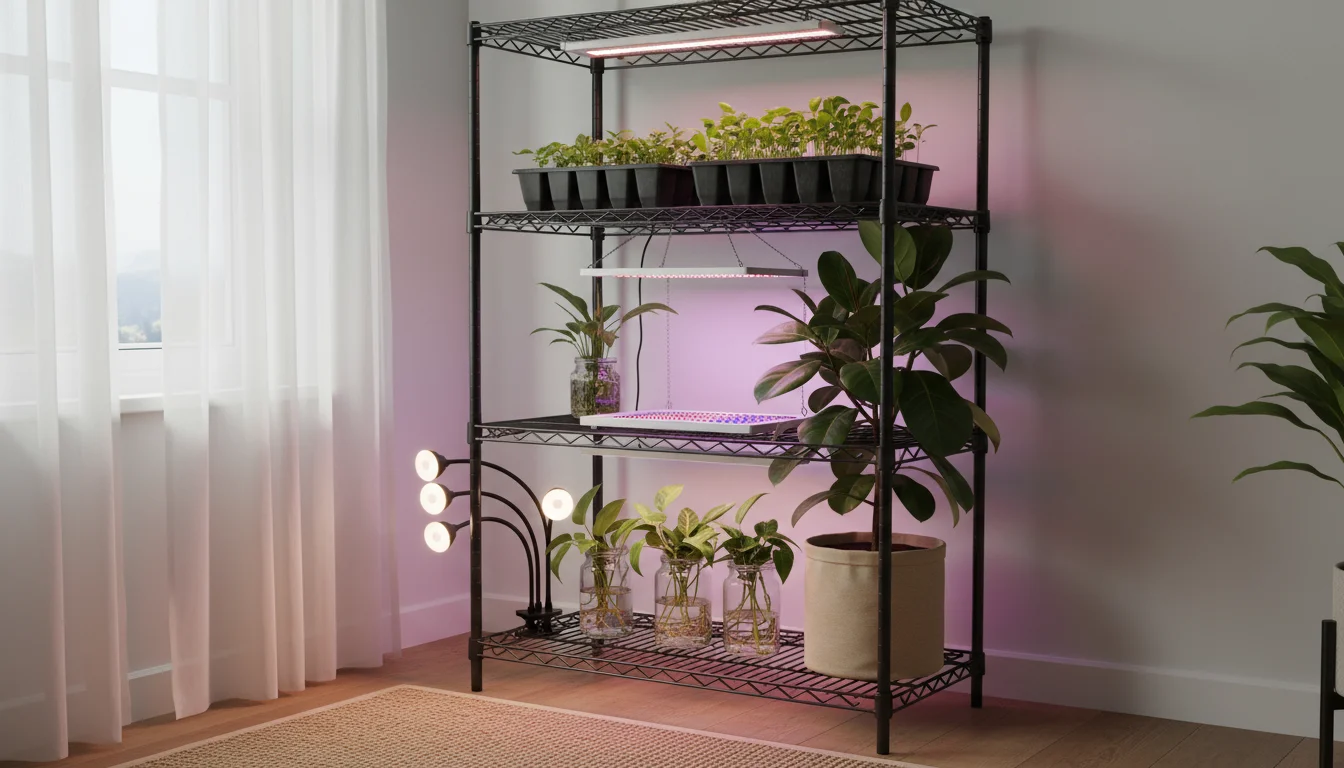
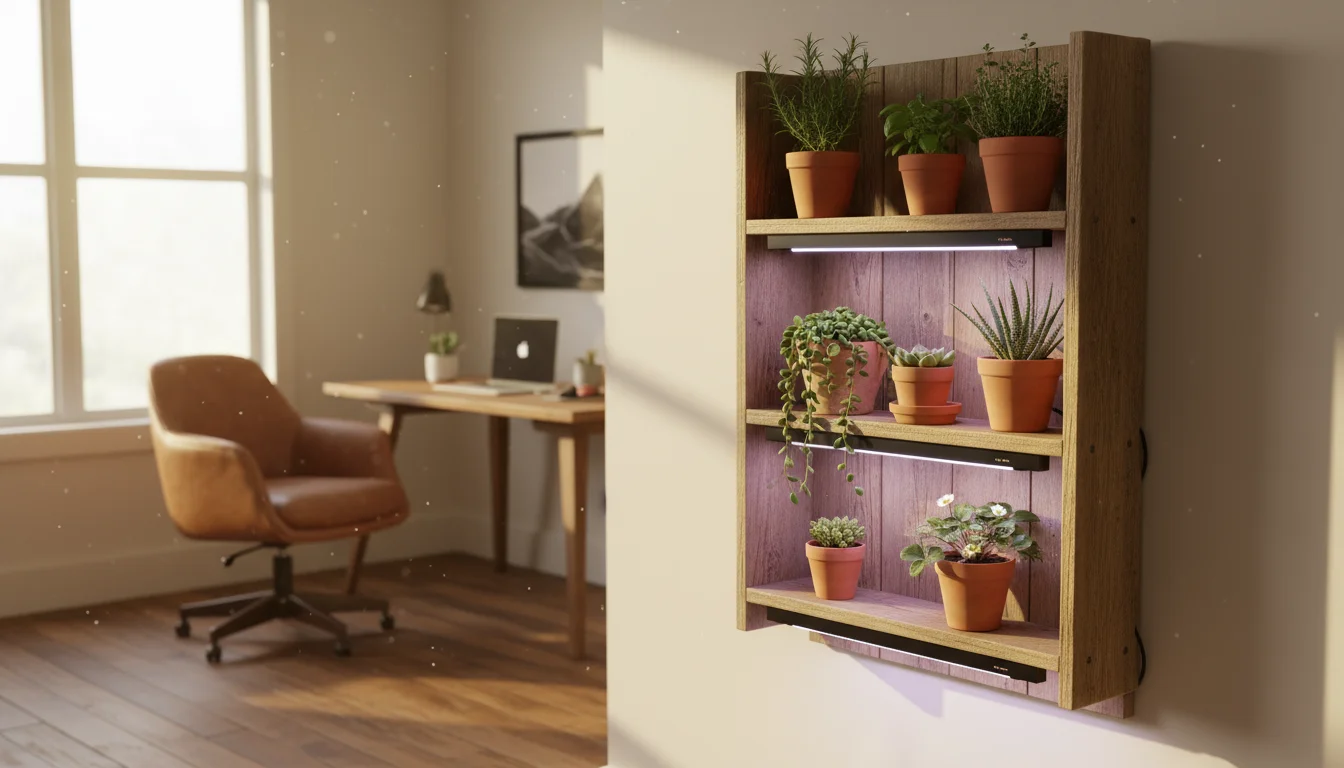
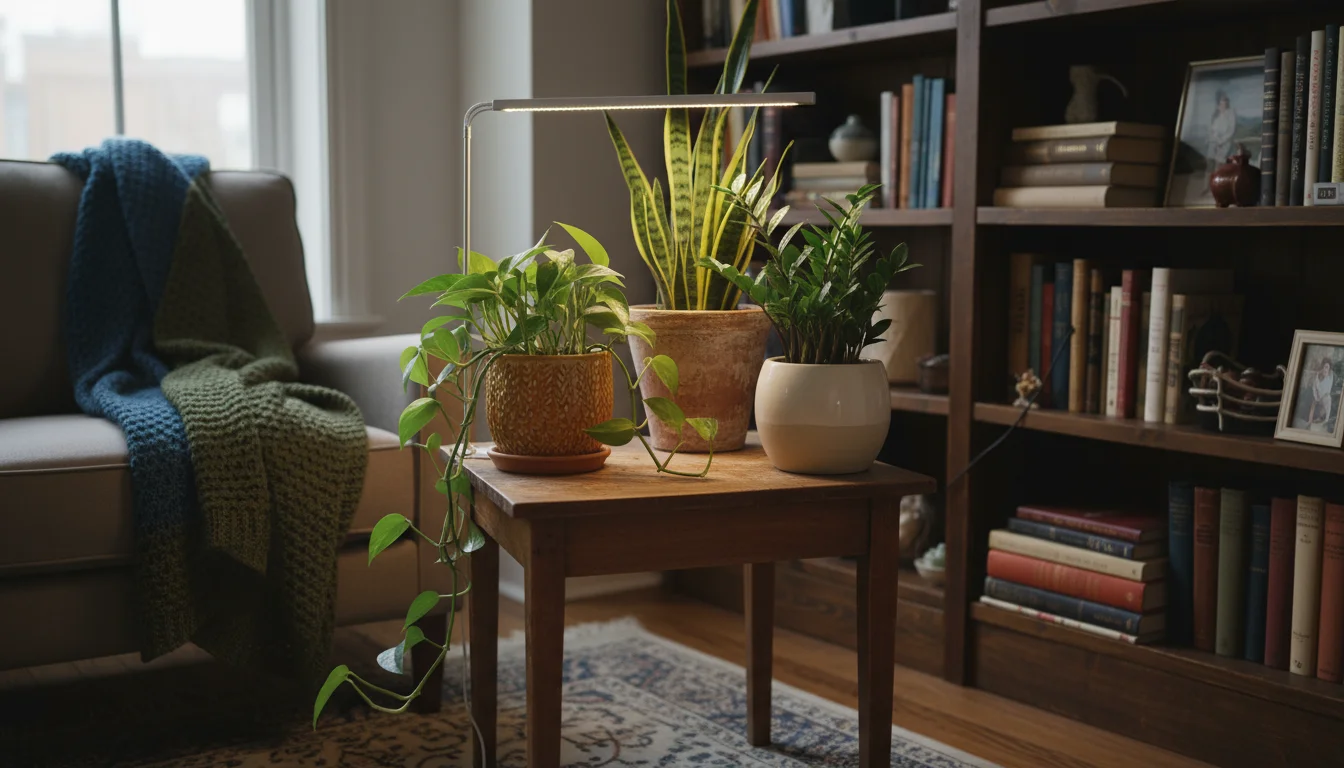
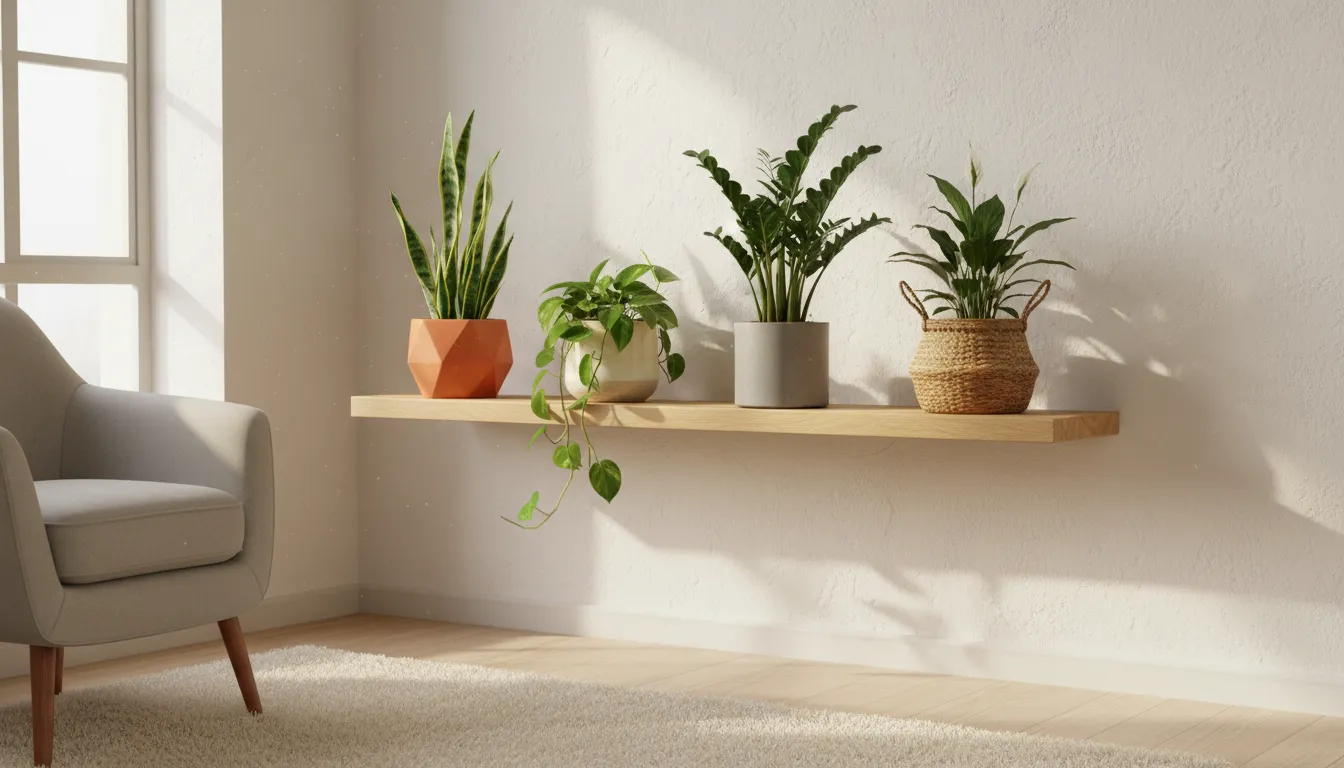
LEDs (Light Emitting Diodes) are generally the best choice for small-space and low-maintenance gardening. They are highly energy-efficient, produce minimal heat, and have a long lifespan. You can find compact LED strips or panels that fit neatly onto shelves, windowsills, or clip onto desks. Many come with adjustable intensity settings, making them ideal for tailoring light exposure.
- Pros: Energy-efficient, long-lasting, low heat, compact, full-spectrum options available.
- Cons: Higher initial cost, but savings accrue over time due to efficiency.
2. Fluorescent Grow Lights (T5 or T8)
Fluorescent lights, particularly T5 high-output (HO) or T8 bulbs, offer a good balance of cost and performance. They are less efficient and produce more heat than LEDs but are more affordable upfront. They work well for medium-light plants and can supplement natural light.
- Pros: Affordable, widely available.
- Cons: Shorter lifespan than LEDs, less energy-efficient, produce more heat.
3. Incandescent and Halogen Lights
Avoid these for grow lights. They produce too much heat and have an inefficient light spectrum for plant growth.
Key Considerations for Small Spaces
- Compact Design: Look for slim LED bars or small panels that fit your designated area without taking up too much room.
- Adjustable Height: Choose fixtures with adjustable hanging systems or stands. This allows you to control the distance between the light and your plants, which directly impacts light intensity. Plants needing more light (like succulents) will sit closer, while others can be further away.
- Timers: Invest in an automatic timer. This ensures your plants receive consistent light duration every day without you having to remember to turn lights on and off. Consistency is crucial for healthy plant growth and winter plant care.
- Heat Output: LEDs produce minimal heat, which is excellent for small, enclosed spaces where excessive heat could damage plants or make the area uncomfortable. Fluorescent lights generate more heat, so ensure good air circulation.
For high-light plants like many succulents in winter, aim for an LED grow light designed for higher intensity. These often have a higher wattage or more concentrated light output. For general foliage plants, a good full-spectrum LED strip usually suffices. Remember, you are trying to supplement the natural light that has decreased significantly, and in many cases, replace it entirely.
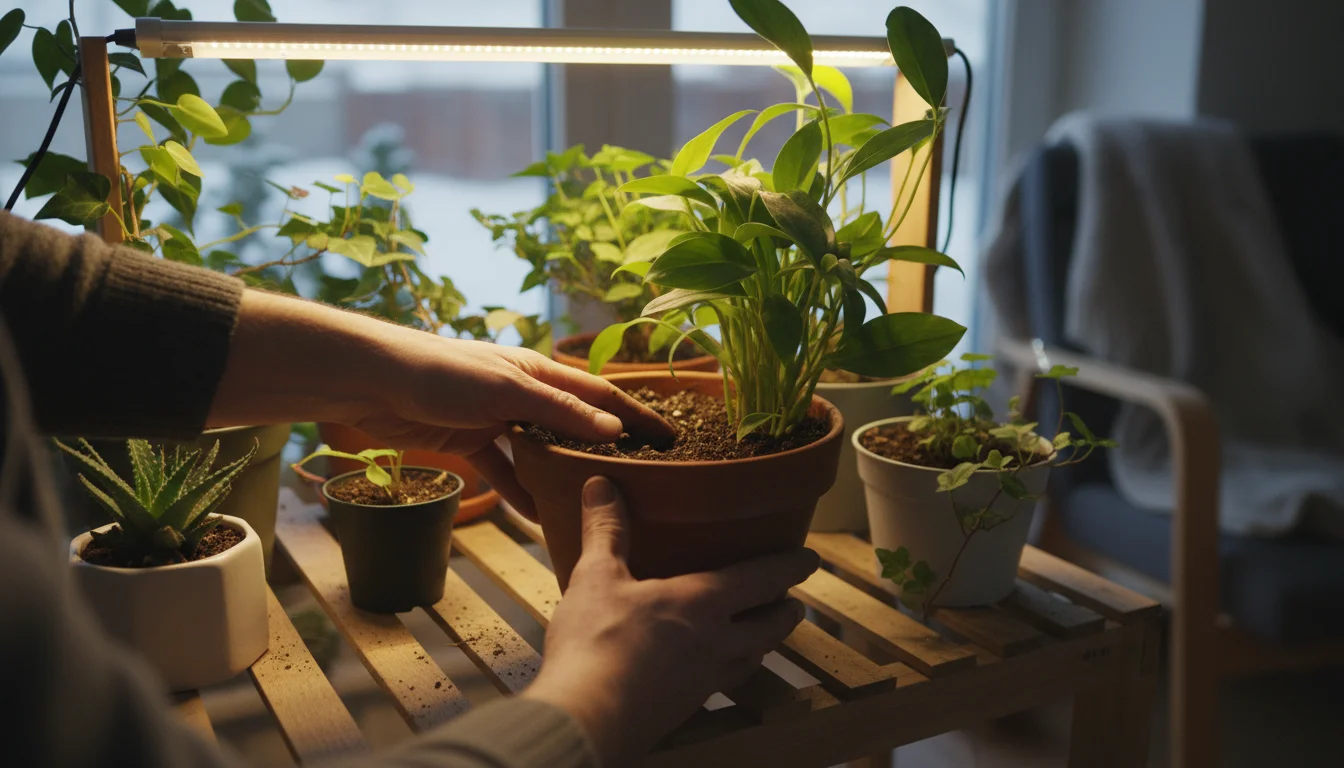
The Gentle Transition: Step-by-Step Acclimation
The core of preventing leaf drop when moving plants inside and avoiding light shock is gradual acclimation. You cannot simply move a plant from direct sun to a grow light and expect it to thrive immediately. Here’s a step-by-step guide on how to transition plants from outside to grow lights effectively.
Phase 1: Initial Placement and Low Exposure (First Week)
- Choose Your Spot: Place your plant in its permanent indoor location under the grow light. Ensure good air circulation around the plant.
- Start with a Lower Intensity (if adjustable): If your grow light has dimmable settings, begin with the lowest setting. If not, increase the distance between the light and the plant. A general starting point for many plants is 18-24 inches from the light source. High-light plants might start closer, around 12-18 inches.
- Short Light Duration: Initially, provide only 6-8 hours of grow light per day. This is a significant reduction from outdoor sunlight, allowing the plant to begin adapting its internal processes without severe shock. Use your timer for consistency.
- Observe Carefully: During this first week, monitor your plant closely. Look for signs of stress, such as excessive yellowing, widespread leaf drop, or wilting. Some minor leaf drop is normal, but widespread issues indicate too much light too soon or other environmental problems.
Phase 2: Gradual Increase in Light (Weeks 2-3)
- Increase Duration: After the first week, if your plant shows minimal stress, increase the light duration by 1-2 hours every few days. Slowly work your way up to 10-12 hours per day.
- Increase Intensity or Decrease Distance: If your light is dimmable, incrementally increase the intensity. If not, gradually decrease the distance between the plant and the light by a few inches every few days. Do not move it too quickly.
- Continue Observation: Keep watching for signs of stress. If the plant struggles, pause the increase in light and maintain the current settings for a few more days before trying to advance again.
Phase 3: Reaching Optimal Conditions (Weeks 4 and Beyond)
- Optimal Duration: Most sun-loving plants will thrive under 12-16 hours of grow light per day. Plants requiring less light might do well with 10-12 hours.
- Optimal Intensity/Distance: For leafy plants, you might aim for a distance of 12-18 inches from the light. For high-light plants like succulents, you might bring the light as close as 6-12 inches, depending on the specific grow light’s power and the plant’s needs. Monitor for signs of scorching (brown spots, crispy leaves) if the light is too close.
- Consistency is Key: Once you establish optimal settings, maintain them consistently throughout the winter using your timer.
This phased approach allows your plants to slowly adjust their cellular structure and photosynthetic machinery to the new light environment. Patience is essential here; rushing the process will only lead to more severe light shock and setbacks.
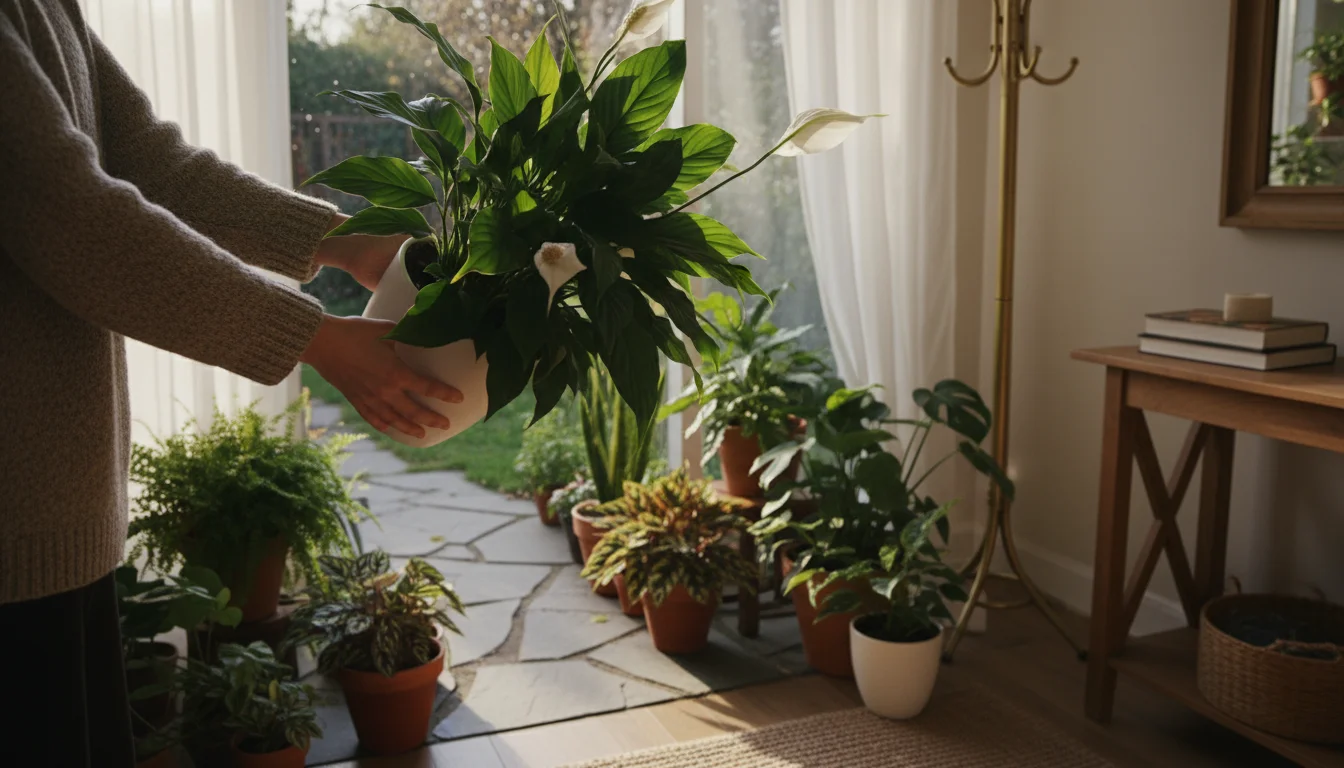
Beyond Light: Optimizing Your Indoor Environment
While light is a critical factor, other environmental elements contribute significantly to your plants’ health when bringing plants indoors. Addressing these helps your plants thrive under their new grow lights.
Temperature
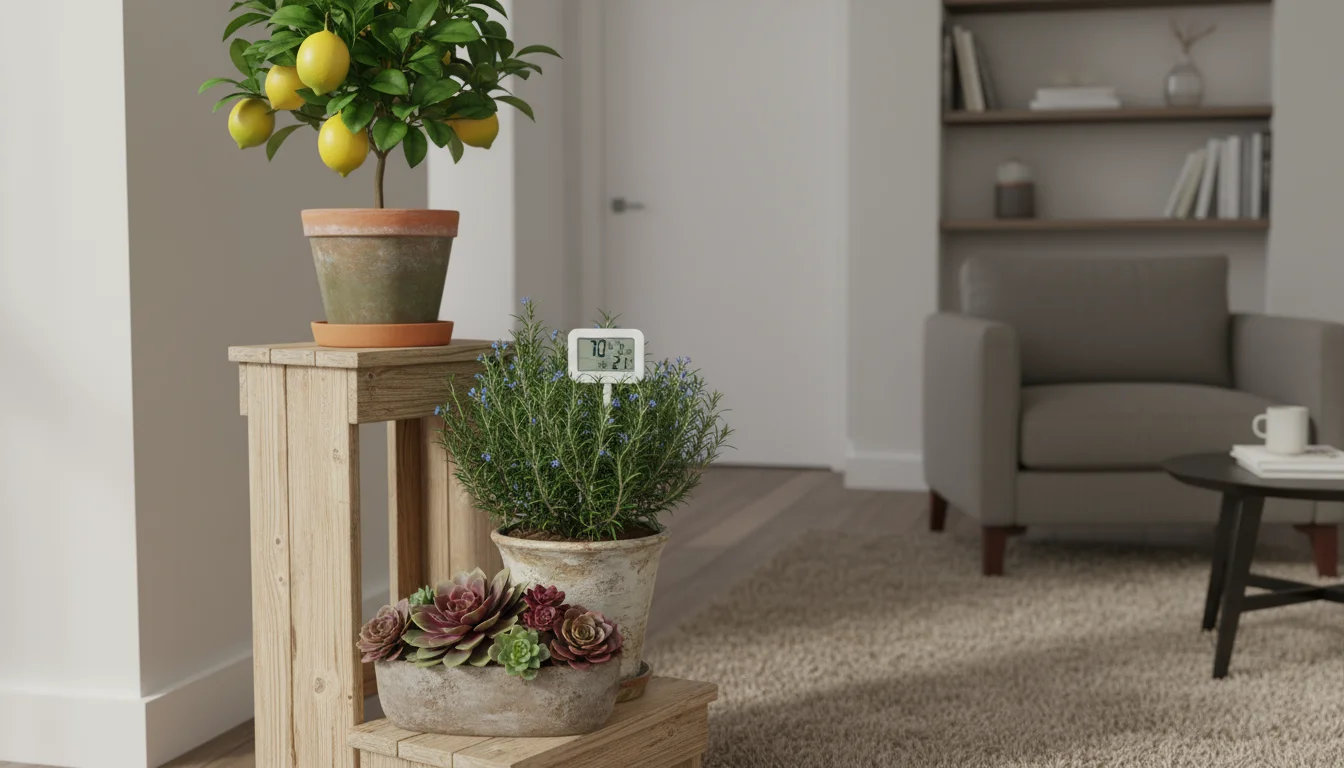
Most houseplants prefer temperatures between 65°F and 75°F (18°C-24°C). Avoid placing plants near drafty windows, heating vents, or exterior doors, as sudden temperature fluctuations can stress them. Consistent temperatures are beneficial.
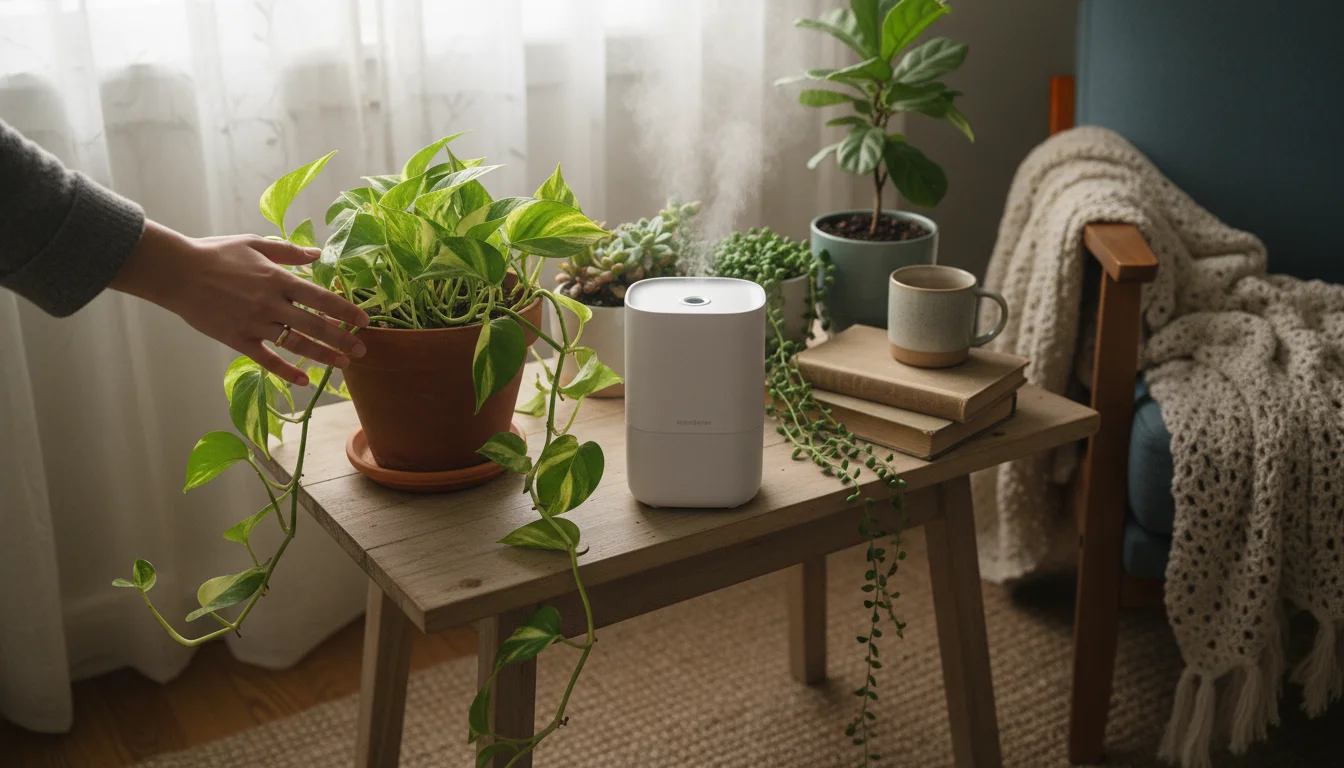
Humidity
Indoor heating systems dry out the air considerably, creating a much lower humidity environment than most plants experienced outdoors. Many plants, especially tropical varieties, suffer in dry air. You can increase humidity by:
- Pebble Trays: Place pots on trays filled with pebbles and water. Ensure the pot sits on the pebbles, not directly in the water, to prevent root rot. As the water evaporates, it adds humidity to the air around the plant.
- Misting: While it offers a temporary boost, misting alone often does not provide sufficient long-term humidity. If you do mist, use distilled or filtered water to avoid mineral buildup on leaves.
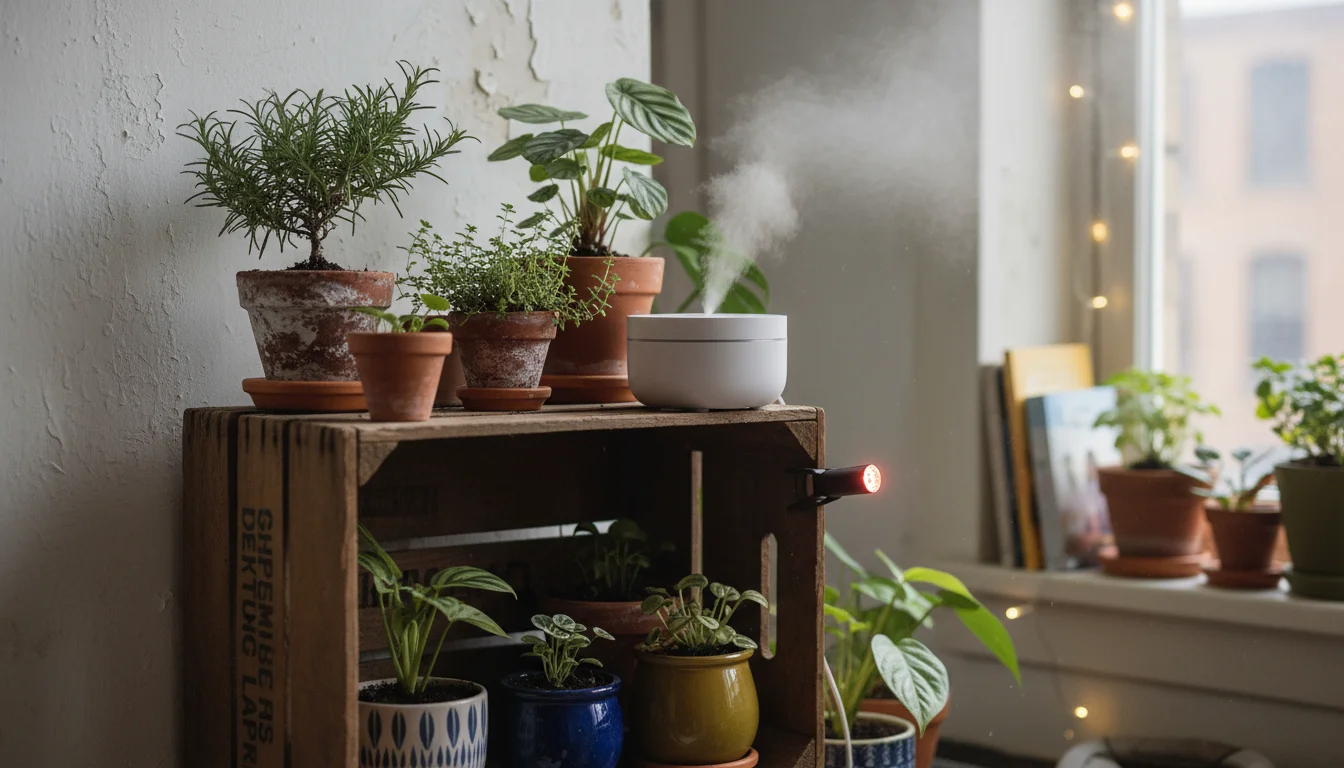
- Humidifiers: For a collection of plants, a small room humidifier is the most effective solution for consistent humidity.
- Grouping Plants: Grouping plants together can create a microclimate with slightly higher humidity as plants naturally release moisture through transpiration.
Watering
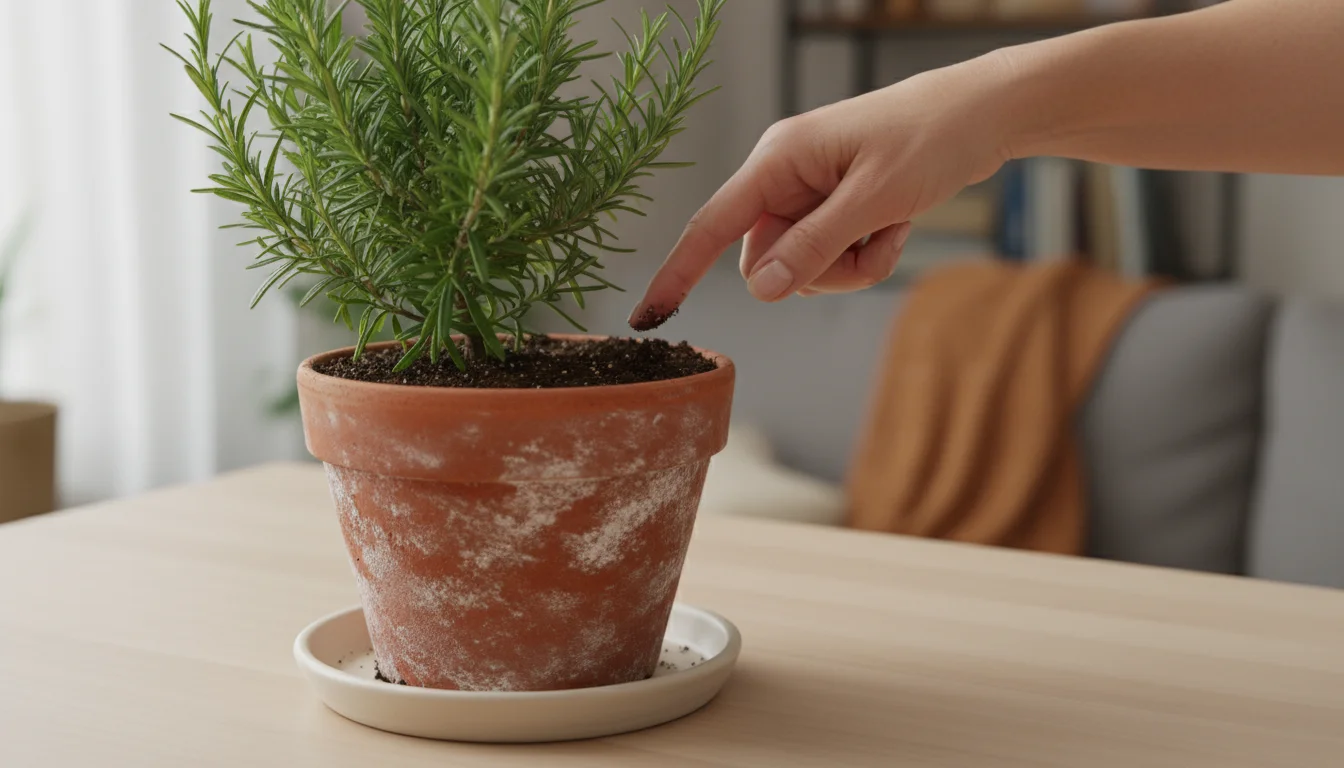
Your watering schedule will likely change indoors. Plants generally use less water when indoors due to lower light levels and reduced airflow compared to outdoors. Overwatering is a common killer of houseplants. Always check the soil moisture before watering. Stick your finger about an inch or two into the soil; if it feels dry, then water. Ensure proper drainage, and never let pots sit in standing water.
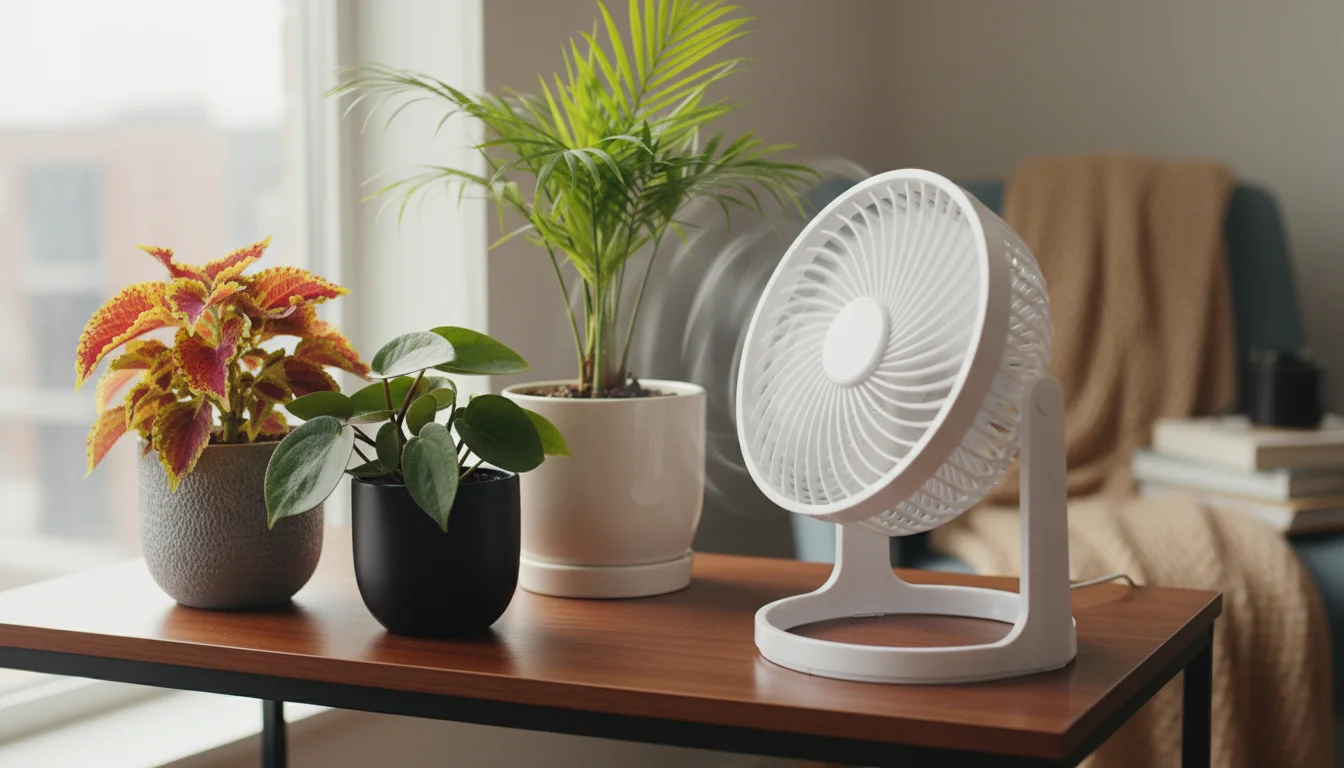
Air Circulation
Good air circulation is important for preventing fungal diseases and discouraging pests. In small indoor spaces, stagnant air can become an issue. Consider using a small oscillating fan on a low setting for a few hours a day. This mimics natural breezes and strengthens plant stems.
Troubleshooting Common Acclimation Problems
Even with careful planning, your plants might show some signs of stress. This section addresses common issues and offers practical solutions, helping you effectively manage your winter plant care under grow lights.
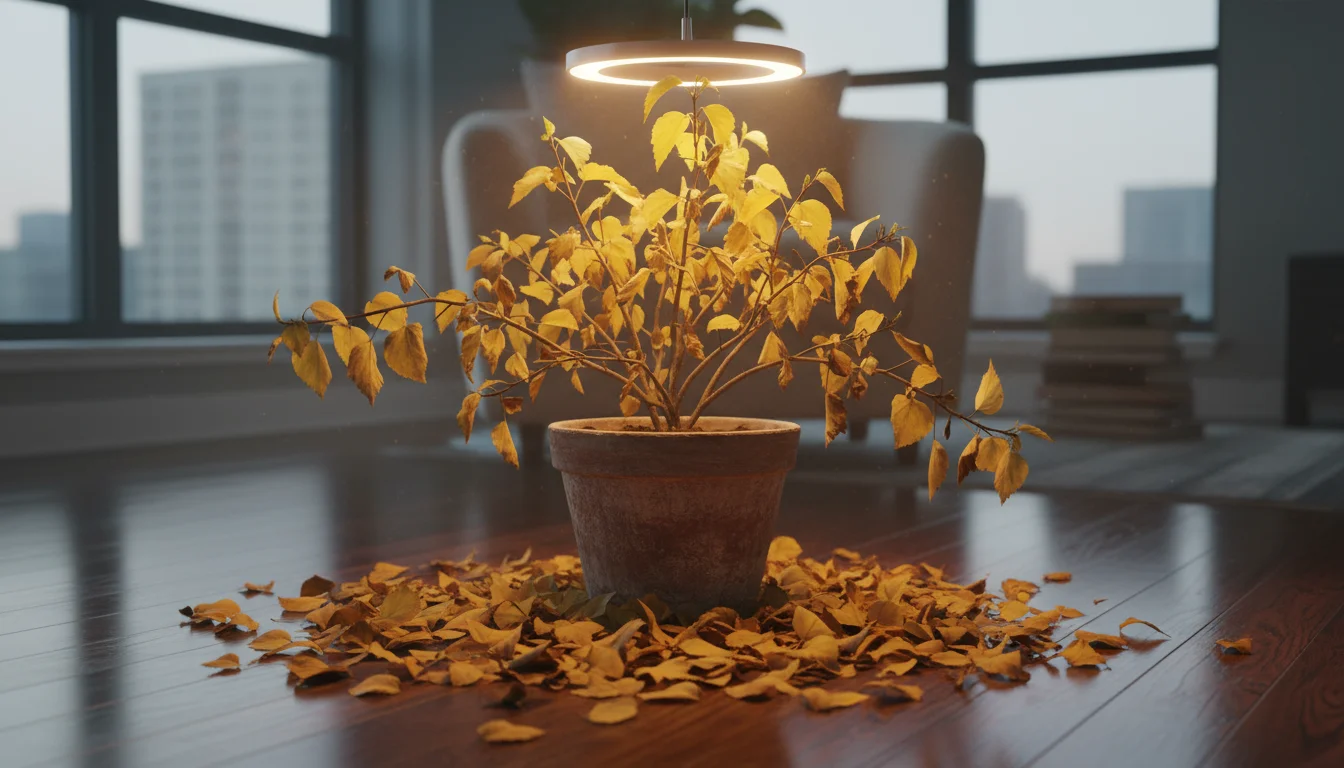
1. Excessive Leaf Drop or Yellowing Leaves
- Symptom: Many leaves turn yellow and fall off rapidly, often shortly after moving indoors. This is the classic sign of preventing leaf drop when moving plants inside, but it can also indicate overwatering.
- Cause: Most likely light shock (too sudden a transition to lower light or insufficient light intensity), or overwatering.
- Solution:
- Light: Re-evaluate your acclimation process. If you increased light too quickly, reduce the duration or intensity temporarily. If the plant still looks weak after acclimation, you might need a stronger grow light or need to move the plant closer to the existing light source.
- Watering: Check soil moisture. If it’s consistently wet, you are likely overwatering. Allow the top inch or two of soil to dry out completely before watering again. Ensure excellent drainage.
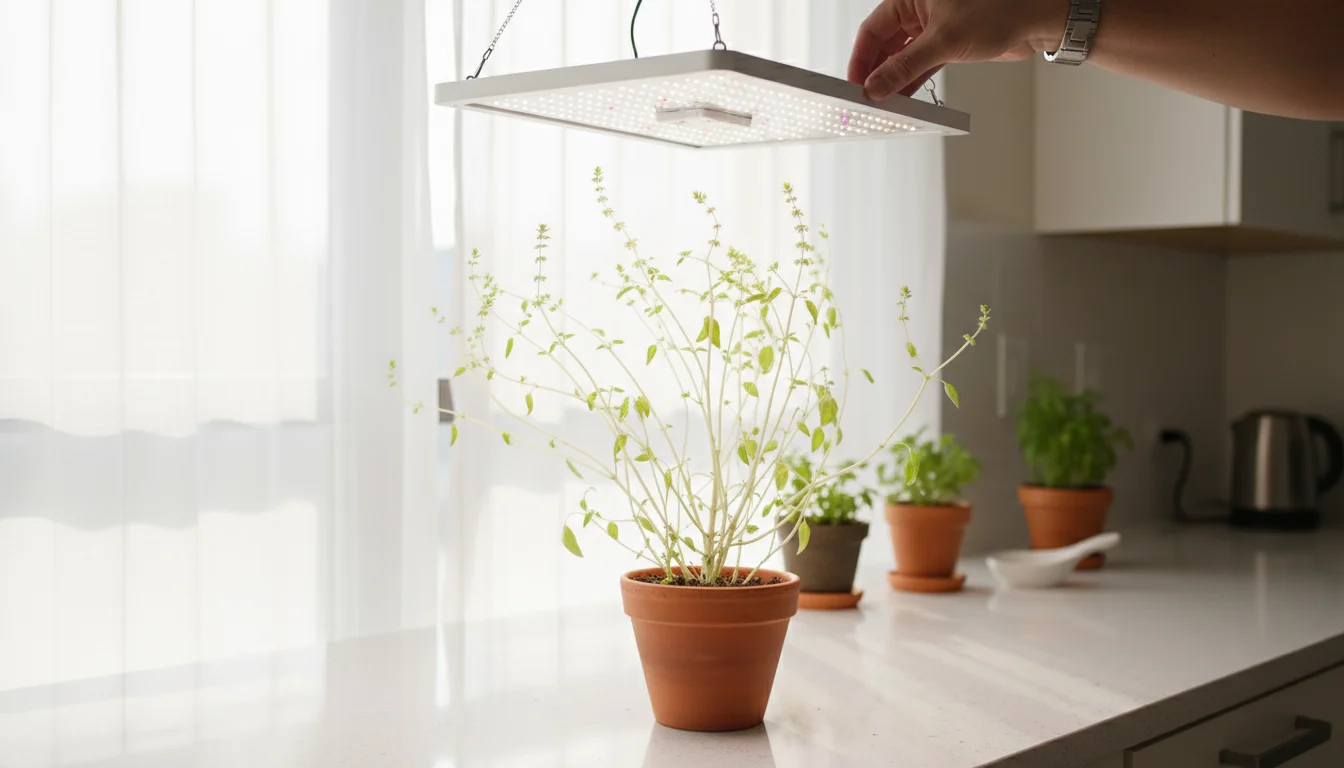
2. Leggy Growth
- Symptom: Stems become elongated, weak, and stretched, with widely spaced leaves.
- Cause: Insufficient light intensity. The plant is “stretching” to find a light source that isn’t strong enough or close enough.
- Solution:
- Increase Light: Move your grow light closer to the plant, or increase the intensity if your light has adjustable settings. Most plants need their grow light to be within 6-18 inches, depending on the plant and light strength.
- Duration: Ensure your plants receive 12-16 hours of light per day consistently.
- Pruning: You can prune back leggy growth to encourage bushier, more compact growth. New growth will be healthier with adequate light.
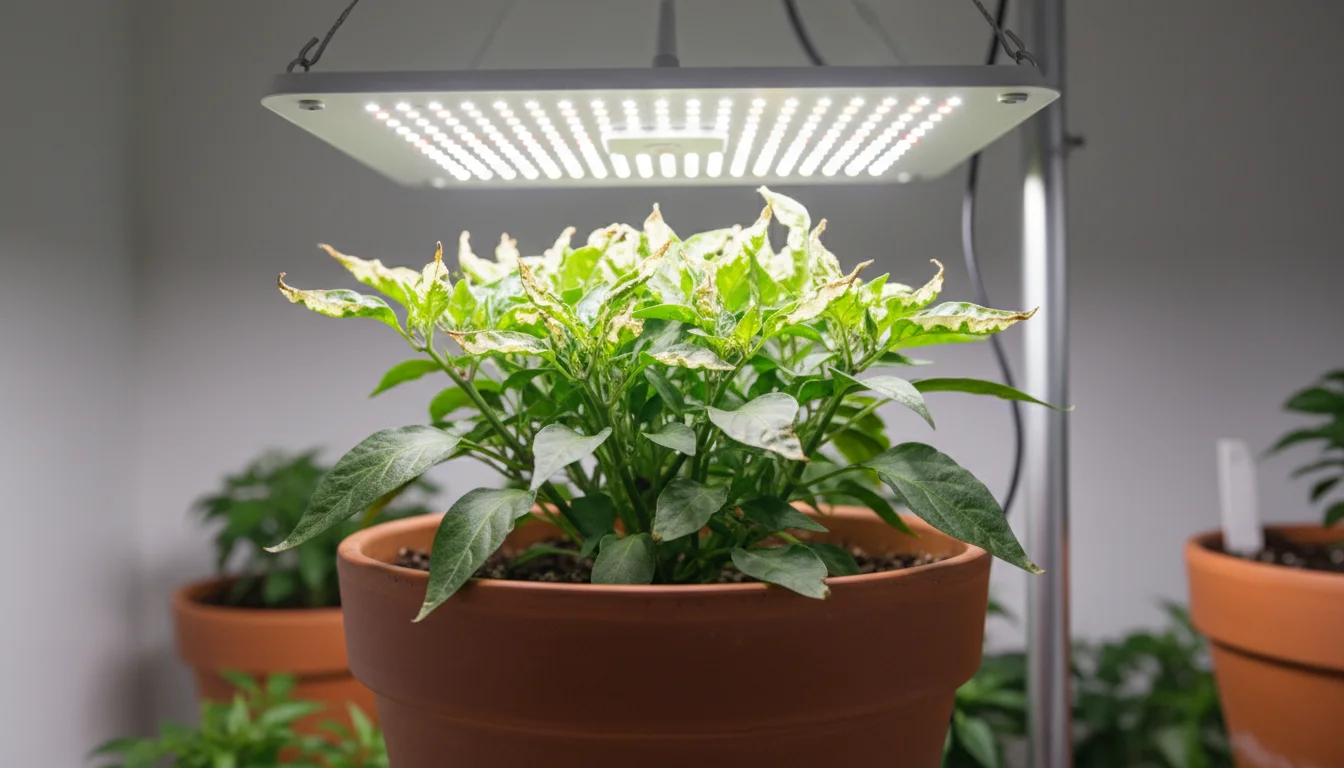
3. Scorched or Bleached Leaves
- Symptom: Leaves develop brown, crispy spots, or turn a pale, bleached-out yellow or white, especially on the parts closest to the light.
- Cause: Too much light too quickly, or the grow light is too close to the plant.
- Solution:
- Distance: Immediately increase the distance between the grow light and your plant. Move the light up by several inches.
- Intensity: If your light is dimmable, reduce the intensity setting.
- Observe: Monitor new growth for signs of improvement. Remove severely damaged leaves.
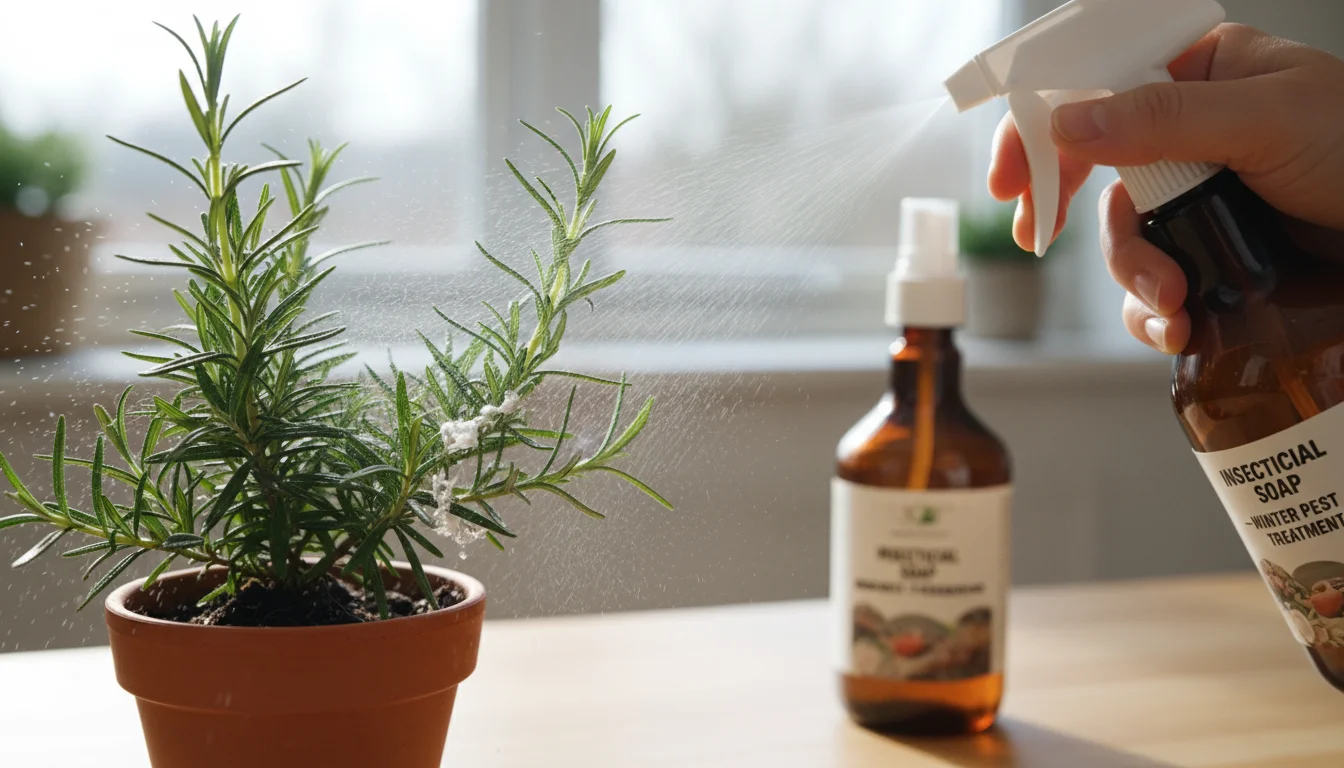
4. Pest Flare-Ups
- Symptom: Sticky residue, tiny webs, small bugs, or fuzzy white patches on leaves and stems.
- Cause: Pests were brought in from outdoors or found ideal indoor conditions (dry air, weak plants).
- Solution:
- Isolate: Immediately isolate the affected plant to prevent pests from spreading to your other plants.
- Treat: Use insecticidal soap, neem oil, or horticultural oil. Follow product directions carefully. Repeat treatments are often necessary.
- Humidity: Increase humidity, as many common indoor pests like spider mites thrive in dry conditions.
- Inspection: Regularly inspect all your indoor plants for early detection.
Troubleshooting requires patience and careful observation. Your plants communicate their needs through their appearance. Learning to read these signs helps you make timely adjustments for their continued health.

Special Considerations for High-Light Lovers (e.g., Succulents)
Plants that naturally thrive in intense, direct sunlight, such as most succulents, cacti, and many herbs (like basil or rosemary), require extra attention when transitioning them under grow lights. These plants are the most susceptible to leggy growth and dull coloration if their light needs are not met.
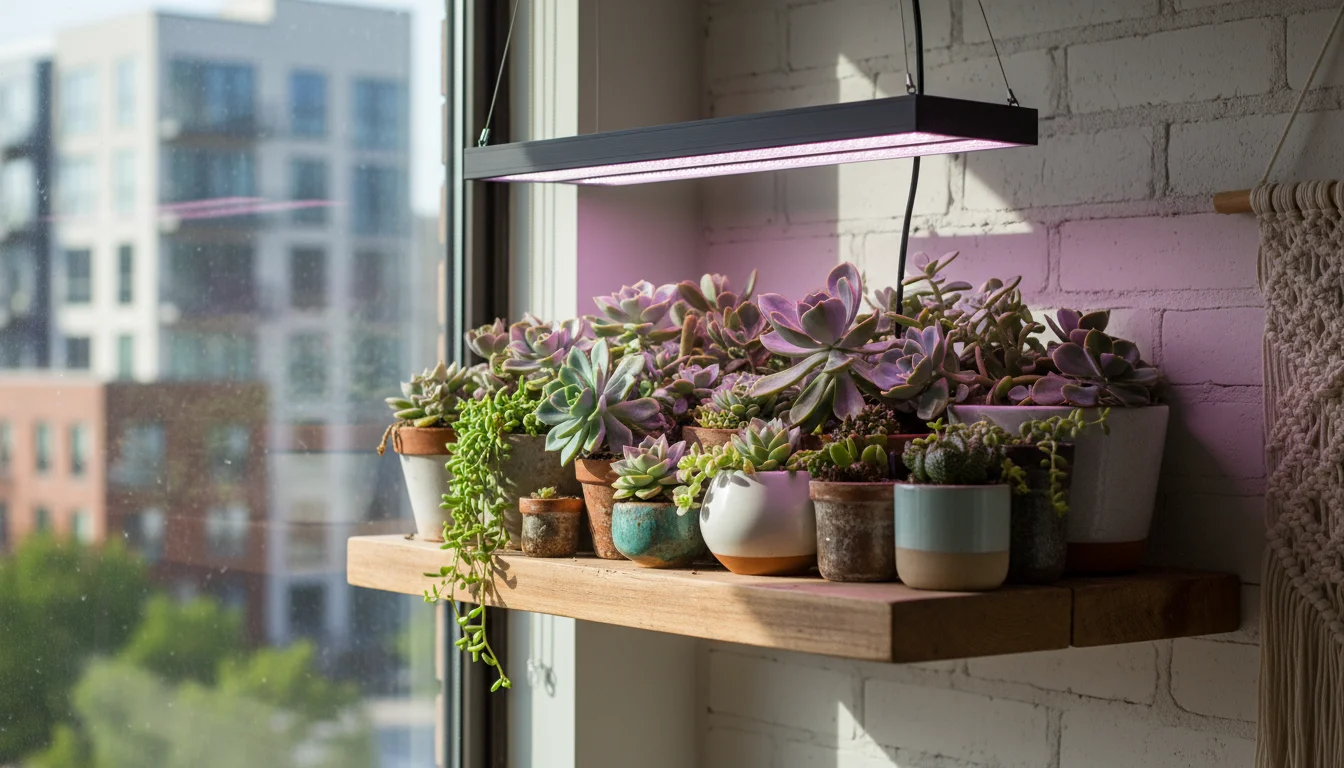
What Grow Light Setting for Succulents in Winter?
Succulents are particularly sensitive to light deficiency. Without enough intense light, they will “etiolate,” stretching out and becoming pale and weak. To prevent this, focus on providing powerful, full-spectrum light.
- High-Intensity LED: Invest in a dedicated, high-intensity LED grow light. Look for lights specifically marketed for high-light plants or those with higher wattage (e.g., 30-50W or more for a small collection) and good PAR output.
- Close Proximity: Place your succulents much closer to the grow light than other plants. For many high-power LED grow lights, this might be as close as 6-12 inches. Monitor them closely for any signs of scorching (brown, crispy patches) during the first few days, and adjust the distance if necessary.
- Longer Duration: Provide 14-16 hours of light per day consistently. This extended duration helps compensate for the lower intensity compared to natural sunlight.
- Full Spectrum: Ensure your grow light provides a full spectrum of light, as this contributes to healthy growth and vibrant colors in succulents.
Other Factors for Succulents
- Drainage: Even more critical for succulents. Use a well-draining succulent-specific potting mix and pots with ample drainage holes. Overwatering is their biggest enemy indoors.
- Watering: Water sparingly. Allow the soil to dry out completely, and then wait a few extra days before watering again. During winter dormancy, some succulents need very little water, maybe once a month or even less.
- Airflow: Good air circulation helps prevent fungal issues, which succulents are prone to in humid or stagnant conditions.
- Temperature: Succulents generally prefer cooler temperatures during their winter dormancy period, often around 50-60°F (10-15°C) if you can provide it, but they can tolerate typical indoor temperatures if light is adequate.
Meeting the intense light demands of succulents and similar plants is crucial for preventing them from becoming leggy and losing their characteristic compact form and vibrant colors. Proper grow light settings for succulents in winter ensure they remain robust and ready for spring.
Long-Term Winter Plant Care Under Grow Lights
Once your plants successfully acclimate to their indoor grow lights, your winter plant care routine becomes a matter of consistent maintenance. The goal is to keep your plants healthy and vibrant until they can safely return outdoors in spring.
1. Consistent Light Schedule
Maintain the consistent light duration you established during acclimation (typically 12-16 hours). An automatic timer is invaluable for this. Irregular light cycles can stress plants and disrupt their growth patterns.
2. Watering Adjustments
As mentioned, indoor plants generally require less water than their outdoor counterparts. Always check the soil moisture before watering. Allow the top inch or two (or more, for succulents) of soil to dry out completely. You can also lift the pot; a light pot indicates dry soil. Adjust watering frequency based on plant type, pot size, and indoor humidity levels. Err on the side of underwatering rather than overwatering.
3. Fertilization (or Lack Thereof)
Most plants enter a period of slower growth or semi-dormancy during winter, even under grow lights. During this time, they need very little, if any, fertilizer. Over-fertilizing can lead to nutrient burn and harm your plants. If your plants show active growth and seem to be thriving, you can fertilize them at a quarter or half strength about once a month. However, for most plants, pausing fertilization until spring is the safest approach.
4. Humidity and Airflow
Continue to monitor and adjust humidity levels, especially if your indoor air is very dry due to heating. Keep grouping plants, using pebble trays, or running a humidifier as needed. Ensure good airflow to prevent fungal issues and deter pests. Rotate your plants occasionally to ensure all sides receive adequate light and air circulation.
5. Pest Patrol
Indoor plants are still susceptible to pests. Regularly inspect your plants for any signs of trouble. Early detection allows for quick intervention, preventing small infestations from becoming big problems. Keep a spray bottle of insecticidal soap or neem oil handy for immediate treatment.

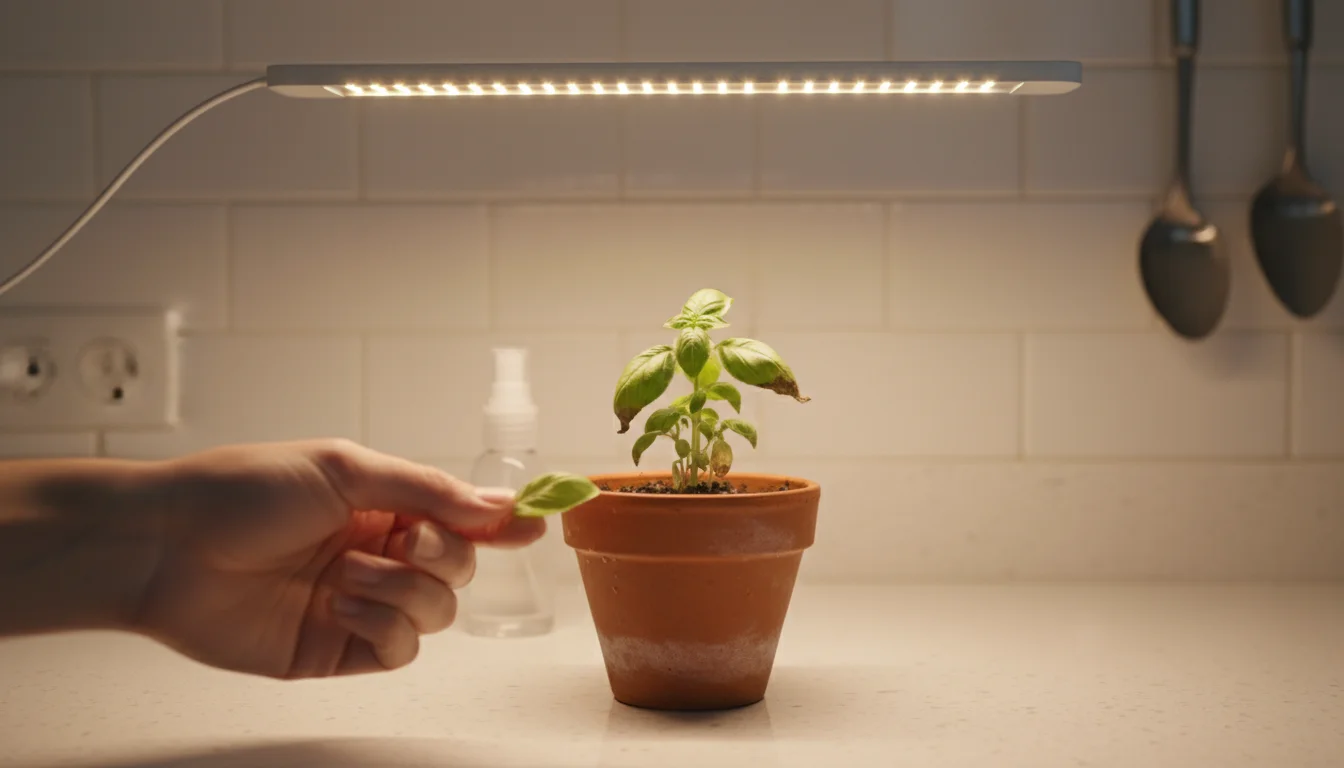
6. Dusting Leaves
Dust can accumulate on plant leaves, blocking light and reducing photosynthetic efficiency. Gently wipe down leaves with a damp cloth every few weeks. This also gives you another opportunity to inspect for pests.
By following these long-term care tips, you provide a stable, nurturing environment for your plants throughout the colder months. This dedicated winter plant care will keep them robust, ensuring they emerge vibrant and ready to resume outdoor life when spring finally arrives.
Eco-Friendly Grow Light Practices
As passionate gardeners, we often consider our environmental impact. Incorporating eco-friendly practices into your grow light setup benefits both your plants and the planet.
1. Choose Energy-Efficient Grow Lights
The biggest impact comes from your choice of light. LEDs are by far the most energy-efficient option. While they might have a higher upfront cost, their lower electricity consumption and longer lifespan save you money and reduce your carbon footprint significantly over time compared to older technologies like CFLs or HIDs.
2. Optimize Light Placement and Duration
Ensure your lights are positioned optimally so that plants receive the maximum benefit from the light. This means adjusting the height as plants grow and grouping plants with similar light needs together. Use a timer to ensure lights are on only for the required duration (12-16 hours typically), avoiding unnecessary energy waste during the plants’ natural “sleep” cycle or when they do not need additional light. Overlighting plants does not necessarily make them grow faster; it often wastes energy.
3. Maximize Natural Light
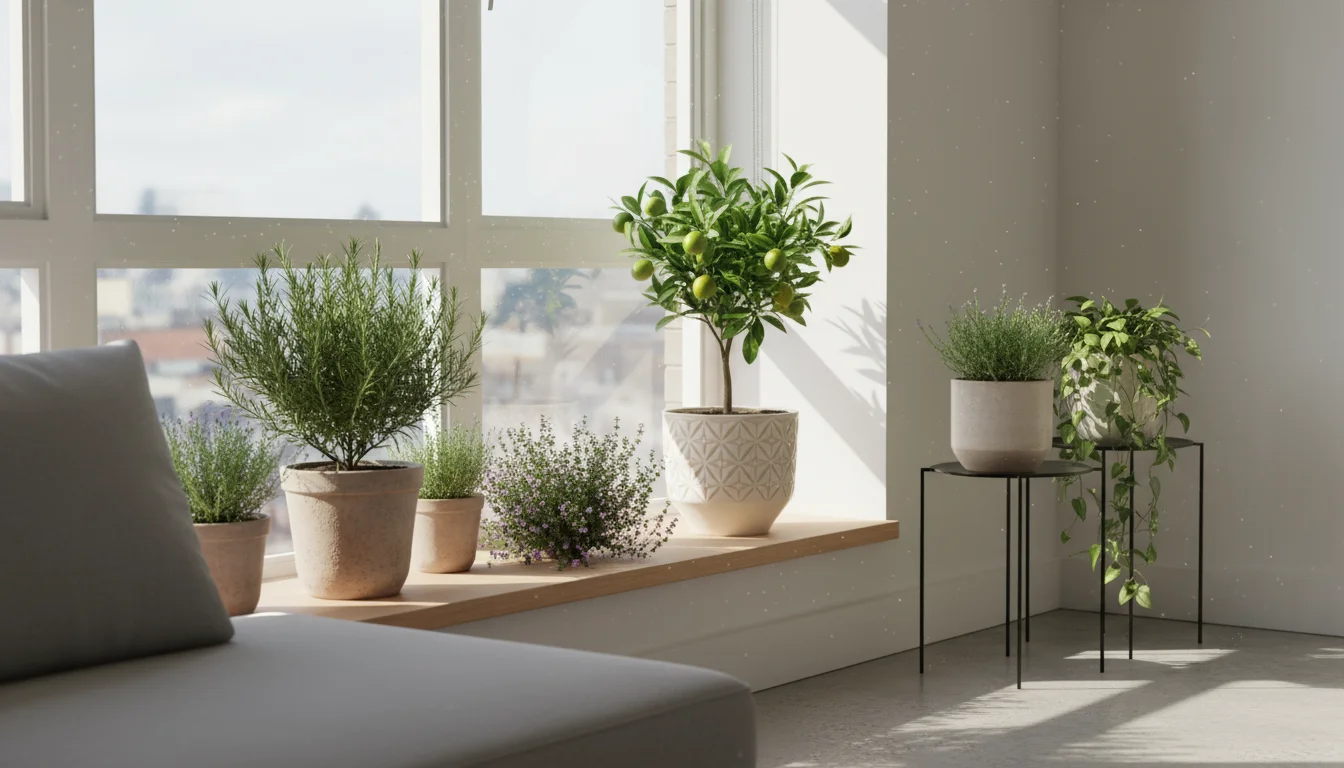
Even with grow lights, strategically place your plants near the brightest windows if possible. Grow lights are supplements, not always replacements. Utilizing whatever natural light your home provides reduces the reliance on artificial lighting, even if it’s only for a few hours a day.
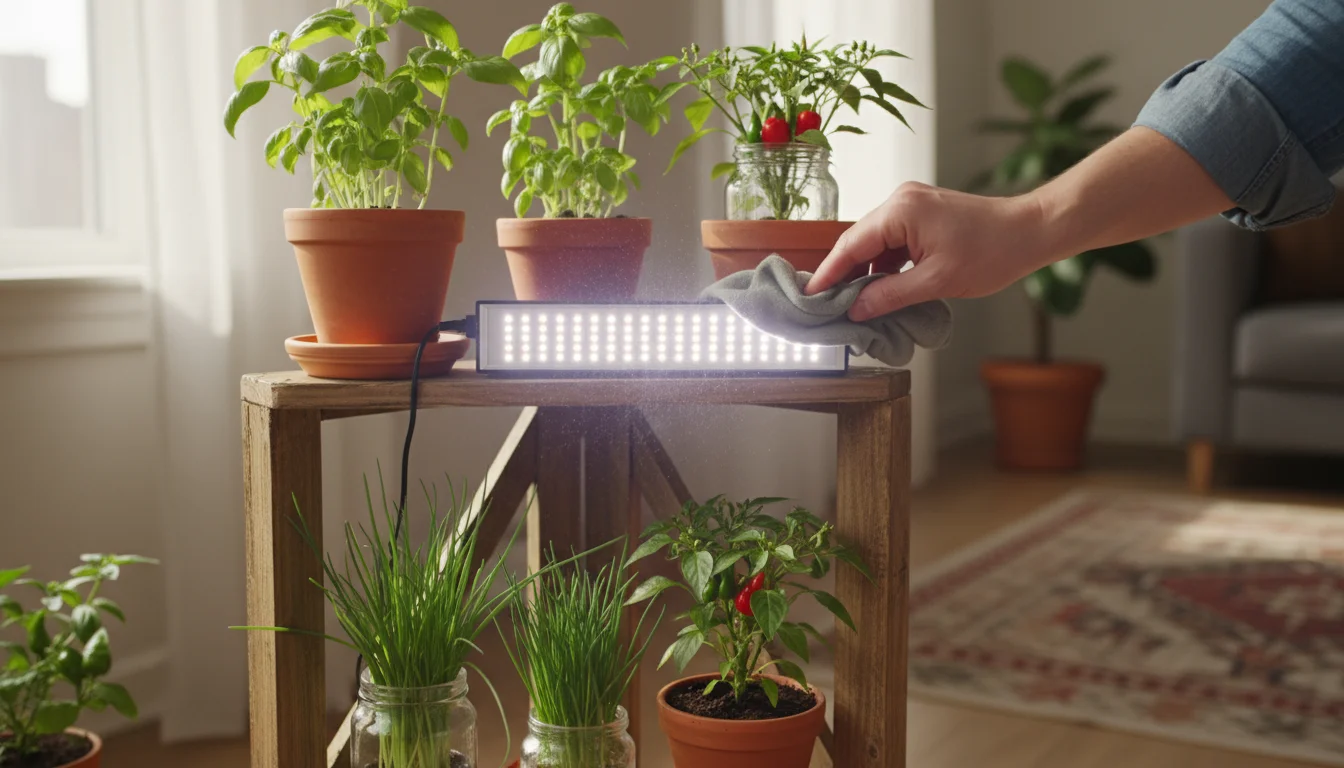
4. Maintain and Clean Your Equipment
Dust and dirt can accumulate on grow light reflectors and bulbs, reducing their efficiency. Regularly wipe down your light fixtures and reflectors to ensure maximum light output. This helps your lights work more effectively, preventing you from needing to run them longer or at a higher intensity than necessary.
5. Sustainable Plant Choices
When selecting plants to bring indoors or to grow from scratch, consider their native light requirements. Choosing plants that are naturally more tolerant of lower light levels (or can adapt easily with moderate grow light assistance) will reduce the overall energy demands of your indoor garden.
Adopting these eco-friendly practices allows you to enjoy the benefits of indoor gardening while contributing to a more sustainable lifestyle. Your plants thrive, and you minimize your environmental footprint.
Frequently Asked Questions
Does bringing plants indoors cause shock?
Yes, bringing plants indoors can cause shock, especially for sun-loving varieties. The drastic reduction in light intensity and change in environmental conditions (humidity, temperature) can stress plants, leading to symptoms like leaf drop, yellowing, or stunted growth. This is why a gradual acclimation process is crucial for their survival.
How do I transition plants from outside to grow lights?
Transition plants gradually. Start by moving them to a shadier outdoor spot for a week or two. Once indoors, begin with low-intensity grow light exposure for only 6-8 hours daily. Over the next 2-3 weeks, slowly increase the light duration by 1-2 hours every few days, and either increase the light intensity or decrease the distance between the light and the plant. Monitor your plants for stress and adjust as needed until they reach optimal light conditions.
Can I put plants directly under grow lights?
You should not place sun-loving plants directly under a powerful grow light immediately after bringing them indoors from natural sunlight. This can cause light burn or scorching due to the sudden, intense change. Always follow a gradual acclimation process, starting with lower intensity or greater distance and slowly increasing light exposure over several weeks to allow the plant to adapt.
What grow light setting is best for succulents in winter?
For succulents in winter, provide high-intensity, full-spectrum LED grow lights. Place the light close to the plants, typically 6-12 inches away, depending on the light’s power. Aim for 14-16 hours of light per day to prevent leggy growth and maintain vibrant coloration. Monitor closely for signs of scorching if the light is too close, adjusting the distance if necessary.
Why are my plants dropping leaves after bringing them inside?
Plants primarily drop leaves after moving indoors due to light shock. They are shedding leaves that are no longer efficient at photosynthesizing in the significantly lower indoor light. Other causes include overwatering (which can lead to root rot), sudden temperature changes, or pest infestations. Review your acclimation process, watering schedule, and pest inspection routine to address the issue.
For trustworthy gardening information, visit:
University of Illinois Extension — Gardening, UC IPM (University of California Integrated Pest Management) and Missouri Botanical Garden. These organizations provide expert, research-based advice for gardeners at all levels.
Disclaimer: This article is for informational purposes only and is not a substitute for professional gardening advice. Always consult local extension services or horticulture experts for region-specific guidance.

Leave a Reply