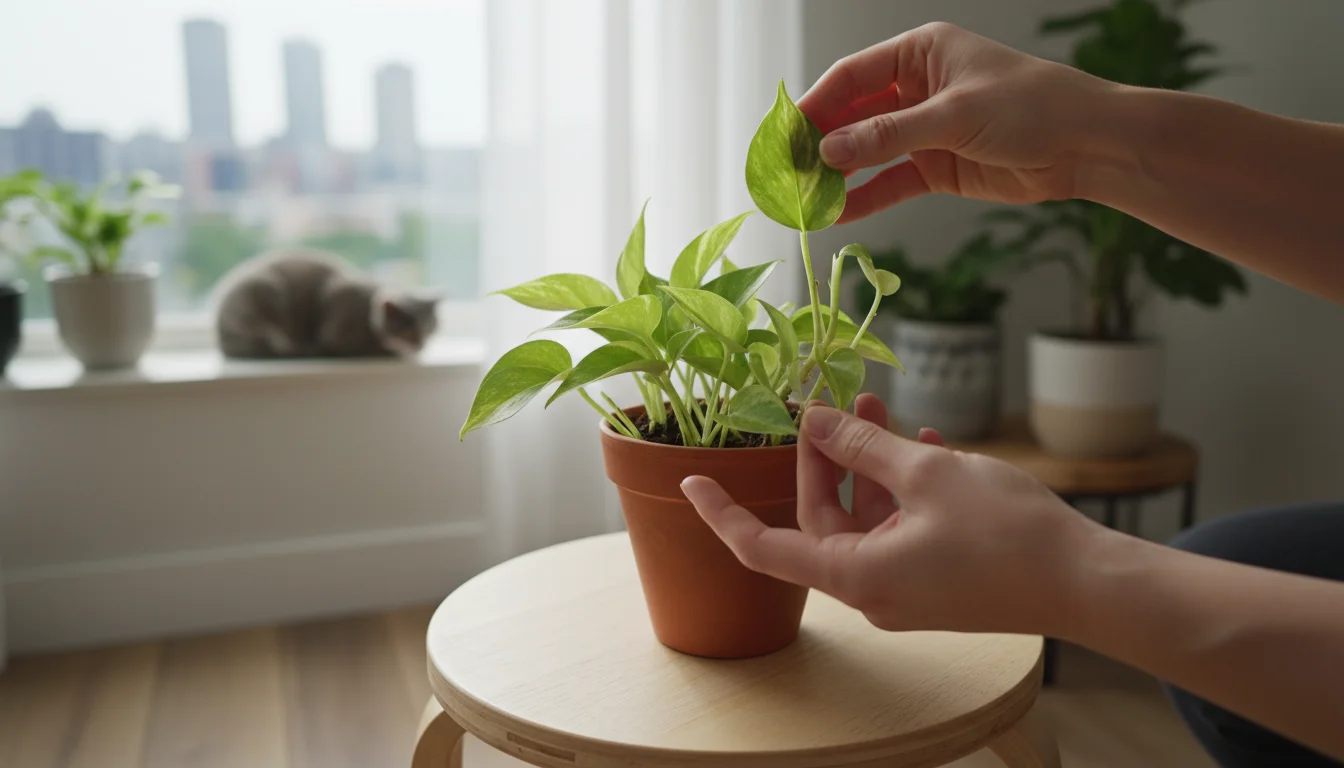
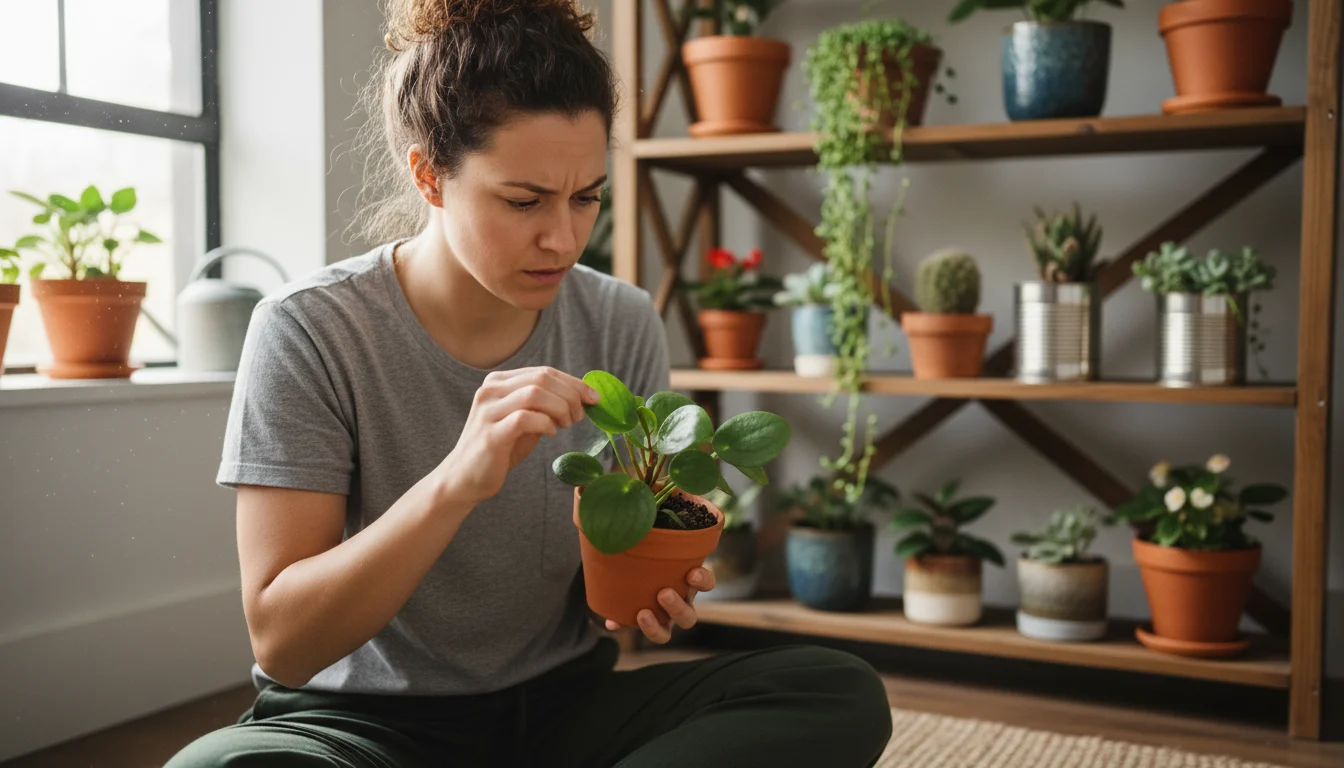
Bringing a new houseplant home feels exciting, especially as colder weather drives your gardening efforts indoors. That vibrant new foliage promises beauty and life through the winter months. However, this seemingly innocent addition can become a Trojan horse, introducing unwelcome houseplant pests that quickly jeopardize your entire indoor garden. Spider mites, mealybugs, and other invaders often hitchhike on new plants, unseen and ready to establish a colony. An infestation spreads rapidly in the confined, stable environment of your home, threatening not just the new arrival but every plant you cherish. Proactively quarantining plants provides the essential protection your indoor garden needs, especially when you introduce a new plant to your collection safely. This guide outlines a practical, step-by-step quarantine protocol to safeguard your green sanctuary this winter.
Understanding Plant Quarantine: Your Indoor Garden’s First Line of Defense
Plant quarantine means isolating a newly acquired plant from your existing collection for a specific period. During this time, you observe the plant closely for any signs of houseplant pests or diseases before integrating it into your main growing area. This simple, preventative measure acts as a critical barrier, protecting your established plants from potential invaders. Think of it as a brief probation period for your new green friend.
Many gardeners, especially those with limited space, often overlook this crucial step. You might feel tempted to place a beautiful new succulent or fern immediately alongside your beloved pothos. However, the consequences of skipping quarantine can be devastating. Pests reproduce quickly, and a small, unnoticed infestation on a single new plant can rapidly spread throughout your entire indoor garden. This leads to stressed plants, expensive and time-consuming pest treatments, and potentially the loss of treasured specimens.
For small-space gardeners, the stakes are even higher. Your plants likely reside in close proximity, making pest transmission incredibly efficient. A single spider mite, for instance, can quickly travel from one plant to another on air currents or even on your hands. Investing a few weeks in quarantine saves you immense frustration and effort in the long run. It is an act of care for your entire plant family. Implementing this protocol offers you peace of mind, knowing you take proactive steps to maintain a healthy, pest-free indoor environment. This becomes especially important during winter gardening tips when plants are indoors and more susceptible to infestations due to reduced air circulation and natural predators.
The Invisible Threat: Why New Plants Carry Risks
New plants, despite appearing perfectly healthy, frequently harbor hidden houseplant pests. These tiny invaders can come from various sources, making vigilance essential for every gardener.
The Nursery or Garden Center Environment:
Plants in garden centers typically come from large commercial growers. These facilities often manage hundreds or thousands of plants, increasing the likelihood of pest exposure. While nurseries strive for pest control, complete eradication is challenging. Pests can thrive in these crowded conditions, moving from one plant to another before your purchase.
Transportation and Handling:
The journey from a grower to your home provides numerous opportunities for hitchhikers. Plants get moved between different environments, exposed to various conditions, and handled by many individuals. A new plant might pick up pests from a neighboring plant in transit, from shared watering trays, or even from the hands of other shoppers.
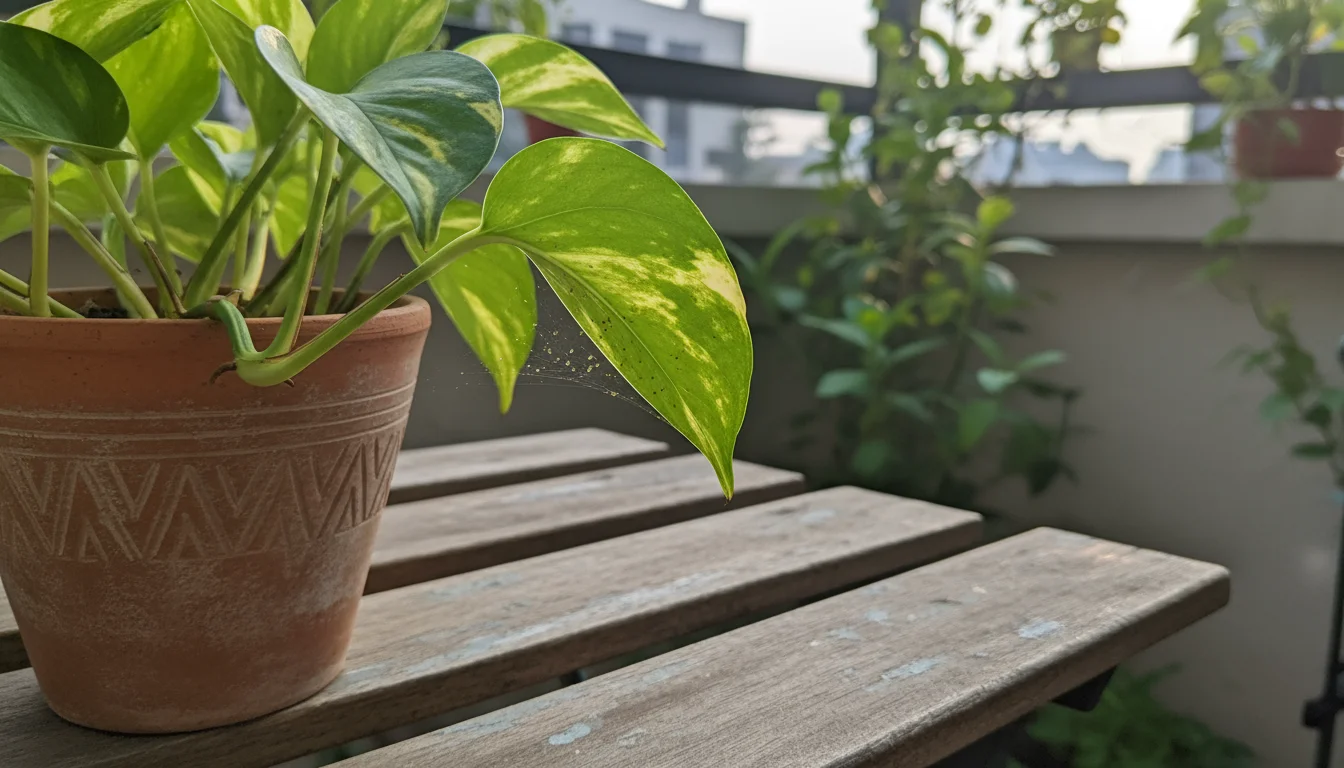
- Spider mites: Barely visible to the naked eye, they often hide on the undersides of leaves or in leaf axils (where the leaf stem meets the main stem). You might only notice their fine webbing once the infestation is severe.
- Mealybugs: These fuzzy, white pests can hide in tight crevices, at the base of stems, or even in the soil, making initial detection difficult.
- Scale insects: They resemble small bumps on stems or leaves, often mistaken for natural plant features until you see their sticky residue, known as honeydew.
These hidden pests reproduce rapidly. A single female mealybug, for example, can lay hundreds of eggs, quickly turning a minor issue into a full-blown infestation within weeks. When you introduce a new plant to your collection safely, you need to assume it carries a risk, even if you see nothing at first glance.
- Dry Air: Many houseplant pests, especially spider mites, thrive in dry, warm conditions characteristic of heated homes.
- Lack of Natural Predators: Unlike outdoor gardens, your indoor space lacks the beneficial insects and birds that naturally keep pest populations in check. This means any pest that establishes itself faces few natural deterrents.
- Reduced Airflow: While you likely enjoy your plants indoors, the limited air circulation compared to outdoor conditions also creates a more hospitable environment for pests to settle and spread without disruption.
Understanding these risks underscores why a strict quarantine protocol is not an overreaction but a necessary protection for your entire indoor plant collection.
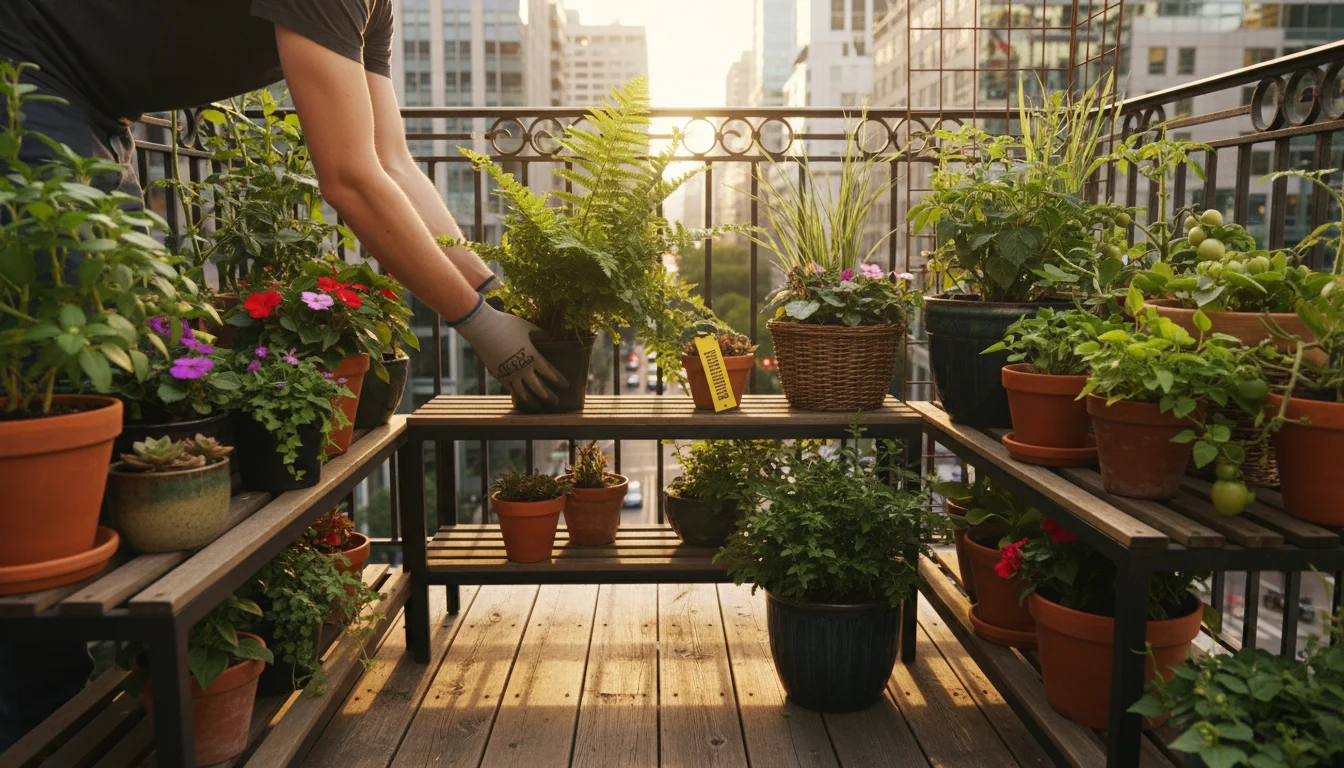
Setting Up Your Safe Zone: Creating an Effective Quarantine Space
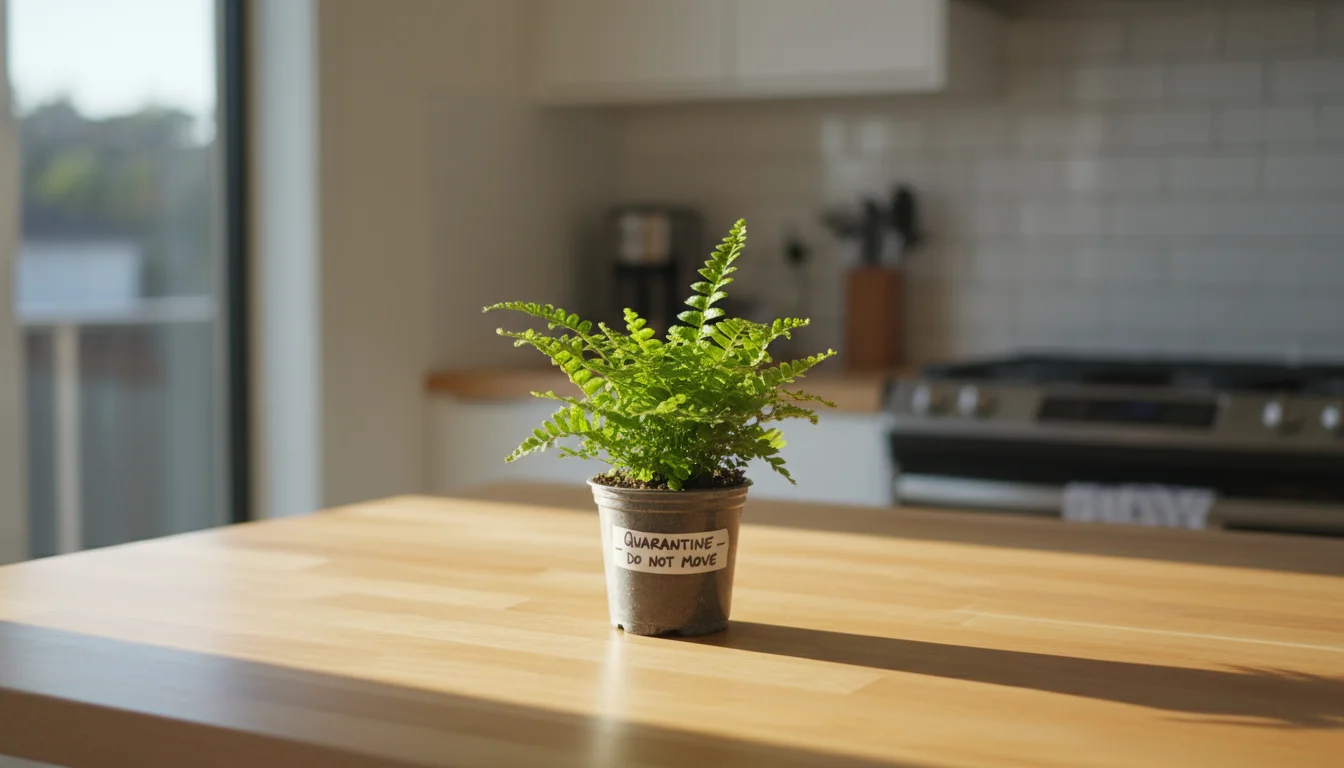
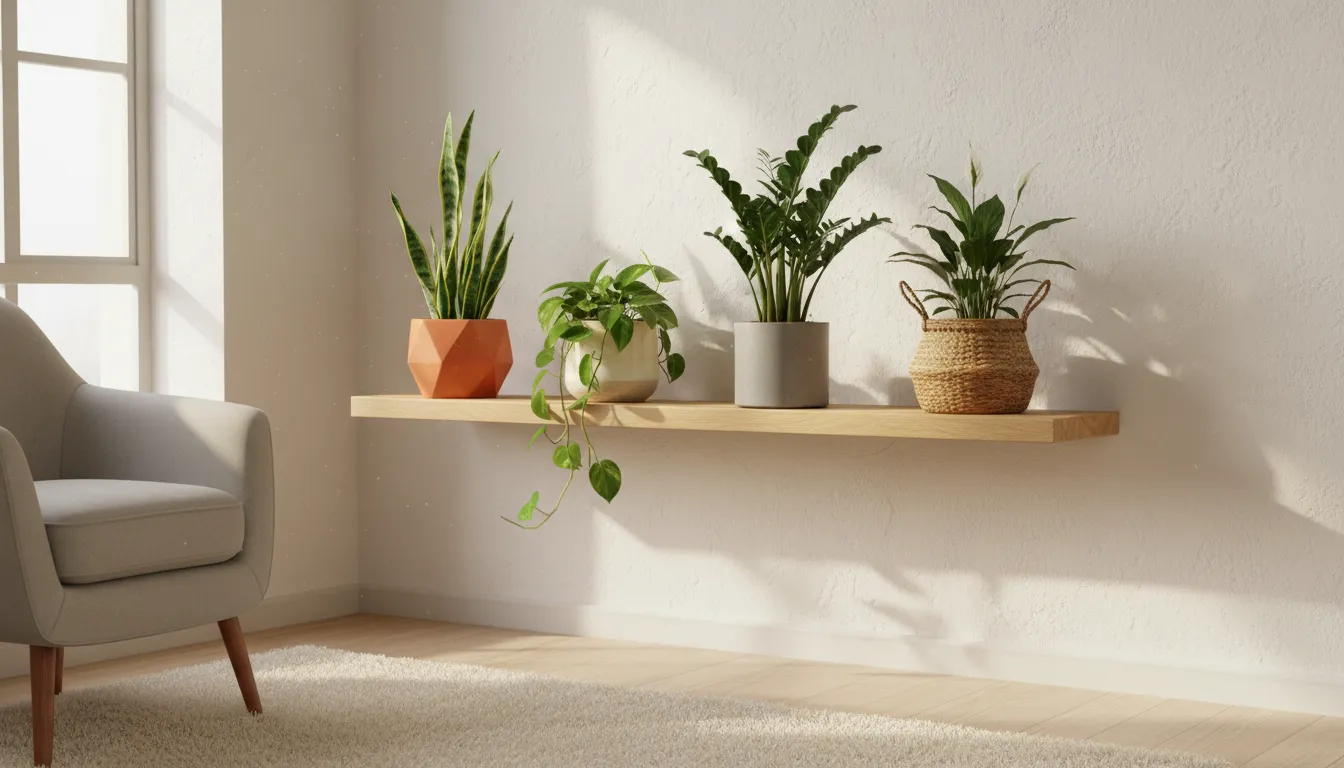
Establishing a dedicated quarantine area is simpler than you might imagine, even in a small apartment or home. The goal is complete isolation from your other plants, ensuring any potential pests remain confined to one area.
Key Requirements for a Quarantine Zone:
- Isolation: This is the most crucial factor. Your quarantine plant should be out of reach of your existing plants. Aim for a separation of at least 5-6 feet, though greater distance is always better if available.
- Adequate Light: The quarantined plant still needs its regular light requirements to remain healthy. Place it near a window that matches its typical light preference. If natural light is insufficient, consider a small grow light.
- Good Air Circulation: While you want isolation, you also want some air movement around the plant to prevent fungal issues. An open window for short periods or a small fan on a low setting can help, provided it does not blow pests towards your other plants.
- Easy to Clean Surface: Place the plant on a surface you can easily wipe down, such as a plastic tray, a tiled counter, or a dedicated plant stand. Avoid porous surfaces that might harbor pests.
- Separate Tools: If possible, use separate watering cans, pruners, and other tools exclusively for your quarantine plant. If you must use shared tools, clean and sanitize them thoroughly (with rubbing alcohol or a bleach solution) immediately after use on the quarantined plant and before using them on your main collection.
Small-Space Solutions:
- The Bathroom: A bathroom often works perfectly as a temporary quarantine zone. It usually has a window for light, is separated from other rooms, and has hard, easy-to-clean surfaces. The humidity can also be a bonus for some plants, but monitor for fungal issues if it’s too high.
- A Spare Room or Closet Corner: If you have a guest room or a rarely used office, dedicate a corner. Place the plant on a stand or a small table.
- Laundry Room/Utility Room: Similar to the bathroom, these spaces often offer isolation and hard surfaces. Ensure sufficient light.
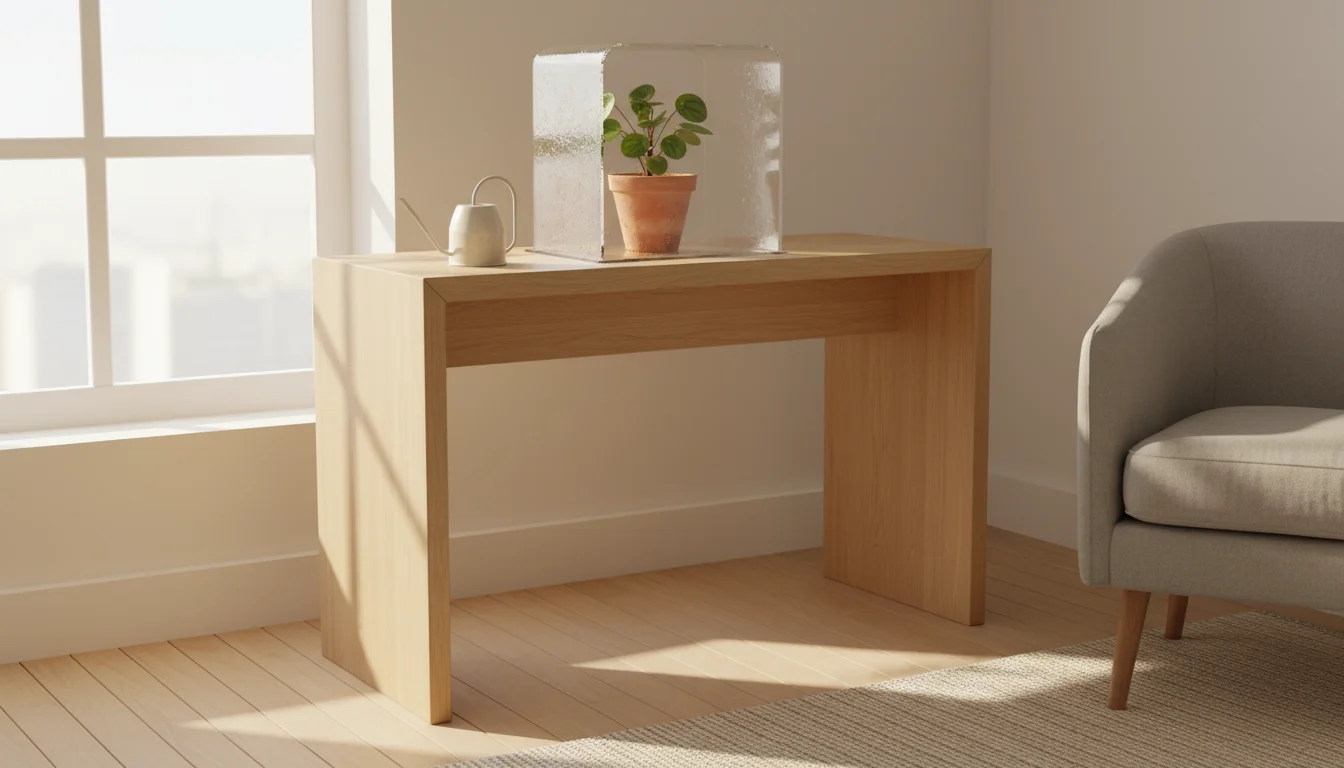
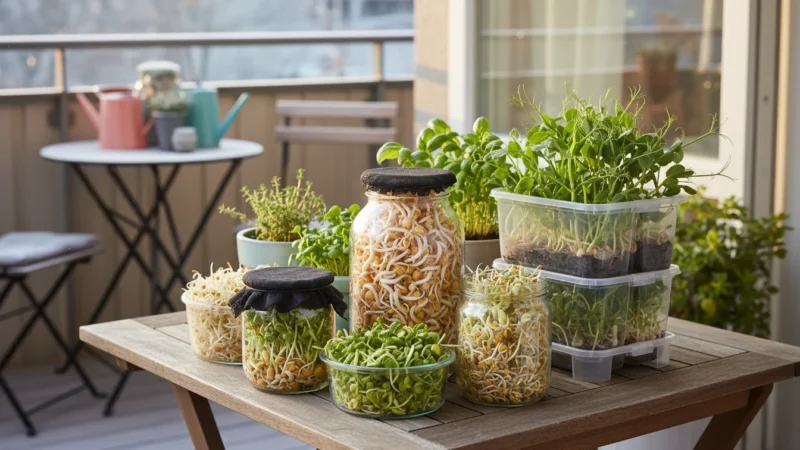
- Clear Plastic Storage Container (with ventilation): For very small plants, you can place them inside a large, clear plastic storage container. Drill a few small holes for ventilation or open the lid daily for airflow. This creates a miniature isolated environment. Just ensure the plant receives enough light and does not overheat.
- Designated Shelf: If strict room-to-room isolation is impossible, designate the top shelf of a tall bookcase or a high plant stand as your quarantine area, ensuring no other plants are directly above or below it. Maintain maximum distance from your main collection.
Remember, the goal is to prevent any contact or pest transfer. Choose the location that offers the best possible separation and allows you to monitor your new plant effectively without compromising the health of your existing collection.
Your Step-by-Step Quarantine Protocol: A Practical Guide
Successfully introducing a new plant to your collection safely requires a systematic approach. Follow these steps meticulously to minimize the risk of a pest outbreak. This entire protocol should last a minimum of two to four weeks, but extend it if you detect any pests.
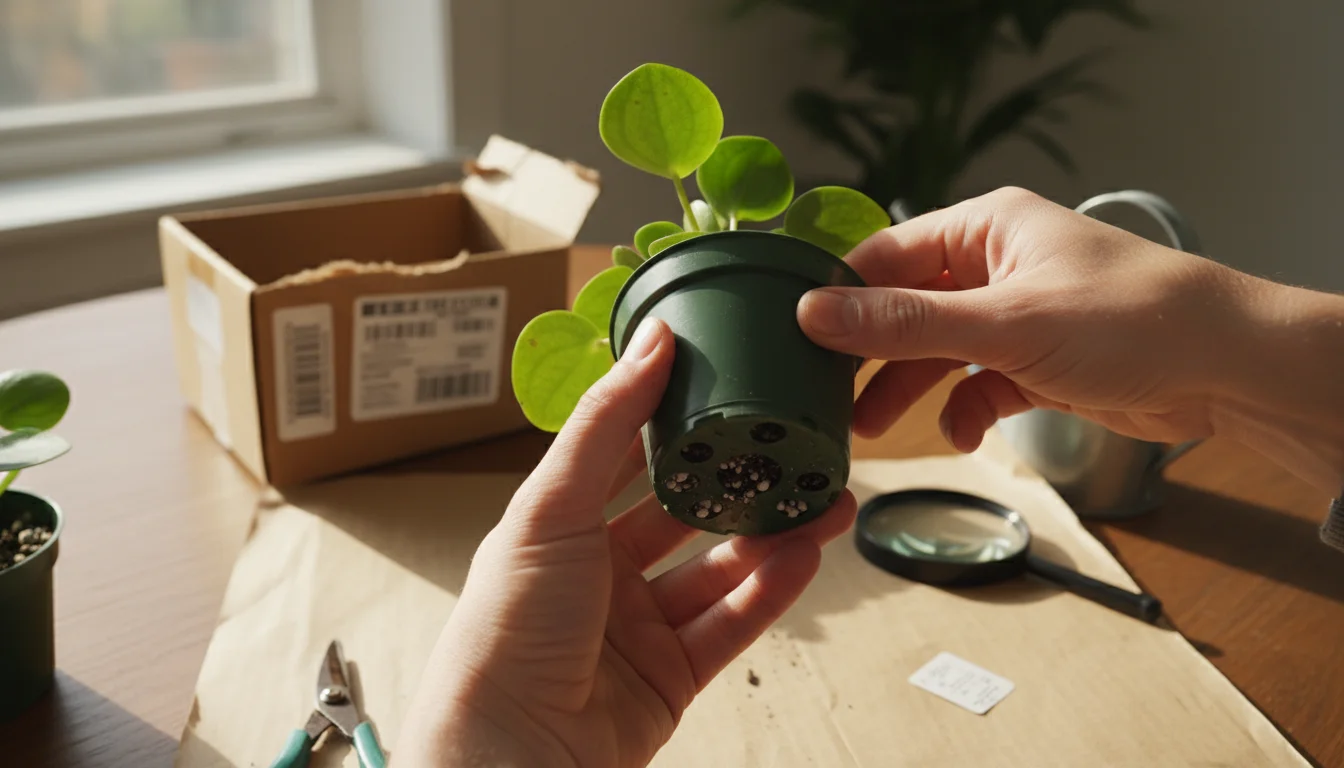
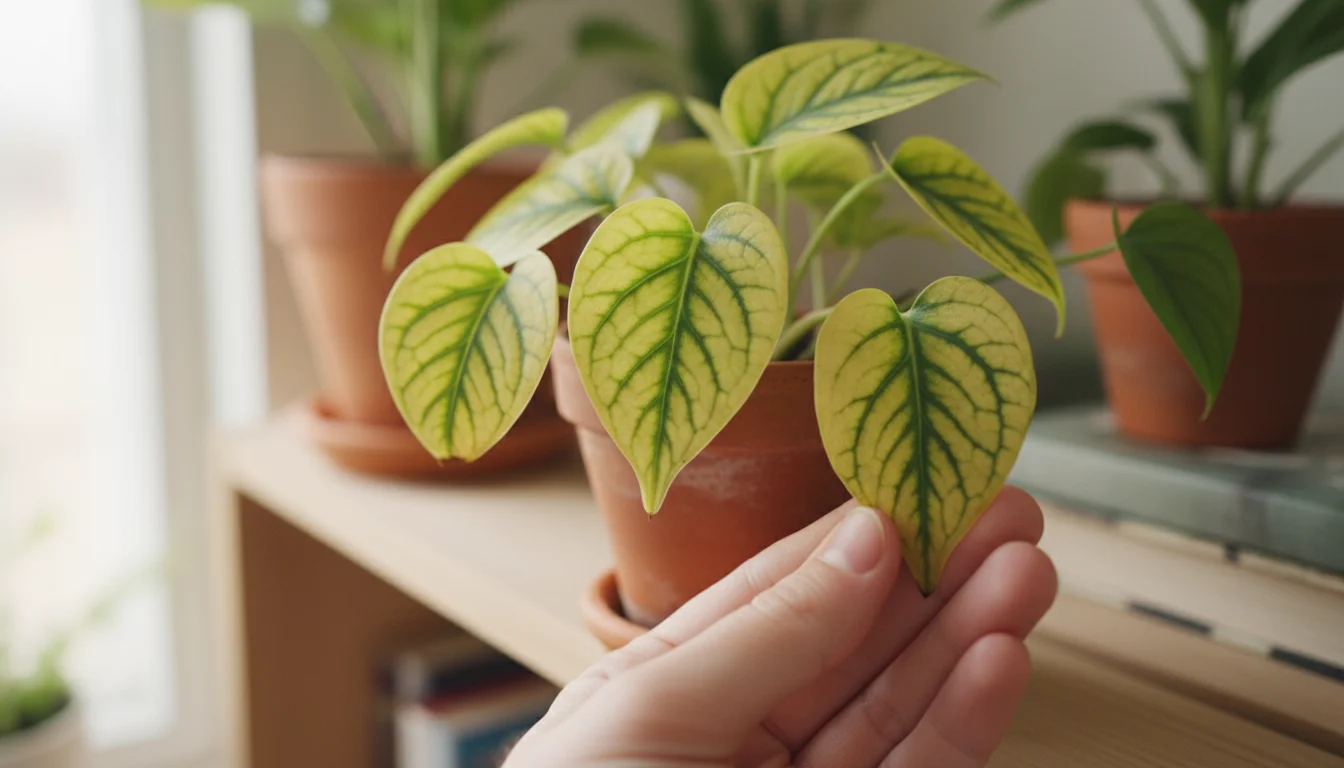
- Immediate Initial Inspection (Upon Arrival):
- Unpack Carefully: Remove the plant from its packaging. Do this away from your main plant collection.
- Visual Scan: Closely examine all parts of the plant. Look at the tops and, crucially, the undersides of leaves, stems, leaf axils (where leaves meet stems), and any flowers or buds. Use a magnifying glass if you have one.
- Check for Damage: Look for chewed leaves, sticky residue (honeydew), tiny white or brown specks, webbing, or any unusual growths.
- Soil Surface Check: Inspect the top layer of soil for small insects (like fungus gnats), eggs, or mold.
- Pot & Drainage Holes: Turn the pot over and check the drainage holes for pests trying to hide or escape.
- Initial Cleaning and Treatment:
- Wipe Leaves: Gently wipe down all leaves (top and bottom) with a soft, damp cloth. You can add a drop of mild dish soap to the water for extra cleaning power, but rinse thoroughly afterwards. This removes dust and dislodges superficial pests.
- Gentle Shower (if appropriate for the plant): For plants that tolerate it, give them a gentle shower in a sink or bathtub (away from other plants). Use lukewarm water. This can wash away many pests. Cover the soil surface with plastic wrap to prevent the soil from getting waterlogged or washing out.
- Repotting (Optional but Recommended): Consider immediately repotting the plant into fresh, sterile potting mix if you suspect soil pests or want to remove nursery soil entirely. Carefully remove as much of the old soil as possible, inspecting roots for pests like root mealybugs. Discard the old soil in a sealed bag, not in your compost bin. Use a new or thoroughly sterilized pot. This is a key step in preventing spider mites and mealybugs from establishing themselves in the soil.
- Pre-emptive Treatment: Even if you see no pests, a preventative treatment is a wise winter gardening tip. Apply an insecticidal soap or a dilute neem oil solution to all plant surfaces, following product instructions precisely. Repeat this application according to the product’s recommended schedule.
- Isolate and Monitor (2-4 Weeks Minimum):
- Place in Quarantine Zone: Move the treated plant to your designated quarantine area. Ensure it has appropriate light and care.
- Daily Visual Checks: Spend a few minutes each day examining the plant. Focus on new growth, leaf undersides, and the soil surface. Consistency here is critical.
- Weekly Deep Dive: Once a week, perform a thorough inspection, similar to your initial check. Use your magnifying glass. Look for any changes, new spots, or active pests.
- Record Observations: Keep a small notebook or a note on your phone to track observations, treatment dates, and any changes in the plant’s health. This helps you notice patterns.
- Address Any Detected Pests Immediately:
- If you discover any houseplant pests during the quarantine period, immediately begin targeted treatment. Refer to the “Eco-Friendly Eradication” section below.
- Continue quarantine and treatments until you have seen no signs of pests for at least two consecutive weeks beyond the initial planned quarantine period. Do not rush this step.
- Reassessing Soil:
- If you did not repot initially, consider checking the soil again at the end of the quarantine period, especially if you saw fungus gnats or suspect root mealybugs.
This diligent approach provides the best defense for your indoor garden, ensuring that when you finally integrate your new plant, it is genuinely pest-free and ready to thrive.
Know Your Enemy: Identifying Common Houseplant Pests
To effectively prevent and treat infestations, you must recognize the most common houseplant pests. Early identification is key to successful management and crucial for preventing spider mites and mealybugs from spreading.
- Spider Mites:
- Appearance: Tiny, pin-prick sized (less than 1mm) eight-legged creatures, often red, brown, or green. They are hard to see without magnification.
- Signs of Infestation: Fine, delicate webbing, usually on the undersides of leaves or where leaves meet stems. Stippling (tiny yellow or white dots) on leaves from where they suck sap. Leaves may look dull, turn yellow, or drop prematurely. They thrive in dry, warm conditions, making them a common winter gardening tip concern.
- Damage: They feed on plant sap, leading to stunted growth, discoloration, and ultimately, plant decline if untreated.
- Mealybugs:
- Appearance: Soft-bodied, oval insects covered in a white, cottony, waxy substance. They look like tiny pieces of cotton.
- Signs of Infestation: White, fuzzy masses in leaf axils, on stems, or along leaf veins. Sticky honeydew on leaves and surfaces below the plant, which can lead to black sooty mold. Yellowing leaves and stunted growth.
- Damage: Mealybugs suck sap, weakening the plant. Their honeydew attracts ants and promotes fungal growth.
- Scale Insects:
- Appearance: Small, oval, immobile bumps (brown, black, or grey) that attach to stems and leaf undersides. They resemble natural nodes or scabs.
- Signs of Infestation: The “bumps” themselves. Sticky honeydew. Yellowing leaves, wilting, and overall decline.
- Damage: Like mealybugs, scale insects feed on sap, debilitating the plant. Their protective shell makes them harder to treat.
- Fungus Gnats:
- Appearance: Tiny, dark, mosquito-like flies (about 1/8 inch long) that fly around the soil and plant. Their larvae are clear or white and live in the soil.
- Signs of Infestation: Adult gnats flying, especially when you disturb the plant or water it. Yellowing leaves or stunted growth in young plants due to larval feeding on roots.
- Damage: While adult gnats are primarily a nuisance, their larvae feed on organic matter in the soil and can damage delicate roots, especially in seedlings and young plants. They indicate overly moist soil conditions.
Regularly inspecting your quarantine plants helps you catch these pests early. Early detection is the most effective form of pest control.
Eco-Friendly Eradication: Gentle Treatments for a Healthy Home
If you find houseplant pests during quarantine, several effective and environmentally conscious treatments can help you eradicate them without resorting to harsh chemicals. These methods are safe for indoor use and protect your plants and your home environment.
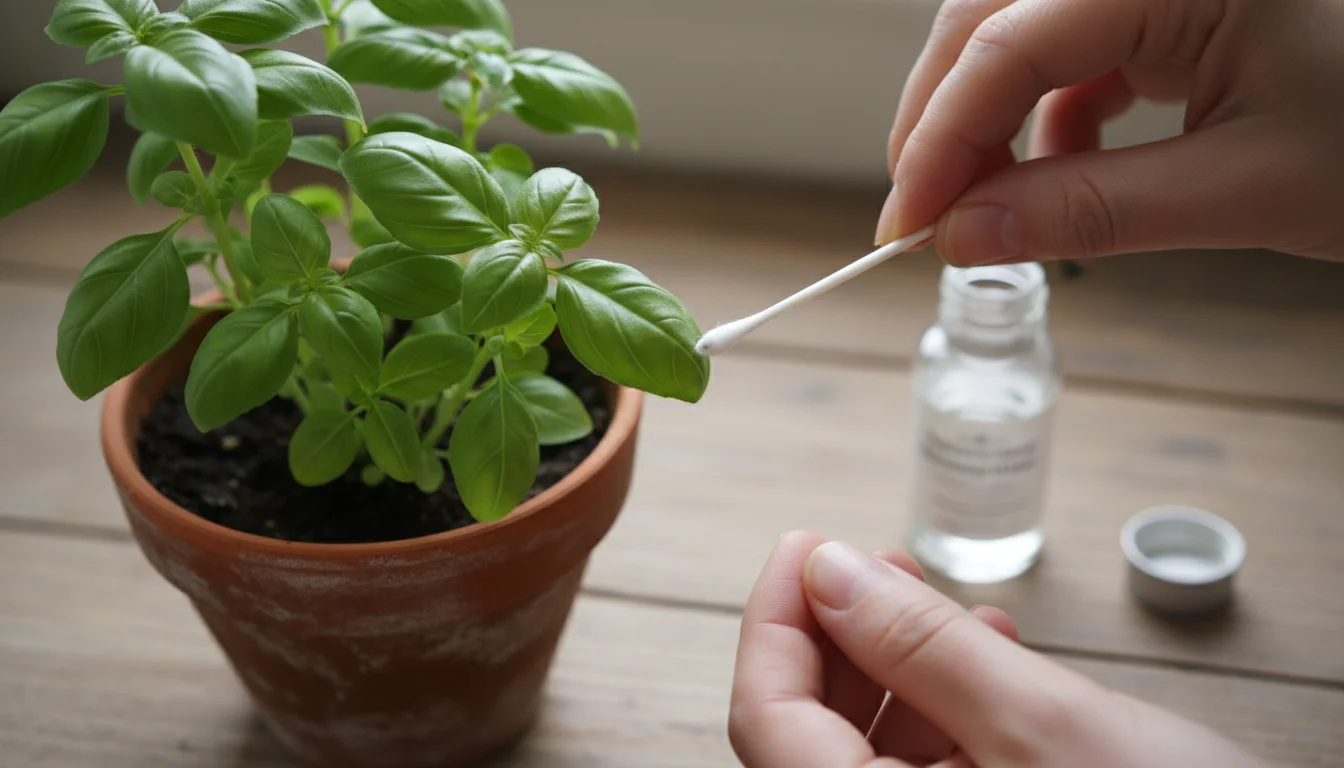
- Manual Removal:
- Technique: For larger, visible pests like mealybugs or scale, manually remove them. Use a cotton swab dipped in rubbing alcohol (70% isopropyl alcohol) to dab directly onto the pests. The alcohol dissolves their waxy coating, killing them. For scale, you might need to gently scrape them off with your fingernail or a soft brush.
- Frequency: Repeat every few days until no pests are visible.
- Best For: Localized infestations of mealybugs and scale.
- Insecticidal Soap:
- Technique: Purchase a ready-to-use insecticidal soap or make your own by mixing 1-2 teaspoons of mild liquid dish soap (avoid strong detergents with degreasers) with 1 liter of water. Spray all affected plant surfaces thoroughly, ensuring coverage on the undersides of leaves. The soap suffocates soft-bodied insects.
- Frequency: Apply every 5-7 days for several weeks, or as directed by the product label. Always do a patch test on a small part of the plant first to ensure no adverse reaction.
- Best For: Spider mites, mealybugs, aphids, and whiteflies.
- Neem Oil:
- Technique: Neem oil is a natural, plant-derived pesticide and fungicide. Mix pure cold-pressed neem oil with water and a small amount of mild soap (as an emulsifier) according to package directions. Spray the entire plant, saturating all leaf surfaces. Neem oil works as an anti-feedant, growth regulator, and suffocant.
- Frequency: Apply every 7-10 days for several weeks. Apply in the evening or early morning to avoid leaf burn, as neem oil can make leaves temporarily more sensitive to light.
- Best For: A wide range of pests, including spider mites, mealybugs, scale, aphids, and whiteflies. It also has some fungicidal properties. Preventing spider mites and mealybugs proactively with neem is very effective.
- Diatomaceous Earth (DE):
- Technique: Food-grade diatomaceous earth is a fine powder made from fossilized diatoms. When insects crawl over it, the microscopic sharp edges cut their exoskeletons, causing dehydration. Lightly dust the topsoil with DE to control fungus gnat larvae. You can also lightly dust leaves for other crawling pests, but be aware it leaves a white residue.
- Frequency: Reapply if it gets wet.
- Best For: Fungus gnats (larvae in soil), crawling insects.
- Sticky Traps:
- Technique: Place yellow sticky traps near the quarantined plant. The bright yellow color attracts flying insects like fungus gnats and whiteflies, which then get stuck to the adhesive surface.
- Frequency: Replace when full.
- Best For: Monitoring and trapping flying pests. Not effective for sedentary pests like scale or mealybugs.
Always read and follow the instructions on any product you use. Consistency is paramount when treating pests. One application rarely suffices to break the pest life cycle. Continue treatments for several weeks, even after you stop seeing pests, to ensure you eradicate eggs and newly hatched larvae.
The All-Clear Signal: When Your New Plant is Ready for the Collection
Knowing when to end the quarantine period and finally introduce your new plant to your collection safely requires careful observation and patience. Rushing this step risks undoing all your hard work and jeopardizing your entire indoor garden.
- Two weeks: Might be sufficient if the plant arrived in pristine condition, you performed a thorough initial inspection, and you applied preventative treatments.
- Four weeks or longer: Always extend the quarantine if you detect any pests, even if you successfully treated them. Pests have varying life cycles (egg, larva, pupa, adult), and you need to ensure all stages are eradicated. For instance, mealybug eggs can hatch weeks after the adults are gone.
Signs Your Plant is Ready:
- Zero Visible Pests for at Least Two Weeks: This is the most important criterion. You must have seen absolutely no signs of spider mites, mealybugs, scale, fungus gnats, or any other pest activity (including honeydew or webbing) for a minimum of two consecutive weeks *after* the initial quarantine period you set for yourself.
- Healthy New Growth: The plant shows signs of healthy new leaves or stems. This indicates the plant is recovering from any stress and is not under attack from unseen invaders.
- No Sticky Residue: The leaves and surrounding surfaces are free from any sticky honeydew. This confirms no sap-sucking pests are present.
- Clean Soil Surface: The soil surface remains free of fungus gnats or any other suspicious activity.
Before Integration:
Even when you believe the plant is clear, perform one final, thorough inspection just before moving it to your main collection. Wipe down all leaves one last time.
- Place the “cleared” plant near, but not directly touching, your main collection for a few days.
- Observe closely.
- Then, move it to its permanent spot.
This process ensures your new plant integrates smoothly into its new home, contributing beauty and vitality to your existing collection without hidden risks.
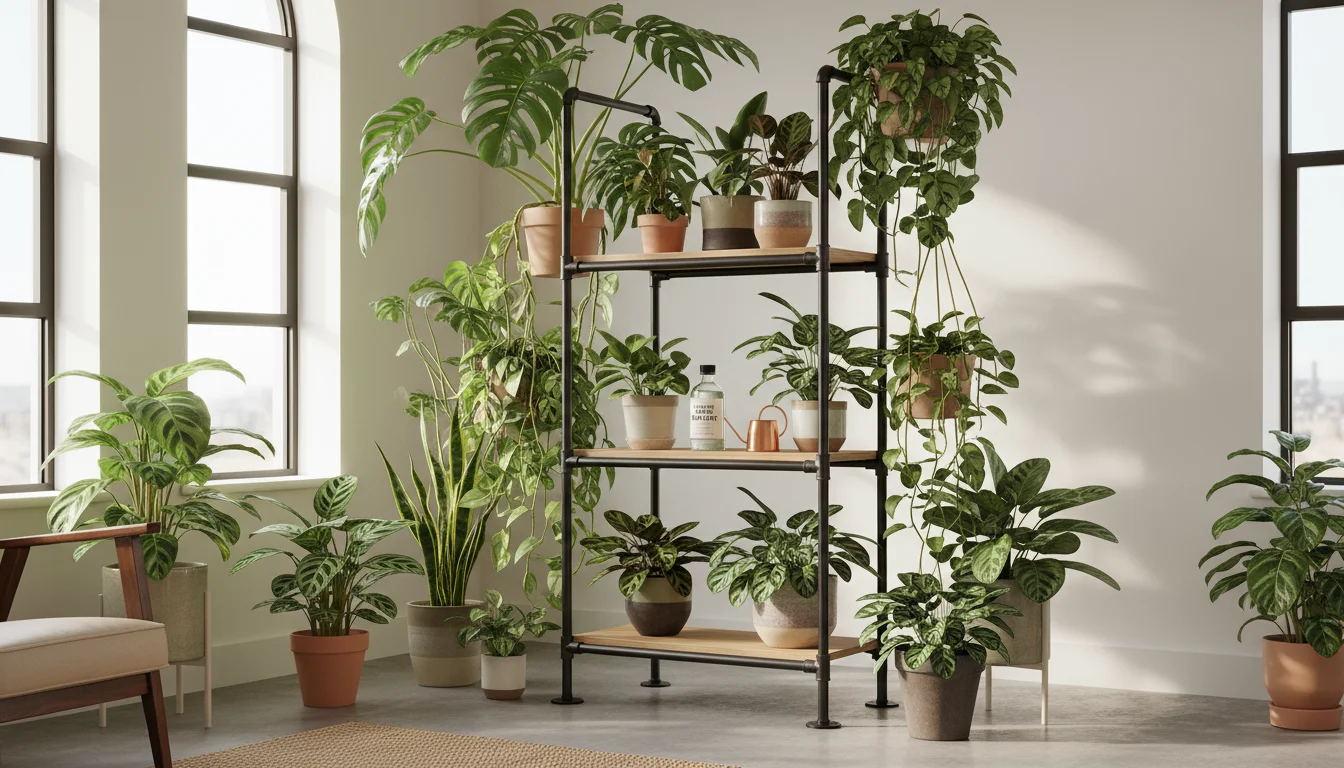
Beyond Quarantine: Sustaining a Pest-Free Indoor Garden
While the quarantine protocol is your strongest defense against introducing new houseplant pests, maintaining a pest-free indoor garden requires ongoing vigilance and good cultural practices. These winter gardening tips support overall plant health, making your plants more resilient to future pest issues.
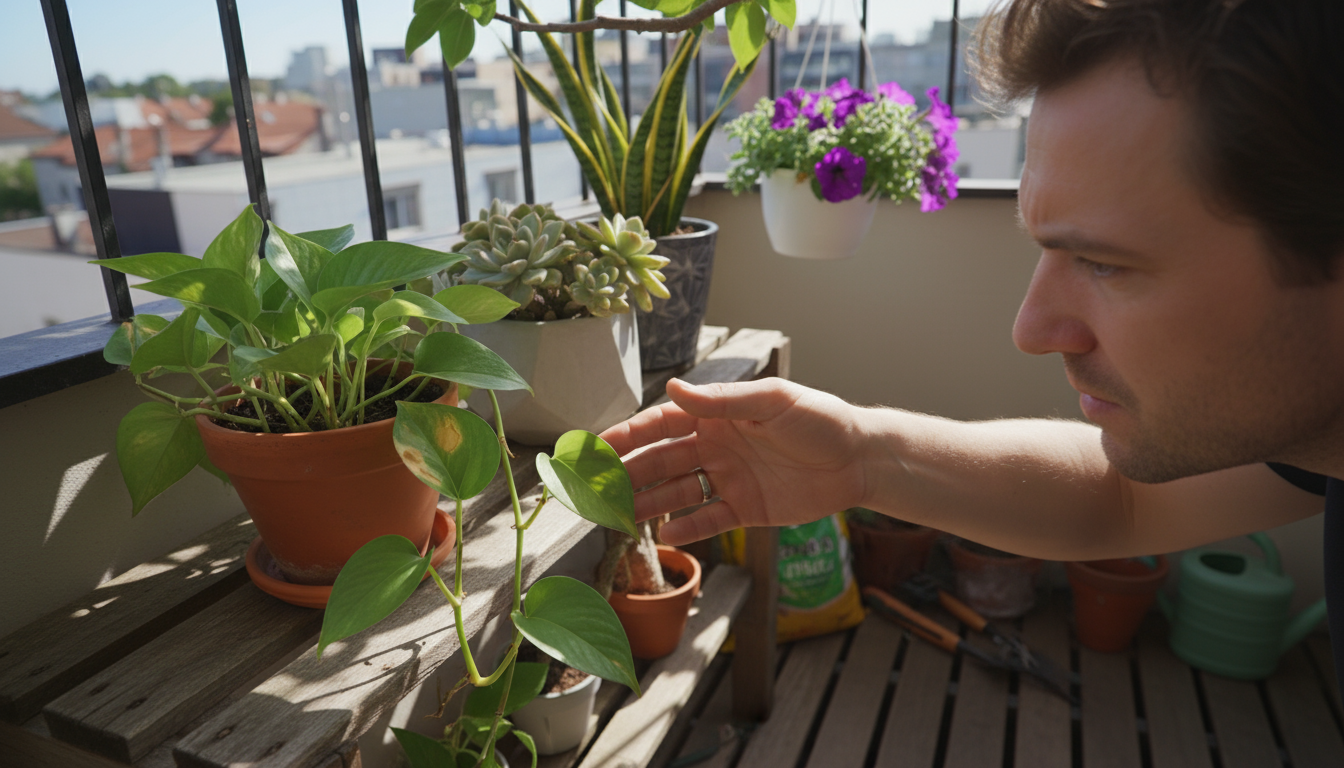
- Weekly Check-ups: Dedicate a few minutes each week to systematically examine all your plants. Look at the tops and bottoms of leaves, stems, and the soil surface.
- Feel the Leaves: Some pests, like spider mites, cause a gritty texture before they become clearly visible.
- Use a Magnifying Glass: Keep a small magnifying glass handy for closer inspection, especially for tiny pests.
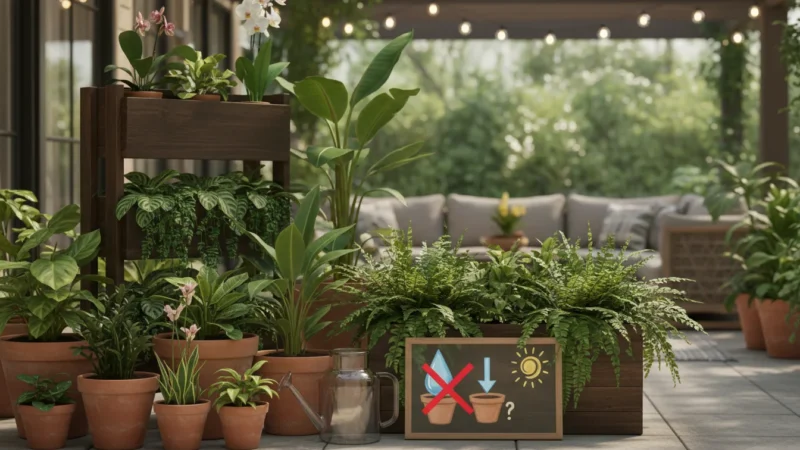
- Appropriate Watering: Overwatering leads to root rot and attracts fungus gnats. Underwatering stresses plants, making them vulnerable. Learn each plant’s specific watering needs. Ensure proper drainage in your pots. Drainage means how effectively water moves through the soil and out of the pot, preventing waterlogged roots.
- Adequate Light: Give your plants the light they require. Stressed plants from too little light are more susceptible to pests.
- Optimal Humidity: Many common houseplant pests, particularly spider mites, thrive in dry air. Increasing humidity (e.g., pebble trays, humidifiers) can deter them.
- Good Air Circulation: Stagnant air encourages fungal issues and provides a calm environment for pests. A gentle fan or opening windows periodically improves airflow.
- Dust Leaves Regularly: Dust buildup hinders photosynthesis and provides hiding spots for pests. Wipe leaves with a damp cloth.
- Clean Up Debris: Remove fallen leaves, dead flowers, and other plant debris from pots and surrounding areas. This eliminates hiding places and potential breeding grounds.
- Sterilize Tools: Always clean and sterilize your pruning shears, trowels, and other gardening tools after use, especially when moving between different plants. Rubbing alcohol works well for this.
4. Isolate Sick Plants Immediately:
If an existing plant shows signs of infestation, isolate it immediately, just as you would a new plant. Treat it aggressively to prevent the spread to its neighbors.
5. Consider Beneficial Insects (for severe, ongoing issues):
For persistent or recurring issues, particularly in larger collections, you might explore introducing beneficial insects like ladybugs or predatory mites. This is a more advanced strategy and requires careful research to ensure you select the right beneficial insect for your specific pest problem and environment.
By adopting these practices, you create an environment that encourages robust plant growth and actively discourages houseplant pests, ensuring your indoor garden remains a source of joy and beauty throughout the year, especially through the winter.
Frequently Asked Questions
How long should I quarantine a new plant?
You should quarantine a new plant for a minimum of two to four weeks. If you detect any houseplant pests during this period, extend the quarantine and continue treatments until you observe no pest activity for at least two consecutive weeks after initial treatments conclude.
Do I need to quarantine plants from reputable nurseries or friends?
Yes, absolutely. Even plants from the most reputable nurseries can harbor hidden pests. Friends might unknowingly pass on pests from their own collections. Always assume a new plant carries a risk, regardless of its origin, to prevent spider mites and mealybugs from entering your home.
What if I only have one plant? Do I still need to quarantine?
While you do not have other plants to infect, quarantining still offers benefits. It allows you to closely monitor and treat any pests on the new plant without the added stress of an active infestation in your main living space. It also ensures your single plant starts its life with you in the healthiest possible condition.
Can I use pesticides during quarantine?
For an eco-friendly approach, start with natural options like insecticidal soap, neem oil, or manual removal with rubbing alcohol. If an infestation is severe and natural methods prove insufficient, you might consider a targeted, low-toxicity chemical pesticide as a last resort, always following label instructions meticulously and ensuring good ventilation.
My plant looks healthy. Can I skip the initial treatment?
While tempting, skipping preventative treatment is risky. Many pests, like spider mite eggs or very young mealybugs, are nearly invisible. A proactive treatment, such as a neem oil spray, acts as an excellent preventative measure, catching any unseen invaders before they establish themselves. This is a smart winter gardening tip to implement for all new arrivals.
For trustworthy gardening information, visit: Wild Ones — Native Plants, Natural Landscapes, Pollinator Partnership, International Society for Horticultural Science (ISHS) and Plantlife (UK). These organizations provide expert, research-based advice for gardeners at all levels.
Disclaimer: This article is for informational purposes only and is not a substitute for professional gardening advice. Always consult local extension services or horticulture experts for region-specific guidance.


Leave a Reply