The ‘One Bulb’ Challenge: Keeping a Single Potted Herb Thriving All Winter with a Minimalist Grow Light
Winter often brings a stark reality for gardeners: the lush outdoor growth disappears, replaced by dormant landscapes. For those with limited space, this transition can feel particularly restrictive. You might believe keeping fresh herbs indoors during the colder months requires elaborate setups, significant investment, or a green thumb reserved for horticultural wizards. We are here to tell you that is simply not true.
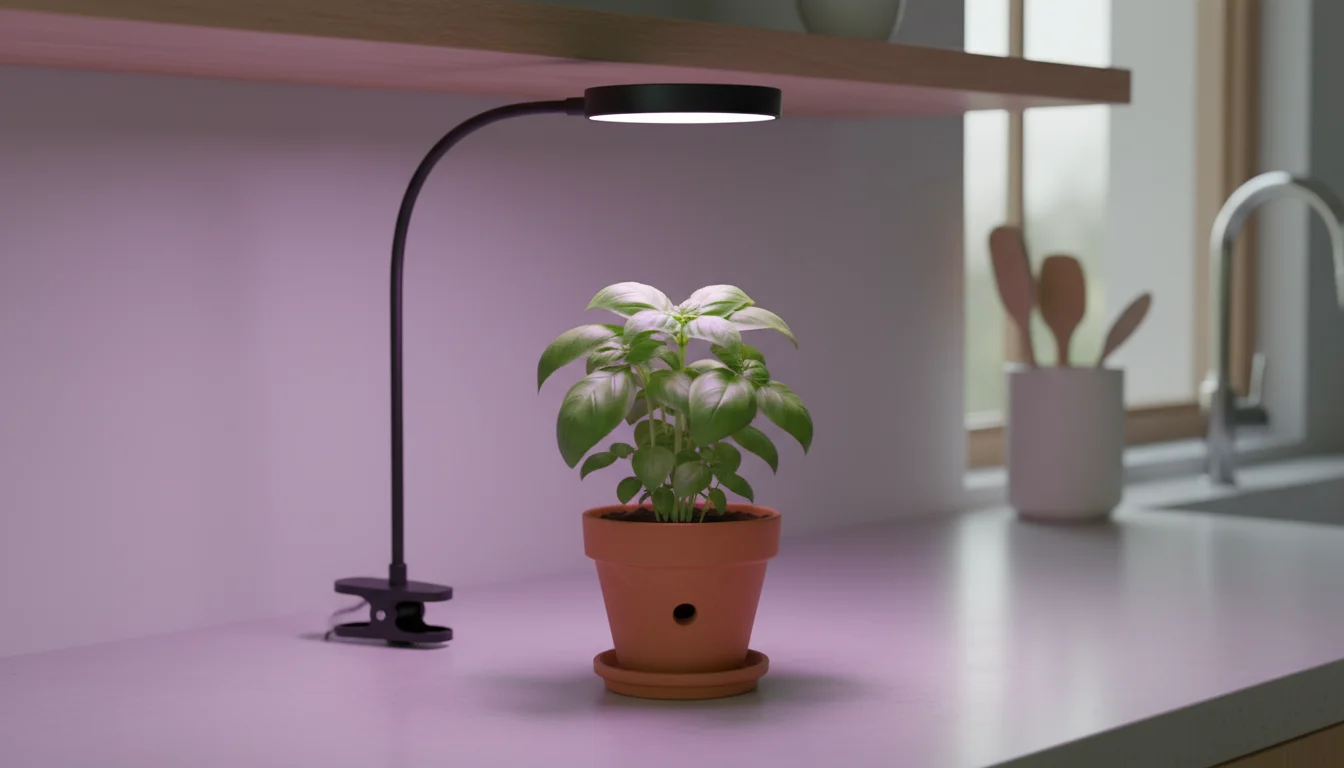
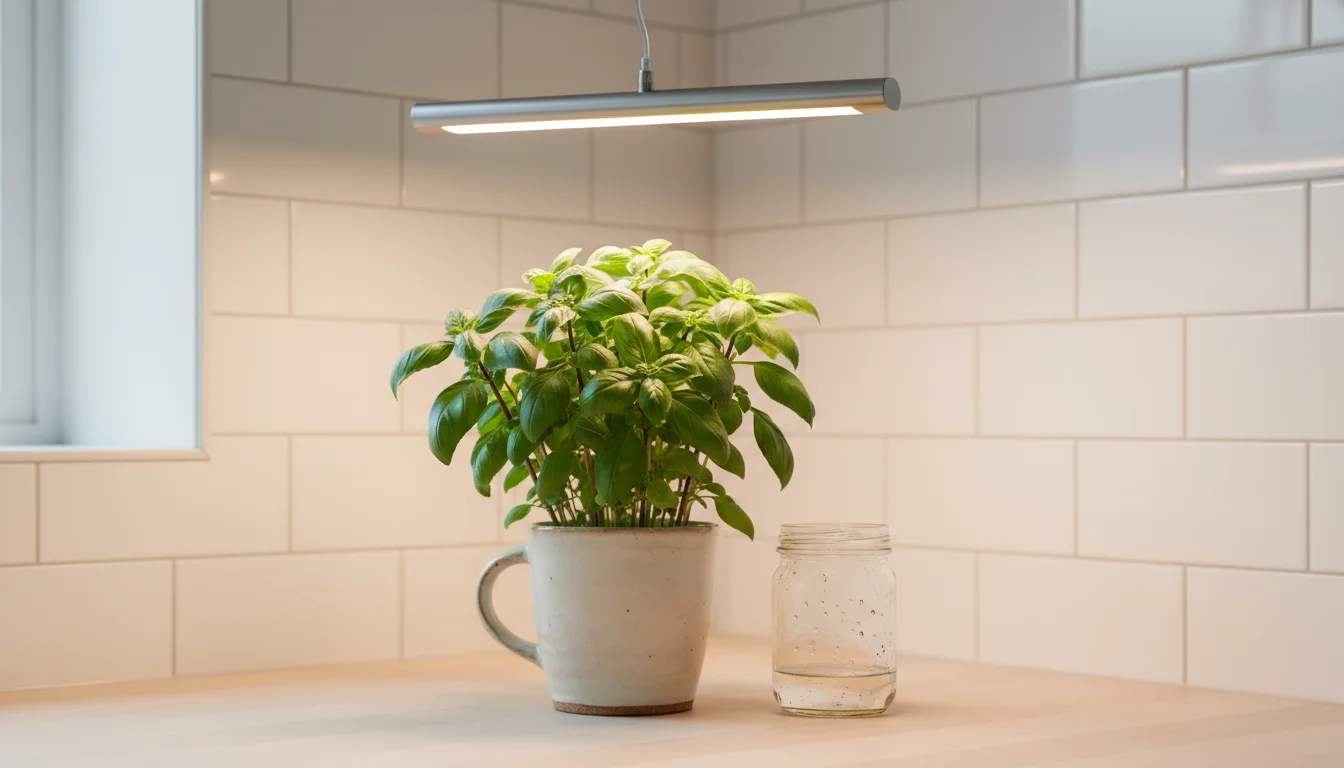
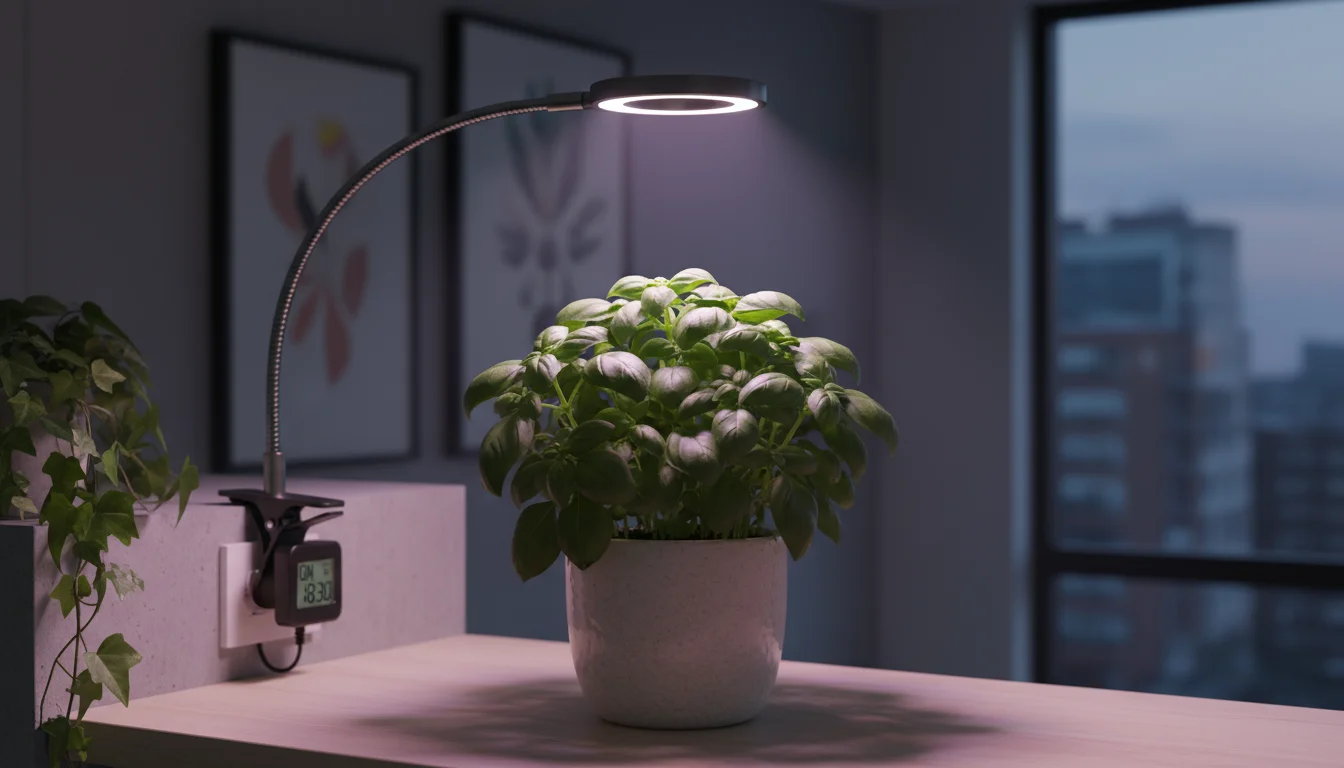
Embrace the ‘One Bulb’ Challenge: a focused, achievable approach to extending your gardening joy and culinary adventures right through winter. This guide empowers you to cultivate a single, vibrant herb plant indoors using just one minimalist grow light. Imagine snipping fresh basil for your pasta, bright mint for your tea, or fragrant oregano for your sauces, even as snow falls outside. This isn’t just about survival, it’s about helping your chosen herb truly thrive, providing fresh flavor and a touch of green life to your home. We break down the process into simple, actionable steps, making winter indoor herbs accessible to everyone, regardless of experience or living space.
Why Embrace the ‘One Bulb’ Challenge?
The ‘One Bulb’ Challenge simplifies indoor gardening, making it approachable for anyone, especially those in apartments, small homes, or with busy schedules. It offers a practical solution to maintain fresh culinary herbs year-round, regardless of your climate or available outdoor space. This approach centers on minimalism, focusing your resources and attention on a single plant to ensure its success.
Cost-Effective: You avoid the expense of large, multi-plant grow light systems. A single grow light is significantly more affordable, making this an accessible entry point into indoor gardening. Think of the money you save on specialty produce at the grocery store. For example, a single pot of store-bought basil can cost upwards of $3-$5. By growing your own, you recoup the initial investment in a few weeks of fresh harvests.
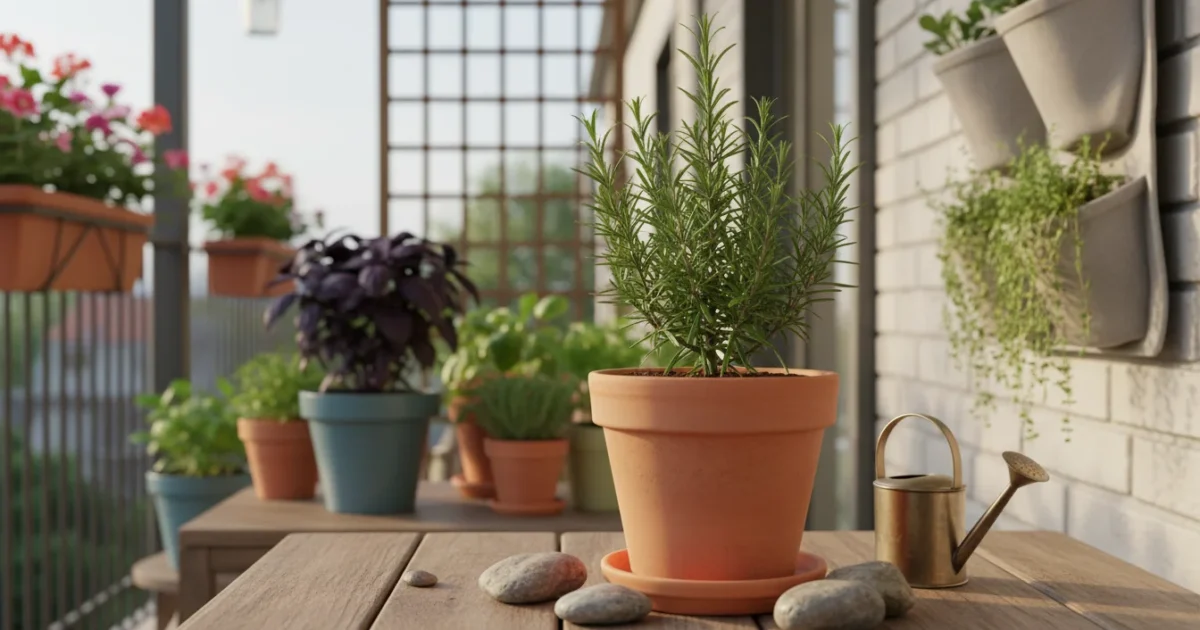
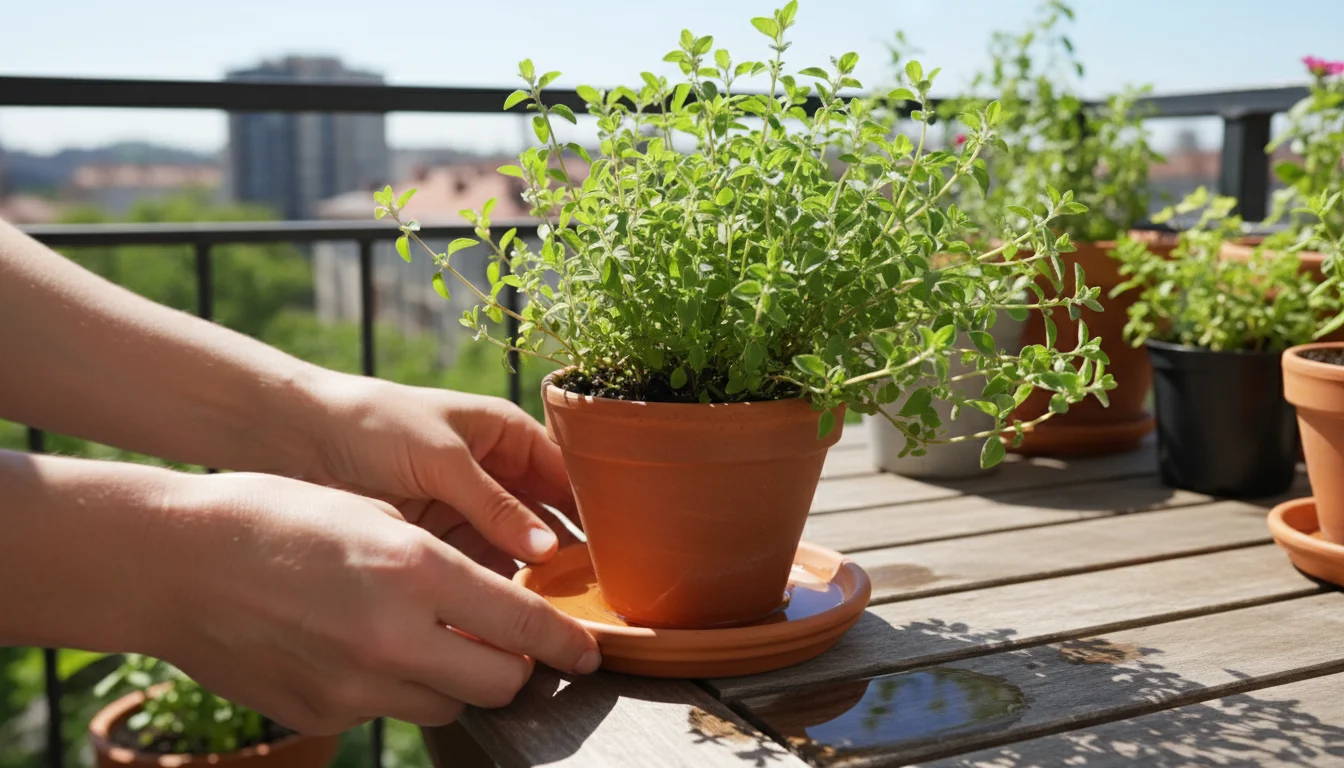
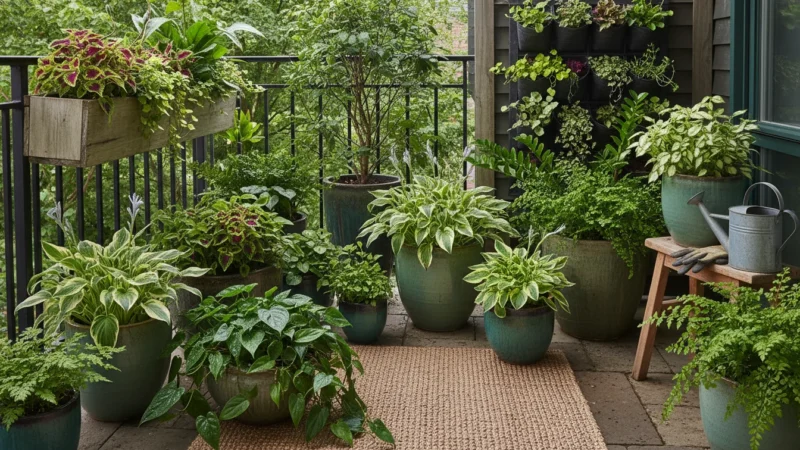
Space-Saving: This method requires minimal footprint. A single potted herb with its grow light easily fits on a windowsill, a small corner shelf, or even a desk. You transform previously unused small areas into productive green spaces. This is ideal for balconies, patios, or any small yard where outdoor space is limited.
Energy Efficient: Using only one grow light bulb consumes far less electricity than an extensive indoor garden setup. Many modern LED grow lights designed for single plants draw very little power, often between 10-20 watts, which barely impacts your energy bill. A typical 60-watt incandescent bulb uses three to six times more energy than a single specialized LED grow light, highlighting the efficiency benefits.
Beginner-Friendly: Focusing on one plant reduces complexity. You learn to observe its specific needs for light, water, and nutrients without being overwhelmed by multiple plant types with varying requirements. This hands-on experience builds confidence and horticultural skills. It is a fantastic way to grasp the fundamentals of plant care. You learn about plant language, understanding what different leaf colors or growth patterns indicate.
Year-Round Freshness: The primary benefit remains access to fresh, homegrown herbs even when outdoor conditions are prohibitive. Elevate your winter cooking with vibrant flavors, knowing you cultivated them yourself. This challenge helps you extend the growing season indefinitely for your favorite culinary herb.
By taking on the ‘One Bulb’ Challenge, you are not just growing an herb. You are cultivating a sustainable, enjoyable, and rewarding new habit that brings fresh life and flavor into your home, even in the depths of winter. It simplifies the process of keeping winter indoor herbs thriving, demonstrating that a low light herb garden does not need to be complicated.
Choosing Your Winter Indoor Herb Champion
Selecting the right herb is crucial for success in your low light herb garden. Not all herbs tolerate indoor conditions equally well, and some respond better to the focused light of a single grow light. We are looking for an herb that enjoys consistent moisture, moderate temperatures, and responds well to pruning, which encourages bushy growth rather than leggy stretching. Consider your culinary preferences and the plant’s natural growth habits.
You might even consider creating a dedicated windowsill apothecary by choosing herbs specifically for their wellness benefits.
Top Picks for Your Single Grow Light Setup:
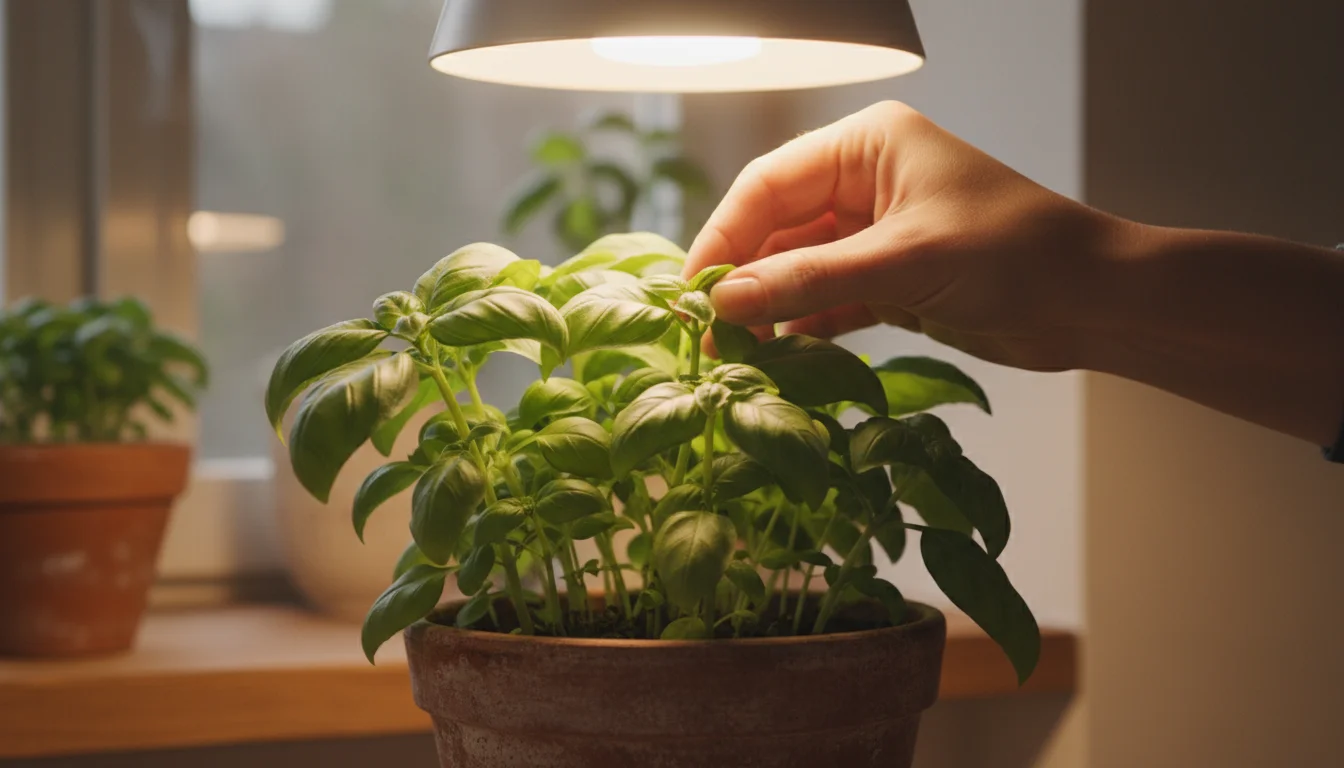
- Basil (Ocimum basilicum): Often considered the poster child for indoor herb gardening, basil is an excellent choice. It loves warmth, consistent moisture, and bright light, making it a perfect candidate for a single grow light. Basil grows quickly, providing continuous harvests throughout the winter. Its vibrant green leaves and distinct aroma elevate many dishes. You will find that keeping basil happy indoors with one light is a rewarding experience.
- Mint (Mentha spp.): Many mint varieties adapt well to indoor conditions. Mint is robust and forgiving, often thriving even if conditions are not absolutely perfect. It appreciates consistent moisture and responds enthusiastically to regular pruning. Choose a culinary favorite like spearmint or peppermint. Mint can be quite vigorous, so ensure its pot has good drainage to prevent waterlogging.
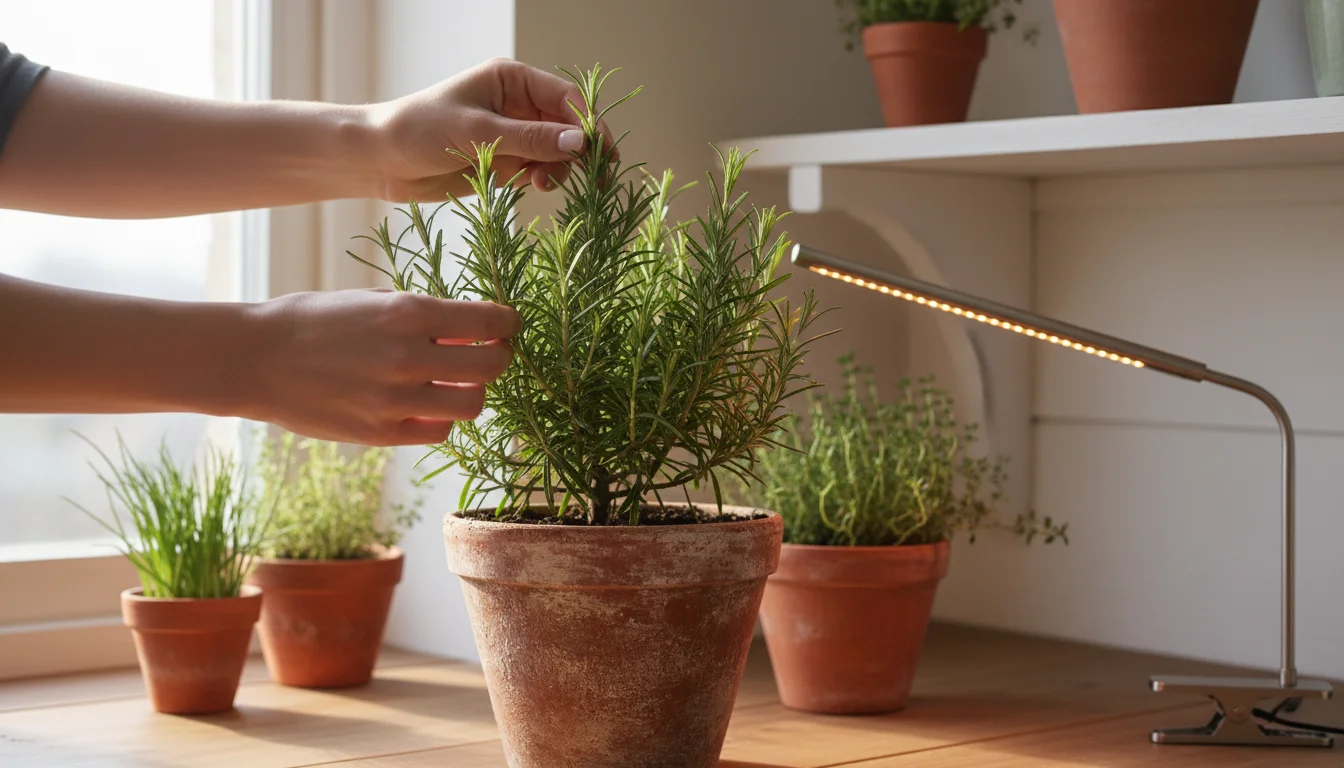
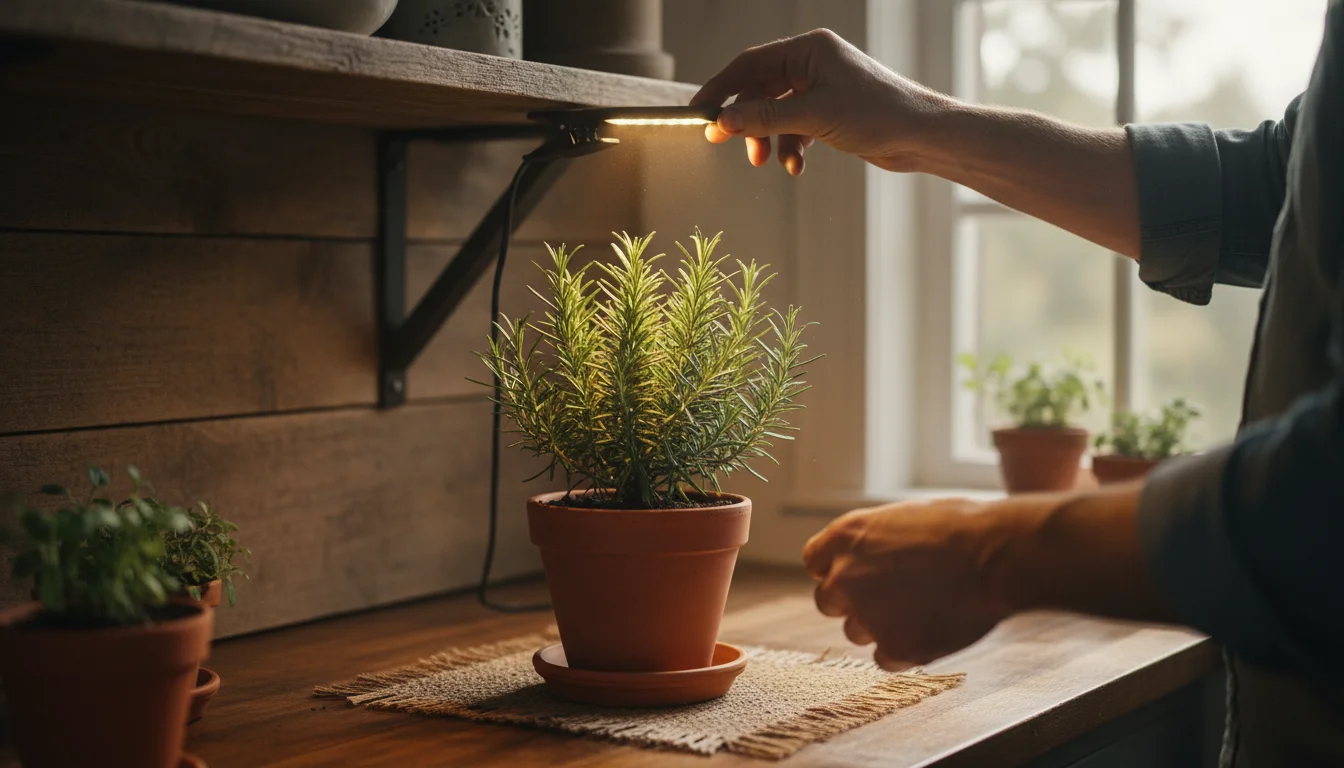
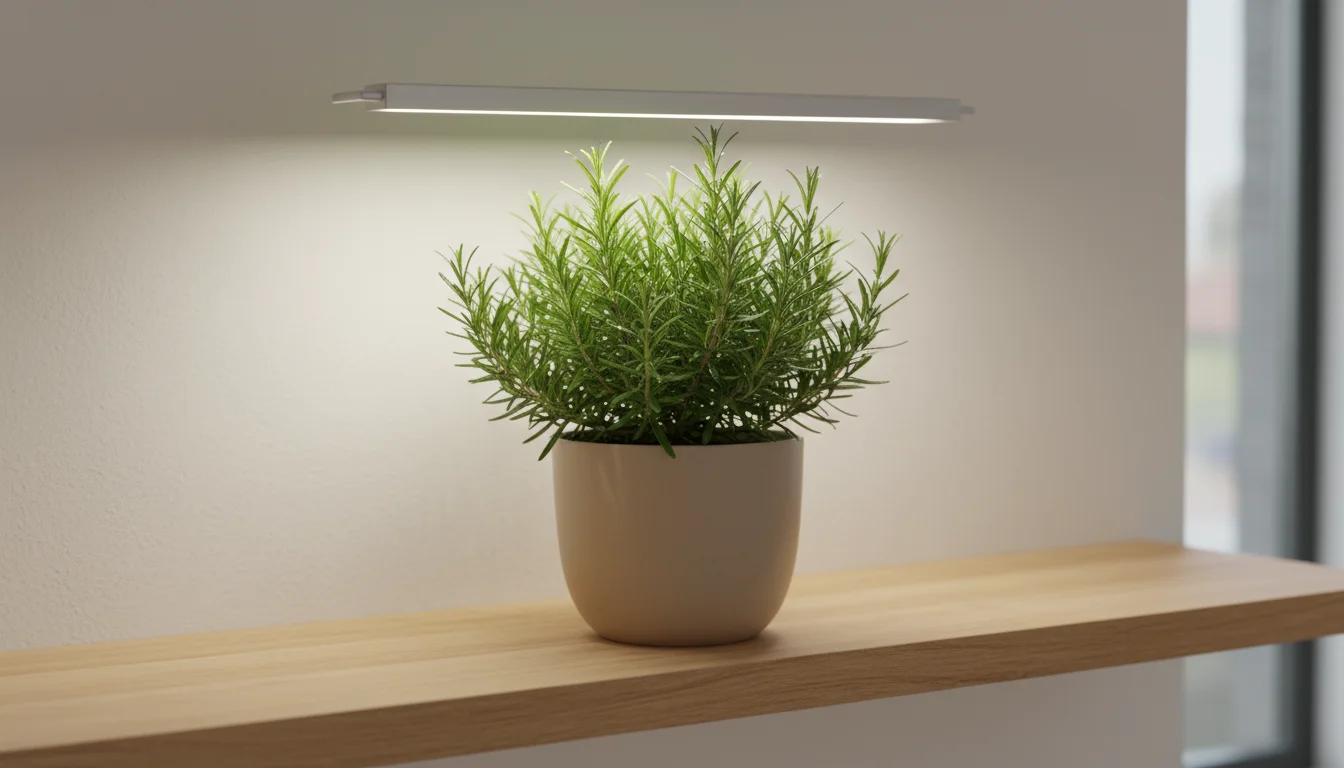
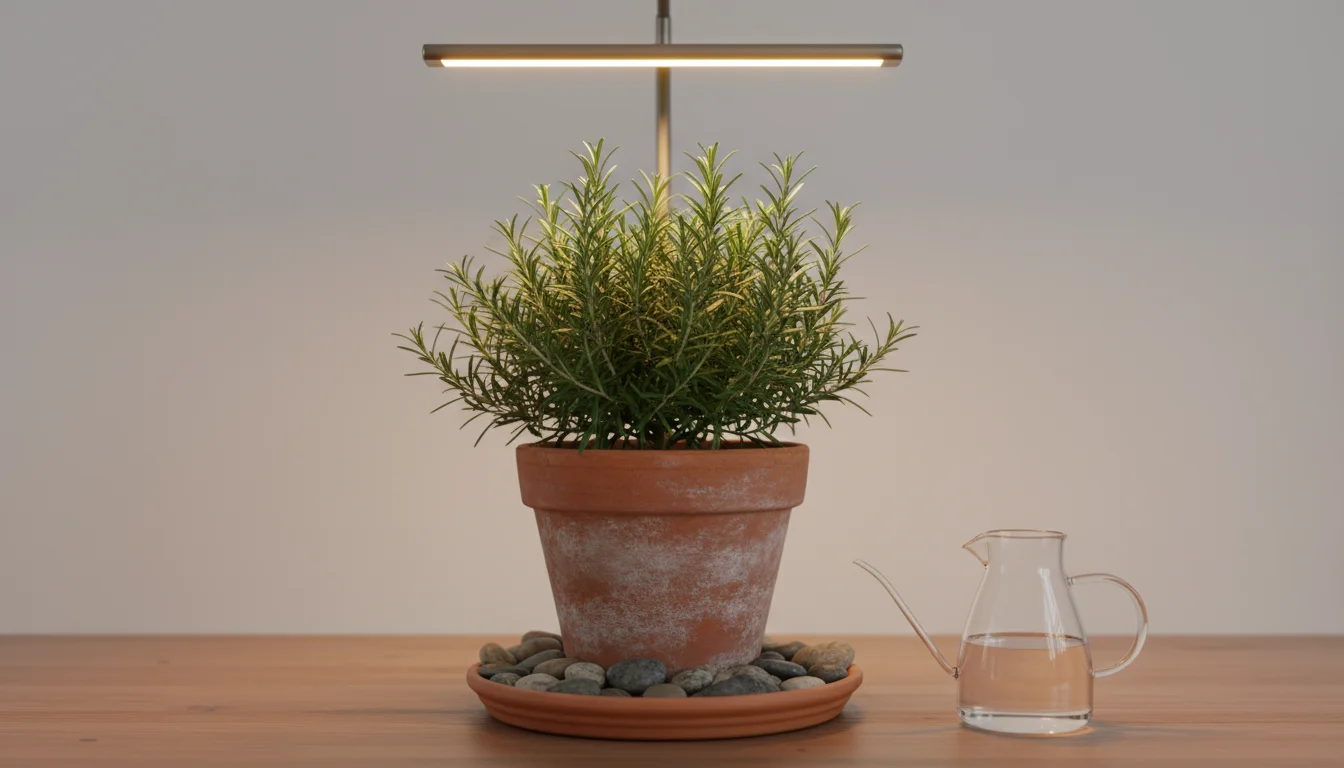
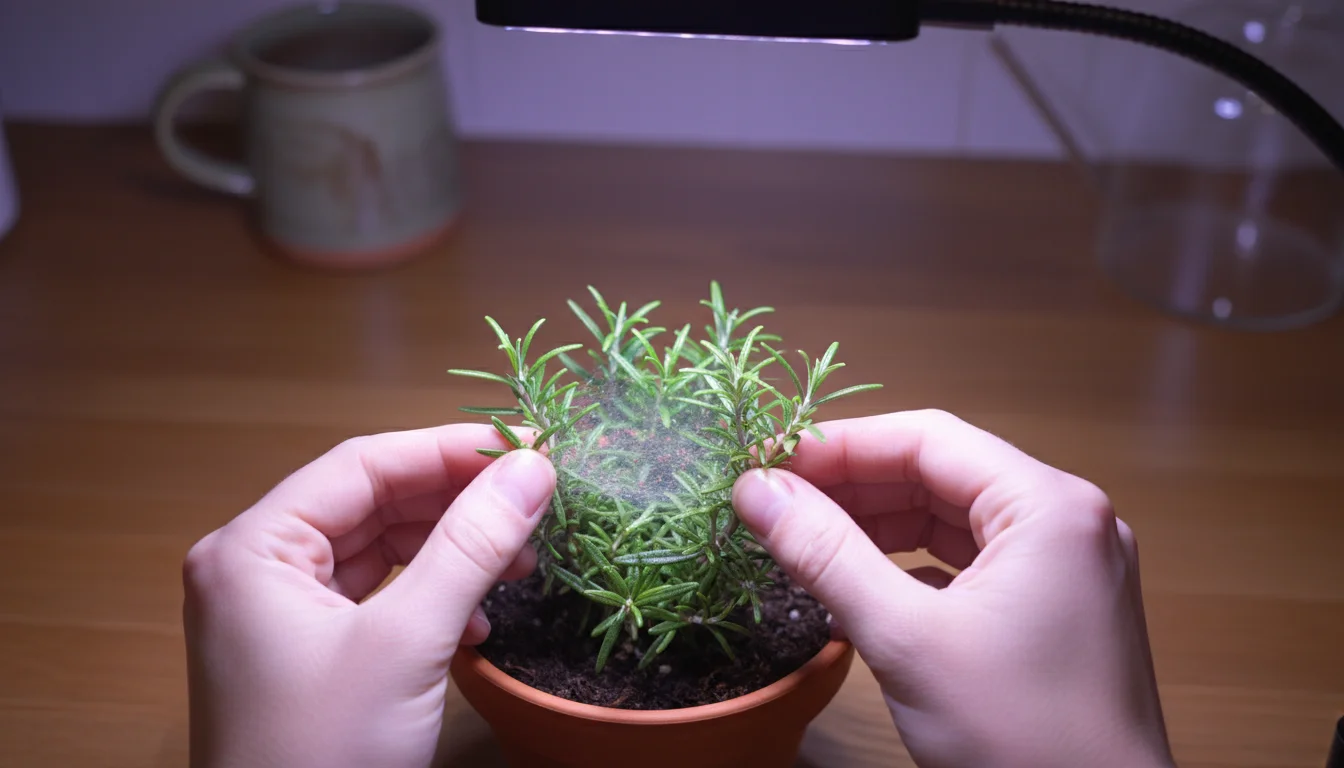
- Oregano (Origanum vulgare): This Mediterranean herb prefers slightly drier conditions than basil or mint, but still benefits greatly from supplemental light indoors. Oregano is relatively low-maintenance and will provide you with aromatic leaves for your winter cooking. It tends to grow bushy, making it a good fit for a single pot.
- Chives (Allium schoenoprasum): A member of the onion family, chives are surprisingly easy to grow indoors. They prefer bright light and consistent moisture. You can even dig up a clump from your outdoor garden before the first frost, pot it, and bring it indoors. Chives offer a mild onion flavor that is wonderful in salads, eggs, and as a garnish.
- Parsley (Petroselinum crispum): Both curly and flat-leaf parsley can do well indoors with a grow light. Parsley needs consistent moisture and bright light to prevent it from becoming leggy. Regular harvesting encourages new growth. It offers a fresh, clean flavor that complements almost any savory dish.
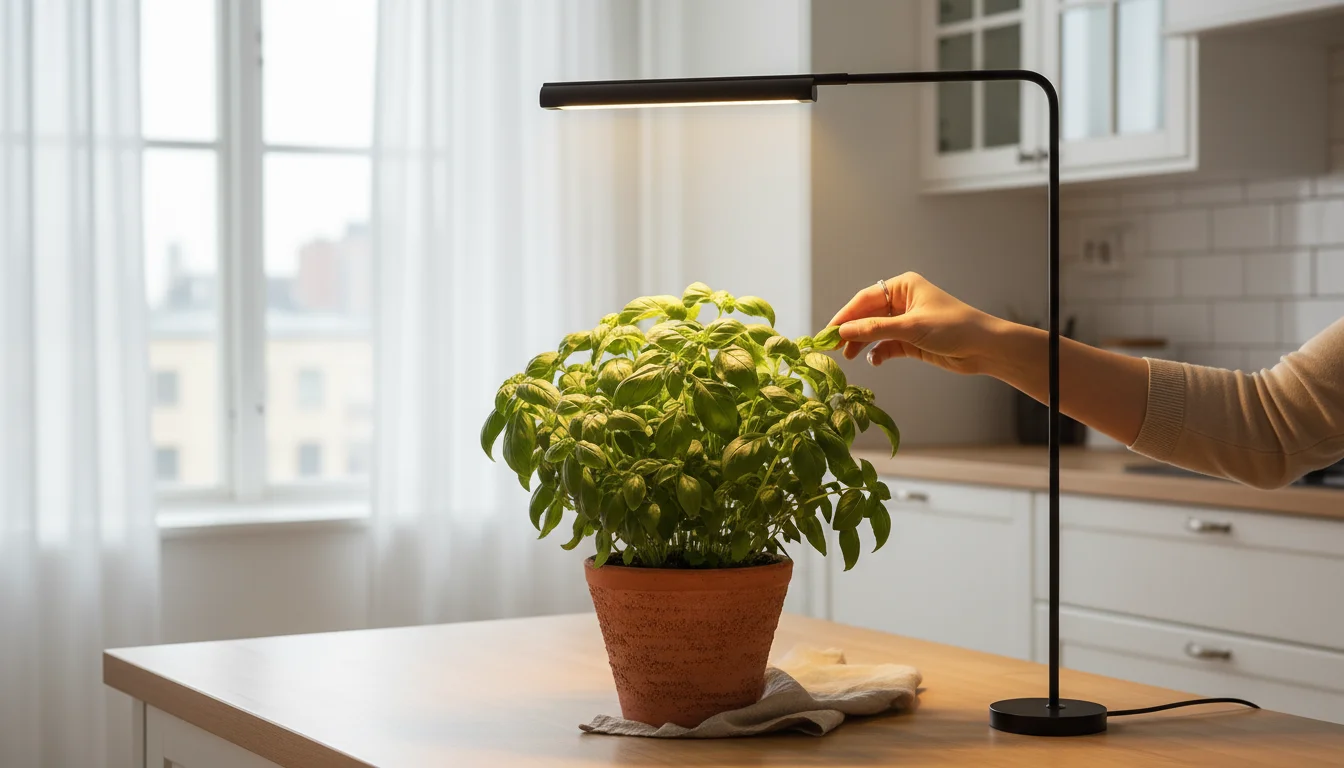
How to Grow Basil Indoors with One Light: A Case Study
Let’s focus on basil as a prime example because of its popularity and responsiveness to this setup. To successfully grow basil indoors with one light, start with a healthy young plant or seeds. Basil requires at least 6-8 hours of direct, intense light daily to prevent it from stretching. Your single grow light will provide this essential light spectrum.
- Start with Quality: Purchase a small, healthy basil plant from a reputable nursery or start from fresh seeds. Seedlings give you more control from the beginning.
- Potting Up: Choose a pot with excellent drainage. A 6-8 inch diameter pot works well for a single plant.
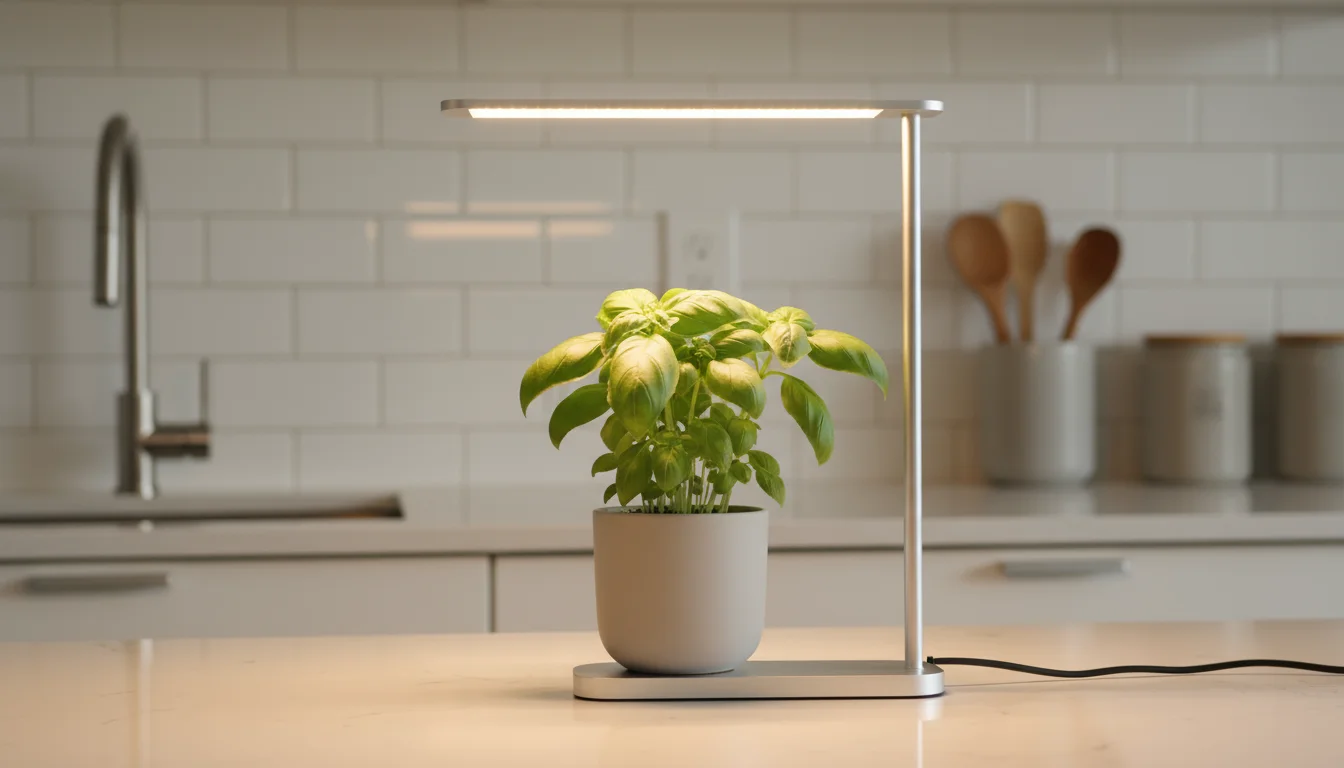
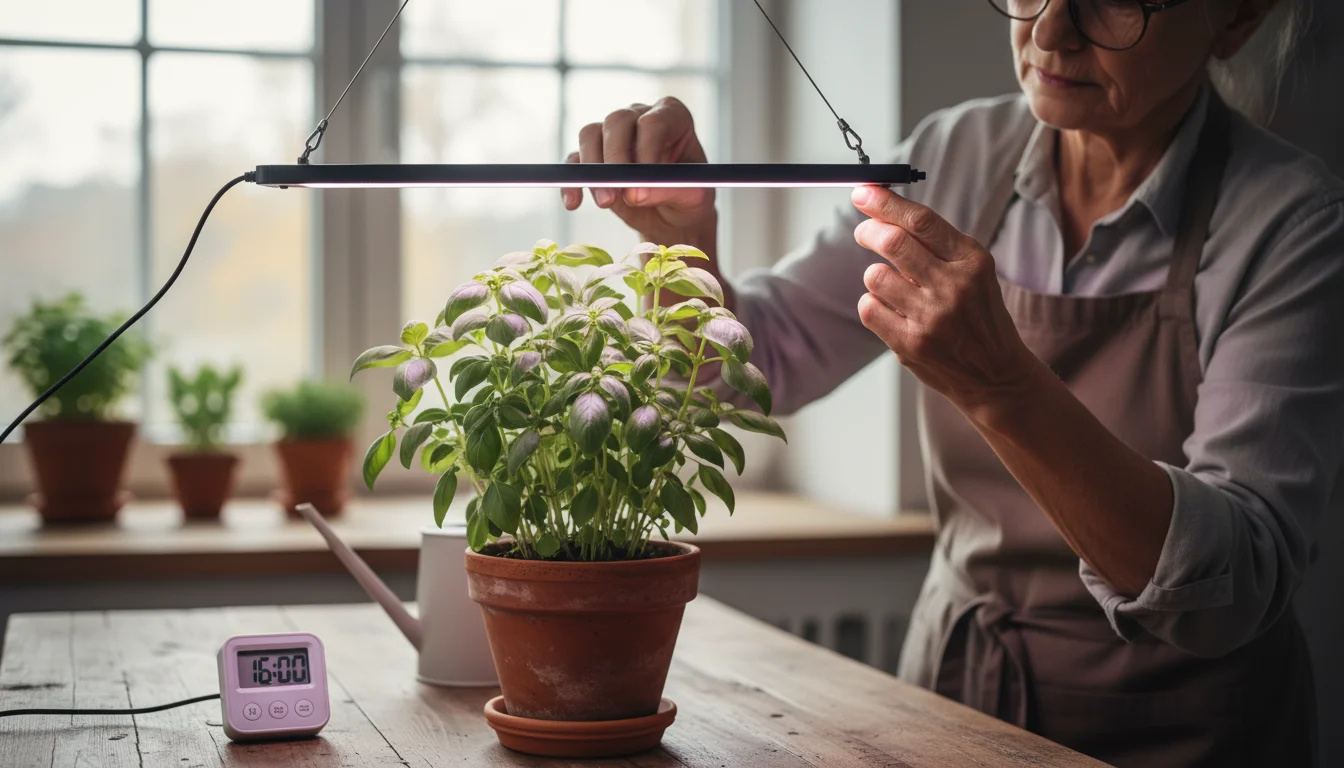
- Light Placement: Position your single grow light directly above the basil, about 6-12 inches from the top leaves. Adjust this distance as the plant grows, always maintaining optimal proximity. Basil shows quickly if it is not getting enough light, becoming pale and leggy.
- Watering: Basil prefers consistently moist, but not soggy, soil. Water thoroughly when the top inch of soil feels dry. Never let it sit in standing water.
- Pruning: Regular pinching is key to bushy basil. Once the plant has two sets of true leaves, pinch off the top growth just above a leaf node. Continue this practice every week or two to encourage branching. This is vital for a strong, productive plant.
- Temperature: Basil loves warmth, ideally between 65-75°F (18-24°C). Avoid cold drafts from windows.
By following these steps, your basil will thrive under a single grow light, providing you with fresh leaves all winter long. This dedicated approach ensures your winter indoor herbs are not just surviving, but flourishing.
Demystifying the Minimalist Grow Light
The success of your ‘One Bulb’ Challenge hinges on choosing and correctly utilizing the best small grow light for one plant. You do not need a complex system. Modern LED technology provides efficient and effective options perfect for a small-scale indoor herb garden. Understanding the basics helps you make an informed choice.
For more specialized tools to help your plants cope with dark months, check out our low-light winter survival kit guide.
Types of Single Grow Lights:
- LED Grow Lights: These are hands down the best choice for a minimalist setup. LEDs are energy-efficient, produce very little heat, and offer specific light spectrums optimized for plant growth. Many come as small, clip-on fixtures or compact panels, making them ideal for a single plant. They last a very long time, often tens of thousands of hours, making them a sustainable choice.
- Fluorescent Lights (Compact Fluorescent Lamps or T5s): While less efficient than LEDs, small CFLs or T5 tubes can work. They are often less expensive initially. However, they generate more heat and consume more electricity for the same light output compared to LEDs. For a true “one bulb” challenge, a small LED is generally superior.
Key Considerations for a Single Grow Light:
- Spectrum: Plants primarily use red and blue light for photosynthesis. “Full spectrum” grow lights provide a balanced mix, often appearing white to the human eye, mimicking natural sunlight. This is ideal for overall plant health and growth. Avoid lights that are overwhelmingly purple, as these often lack green light beneficial for human eyes and may not be necessary for simple herb growth.
- Wattage: For a single herb plant, you do not need high wattage. A 10-20 watt LED grow light is usually sufficient. Focus more on the light’s intensity and appropriate spectrum rather than just raw wattage, especially with efficient LEDs. Look for PAR (Photosynthetically Active Radiation) ratings if available, which measure light intensity useful to plants.
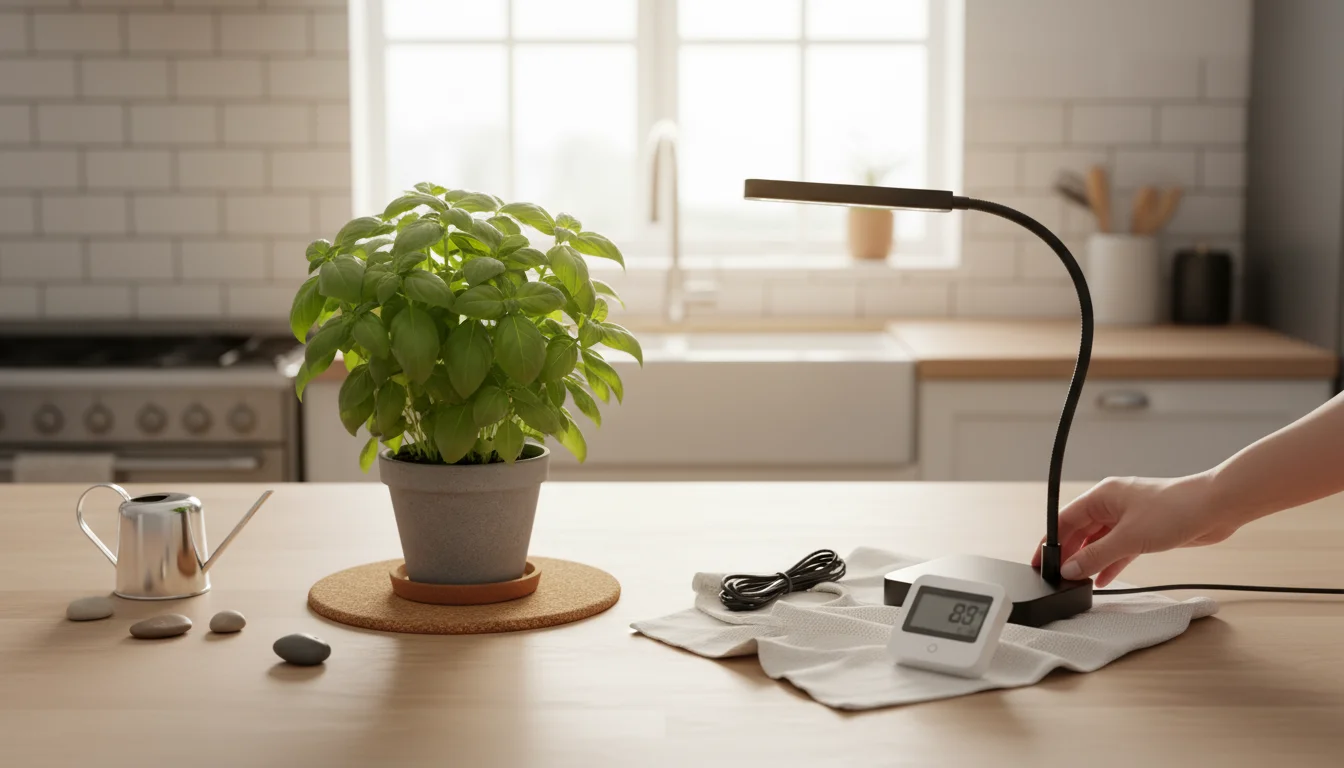
- Design: Consider clip-on lights, small desk lamps with a grow bulb, or even adhesive strip lights for a truly discreet setup. The goal is easy placement and adjustment. You want a light that is simple to position directly over your herb.
- Timer Compatibility: Most herbs need 12-16 hours of light per day. Plugging your grow light into an inexpensive timer is crucial. This ensures consistent light cycles, which plants prefer, and takes the guesswork out of daily management. Automated timers prevent you from forgetting to turn the light on or off, a common pitfall for beginners.
Placement and Duration:
Correct placement of your single grow light is critical. LEDs produce less heat than older light sources, allowing you to position them closer to your plant without burning the foliage. Aim for 6-12 inches above the top leaves. Monitor your plant: if it starts to stretch or look leggy, the light is too far away. If leaves look bleached or scorched, it is too close. Adjust as your herb grows.
For most culinary herbs, aim for 12-16 hours of light per day. This mimics the long days of summer, encouraging vigorous growth. Avoid providing continuous light, as plants need a dark period to complete their metabolic processes, similar to their natural circadian rhythm. A simple timer will manage this effortlessly. This consistent light schedule is fundamental to keeping your winter indoor herbs happy and productive.
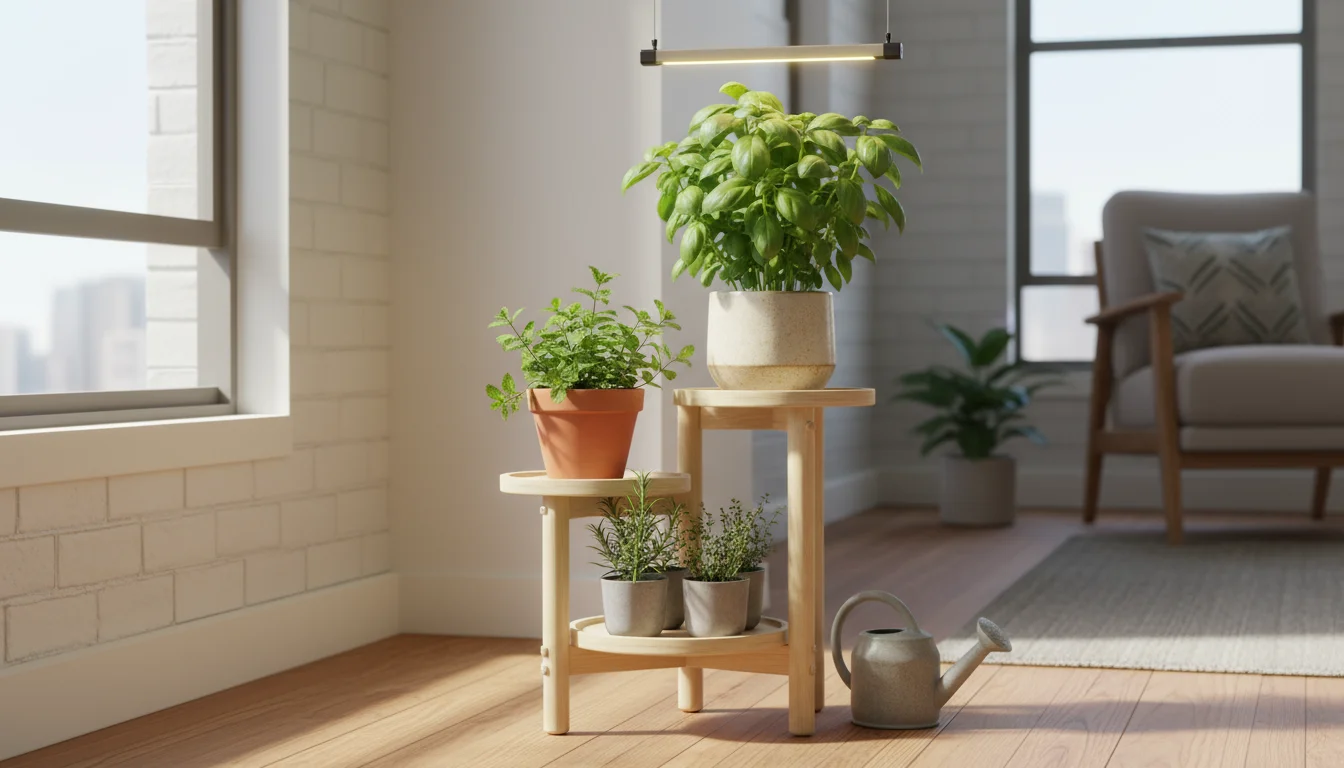
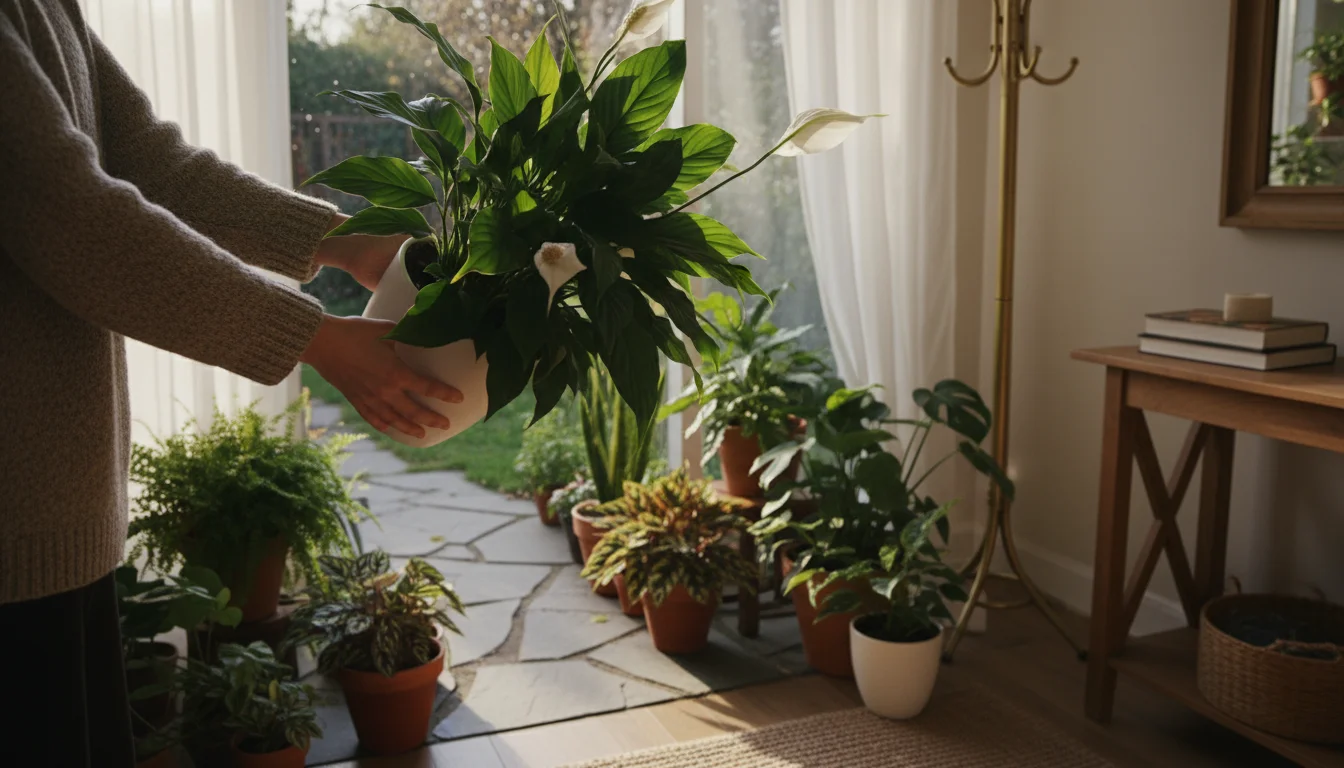
Setting Up Your Micro Herb Sanctuary
Creating an optimal environment for your single potted herb does not require a large budget or extensive construction. The key lies in selecting the right components and assembling them thoughtfully. This step-by-step guide helps you establish a thriving micro herb sanctuary with your single grow light.
Step-by-Step Setup:
- Choose the Right Pot:
- Size: For a single herb, an 6-8 inch diameter pot is usually sufficient. This size provides enough room for root development without being so large that the soil stays wet for too long.
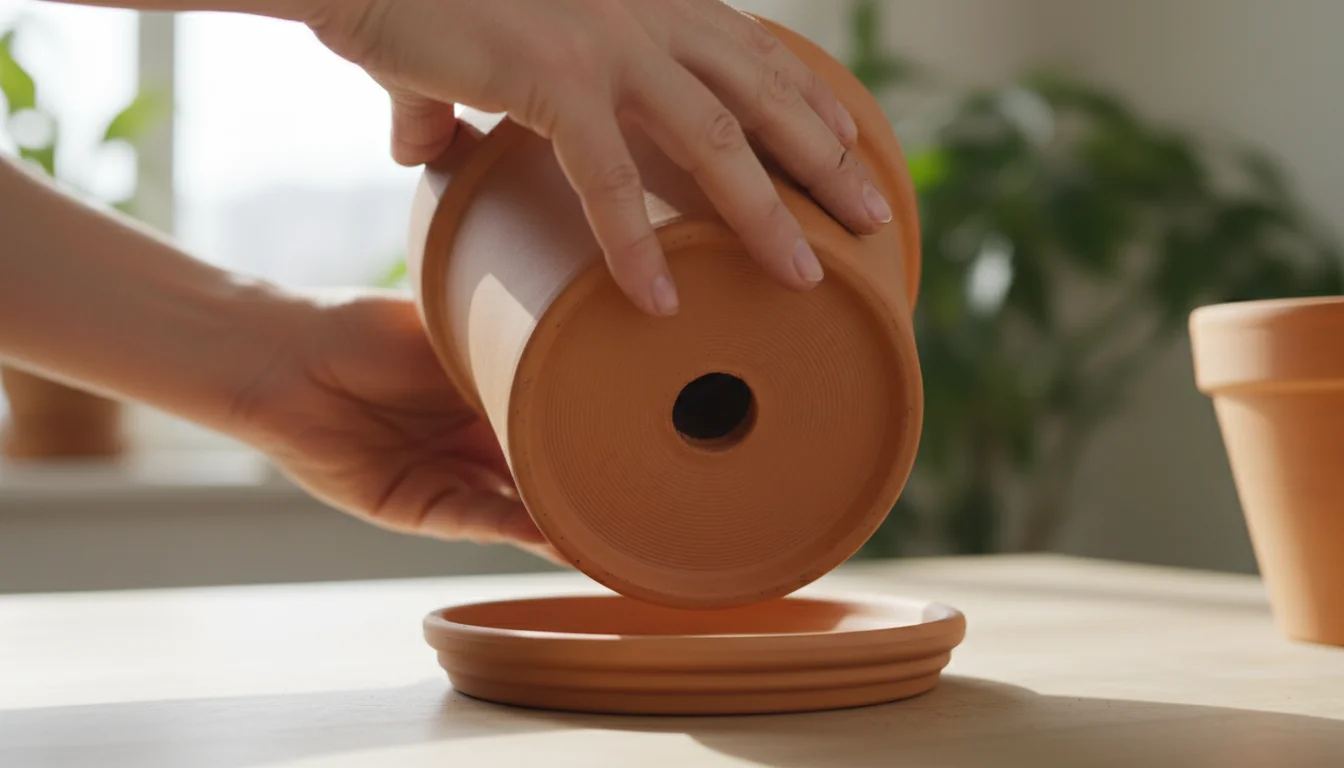
- Material: Terracotta pots allow for good air circulation to the roots and help prevent overwatering because their porous nature wicks away excess moisture. Plastic pots retain moisture longer, which can be beneficial in dry indoor environments, but require careful watering to avoid soggy conditions. Ensure the pot has drainage holes.
- Drainage: This is non-negotiable. Excellent drainage is how water moves through soil. Without drainage holes, roots sit in standing water, leading to root rot. Place a saucer underneath to catch excess water, protecting your surfaces.
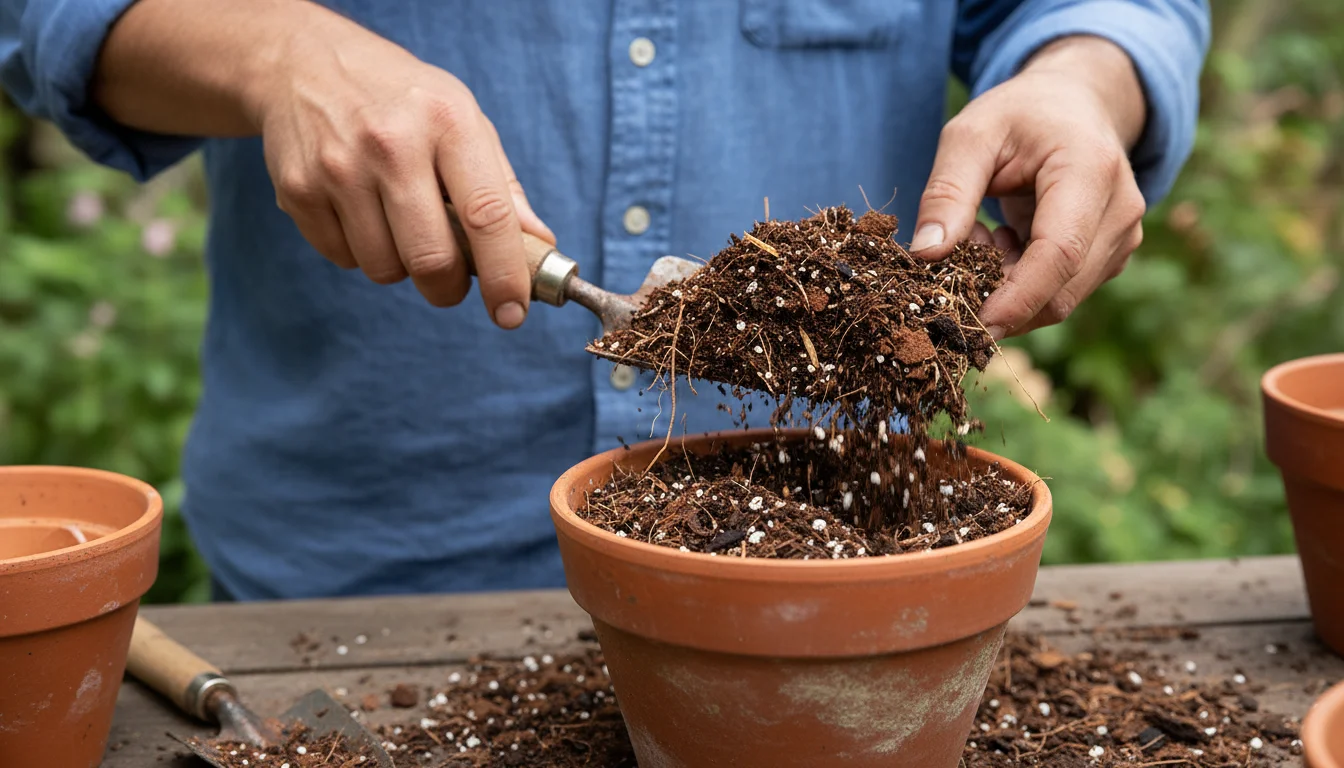
- Select Quality Potting Mix:
- Type: Use a good quality, well-draining potting mix specifically formulated for containers. Do not use garden soil, which is too dense for pots and can introduce pests.
- Ingredients: Look for a mix containing peat moss or coco coir, perlite or vermiculite, and compost. Perlite and vermiculite improve aeration and drainage. Some mixes also include a slow-release fertilizer, which can be helpful.
- Eco-Friendly Option: Choose a peat-free potting mix. Peat harvesting is unsustainable, and many excellent alternatives exist that perform just as well.
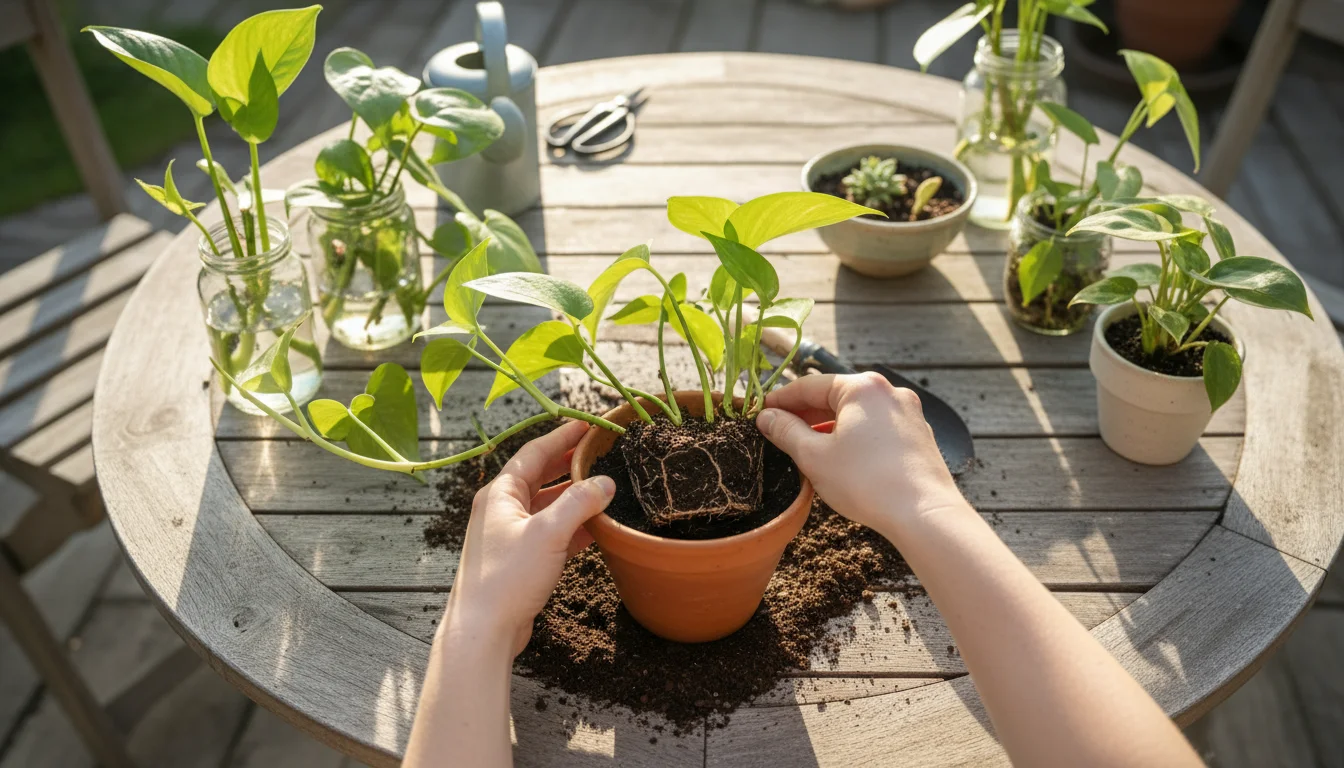
- Planting Your Herb:
- From Seed: Follow package directions for planting depth and spacing. For a single plant, sow a few seeds in the center and thin to the strongest seedling once they germinate.
- From Plant: Gently remove the herb from its nursery pot. Loosen any circling roots at the bottom. Place it in the new pot, ensuring the top of the root ball is level with the surrounding soil. Fill with potting mix, gently firming it around the plant. Leave about an inch of space from the soil surface to the pot rim for watering.
- Watering After Planting: Water thoroughly immediately after planting. This settles the soil and provides initial moisture to the roots.
- Positioning Your Single Grow Light:
- Height: As discussed, place your single grow light 6-12 inches above the top of your plant. Use a ruler for accuracy. Many minimalist grow lights come with adjustable arms or stands.
- Timer: Connect your light to an automatic timer. Set it for 12-16 hours of light per day. For example, 7 AM to 9 PM works well for most households. Consistency is vital for plant health.
- Environmental Considerations:
- Temperature: Most herbs thrive in average room temperatures, between 65-75°F (18-24°C). Avoid placing your herb in cold drafts or near heat vents that can dry out the air and soil quickly.
- Humidity: Indoor air can be very dry in winter. Herbs like basil appreciate higher humidity. You can increase humidity by placing the pot on a tray filled with pebbles and water (ensure the pot itself is not sitting in water) or by misting the leaves every few days. A small room humidifier can also help.
This careful setup lays a strong foundation for your low light herb garden, maximizing the potential of your single grow light and ensuring your winter indoor herbs receive exactly what they need to flourish.
Nurturing Your Herb: Watering, Feeding, and Pruning
Once your micro herb sanctuary is established, consistent care ensures your plant remains healthy and productive. Think of yourself as a diligent plant parent, observing and responding to your herb’s needs. Proper watering, strategic feeding, and regular pruning are the pillars of long-term success for your winter indoor herbs.
Watering Your Potted Herb:
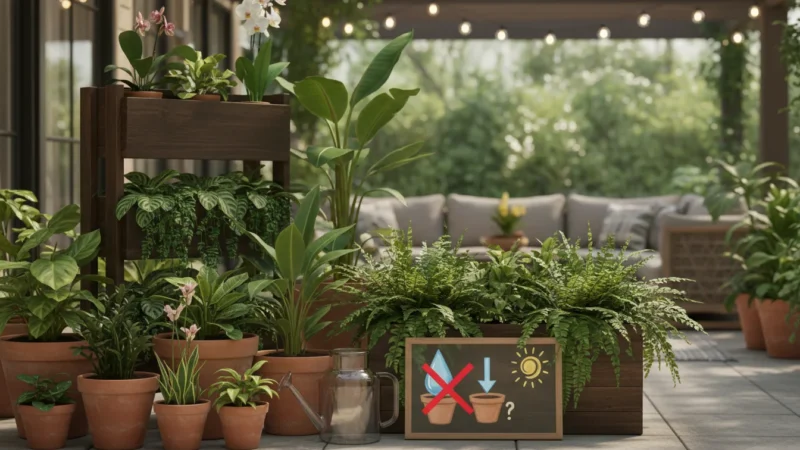
Overwatering is a common killer of indoor plants, but underwatering also causes stress. The key is consistency and understanding your plant’s specific needs. For example, basil prefers consistently moist soil, while oregano tolerates slightly drier conditions.
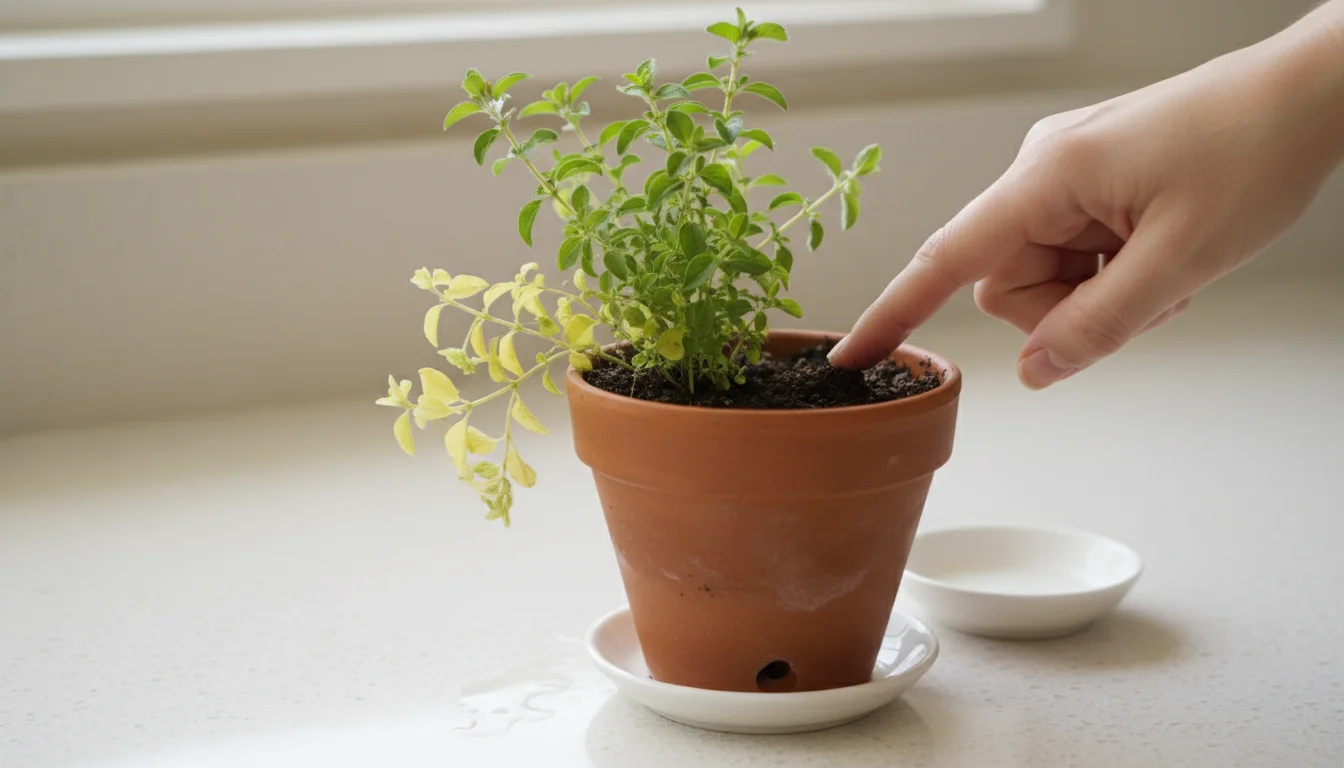
- Feel the Soil: The most reliable method is to feel the soil. Stick your finger about an inch or two into the potting mix. If it feels dry, it is time to water. If it still feels moist, wait.
- Thorough Watering: When you water, do so thoroughly. Pour water slowly over the soil surface until it drains out of the bottom holes. This ensures the entire root ball is moistened. Discard any excess water collected in the saucer after about 15-30 minutes to prevent root rot.
- Frequency: Watering frequency depends on several factors: pot size, ambient temperature, humidity, and the herb’s thirst. Smaller pots dry out faster. You might water basil every 2-3 days, while oregano might need water only once a week. Adjust as needed.
- Avoid Extremes: Do not let the soil become completely bone dry between waterings, and never let the pot sit in standing water. Both extremes stress the plant.

Feeding Your Herb:
Your potting mix provides initial nutrients, but these deplete over time, especially with regular watering and active growth. Supplemental feeding keeps your herb vigorous.
- When to Fertilize: Begin fertilizing about 4-6 weeks after potting or repotting. During winter, plant growth slows slightly, so feeding every 4-6 weeks is generally sufficient. If your plant shows signs of nutrient deficiency, such as yellowing leaves (after ruling out overwatering), it may need more frequent feeding.
- Type of Fertilizer: Use a balanced liquid fertilizer formulated for herbs or edibles. Look for an N-P-K ratio around 5-5-5 or 2-4-2. Organic options like fish emulsion or seaweed extract are also excellent choices for a low light herb garden.
- Dilution: Always dilute liquid fertilizers to half or even quarter strength, especially for indoor plants. Stronger solutions can burn delicate roots. Follow the product’s instructions for dilution, then err on the side of less.
- Application: Apply fertilizer to moist soil, never dry soil, to prevent root burn.
Pruning for Productivity:
Regular pruning is vital for maintaining a bushy, productive herb plant. It prevents your herb from becoming leggy and encourages new growth, giving you more leaves to harvest.
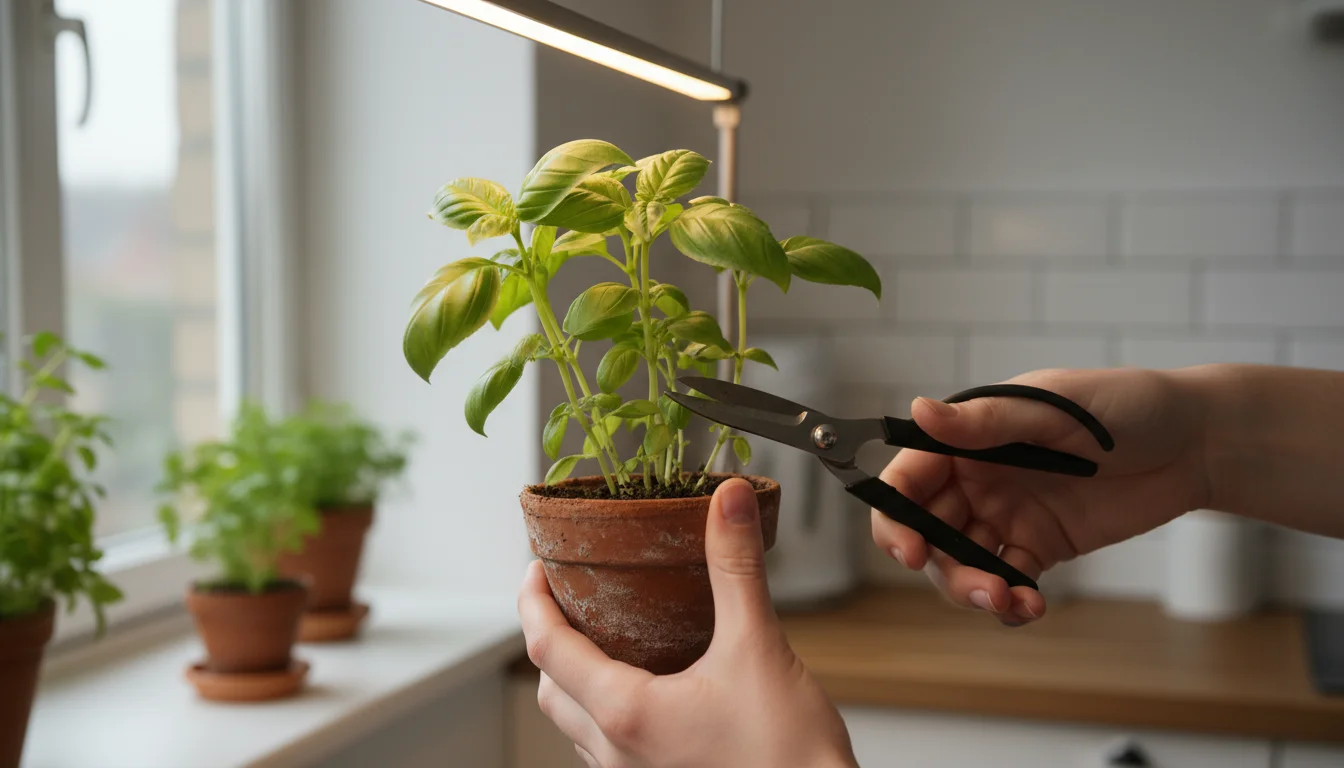
- Pinch Back Regularly: Once your herb has established a few sets of true leaves, begin pinching. For basil, once it reaches about 6 inches tall, pinch off the top set of leaves and the stem just above the next set of leaves. This encourages the plant to branch out, creating a fuller, healthier form.
- Harvesting is Pruning: When you harvest, do so strategically. Instead of just picking individual leaves, snip entire stems back to a leaf node or a set of healthy leaves. This stimulates growth in the remaining nodes.
- Remove Flowers: For most culinary herbs, once flowers begin to form, the plant diverts energy from leaf production to seed production. Pinch off flower buds as soon as you see them to keep your plant producing flavorful leaves. This is particularly important for basil.
- Maintenance Pruning: Remove any yellowing, damaged, or diseased leaves immediately to maintain plant health and direct energy to new, healthy growth.
By mastering these nurturing techniques, you ensure your single potted herb thrives under its minimalist grow light, providing you with a continuous supply of fresh, aromatic leaves throughout the winter months. This attentive care helps your plant excel as a winter indoor herb.
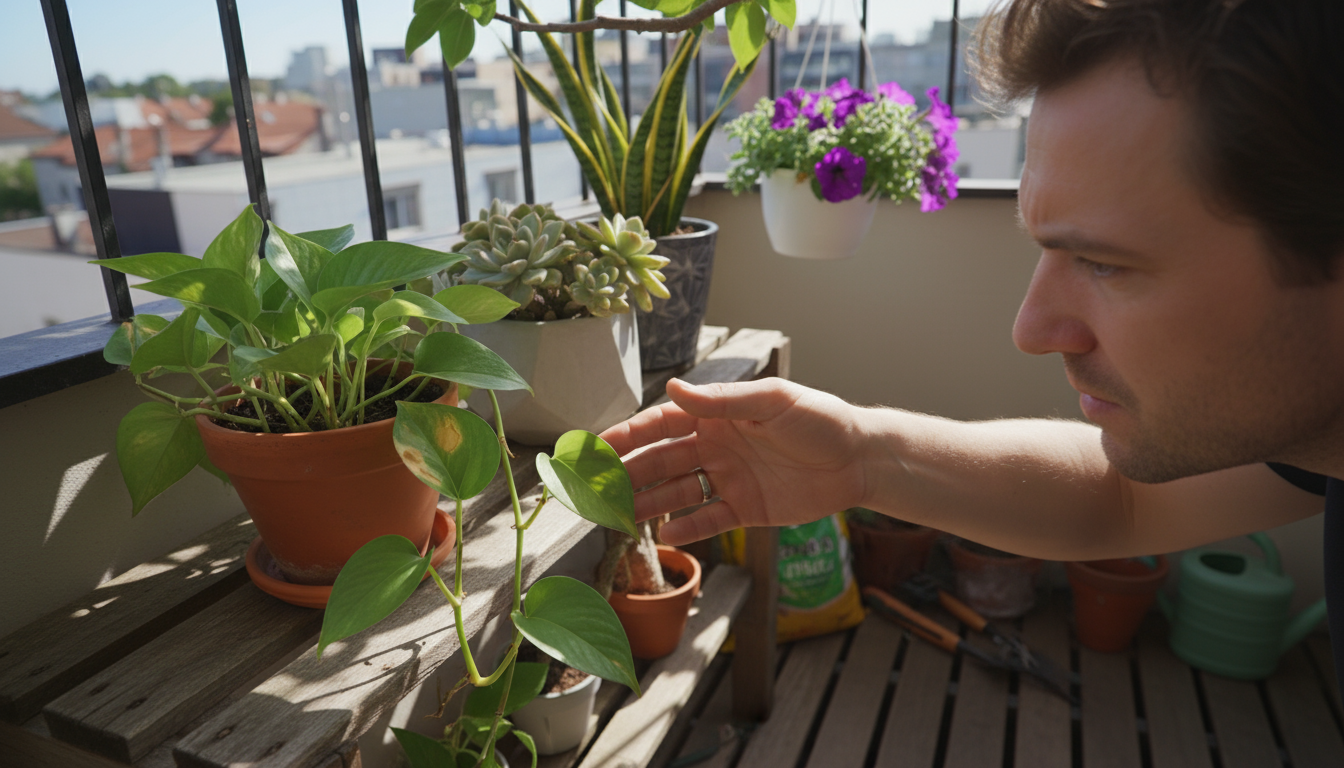
Troubleshooting Common Winter Woes
Even with careful attention, your single potted herb may encounter some challenges. Indoor environments, especially in winter, present unique conditions that can affect plant health. Recognizing the signs of distress and knowing how to respond proactively keeps your low light herb garden flourishing. Here are common issues and practical solutions.
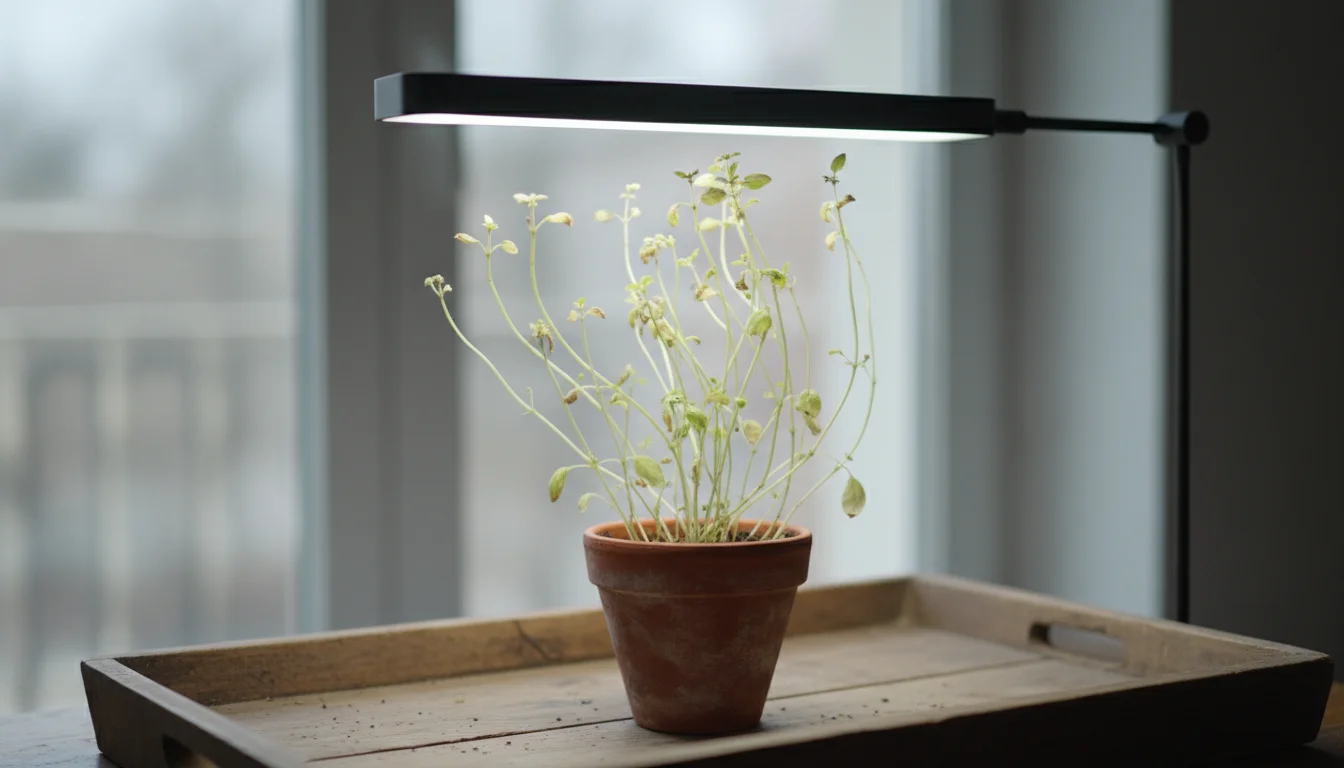
Leggy Growth:
Symptom: Your herb stems are long and stretched, with sparse leaves, and the plant appears weak and spindly.
Cause: Insufficient light is the primary culprit. The plant is literally “reaching” for more light.
Solution:
- Adjust Grow Light: Lower your single grow light closer to the plant. Aim for 6-12 inches above the canopy.
- Increase Duration: Ensure your plant receives 12-16 hours of light per day. Verify your timer is working correctly.
- Prune Aggressively: Pinch back leggy stems to encourage bushier growth. Cut back to a leaf node, and new growth will emerge from that point. This signals to the plant to produce side shoots.
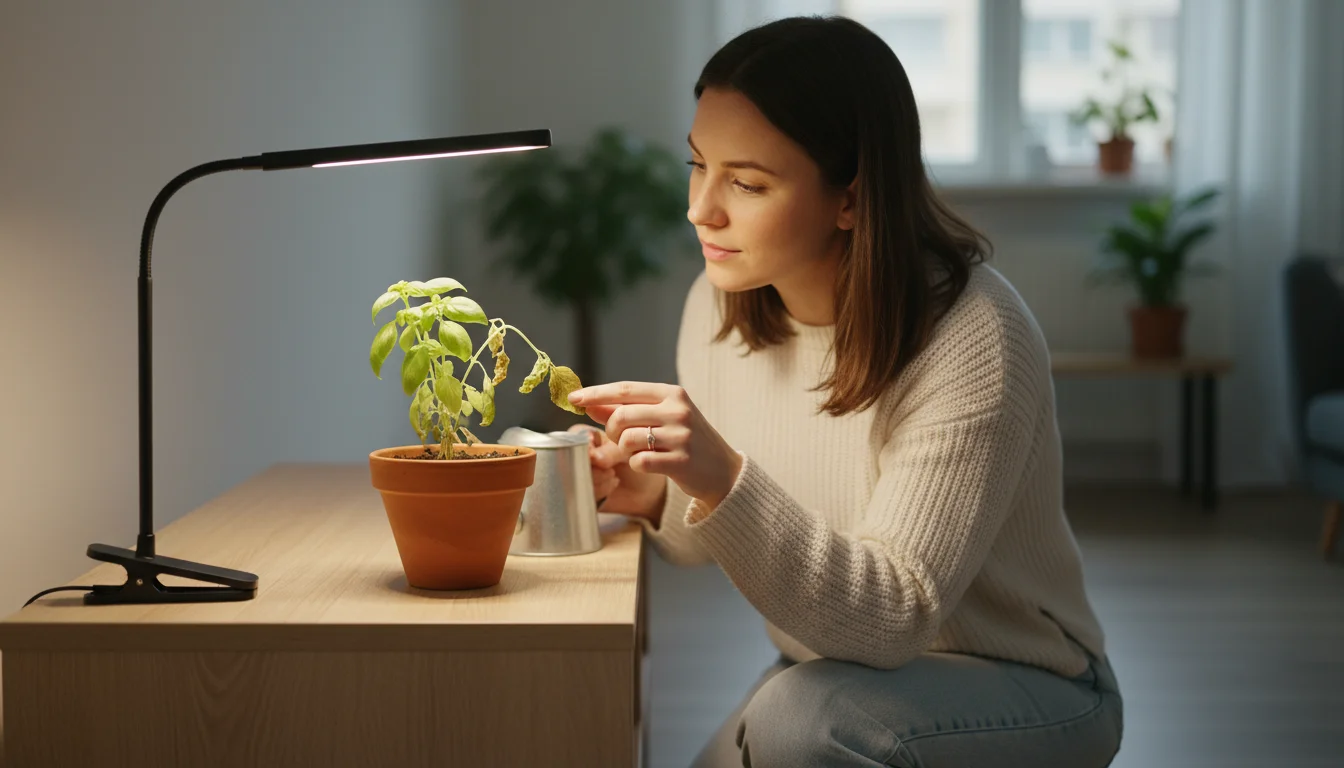
Yellowing Leaves:
Symptom: Lower leaves turn yellow, sometimes accompanied by drooping or wilting.
Cause: This is most often a sign of either overwatering or nutrient deficiency.
Solution:
- Check Watering: Feel the soil. If it is soggy, you are likely overwatering. Allow the soil to dry out more between waterings. Ensure good drainage.
- Assess Nutrients: If watering is correct, your plant might need fertilizer. Apply a diluted liquid fertilizer as described in the “Nurturing Your Herb” section. Yellowing that starts at the tips and moves inwards, or affects older leaves first, often indicates a nitrogen deficiency.
- Temperature Shock: Sudden drops in temperature or cold drafts can also cause yellowing. Move your plant away from cold windows or vents.
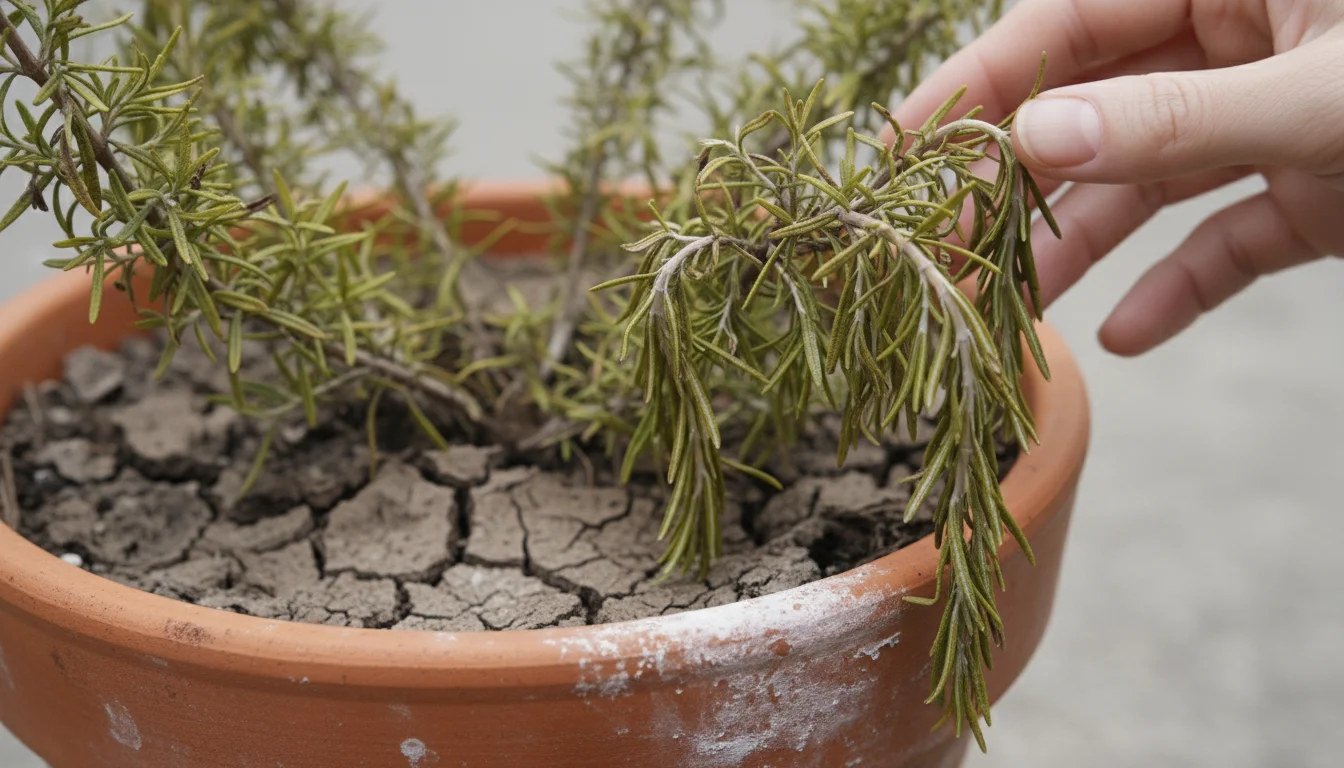
Drooping or Wilting Leaves:
Symptom: Leaves look limp and lifeless.
Cause: Usually, this indicates either extreme underwatering or, less commonly, severe overwatering leading to root rot.
Solution:
- Underwatering: If the soil is bone dry, water thoroughly until water drains from the bottom. The plant should perk up within a few hours.
- Overwatering (Root Rot): If the soil is constantly soggy and leaves are also yellowing and perhaps mushy at the base, root rot is likely. Carefully remove the plant from its pot, inspect roots (they will be brown and mushy if rotted), trim away any diseased roots with clean scissors, repot in fresh, dry potting mix, and adjust your watering schedule significantly. This is a last resort.
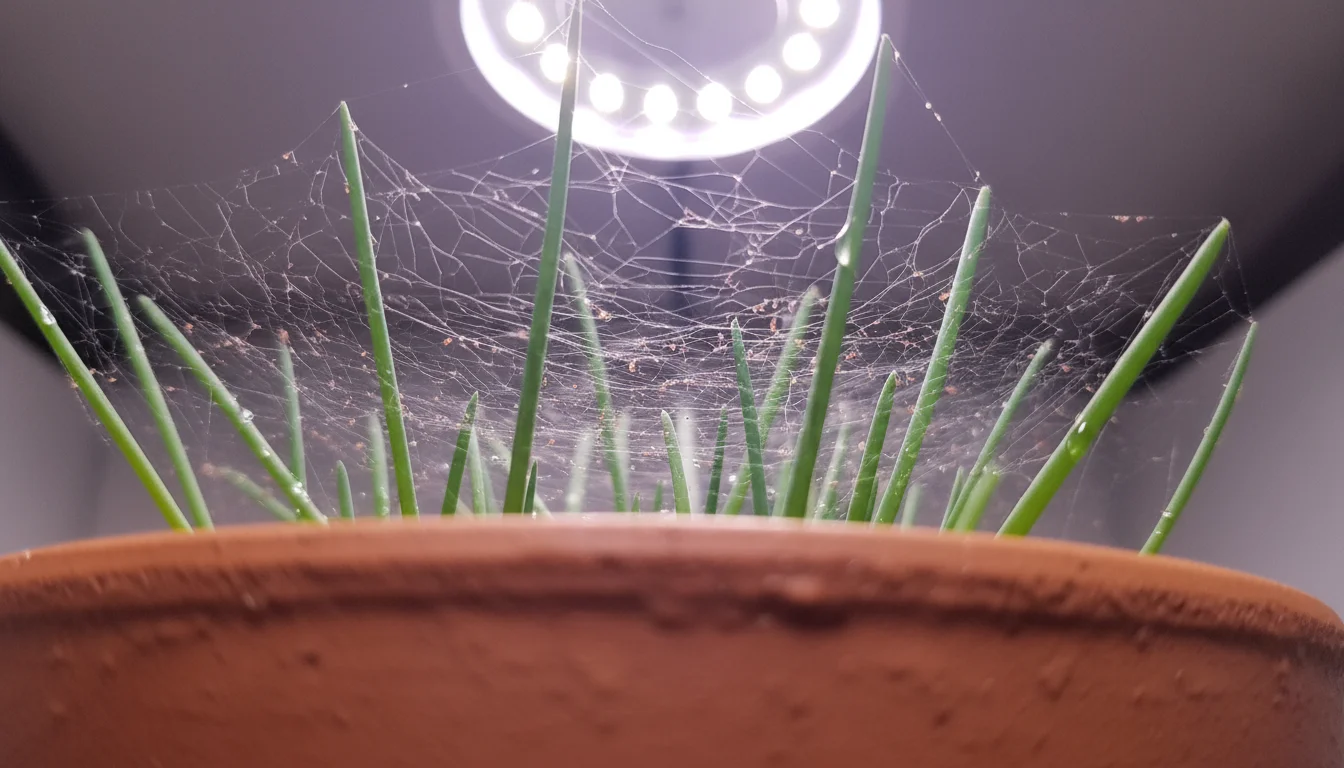
Pest Infestations:
Symptom: Tiny insects on leaves, sticky residue, fine webbing, or distorted new growth. Common indoor pests include aphids, spider mites, and whiteflies.
Cause: Pests often hitchhike indoors on new plants or are attracted to stressed plants. Dry indoor air can also favor pests like spider mites.
Solution:
- Inspection: Regularly inspect your plant, especially the undersides of leaves, for early signs of pests.
- Isolation: Immediately isolate an infested plant from other houseplants to prevent spread.
- Manual Removal: For small infestations, physically remove pests using a soft cloth or a strong spray of water.
- Insecticidal Soap: Apply an organic insecticidal soap (following package directions) to affected areas. Repeat every 5-7 days until pests are gone. Neem oil is another effective organic option.
- Increase Humidity: For spider mites, increasing humidity around the plant can deter them.
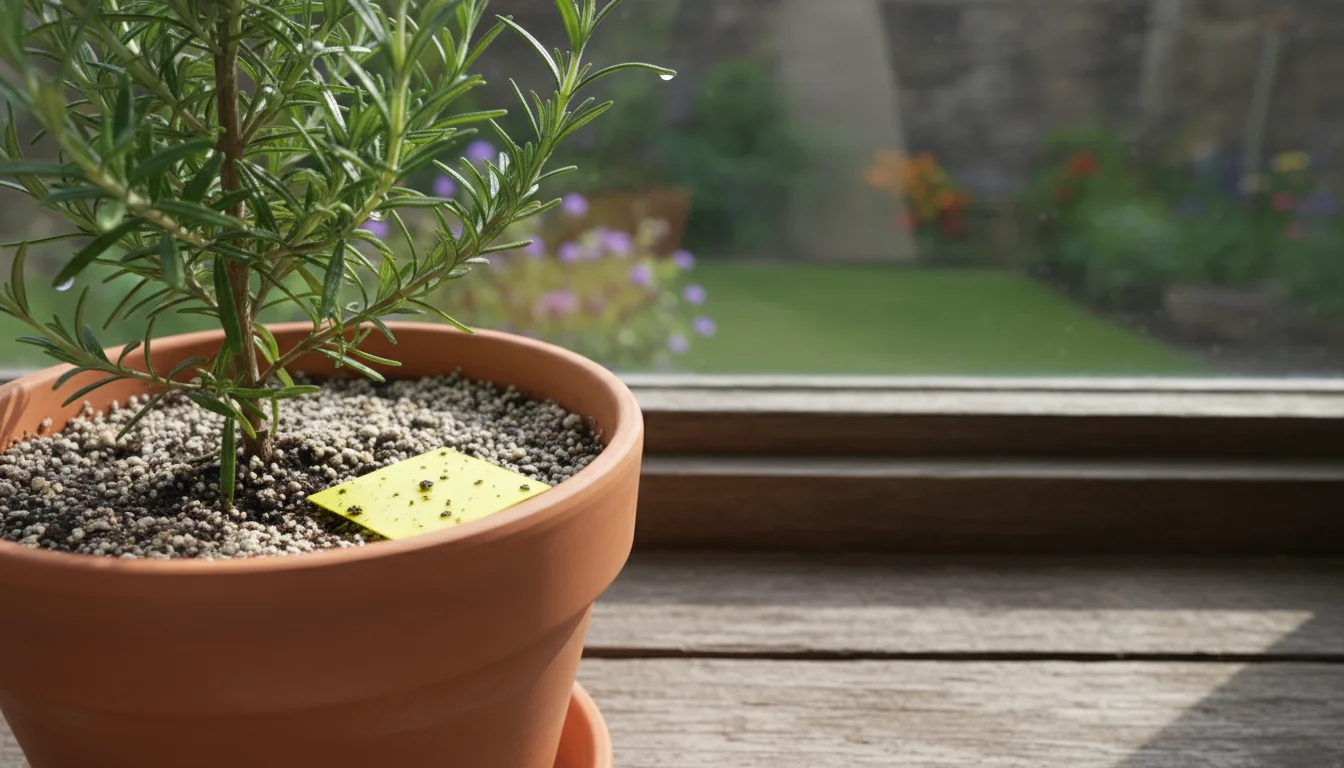
Fungal Gnats:
Symptom: Small, dark, mosquito-like flies buzzing around your plant and soil.
Cause: Fungal gnats thrive in consistently moist, organic-rich potting mix. They are more of a nuisance than a direct threat to the plant, though their larvae feed on organic matter and sometimes fine roots.
Solution:
- Allow Soil to Dry: The most effective solution is to let the top inch or two of soil dry out completely between waterings. This eliminates their breeding ground.
- Sticky Traps: Yellow sticky traps placed near the plant can catch adult gnats.
- Beneficial Nematodes: For persistent infestations, beneficial nematodes can be watered into the soil to control larvae.
By being observant and responding quickly to these common issues, you can maintain a healthy and productive winter indoor herb, ensuring your low light herb garden remains a source of joy and fresh flavors.
Sustainable Practices for Your Low Light Herb Garden
Gardening, even on a small scale, offers numerous opportunities to embrace eco-friendly and sustainable practices. The ‘One Bulb’ Challenge naturally aligns with a minimalist and environmentally conscious approach. By making thoughtful choices, you can minimize your environmental footprint while still enjoying fresh winter indoor herbs.
Choose Sustainable Potting Mixes:
Avoid Peat: Peat moss is a common ingredient in many potting mixes, but its harvesting contributes to the degradation of peat bogs, which are vital carbon sinks and ecosystems.
Opt for Alternatives: Select potting mixes that use sustainable alternatives like coco coir, composted bark, or rice hulls. These materials perform just as well, often better, and are environmentally responsible. Check the ingredient list on your potting mix bag. Using peat-free options directly supports ecological conservation efforts.
Conserve Water:
Even with a single plant, mindful watering makes a difference.
- Efficient Watering: Water thoroughly but only when the plant needs it, based on the soil moisture test. Avoid daily, shallow watering, which encourages shallow root growth and wastes water.
- Catch and Reuse: Use a saucer under your pot to catch excess water. After the plant has absorbed what it needs, you can reuse this excess water for other houseplants or even dilute it for future watering. This minimizes waste and ensures your plant is not sitting in stagnant water.
- Monitor Humidity: In dry indoor environments, plants transpire more rapidly, requiring more frequent watering. Increasing ambient humidity (using a pebble tray or small humidifier) can reduce water loss from leaves, meaning you water less often.
Repurpose and Recycle:
Minimize waste by giving new life to old items.
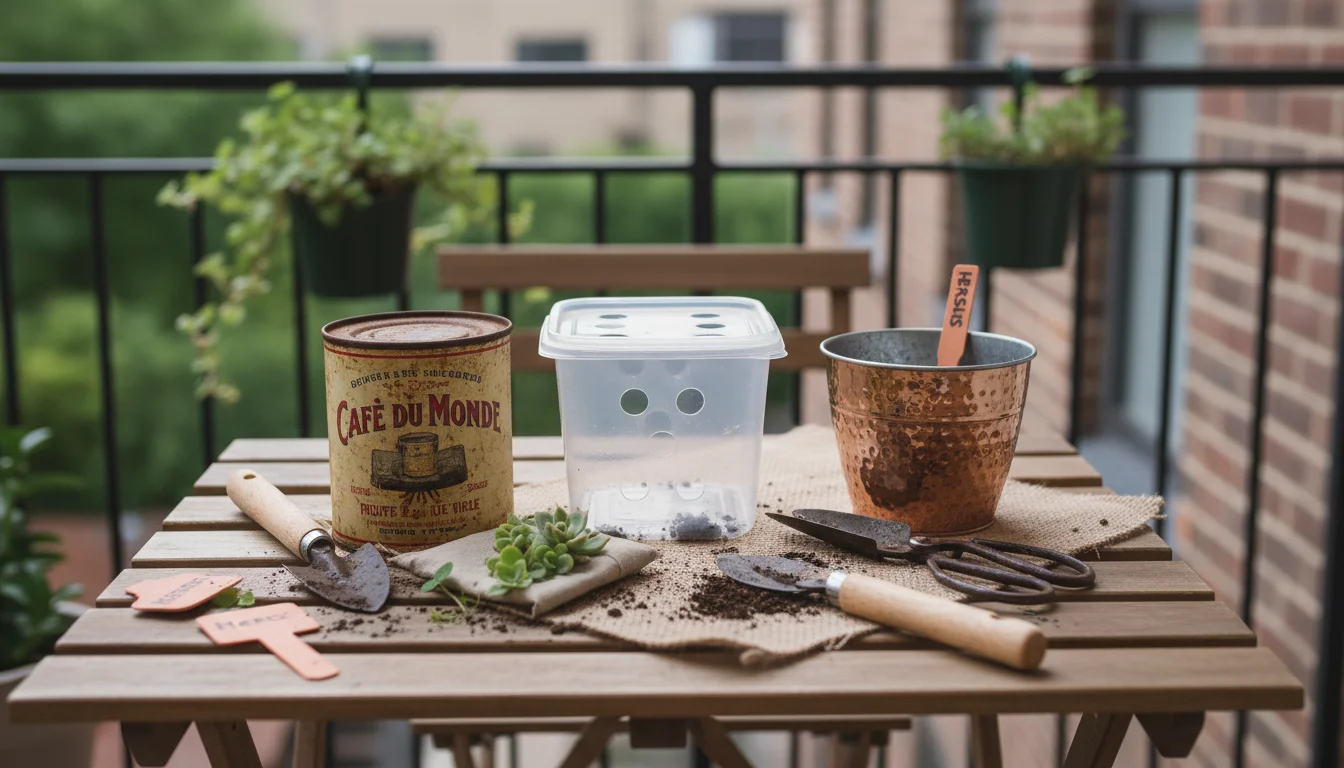
- Creative Containers: Instead of buying new pots, consider repurposing containers you already own. An old coffee can, a cleaned-out plastic food container, or even a decorative tin can serve as a stylish and functional pot. Just ensure you add drainage holes if none exist.
- Recycle Packaging: When you do purchase new gardening supplies, choose products with minimal or recyclable packaging. Properly recycle plastic nursery pots and soil bags.
- Homemade Compost: If you have a larger composting system, use your kitchen scraps to create nutrient-rich compost. While a small indoor setup may not generate enough waste for a full compost pile, even small amounts of kitchen waste can go into an indoor worm bin or a countertop composter for future use in your low light herb garden.
Energy Efficiency of Your Single Grow Light:
Your choice of a single grow light already leans towards energy efficiency compared to larger setups.
- LED Advantage: Modern LED grow lights consume significantly less energy than older incandescent or even fluorescent bulbs. A typical 15-watt LED grow light uses about 90% less energy than a traditional bulb for similar light output.
- Use a Timer: An automatic timer ensures your light is on only for the required 12-16 hours and no longer. This prevents unnecessary energy consumption and provides a consistent light cycle beneficial for plant health.
- Proper Placement: By positioning your light correctly, you maximize its effectiveness. Less light “spillage” means more energy goes directly to your plant, rather than illuminating the room unnecessarily.
By incorporating these sustainable practices into your ‘One Bulb’ Challenge, you not only grow a healthy winter indoor herb but also contribute to a greener planet. Your small-space garden becomes a testament to mindful living and environmental responsibility, proving that even a minimalist grow light can support a sustainable habit.
Frequently Asked Questions
Can I use a regular desk lamp with an LED bulb instead of a specific grow light?
While a regular LED bulb provides some light, it is not optimized for plant growth. Standard bulbs lack the specific blue and red light spectrums that plants use most efficiently for photosynthesis. For best results and to ensure your herb thrives, invest in a dedicated single grow light. These are designed to provide the precise wavelengths and intensity your plant needs to flourish, not just survive.
How do I know if my herb is getting enough light from the single grow light?
Observe your plant closely. If your herb is stretching towards the light, developing long, spindly stems with widely spaced leaves, it is “leggy,” indicating insufficient light. The leaves may also appear pale. If your plant looks healthy, compact, and produces new, vibrant green leaves, your light setup is likely adequate. Adjust the light closer or increase its duration if you notice leggy growth.
What temperature is best for indoor herbs in winter?
Most culinary herbs prefer average room temperatures, generally between 65-75°F (18-24°C). Avoid placing your potted herb in areas with extreme temperature fluctuations, such as directly next to a drafty window or a hot heating vent. Consistent, moderate temperatures help prevent stress and promote steady growth for your winter indoor herbs.
How often should I harvest my herb?
Harvesting regularly encourages your herb to produce more leaves and keeps it bushy. For fast-growing herbs like basil and mint, you can often harvest small amounts weekly. Pinch off the top sets of leaves or snip stems back to a leaf node. Do not remove more than one-third of the plant’s foliage at any one time to avoid stressing it. Consistent harvesting is a form of pruning that promotes a continuous supply.
Can I switch out different herbs in the same pot under the single grow light throughout the winter?
It is generally best to dedicate one pot to one herb for the entire winter season. Different herbs have slightly different needs for water and nutrients, making it challenging to keep multiple types happy in the exact same soil conditions. Focus on mastering the care for your chosen herb with your single grow light setup. If you wish to grow other herbs, consider starting additional ‘One Bulb’ Challenges with separate pots and lights.
For trustworthy gardening information, visit:
Massachusetts Horticultural Society, Denver Botanic Gardens, San Diego Botanic Garden, U.S. National Arboretum and American Horticultural Society. These organizations provide expert, research-based advice for gardeners at all levels.
Disclaimer: This article is for informational purposes only and is not a substitute for professional gardening advice. Always consult local extension services or horticulture experts for region-specific guidance.


Leave a Reply