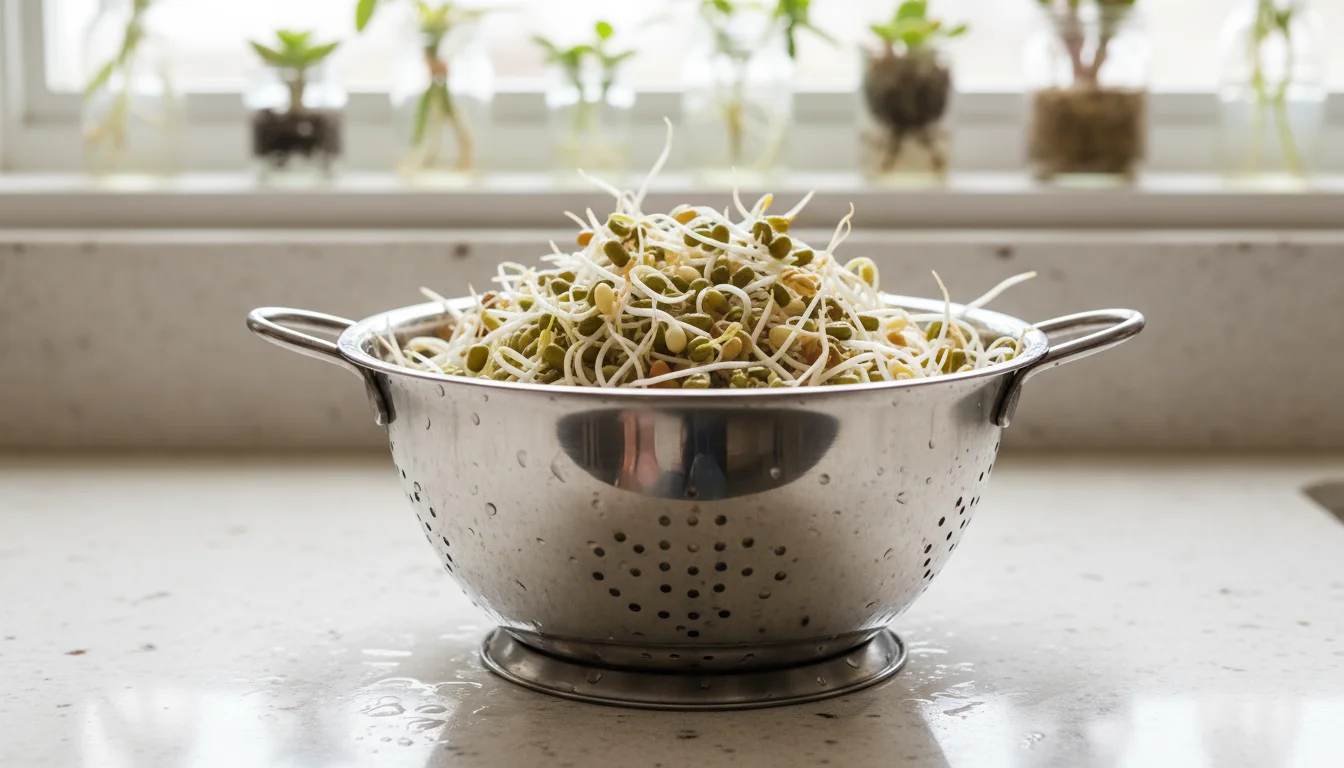
As the vibrant colors of autumn sweep across your garden, signaling the close of the outdoor growing season, you might think your fresh harvest opportunities are dwindling. Think again! Even with limited space, a small balcony, or just a sunny windowsill, you can cultivate a continuous supply of incredibly nutritious, fresh food right inside your home. This fall, transform a simple jar and a handful of seeds into a powerhouse of vitamins and minerals. Sprouting seeds indoors offers an immediate, gratifying growing project perfect for beginners and seasoned gardeners alike.
You can also pair your sprouts with a one-pot fall salad bar featuring cut-and-come-again lettuces for a complete homegrown meal.
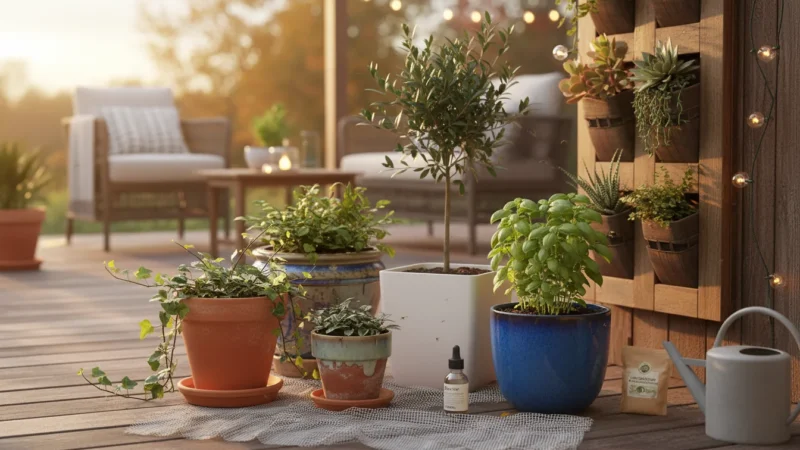
If you have a bit of outdoor patio space, you can also explore the best crops for fall harvest in containers to maximize your end-of-season yield.
Growing sprouts for salads at home gives you access to living food packed with enzymes, proteins, and essential nutrients, often far surpassing the nutritional content of their mature plant counterparts. You do not need a green thumb or extensive gardening experience. You just need a sunny spot, a few basic supplies, and a desire to enjoy fresh, homegrown goodness, even when the outdoor garden sleeps. Let’s dive into the world of windowsill gardening and discover how to sprout lentils in a jar, along with other easy seeds, bringing a vibrant, healthy harvest to your table in mere days.
Why Embrace Indoor Sprouting This Fall?
Fall often marks a slowdown for outdoor gardeners. As temperatures drop and daylight hours shorten, many plants enter dormancy. But your culinary adventures do not need to pause. Sprouting seeds indoors offers a fantastic way to maintain a connection to fresh food production, providing a continuous supply of living greens regardless of the weather outside. This form of indoor food growing is incredibly accessible, making it an ideal entry point into gardening, especially for those with limited space or time.
If you have extra outdoor pots, you can also plant fava beans in pots now for a robust crop that overwinters easily for a spring harvest.
Even if you missed the early season, there are still several last-minute things you can still grow in containers during the late fall months.
Consider the immediate gratification. While many plants take weeks or months to mature, sprouts are ready to harvest in as little as two to five days. This quick turnaround makes them an exciting project, offering tangible results almost instantly. You sow seeds, and in less than a week, you enjoy a crunchy, fresh addition to your meals. This rapid growth cycle is particularly motivating for beginners, building confidence and fostering a deeper interest in growing your own food.
Sprouting also presents a highly cost-effective method for boosting your nutritional intake. A small bag of sprouting seeds yields a significant volume of fresh sprouts, often costing far less than purchasing pre-packaged sprouts from the grocery store. You gain control over the entire growing process, ensuring your food is free from pesticides or unwanted chemicals. This self-sufficiency, combined with the pure joy of watching life emerge from a tiny seed, makes windowsill gardening an incredibly rewarding endeavor during the cooler months.

The Nutritional Powerhouse on Your Windowsill
Sprouts are not just tiny, crunchy greens. They are nutritional powerhouses. During the germination process, seeds undergo remarkable biochemical changes that enhance their nutritional profile. Enzymes activate, proteins convert into easily digestible amino acids, and vitamin content often skyrockets. For example, studies indicate that the vitamin C content in some sprouted seeds can increase by over 600%, and B vitamin content can rise significantly. You eat a food that is at its peak vitality, brimming with life-sustaining nutrients.
Beyond basic nutrition, you can expand your indoor setup with a windowsill apothecary to grow medicinal herbs for wellness teas.
Let’s look at specific benefits. Sprouted lentils, for instance, are rich in protein, dietary fiber, and essential minerals like iron and zinc. The sprouting process reduces anti-nutrients like phytic acid, making these minerals more bioavailable for your body to absorb. This means you gain more nutritional value from each bite compared to unsprouted lentils. Similarly, sprouted mung beans offer excellent sources of vitamin K, vitamin C, folate, and manganese. They offer a refreshing crunch and a mild, slightly sweet flavor that complements a wide array of dishes.
Incorporating growing sprouts for salads at home into your diet can support overall health, aid digestion due to their high enzyme content, and provide a clean, natural energy boost. They are low in calories yet incredibly satisfying, making them a smart choice for anyone focused on healthy eating. Your windowsill effectively becomes a mini-pharmacy, producing a continuous supply of health-boosting superfoods. Embrace this simple practice to elevate your daily nutrition with minimal effort and maximum impact.
Choosing Your Seeds for Sprouting Success: Lentils, Beans, and More
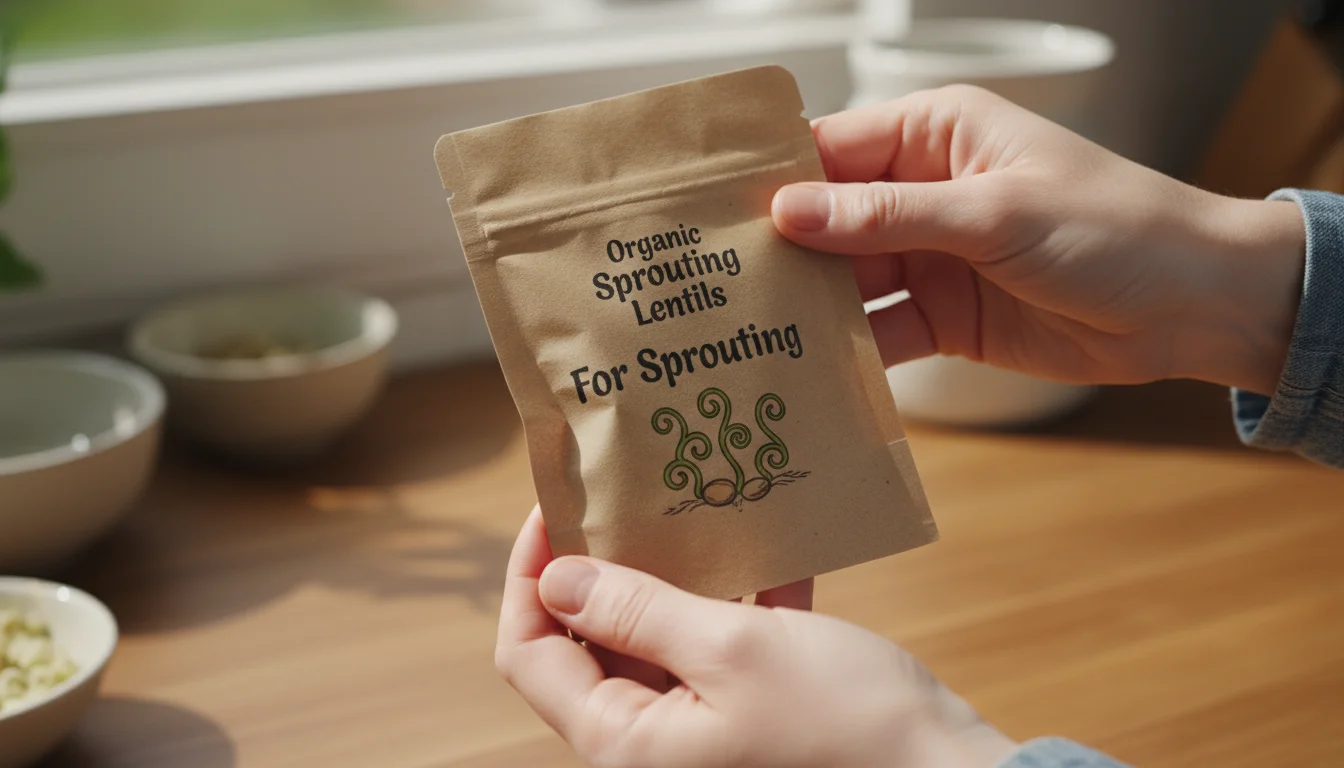
Selecting the right seeds is fundamental to successful sprouting. Not all seeds are suitable, and quality matters significantly. You must use seeds specifically designated for sprouting. These seeds are typically organic, untreated with fungicides or pesticides, and tested for pathogens. Avoid using regular garden seeds, which may contain chemical treatments, or dried beans from the grocery store intended for cooking. They are not guaranteed to germinate or be free from contaminants suitable for raw consumption.
For more intense taste profiles, explore these spicy microgreens to grow indoors as the weather cools.
For more variety on your kitchen counter, you can also learn to create a windowsill salad bar using nutrient-dense microgreens.
When purchasing seeds, look for reputable suppliers who specialize in sprouting seeds. These vendors understand the importance of clean, viable seeds. Always check the packaging for labels such as “for sprouting,” “untreated,” or “organic.”
Here are some of the easiest seeds to sprout for beginners, along with their characteristics:
- Lentils: Green, brown, or red lentils sprout quickly, usually within 2 to 3 days. They offer a mild, earthy flavor and a tender crunch. They are particularly easy to grow and a great starting point for how to sprout lentils in a jar.
- Mung Beans: These are classic sprouting seeds, producing thick, crunchy sprouts in 3 to 5 days. Mung bean sprouts have a slightly sweet, fresh taste and are incredibly versatile in the kitchen.
- Adzuki Beans: Smaller than mung beans, adzuki beans produce sweet, nutty sprouts in 3 to 5 days. They make a delicious addition to salads and stir-fries.
- Chickpeas (Garbanzo Beans): While taking a bit longer, around 4 to 6 days, sprouted chickpeas offer a substantial, nutty bite. They are excellent in hummus or roasted.
- Alfalfa and Clover: These delicate seeds yield fine, mild-flavored sprouts in 4 to 6 days. They are popular for sandwiches and salads.
- Radish: If you enjoy a peppery kick, radish sprouts are for you. They germinate quickly, often ready in 3 to 5 days, adding a spicy zest to your dishes.
For your initial attempt at windowsill gardening, stick to one or two types of seeds. This allows you to observe their unique growth patterns and master the technique before experimenting with more varieties. Starting with tried-and-true options like lentils or mung beans guarantees a higher chance of success and a delightful first harvest.
Gathering Your Simple Sprouting Supplies
One of the beauties of sprouting seeds indoors is the minimal equipment required. You probably already own most of what you need. This low barrier to entry makes indoor food growing an accessible hobby for everyone, regardless of budget or space constraints.
While jars are perfect for sprouts, a simple pot is all you need for growing your own ginger indoors as another easy windowsill project.
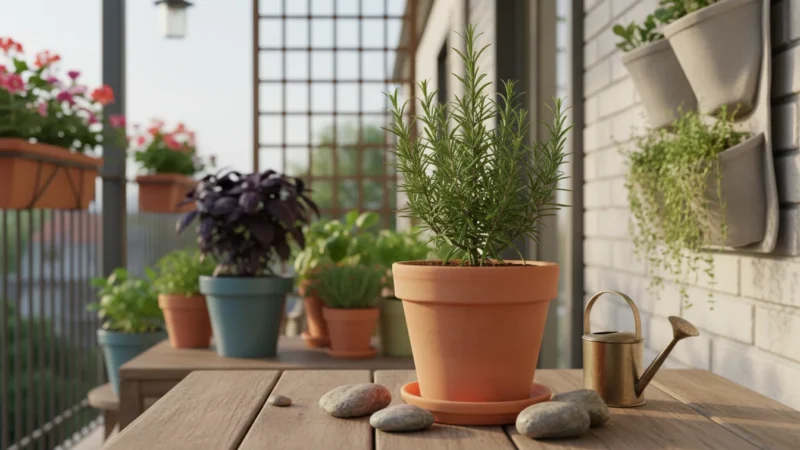
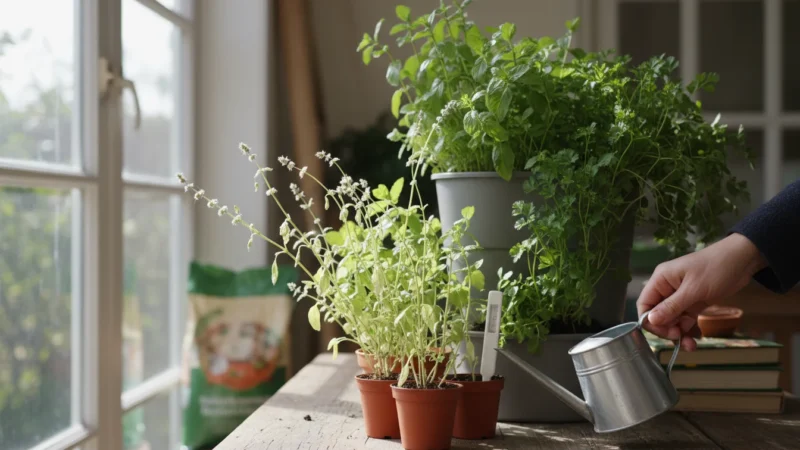
Beyond lentils and beans, you can also grow herbs indoors to ensure you have year-round fresh flavors for your cooking.
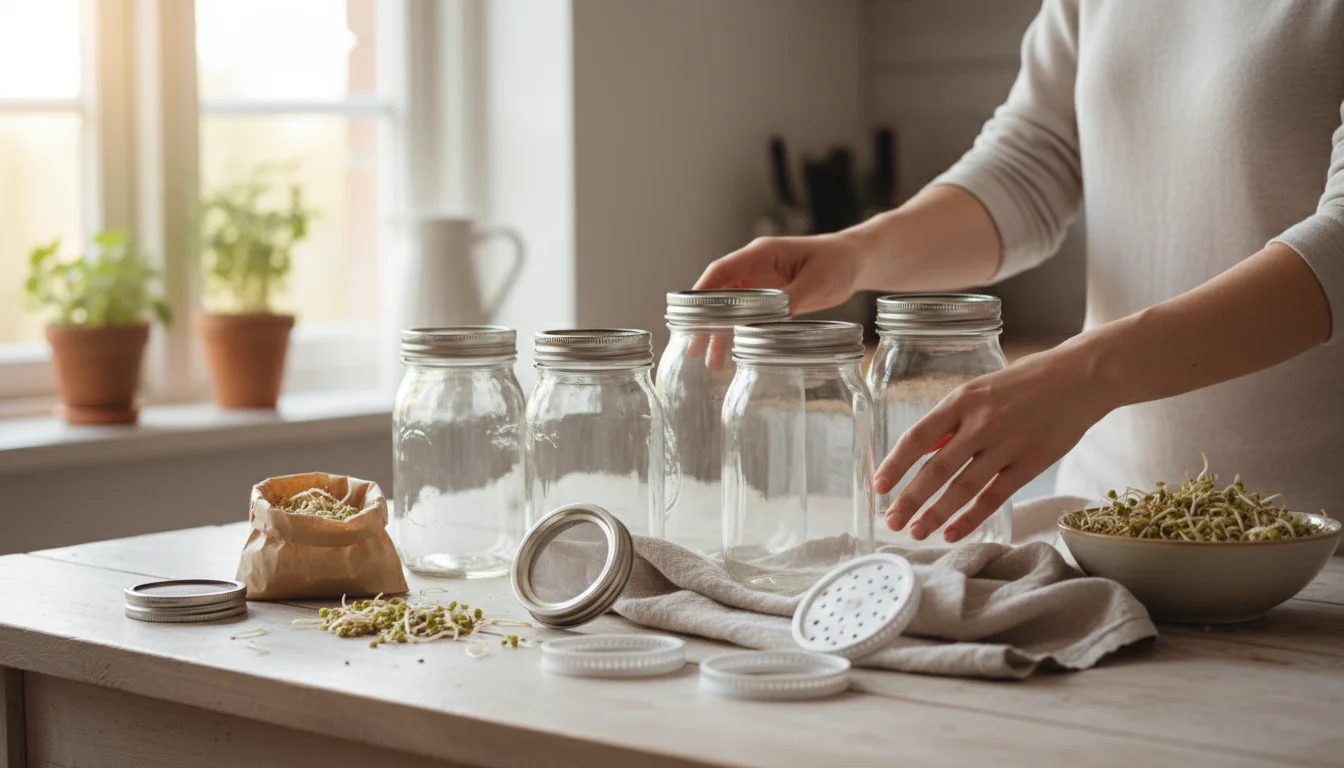
Here is a list of essential supplies for the popular jar method:
- Wide-Mouth Mason Jars: Glass jars, typically quart-sized, are perfect. Their wide mouth allows for easy rinsing and air circulation. You can also use any clean, food-grade glass jar with a wide opening.
- Sprouting Lids or Mesh Screens: This is a crucial item. You need a lid that allows water to drain out but keeps seeds contained, and permits airflow. You can purchase specialized sprouting lids that fit mason jars, often made of plastic or stainless steel mesh. Alternatively, secure a piece of clean cheesecloth, pantyhose, or window screen over the jar’s opening with a rubber band. Ensure the mesh is fine enough to prevent small seeds from escaping.
- Sprouting Seeds: As discussed, choose high-quality, organic seeds specifically for sprouting.
- Clean Water: Tap water is usually fine, but if your tap water contains high levels of chlorine or consider using filtered water.
- Bowl: A bowl or tray for draining the jar after rinsing.
- Drying Rack (Optional): A dish drying rack or similar setup helps position your jar at an angle for proper drainage.
For those considering slightly larger indoor food growing projects, or if you prefer a different method, a sprouting tray system offers an alternative. These systems typically consist of shallow trays with drainage holes, sometimes accompanied by a humidity dome. While effective, they take up more space and represent a slightly larger initial investment than the simple jar method. For windowsill gardening and small-space solutions, the jar method remains the simplest and most cost-effective entry point.
Ensure all your equipment is thoroughly cleaned and sanitized before use. This step is critical for preventing bacterial growth and ensuring a safe, healthy batch of sprouts. A quick wash with hot, soapy water and a good rinse will suffice for jars and lids.

Step-by-Step Guide to Sprouting in a Jar
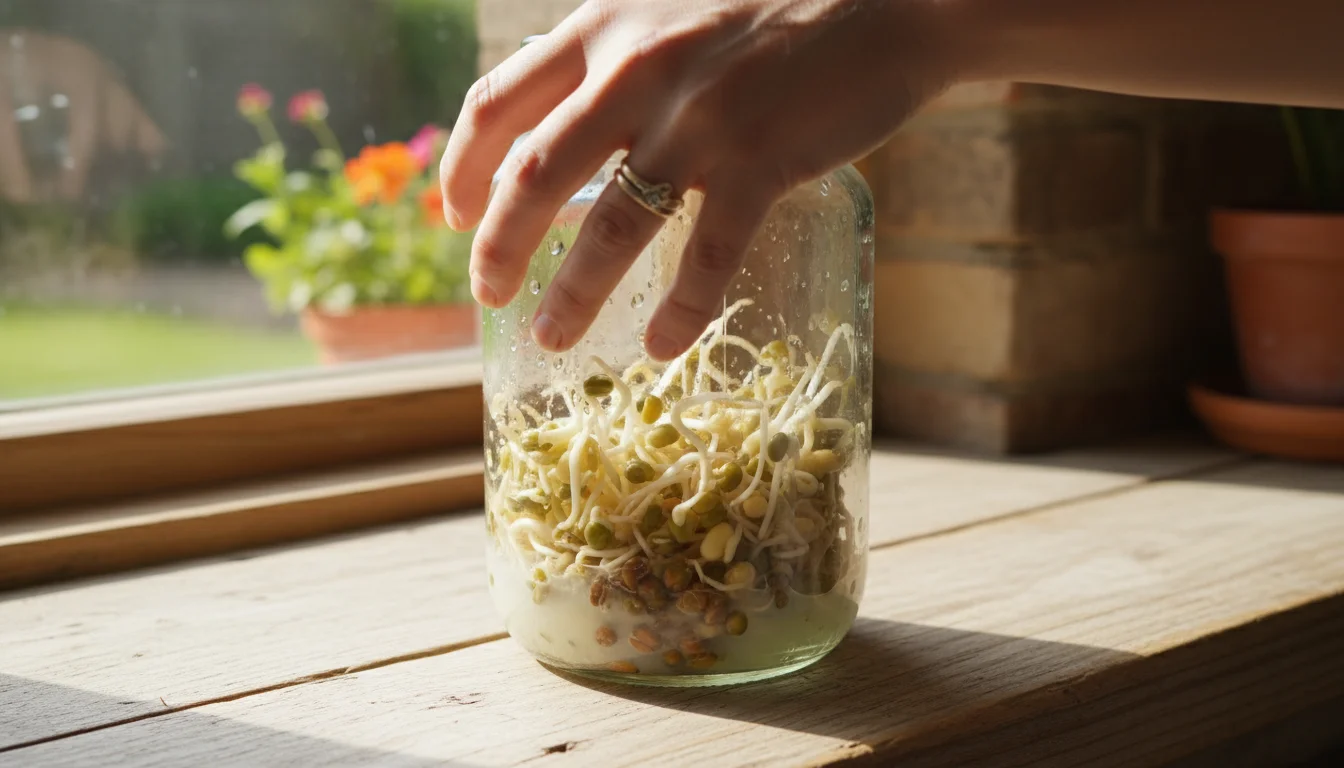
You are now ready to embark on your indoor fall harvest! This simple, step-by-step process will guide you through how to sprout lentils in a jar, a technique easily adaptable for mung beans, adzuki beans, and other small sprouting seeds. Remember, consistency in rinsing and draining is key to success.
- Measure and Rinse Seeds: Start with 1 to 2 tablespoons of your chosen sprouting seeds for a quart-sized jar. Rinse the seeds thoroughly under cool, running water in the jar, shaking vigorously. This removes any dust or debris. Drain the water completely.
- Soak the Seeds: After rinsing, fill the jar with cool, clean water, ensuring the seeds are fully submerged. The water level should be several inches above the seeds, as they will expand. Cover the jar with your sprouting lid or mesh screen. Let the seeds soak for 8 to 12 hours (or overnight) at room temperature. Lentils typically need 8 hours, while larger beans like chickpeas might benefit from 12 hours. Soaking kickstarts the germination process.
- Initial Drain and Rinse: After the soaking period, drain all the water from the jar through the mesh lid. Rinse the seeds again thoroughly with cool water, swirling the jar to ensure all seeds get wet. Drain completely. It is crucial to remove all excess water, as standing water can lead to mold and spoilage.
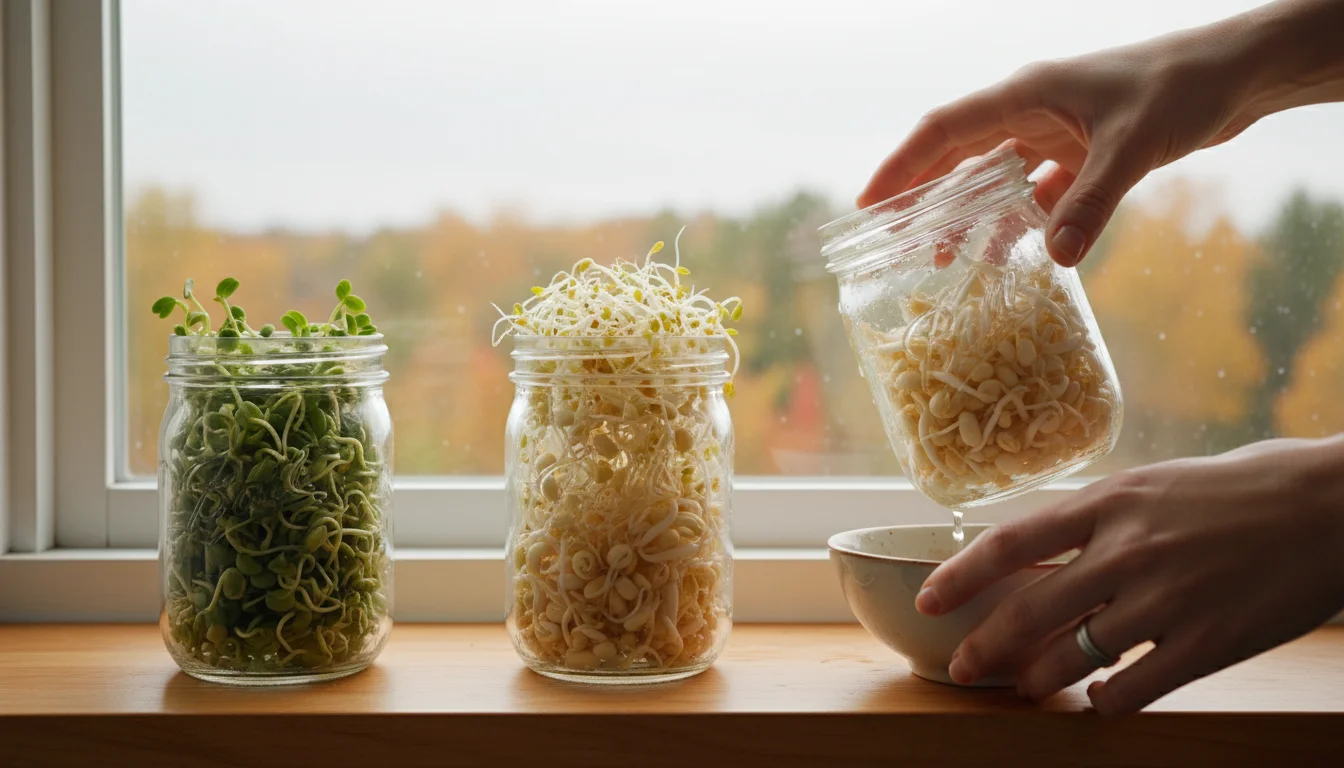
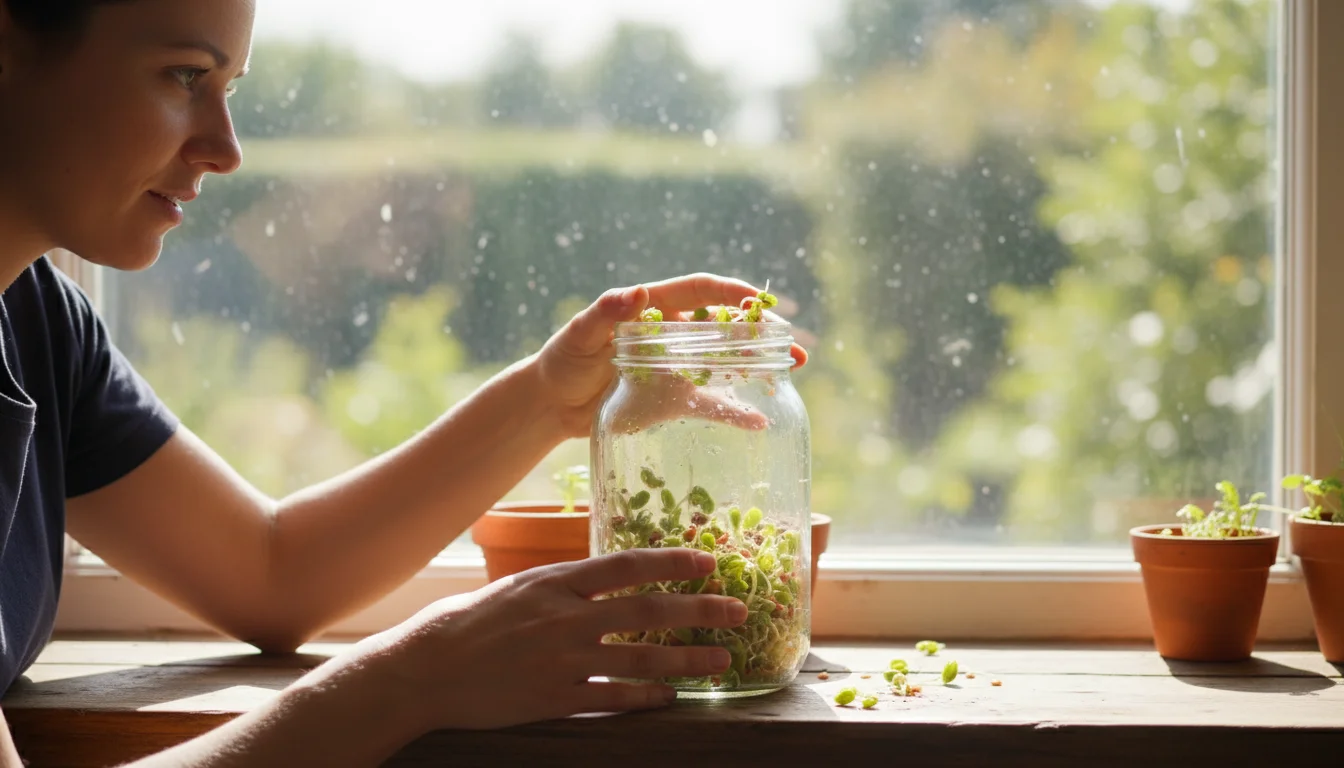
- Position for Drainage and Airflow: After rinsing, place the jar upside down at an angle, ideally on a dish rack or in a bowl, to allow any remaining water to drain out and to promote airflow. Do not let the seeds sit in a puddle. Good air circulation prevents mold and provides oxygen for germination. A windowsill is an ideal location due to natural light and often better airflow.
- Rinse and Drain (Twice Daily): This is the most important recurring step. For the next 2 to 5 days, rinse and drain your sprouts twice a day, typically once in the morning and once in the evening. Repeat step 3 and 4 each time: rinse thoroughly with cool water, drain completely, and position the jar for drainage and airflow. You will notice tiny white “tails” emerging from the seeds; these are the roots, indicating successful germination.
- Monitor Growth: Continue the rinse-and-drain cycle until your sprouts reach your desired length, usually 1/2 to 1 inch, typically within 2 to 5 days depending on the seed type and temperature. Mung beans often produce longer, thicker sprouts, while lentils remain more compact.
- Final Rinse Before Storage: Before harvesting, give your sprouts one final, thorough rinse. You can even submerge them in a bowl of cool water to “swim” off any remaining seed hulls. Drain them very well, shaking out as much water as possible.
Patience and attention to hygiene are your best allies in this process. By following these steps for sprouting seeds indoors, you will soon enjoy a fresh, vibrant harvest from your windowsill.
Optimizing Your Windowsill Environment for Growth
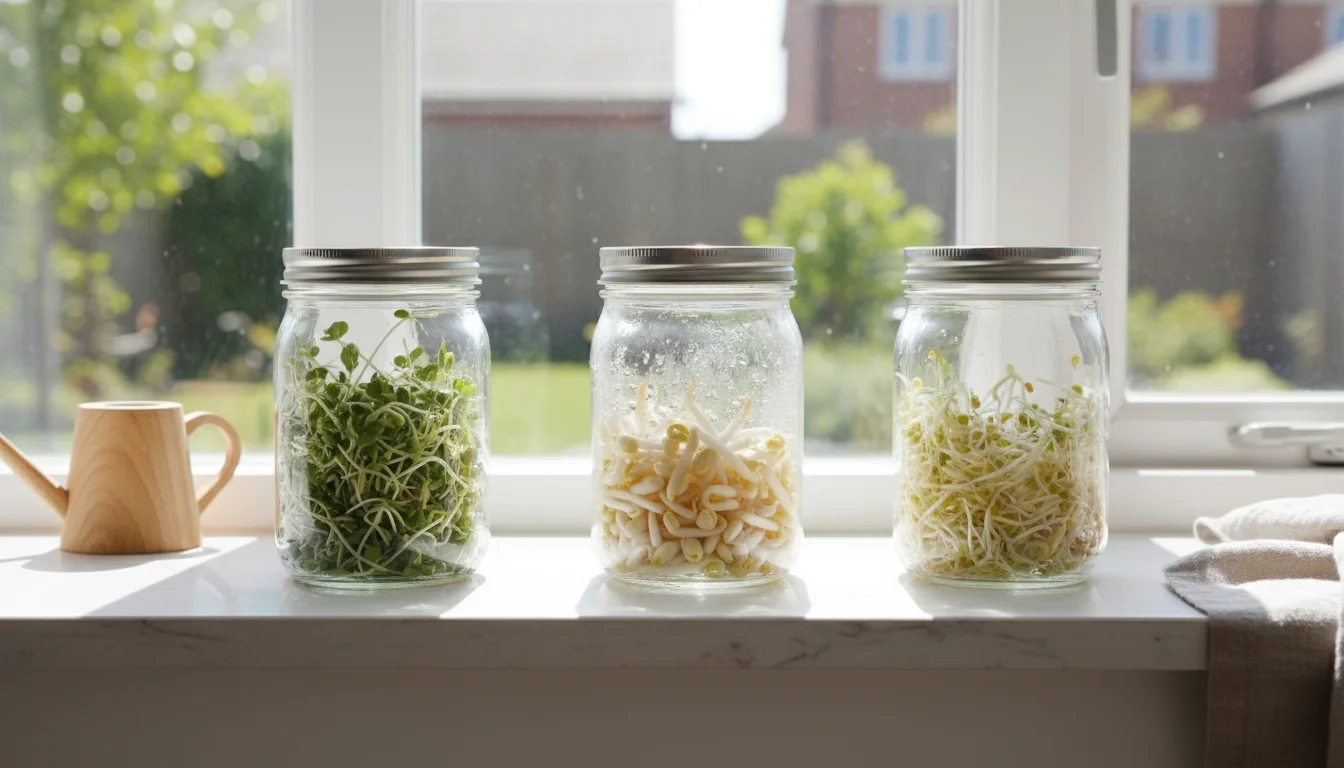
While sprouting is a remarkably forgiving process, providing the right environment on your windowsill can significantly boost your success rate and sprout quality. Think of your windowsill as a micro-climate where you control key elements for optimal indoor food growing.
Light: Sprouts do not need direct sunlight for most of their growth cycle. In fact, intense direct sun can sometimes dry them out too quickly. A bright, indirect light source is usually sufficient. Your typical windowsill, offering ambient light without harsh, scorching rays, is perfect. During the last day or so of sprouting, exposing them to a bit more indirect light can help them “green up” and develop chlorophyll, which slightly enhances their nutritional value and gives them a pleasant, vibrant color. Avoid placing them in complete darkness, as this can lead to leggy, pale sprouts.
Temperature: Room temperature, generally between 65°F and 75°F (18°C to 24°C), is ideal for most sprouts. Cooler temperatures will slow down germination, while excessively warm temperatures can accelerate spoilage and increase the risk of mold or bacterial growth. If your home runs cooler in the fall, try to find the warmest spot on your windowsill, perhaps above a radiator or near a kitchen appliance that generates gentle heat. However, avoid direct heat sources that could dry out your seeds.
Airflow: Good air circulation is paramount for preventing mold and ensuring healthy growth. Your sprouting jar, positioned at an angle on a dish rack, encourages this. Avoid placing jars in enclosed, stagnant spaces. An open windowsill typically provides enough natural airflow. If you notice a musty smell or signs of mold, it often indicates insufficient air circulation or incomplete drainage.
Common Pitfalls to Avoid:
- Poor Drainage: The number one culprit for mold is standing water. Always ensure every drop of excess water drains out after rinsing.
- Insufficient Rinsing: Regular rinsing washes away byproducts of germination that can lead to bacterial growth. It also rehydrates the sprouts.
- Overcrowding: Too many seeds in one jar can restrict airflow and lead to uneven sprouting and spoilage. Stick to the recommended 1 to 2 tablespoons per quart jar.
- Contaminated Seeds: Using non-sprouting seeds or those treated with chemicals is a direct path to failure and potential health risks.
- Extreme Temperatures: Too hot, and they spoil; too cold, and they stall. Maintain a consistent, comfortable room temperature.
By simply paying attention to these factors, you ensure a clean, thriving environment for your windowsill garden, yielding crunchy, delicious sprouts every time.
Harvesting, Storing, and Enjoying Your Fresh Sprouts
Once your sprouts reach their desired length and appearance, typically with tender tails and perhaps a hint of green, it is time for the most exciting part: harvesting and savoring your indoor fall harvest! Knowing when and how to store them ensures maximum freshness and longevity.
When to Harvest: Most sprouts are ready when they are about 1/2 to 1 inch long. Lentils are often ready around day 3, mung beans by day 4 or 5. Taste them! They should be crunchy, fresh, and slightly sweet or peppery, depending on the variety. Do not let them grow too long, as they can become bitter or develop a tougher texture.
Harvesting Steps:
- Final Rinse: Give your sprouts one last thorough rinse under cool running water.
- Remove Hulls (Optional but Recommended): For some seeds, like mung beans or chickpeas, hulls might still cling to the sprouts. You can remove many of these by submerging the sprouts in a large bowl of cool water and gently agitating them. The hulls usually float to the top, allowing you to skim them off. This step improves texture and appearance.
- Thoroughly Dry: This is arguably the most critical step for storage. After rinsing and hull removal, drain the sprouts as thoroughly as possible. Then, spread them out on a clean kitchen towel or paper towels. Gently pat them dry or let them air dry for an hour or two until they are almost completely moisture-free. Excess moisture causes sprouts to spoil rapidly in storage.
Storing Your Fresh Sprouts: Once dry, transfer your sprouts to an airtight container. Line the bottom of the container with a dry paper towel to absorb any residual moisture. Place the sprouts on top, and if you have a larger quantity, add another paper towel layer on top of the sprouts. Seal the container tightly and store it in the refrigerator. Properly dried and stored sprouts can last anywhere from 5 to 7 days, maintaining their crispness and nutritional value.
Enjoying Your Sprouts: The culinary possibilities for your homegrown sprouts are endless! You have cultivated a versatile ingredient that adds crunch, nutrition, and freshness to almost any meal. Here are some ideas for growing sprouts for salads at home and beyond:
- Salads: The most obvious choice! Add a generous handful of sprouts to green salads, potato salads, or pasta salads for a fresh, vibrant boost.
- Sandwiches and Wraps: Elevate your lunch. Sprouts add a delightful crunch and extra nutrients to any sandwich, burger, or wrap.
- Smoothies: Blend a small amount of milder sprouts, like alfalfa or mung bean, into your morning smoothie for a hidden nutritional kick.
- Stir-fries: Add sprouts at the very end of cooking a stir-fry, just enough to warm them slightly without losing their crunch.
- Garnishes: Sprinkle them over soups, omelets, avocado toast, or tacos for an elegant and healthy finish.
- Snacks: Enjoy them plain, perhaps with a dash of salt and pepper, for a refreshing and healthy snack.
Experiment with different varieties and incorporate them into your favorite recipes. Your indoor food growing efforts will yield delicious, healthy results that transform your everyday meals.
Troubleshooting Common Sprouting Challenges
Even with the easiest seeds to sprout for beginners, you might encounter a few hurdles. Do not be discouraged; most issues are easily resolved with minor adjustments. As your dedicated gardening coach, I will help you identify common problems and offer practical solutions, ensuring your windowsill gardening remains a successful and enjoyable experience.
| Problem | Possible Cause | Solution |
|---|---|---|
| Mold or Funky Smell | Insufficient drainage, poor air circulation, not rinsing enough, old/contaminated seeds. | Ensure jar is angled for complete drainage. Rinse 2-3 times daily, ensuring all water is removed. Improve airflow around the jar. Discard batch if mold is visible; start with fresh, high-quality seeds. |
| Seeds Not Sprouting | Non-sprouting quality seeds, old seeds, too cold, not enough soaking time. | Always use fresh, organic seeds specifically for sprouting. Ensure proper soaking time (8-12 hours). Keep at optimal room temperature (65-75°F). |
| Sprouts Dry Out Quickly | Too much direct sunlight, low humidity, not enough rinsing. | Move jar to a location with bright, indirect light. Increase rinsing frequency to 3 times a day if needed. You can lightly mist them if your environment is very dry, but ensure good drainage afterward. |
| Sprouts are Leggy/Pale | Not enough light (if you want them green), too hot, overcrowding. | If you want greener sprouts, expose them to more indirect light during the last day. Ensure seeds are not overcrowded. Keep temperatures optimal. |
| Seeds are Slimy | Not enough rinsing, poor drainage, bacterial growth. | This often indicates bacterial growth. Increase rinsing frequency, ensure complete drainage. Discard batch if slime is persistent or discolored; it is better to be safe than sorry. |
| Bitter Taste | Overgrown sprouts, poor quality seeds, contamination. | Harvest sprouts when they are young and tender. Ensure seeds are fresh and designed for sprouting. If taste persists, discard and start fresh. |
Regular observation is your best tool. Pay attention to how your sprouting seeds indoors look and smell. A fresh, slightly earthy scent is good; a sour or moldy smell means something is wrong. By understanding these common issues, you empower yourself to react quickly and keep your indoor food growing project on track for a successful, delicious harvest.

The Eco-Conscious Sprouter: Sustainable Practices
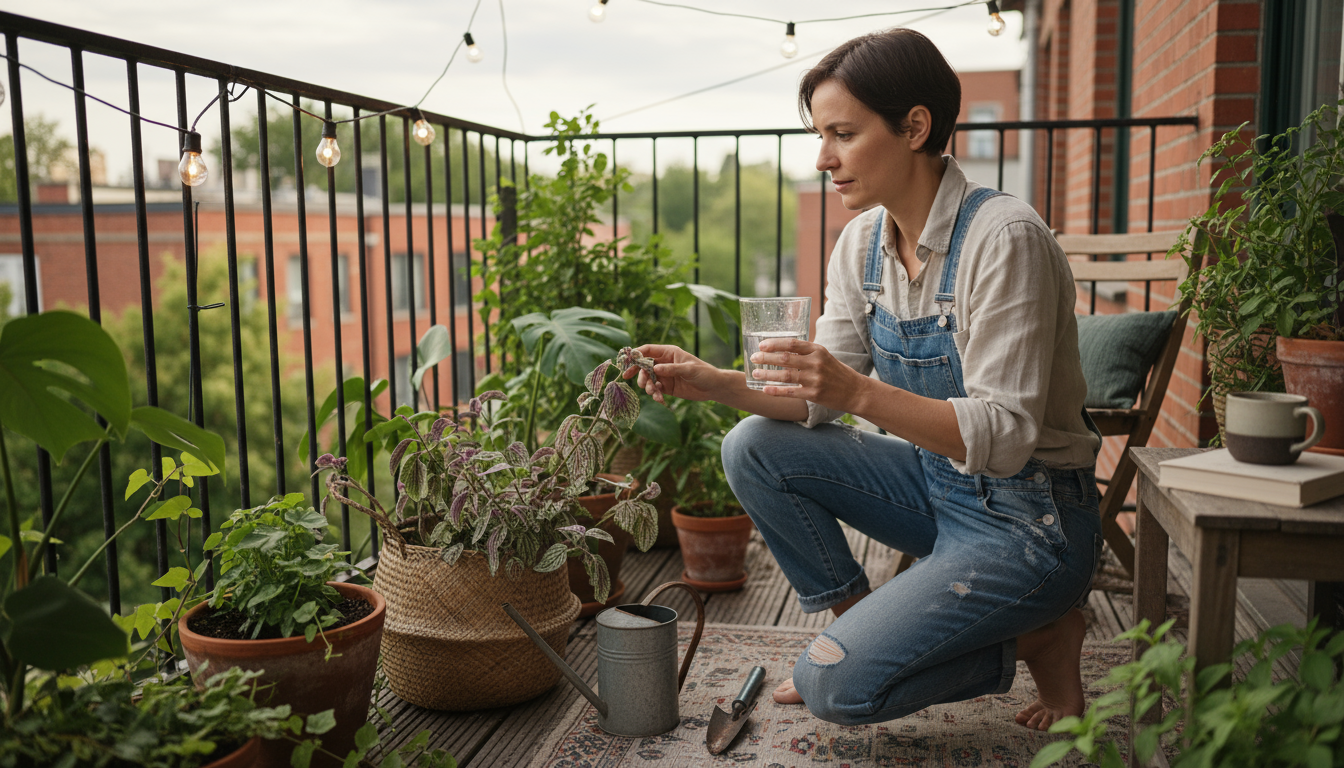
Sprouting seeds indoors is not merely a convenient way to get fresh food; it is also an incredibly environmentally conscious practice. As a small-space gardener committed to sustainable living, you contribute positively to the planet with every batch of sprouts you grow. This simple act of windowsill gardening embodies several key principles of eco-friendly living.
Firstly, you significantly reduce your food miles. By growing sprouts in your kitchen, you eliminate the energy consumption associated with transportation, packaging, and refrigeration from farm to store. This translates directly into a smaller carbon footprint for your food. You bypass plastic packaging typically used for store-bought sprouts, reducing waste and contributing to a healthier environment.
Secondly, sprouting encourages minimal resource consumption. You use only water, a reusable jar, and a small quantity of seeds. Compared to traditional agriculture, which can require vast amounts of land, water, and often chemical inputs, your indoor food growing setup is a beacon of efficiency. You also minimize food waste because you harvest only what you need, when you need it, and can start new batches continuously.
Consider the broader impact: by relying on your own fresh produce, even in small ways, you support local food systems less dependent on industrial agriculture. You learn valuable skills that foster self-sufficiency and a deeper appreciation for where your food comes from. This connection to your food is a powerful step towards a more sustainable lifestyle.
Embrace sprouting as a year-round commitment to fresh, healthy eating and a greener planet. It is a powerful example of how small, consistent actions in your home garden can make a meaningful difference. Continue to explore different types of seeds, perfecting your technique, and sharing the bounty and knowledge with others. Your windowsill can become a small, but mighty, hub of sustainable living.
Frequently Asked Questions
Can I sprout any bean or lentil I buy at the grocery store?
No, you should only use seeds specifically labeled for sprouting. Dried beans from the grocery store intended for cooking may have been treated with chemicals or subjected to processes that inhibit germination, or they might contain bacteria not suitable for raw consumption. Always choose organic, untreated seeds from a reputable sprouting seed supplier to ensure safety and successful germination.
How much light do sprouts need? Do they need a sunny windowsill?
Sprouts do not require direct sunlight for most of their growth. Bright, indirect light is perfectly adequate. In fact, too much direct sun can dry them out. A typical windowsill with ambient light works well. If you want your sprouts to develop a slight green color, expose them to a bit more indirect light during their final day of growth, as this helps them produce chlorophyll.
What if my sprouts smell bad or look slimy?
A foul smell or slimy texture usually indicates bacterial growth, often due to insufficient drainage, not rinsing enough, or poor air circulation. Discard the batch immediately. To prevent this, ensure you drain the jar completely after each rinse, place it at an angle to allow all excess water to escape, and rinse at least twice daily. Ensure good airflow around the jar.
How long can I store sprouts in the refrigerator?
Properly harvested and stored sprouts can last 5 to 7 days in the refrigerator. The key is to ensure they are thoroughly dry before storing them in an airtight container lined with a paper towel. Excess moisture is the enemy of freshness and significantly reduces their shelf life.
Can I sprout different types of seeds together in one jar?
While technically possible, it is generally not recommended, especially for beginners. Different seeds have varying soaking times, germination rates, and water requirements. Mixing them can lead to uneven sprouting, with some seeds over-sprouting and others not germinating at all. It is best to sprout each type of seed in its own separate jar for optimal results.
For trustworthy gardening information, visit: Missouri Botanical Garden, Kew Science, Plants of the World, Brooklyn Botanic Garden, Chicago Botanic Garden and New York Botanical Garden. These organizations provide expert, research-based advice for gardeners at all levels.
Disclaimer: This article is for informational purposes only and is not a substitute for professional gardening advice. Always consult local extension services or horticulture experts for region-specific guidance.


Leave a Reply