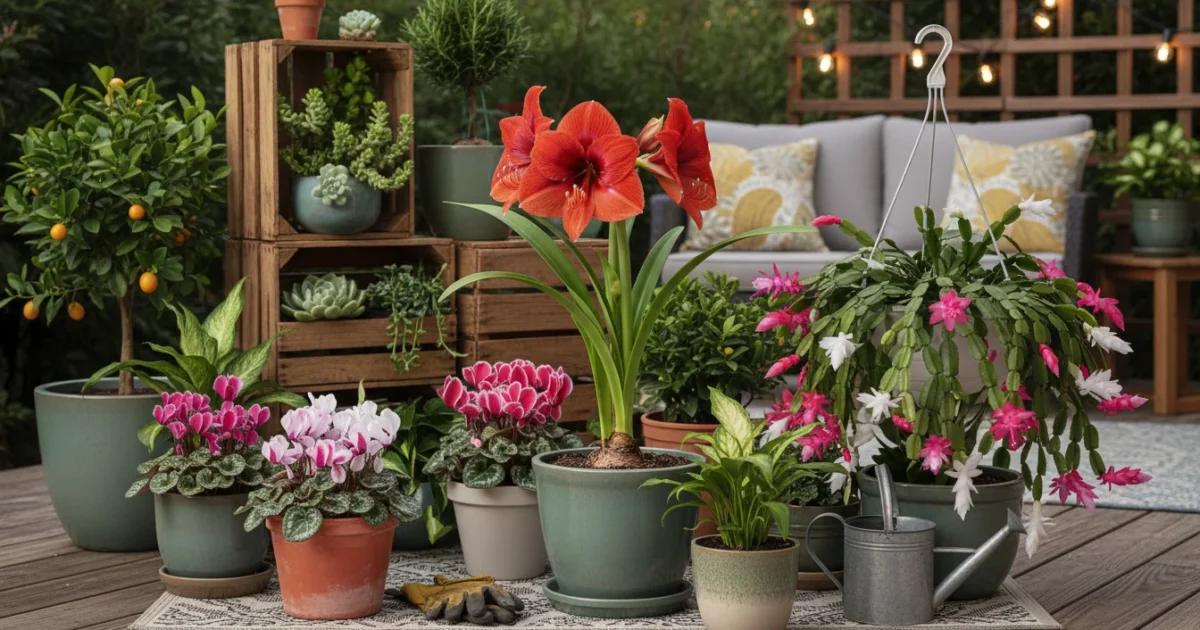
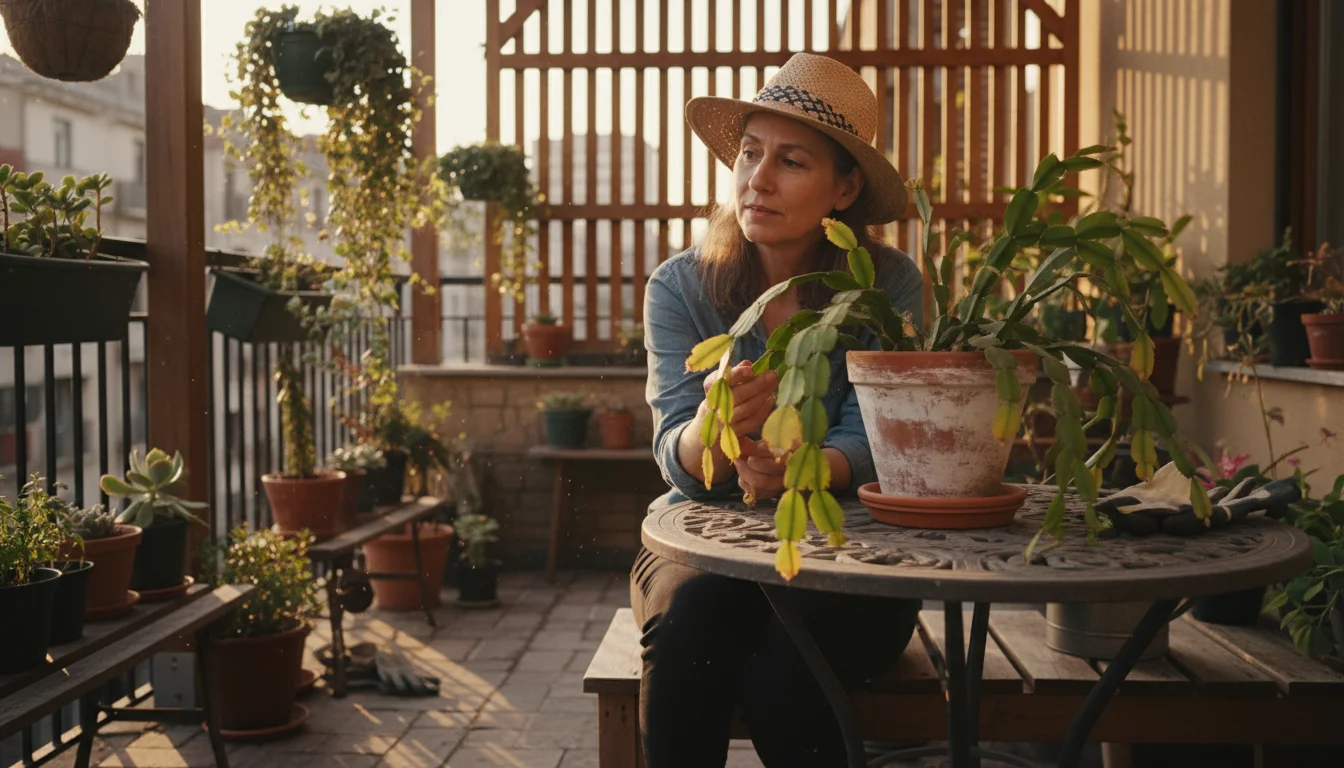
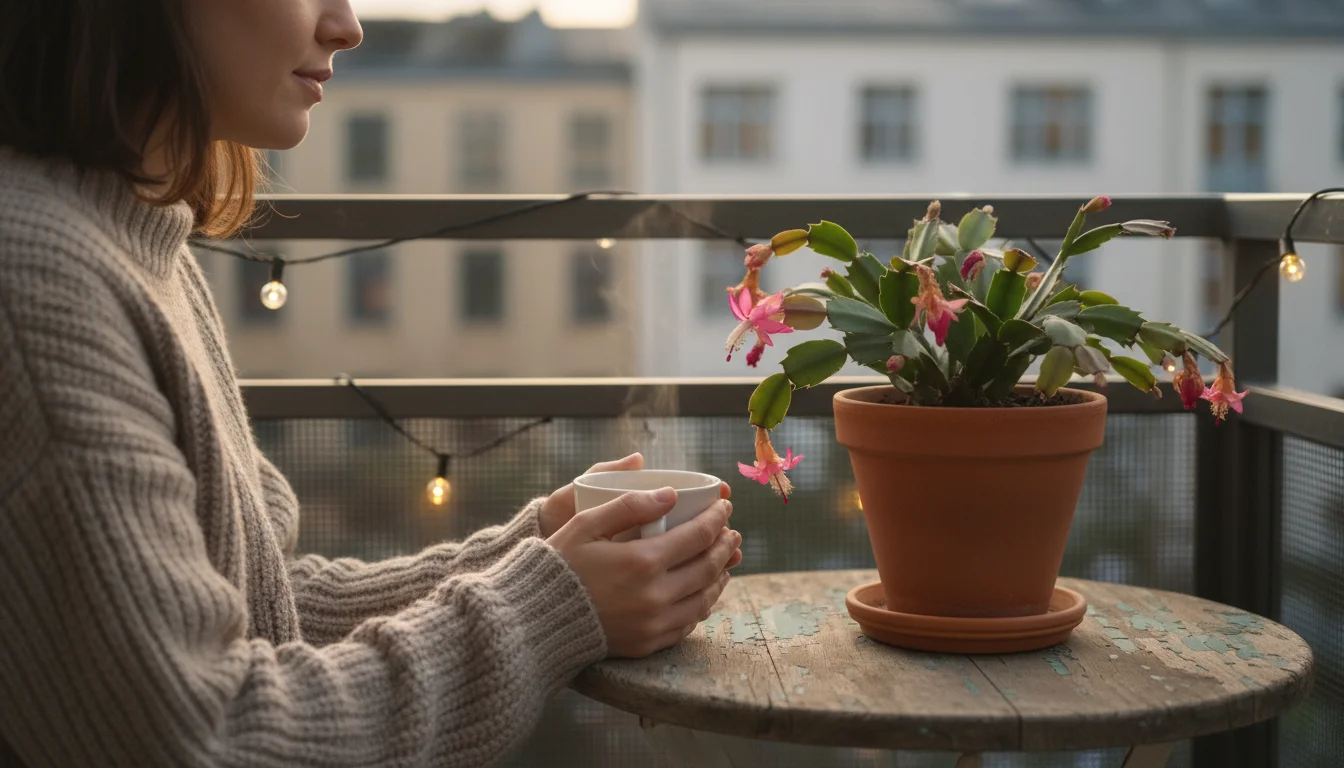
Holiday plants bring vibrant color and cheer into our homes, making them popular gifts. Often, these beautiful botanicals like Amaryllis and Christmas Cactus are seen as temporary decorations, destined for the compost heap once their blooms fade. You do not need to discard them, though. With a bit of know-how and consistent care, you transform these seasonal delights into long-lasting companions. SimpleGardenJoy.com helps you master the art of keeping holiday plants alive year round in an apartment or small space. Discover the practical, actionable insights you need to make your gifted holiday plants thrive well beyond January.
Understanding the specific needs of Amaryllis and Christmas Cactus empowers you to provide the right environment for their continued growth and re-blooming. These plants, while seemingly delicate, possess remarkable resilience. Your commitment to their after-care means you enjoy their beauty for many seasons to come. Let’s delve into the detailed strategies that ensure your Amaryllis and Christmas Cactus become cherished staples in your small garden.
Unlocking the Potential of Your Gifted Plants
Many people treat holiday plants as disposable décor, enjoying them for a few weeks before they decline. This perspective misses a fantastic opportunity for sustained gardening enjoyment. Amaryllis and Christmas Cactus are not annuals. They are perennial plants, meaning they live for more than two years, often much longer, if you give them appropriate care. You possess the power to nurture these plants into vibrant, recurring bloomers. Think of them as living investments in your small space, providing beauty year after year.
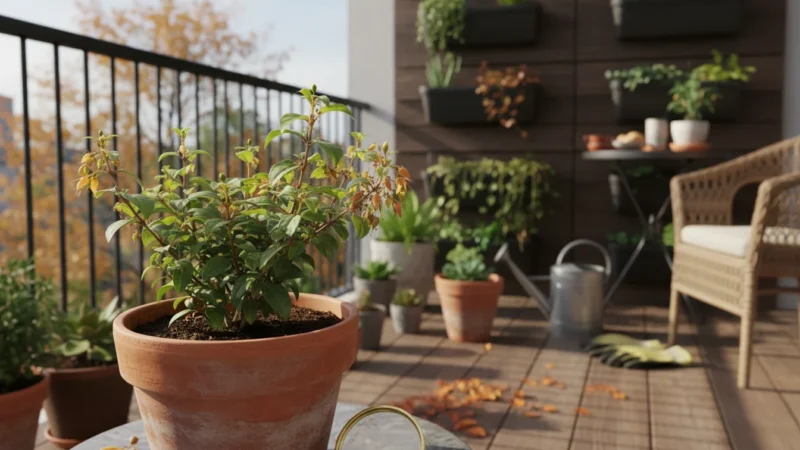
Managing these perennials is just one of many fall gardening tasks that help sustain a productive small-space garden.
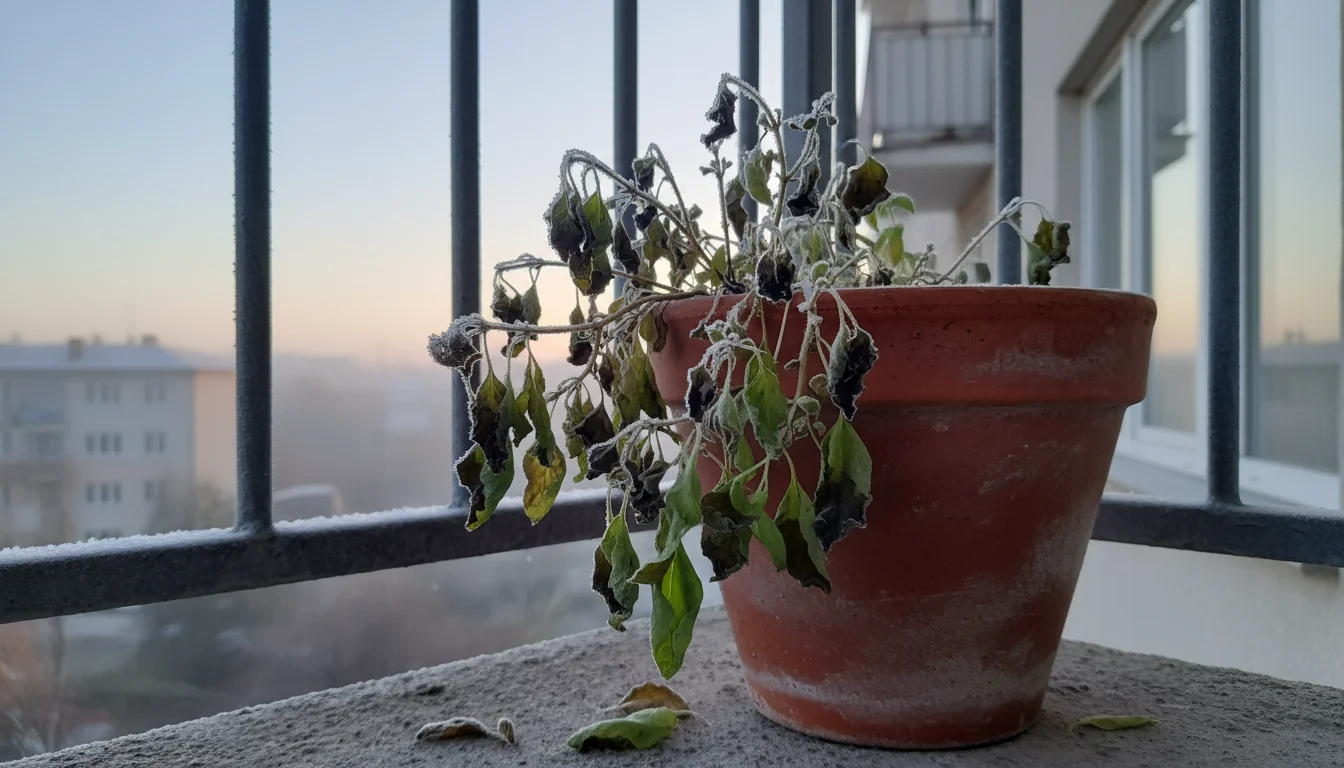
If you are transitioning outdoor pots inside for the season, it helps to understand the general principles of how to overwinter container plants safely.
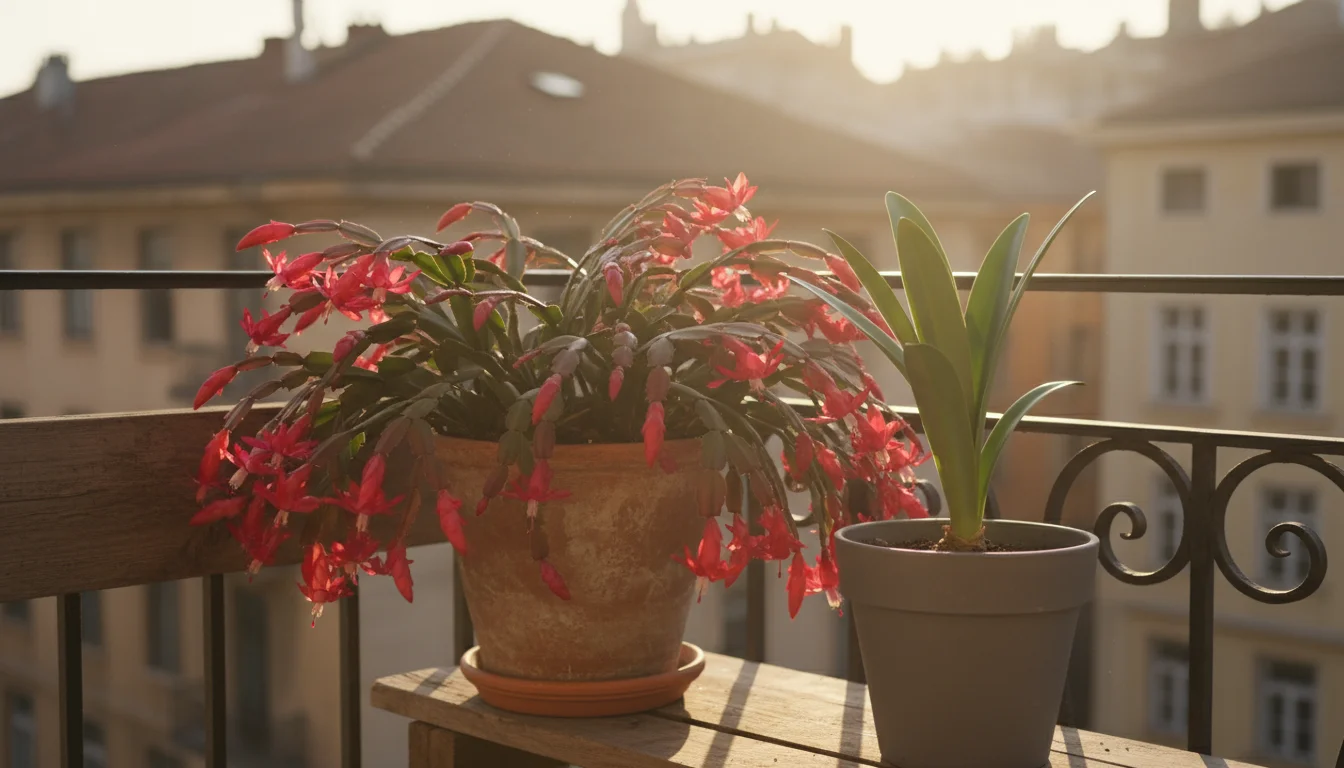
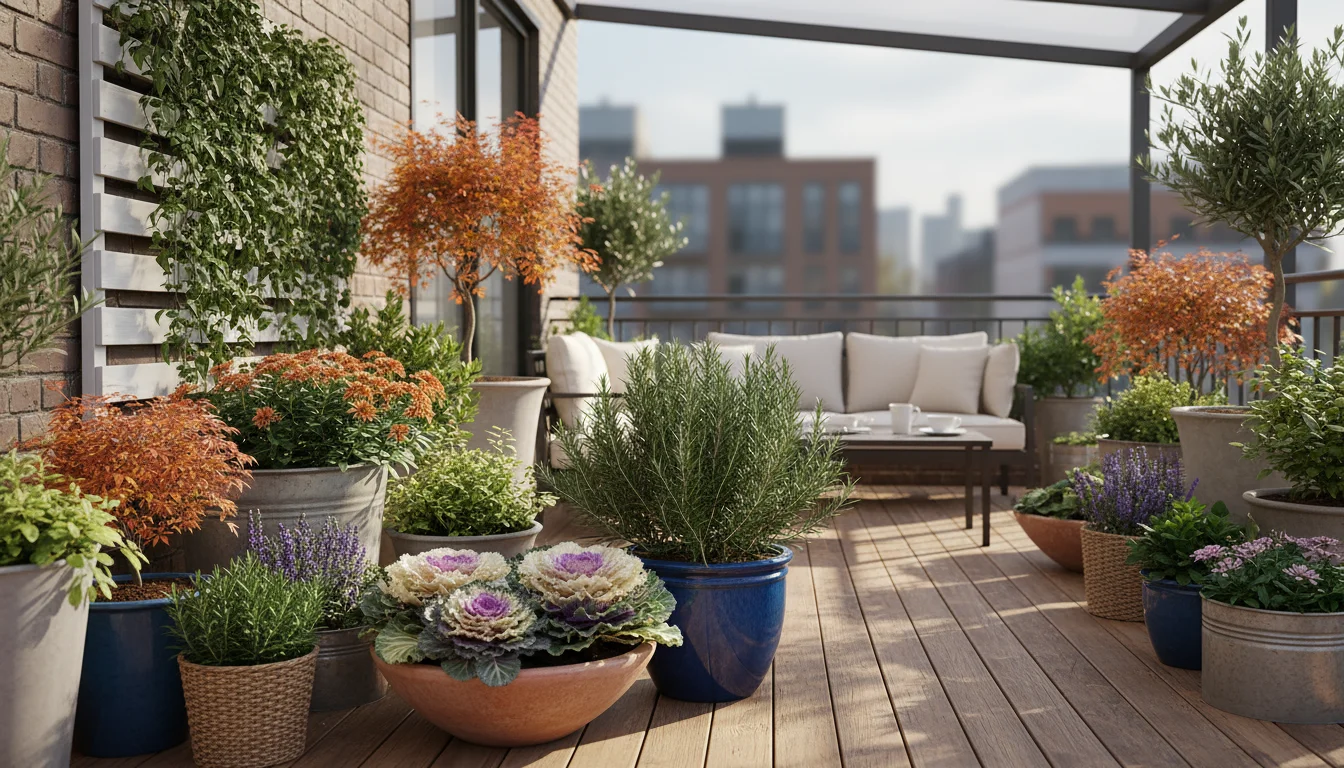
Your urban balcony, patio, or sunny windowsill offers the perfect stage for these plants to flourish. The key lies in understanding their natural cycles and replicating those conditions indoors. Both plants originate from different parts of the world, developing distinct needs. Amaryllis, a bulbous plant, requires a period of dormancy. Christmas Cactus, a succulent, thrives on specific light and temperature cues to set buds. Learning these fundamental differences forms the bedrock of successful long-term care for holiday plants.
Sustainable gardening practices extend to how you manage these gifted plants. Instead of buying new ones each year, you reduce your environmental footprint by encouraging re-blooming. This approach conserves resources and connects you more deeply with the natural world, even from your apartment. Your gardening journey with these plants becomes a rewarding cycle of growth, dormancy, and re-emergence, enriching your living space with enduring natural beauty.
Amaryllis After the Bloom: From Stalk to Storage
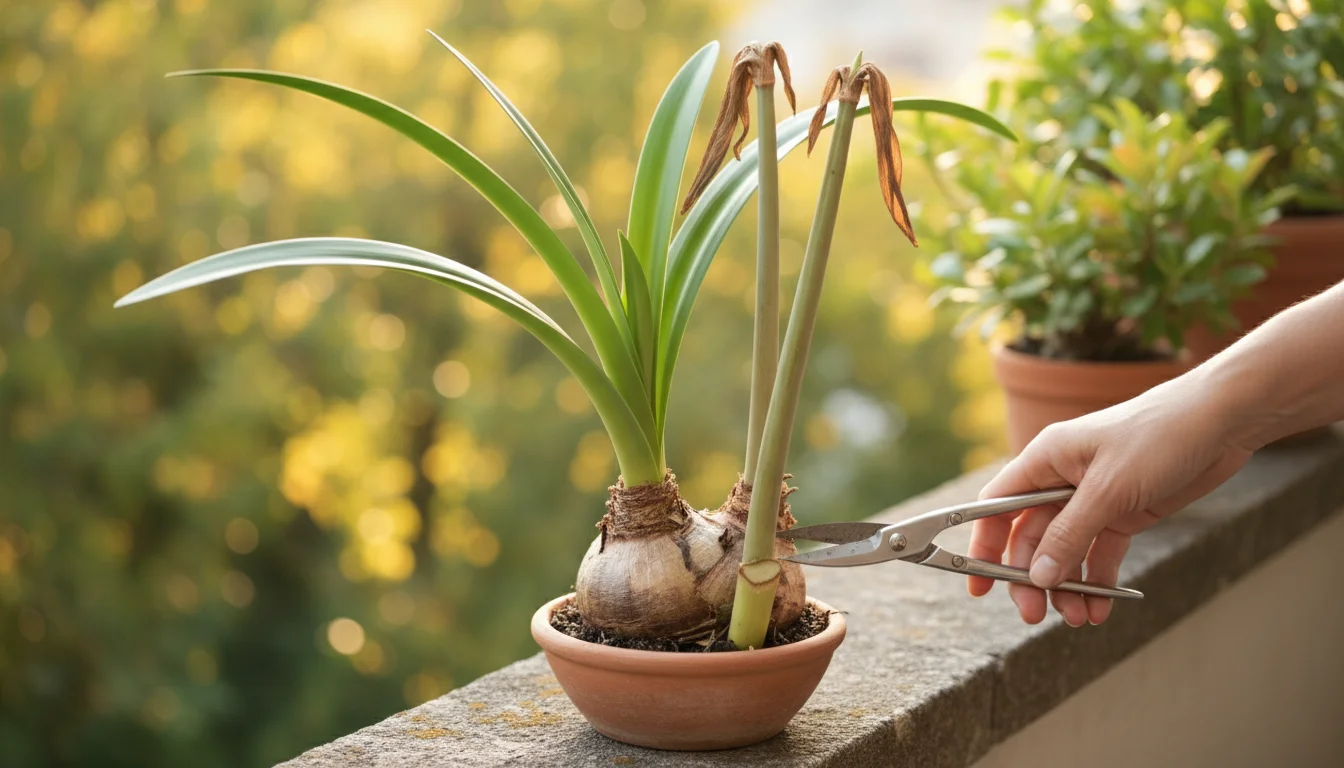
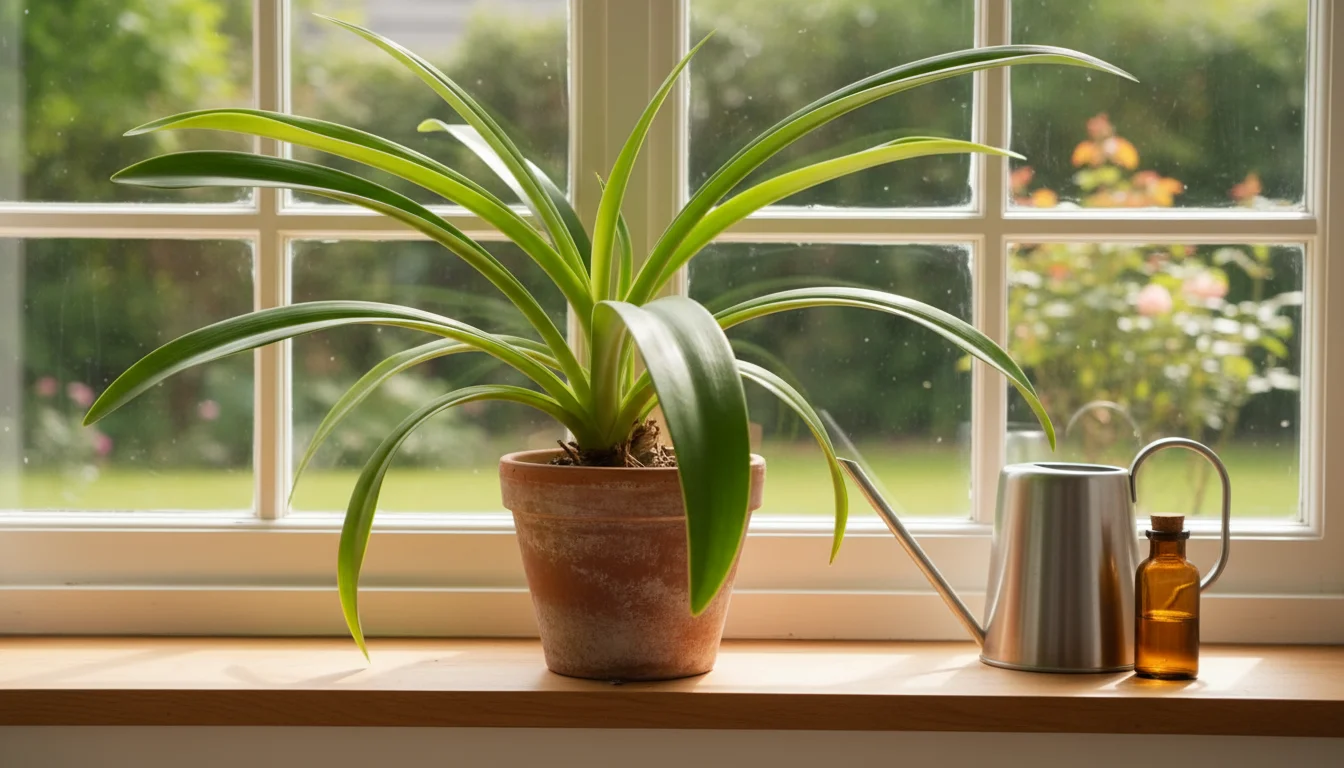
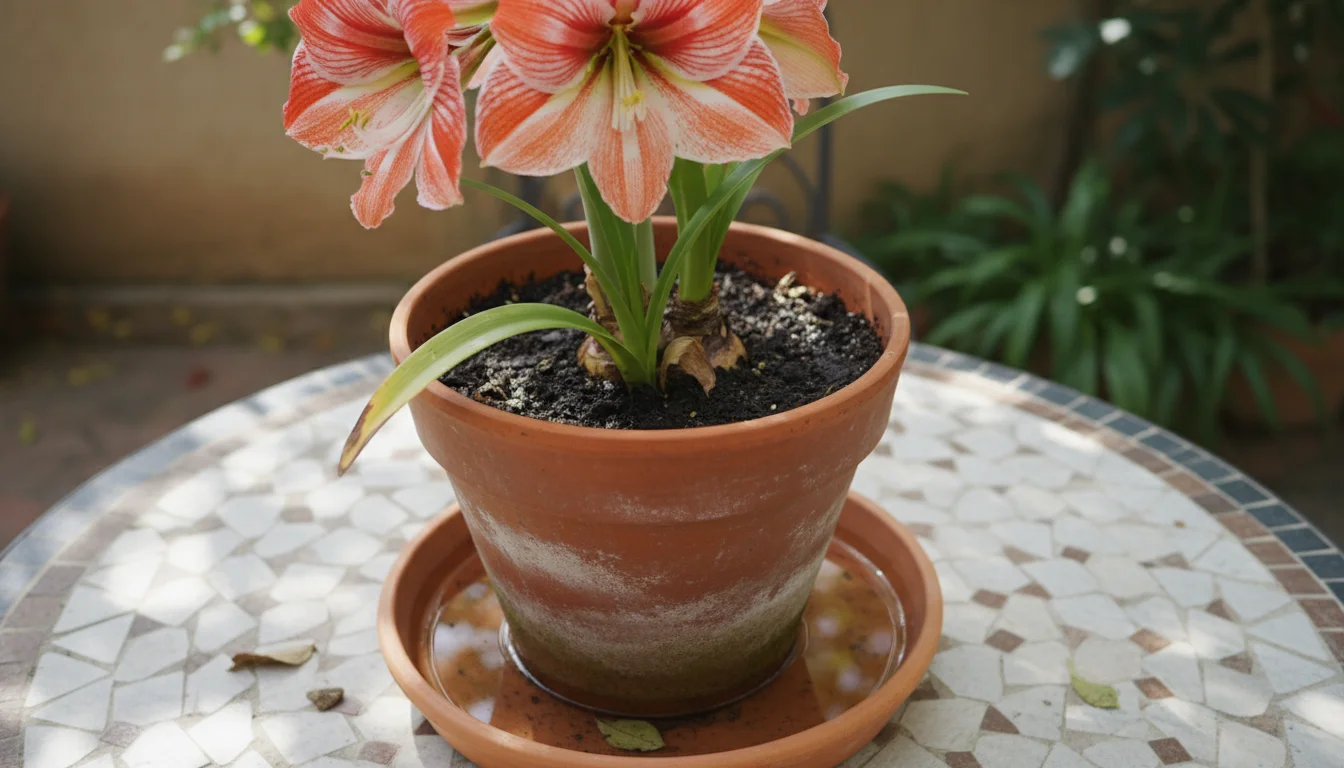
Your Amaryllis bulb delighted you with its spectacular, trumpet-shaped flowers. Now, the blooms have faded, and the flower stalk appears limp. Do not despair. This marks the beginning of the Amaryllis’s journey toward its next blooming season. Your immediate actions directly influence its future success. The goal at this stage is to preserve the bulb’s energy and encourage it to store nutrients for subsequent growth.
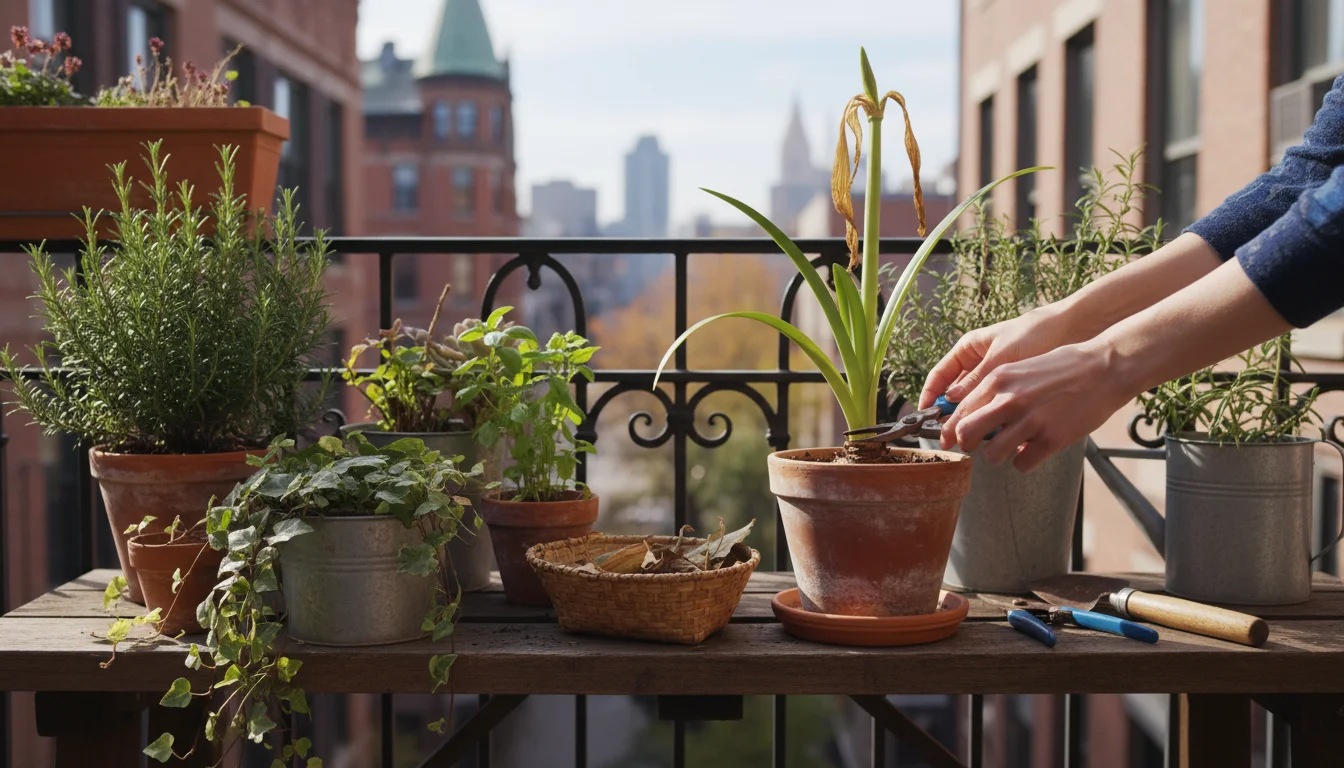
Removing Spent Flowers and Stalks
As each flower wilts, carefully snip it off to prevent the plant from wasting energy on seed production. Once all flowers on a stalk have faded, cut the entire flower stalk back to about an inch above the bulb. Use a clean, sharp knife or pruners for a clean cut, minimizing potential for disease. Leave any green foliage intact. These leaves are crucial for photosynthesis, the process by which the plant produces energy and stores it in the bulb.
Foliage Care: The Powerhouse Phase
After blooming, the Amaryllis enters its foliage growing phase. This is arguably the most critical period for future blooms. Position your Amaryllis in the brightest available light, ideally a south-facing window or outdoors in a partially shaded spot if temperatures permit (above 50°F or 10°C). The more light your plant receives, the more efficiently its leaves photosynthesize, producing the sugars and starches the bulb needs to grow larger and stronger.
- Watering: Water thoroughly when the top inch of soil feels dry to the touch. Ensure proper drainage; the pot must have drainage holes, and you should never let the pot sit in standing water. Overwatering leads to bulb rot.
- Fertilizing: Begin a regular feeding schedule using a balanced liquid fertilizer, such as a 10-10-10 or 20-20-20 formula, diluted to half strength. Apply every two to four weeks. This replenishes nutrients depleted during flowering and supports robust leaf growth. Continue this regimen through spring and summer.
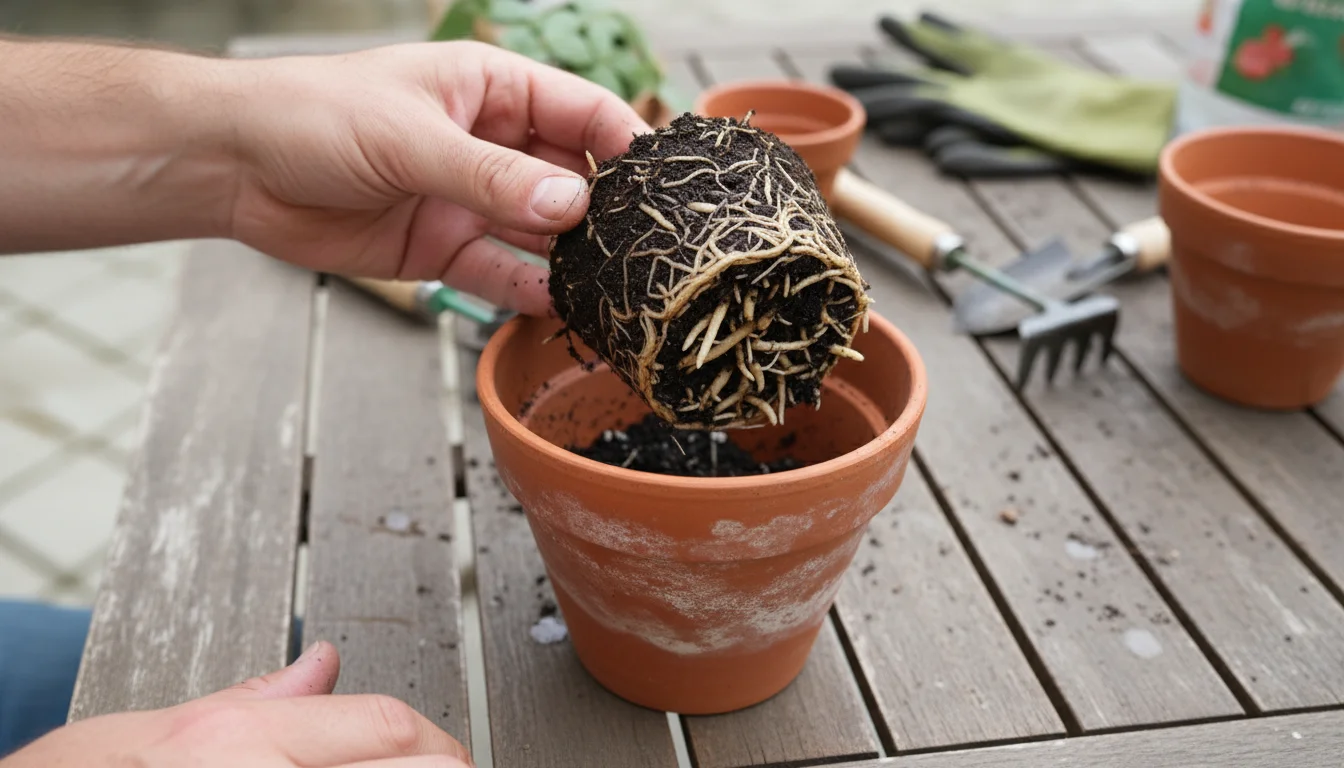
- Repotting: Amaryllis prefers to be somewhat root-bound. Only repot when the bulb outgrows its container or if the soil appears depleted. When repotting, use a pot only slightly larger than the bulb, ensuring the top third of the bulb remains exposed above the soil line. Fresh, well-draining potting mix is essential.
This active growing period typically lasts from late spring through late summer. During these months, your Amaryllis focuses all its energy on building a robust, healthy bulb. Strong foliage and consistent feeding are your best tools for encouraging future spectacular blooms.
Guiding Your Amaryllis to Rebloom: The Dormancy Cycle
The secret to continuous Amaryllis blooms lies in understanding and replicating its natural dormancy cycle. Without this resting period, the bulb will not gather the energy needed to produce new flower stalks. You initiate this process around late summer or early fall, typically in September or October.
This dormancy is a key concept often used when forcing bulbs indoors to achieve early spring blooms during the winter months.
Initiating Dormancy: A Step-by-Step Approach
Successfully encouraging your amaryllis to rebloom requires a specific sequence of actions:
- Stop Watering: In late summer, usually around August or September, gradually reduce your watering frequency. This signals to the plant that its active growing season is ending. Stop watering completely by mid-September.
- Cease Fertilizing: Discontinue all fertilization when you begin reducing water. The plant no longer needs external nutrients during its resting phase.
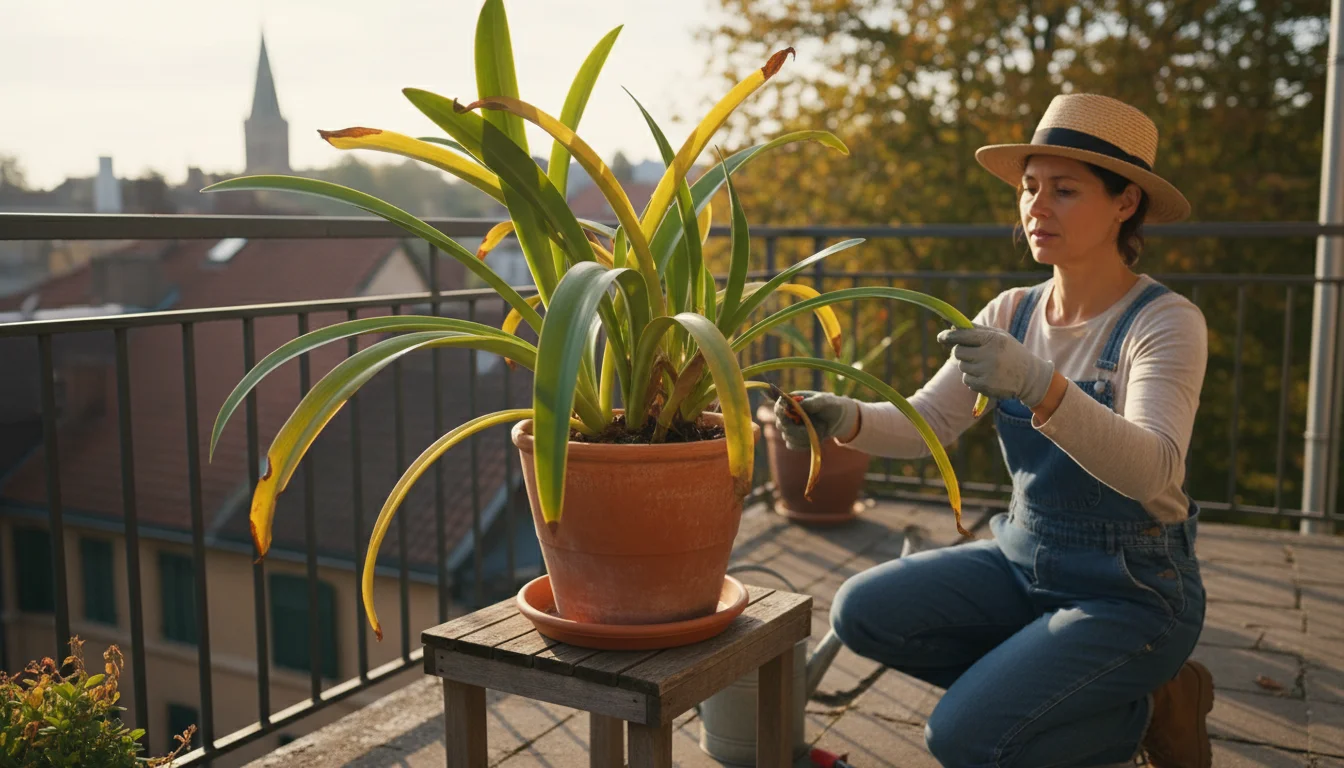
- Encourage Foliage Dieback: Allow the leaves to naturally yellow and wither. This process returns stored nutrients from the leaves back into the bulb. Do not cut the green leaves prematurely; they are still feeding the bulb.
- Trim Dead Foliage: Once the leaves have completely yellowed and dried, carefully cut them back to about 1-2 inches above the bulb.
- Store the Bulb: Move the potted bulb to a cool, dark, and dry location. An unheated closet, basement, or even a cool pantry works well. The ideal temperature range for dormancy is between 45°F and 55°F (7°C to 13°C). Do not water the bulb during this period.
- Dormancy Duration: The Amaryllis bulb requires a minimum of 8-10 weeks of dormancy. This resting period is crucial for the internal development of new flower buds. Mark your calendar so you know when to bring it out of storage.

Waking Your Amaryllis for Rebloom
After its required dormancy period, typically around November or December for winter blooms, it is time to wake your Amaryllis.
- Reposition: Bring the potted bulb out of storage. If you did not repot it earlier, gently remove the top inch of old soil and replace it with fresh potting mix.
- Begin Watering: Place the pot in a location with bright, indirect light. Water sparingly at first, just enough to moisten the soil. Avoid saturating it.
- Monitor for Growth: Within a few weeks, you should see a new flower stalk emerging from the top of the bulb. Once the stalk begins to grow, increase watering gradually, keeping the soil consistently moist but never soggy.
- Provide Bright Light: As the flower stalk develops, move the plant to a location with bright, direct light. This encourages strong, upright growth and vibrant blooms.
- Fertilize (Optional): You can begin a very light feeding regimen once the flower stalk is well-established, though many prefer to wait until after the plant has bloomed.
By following these steps, you actively guide your Amaryllis through its natural life cycle, preparing it for another magnificent display of flowers. This systematic approach ensures the bulb remains healthy and robust, year after year.
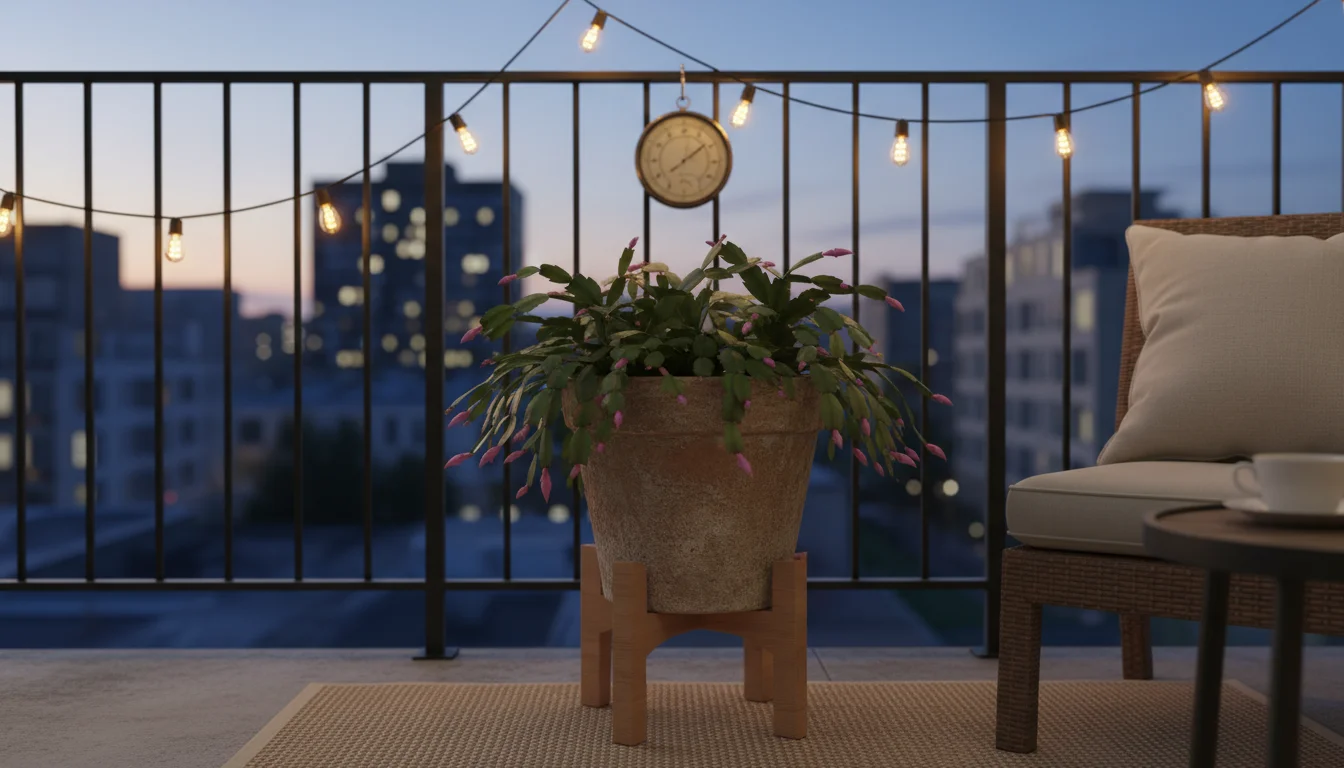
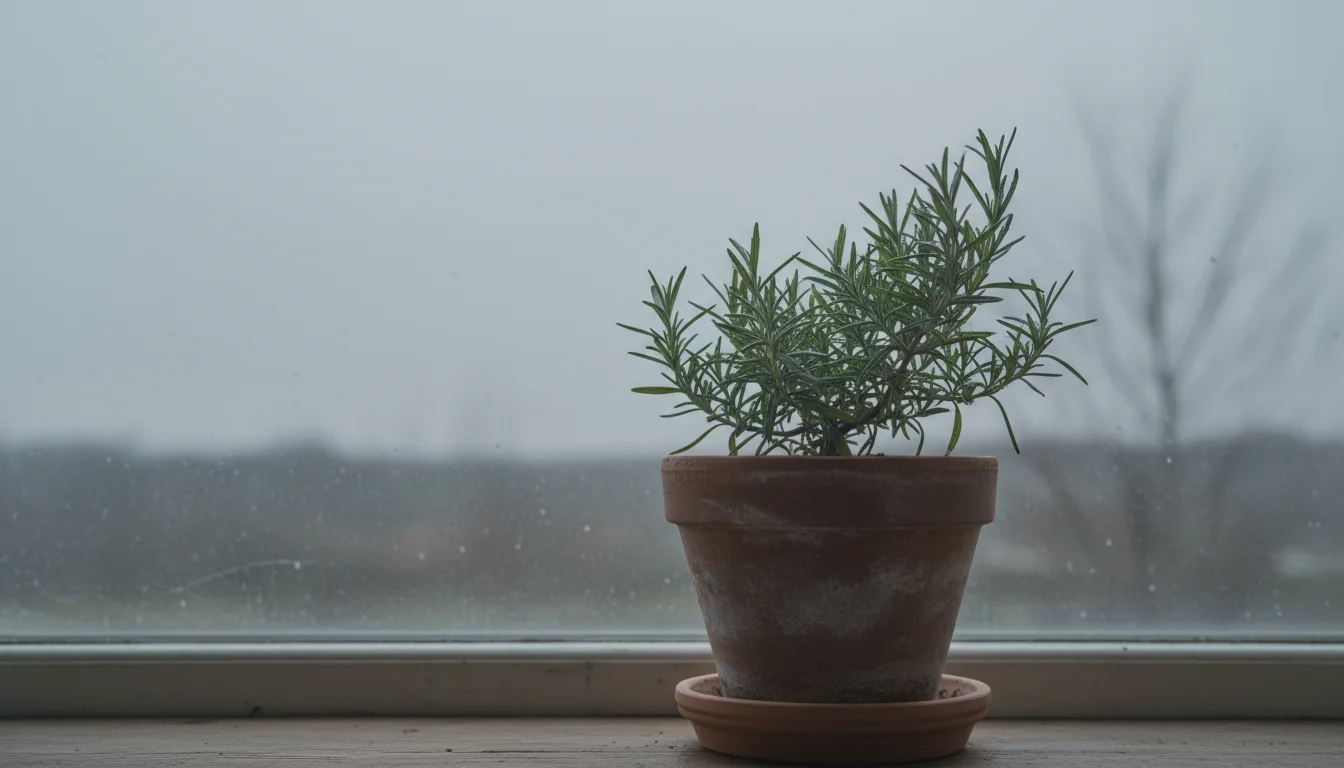
Christmas Cactus: Extending Its Festive Glow
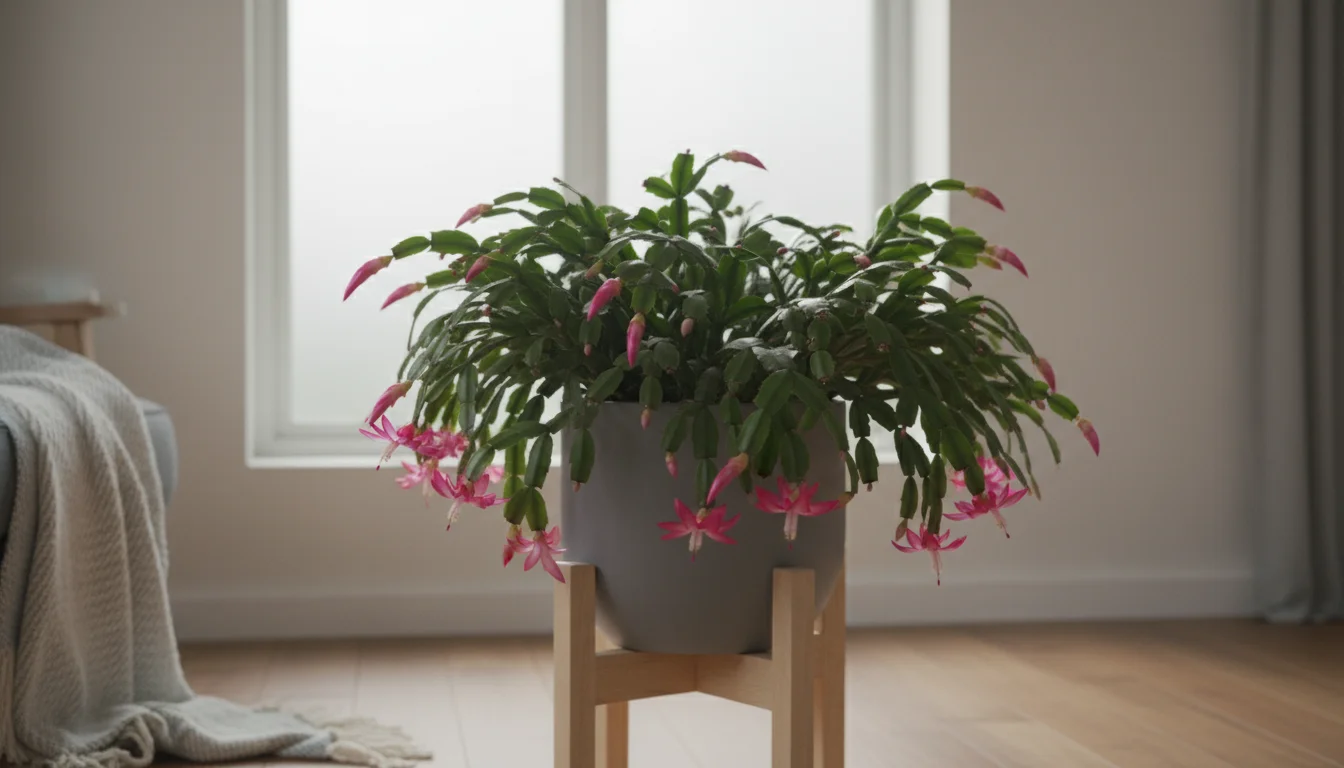
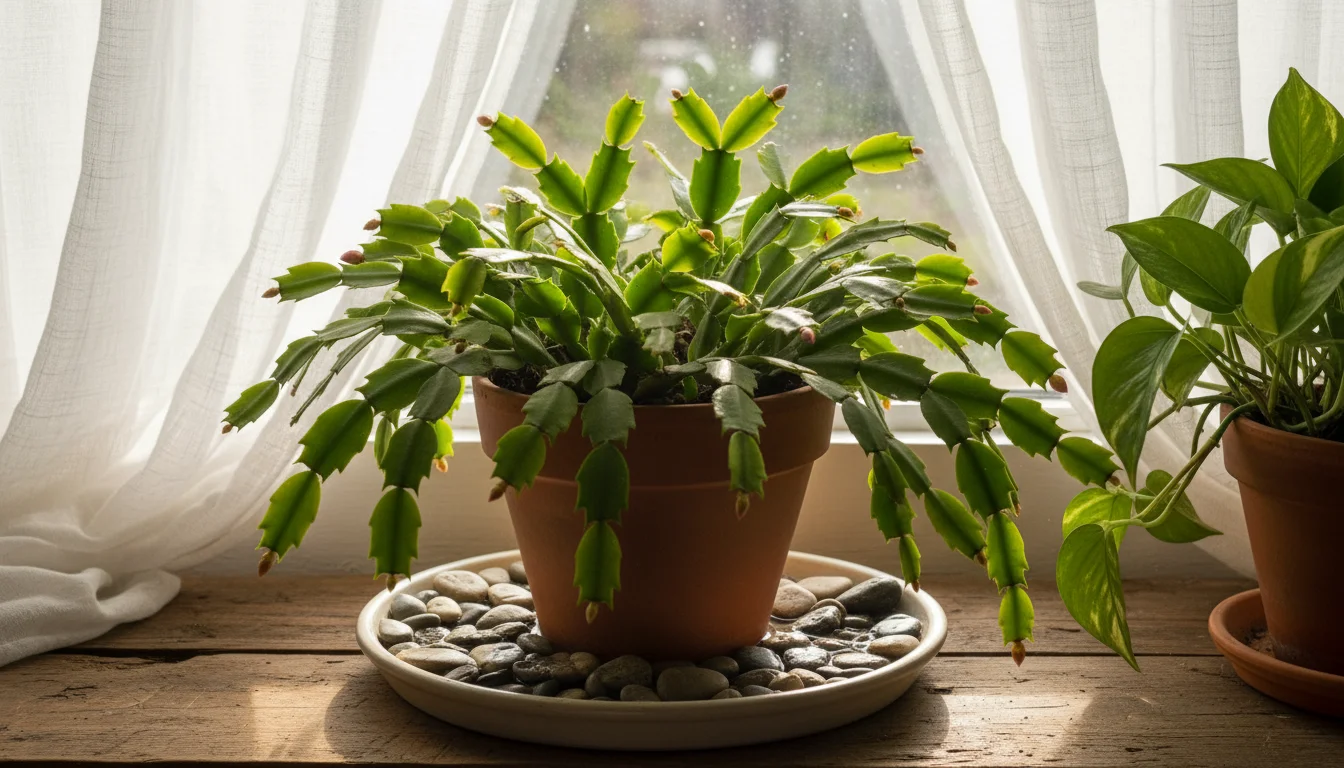
The Christmas Cactus, with its segmented, flat stems and delicate, brightly colored flowers, is a favorite holiday plant. Unlike desert cacti, it is an epiphyte, meaning it grows on other plants in its native rainforest environment. This distinction means its care requirements differ significantly from its desert relatives. You extend the festive glow of your Christmas Cactus far beyond the holiday season by understanding its specific preferences.
Maintaining proper humidity is a common challenge for these jungle-dwellers, much like keeping air plants alive in dry indoor air.
Nurturing these plants is a rewarding part of winter indoor gardening, allowing you to maintain a lush environment even when it is cold outside.
Initial Care After Blooming
Once your Christmas Cactus finishes its initial bloom, you shift its focus from flowering to vegetative growth. This period, usually late winter through spring, is crucial for developing strong, healthy stems that support future blooms.
- Light: Place your plant in bright, indirect light. East or north-facing windows are often ideal. Avoid intense, direct sunlight, especially in the afternoon, as this can scorch its leaves.
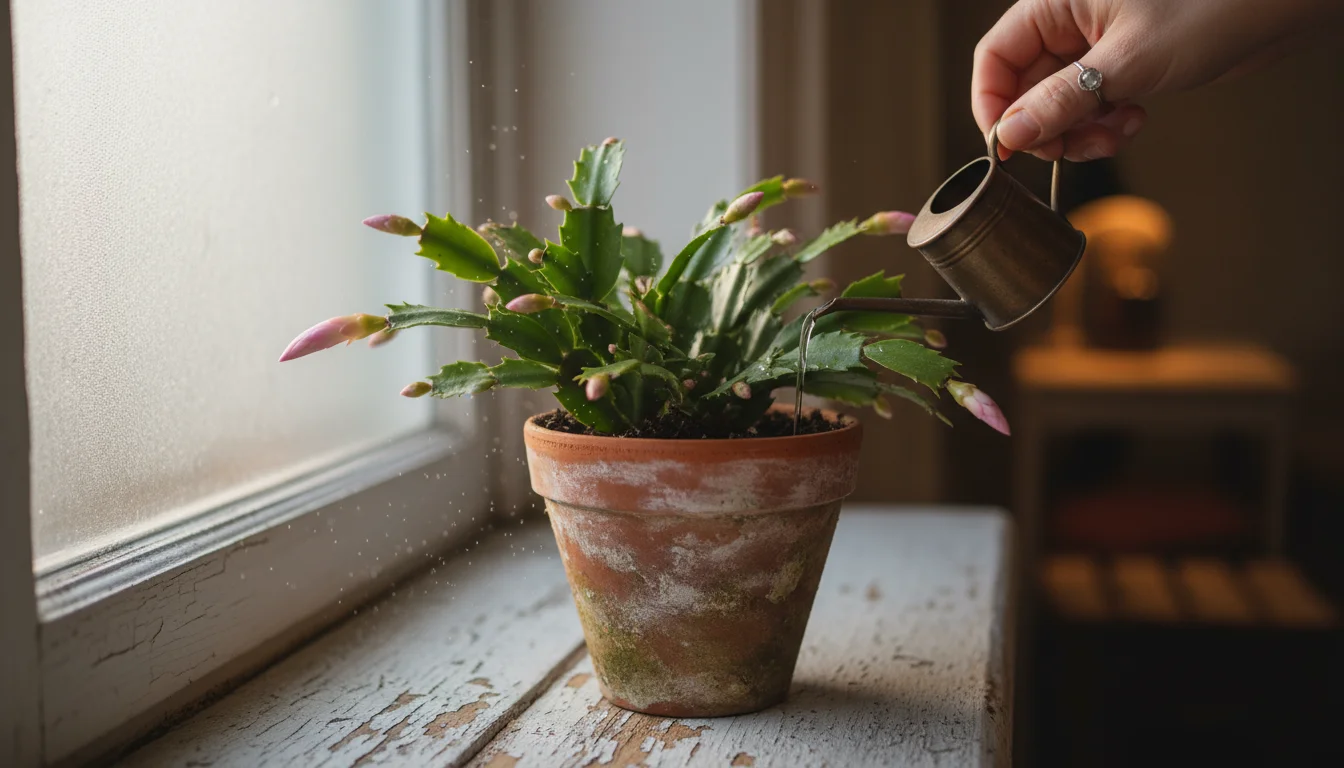
- Watering: Water when the top inch of soil feels dry. These plants prefer consistently moist soil but absolutely hate soggy conditions. Ensure the pot has excellent drainage.
- Humidity: Christmas Cacti thrive in higher humidity, mimicking their rainforest origins. Consider placing its pot on a pebble tray filled with water, or group it with other plants to create a microclimate. Humidifiers are also beneficial, especially in dry indoor environments.
- Fertilizing: Begin feeding your Christmas Cactus about a month after blooming finishes. Use a balanced liquid fertilizer, diluted to half strength, every two to four weeks. Continue this through spring and summer, the plant’s active growth period.
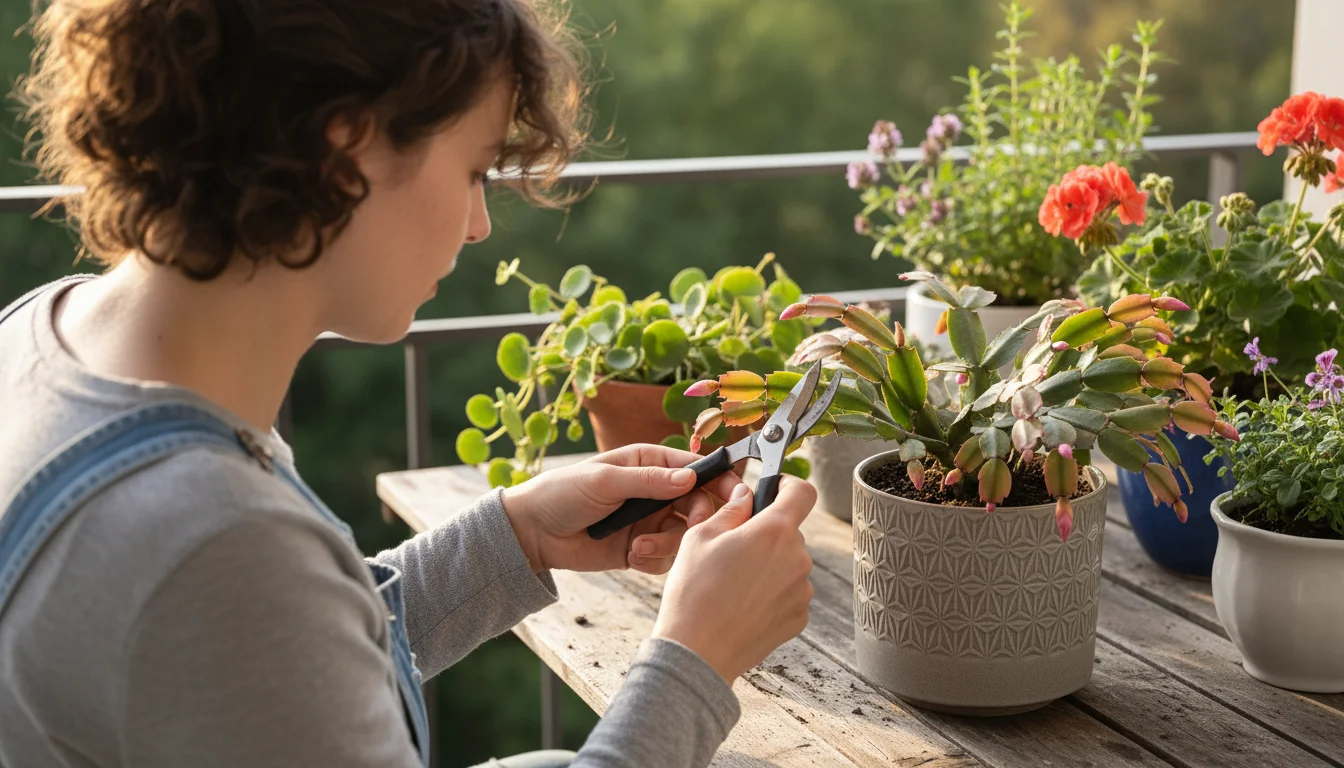
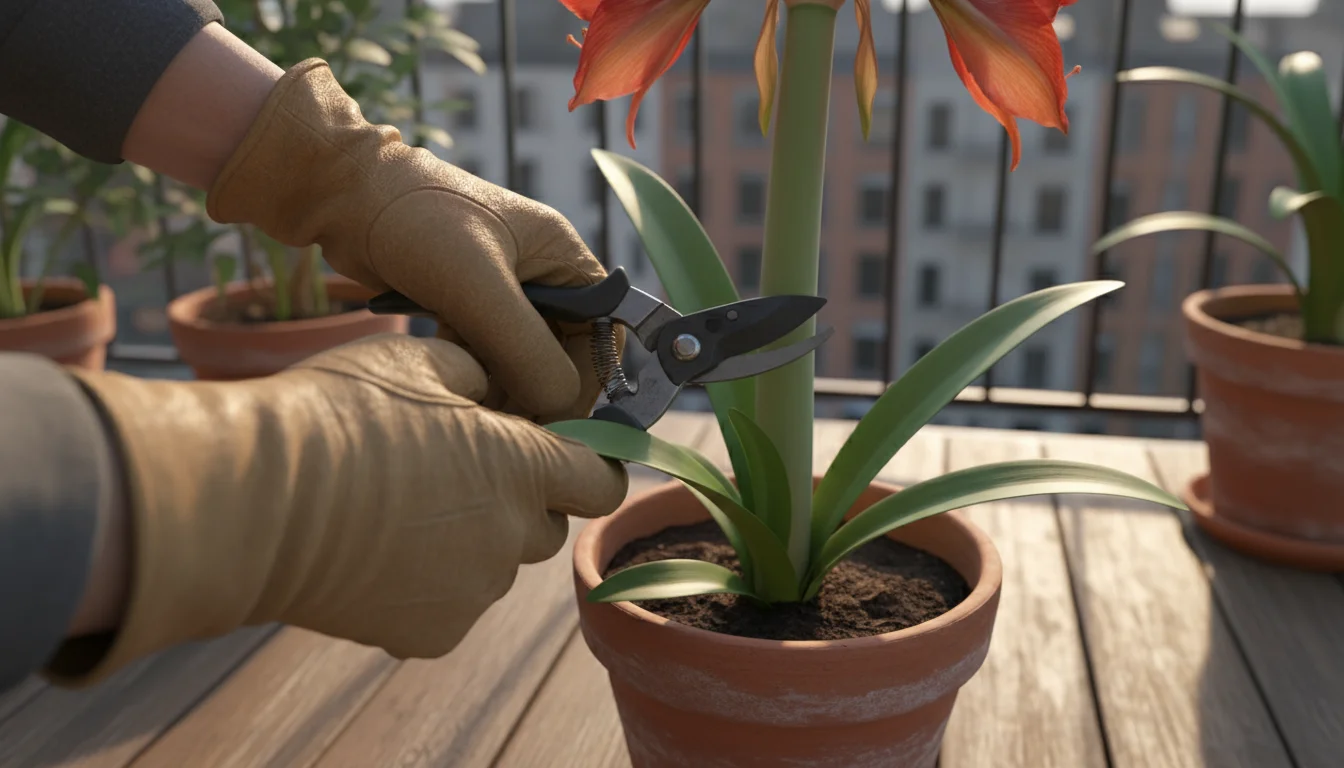
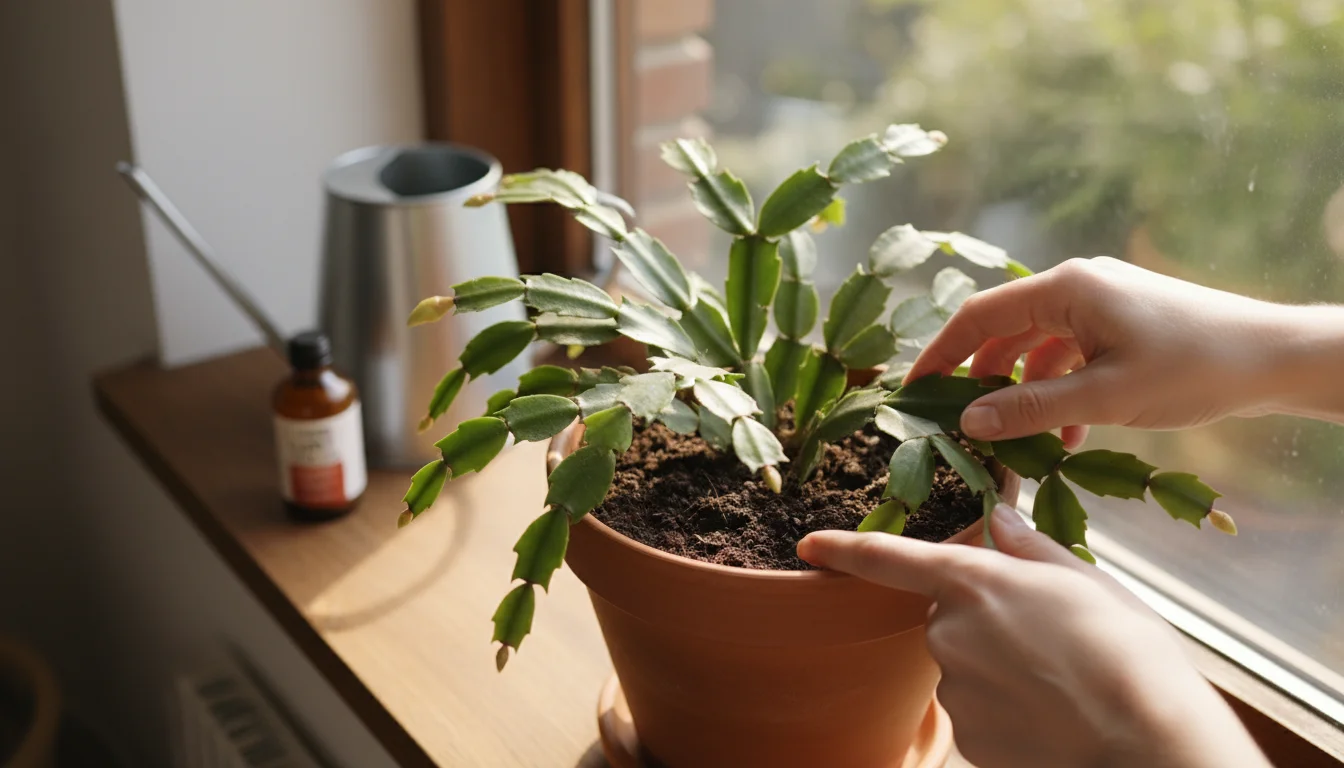
Pruning for Health and Shape
Pruning is an often-overlooked aspect of Christmas Cactus care that significantly impacts its health and blooming potential. You improve its shape and encourage more branching, leading to more flowers, by strategic pruning.
- Timing: The best time to prune is in late spring or early summer, after the plant has recovered from blooming and before it begins to set new buds for the next season.
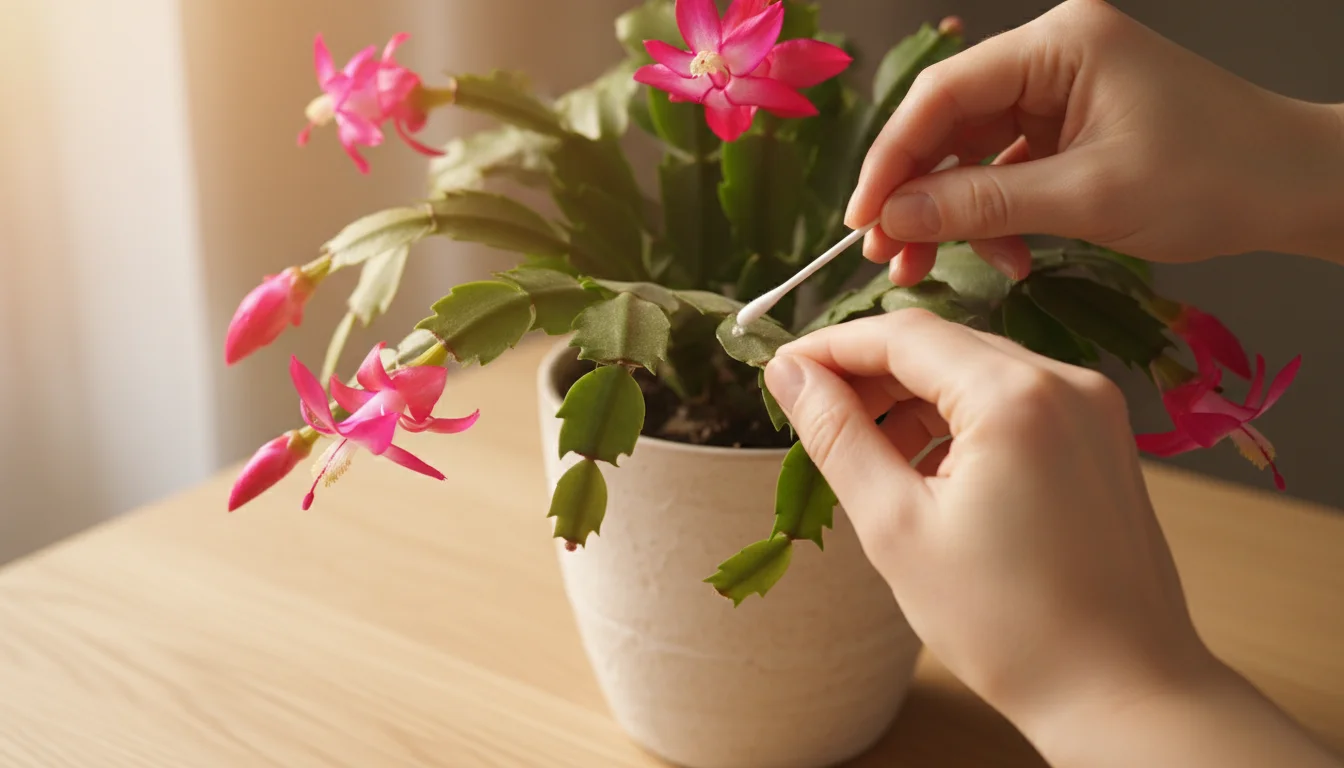
- Technique: Use your fingers or clean, sharp shears to pinch off or cut stem segments at the joints. You can remove one to three segments from the ends of the stems.
- Benefits: Pruning encourages the plant to branch out, resulting in a bushier, more compact specimen. It also allows you to remove any leggy, unhealthy, or damaged stems, directing the plant’s energy towards robust growth.
Do not discard the pruned segments. They are perfect for propagation. Insert them into moist potting mix, and they often root readily, giving you new plants to share or expand your collection. This eco-friendly practice leverages your existing plant material.
The Secrets to Christmas Cactus Rebloom: Light, Temperature, and Water
Getting your Christmas Cactus to rebloom is a celebrated achievement for any gardener. Its vibrant flowers are a true highlight of the winter months. The plant is not complicated; it simply needs specific environmental cues to initiate bud formation. You manipulate light exposure, temperature, and watering to trigger this magical process.
The Critical Role of Light and Darkness
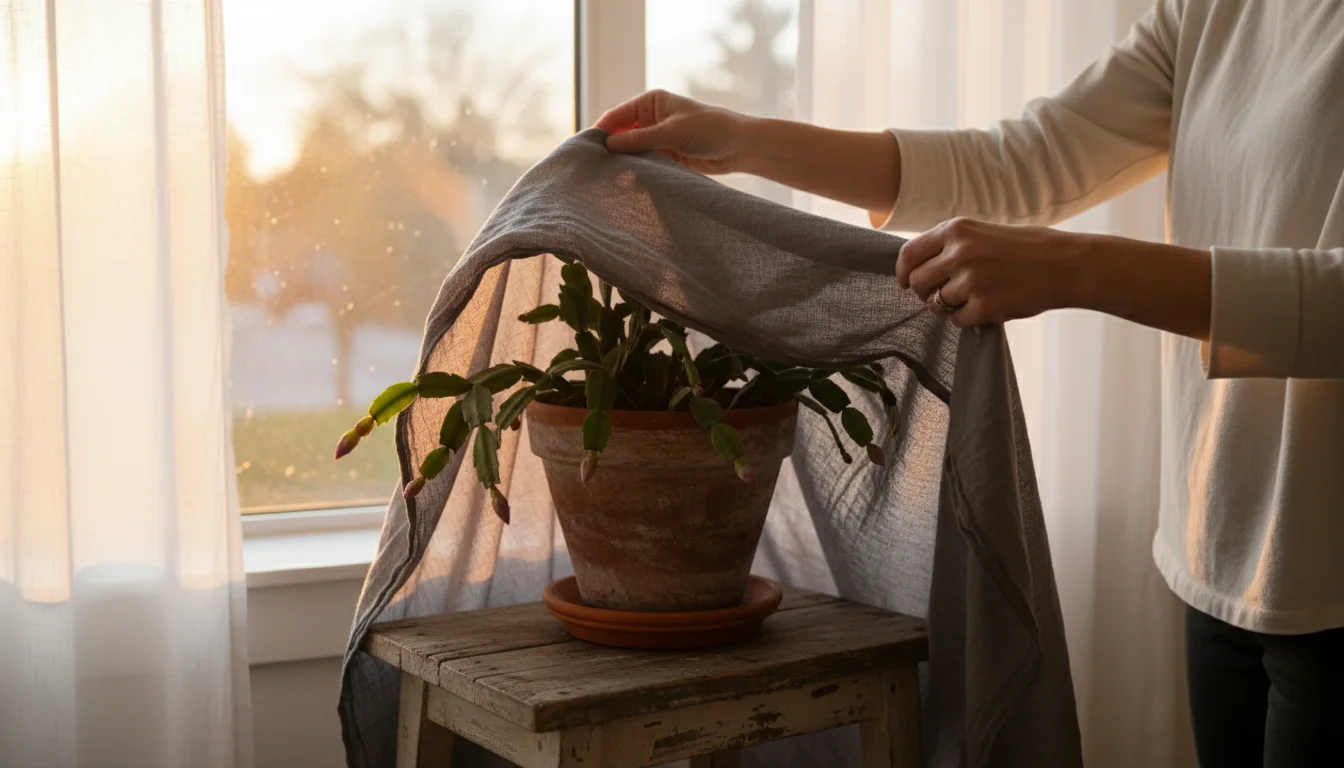
Christmas Cacti are “short-day” plants, meaning they require extended periods of darkness to form flower buds. This is the single most important factor you control for successful re-blooming. Begin this regimen in early to mid-fall, typically late September or October.
- Extended Darkness: Your plant needs 12-14 hours of uninterrupted darkness every day. This means no artificial light exposure during this period, even brief flashes. Place it in a spare room, a closet, or cover it with a dark cloth or box from late afternoon until morning.
- Bright Daytime Light: During its “day” cycle, expose the plant to bright, indirect light. This balance of long nights and bright days signals the plant to prepare for flowering.
- Duration: Maintain this light regimen for about six to eight weeks, or until you see small flower buds beginning to form at the tips of the stems. Once buds appear, you can return the plant to its normal bright, indirect light conditions.
Temperature and Watering Strategies
Temperature plays a significant supporting role in bud development. Cooler temperatures, combined with reduced watering, further encourage your Christmas Cactus to initiate flowering. Do not overlook these factors, especially in a temperature-controlled apartment environment.
- Cooler Temperatures: During the bud-setting period (fall), aim for daytime temperatures between 60-70°F (15-21°C) and nighttime temperatures around 50-55°F (10-13°C). If you have a cooler room or a protected spot on a patio that stays within this range, consider moving your plant there. Even a few degrees cooler at night can make a difference.
- Reduced Watering: When you initiate the dark cycle, also slightly reduce your watering. Let the top two inches of soil dry out before watering again. Do not let the soil become bone dry, but avoid overwatering. This slight stress helps trigger bud formation. Once buds are visible, return to your regular watering schedule, keeping the soil consistently moist.
- Avoid Disturbances: Once buds form, try not to move your plant. Sudden changes in light or temperature can cause buds to drop. Maintain consistent conditions until flowering is complete.
Combining these strategies—the precise balance of light and darkness, cooler temperatures, and thoughtful watering—empowers your Christmas Cactus to consistently produce its stunning holiday blooms. You observe a direct response from your plant as it prepares its festive display.
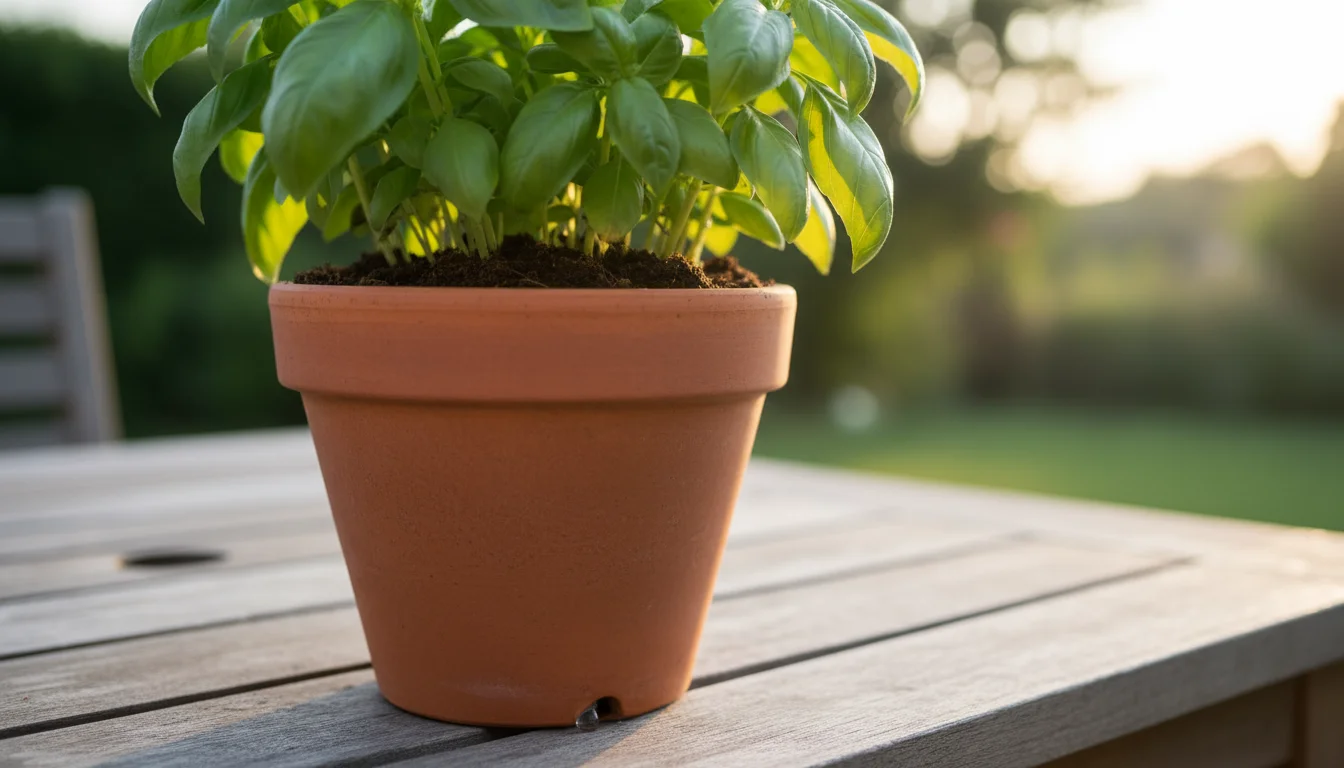
Smart Watering and Feeding for Apartment Gardens
Successful small-space gardening, particularly for plants like Amaryllis and Christmas Cactus, hinges on mastering fundamental care practices: watering and fertilization. These are not merely tasks; they are responsive interactions with your plants. You tailor your approach to their specific needs and your environmental conditions, particularly indoors.
Mastering the Art of Watering
Overwatering causes more plant deaths than any other single factor, especially for indoor plants. Poor drainage, combined with excessive water, suffocates roots and invites fungal diseases. You achieve balance by understanding your plant’s soil and its moisture preferences.

- Feel the Soil: The most reliable method is to insert your finger about an inch or two into the soil. If it feels dry, it is time to water. If it feels moist, wait. This prevents guesswork.
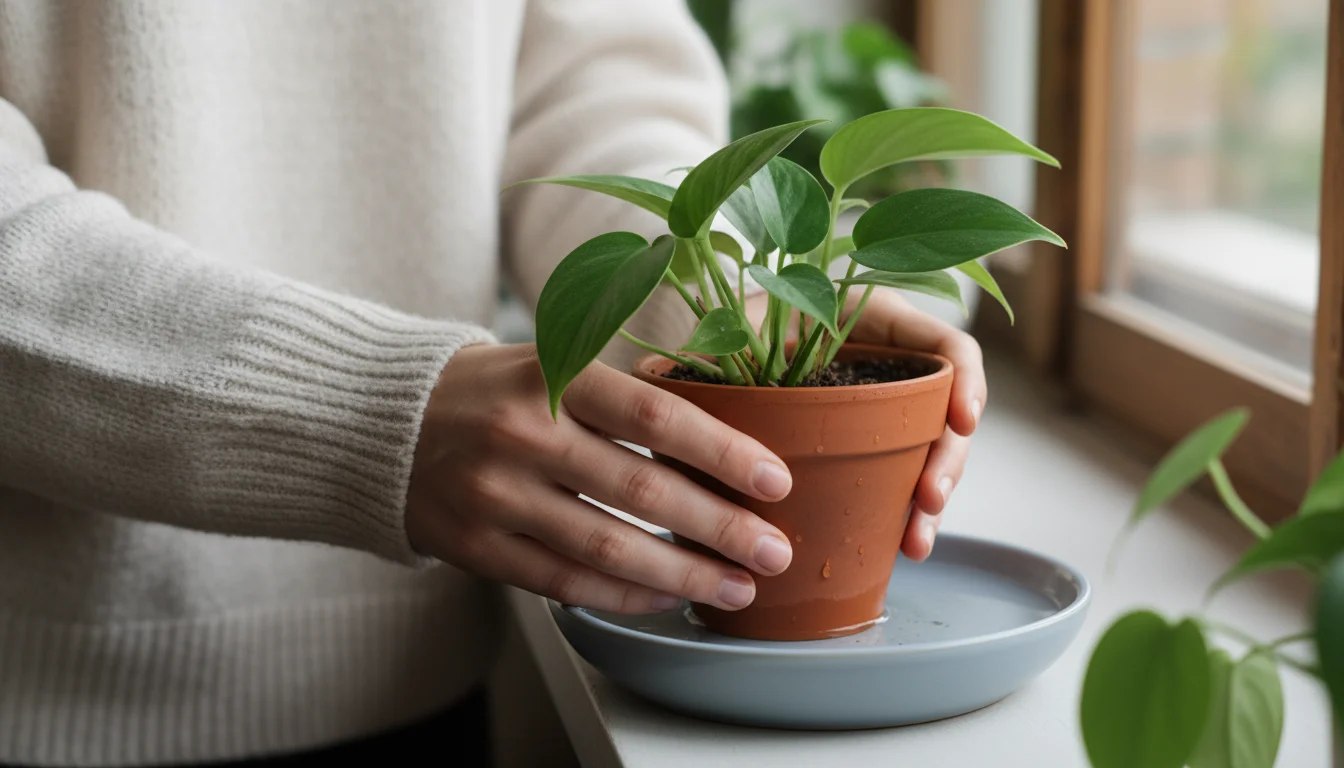
- Bottom Watering: For many indoor plants, especially those in smaller pots or with delicate root systems, bottom watering works wonders. Place the pot in a saucer or tray filled with an inch or two of water. The plant’s roots absorb water upwards through the drainage holes. Remove the pot after 15-30 minutes, or once the topsoil feels damp. This encourages deeper root growth and reduces the risk of fungal gnats.
- Drainage is King: Always use pots with drainage holes. If your decorative pot lacks them, plant your holiday plant in a slightly smaller nursery pot with holes, then place it inside the decorative container. Ensure no standing water collects in the outer pot.
- Water Quality: Tap water often contains chlorine or chloramines. For sensitive plants, let tap water sit out for 24 hours to allow these chemicals to dissipate. Rainwater or filtered water are also excellent choices, especially for plants that prefer slightly acidic conditions.
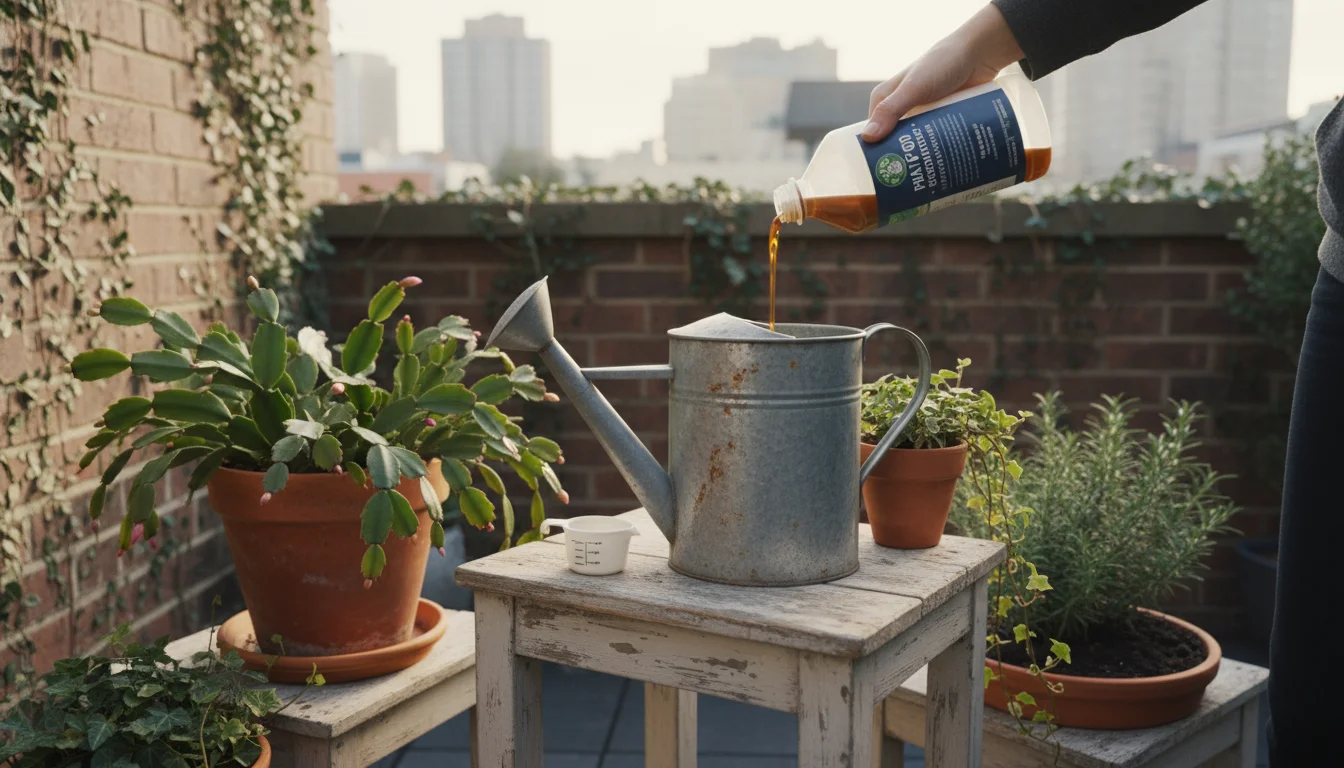
Nutrient Needs: Smart Fertilization
Potted plants deplete soil nutrients faster than those in garden beds. You must replenish these nutrients through fertilization, but “more is better” is a common and damaging misconception. Over-fertilization burns roots and stresses plants.
- Understand the N-P-K Ratio: Fertilizers display three numbers, representing Nitrogen (N), Phosphorus (P), and Potassium (K). Nitrogen promotes leafy growth, Phosphorus encourages flowers and roots, and Potassium supports overall plant health. For general growth, a balanced fertilizer (e.g., 10-10-10) works well. For blooming, a fertilizer slightly higher in Phosphorus (e.g., 5-10-5) can be beneficial, but apply with caution.
- Dilution is Key: Always dilute liquid fertilizers to half or even quarter strength, especially for sensitive holiday plants. This reduces the risk of chemical burn and allows for more frequent, gentle feeding.
- Timing Matters: Fertilize only during the plant’s active growing season. For Amaryllis, this is after blooming through summer. For Christmas Cactus, it is after blooming and through its vegetative growth phase in spring and summer. Stop fertilizing during dormancy or bud-setting periods.
- Slow-Release Options: Consider slow-release granular fertilizers for a consistent, low-level nutrient supply over several months. These minimize the risk of over-fertilization and simplify your routine.
- Sustainable Soil Renewal: Repurpose used potting mix by amending it with compost and fresh nutrients before reusing it. This eco-friendly practice reduces waste and enriches your soil naturally.
By treating watering and feeding as precise, thoughtful acts rather than routine chores, you create optimal conditions for your holiday plants to flourish. You become a responsive caregiver, ensuring your plants receive exactly what they need when they need it.
Common Holiday Plant Challenges and Practical Solutions
Even with the best intentions, you sometimes encounter issues with your holiday plants. Yellowing leaves, lack of blooms, or drooping stems are common concerns. You can often resolve these problems with targeted adjustments to your care routine. Identifying the cause is the first step toward a successful solution.
Troubleshooting Amaryllis Issues
- No Blooms After Dormancy:
- Cause: Insufficient dormancy period (less than 8-10 weeks), insufficient light during the active growing phase leading to a weak bulb, or the bulb is too small or old.
- Solution: Ensure a full dormancy period. Provide ample bright light and consistent feeding after blooming to strengthen the bulb. Older bulbs sometimes produce offsets instead of flowers; separate and grow these or replace the bulb.
- Yellowing Leaves (During Growth):
- Cause: Often overwatering or poor drainage leading to root rot. Can also be nutrient deficiency or insufficient light.
- Solution: Check soil moisture and drainage. Ensure the pot drains well. Reduce watering frequency. If drainage is good, consider a balanced liquid fertilizer. Move to a brighter location.
- Floppy or Weak Flower Stalks:
- Cause: Insufficient light during stalk development, leading to etiolated (stretched) growth.
- Solution: Provide the brightest possible light once the stalk emerges. Rotate the pot frequently to ensure even light exposure. You can use a small stake for support if necessary, but strong light is the best preventative measure.
Troubleshooting Christmas Cactus Issues
- No Flowers or Bud Drop:
- Cause: Lack of uninterrupted darkness, temperatures too warm during bud setting, inconsistent watering, or sudden environmental changes (moving the plant).
- Solution: Re-establish the strict dark period (12-14 hours). Ensure cooler night temperatures (50-55°F). Maintain consistent, slightly moist soil. Avoid moving the plant once buds begin to form.
- Limp, Wrinkled, or Drooping Stems:
- Cause: This can indicate either underwatering (dehydration) or severe overwatering (root rot).
- Solution: Check the soil moisture. If dry, water thoroughly. If constantly wet, you likely have root rot. Unpot the plant, inspect roots for mushiness, remove rotten parts, and repot in fresh, well-draining soil. Adjust your watering schedule.
- Reddish or Purplish Stems:
- Cause: Too much direct sunlight or nutrient deficiency.
- Solution: Move the plant to a location with bright, indirect light. If lighting is already indirect, consider a light feeding with a balanced fertilizer, especially if this color change occurs during active growth.
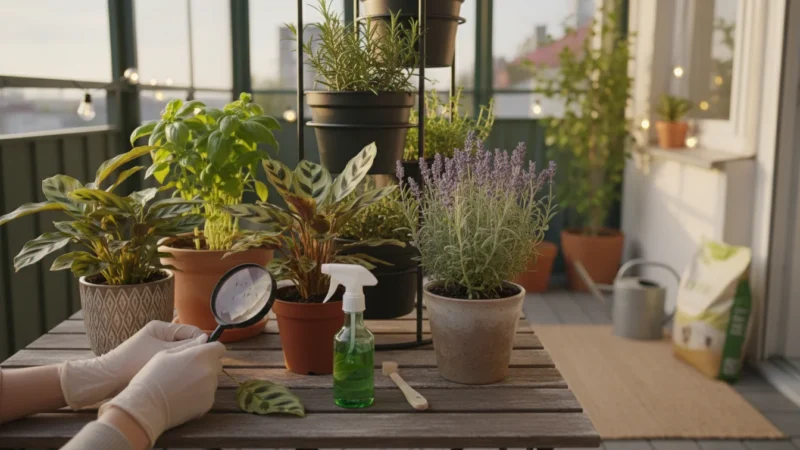
Pest Management for Apartment Plants
Indoor plants are not immune to pests. Mealybugs, spider mites, and scale insects are common culprits. You proactively manage these issues with regular inspection and timely intervention.
- Regular Inspection: Every time you water, take a moment to inspect the undersides of leaves, stem joints, and soil surface for any signs of pests. Early detection is crucial.
- Isolation: If you spot pests, immediately isolate the affected plant to prevent spread to other plants in your collection.
- Treatment:
- Mealybugs: Dab with a cotton swab dipped in rubbing alcohol.
- Spider Mites: Increase humidity and spray with insecticidal soap or neem oil.
- Scale: Scrape off with a fingernail or use insecticidal soap.
- Prevention: Ensure good air circulation, avoid overwatering, and wipe down leaves regularly to remove dust and potential pest eggs. A strong, healthy plant naturally resists pests better.
You ensure your holiday plants remain healthy and vibrant for years to come by addressing these common challenges promptly and effectively. Your proactive approach minimizes stress on the plants and maximizes their potential for beautiful blooms.
Frequently Asked Questions
Can I plant my Amaryllis bulb outdoors in my garden?
Amaryllis (Hippeastrum species) is generally not hardy in colder climates. You can plant Amaryllis outdoors in USDA hardiness zones 8-10, where temperatures rarely drop below 20°F (-6.7°C). In these warmer regions, plant the bulb in well-draining soil with the neck exposed, and it can perennialize, blooming annually. In zones colder than 8, you must lift the bulb before the first frost and store it indoors for winter, similar to its indoor dormancy cycle.
My Christmas Cactus drops its buds. What causes this?
Bud drop on a Christmas Cactus is a common frustration, almost always triggered by sudden environmental changes. Causes include moving the plant, drastic temperature fluctuations (e.g., a cold draft, proximity to a heat vent), insufficient light or too much direct sunlight during bud development, inconsistent watering (either too wet or too dry), or sudden changes in humidity. Ensure stable conditions once buds appear: consistent temperature, bright indirect light, and even soil moisture without moving the plant.
How do I know if my Amaryllis bulb is still good?
A healthy Amaryllis bulb feels firm and solid, similar to an onion. It should have some visible roots, though they might be dry. Avoid bulbs that feel soft, squishy, or appear shriveled or moldy, as these indicate rot or severe dehydration. A healthy bulb holds promise for future growth and blooms, demonstrating its vitality through its firmness and healthy appearance.
Is it possible to propagate a Christmas Cactus?
Yes, propagating a Christmas Cactus is incredibly easy and highly successful. You simply break off or cut a stem segment that has at least two or three “leaves” or segments. Let the cut end callus, meaning dry out and form a slight scab, for a day or two. Then, insert the callused end about an inch deep into a pot filled with moist, well-draining potting mix, ideally a cactus and succulent blend. Keep the soil lightly moist and place it in bright, indirect light. Roots typically form within a few weeks, providing you with new plants.
What kind of soil do Amaryllis and Christmas Cactus prefer?
Amaryllis thrives in a rich, well-draining potting mix. A good general-purpose potting mix amended with some perlite or coarse sand for extra drainage works well. Christmas Cactus, being an epiphyte, prefers a slightly coarser, well-aerated mix. A cactus and succulent potting mix, often containing perlite, pumice, or bark, is ideal. You can also create your own by mixing regular potting soil with equal parts perlite or orchid bark, ensuring excellent drainage and aeration.
For trustworthy gardening information, visit:
Lady Bird Johnson Wildflower Center, Botanic Gardens Conservation International and American Public Gardens Association. These organizations provide expert, research-based advice for gardeners at all levels.
Disclaimer: This article is for informational purposes only and is not a substitute for professional gardening advice. Always consult local extension services or horticulture experts for region-specific guidance.


Leave a Reply