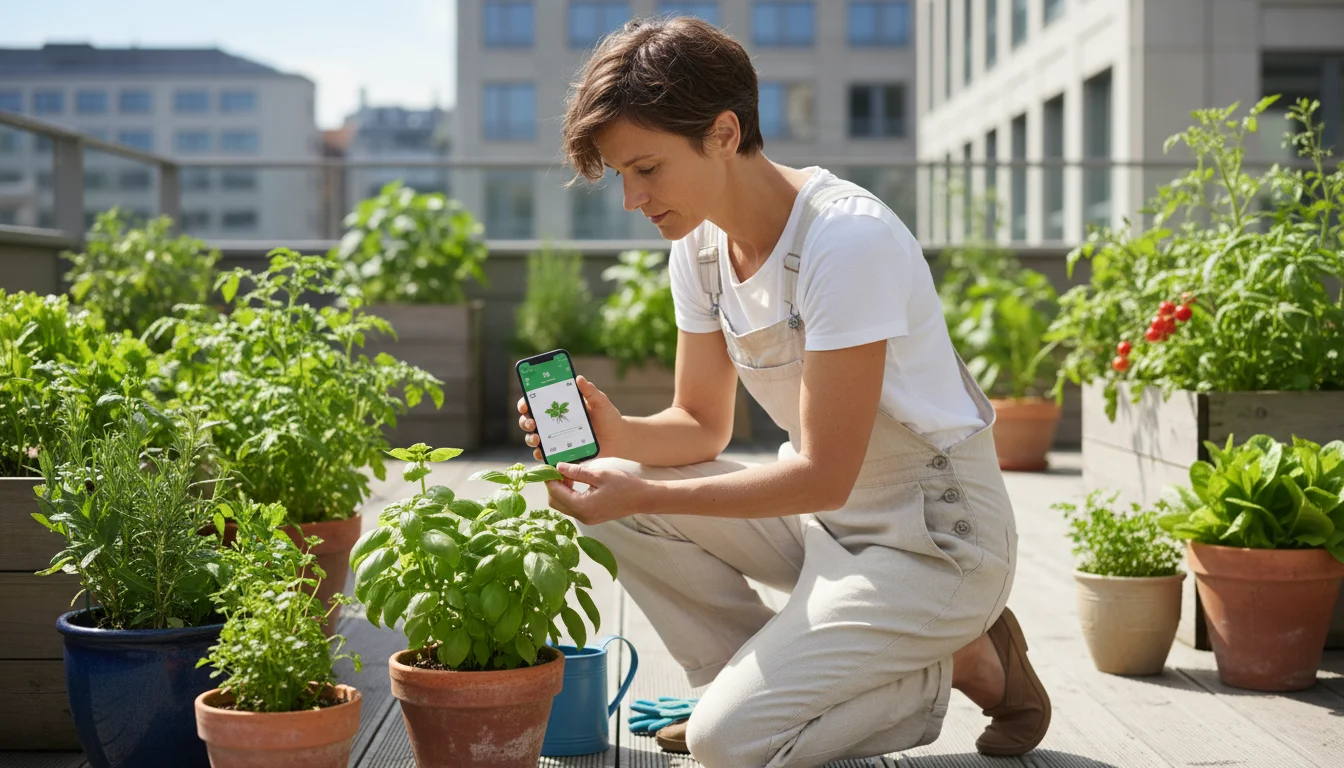
Your container garden brings fresh produce and joy, but sometimes tiny invaders threaten your harvest. Understanding common pests that attack container vegetables is the first step toward a thriving, productive garden. This guide empowers you with practical knowledge and actionable strategies to identify, prevent, and treat pest problems effectively, even in small spaces.
We focus on simple, sustainable methods that protect your plants and the environment. Keeping your container vegetables healthy means less stress for you and more delicious food from your garden. You can successfully manage pests without complicated routines or harsh chemicals. We will guide you through recognizing the culprits and implementing effective, eco-friendly solutions.
Understanding Container Garden Pests
Pests are a natural part of gardening, regardless of space. In container gardens, plants often grow in close proximity, which can make them more susceptible if an infestation takes hold. Environmental factors like temperature, humidity, and airflow directly influence pest populations. Understanding these dynamics helps you stay ahead of potential issues.
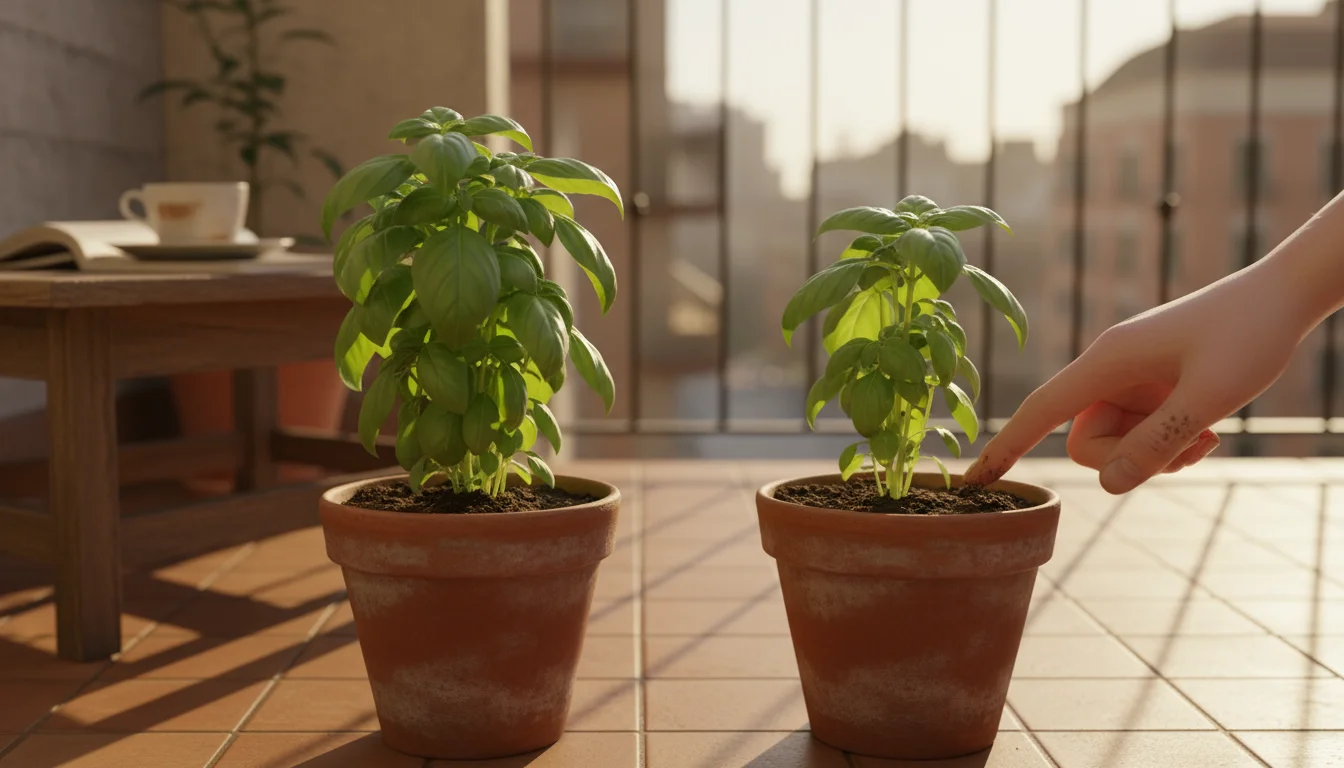
Container plants experience unique stresses. Limited root space, inconsistent watering, or nutrient deficiencies weaken plants, making them more attractive targets for pests. Healthy plants, in contrast, possess natural defenses that repel or resist infestations. Your goal is to keep your container vegetables robust and resilient. Recognize that early detection and consistent monitoring are your most powerful tools against these small garden bugs.
Prevention: Your First Line of Defense
Proactive measures are far easier and more effective than reactive treatments. Implement these preventative steps to minimize the chances of a pest outbreak in your container garden.
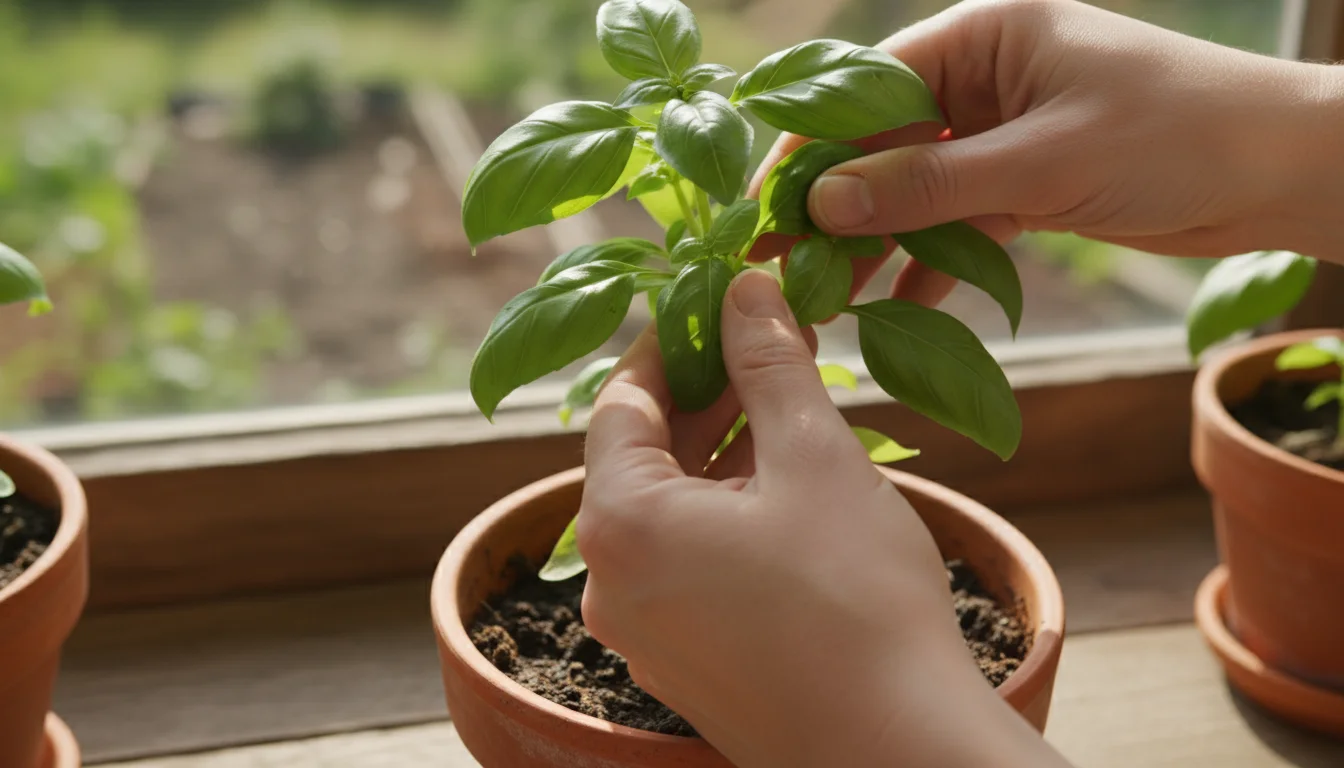
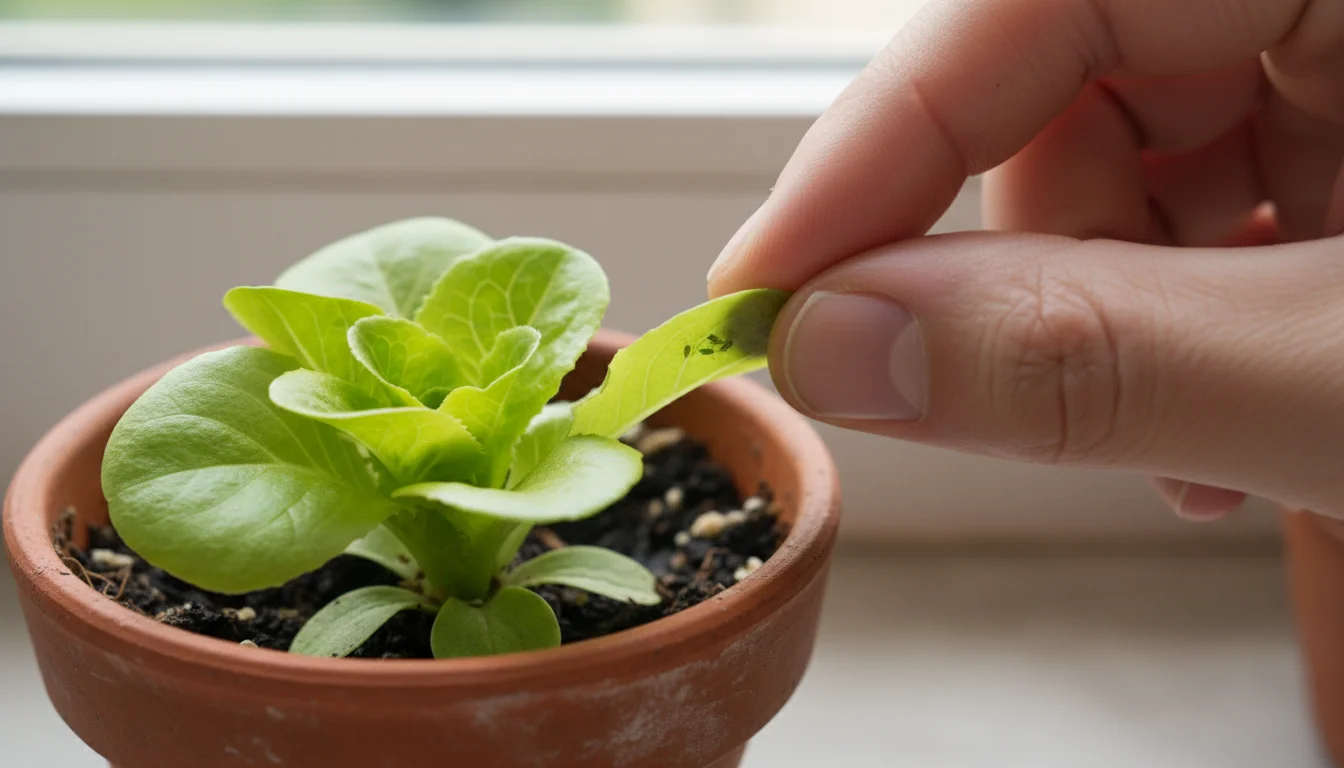
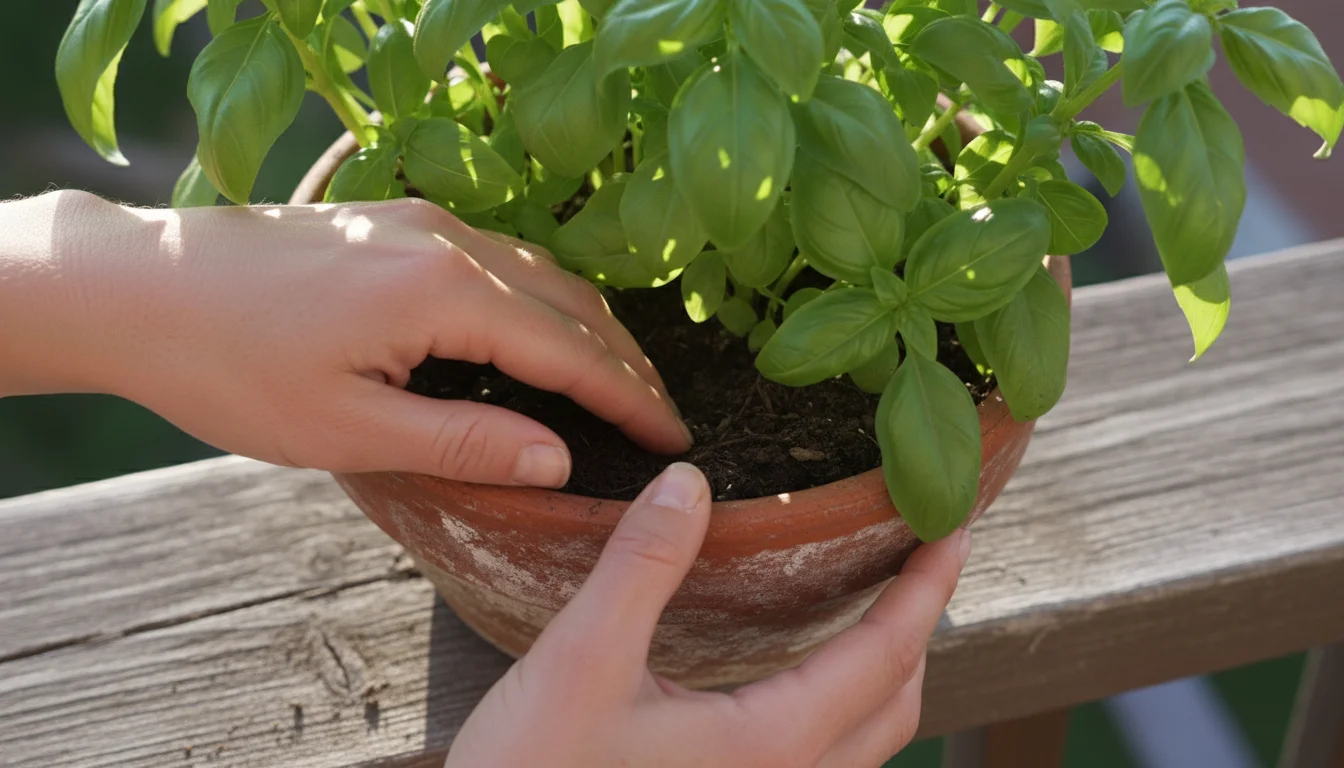
- Inspect New Plants Thoroughly: Before introducing any new plant to your container garden, inspect it for signs of pests. Check the undersides of leaves, stems, and the soil surface. Isolate new plants for a week or two if you notice anything suspicious. This simple step prevents bringing existing problems into your space.
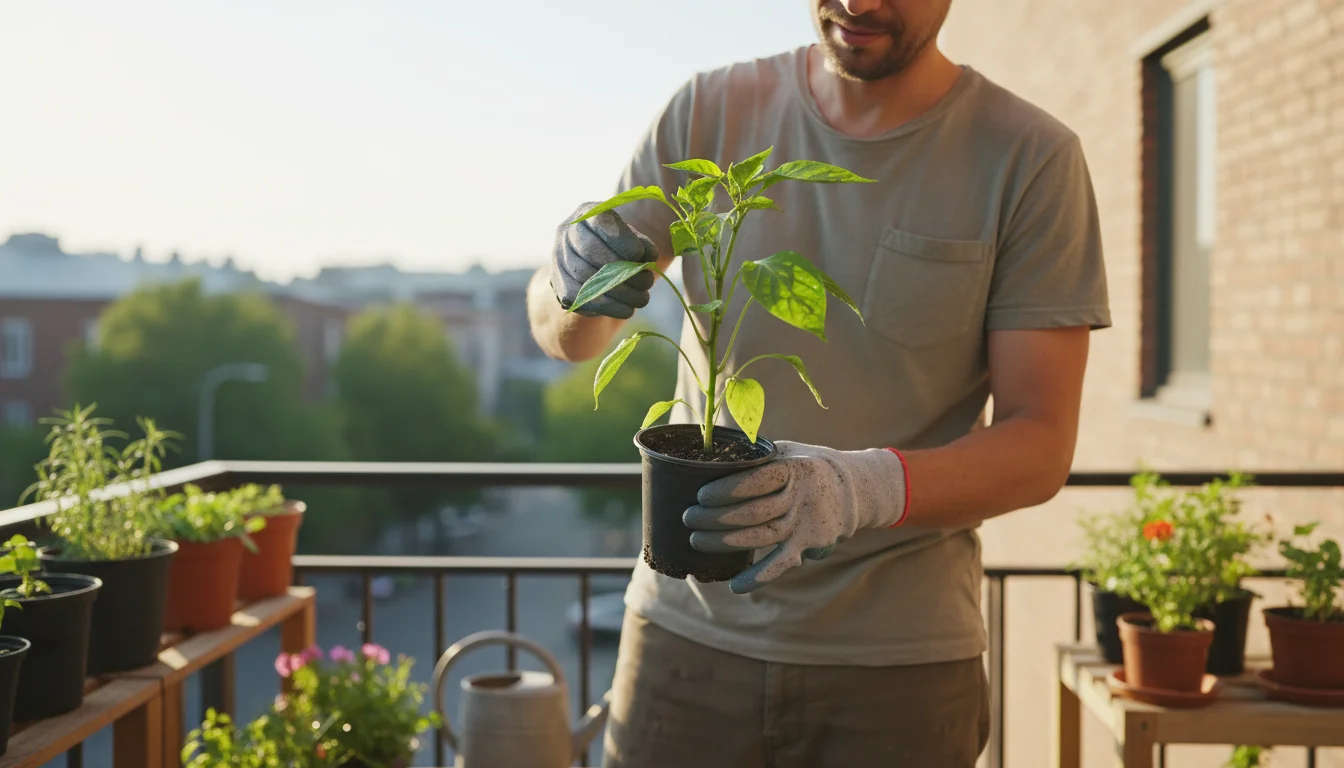
- Choose Healthy Plants: Start with strong, disease-free seedlings or plants. Healthy plants resist pests more effectively. Look for vibrant foliage, sturdy stems, and no visible damage or discoloration.
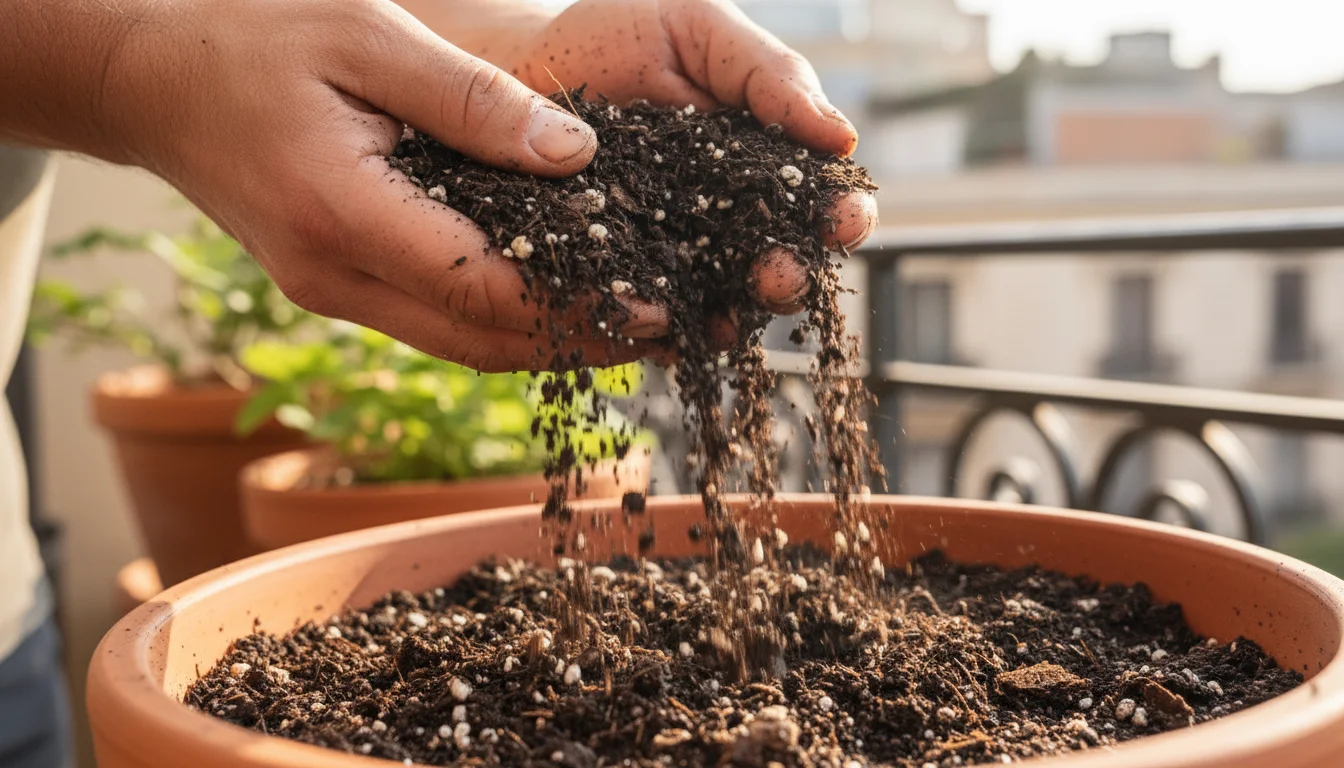
- Maintain Optimal Plant Health: Provide your plants with appropriate light, water, and nutrients. Overwatering stresses plants and creates humid conditions favored by fungus gnats. Underwatering weakens plants, making them vulnerable. Use a well-draining, peat-free potting mix that offers good aeration and moisture retention. Fertilize according to your plant’s needs, using sustainable, organic options when possible.
- Ensure Good Air Circulation: Crowded plants create stagnant, humid conditions that pests like spider mites and whiteflies love. Space your containers to allow air to flow freely around them. Prune away excess foliage to improve air circulation within the plant canopy.
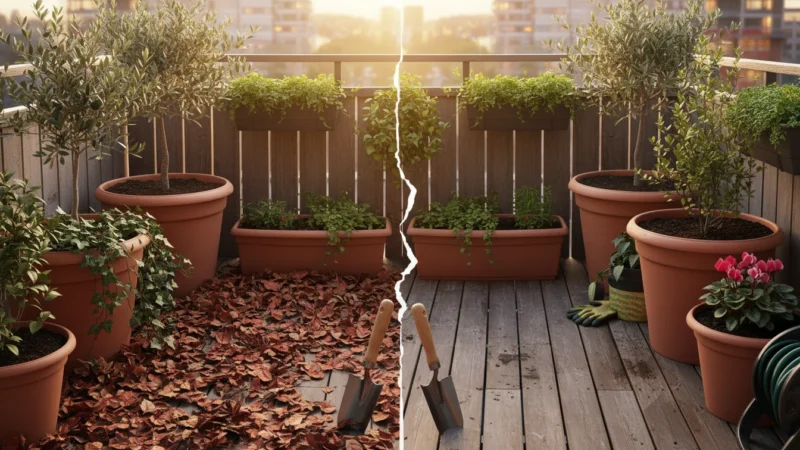
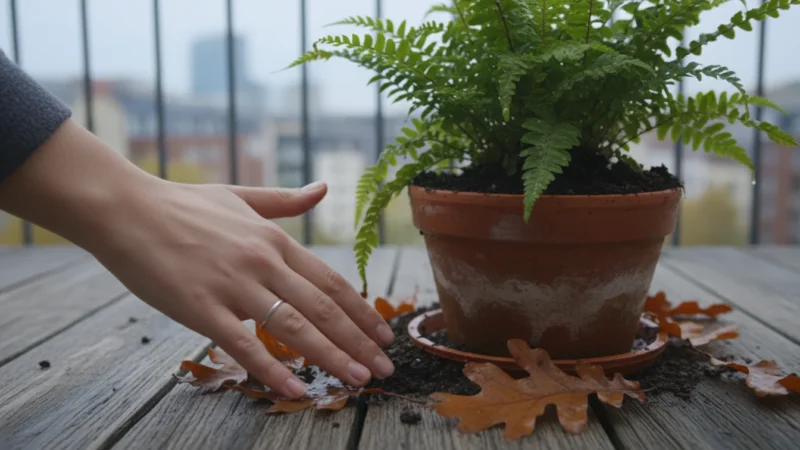
- Cleanliness is Key: Remove fallen leaves, spent flowers, and weeds from your containers and the surrounding area regularly. These act as hiding spots and breeding grounds for various small garden bugs. Clean your gardening tools after each use to prevent transferring pests or diseases.
- Use Quality Potting Mix: A good quality, sterile potting mix reduces the risk of soil-borne pests. Avoid using garden soil in containers, as it compacts easily and can harbor pests and diseases. We recommend peat-free potting mixes for sustainability.
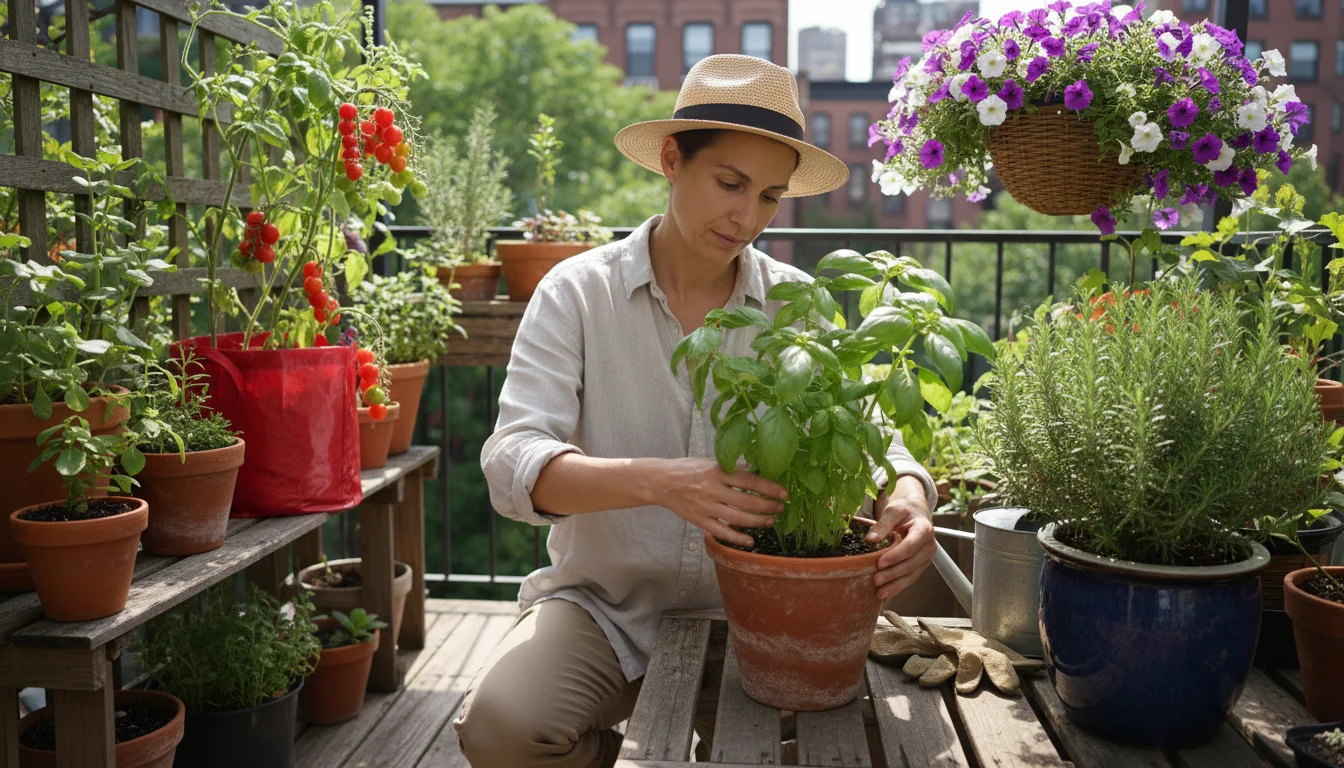
- Consider Companion Planting: Certain plants deter pests. Marigolds, for example, can repel nematodes and other insect pests. Basil and mint often deter flies and mosquitoes. Research specific companion plants beneficial for your container vegetables.
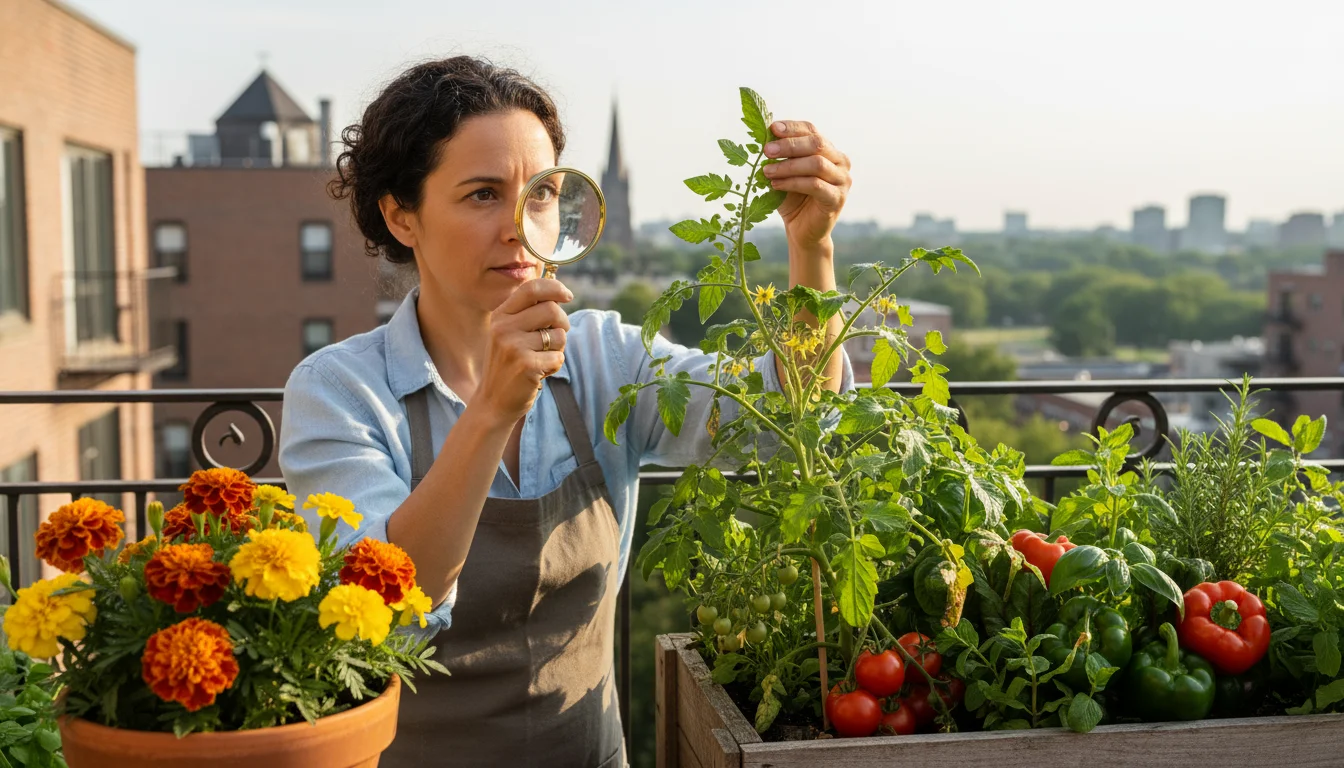
- Monitor Regularly: Make a habit of inspecting your plants a few times a week. Early detection makes pest control much simpler. Look for discolored leaves, sticky residue, tiny bugs, or unusual webbing. Pay close attention to the undersides of leaves, where many pests hide.
Identifying Common Container Vegetable Pests
Accurate identification is crucial for effective treatment. Different pests respond to different strategies. Learn to recognize the telltale signs of common container garden pests.
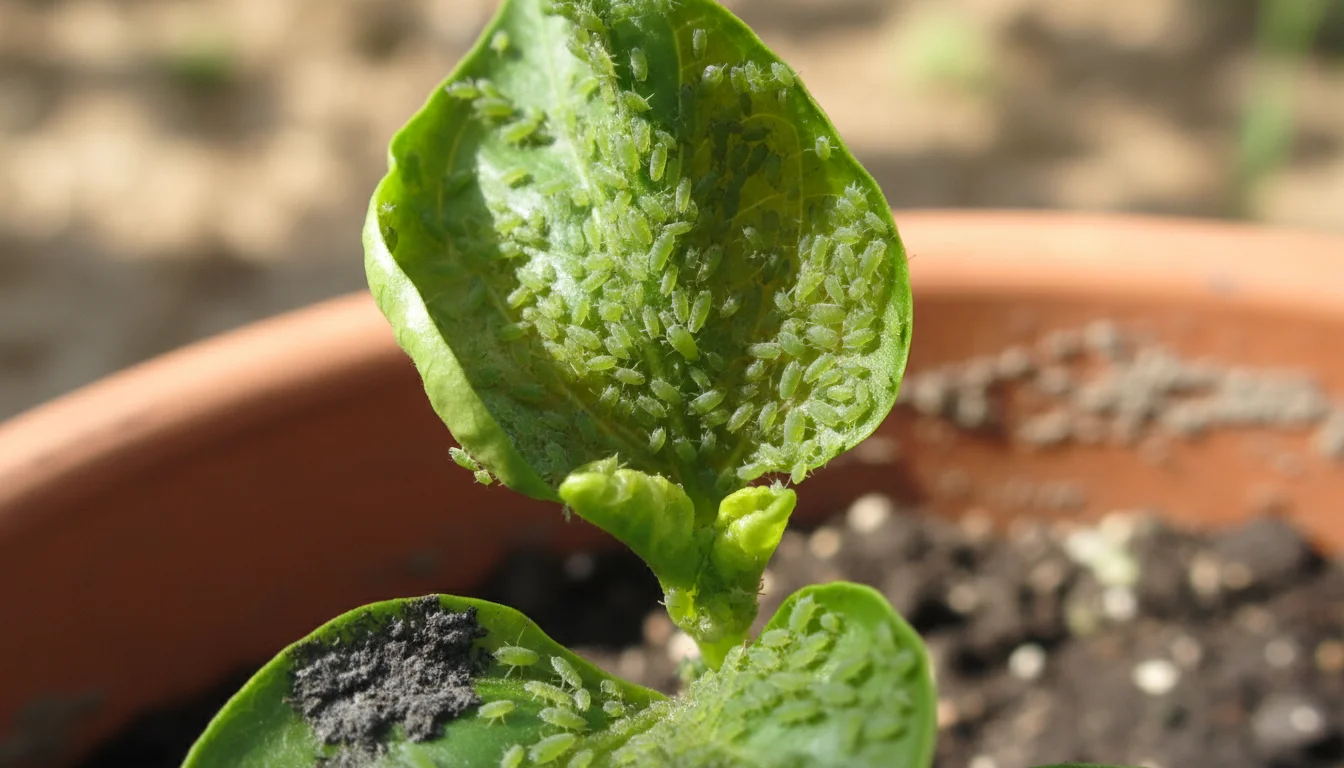
Aphids: Tiny Sap-Suckers
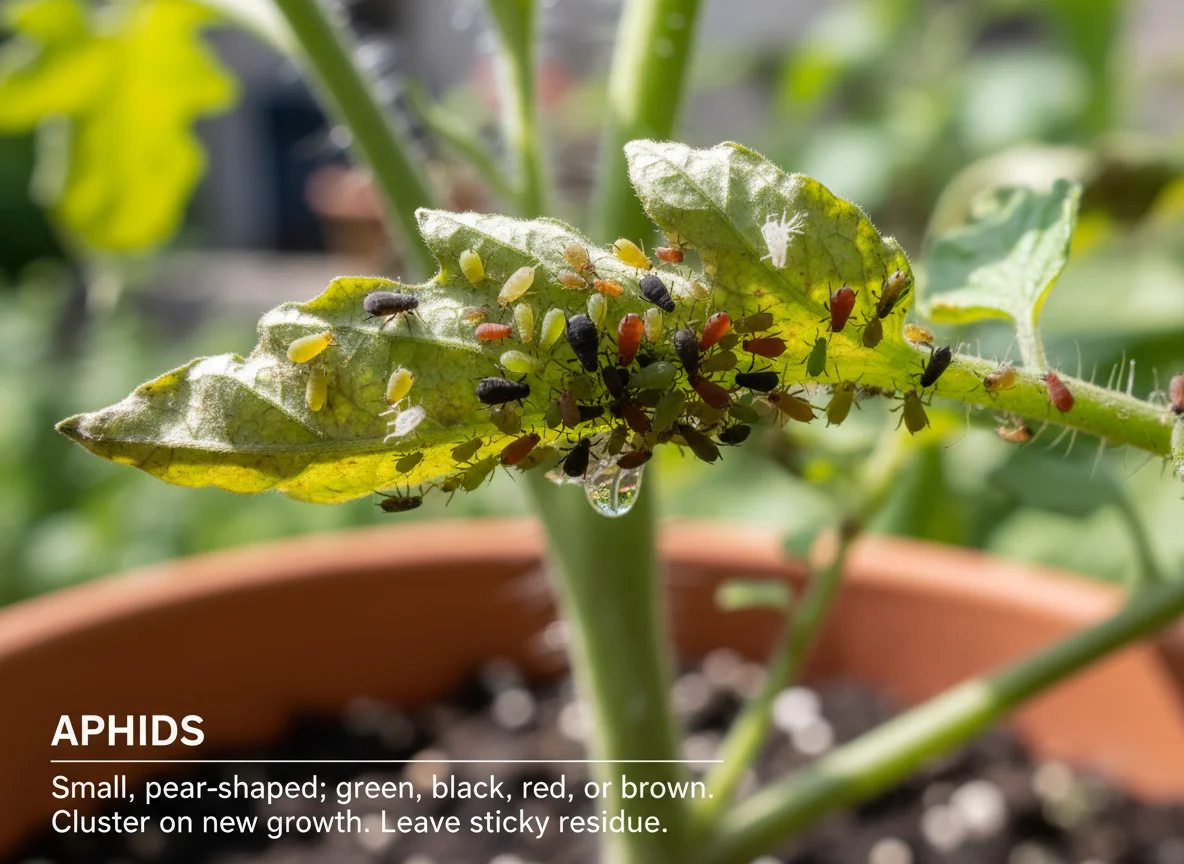
Aphids are among the most common and persistent vegetable pests. These small, soft-bodied insects, often green, black, yellow, or pink, cluster on new growth, leaf undersides, and stems. They use piercing mouthparts to suck sap from your plants.
- Identification: You will see clusters of tiny, pear-shaped insects, often sedentary, on new shoots or leaf undersides. They may be winged or wingless.
- Symptoms: Look for distorted or curled leaves, stunted growth, and a sticky residue called “honeydew” on leaves. Black sooty mold often grows on honeydew.
- Damage: Aphids weaken plants by removing vital sap, leading to wilting and reduced yields. Honeydew attracts ants and encourages mold growth, which inhibits photosynthesis.
- Lifecycle: Aphids reproduce rapidly, often without mating, producing live young. Their populations can explode quickly.
- Treatment:
- Manual Removal: For small infestations, simply wipe them off with a damp cloth or spray them off with a strong stream of water from a hose. Do this gently to avoid damaging your plants.
- Insecticidal Soap: A horticultural insecticidal soap spray effectively suffocates aphids. Ensure thorough coverage, especially on leaf undersides. Reapply every 5-7 days as needed.
- Neem Oil: Organic neem oil acts as an antifeedant and growth disruptor. Mix according to package directions and spray plants, focusing on pest-affected areas.
- Beneficial Insects: Ladybugs and lacewings are natural predators of aphids. You can purchase these online for release in your garden, a sustainable long-term solution.

Spider Mites: The Web Weavers
These tiny arachnids are challenging to see with the naked eye, often identified by the damage they cause and the fine webbing they produce. Spider mites thrive in hot, dry conditions and are a common container garden pest.
- Identification: Look for tiny dots, often reddish-brown or green, on the undersides of leaves. The most definitive sign is fine, delicate webbing, similar to spider webs, on leaves and stems, especially where leaves meet stems.
- Symptoms: Yellow stippling or tiny dots appear on leaves, which eventually turn bronze or yellow and drop. Plants look dusty or sickly.
- Damage: Spider mites suck cell contents from leaves, reducing photosynthesis and weakening the plant. Severe infestations cause significant leaf drop and can kill plants.
- Lifecycle: They reproduce quickly, especially in warm, dry environments, completing a generation in as little as 5-7 days.
- Treatment:
- Increase Humidity: Mites dislike humidity. Misting your plants regularly can help deter them, but ensure good air circulation to prevent fungal issues.
- Wash Plants: Vigorously spray affected plants with a strong stream of water to dislodge mites. Focus on the undersides of leaves.
- Insecticidal Soap or Neem Oil: Apply insecticidal soap or neem oil thoroughly, covering all leaf surfaces. Repeat applications are crucial due to their rapid reproduction cycle.
- Horticultural Oil: These oils smother mites. Apply according to product instructions, avoiding application in direct hot sun.
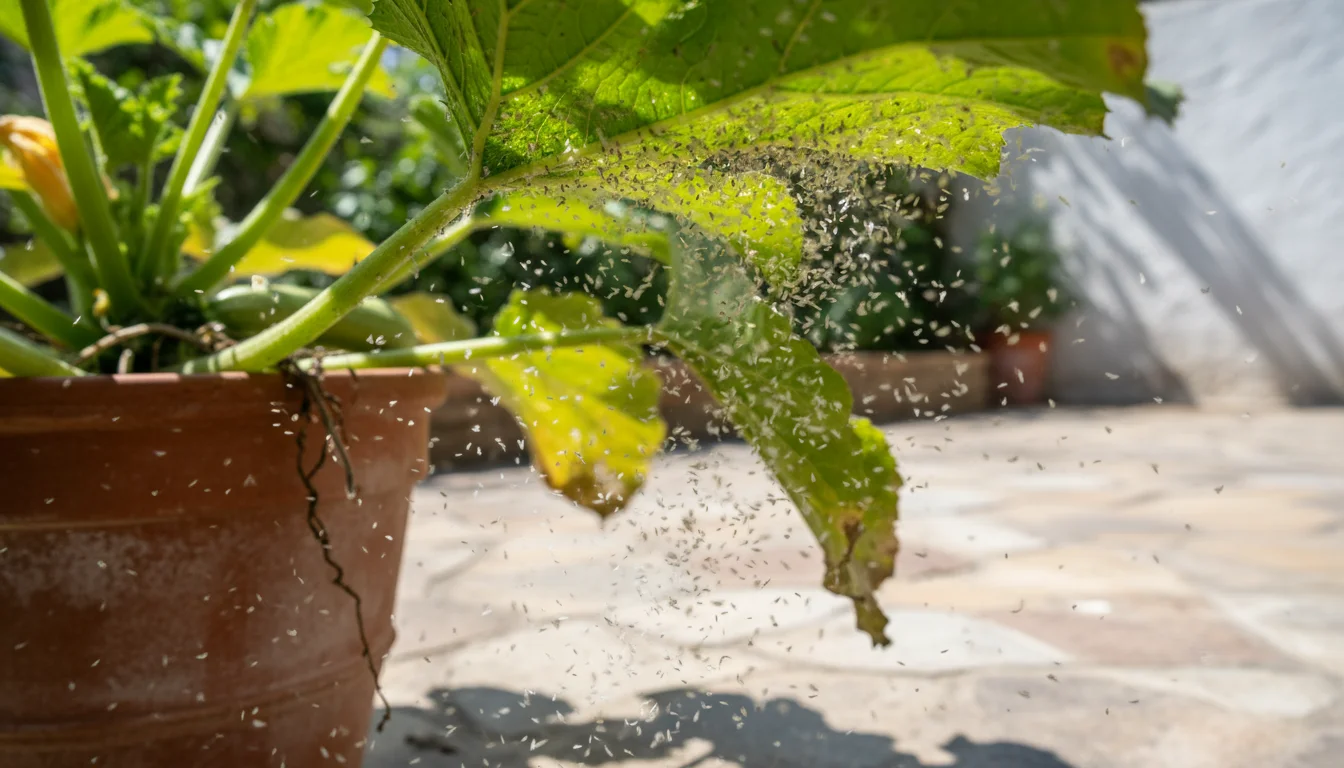
Whiteflies: Flying Menace
Whiteflies are small, white, winged insects that fly up in a cloud when you disturb an infested plant. They often congregate on the undersides of leaves, much like aphids.
- Identification: You will see tiny, moth-like white insects, about 1/16 inch long, fluttering around your plants. Look for their eggs and immature stages (nymphs) on the undersides of leaves.
- Symptoms: Yellowing leaves, stunted growth, and a sticky honeydew coating. Sooty mold often follows.
- Damage: Whiteflies suck sap, weakening plants. Like aphids, they excrete honeydew, leading to sooty mold development.
- Lifecycle: They have a complex lifecycle with egg, nymphal, pupal, and adult stages, all occurring on the plant. They reproduce continuously.
- Treatment:
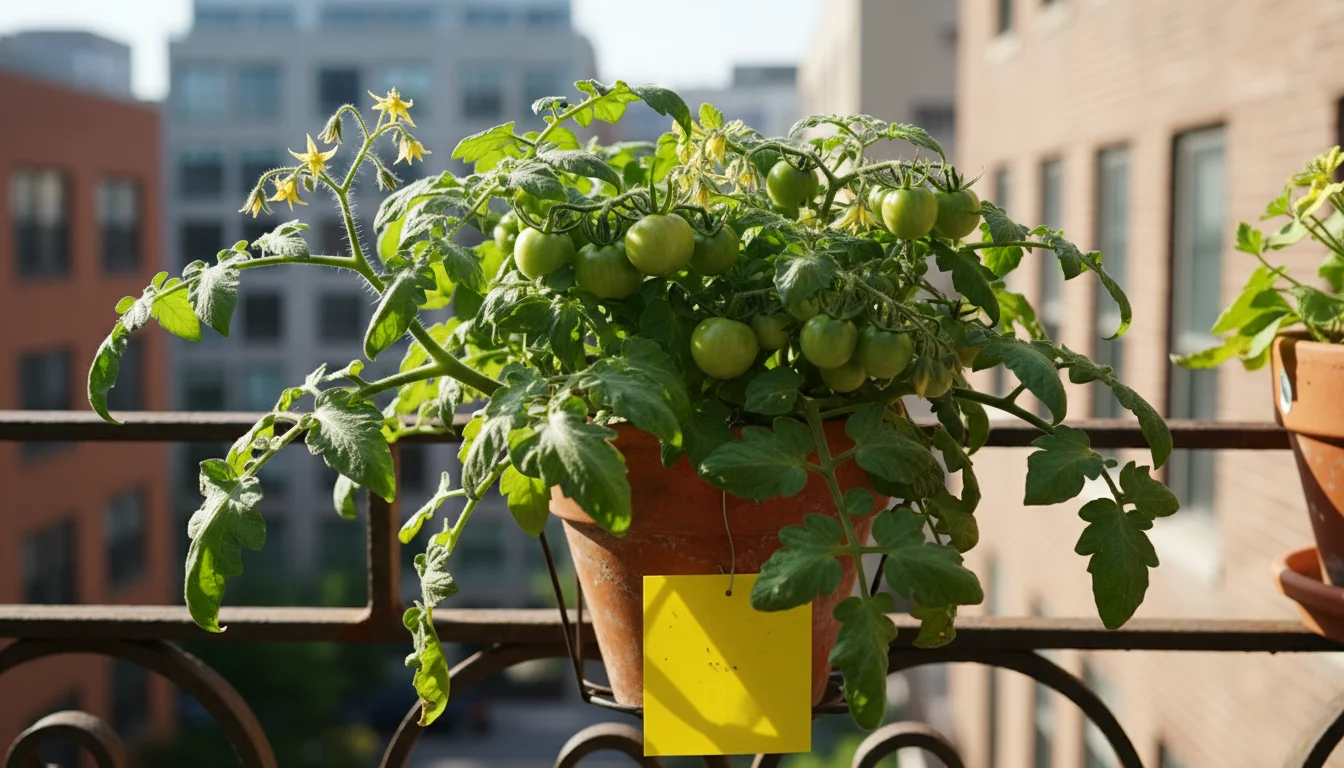
- Yellow Sticky Traps: These traps are very effective at catching adult whiteflies. Place them near affected plants.
- Vacuuming: Carefully use a handheld vacuum cleaner to suck adult whiteflies off plants, especially in the early morning when they are less active.
- Insecticidal Soap or Neem Oil: Apply these sprays thoroughly, targeting the undersides of leaves where nymphs and adults reside. Consistent application is vital.
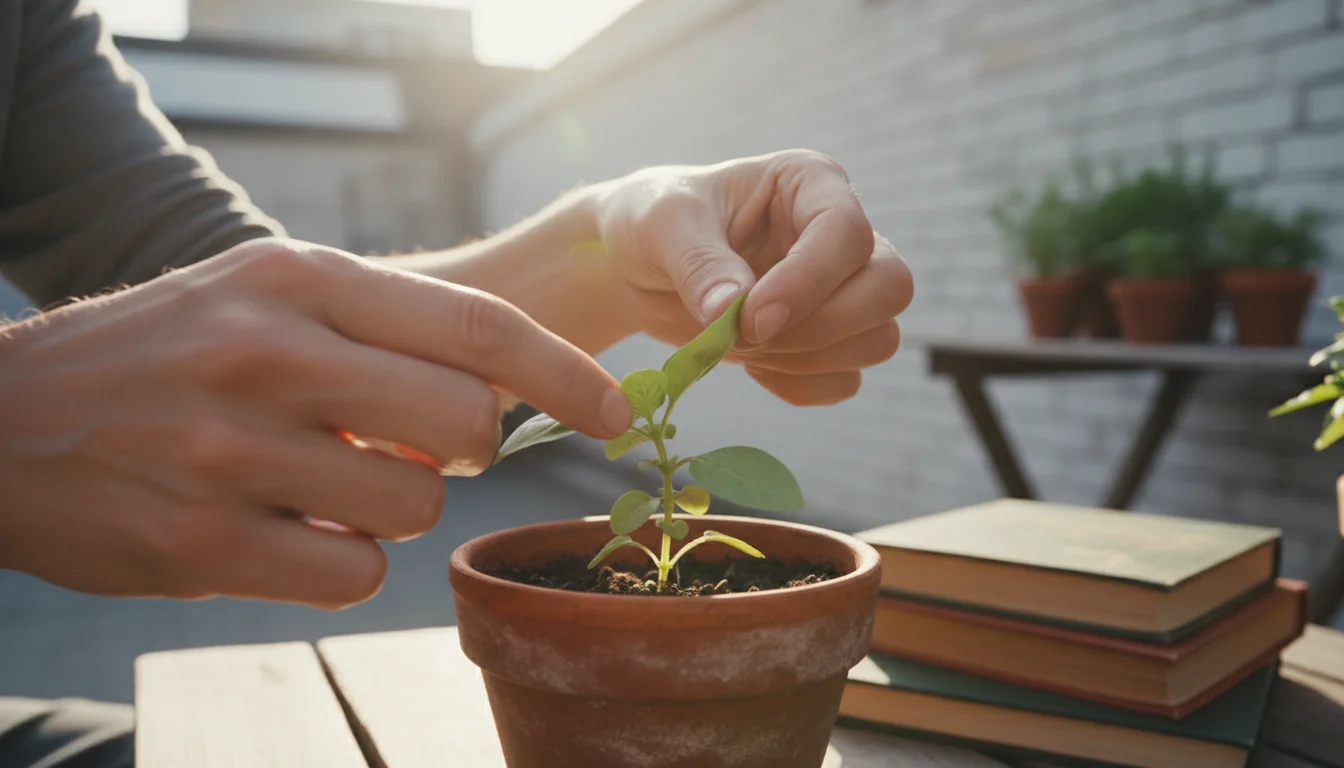
- Pruning: Remove heavily infested leaves to reduce the population significantly.
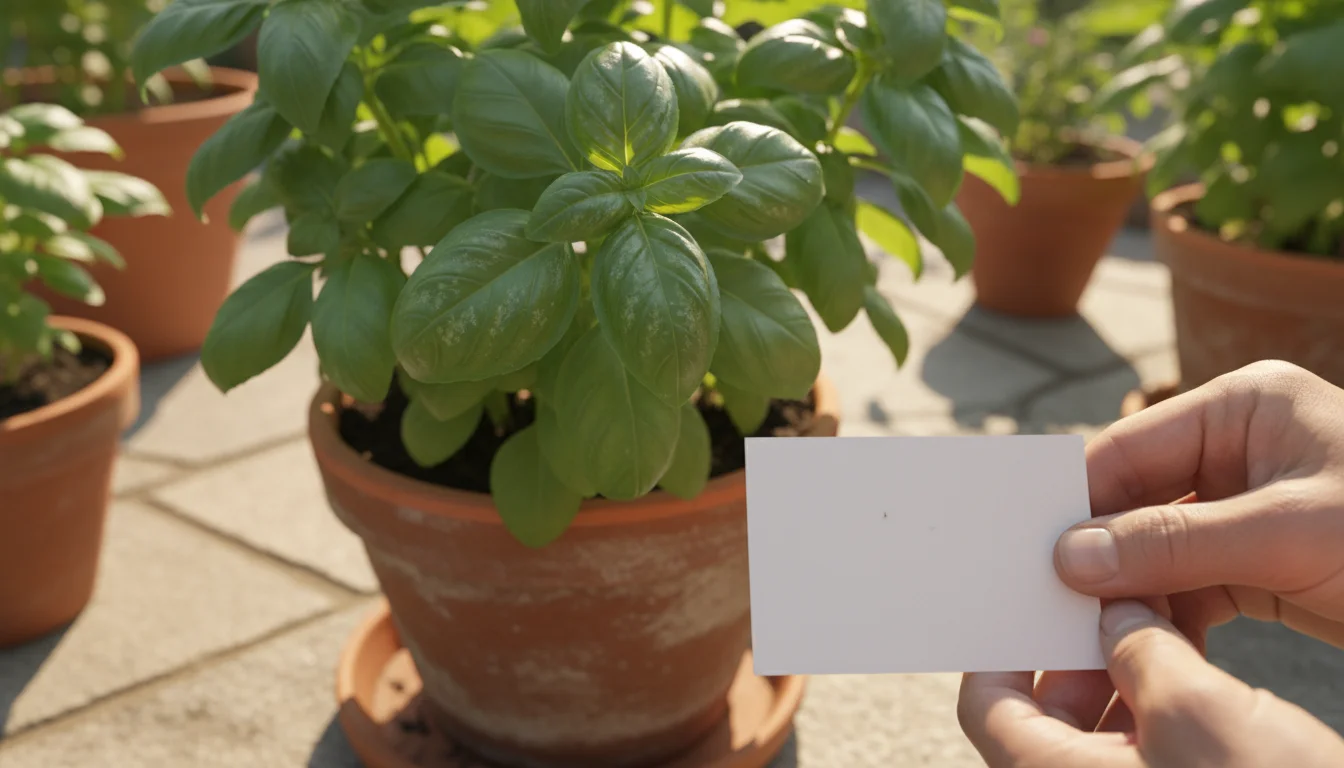
Thrips: Elusive Plant Damage
Thrips are tiny, slender insects, often dark colored, that can be difficult to spot. They feed by rasping plant tissue and sucking the oozing sap, causing a distinctive silvery or speckled damage.
- Identification: These very small, cigar-shaped insects often hide in flower buds or new growth. You might see them by gently tapping a flower or leaf over a white piece of paper.
- Symptoms: Silvery streaks or stippling on leaves, distorted or stunted new growth, and sometimes scarred or deformed flowers or fruits. Black specks of thrips excrement may also be visible.
- Damage: Thrips feeding causes cosmetic damage and can significantly reduce the quality and yield of your container vegetables. They can also transmit plant viruses.
- Lifecycle: Thrips undergo metamorphosis, with pupal stages often occurring in the soil. Adults are winged.
- Treatment:
- Blue or Yellow Sticky Traps: Thrips are attracted to blue and yellow. Place sticky traps near your plants to monitor and catch adults.
- Pruning: Remove and dispose of heavily infested leaves, flowers, and buds.
- Insecticidal Soap or Neem Oil: Regular application, especially on new growth and inside flowers, helps control populations. Ensure the spray contacts the thrips.
- Systemic Insecticides (use with caution): For food crops, systemic options are generally not recommended. If considering, always consult local extension services for safe recommendations on edible plants.
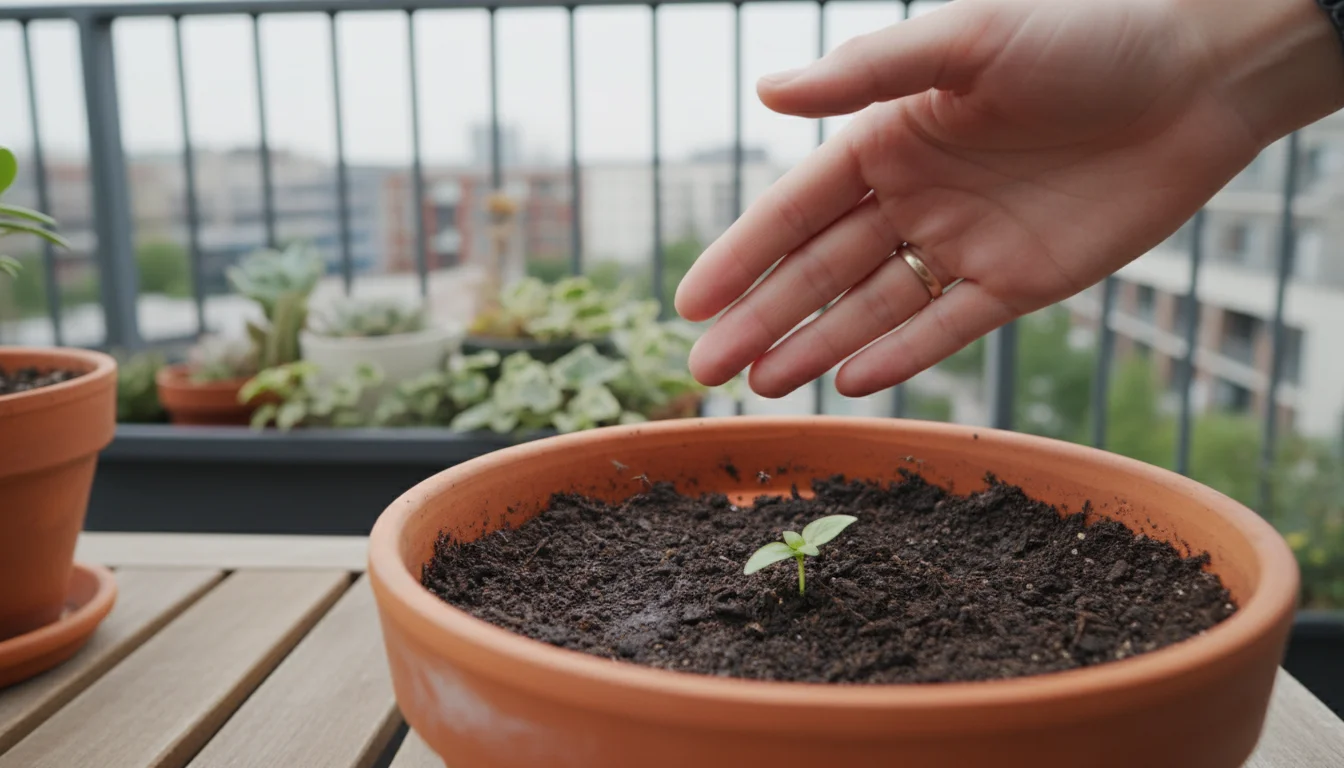
Fungus Gnats: More Annoying Than Harmful
While the adult fungus gnats are mostly an annoyance, flying around your plants and home, their larvae can cause minor damage by feeding on roots. They thrive in overly wet potting mix.
- Identification: Small, dark, mosquito-like flies hovering around the soil surface or flying weakly near plants. Their larvae are tiny, translucent worms with black heads, found in the top inch of soil.
- Symptoms: Adult gnats are the primary sign. In severe infestations, you might see wilting or stunted growth due to larval root feeding, especially in seedlings.
- Damage: Larvae feed on decaying organic matter and fine root hairs. While generally harmless to mature, healthy plants, they can damage seedlings and weak plants.
- Lifecycle: Eggs are laid in moist soil, larvae hatch and feed, then pupate in the soil before emerging as adults.
- Treatment:
- Allow Soil to Dry Out: This is the most effective method. Water your container plants thoroughly, then allow the top 1-2 inches of soil to dry completely before watering again. This eliminates the moist breeding grounds for larvae.
- Yellow Sticky Traps: Place these traps near the soil surface to catch adult gnats, reducing egg-laying.
- Biological Controls: Introduce beneficial nematodes (Steinernema feltiae) to the soil. These microscopic worms seek out and kill gnat larvae.
- Top Dressing: Cover the soil surface with a layer of sand or diatomaceous earth to create a dry barrier that prevents adults from laying eggs and larvae from emerging.
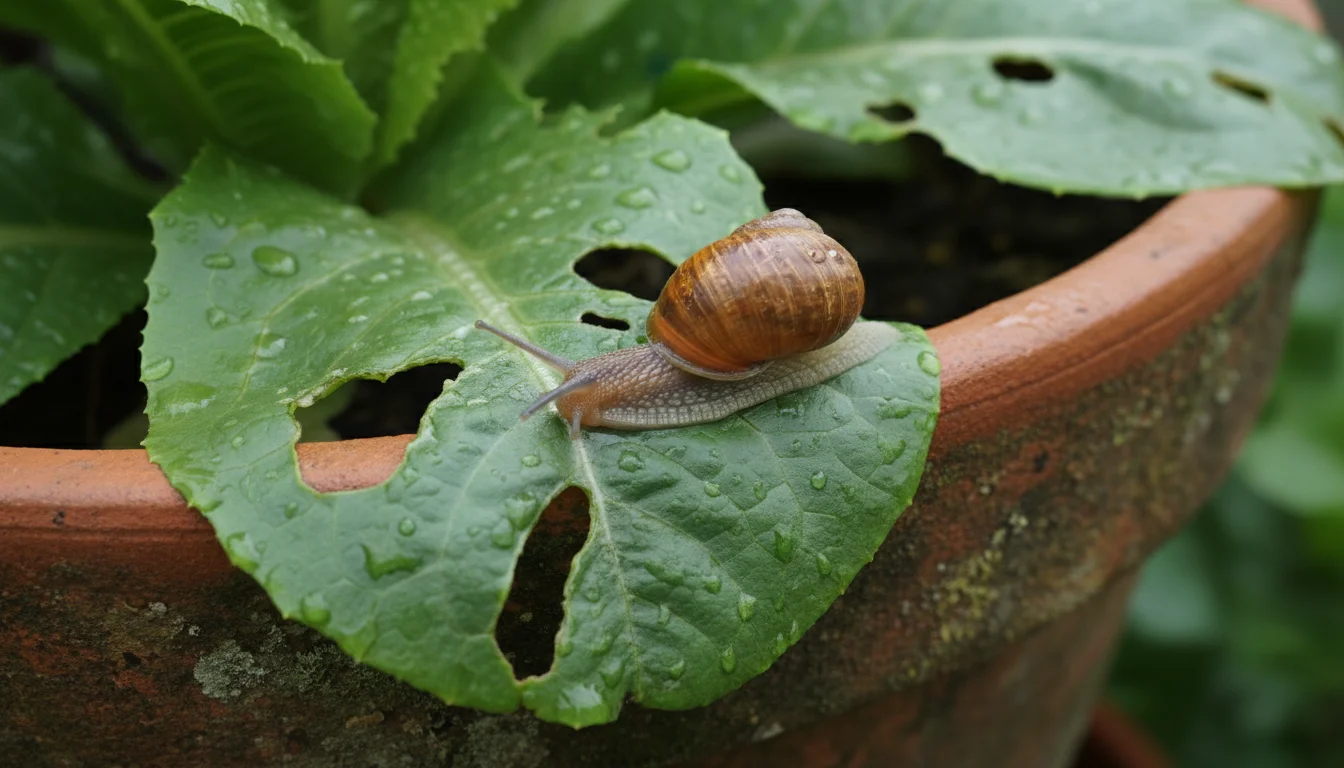
Slugs and Snails: Nighttime Raiders
These mollusks are notorious for leaving ragged holes in leaves and fruit, often targeting tender seedlings and leafy greens. They are most active at night or during damp weather.
- Identification: You will find slugs (shell-less) or snails (with shells) on your plants or container edges. The most common sign of their presence is shiny, silvery slime trails on leaves, containers, or paving.
- Symptoms: Large, irregular holes with smooth edges in leaves and fruits. Seedlings may be completely consumed.
- Damage: They chew holes in foliage and fruit, ruining produce and weakening plants.
- Lifecycle: Slugs and snails are hermaphrodites, meaning each individual can produce eggs. They lay eggs in moist soil or under debris.
- Treatment:
- Manual Removal: Handpick slugs and snails from your plants, ideally in the evening or early morning. Drop them into a bucket of soapy water.
- Beer Traps: Sink shallow dishes of beer into the soil so the rim is level with the soil surface. Slugs and snails are attracted to the yeast, fall in, and drown.
- Copper Barriers: Place copper tape around the rims of your containers. Copper reacts with their slime, giving them a mild electric shock, deterring them.
- Diatomaceous Earth: Sprinkle food-grade diatomaceous earth around the base of your plants. This sharp powder dehydrates slugs and snails as they crawl over it. Reapply after rain.
- Clean Up Debris: Remove leaf litter, mulch, and other hiding places from around your containers to reduce their habitat.
Integrated Pest Management (IPM) for Small Spaces
Integrated Pest Management (IPM) is a holistic approach combining several strategies for long-term pest prevention and management. It emphasizes minimal environmental impact and sustainable practices. For your container garden, IPM means using a combination of cultural, biological, and chemical (least toxic first) controls.
- Monitoring: Regularly inspect plants for pests and signs of damage. Early detection is key to effective IPM.
- Identification: Accurately identify the pest to choose the most appropriate control method.
- Prevention: Implement all the preventative measures discussed earlier, such as choosing healthy plants, proper watering, and good air circulation.
- Cultural Controls: Optimize growing conditions for your plants. Provide adequate light, water, and nutrients. Rotate crops if you have the space or change your potting mix annually to reduce pest buildup.
- Mechanical/Physical Controls: Use methods like handpicking, washing plants with water, using sticky traps, or physical barriers.
- Biological Controls: Introduce or encourage beneficial insects (predators like ladybugs, lacewings, parasitic wasps) that feed on or parasitize pests. Consider companion planting to attract these beneficials.
- Chemical Controls (Last Resort): If other methods prove insufficient, opt for the least toxic chemical options first. This means starting with insecticidal soaps, horticultural oils, or neem oil before considering stronger pesticides. Always choose products approved for use on edible plants and follow all label instructions carefully.
By implementing IPM, you reduce your reliance on chemicals, promote a healthy garden ecosystem, and keep your container vegetables thriving naturally.
Eco-Friendly Treatment Strategies
Sustainable gardening means using methods that protect both your plants and the broader environment. When dealing with container garden pests, eco-friendly strategies should always be your first choice. These methods are safe for you, your family, pets, and beneficial insects.
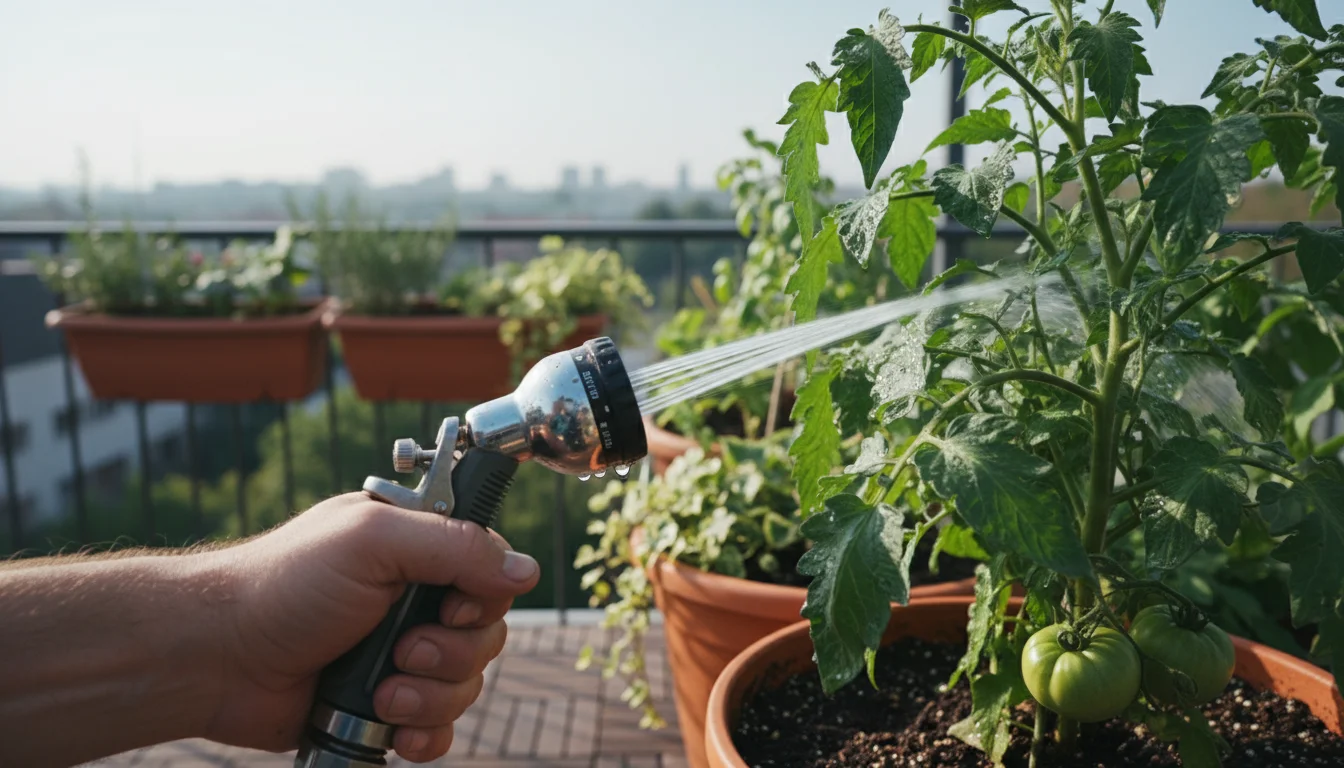
- Water Blasts: A strong spray of water from your hose can dislodge many soft-bodied pests like aphids and spider mites. Repeat this every few days until the population dwindles. Remember to spray the undersides of leaves.
- Handpicking: For larger pests like slugs, snails, and caterpillars, handpicking is highly effective. Do this in the early morning or evening when they are most active.
- Insecticidal Soaps: These soaps work by suffocating soft-bodied insects. They are generally safe for edibles and break down quickly in the environment. Ensure you use a product specifically labeled as an insecticidal soap, not dish soap, which can harm plants. For safe practices, refer to resources like Penn State Extension on Horticultural Oils and Insecticidal Soaps.
- Neem Oil: Derived from the neem tree, this natural insecticide disrupts the feeding and reproductive cycles of many pests. It is effective against aphids, whiteflies, spider mites, and thrips. Apply according to package directions, typically every 7-14 days.
- Horticultural Oils: These light oils coat and smother insects and their eggs. They are effective against mites, scale, and some insect eggs. Apply when temperatures are moderate to avoid plant damage.
- Diatomaceous Earth (Food Grade): This fine powder consists of fossilized diatoms. When insects crawl over it, the sharp edges abrade their exoskeletons, leading to dehydration. It is safe for humans and pets but harmful to crawling insects. Apply to dry plants and soil.
- Beneficial Insects: Introduce natural predators like ladybugs, lacewings, and parasitic wasps. These insects naturally control pest populations without harming your plants or beneficial organisms. Many reputable online suppliers sell beneficial insects.
- Crop Rotation (if applicable): If you have multiple containers or rotate crops in larger containers, changing what you plant in specific pots each season helps break pest cycles in the soil.
Always follow product label instructions precisely, even for organic solutions. Avoid spraying plants in direct hot sun, as this can cause leaf burn, especially with oil-based treatments. Apply treatments in the early morning or late evening when beneficial insects are less active.
Seasonal Pest Challenges and Solutions
Pest activity fluctuates with the seasons. Understanding these patterns helps you anticipate and address issues effectively.
Spring: New Growth, New Pests
As temperatures rise and new growth emerges, pests like aphids and slugs become active. Young, tender growth is particularly vulnerable.
- Challenge: Aphids on new shoots, slugs on emerging seedlings.
- Solution: Start monitoring early. Inspect new seedlings daily. Use preventative measures like copper tape for slugs and apply insecticidal soap at the first sign of aphids. Ensure good air circulation.
Summer: Heat, Humidity, and High Activity
Summer brings high temperatures and often increased humidity, creating ideal conditions for many pests. Spider mites, whiteflies, and thrips populations can explode during this time.
- Challenge: Rapid reproduction of spider mites, whiteflies, and thrips.
- Solution: Consistent monitoring is critical. Maintain proper watering to reduce plant stress. Implement insecticidal soap or neem oil treatments promptly. Consider increasing humidity for mite-prone plants by misting, but ensure good airflow to prevent fungal issues. Yellow sticky traps are highly effective in summer to monitor and capture flying pests.
Fall: Preparing for Dormancy
As the growing season winds down, some pests may seek shelter for winter, while others like fungus gnats might become more prevalent indoors if you bring plants inside.
- Challenge: Pests trying to overwinter, fungus gnats indoors.
- Solution: Thoroughly clean up spent plants and debris. If bringing container plants indoors for winter, inspect them meticulously for any hitchhikers. Treat any existing infestations before moving them inside. For fungus gnats, allow indoor container soil to dry out between waterings.
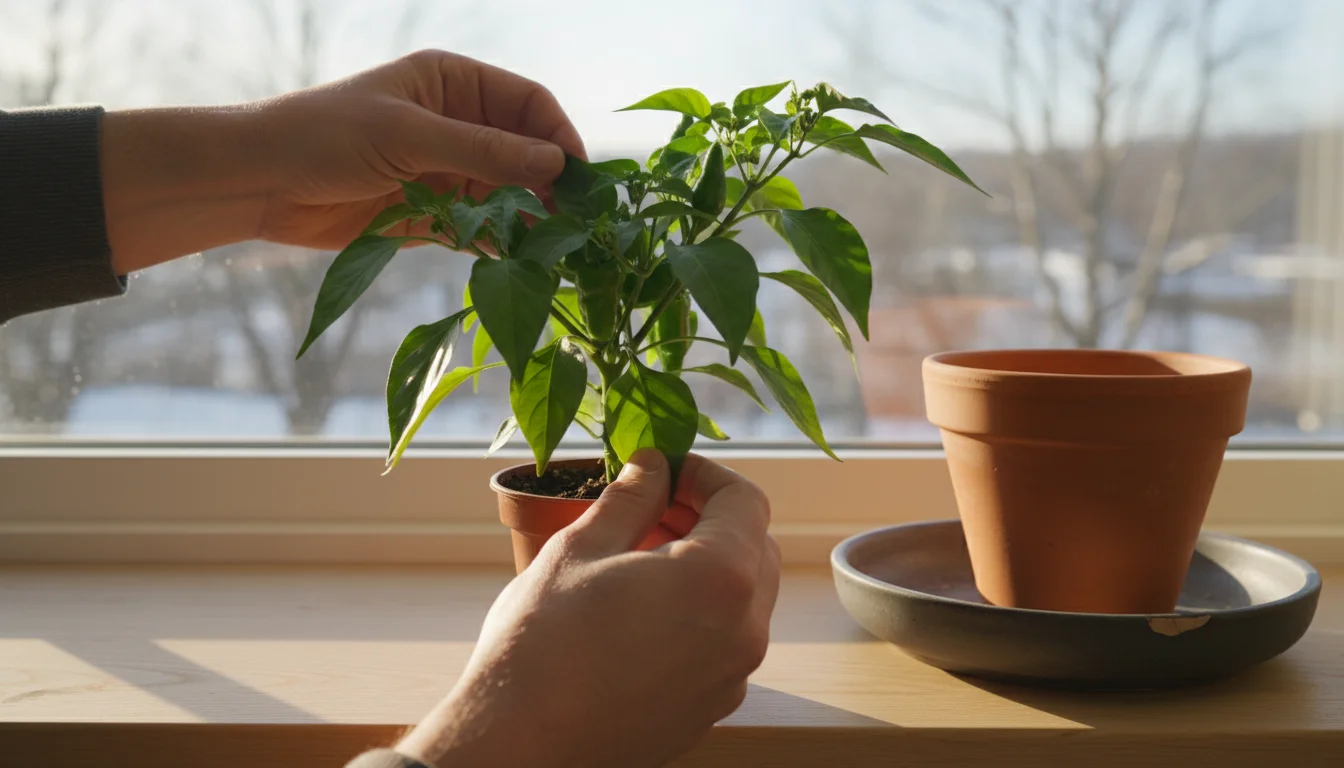
Winter: Indoor Container Care
Pests like spider mites and mealybugs can thrive in the dry, warm indoor environment.
- Challenge: Dry indoor air favors spider mites.
- Solution: Increase humidity around your plants with pebble trays or a humidifier. Continue regular inspections. Isolate any infested plants and treat with insecticidal soap or horticultural oil. For more information on indoor plant care and pests, explore resources from reputable organizations like the National Gardening Association.
Frequently Asked Questions
What are the first signs of a pest problem on container vegetables?
Look for unusual leaf discoloration, such as yellowing, stippling, or curling. Check for sticky residue (honeydew), small holes in leaves, or fine webbing. Also, observe for the actual presence of tiny insects on the undersides of leaves or new growth. Catching these early signs makes treatment much simpler.
Can I use dish soap to treat pests on my vegetable plants?
We do not recommend using dish soap. While it may kill some pests, dish soap contains detergents and degreasers that can strip natural oils from plant leaves, causing damage or burning. Always use products specifically labeled as insecticidal soaps or horticultural oils. These are formulated to be safe for plants and effective against pests, as advised by horticultural experts like those at the University of Minnesota Extension.
How often should I check my container vegetables for pests?
Make a habit of checking your plants at least 2-3 times per week, especially during the growing season. This routine allows you to catch infestations early when they are easier to manage. Pay close attention to new growth and the undersides of leaves.
Will beneficial insects really work in a small container garden?
Yes, beneficial insects can be very effective in small container gardens. While they might fly away if food sources run out, releasing ladybugs or lacewing larvae can significantly reduce pest populations quickly. Ensure you release them in the evening or early morning when temperatures are cooler and pests are active, providing immediate food for the beneficials. Maintaining diverse plants in your garden, even herbs or flowers in containers, also attracts naturally occurring beneficial insects.
My plant is severely infested. Should I just throw it away?
Consider the extent of the damage and your commitment to saving the plant. For severely infested annual vegetables, sometimes discarding the plant and starting fresh is the most practical and sustainable option, preventing the spread of pests to other containers. For sentimental or perennial plants, intense treatment over several weeks might be necessary, involving pruning away heavily infested parts and consistent application of eco-friendly treatments.
For research-based plant care guidance, visit Chicago Botanic Garden, New York Botanical Garden, Royal Horticultural Society (RHS), and University of Florida IFAS Extension.
Disclaimer: This article is for informational purposes only and is not a substitute for professional advice. Consult local extension services for region-specific recommendations.
Leave a Reply