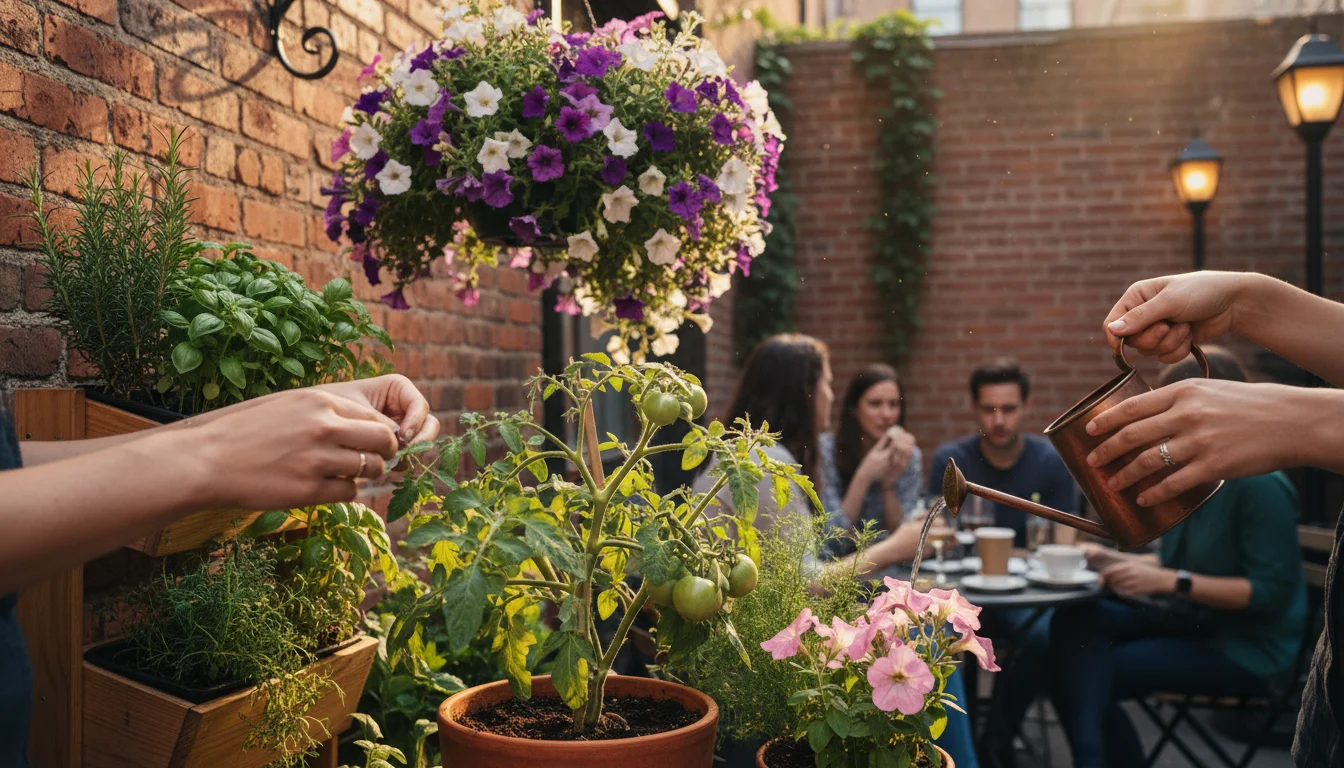
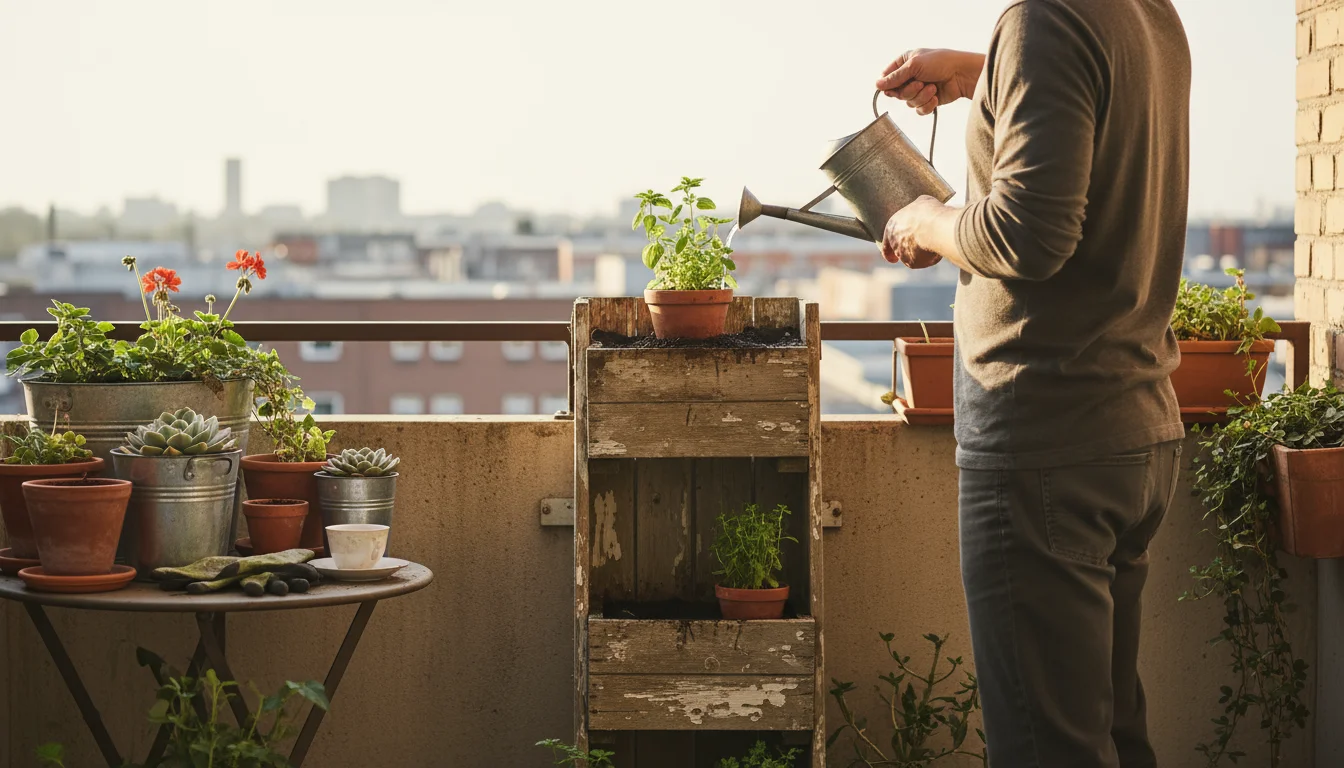
You want your plants to thrive, producing vibrant foliage, beautiful blooms, or bountiful harvests. A crucial part of achieving this goal involves understanding how and when to provide essential nutrients. While sunlight and water form the foundation of plant health, proper fertilization acts as a vital supplement, much like a balanced diet for us. This guide offers practical, actionable insights into plant nutrition, helping you cultivate healthier, happier plants without complicated routines.
If you are just starting your journey, an indoor plant survival guide can provide a great foundation for general care.
Many beginners find fertilization intimidating. You might worry about overfeeding, underfeeding, or selecting the wrong product. You are not alone in these concerns. This article simplifies the science behind plant food, offering clear steps and explanations to demystify the process. You will learn to recognize your plants’ needs, choose the right fertilizers, and implement an effective fertilizing schedule that supports growth, sustainability, and minimizes effort.
For research-based plant care guidance, visit University of Minnesota Extension, Cornell Garden-Based Learning and UF/IFAS Gardening Solutions.
Disclaimer: This article is for informational purposes only and is not a substitute for professional advice. Consult local extension services for region-specific recommendations.
Introduction to Plant Nutrition and Fertilization
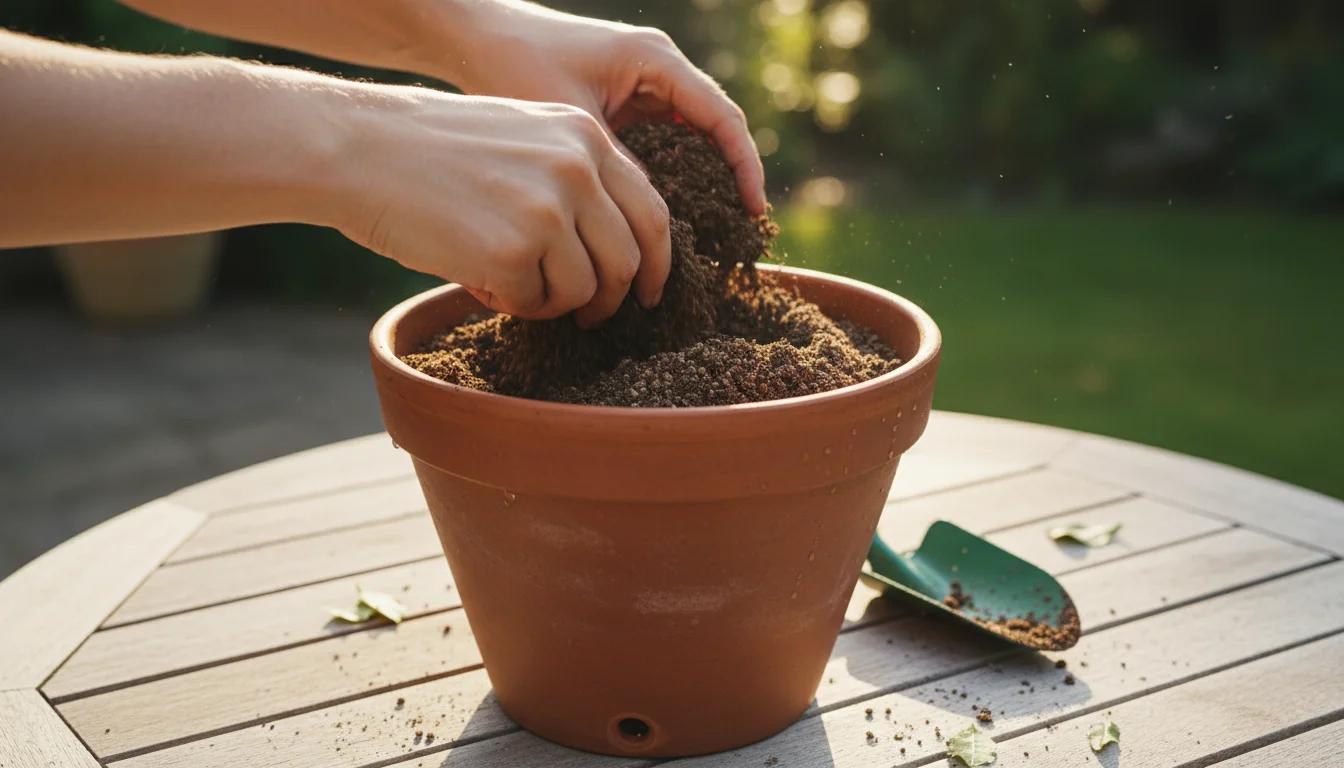
Plants require specific nutrients to grow, bloom, and thrive. You can think of these nutrients as the building blocks for healthy development. While sunlight provides energy for photosynthesis and water transports nutrients, the soil provides the raw materials. Over time, plants deplete these nutrients from their immediate environment, especially in containers where the soil volume is limited.
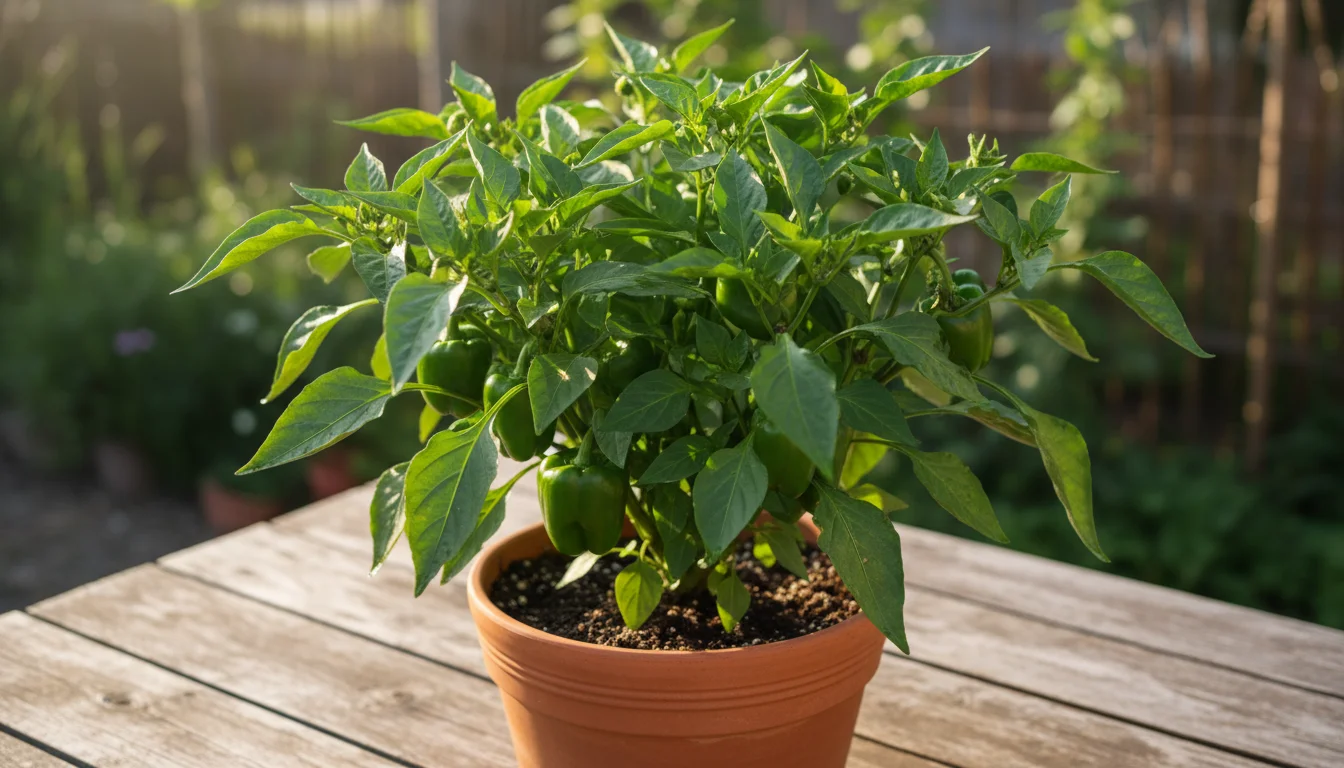
Fertilizing replenishes these vital elements, ensuring your plants receive a consistent supply. Healthy plants exhibit stronger resistance to pests and diseases, recover faster from stress, and generally look more vibrant. For instance, a pepper plant receiving adequate nutrients produces significantly more fruit than one struggling in depleted soil. Similarly, a succulent in a pot with insufficient nutrients might grow leggy and weak, losing its characteristic compact form.
The goal is to supplement what the soil already offers. You are not replacing the soil’s natural capabilities, but rather enhancing them. This approach promotes robust growth without creating an artificial dependency or harming the environment. Understanding this balance helps you provide optimal care while keeping your routines simple and effective.
Understanding the Essentials: N-P-K and Micronutrients
When you look at a fertilizer label, you will immediately notice three numbers separated by hyphens, such as 10-10-10 or 5-1-3. These numbers represent the N-P-K ratio, indicating the percentage by weight of the three primary macronutrients your plants need in large quantities:
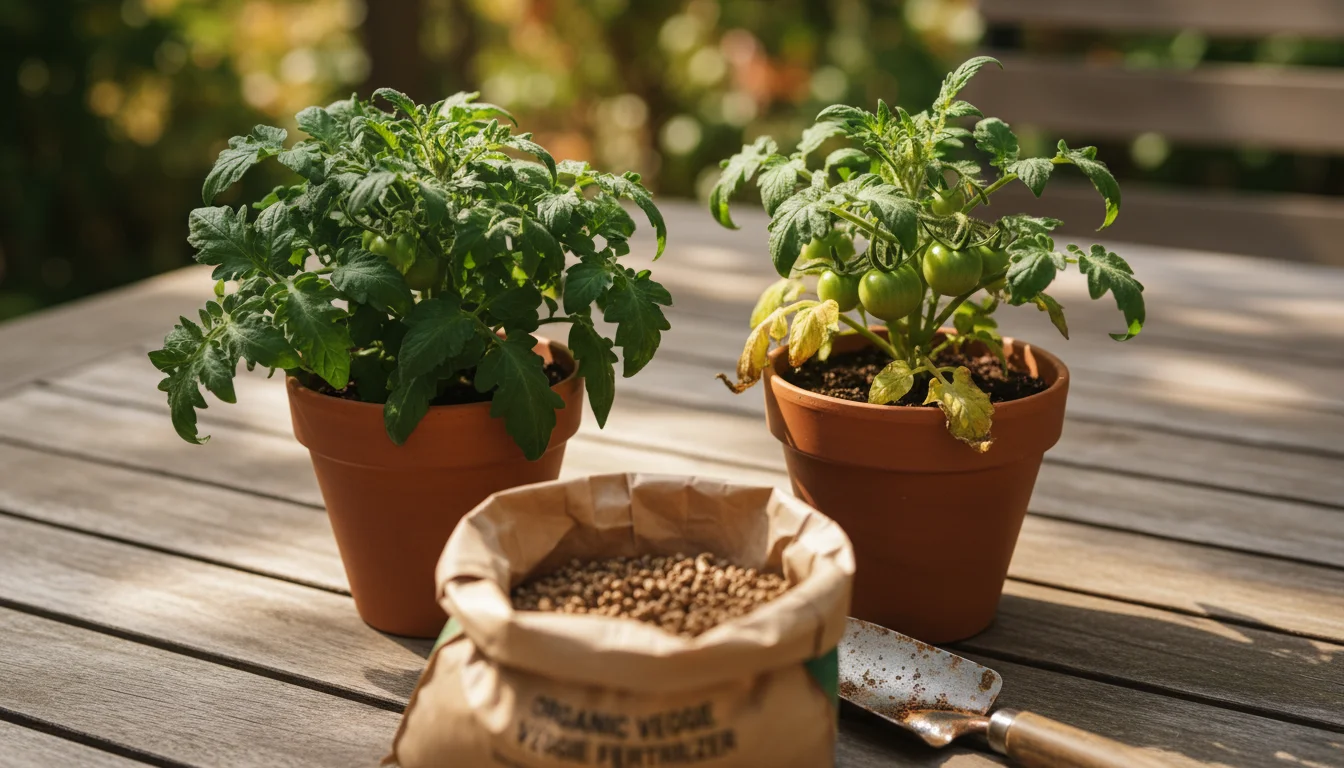
- Nitrogen (N): Promotes lush, green, leafy growth. It is crucial for photosynthesis and chlorophyll production. If your plant has yellowing leaves or stunted growth, it might need more nitrogen. For example, a tomato plant showing pale lower leaves often indicates a nitrogen deficiency.
- Phosphorus (P): Supports root development, flowering, and fruiting. It plays a key role in energy transfer within the plant. You will find phosphorus particularly important for flowering plants and those producing fruit or seeds. A plant with poor flower development or weak roots often lacks sufficient phosphorus.
- Potassium (K): Enhances overall plant health, disease resistance, and helps with water regulation. It strengthens stems and aids in fruit ripening. Plants lacking potassium may exhibit yellowing on leaf edges or have weak stems.
Beyond these primary three, plants also require secondary macronutrients like calcium, magnesium, and sulfur, along with micronutrients such as iron, boron, copper, manganese, molybdenum, and zinc. While needed in smaller amounts, these micronutrients are equally vital for specific plant functions. For instance, iron deficiency often manifests as chlorosis, or yellowing between leaf veins, particularly on new growth.
Most complete fertilizers include a balance of N-P-K and a range of micronutrients. For general plant health, a balanced fertilizer works well. However, you might choose a fertilizer with a higher nitrogen ratio for leafy greens, or a higher phosphorus ratio for flowering plants. Understanding these basics empowers you to select the right product for your plant’s specific stage of growth and needs.
The University of California Agriculture and Natural Resources provides comprehensive information on plant nutrients and their functions. You can find more detailed explanations on their website.

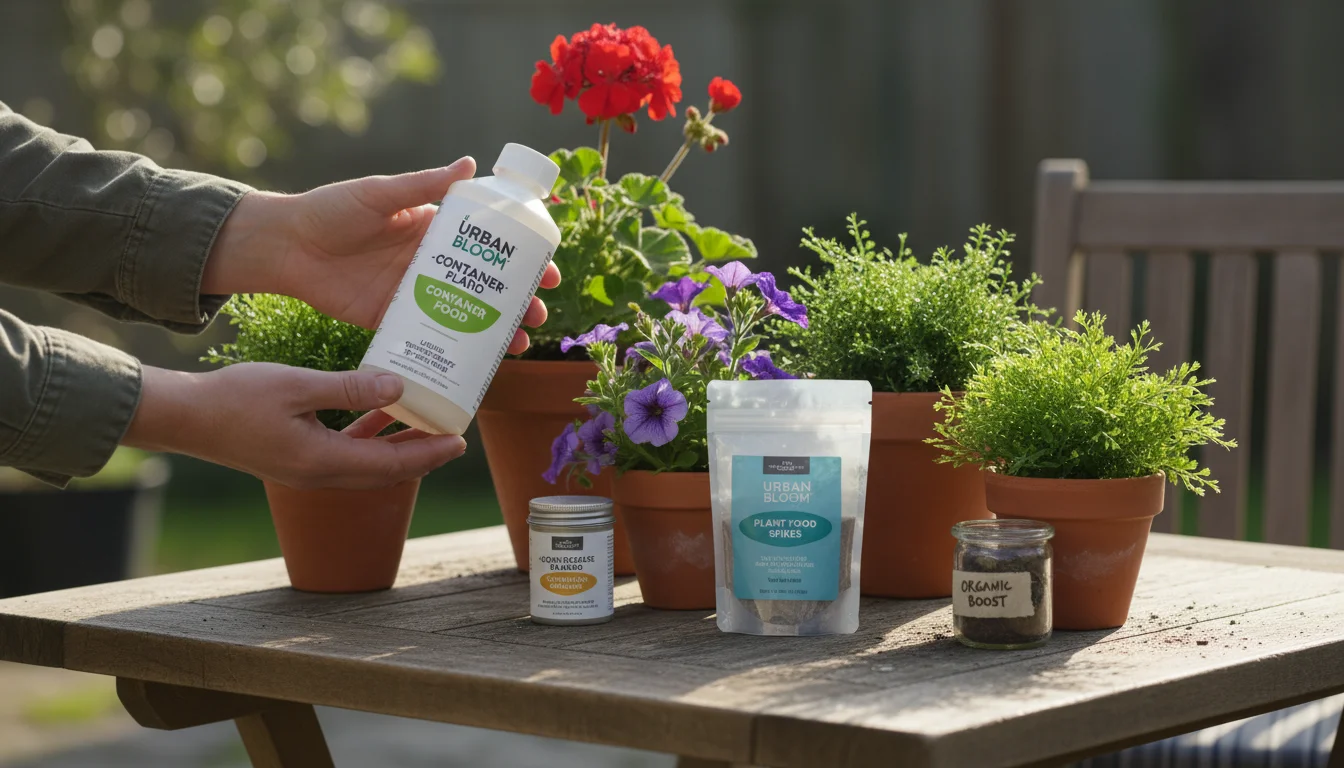
Decoding Fertilizer Labels: Types and Forms
Understanding fertilizer labels helps you choose the correct product and apply it safely. Beyond the N-P-K ratio, labels also indicate the fertilizer’s form. Each form has its advantages and best uses, particularly for small-space and container gardening.
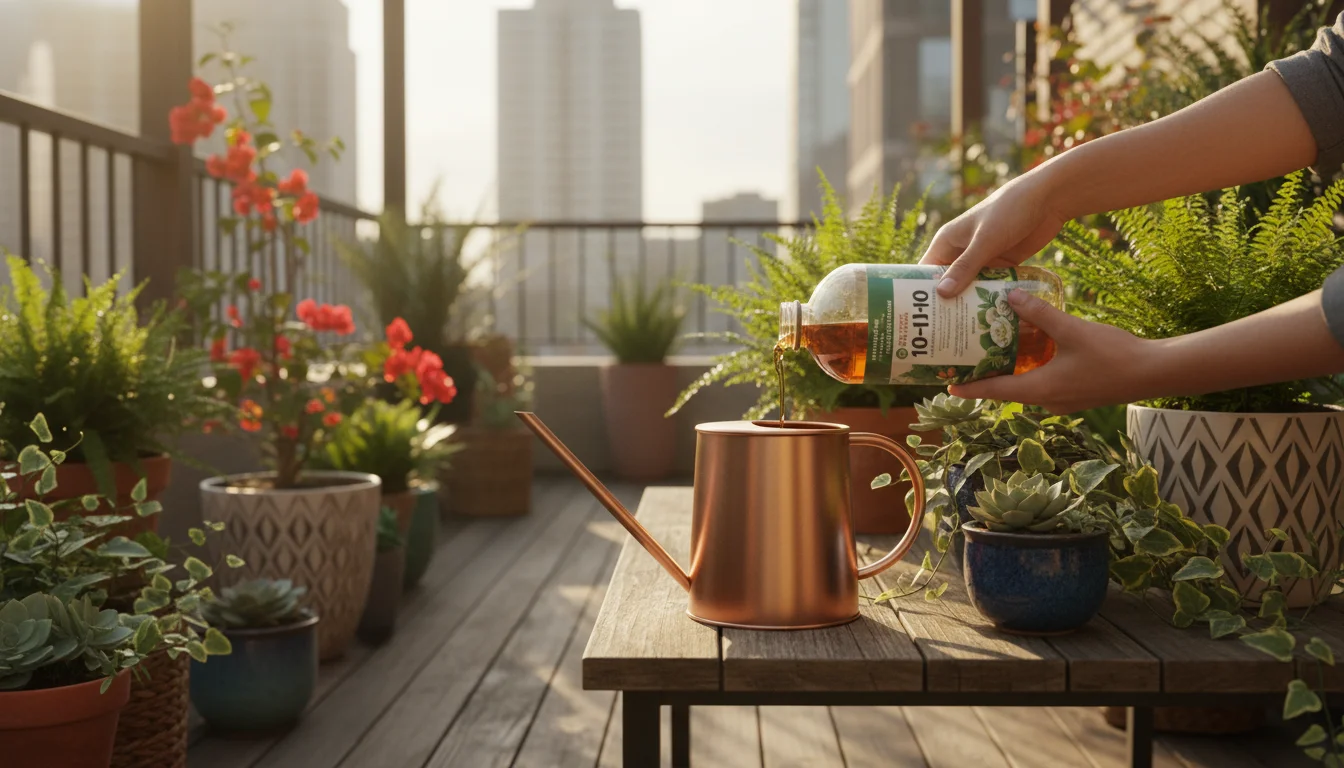
Liquid Fertilizers
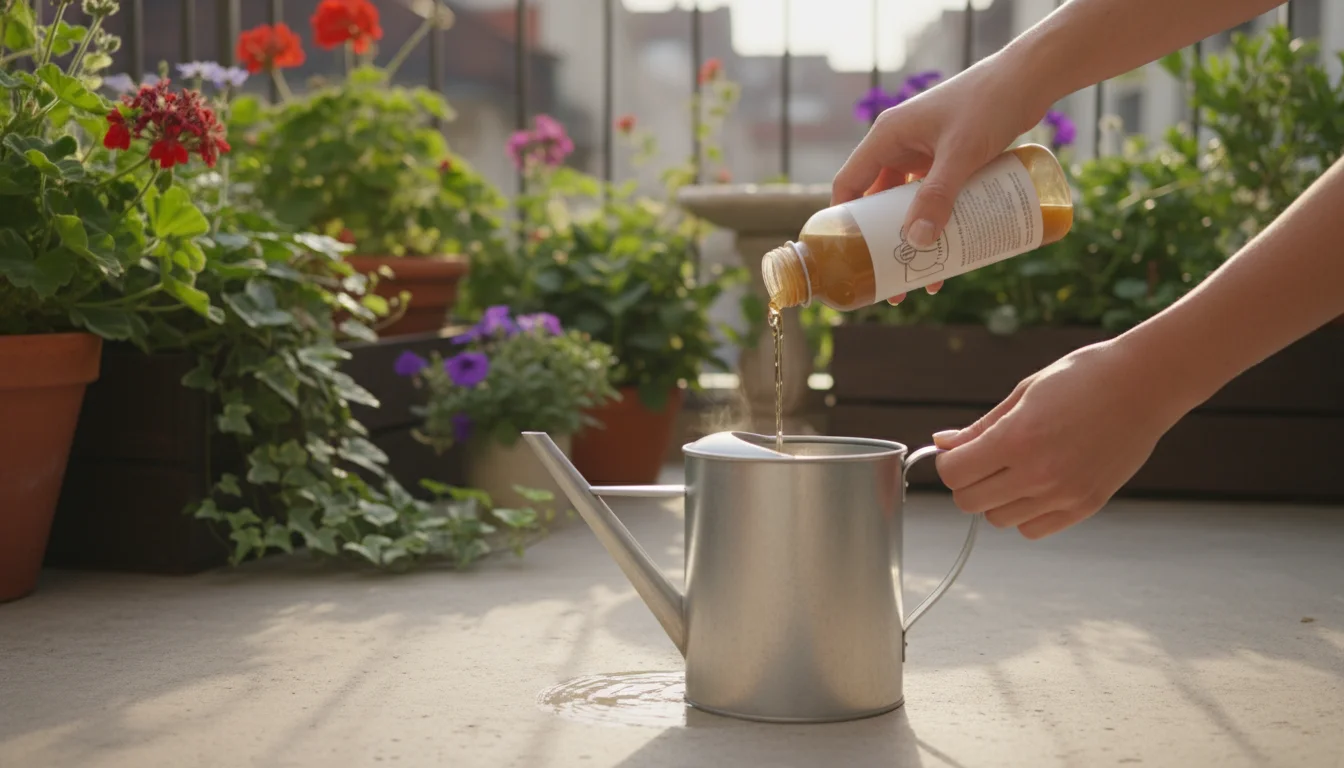
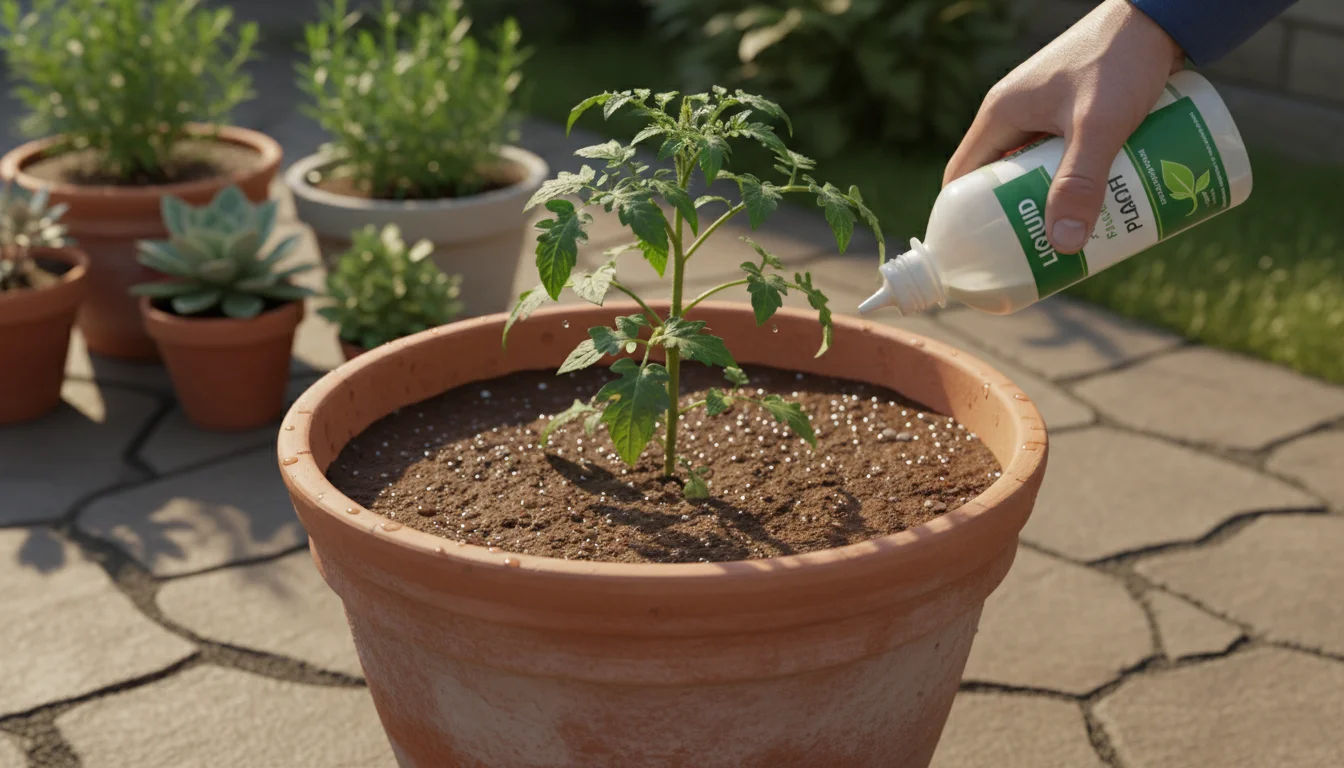
Liquid fertilizers come as concentrates you dilute with water before application. You apply them directly to the soil, where roots quickly absorb the dissolved nutrients. This makes them ideal for providing an immediate nutrient boost. You can easily adjust the strength, which helps prevent over-fertilization. For example, during peak growing season, you might use a half-strength solution weekly for a continuously blooming annual. Their quick absorption means you see results faster, which is beneficial for plants showing immediate signs of nutrient deficiency.
Granular Fertilizers
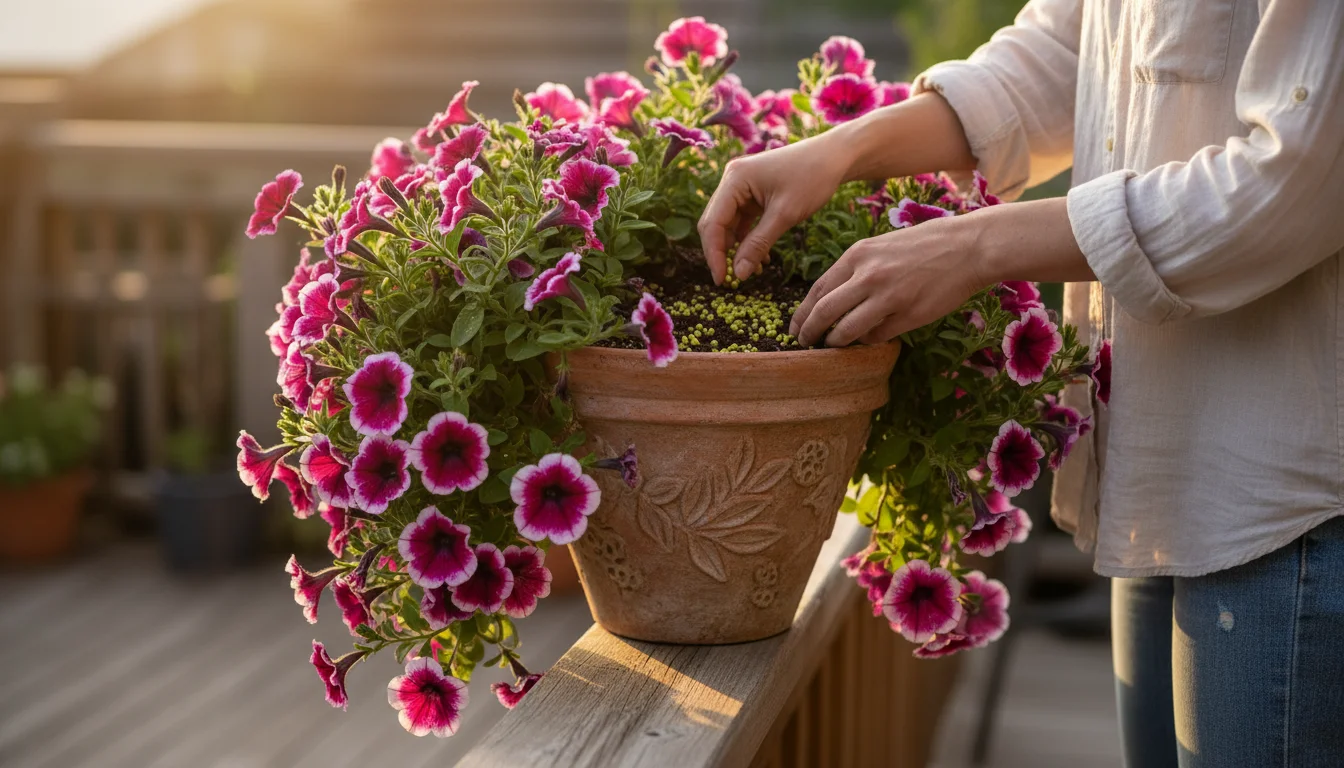
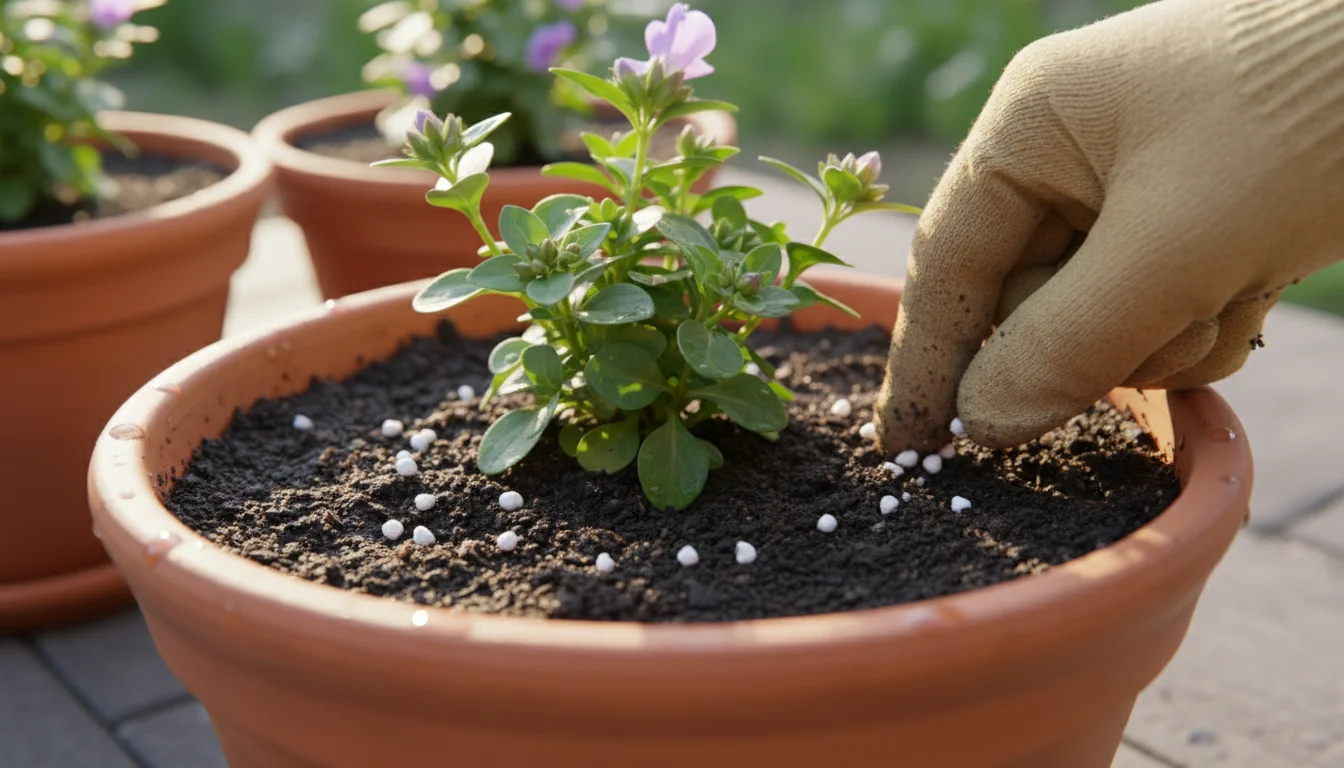
Granular fertilizers are dry pellets or powders you sprinkle onto the soil surface or mix into the potting mix. These are generally slow-release, breaking down over time with watering to gradually deliver nutrients. This provides a steady supply of food, reducing the frequency of application. A balanced granular fertilizer might last for several weeks or even months, depending on the specific product. For large containers or outdoor garden beds, granular options offer a convenient, long-lasting solution. A common application involves scratching the granules into the top inch of soil around the plant’s drip line.
Slow-Release Fertilizers
Slow-release fertilizers are a type of granular fertilizer often encased in a polymer coating. This coating allows nutrients to leach out slowly and consistently over an extended period, sometimes up to six months. This makes them excellent for busy gardeners or plants that prefer a steady, low dose of nutrients. You often find these mixed into premium potting soils for container gardening. For instance, a single application of slow-release fertilizer at the beginning of spring can sustain many plants throughout the summer growing season, significantly simplifying your fertilizing schedule.
Choosing between these forms depends on your plant’s needs, your gardening style, and your desired application frequency. For immediate impact, choose liquid. For sustained feeding with less frequent effort, opt for granular or slow-release forms. Always read and follow the specific instructions on your chosen fertilizer label carefully to ensure proper application rates and methods.
Crafting Your Fertilizing Schedule: When to Feed Your Plants
A successful fertilizing schedule aligns with your plants’ natural growth cycles. You do not fertilize plants year-round. Instead, you focus on periods of active growth. For most plants, this means spring and summer.
Recognizing Active Growth
Plants actively grow when temperatures are warm, and daylight hours are long. This is when they produce new leaves, stems, flowers, and fruit. You will notice visible new growth, such as unfurling leaves or emerging flower buds. During these periods, plants expend significant energy and rapidly consume nutrients. This is your cue to begin or increase fertilization.
Dormancy and Reduced Activity
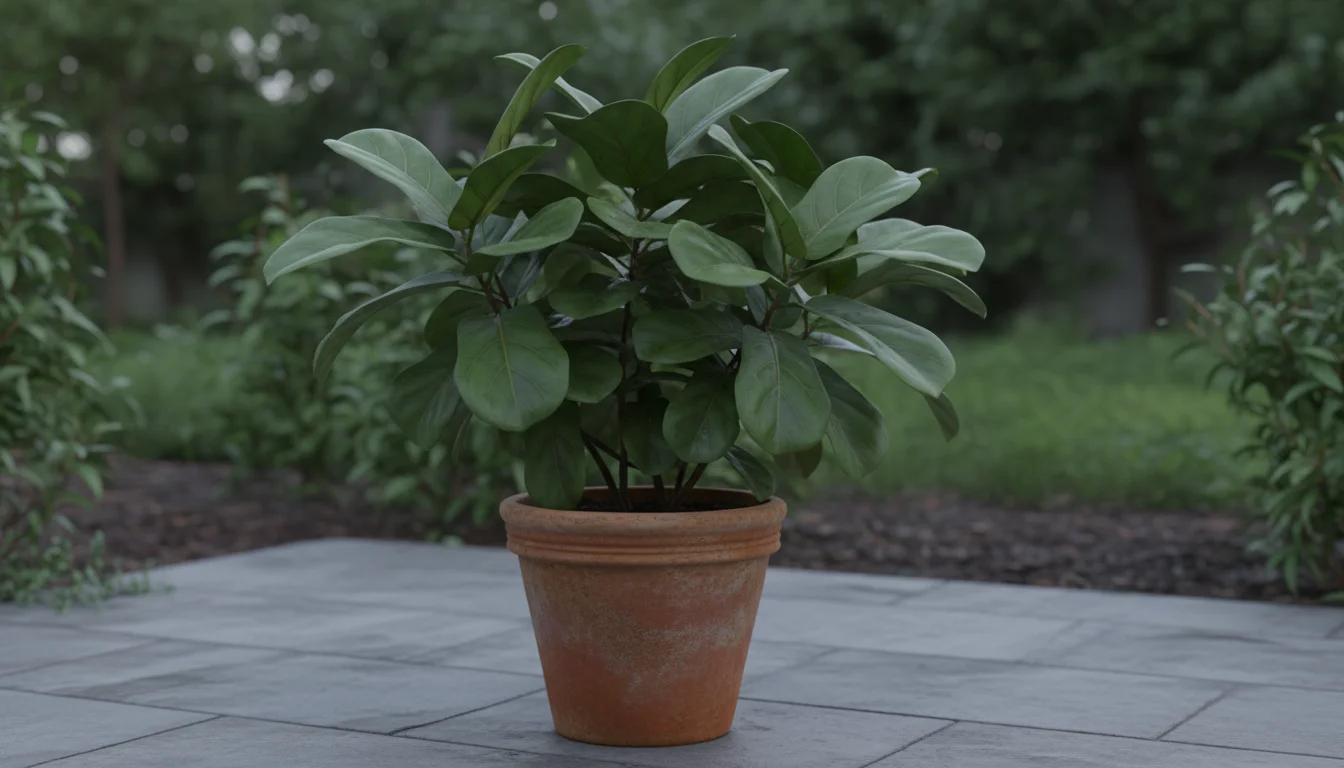
During fall and winter, most plants enter a period of dormancy or significantly reduce their growth rate. Days shorten, temperatures drop, and plants conserve energy. During these times, their nutrient needs dramatically decrease. You should cease or drastically reduce fertilizing. Providing nutrients to a dormant plant can lead to salt buildup in the soil, potentially burning the roots, since the plant cannot utilize the nutrients effectively. For example, a fiddle leaf fig slows its growth considerably in winter, requiring no fertilizer until spring.

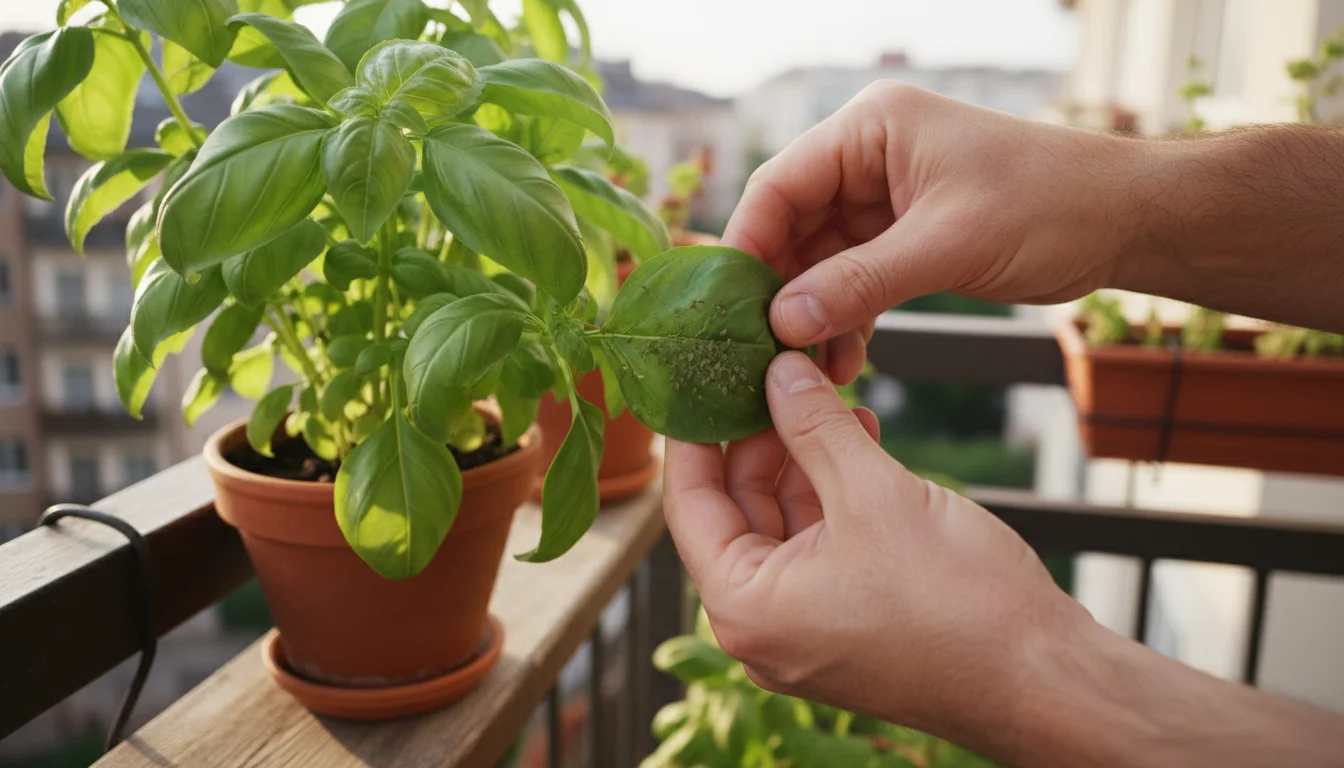
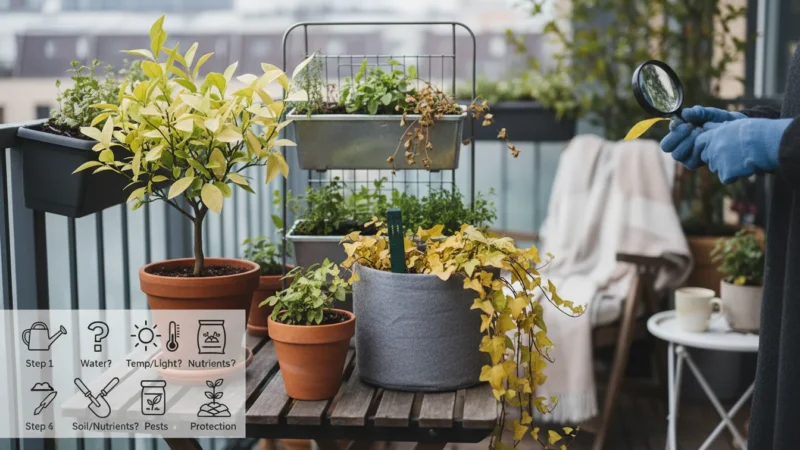
Signs Your Plant Needs Feeding
Your plants communicate their needs. Observe them closely for these indicators:
- Stunted Growth: The plant is growing very slowly, or new leaves are much smaller than older ones.
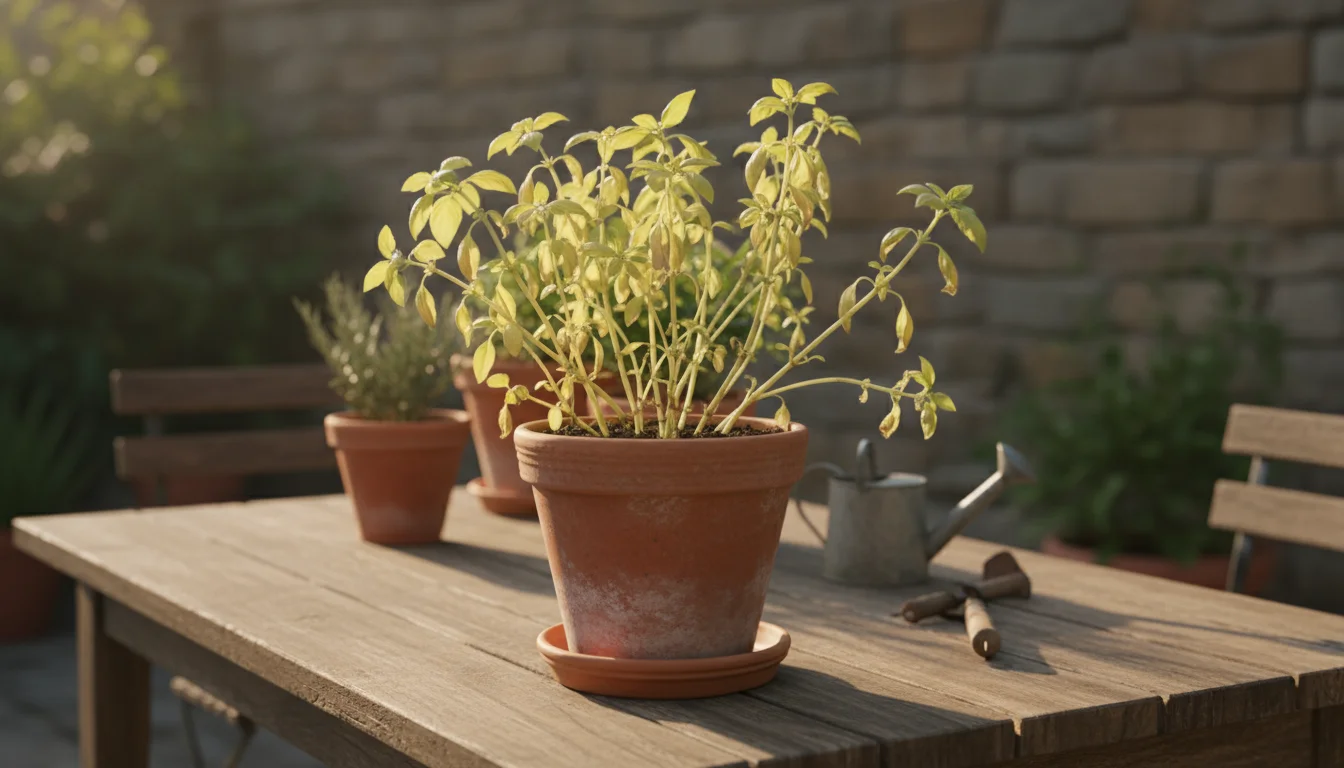
- Yellowing Leaves (Chlorosis): Yellowing, especially on older leaves or between veins, often signals a nutrient deficiency. Nitrogen deficiency typically shows yellowing on older lower leaves. Iron deficiency often appears as yellowing on new growth with green veins.
- Poor Flowering or Fruiting: Few or no blooms, or small, underdeveloped fruits, can indicate a lack of phosphorus or potassium.
- Weak Stems: Limp or thin stems might point to insufficient potassium or overall nutrient deficiency.
- Leaf Drop: While many factors cause leaf drop, nutrient deficiency can contribute.
Keep in mind that these symptoms can also indicate other issues, such as improper watering, lighting, or pest infestations. Always assess your plant’s overall environment before concluding a nutrient deficiency is the sole cause.
General Fertilizing Schedule
This general guideline provides a starting point for developing your fertilizing schedule. Adjust it based on your specific plant type and climate:
| Season | Plant Activity | Fertilizing Recommendation | Example Plants |
|---|---|---|---|
| Spring (March-May) | Active growth begins, new shoots, leaf development. | Begin regular feeding. Use balanced liquid fertilizer every 2-4 weeks or apply slow-release. | Most houseplants, outdoor annuals, vegetables. |
| Summer (June-August) | Peak growth, flowering, fruiting. | Continue regular feeding. Adjust fertilizer type for flowering/fruiting if needed (e.g., higher P, K). | Tomatoes, petunias, orchids. |
| Fall (September-November) | Growth slows, preparing for dormancy. | Reduce feeding frequency. Use half-strength liquid fertilizer once a month or stop by late fall. | Perennials, established shrubs, most houseplants. |
| Winter (December-February) | Dormancy or minimal growth. | Cease fertilizing for most plants. Only fertilize active winter bloomers or very young, rapidly growing plants (at reduced strength). | Cacti, many succulents, holiday cacti (when blooming). |
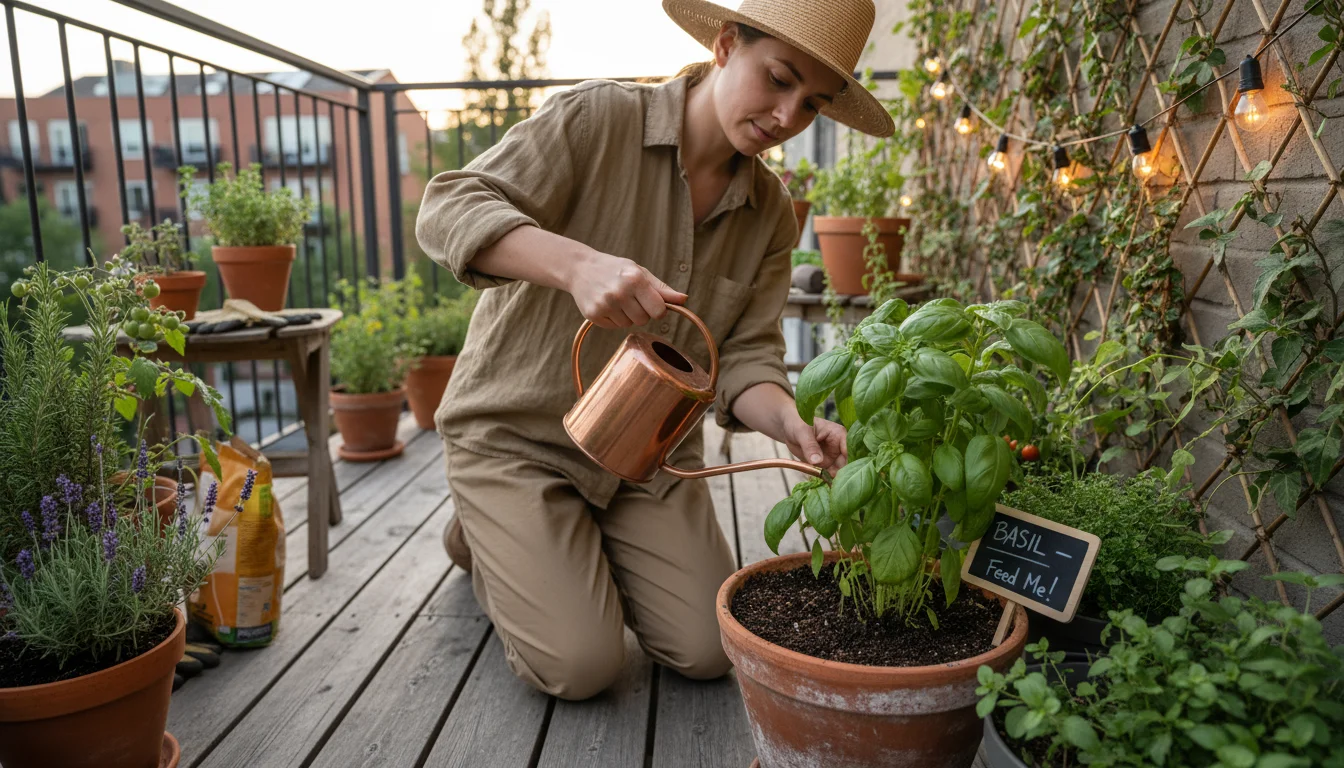
For houseplants, consistency is key. You might feed them with a diluted liquid fertilizer every two to four weeks during their active growing season. For outdoor container plants that grow vigorously, you might need to fertilize more frequently due to faster nutrient depletion from heavy watering.
How to Apply Fertilizer Safely and Effectively
Applying fertilizer correctly is just as important as choosing the right type and timing. Incorrect application can harm your plants, leading to fertilizer burn or root damage. Always prioritize safety and precision.
Read the Label
Every fertilizer product comes with specific instructions for dilution rates, application methods, and frequency. You must read these instructions thoroughly. Do not assume you know the correct dosage based on another product. For example, one liquid concentrate might require mixing one teaspoon per gallon of water, while another brand might recommend half a teaspoon. Following the label prevents costly mistakes.
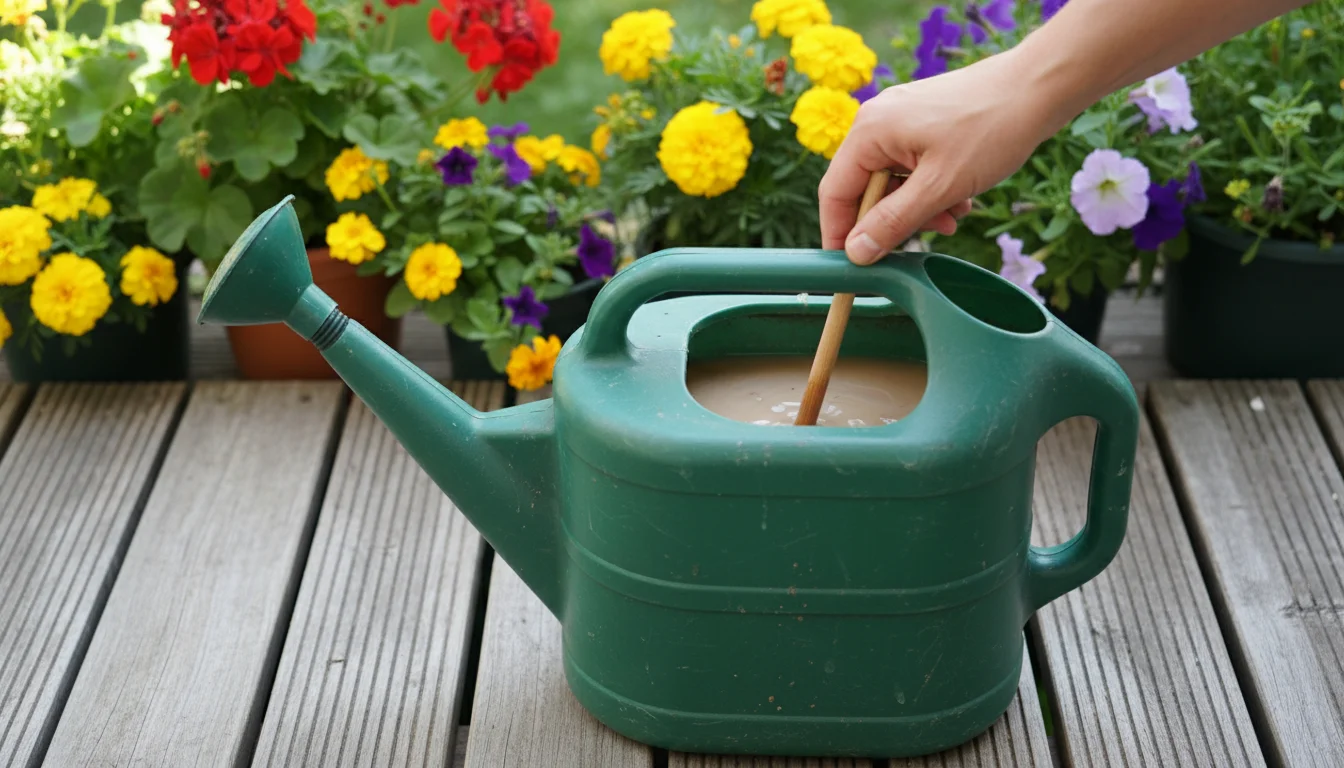
Dilution is Key
When in doubt, dilute your fertilizer more than the label recommends. “Weakly, weekly” is a popular mantra for liquid feeding, meaning you use a very diluted solution more often. This approach minimizes the risk of over-fertilization, which is a common problem, especially for container plants. For instance, if the label recommends one tablespoon per gallon for monthly feeding, you could use half a tablespoon for bi-weekly feeding to achieve a gentler, more consistent nutrient supply.
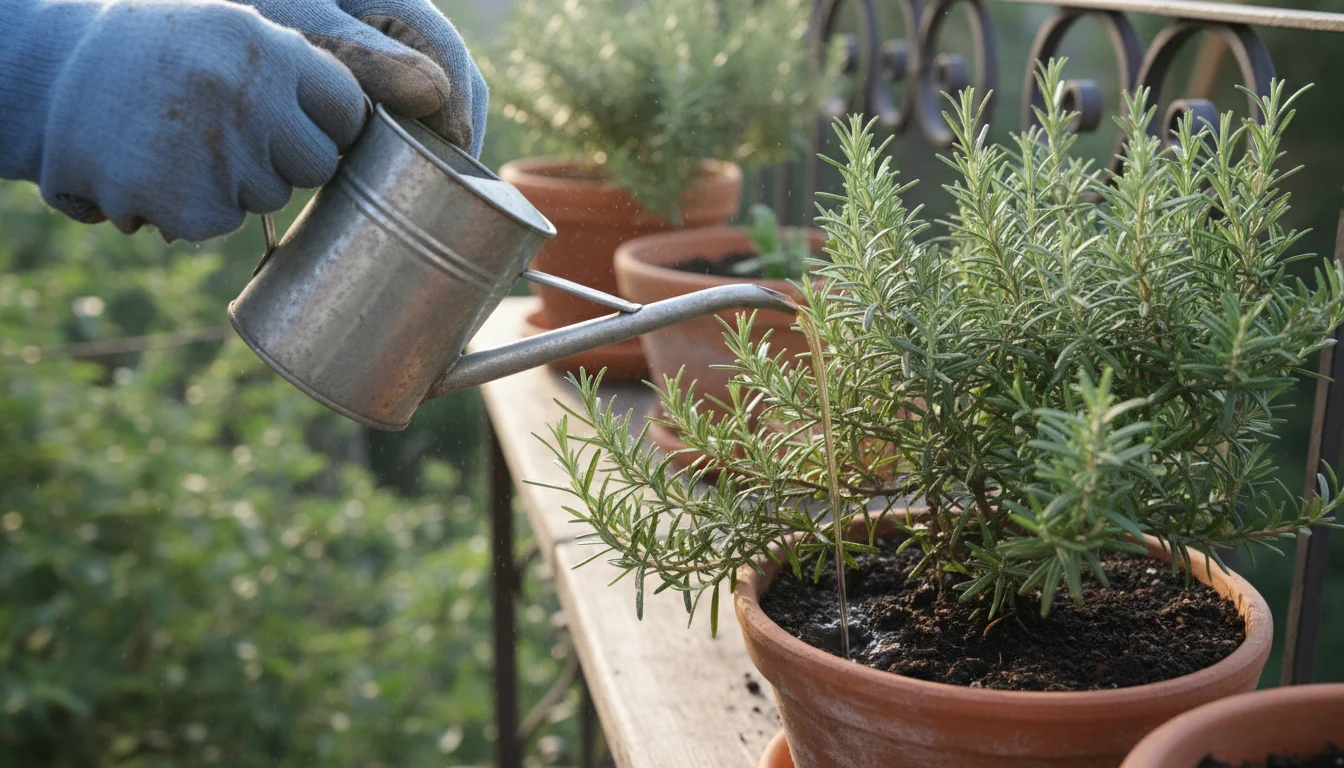
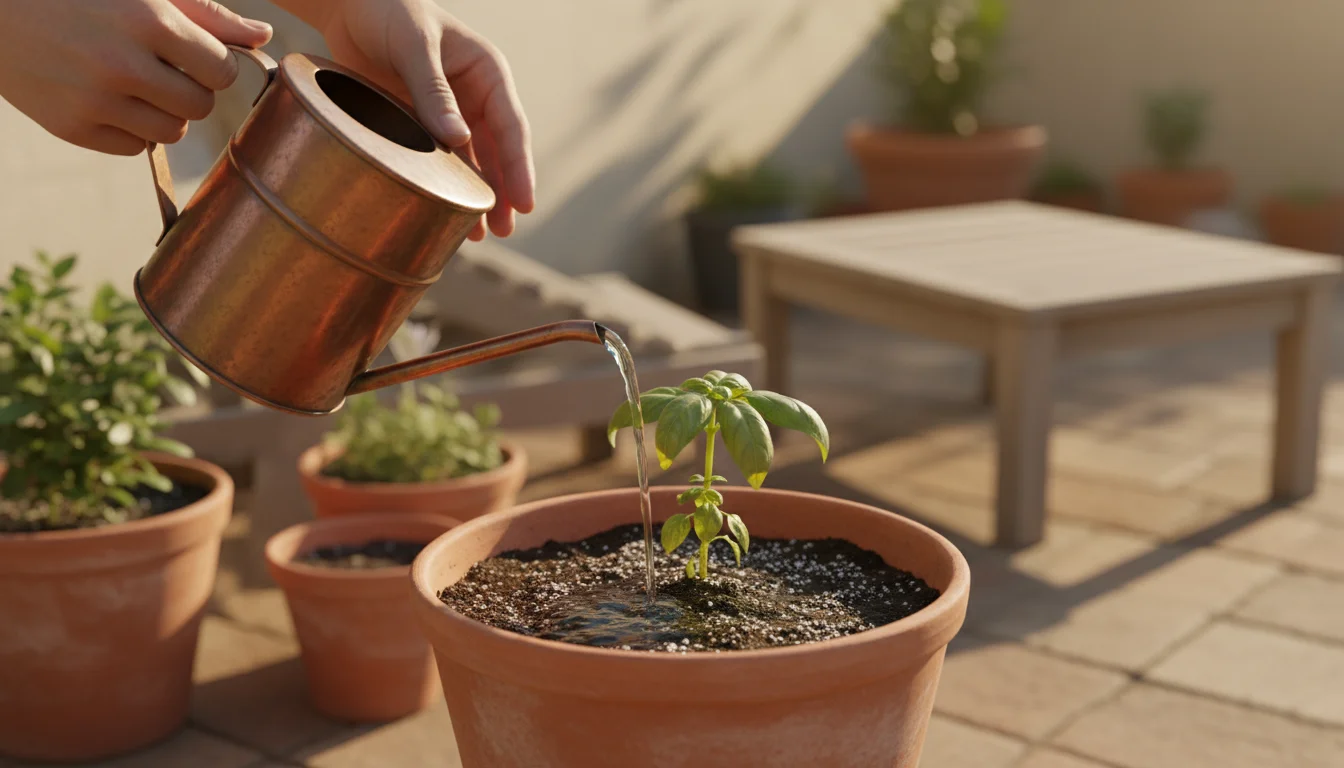
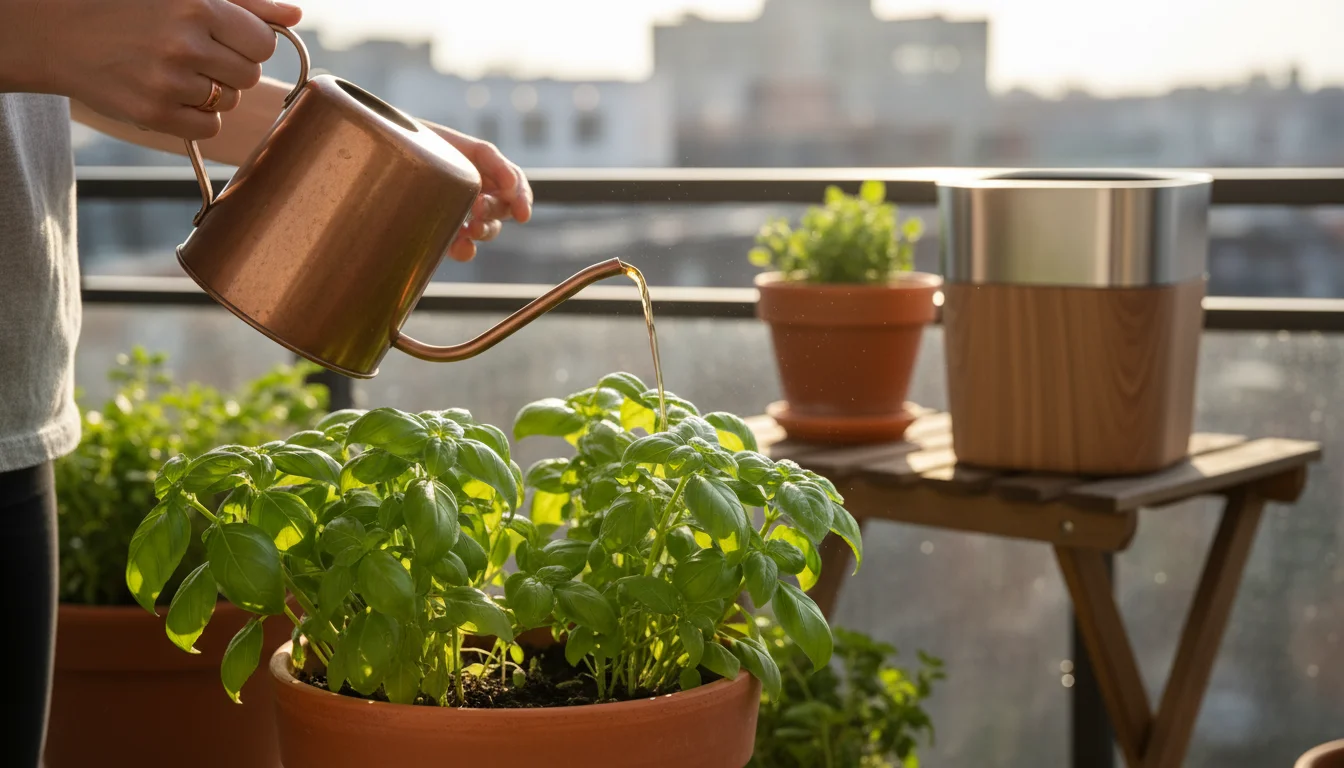
Water Before Fertilizing
Always water your plants thoroughly before applying liquid fertilizer. Applying fertilizer to dry soil can shock the roots, leading to chemical burn. The pre-watering ensures the roots are hydrated and the soil is moist, allowing the fertilizer solution to distribute evenly and gently. This step significantly reduces the risk of root damage, especially with stronger liquid feeds.
Even Application
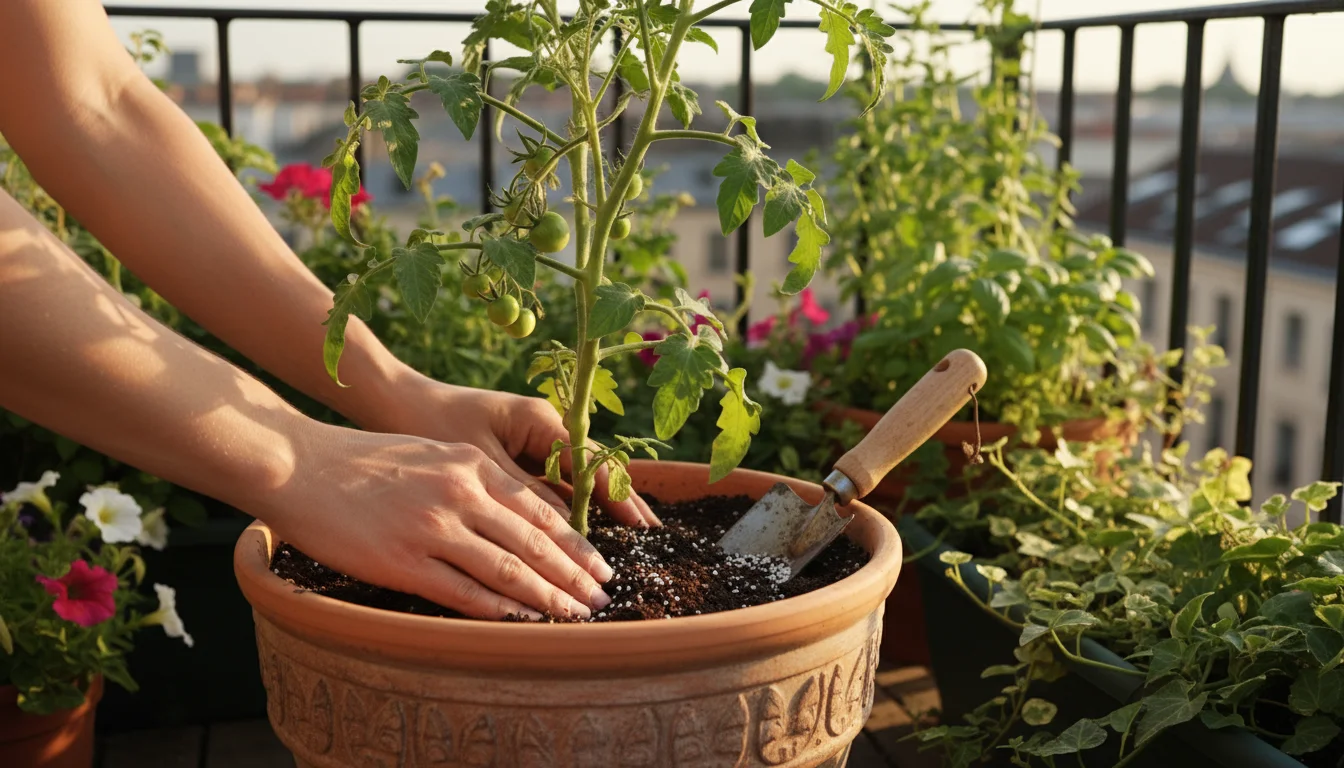
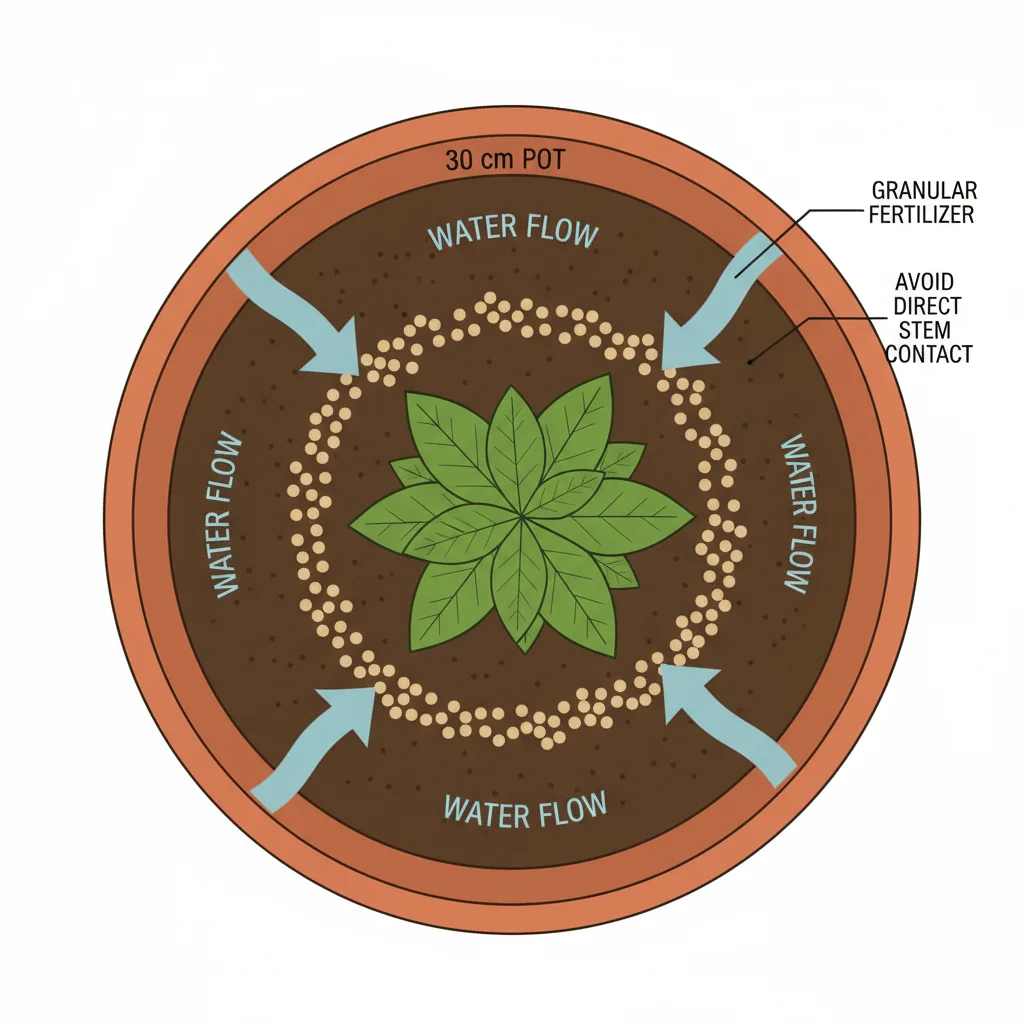
Distribute granular fertilizers evenly around the base of the plant, avoiding direct contact with the stem or leaves. For container plants, sprinkle a small amount around the perimeter of the pot. Lightly scratch it into the top inch of soil. After applying, water the plant again to help dissolve the granules and carry the nutrients into the root zone. For liquid fertilizers, pour the diluted solution directly onto the soil, ensuring it saturates the root ball. Avoid splashing it excessively on foliage, especially in direct sun, as this can cause leaf burn.
Avoid Over-Fertilization
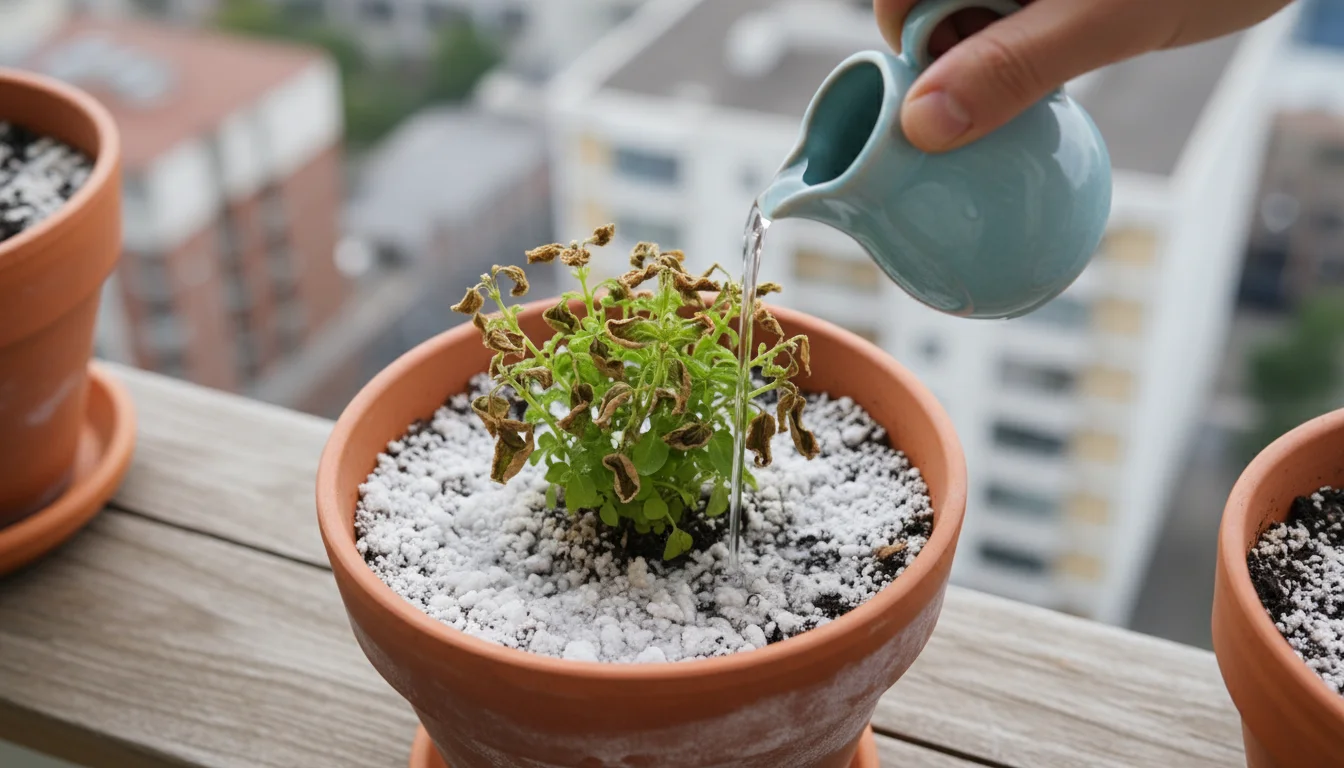
More is not always better when it comes to fertilizer. Over-fertilization can cause a build-up of salts in the soil, leading to scorched leaf edges, stunted growth, and eventually, plant death. If you see white crusts on the soil surface or brown, crispy leaf margins, you likely have over-fertilized. If this happens, flush the soil with plain water multiple times to rinse out excess salts, then resume feeding with a much weaker solution or less frequently. You can find more information on preventing and correcting over-fertilization from trusted sources like the Clemson University Home & Garden Information Center.
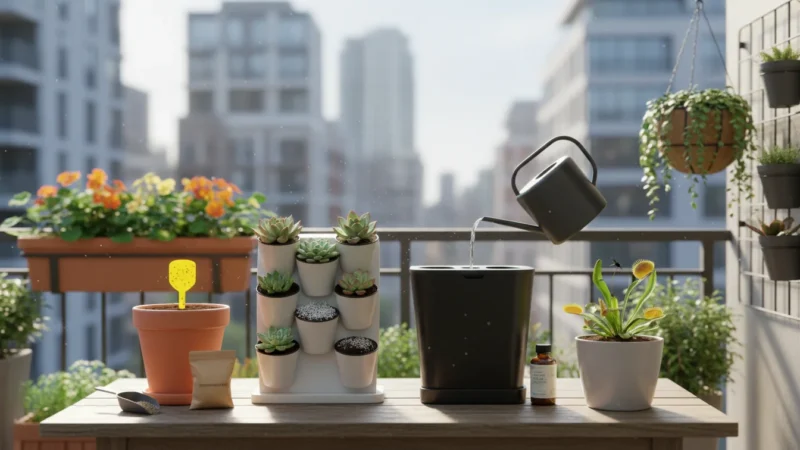
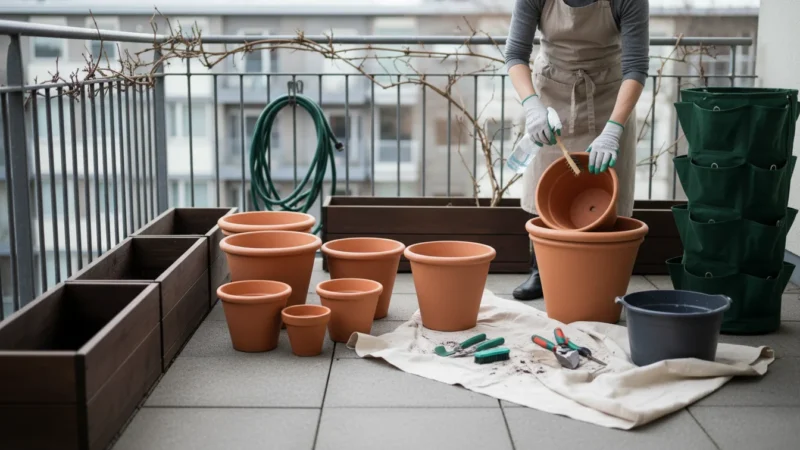
Selecting the Best Fertilizers for Container Plants
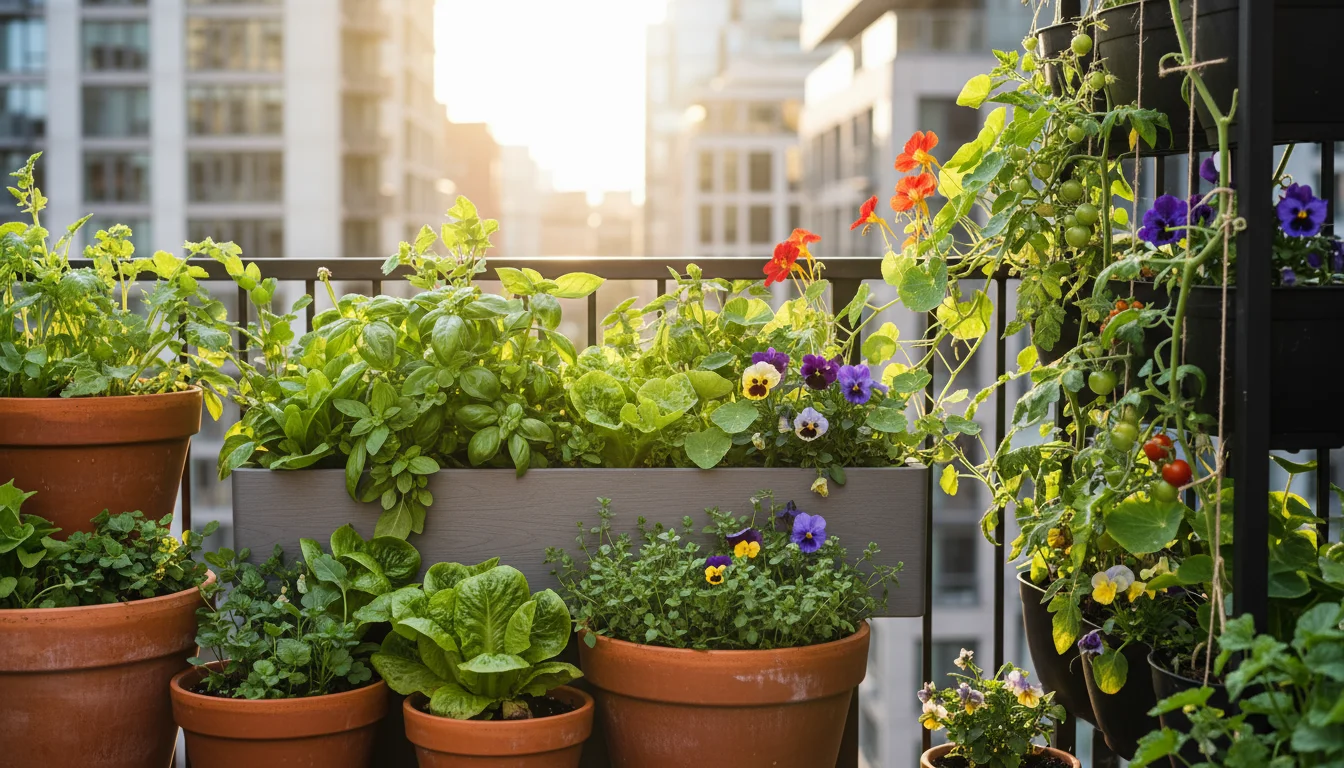
Container plants have unique needs compared to their in-ground counterparts. Their root systems are confined, and nutrients leach out more quickly with frequent watering. You must select fertilizers that cater specifically to these conditions, promoting steady growth without overwhelming the limited soil volume.
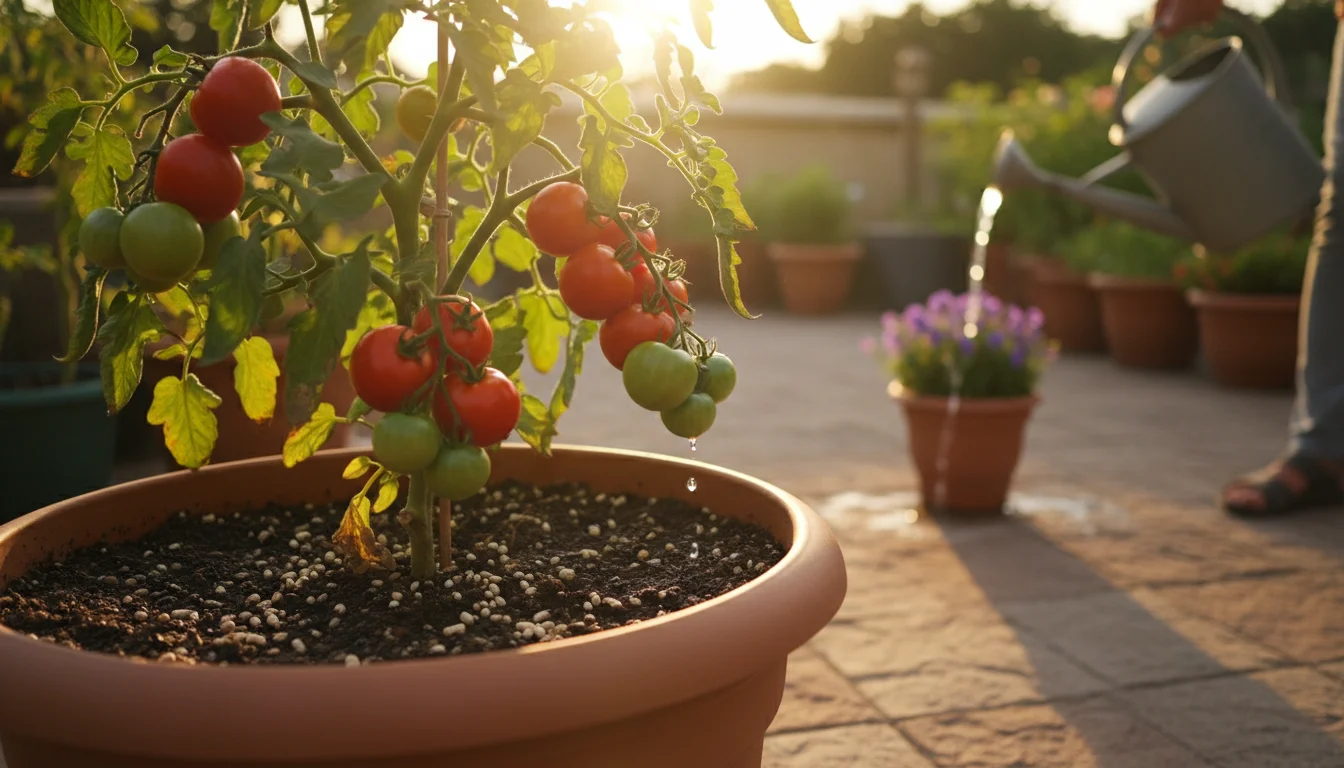
Considering Nutrient Leaching
Watering container plants often causes nutrients to wash out of the drainage holes, a process called leaching. This means container plants generally require more frequent fertilization than garden plants. Slow-release granular fertilizers excel in this environment because they provide a continuous, measured supply of nutrients, replenishing what washes away over time. For example, a single application of a 6-month slow-release fertilizer at planting can nourish a tomato plant in a container throughout its entire growing season.
Balanced All-Purpose Formulas
For most general houseplants and outdoor container plants, a balanced all-purpose fertilizer works well. Look for an N-P-K ratio like 10-10-10, 5-5-5, or similar. These provide a good foundation of primary nutrients for overall health. Liquid formulations are excellent for container plants because you control the dosage precisely and deliver nutrients directly to the roots. You can easily adjust the strength to a weaker solution for more frequent feeding, which container plants appreciate.
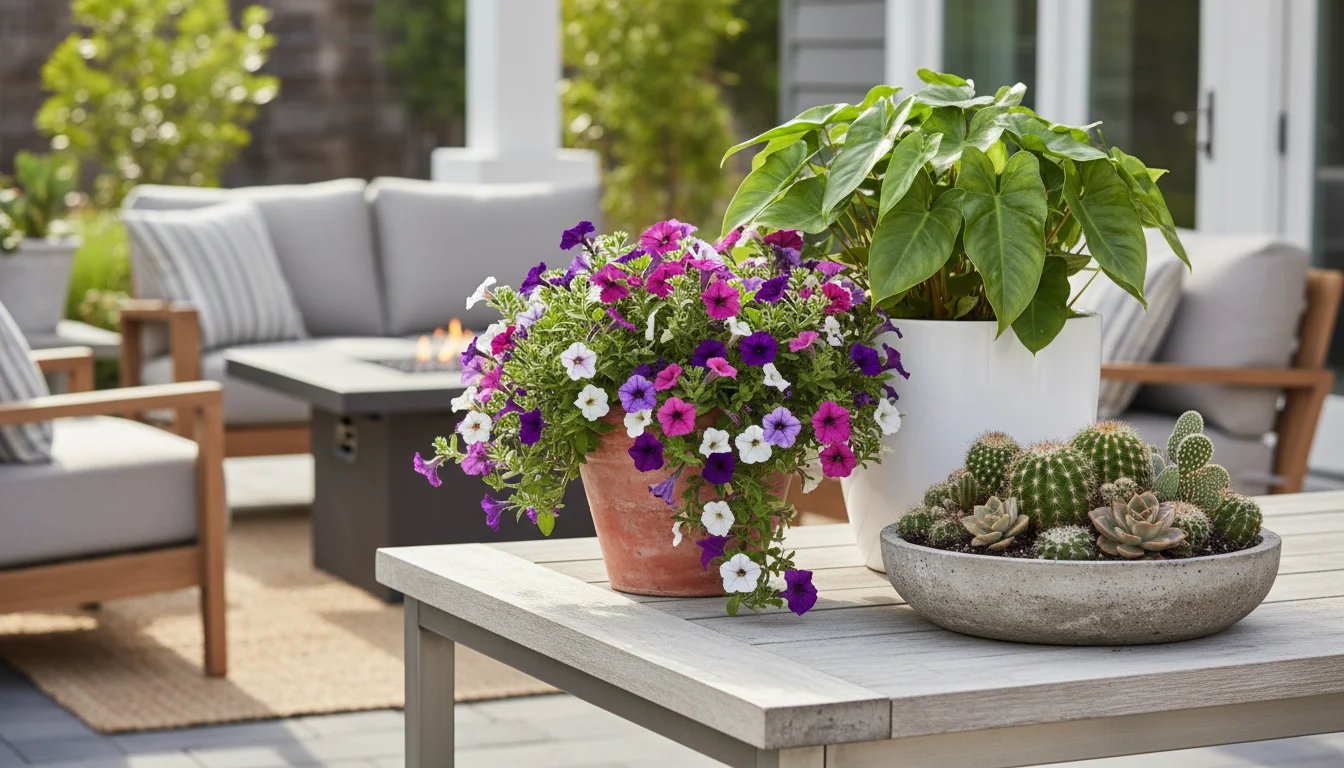
Specialty Fertilizers
Some plants thrive with specialized nutrient profiles:
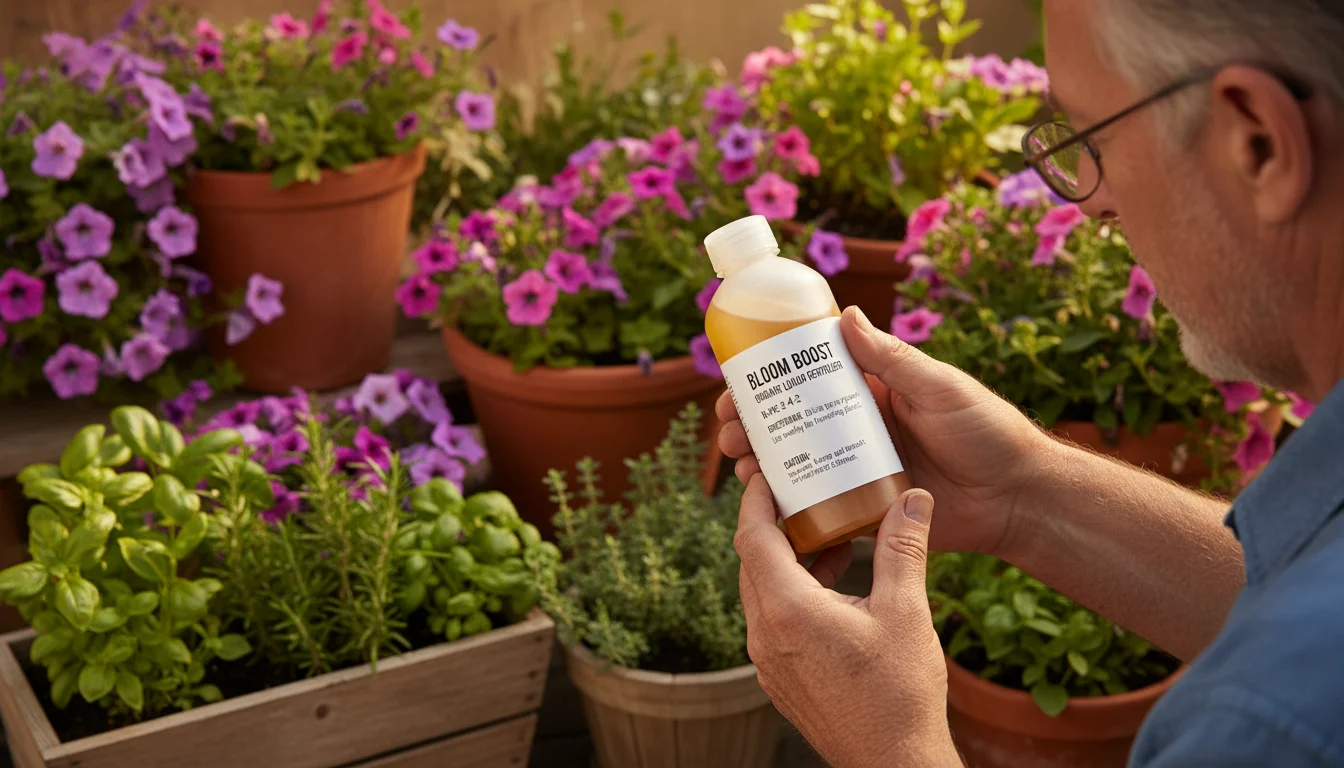
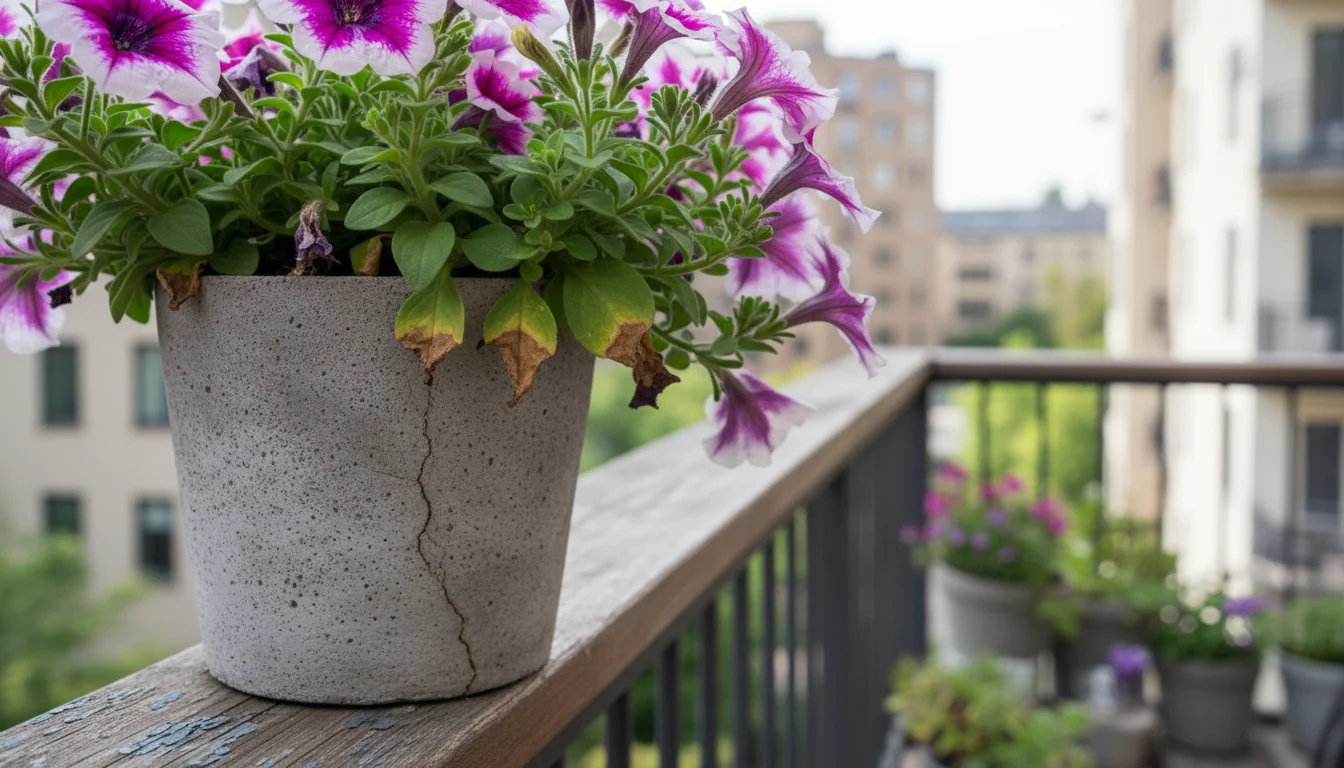
- Flowering Plants: For plants like petunias, impatiens, or orchids, a fertilizer with a higher phosphorus and potassium content (e.g., 10-20-10 or bloom booster formulations) encourages more abundant and vibrant blooms.
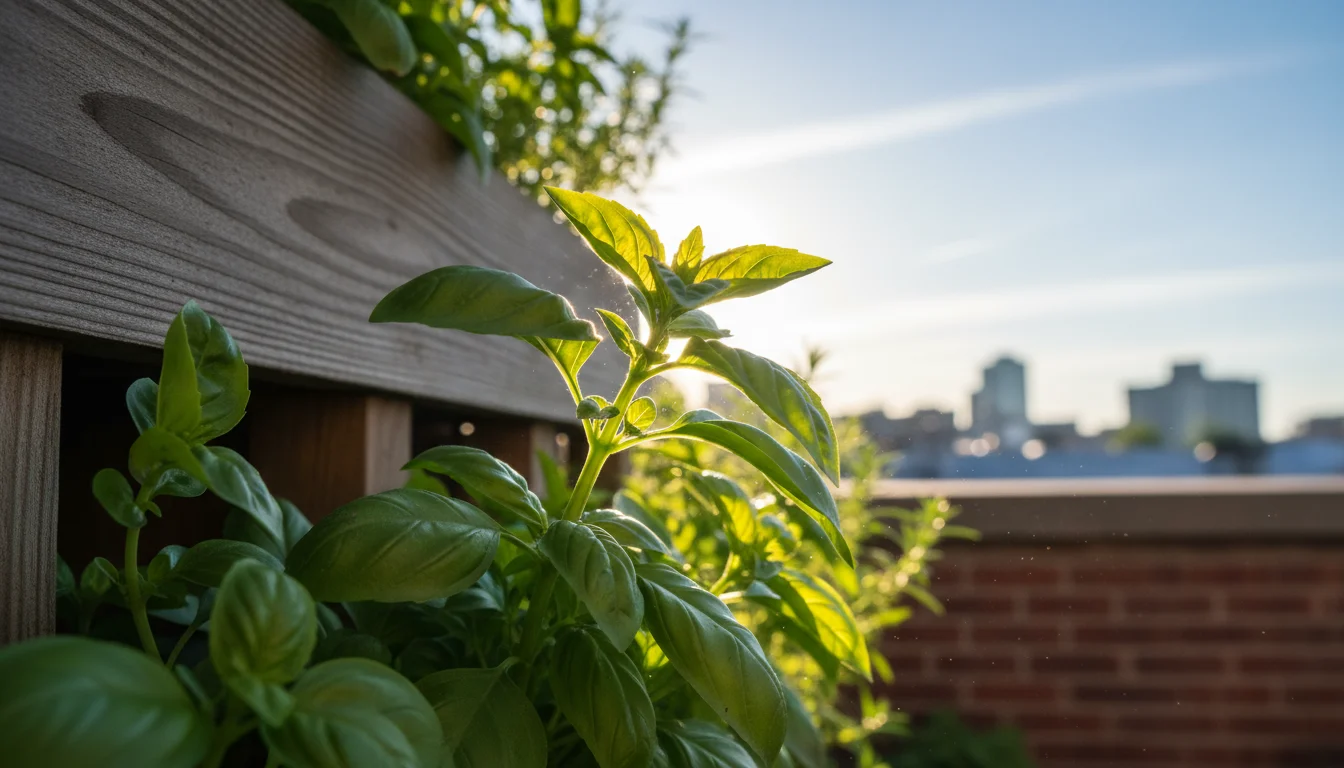
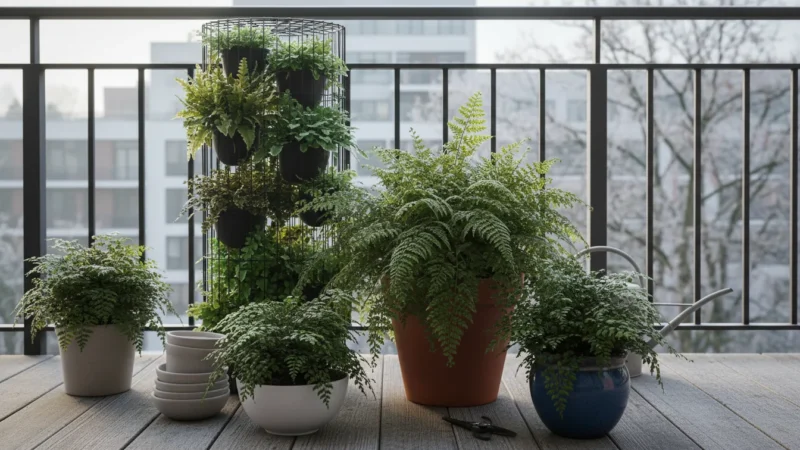
- Foliage Plants: For leafy plants such as ferns, philodendrons, or most indoor green plants, a higher nitrogen fertilizer (e.g., 20-10-10) promotes lush, healthy foliage.
- Acid-Loving Plants: Azaleas, blueberries, and gardenias in containers prefer fertilizers formulated to maintain a lower soil pH. These often contain sulfur or other acidifying agents.
- Cacti and Succulents: These plants have low nutrient requirements. A very diluted, balanced fertilizer or one specifically formulated for cacti and succulents (lower N-P-K, e.g., 1-2-2) applied sparingly during their active growing season is sufficient.
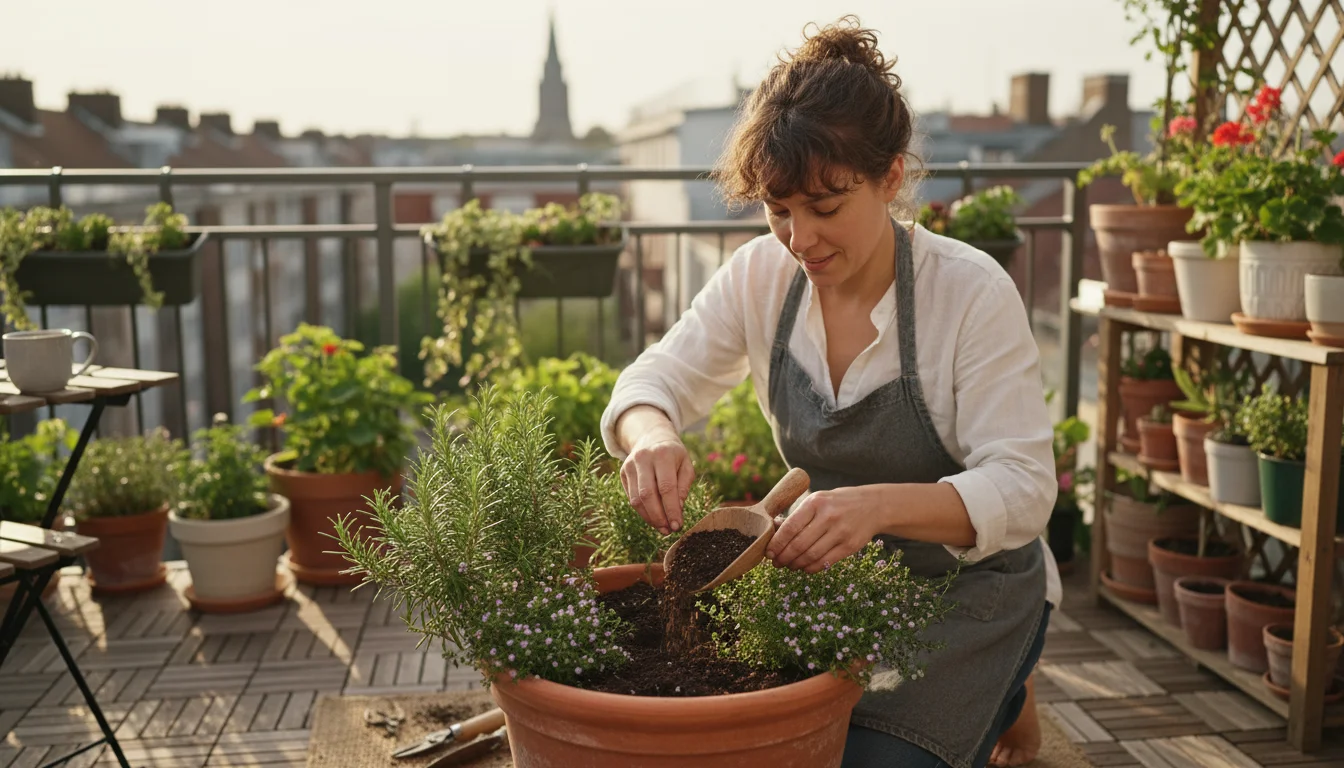
Organic Options for Containers
Organic fertilizers are also excellent for container gardening. Options like worm castings, compost tea, or fish emulsion provide a gentler, slower release of nutrients and improve soil health. While synthetic fertilizers offer precise nutrient ratios, organic options build soil microbiology and structure. You can mix worm castings or compost into your potting mix at planting time, then supplement with liquid organic feeds like fish emulsion diluted to half strength. Many gardeners find great success with organic methods in containers, enhancing the plant’s natural vigor.
When selecting `best fertilizers container`, consider both the plant’s specific needs and your preferred application method. Experiment with different types to find what works best for you and your plants.
Common Mistakes and Troubleshooting Fertilizer Issues
Even with the best intentions, you might encounter issues with fertilizing. Recognizing common mistakes and knowing how to troubleshoot them helps you keep your plants healthy. Avoid these pitfalls to ensure your fertilizing efforts lead to success.
Mistake 1: Over-Fertilization
Problem: This is arguably the most common and damaging mistake. Symptoms include yellowing or browning leaf tips and margins, stunted growth despite fertilizing, wilting, and sometimes a white crust on the soil surface or around the pot rim. The excess salts in the soil draw water out of the plant roots, essentially dehydrating them. The Royal Horticultural Society provides valuable insights into various plant feeding issues, including over-fertilization.
Solution: Immediately flush the soil with a large volume of plain water. For a container plant, place it in a sink or outdoors and let water run through the pot for at least 15-20 minutes. This washes away excess salts. Repeat this flushing process a few times over the next week. Do not fertilize again until the plant shows signs of recovery, and then resume with a much weaker solution or less frequently.
Mistake 2: Under-Fertilization
Problem: While less dramatic than over-fertilization, under-feeding leads to slow growth, pale foliage, small leaves, and poor flowering or fruiting. You might notice overall weakness or specific nutrient deficiency symptoms like general yellowing of older leaves (nitrogen deficiency) or purple coloration on the undersides of leaves (phosphorus deficiency).
Solution: Start a consistent fertilizing schedule tailored to your plant’s active growing season. Begin with a diluted, balanced liquid fertilizer and observe the plant’s response over a few weeks. Gradually increase the frequency or strength if the plant responds positively and still shows signs of deficiency. For container plants, remember that nutrients leach out quickly, so regular, dilute feeding is often more effective than infrequent, strong doses.
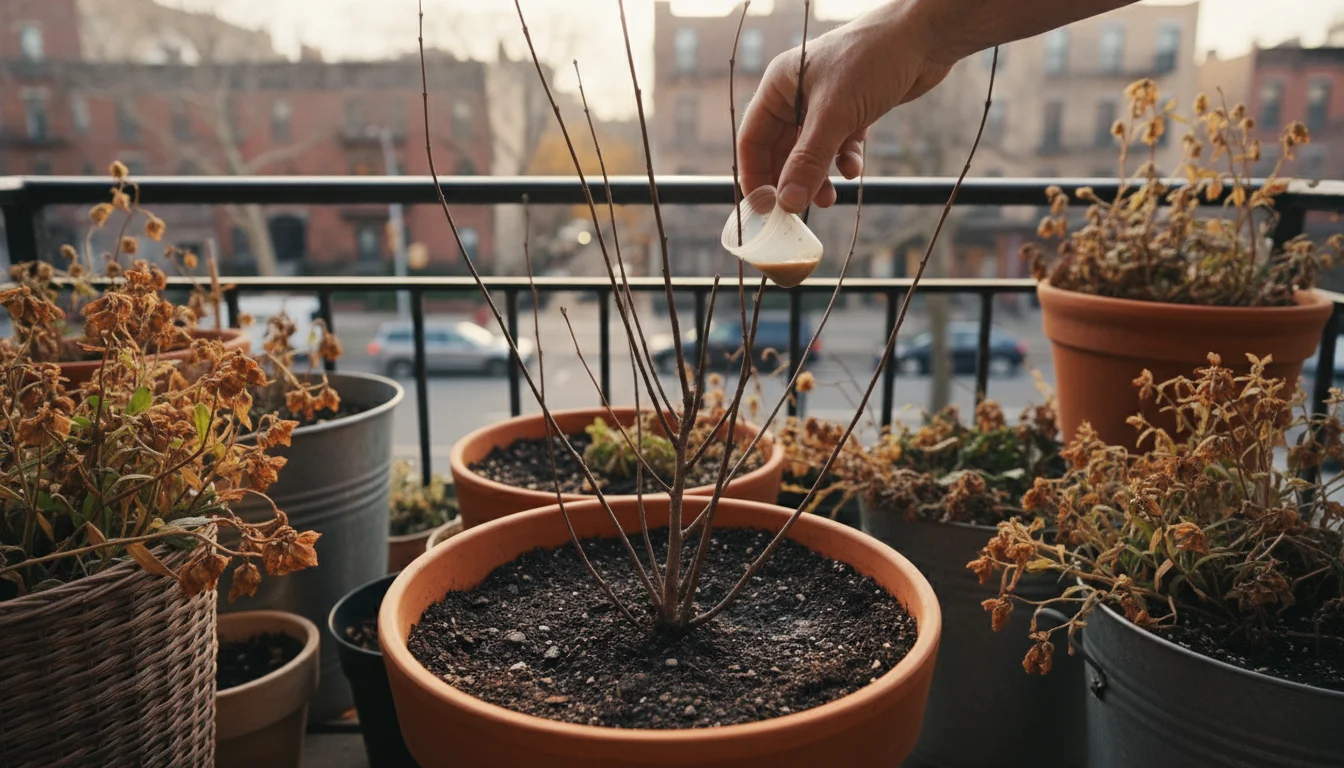
Mistake 3: Fertilizing Dormant Plants
Problem: Applying fertilizer when a plant is dormant or not actively growing wastes fertilizer and can harm the plant. Dormant plants do not utilize the added nutrients, leading to salt buildup in the soil, which can burn roots or create an inhospitable environment for future growth. You might observe general plant decline or lack of response to the fertilizer.
Solution: Understand your plant’s growth cycle. Most temperate plants and many houseplants have a distinct active growing season (spring and summer) and a dormant period (fall and winter). Only fertilize during active growth. For plants that bloom in winter (like holiday cacti), fertilize only when they are actively blooming or producing buds, and then stop once flowering ceases.
Mistake 4: Applying Fertilizer to Dry Soil
Problem: As discussed earlier, applying fertilizer to dry soil can cause immediate root burn. The concentrated salts in the fertilizer draw moisture out of the roots, damaging the plant’s ability to absorb water and nutrients.
Solution: Always water your plants thoroughly before applying liquid fertilizer. Ensure the soil is evenly moist but not waterlogged. This simple step protects your plant’s root system and allows for better nutrient absorption.
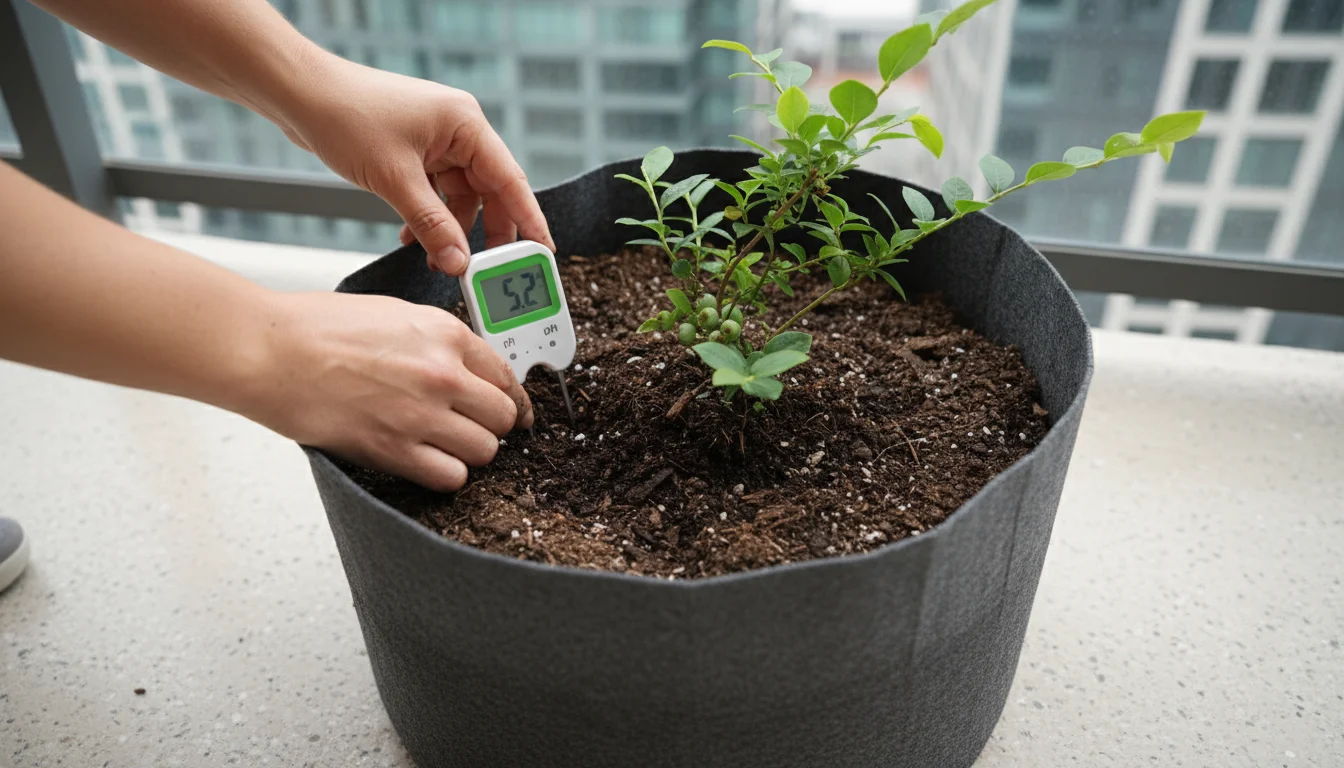
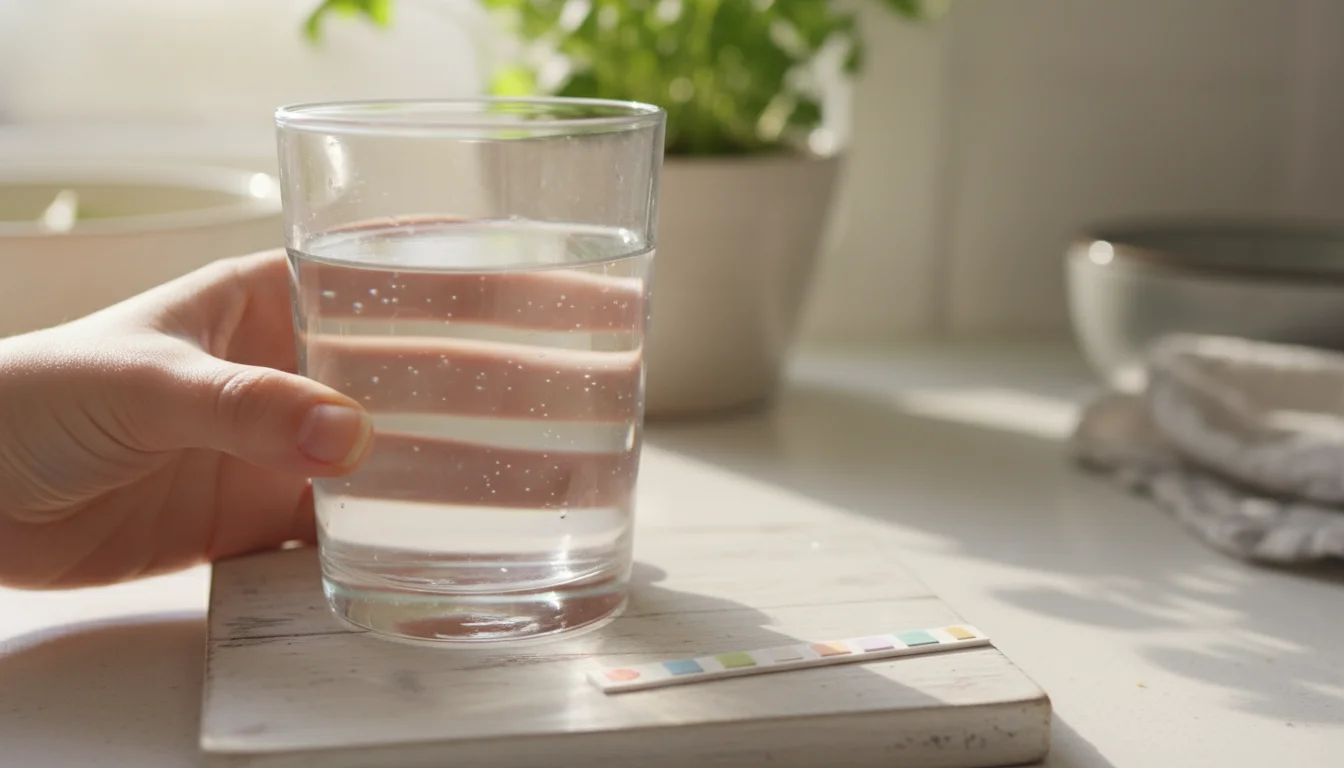
Mistake 5: Ignoring Soil pH
Problem: Soil pH affects nutrient availability. Even if nutrients are present, a pH that is too high or too low can make them inaccessible to your plant’s roots. For example, iron becomes unavailable in very alkaline soils, even if iron is abundant. Symptoms often mimic nutrient deficiencies.
Solution: For specific plants that are sensitive to pH (like blueberries or hydrangeas), consider testing your soil pH. You can buy simple pH testing kits. If your soil pH is off, you might need to adjust it using amendments, or choose fertilizers formulated for acid-loving or alkaline-loving plants. Reputable sources like The National Gardening Association offer excellent resources on soil pH management.
By being mindful of these common mistakes, you empower yourself to troubleshoot effectively and maintain a healthy, thriving plant collection.
Embracing Sustainable and Eco-Friendly Fertilizing Practices
As a plant care coach, advocating for sustainable practices is paramount. You can achieve lush, healthy plants while also protecting the environment. Incorporating eco-friendly habits into your fertilizing routine benefits both your garden and the planet.
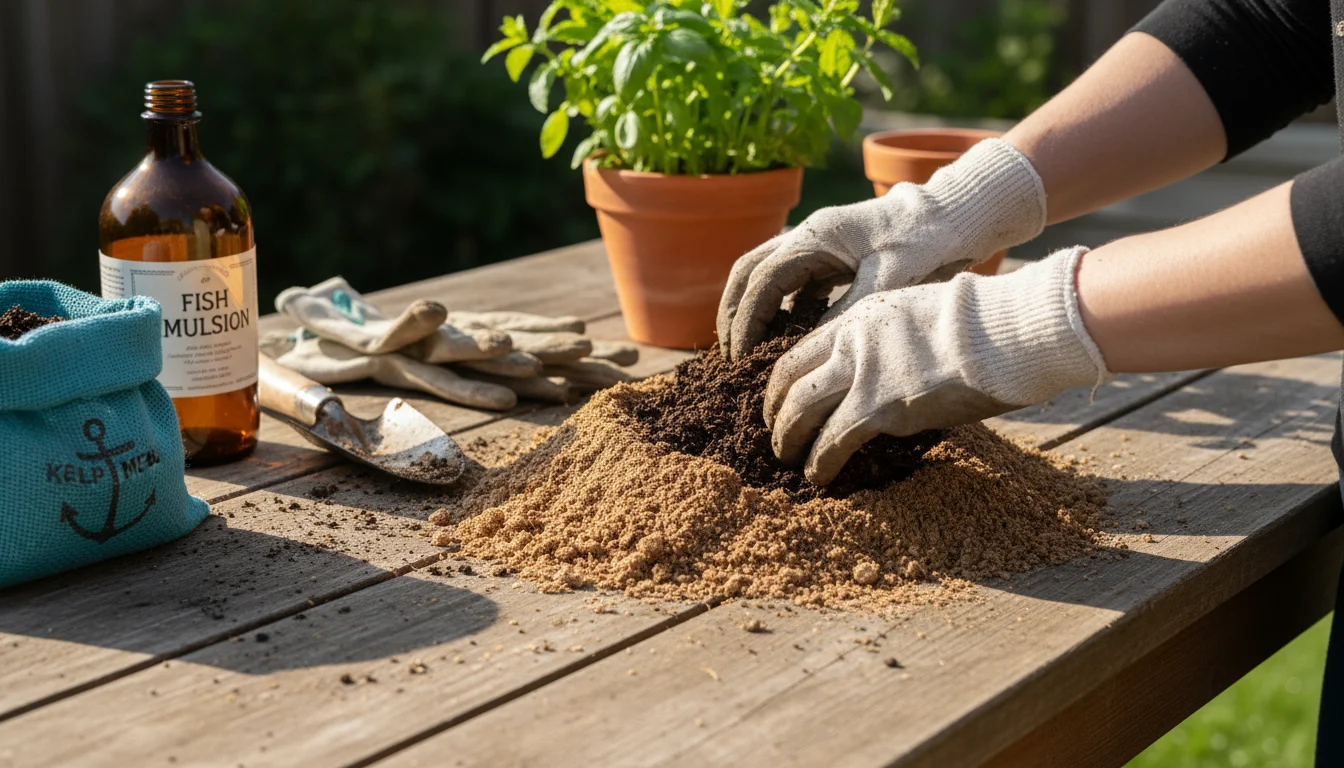
Choose Organic and Natural Fertilizers
Organic fertilizers, such as compost, worm castings, fish emulsion, and kelp meal, offer numerous benefits. They release nutrients slowly, reducing the risk of nutrient runoff into waterways. They also improve soil structure and foster a healthy soil microbiome, which is crucial for long-term plant health. For example, adding worm castings to your potting mix not only provides essential nutrients but also introduces beneficial microbes that enhance nutrient uptake.
Composting Your Kitchen Scraps
Composting kitchen and garden waste creates a rich, nutrient-dense amendment for your plants. A small countertop compost bin or a backyard tumbler can transform fruit and vegetable peels, coffee grounds, and fallen leaves into “black gold.” You can mix this finished compost directly into your potting soil, use it as a top dressing, or steep it in water to create a nutrient-rich “compost tea” for liquid feeding. This practice reduces waste sent to landfills and provides a free, sustainable fertilizer source.

Utilize Peat-Free Potting Mixes
Peat moss is a common component in many potting mixes, but its harvesting is environmentally damaging. Peat bogs are vital carbon sinks and unique ecosystems. You can choose peat-free potting mixes that use alternatives like coco coir, compost, or wood fibers. These alternatives often offer excellent drainage and aeration, providing a superb growing medium for your plants while supporting sustainable practices. A healthy soil foundation, including peat-free mixes, reduces the overall need for synthetic fertilizers by promoting natural nutrient cycling.
Water-Wise Fertilizing
Efficient watering practices go hand-in-hand with sustainable fertilizing. Avoid excessive watering, which can lead to nutrient leaching and waste valuable resources. Water deeply and less frequently, encouraging stronger root development. When you apply liquid fertilizers, ensure you do so after watering to prevent runoff and ensure maximum absorption by the roots. This minimizes the amount of fertilizer that washes away, making your applications more effective and reducing environmental impact.
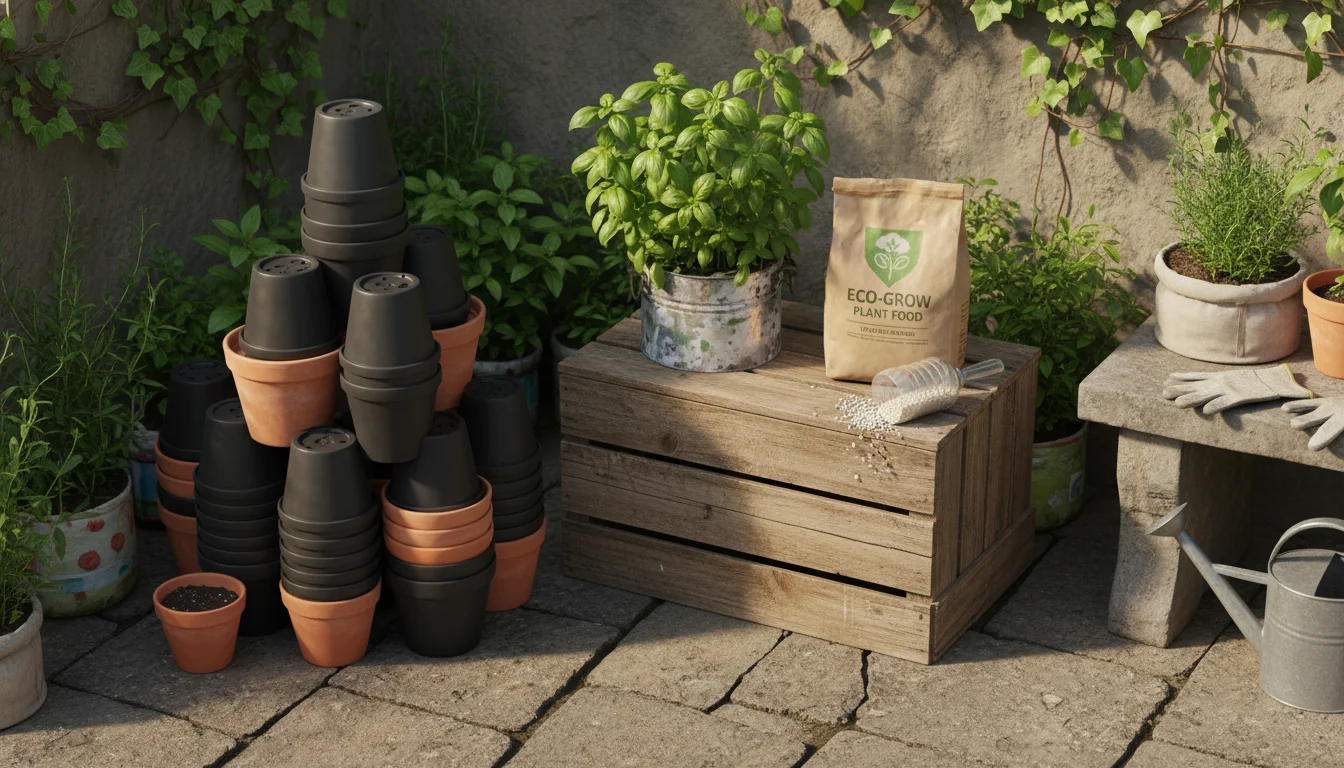
Recycle and Reuse
Think about the lifecycle of your gardening products. Reuse plastic pots whenever possible, and choose fertilizers that come in recyclable packaging. Many garden centers now offer programs for returning plastic pots. By consciously selecting products and managing waste, you contribute to a more sustainable gardening ecosystem. Your small actions collectively make a significant positive difference.

Frequently Asked Questions
How often should I fertilize my houseplants?
During their active growing season (typically spring and summer), you should fertilize most houseplants every 2-4 weeks with a diluted liquid fertilizer. During fall and winter, when growth slows or plants enter dormancy, cease fertilizing completely or reduce it to once every 1-2 months at a very weak strength. Always observe your plant for signs of nutrient deficiency or over-fertilization.
Can I use garden fertilizer for my potted plants?
You can use some garden fertilizers for potted plants, but with caution. Garden fertilizers are often more concentrated and designed for larger soil volumes. You must significantly dilute liquid garden fertilizers or use a much smaller amount of granular garden fertilizers for potted plants to prevent root burn. Slow-release granular fertilizers specifically formulated for containers are generally a safer and more effective choice for potted plants due to their controlled nutrient release.
What happens if I over-fertilize my plant?
Over-fertilization causes a buildup of salts in the soil, which can draw water out of the plant’s roots, leading to “fertilizer burn.” Symptoms include yellowing or browning leaf tips and edges, wilting, stunted growth, and sometimes a white crust on the soil surface. To remedy this, flush the soil thoroughly with plain water to wash out the excess salts. Then, refrain from fertilizing until the plant recovers and resume with a weaker solution.
Are organic fertilizers better than synthetic ones?
Both organic and synthetic fertilizers have their merits. Organic fertilizers, derived from natural sources, slowly release nutrients, improve soil structure, and foster beneficial microbial activity, promoting long-term soil health. Synthetic fertilizers offer precise nutrient ratios and immediate availability, which can be beneficial for quickly addressing deficiencies. For small-space and low-maintenance gardening, a combination often works best: use organic matter for soil building and supplement with targeted synthetic or organic feeds when specific nutrient boosts are needed. The “better” choice depends on your specific goals and environmental priorities.
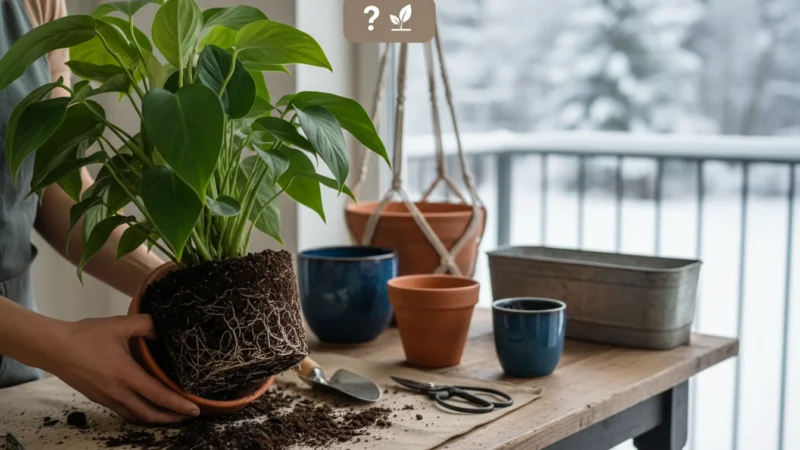
Do I need to fertilize newly potted plants?
No, you generally do not need to fertilize newly potted plants for the first few weeks to a month. Most fresh potting mixes come pre-enriched with nutrients that sustain the plant initially. Introducing additional fertilizer too soon can shock the roots as they are trying to establish themselves in the new environment. Wait until you observe new growth or the initial nutrients in the potting mix have been depleted before starting a fertilizing schedule.
Mastering fertilization is a journey of observation and adjustment. By understanding your plants’ basic needs and following these practical guidelines, you will see your garden flourish. You are now equipped with the knowledge to make informed decisions, ensuring your plants receive the optimal nutrition for a vibrant, healthy life.


Leave a Reply