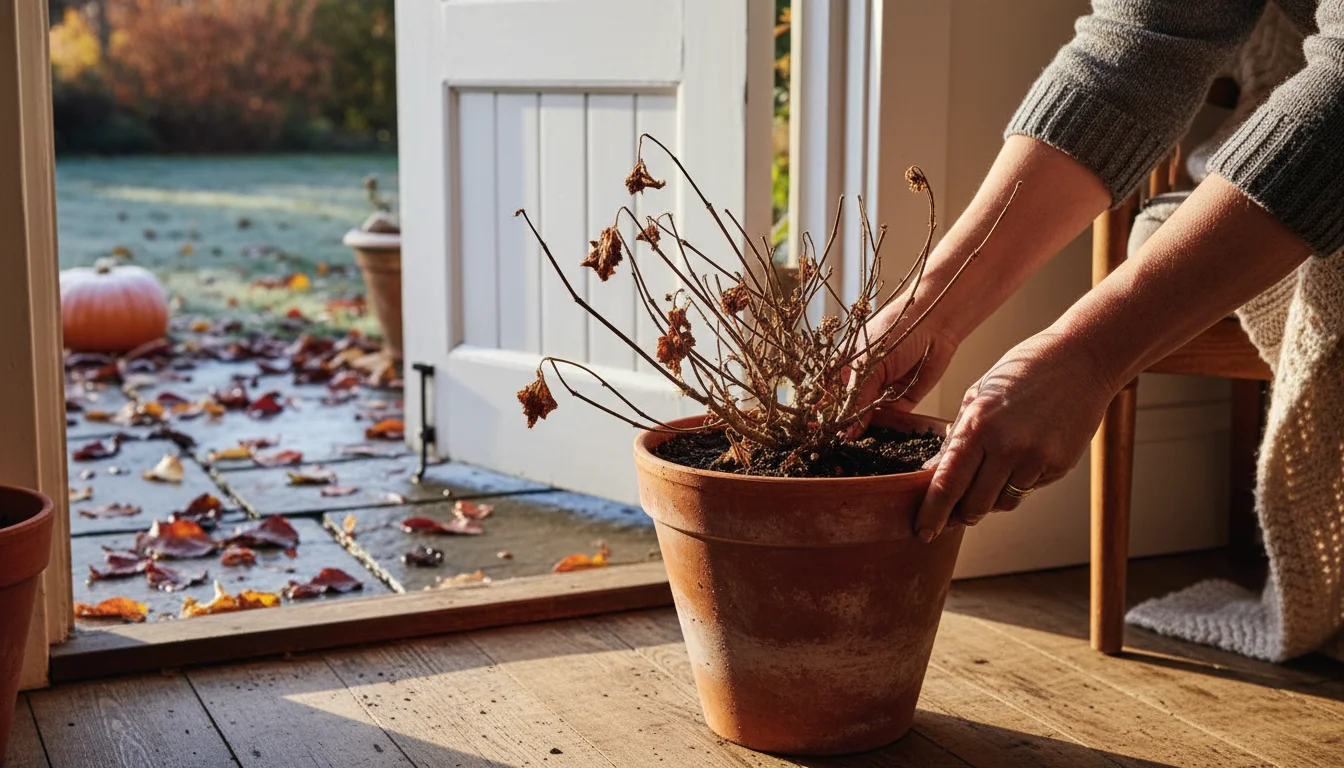
Discovering tiny invaders on your beloved houseplants can feel disheartening, especially when the winter chill keeps your gardening activities indoors. You nurture your plants all year, offering light, water, and care, only to find unwelcome guests making themselves at home. This is a common challenge for even experienced gardeners, and you are not alone.
While we focus on the top three here, you might also encounter aphids in autumn as temperatures drop and plants transition indoors.
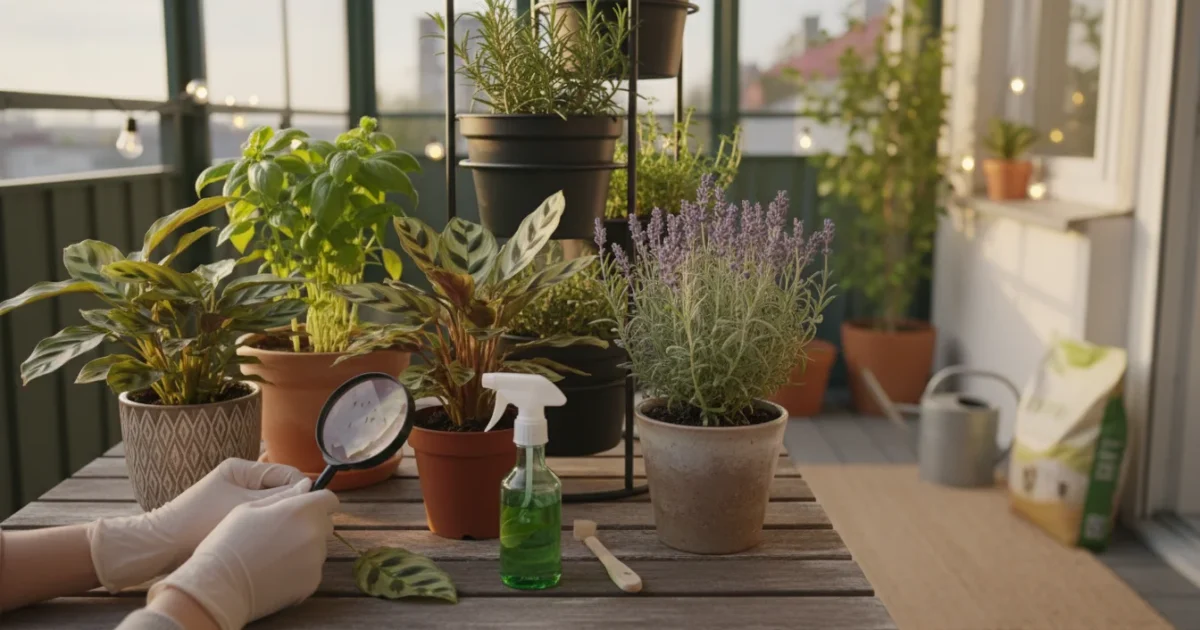
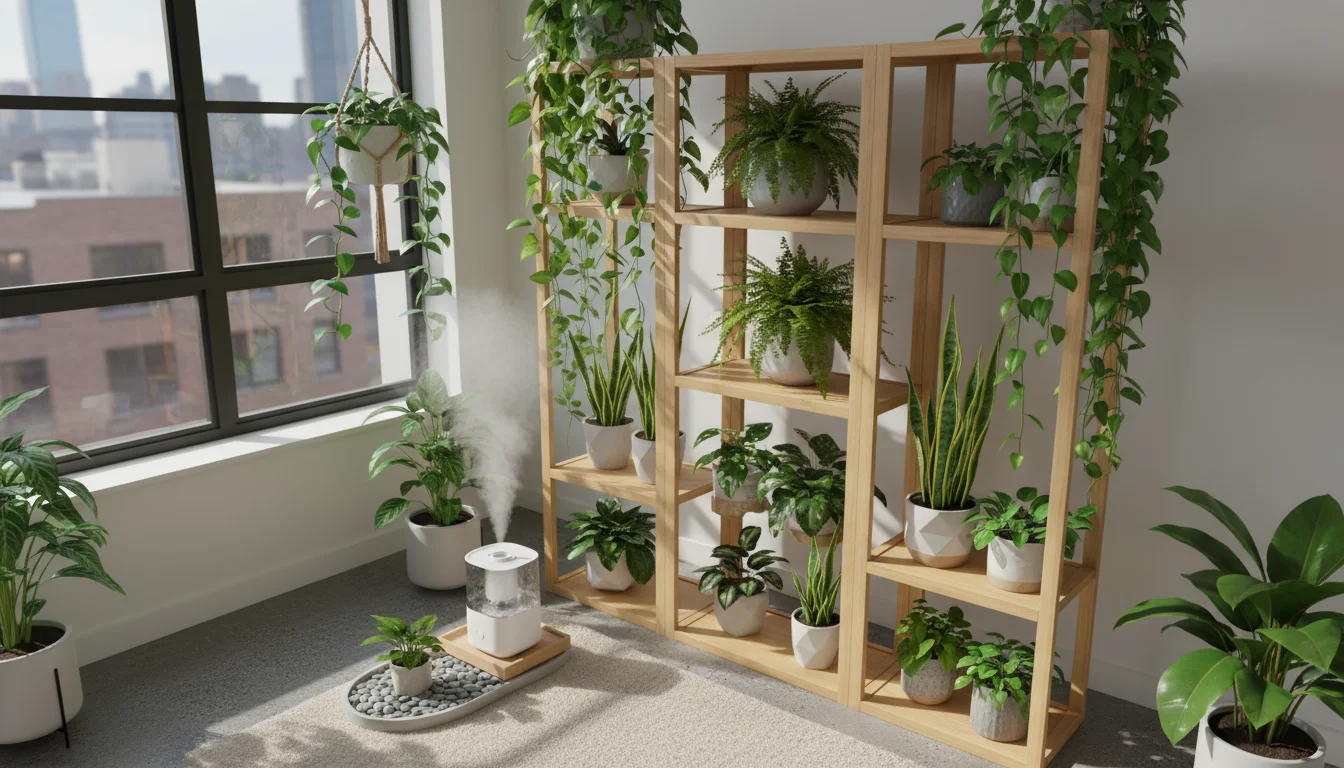
Winter conditions often create the perfect storm for houseplant pests. Lower humidity, reduced light, and plants already under stress from seasonal changes can make them more susceptible. But don’t despair! With the right knowledge and timely action, you can effectively combat these intruders and keep your indoor garden thriving. This guide equips you with practical, actionable strategies to identify and eliminate the top three most common winter houseplant pests: fungus gnats, spider mites, and mealybugs. We focus on effective, environmentally conscious methods that protect your plants and your home.

Identifying the Enemy: Why Winter Invites Pests
The first step to winning the battle against houseplant pests is knowing who you’re fighting and why they appear. During winter, indoor environments often become ideal breeding grounds for various insect invaders. Your home’s consistent warmth, coupled with drier air from heating systems, stresses many plants. Stressed plants become more vulnerable, acting like a beacon for pests.
Before starting any treatment, it is vital to disinfect your gardening tools to ensure you aren’t accidentally moving eggs or larvae from one pot to another.
Additionally, shorter days and less intense sunlight mean plants grow slower and metabolize nutrients differently. This can weaken their natural defenses. If you brought outdoor plants inside for the winter, you might have unknowingly introduced hitchhiking pests. Regular inspection becomes your most powerful tool in preventing a full-blown infestation. Look closely at your plants’ leaves, stems, and even the soil surface. Early detection allows for easier, less intensive treatment.
Common signs of winter plant problems and pest activity include:
- Yellowing or drooping leaves: While this can indicate various issues, pests often cause it.
- Stippling or tiny spots: Small, discolored dots on leaves often signal sap-sucking pests.
- Sticky residue on leaves or surfaces: This “honeydew” is pest excrement, often associated with mealybugs or aphids.
- Fine webbing: A clear indicator of spider mites.
- Small insects flying around: Usually fungus gnats.
- White, cottony masses: A tell-tale sign of mealybugs.
- Distorted or stunted new growth: Pests can damage growing tips, inhibiting healthy development.
Understanding these general indicators of identifying common houseplant pests in winter prepares you for targeted action. Now, let’s delve into the specifics of the three most common winter invaders.
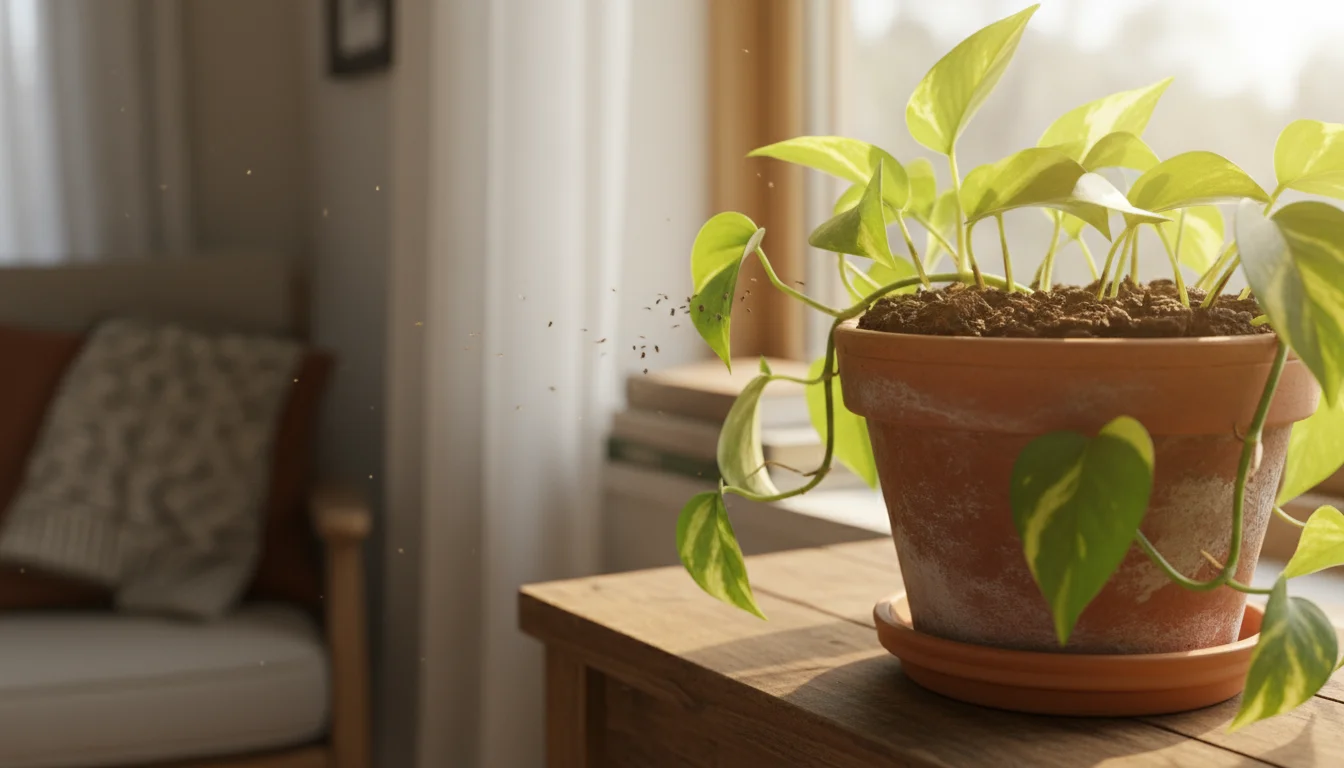
Fungus Gnats: Those Annoying Tiny Black Flies
If you’ve noticed small, dark flies hovering around your houseplants or crawling on the soil surface, you likely have fungus gnats. Many gardeners mistake these for fruit flies, but they are a distinct houseplant pest. While the adult gnats are primarily a nuisance, their larvae pose a greater threat to your plants. These tiny, clear-bodied worms with black heads live in the soil and feed on fungi, decaying organic matter, and, critically, delicate plant roots, especially in seedlings or young plants.
Small-space growers may also benefit from a specific fungus gnat plan for apartments to keep these flying nuisances under control in close quarters.
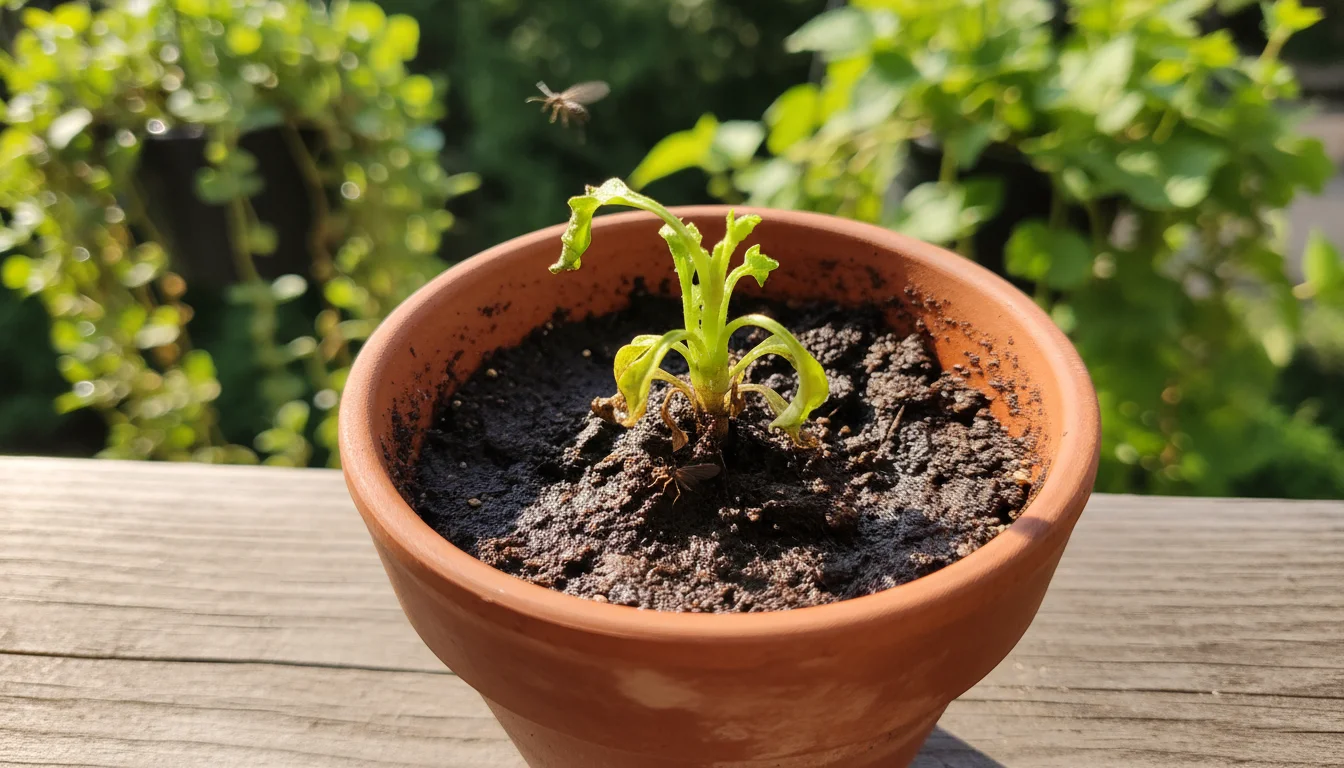
Why they thrive in winter: Fungus gnats absolutely love moist, rich potting soil. During winter, gardeners often overwater plants, or plants simply use less water due to slower growth. This creates the perpetually damp environment that fungus gnats adore for laying their eggs and for larval development. Poor drainage in pots can also contribute to this issue.
Identifying Fungus Gnats
- Adults: Small (1/8-inch), dark-bodied flies, typically found near the soil surface or flying weakly around plants.
- Larvae: Tiny (1/4-inch), translucent, worm-like creatures with shiny black heads, difficult to see without close inspection of moist soil.
- Damage: Yellowing, wilting, or stunted growth in severe infestations, particularly in young plants where larvae damage roots.
How to Get Rid of Tiny Black Flies in Potting Soil
Tackling fungus gnats requires a two-pronged approach: eliminating adults and disrupting the larval life cycle. Focus on drying out the soil and trapping adults.
- Let the Soil Dry Out: This is the most crucial step. Allow the top 1-2 inches of potting mix to dry completely between waterings. This dehydrates and kills gnat larvae. Fungus gnats need consistently moist soil to reproduce. Water only when the plant truly needs it, and consider using a moisture meter to guide your watering schedule.
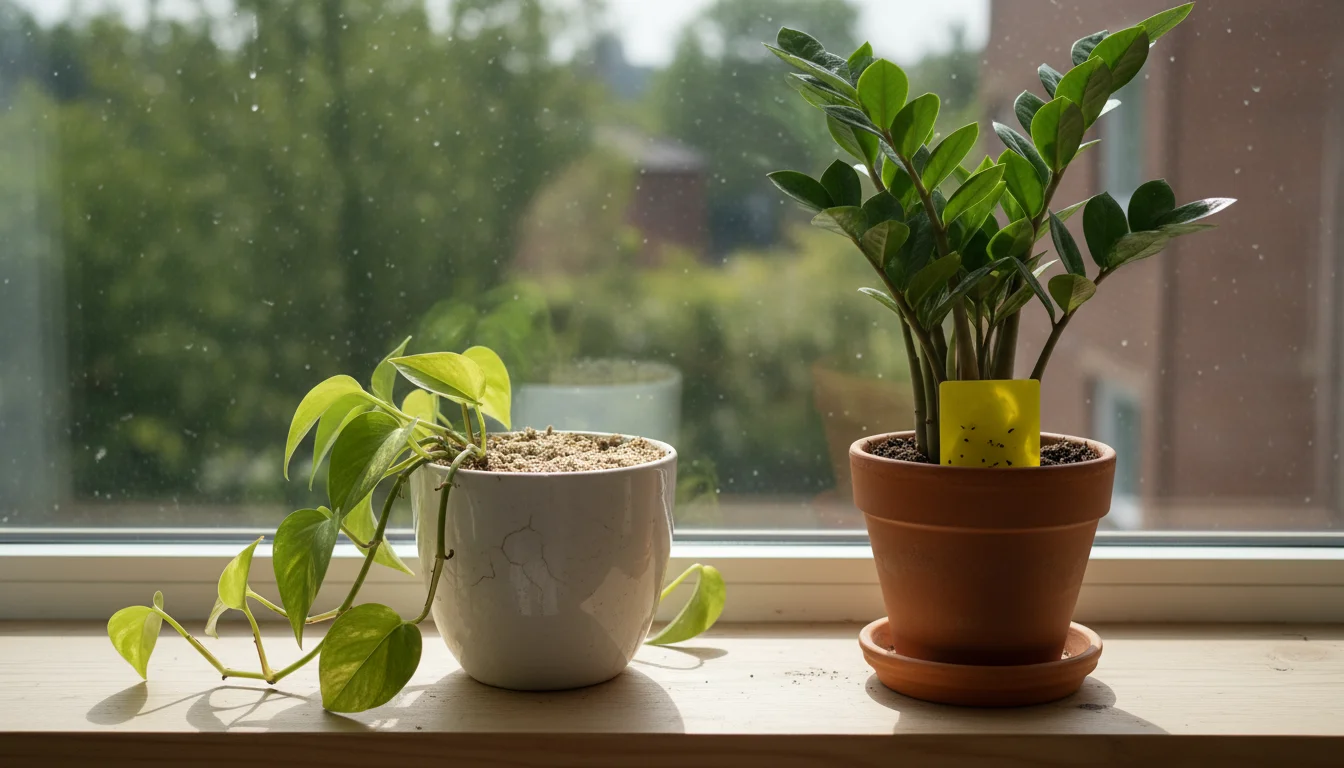
- Yellow Sticky Traps: Place small yellow sticky traps near your plants. The bright yellow color attracts adult fungus gnats, trapping them and preventing them from laying more eggs. This significantly reduces the adult population, breaking the reproductive cycle.
- Bottom Watering: Water your plants from the bottom by placing the pot in a tray of water for 20-30 minutes. The plant wicks up the water it needs, leaving the top layer of soil drier. This makes the surface less appealing for egg-laying.
- Hydrogen Peroxide Drench (Optional, for severe cases): Mix one part 3% hydrogen peroxide with four parts water. Drench the soil thoroughly with this solution. The hydrogen peroxide oxygenates the soil and kills fungus gnat larvae on contact. It quickly breaks down into water and oxygen, posing no long-term harm to the plant.
- Nematodes (Biological Control): For a natural and highly effective solution, consider applying beneficial nematodes (Steinernema feltiae) to your soil. These microscopic roundworms are natural predators of fungus gnat larvae, seeking them out and killing them. They are completely safe for plants, pets, and humans.
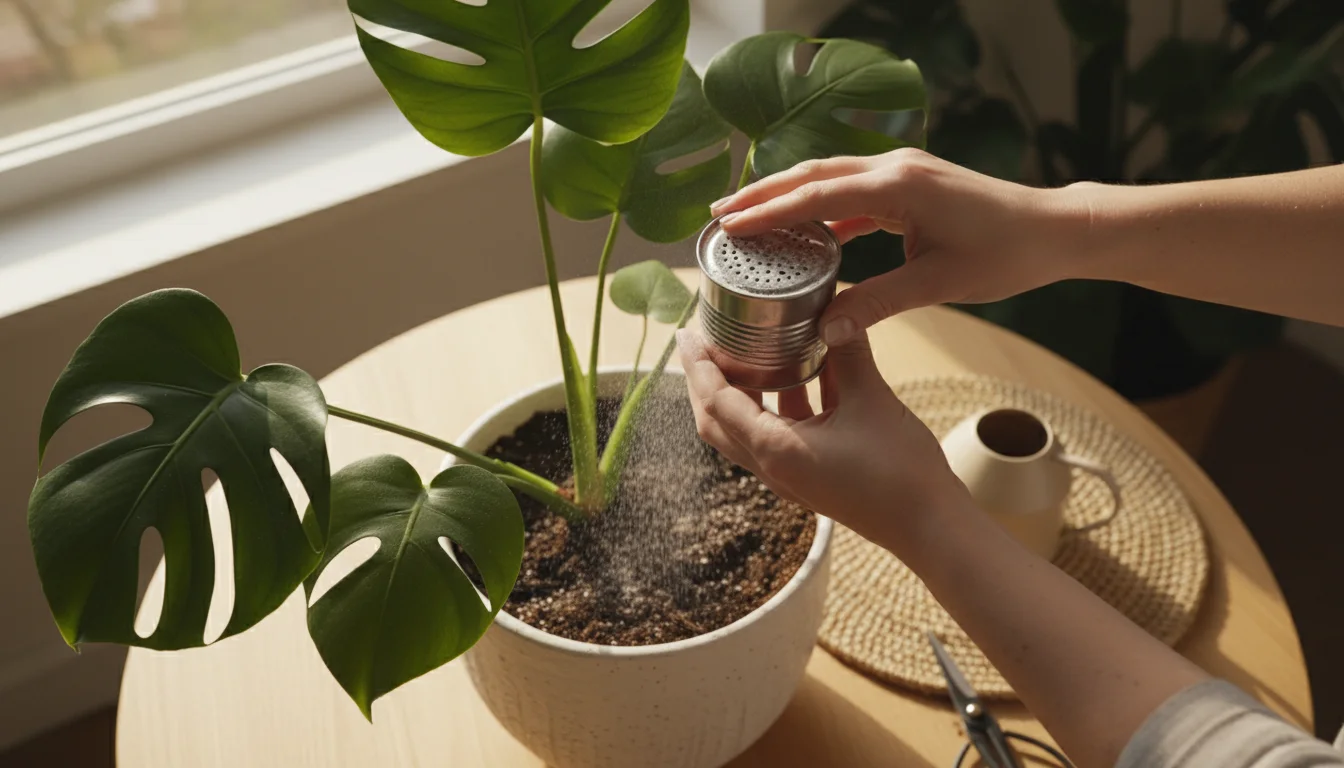
- Cover Soil with Sand or Diatomaceous Earth: A 1/2-inch layer of horticultural sand or food-grade diatomaceous earth on the soil surface can deter adults from laying eggs and physically harm emerging larvae. Diatomaceous earth works by scratching the insects’ exoskeletons, leading to dehydration.
Consistency is key when dealing with fungus gnats. You will likely need to repeat treatments over several weeks to eliminate all generations.

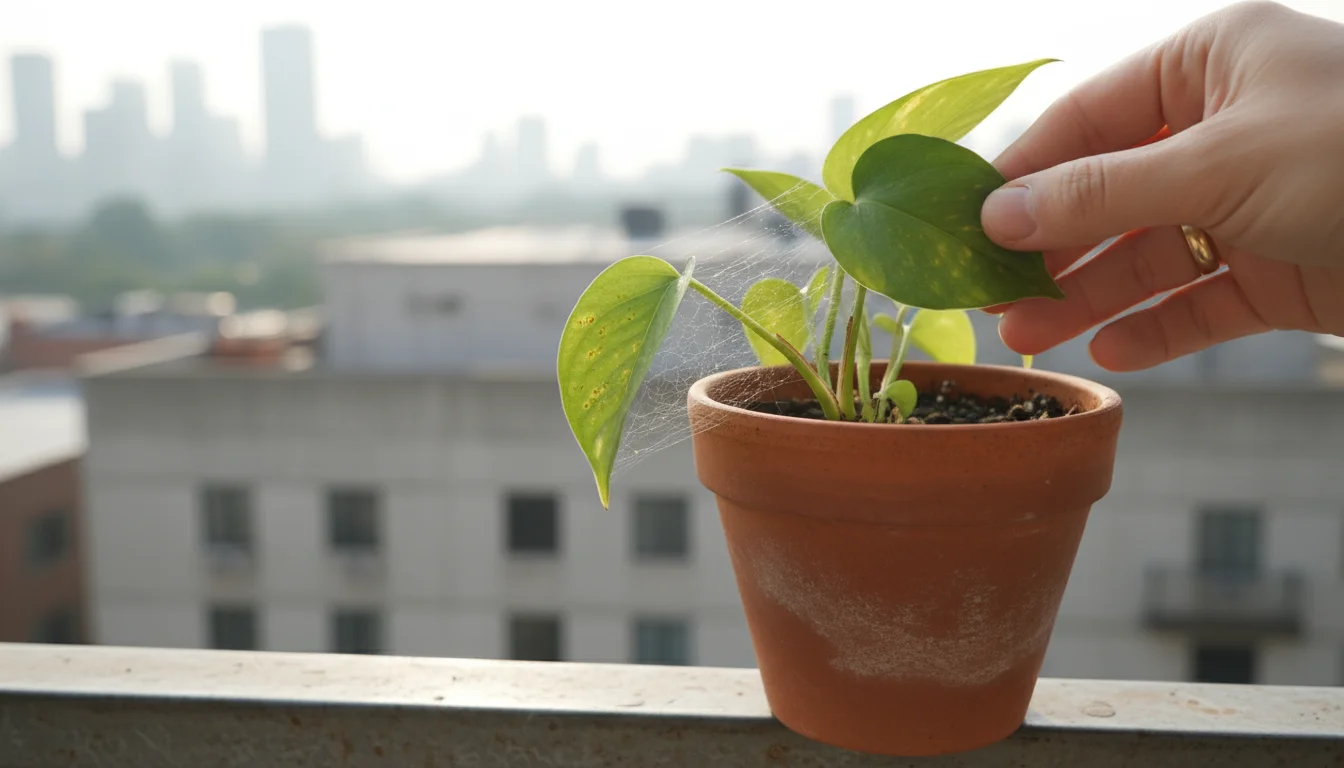
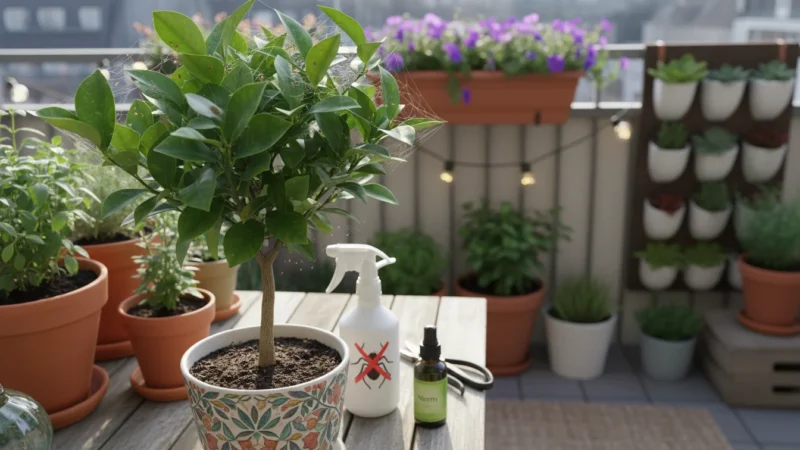
Spider Mites: The Web-Spinning Menace
Spider mites are notorious houseplant pests, particularly in winter. These tiny arachnids, often mistaken for insects, are barely visible to the naked eye. They thrive in warm, dry conditions, which makes heated indoor environments a perfect habitat during colder months. They feed by piercing plant cells and sucking out the chlorophyll, leading to characteristic damage.
To keep your foliage resilient, consider a DIY houseplant spa day that cleans leaves while adding a natural deterrent against future mite outbreaks.
Why they thrive in winter: Central heating drastically lowers indoor humidity, creating the arid environment spider mites love. Plants often suffer from increased water stress, which can also make them more vulnerable. Lack of natural predators indoors also allows their populations to explode quickly.
Identifying Spider Mites
- Size: Extremely tiny, often appearing as moving dots. Look for them on the undersides of leaves.
- Damage (Stippling): Small, yellowish or silvery dots (stipples) on leaves are the first sign. Leaves may eventually turn bronze or yellow and drop off.
- Webbing: In more advanced infestations, you will see fine, delicate webbing, particularly in leaf axils or across the undersides of leaves. This is a definitive sign of spider mites.
- Plant Decline: Overall poor plant health, wilting, and stunted growth.

Natural Spider Mite Treatment for Indoor Plants
Successfully eradicating spider mites requires persistence and thoroughness. Since they reproduce rapidly, timely intervention is critical.
- Isolate Infected Plants: Immediately move any infested plant away from healthy ones to prevent further spread.
- Hose Down Your Plant: Take the plant to a shower or sink and thoroughly rinse it with a strong spray of water. Pay close attention to the undersides of leaves and stems. This physically dislodges many mites and their eggs. Repeat this every few days.
- Wipe Leaves Clean: After rinsing, gently wipe the leaves, especially the undersides, with a damp cloth or paper towel. This removes any remaining mites and eggs.
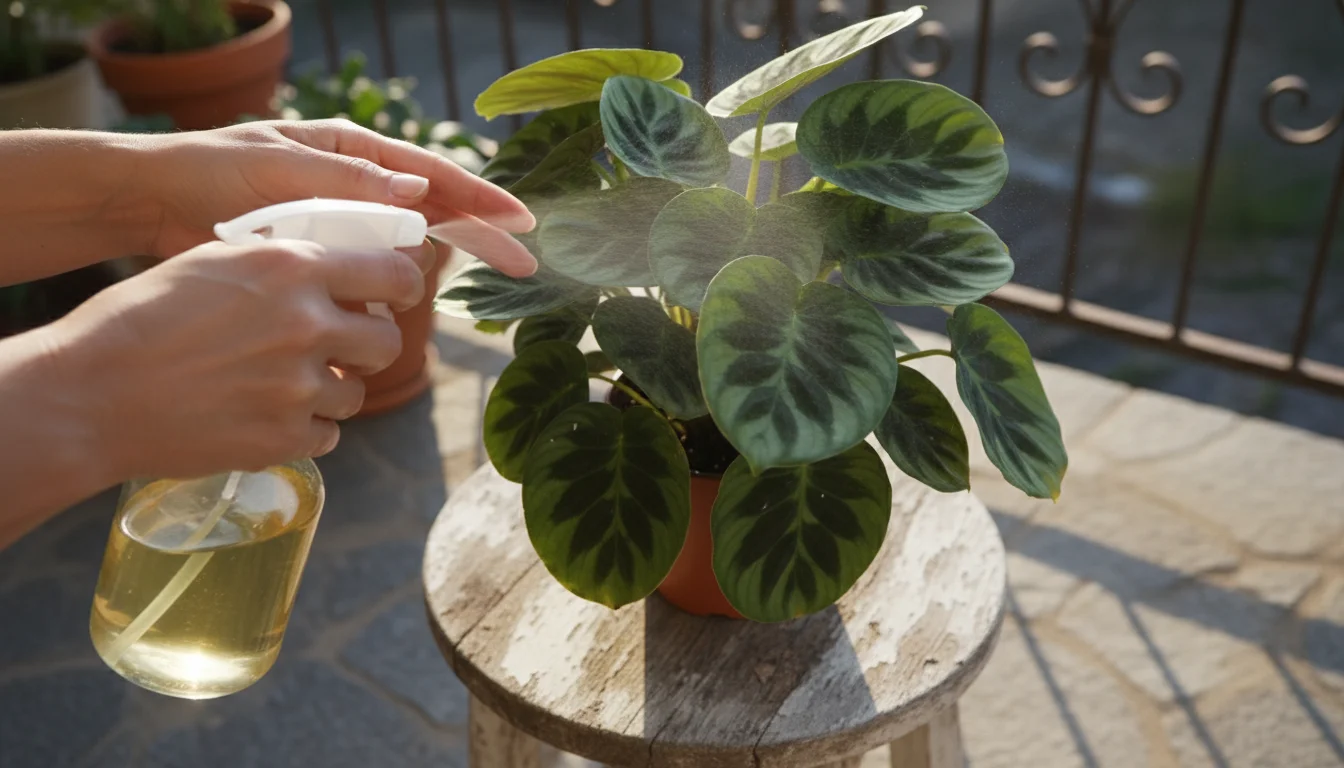
- Increase Humidity: Since spider mites despise high humidity, consistently misting your plants or using a pebble tray (a tray filled with pebbles and water beneath the pot, without the pot sitting in the water) can deter them. A humidifier in the room also helps.
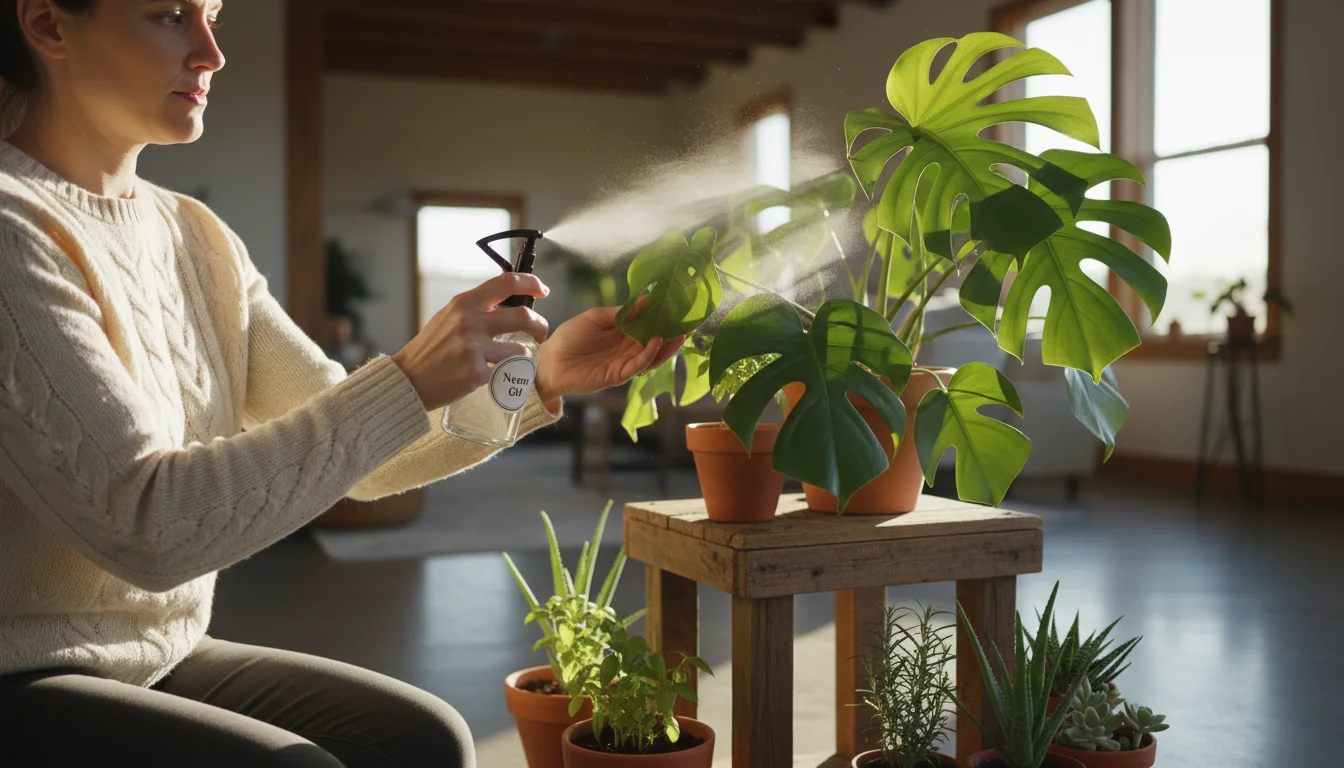
- Neem Oil Treatment: Neem oil is a powerful natural insecticide and miticide. Mix pure, cold-pressed Neem oil with water and a few drops of mild dish soap according to product instructions. Spray the entire plant thoroughly, coating both the top and bottom of all leaves, as well as stems. Neem oil acts as an anti-feedant, growth regulator, and repellent. Apply every 5-7 days for several weeks to break the life cycle.
- Insecticidal Soap: A readily available and effective option, insecticidal soap works by disrupting the mites’ cell membranes. Spray thoroughly, ensuring complete coverage. Repeat applications as directed on the label, usually every 7-10 days, until the infestation is gone.
- Predatory Mites: For severe or recurrent infestations, introducing beneficial predatory mites (e.g., Phytoseiulus persimilis) can provide excellent biological control. These mites feed exclusively on spider mites and are harmless to plants and humans.
Regular, consistent treatment is vital because you need to eliminate all life stages of the mites, from eggs to adults. It often takes several weeks to fully control a spider mite population.
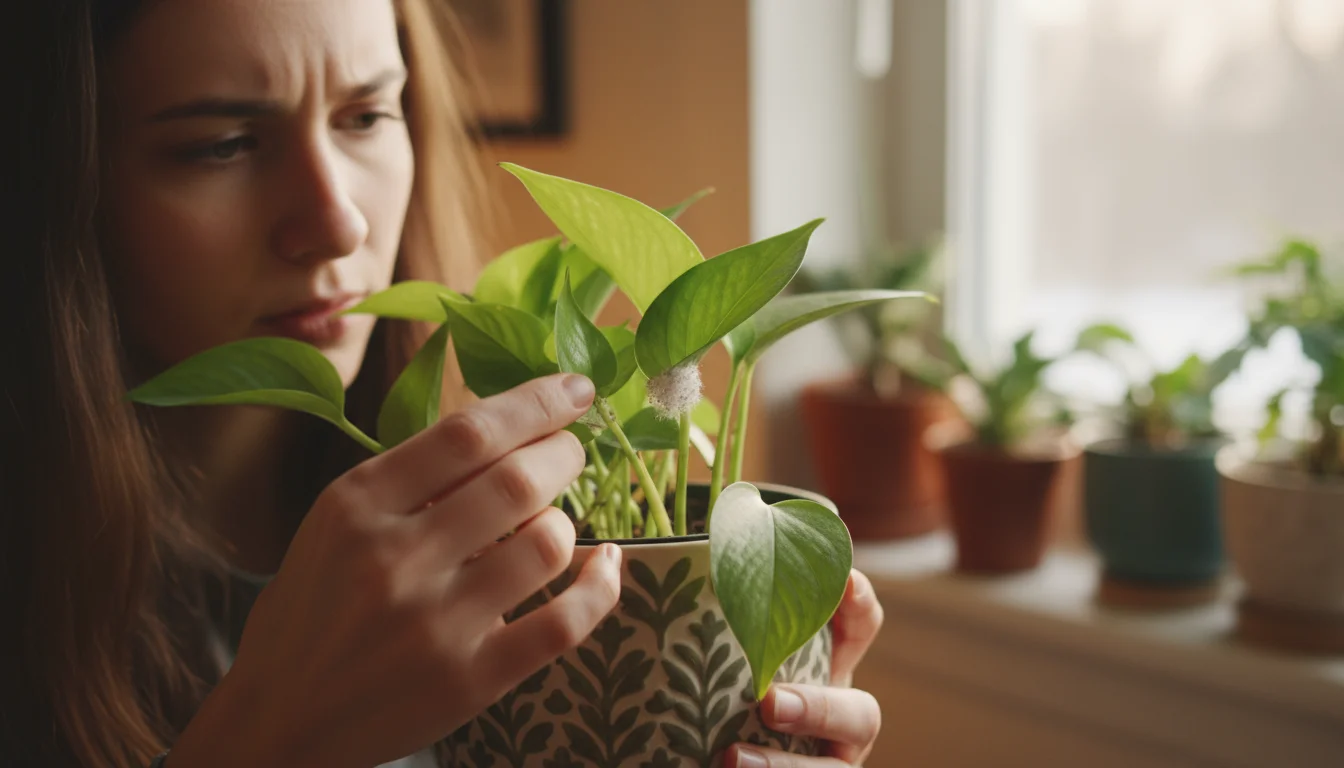
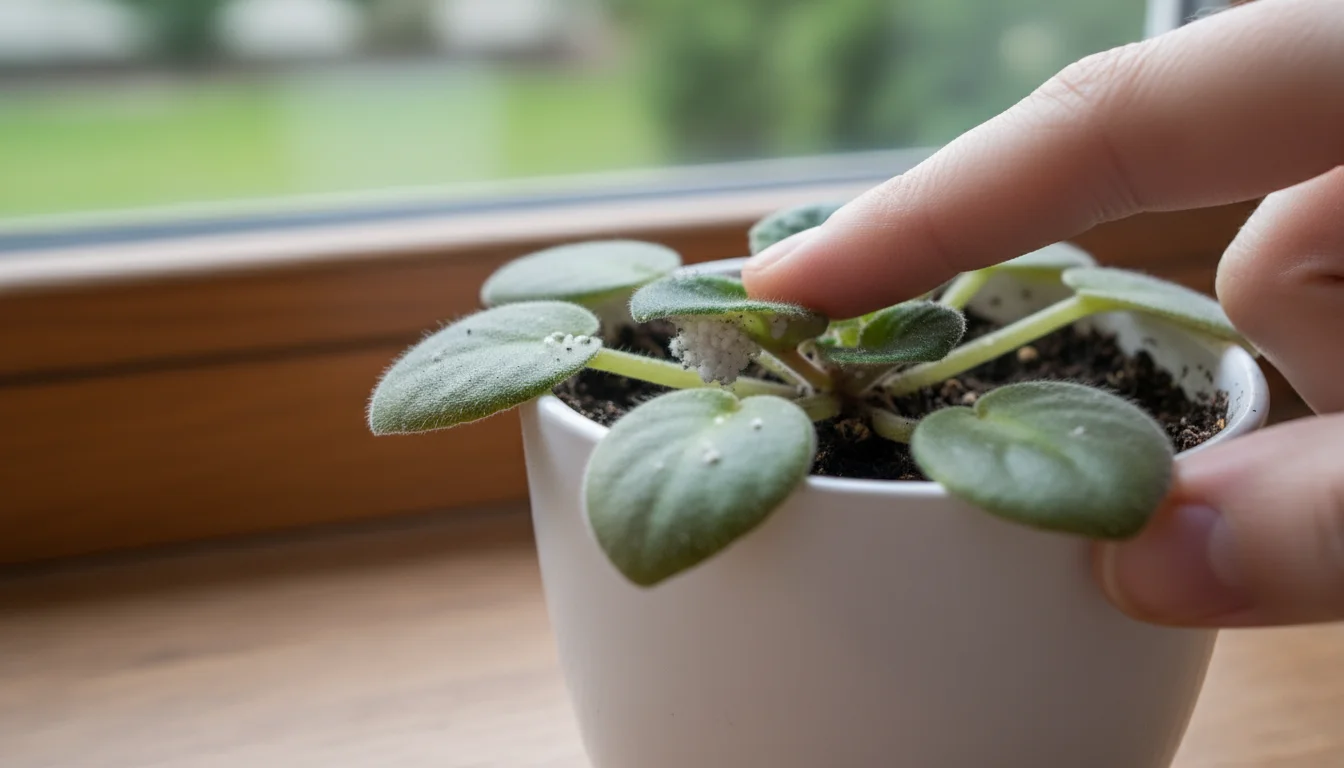
Mealybugs: Cottony White Nuisances
Mealybugs are soft-bodied insects recognized by their distinctive white, cottony, waxy coverings. They tend to cluster in protected areas of plants, such as leaf axils, along stems, and on the undersides of leaves. Like spider mites, they feed by sucking sap from your plants, weakening them over time. Their waxy coating provides protection against many contact insecticides, making them a bit more challenging to eliminate.
Why they thrive in winter: Mealybugs are excellent at hiding in crevices and often go unnoticed until their populations are substantial. Indoor conditions with less air movement and consistent temperatures allow them to reproduce undisturbed. They frequently hitchhike into your home on new plants, so diligent inspection of new additions is crucial.
Identifying Mealybugs
- White, Cottony Masses: The most obvious sign. Look for small, fuzzy white spots or clusters on stems, at leaf joints, or on the undersides of leaves.
- Sticky Honeydew: As they feed, mealybugs excrete a sticky, clear substance called honeydew. You might find this on leaves or even on surfaces beneath the plant.
- Sooty Mold: Honeydew can lead to the growth of black, sooty mold, which doesn’t directly harm the plant but blocks light and indicates a pest problem.
- Distorted Growth or Yellowing: Heavy infestations can cause leaves to yellow, distort, or drop prematurely, and new growth may be stunted.
Actionable Steps to Eliminate Mealybugs
Mealybugs require a targeted and persistent approach due to their waxy protection and tendency to hide.
- Isolate and Inspect Thoroughly: As with other pests, immediately isolate the affected plant. Then, meticulously inspect every part of the plant, including stems, leaves (top and bottom), and even the pot’s rim and drainage holes. These pests are excellent hiders.
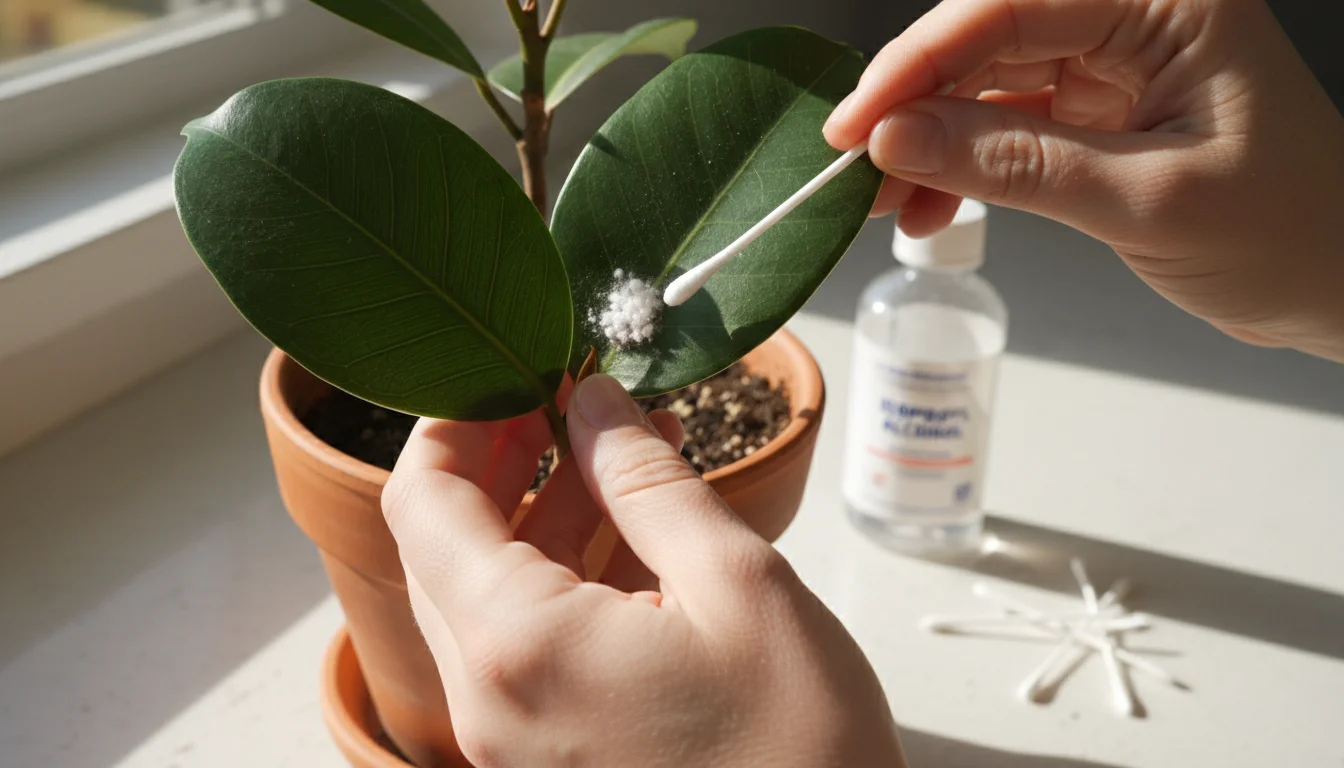
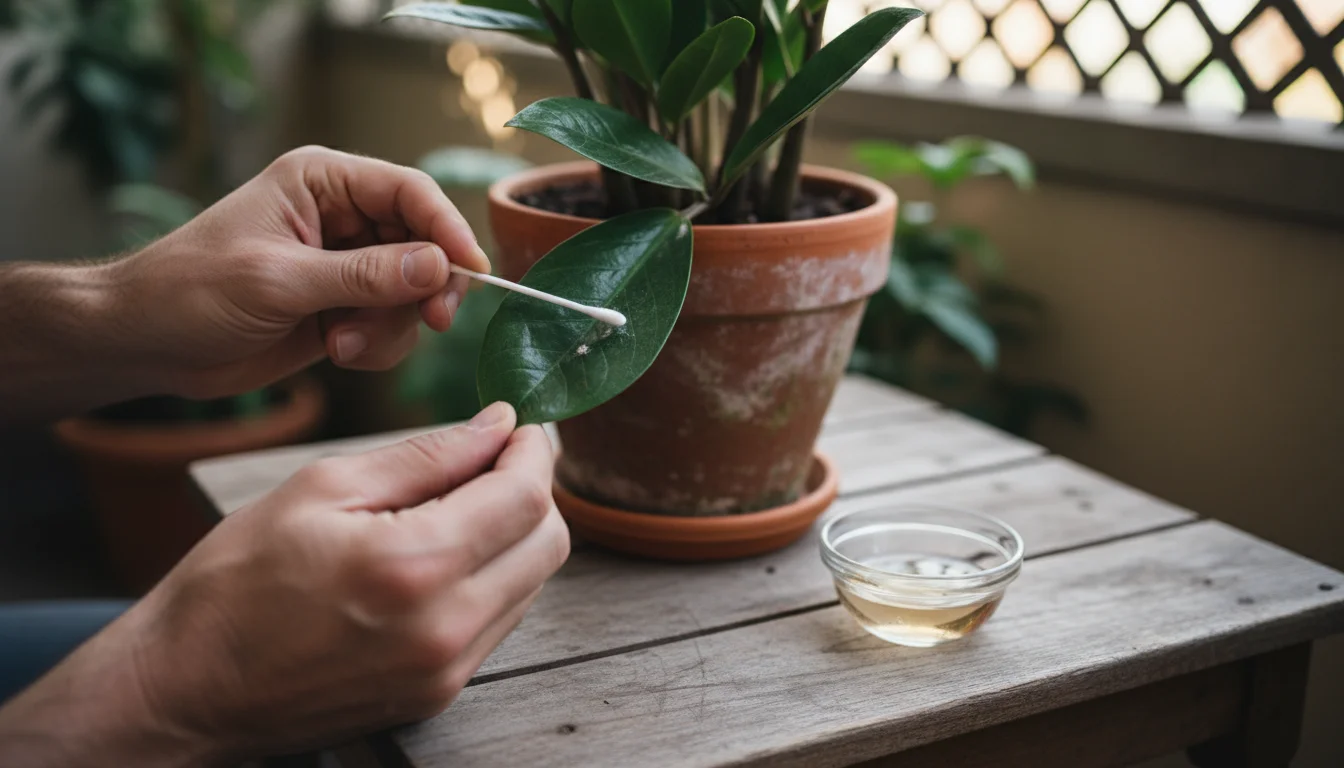
- Physical Removal with Alcohol: Dip a cotton swab or a soft cloth in rubbing alcohol (70% isopropyl alcohol). Gently dab each visible mealybug and its cottony mass. The alcohol dissolves their waxy coating, dehydrating and killing them. This method is effective for individual bugs and small clusters.
- Pruning Infested Parts: For heavily infested leaves or stems, it is often best to prune them off and dispose of them in a sealed bag to prevent spread. Sterilize your pruning shears between cuts.
- Insecticidal Soap Spray: Once you have physically removed as many as possible, spray the entire plant with insecticidal soap. Ensure complete coverage, as the soap only works on contact. Repeat applications every 7-10 days for several weeks to catch newly hatched nymphs.
- Neem Oil Spray: Neem oil provides both a contact kill and systemic protection (meaning the plant absorbs it, and pests that feed on the plant ingest it). Mix and apply as directed, ensuring all plant surfaces are covered. Regular applications disrupt their life cycle.
- Repotting (Severe Cases): If the infestation is severe and seems to be coming from the soil, consider carefully repotting the plant. Gently remove as much old soil as possible, rinse the roots, and repot into fresh, sterile potting mix. Clean the old pot thoroughly before reuse or discard it.
Mealybug control often takes time and consistent effort. You will need to check your plants regularly and reapply treatments as new generations emerge. Don’t give up!

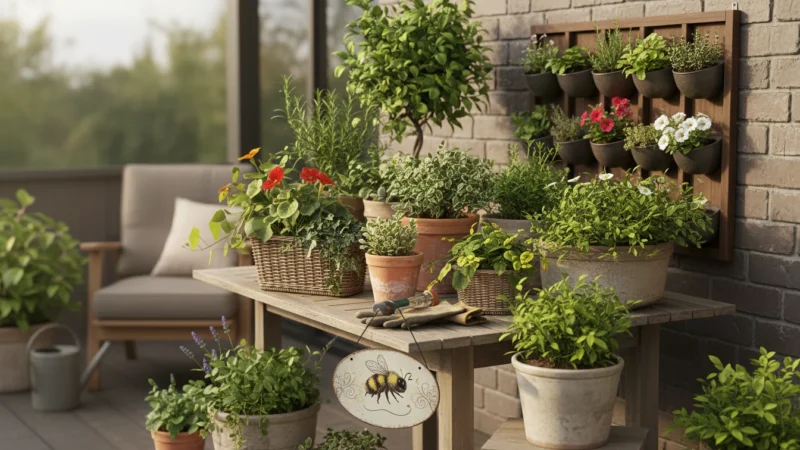
Prevention is Your Best Defense: Long-Term Strategies
While treating infestations is necessary, proactive prevention is far easier and more rewarding. Implementing a few simple habits can drastically reduce the chances of your houseplants getting bugs, especially during the vulnerable winter months. A healthy plant is a resilient plant, better equipped to fend off pests.
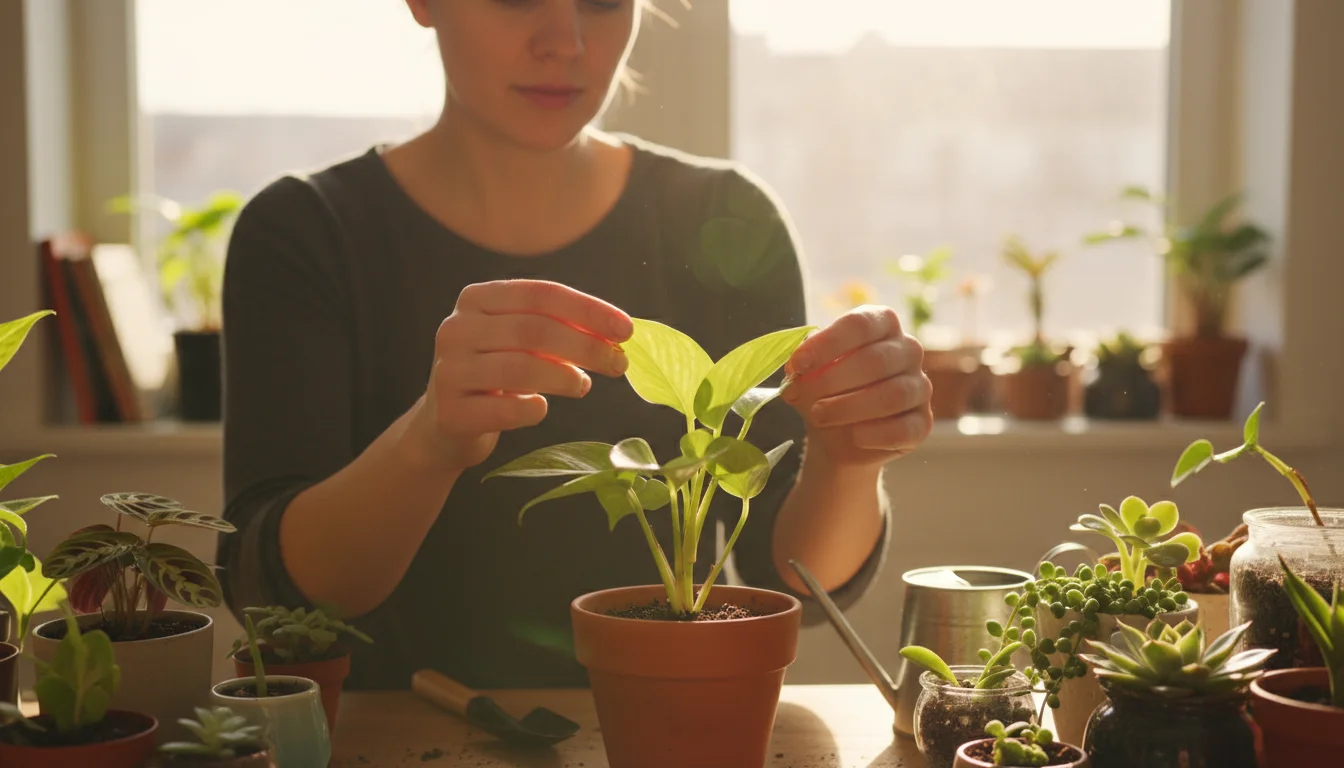
- Quarantine New Plants: This is arguably the most critical preventive step. Before introducing any new houseplant to your collection, isolate it in a separate room for 2-4 weeks. During this time, inspect it daily for any signs of pests. This simple act can prevent an entire collection from becoming infested.
- Inspect Regularly: Make a habit of closely examining your plants every time you water them. Look under leaves, in crevices, and on the soil surface. The earlier you spot a problem, the easier it is to control. A small magnifying glass can be a gardener’s best friend.
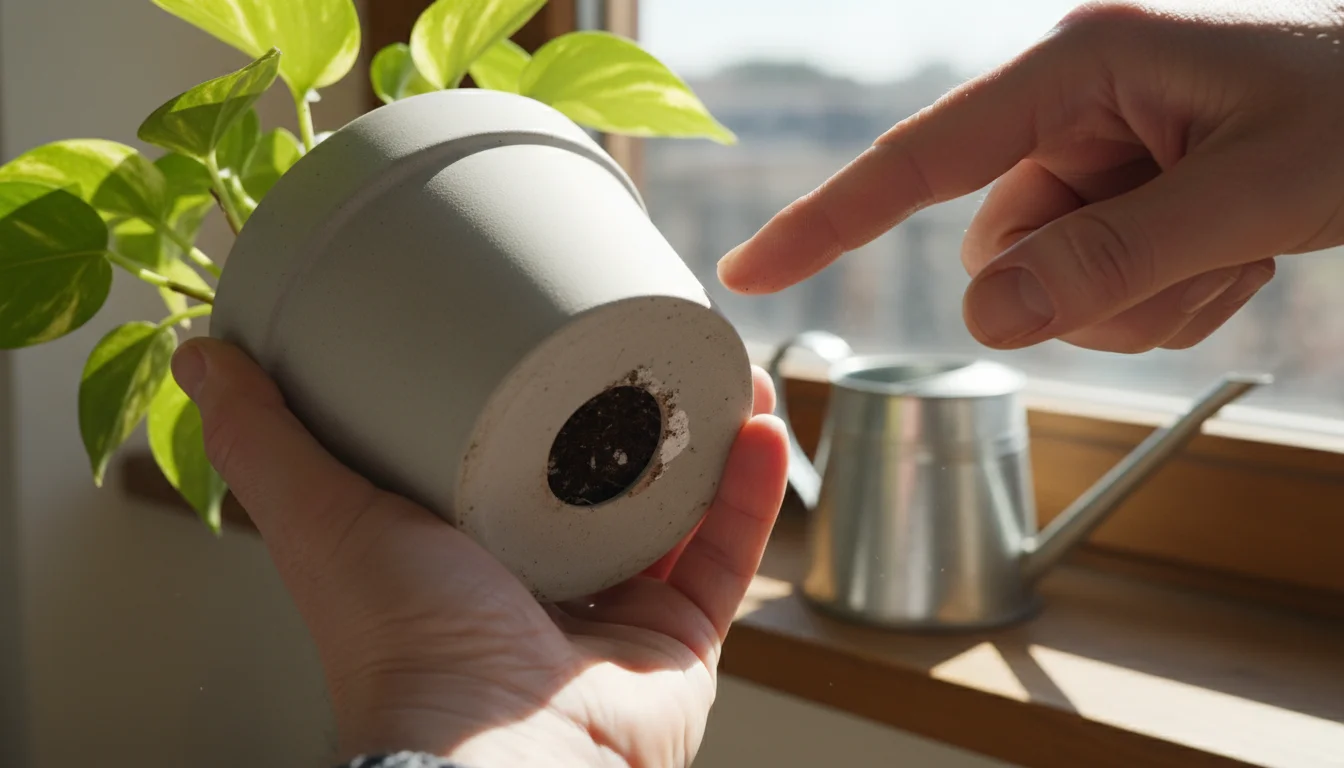
- Maintain Proper Watering Practices: Overwatering is a leading cause of many houseplant problems, including creating ideal conditions for fungus gnats. Always check soil moisture before watering. Allow the top inch or two of soil to dry out for most plants. Ensure your pots have good drainage, which means openings at the bottom for excess water to escape. A pot with good drainage prevents waterlogging.
- Provide Adequate Air Circulation: Stagnant air can encourage pests and fungal diseases. Ensure good airflow around your plants. If you have many plants grouped closely, consider spacing them out or using a small fan on a low setting for a few hours a day.
- Increase Humidity: Since spider mites thrive in dry conditions, increasing ambient humidity can deter them. Use a humidifier, group plants together (they create a microclimate), or place pebble trays filled with water near your plants. Just ensure the plant pots do not sit directly in the water.
- Keep Plants Clean: Dust buildup on leaves can hinder photosynthesis and provide hiding spots for pests. Gently wipe down your plant leaves with a damp cloth periodically. This also offers an excellent opportunity for inspection.
- Use Sterile Potting Mix: Always use fresh, sterile potting mix when repotting. Used or garden soil can harbor pest eggs or pathogens.
- Clean Used Pots: If you reuse pots, scrub them thoroughly with hot, soapy water and a dilute bleach solution (1 part bleach to 9 parts water) to kill any lingering pests or diseases.
By consistently applying these preventive measures, you establish a strong defense against common houseplant pests, ensuring your indoor garden remains a source of joy, not stress.
The Eco-Friendly Pantry: Natural Pest Control Solutions
When you spot a pest, your first thought might be for a quick chemical fix. However, many effective, eco-friendly solutions are readily available, often right in your kitchen or garden shed. These methods minimize exposure to harsh chemicals for you, your pets, and your plants, aligning perfectly with a sustainable gardening approach.
Here are some natural and safe solutions to manage houseplant pests:
1. Neem Oil
Neem oil, derived from the seeds of the Neem tree, is a gardener’s secret weapon. It is a natural insecticide, fungicide, and miticide. Its active compound, azadirachtin, disrupts insect feeding, growth, and reproduction. It is also systemic, meaning the plant absorbs it through the roots and foliage, making the plant itself toxic to feeding pests.
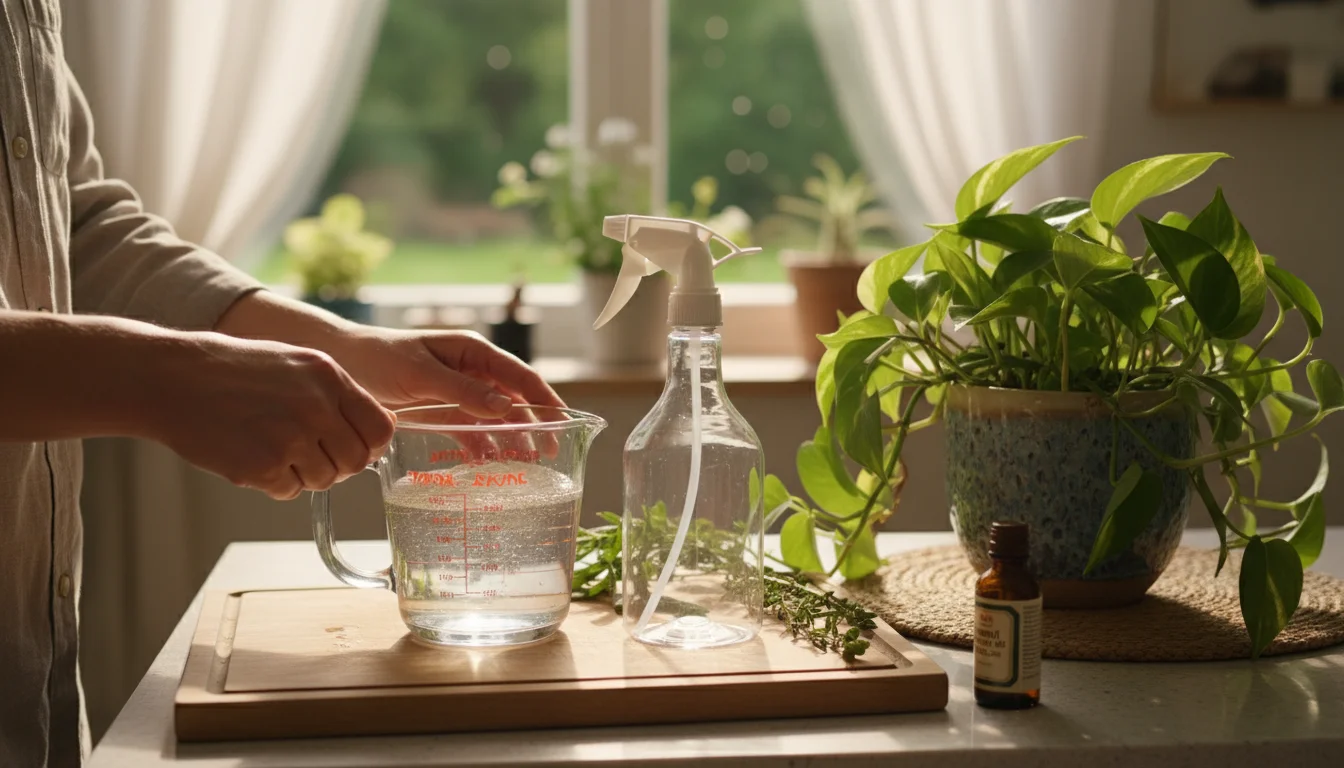
- How to Use: Mix cold-pressed Neem oil with water and a small amount of mild liquid soap (an emulsifier) according to the product’s instructions. Spray the entire plant thoroughly, covering both the top and bottom of all leaves, stems, and the soil surface. Apply every 5-7 days for an active infestation, then transition to a preventive spray every 2-4 weeks.
- Benefits: Effective against a wide range of pests, including spider mites, mealybugs, aphids, and whiteflies. Safe for beneficial insects once dry.
- Caution: Always do a test spray on a small part of the plant first to check for adverse reactions, especially on sensitive or new foliage. Apply in the evening to avoid leaf burn and to allow maximum absorption.
2. Insecticidal Soap
Insecticidal soap is a contact pesticide that works by breaking down the waxy cuticles of soft-bodied insects, causing them to dehydrate and die. It is effective against pests like mealybugs, aphids, spider mites, and whiteflies.
- How to Use: You can purchase commercial insecticidal soap or make your own by mixing 1-2 teaspoons of mild liquid dish soap (avoid detergents with degreasers) with one quart of water. Spray thoroughly, ensuring complete coverage of all plant surfaces where pests are present. The soap must physically touch the pests to be effective.
- Benefits: Fast-acting on contact, low toxicity to humans and pets, leaves no harmful residues.
- Caution: Test on a small area first. Some plants can be sensitive to soap. Rinse the plant with plain water a few hours after application, especially if using a homemade solution, to prevent residue buildup or leaf damage.
3. Rubbing Alcohol (Isopropyl Alcohol)
Rubbing alcohol is excellent for spot treating individual pests or small clusters, especially mealybugs and scale insects. It works by dissolving their waxy protective coating and dehydrating them.
- How to Use: Dip a cotton swab or a soft cloth in 70% isopropyl alcohol. Dab directly onto visible pests. For more widespread use, dilute 1 part alcohol with 1 part water in a spray bottle. Test on a small area first, as some plants are sensitive.
- Benefits: Quick, effective, and evaporates quickly, leaving no residue.
- Caution: Use sparingly and always test on a hidden leaf first. Avoid using on plants with delicate foliage or hairy leaves, as it can cause burn or damage. Do not use on plants in direct sunlight.
4. Diatomaceous Earth (Food-Grade)
Diatomaceous earth (DE) is a fine powder made from fossilized diatoms. It works as a physical control. Its microscopic sharp edges cut into the exoskeletons of crawling insects, causing them to dehydrate and die. It is effective against fungus gnat larvae, ants, and other crawling insects.
- How to Use: Lightly sprinkle food-grade diatomaceous earth on the top layer of your potting soil. When fungus gnat larvae or adult gnats crawl over it, the DE will harm them. Reapply after watering.
- Benefits: Non-toxic to humans and pets, effective physical control.
- Caution: Wear a mask when applying to avoid inhaling the fine dust. It becomes ineffective when wet, so reapply after watering.
Embrace these natural solutions. They are not only powerful tools in your pest management arsenal but also align with a holistic and healthy approach to indoor gardening. Consistency and thoroughness are your greatest allies when using any pest control method.
Troubleshooting Common Mistakes and Maintaining Plant Health
Even with the best intentions, gardeners sometimes inadvertently contribute to houseplant pest problems or make mistakes during treatment. Understanding these pitfalls helps you avoid them, leading to healthier, pest-free plants.
1. Overwatering and Poor Drainage
Mistake: Consistently keeping soil too wet or using pots without adequate drainage holes.
Impact: Creates an ideal breeding ground for fungus gnats and can lead to root rot, stressing the plant and making it more susceptible to other pests.
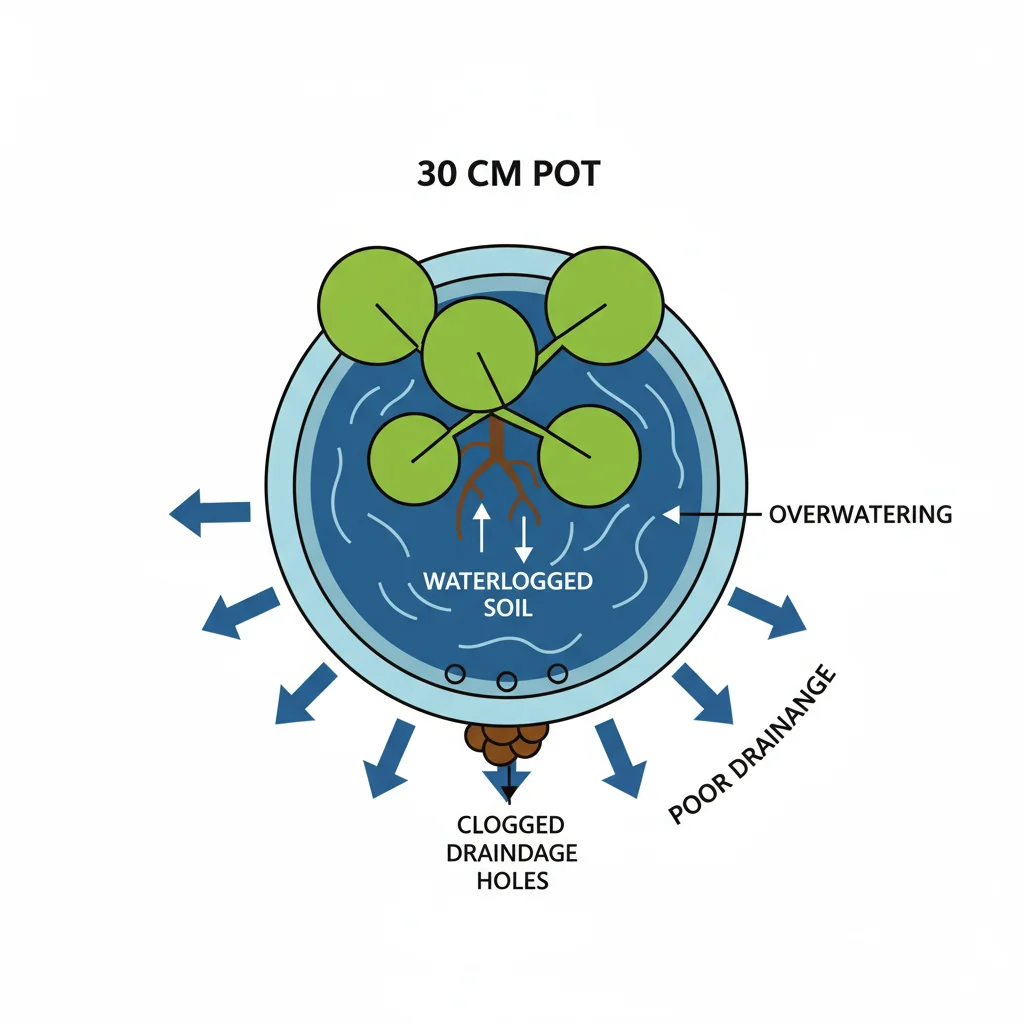
Solution: Always check soil moisture before watering. Allow the top inch or two of soil to dry out for most plants. Ensure your pots have drainage holes, which means openings at the bottom for excess water to escape. If your pot does not have drainage, consider repotting or placing the plant in a nursery pot inside the decorative pot, allowing you to remove it for thorough watering and draining.
2. Insufficient Humidity
Mistake: Allowing indoor air to remain excessively dry, especially in heated homes during winter.
Impact: Dry air is a prime condition for spider mites to thrive and multiply rapidly, as it weakens plant defenses and encourages their reproduction.
Solution: Increase humidity around your plants. Use a room humidifier, group plants together, or place plants on pebble trays filled with water. Regularly misting delicate plants can offer temporary relief but is not a substitute for consistent humidity.
3. Neglecting Regular Inspections
Mistake: Only checking plants when a problem is visible.
Impact: Pests can establish large populations before you notice, making eradication much harder and causing significant plant damage. Early detection is crucial.
Solution: Incorporate a quick, thorough plant inspection into your routine, perhaps weekly or every time you water. Examine leaf undersides, stem joints, and the soil surface. Catching a few pests is far easier than battling hundreds.

4. Inconsistent Treatment Applications
Mistake: Applying a pest treatment once and expecting the problem to disappear.
Impact: Most pest life cycles involve eggs, larvae/nymphs, and adults. A single treatment may kill adults but leave eggs to hatch, leading to a resurgence of the problem.
Solution: Follow treatment instructions meticulously, especially regarding frequency and duration. Many treatments require repeat applications over several weeks (e.g., every 5-7 days) to target new generations of pests as they hatch. Persistence is key.
5. Ignoring Plant Stress Signals
Mistake: Overlooking subtle signs of plant distress like slight yellowing, drooping, or slowed growth.
Impact: These signals indicate a weakened plant, making it more susceptible to pest attack. Addressing underlying plant health issues is critical for long-term pest resistance.
Solution: Pay attention to your plant’s overall health. Ensure it receives adequate light, appropriate watering, and occasional feeding (during active growth periods). A healthy, vigorous plant is naturally more resistant to pests and diseases. Research your specific plant’s needs and adjust its environment accordingly.
By learning from these common missteps, you empower yourself to be a more effective and successful houseplant parent. Cultivating healthy plants is your ultimate weapon against pests.

Frequently Asked Questions
Can I use dish soap as an insecticide?
You can use mild, plain liquid dish soap, not detergent with degreasers, as an ingredient in homemade insecticidal soap solutions. Mix 1-2 teaspoons of soap with one quart of water. Test on a small area of the plant first, as some plants are sensitive. Commercial insecticidal soaps are formulated specifically for plants and are generally safer and more effective.
How do I know if my houseplant pests are completely gone?
You know your houseplant pests are likely gone when you observe no new signs of their activity for at least 3-4 weeks after your last treatment. This includes no visible insects, no new webbing, no sticky honeydew, and no further plant damage. Continue regular inspections to ensure they don’t return.
Are houseplant pests harmful to humans or pets?
The common houseplant pests like fungus gnats, spider mites, and mealybugs are generally not harmful to humans or pets. They do not bite, sting, or carry diseases that affect mammals. Their primary harm is to your plants. However, keep pest control products, even natural ones like Neem oil, out of reach of children and pets, and always follow product safety instructions.
Do I need to repot my plant if it has pests?
Repotting is usually a last resort for pest infestations. For fungus gnats, allowing the soil to dry out usually suffices, but repotting with fresh soil can help if the infestation is severe and persistent. For mealybugs, carefully removing soil and rinsing roots can be beneficial if you suspect soil-dwelling stages. For spider mites, focus on foliage treatment. Always clean the pot thoroughly before reusing.
What’s the best time of day to apply pest treatments?
Apply most pest treatments, especially sprays like Neem oil or insecticidal soap, in the early morning or evening. Avoid applying during the hottest part of the day or in direct, intense sunlight. This prevents potential leaf burn, allows the treatment to dry slowly, and for Neem oil, ensures maximum absorption without degradation from UV light.
For trustworthy gardening information, visit:
University of Rhode Island Cooperative Extension — Gardening, Connecticut Agricultural Experiment Station and Massachusetts Horticultural Society. These organizations provide expert, research-based advice for gardeners at all levels.
Disclaimer: This article is for informational purposes only and is not a substitute for professional gardening advice. Always consult local extension services or horticulture experts for region-specific guidance.


Leave a Reply