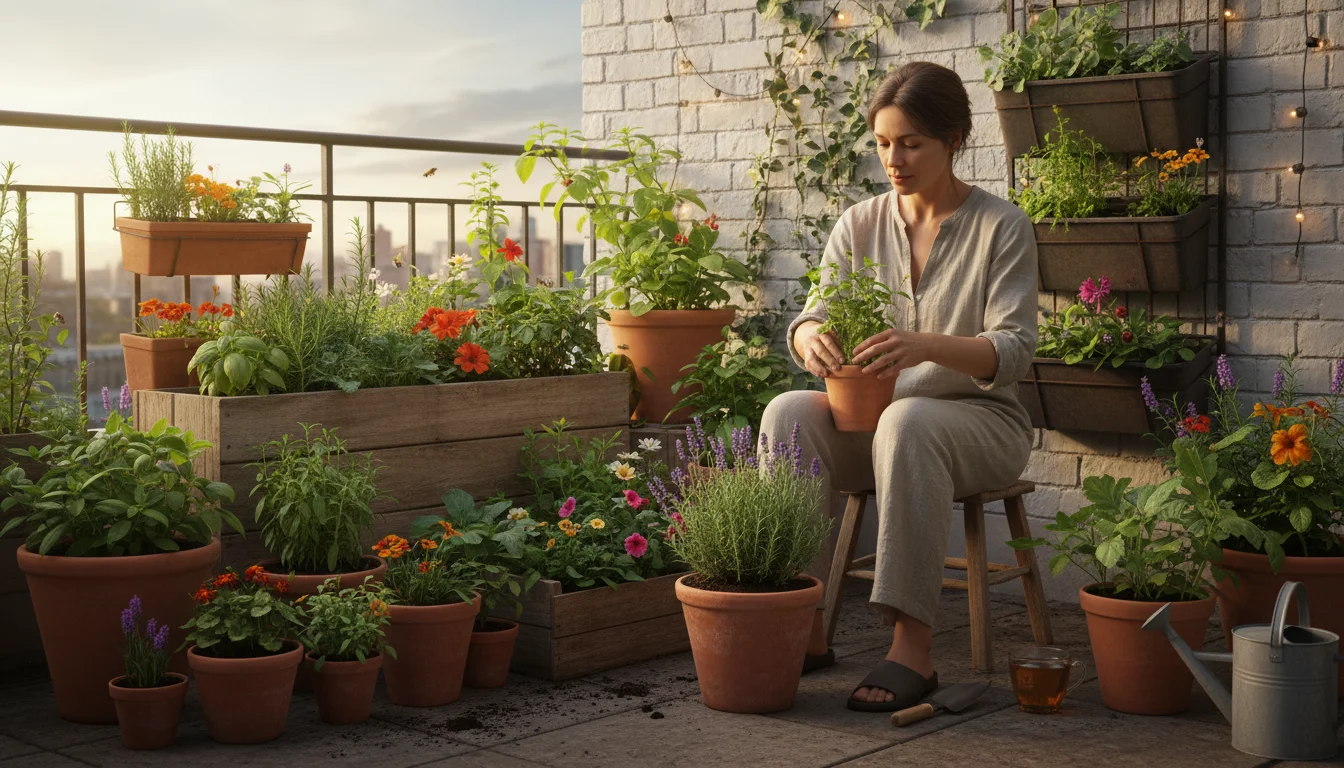
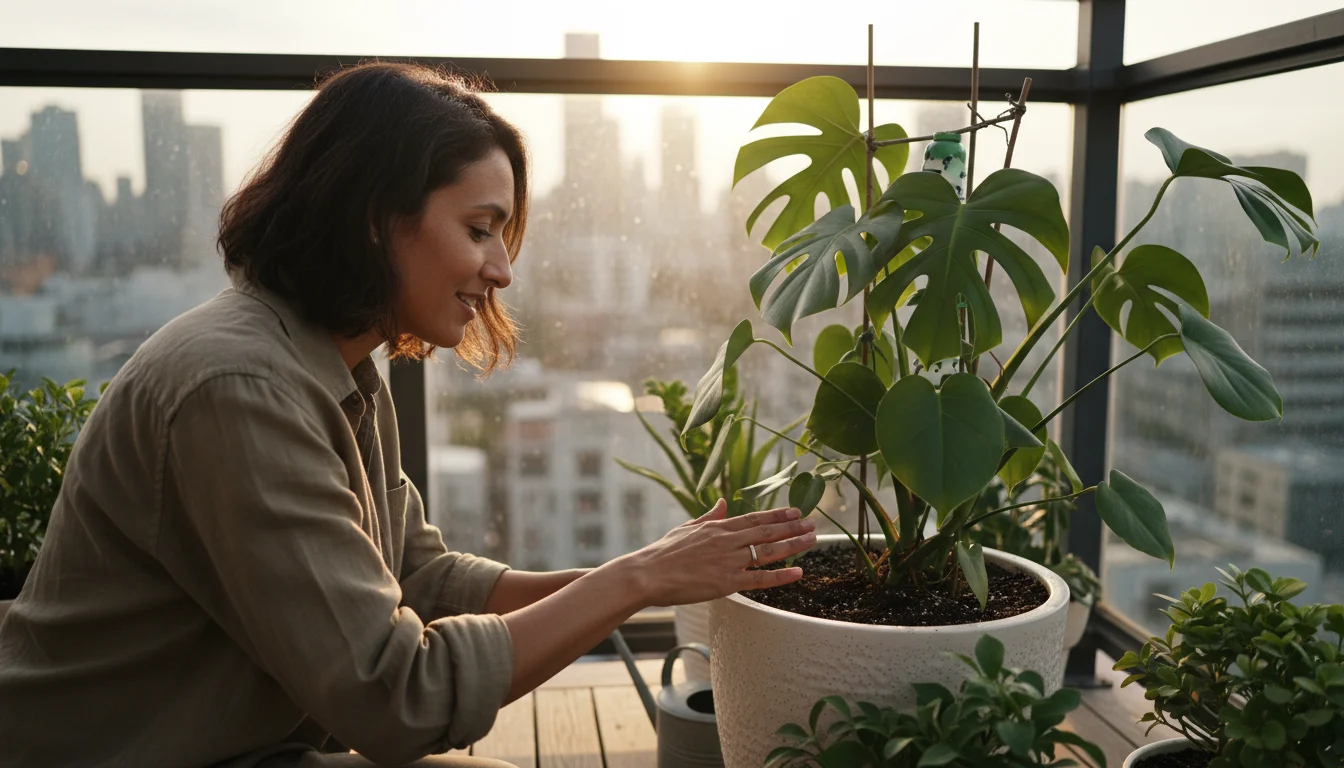
Good soil drainage is the unseen hero of healthy plant life, often overlooked until problems arise. As a plant parent, you might notice your beloved greenery looking a little droopy, its leaves turning yellow, or worse, succumbing to an unpleasant smell emanating from the pot. These are telltale signs of trouble beneath the surface, specifically soil drainage problems. Poor drainage leads to waterlogged soil, suffocating roots and inviting a host of issues that can quickly turn your green oasis into a plant graveyard. Fortunately, identifying and rectifying these problems is straightforward once you know what to look for and how to act.
This guide empowers you with the knowledge and practical steps to diagnose drainage issues in your container plants and outdoor beds, implement effective solutions, and prevent them from recurring. You will learn how to assess your plant’s environment, understand the role of proper aeration, and employ sustainable practices to keep your plants thriving. From simple adjustments to a full container drainage fix, we cover everything you need to maintain robust, happy plants with minimal fuss.
What is Good Soil Drainage?
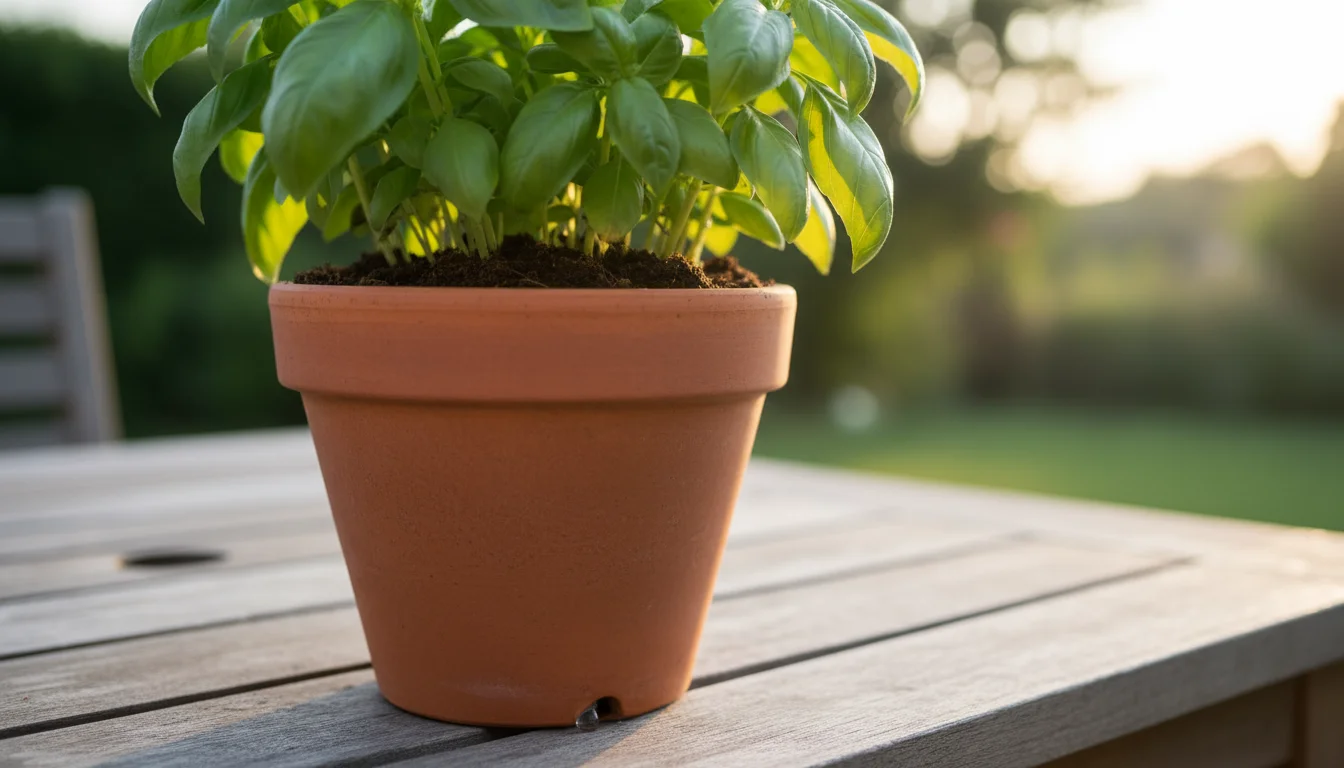
Good soil drainage describes soil’s ability to allow excess water to flow through it and away from plant roots while retaining enough moisture for plant uptake. Think of it as a healthy balance: water enters, nutrients dissolve, roots absorb what they need, and then the extra water exits, leaving behind essential air pockets. These air pockets are vital because plant roots, much like our lungs, require oxygen to breathe and function. Without oxygen, roots cannot properly absorb water or nutrients, a process known as aerobic respiration.
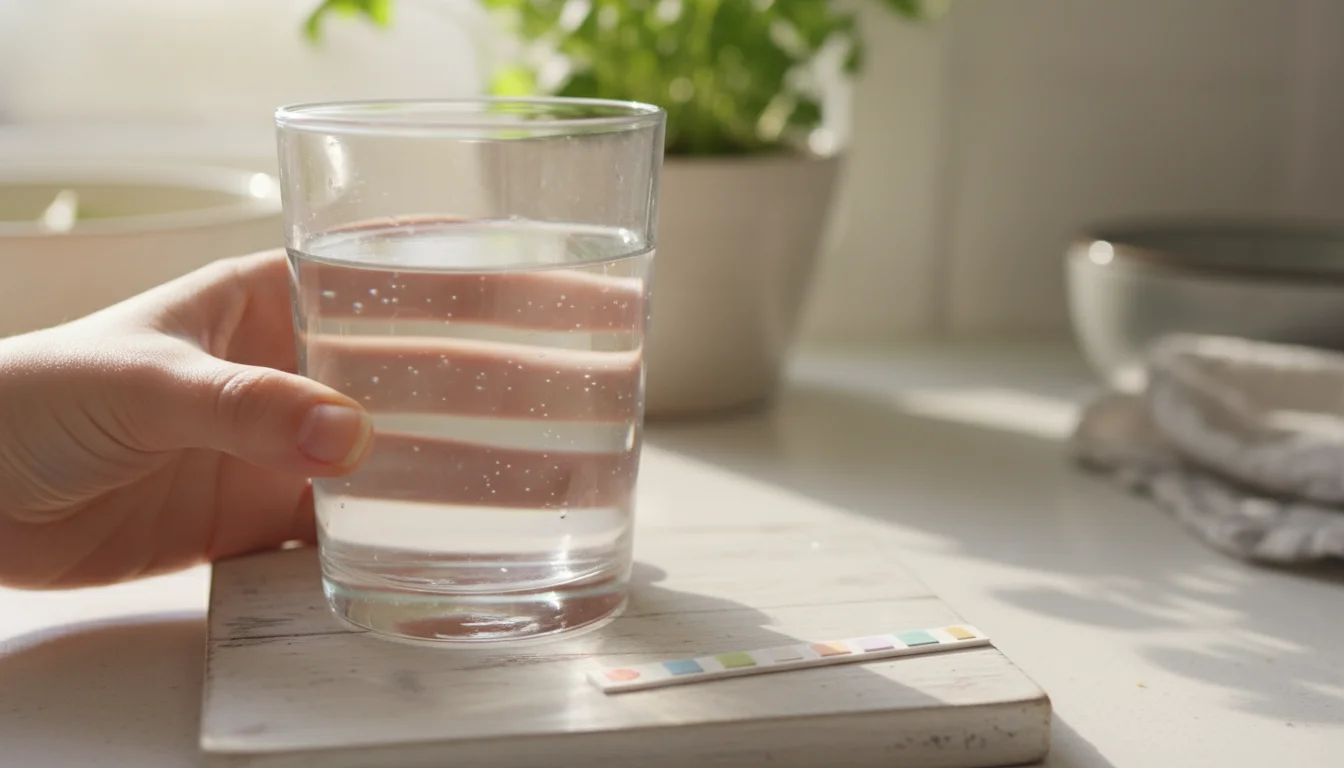
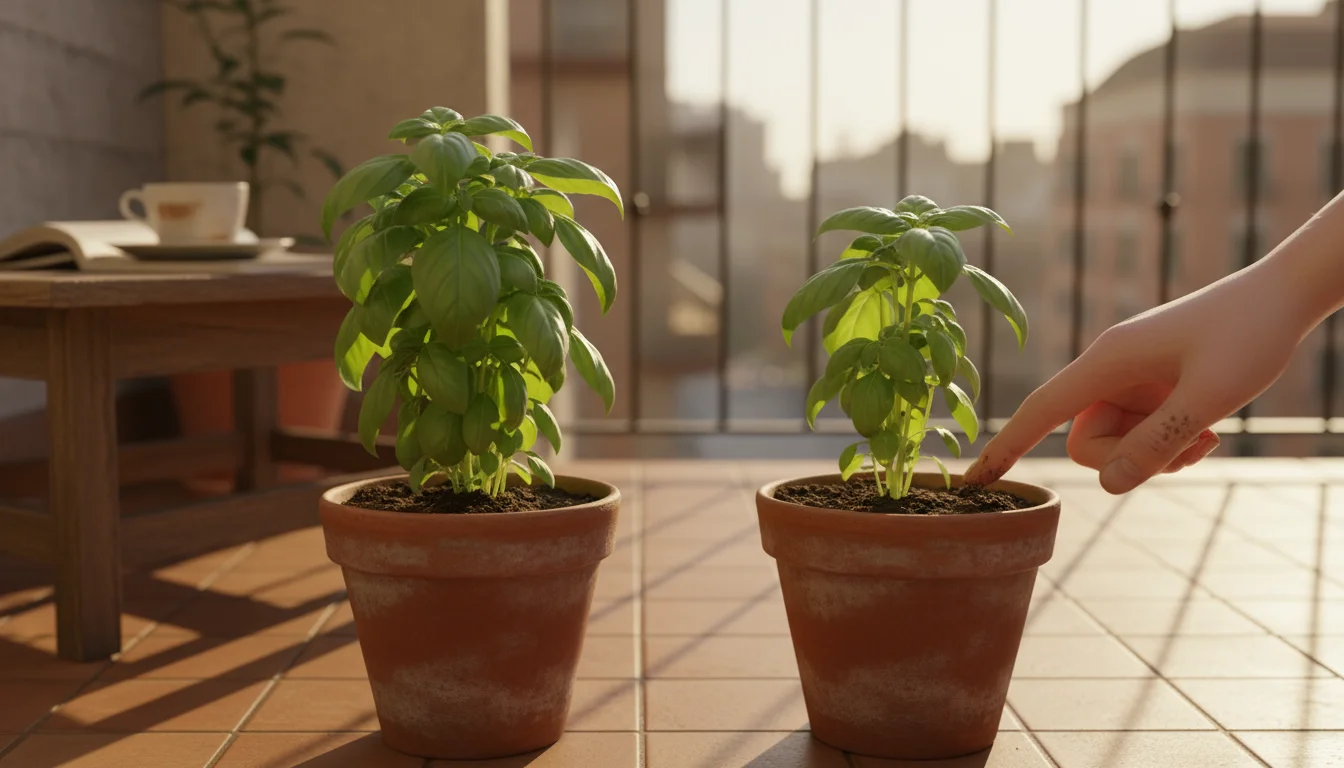
In well-draining soil, water moves downward at a moderate pace. You might observe water soaking in within a few seconds to a minute after watering, rather than pooling on the surface. For outdoor garden beds, you can perform a simple drainage test: dig a hole about 12 inches deep and wide, fill it with water, and let it drain. Once it has drained, fill it again and time how long it takes for the water to disappear. Ideally, well-draining soil drains at a rate of 1 to 2 inches per hour. If it drains significantly slower, you have a drainage problem. This quick assessment provides a clear indicator of your soil’s current state, helping you understand where to focus your efforts for improvement.
Why Good Soil Drainage Matters for Plant Health
The health of your plants hinges significantly on proper soil drainage. When soil becomes waterlogged, it creates an anaerobic environment, meaning it lacks oxygen. This oxygen deprivation initiates a cascade of detrimental effects on your plants:
Beyond drainage, there are many natural ways to improve soil to ensure your plants have the nutrients they need to recover.
- Root Suffocation: Plant roots drown without access to oxygen. They cannot perform vital functions like nutrient and water absorption, even if water is abundant. This directly impacts the plant’s ability to grow and thrive.
- Nutrient Lockout: Waterlogged soil impedes the availability of essential nutrients. Some nutrients become less accessible to roots in anaerobic conditions, leading to deficiencies despite their presence in the soil. Your plant shows signs of starvation, displaying yellowing leaves or stunted growth.
- Root Rot: This is arguably the most common and devastating consequence of poor drainage. Fungi and bacteria that thrive in oxygen-deprived, constantly wet conditions attack and decay plant roots. Infected roots turn soft, brown, and mushy, emitting an unpleasant odor. Once root rot takes hold, it spreads rapidly and is often fatal if not addressed promptly. The Royal Horticultural Society offers extensive resources on common plant diseases, including root rot, emphasizing the importance of proper drainage as a preventative measure. You can find more information on plant health at RHS Advice on Plant Health.
- Pest Infestations: Consistently damp soil attracts various pests, including fungus gnats, slugs, and snails. These creatures lay eggs and proliferate in wet environments, adding another layer of stress to an already struggling plant.
- Weakened Plant Structure: Plants struggling with poor drainage are generally weaker, making them more susceptible to other diseases, environmental stressors, and physical damage. Their overall resilience decreases significantly.
Understanding these critical impacts underscores why prioritizing excellent drainage is not just a recommendation, but a fundamental requirement for successful gardening. It safeguards your plants from unseen dangers below the soil line.
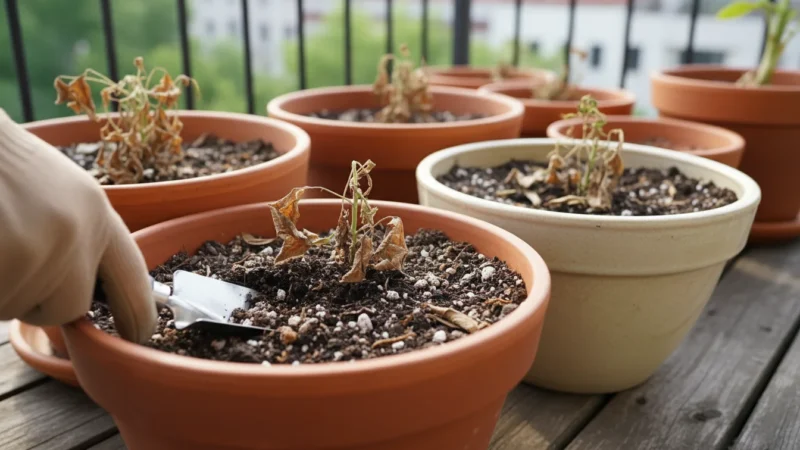
Diagnosing Poor Soil Drainage: Signs Your Plant Suffers
Early detection is crucial for saving a plant suffering from soil drainage problems. Your plants communicate their distress through various visual and physical cues. Learning to interpret these signs helps you intervene before irreparable damage occurs. Here are the most common indicators that your soil is waterlogged:
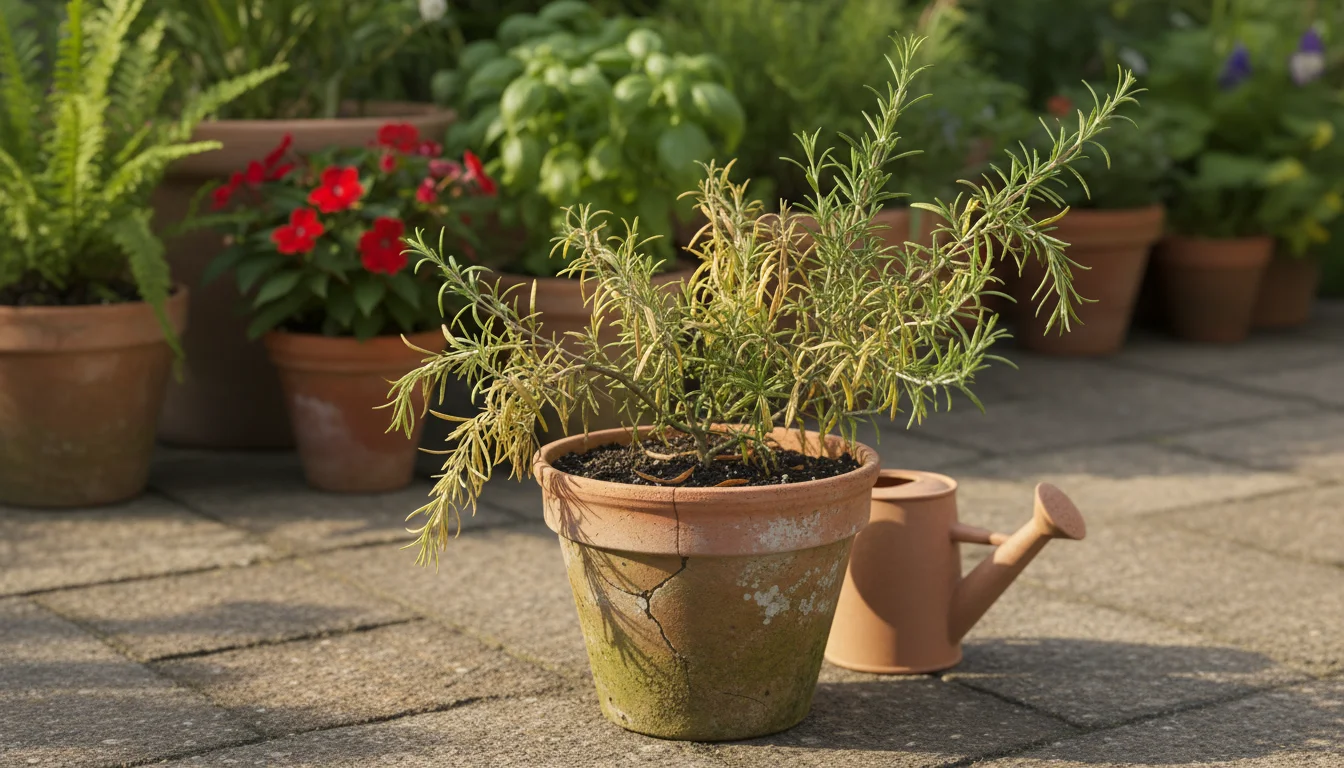
- Yellowing Leaves: This is one of the first and most common symptoms. Leaves, particularly lower ones, turn yellow because roots cannot absorb oxygen and nutrients. This symptom often mimics nutrient deficiency, but if combined with constantly wet soil, poor drainage is the likely culprit.
- Wilting or Drooping Foliage: Paradoxically, a plant in waterlogged soil may wilt as if it is underwatered. This happens because suffocated roots cannot effectively transport water to the leaves. The plant shows signs of thirst, even though its roots sit in soggy conditions. You will notice the leaves losing turgor, becoming limp and drooping.
- Stunted Growth: If your plant suddenly stops growing or new growth appears significantly smaller than usual, it may indicate chronic drainage issues. The plant directs its energy toward survival rather than vigorous growth when its roots are compromised.
- Fungus Gnats or Other Pests: Small, black flying insects hovering around your plant or crawling on the soil surface are often a sign of excessively moist soil. Fungus gnats thrive in wet environments, laying their eggs in the top inch of damp potting mix. This is a clear signal that the soil remains wet for too long.
- Green Algae or Mold on Soil Surface: A green, slimy film or white, fuzzy mold on the soil surface indicates persistent moisture. Algae and mold flourish in stagnant, damp conditions and directly point to poor drainage and inadequate air circulation around the soil.
- Musty or Foul Odor from the Soil: Healthy soil smells earthy and fresh. If you detect a sour, rotten egg, or musty smell coming from the pot, it signifies anaerobic conditions and likely root rot. This odor is a strong warning that your roots are decaying.
- Standing Water or Slow Drainage: The most obvious sign is water pooling on the soil surface after watering, taking an unusually long time to absorb, or simply not draining out of the pot’s drainage holes. If water sits for more than 15-30 minutes, you have a severe drainage problem.
- Heavy Pot Weight: Lift your plant’s pot. If it feels significantly heavier than expected, even days after watering, it confirms the soil retains too much moisture. Well-draining soil should feel lighter once it dries out appropriately.
- Brown, Mushy Roots (Root Rot): If you suspect root rot, gently unpot the plant and inspect its roots. Healthy roots are typically white or tan, firm, and pliable. Roots affected by root rot appear brown or black, feel soft and mushy, and often fall apart easily. They will also likely carry the distinctive foul odor.
Observing these signs requires attention and a bit of detective work, but learning to recognize them empowers you to respond quickly and prevent irreversible damage to your plants.
Common Causes of Soil Drainage Problems
Understanding the root causes of poor drainage is the first step toward effective prevention and lasting solutions. Often, soil drainage problems stem from a combination of factors rather than a single issue. Here are the most common culprits:
- Incorrect Potting Mix: This is perhaps the leading cause for container plants. Many standard potting mixes contain a high percentage of fine peat moss or coir, which can become overly compacted and hold too much water, especially if it is the primary ingredient. While these components retain moisture, a lack of larger particles like perlite, coarse sand, or bark chips prevents adequate aeration and drainage. For optimal growth, plants require a soil mix that balances moisture retention with efficient drainage.
- Overwatering: Consistently giving your plant too much water, or watering too frequently, saturates the soil beyond its capacity to drain. Even with good soil, overwatering leads to constantly wet conditions, depleting oxygen and creating an environment ripe for root rot. Your watering habits significantly influence soil moisture levels.
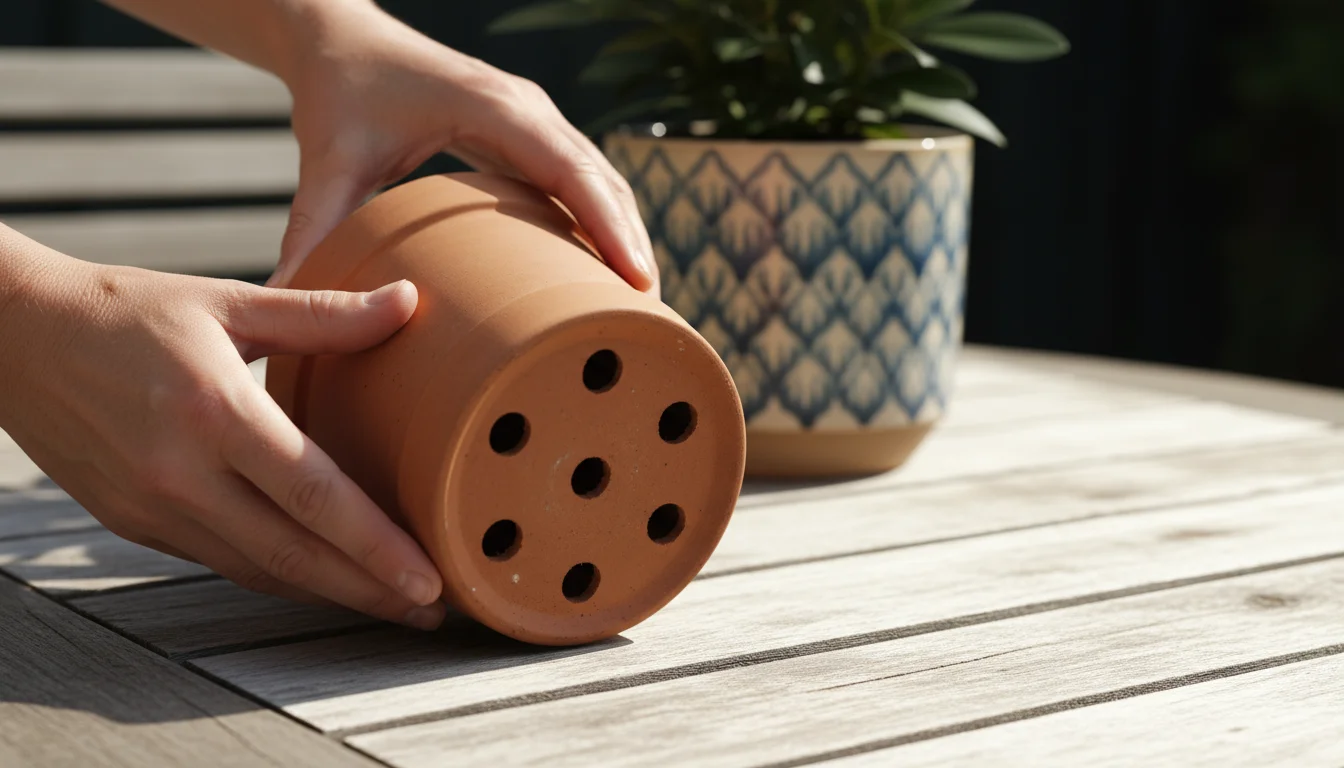
- Inadequate Drainage Holes: Some pots, particularly decorative ones, either lack drainage holes entirely or have holes that are too small or too few. Without sufficient openings at the bottom, excess water cannot escape, inevitably leading to waterlogged soil. Even a single small hole might not suffice for larger containers or plants requiring rapid drainage.
- Potting Mix Compaction: Over time, potting mix naturally settles and compacts, reducing the air spaces between particles. Water flows through compact soil much slower. This compaction can also occur if you press the soil down too firmly during repotting or if you continually water from the top, pushing fine particles downward. Earthworms and other soil organisms help maintain aeration in garden beds, but container plants lack these natural helpers, making compaction a more prominent issue.
- Pot Size Imbalance: Planting a small plant in a disproportionately large pot leads to drainage issues. The large volume of soil around a small root ball dries out very slowly, keeping the roots in excessively damp conditions for extended periods. Conversely, a plant that is root-bound (its roots circle tightly around the pot, forming a dense mass) can also experience drainage problems because the roots themselves become a barrier to water flow and aeration, ironically struggling to absorb water effectively despite the surrounding moisture.
- Poor Quality Outdoor Soil: In garden beds, heavy clay soils naturally drain slowly because their particles are very small and tightly packed. These soils retain a lot of water and easily become compacted. Building raised beds or amending heavy clay with organic matter is often necessary to improve drainage in these situations.
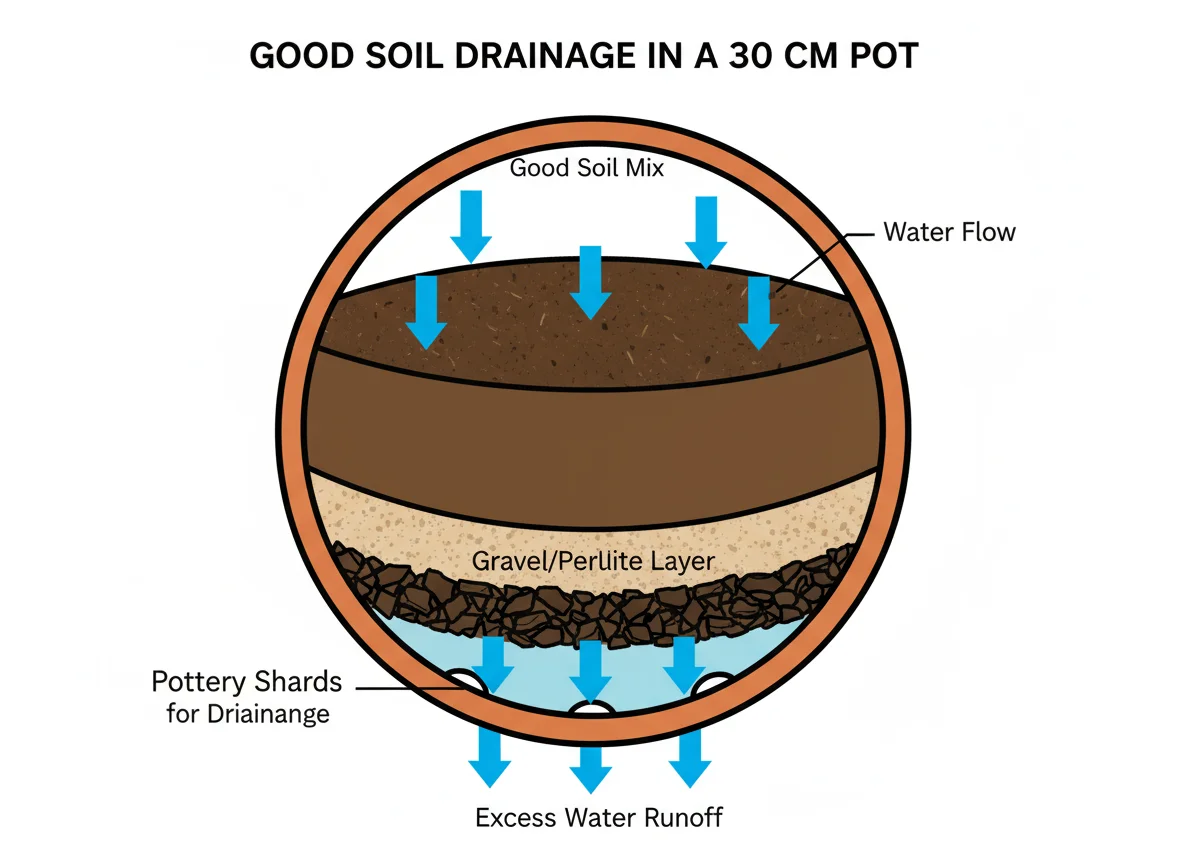
- Using a Drainage Layer (e.g., gravel) at the Bottom of Pots: This is a common but misguided practice. Adding a layer of gravel, broken pot shards, or pebbles at the bottom of a pot does not improve drainage; it actually raises the perched water table. The perched water table is the zone where water collects above a layer of differing soil texture. This means that instead of having dry soil below the roots, you create a saturated layer right where the roots are, exacerbating waterlogging problems. The best approach is to ensure the entire pot is filled with a consistent, well-draining potting mix.
Identifying which of these factors contribute to your specific problem is key to applying the most effective and lasting solution. Often, addressing multiple causes provides the best outcome for your plant’s health.
Immediate Steps: Quick Fixes for Waterlogged Soil
When you discover your plant sitting in waterlogged soil, immediate action can prevent further damage and potentially save its life. These quick fixes are temporary measures designed to remove excess moisture and provide immediate relief to suffocating roots. Consider them first aid while you prepare for more permanent solutions.
- Tilt the Pot to Drain: For container plants, simply tilting the pot on its side or at an angle helps gravity pull out some of the excess water from the drainage holes. You will be surprised how much extra water drains away this way. You can prop it up against something sturdy for an hour or two.
- Elevate the Pot: Ensure the pot is not sitting directly in a saucer of standing water. If it is, lift the pot out, empty the saucer, and place the pot on pot feet, bricks, or anything that elevates it slightly to allow for continuous airflow and drainage from the bottom. This small step significantly improves air circulation.
- Wick Away Excess Water: For severely saturated soil, you can use a paper towel or an old rag as a wick. Thread one end of the paper towel or cloth through the drainage hole, allowing the rest of it to sit on the floor or in an empty saucer. The material will absorb water from the soil through capillary action, drawing it out of the pot. Change the wicking material as it becomes saturated.
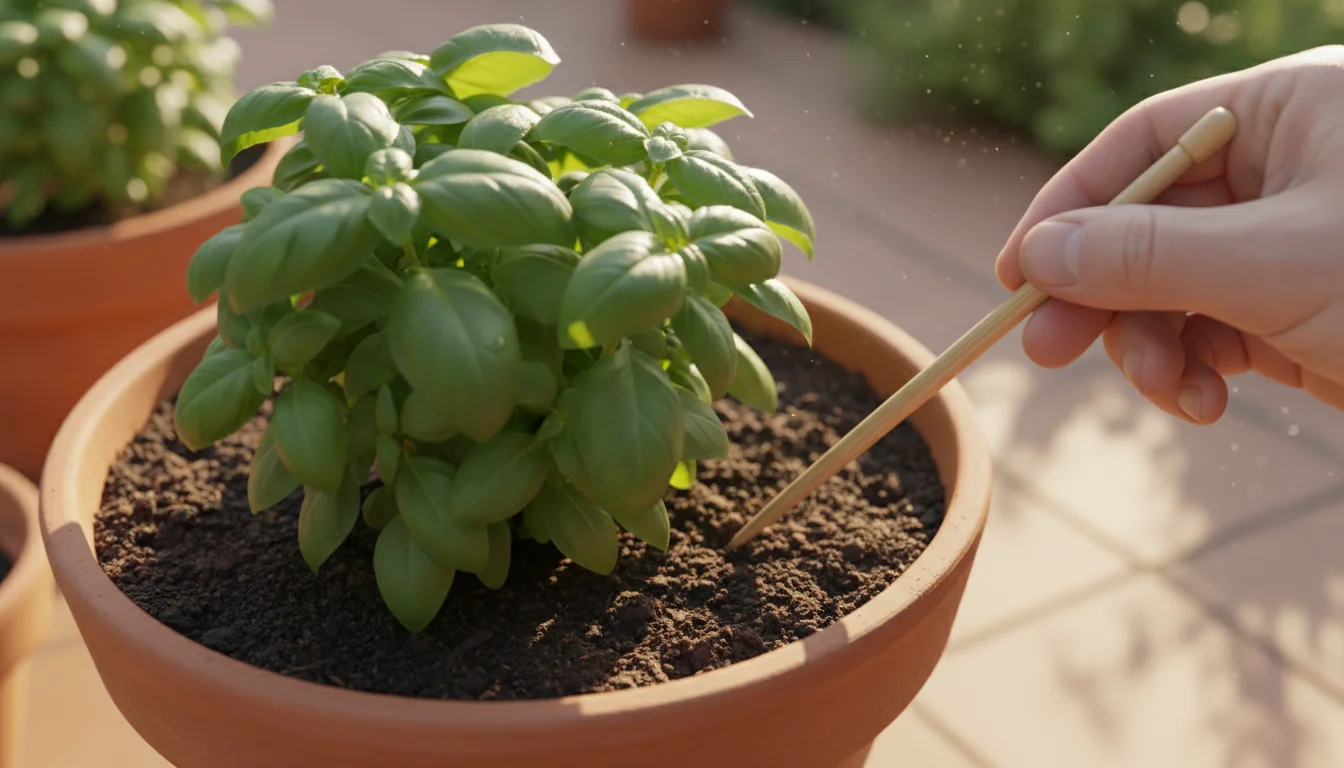
- Aeration with a Skewer or Chopstick: Carefully poke several holes into the soil with a thin dowel, chopstick, or skewer. Gently insert it into the soil, avoiding the main root ball as much as possible, and create pathways for air and water to move. Do this around the perimeter of the pot. This action helps break up minor compaction and allows air to reach the roots, giving them some much-needed oxygen. However, avoid aggressive poking that might severely damage the roots.
- Remove the Plant from the Pot (Emergency): If the soil remains extremely soggy and foul-smelling, and you suspect immediate root rot, take the plant out of its pot. Gently remove as much of the old, soggy soil as possible from around the roots. You can even use a paper towel to blot excess moisture from the root ball. Place the plant on a layer of newspaper or paper towels for a few hours to allow it to air dry slightly before repotting into fresh, well-draining soil, or at least back into its old pot if you are unable to repot immediately.
- Stop Watering Immediately: This might seem obvious, but it is the most critical first step. Do not water the plant again until the top few inches of soil (or more, depending on plant type) feel dry to the touch. This period of drought allows the soil to dry out naturally.
These immediate interventions can buy your plant time, but remember that they are temporary fixes. You must implement long-term solutions to prevent recurring waterlogged soil and ensure your plant’s sustained health.
Long-Term Solutions and Prevention Strategies
Addressing soil drainage problems effectively requires a proactive approach that incorporates sustainable practices and a deep understanding of your plant’s needs. Implement these long-term strategies to ensure your plants thrive without constantly battling waterlogged conditions.
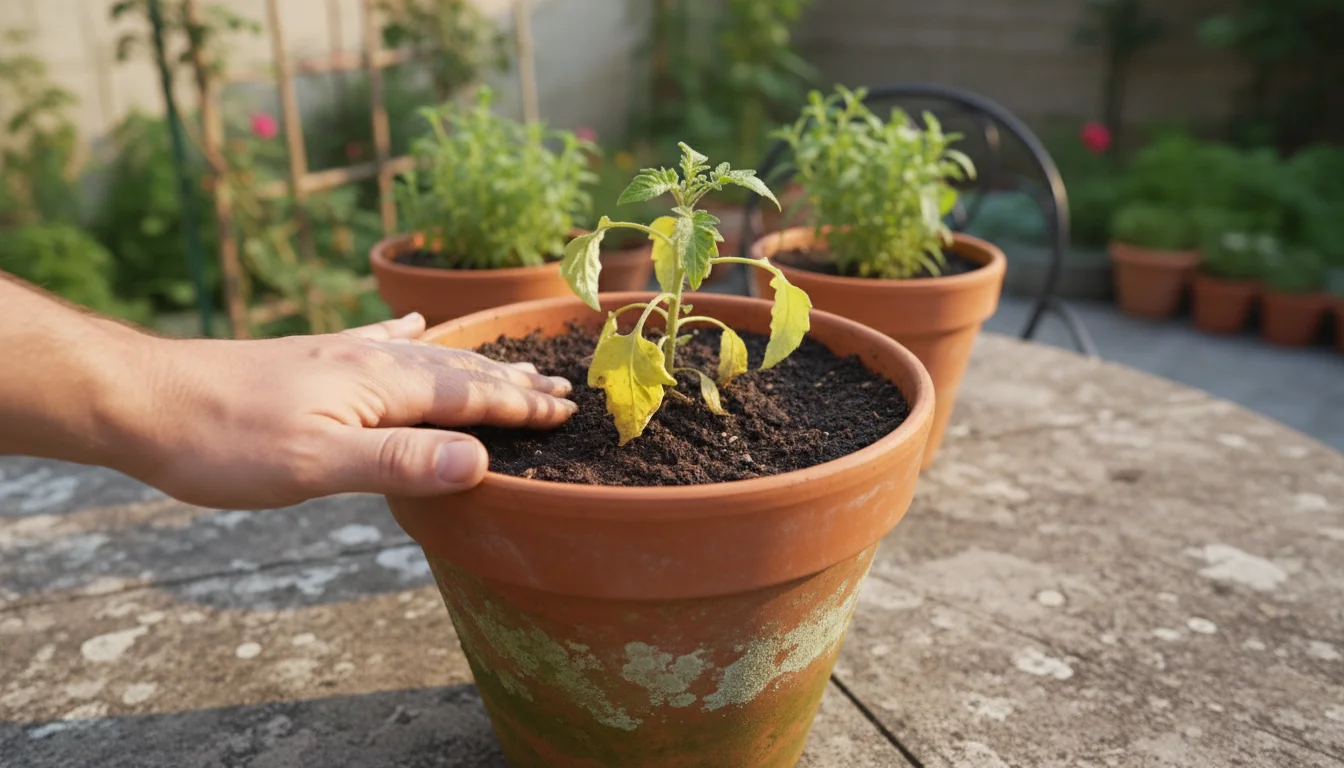
Repotting with a Drainage Focus
Repotting is often the most effective long-term solution for container plants with severe drainage issues. It allows you to address multiple problems simultaneously.
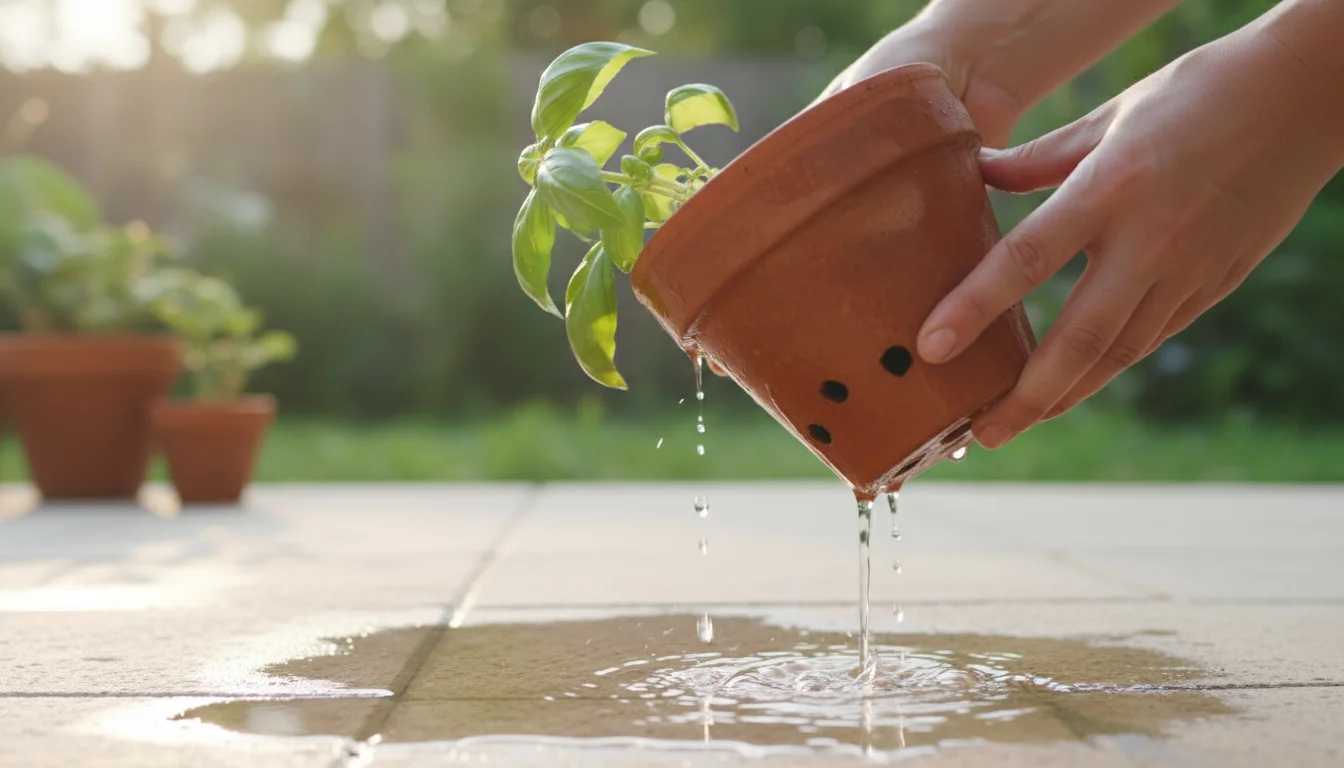
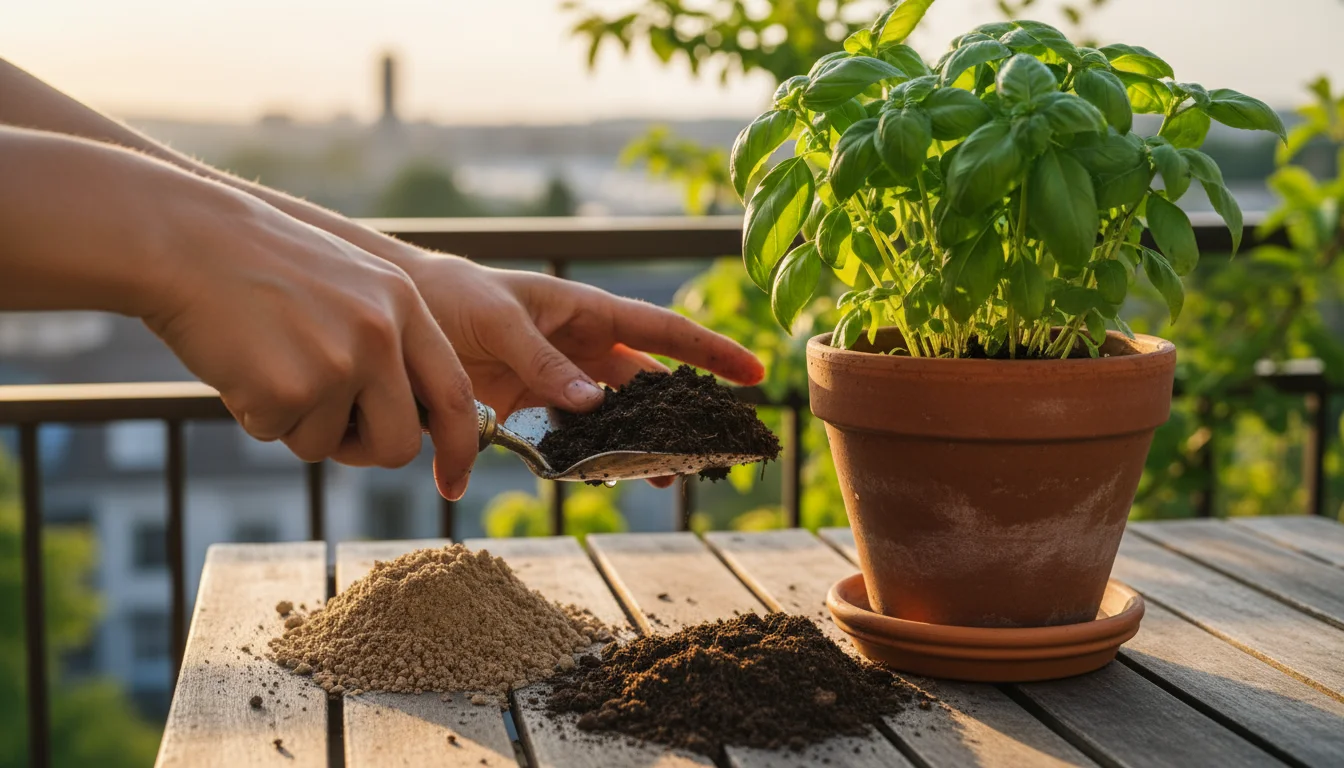
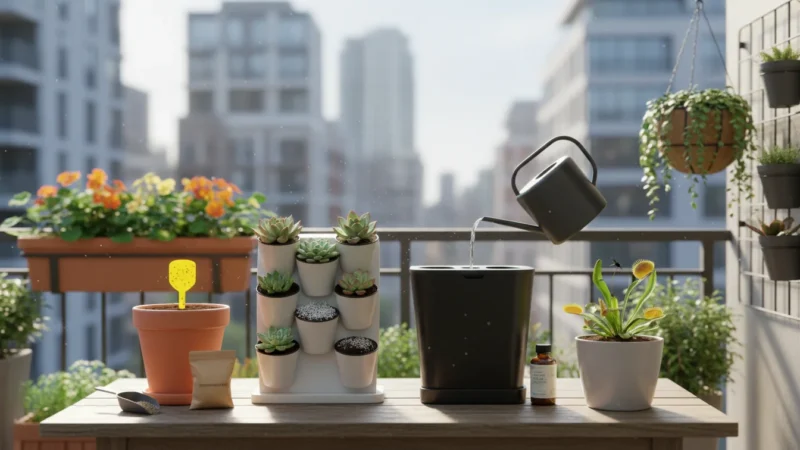
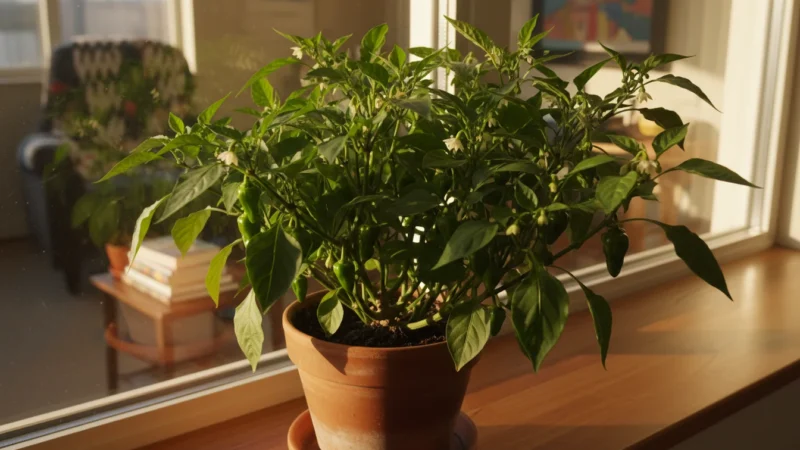
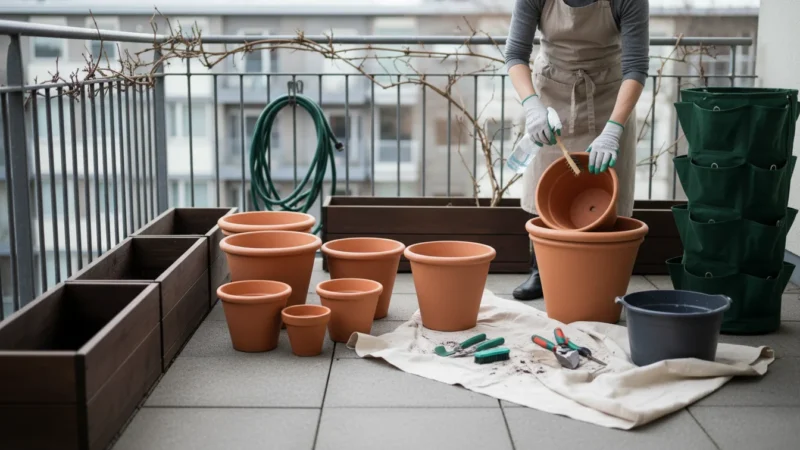
- Choose the Right Pot: Select a pot with ample drainage holes. If your current pot lacks sufficient holes, drill more, or switch to a different container. Terra cotta pots are excellent choices because their porous nature allows moisture to evaporate from the sides, promoting faster drying and better aeration than plastic or glazed ceramic pots. Ensure the new pot is appropriately sized for your plant, typically one size larger than the previous one, unless the plant was significantly overpotted.
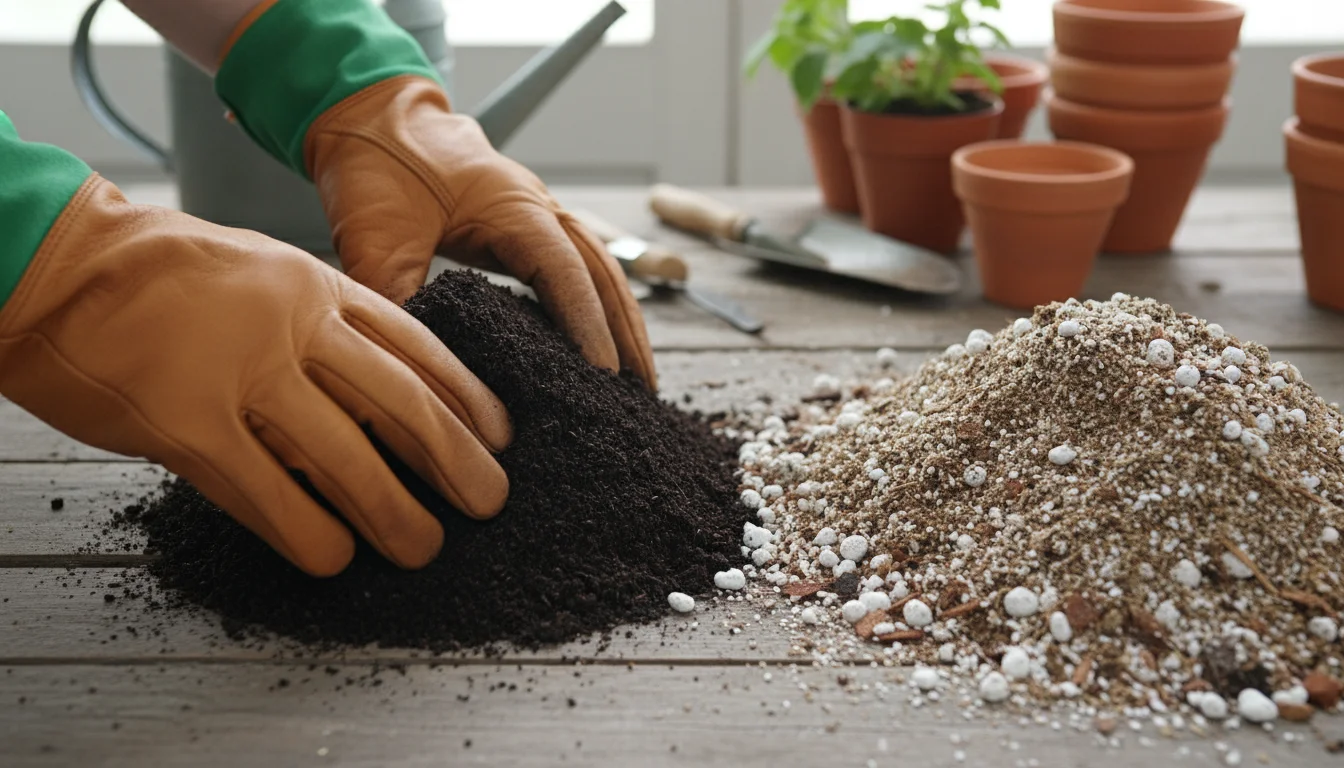
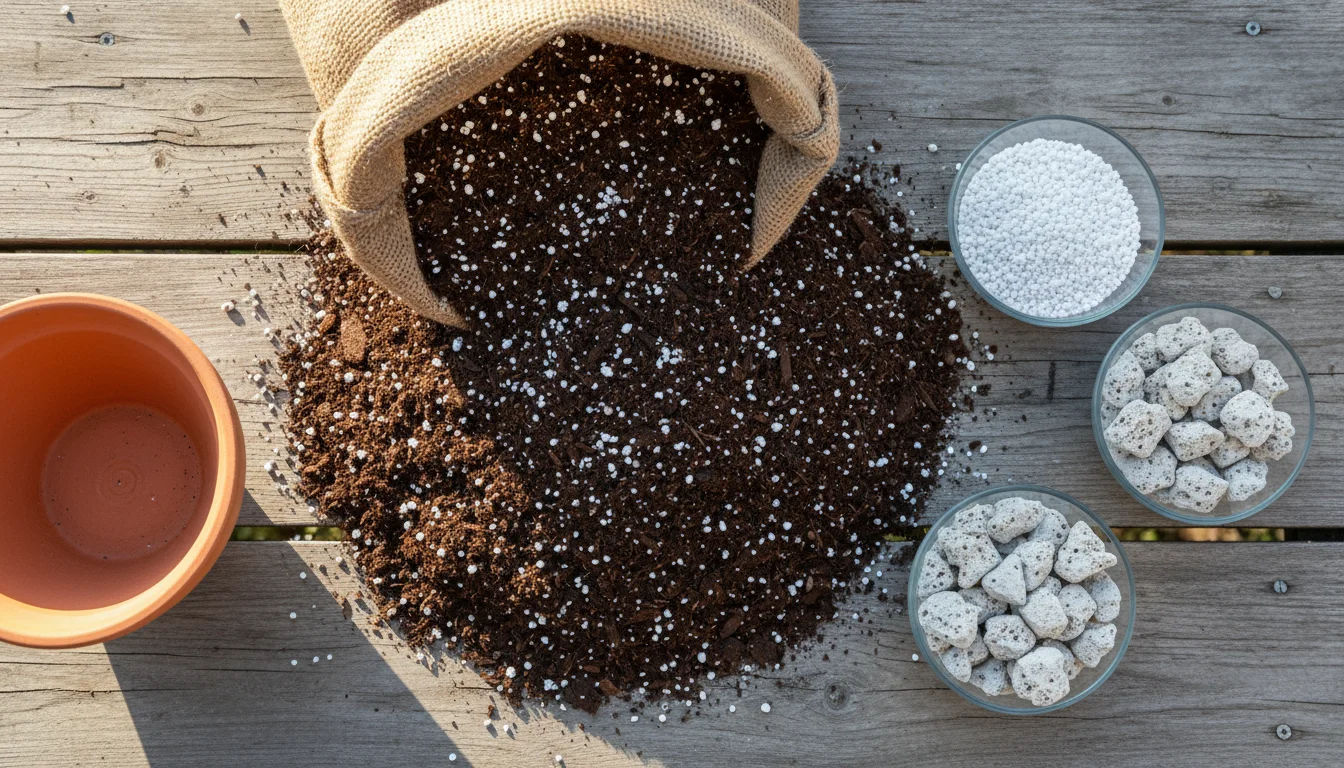
- Prepare a Well-Draining Potting Mix: This is paramount. Most plants, especially succulents and those prone to root rot, thrive in chunky, aerated soil. Create your own mix or amend a general-purpose potting mix with ingredients that improve drainage. A good starting point often involves mixing 50-60% high-quality peat-free potting mix with 20-30% perlite or pumice, and 10-20% coarse orchid bark or horticultural grit. This blend dramatically increases air pockets and facilitates water flow.
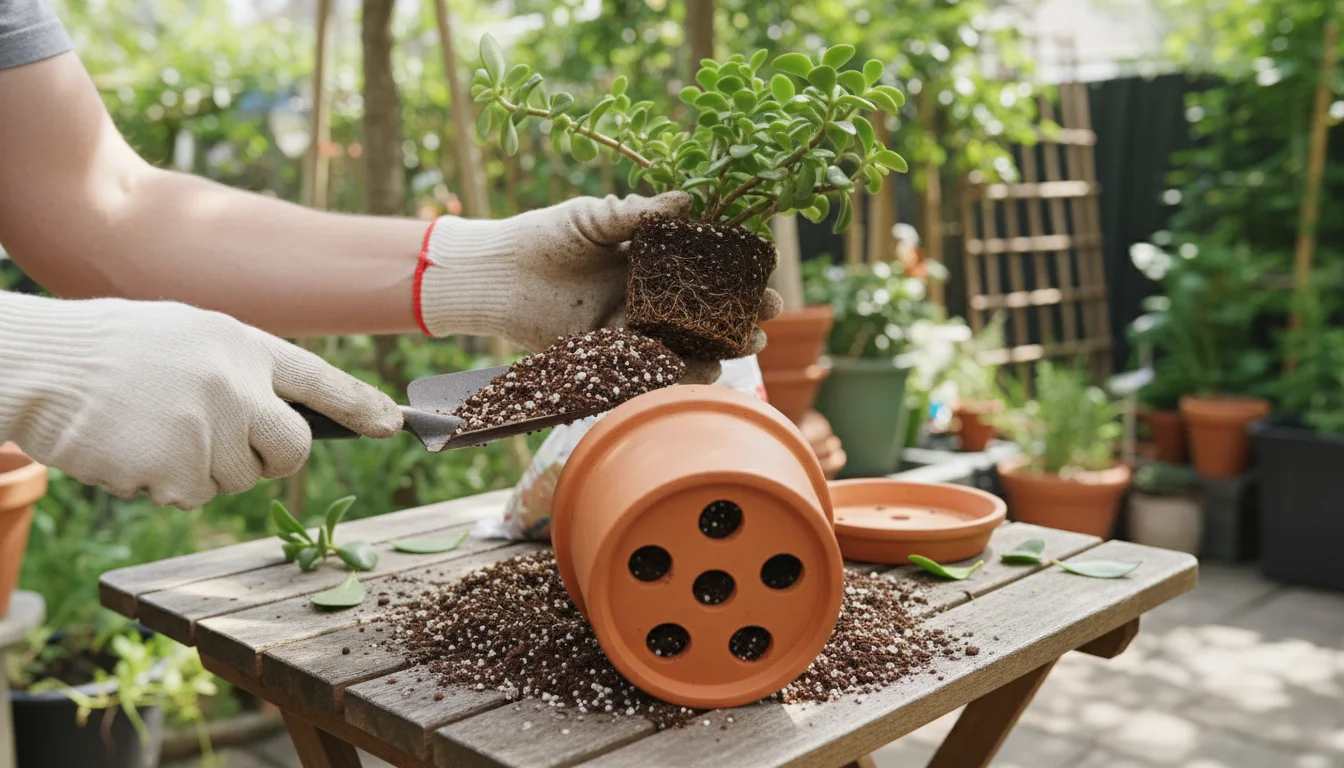
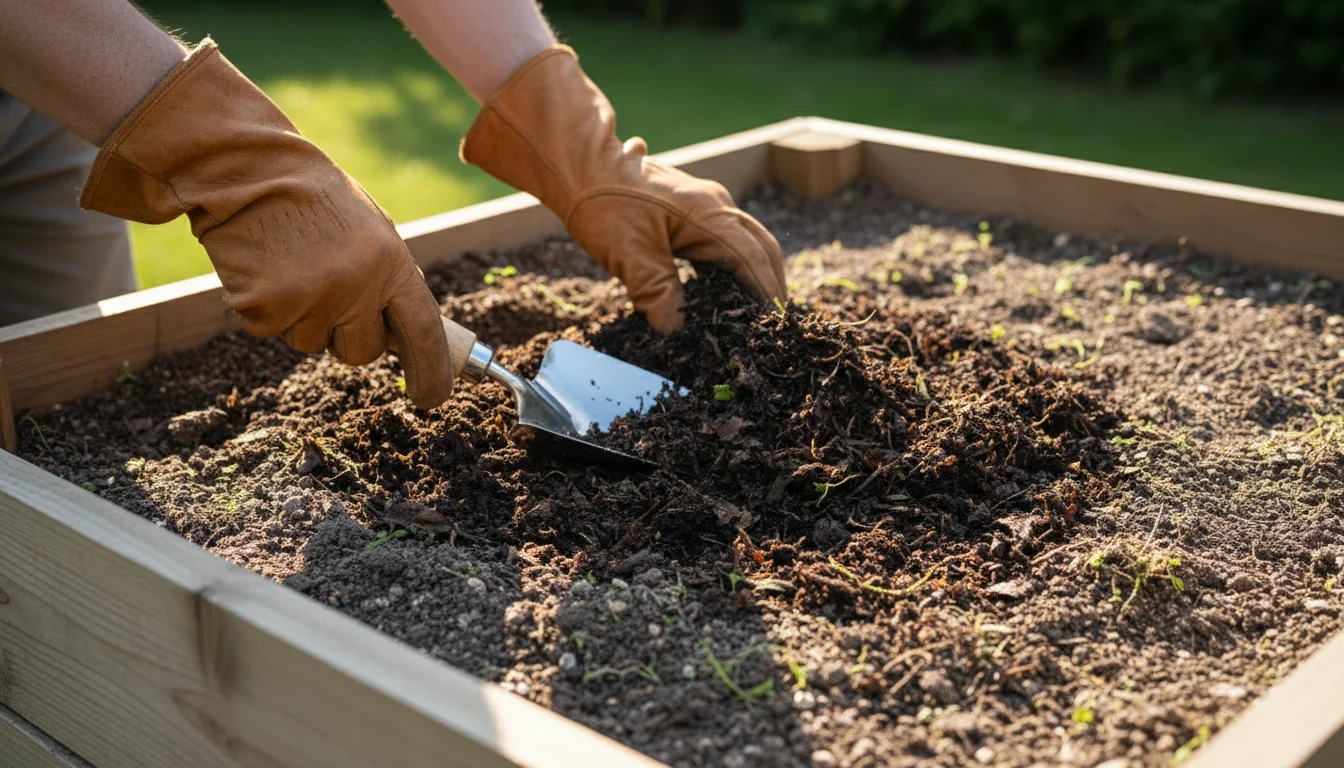
- Inspect and Prune Roots: When unpotting, gently remove the old soil from around the root ball. Inspect the roots for any signs of rot. Healthy roots are firm and white or tan. Rotting roots are brown, mushy, and foul-smelling. Use sterilized scissors or pruners to cut away all affected roots, ensuring you make clean cuts into healthy tissue. This step is critical for preventing the spread of disease.
- Repotting Process:
- Place a small amount of your new, well-draining potting mix at the bottom of the clean pot.
- Center the plant, ensuring the top of the root ball sits about an inch below the rim of the pot.
- Fill around the root ball with the fresh potting mix, gently patting it down to remove large air pockets, but avoid compacting it heavily. You want the soil to be firm enough to support the plant, but loose enough for aeration.
- Water thoroughly after repotting, allowing water to drain completely.
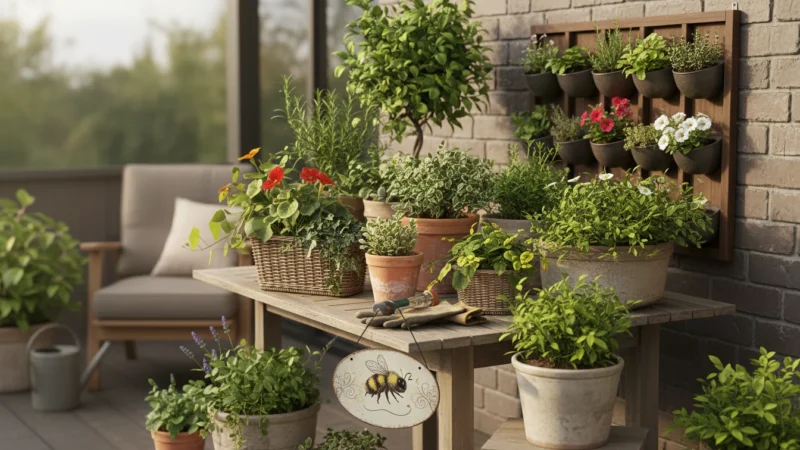
Amending Outdoor Garden Beds
For outdoor gardens with heavy clay or compacted soil, improving drainage is a longer-term project but yields significant rewards. You cannot simply swap out all the soil, but you can amend it effectively.
- Incorporate Organic Matter: Add generous amounts of compost, well-rotted manure, leaf mold, or other organic materials to your garden beds. Organic matter improves soil structure by creating aggregates, which are clumps of soil particles held together. These aggregates create larger pore spaces, allowing water to drain more efficiently while still improving water retention for dry spells. Aim to mix in a 2-4 inch layer of organic matter into the top 6-12 inches of soil annually.
- Consider Raised Beds: If your native soil presents persistent drainage challenges, constructing raised beds is an great solution. Raised beds allow you to fill them with an ideal, custom-blended soil mix that guarantees superior drainage from the outset. They also offer the benefit of preventing soil compaction from foot traffic.
- Avoid Compaction: Do not walk on your garden beds, especially when the soil is wet. Compaction squeezes out air pockets, leading to dense, poorly draining soil. Use designated pathways or stepping stones.
- Deep Tillage (Carefully): In some cases of extremely heavy clay, carefully deep tilling or double digging once can help break up hardpan layers. However, excessive tilling can destroy beneficial soil structure. It is generally better to focus on consistent organic matter addition for long-term improvement. For detailed guidance on improving garden soil, reference resources from university extension programs, like the Oregon State Extension — Soil & Compost guides, which provide science-backed advice specific to local conditions.
Sustainable Fertilization Practices
While not a direct fix for drainage, proper fertilization supports overall plant health, making plants more resilient to stress. Waterlogged soil often washes away nutrients, necessitating a thoughtful approach:
- Use Slow-Release or Organic Fertilizers: These types of fertilizers release nutrients gradually, reducing the risk of nutrient runoff if drainage improves but you still encounter occasional excess water. Organic options, such as compost tea or kelp meal, also contribute to soil health and microbial activity, which can indirectly aid soil structure over time.
- Fertilize Only When Growing: Avoid fertilizing dormant plants or those already stressed by poor drainage. Focus on providing ideal conditions for recovery first. Once drainage improves and the plant shows signs of new, healthy growth, you can resume a gentle fertilization schedule. For more information on plant nutrition, consult reliable sources such as the Chicago Botanic Garden’s resources on Soil and Fertilizer.
These long-term strategies, when implemented consistently, not only resolve existing drainage problems but also create a robust, healthy environment where your plants can truly flourish for years to come.
Choosing the Right Potting Mix and Containers
The foundation of good drainage begins with your choice of potting mix and the container itself. Making informed decisions here prevents many soil drainage problems before they even start.
Selecting the Ideal Potting Mix
The term “potting mix” is often used interchangeably with “potting soil,” but they are distinctly different. Potting mix is soilless, composed of various materials designed to provide aeration, drainage, and moisture retention without the compaction issues of garden soil. To avoid waterlogged soil, prioritize mixes that explicitly state “fast-draining” or are formulated for specific plant types known to prefer drier conditions, such as succulents, cacti, or orchids.
Look for ingredients that promote excellent drainage and aeration:
- Perlite: Lightweight, volcanic rock that creates air pockets and improves drainage. It looks like small white foam balls.
- Pumice: Similar to perlite but heavier and more durable. It also enhances aeration and drainage.
- Coarse Sand or Horticultural Grit: These heavier materials increase drainage in denser mixes, but ensure they are coarse, not fine play sand, which can actually impede drainage.
- Orchid Bark or Coco Coir Chunks: These are excellent for creating large air pockets and mimicking the chunky, airy environment many plants, especially epiphytes, prefer.
- Compost: While providing nutrients, a small amount of good quality, finished compost improves soil structure and microbial life. However, do not use it as the primary drainage amendment in pots as it can retain too much moisture if overused.
Eco-Friendly Tip: Opt for peat-free potting mixes. Peat harvesting has environmental implications, contributing to wetland degradation. Many excellent alternatives exist, including those based on coco coir, composted bark, and other sustainable materials that perform just as well, if not better, for drainage and plant health. The New York Botanical Garden encourages sustainable gardening practices, including the use of alternative growing media. You can explore their plant care guides for more details at NYBG Home Gardening Resources.
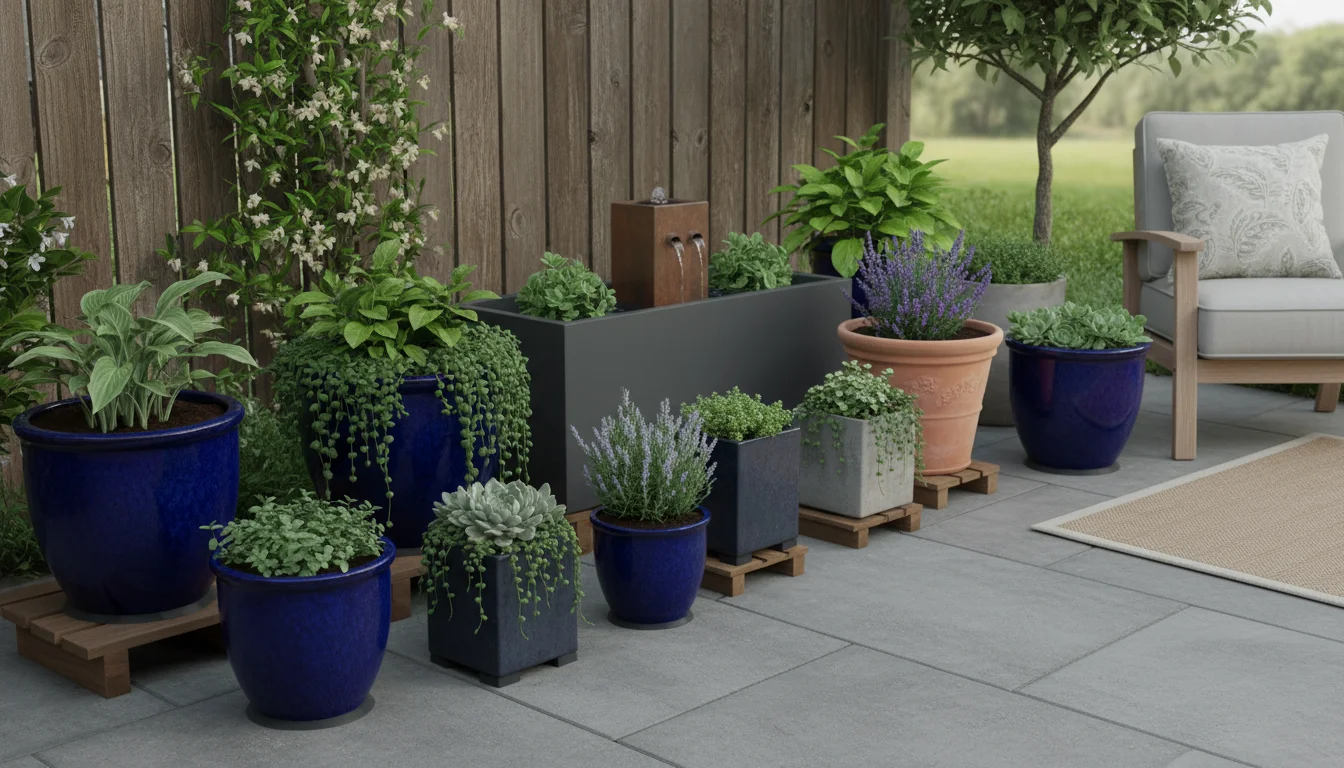
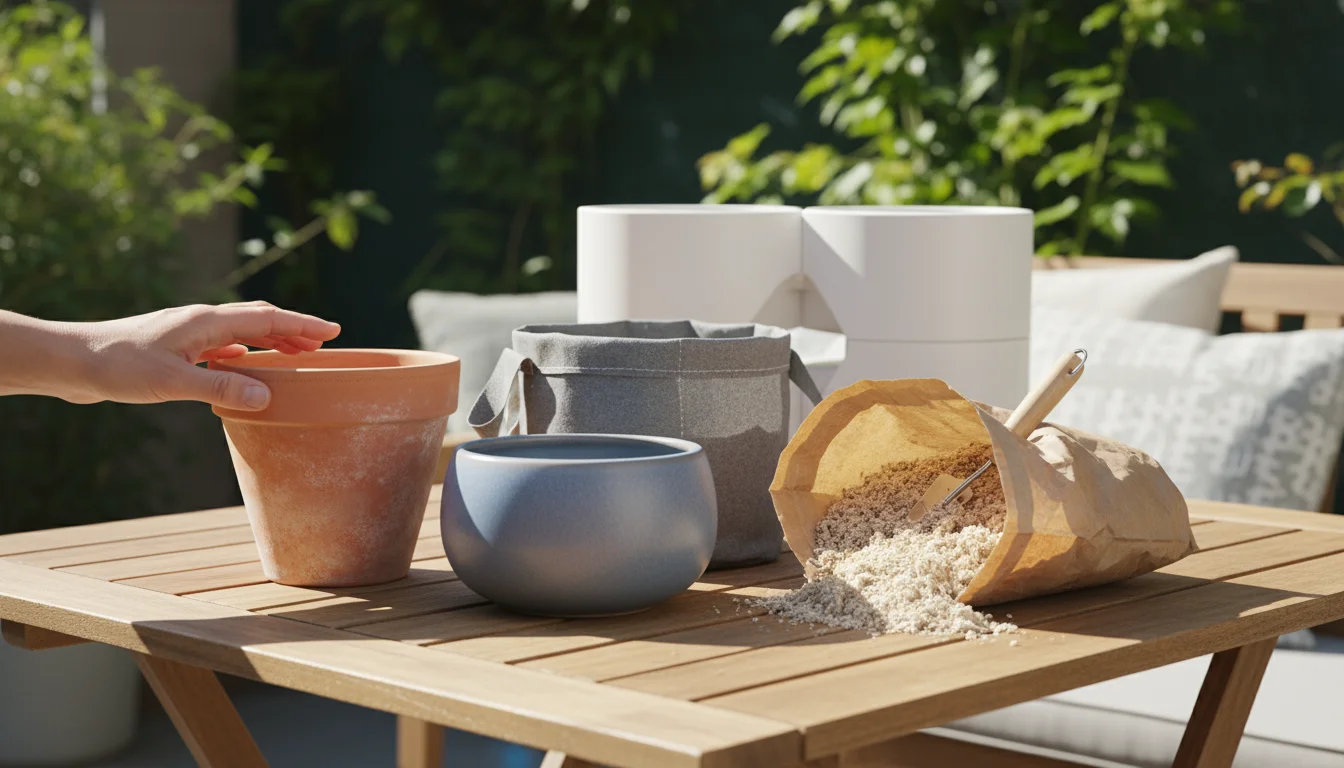
Choosing the Right Container
The container plays a pivotal role in preventing container drainage fix scenarios.
- Drainage Holes are Non-Negotiable: Every container must have at least one adequate drainage hole. Ideally, multiple holes or one large central hole ensure water exits freely. If you fall in love with a decorative pot lacking drainage, either use it as a cachepot (a decorative outer pot) for a plant in a well-draining inner pot, or carefully drill holes yourself using appropriate drill bits for the material (ceramic, plastic).
- Material Matters:
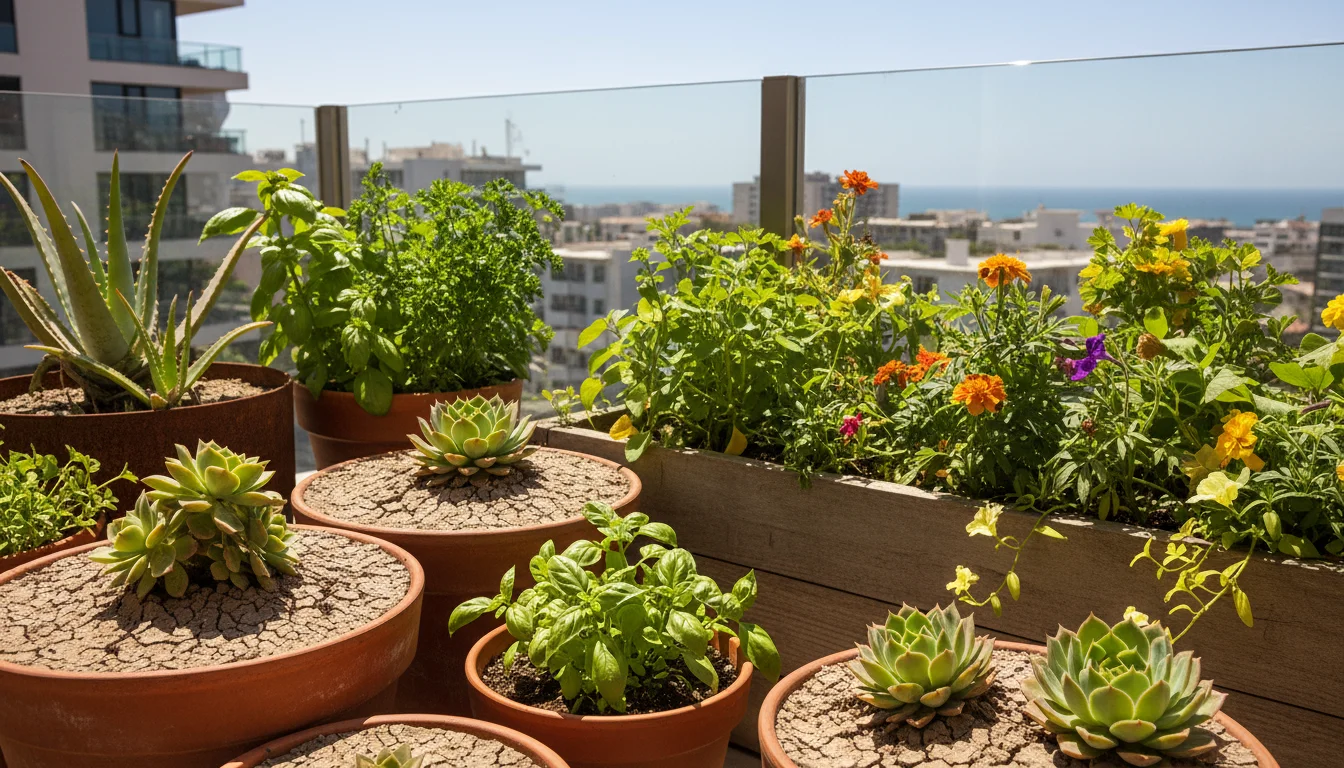
- Terra Cotta/Clay Pots: These are excellent for plants prone to root rot or those that prefer drier conditions, such as succulents, cacti, and many herbs. Their porous nature allows moisture to evaporate through the sides of the pot, promoting faster soil drying and improved aeration.
- Plastic Pots: Retain moisture longer than terra cotta. They are suitable for plants that prefer consistently moist soil or for gardeners who tend to underwater. Ensure they have sufficient drainage holes.
- Glazed Ceramic Pots: Similar to plastic in moisture retention, as the glaze makes them non-porous. Again, drainage holes are paramount.
- Fabric Grow Bags: Offer superior aeration and drainage due to their breathable fabric construction. They are excellent for promoting root health and preventing plants from becoming root-bound, especially for vegetables and larger outdoor plants.
- Size Appropriately: Match the pot size to your plant’s current root ball. A pot that is too large holds an excessive volume of soil that dries slowly, leading to waterlogging around a small root system. Aim for a pot that is only 1-2 inches wider in diameter than the current root ball for most repottings. For very large plants, you might go up 2-4 inches.
By thoughtfully selecting your potting mix and container, you establish a solid foundation for healthy plant growth, minimizing the likelihood of ever needing to fix significant drainage issues.
Watering Wisely to Prevent Drainage Issues
Even with perfect soil and containers, improper watering techniques are a primary cause of waterlogged soil. Mastering the art of watering prevents soil drainage problems and promotes robust plant health.
The “When to Water” Rule
Forget strict watering schedules. Plants vary widely in their moisture needs, and environmental factors like humidity, temperature, and light levels constantly change their water requirements. The golden rule is: water when your plant needs it, not on a calendar schedule.
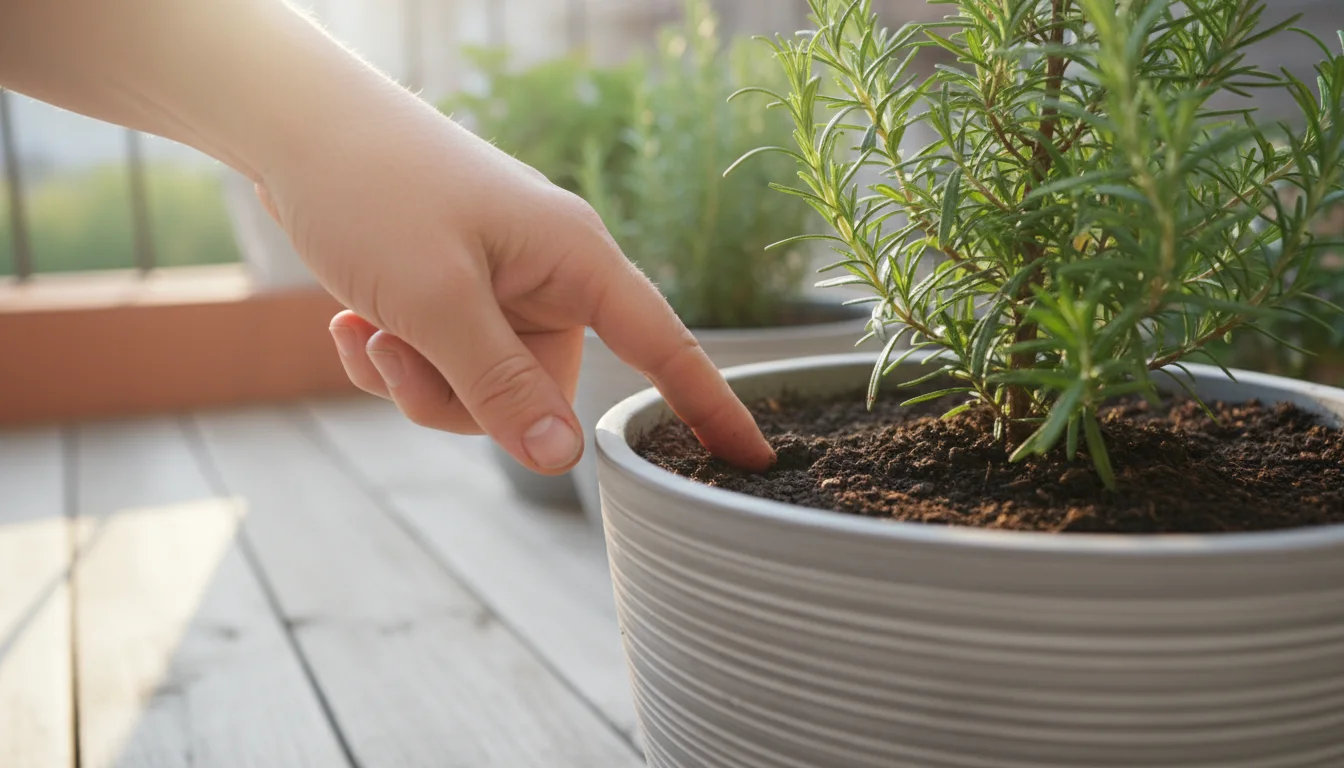
- The Finger Test: This is the most reliable method. Stick your finger about 1-2 inches deep into the soil for most plants. If it feels dry, it is time to water. For succulents and cacti, let the soil dry out completely, often several inches deep, before watering again. For moisture-loving plants, water when the top inch or so feels slightly dry.
- Lifting the Pot: As mentioned previously, a dry pot feels significantly lighter than a wet one. Get to know the weight of your potted plants when they are fully watered versus when they are dry.
- Moisture Meters: These tools provide a reading of soil moisture levels. While not always perfectly accurate, they offer a good general indication, especially for beginners. Insert the probe into the soil about two-thirds of the way down the pot for a more accurate reading than just the surface.
- Observe Your Plant: Pay attention to your plant’s signals. Slight wilting can indicate thirst, but as you learned, it can also signal overwatering. Combine this observation with the finger test for accurate diagnosis.
The “How to Water” Rule
Once you determine it is time to water, how you apply that water significantly impacts drainage.
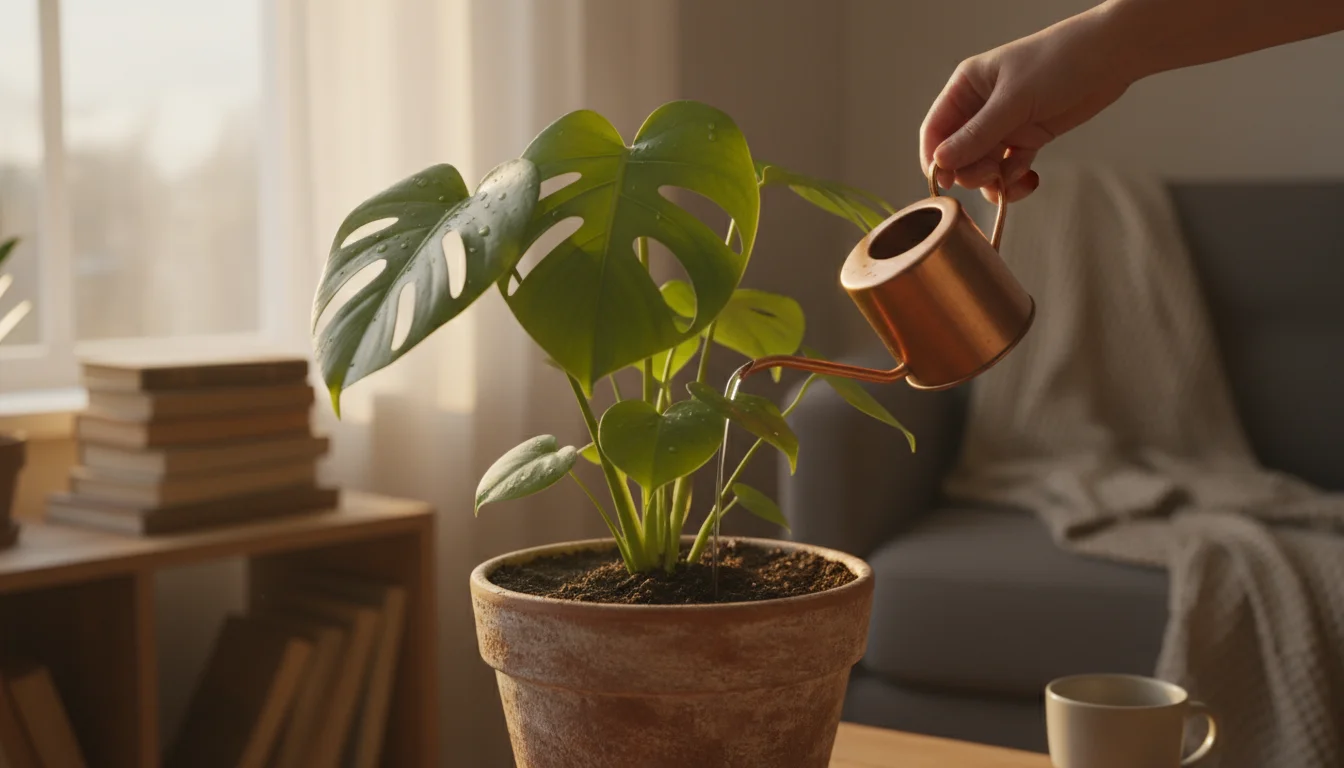
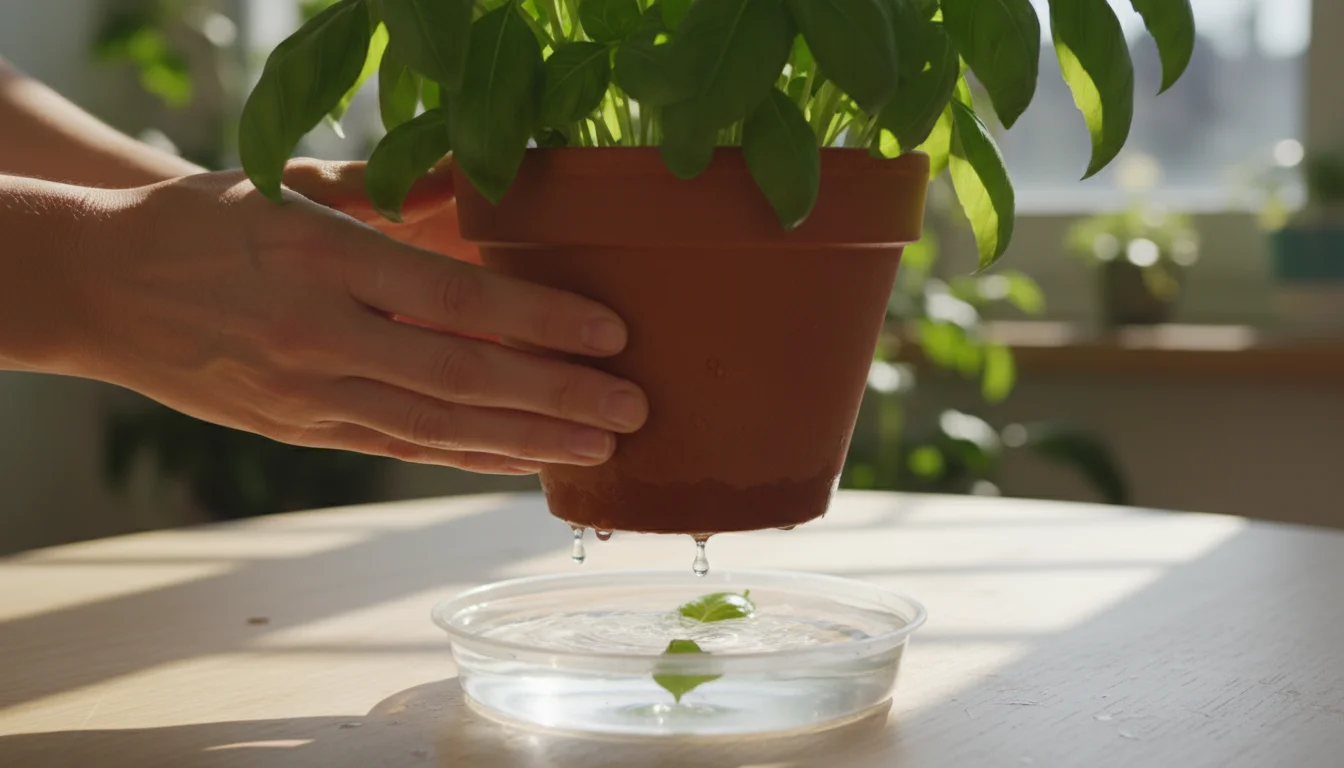
- Water Deeply and Thoroughly: When you water, do so until water begins to drain out of the bottom of the pot. This ensures that the entire root ball receives moisture, encouraging deep root growth. Allow the plant to sit in this drained water for about 10-15 minutes to reabsorb any it needs, then empty the saucer completely. Leaving plants in standing water promotes root rot.
- Avoid Frequent, Shallow Watering: Watering a little bit every day only wets the top layer of soil, encouraging shallow root development and leaving the deeper roots dry. This also keeps the surface constantly damp, inviting pests like fungus gnats and increasing the risk of surface molds.
- Bottom Watering: For some plants, especially those prone to fungus gnats or sensitive to wet foliage, bottom watering is an excellent technique. Place the pot in a tray or sink filled with a few inches of water. Let the soil absorb water from the bottom through the drainage holes for 15-30 minutes, or until the top of the soil feels moist. Then remove the plant and allow any excess to drain. This method encourages roots to grow downwards and keeps the soil surface drier.
- Adjust for Seasons and Environment: Plants generally require less water during their dormant periods (often winter) and more during active growth (spring/summer). High temperatures, low humidity, and bright light increase water evaporation, requiring more frequent watering. Conversely, cooler temperatures, high humidity, and low light reduce water needs.
By adopting these mindful watering habits, you proactively prevent waterlogged soil and ensure your plants consistently receive the precise amount of hydration they need to thrive.
Maintaining Healthy Soil Over Time
Achieving good soil drainage is not a one-time fix; it is an ongoing commitment. Healthy soil is a dynamic ecosystem, and consistent maintenance prevents future soil drainage problems, keeping your plants robust and resilient.
Preventing Compaction
Over time, potting mixes naturally break down and compact. Here is how to fight it:
- Avoid Over-Compacting During Repotting: When you repot, gently settle the soil around the roots. Do not press it down forcefully. Allowing the soil to settle naturally with a good watering is usually sufficient to remove large air pockets without crushing the structure.
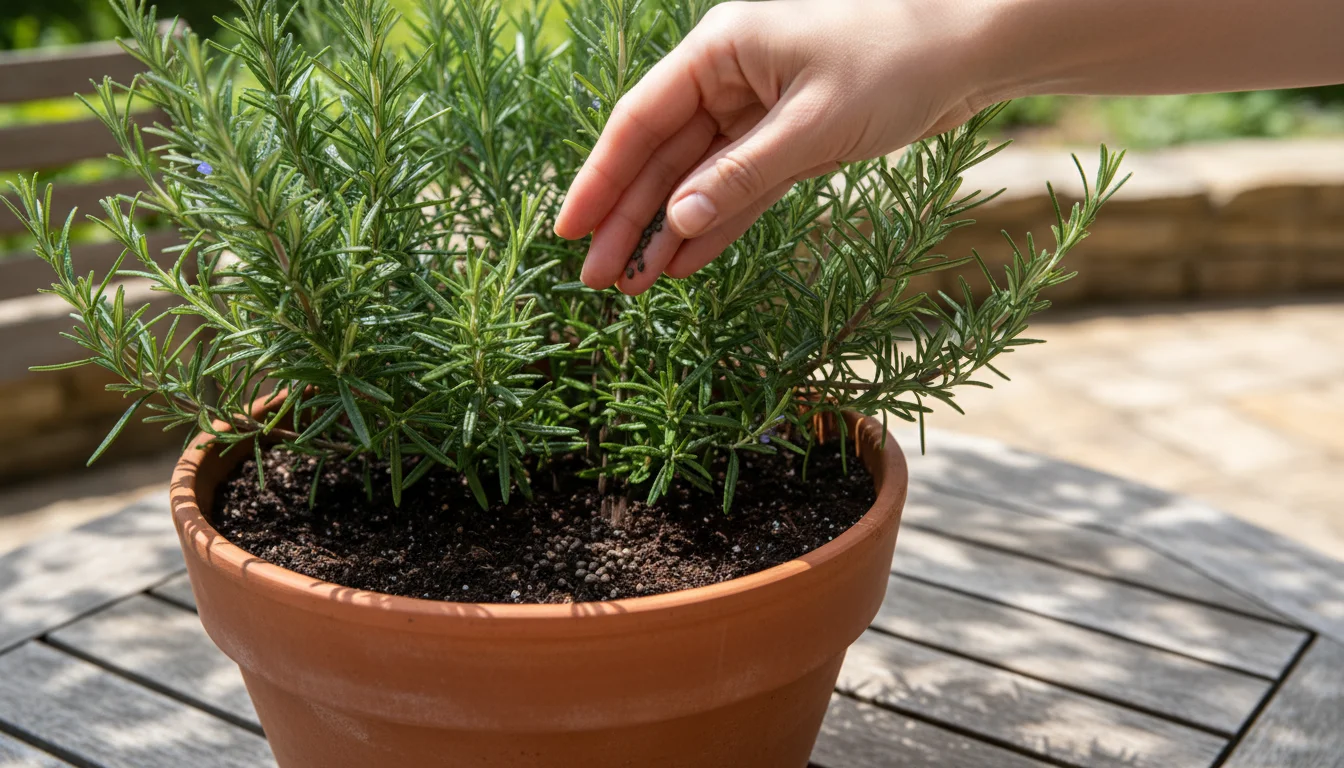
- Gentle Aeration: For established container plants, periodically use a thin skewer or chopstick to gently poke holes into the soil around the perimeter of the pot. Do this every few months, being careful to avoid major roots. This introduces air back into the soil and helps to break up minor compaction.
- Top Dressing with Fresh Mix: Every 6-12 months, or if you notice the soil level dropping significantly, remove the top inch or two of old potting mix and replace it with fresh, well-draining mix. This replenishes some of the organic material that has broken down and improves the surface structure, which is crucial for initial water absorption.
Refreshing Soil and Nutrients
Potting mixes lose their structure and nutrients over time, even with good drainage. This makes regular refreshing important:
- Annual Repotting or Soil Refresh: For most fast-growing plants, annual repotting into fresh soil is beneficial. Even if your plant does not need a larger pot, replacing all or most of the old soil provides renewed structure and nutrients. For plants that do not enjoy frequent repotting or are too large to move easily, consider a thorough soil refresh: carefully remove the top few inches of soil and scoop out as much old soil from the sides as possible without disturbing the root ball too much, then replace with fresh, appropriate potting mix.
- Use Sustainable Fertilizers: As discussed, slow-release organic fertilizers are a sustainable choice. They support soil microbiology and provide nutrients gradually, preventing salt buildup that can occur with synthetic fertilizers. Build a habit of fertilizing during the active growing season according to your plant’s specific needs, not excessively.
- Compost Tea: A wonderful way to provide a nutrient boost and introduce beneficial microbes to your soil without over-fertilizing. Compost tea improves soil life, which contributes to better soil structure and overall plant resilience.
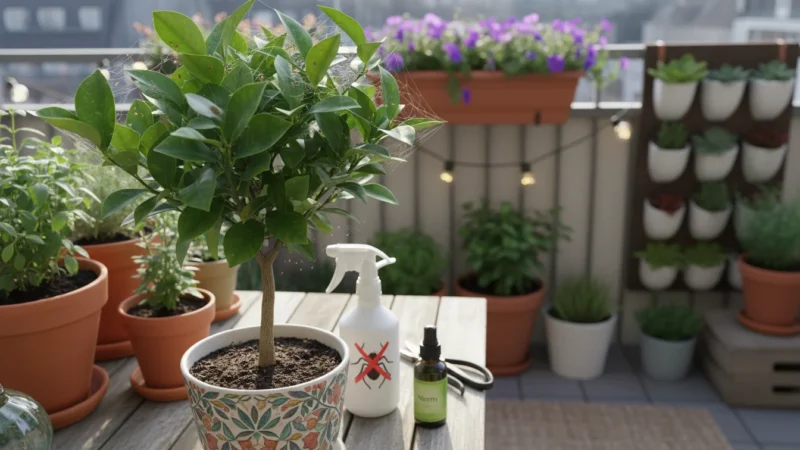
Integrated Pest Management
Good soil drainage also plays a critical role in preventing certain pests and diseases that thrive in damp conditions. By maintaining healthy soil and appropriate moisture levels, you inherently reduce the habitat for:
- Fungus Gnats: These annoying pests breed in constantly moist topsoil. Letting the top inch or two of soil dry out between waterings disrupts their life cycle.
- Slugs and Snails: Primarily an outdoor garden pest, they prefer damp conditions. Improving drainage in garden beds reduces their preferred habitat.
- Various Fungal Diseases: Many plant diseases, including blights and leaf spots, are exacerbated by high humidity and damp conditions, which often accompany waterlogged soil.
By consistently applying these maintenance habits, you move beyond merely fixing problems to actively creating and sustaining an environment where your plants naturally thrive. This holistic approach ensures long-term plant health and reduces your workload in the long run.
Frequently Asked Questions
What if my pot does not have drainage holes?
You have two main options if your pot lacks drainage holes: either drill holes into the pot yourself using an appropriate drill bit for the material (ceramic, plastic, etc.), or use the pot as a cachepot. A cachepot holds a smaller, inner pot that does have drainage holes. This allows you to remove the inner pot for watering, let it drain completely, and then return it to the decorative outer pot. Never plant directly into a pot without drainage holes, as this almost guarantees root rot.
Can I reuse soil that had drainage problems or root rot?
It is generally not recommended to reuse soil that caused severe drainage problems or harbored root rot. Waterlogged soil often loses its structure, becoming compacted and potentially containing harmful fungal spores or pathogens. Discarding affected soil prevents the spread of disease to new plants and ensures your efforts start with a clean, healthy foundation. For outdoor beds, amending with fresh organic matter is a better approach than trying to salvage specific pockets of bad soil.
How often should I check my soil drainage?
Regularly! Make checking soil moisture a part of your plant care routine. For most plants, check every 3-7 days, especially when you are learning their individual needs or when environmental conditions change (e.g., season changes, temperature fluctuations). Use the finger test or lift the pot. If you notice signs of poor drainage, immediately review your potting mix, container, and watering habits.
Will adding sand help my clay soil drain better?
Adding sand to heavy clay soil without sufficient organic matter can actually make drainage worse, creating a concrete-like consistency. Clay particles are very fine, and fine sand particles fill the spaces between them, leading to extreme compaction. To improve clay soil drainage, the most effective method is to incorporate large amounts of organic matter, such as compost, well-rotted manure, or leaf mold. This builds soil aggregates, creating larger pore spaces for water and air.
What is a “perched water table” and why is it bad?
A perched water table occurs when water collects at the boundary between two layers of different soil textures or materials, for example, between potting mix and a layer of gravel at the bottom of a pot. Water drains slowly through fine soil until it hits the coarser gravel, where it then sits, or “perches,” because it requires more pressure to move into the larger pores of the gravel. This creates a saturated zone directly above the gravel layer, right where your plant’s roots are located, suffocating them and encouraging root rot. This is why adding a gravel layer for drainage is counterproductive; it raises the waterlogging point instead of lowering it.
For research-based plant care guidance, visit Oregon State Extension — Gardening, Chicago Botanic Garden, New York Botanical Garden and Royal Horticultural Society (RHS).
Disclaimer: This article is for informational purposes only and is not a substitute for professional advice. Consult local extension services for region-specific recommendations.
Leave a Reply