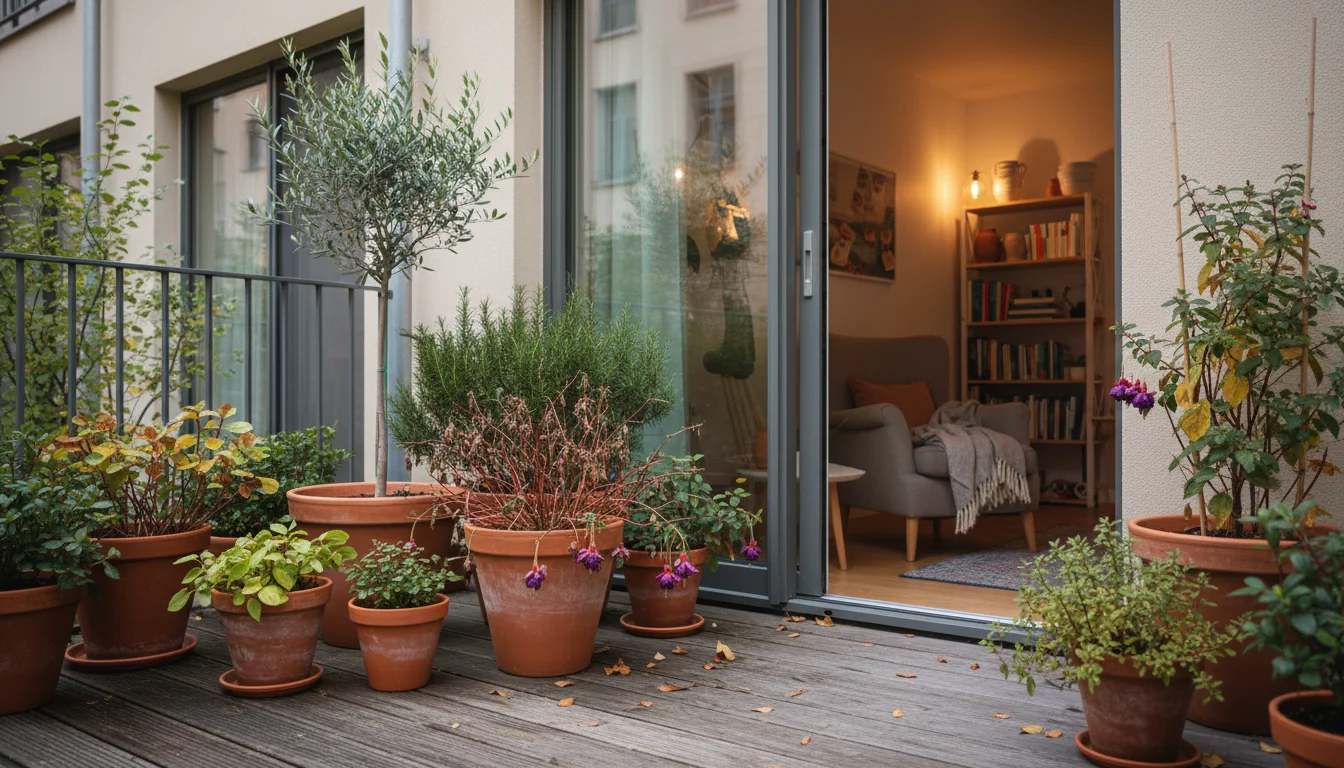
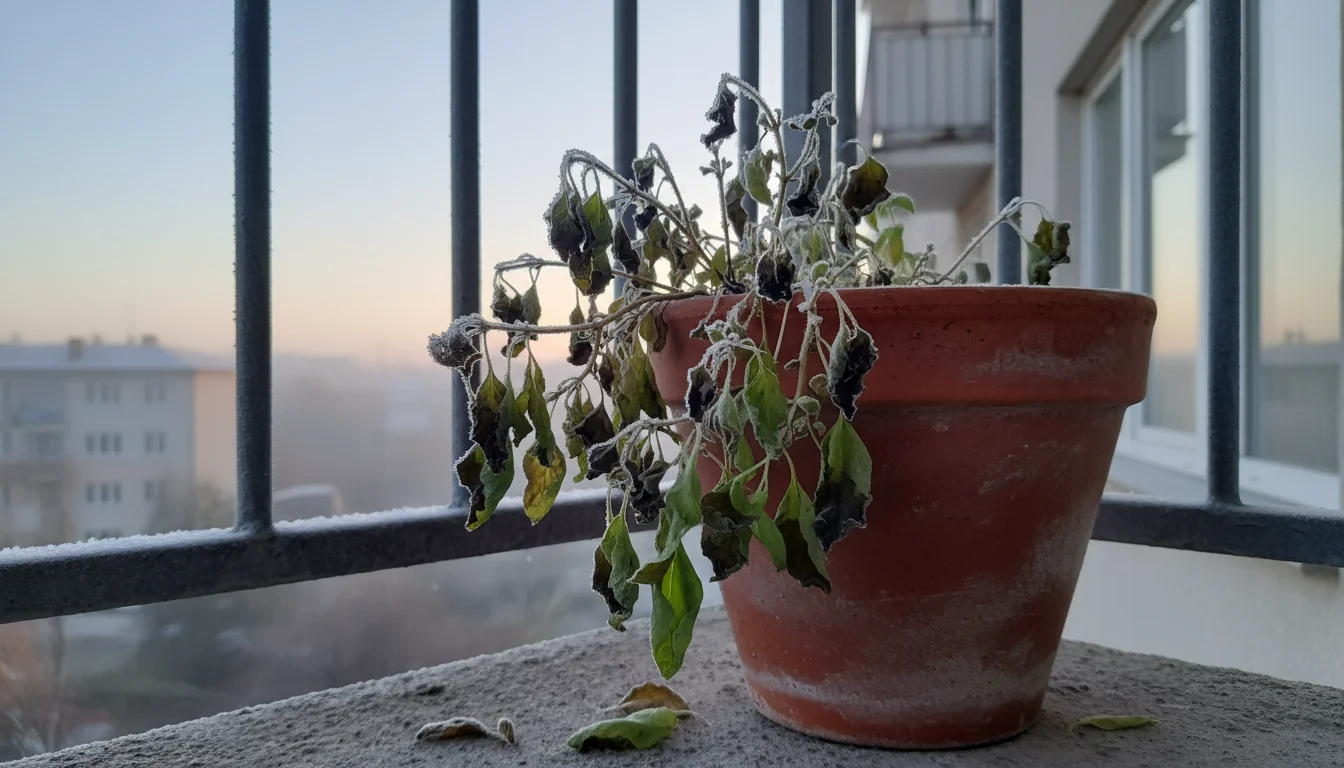
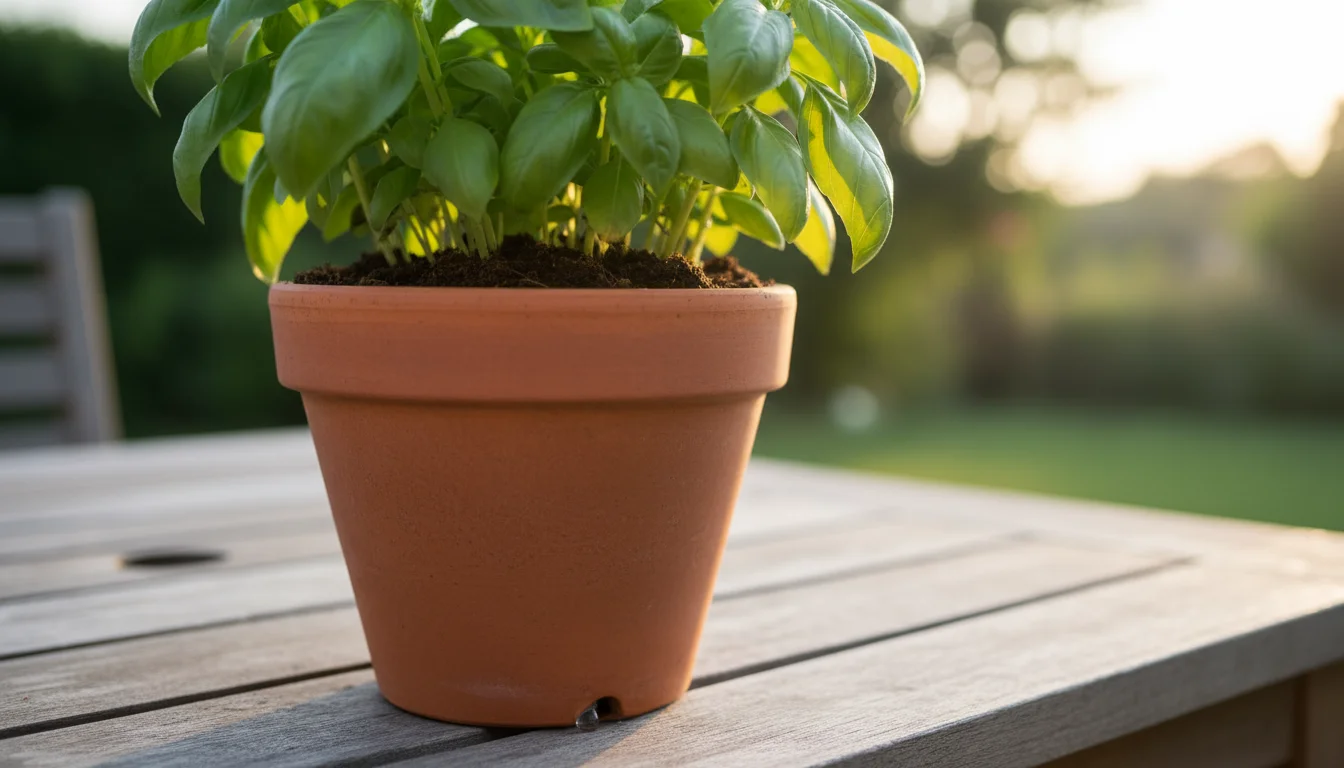
Winter presents a unique challenge for container gardeners, but it also offers a rewarding opportunity to extend the life of your favorite plants. Do you find yourself wondering how to protect your patio tomatoes from frost or save your beloved tropical hibiscus until next spring? You are not alone. Many gardeners, from beginners to those with more experience, face this seasonal dilemma. This guide empowers you with practical, straightforward steps to successfully overwinter container plants, ensuring they return vibrant and healthy when warm weather arrives. You will learn how to identify which plants benefit most from indoor shelter, prepare them for their winter nap, and provide the right care until spring. Our focus is on simple, effective methods that respect your time and the environment, helping you save plants winter after winter without complex routines.
If you want to maintain visual interest while your main collection is tucked away, consider adding plants for winter interest to your balcony layout.
For research-based plant care guidance, visit Oregon State Extension — Gardening, Chicago Botanic Garden, New York Botanical Garden and Royal Horticultural Society (RHS).
Disclaimer: This article is for informational purposes only and is not a substitute for professional advice. Consult local extension services for region-specific recommendations.
Understanding Overwintering: Why and For Whom?
Overwintering simply means protecting plants from cold temperatures during their dormant season, allowing them to survive and thrive again in spring. You are essentially giving your plants a winter vacation, shielding them from frost and freezing conditions they cannot naturally withstand. This practice primarily benefits tender perennials, tropical plants, and even some hardy perennials that might struggle in containers during severe winters.
For those plants staying outside, you can insulate your favorite pots using simple DIY wraps to help them survive the initial temperature drops.
Consider your hardiness zone. If you live in a region where winter temperatures consistently drop below what your container plants tolerate, overwintering becomes essential. For instance, a geranium (Pelargonium) in USDA Zone 5 will not survive winter outdoors. Bringing it inside saves you money, reuses existing plants, and reduces waste from annual replanting. This is a truly sustainable gardening habit.
- Tender Perennials: Geraniums, fuchsias, impatiens (New Guinea varieties), begonias. These plants die back with frost but can regrow from their rootstock or cuttings if protected.
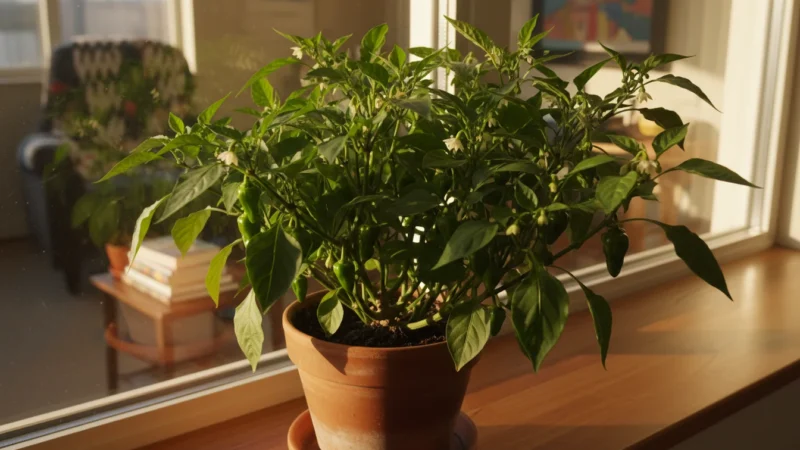
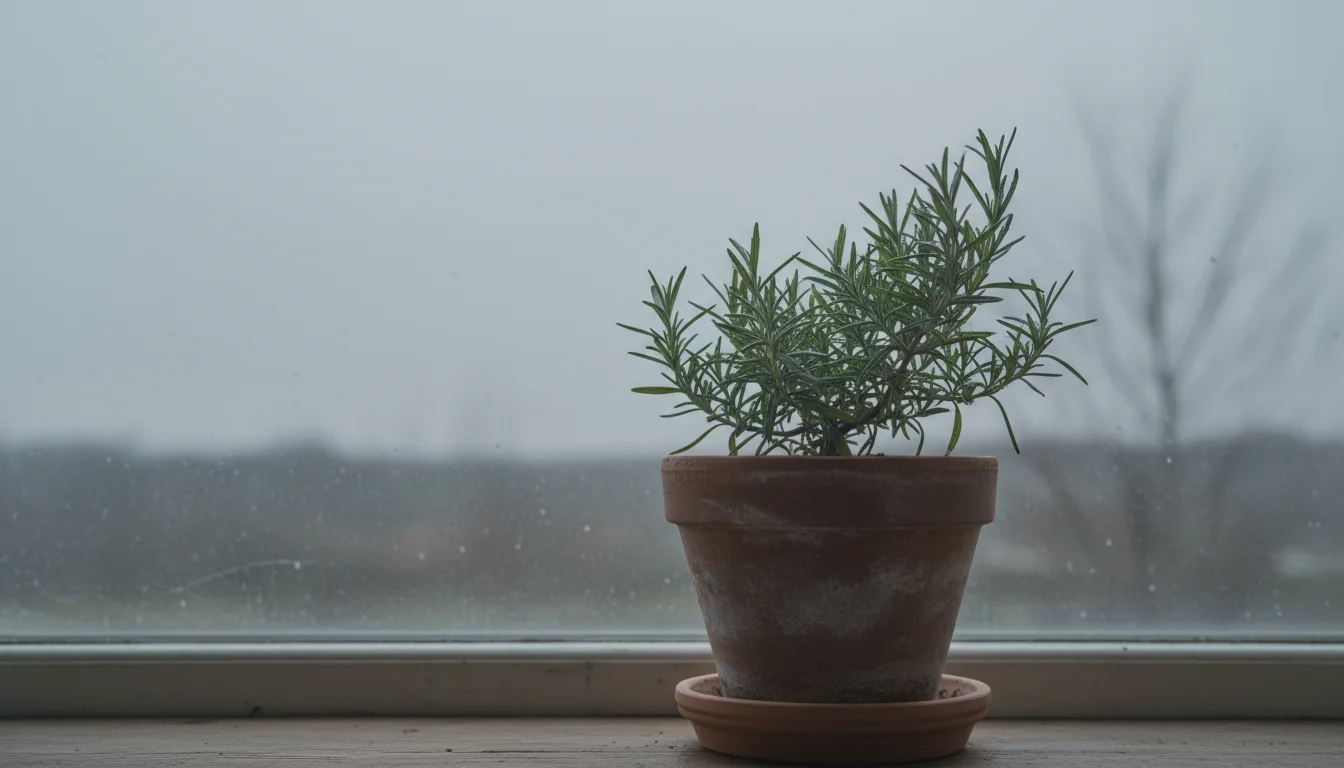
- Tropical Plants: Hibiscus, bougainvillea, citrus, some herbs like rosemary. These plants require warm temperatures year-round and will not tolerate frost.
- Edibles: Many herbs (rosemary, bay laurel, sage), some pepper varieties, dwarf fruit trees. Overwintering extends their productive life.
You can identify which plants need protection by checking their hardiness zone. A quick search for ” [Plant Name] hardiness zone” provides this crucial information. If your plant’s lowest tolerable temperature is higher than your typical winter lows, plan to bring it indoors or into sheltered storage.
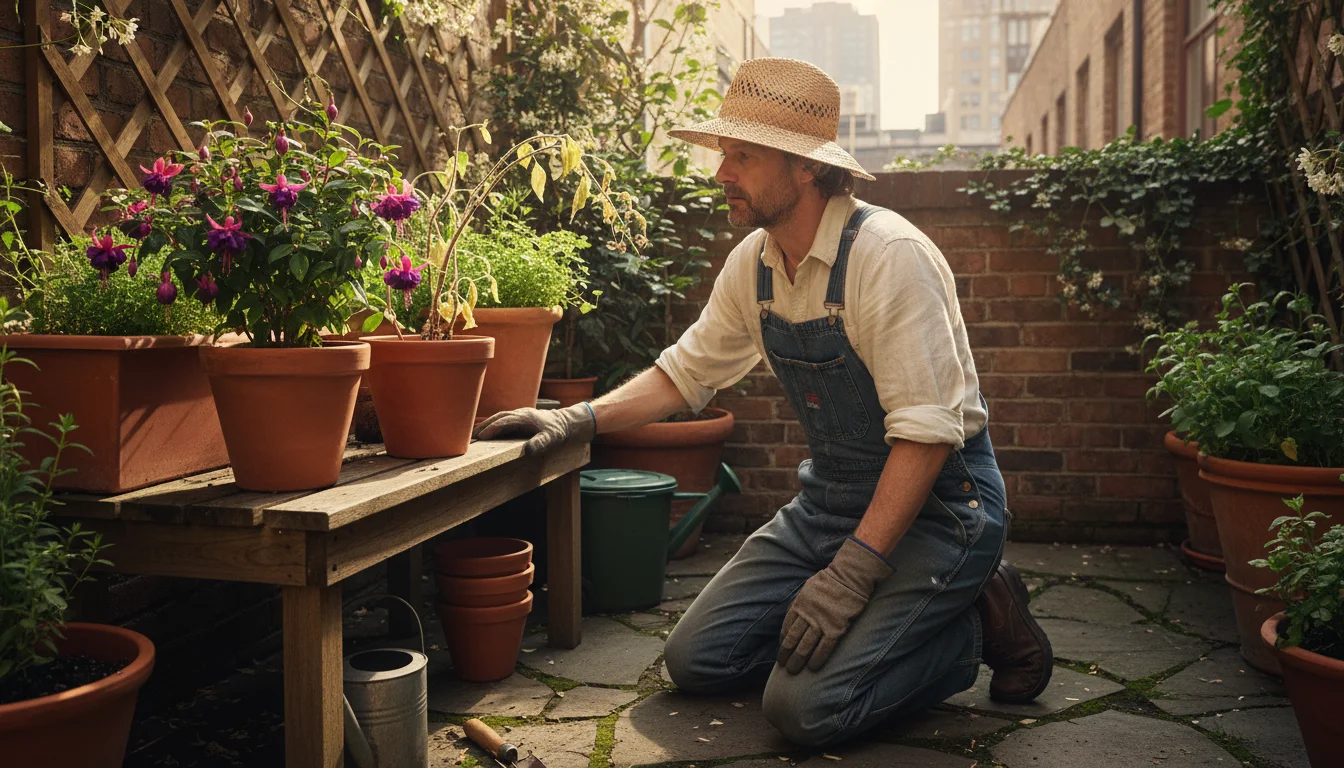
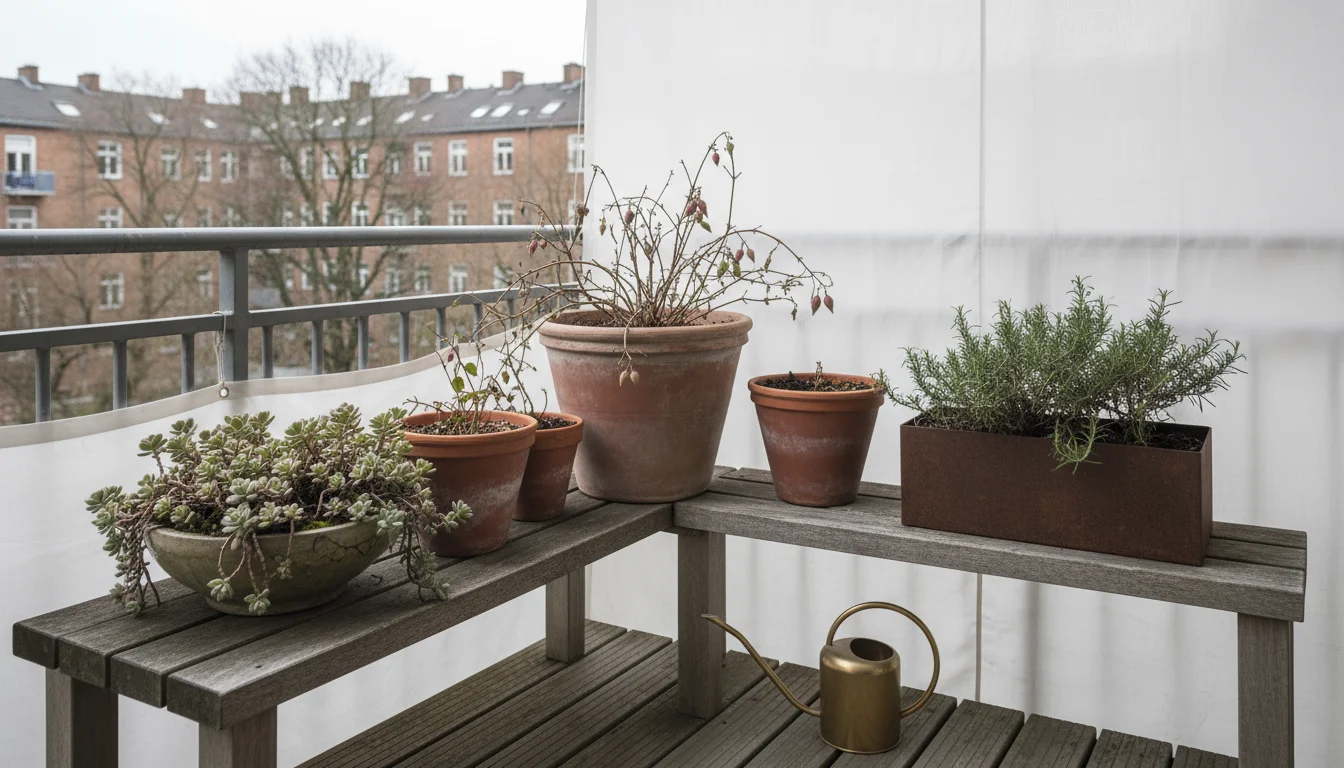
Assess Your Plants: Who Stays, Who Goes?
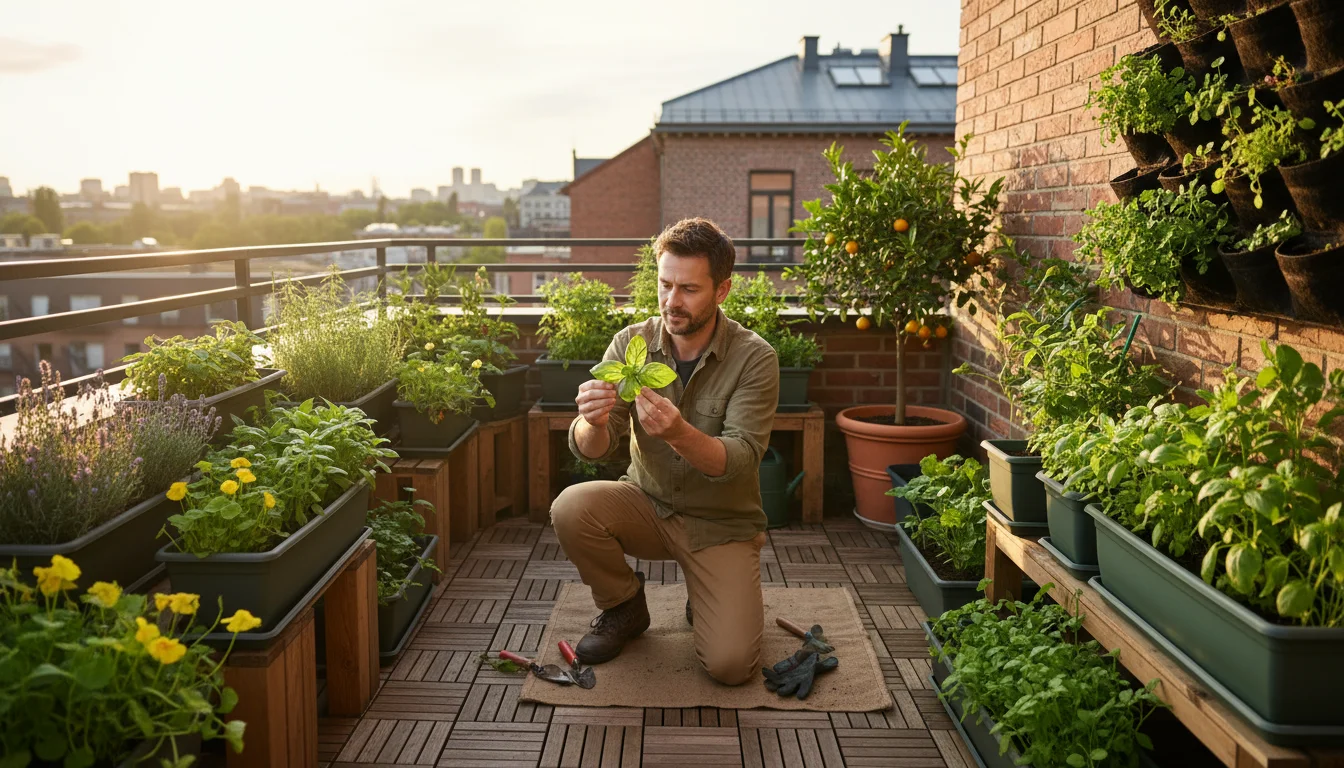
Before winter truly sets in, perform a thorough assessment of your container garden. You want to prioritize saving plants that are healthy, valuable to you, and have a good chance of surviving the transition. Do not feel obligated to save every single plant. Sometimes, a struggling plant or a common annual is simply not worth the effort.
If you are feeling overwhelmed by the number of containers on your patio, follow a guide to purging and cleaning your pots to streamline your collection before the cold sets in.
Key Assessment Criteria:
- Health: Only overwinter healthy plants. Plants already struggling with pests, diseases, or general poor health have a reduced chance of survival indoors, and they risk spreading issues to your other houseplants. Discard diseased or heavily infested plants to prevent widespread problems.
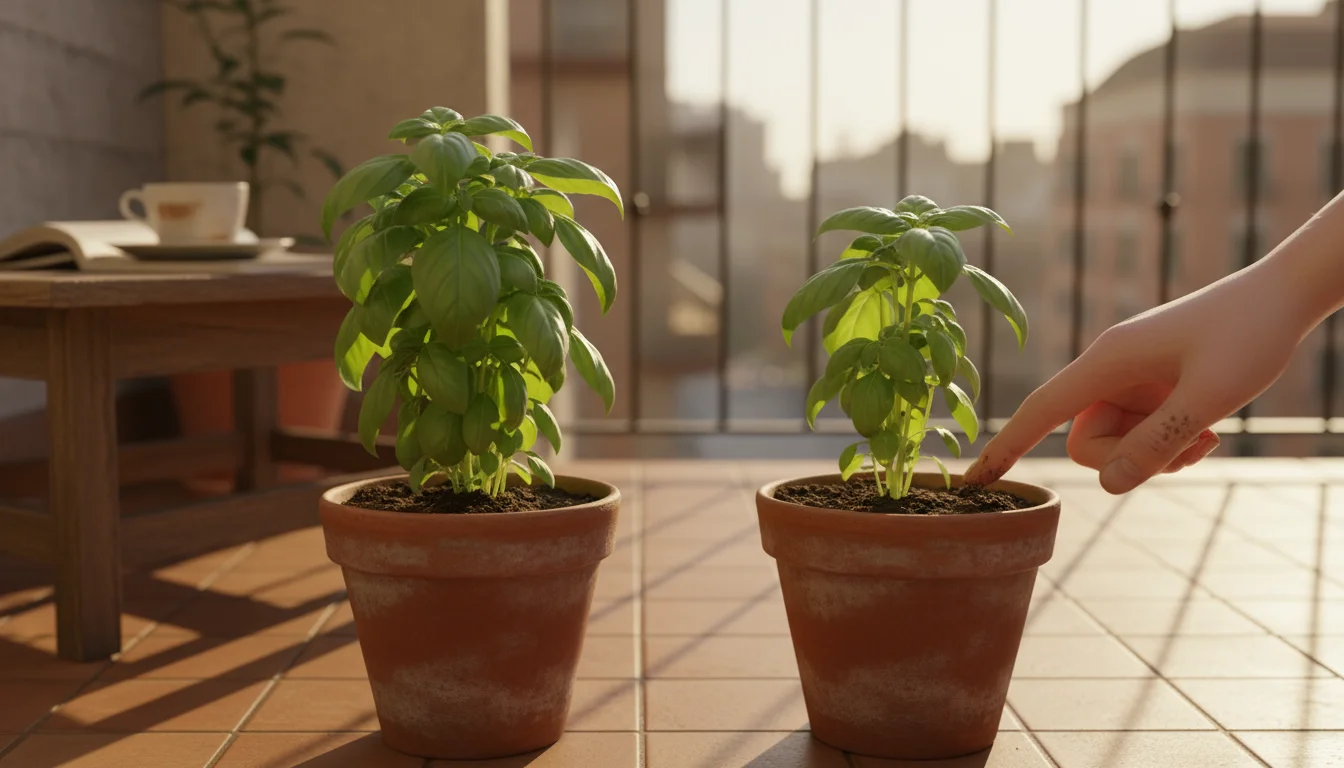
- Age and Size: Younger, smaller plants often adapt better to indoor conditions. Large, mature plants can be cumbersome to move and may struggle more with the change in environment. Consider taking cuttings from larger plants instead of bringing the entire specimen indoors.
- Sentimental Value: Some plants hold special meaning. Prioritize these.
- Cost and Availability: If a plant is expensive to replace or difficult to find, it is a prime candidate for overwintering. Common annuals, easily replaced in spring, might not be worth the effort.
- Hardiness: As mentioned, check the plant’s hardiness zone against your local climate. This is the primary factor.
Take an honest look at your collection. It is okay to let go of plants that are not thriving or those that are easily replaced. This simplifies your winter care routine and focuses your energy where it matters most, helping you save plants winter after winter without added stress.
Pre-Winter Preparation: Getting Plants Ready
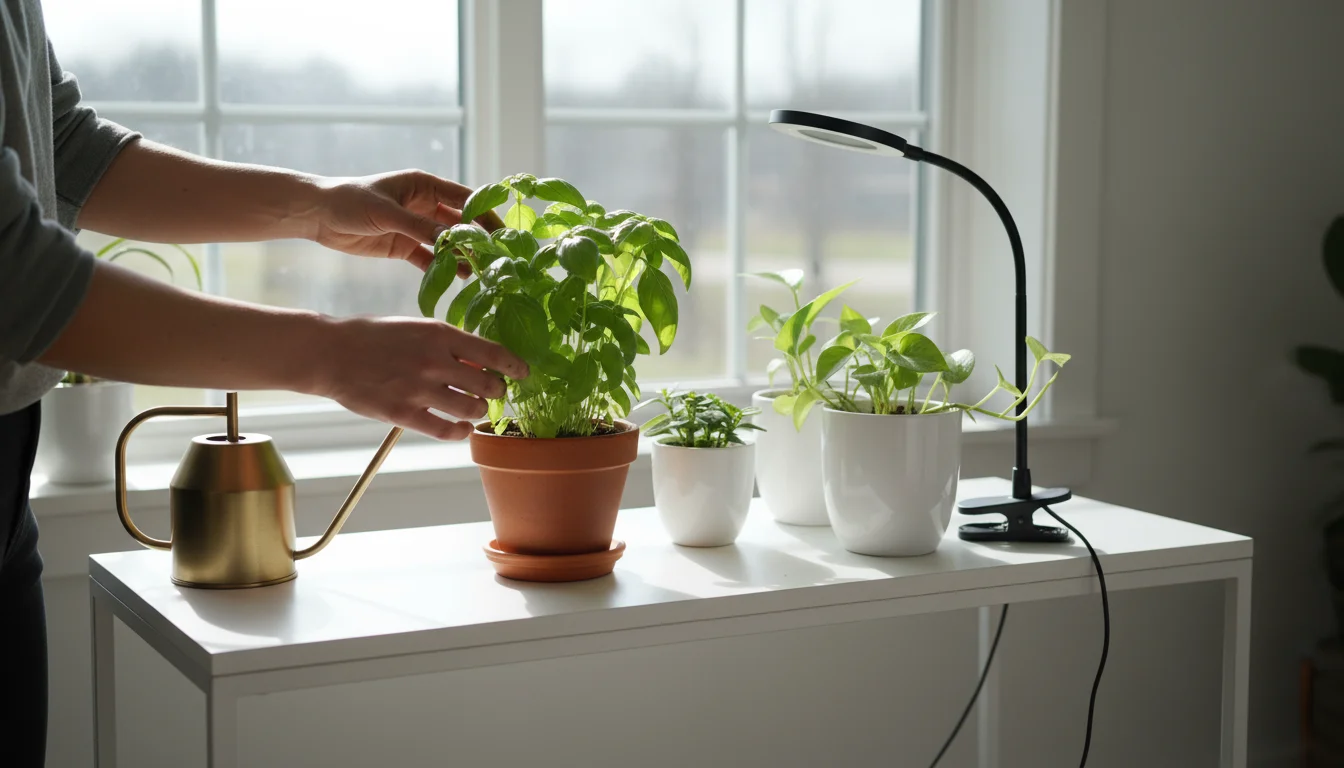
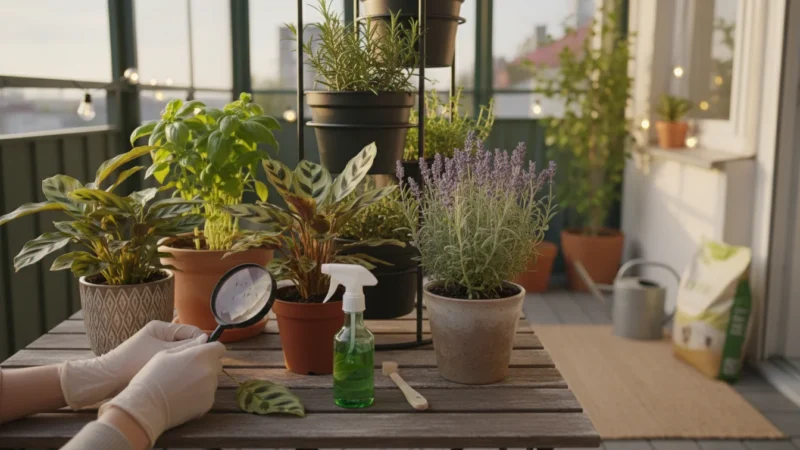
Successful overwintering begins well before the first frost. This preparation phase is critical for minimizing stress on your plants and preventing pests from hitchhiking indoors. You will want to complete these steps about 2-3 weeks before you anticipate bringing plants inside, allowing them time to adjust.
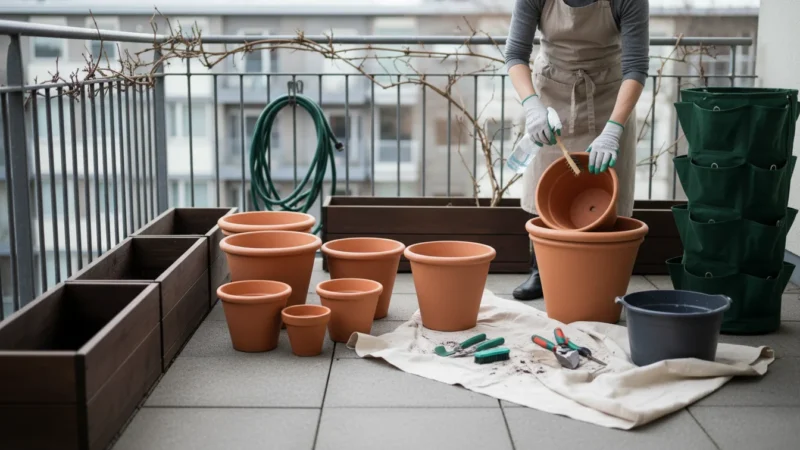
For any empty containers left over after your transition, make sure to properly clean and store your clay pots to prevent cracking during freezing weather.
Step-by-Step Preparation:
- Gradual Acclimation: If your plants are destined for an indoor life, gradually introduce them to more shade over 1-2 weeks. Move them to a porch, under a tree, or a north-facing spot. This helps them adjust to lower light levels indoors, reducing shock.
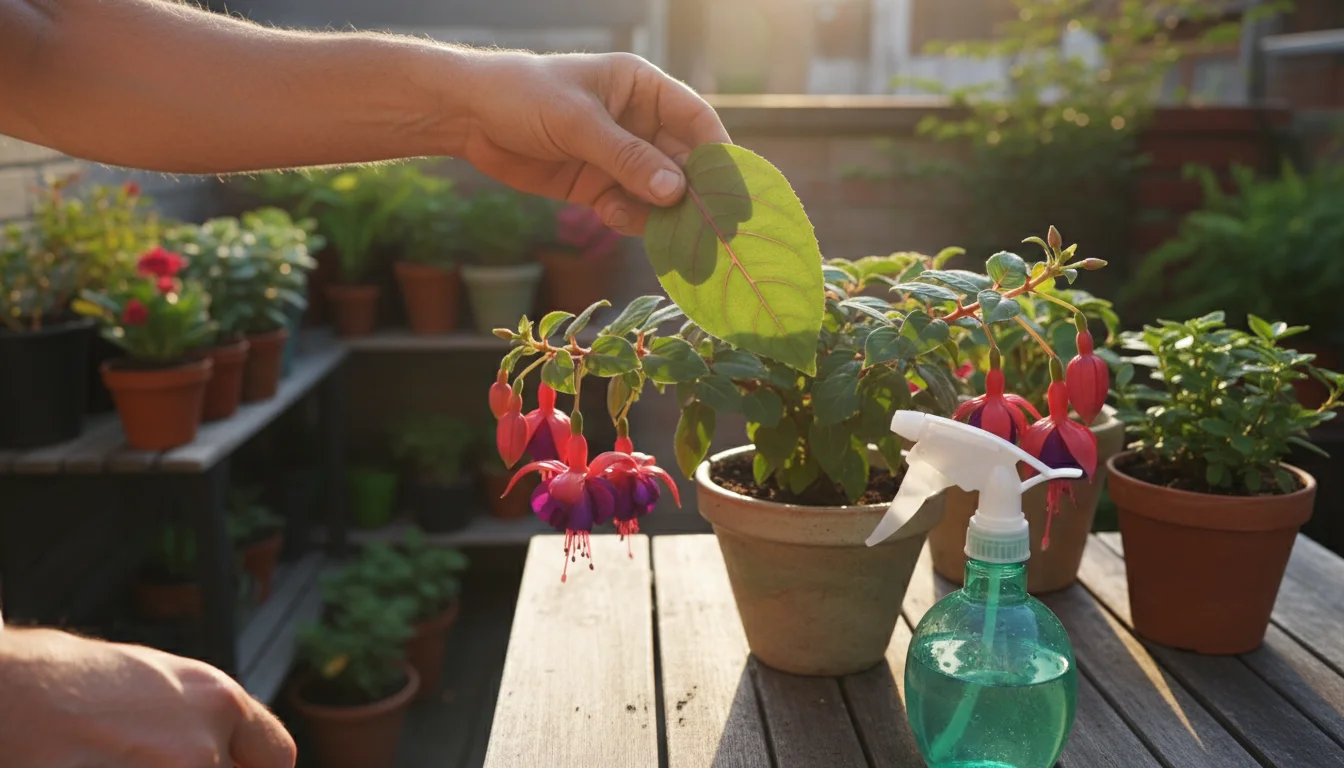
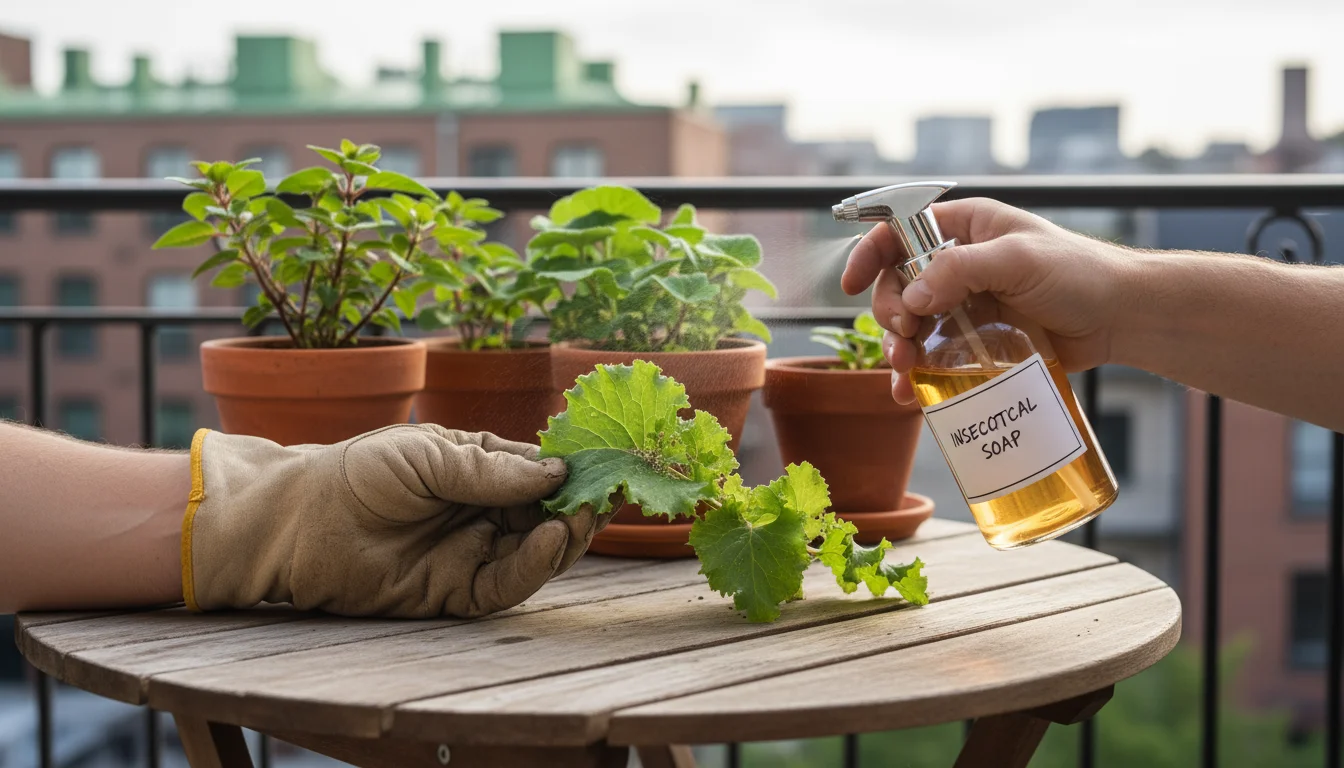
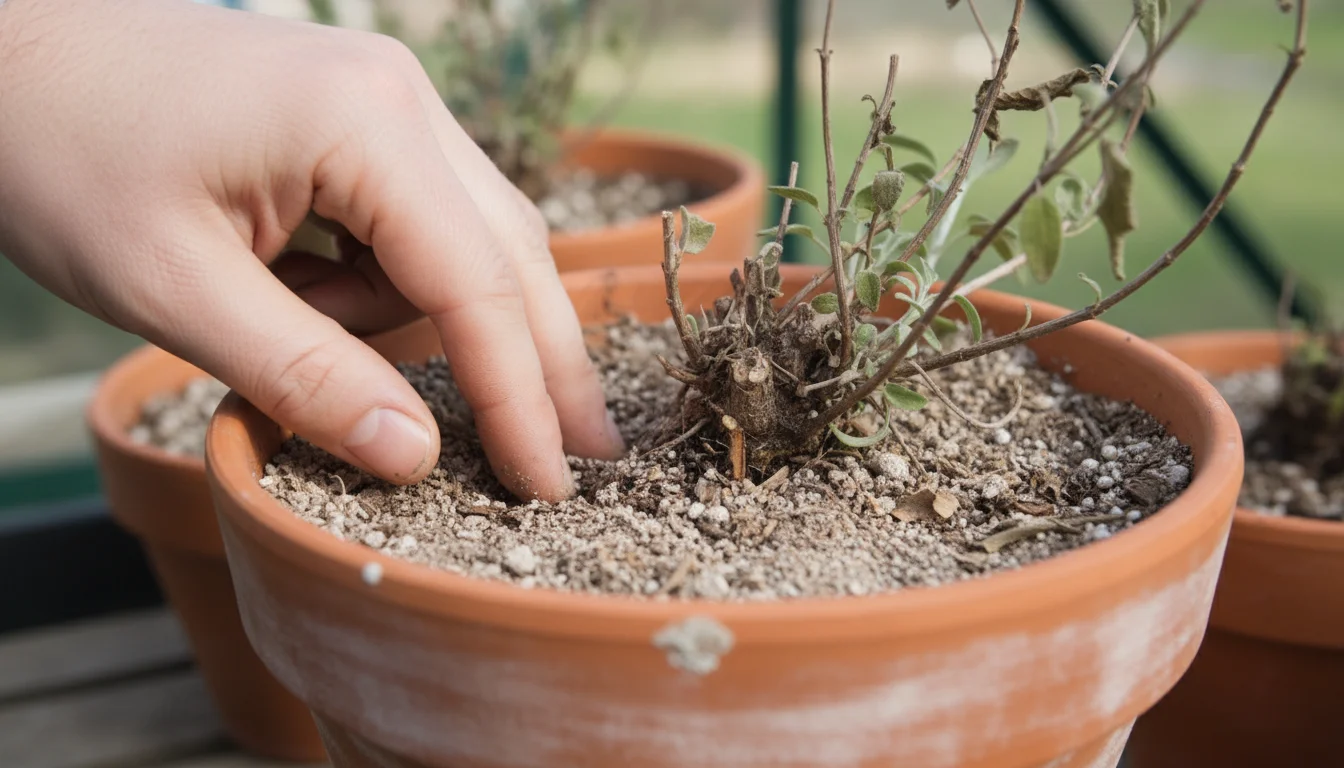
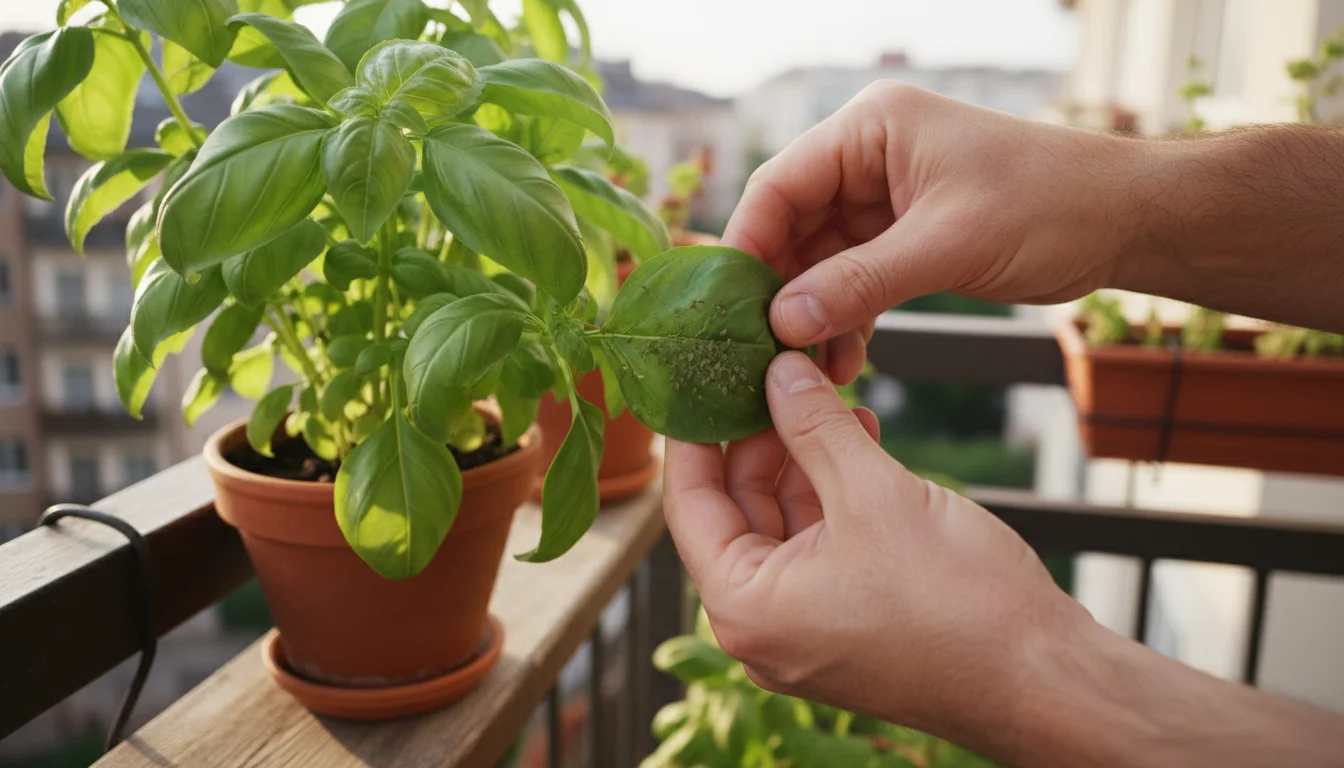
- Thorough Pest Inspection: This is perhaps the most crucial step. Pests like aphids, spider mites, mealybugs, and whiteflies often hide on the undersides of leaves, in leaf axils, or in the soil.
- Inspect every leaf, stem, and the soil surface.
- Look for sticky residue, tiny webs, or visible insects.
- Gently rinse plants with a strong stream of water (not too strong for delicate plants) to dislodge surface pests.
- Consider a prophylactic treatment: spray plants with an insecticidal soap or neem oil solution, focusing on all plant surfaces. Repeat this treatment a few days before bringing plants inside.
Failure to thoroughly check for pests guarantees you will introduce unwelcome guests to your indoor environment. A single pregnant aphid can lead to an infestation in days.
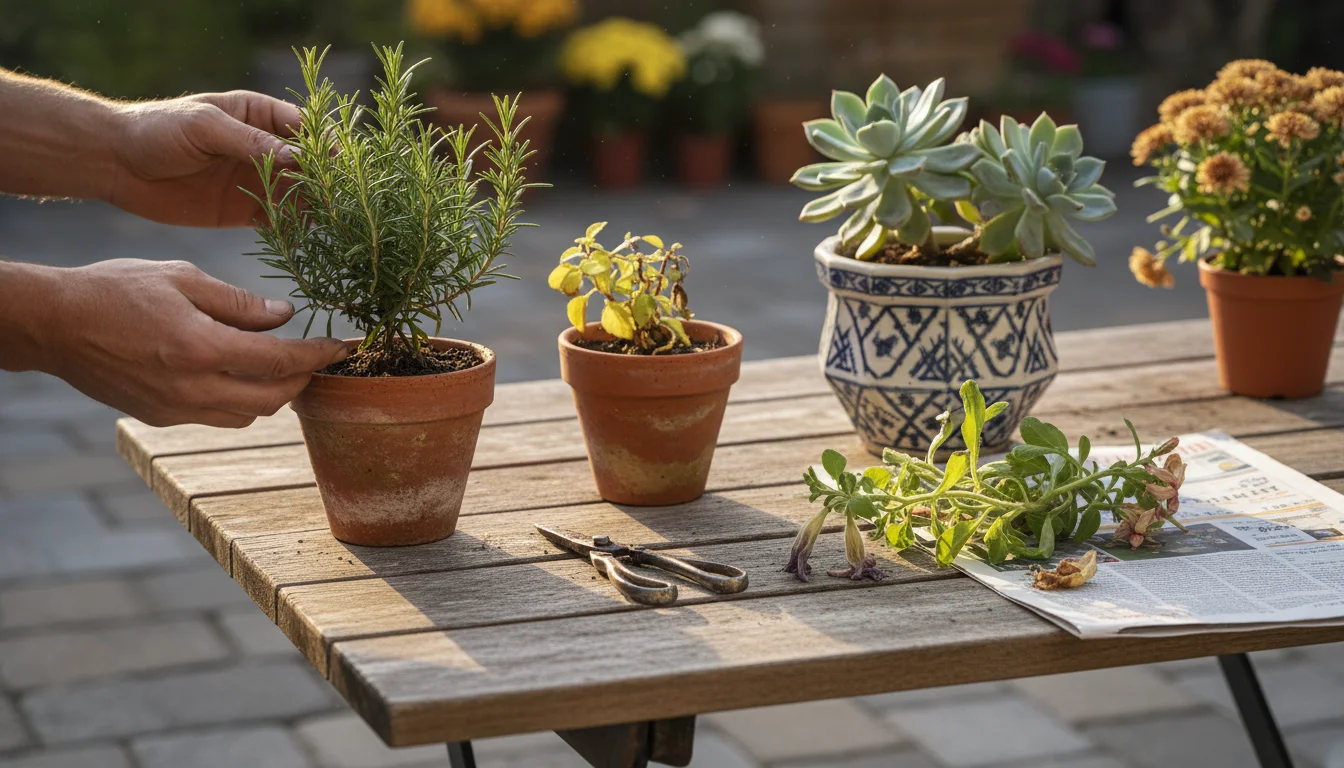
- Pruning: Lightly prune your plants before bringing them indoors. Remove any dead, diseased, or damaged foliage and stems. Trim back leggy growth by about one-third to one-half. This reduces the overall plant size, minimizes potential hiding spots for pests, and encourages bushier growth when spring arrives. Always use clean, sharp pruning shears to prevent disease transmission. You can dip your shears in a 10% bleach solution or wipe them with rubbing alcohol between plants.
- Weed and Debris Removal: Clear any weeds, fallen leaves, or other organic debris from the surface of the potting mix. This removes potential pest habitats and reduces moisture retention around the plant’s base.
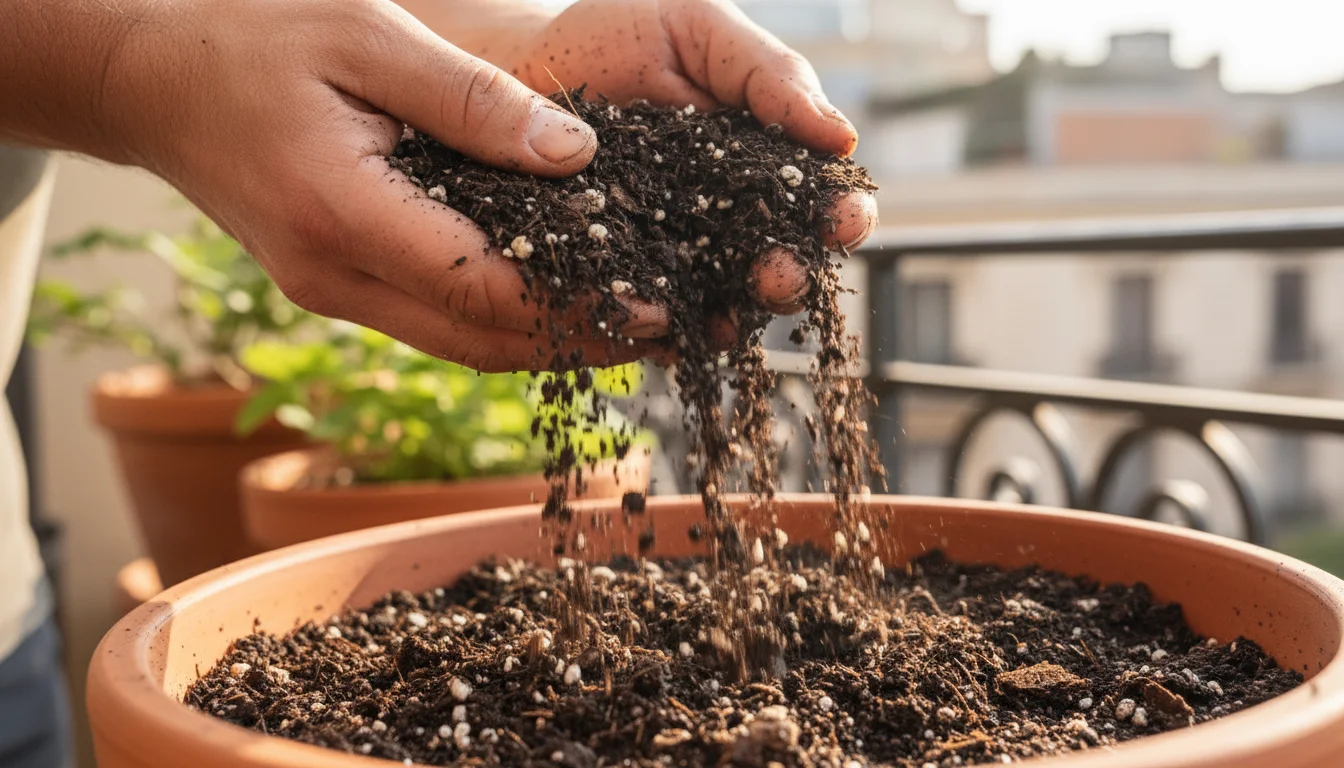
- Soil Refresh (Optional): If the top layer of your soil appears compacted or has excessive salt buildup (white crust), carefully scrape off the top inch or two and replace it with fresh, peat-free potting mix. This provides a fresh start and improves aeration. Do not repot extensively at this stage unless absolutely necessary, save major repotting for spring.
- Watering: Water plants thoroughly a day or two before bringing them indoors, ensuring the soil is moist but not waterlogged. This helps them endure the transition.
By investing time in these pre-winter tasks, you significantly increase your plants’ chances of successful overwintering, helping to winterize container garden efforts effectively.
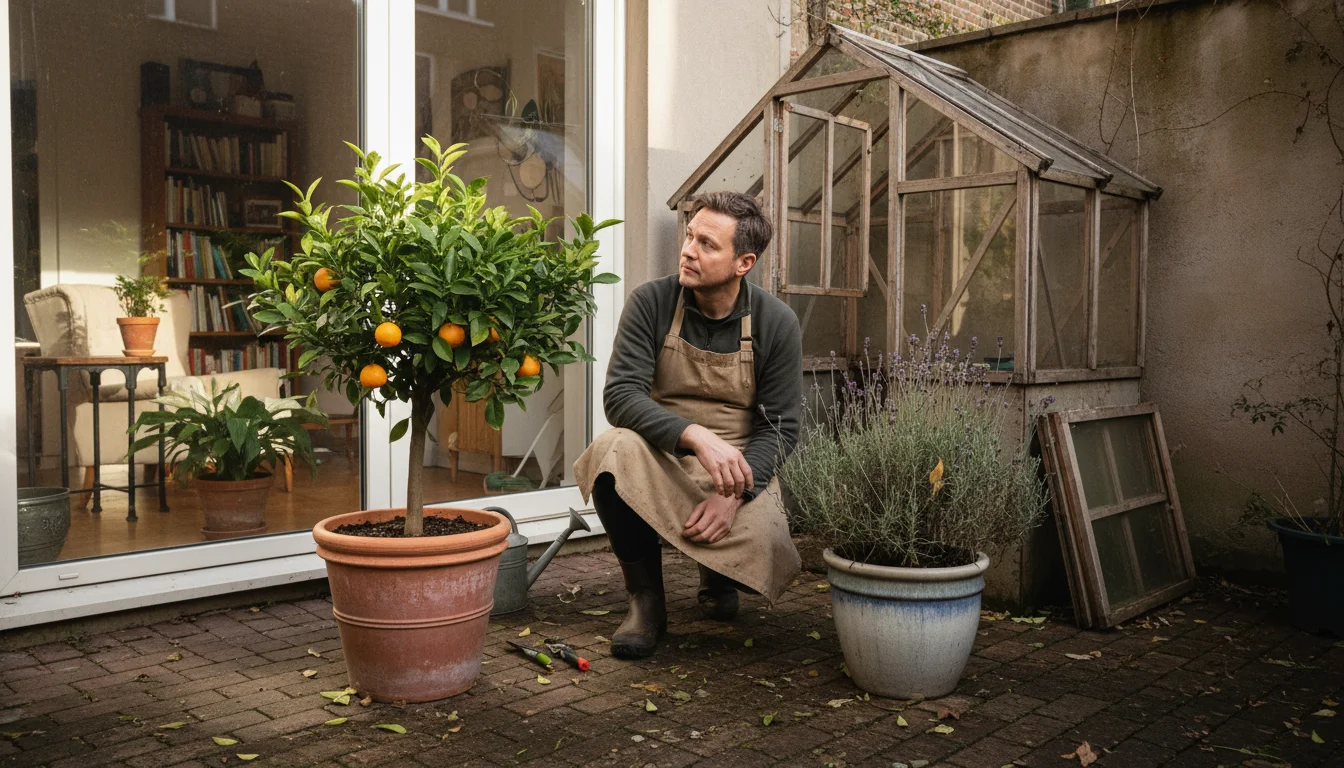
Choosing the Right Winter Home: Location, Light, and Temperature
The ideal winter location depends entirely on the type of plant you are overwintering. Some plants need warmth and light to continue growing, while others prefer a cool, dark environment to go dormant. Understanding these distinct needs is key to a successful overwintering plants strategy.
Thinking ahead to warmer months can make the winter wait easier, so keep a spring planting guide handy for when the frost finally lifts.
While your patio plants rest, you can explore other indoor gardening projects to brighten your home during the cold months.
Transitioning to a dedicated winter indoor gardening setup allows you to keep your green thumb active even when it is snowing outside.
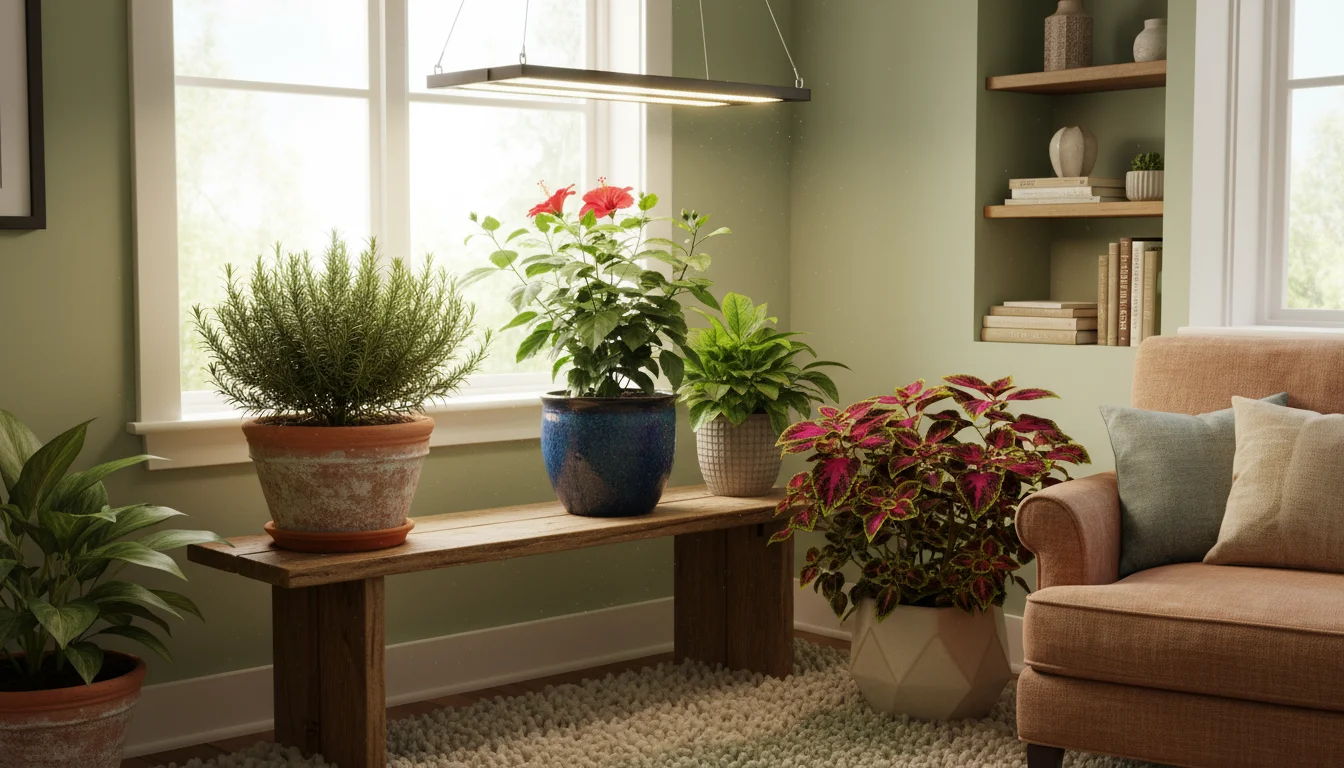
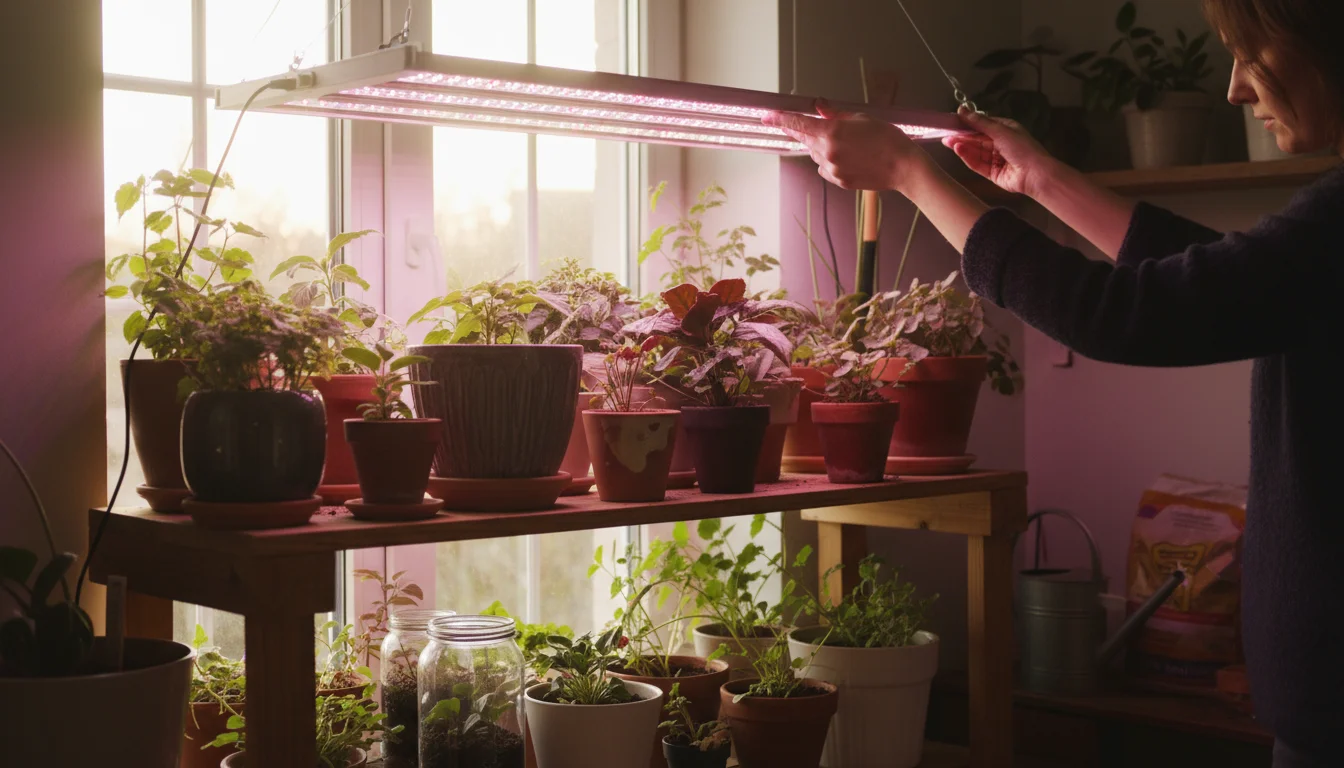
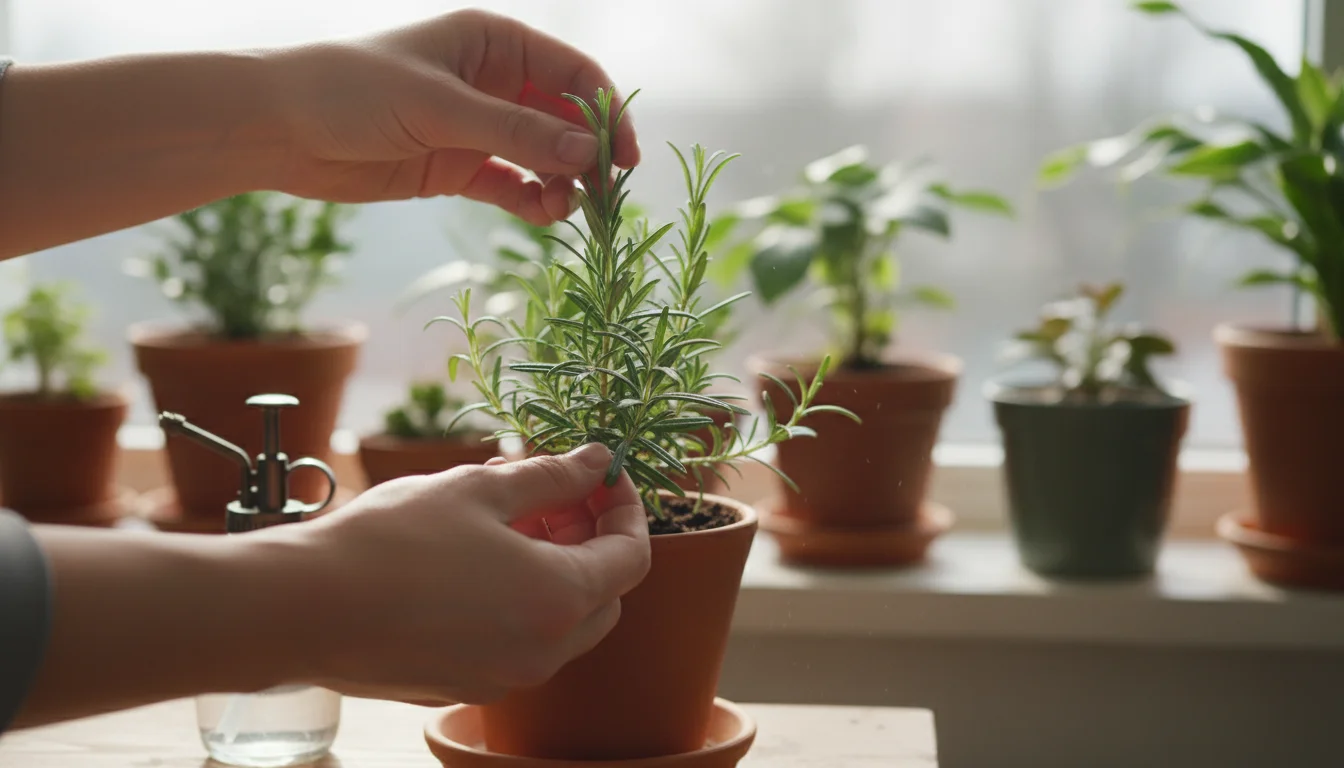
Option 1: Indoor Growing (Warm, Bright)
This option suits tropical plants, tender perennials you wish to keep actively growing, and some herbs. You need a space that provides:
- Temperatures: Generally, 60-75°F (15-24°C) is suitable for active growth. Avoid drafts from windows or vents.
- Light: This is often the biggest challenge indoors.
- Bright, indirect light: A south or west-facing window is ideal. Rotate plants weekly to ensure even light exposure.
- Supplemental Grow Lights: For truly optimal growth or if natural light is insufficient, grow lights are invaluable. Full-spectrum LED grow lights are energy-efficient and highly effective. Aim for 12-16 hours of light per day for actively growing plants.
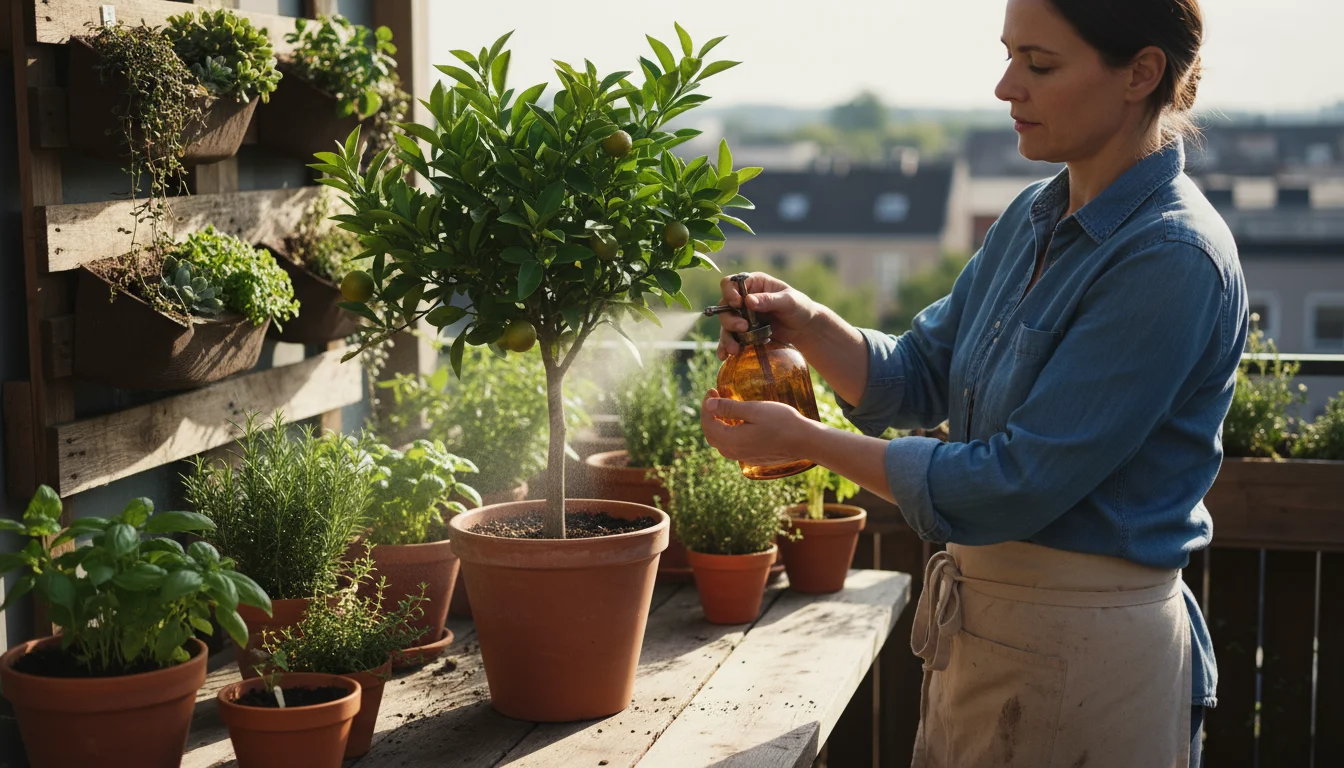
- Humidity: Indoor heating systems drastically reduce humidity, which can stress tropical plants. Consider placing plants on pebble trays filled with water (ensure pots do not sit directly in the water), grouping plants to create a microclimate, or using a small room humidifier.
- Space: Ensure adequate air circulation between plants to deter pests and diseases.
Examples: Hibiscus, citrus trees, passionflower, geraniums you want to keep flowering, rosemary.
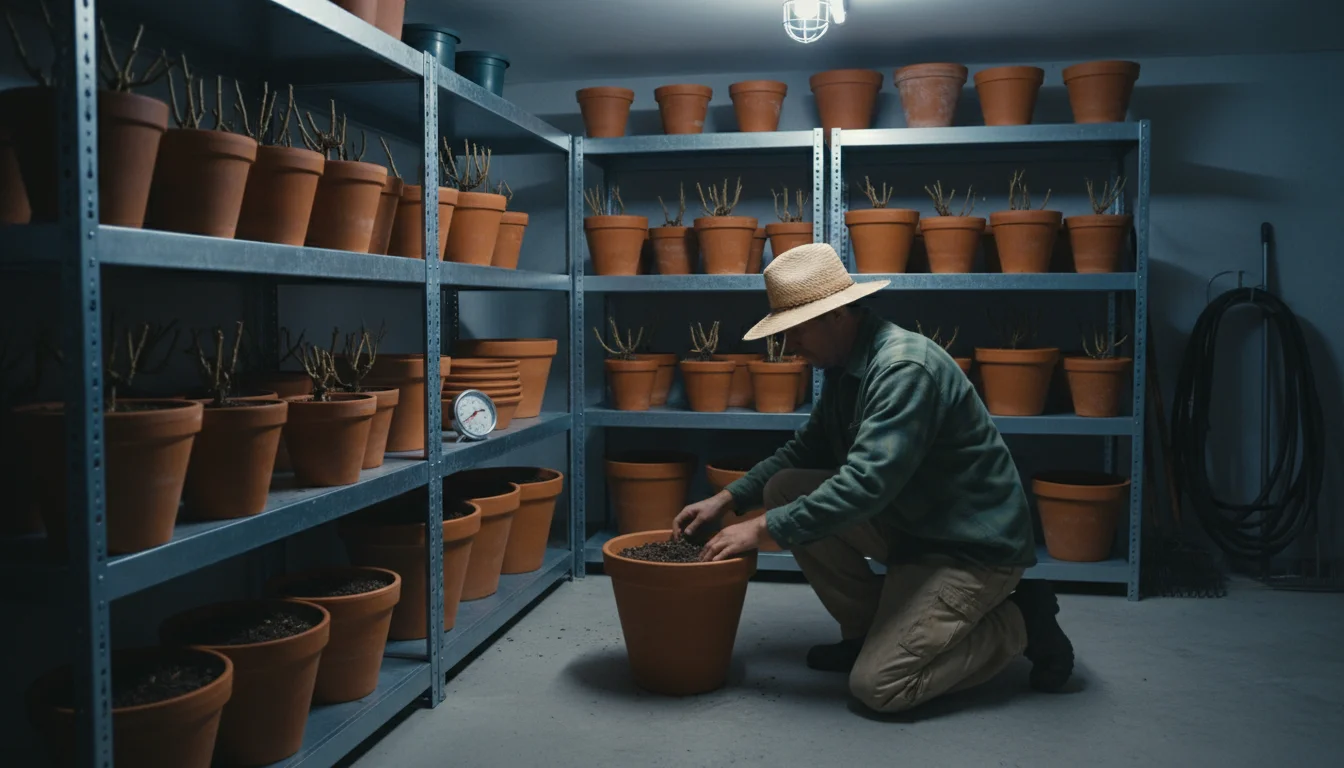
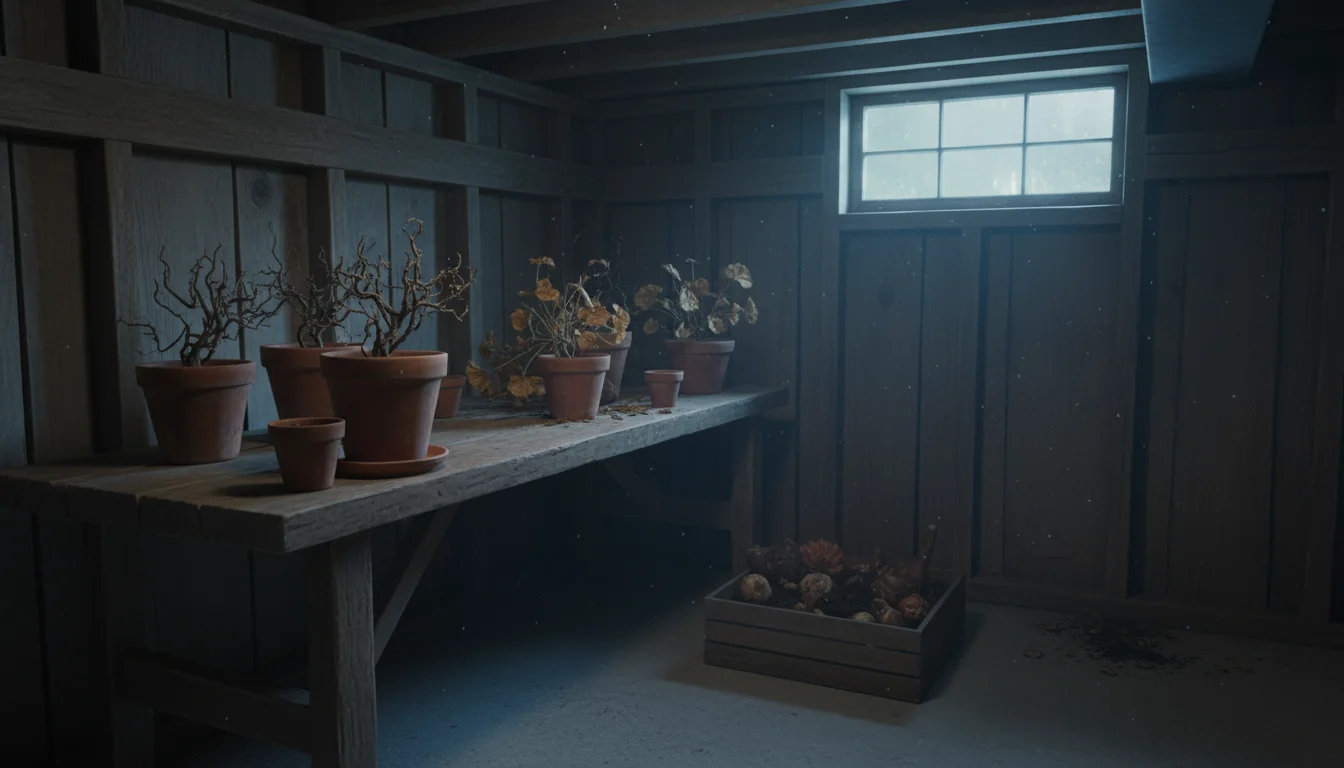
Option 2: Dormant Storage (Cool, Dark, Dry)
This method is perfect for tender perennials that can survive winter as dormant root structures. Think of bulbs, corms, or plants that naturally die back to the ground. You want a space that offers:
- Temperatures: Cool, consistently above freezing (35-50°F or 2-10°C) is ideal. Basements, unheated garages, root cellars, or cool utility rooms work well. Fluctuating temperatures can disrupt dormancy.
- Light: Minimal to no light is necessary. Dormant plants do not photosynthesize.
- Humidity: A moderate level of humidity prevents roots from completely drying out. If the space is very dry, you might need to mist the dormant soil occasionally, but be careful not to create overly wet conditions that promote rot.
- Air Circulation: Good airflow prevents fungal issues.
Examples: Dahlias (tubers), cannas (rhizomes), fuchsias, non-flowering geraniums, begonia tubers.
You must know your plant’s specific needs. For example, a bay laurel needs a cool, bright spot, not fully dormant storage, while a dahlia tuber needs cool, dark storage. Researching each plant’s winter requirements helps you successfully save plants winter after winter.
Indoor Overwintering: Bringing Plants Inside
Once you have chosen the right spot and completed your pre-winter preparation, it is time to bring your active-growing plants indoors. This transition requires careful attention to light, watering, and pest management to minimize shock and ensure continued health.
Managing Your Indoor Oasis:
- Light Adjustments:
- Position plants immediately in their brightest available location.
- Rotate plants 90 degrees every week to ensure all sides receive adequate light and promote even growth.
- If using grow lights, adjust their height according to plant needs. Most active growth plants benefit from lights positioned 6-12 inches above the foliage, but always check manufacturer recommendations.
- Expect some leaf drop. It is normal for plants to shed leaves as they adjust to lower light and humidity indoors. Do not panic unless the entire plant defoliates rapidly.
- Watering Indoors:
- Significantly reduce watering frequency. Plants indoors, especially with lower light, use much less water.
- Always check the soil moisture before watering. Insert your finger 2 inches into the soil. If it feels dry, then water. If it feels moist, wait.
- When you do water, water thoroughly until it drains from the bottom, then discard any standing water in the saucer. Do not let pots sit in water.
- Overwatering is the number one killer of indoor overwintering plants. Root rot happens quickly in cool, damp, low-light conditions.
- Humidity Boost:
- Address the dry indoor air. Grouping plants together creates a localized humid microclimate.
- Pebble trays work effectively. Fill a shallow tray with pebbles, add water to just below the top of the pebbles, and place your potted plant on top. The evaporating water increases humidity around the foliage.
- A small humidifier in the plant area can be a game-changer for sensitive tropicals.
- Air Circulation:
- Ensure good airflow around your plants. Stagnant air encourages fungal diseases.
- An oscillating fan on a low setting for a few hours a day can improve air circulation without creating cold drafts.
- Fertilizing:
- Stop fertilizing actively growing plants during the winter months. Even if they are growing slowly, the reduced light means they cannot effectively utilize nutrients, leading to salt buildup and potential root burn.
- Resume feeding in early spring when growth naturally picks up.
- Pest Vigilance:
- Even after rigorous pre-screening, pests can emerge. Inspect plants weekly.
- Catching infestations early is key. Refer to our “Winter Pest Management” section for prevention and treatment.
Your goal for overwintering plants indoors is survival and maintenance, not vigorous growth. Accept that growth will slow, and some leaves might drop. This is a natural response to the change in environment.
Dormant Storage: Cold, Dark, and Dry
For many tender perennials, forcing dormancy provides a much simpler and often more successful overwintering method. This means allowing the plant to enter a resting state, preserving its energy until spring. This approach is ideal for plants like dormant fuchsias, non-flowering geraniums, cannas, and dahlias.
Preparing Plants for Dormancy:
- Gradual Decline: As temperatures drop naturally in fall, most plants will begin to slow their growth. This is a good sign. Do not encourage new growth with late-season fertilizer.
- Reduce Watering: A few weeks before the first hard frost, gradually reduce watering. You want the soil to dry out significantly, which signals the plant to prepare for dormancy.
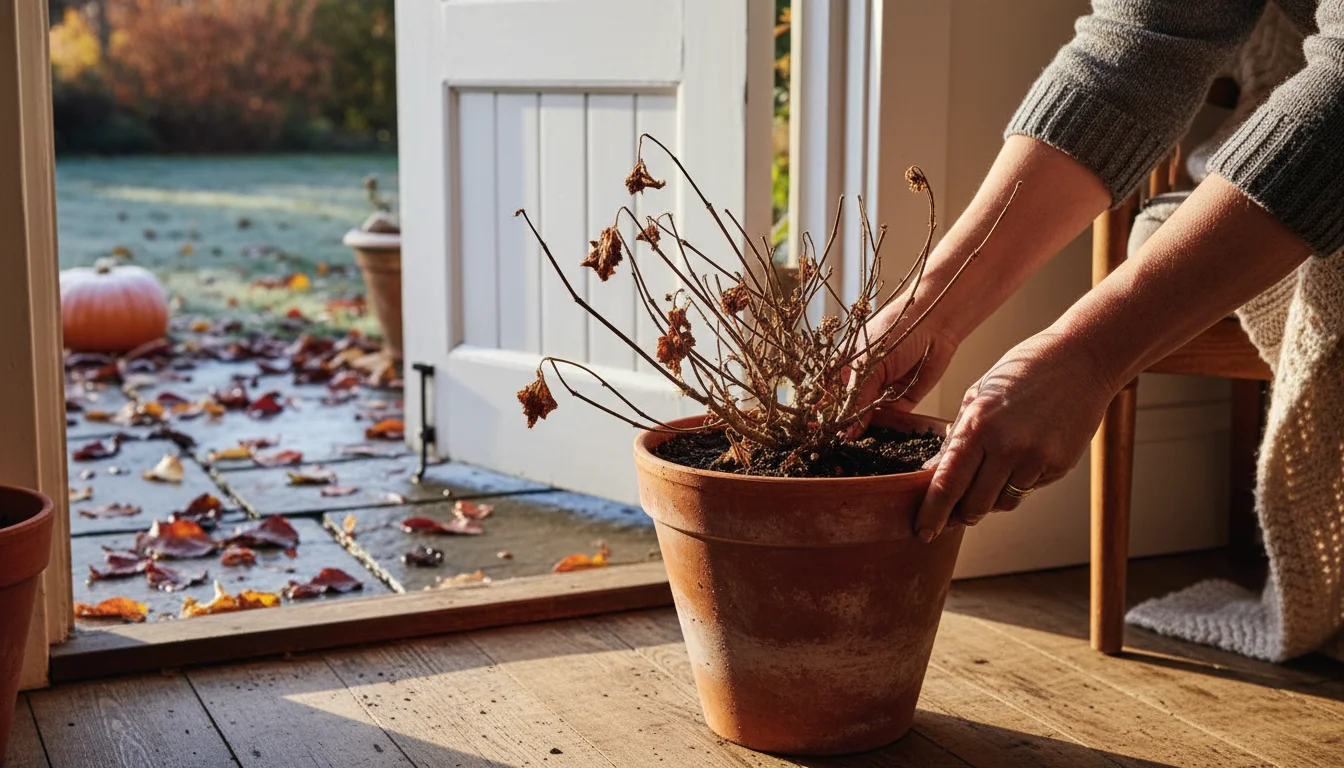
- Cut Back Foliage: Once the foliage starts to yellow or after the first light frost has kissed the leaves (not a hard freeze), cut the plant back. For many perennials, you can cut stems back to 4-6 inches above the soil line. For dahlia and canna tubers, cut foliage back to about 2-4 inches. For geraniums, you might prune them more aggressively, down to 6-8 inches.
- Lift and Store (for tubers/corms):
- For plants like dahlias, cannas, and gladiolus, you will need to lift their tubers or corms from the soil after foliage dies back.
- Carefully dig them up, taking care not to damage them.
- Gently brush off excess soil. Do not wash them, as this can introduce moisture and encourage rot.
- Allow them to cure in a cool, dry, well-ventilated spot for a few days to a week. This helps harden their skin.
- Store tubers/corms in breathable material like peat-free potting mix, sawdust, shredded newspaper, or vermiculite, in a cardboard box or mesh bag. Ensure they are covered but not airtight, which can trap moisture and cause rot.
- Store Potted Plants: For plants like dormant fuchsias or geraniums kept in their pots, simply move the entire pot into your chosen cool, dark storage area.
Managing Dormant Storage:
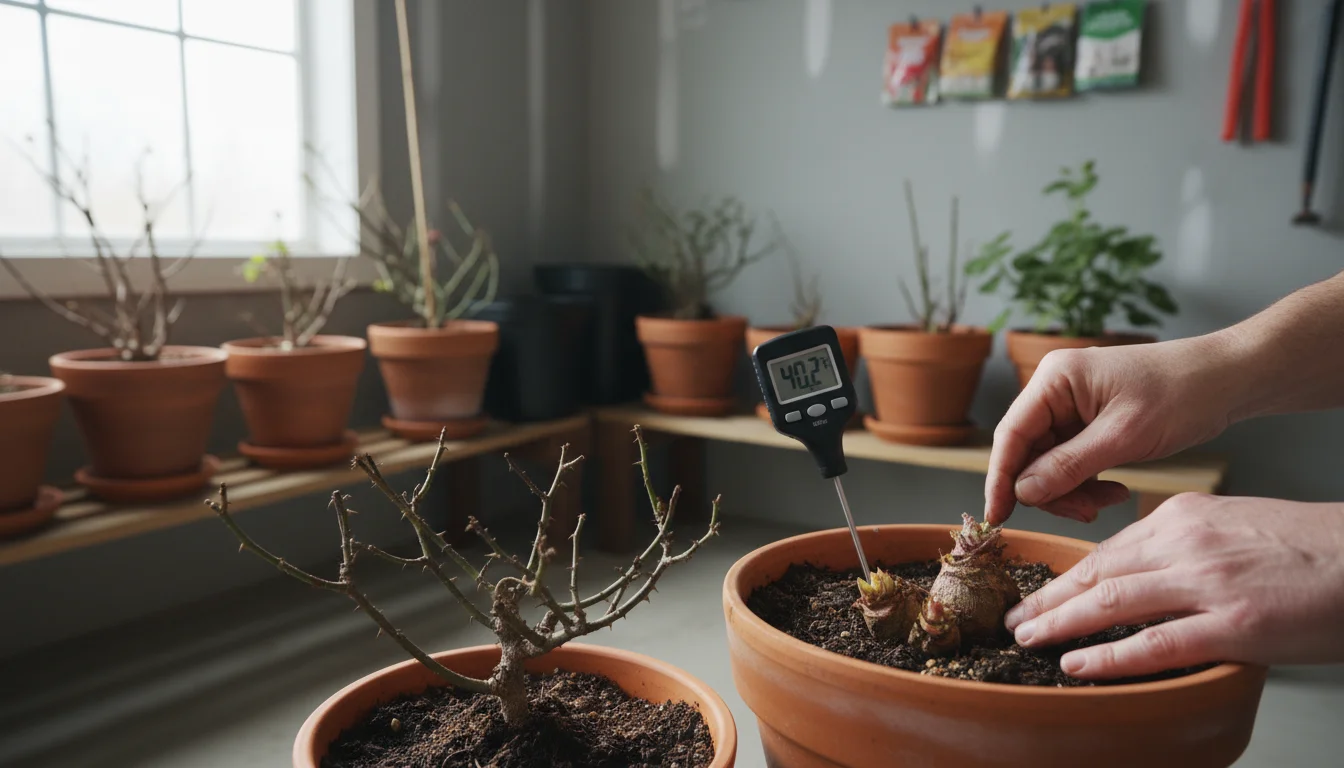
- Temperature Check: Monitor the temperature in your storage area. Aim for that 35-50°F (2-10°C) range. A thermometer is a good investment.
- Minimal Watering: Dormant plants require very little water. Check potted plants every 4-6 weeks. If the soil is bone dry, give a small amount of water to prevent the roots from shriveling completely. The goal is to keep the soil barely moist, not wet. Overwatering causes rot.
- Pest/Disease Check: Occasionally inspect stored tubers or potted plants for signs of mold, rot, or pests. Remove any affected parts immediately.
- Ventilation: Ensure some air circulation to prevent stagnant conditions.
Successfully initiating and maintaining dormancy is an efficient way to winterize container garden favorites, allowing them to rest and return stronger next spring.
Winter Pest Management: Keeping Critters at Bay
Bringing plants indoors creates a perfect environment for pests to flourish, often unnoticed until an infestation is severe. The warm, dry indoor air and lack of natural predators provide ideal conditions for common houseplant pests. Proactive pest management is vital when you overwintering plants.
Common Indoor Pests and How to Deal with Them:
- Spider Mites: These tiny arachnids thrive in dry conditions. Look for fine webbing on leaves, especially undersides, and tiny red or brown dots. Leaves may turn stippled or yellow.
- Treatment: Increase humidity. Rinse plants thoroughly with a strong stream of water. Apply insecticidal soap or neem oil every 5-7 days for several weeks to break their life cycle.
- Aphids: Small, soft-bodied insects, often green, black, or yellow, clustered on new growth or undersides of leaves. They excrete sticky honeydew.
- Treatment: Hand-pick them off or dislodge with a strong spray of water. Treat with insecticidal soap or neem oil.
- Mealybugs: White, cottony masses found in leaf axils and along stems. They also excrete honeydew.
- Treatment: Dip a cotton swab in rubbing alcohol and touch it directly to each mealybug to kill it. Repeat weekly. For larger infestations, use insecticidal soap or neem oil.
- Whiteflies: Tiny, white, moth-like insects that fly up in a cloud when disturbed. They usually feed on the undersides of leaves.
- Treatment: Use yellow sticky traps to catch adults. Spray with insecticidal soap or neem oil, ensuring coverage of leaf undersides.
- Fungus Gnats: Small, dark flies that hover around the soil surface. Their larvae feed on organic matter in the soil and can damage tender roots. They often indicate overwatering.
- Treatment: Allow the top inch or two of soil to dry out completely between waterings. Use yellow sticky traps to catch adults. Bacillus thuringiensis israelensis (BTI) dunks or granules added to water are effective against larvae.
Prevention is Your Best Defense:
- Thorough Pre-Winter Inspection: As discussed, this is the most important step. Do not skip it.
- Quarantine New Plants: Any new plant, whether from outdoors or a store, should be isolated for 2-4 weeks before introducing it to your main collection. This prevents the spread of hidden pests.
- Regular Inspections: Make weekly pest checks a part of your routine. Turn over leaves, look in crevices, and inspect the soil surface.
- Maintain Plant Health: Healthy plants are more resistant to pest attacks. Provide adequate light, water, and humidity.
- Good Housekeeping: Remove dead leaves and spent flowers from pots. Do not let debris accumulate on the soil surface.
Always follow product label instructions when using any pesticide, even organic ones. Consistent vigilance allows you to save plants winter after winter without major pest battles.
Winter Watering and Fertilizing: Less is More
During winter, most plants naturally slow their growth or enter a dormant state. Your watering and fertilizing routines must reflect this change. Applying too much water or nutrients leads to more problems than solutions. This section highlights the minimalist approach to keep your overwintering plants healthy.
Watering Wisdom:
The single most common mistake when overwintering plants is overwatering. With reduced light and cooler temperatures, plants use significantly less water. Root rot is a swift and silent killer.
- Check Before You Water: Never water on a schedule. Always check the soil moisture first.
- Finger Test: Insert your index finger about 2 inches (5 cm) into the potting mix. If it feels dry at that depth, it is time to water. If it feels moist, wait.
- Lift the Pot: A dry pot feels significantly lighter than a watered one. This method works well once you get a feel for your plants.
- Moisture Meter (Optional): A simple moisture meter can provide an objective reading, but the finger test is often sufficient.
- Reduce Frequency, Not Volume (When Watering): When the soil indicates it is dry, water thoroughly until water drains from the bottom of the pot. Ensure good drainage and immediately empty any water that collects in the saucer. Do not let your plant sit in standing water.
- Consider Plant Type:
- Actively Growing Indoors: These plants still need consistent moisture but less frequently than outdoors. Typically, watering every 7-14 days depending on plant size, pot size, and indoor conditions.
- Dormant Plants (in pots): These need very little water, just enough to prevent the roots from completely shriveling. Check every 4-6 weeks and give a small drink if the soil is bone dry.
- Succulents/Cacti: Most prefer to be very dry in winter. Water sparingly, perhaps once a month or less, and only if the soil is entirely dry.
Monitor your plants closely. Wilting can indicate both underwatering and overwatering (due to root rot). If you see wilting, check the soil moisture. If it is wet, you have likely overwatered.

Fertilizing Frugality:
Plants in winter, especially those indoors with less light or in dormancy, are not actively growing and therefore do not require supplemental nutrients. Fertilizing them does more harm than good.
| Plant State | Watering Frequency | Fertilizing |
|---|---|---|
| Actively Growing Indoors | Every 7-14 days (check soil first) | Stop completely (resume spring) |
| Dormant (in pots) | Every 4-6 weeks (if bone dry) | Stop completely (resume spring) |
| Dormant (tubers/corms) | None (stored dry) | None |
| Succulents/Cacti | Every 3-4 weeks (if bone dry) | Stop completely (resume spring) |
- Stop Fertilizing: Discontinue all fertilization from late fall (around October/November) through late winter (February/March).
- Why Stop?
- Reduced light means plants cannot process nutrients efficiently.
- Excess fertilizer salts build up in the soil, which can burn roots.
- Encouraging new, weak, leggy growth that is vulnerable to pests and diseases is counterproductive.
- Resume in Spring: When you see new, vigorous growth emerging in spring, gradually reintroduce a balanced, liquid organic fertilizer at half strength. Increase to full strength as light levels and growth accelerate.
By adopting a “less is more” approach to watering and entirely halting fertilization, you allow your plants to conserve energy and naturally enter their resting phase, improving their chances of survival and vibrant growth next spring. This is a crucial element to save plants winter effectively.
Spring Awakening: Moving Plants Back Outside
Winter is over. The sun returns, temperatures rise, and your plants are ready to emerge from their winter slumber. The transition back outdoors is just as critical as bringing them inside. Rushing this process can lead to severe shock or even death. Hardening off is the key to successfully returning your overwintering plants to their outdoor environment.
The Hardening Off Process:
Hardening off gradually exposes plants to outdoor conditions (sun, wind, varying temperatures) after their sheltered winter. This process should take 1-2 weeks.
- Check Frost Risk: Ensure all danger of frost has passed in your area. Check your local forecast and average last frost date.
- Start with Shade: On the first day, place your plants in a completely shaded, sheltered spot outdoors for just a few hours. A covered porch or under a dense tree works well.
- Gradually Increase Exposure: Each day, increase the time outdoors by an hour or two and gradually move them into slightly brighter light.
- Day 1-3: Full shade, 2-4 hours.
- Day 4-6: Partial shade, 4-6 hours.
- Day 7-10: Increasingly brighter light, full days.
- Day 11-14: Full sun (for sun-loving plants), all day and eventually overnight if temperatures are consistently above 50°F (10°C).
- Monitor Closely: Watch for signs of stress: scorched leaves, wilting, or yellowing. If you see these, move the plant back to a more sheltered spot for a day or two before resuming the process. Bring plants indoors if temperatures drop unexpectedly or if strong winds are forecast.
- Water and Feed: During hardening off, keep an eye on soil moisture. Plants outdoors in wind and sun will dry out faster. Once fully hardened off and settled in their permanent outdoor spots, you can begin a regular watering and fertilizing schedule. Start with a diluted organic liquid fertilizer.

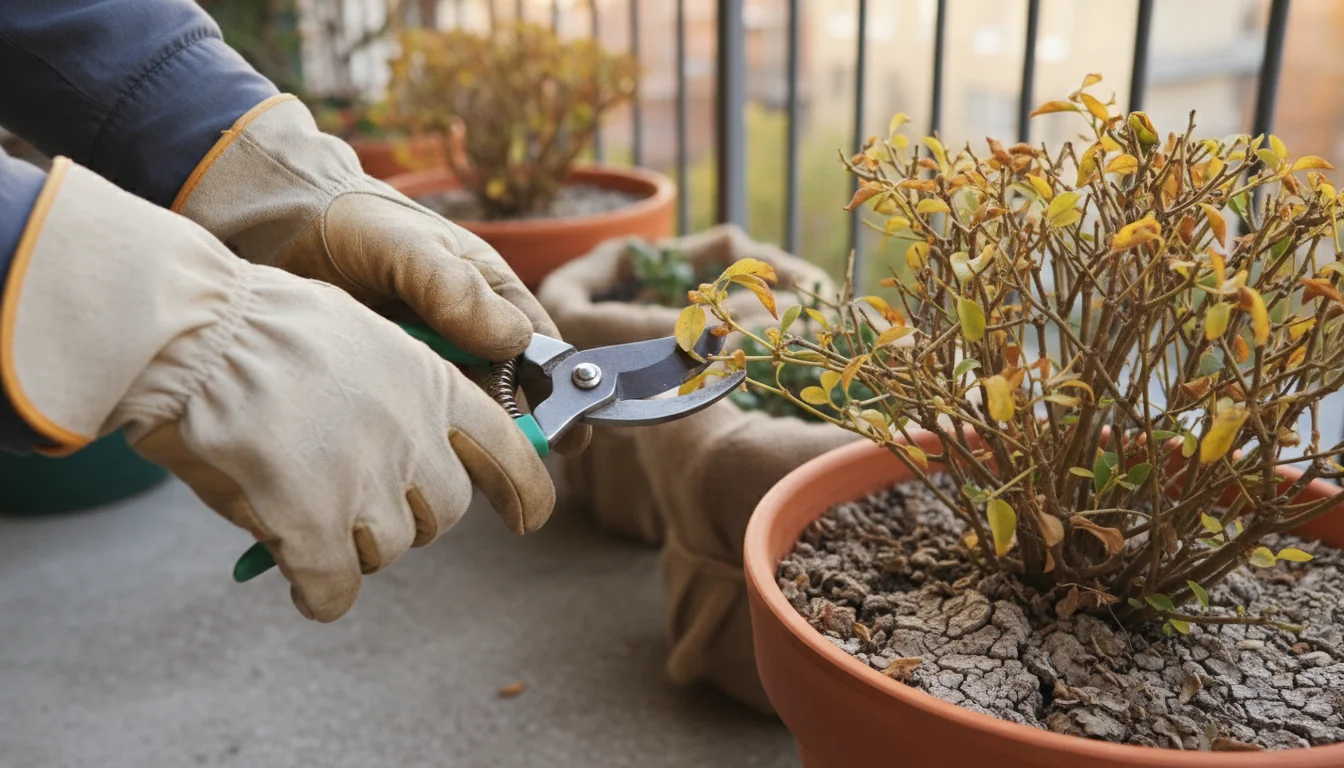
Post-Winter Care and Revitalization:
- Inspect for Damage: Check plants for any winter damage, dead branches, or lingering pests. Prune away any dead material.
- Repotting (if needed): If your plant is root-bound (roots circling tightly around the pot) or has been in the same soil for several years, spring is the ideal time to repot.
- Choose a pot only one size larger (e.g., 6-inch to 8-inch).
- Use fresh, high-quality, peat-free potting mix.
- Gently loosen circling roots before repotting.
- Soil Refresh: Even if not repotting, scrape off the top inch or two of old soil and replace it with fresh potting mix. This revitalizes the plant with new nutrients and improves aeration.
- Pruning for Rejuvenation: Beyond removing dead material, you can prune to shape the plant and encourage new, bushier growth. For example, pinch back the growing tips of geraniums or fuchsias.
By carefully transitioning your plants and providing attentive spring care, you ensure your winterize container garden efforts pay off with a vibrant, flourishing display.
Frequently Asked Questions
What is the best temperature for overwintering plants?
The ideal temperature depends on whether you are actively growing or storing plants dormant. For actively growing tropicals and tender perennials indoors, aim for 60-75°F (15-24°C). For dormant plants in cool storage, maintain temperatures consistently above freezing, ideally between 35-50°F (2-10°C).
Can I overwinter annuals?
Most plants classified as annuals are actually tender perennials that grow for only one season in colder climates. Yes, you can overwintering plants like geraniums, impatiens, and petunias, treating them as perennials by bringing them indoors or taking cuttings. True annuals, like marigolds or zinnias, complete their life cycle in one season and are generally not worth overwintering.
My indoor plants are getting leggy during winter. What should I do?
Leggy growth, characterized by long, stretched stems and sparse leaves, indicates insufficient light. You have a few options: move the plant to a brighter window, supplement with a grow light, or prune it back. Pruning encourages bushier growth and helps the plant conserve energy. Do not expect robust, compact growth without ample light.
How often should I water dormant plants?
Dormant plants need very little water. Check them every 4-6 weeks. If the soil in their pot feels completely bone dry to the touch, give them a very small amount of water, just enough to slightly moisten the soil and prevent the roots from shriveling. The goal is to keep them barely moist, not wet, to prevent rot. Tubers stored out of soil usually require no water.
What are the signs of pest infestation on my indoor plants?
Look for sticky residue on leaves (honeydew), tiny white cottony masses (mealybugs), fine webbing (spider mites), small flying insects around the plant (fungus gnats, whiteflies), or visible insects clustered on new growth (aphids). Yellowing or stippling leaves can also be a symptom. Regularly inspecting the undersides of leaves and stem joints helps you catch issues early.
Leave a Reply