Your garden’s success, whether a sprawling backyard haven or a compact container collection, begins beneath the surface. Healthy soil forms the foundation for vibrant, thriving plants. As your plant care coach, I see many gardeners focus on watering or fertilizing, but often overlook the crucial role of soil quality. You can transform your growing space with natural, chemical-free methods, making your plants more resilient, productive, and beautiful.
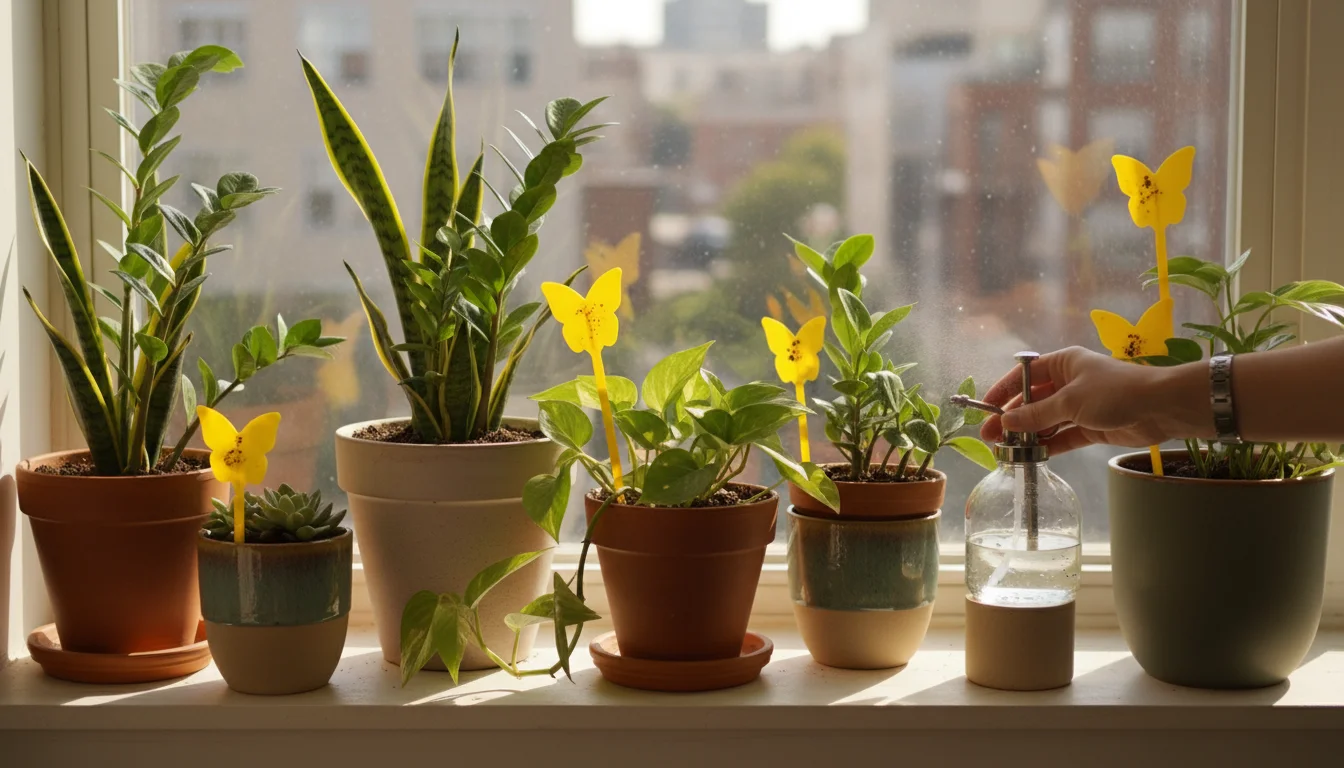
Once your soil is ready, pairing it with a spring planting guide for container gardeners will help you get the most out of your small-space setup.
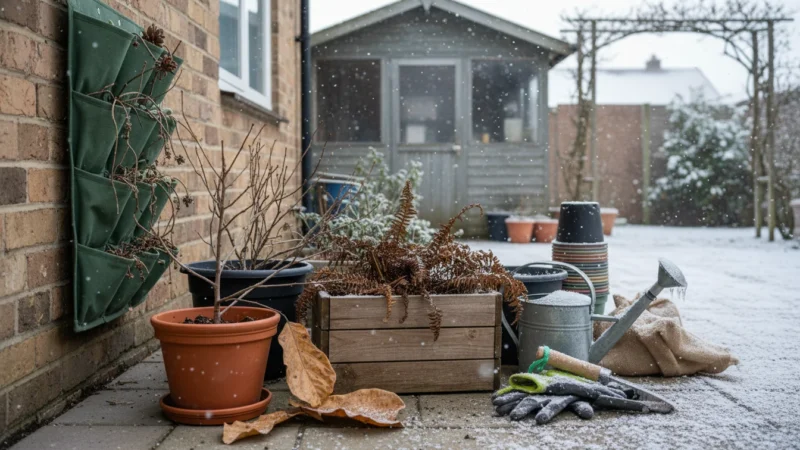
Before you start digging, it is helpful to review an early spring garden prep checklist to ensure your balcony or patio is ready for the new season.
This guide will equip you with practical strategies to enrich your soil using only nature’s best ingredients. We will explore how to build a living, breathing ecosystem right where your plants root, fostering long-term health and sustainability. You will discover simple, actionable steps to improve drainage, boost fertility, and support beneficial microbes, creating an optimal environment for everything you grow. Let us get started on cultivating healthier soil, and by extension, healthier plants.
Understanding Your Soil: The Foundation of Plant Health
Before you begin improving your soil, you must understand what you already have. Soil is more than just dirt. It is a complex mixture of mineral particles, organic matter, water, air, and countless living organisms. Each component plays a vital role in your plants’ ability to absorb nutrients, anchor their roots, and access water and oxygen.
To see how your growing medium is performing over time, performing a fall soil autopsy can reveal how effectively your plants are using available nutrients.
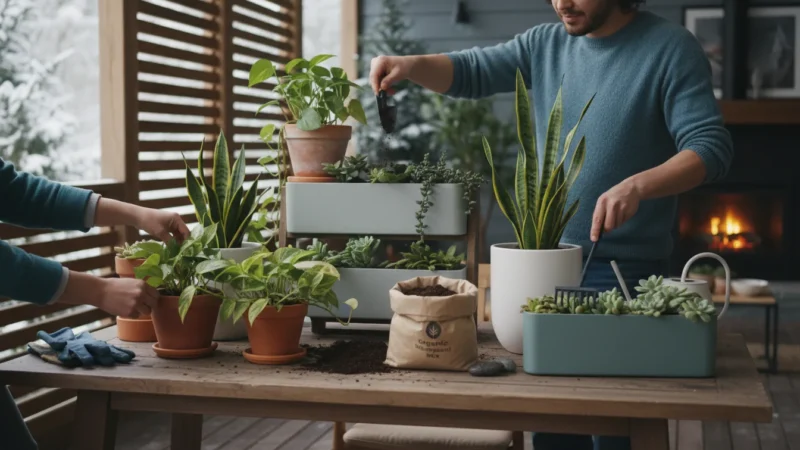
For those growing in pots, mastering the soil basics for containers is the first step toward a thriving harvest.

The Three Main Mineral Particles: Sand, Silt, and Clay
- Sand: Large particles. Sand provides excellent drainage and aeration, but it retains few nutrients or water. Your plants need more frequent watering in sandy soils.
- Silt: Medium-sized particles. Silt offers good water retention and nutrient-holding capacity.
- Clay: Tiny, flat particles. Clay holds water and nutrients exceptionally well, but its density can lead to poor drainage and compaction. Clay soils often feel heavy and sticky.
The ideal soil, often called loam, strikes a balance between these three types. Loamy soil allows for good drainage, retains adequate moisture, and provides sufficient air for roots. You can easily perform a simple jar test at home to determine your soil’s texture. Take a sample, mix it with water in a clear jar, shake it vigorously, and let the layers settle over 24 hours. The layers will reveal your soil’s sand, silt, and clay proportions.
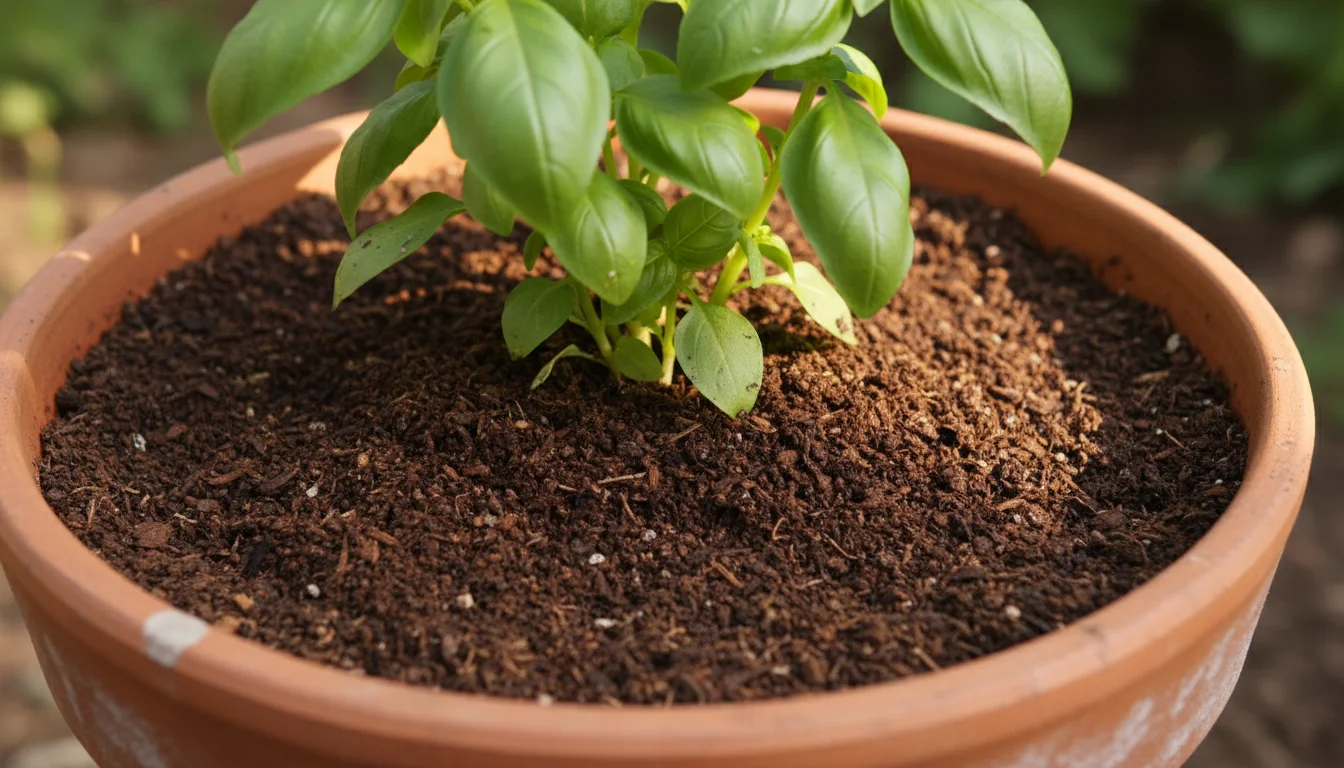
The Importance of Organic Matter
Organic matter consists of decomposed plant and animal materials. It is the lifeblood of healthy soil. It acts like a sponge, significantly improving water retention in sandy soils and enhancing drainage in heavy clay soils. Organic matter also provides a slow-release source of essential nutrients for your plants and feeds the beneficial microorganisms that convert nutrients into forms plants can readily use. You want to aim for soil with at least 5% organic matter for optimal plant health. Regularly adding organic materials is a cornerstone of organic soil improvement and sustainable gardening practices.

Soil pH: The Nutrient Key
Soil pH measures its acidity or alkalinity. A scale from 0 to 14 defines pH, with 7 being neutral. Most garden plants thrive in a slightly acidic to neutral range, typically between 6.0 and 7.0. At this range, essential nutrients become most available to plant roots. You can purchase an inexpensive soil pH test kit at any garden center. Knowing your soil’s pH guides your choices for amendments, ensuring your efforts to enrich the soil genuinely benefit your plants.
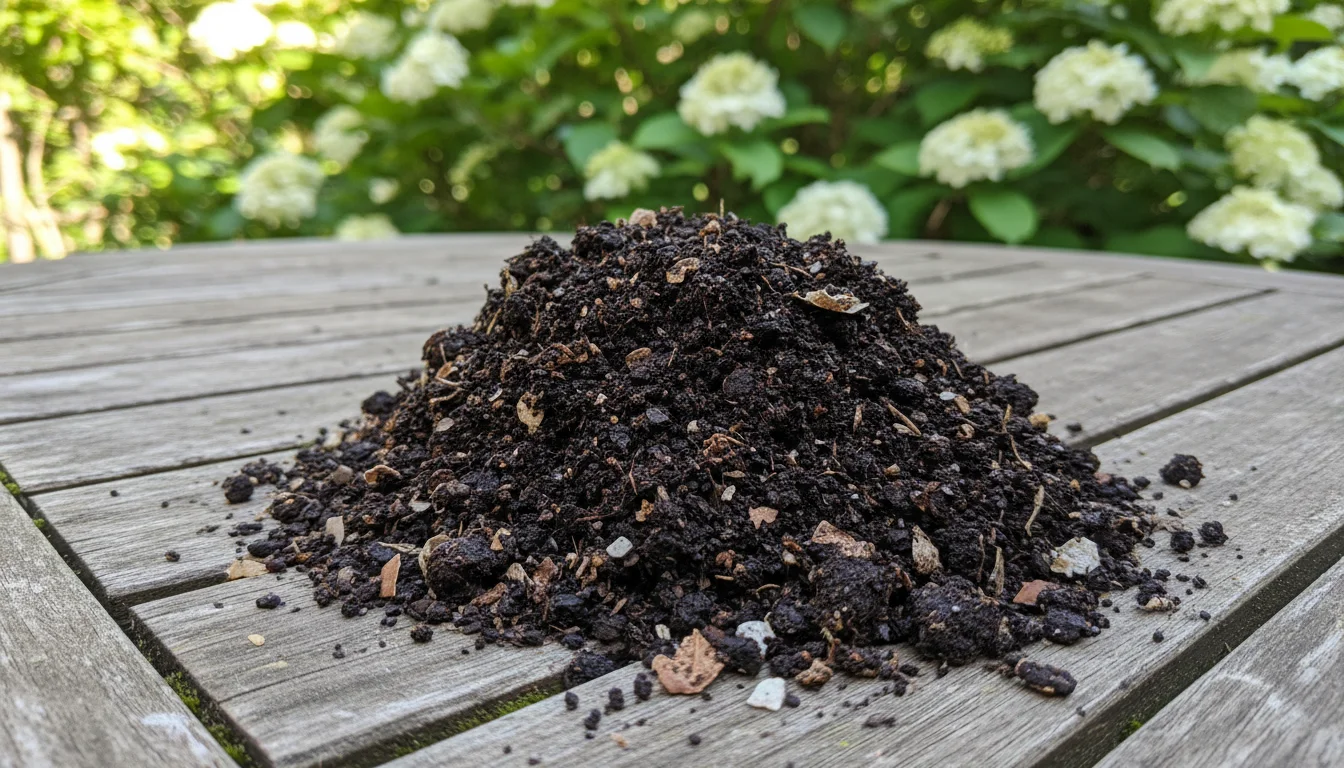
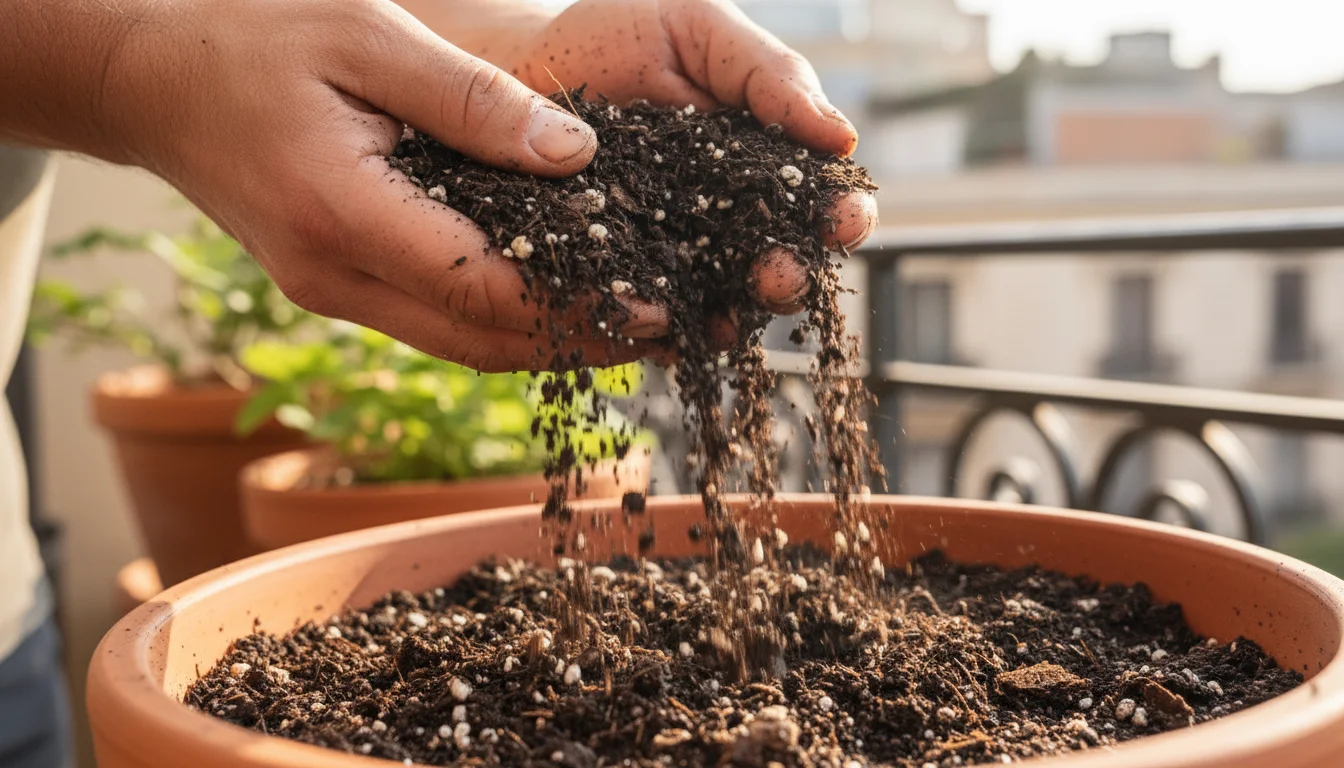
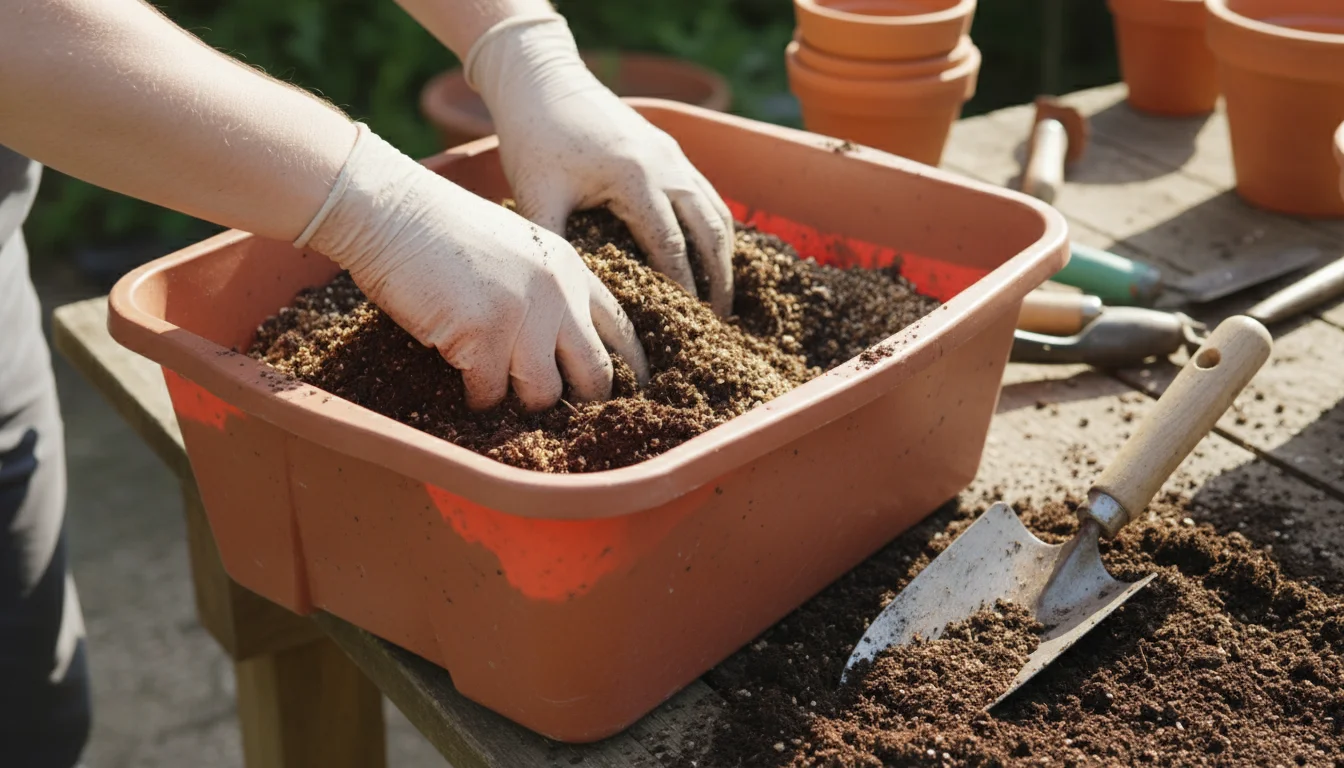
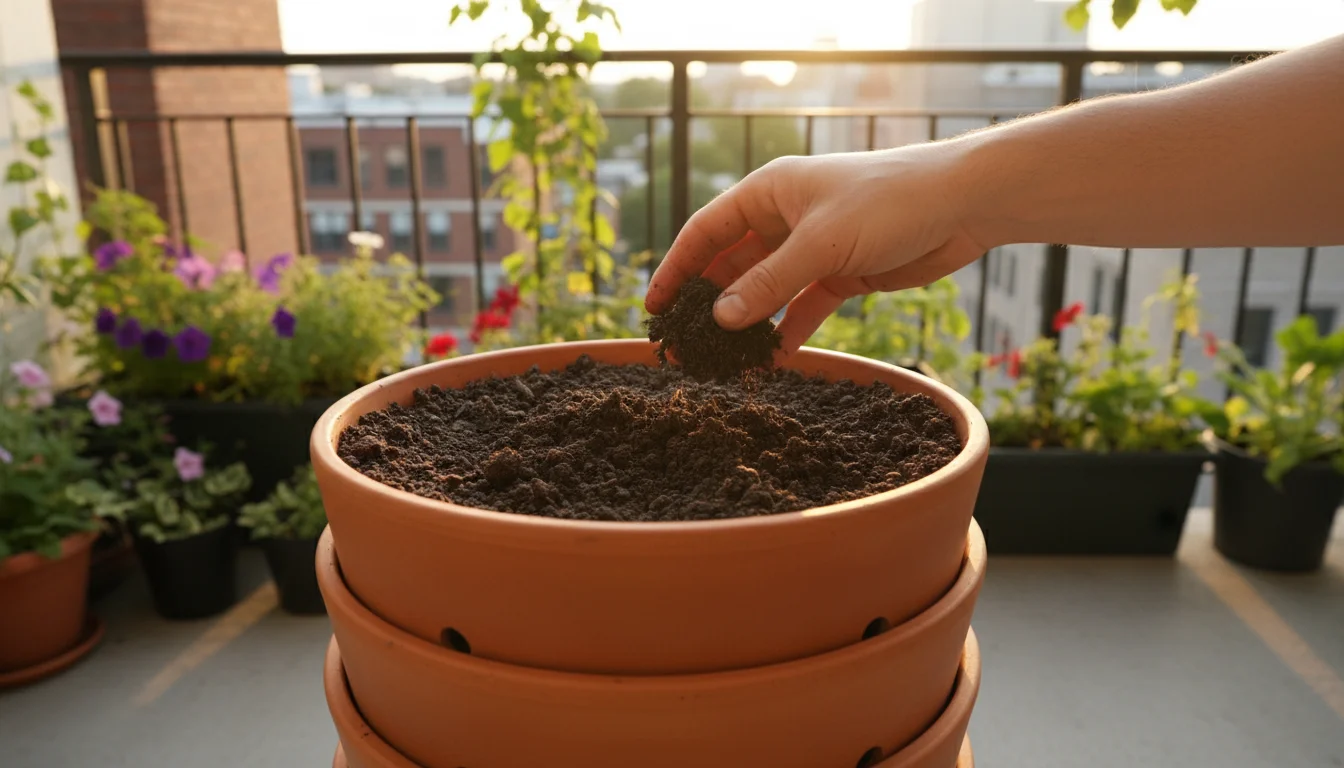
The Power of Compost: Nature’s Best Soil Amendment
Compost is widely recognized as the single best way to improve soil structure and fertility naturally. It is decomposed organic material, rich in nutrients and beneficial microbes. Think of it as nature’s ultimate soil conditioner. Adding compost means you give your soil a complete health boost, not just a shot of synthetic nutrients.
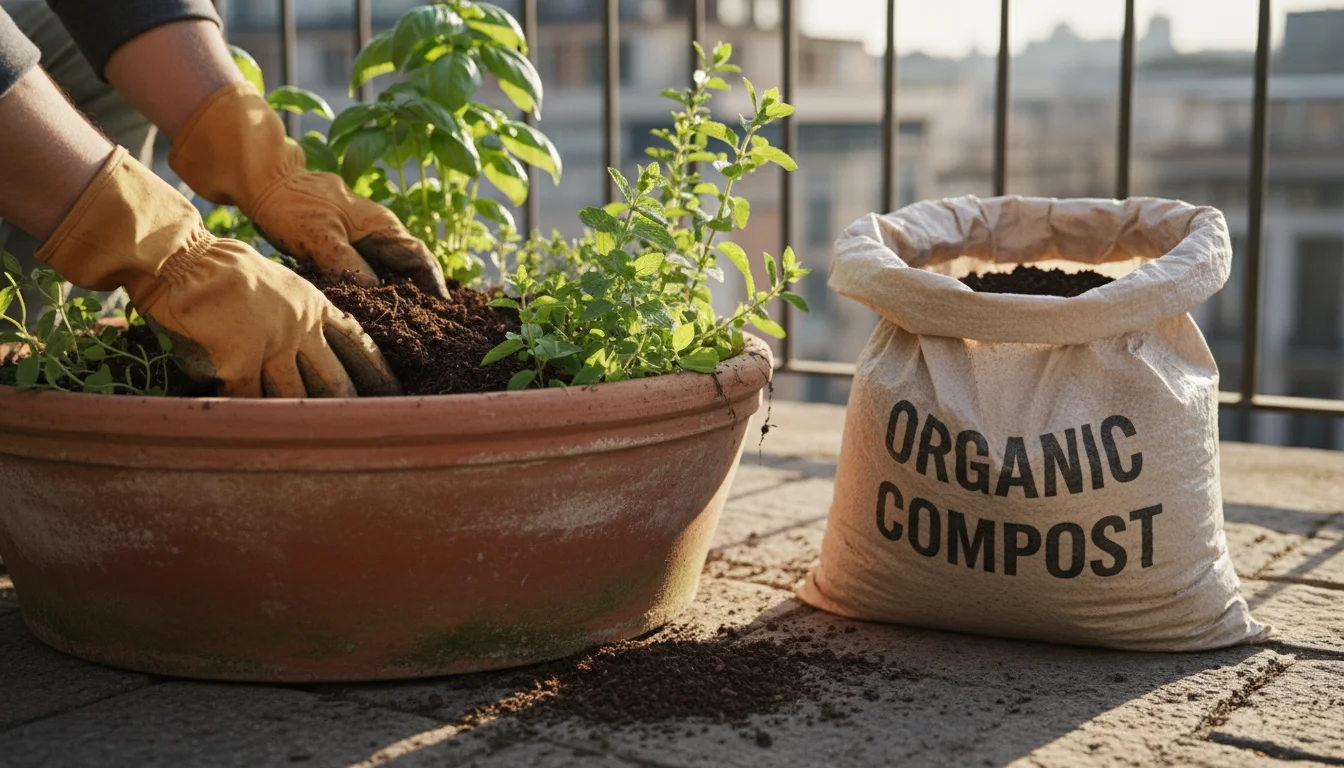
If you are new to making your own amendments, a beginner’s guide to small-space composting can help you decide which method fits your home best.
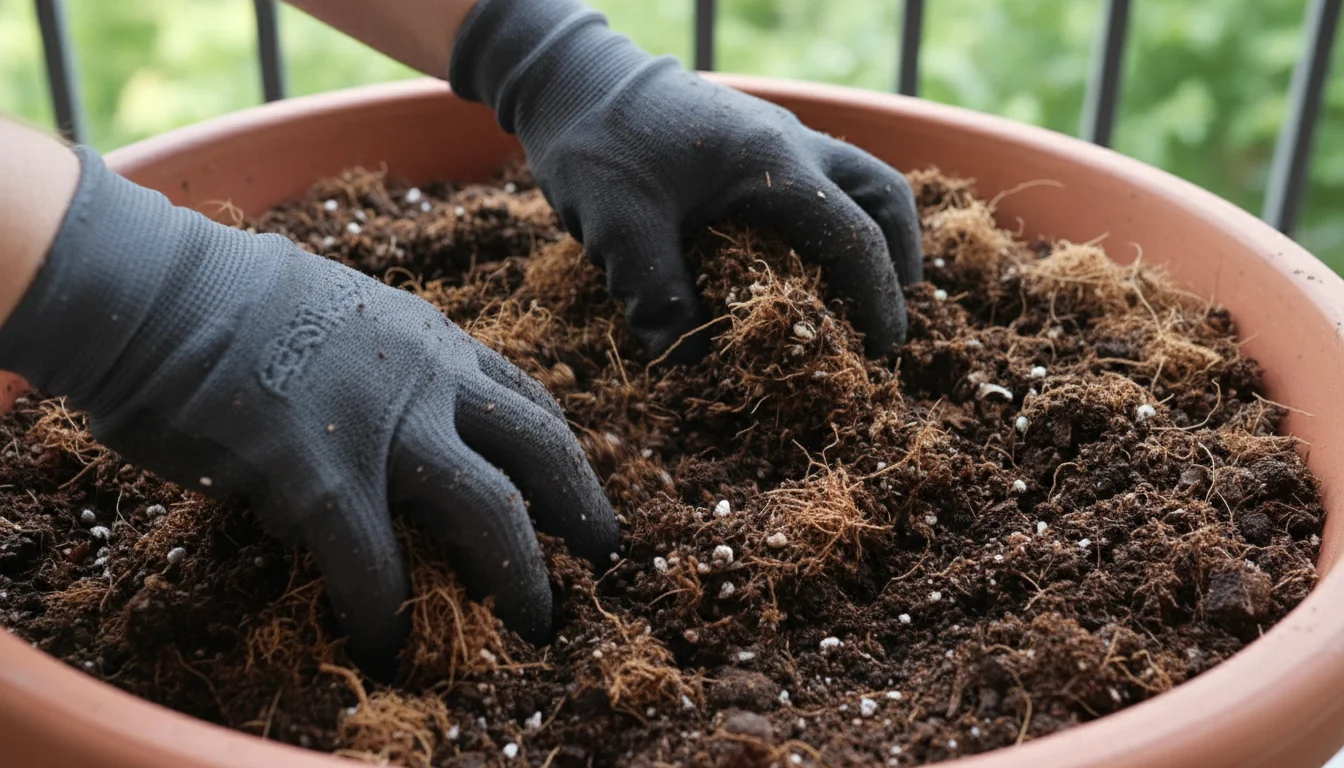
If you have leftover dirt from previous seasons, adding fresh compost is one of the best ways to reuse old potting soil safely.

Why Compost is a Game-Changer for Your Soil:
- Boosts Nutrient Content: Compost provides a slow, steady release of a wide spectrum of nutrients, including nitrogen, phosphorus, and potassium, as well as crucial micronutrients. Your plants access these nutrients exactly when they need them, avoiding the boom-and-bust cycle of synthetic fertilizers.
- Improves Soil Structure: For sandy soils, compost acts like a glue, binding particles together to improve water retention and nutrient holding capacity. For clay soils, it creates air pockets, enhancing drainage and aeration, making heavy soil easier to work.
- Increases Water Retention: Compost can hold many times its weight in water, reducing the frequency of watering your plants require. This makes your garden more water-wise and resilient, particularly during dry spells.
- Enhances Microbial Activity: Compost introduces a diverse community of beneficial bacteria, fungi, and other microorganisms into your soil. These microbes break down organic matter, cycle nutrients, and even help protect plants from diseases. A thriving microbial community creates a robust, living soil ecosystem.
- Buffers Soil pH: While compost is typically neutral, its buffering capacity helps stabilize your soil’s pH, pushing it towards the optimal range for most plants.
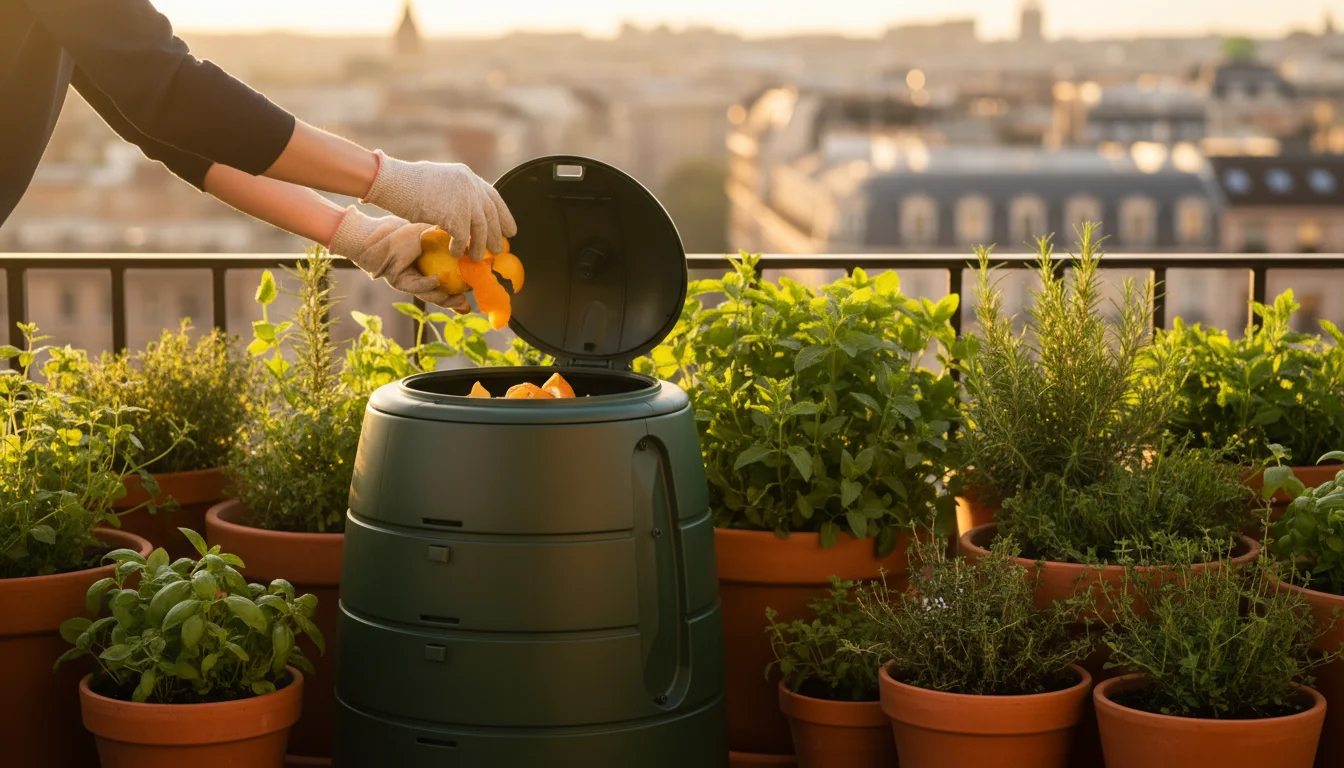
Making Compost: Simple Methods for Small Spaces
You do not need a sprawling yard to make compost. You can easily start a small composting system, even in containers or dedicated bins on a patio or balcony.
Container Composting:
A simple bin or even a sturdy plastic tote with drilled holes for aeration can serve as a compost bin. Maintain a balance of “greens” (nitrogen-rich: food scraps, grass clippings) and “browns” (carbon-rich: dry leaves, shredded paper, wood shavings). Keep the mix moist, like a wrung-out sponge, and turn it periodically to introduce air. Depending on the conditions, you can have usable compost in a few months.
Bokashi Composting:
This anaerobic (oxygen-free) method ferments food scraps, including meat and dairy, using special inoculated bran. It is excellent for small spaces as it produces little odor. After fermentation in a sealed bucket, the fermented material goes into the soil, where it quickly breaks down into rich compost.
Using Compost in Your Garden:
- Top Dressing: Spread a 1-2 inch layer of finished compost over the soil surface around your plants. The nutrients will slowly leach into the soil with each watering or rain. This method is perfect for established plants and requires minimal disturbance to their roots.
- Mixing into Beds: Before planting new beds or preparing for a new season, incorporate 2-4 inches of compost into the top 6-12 inches of soil. This gives new plants an immediate nutrient boost and significantly improves soil structure.
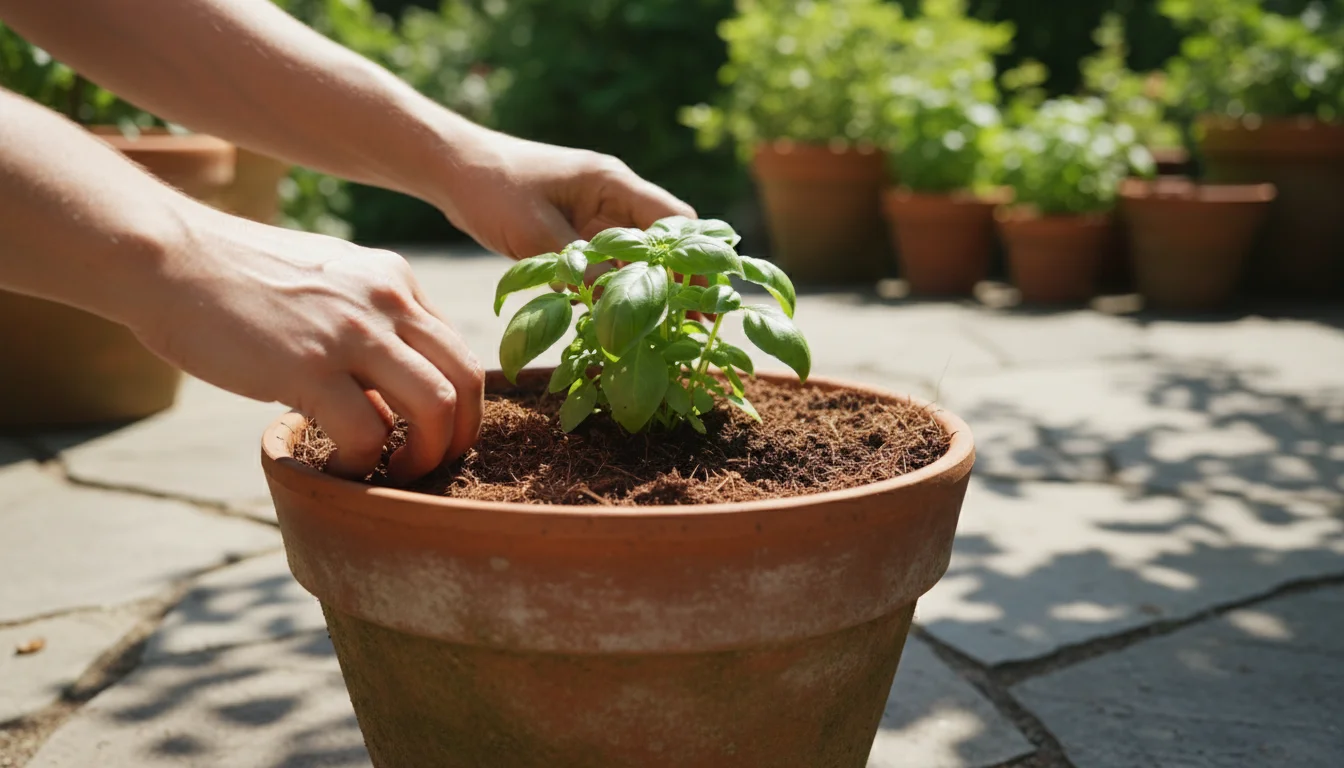
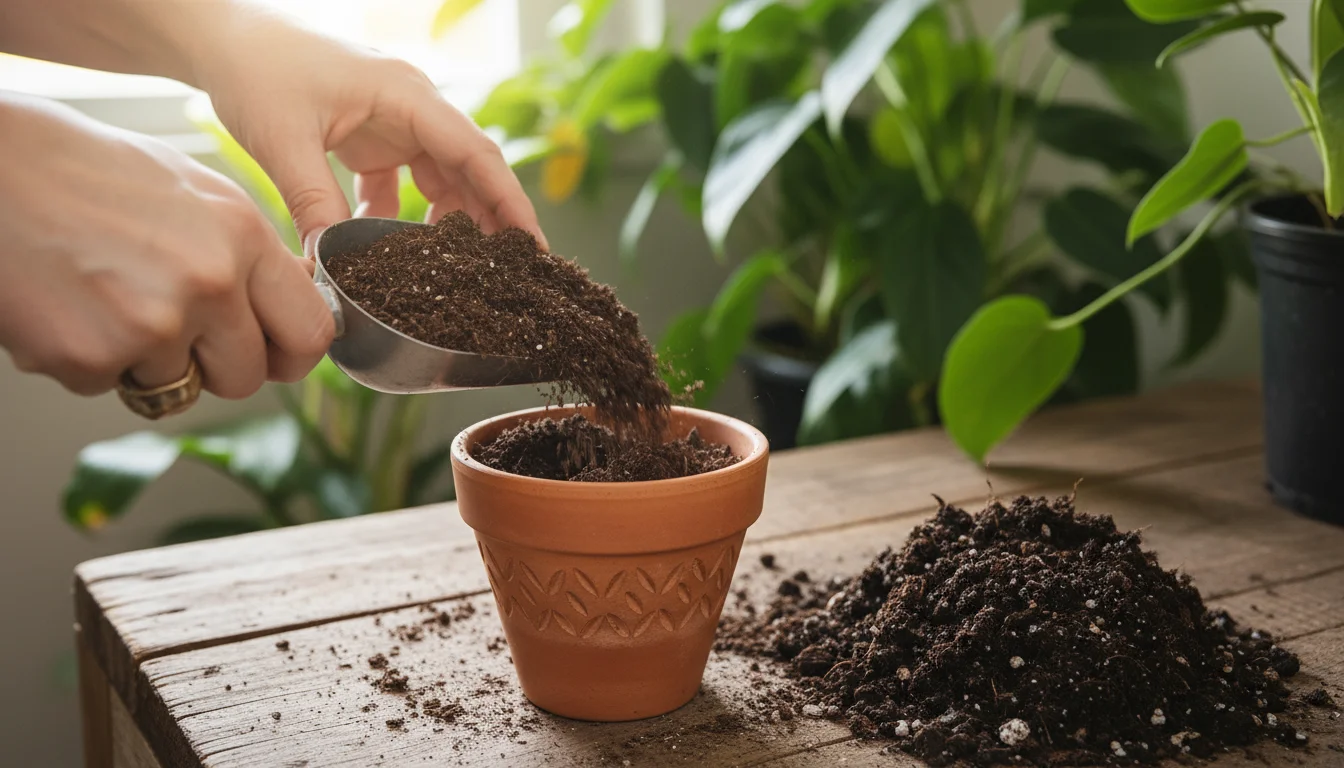
- Potting Mix Amendment: For container plants, mix 1 part compost with 2-3 parts of your chosen potting mix. This enriches the mix, improves water retention, and provides essential microbes for confined root systems.
Regular application of compost, perhaps once or twice a year, will dramatically transform your soil over time. It is the best investment you can make in your garden’s long-term health.
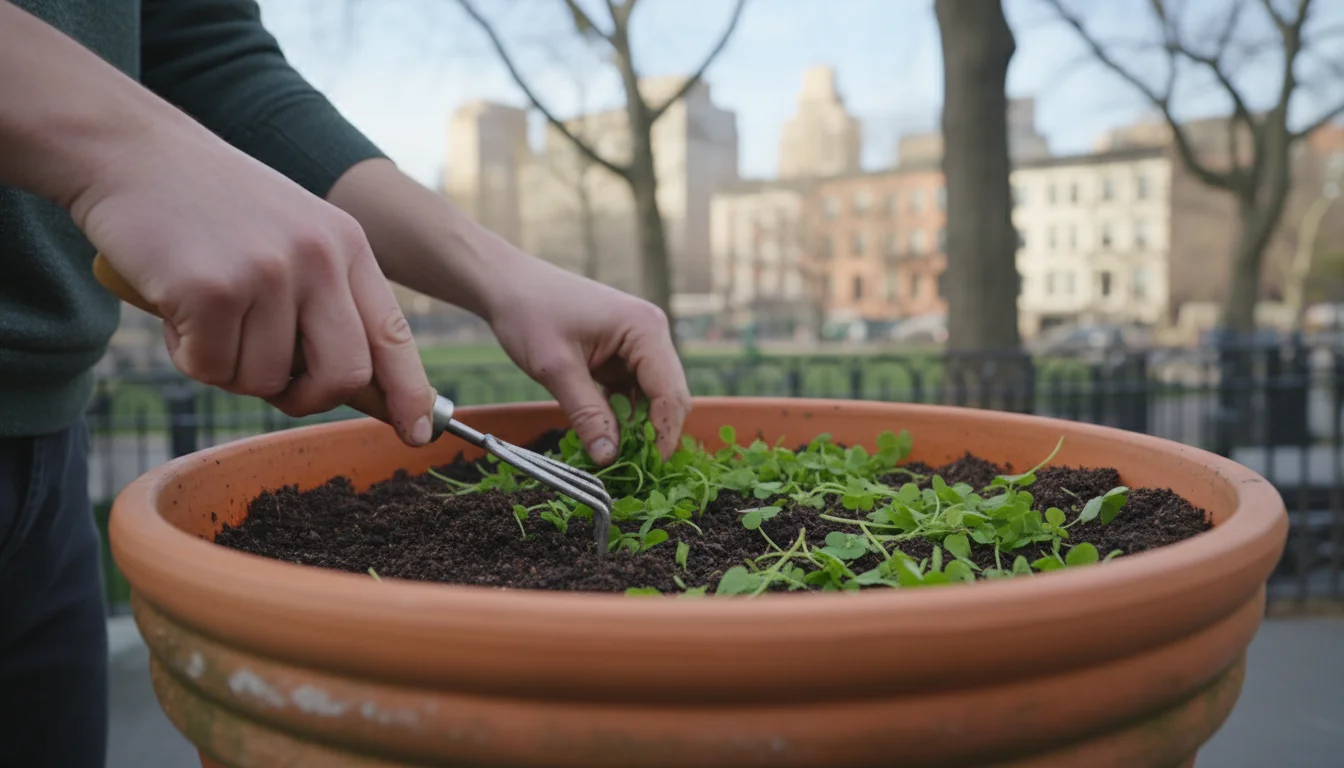
Green Manures: Growing Your Soil’s Future
Green manures, also known as cover crops, are plants you grow specifically to improve soil health, then cut down and incorporate back into the soil. This eco gardening practice offers multiple benefits, from adding organic matter and nutrients to suppressing weeds and preventing erosion. You literally grow your soil’s future fertility.

How Green Manures Work Their Magic:
- Adds Organic Matter: When you chop down and incorporate green manure plants, you introduce a significant amount of fresh organic material into your soil. This decomposes, enriching the soil structure, water retention, and nutrient content, much like compost.
- Nitrogen Fixation: Leguminous green manures, such as clover, vetch, and alfalfa, have a symbiotic relationship with soil bacteria. These bacteria take nitrogen from the air and convert it into a form plants can use, effectively fertilizing your soil naturally. You get a free nitrogen boost.
- Weed Suppression: A dense cover crop canopy can smother weeds, reducing their growth and competition with your desired plants. This saves you time and effort on weeding.
- Erosion Control: Growing green manures during periods when your main garden beds are empty protects the soil from wind and water erosion, especially crucial in raised beds or sloped areas. The root systems hold the soil in place.
- Breaks Up Compacted Soil: Plants with deep taproots, such as daikon radish or tillage radish, can penetrate compacted layers of soil. As their roots grow and then decompose, they create channels that improve drainage and aeration, acting as a natural subsoiler.
- Nutrient Scavenging: Some green manures can absorb nutrients that might otherwise leach deep into the soil beyond the reach of shallower plant roots. When you incorporate the cover crop, these “scavenged” nutrients become available to your subsequent cash crops.
Choosing and Using Green Manures for Small Gardens:
You can effectively use green manures even in small garden spaces or raised beds. Consider these common options:
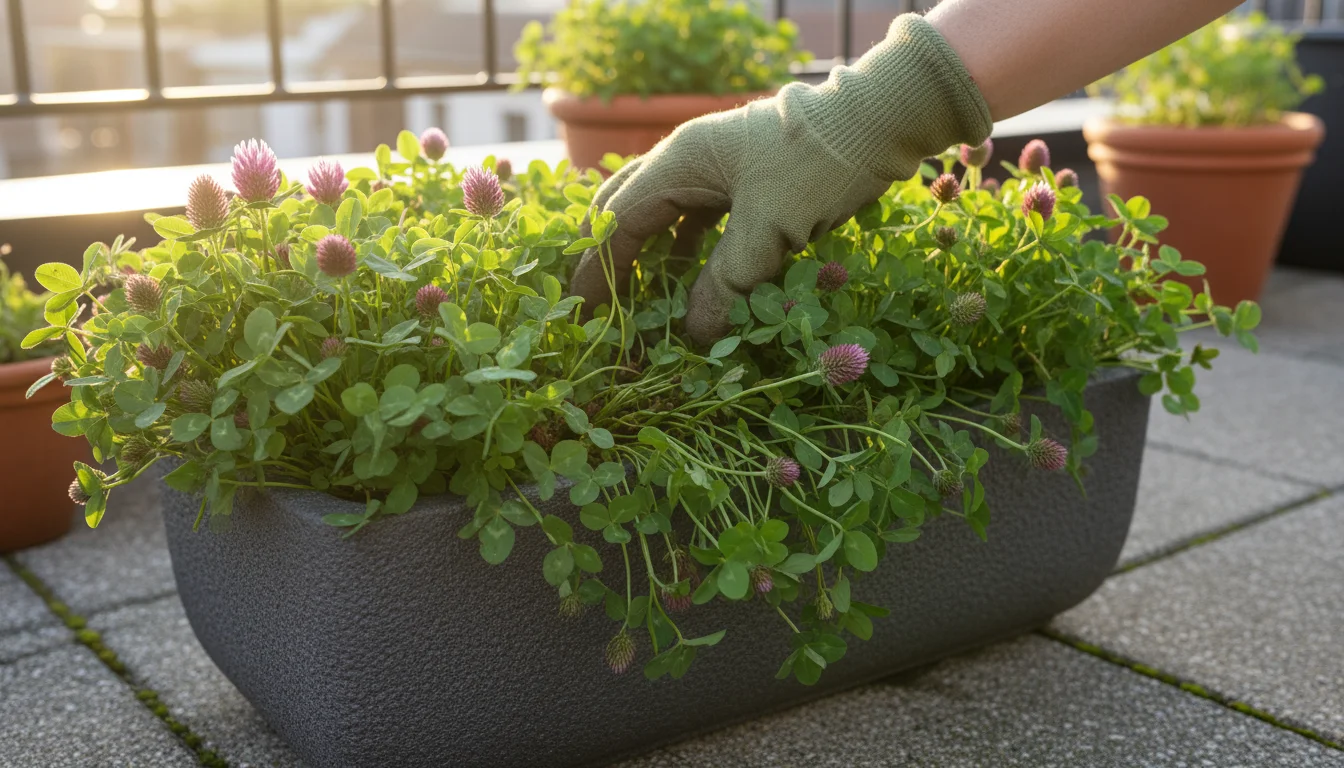
- Clover (Crimson, White, or Red): Excellent nitrogen fixers. You can sow clover in fall or spring. It establishes quickly and offers beautiful blooms that attract pollinators.
- Winter Rye: A robust grass that grows well in cool weather. It adds significant organic matter and prevents erosion, but remember to cut it down before it goes to seed, as it can become woody.
- Buckwheat: A quick-growing warm-season crop. It suppresses weeds and attracts beneficial insects. It flowers in just a few weeks.
- Hairy Vetch: A strong nitrogen fixer. You typically plant it in fall for a spring chop-down.
- Daikon Radish: A fantastic “bio-driller.” Its deep taproot breaks up compacted soil, then decomposes to create channels for water and subsequent plant roots.
Step-by-Step Application:
- Clear the Area: Remove existing weeds from the bed you plan to plant.
- Sow Seeds: Broadcast the green manure seeds evenly over the soil surface. Lightly rake them in or cover them with a thin layer of soil, usually about 1/4 to 1/2 inch deep.
- Water: Keep the area consistently moist until the seeds germinate and the plants establish themselves.
- Grow and Chop: Allow the green manure to grow for several weeks or months, depending on the variety and your goals. For nitrogen fixers, chop them down before they flower profusely. For organic matter, let them grow until they are lush.
- Incorporate: Cut the plants down at soil level using a hoe, shovel, or clippers. You can leave the cuttings on the surface to decompose as a mulch, or lightly turn them into the top few inches of soil. Avoid burying them too deeply, which can slow decomposition.
- Wait: Allow a few weeks for the chopped material to begin decomposing before planting your next crop. This prevents nitrogen “robbery” where the decomposing material temporarily uses up nitrogen that your new plants would otherwise need.
Green manures require a little planning, but their long-term benefits for soil health and fertility make them an invaluable part of an eco-friendly gardening approach.
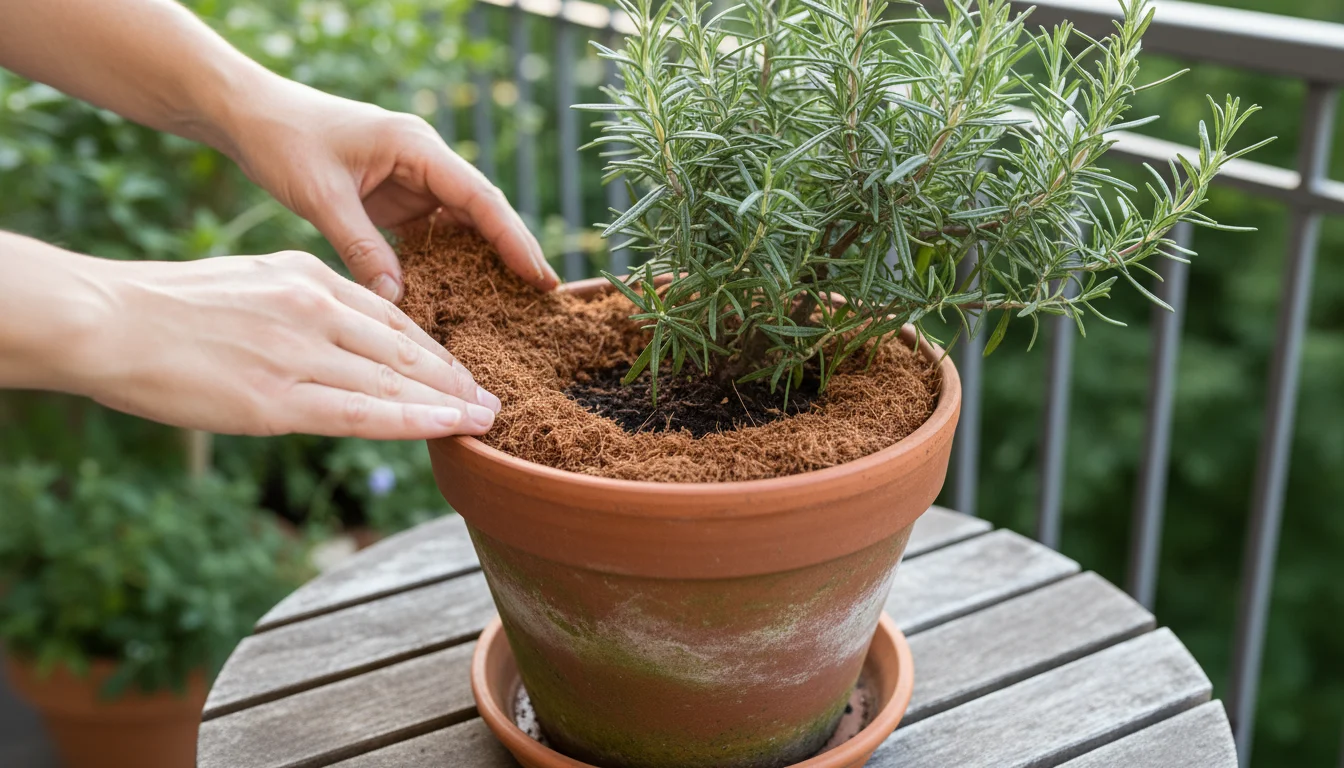
Mulching for Miracles: Protection and Enrichment
Mulching is one of the simplest and most effective ways to improve soil health and reduce garden maintenance. It involves covering the soil surface with a layer of organic material. You create a protective barrier that shields your soil from the elements, conserves moisture, and adds valuable organic matter as it breaks down.
The Multifaceted Benefits of Organic Mulch:
- Moisture Conservation: Mulch significantly reduces water evaporation from the soil surface. This means you water less frequently, saving time and precious resources. Studies show mulch can reduce watering needs by up to 50%.
- Temperature Regulation: Mulch insulates the soil. It keeps the soil cooler in summer, protecting roots from heat stress, and warmer in winter, providing a buffer against freezing temperatures. This creates a more stable root environment.
- Weed Suppression: A thick layer of mulch blocks sunlight, preventing weed seeds from germinating and smothering existing weeds. You spend less time weeding and your plants face less competition for resources.
- Adds Organic Matter and Nutrients: As organic mulches decompose, they slowly release nutrients into the soil. They also feed the soil microbes, contributing to the overall fertility and structure of your soil over time. This continuous, gentle feeding is a key aspect of organic soil improvement.
- Prevents Soil Compaction and Erosion: Mulch protects the soil surface from the impact of heavy rain, preventing compaction and runoff. It also shields bare soil from wind erosion.
Choosing the Right Organic Mulch:
Several organic materials make excellent mulches. Choose based on availability, cost, and desired aesthetic.
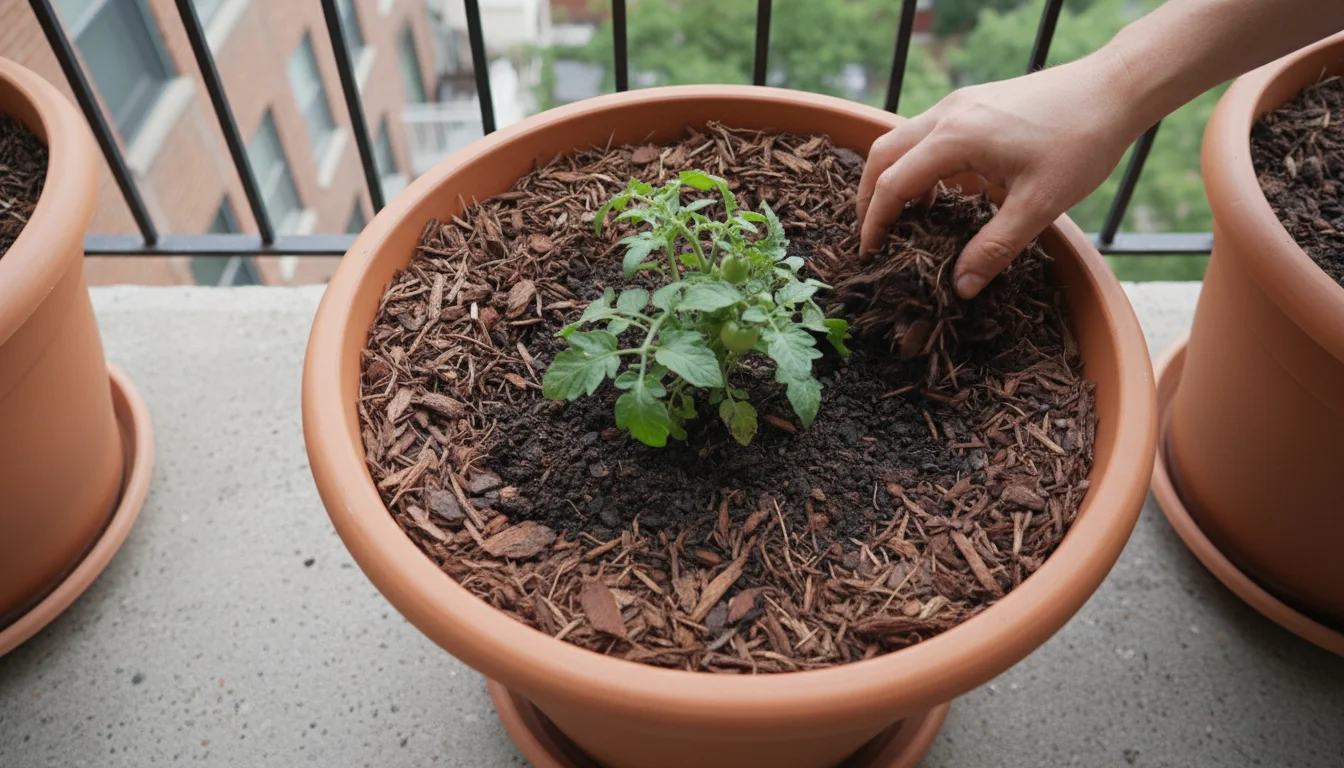
- Wood Chips or Bark Mulch: Long-lasting, excellent for perennial beds and pathways. They decompose slowly, providing consistent organic matter. Avoid fresh wood chips directly around annuals, as decomposition can temporarily tie up nitrogen. Use aged wood chips or a compost layer underneath.
- Straw: Ideal for vegetable gardens. It is inexpensive, light, and decomposes relatively quickly, enriching the soil. Ensure you use weed-free straw, not hay, which contains weed seeds.
- Shredded Leaves: A fantastic, free resource. Collect fallen leaves in autumn, shred them (a lawnmower can do this), and apply a thick layer. They break down beautifully, adding rich organic matter.
- Grass Clippings: Use thin layers of untreated grass clippings (no herbicides) to avoid matting and odor. They break down quickly, adding nitrogen. Let them dry slightly before applying to prevent compaction.
- Compost: Finished compost makes an excellent mulch, offering all the benefits of mulch along with a direct nutrient boost. It is often referred to as “compost mulch.”
Applying Mulch Correctly:
- Prepare the Area: Weed the bed thoroughly and water the soil well before applying mulch. You do not want to trap weeds or dry soil beneath your mulch.
- Apply a Proper Layer: Aim for a 2-4 inch layer of mulch. Too thin, and it will not provide sufficient benefits. Too thick, and it can suffocate roots or create a haven for pests.
- Keep Away from Stems and Trunks: Create a small “donut” around the base of plant stems and tree trunks. Do not pile mulch directly against them. This prevents moisture buildup that can lead to rot and disease.
- Replenish Annually: Organic mulches decompose over time. Replenish your mulch layer annually or as needed to maintain the desired depth and benefits.
By consistently applying organic mulch, you drastically improve your soil’s ability to sustain plant life, reduce your workload, and foster a truly vibrant garden ecosystem. It is a simple habit that yields significant returns.
Harnessing Worm Castings and Beneficial Microbes
The unseen world beneath your feet, teeming with worms and microorganisms, performs incredible work in your soil. By supporting these unsung heroes, you dramatically enhance your soil’s natural fertility and health without resorting to chemicals. These living components are critical to genuine organic soil improvement.
The Magic of Worm Castings:
Worm castings, also known as vermicompost, are essentially worm manure. As earthworms consume organic matter, they digest it and excrete nutrient-rich, microbe-dense castings. These castings are an incredibly potent and gentle soil amendment.
Benefits of Worm Castings:
- Supercharged Nutrients: Worm castings contain readily available forms of nutrients like nitrogen, phosphorus, and potassium, as well as crucial trace minerals. These nutrients are water-soluble, meaning plants can absorb them quickly, but they also release slowly over time. Studies show castings can contain up to 5 times more nitrogen, 7 times more phosphorus, and 11 times more potassium than typical garden soil.
- Abundant Microbes: Castings are packed with a diverse array of beneficial bacteria, fungi, and protozoa. These microbes form a symbiotic relationship with plant roots, enhancing nutrient uptake, improving soil structure, and suppressing plant diseases.
- Improved Soil Structure: The stable, granular structure of castings improves soil aeration and drainage while also increasing its water-holding capacity.
- Natural Pest and Disease Resistance: The microbial diversity in castings can help plants become more resistant to certain pests and diseases by outcompeting harmful pathogens or triggering plant defense mechanisms.
- Non-Burning: Unlike some chemical fertilizers, worm castings are gentle and will not burn plant roots, even when applied directly.
Using Worm Castings:
- Mix into Potting Mix: Add 1 part worm castings to 3-4 parts potting mix for container plants.
- Top Dress: Sprinkle a 1/2 inch layer around the base of plants in beds or containers every 2-3 months. Water it in.
- Compost Tea: Steep a cup or two of worm castings in a gallon of de-chlorinated water for 24-48 hours. Use this “tea” to water your plants for a microbial boost.
Fostering Beneficial Microbes:
Worms are not the only important soil dwellers. Trillions of bacteria, fungi, protozoa, and nematodes exist in a single teaspoon of healthy soil. These microbes are the true workforce of your soil ecosystem.
How Microbes Benefit Your Soil and Plants:
- Nutrient Cycling: Microbes decompose organic matter, converting complex compounds into simpler, plant-available nutrients. Mycorrhizal fungi, for example, extend plant root systems, dramatically increasing their access to water and nutrients.
- Disease Suppression: Beneficial microbes compete with disease-causing pathogens, creating a protective barrier around roots and even producing antibiotic compounds.
- Soil Structure: Fungal hyphae and bacterial “glues” bind soil particles together, forming stable aggregates that improve aeration, drainage, and water infiltration.
- Detoxification: Certain microbes can help break down pollutants in the soil.
Ways to Encourage a Thriving Microbial Community:
- Add Organic Matter: Compost, mulches, and green manures provide food and habitat for microbes. This is the single most important step.
- Avoid Chemical Fertilizers and Pesticides: Synthetic chemicals can harm or kill beneficial microbial populations, disrupting the natural balance of your soil ecosystem. Stick to eco-friendly pest control and organic fertilizers.
- Minimize Soil Disturbance: Tilling and excessive digging can destroy fungal networks and disrupt microbial habitats. Adopt no-till or reduced-till practices where possible.
- Maintain Consistent Moisture: Extreme drying or waterlogging can stress microbial populations. Keep your soil consistently moist, not soggy.
- Use Cover Crops: The root exudates from cover crops feed soil microbes, encouraging their growth and activity.
By consciously nurturing the hidden life in your soil, you create a self-sustaining, resilient environment for your plants. You move beyond simple feeding to fostering a truly living soil.
Improving Drainage and Aeration Naturally
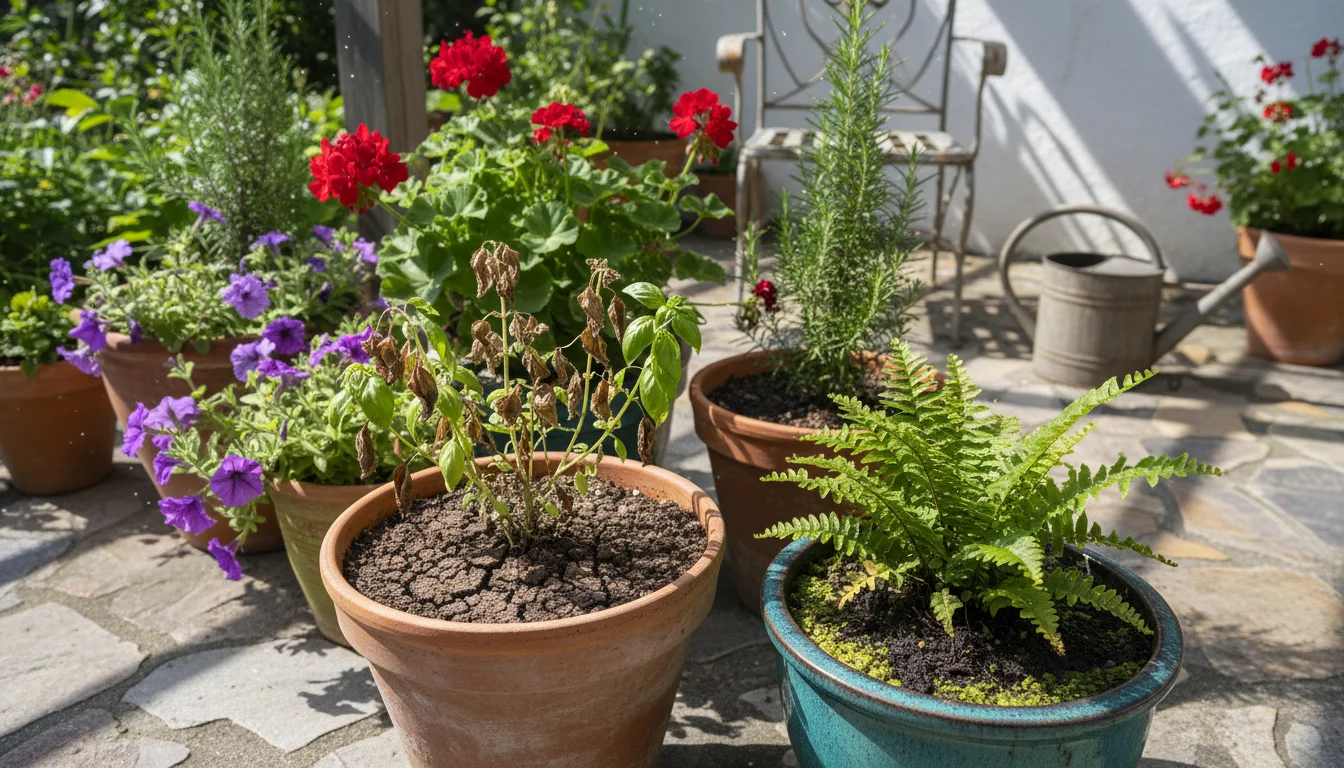
Good drainage and aeration are as vital to plant health as nutrients and water. Roots need oxygen to respire, absorb water, and take up nutrients. When soil is compacted or waterlogged, oxygen is displaced, leading to anaerobic conditions that suffocate roots and promote root rot. You can address these issues effectively using natural soil amendments without chemicals.
Signs of Poor Drainage and Aeration:
- Standing Water: Water puddles on the surface for extended periods after rain or watering.
- Stunted Growth: Plants look unhealthy, yellow, or fail to thrive despite adequate care.
- Wilting: Even with moist soil, plants may wilt because damaged roots cannot take up water.
- Root Rot: Roots turn dark, mushy, and emit a foul odor.
- Hard, Crusted Soil: The soil surface is dense and difficult to penetrate.
Natural Solutions for Drainage and Aeration:
The key to improving drainage and aeration in heavy, compacted soils is to create stable air pockets and channels for water flow. Organic matter is your best friend here.
1. Incorporate Abundant Organic Matter:
This is the most effective and sustainable long-term solution. When you add organic matter like compost, well-rotted manure, or leaf mold, you:
- Creates Aggregates: Organic matter acts as a binding agent, clumping small soil particles (especially clay) into larger aggregates. These aggregates create spaces between them, allowing for better air circulation and water penetration.
- Enhances Porosity: As organic matter decomposes, it leaves behind a network of channels and pores that improve both drainage and aeration.
- Feeds Soil Organisms: Earthworms and other soil creatures tunnel through the soil, naturally aerating it and creating stable channels for water and roots. They thrive on organic matter.
Actionable Step: Before planting new beds, mix 4-6 inches of compost or other organic material into the top 8-12 inches of soil. For existing beds, top dress with a 1-2 inch layer of compost annually.
2. Minimize Soil Compaction:
Compacted soil results from heavy foot traffic, machinery, or even continuously working wet soil. When soil compacts, its air spaces collapse, leading to poor drainage and aeration.
- Stay Off Wet Soil: Avoid walking or working in your garden beds when the soil is very wet. Wet soil is highly susceptible to compaction.
- Use Pathways: Establish designated pathways around your garden beds to prevent walking on the growing areas.
- Raised Beds: Raised beds naturally reduce compaction since you rarely walk directly on the growing medium. They also offer excellent control over soil composition.
3. Consider Green Manures with Deep Taproots:
As discussed, certain cover crops like daikon radish (also called tillage radish) grow deep, robust taproots that penetrate compacted layers. When these plants are cut down and their roots decompose, they leave behind vertical channels that act as natural aerators and drainage conduits.
Actionable Step: Plant daikon radish in fall in compacted areas, then chop and incorporate the tops in spring before planting your main crops. The decomposing roots will naturally loosen the soil. You might also consider broadforking in severe cases.
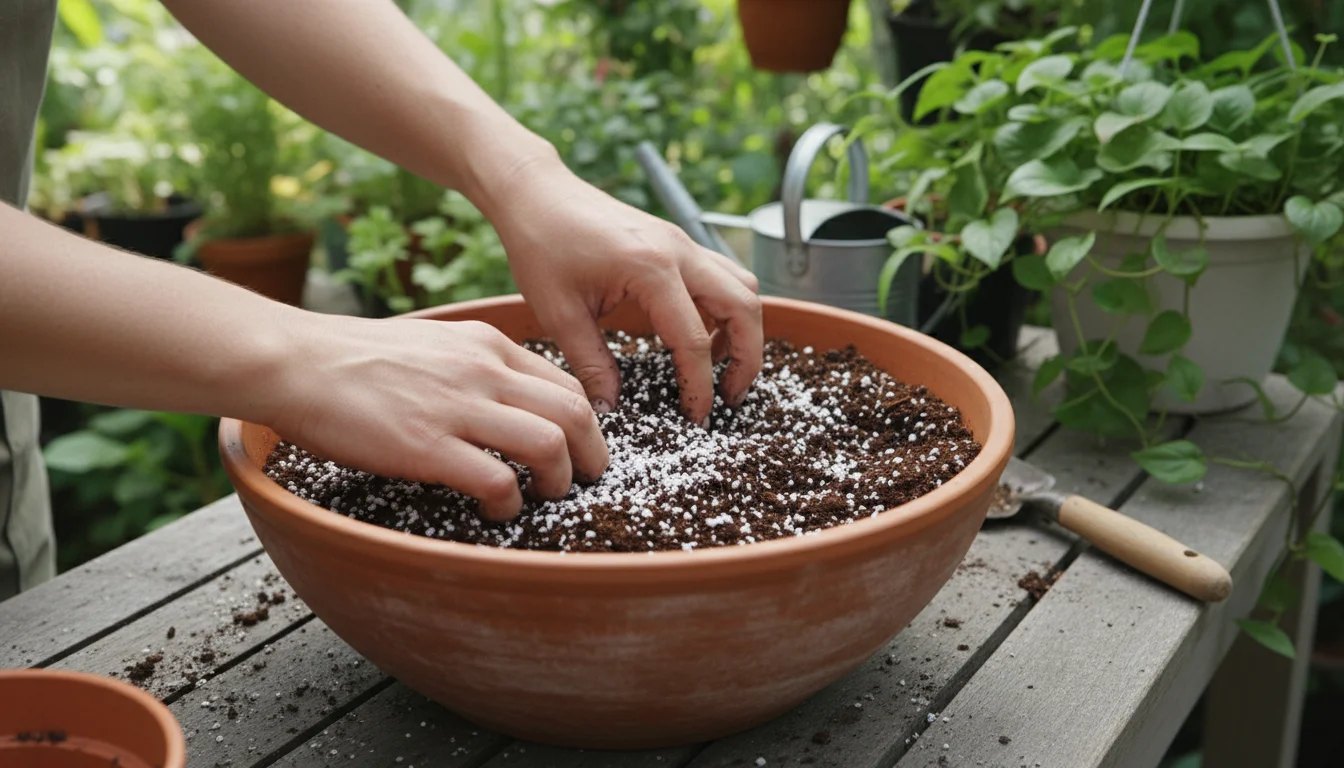
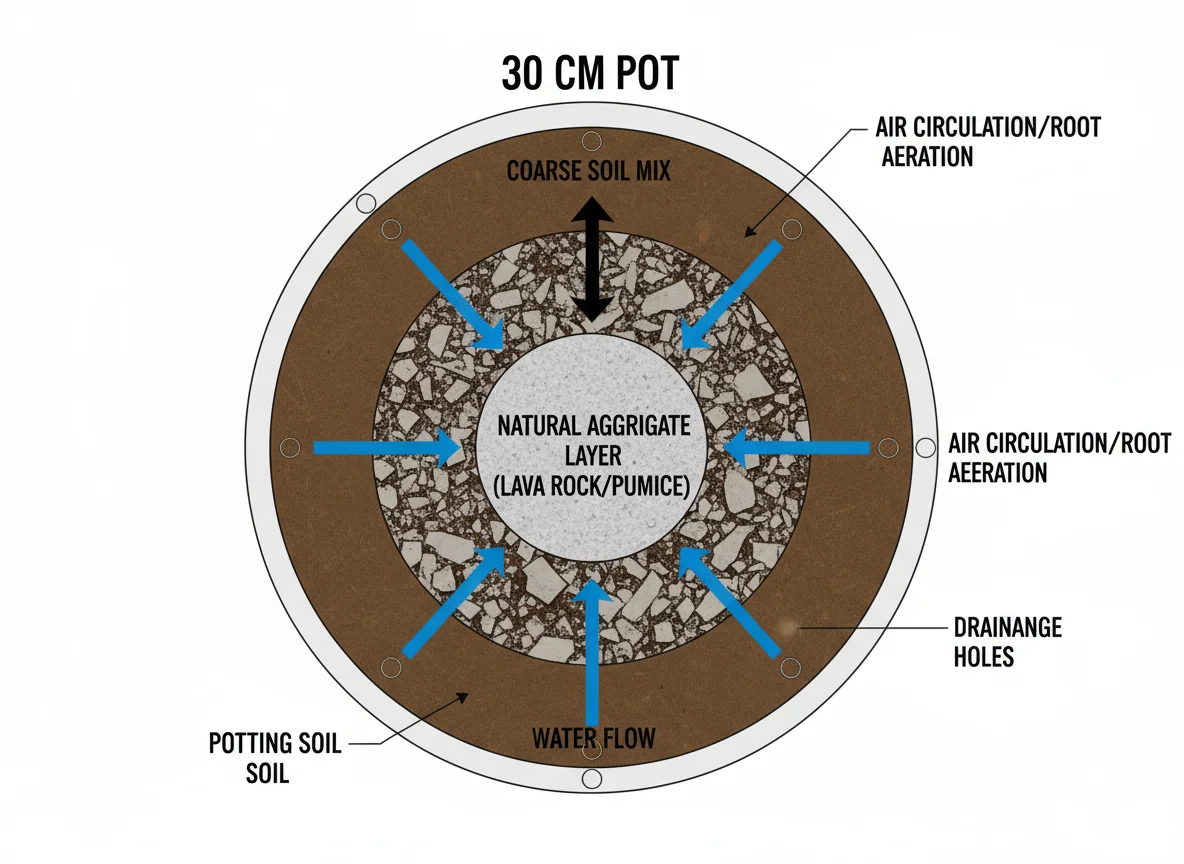
4. Add Coarse Amendments (with caution):
While organic matter is paramount, you can also use certain inert materials to improve drainage, particularly in potting mixes or small problem areas. Perlite, vermiculite, and coarse sand can increase porosity. However, avoid adding fine sand to clay soil, as it can create a concrete-like mixture. Focus primarily on organic solutions for long-term health in garden beds.
By consistently implementing these natural strategies, you cultivate a soil environment where roots can breathe, absorb water efficiently, and access the nutrients they need to support robust, healthy plant growth. You are investing in the long-term vitality of your garden.
Balancing pH without Harsh Chemicals
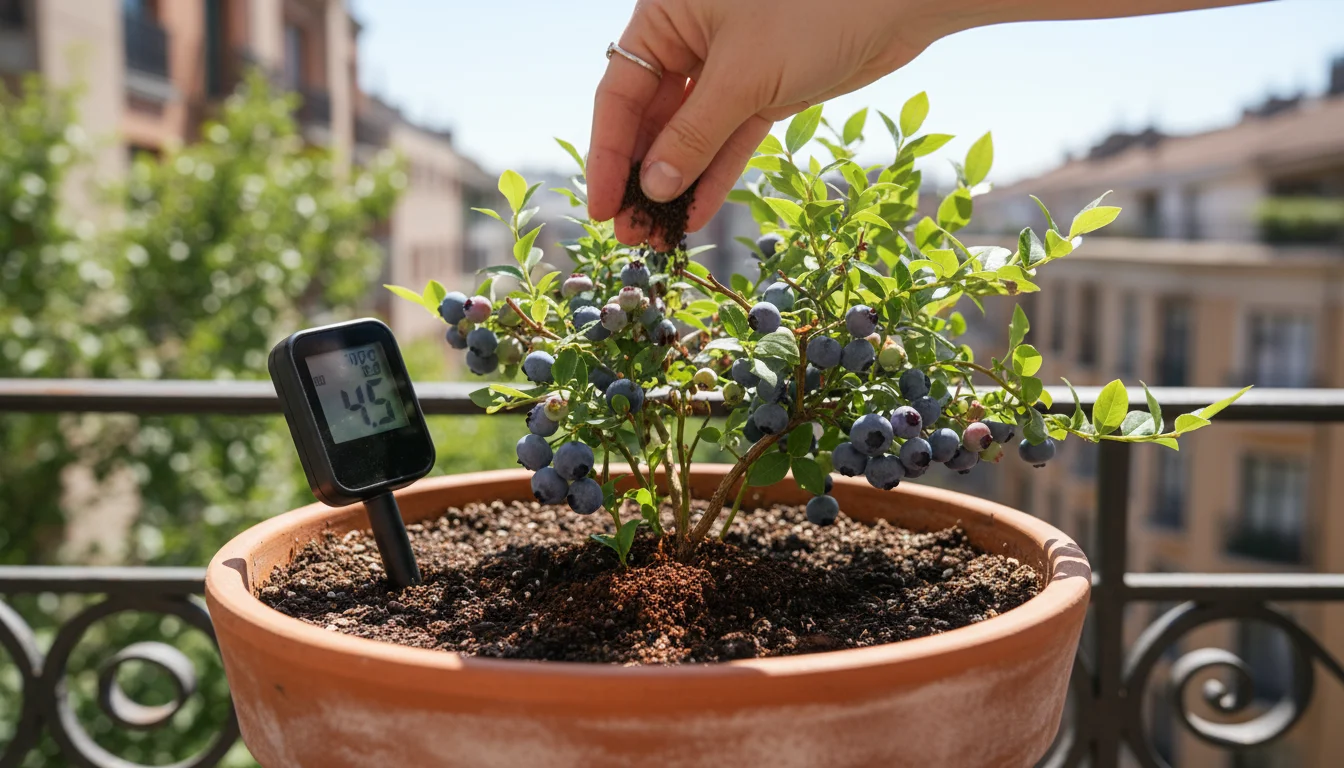
Soil pH directly influences the availability of nutrients to your plants. Even if your soil contains all the necessary nutrients, an imbalanced pH can lock them away, making them inaccessible. Most plants prefer a slightly acidic to neutral pH (6.0-7.0), but some, like blueberries and azaleas, prefer more acidic conditions. You can adjust your soil pH naturally and gently, avoiding the harsh impact of synthetic chemicals.

Testing Your Soil pH:
First, you must know your current pH. You can purchase inexpensive soil test kits online or at garden centers. For more precise results and detailed nutrient analysis, send a soil sample to your local agricultural extension service. They provide comprehensive reports and tailored recommendations.
Adjusting Acidic Soil (Raising pH):
If your soil is too acidic (below 6.0 for most plants), you need to increase its alkalinity. The most common and effective natural amendment for this is wood ash.
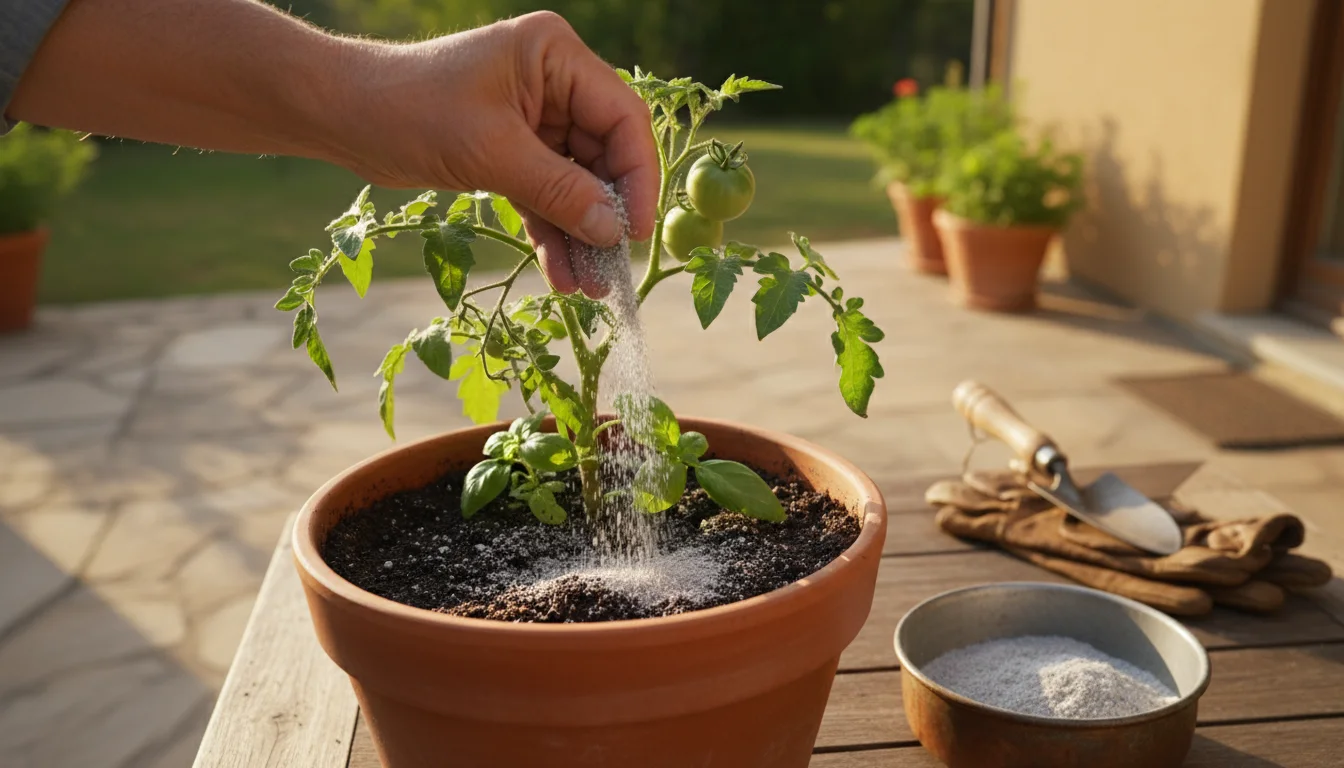
- Wood Ash: A byproduct of burning untreated wood, wood ash contains calcium carbonate, which raises pH. It also provides potassium and trace minerals.
- Application: Apply wood ash sparingly, as it works quickly and can over-correct if used excessively. A general guideline is to spread 5-10 pounds per 1,000 square feet and work it lightly into the top few inches of soil. Re-test your soil after a few months before applying more. Use only ash from untreated wood.
- Eggshells: Crushed eggshells slowly release calcium carbonate, providing a gentle, long-term pH increase. This is more suitable for containers or small, targeted areas due to its slow action.

Adjusting Alkaline Soil (Lowering pH):
If your soil is too alkaline (above 7.0 for most plants), you need to increase its acidity. Several natural options can help.
- Elemental Sulfur: This is a common and effective way to lower soil pH. Soil bacteria convert elemental sulfur into sulfuric acid, a process that takes time.
- Application: Follow product instructions carefully, as the amount depends on your soil type and desired pH change. Typically, you apply elemental sulfur in fall or early spring, allowing several months for it to take effect. Re-test before additional applications.
- Compost and Organic Matter: While not as quick as sulfur, consistent additions of compost, peat moss (used sustainably, see note below), and leaf mold gradually lower soil pH over time. Their decomposition releases organic acids. This is an excellent, sustainable, and gentle method.
- Coffee Grounds: Spent coffee grounds are slightly acidic and add organic matter. You can work them directly into the soil or add them to your compost pile. They provide a gentle, long-term acidifying effect for organic soil improvement.
- Pine Needles: Similar to coffee grounds, pine needles are acidic and decompose slowly, gradually lowering pH and adding organic matter. They also make an excellent mulch for acid-loving plants.
A Note on Peat Moss: While peat moss is effective at lowering pH and improving water retention, its harvest raises environmental concerns due to the slow regeneration of peat bogs. SimpleGardenJoy.com encourages sustainable alternatives like coir (coconut fiber), compost, or well-rotted leaf mold whenever possible. If you must use peat moss, source it responsibly.
Remember, soil pH adjustment is a gradual process. Avoid drastic changes with large quantities of amendments, as this can shock your plants and throw the soil ecosystem out of balance. Regular soil testing and consistent, gentle additions of organic matter are your best approach to maintaining optimal soil pH for a thriving garden.
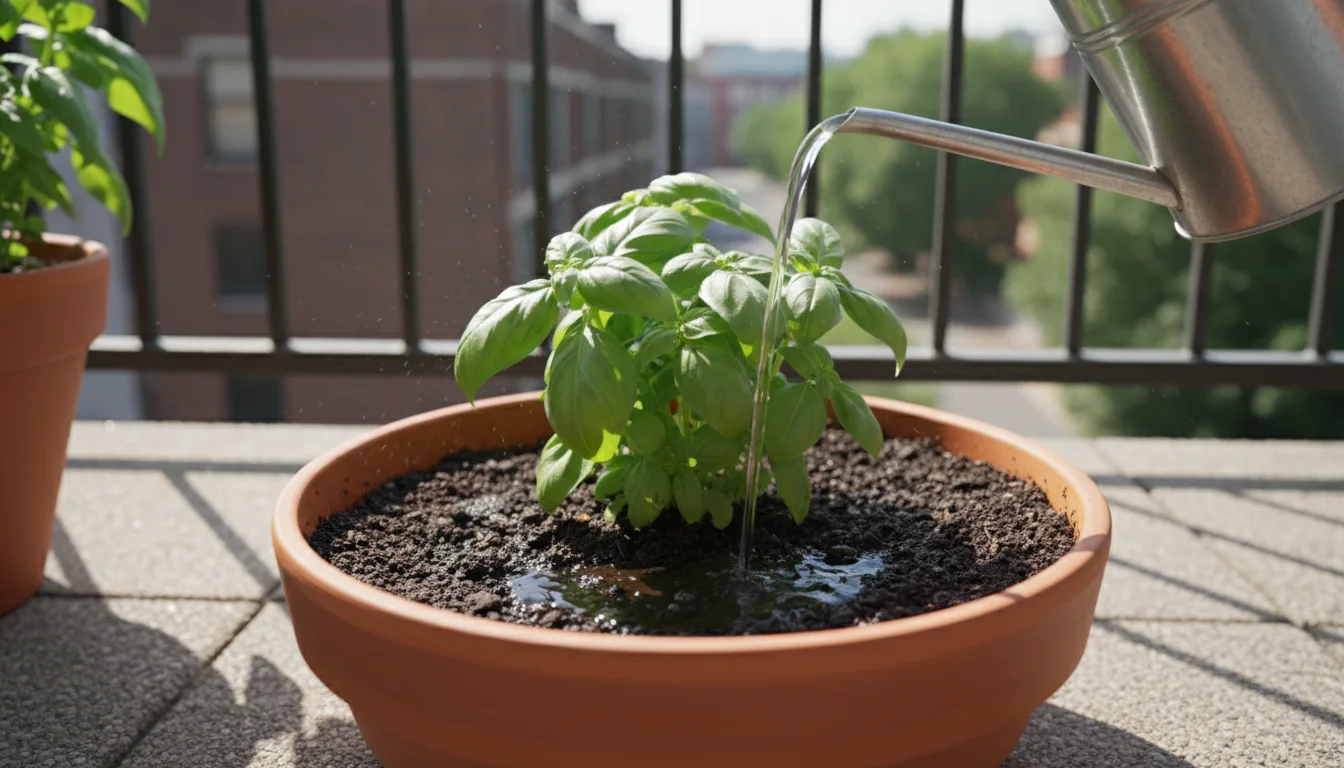
Sustainable Watering Practices for Soil Health
Watering is often seen as a simple task, but how you water profoundly impacts your soil’s health and your plants’ ability to thrive. Sustainable watering practices not only conserve water but also optimize soil structure, nutrient retention, and microbial activity. You want to support a living soil, not just wet it.
The Pitfalls of Improper Watering:
- Shallow, Frequent Watering: This encourages roots to stay near the surface, making plants more susceptible to drought and heat stress. It also leads to nutrient leaching.
- Overwatering: Drowns roots by depriving them of oxygen, leading to root rot and anaerobic conditions in the soil. It also washes away valuable nutrients.
- Compaction: High-pressure watering can break down soil aggregates, leading to compaction and reduced aeration.
Practices for Optimal Soil Health and Water Conservation:
1. Water Deeply and Infrequently:
This is the golden rule. When you water, aim for the moisture to penetrate at least 6-12 inches deep, encouraging roots to grow deeper and establish a robust, drought-tolerant system. You then allow the top few inches of soil to dry out before watering again. This pattern mimics natural rainfall and prevents both waterlogging and surface drying.
- How to Check Depth: Use a trowel or your finger to check soil moisture several inches down before watering. A simple moisture meter also provides an accurate reading.
- Benefits: Promotes deep root growth, reduces nutrient leaching, and encourages beneficial soil microbes.
2. Use Targeted Watering Methods:
Directing water precisely to the plant’s root zone minimizes waste and ensures your soil benefits.
- Drip Irrigation or Soaker Hoses: These systems deliver water slowly and directly to the soil surface, minimizing evaporation and ensuring deep penetration. They are highly efficient for garden beds and rows.
- Hand Watering with a Watering Can or Hose: When hand watering, apply water slowly at the base of the plant. Avoid spraying foliage, which can encourage fungal diseases and lead to increased evaporation.
- Ollas (Clay Pots): For container plants or small beds, bury unglazed clay pots (ollas) in the soil with only the rim exposed. Fill them with water, and the porous clay will slowly release water into the surrounding soil as needed.
3. Mulch, Mulch, Mulch:
As discussed, a 2-4 inch layer of organic mulch dramatically reduces surface evaporation, keeps soil temperatures stable, and helps maintain consistent soil moisture. This means you water less often and your plants experience less stress.
4. Improve Soil Structure for Better Water Retention and Drainage:
Healthy soil, rich in organic matter, is inherently more water-efficient. Organic matter acts like a sponge, holding onto moisture for longer in sandy soils and improving drainage in clay soils. You will notice a significant reduction in your watering needs as your soil health improves.
5. Collect Rainwater:
Install a rain barrel to collect water from your roof. Rainwater is naturally soft and chlorine-free, ideal for plants. Using collected rainwater reduces your reliance on municipal water and is an excellent eco gardening practice.
6. Water at the Right Time:
Water early in the morning. This allows the water to penetrate before the heat of the day causes excessive evaporation. It also gives any splashed foliage time to dry, reducing the risk of fungal diseases. Avoid watering in the middle of the day or late evening.
By adopting these sustainable watering habits, you do more than just hydrate your plants. You actively cultivate a healthier soil environment, conserve a precious resource, and foster a more resilient and thriving garden. You are investing in your garden’s future.

Frequently Asked Questions
What is the fastest way to improve garden soil naturally?
The fastest and most effective way to improve garden soil naturally is by incorporating a significant amount of compost. Mix 4-6 inches of good quality compost into the top 8-12 inches of soil before planting. This immediately boosts organic matter, improves drainage, enhances water retention, and introduces beneficial microbes, providing a rapid and comprehensive soil health upgrade.
Can I improve my soil without digging?
Yes, you can significantly improve your soil without extensive digging. Top dressing with 1-2 inches of compost or well-rotted manure, followed by a layer of organic mulch (like shredded leaves or straw), allows earthworms and other soil organisms to gradually work these materials into the soil. This “no-dig” method promotes healthy soil structure, supports microbial life, and minimizes disturbance to existing fungal networks, embodying eco gardening principles.
How often should I add organic matter to my garden soil?
For established gardens, aim to replenish organic matter at least once a year, typically in spring or fall. Top dress your beds with 1-2 inches of compost or apply fresh organic mulch. In vegetable gardens with heavy feeders, you might consider adding compost twice a year. Consistent, smaller additions are more beneficial than infrequent, large applications for maintaining stable soil health.
Is it okay to use store-bought soil amendments, or must I make my own?
Store-bought organic soil amendments like bagged compost, worm castings, bone meal, or kelp meal are perfectly acceptable and can be very convenient, especially for small-space gardeners. Look for products labeled “organic” or “OMRI-listed” to ensure they meet organic standards. While making your own compost is incredibly rewarding and sustainable, purchasing amendments allows you to enrich your soil effectively even without a composting setup.
What is the best way to improve drainage in heavy clay soil?
The most effective long-term solution for improving drainage in heavy clay soil is to consistently incorporate large amounts of organic matter, such as compost, well-rotted manure, or leaf mold. The organic material binds clay particles into larger aggregates, creating air pockets and channels for water to flow through. You can also use green manures with deep taproots, like daikon radish, to break up compacted layers naturally.
For research-based plant care guidance, visit Oregon State Extension — Gardening, Chicago Botanic Garden and New York Botanical Garden.
Disclaimer: This article is for informational purposes only and is not a substitute for professional advice. Consult local extension services for region-specific recommendations.


Leave a Reply