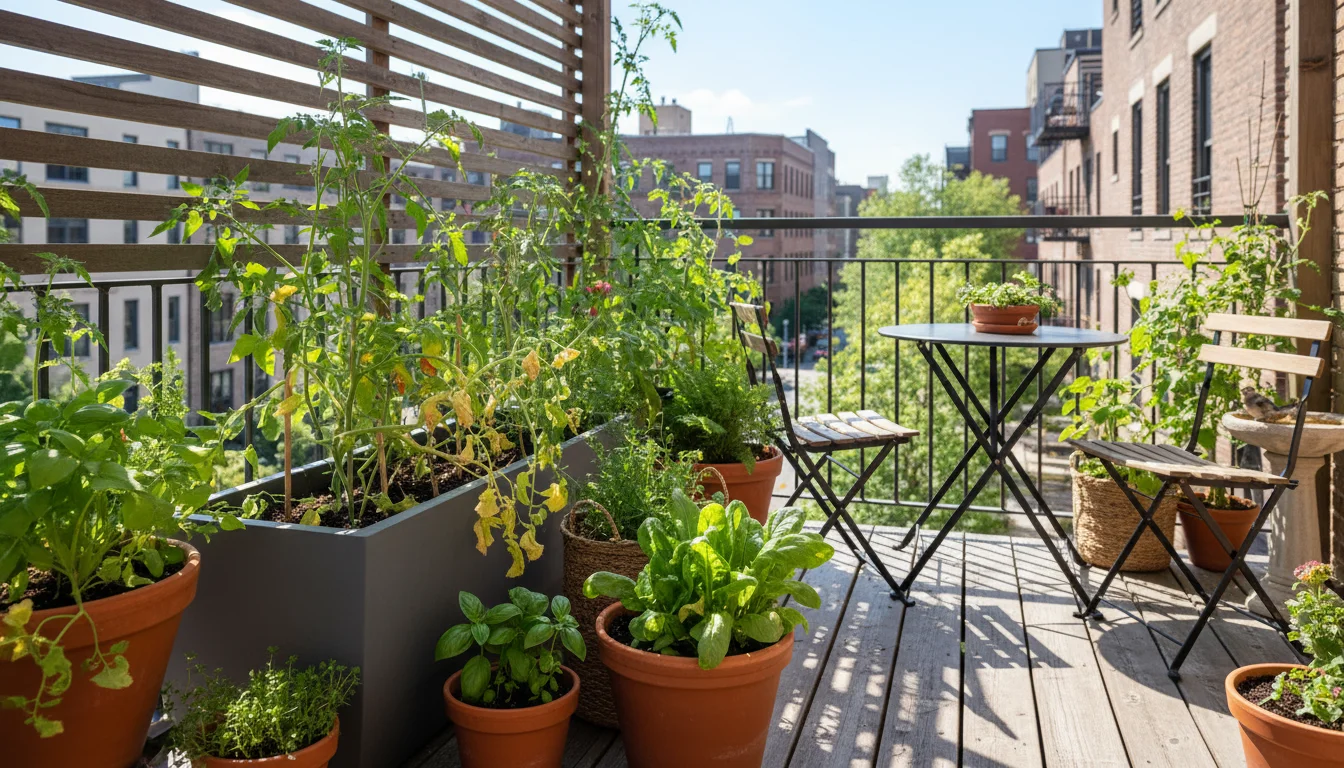
Building healthy soil is the cornerstone of successful container gardening. The soil in your pots provides more than just an anchor for your plants; it serves as a dynamic ecosystem, delivering essential nutrients, holding water, and allowing roots to breathe. Understanding the fundamentals of container soil helps you cultivate vibrant, resilient plants, whether you are growing herbs on a balcony or a miniature orchard on a patio.
If you are new to the hobby, the ultimate beginner’s guide to container gardening provides a helpful foundation for your first project.
Unlike garden beds, where plants draw nutrients and moisture from a vast and interconnected network, container plants rely entirely on what you provide in their limited space. This article guides you through selecting and creating the best potting mix, maintaining its vitality, and ensuring your plants thrive with minimal fuss. Your journey to a greener thumb begins with understanding the ground beneath your plants’ feet.
For research-based plant care guidance, visit Chicago Botanic Garden, New York Botanical Garden and Royal Horticultural Society (RHS).
Understanding Container Soil: Beyond Garden Dirt
Many new gardeners assume they can scoop up soil from their backyard and use it in pots. This is a common misconception that often leads to plant distress. Garden soil, rich in clay and organic matter, is excellent for in-ground beds, but it becomes compacted and suffocating in a confined container. Your goal for successful container gardening involves creating an environment where roots access everything they need without becoming waterlogged or starved for air.
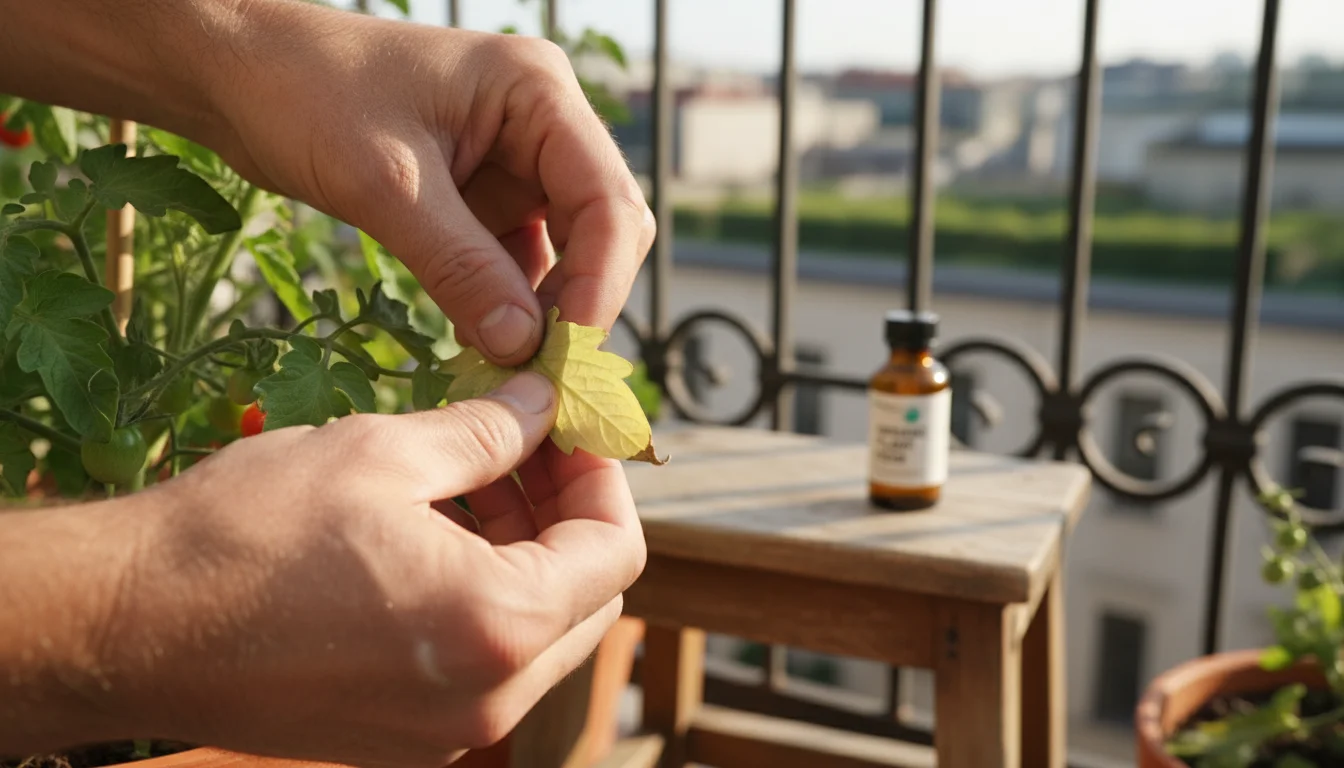
After a long growing season, performing a soil autopsy can help you identify why certain plants thrived while others struggled.
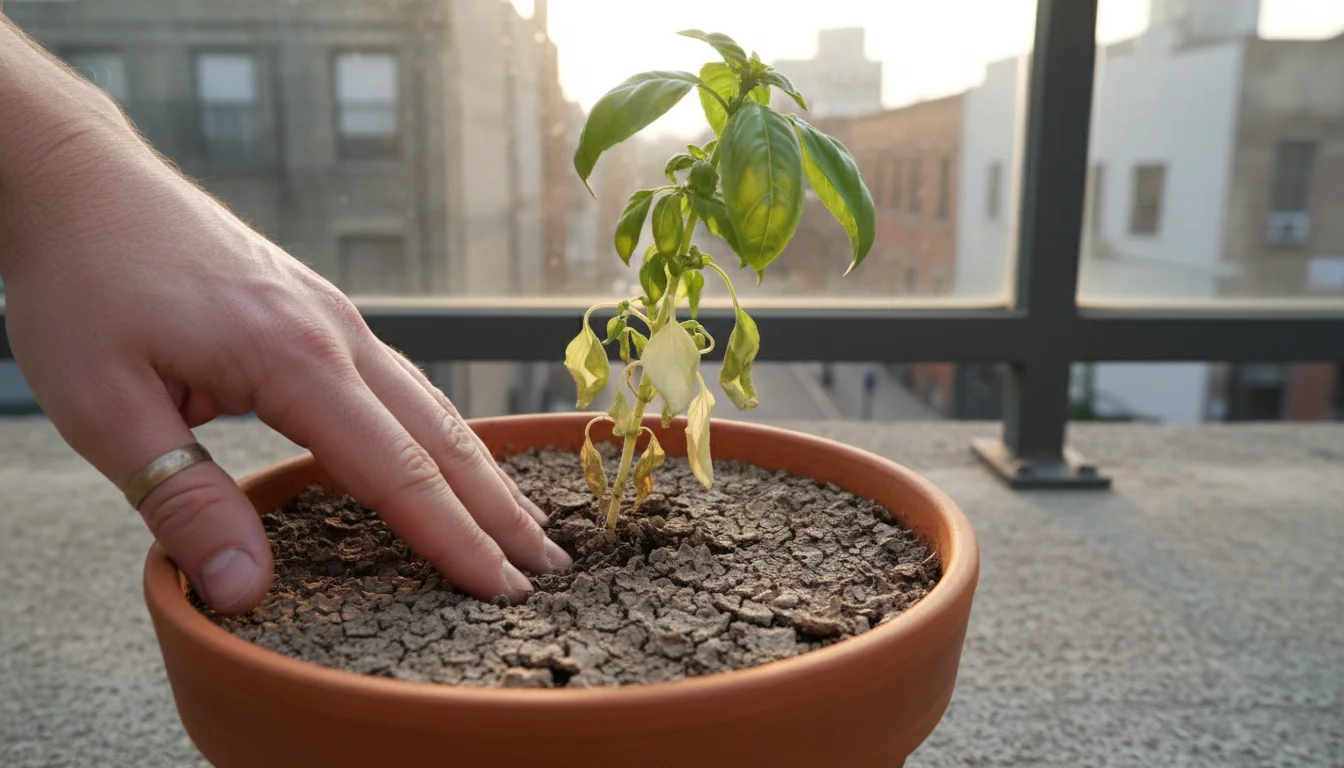
If you notice water pooling at the surface, it may be time to diagnose and fix soil drainage problems before your plants suffer.
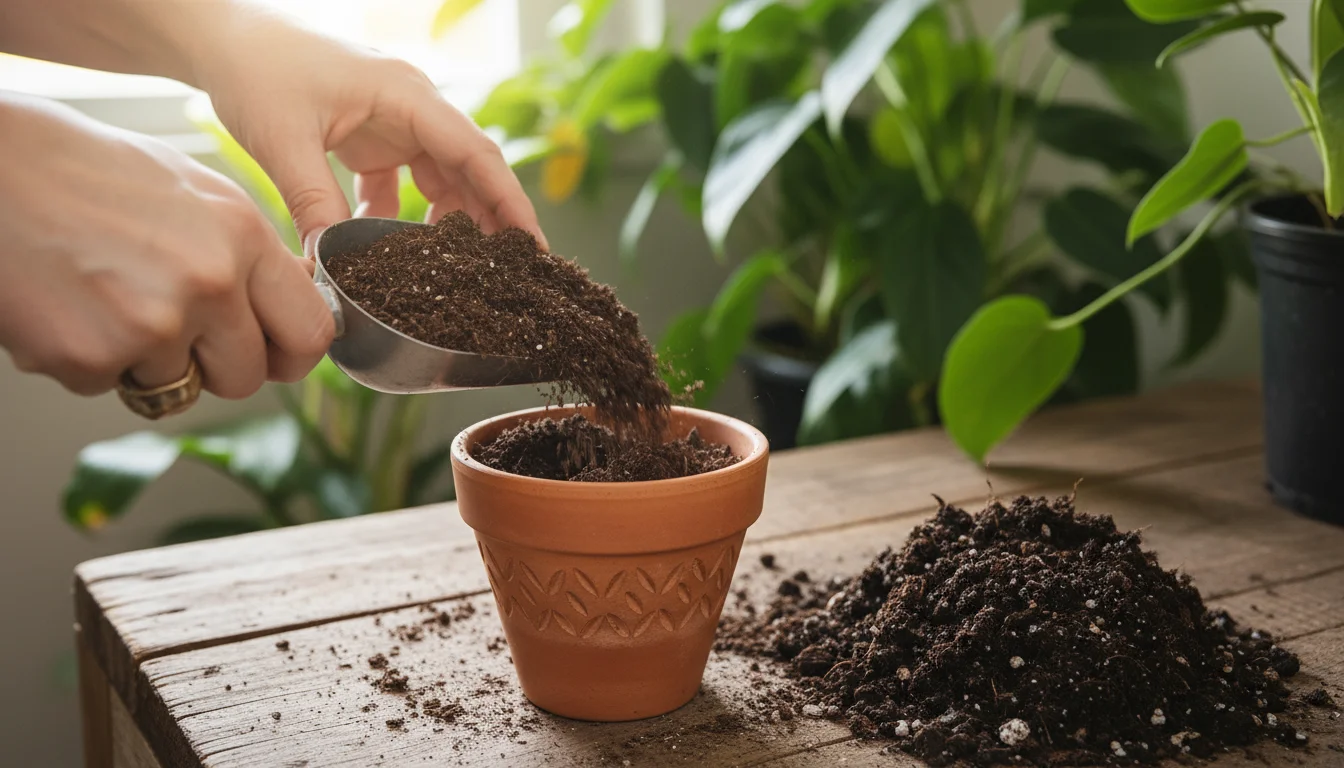
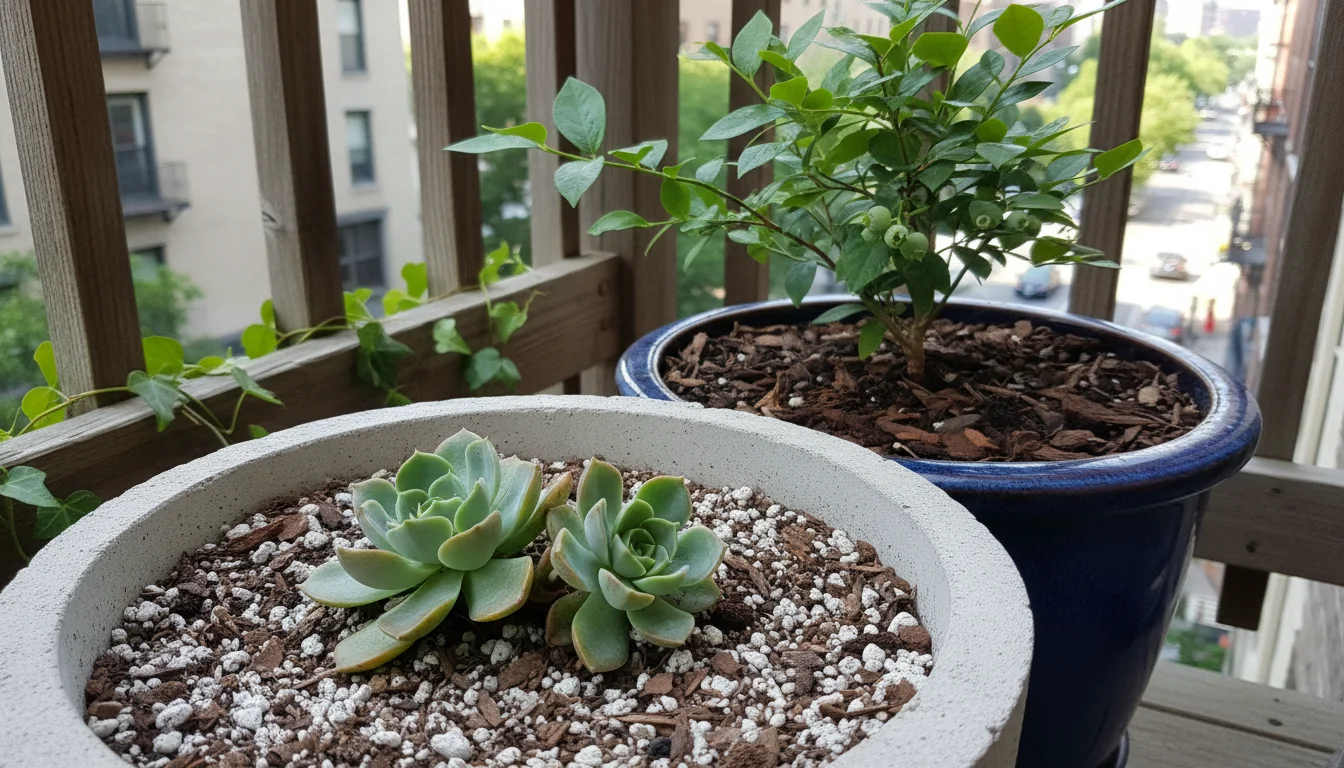
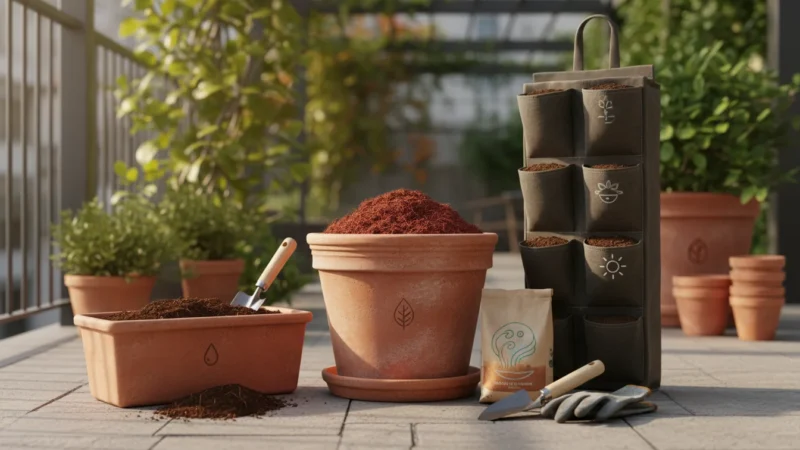
Container soil, often called potting mix, is specifically engineered to provide the unique balance necessary for plants growing in pots. It needs to be lightweight, well-draining, and capable of holding moisture and nutrients without becoming dense. Unlike garden soil, which naturally replenishes its nutrients and maintains its structure through microbial activity and earthworms, container soil slowly degrades over time. It requires a more active management approach from you. Choosing the right foundation for your plants directly impacts their growth, bloom production, and overall resilience against pests and diseases. This fundamental difference emphasizes why a specialized approach to container soil is not just beneficial, but essential.
Consider the structure of garden soil versus potting mix. Garden soil typically contains a high percentage of mineral particles (sand, silt, clay), which, when compressed in a pot, reduce air pockets. Roots need oxygen to thrive; deprived of it, they struggle to absorb water and nutrients, leading to yellowing leaves and stunted growth. Potting mix, on the other hand, comprises materials designed to resist compaction, ensuring ample aeration for healthy root development while still providing adequate moisture retention. This careful balance prevents common issues like root rot and drought stress, giving your plants a stronger start and a longer, healthier life.
Key Ingredients of a High-Quality Potting Mix
A good potting mix achieves a delicate balance: it drains quickly enough to prevent root rot, yet holds sufficient moisture for plant hydration. It also provides aeration for roots and offers a suitable foundation for nutrient delivery. Understanding the components allows you to make informed choices when buying or blending your own container soil. Here are the core ingredients you will find:
For those looking to improve texture in older pots, amending your potting mix for better drainage can breathe new life into compacted soil.
You can further protect your mix from drying out by mulching for containers, which helps maintain a steady moisture level.
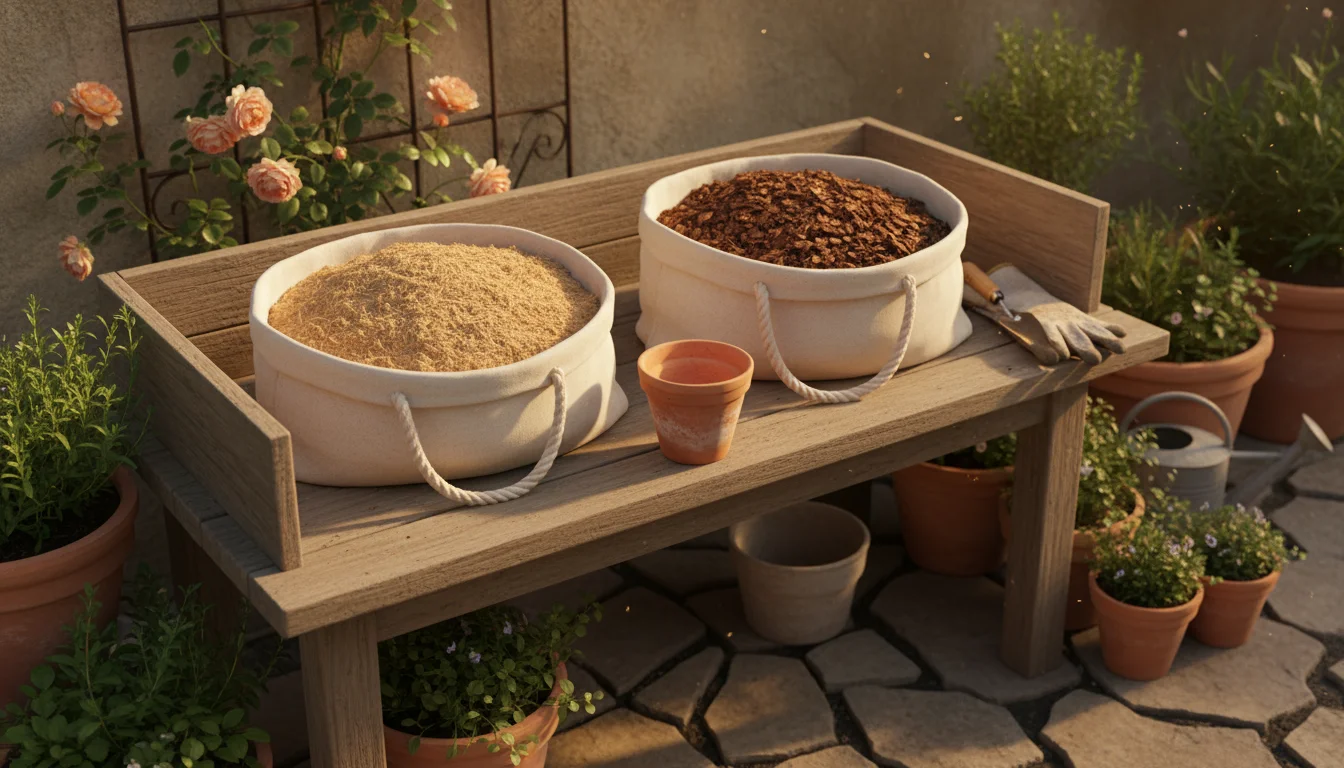
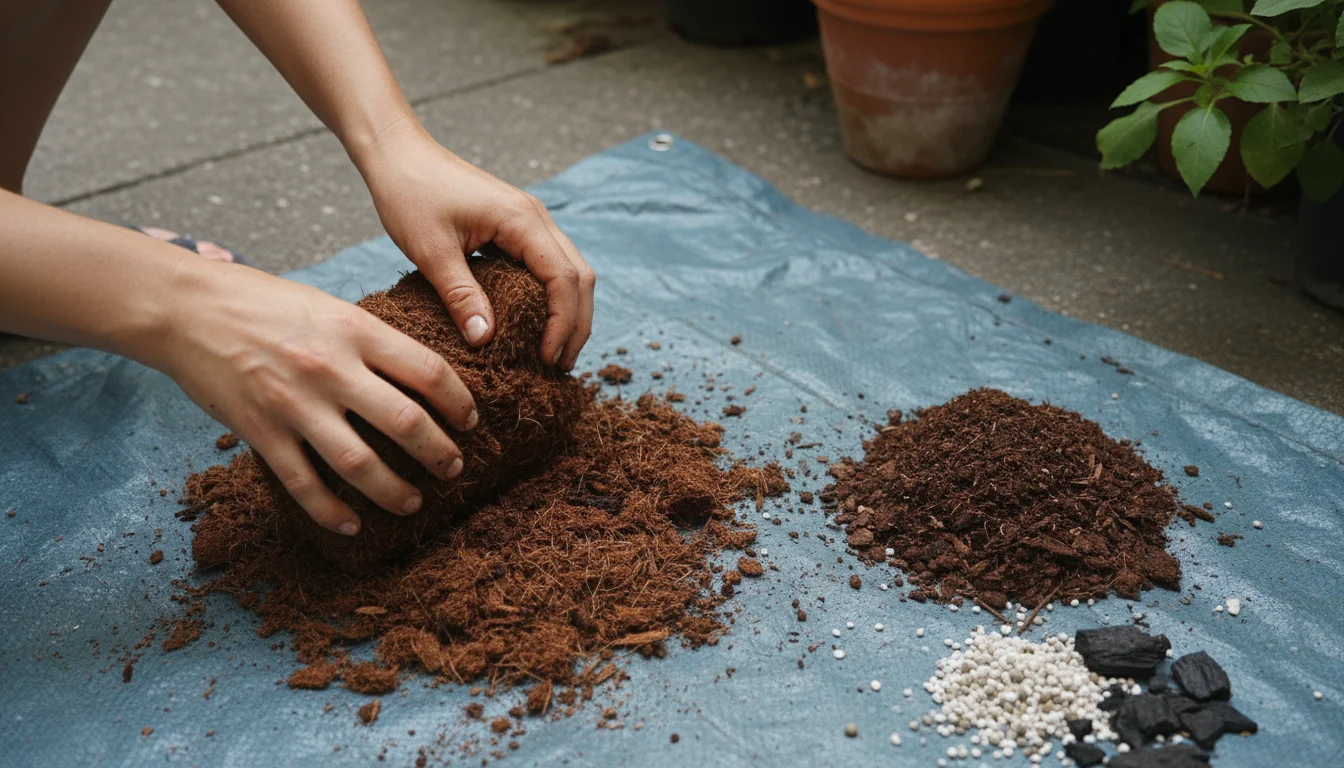
- Base Material (Peat Moss Alternatives): Traditionally, peat moss was a primary component due to its excellent water retention and light texture. However, peat harvesting is not a sustainable practice. Consider eco-friendly alternatives such as coco coir (processed coconut fiber) or composted bark fines. Coco coir is particularly popular for its renewable nature, neutral pH, and ability to hold moisture while promoting good aeration. Composted bark fines improve drainage and provide some organic matter.
- Aeration Components: These materials create air pockets in the mix, crucial for root respiration and drainage. Perlite, lightweight white volcanic rock, is a common choice. It prevents compaction and improves drainage. Vermiculite, a mineral with a mica-like appearance, also improves aeration while offering superior water retention and some nutrient exchange capacity. Pumice, another volcanic rock, serves a similar purpose, offering excellent drainage and porosity.
- Water Retention Agents: While base materials like coco coir naturally hold water, additional components might be included to boost moisture retention, especially for plants that prefer consistently damp soil. Vermiculite, as mentioned, excels here. Some mixes also incorporate water-retaining polymers, though natural alternatives are generally preferred for small-space gardening.
- Nutrient Sources: A high-quality potting mix usually includes a starter dose of nutrients to support plant growth for the first few weeks. This comes from organic fertilizers, worm castings, or a slow-release synthetic fertilizer. Worm castings are a fantastic natural option, providing a balanced range of macro and micronutrients in a gentle, slow-release form. Composted organic materials also contribute to the long-term soil health for plants.
- pH Adjusters: Most plants prefer a slightly acidic to neutral pH (6.0-7.0). Potting mixes often include lime to raise pH or sulfur to lower it, ensuring the mix is suitable for a broad range of plants. Many pre-made mixes are pH-balanced, removing this concern for you.
By understanding what each component contributes, you gain the knowledge to assess pre-made bags of potting mix or confidently combine your own materials, tailoring the container soil to your specific plant needs.
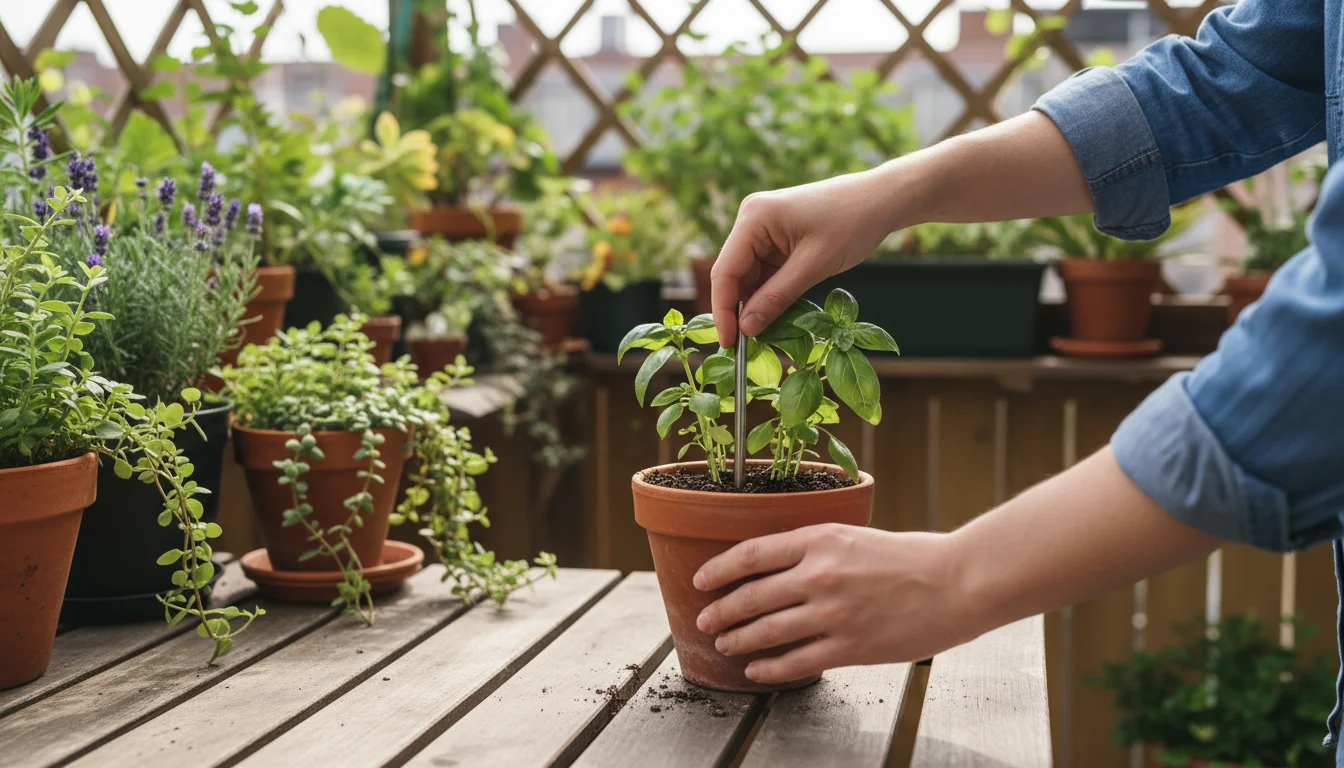
Building Your Own Potting Mix: A Hands-On Approach
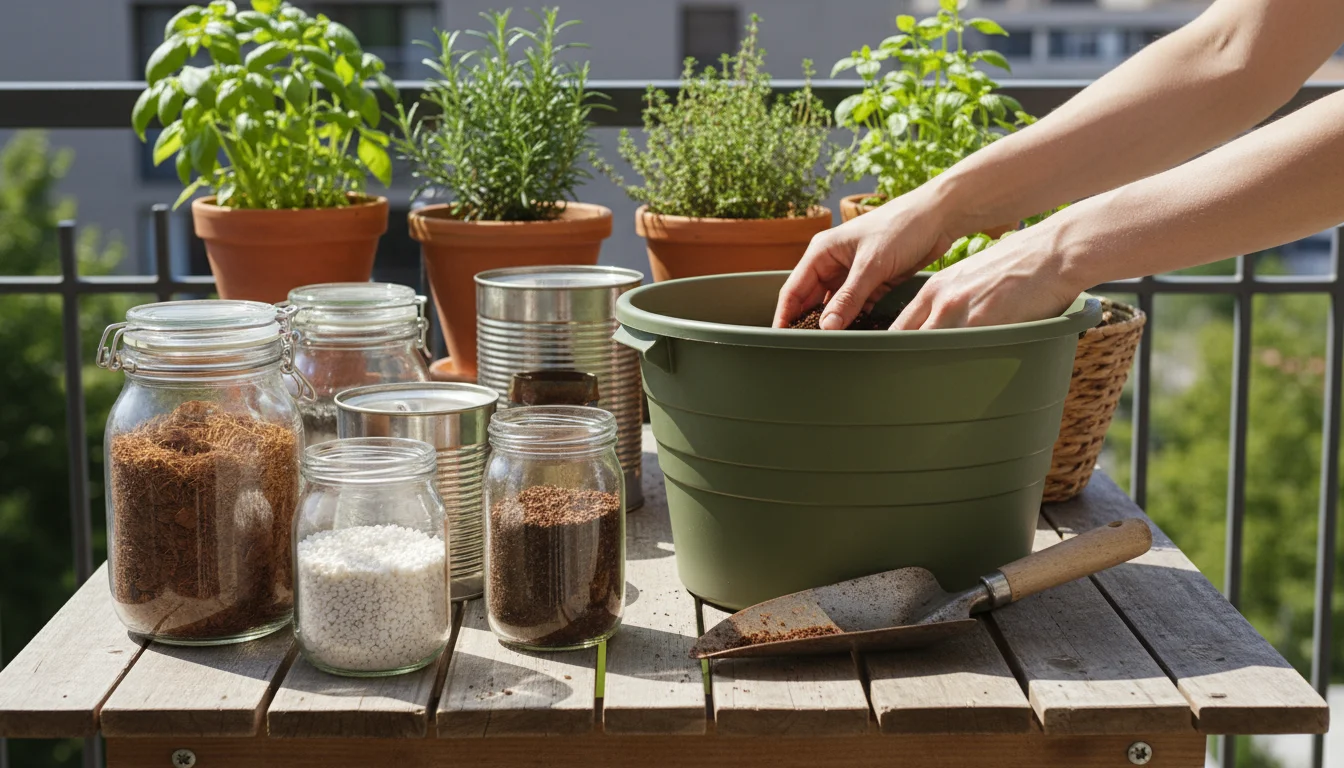
Creating your own potting mix offers several advantages: you control the ingredients, ensure freshness, and can tailor it precisely to your plants’ specific needs. This practice often saves money in the long run, especially for gardeners with many containers. It is also an environmentally conscious choice, allowing you to prioritize sustainable components like peat-free options and locally sourced compost. Begin by gathering your chosen materials and a large tarp or mixing bin. Work in a well-ventilated area, and consider wearing gloves and a dust mask, especially when handling dry ingredients.
Once you have your base mix, you can also explore cover cropping for containers as a seasonal strategy to naturally rebuild nutrients.
To get ahead of the season, follow a spring planting guide for container gardeners to ensure your soil is ready when the weather warms.
General Purpose Potting Mix Recipe
This versatile blend works well for most annuals, perennials, and vegetables.
- 4 parts Coco Coir or Composted Pine Bark Fines: This forms the base, providing moisture retention and structure. Coco coir is excellent for its sustainability and consistent quality.
- 2 parts Perlite or Pumice: Incorporate these for superior aeration and drainage. They prevent compaction and ensure roots receive vital oxygen.
- 1 part Vermiculite (optional): Add this for enhanced water and nutrient retention, especially beneficial for plants that prefer consistently moist soil.
- 1 part High-Quality Composted Organic Matter (e.g., worm castings, finished compost): This provides a slow-release source of essential nutrients, enriching the soil health for plants. Ensure your compost is fully broken down and does not smell putrid.
- Optional: 1-2 tablespoons per gallon of mix of a slow-release organic fertilizer: This gives plants a sustained nutrient supply.
Mix all ingredients thoroughly until they are uniformly distributed. The goal is a light, fluffy mix that feels moist but not soggy. If it feels too dry, lightly dampen it before use.
Specialized Mixes: Adjusting for Specific Plants
- Cactus and Succulent Mix: These plants require exceptionally fast drainage. Reduce the water-retaining components and increase the aeration. A good mix would be 1 part coco coir, 1 part perlite/pumice, and 1 part coarse sand or fine gravel.
- Acid-Loving Plants (e.g., blueberries, azaleas in containers): Ensure your base material is naturally acidic, like peat moss (if you choose to use it, ensure it’s sustainably sourced) or specific types of composted bark. You might also incorporate a small amount of elemental sulfur. Test your mix’s pH if you are growing sensitive plants.
- Heavy Feeders (e.g., tomatoes, squash): Increase the amount of nutrient-rich compost or slow-release organic fertilizer in your general purpose mix to support their vigorous growth.
Always sterilize any non-commercial amendments you introduce, such as garden soil or uncomposted organic matter, to prevent pests and diseases. Baking small batches in an oven (200°F/93°C for 30 minutes) can sanitize materials, though this is less common for typical potting mix components. Purchasing high-quality, sterile base materials significantly reduces these risks, ensuring a healthy start for your plants.
Maintaining Optimal Soil Health for Thriving Plants
Building a great potting mix is only the first step; maintaining its health throughout the growing season ensures your plants continue to flourish. Container soil is a living, working environment, and its quality can degrade over time. Consistent care habits prevent many common plant problems and extend the life of your soil.
As the season ends, learning how to reuse old potting soil the right way will save you money and resources.
Understanding Soil Compaction
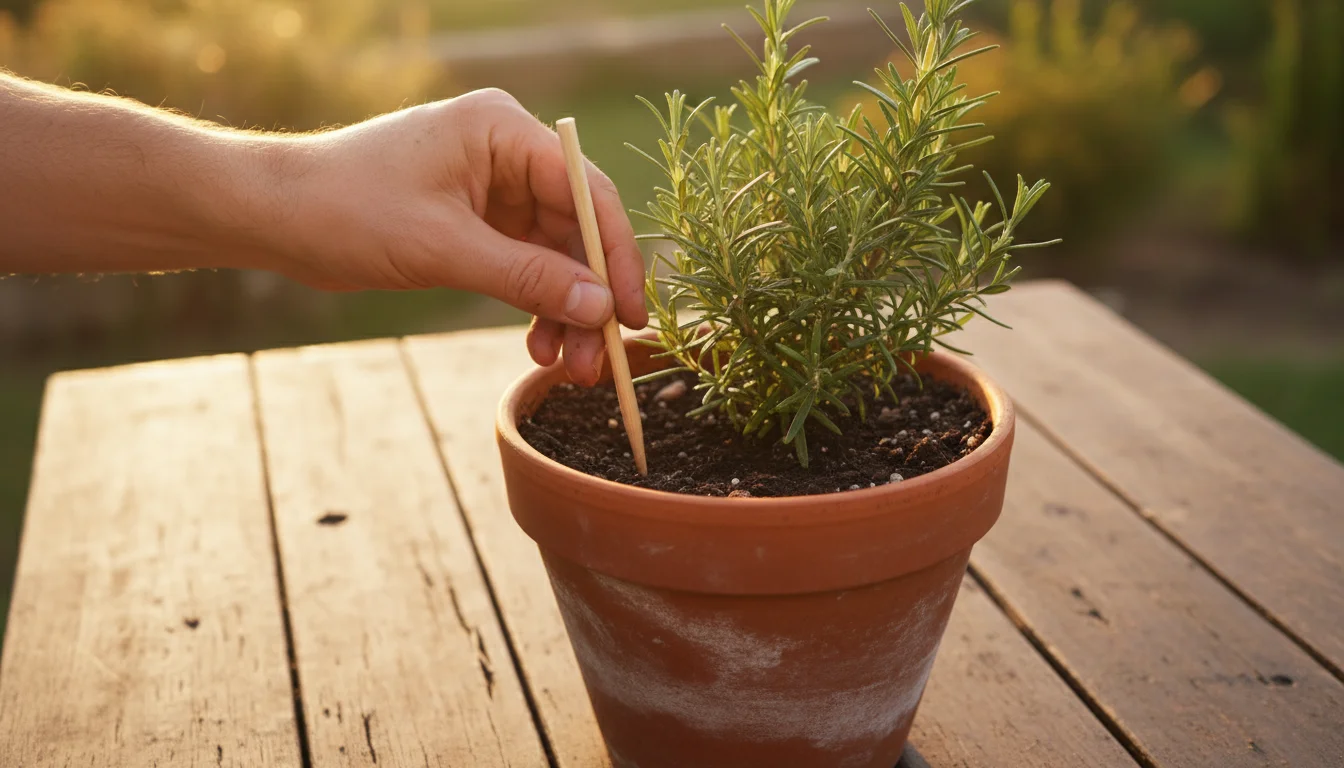
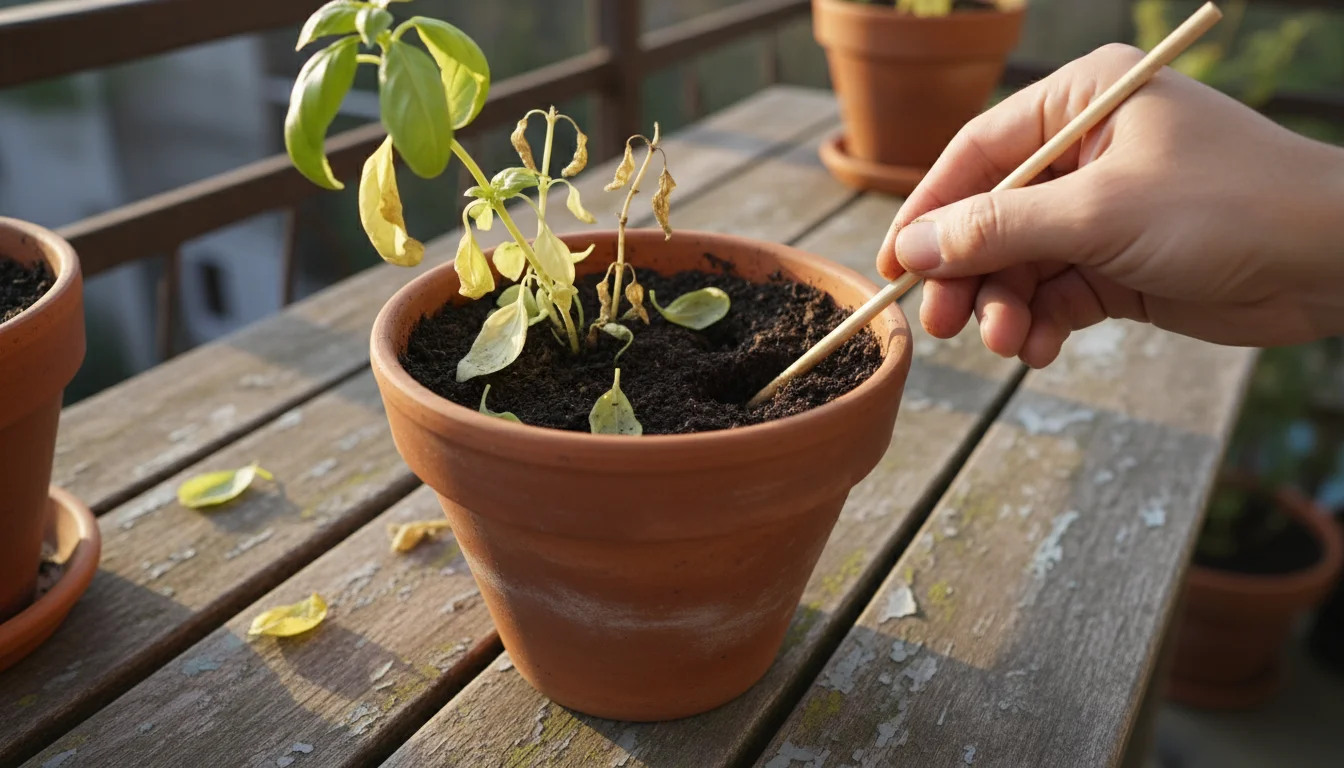
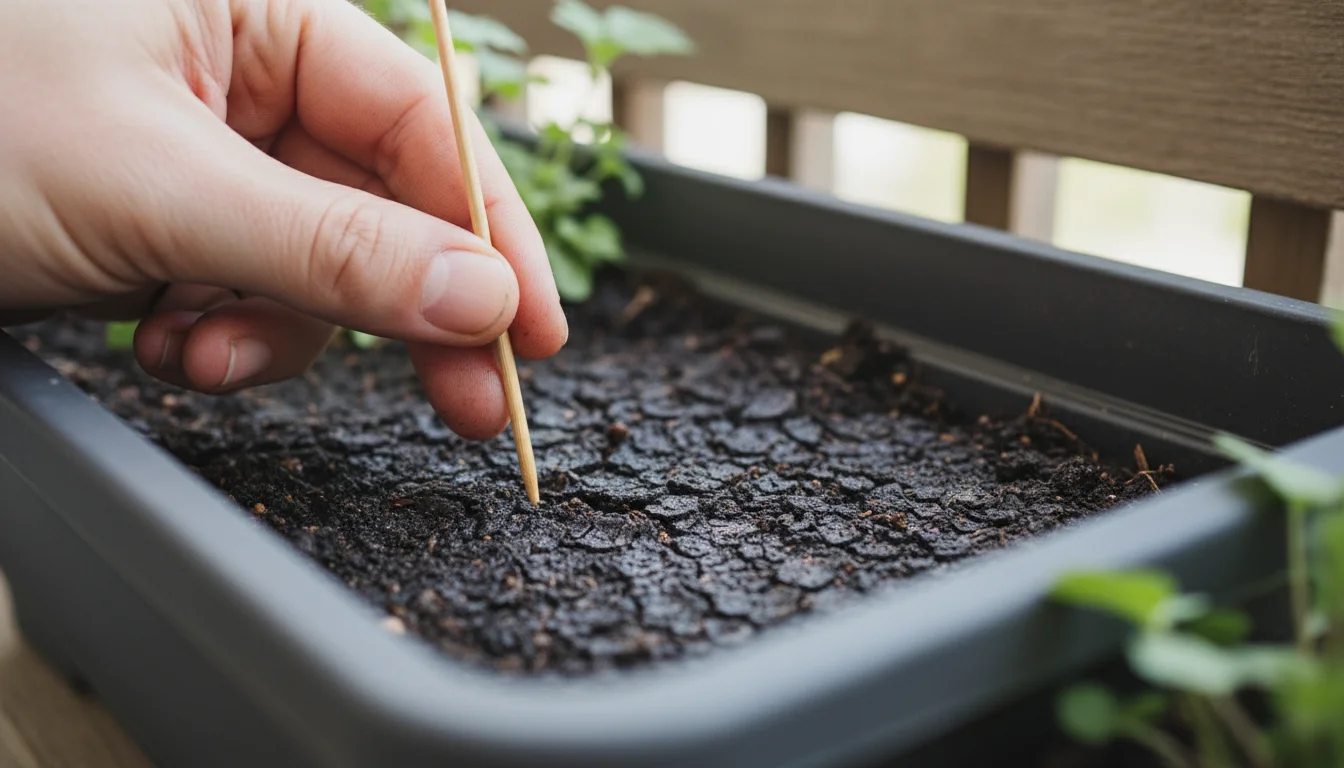
Over time, watering, plant growth, and gravity cause potting mix to settle and compact. This reduces the crucial air pockets, hindering root access to oxygen and impeding drainage. When soil compacts, roots struggle to spread, nutrient uptake becomes less efficient, and the risk of root rot increases significantly. You might notice water sitting on the surface for longer periods or running straight through the pot without being absorbed. To combat this, gently aerate the soil periodically. Use a chopstick or a thin stick to poke several holes an inch or two deep around the base of the plant, being careful not to damage major roots. This simple action helps restore some aeration and improves water penetration.
Replenishing Organic Matter
Organic matter in your container soil breaks down, releasing nutrients and improving soil structure. As it depletes, the soil loses its ability to retain moisture and nutrients effectively. You can replenish this by top-dressing your pots with a thin layer (about half an inch to an inch) of high-quality compost or worm castings every few months. Lightly scratch it into the top layer of the soil. This slow-release addition revitalizes the microbial activity in the soil, providing a steady supply of nutrients and enhancing the overall soil health for plants. This practice is especially important for long-term container plants, such as shrubs or small trees, which remain in the same pot for extended periods.
Monitoring pH Levels
The pH of your potting mix influences nutrient availability. Over time, factors like tap water chemistry and fertilizer use can shift the pH. If plants show signs of nutrient deficiencies despite regular feeding, a pH imbalance might be the culprit. You can purchase an inexpensive soil pH test kit from garden centers. Adjusting pH typically involves adding small amounts of garden lime to raise it or elemental sulfur or peat moss to lower it. However, it is generally simpler to monitor and adjust by flushing the soil occasionally with fresh, pH-balanced water, or by refreshing the top layer of soil with new, balanced potting mix.
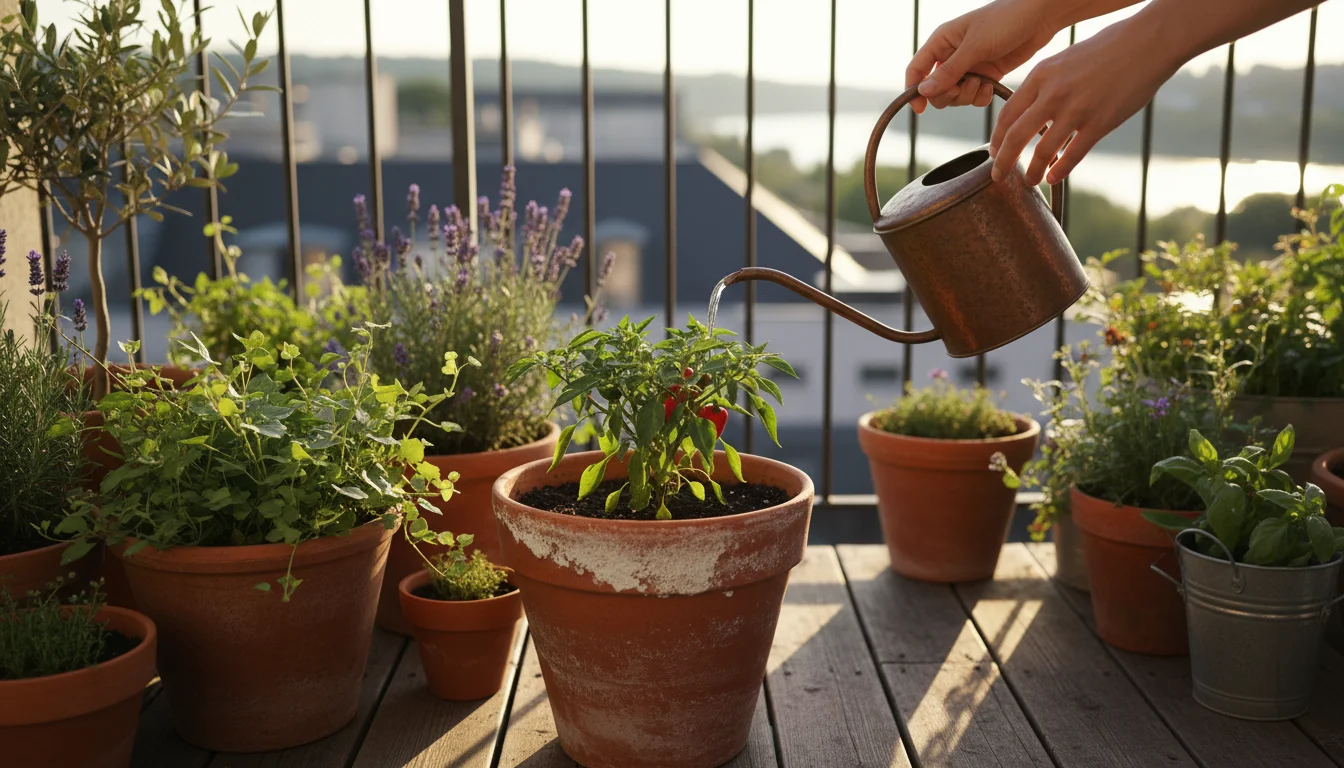
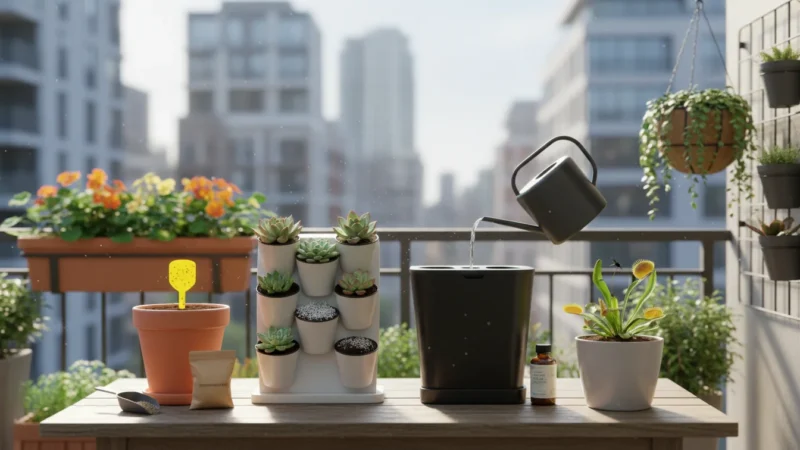
Watering Wisdom: Keeping Your Container Soil Just Right
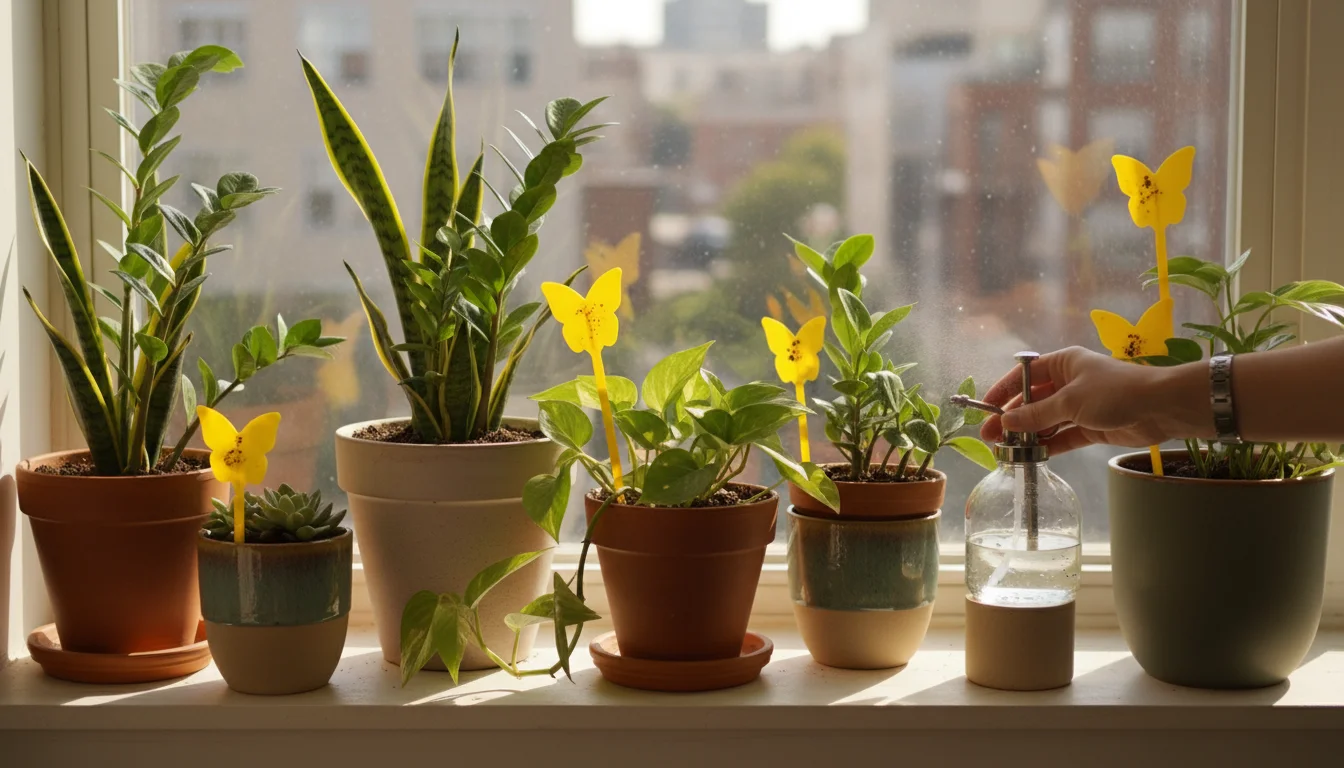
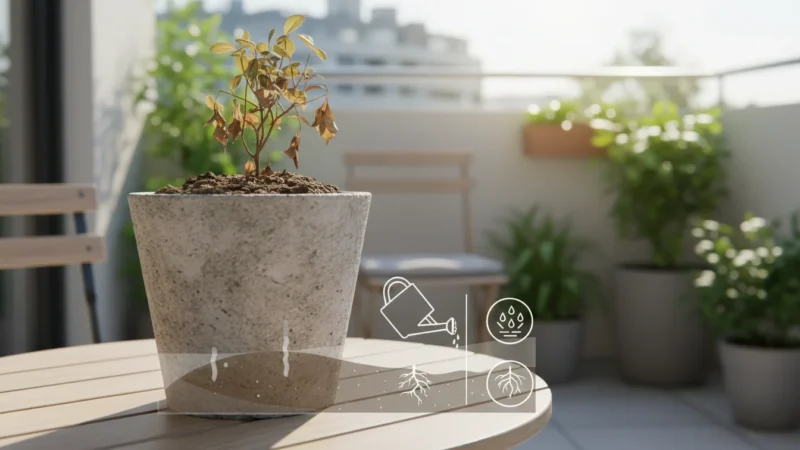
Watering is arguably the most critical skill for container gardeners. Too much water suffocates roots; too little causes stress. The right technique depends on several factors: the plant species, the size of the container, the type of potting mix, and environmental conditions like temperature and humidity. Do not water on a strict schedule; instead, water based on your plant’s needs and the soil’s moisture level.
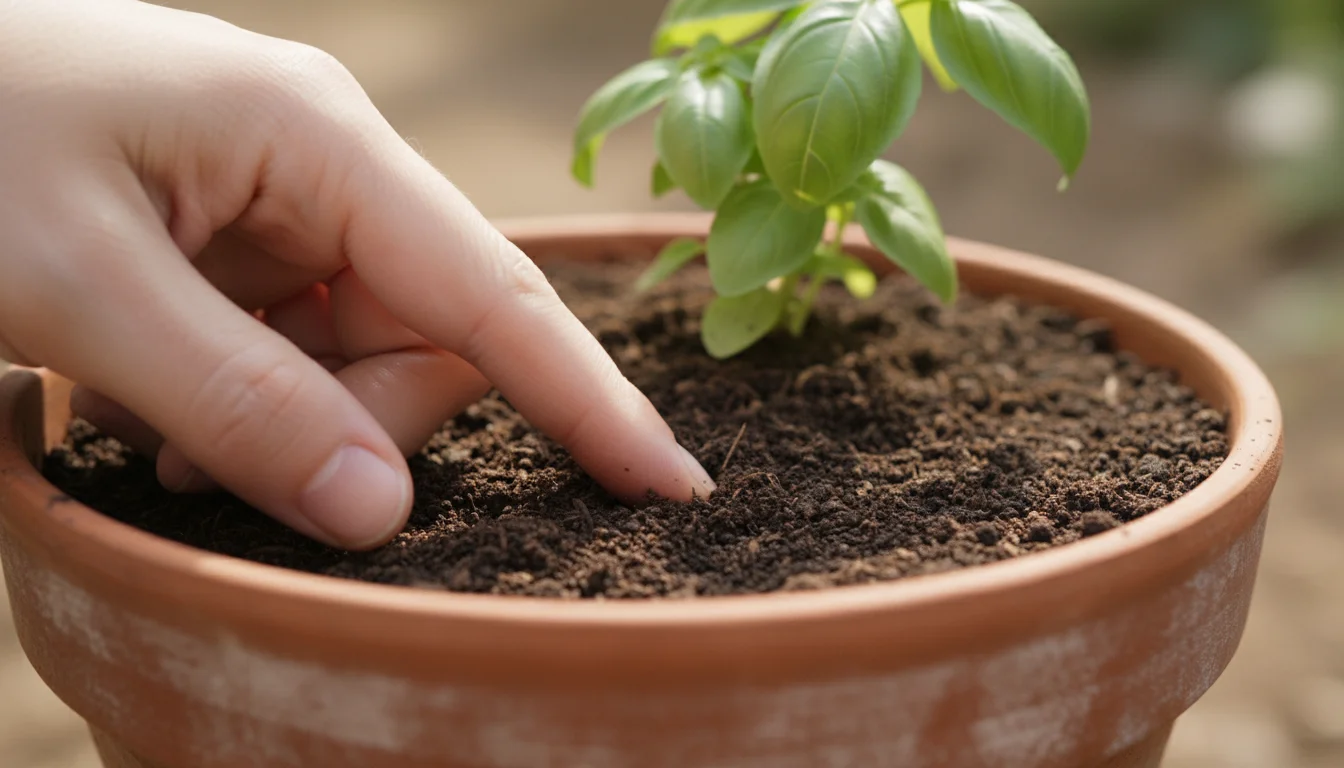
The Finger Test: Your Best Tool
Forget fixed schedules. Your finger is the most reliable moisture sensor. Insert your index finger about two inches into the soil. If it feels dry at that depth, it is likely time to water. If it feels moist, wait. For smaller pots, checking the top inch often suffices. This simple, hands-on test prevents both overwatering and underwatering, two of the most common mistakes in container gardening.
How to Water Effectively
When you water, water thoroughly. Pour water slowly over the entire surface of the soil until it drains out of the bottom of the pot. This ensures all the container soil is saturated, encouraging deep root growth. If water immediately runs through, the soil may have become hydrophobic (repels water). In such cases, place the pot in a saucer of water for 20-30 minutes, allowing the soil to absorb moisture from the bottom up. Once the top surface feels damp, remove it and allow any excess to drain.
Avoid frequent, shallow watering. This encourages roots to stay near the surface, making the plant more vulnerable to drought stress. Deep watering promotes a robust root system, enhancing the plant’s overall health and resilience. Ensure your pots have drainage holes. Without them, water collects at the bottom, leading to root rot regardless of your watering frequency.
Environmental Factors and Seasonal Changes
Your watering frequency changes with the seasons and your environment:
- Summer Heat: High temperatures and strong sun increase evaporation. You might need to water daily or even twice daily for some plants. Check more frequently.
- Winter Dormancy: Many plants slow their growth dramatically in winter, requiring much less water. Reduce watering significantly, only watering when the top several inches of soil are dry. Overwatering in winter is a leading cause of plant demise.
- Humidity: In dry environments, soil dries out faster. In humid conditions, it dries more slowly. Adjust your checks accordingly.
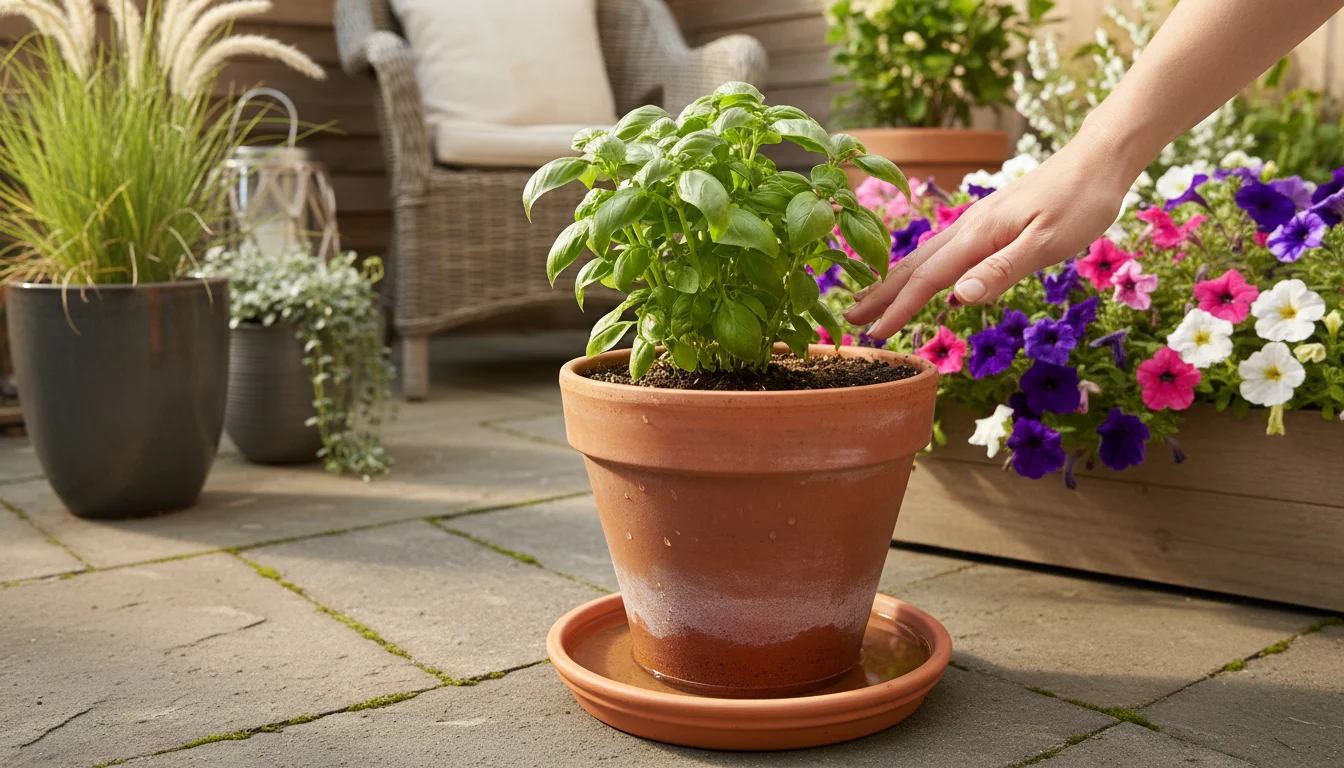
- Container Material: Terracotta pots are porous and allow water to evaporate more quickly, necessitating more frequent watering than plastic or glazed ceramic pots.
By mastering these watering principles, you contribute significantly to the ongoing soil health for plants and their overall vitality, creating an environment where they consistently thrive.
Feeding Your Plants: Nurturing Soil Nutrients
Even the best potting mix has a finite nutrient supply. As plants grow and you water them, nutrients leach out. Regular feeding becomes essential to maintain vigorous growth and abundant blooms. Choosing the right fertilizer and applying it correctly is a key aspect of long-term soil health for plants in containers.
Understanding Fertilizers: NPK and Micronutrients
Most fertilizers list three numbers: N-P-K (Nitrogen, Phosphorus, Potassium). These are the macronutrients plants need in the largest quantities:
- Nitrogen (N): Promotes lush, green leafy growth.
- Phosphorus (P): Essential for root development, flowering, and fruiting.
- Potassium (K): Supports overall plant health, disease resistance, and water regulation.
Plants also require micronutrients (e.g., iron, zinc, magnesium) in smaller amounts. High-quality complete fertilizers include these. For container plants, a balanced fertilizer (e.g., 5-5-5 or 10-10-10) works well for general growth. You might opt for a higher phosphorus formula during blooming or fruiting phases.
Types of Fertilizers for Container Gardens
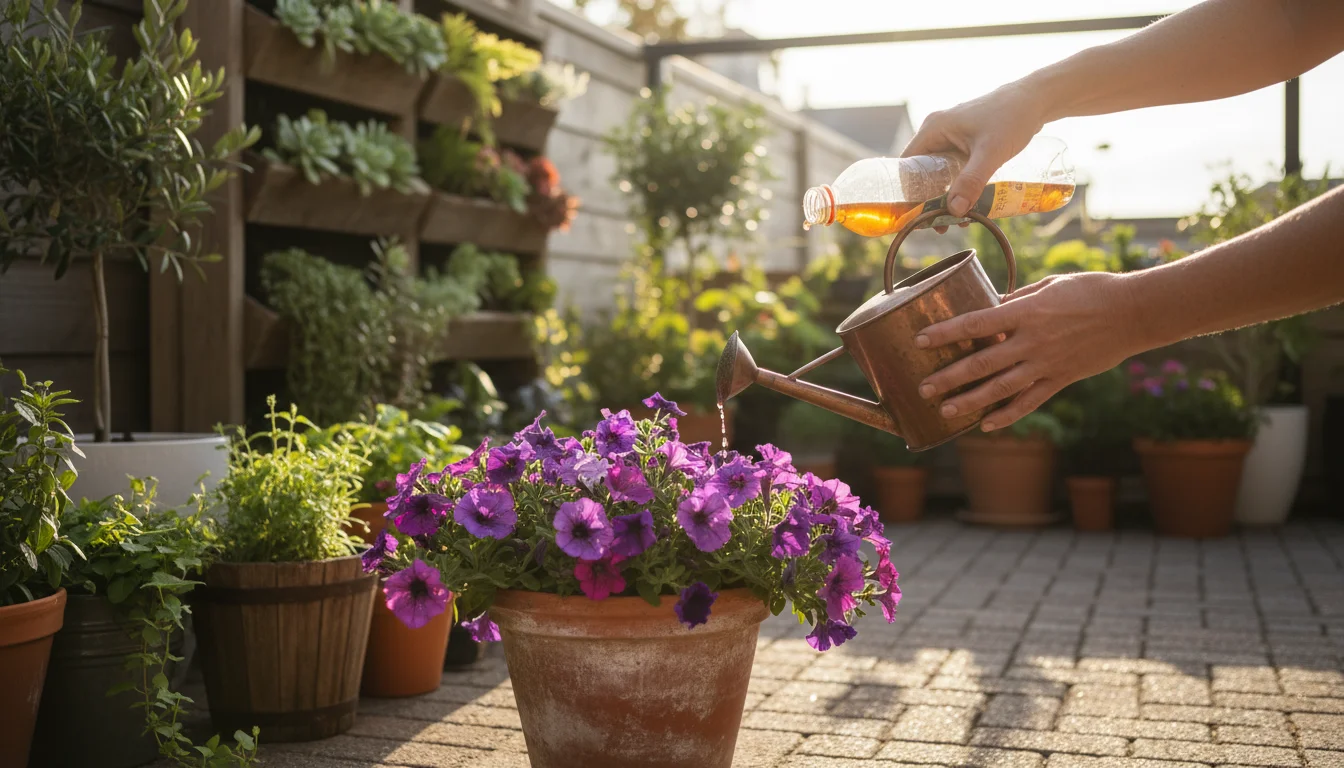
- Liquid Fertilizers: These are fast-acting, providing immediate nutrient uptake. Mix them with water according to package directions and apply during your regular watering. Use them every 2-4 weeks during the active growing season. A common mistake is using too strong a solution; always dilute to half strength for most container plants to avoid fertilizer burn, especially for young or sensitive plants.
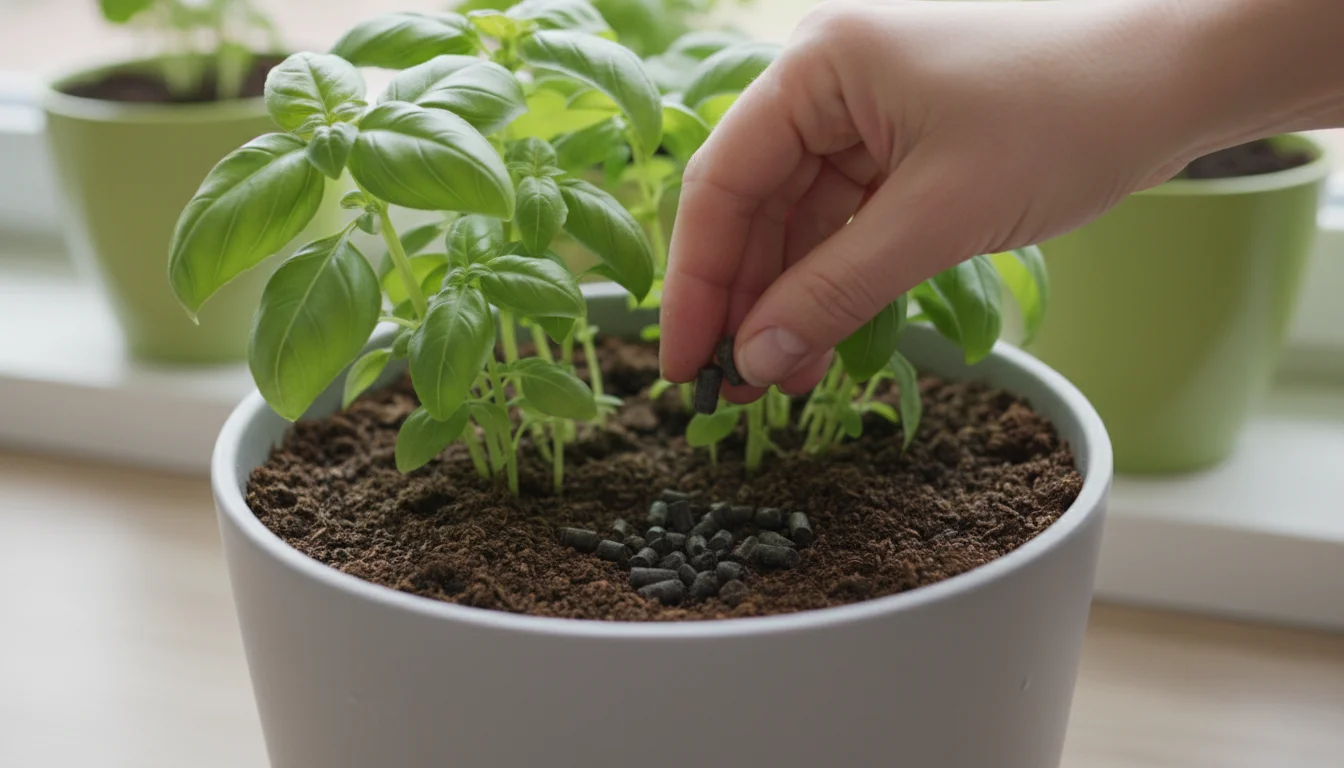
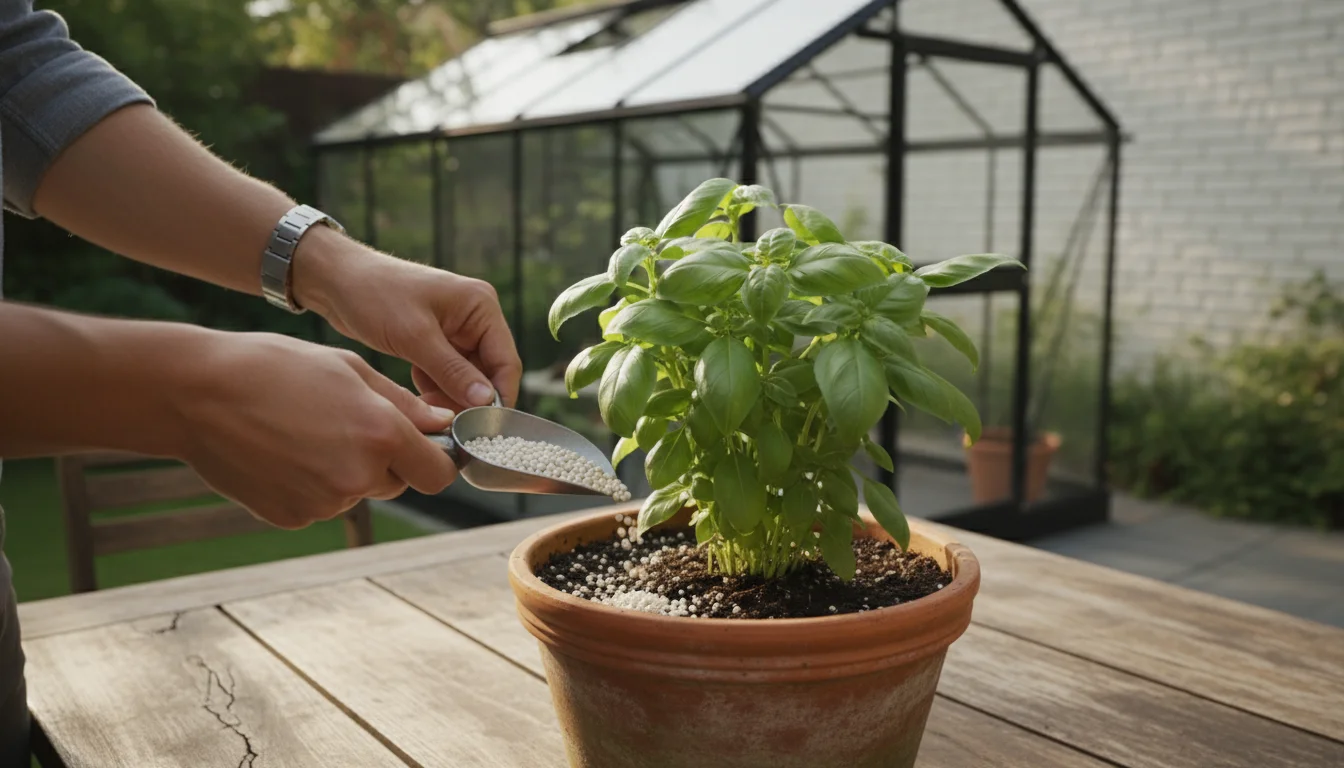
- Slow-Release Granular Fertilizers: These pellets are incorporated into the top layer of the container soil or mixed in when repotting. They release nutrients gradually over several months, simplifying your feeding routine. Follow product instructions precisely for application rates and longevity. This option is great for busy gardeners seeking low-maintenance solutions.
- Organic Fertilizers: Options like fish emulsion, kelp meal, compost tea, or worm castings provide nutrients in a natural, slow-release form, often improving soil health for plants by feeding beneficial microbes. They are excellent for an environmentally conscious approach. Worm castings, for instance, release nutrients slowly as microorganisms break them down, preventing nutrient shock and improving soil structure. Apply worm castings as a top dressing every 1-2 months.
When and How Much to Fertilize
Most plants benefit from regular feeding during their active growing season, typically spring through late summer. Reduce or stop fertilizing during fall and winter when most plants enter dormancy. Over-fertilizing can damage roots, leading to “fertilizer burn,” characterized by crispy brown leaf edges. Always err on the side of under-fertilizing or using a weaker solution, especially with liquid feeds. Observe your plants for signs of nutrient deficiency (e.g., yellowing leaves, stunted growth) or excess (e.g., burnt leaf tips, excessive leafy growth with no flowers), and adjust your feeding regimen accordingly.
Consider the plant type: vegetables and heavy-flowering annuals are generally heavier feeders than most succulents or slow-growing perennials. Match your fertilizer to your plant’s specific needs, and remember that healthy soil is the best foundation for efficient nutrient uptake.
When to Refresh Your Soil and Repot Your Plants
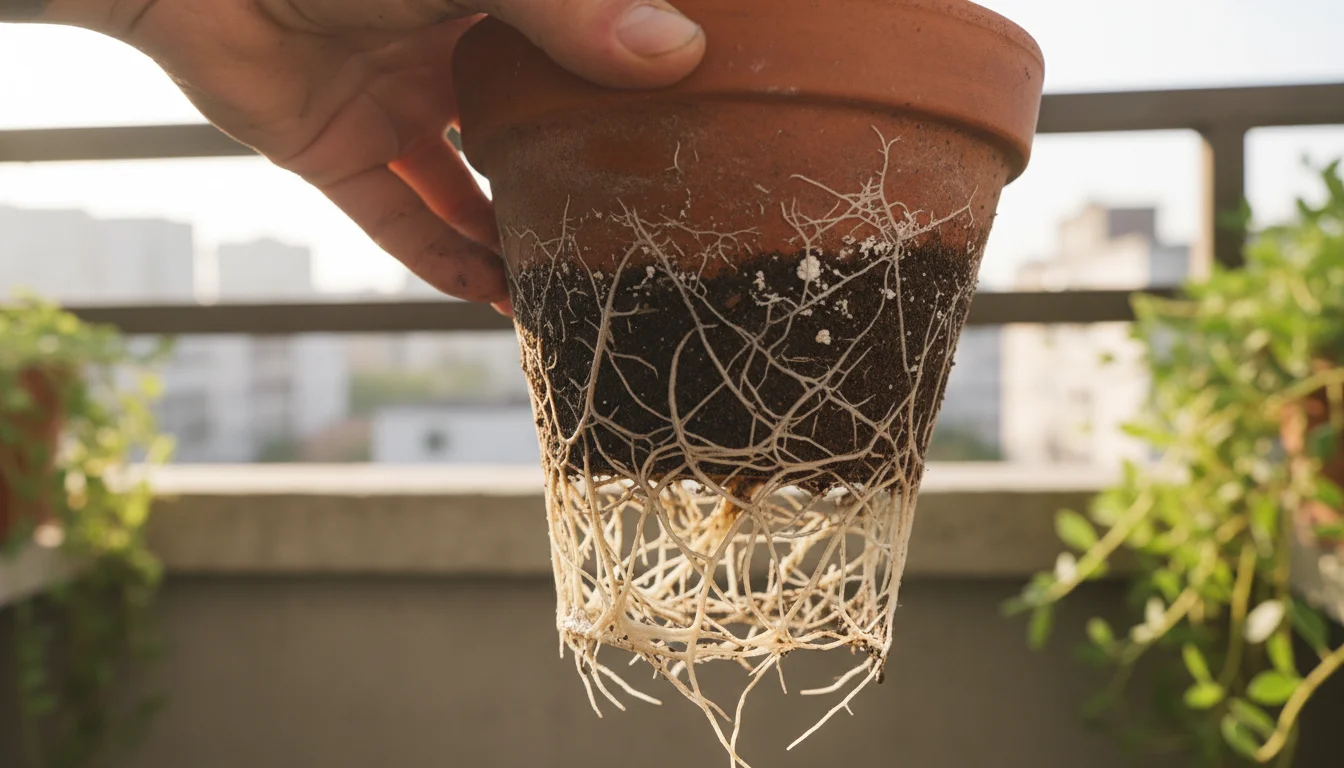
Container plants cannot stay in the same potting mix indefinitely. Over time, the soil degrades, compacts, and depletes of nutrients, impacting the overall soil health for plants. Roots outgrow their space, becoming “root-bound,” meaning they circle tightly around the pot. Knowing when to refresh your soil or repot is crucial for continued plant vitality.
Signs Your Plant Needs Repotting or Soil Refreshing
- Roots Emerging from Drainage Holes: This is a clear indicator that the plant has filled its current container and needs more space.
- Water Drains Too Quickly or Not at All: If water rushes through the pot without soaking in, the soil is likely degraded or hydrophobic. If it sits on the surface, the soil is compacted.
- Stunted Growth or Yellowing Leaves: Despite regular watering and feeding, if your plant is not thriving, a lack of root space or depleted soil might be the problem.
- Plant Wilts Frequently: A root-bound plant has less soil to hold moisture, requiring more frequent watering.
- Visible Roots on the Soil Surface: As roots grow, they may push up through the top layer of the soil.
- Heavy Salt or Mineral Buildup: A white crust on the soil surface or pot rim indicates mineral accumulation from tap water or fertilizers, which can hinder nutrient uptake.
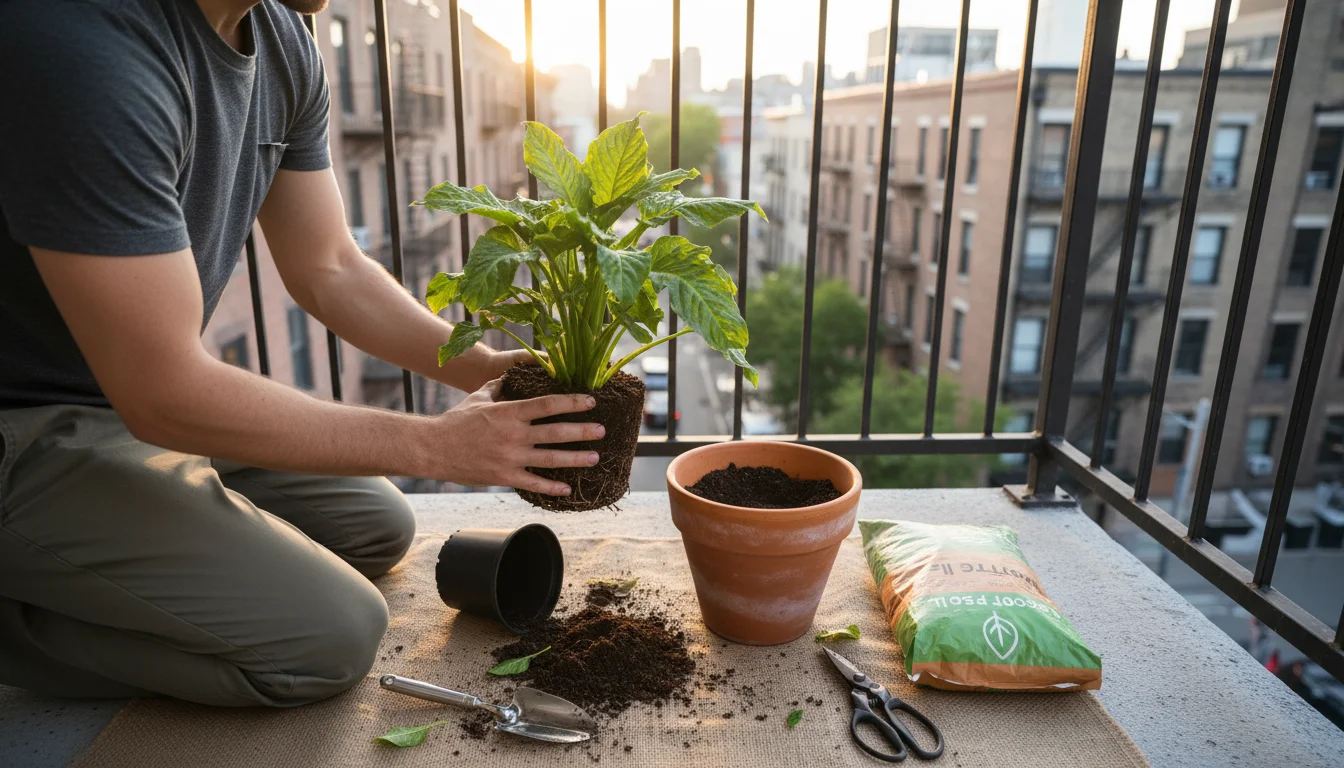
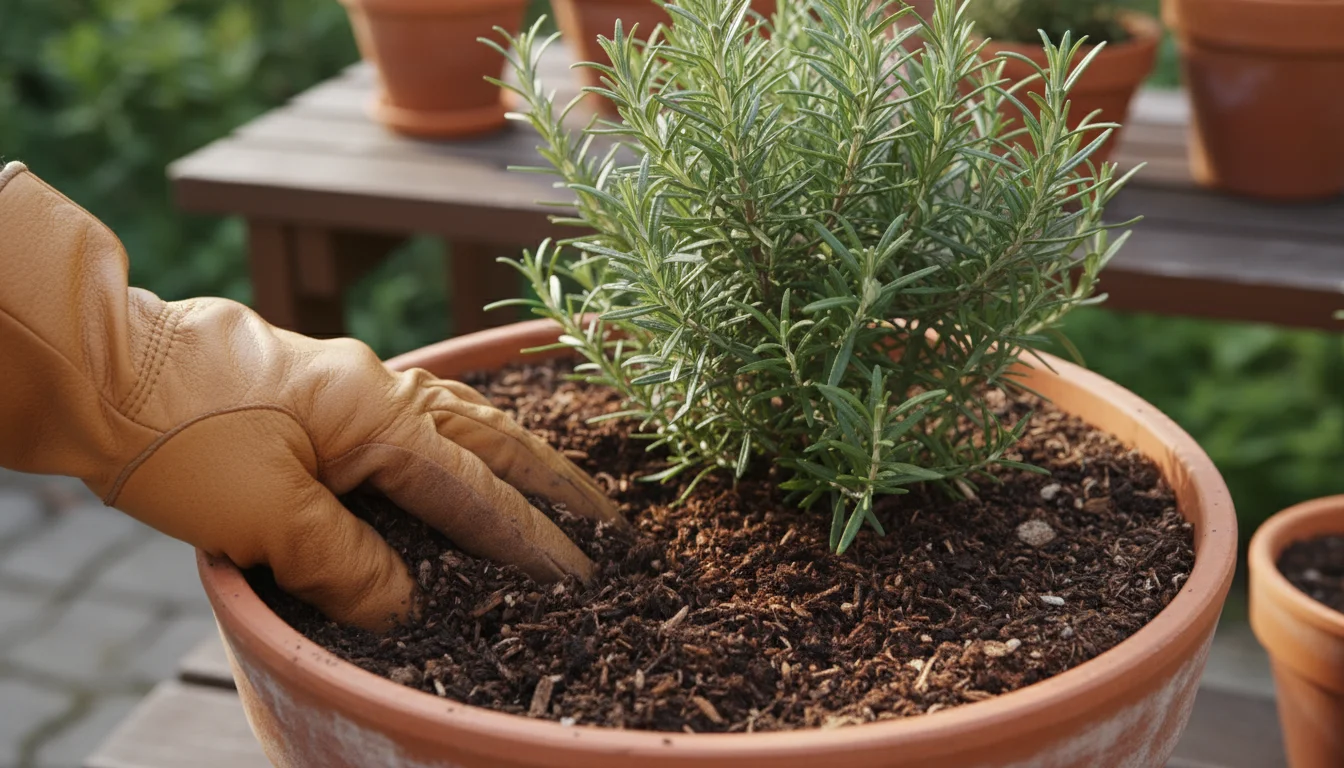
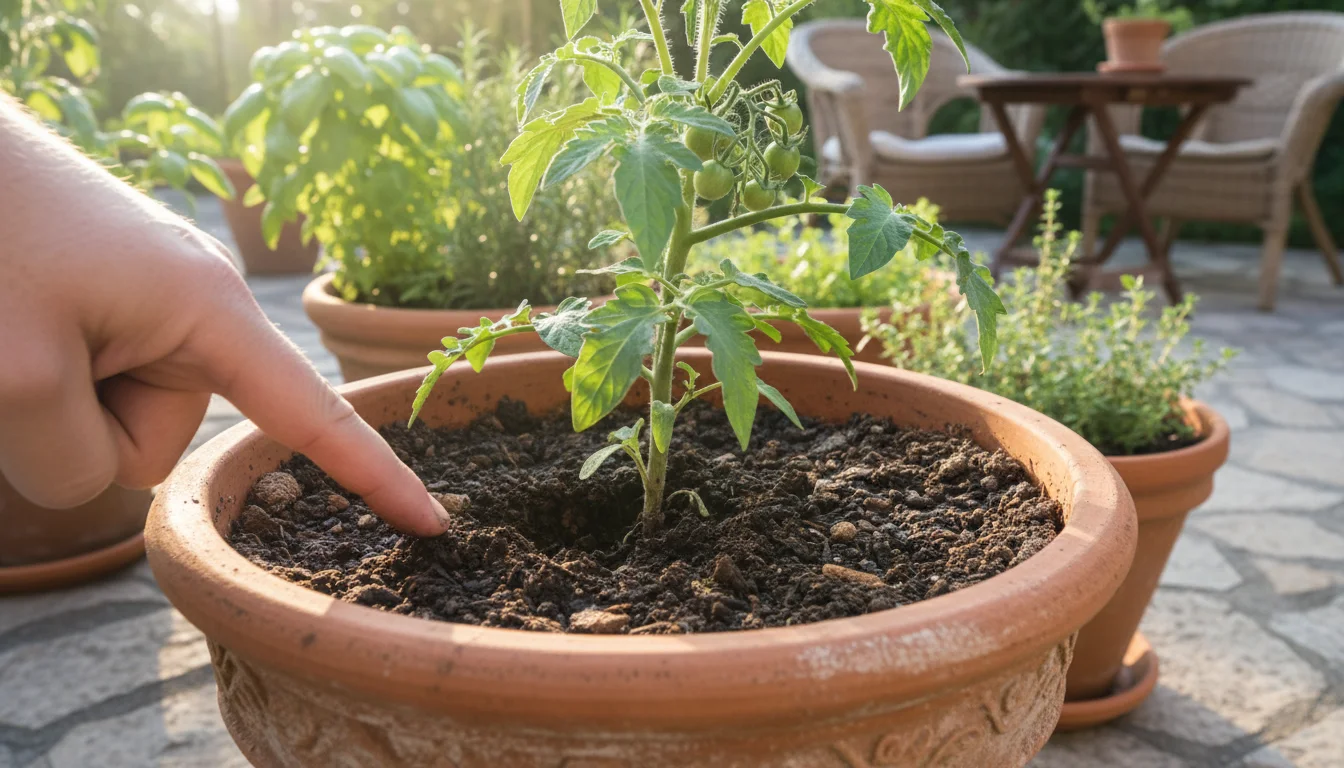
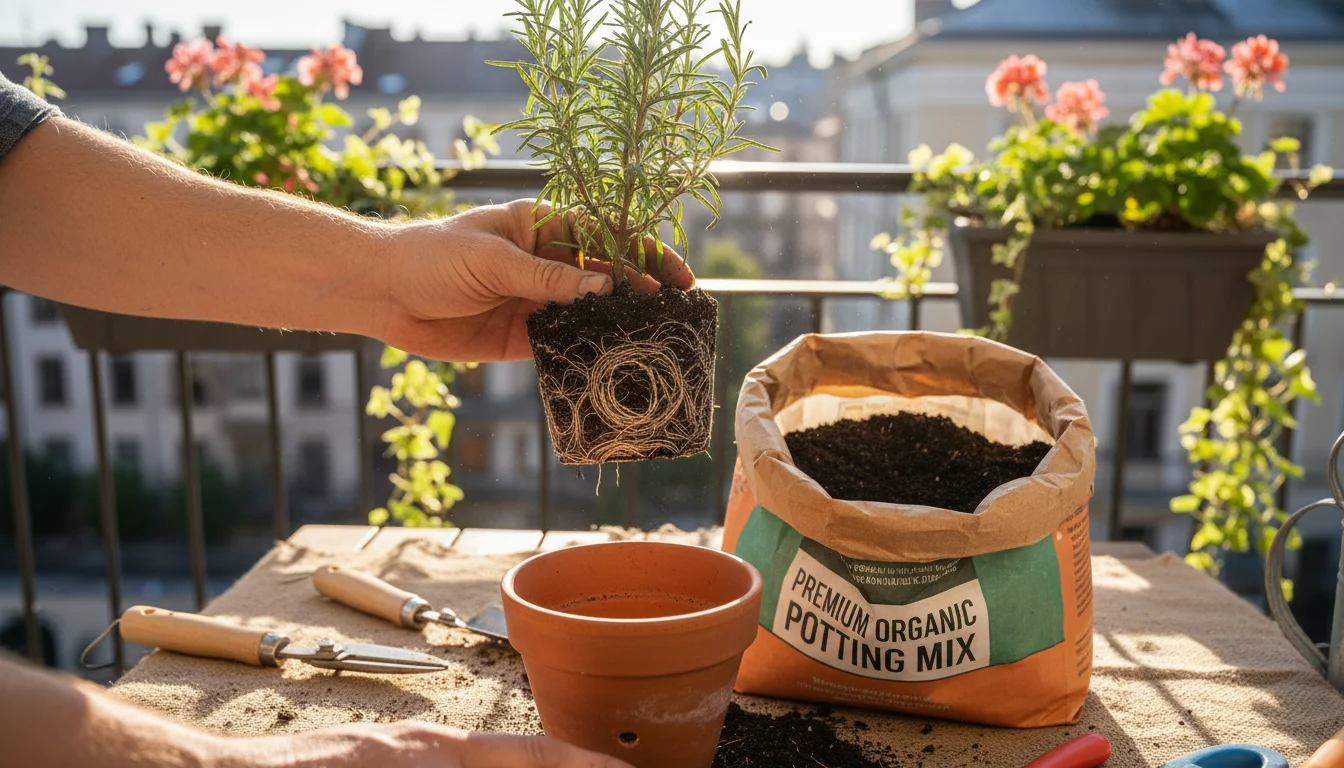
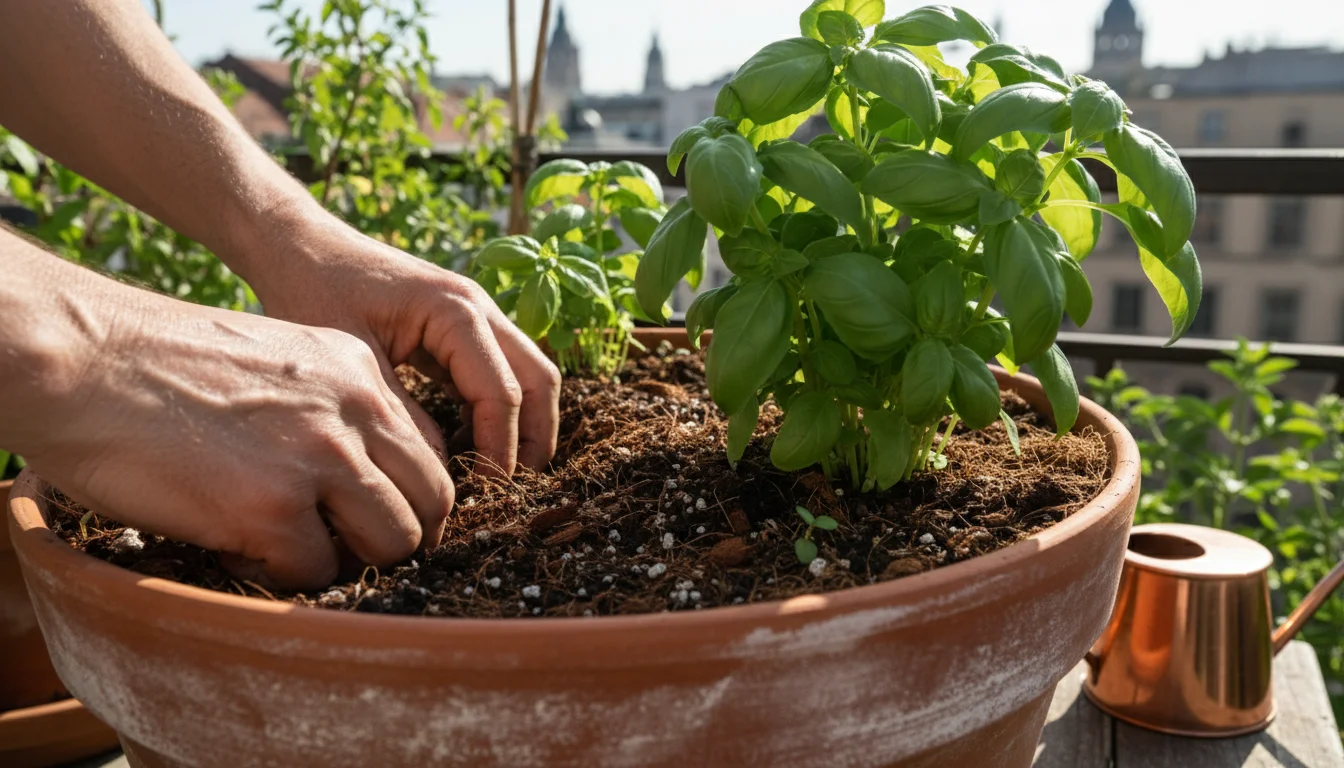
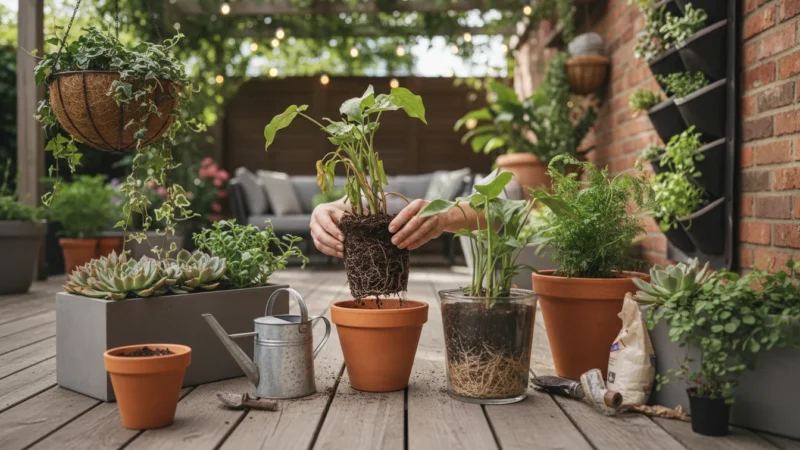
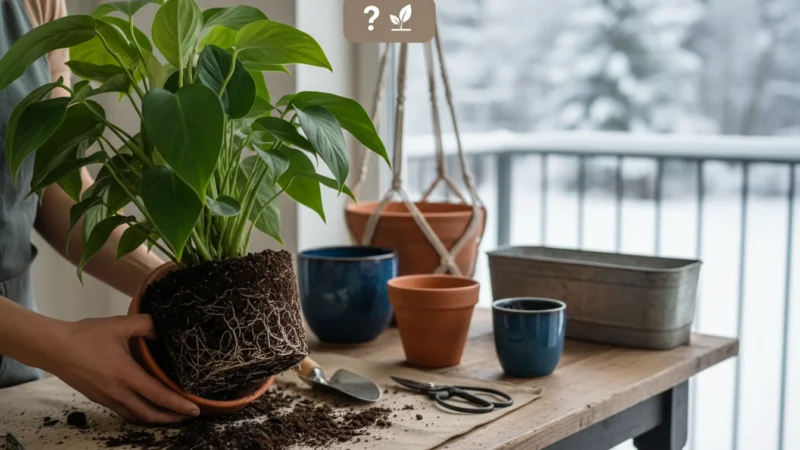
Step-by-Step Repotting Guide
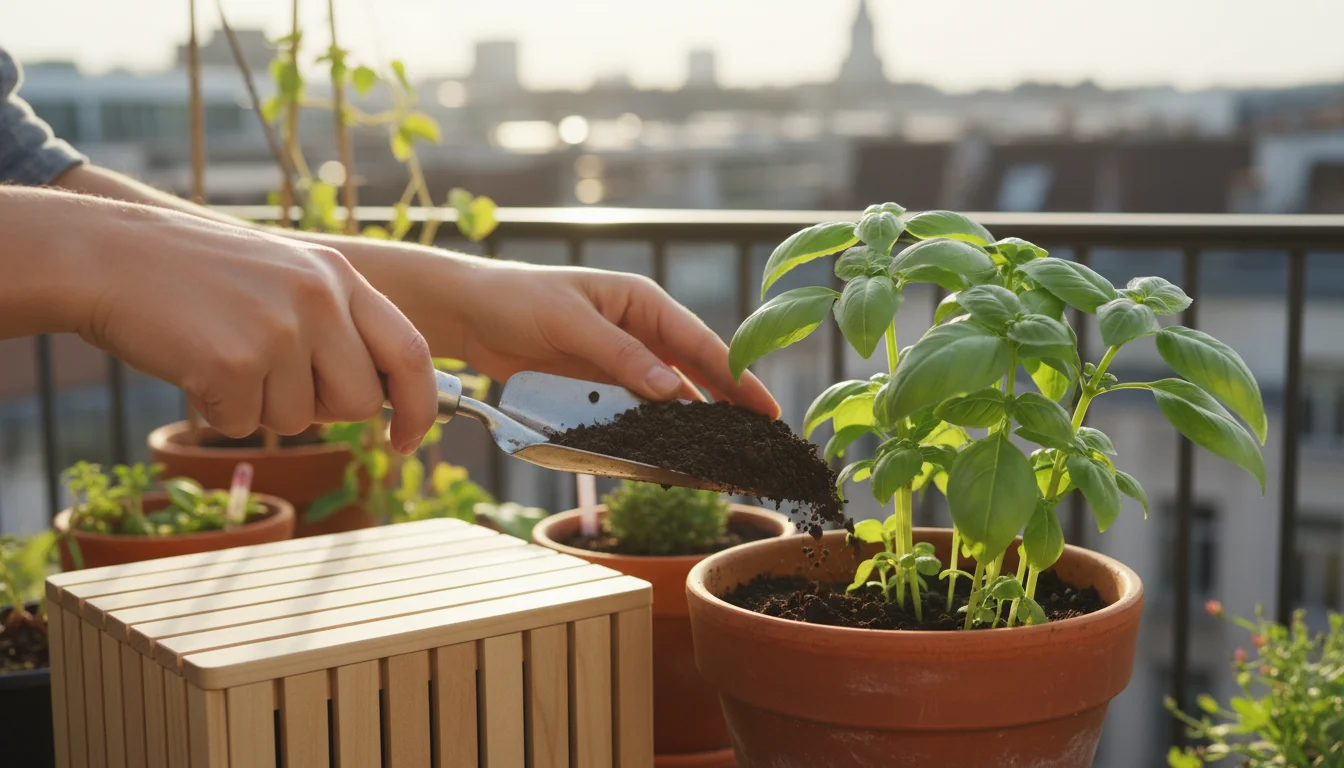
Repotting provides your plant with fresh container soil and room to grow. Choose a pot that is only one size larger (e.g., from a 6-inch to an 8-inch pot) to avoid overwhelming the plant with too much soil, which can lead to overwatering.
- Prepare Your Materials: Gather your new pot, fresh potting mix, pruning shears, and a watering can. Ensure the new pot has drainage holes.
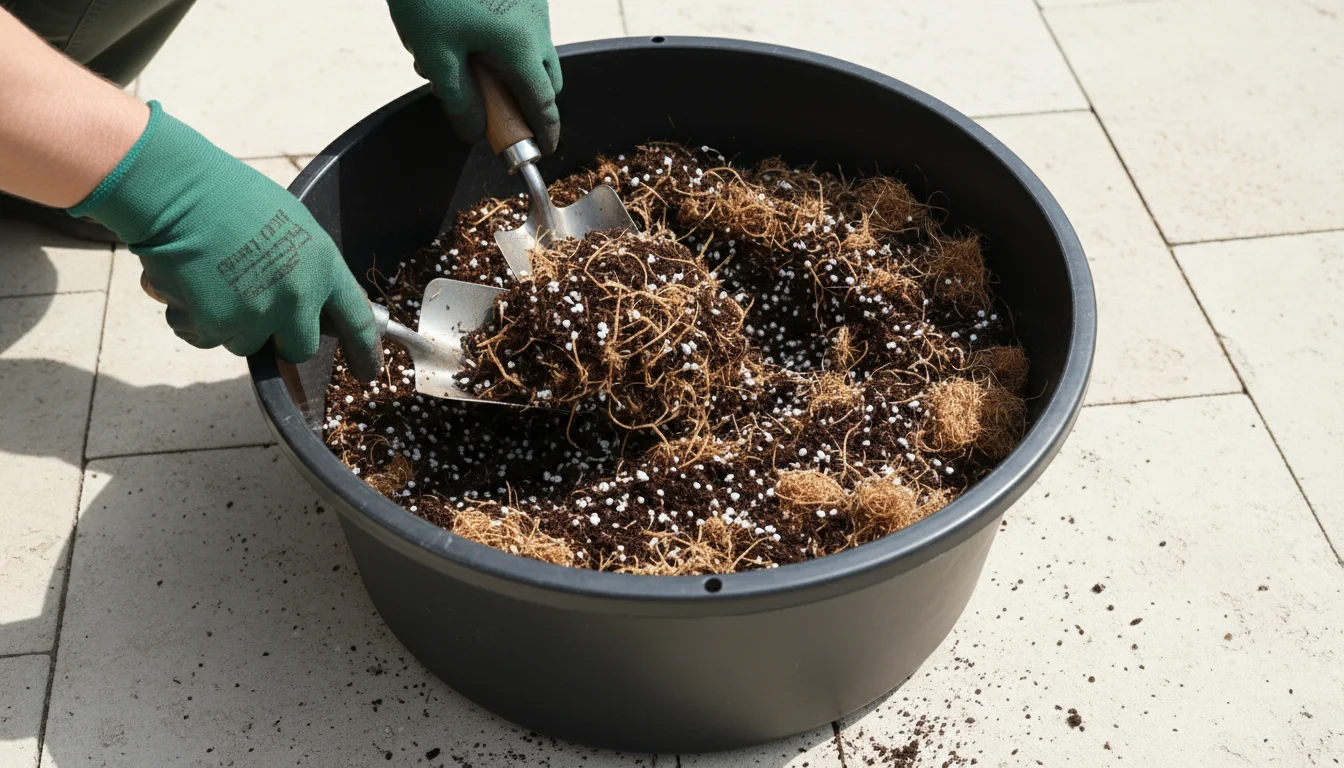
- Remove the Plant: Gently tip the plant on its side, supporting the base of the stem. Slide the plant out of its current pot. If it resists, you may need to gently tap the pot or carefully run a knife around the inner edge.
- Inspect and Loosen Roots: Examine the root ball. If it is a dense, circling mass, gently tease apart some of the outer roots with your fingers or a small fork. You can also prune off any dead, damaged, or excessively long roots, especially those circling the bottom of the root ball. For a severely root-bound plant, you might need to make shallow vertical cuts into the root ball to encourage new outward growth.
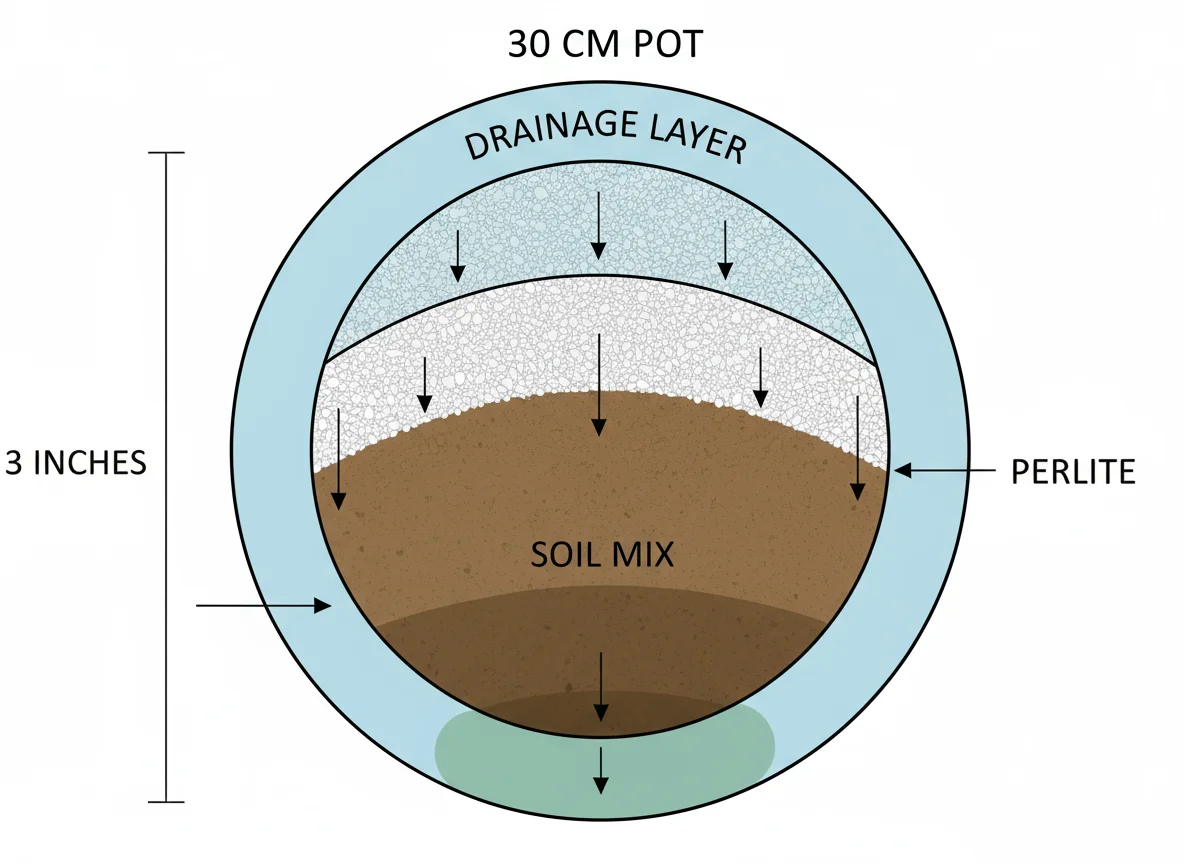
- Add Fresh Soil to the New Pot: Place a layer of fresh potting mix at the bottom of the new pot. The goal is to set the plant at the same soil level it was previously, or slightly higher if the old soil had settled significantly. Do not add gravel or pot shards to the bottom of the pot; this does not improve drainage and can create a perched water table, which actually hinders it. Good potting mix and proper drainage holes suffice.
- Position the Plant: Center the plant in the new pot. Ensure the soil line is about one inch below the rim of the pot, leaving room for watering.
- Fill with Potting Mix: Backfill around the root ball with fresh potting mix, gently tamping it down to remove large air pockets. Avoid compacting the soil too tightly; it should remain airy.
- Water Thoroughly: Water the plant immediately after repotting until water drains from the bottom. This settles the soil around the roots.
Most annuals and vigorous houseplants benefit from repotting annually. Slower-growing plants might only need it every 2-3 years. If you want to keep a plant in the same size container, you can “pot up” by removing the plant, shaving off an inch or two of the outer root ball, and refreshing the soil before placing it back in the same pot.
Common Soil Problems and How to Solve Them
Even with the best intentions, you might encounter issues with your container soil. Identifying these problems early helps you intervene effectively and restore your plants to health. Many common plant ailments trace back to an imbalance or deficiency in the soil.
Problem: Waterlogging and Poor Drainage
Signs: Water sits on the soil surface for long periods, leaves turn yellow and drop, plant wilts despite moist soil, a foul odor emanates from the soil, or small fungus gnats appear.
Cause: Overwatering, compacted potting mix, insufficient aeration materials, or a pot without drainage holes.
Solution:
- Check Drainage: Ensure your pot has adequate drainage holes. If not, repot immediately into a suitable container.
- Improve Aeration: Gently poke holes into the soil with a chopstick to create air channels. For severely compacted soil, consider repotting with a fresh, well-draining mix containing more perlite or pumice.
- Adjust Watering Habits: Only water when the top two inches of soil feel dry. Learn the finger test and follow it consistently.
Problem: Soil Compaction
Signs: Similar to waterlogging, water struggles to penetrate the soil, plants appear stressed, and root growth is restricted.
Cause: Repeated watering, lack of aeration amendments, or using heavy garden soil in containers.
Solution:
- Aerate Gently: Use a thin stick to poke holes in the soil, being careful of roots.
- Top-Dress: Add a layer of fresh, aerated potting mix or compost to the surface.
- Repot: If severe, repotting with a new, properly formulated container soil is the best approach.
Problem: Nutrient Depletion
Signs: Slow growth, yellowing or discolored leaves (chlorosis), weak stems, reduced flowering or fruiting, despite proper watering.
Cause: Plants have consumed all available nutrients, or nutrients have leached out from excessive watering.
Solution:
- Fertilize: Implement a regular feeding schedule with a balanced liquid or slow-release fertilizer during the growing season. Refer to our feeding section for details.
- Add Organic Matter: Top-dress with compost or worm castings to provide a natural, slow-release nutrient source, enhancing overall soil health for plants.
Problem: Salt and Mineral Buildup
Signs: A white crust on the soil surface, pot rim, or drainage holes. Plant leaves may show burnt tips or edges.
Cause: Hard tap water and accumulation of fertilizer salts.
Solution:
- Flush the Soil: Every few months, thoroughly flush the soil by slowly pouring a large volume of clean water (at least two to three times the pot’s volume) through the pot. Allow it to drain completely. This washes away excess salts.
- Use Filtered Water: If your tap water is very hard, consider using filtered water or rainwater.
- Moderate Fertilization: Do not over-fertilize, and always dilute liquid fertilizers to half strength.
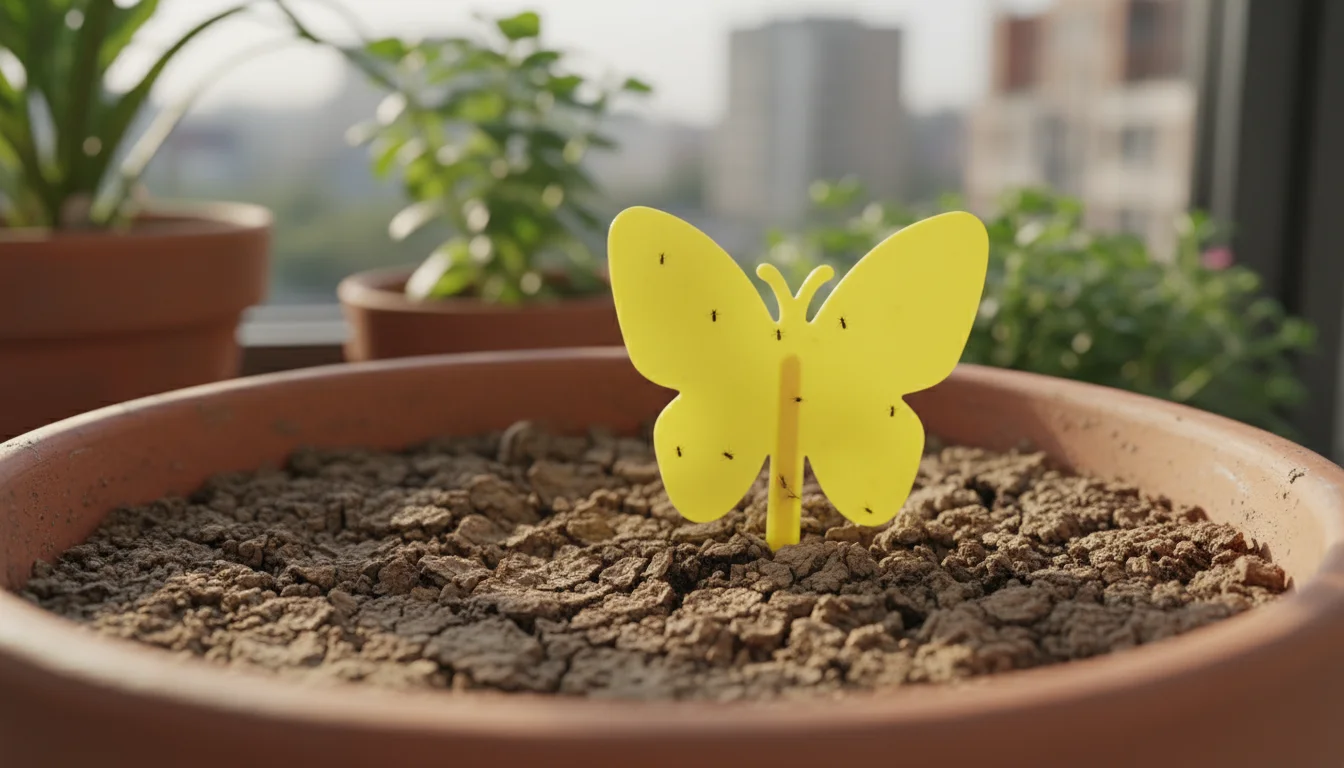
Problem: Pests in the Soil (e.g., Fungus Gnats)
Signs: Small, dark, mosquito-like insects flying around the plant or crawling on the soil surface. Their larvae feed on roots.
Cause: Consistently moist soil and decaying organic matter provide an ideal breeding ground.
Solution:
- Allow Soil to Dry: Let the top inch or two of container soil dry out completely between waterings. This breaks their breeding cycle.
- Yellow Sticky Traps: Place these near the plant to catch adult gnats.
- Biological Control: Introduce beneficial nematodes (microscopic worms) that specifically target fungus gnat larvae. You can purchase these online or at garden centers.
- Top Dressing: A layer of sand or diatomaceous earth on the soil surface can deter egg-laying.
Addressing these common soil issues proactively leads to healthier, happier container plants, minimizing stress and maximizing their potential.
Embracing Sustainable Soil Practices
As supportive plant care coaches, we advocate for practices that benefit your plants and the planet. Sustainable choices in your container soil and gardening habits contribute to a healthier environment, often resulting in healthier, more resilient plants too. Making eco-friendly decisions for your potting mix and care routines aligns with a mindful approach to gardening.
Prioritizing Peat-Free Potting Mixes
Peat moss is a traditional component of potting mixes, known for its water retention and sterile nature. However, it is harvested from peat bogs, which are crucial carbon sinks and unique ecosystems. Peat bogs take thousands of years to form, making peat moss a non-renewable resource. Choosing peat-free potting mixes or blending your own with alternatives like coco coir, composted bark, or rice hulls significantly reduces your environmental impact. These alternatives perform just as well, if not better, and support sustainable resource management.
Composting for Soil Enrichment
Composting your kitchen scraps and yard waste transforms them into nutrient-rich organic matter. This “black gold” is invaluable for enhancing soil health for plants in containers. Mixing compost into your potting mix or using it as a top-dressing enriches the soil with diverse microorganisms, improves its structure, and provides a slow-release source of nutrients, reducing the need for synthetic fertilizers. If you do not have space for a large compost pile, consider a worm bin (vermicomposting) for a small-space solution that produces excellent worm castings.

Water-Wise Care
Efficient watering conserves water and prevents nutrient runoff. Employ strategies like:
- Rainwater Harvesting: Collect rainwater in barrels or simple containers. Rainwater is naturally soft and free of chlorine and other chemicals found in tap water, making it excellent for plants.
- Self-Watering Pots: These containers have a reservoir at the bottom, allowing plants to draw water as needed, reducing evaporation and extending watering intervals.
- Mulching: Apply a thin layer of fine bark or coco coir on the soil surface. This helps retain moisture, reduces evaporation, regulates soil temperature, and suppresses weeds, especially for outdoor containers.
Sustainable Fertilization
Opt for organic and naturally derived fertilizers over synthetic ones whenever possible. Organic options like fish emulsion, kelp meal, and especially worm castings, feed the soil’s microbial life, which in turn makes nutrients available to your plants. This holistic approach supports a healthier, more resilient container soil ecosystem. When you do use synthetic fertilizers, ensure you apply them at recommended rates, or even half strength, to prevent runoff and minimize environmental impact. The best approach is always to improve the inherent soil health for plants rather than solely relying on external nutrient inputs.
Frequently Asked Questions
What is the difference between potting mix and potting soil?
While often used interchangeably, “potting mix” is the more accurate term. It generally refers to a soilless blend designed specifically for containers, composed of ingredients like coco coir, perlite, and compost. “Potting soil” can sometimes imply it contains actual garden soil, which is too heavy and compacts in pots. Always choose a product clearly labeled as “potting mix” or “container mix” for optimal results.
Can I reuse old potting mix?
You can reuse old potting mix, but it requires rejuvenation. Old mix loses its structure, nutrients, and might harbor dormant pests or diseases. To reuse it, first remove any old roots and debris. Then, enrich it by mixing in 50% fresh potting mix, generous amounts of compost or worm castings, and perhaps some new perlite for aeration. Only reuse mix from healthy plants; discard any mix from plants that suffered from pests or diseases to prevent spreading issues.
How can I make my potting mix drain faster?
To improve drainage, incorporate more aeration components into your potting mix. Add extra perlite, pumice, or coarse sand. Aim for a ratio where these elements make up 25-50% of your total mix, depending on the plant’s specific needs (e.g., succulents prefer more drainage). Avoid adding a layer of gravel at the bottom of the pot; this does not improve drainage and can worsen waterlogging by creating a “perched water table.”
Is it okay to use garden soil in my containers?
No, you should generally avoid using garden soil in containers. Garden soil is dense and contains heavy clay and silt particles that compact tightly in a pot, leading to poor drainage and suffocating roots. It can also introduce weeds, pests, and diseases into your contained environment. Always use a purpose-made potting mix designed for containers to ensure proper aeration, drainage, and moisture retention.
How do I know if my plant is root-bound?
Your plant is root-bound when its roots have grown so extensively they fill the entire pot, circling tightly around the inside. Signs include roots emerging from drainage holes, stunted growth, rapid wilting even after watering, and water running straight through the pot without being absorbed. To confirm, gently slide the plant out of its pot; if you see a dense mass of roots forming the shape of the pot, it is root-bound and needs repotting.
Disclaimer: This article is for informational purposes only and is not a substitute for professional advice. Consult local extension services for region-specific recommendations.


Leave a Reply