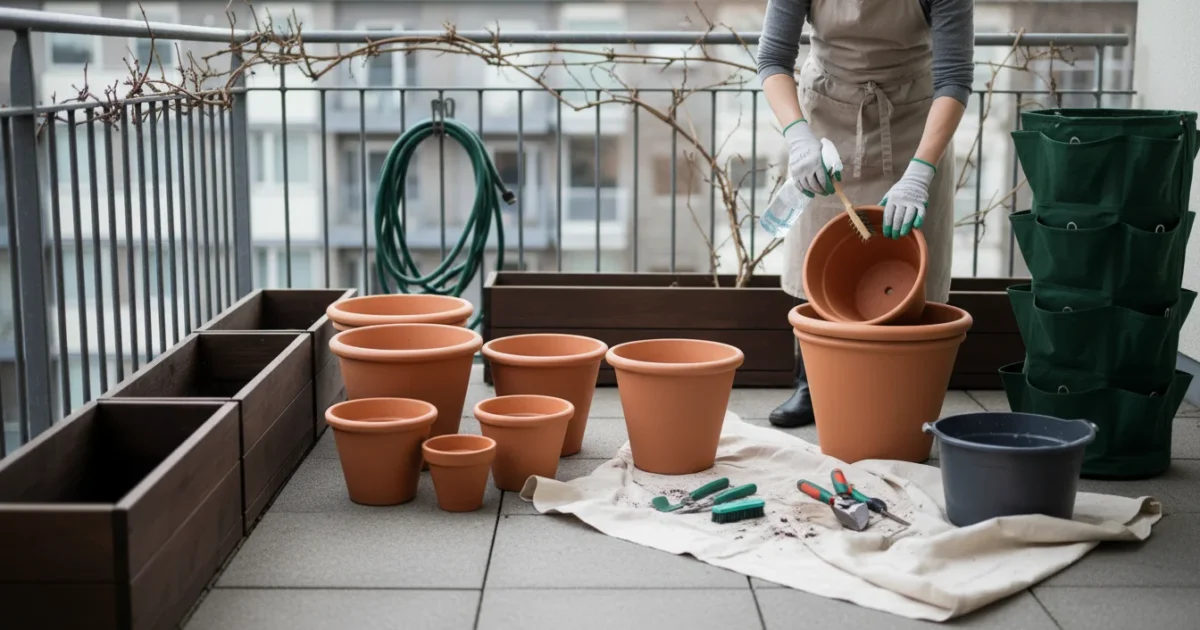
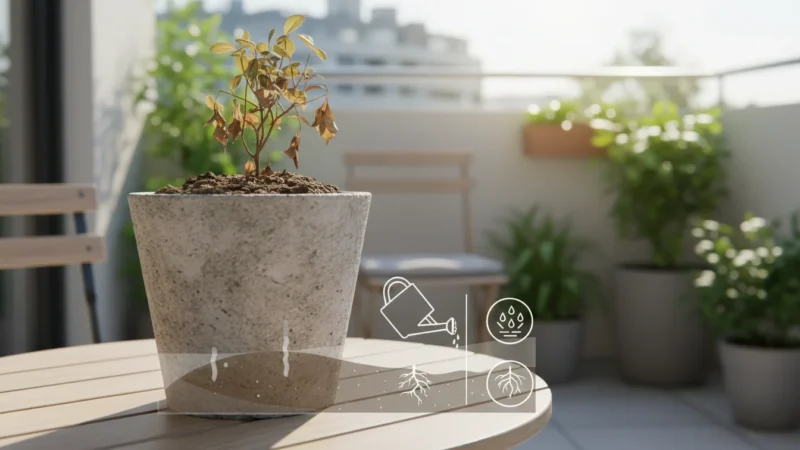
Winter often brings a lull to outdoor gardening, but for your beloved indoor plants, care continues year-round. This cooler season provides a perfect opportunity for a crucial but often overlooked task: a ‘clean slate’ tune-up for your indoor gardening tools. Maintaining proper hygiene for your snips, trowels, and other implements is not just good practice, it is a frontline defense against common houseplant pests and diseases. Imagine unknowingly transferring a tiny spider mite egg from one plant to another with a quick snip, or spreading fungal spores with a scoop of soil. This scenario happens more often than many gardeners realize. You invest time and effort into your indoor green spaces, so protecting them from preventable issues is a smart move.
Maintaining your gear is just one of many indoor gardening projects for winter that will keep your home garden thriving during the colder months.
This article shows you why disinfecting your tools is so important, what materials you need, and provides a clear, actionable guide to ensure your gardening arsenal is clean, sterile, and ready to keep your plants thriving. You will learn specific steps to prevent the spread of common issues like spider mites and mealybugs, ensuring your small-space garden remains a sanctuary of health and vitality.
Why Your Tools Need a Winter Tune-Up: The Hidden Dangers of Unclean Implements
Your gardening tools, from the sharpest pruners to the most basic trowel, act as silent carriers. They move microscopic pests, their eggs, larvae, and even disease-causing fungal spores and bacteria from one plant to another. While you might not see these hitchhikers with the naked eye, their impact can be devastating to your indoor plant collection. For example, a quick trim of an infested plant followed by pruning a healthy one can directly transfer a pest infestation. This is a primary reason why you sometimes see pests appearing on plants that previously showed no symptoms.
Consider the delicate ecosystem of your indoor garden. Unlike outdoor plants that contend with a wider array of beneficial insects and environmental fluctuations, your houseplants exist in a more controlled, often confined, environment. This makes them particularly vulnerable to rapid pest and disease spread once an issue takes hold. A single contaminated snip can introduce a problem, which then multiplies quickly in the stable indoor conditions. Maintaining clean gardening tools is not merely about tidiness; it is a critical preventative measure that protects your entire collection from potential outbreaks. When you make houseplant hygiene a priority, you safeguard your plants’ health and reduce the need for more intensive pest control measures later.
Identifying the Culprits: Common Pests and Diseases Spread by Tools
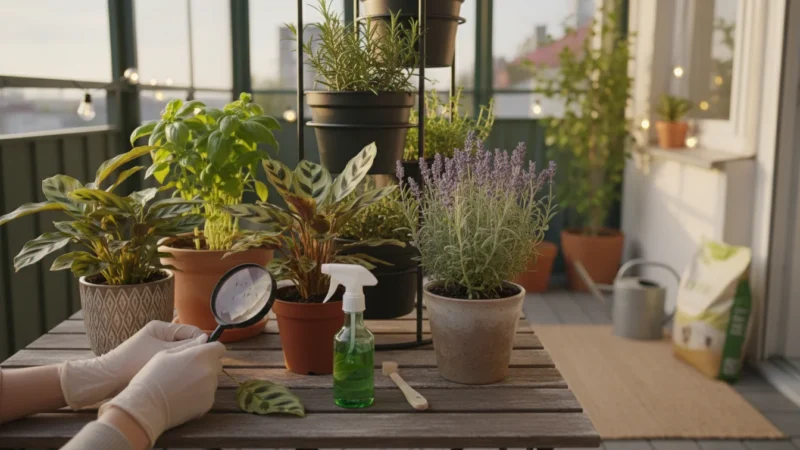
To understand the importance of disinfecting tools, you first need to recognize the invisible enemies they can carry. Common indoor plant pests and diseases readily transmit via uncleaned tools. Knowing what you are up against helps you appreciate why tool sterilization is a non-negotiable part of good plant care.
While cleaning tools stops the physical transfer of eggs, using sticky traps for winter pests can help you monitor and catch flying insects like gnats.
If you notice signs of these pests on new arrivals, be sure to set up a quarantine zone for plants to prevent them from infecting your healthy collection.
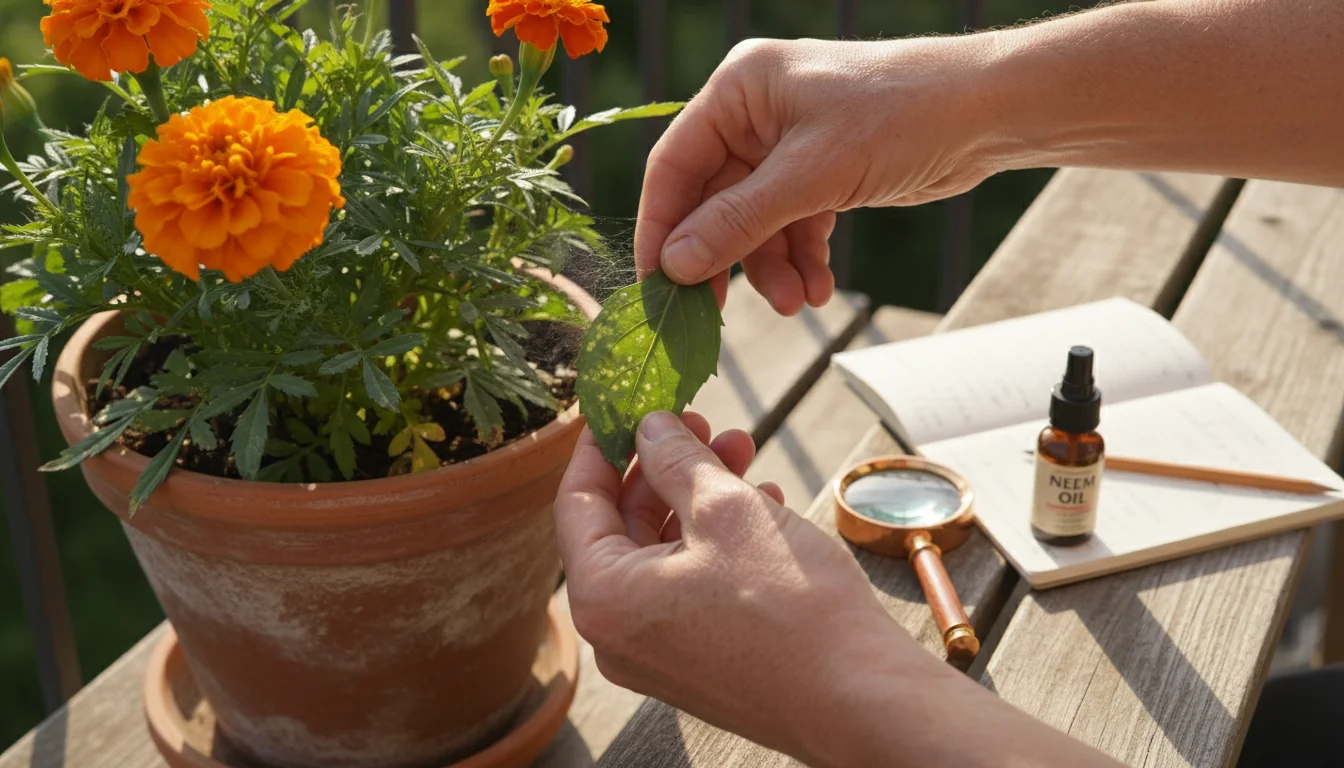
- Spider Mites: These tiny arachnids create fine webbing and cause a stippled, dusty appearance on leaves. Their eggs are microscopic and easily adhere to tool surfaces. You can unwittingly spread spider mites between plants by pruning one infested plant and then moving to another healthy specimen with unsterilized pruners. Stopping the spread of spider mites between plants requires vigilance, and clean tools are your first line of defense.
- Mealybugs: These soft-bodied insects look like small, white, cottony masses in leaf axils and along stems. They secrete honeydew, a sticky substance, and can weaken plants. Mealybug crawlers and even egg sacs can stick to your hands and tools. Disinfecting tools after mealybugs is absolutely essential because their tiny, mobile young can easily transfer onto any surface, then crawl onto your next plant.
- Aphids: Small, pear-shaped insects, often green, black, or red, cluster on new growth. They reproduce rapidly. While mostly visible, their eggs can be minute, and adults can cling to tools.
- Thrips: Slender, tiny insects that cause silvery streaks and distorted growth. They are fast-moving and can easily jump from an infested plant onto tools or your hands.
- Fungal Gnat Larvae: While adults fly around the soil, the larvae live in the soil and can be transferred via dirty trowels or scoops, especially if you reuse potting mix or pots.
- Fungal and Bacterial Diseases: Powdery mildew, leaf spot, root rot, and various blights can spread through microscopic spores or bacterial cells. These pathogens can cling to tools and infect new plants through pruning wounds or contaminated soil. A simple cut with an infected blade opens a direct pathway for disease into a healthy plant.
Recognizing these threats empowers you to be proactive. Your clean tools become a barrier, not a bridge, for these unwanted visitors.
Your Essential Disinfection Toolkit: What You Need to Get Started
Preparing for your winter tool tune-up is straightforward. You likely have most of these items already at home. Gathering them before you begin simplifies the process and ensures you complete the task efficiently.
This is a great opportunity to organize a dedicated indoor gardening tool kit to keep all your cleaning supplies and small hand tools in one convenient spot.
Here is what you will need:
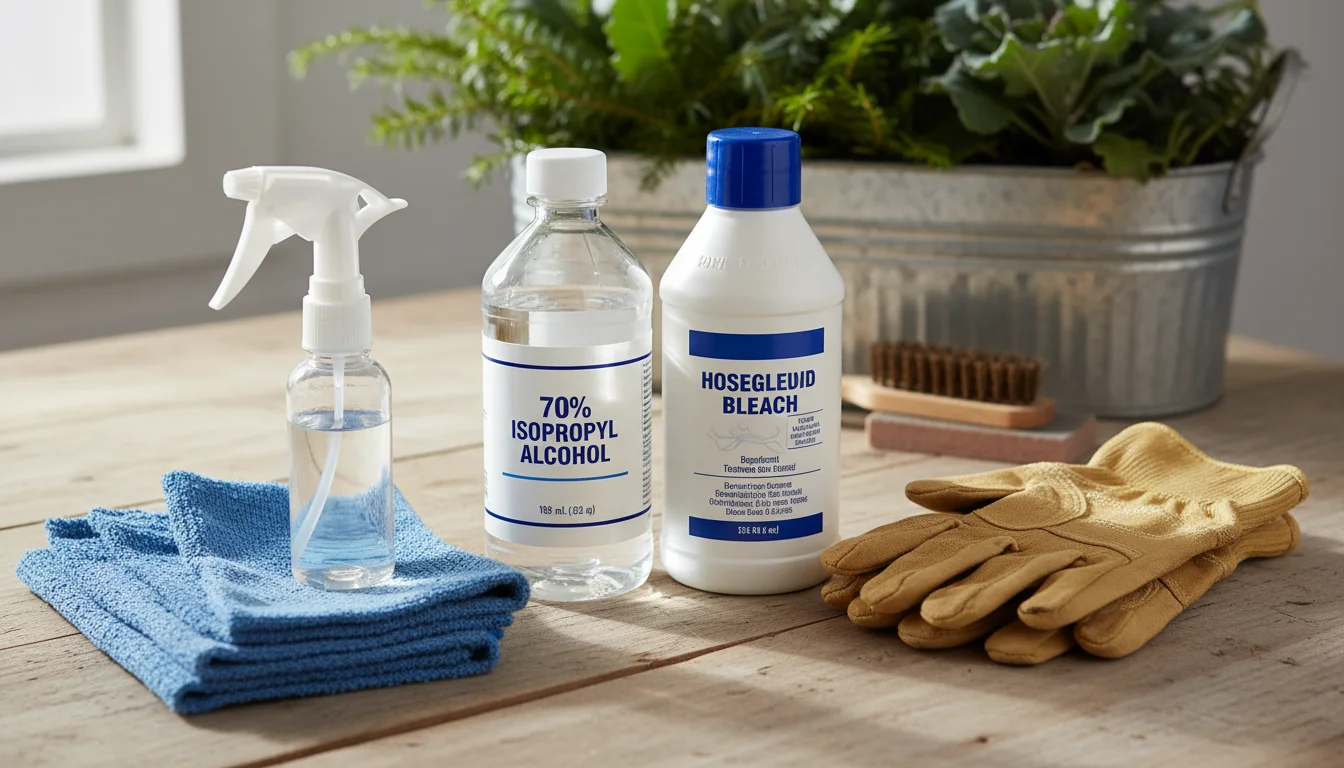
- Rubbing Alcohol (Isopropyl Alcohol): This is perhaps the most common and effective disinfectant for gardening tools. It works quickly by denaturing proteins and dissolving lipids, destroying pest eggs, fungal spores, and bacteria on contact. Opt for solutions with at least 70% concentration for optimal efficacy.
- Household Bleach: A powerful disinfectant, bleach effectively kills a wide range of pathogens. Always dilute it properly (1 part bleach to 9 parts water, making a 10% solution) to avoid damaging your tools or irritating your skin. Use it in a well-ventilated area.
- Hydrogen Peroxide: A gentler alternative to bleach, hydrogen peroxide (typically 3% solution) is effective against many pathogens. It releases oxygen, which breaks down organic matter and kills microbes. It is less corrosive than bleach.
- Disinfectant Wipes: For quick clean-ups between plants or minor tasks, commercial disinfectant wipes (containing alcohol or other sanitizers) offer a convenient option. They are not a substitute for a thorough soak but are useful for immediate sanitation.
- Wire Brush or Stiff Bristle Brush: Crucial for removing dried soil, plant sap, rust, and other debris from tool surfaces before disinfection. Disinfectants work best on clean surfaces.
- Rags or Paper Towels: For wiping tools dry and applying disinfectants.
- Buckets or Deep Containers: You need these for soaking tools in disinfectant solutions. Label them clearly to avoid confusion.
- Gloves: Protect your hands from disinfectants and sharp blades.
- Safety Glasses: Protect your eyes, especially when working with bleach or alcohol, as splashes can occur.
- Mineral Oil or Tung Oil (Optional): For conditioning wooden handles or lubricating metal parts after cleaning to prevent rust and prolong tool life.
Having these items ready ensures you are well-equipped to give your gardening tools the thorough cleaning and sterilization they deserve, setting your plants up for success.
Step-by-Step Guide: How to Properly Clean and Sterilize Your Gardening Tools
Now that you understand the “why” and have your toolkit ready, follow these practical, step-by-step instructions to ensure your gardening tools are truly clean. This process not only removes visible dirt but, more importantly, eliminates invisible threats.
Phase 1: Initial Cleaning and Debris Removal
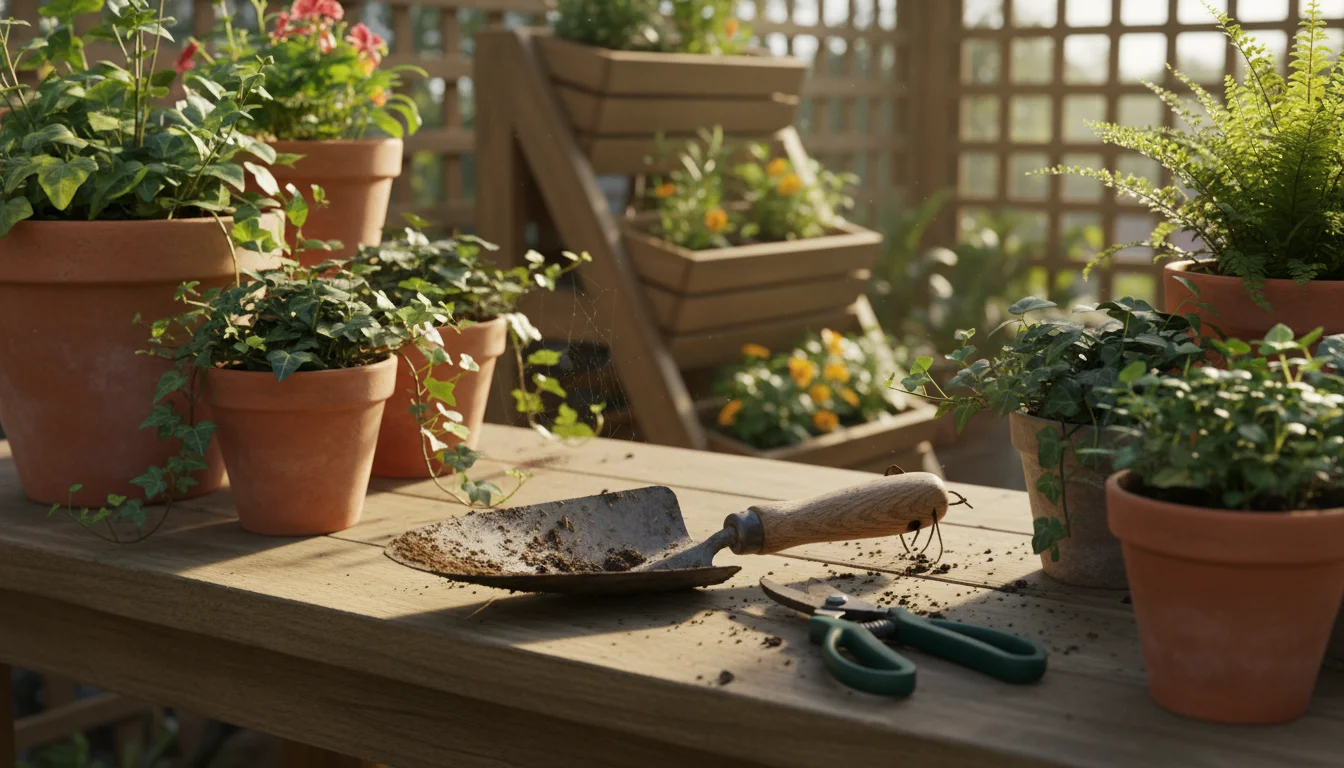
- Gather Your Tools: Collect all the indoor gardening tools you use regularly. This includes pruning shears, snips, trowels, small cultivators, and any other implements that contact plants or soil.
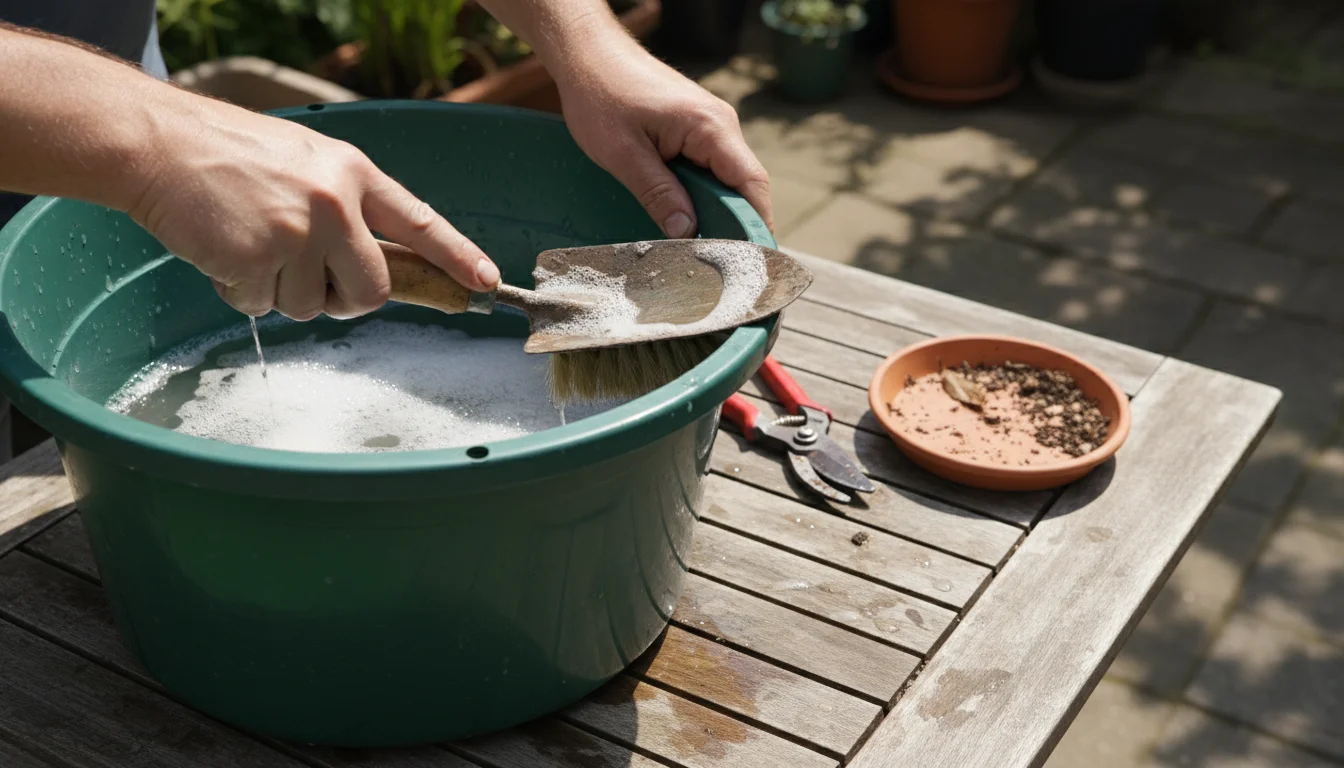
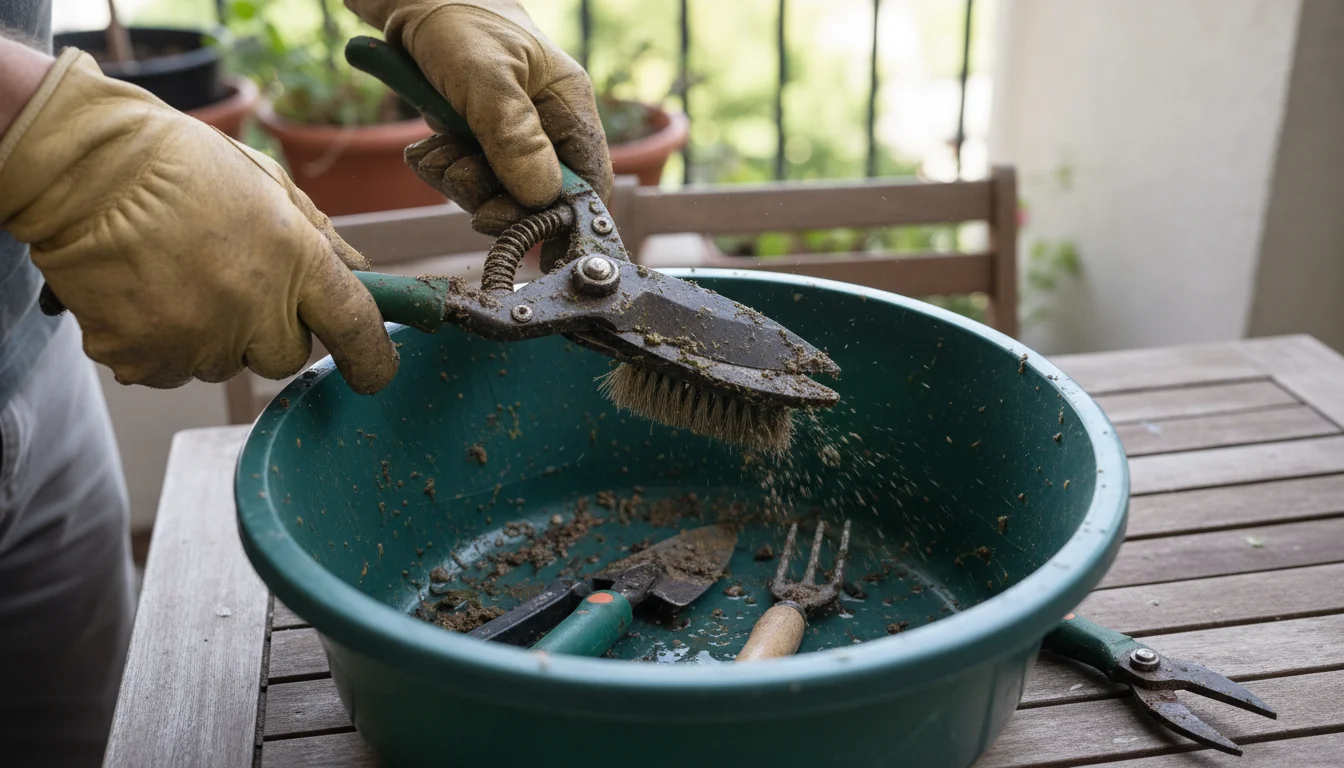
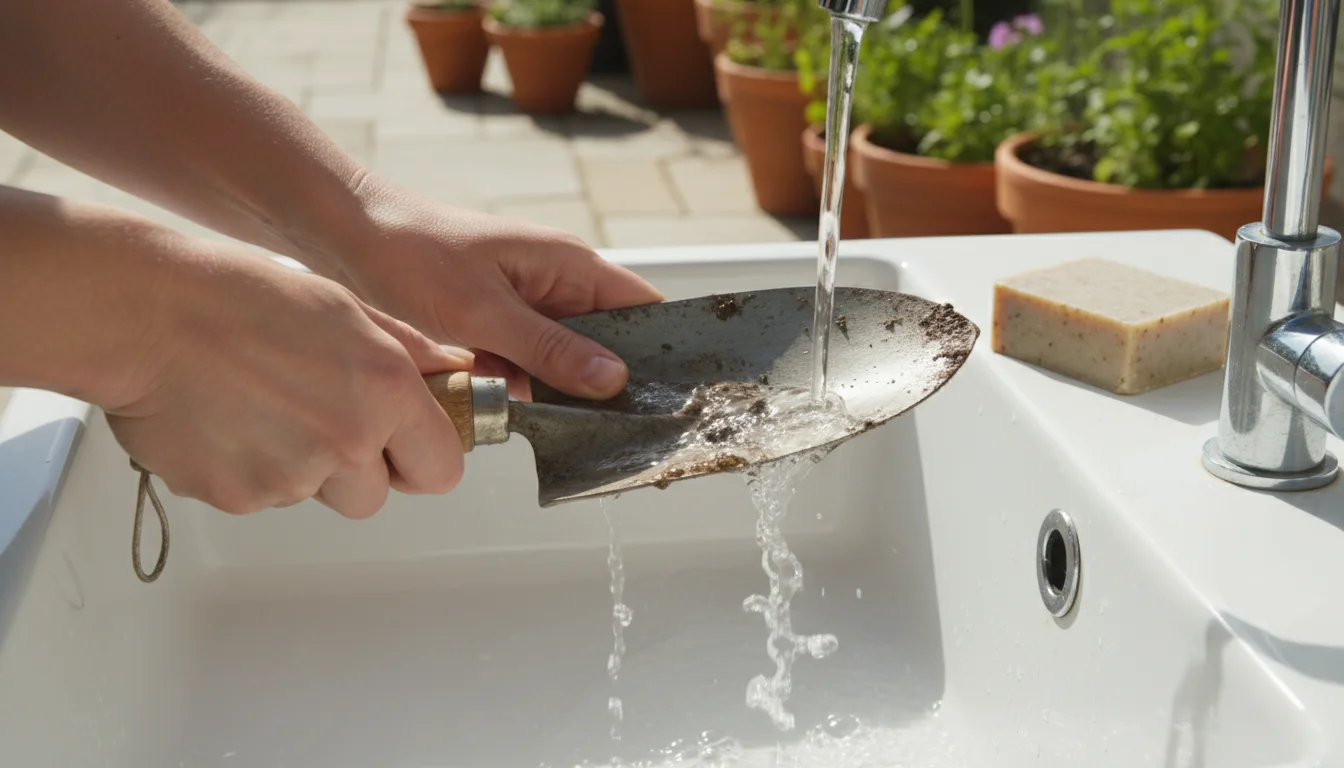
- Scrape Off Gross Debris: Use a stiff wire brush or a dull knife to meticulously scrape off any dried soil, plant sap, rust, or other organic matter clinging to the tool surfaces. Pay close attention to hinges, crevices, and blade edges where debris often accumulates. This step is critical because disinfectants cannot penetrate layers of dirt effectively. Think of it as preparing a clean canvas.
- Wash with Soap and Water: After scraping, wash the tools thoroughly with warm, soapy water. Use an old toothbrush or a scrub brush to get into tight spots. Rinse them well under running water to remove all soap residue. This physical cleaning removes the majority of superficial contaminants and allows the chemical disinfectant to do its job more effectively.
- Dry Thoroughly (Initial): Use a clean rag or paper towels to dry the tools as much as possible before moving to disinfection. Excess water can dilute your disinfectant.
Phase 2: Disinfection
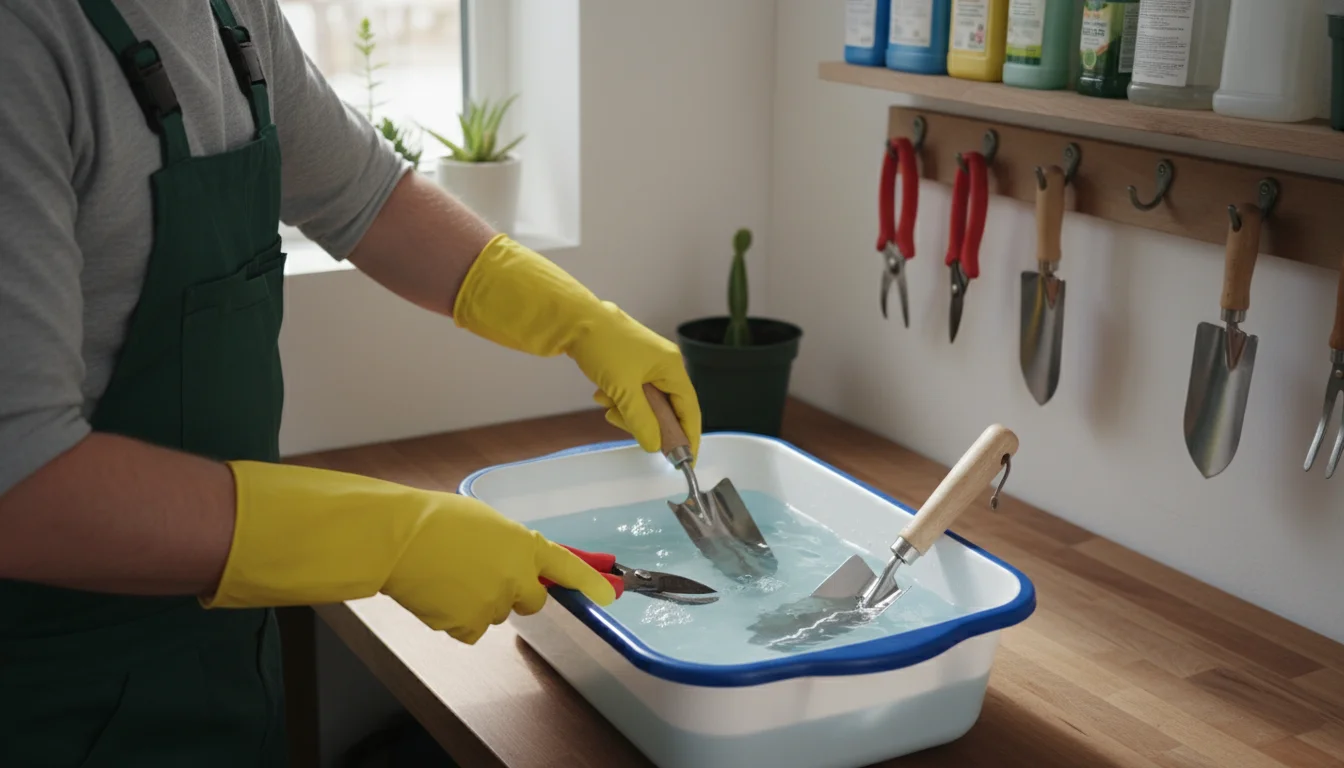
Choose one of the following methods for disinfection. Always wear gloves and safety glasses during this phase.
Method 1: Rubbing Alcohol (Isopropyl Alcohol)
This is often the preferred method for its ease of use and quick action, especially for metal tools like pruners.
- Application: Pour rubbing alcohol (70% or higher concentration) into a small, deep container.
- Soak or Wipe: Immerse the blades of your pruners and other metal parts of your tools directly into the alcohol for at least 30 seconds. For larger tools or non-submersible parts, saturate a clean cloth or paper towel with alcohol and wipe down all surfaces that come into contact with plants or soil. For quick sanitation between pruning cuts on different plants, a direct spray of alcohol followed by a quick wipe also works well.
- Air Dry: Remove the tools from the alcohol and allow them to air dry completely. Alcohol evaporates quickly, leaving no residue. Do not rinse with water, as this reintroduces potential contaminants.
Method 2: Household Bleach Solution
Bleach is very effective but requires proper dilution and ventilation.
- Prepare Solution: In a designated bucket, mix 1 part household bleach with 9 parts water (e.g., 1 cup bleach to 9 cups water). Use this solution immediately, as its efficacy decreases over time.
- Soak: Immerse the cleaned tools into the bleach solution for at least 5 minutes. Ensure all surfaces that touch plants or soil are fully submerged.
- Rinse Thoroughly: After soaking, remove the tools and rinse them meticulously under clean, running water. Bleach residue can harm plants and cause corrosion on tools if not rinsed off.
- Dry Completely: Dry the tools immediately and thoroughly with a clean cloth to prevent rust.
Method 3: Hydrogen Peroxide Solution
A good choice for those seeking a less harsh chemical.
- Application: Use a 3% hydrogen peroxide solution directly. You can pour it into a container for soaking or apply it with a spray bottle.
- Soak or Spray: Immerse tools or thoroughly spray all plant-contacting surfaces. Allow the hydrogen peroxide to sit on the tools for at least 5 minutes. You might see some fizzing, which indicates it is working to break down organic matter and kill microbes.
- Rinse and Dry: While hydrogen peroxide breaks down into water and oxygen, a quick rinse with clean water followed by thorough drying with a clean cloth is still recommended to ensure no residue remains and to prevent rust.
Phase 3: Final Touches and Storage
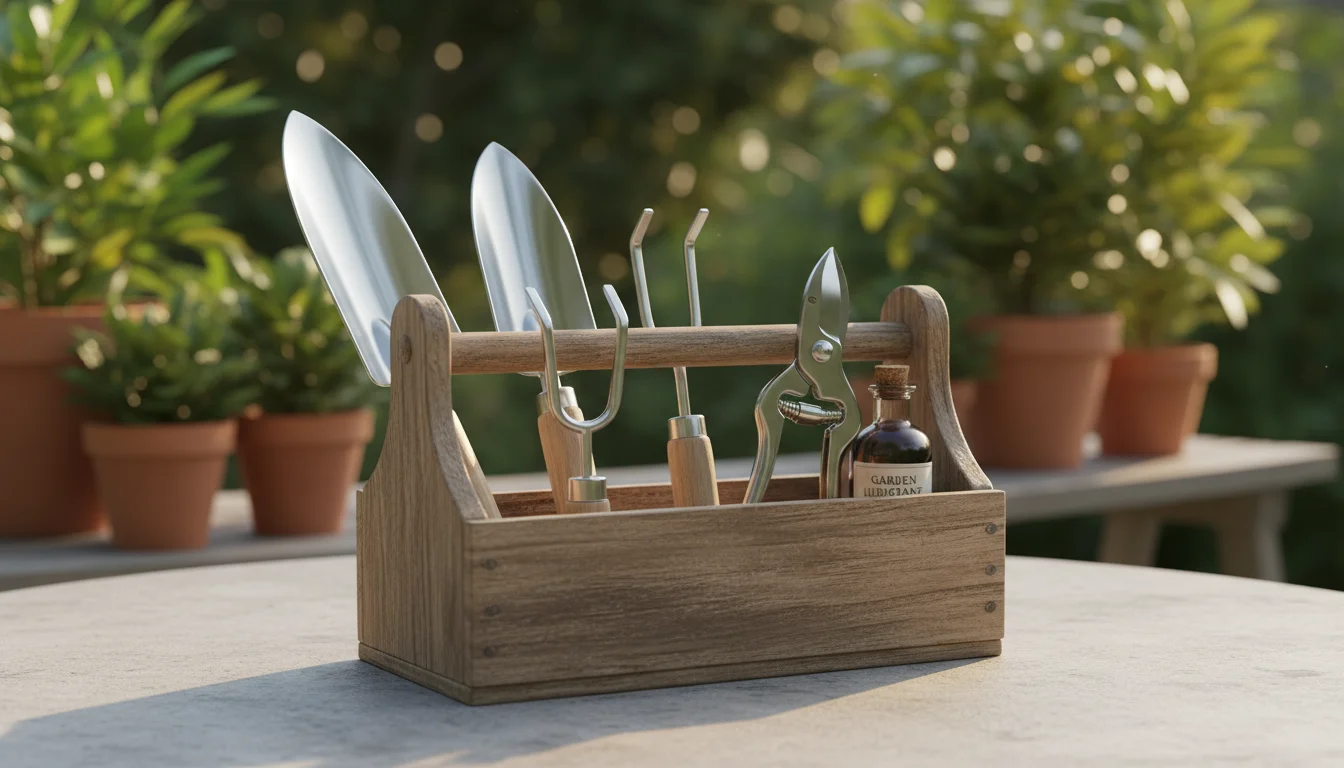
- Inspect and Lubricate (Optional but Recommended): Once tools are completely dry, inspect them for any signs of rust or remaining debris. For pruners and shears, apply a few drops of mineral oil or tung oil to the pivot points and blade surfaces. This lubricates the moving parts, prevents rust, and keeps your tools operating smoothly.
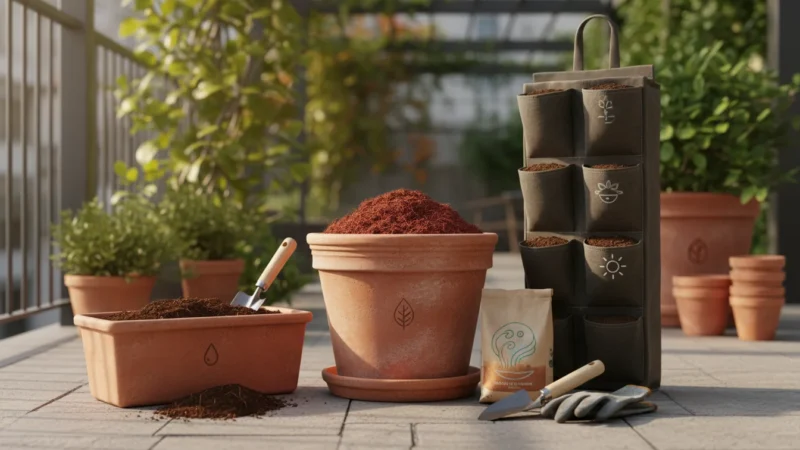
- Store Properly: Store your clean, dry tools in a clean, dry place. A dedicated tool caddy or a clean drawer keeps them organized and prevents them from picking up new contaminants from dusty surfaces. Proper storage ensures your efforts are not undone before your next gardening session.
Beyond the Blade: Don’t Forget Your Other Gardening Essentials
While pruners often receive the most attention for disinfection, a comprehensive houseplant hygiene routine extends to many other items in your gardening arsenal. These seemingly innocuous tools also serve as vectors for pests and diseases, silently undermining your efforts to keep your plants healthy. Expanding your cleaning regimen to these items makes a significant difference in preventing issues in your small-space garden.
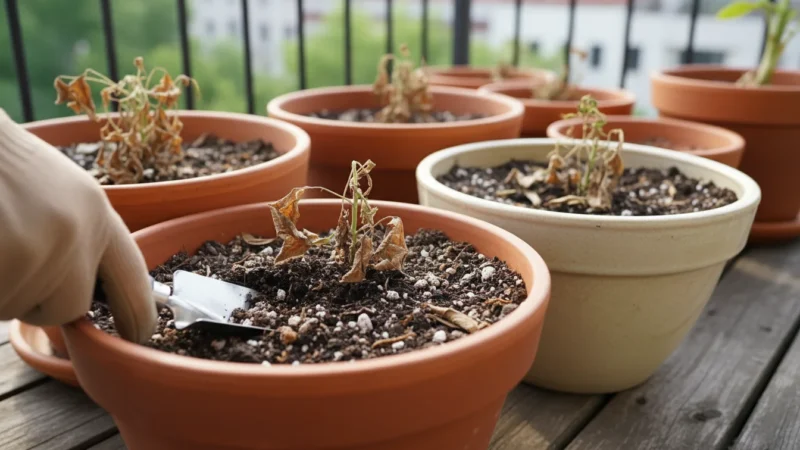
- Potting Scoops and Trowels: These tools directly interact with soil, a common habitat for fungal gnats, root mealybugs, and various soil-borne pathogens. Always clean them between uses, especially if you move from one plant to another or reuse potting mix. Scrape off soil, wash with soap and water, and then disinfect.
- Nursery Pots and Planters: When repotting or starting new plants, reusing old nursery pots or decorative planters can introduce problems. Even if they appear clean, they might harbor invisible pest eggs, fungal spores, or bacterial films. Wash them thoroughly with hot, soapy water, scrub away any residue, and then soak them in a diluted bleach solution (1 part bleach to 9 parts water) for at least 15-30 minutes. Rinse them completely before reuse. For small-space gardeners, reusing pots is economical and eco-friendly, but only with proper sterilization.
- Plant Stakes and Supports: Whether bamboo, plastic, or metal, stakes that touch plant stems and leaves can transfer pests or diseases. If you reuse stakes, clean them by scrubbing off debris, washing with soap, and then wiping them down with rubbing alcohol or soaking them in a bleach solution.
- Watering Cans: While less likely to spread pests, watering cans can harbor algae or fungal spores, especially if water sits in them for extended periods. Periodically clean your watering can with soap and water, and consider a diluted hydrogen peroxide rinse to prevent biofilm buildup.
- Seedling Trays and Drip Trays: These often sit under multiple plants, collecting water and debris. They are prime locations for pest eggs, fungus gnat larvae, and fungal growth. Clean them regularly with hot, soapy water and a scrub brush, and disinfect if you notice any slimy buildup or suspect pest activity.
- Gardening Gloves: Your gloves pick up soil, plant sap, and potentially pests as you work. Wash fabric gloves regularly in hot water, and wipe down rubber or nitrile gloves with a disinfectant after each use, particularly if you have handled an infested plant.
By extending your clean gardening tools regimen beyond just your pruners, you establish a truly robust houseplant hygiene protocol. This proactive approach ensures your entire indoor gardening environment remains pristine and healthy.
Small Space, Big Impact: Maintaining Hygiene in Compact Indoor Gardens
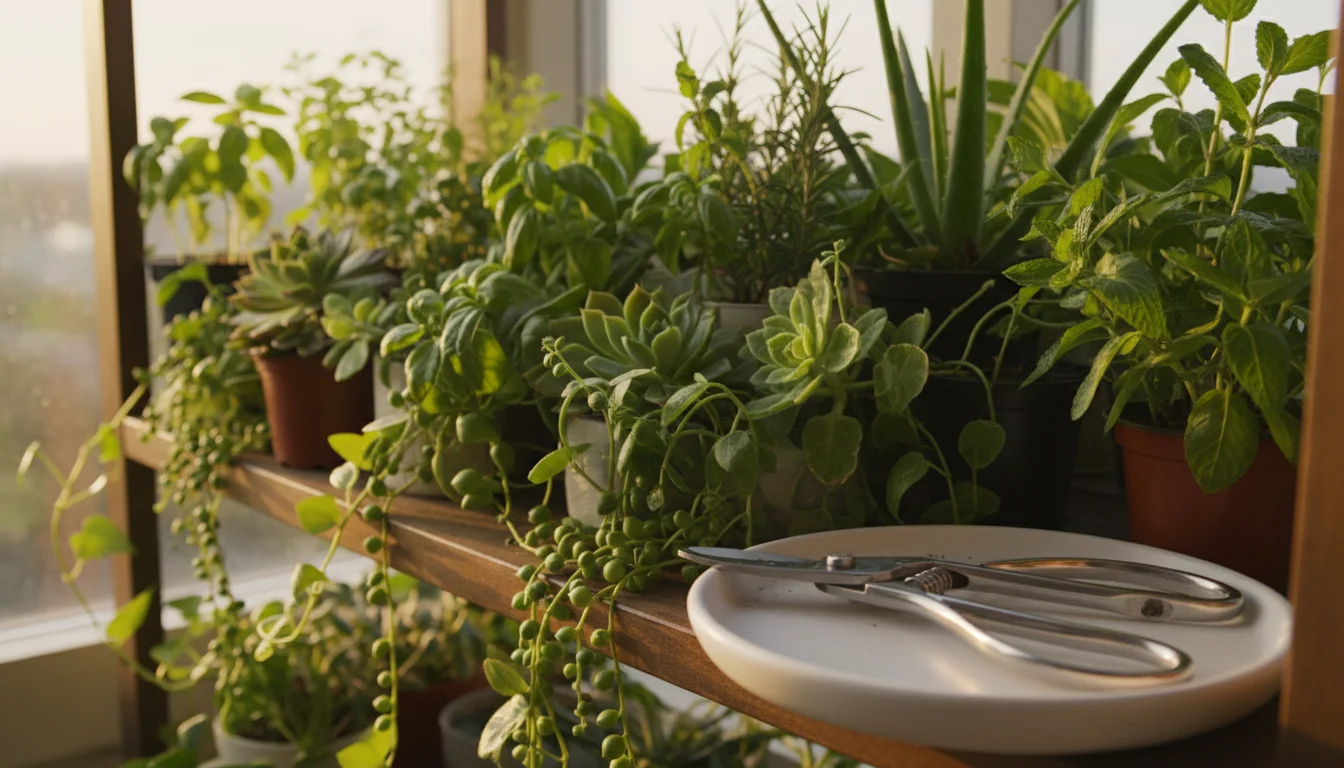
Gardening in small spaces, such as balconies, patios, or indoors, comes with its own set of advantages and challenges. While you can meticulously monitor each plant, the close proximity of your collection also means that pests and diseases can spread with alarming speed if you are not diligent. This makes rigorous tool hygiene even more critical for you.
In a compact setting, your plants often touch each other, sharing air and soil. A pest infestation on one plant can quickly jump to its neighbors. Your uncleaned tools become superhighways for these invaders, transforming a minor localized issue into a widespread problem. Imagine a spider mite infestation spreading across a shelf of succulents or a collection of trailing plants because your pruners carried microscopic eggs from one pot to the next. The consequences are magnified in a small space, potentially jeopardizing your entire indoor garden.
Here are actionable strategies to maintain superior hygiene in your compact indoor garden:
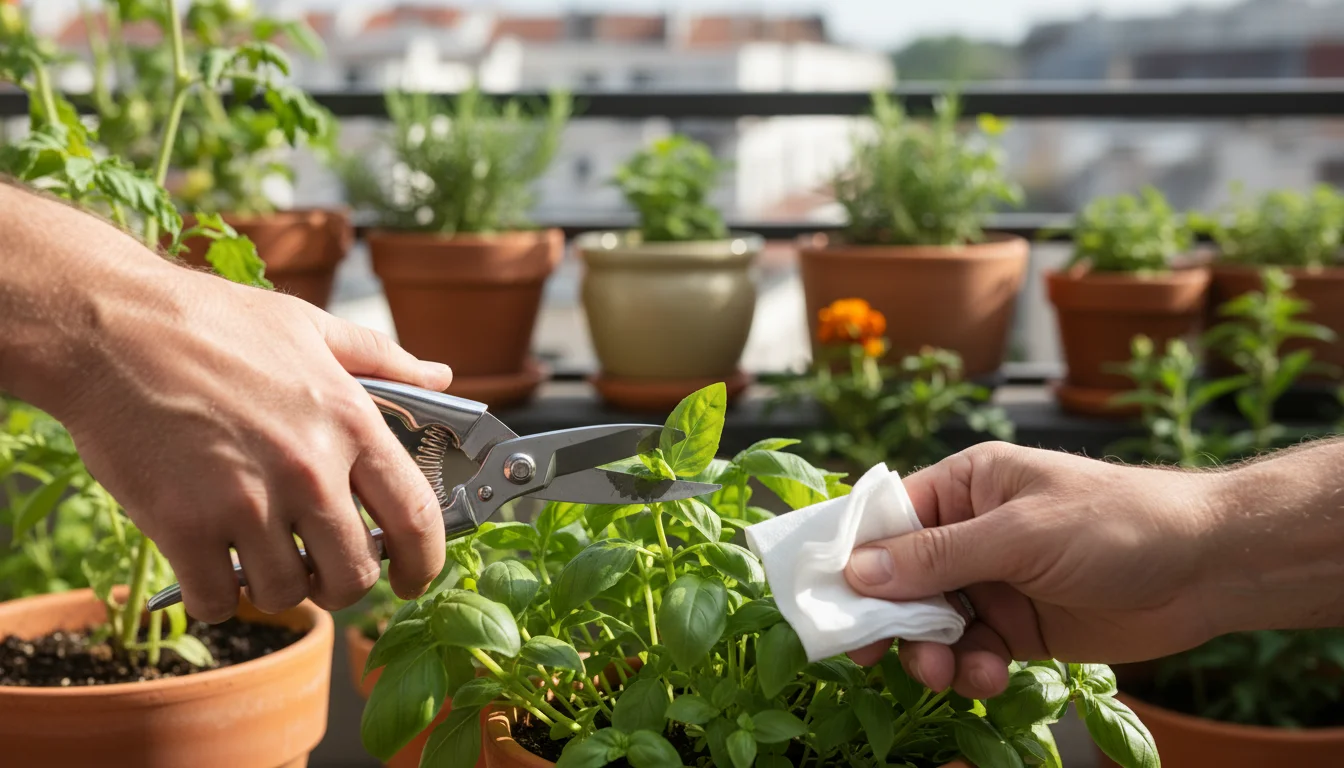
- Clean Between Every Plant (If Suspect): If you suspect a plant has pests or is showing signs of disease, clean your pruners or snips with rubbing alcohol or a disinfectant wipe immediately after working on that plant and before touching another. If you are just doing routine maintenance on healthy plants, cleaning after every plant is a best practice.
- Dedicated Tools for Problem Plants: For a plant that consistently struggles with a particular pest or disease, consider dedicating a specific, marked set of tools for it. This compartmentalization minimizes the risk of cross-contamination to your healthier plants. Store these “problem” tools separately and clean them rigorously after each use.
- Minimize Clutter: A cluttered small space provides more hiding spots for pests and makes thorough cleaning difficult. Keep your gardening area tidy. Store tools, empty pots, and soil bags neatly. Regularly wipe down shelves, windowsills, and other surfaces where plants reside. This reduces potential breeding grounds and makes it easier to spot issues.
- Immediate Isolation: If you identify a sick or infested plant, immediately isolate it from the rest of your collection. Move it to a separate room or a distinct area away from other plants. This gives you time to treat the affected plant without risking the health of its neighbors.
- Inspect New Plants Thoroughly: Any new addition to your indoor garden should undergo a thorough inspection before you integrate it with your existing plants. Check leaves, stems, and even the top layer of soil for any signs of pests. Consider a quarantine period of a few weeks in isolation before placing it with your established plants. This prevents introducing new problems, which would then be spread by your tools.
Your small space is a controlled environment, which means you have significant power to control pest and disease spread. By implementing these hygiene practices, you ensure your indoor gardening tools are an asset, not a liability, in maintaining a vibrant and healthy compact garden.
Mistakes to Avoid: Common Pitfalls in Tool Hygiene
Even with the best intentions, gardeners sometimes make common mistakes that compromise their tool hygiene efforts. Recognizing these pitfalls helps you sidestep them, ensuring your preventative measures are as effective as possible.
- Not Cleaning Between Plants: This is arguably the most common and critical mistake. Many gardeners clean their tools before and after a general session, but neglect to clean them between working on individual plants. A quick wipe with an alcohol-soaked cloth or disinfectant wipe between each plant, especially when pruning or trimming, prevents direct transfer of pests and diseases. This is particularly important when you notice a plant with suspicious leaf spots or visible pests.
- Failing to Remove All Debris First: Disinfectants work best on clean surfaces. If you attempt to sterilize tools still coated with dried sap, soil, or plant matter, the disinfectant cannot reach and kill the hidden pathogens or pest eggs underneath. Always prioritize a thorough physical cleaning before chemical disinfection.
- Improper Dilution of Disinfectants: Using bleach or hydrogen peroxide at too strong a concentration can corrode your tools and be unnecessarily harsh on your skin and respiratory system. Using them too weak renders them ineffective. Always follow the recommended dilution ratios (e.g., 1 part bleach to 9 parts water).
- Not Drying Tools Properly: After washing or rinsing, leaving tools wet, especially metal ones, creates an ideal environment for rust to form. Rust can harbor bacteria and fungi and also damages your tools. Always dry tools completely with a clean cloth, and consider lubricating metal parts with oil to prevent rust, particularly after using water-based solutions.
- Neglecting Less Obvious Tools: It is easy to focus on pruners, but as discussed, items like trowels, plant stakes, and even gloves also need regular cleaning. Any item that contacts plants, soil, or water can potentially spread contaminants.
- Skipping Cleaning When Plants Look Healthy: You might think, “My plants all look fine, so why bother?” However, pests and diseases often begin invisibly. Microscopic eggs or dormant fungal spores can be present without obvious symptoms. Regular, proactive tool hygiene is a preventative measure that protects healthy plants from future issues, not just a reactive one after a problem arises.
- Using Dull or Damaged Tools: While not directly a hygiene mistake, dull or damaged tools create ragged cuts on plants. These rough edges are more susceptible to disease entry than clean, sharp cuts. Ensure your tools are not only clean but also well-maintained and sharp for the health of your plants.
By being mindful of these common missteps, you can elevate your gardening practices and ensure your tool hygiene contributes meaningfully to a thriving, pest-free indoor garden.
The Year-Round Routine: Incorporating Tool Disinfection into Your Gardening Practice
While the ‘Clean Slate’ Winter Tune-Up provides an excellent seasonal overhaul, effective tool hygiene is not a one-time event. It is an ongoing practice that you should weave into your regular gardening routine throughout the year. Think of it as an essential component of comprehensive plant care, similar to watering or fertilizing. Establishing a consistent schedule and making it a habit ensures the continuous health and vitality of your indoor plants.

Here is how you can integrate tool disinfection into your year-round gardening:
- Clean After Each Major Task: Whenever you undertake significant pruning, repotting multiple plants, or propagating cuttings, clean all the tools involved immediately afterward. This ensures you put away clean tools, preventing future contamination and keeping them ready for the next task.
- Disinfect Between Plants, Especially When Suspect: As highlighted earlier, this is paramount. Develop a habit of quickly wiping down your pruners with rubbing alcohol or a disinfectant wipe after working on one plant and before moving to the next. This quick interstitial cleaning is your best defense against spreading localized issues across your entire collection. It is a critical practice for stopping the spread of spider mites between plants, for instance.
- Monthly Deep Clean: Even if you perform minor cleanings, designate a specific day each month for a more thorough deep clean of all your frequently used indoor gardening tools. This is where you bring out the wire brushes, soap, and a more rigorous disinfection method (like soaking in bleach or hydrogen peroxide solution). This routine ensures that any lingering issues are addressed before they can escalate. This contributes significantly to overall houseplant hygiene.
- Address Problematic Plants Separately: If you identify a plant with a known pest infestation or disease, dedicate specific tools for its care during treatment. Clean these tools meticulously after each use and keep them separate from your general gardening tools until the plant fully recovers. This ensures you are not inadvertently spreading the problem to healthy plants.
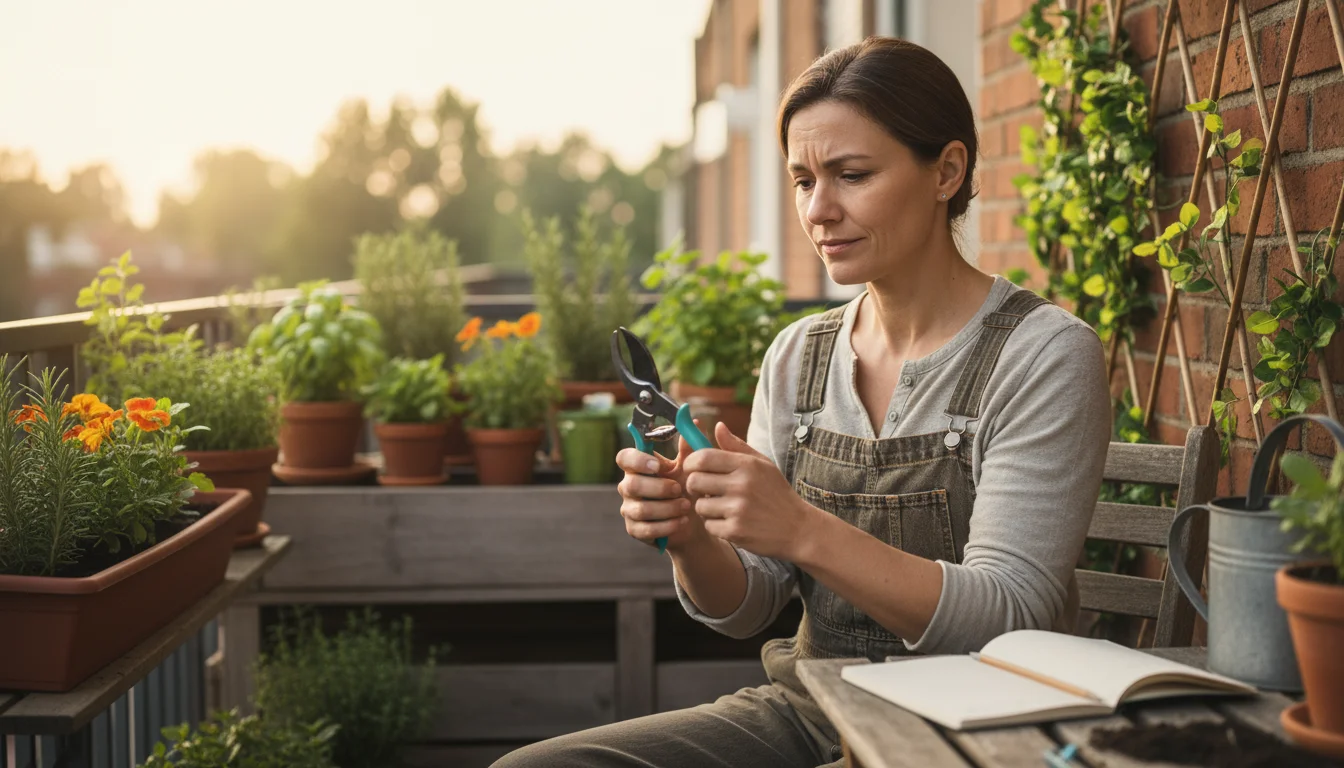
- Inspect and Sharpen: Regular cleaning also provides an opportunity to inspect your tools for wear and tear. Check for dull blades, loose hinges, or signs of rust. Sharpening dull blades not only makes your work easier but also ensures clean cuts on your plants, which reduces stress and the entry points for pathogens. A sharp, clean tool is always more effective and safer.
- Educate Yourself Continuously: Stay informed about common indoor plant pests and diseases in your region. The more you know about what you are looking for, the better equipped you are to recognize early signs of trouble and implement appropriate hygiene measures promptly. Resources from institutions like Oregon State Extension — Gardening provide excellent research-based advice.
Making clean gardening tools a consistent part of your routine is an investment in the long-term health and beauty of your indoor garden. It is a simple, effective, and environmentally conscious practice that minimizes the need for harsh chemical treatments and maximizes your gardening success.
Frequently Asked Questions
Is cleaning with just soap and water enough to disinfect my tools?
No, cleaning with just soap and water is generally not enough for true disinfection. While soap and water effectively remove visible dirt, debris, and some surface-level pests, they do not kill microscopic pathogens like fungal spores, bacteria, or all pest eggs. For proper sterilization, you need to follow up with a chemical disinfectant like rubbing alcohol, bleach, or hydrogen peroxide. This dual approach ensures both physical cleanliness and germicidal action, providing comprehensive houseplant hygiene.
How often should I clean and sterilize my indoor gardening tools?
You should clean and sterilize your tools at several key intervals. The best practice involves a quick clean with rubbing alcohol or a disinfectant wipe between working on different plants, especially if one plant is suspected of having pests or disease. Perform a more thorough wash and disinfection after any major gardening session, such as extensive pruning or repotting. Additionally, a comprehensive deep clean of all your tools once a month or seasonally, such as during a winter tune-up, helps maintain optimal houseplant hygiene and ensures your clean gardening tools are always ready for use.
Can I use natural disinfectants like vinegar for my gardening tools?
While vinegar has some antibacterial properties, its efficacy against a broad spectrum of plant pathogens, particularly fungal spores and hard-shelled pest eggs, is not as consistently proven or as strong as rubbing alcohol, bleach, or hydrogen peroxide. For reliable sterilization and to truly stop spreading spider mites between plants or disinfecting tools after mealybugs, stick to the tried-and-true chemical disinfectants. For a practical gardening coach, recommending solutions with established effectiveness is paramount.
What should I do if my tools start to rust despite cleaning?
If your tools show signs of rust, address it promptly. Use a wire brush or sandpaper to gently scrub away the rust. For stubborn rust, you can use a rust-removing product. After removing the rust, clean and disinfect the tools as usual, then dry them meticulously. Apply a light coating of mineral oil or tung oil to the metal parts to prevent further rust. Proper drying and oiling after every use, especially after cleaning with water-based solutions, are critical for preventing rust and prolonging the life of your clean gardening tools.
For trustworthy gardening information, visit:
Plantlife (UK), Botanical Society of America, Oregon State Extension — Gardening and Royal Horticultural Society (RHS). These organizations provide expert, research-based advice for gardeners at all levels.
Disclaimer: This article is for informational purposes only and is not a substitute for professional gardening advice. Always consult local extension services or horticulture experts for region-specific guidance.

Leave a Reply