The ‘Concrete Pot’ Problem: Why Your Indoor Soil Gets Hard and Water-Repellent in Winter (And How to Fix It)
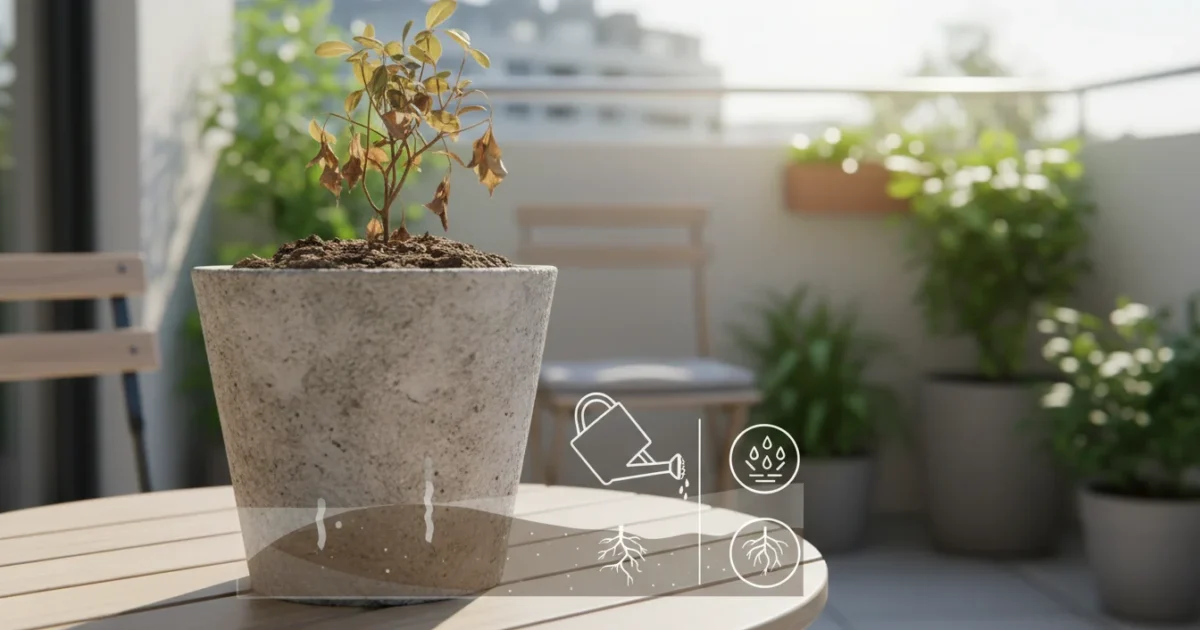
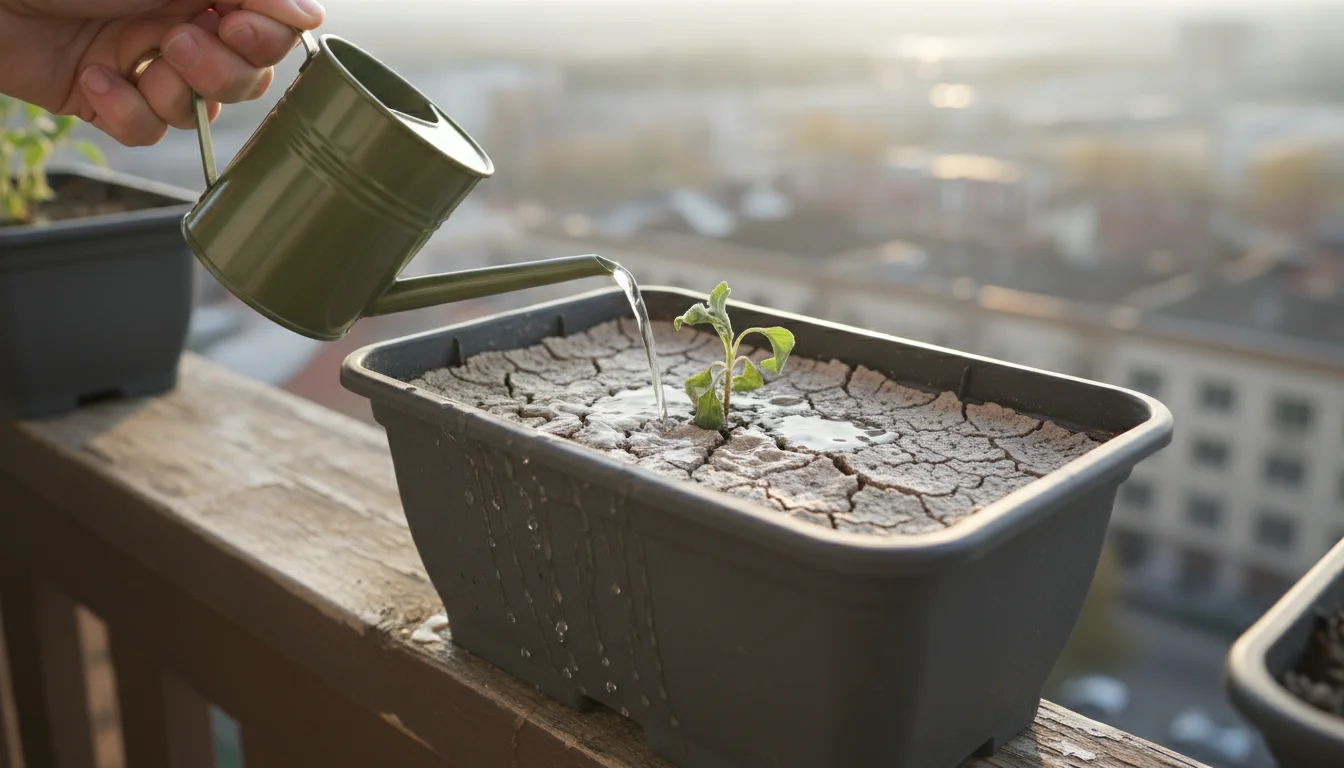
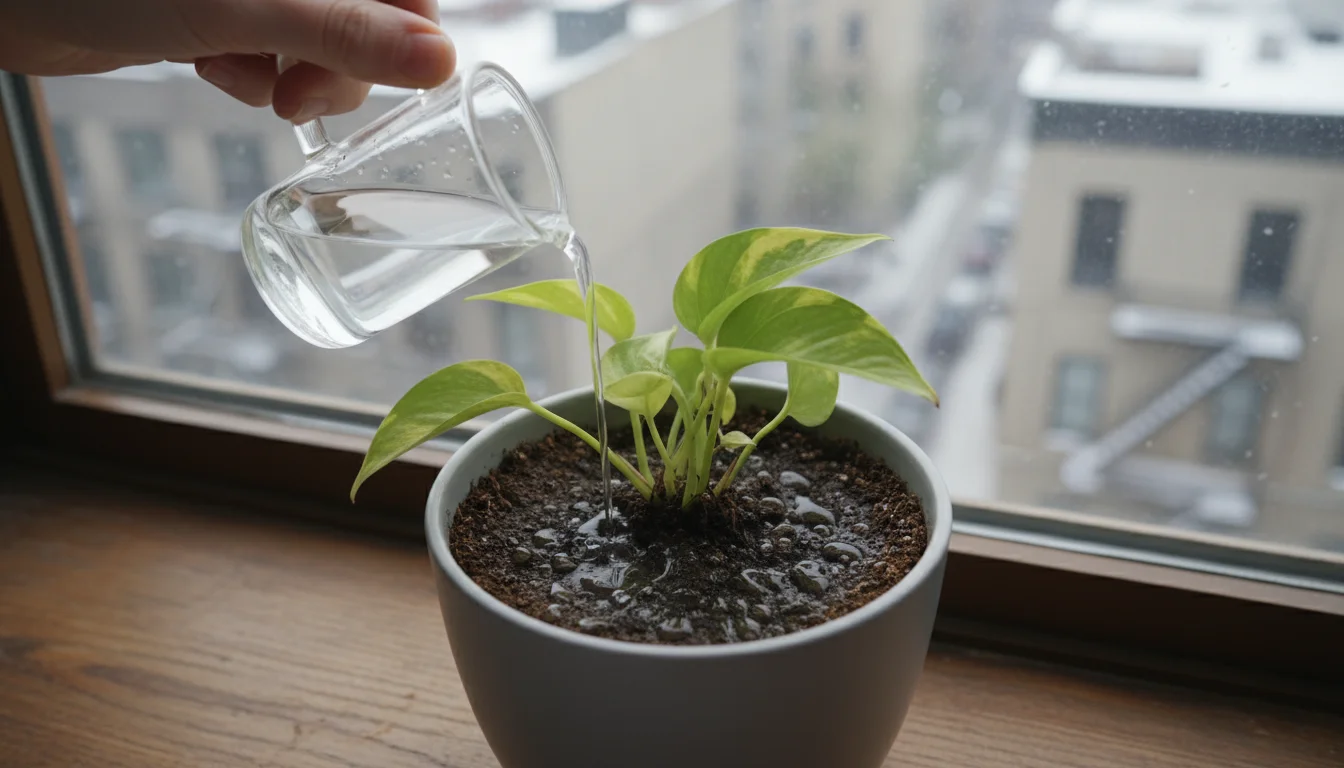
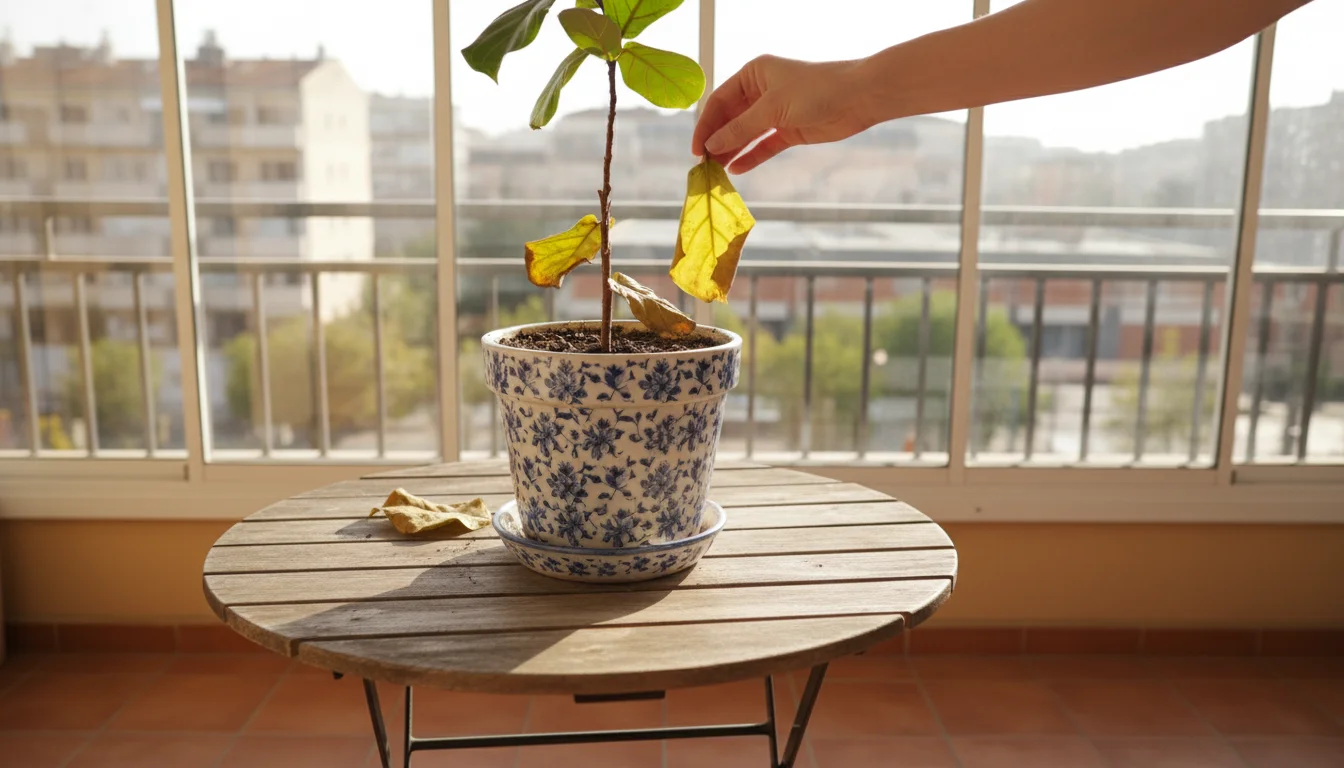
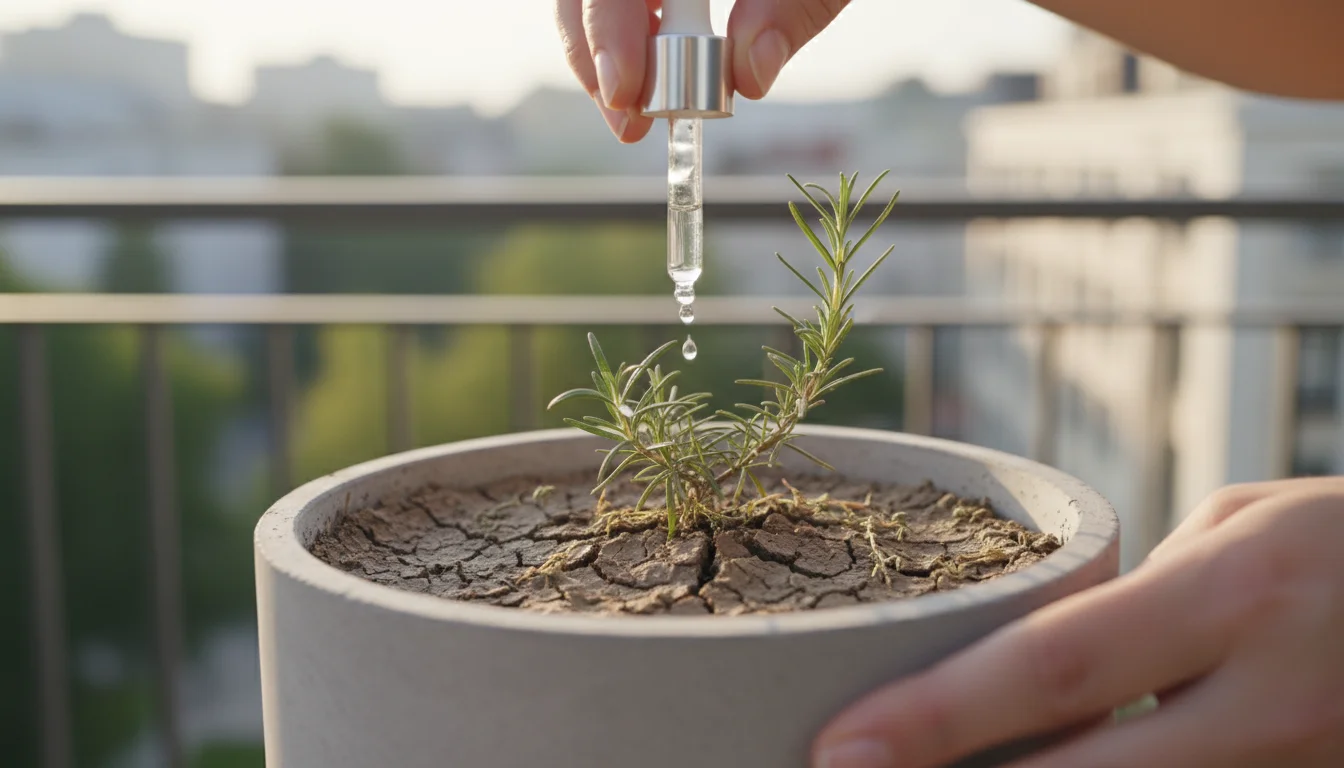
You peer into your favorite houseplant’s pot, ready to give it a drink, but instead of the water soaking in, it beads up and runs off the surface like rain on a freshly waxed car. You try again, only for the water to trickle down the sides, leaving the main root ball bone dry. The soil feels like a solid block, hard as a rock. This frustrating phenomenon, often most noticeable in colder months, is what we at SimpleGardenJoy.com call the ‘Concrete Pot’ Problem.
Before diving into specific soil issues, it is helpful to perform a complete winter health check to assess your plant’s overall condition.
This isn’t just a minor annoyance; it’s a critical issue that starves your plants of the hydration they desperately need. Your plant’s potting mix has become hydrophobic, meaning it actively repels water, and it’s often compacted, making it difficult for roots to thrive. We understand the worry this can cause, especially for small-space gardeners who cherish every plant. This guide will help you understand why your indoor plant soil turns into a hard, water-repellent block in winter and, more importantly, equip you with practical, actionable steps to fix it and prevent it from happening again.
Understanding the ‘Concrete Pot’ Problem: What is Hydrophobic Soil?
The term ‘hydrophobic soil’ literally means “water-fearing soil.” It describes a condition where the soil surface or even the entire potting mix actively resists water absorption. Instead of absorbing moisture like a sponge, the soil behaves like a water-resistant fabric, causing water to bead up, pool on the surface, or run directly down the sides of the pot and out the drainage holes, leaving the central root ball parched. You might also encounter the term “compacted potting mix,” which describes soil that has become dense and compressed, making it difficult for water, air, and roots to penetrate.
Before diving into the causes, it helps to understand how to diagnose and fix soil drainage problems more generally in your containers.
This problem is particularly prevalent in indoor potted plants because their soil environment is contained and subject to specific stressors not typically found in an outdoor garden bed. While soil naturally contains a mix of organic matter, minerals, and air pockets, prolonged periods of dryness or consistent use can alter its structure. Organic materials in potting mixes, such as peat moss or coir, can lose their ability to rehydrate once they become excessively dry. When this happens, a waxy coating, often a byproduct of microbial activity and the breakdown of organic compounds, forms on soil particles. This coating repels water molecules, creating the hydrophobic effect.
Understanding this fundamental characteristic is your first step towards conquering the ‘Concrete Pot’ problem. It’s not just that your soil is dry; it’s fundamentally changed in a way that makes rehydration challenging. This condition leads to inefficient watering, nutrient deficiencies, and ultimately, plant stress or even death if left unaddressed. We want your plants to thrive, not just survive, so let’s delve into the specific reasons this happens.
Why Your Indoor Plant Soil Turns Hard and Water-Repellent in Winter
The ‘Concrete Pot’ problem isn’t random; several factors contribute to potting mix becoming hard, compacted, and hydrophobic, especially during the winter months. Recognizing these causes empowers you to address them effectively.
1. Prolonged Dryness and Inconsistent Watering
This is arguably the most common culprit. Many gardeners tend to reduce watering frequency in winter, assuming plants need less moisture due to slower growth. While plant metabolism does slow down, allowing soil to become excessively dry for extended periods is detrimental. When organic components in potting mix, such as peat moss or coir, dry out completely, they often become extremely difficult to rewet. Their cellular structure changes, and they lose their absorbent properties. The tiny pores that once held water collapse, creating a denser, harder mass. Water then simply slides off these hardened particles rather than being absorbed. This leads to the classic `hydrophobic soil` symptom where water runs through without wetting the root ball.
2. Soil Degradation and Aging Potting Mix
Potting mix isn’t meant to last forever. Over time, the organic components in your soil naturally break down. This decomposition reduces the air pockets in the mix, leading to a denser, more `compacted potting mix`. Fine particles settle, diminishing the soil’s ability to drain effectively and hold onto air, both vital for root health. As these organic materials decompose, they can also release waxy substances that contribute to water repellency. Older soil also loses its structure, becoming more prone to compaction with each watering cycle, especially if the water contains dissolved minerals that can build up. This is a common issue for `indoor plant care winter` because plants often reside in the same pots for longer periods.
3. Rootbound Plants and Nutrient Buildup
A plant whose roots have completely filled its pot becomes rootbound. While this might seem like a sign of success, it can severely contribute to the ‘Concrete Pot’ problem. A dense mat of roots leaves little room for soil, making it challenging for water to penetrate. The limited soil remaining in the pot will dry out quickly and degrade faster. Furthermore, as plants are watered over time, mineral salts from fertilizers and tap water can accumulate in the soil. These salts can form a crust on the surface and within the soil structure, impeding water absorption and contributing to the hardening effect. These mineral deposits can also draw moisture away from the roots, intensifying the drought conditions within the pot. If you’re asking `why is my houseplant soil hard as a rock`, consider if your plant is rootbound.
4. Water Quality and Type
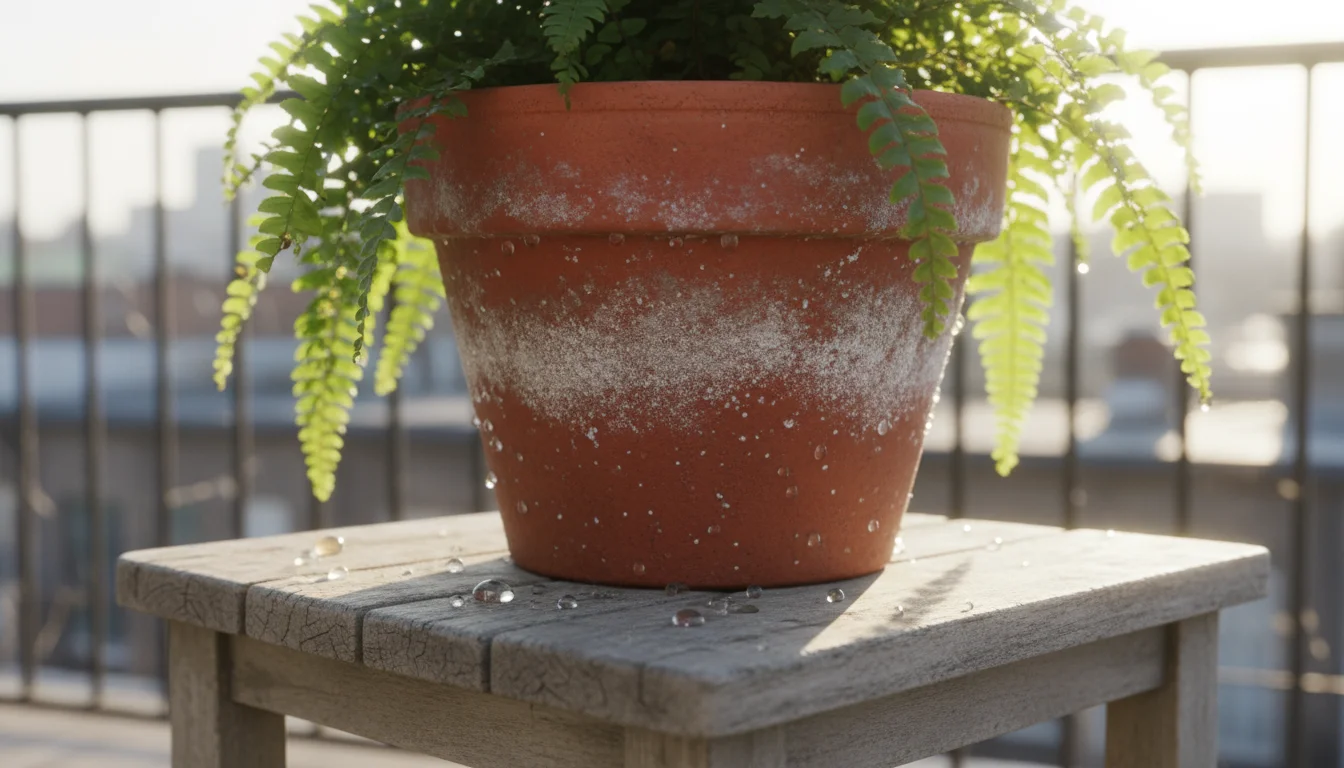
The type of water you use can also play a role. Hard water, rich in dissolved minerals like calcium and magnesium, can leave behind deposits in the soil as it evaporates. Over time, these mineral buildups can contribute to soil compaction and create a barrier to water penetration. Softened water, which often contains higher levels of sodium, can also be problematic for some plants, leading to similar soil structure issues. While this is a slower process, it’s a factor in the gradual hardening of potting mix.
By understanding these underlying causes, you are better equipped to implement targeted solutions and prevent the recurrence of the ‘Concrete Pot’ problem, ensuring your plants receive consistent, proper hydration year-round.
The Impact of Hardened Soil: Why It Harms Your Plants
A ‘Concrete Pot’ isn’t just an inconvenience for you; it’s a silent killer for your plants. The consequences of `hydrophobic soil` and `compacted potting mix` are severe and multifaceted, directly impacting your plant’s ability to thrive. You might observe various symptoms of distress, mistaking them for other problems when the true culprit lies beneath the surface.
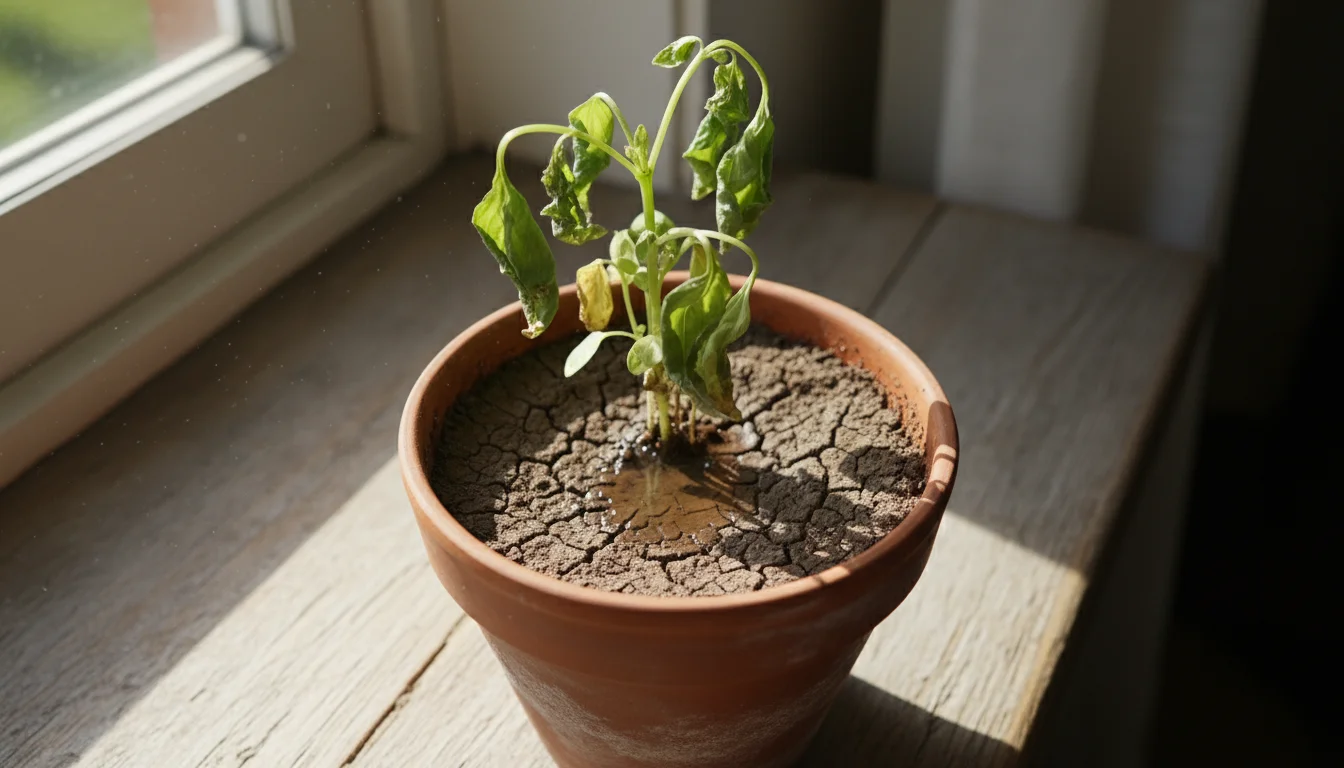
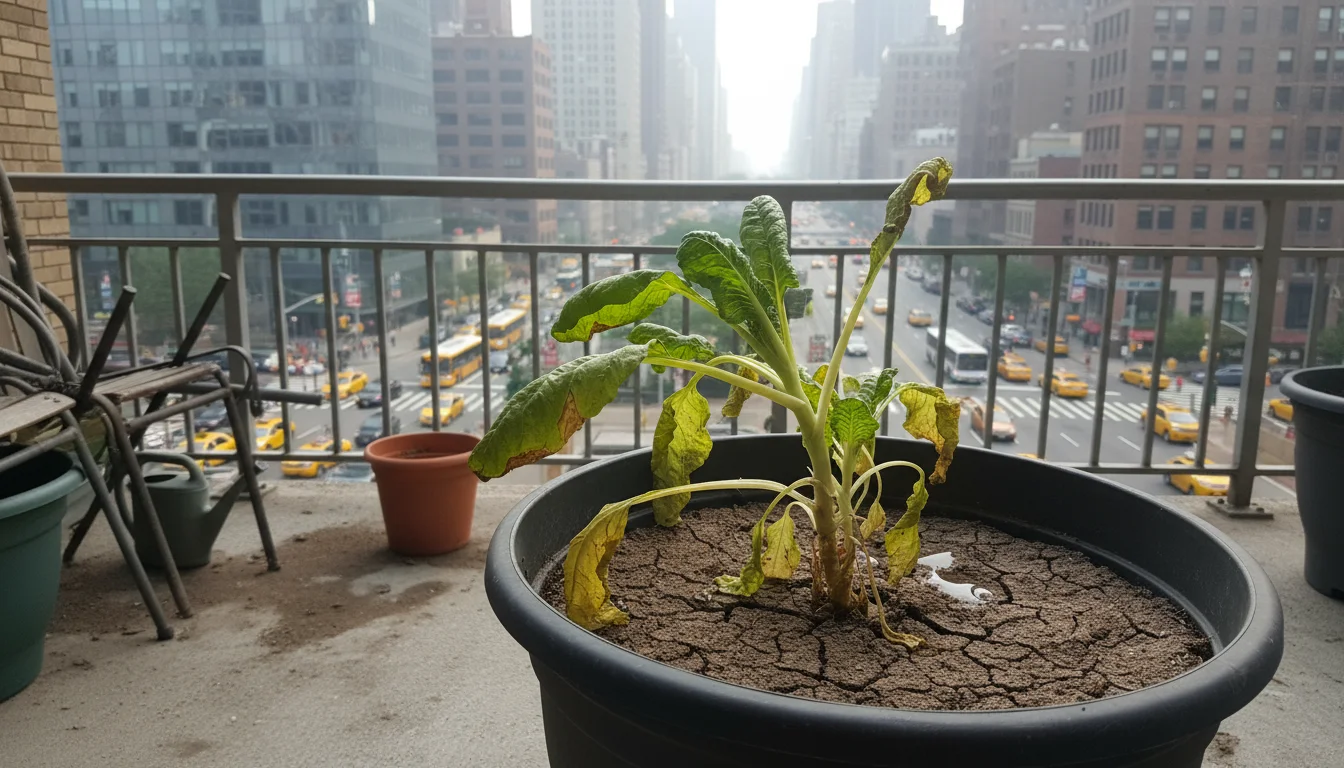
1. Inadequate Water Absorption and Dehydration
The most immediate and obvious impact is a lack of water reaching the roots. Even if you pour water into the pot, if the soil is hydrophobic, it simply won’t absorb effectively. The water either runs off the surface or quickly drains out the sides, bypassing the essential root zone entirely. This leads to chronic dehydration, mimicking underwatering, even when you’re diligently trying to water your plants. Leaves might wilt, turn crispy, or curl, and growth will slow or stop altogether. Your plant is essentially dying of thirst in a seemingly wet pot.
2. Nutrient Lockout and Deficiency
Plants absorb nutrients dissolved in water. If water cannot adequately penetrate the soil, then nutrients cannot dissolve and reach the roots. This leads to nutrient lockout, where essential minerals are present in the soil but unavailable to the plant. You might see yellowing leaves (chlorosis), stunted growth, or weakened stems, all signs of various nutrient deficiencies. Even if you fertilize regularly, the plant cannot access these vital elements if the water isn’t carrying them to the roots. The `why is my houseplant soil hard as a rock` question also ties into this, as the hardened soil prevents the necessary exchange of water and nutrients.
3. Poor Aeration and Root Suffocation
Healthy roots need both water and air. `Compacted potting mix` reduces the vital air pockets in the soil, depriving roots of oxygen. Roots require oxygen for respiration, a process that generates energy for growth and nutrient uptake. Without adequate oxygen, roots begin to suffocate, weaken, and can even die. This makes them susceptible to root rot, even if the plant is technically underwatered due to the hydrophobic layer. The suffocated roots become less efficient at absorbing water and nutrients, creating a vicious cycle of decline. Your plant’s overall vigor diminishes, making it more vulnerable to pests and diseases.
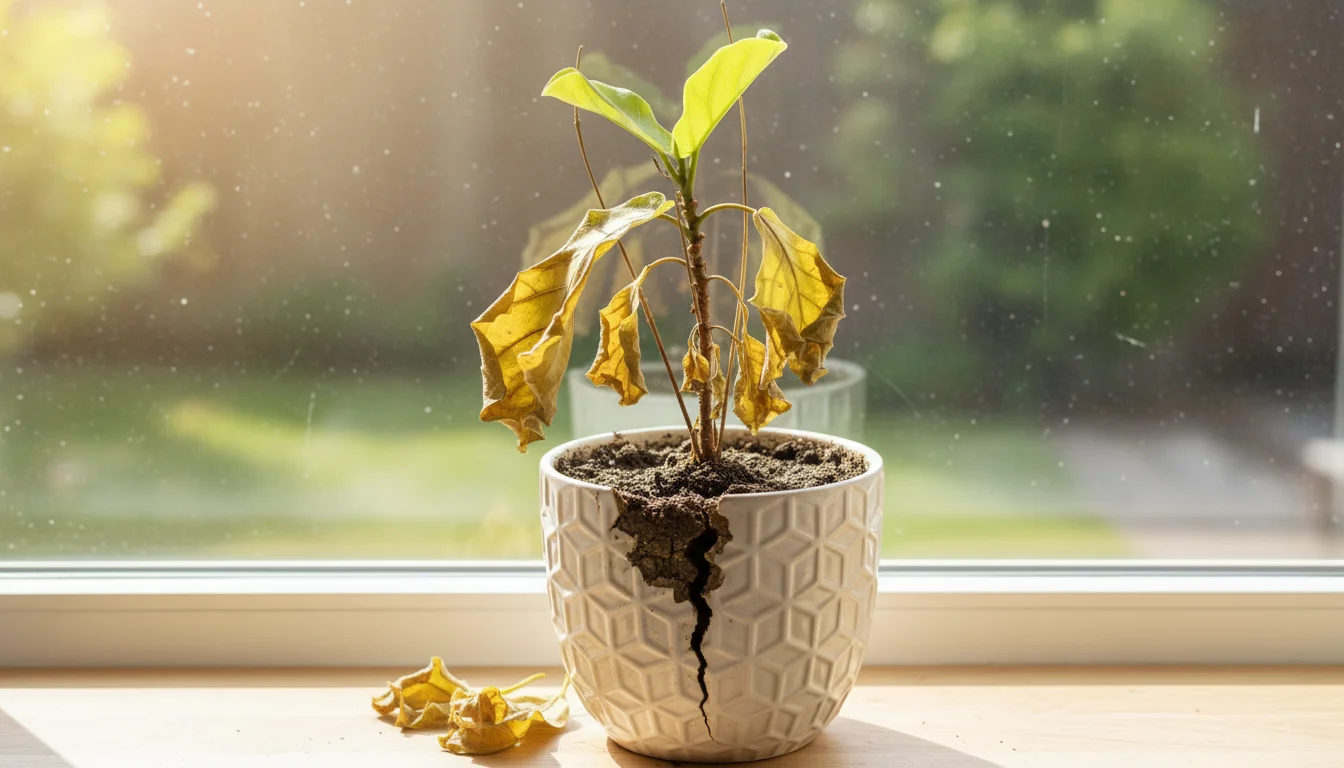
4. Stunted Growth and Plant Decline
Combined, chronic dehydration, nutrient deficiencies, and poor root health lead to severely stunted growth. New leaves might be small and pale, and existing leaves may drop prematurely. The plant’s ability to photosynthesize decreases, reducing its energy production. Over time, if the ‘Concrete Pot’ problem is not addressed, your once-vibrant plant will decline, becoming weak, sickly, and eventually, it may perish. This is a critical concern for `indoor plant care winter`, as plants are already under stress from lower light and humidity, and compacted soil adds another layer of challenge.
Recognizing these impacts underscores the urgency of addressing hardened, hydrophobic soil. Your intervention can literally save your plant’s life and restore its health.
Is Your Pot a ‘Concrete’ Disaster? How to Diagnose the Problem
Before you dive into solutions, you need to confirm that your plant is indeed suffering from the ‘Concrete Pot’ problem. Several clear signs indicate that your `indoor plant care winter` routine needs adjustment due to `hydrophobic soil` or `compacted potting mix`. Learning to spot these clues early can prevent more severe damage.
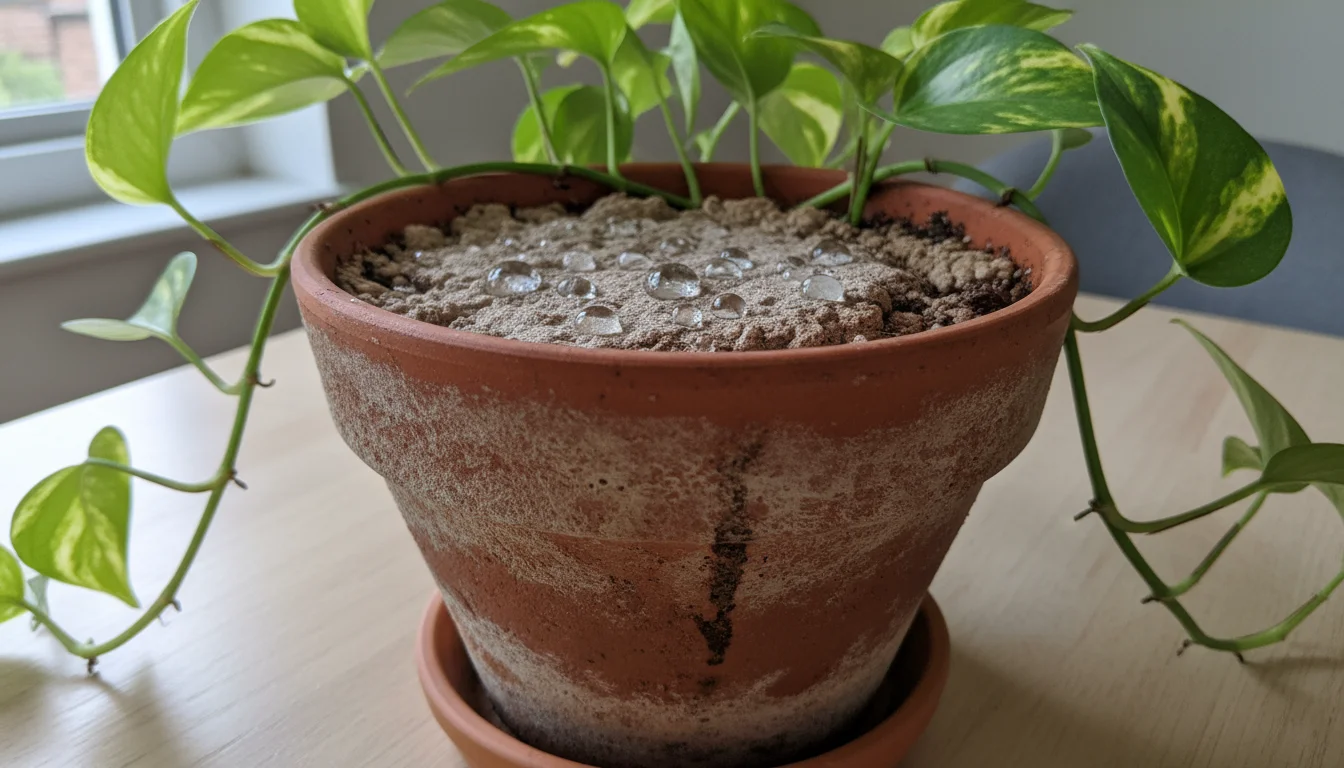
1. The “Water Runs Off” Test
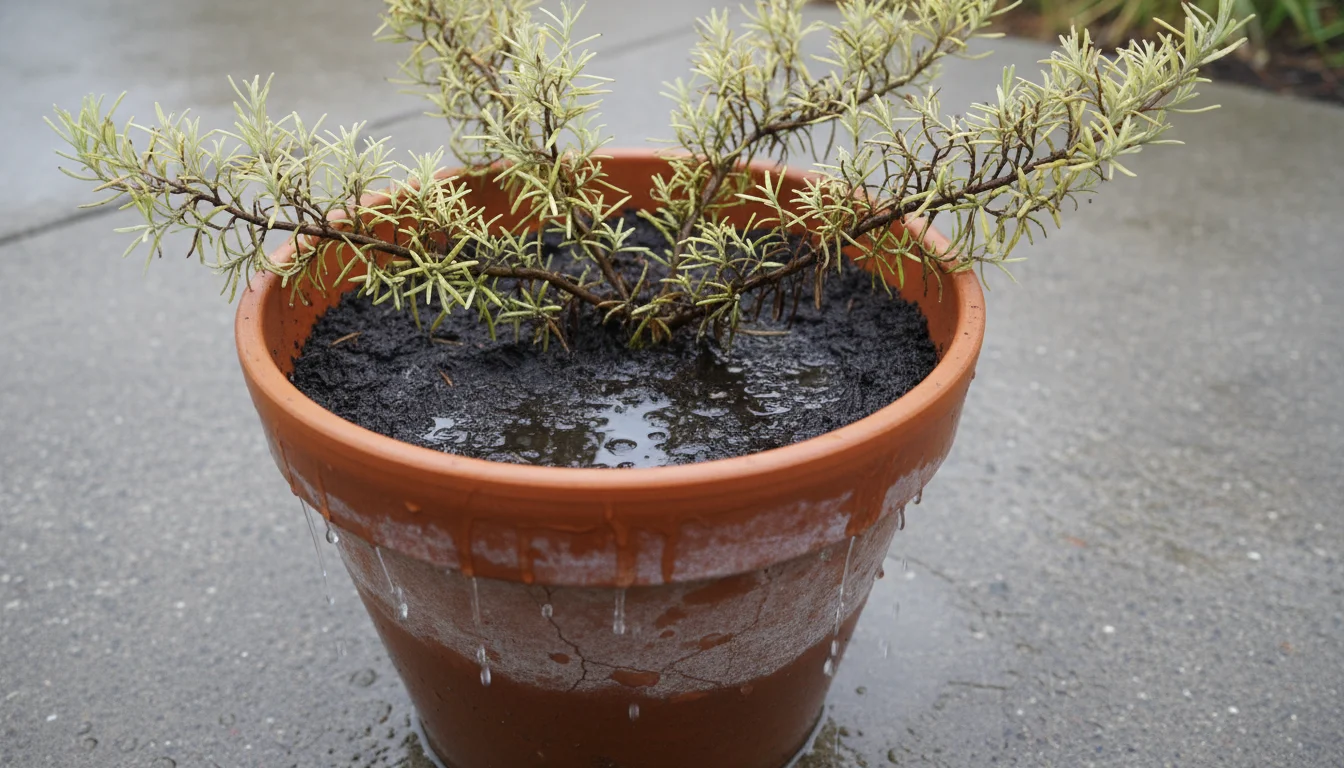
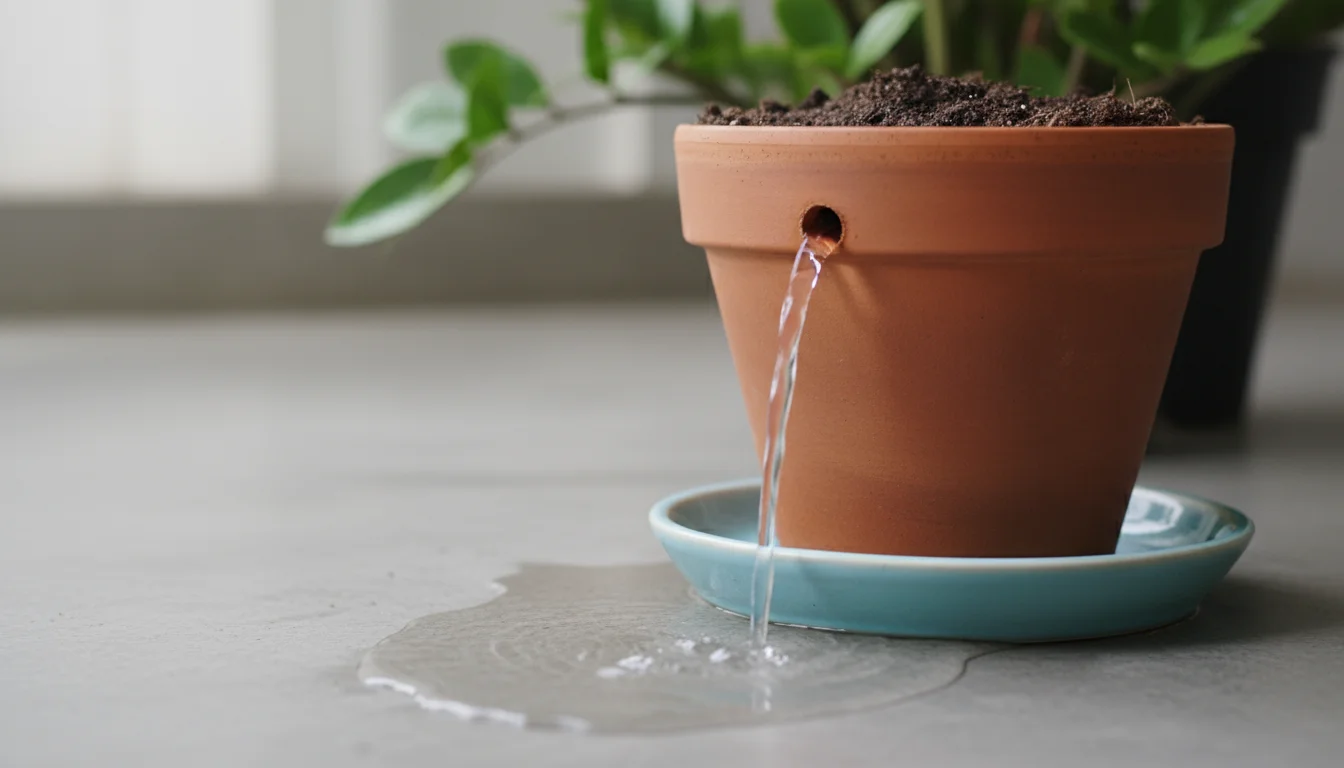
This is the most obvious indicator. When you water your plant, observe what happens. Does the water sit on the surface, refusing to soak in? Does it immediately run down the sides of the pot and out the drainage holes without wetting the soil? If the water drains almost instantly and the topsoil remains dry, you very likely have hydrophobic soil. Even after watering, if the soil appears dry and dusty beneath a thin damp layer, that’s a key sign.
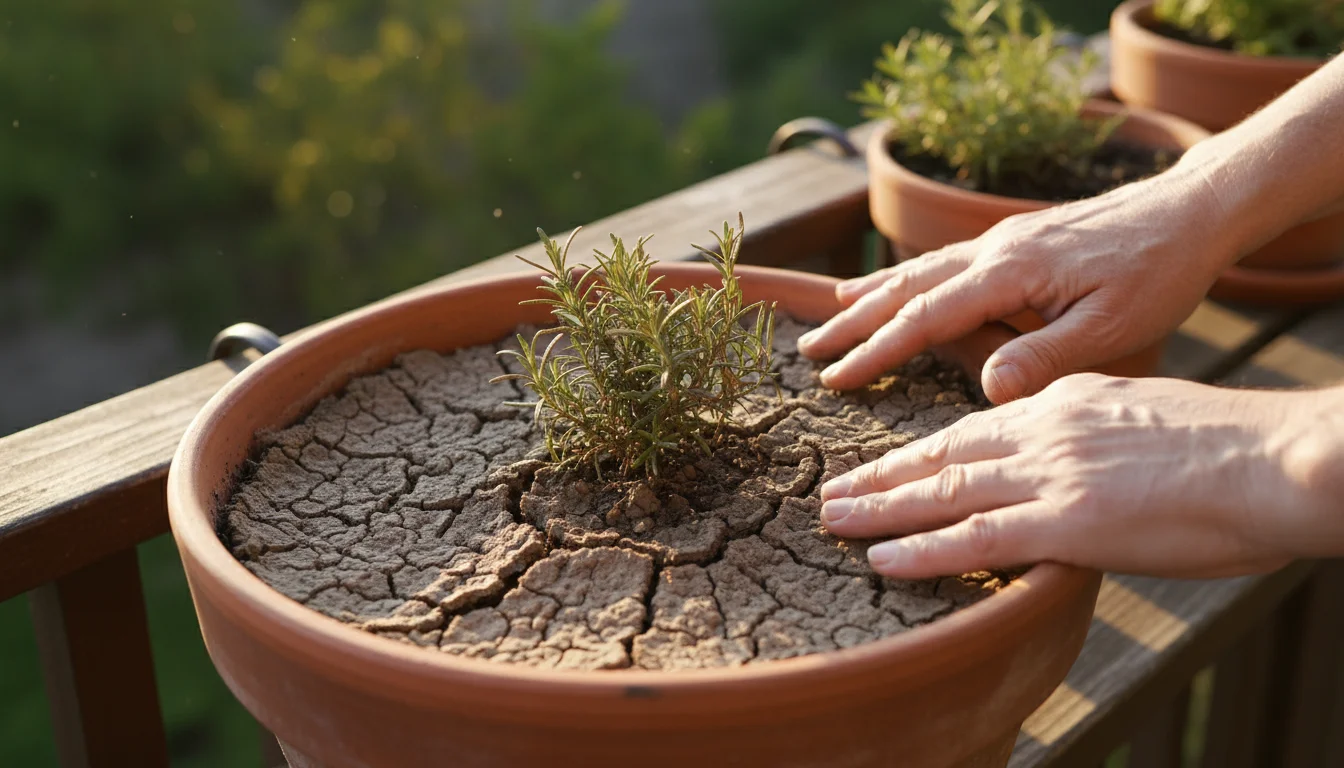
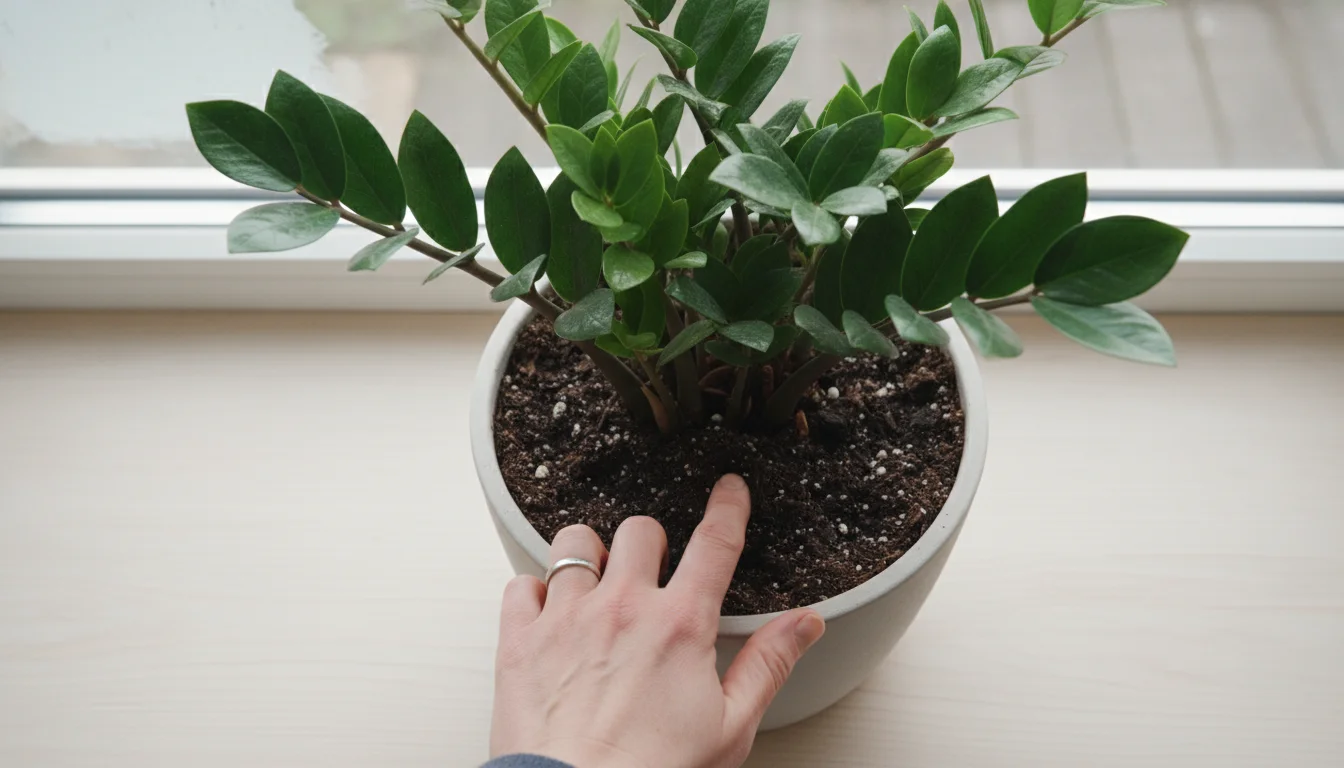
2. The “Hard as a Rock” Feel
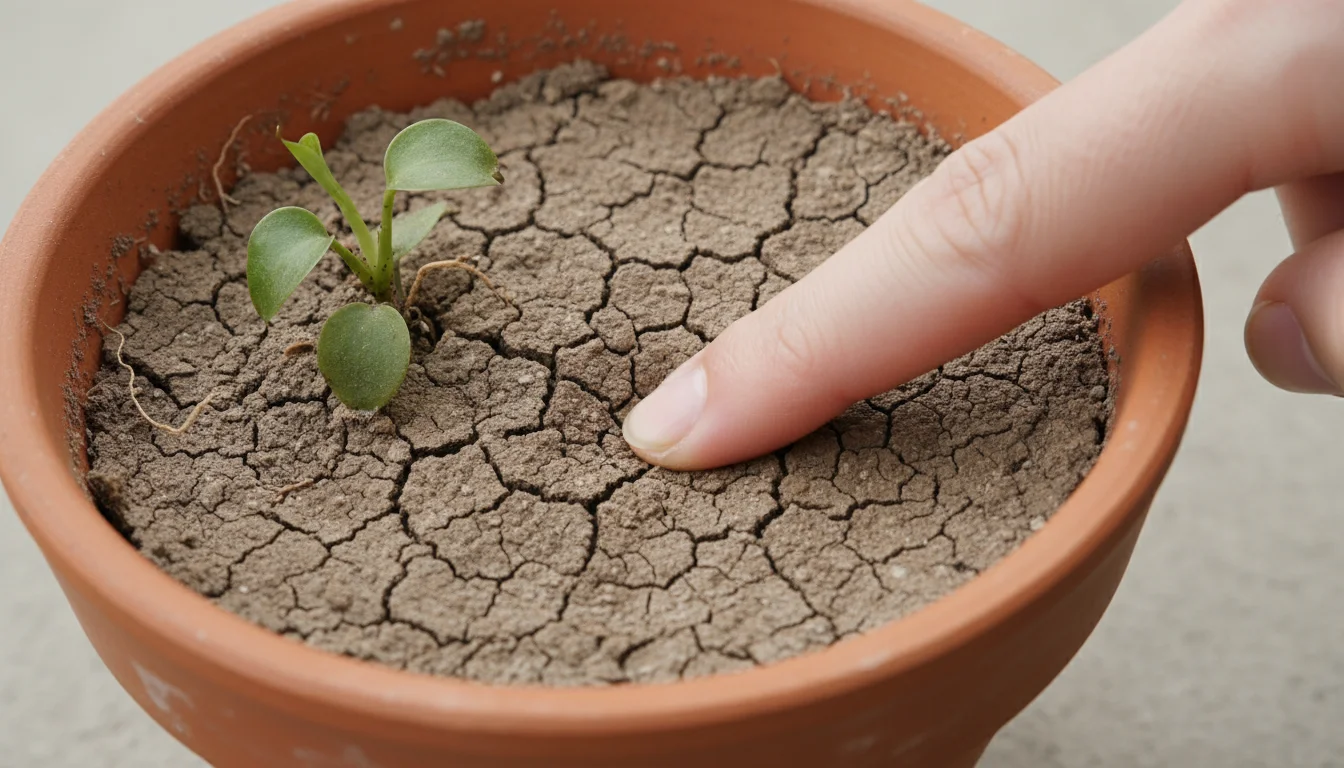
Gently press your finger into the soil. Does it feel extremely hard, dense, and resistant to pressure? Healthy potting mix should have some give and a slightly crumbly texture when moist. If it feels like a solid block of concrete, your soil is heavily compacted. This is a direct answer to `why is my houseplant soil hard as a rock`.
3. The “Weight Test”
Lift your potted plant. A well-hydrated plant will feel noticeably heavier than one with dry soil. If you’ve just “watered” the plant, but it still feels surprisingly light, it’s a strong indication that the water didn’t penetrate the soil effectively and the root ball is still dry. You can compare its weight to a similar plant you know is adequately watered.
4. Plant Symptoms
Observe your plant’s leaves and stems for signs of dehydration, even if you believe you’re watering regularly:
- Wilting or Drooping Leaves: Often a sign of lack of water.
- Crispy, Brown Leaf Edges or Tips: Another common symptom of chronic underwatering.
- Stunted Growth: If your plant isn’t putting out new growth, or new leaves are smaller than usual.
- Yellowing Leaves (especially lower leaves): Can indicate nutrient deficiency due to poor water uptake.
- Leaf Drop: Plants shed leaves to conserve moisture when severely stressed.

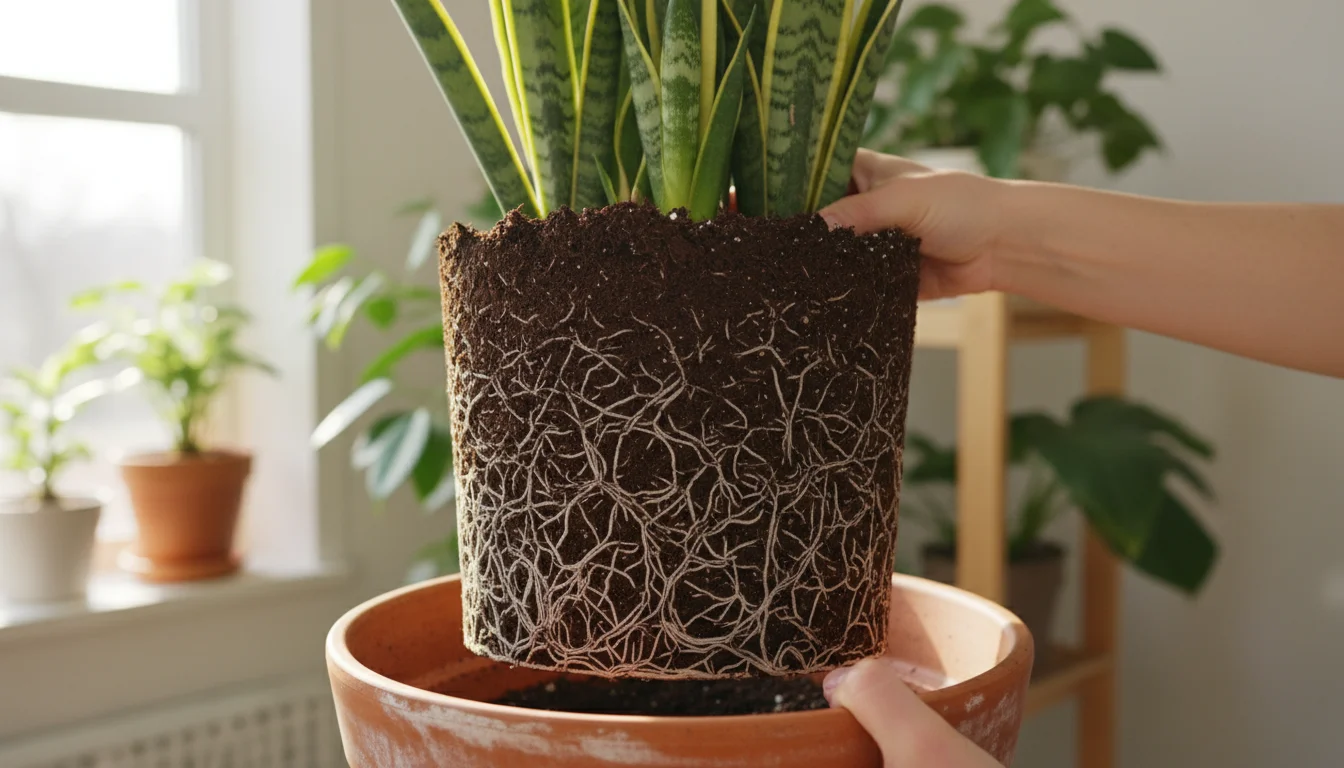
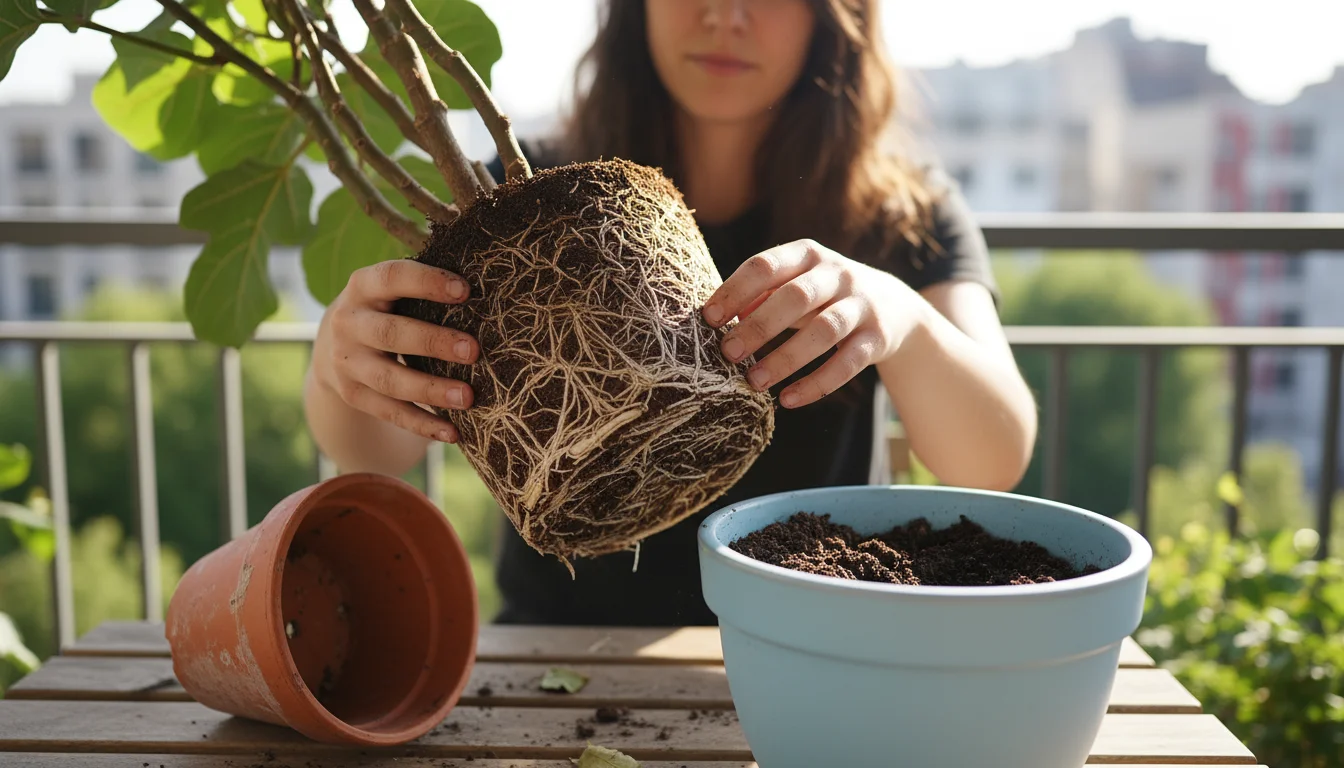
5. Checking the Root Ball
For a more definitive diagnosis, especially if you suspect extreme compaction or a rootbound condition, you can gently slide the plant out of its pot. If the soil is hard and tightly bound with roots, forming a solid shape, then you have found the problem. A healthy root ball should have some visible soil around the roots, and the roots themselves shouldn’t be circling the pot excessively. This is a crucial step if you’re trying to figure out `how to fix soil that won’t absorb water` and need to assess the extent of the issue.
Once you confirm the problem, you can confidently move forward with the appropriate solutions to restore your plant’s health.
Rehydrating and Revitalizing: Step-by-Step Fixes for Hard, Water-Repellent Soil
Facing `hydrophobic soil` in a ‘Concrete Pot’ can be daunting, but with the right techniques, you can successfully rehydrate and revitalize your plants. These methods are practical, actionable, and focus on effectively getting moisture back into that `compacted potting mix`.
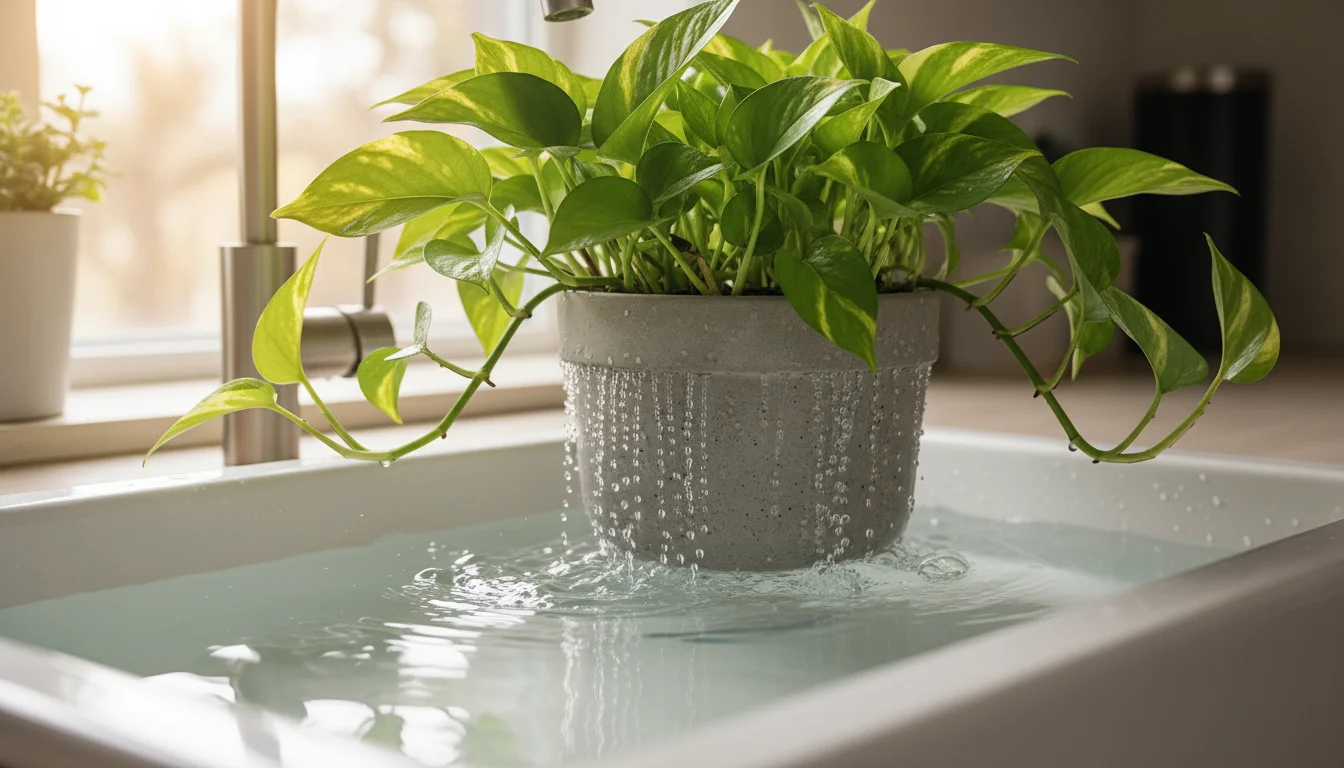
Method 1: The Bottom-Watering Soak (Best for Moderate Cases)
This is often the most effective first step for `rehydrating dry potting mix in containers` because it allows the soil to slowly absorb water from the bottom up, counteracting the hydrophobic surface layer. It’s gentle and thorough.
- Prepare the Bath: Find a basin, sink, or tray larger than your plant’s pot. Fill it with a few inches of room-temperature water. Avoid using very cold water, as it can shock your plant’s roots, especially during `indoor plant care winter`.
- Place the Pot: Carefully place your potted plant directly into the water, ensuring the drainage holes are submerged. You will see bubbles rising from the soil, indicating that air is being displaced as water moves upwards.
- Soak Time: Allow the plant to soak for 30 minutes to an hour, or until the top surface of the soil appears moist. For severely dry or compacted soil, it might take longer. Don’t rush this process; slow absorption is key.
- Drain Thoroughly: Once the soil surface is damp, remove the pot from the water and allow it to drain completely. Excess water sitting in a saucer can lead to root rot.
- Check and Repeat: After a day or two, check the soil moisture again. If it’s still feeling a bit dry, you can repeat the bottom-watering process.
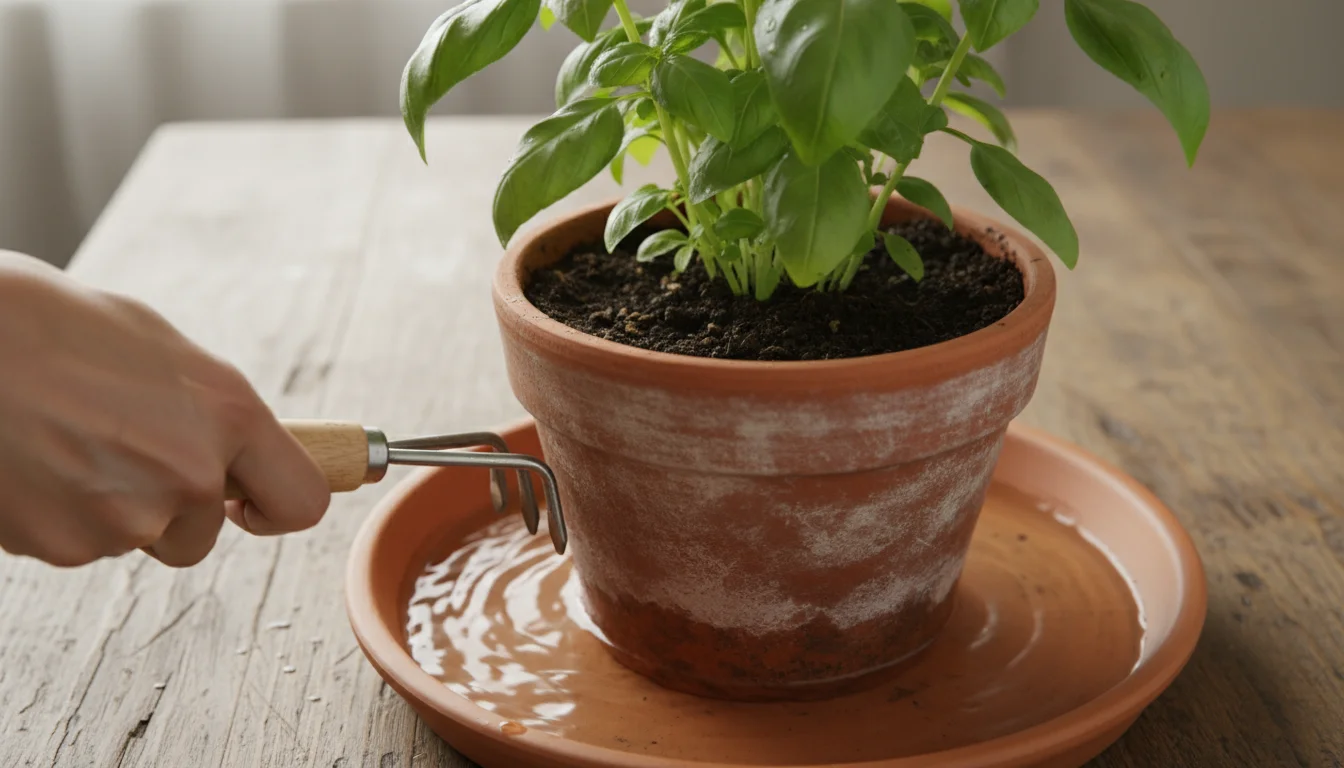
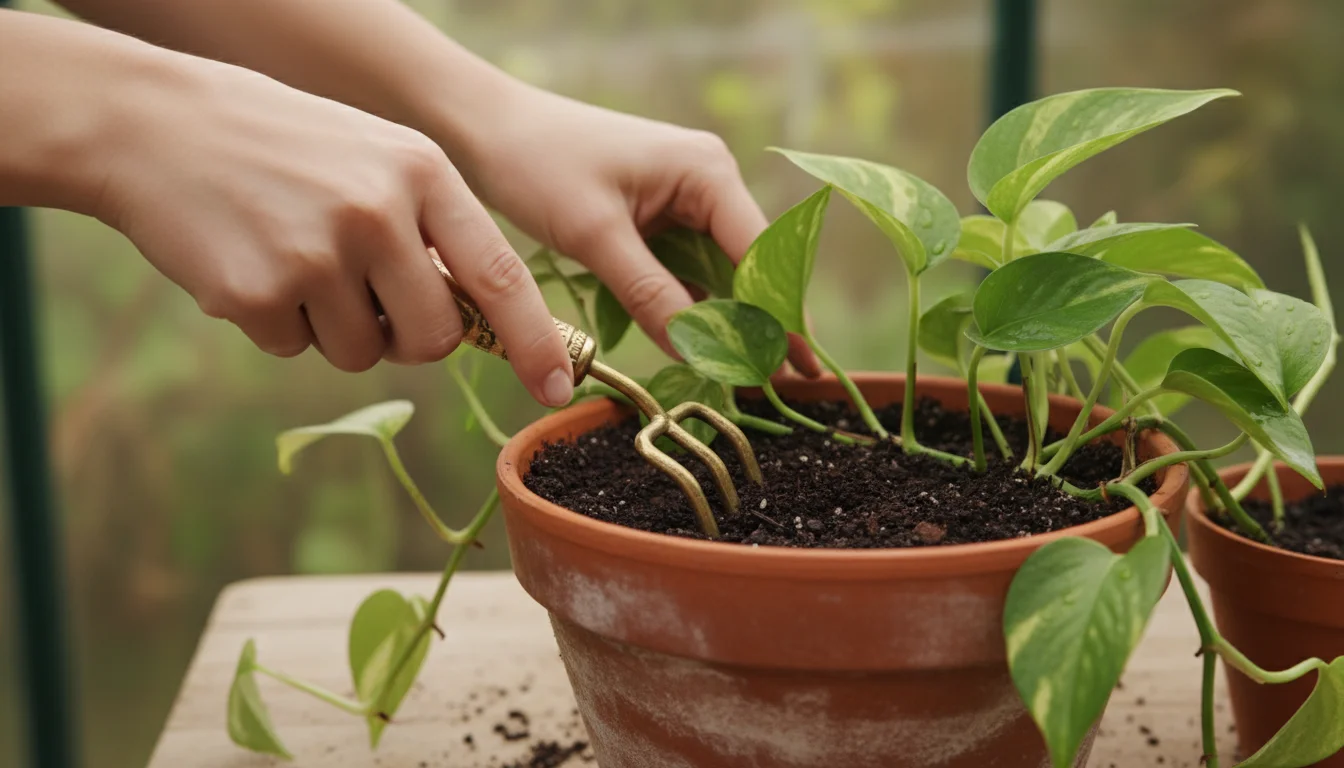
Method 2: Aeration and Targeted Rehydration (For Hard, Crusted Soil)
If your soil is truly `hard as a rock` on the surface, you might need to break up the barrier before bottom-watering or regular top-watering can be effective.
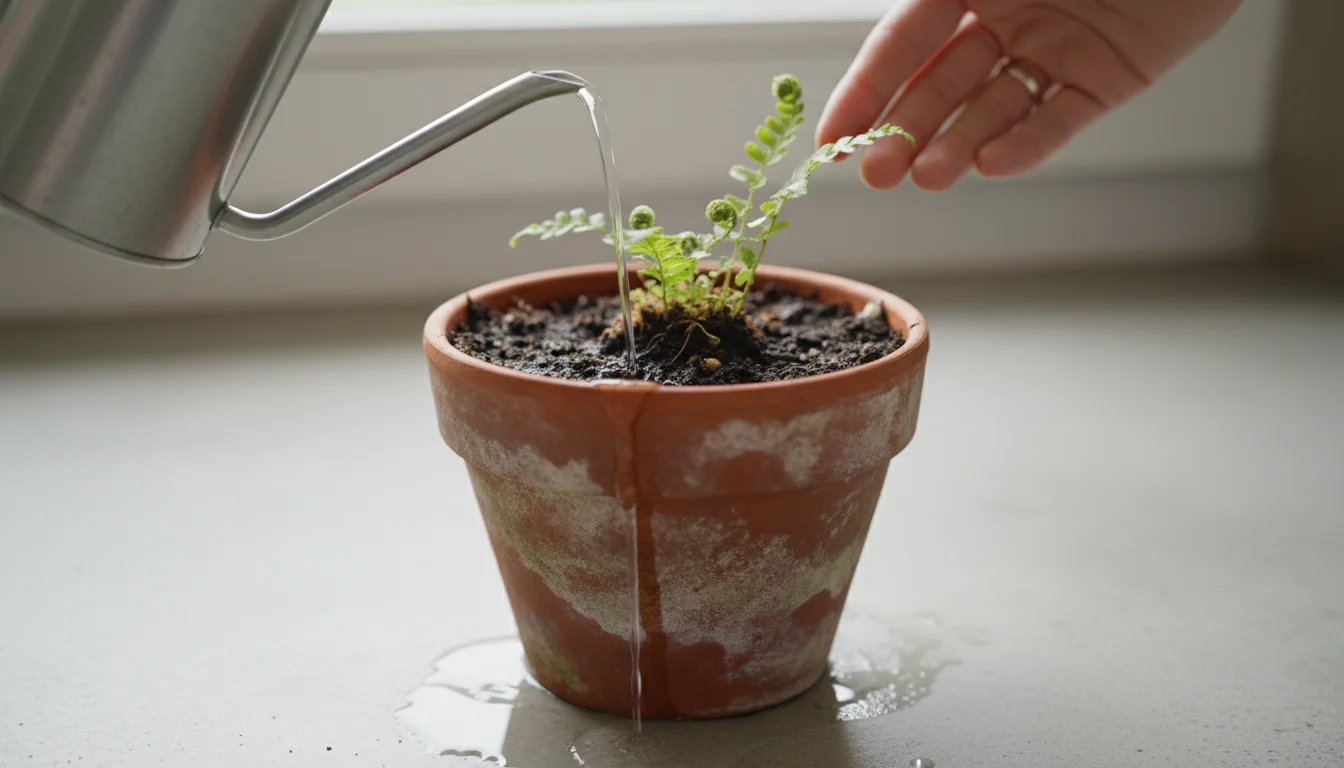
- Loosen the Surface: Use a chopstick, a skewer, a fork, or a small trowel to gently poke holes into the top couple of inches of soil. Be careful not to damage major roots. Create several small channels around the plant’s base and edges of the pot. These channels act as pathways for water to penetrate.
- Apply Water Slowly: After aerating, water the plant slowly from the top. Use a watering can with a fine spout or even a spray bottle set to a stream to direct water into the holes you created. Apply a little water, wait for it to absorb, and then apply more. You may need to do this several times.
- Combine with Bottom-Watering: For best results, follow this aeration with a bottom-watering soak (Method 1) to ensure deep and thorough rehydration.
Method 3: Wetting Agents (For Stubborn Hydrophobic Layers)
Sometimes, the waxy coating on soil particles is so strong that even aeration and bottom-watering struggle to break through. Wetting agents, also known as soil surfactants, can help.
- Commercial Wetting Agents: You can purchase commercial soil wetting agents designed to reduce the surface tension of water, allowing it to penetrate hydrophobic soil more easily. Follow the product instructions carefully regarding dilution and application. These are effective for `how to fix soil that won’t absorb water`.
- DIY Option (Diluted Soap): As a last resort, for very small-scale problems, you can try a very diluted solution of gentle, biodegradable liquid soap (like castile soap, not dish detergent with degreasers). Mix 1-2 drops of soap into a quart of water. Water your plant with this solution slowly. The soap acts as a surfactant, helping water penetrate. Use this sparingly and only when other methods fail, as too much soap can harm roots. Follow up with a plain water flush after a few waterings to minimize soap residue.
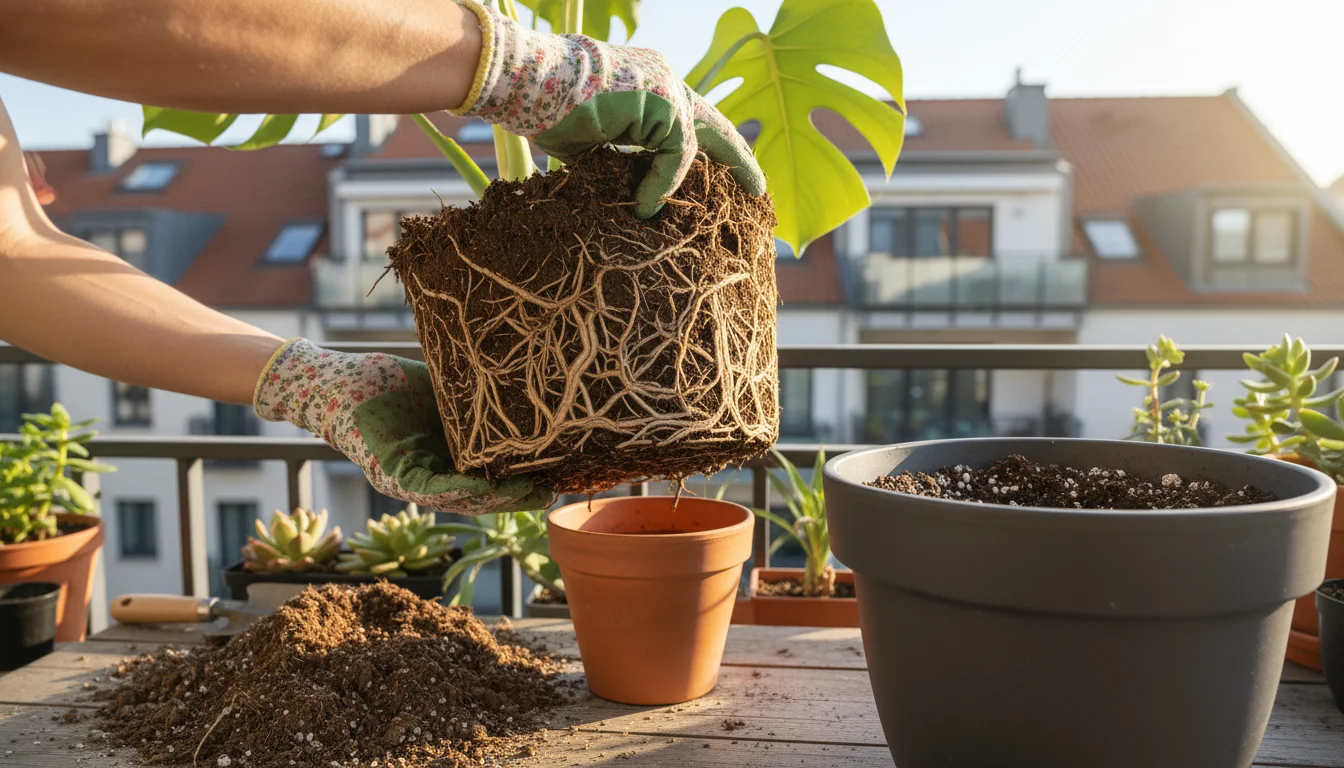
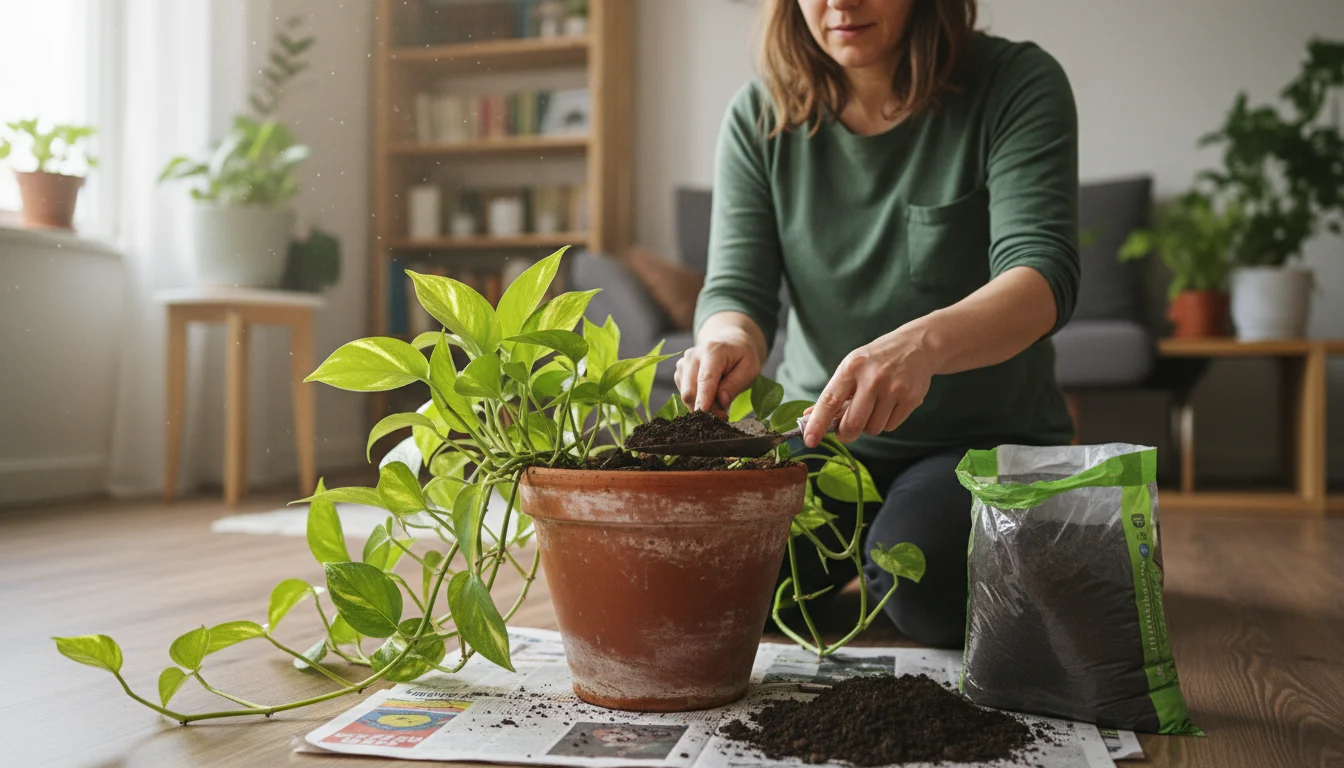
Method 4: Repotting (For Severely Compacted or Rootbound Plants)
If your soil is extremely `compacted potting mix`, the plant is severely rootbound, or previous methods haven’t worked, repotting is the most drastic but often necessary solution. This is the ultimate fix for `why is my houseplant soil hard as a rock`.
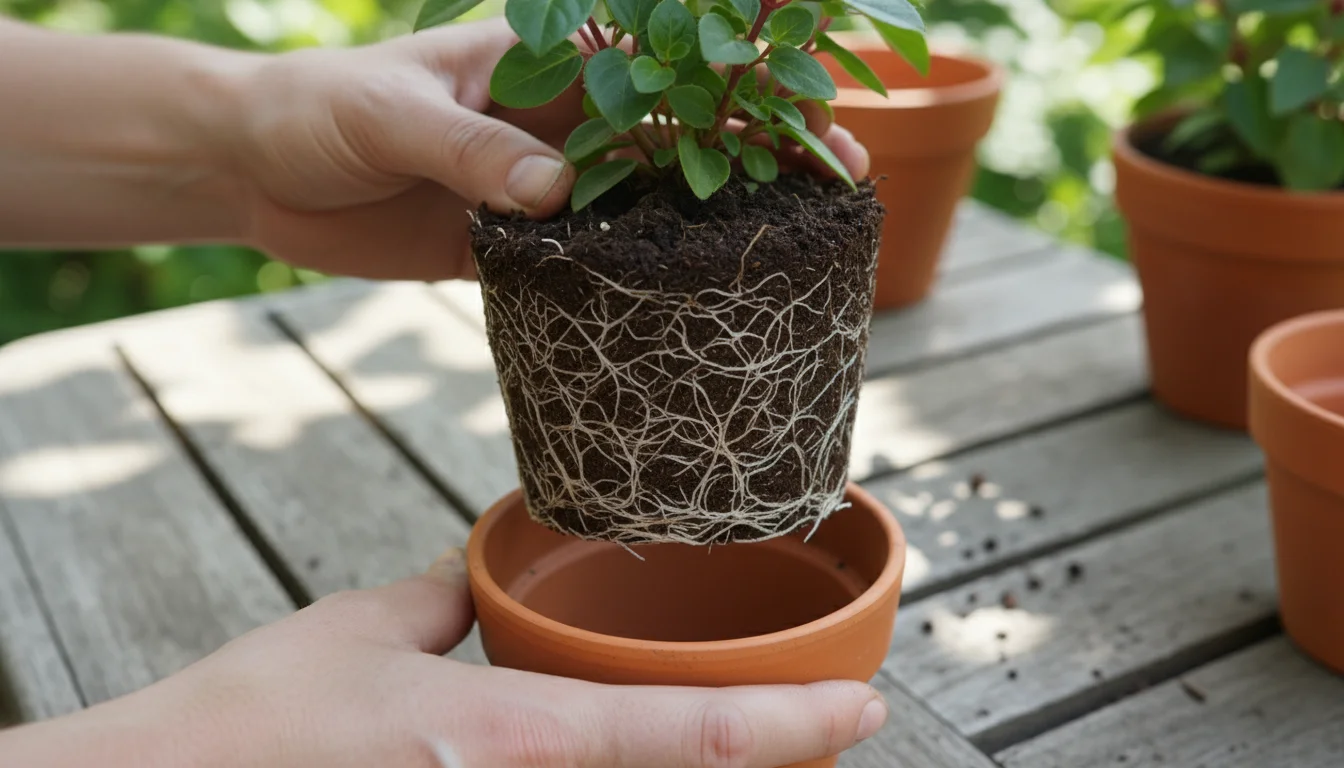
- Remove the Plant: Gently slide the plant out of its current pot.
- Loosen the Root Ball: Carefully use your fingers or a small tool to loosen the outer layer of the root ball and remove as much of the old, hardened soil as possible. If the roots are a dense, circling mat, you may need to gently tease them apart or even make a few vertical cuts into the root ball to encourage new growth.
- Choose Fresh Potting Mix: Repot into a slightly larger pot (1-2 inches wider) using fresh, high-quality potting mix. Ensure the new mix has good drainage and aeration.
- Water Thoroughly: After repotting, water the plant thoroughly until water drains from the bottom. Consider a bottom-watering soak for this first watering in the new mix to ensure even saturation.
Remember, patience is key. Severely stressed plants may take some time to recover, but consistent proper care will see them return to health.
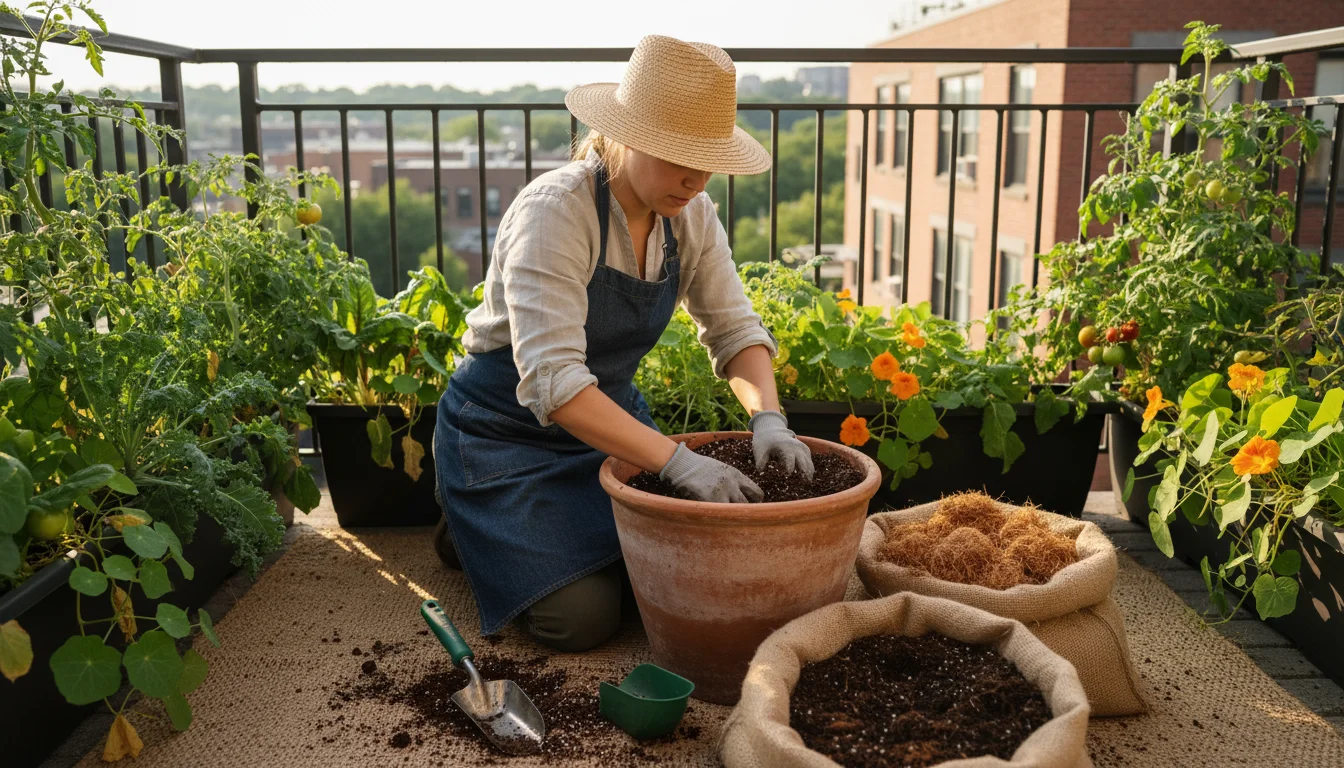
Preventing Future ‘Concrete Pots’: Best Practices for Indoor Plant Care
Fixing `hydrophobic soil` is one thing; preventing its recurrence is another. Implementing these proactive measures into your `indoor plant care winter` routine will safeguard your plants against the ‘Concrete Pot’ problem and ensure they thrive year-round.
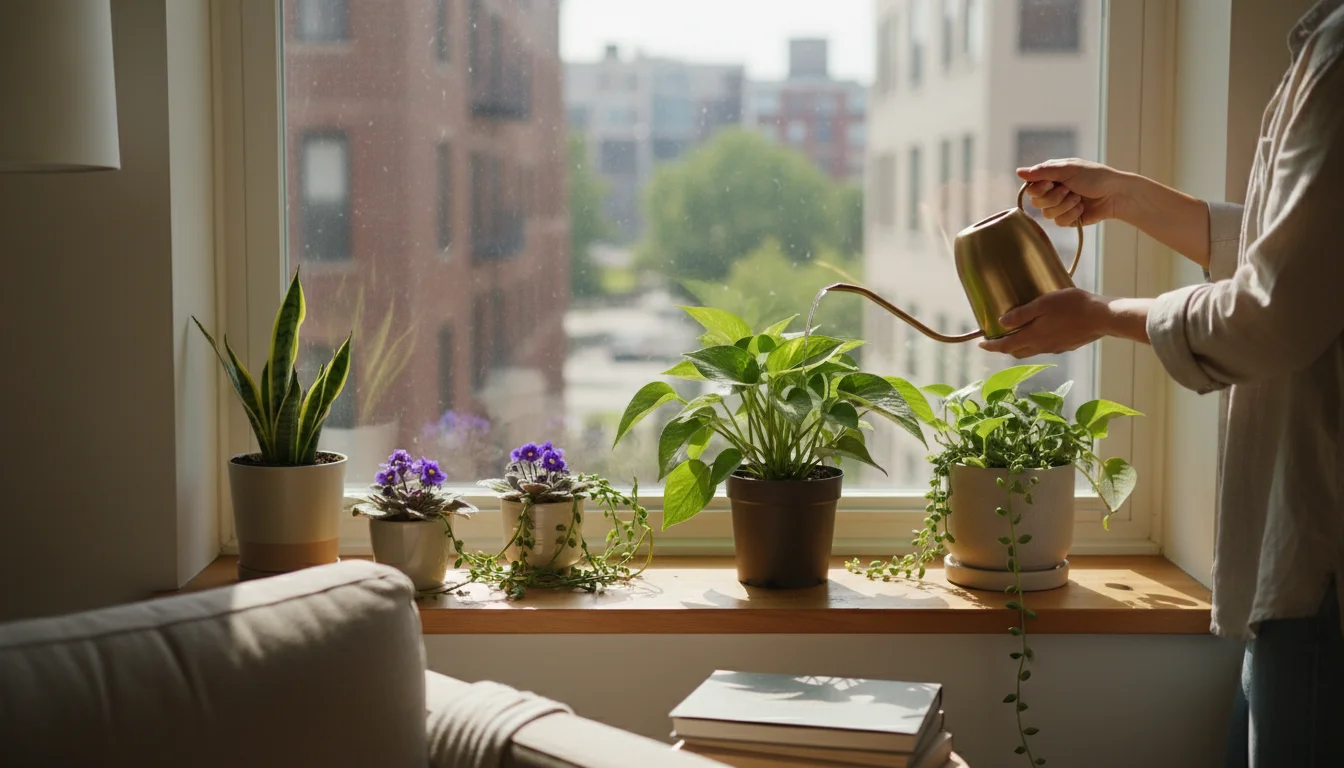
1. Master Proper Watering Techniques
Inconsistent watering, especially allowing soil to dry out completely for extended periods, is a primary cause of hydrophobic soil. The key is to water thoroughly when the plant needs it, but not too frequently. Here’s how:
- Feel the Soil: Before watering, stick your finger about 1-2 inches deep into the soil. If it feels dry, it’s time to water. Avoid watering on a strict schedule; let the plant and soil dictate the timing.
- Water Thoroughly: When you do water, do so until you see water draining from the bottom of the pot. This ensures the entire root ball is saturated. Discard any excess water from the saucer after about 15-20 minutes to prevent root rot.
- Consider Bottom-Watering: Regularly incorporating bottom-watering (as described in the solution section) into your routine can help maintain consistent moisture levels and prevent the top layer from becoming bone dry and water-repellent. It’s excellent for `rehydrating dry potting mix in containers` before it becomes a problem.
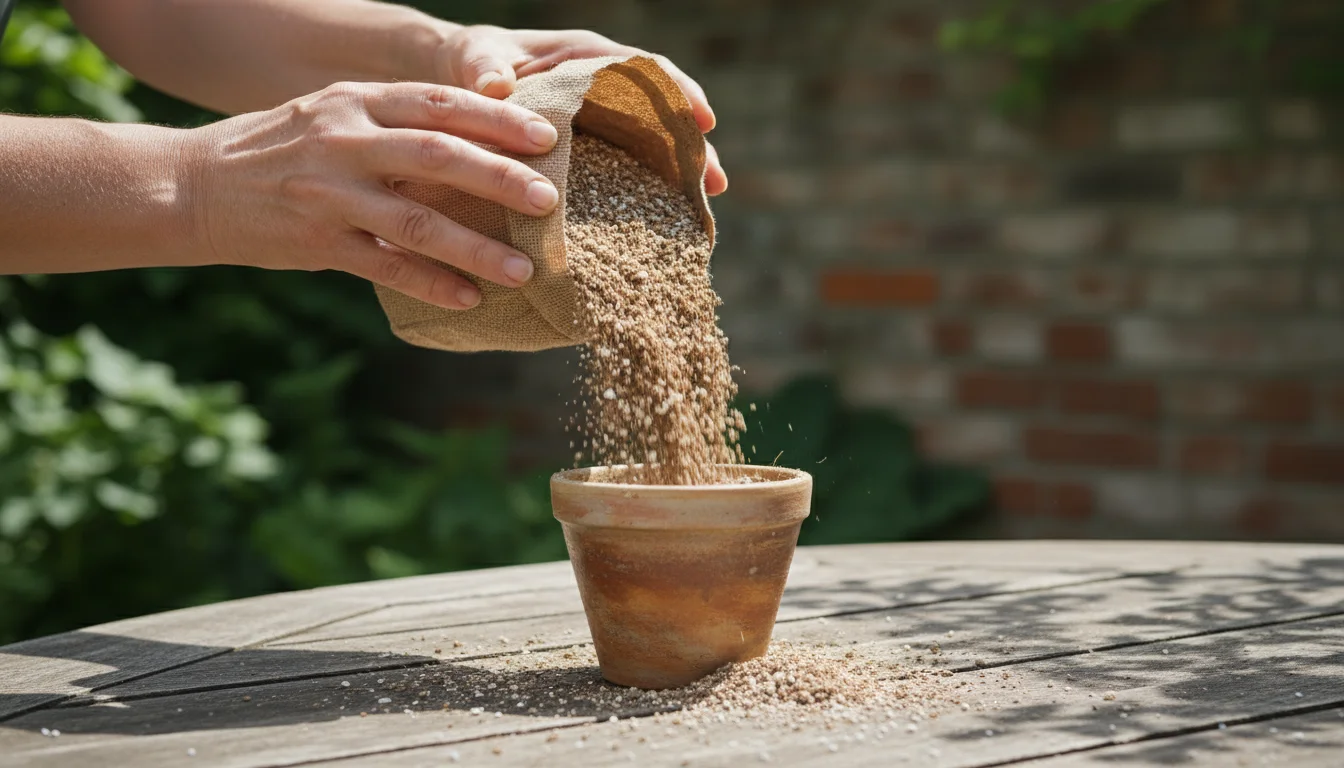
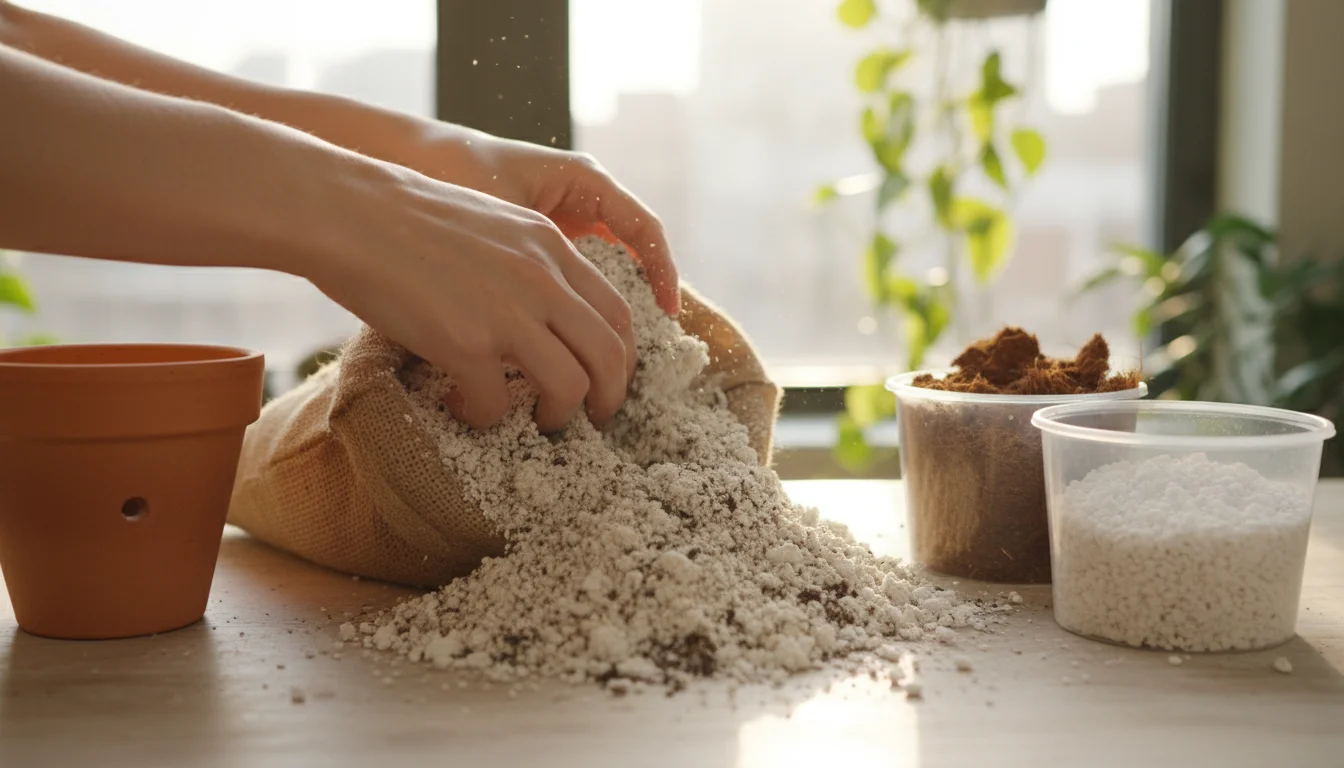
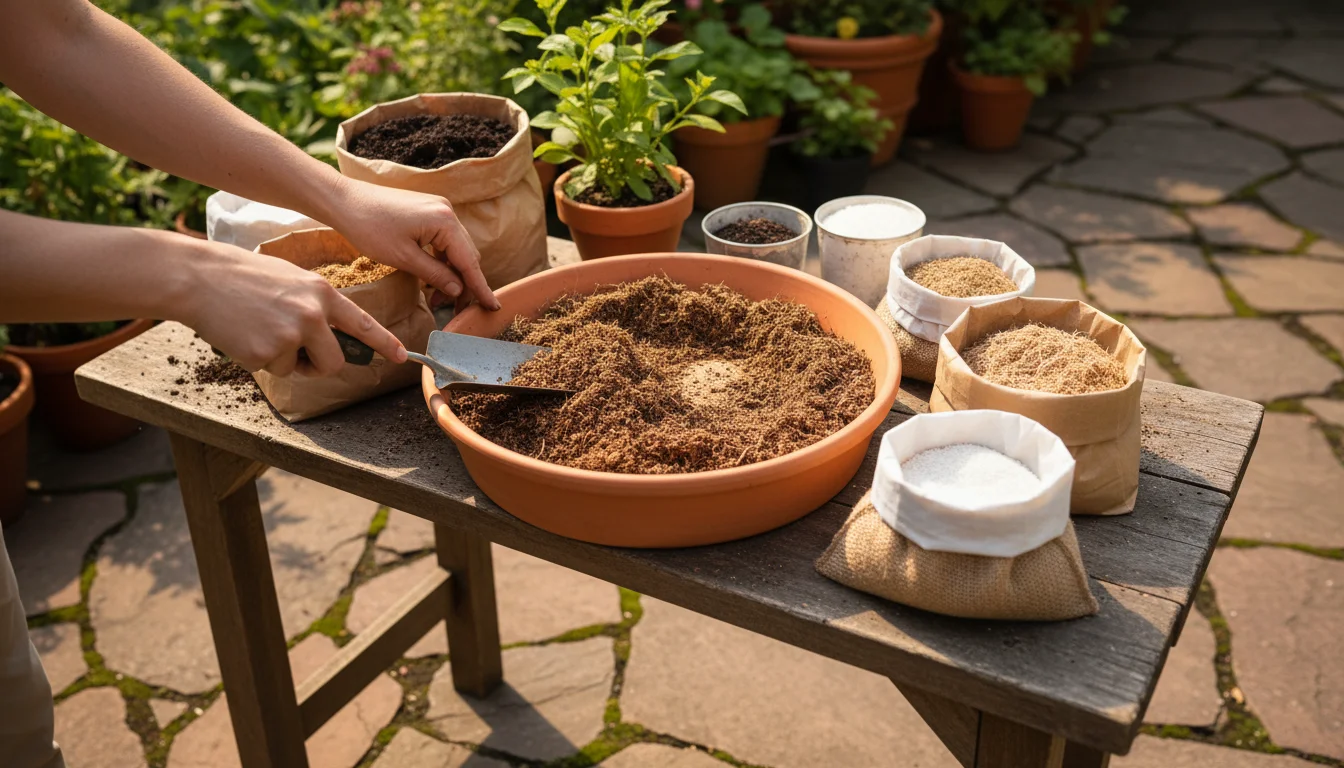
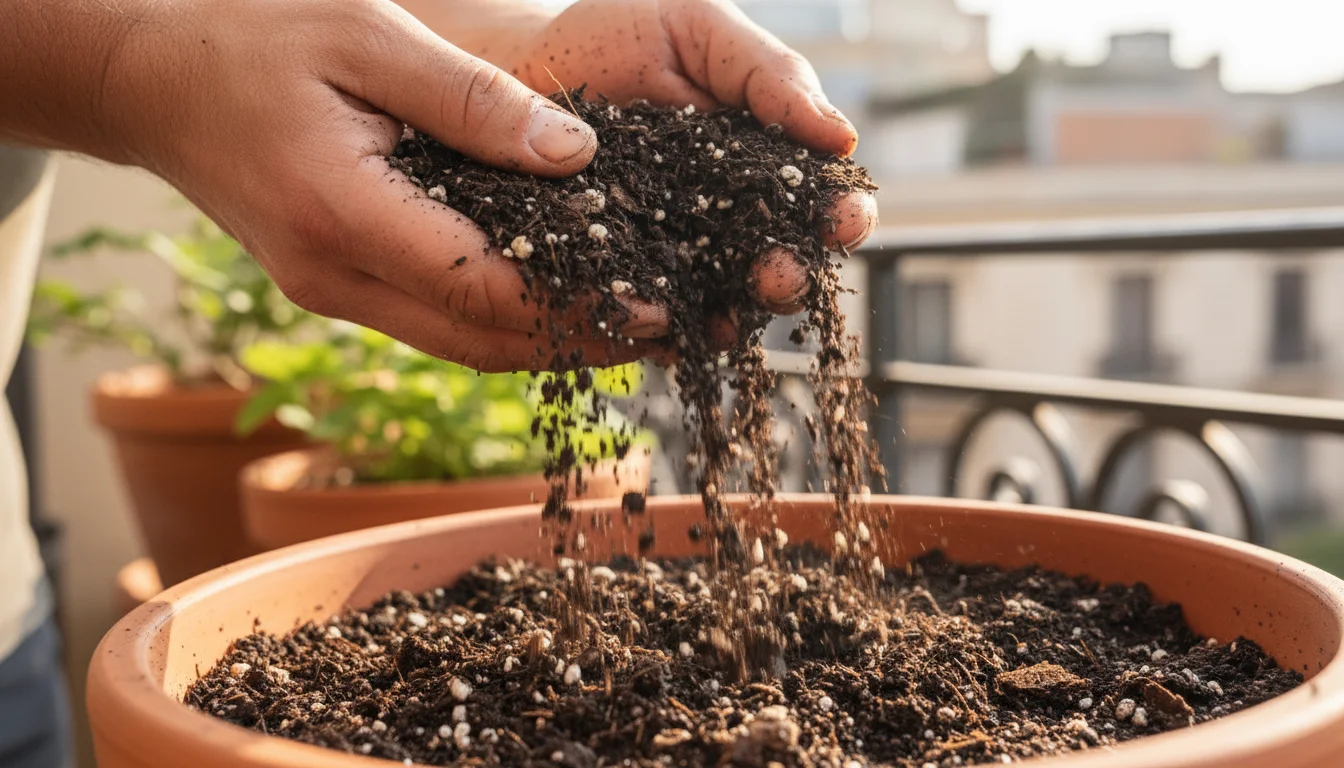
2. Choose the Right Potting Mix
The foundation of healthy potted plants is a high-quality, appropriate potting mix. Avoid garden soil for indoor plants, as it’s too dense and can introduce pests. Look for mixes specifically designed for houseplants or containers. These typically contain a blend of peat moss or coir, perlite or vermiculite for aeration, and composted materials. A good mix will have excellent drainage while retaining adequate moisture. Selecting a suitable mix prevents `compacted potting mix` from the start.
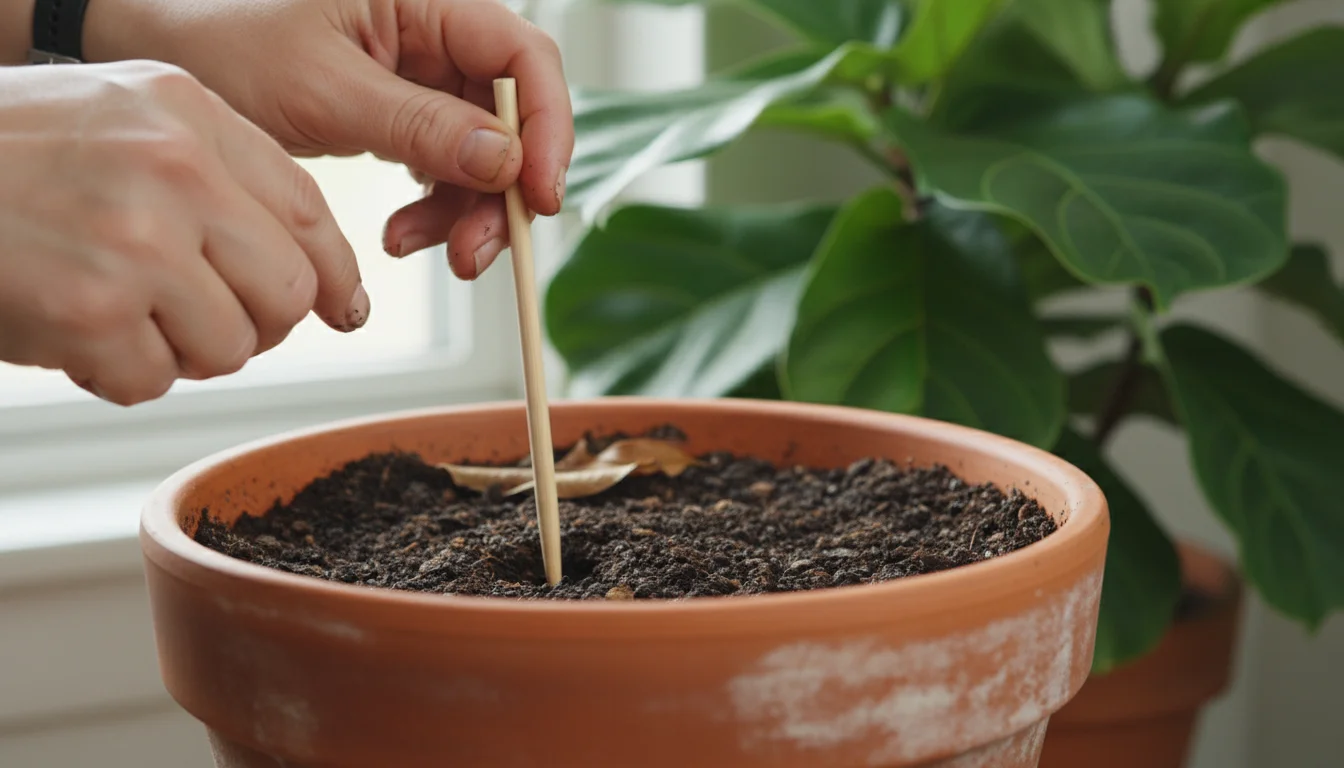
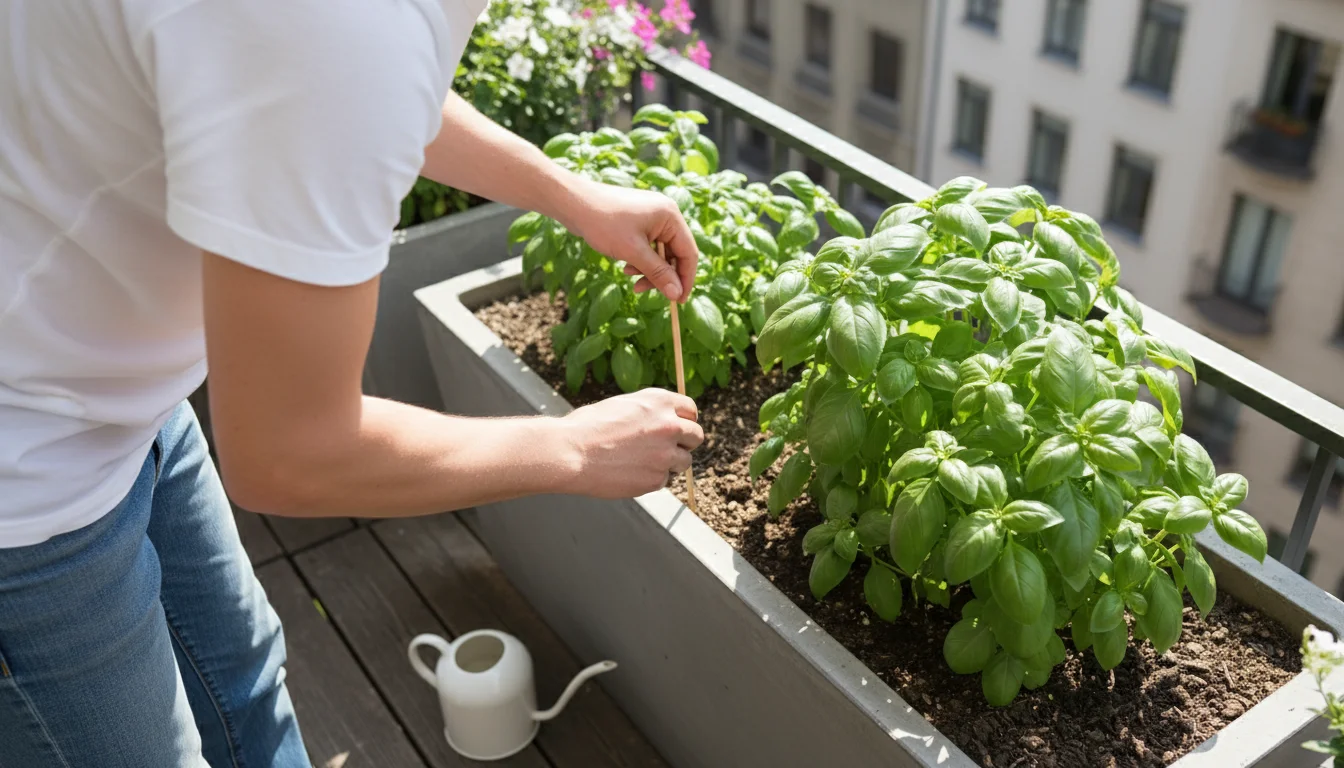
3. Regular Aeration
Even with good watering practices, soil can gradually compact over time. Lightly aerating the soil surface every few months can make a big difference. Use a chopstick or skewer to gently poke several holes into the top few inches of the soil, being careful around the root crown. This helps maintain air circulation, encourages water penetration, and prevents the top layer from becoming `hard as a rock`.
4. Top-Dressing with Fresh Potting Mix
Over time, the organic matter in your potting mix breaks down, and the soil level can sink. You can combat this by “top-dressing” your plants annually or biannually. Remove the top inch or two of old, degraded soil and replace it with fresh potting mix. This replenishes organic matter, improves water absorption, and provides a fresh layer for roots to grow into. This simple step can prevent the onset of `hydrophobic soil`.
5. Repotting When Necessary
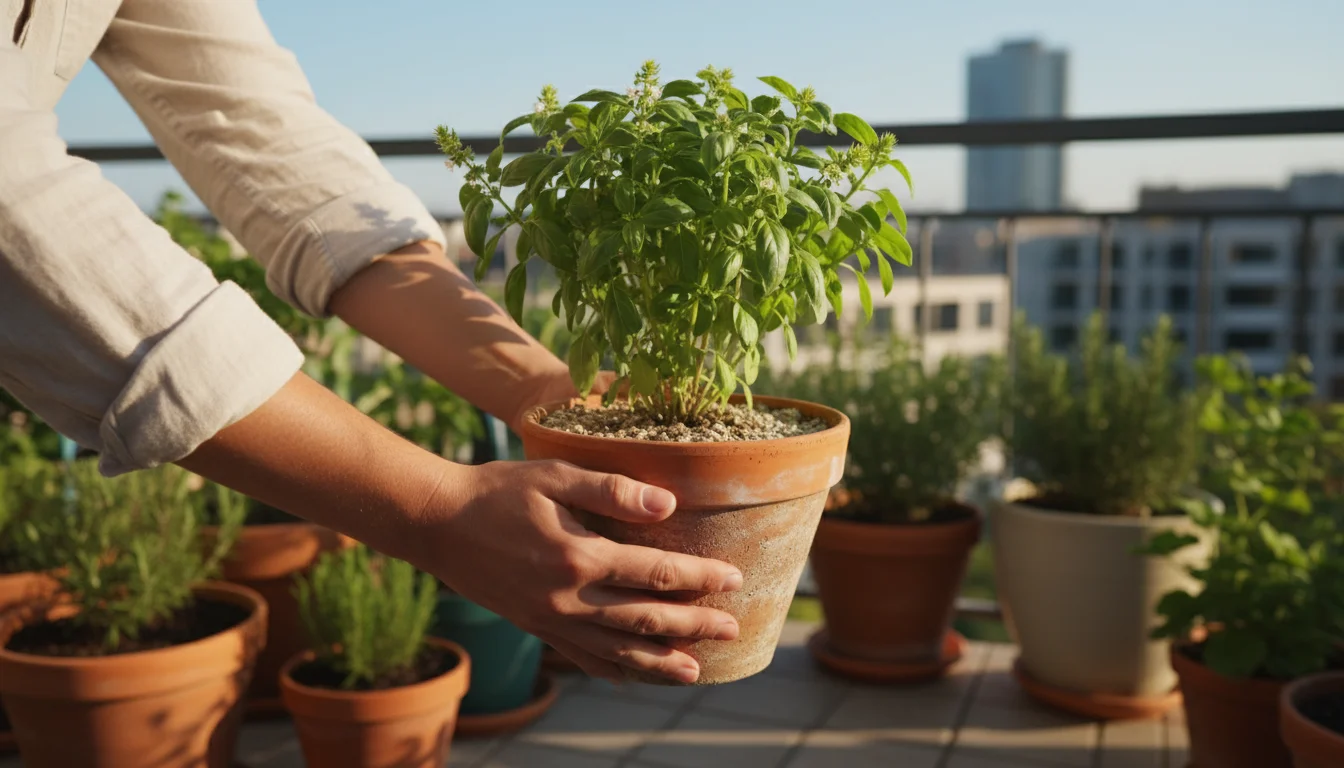
Plants eventually outgrow their pots. When a plant becomes rootbound, the ratio of roots to soil increases significantly, making it harder for the limited soil to retain moisture and nutrients. Plan to repot your plants every 1-2 years, or when you notice roots circling the pot or growing out of drainage holes. Choose a pot that is only one size larger than the current one to avoid over-potting. Repotting introduces fresh soil and prevents severe `compacted potting mix`.

6. Flush Soil Periodically
Mineral salts from tap water and fertilizers can accumulate in the soil over time, contributing to compaction and reducing water absorption. Every few months, take your plant to a sink or tub and water it thoroughly and slowly for several minutes, allowing the water to drain freely. This helps flush out excess salts. Ensure you let the pot drain completely afterward.
By integrating these preventative measures into your routine, you are not just caring for your plants; you are building a resilient, healthy soil environment that will support their growth and vibrancy for years to come, reducing the chances of ever encountering the ‘Concrete Pot’ problem again.
Choosing the Right Potting Mix: A Foundation for Healthy Indoor Plants
The battle against the ‘Concrete Pot’ problem starts before you even bring a plant home or embark on `indoor plant care winter`. It begins with selecting the right foundation: your potting mix. Many beginner gardeners overlook the importance of soil composition, but for small-space gardeners, every component of the growing medium plays a crucial role in plant health and reducing future headaches like `hydrophobic soil` or `compacted potting mix`.
Understanding Potting Mix Components
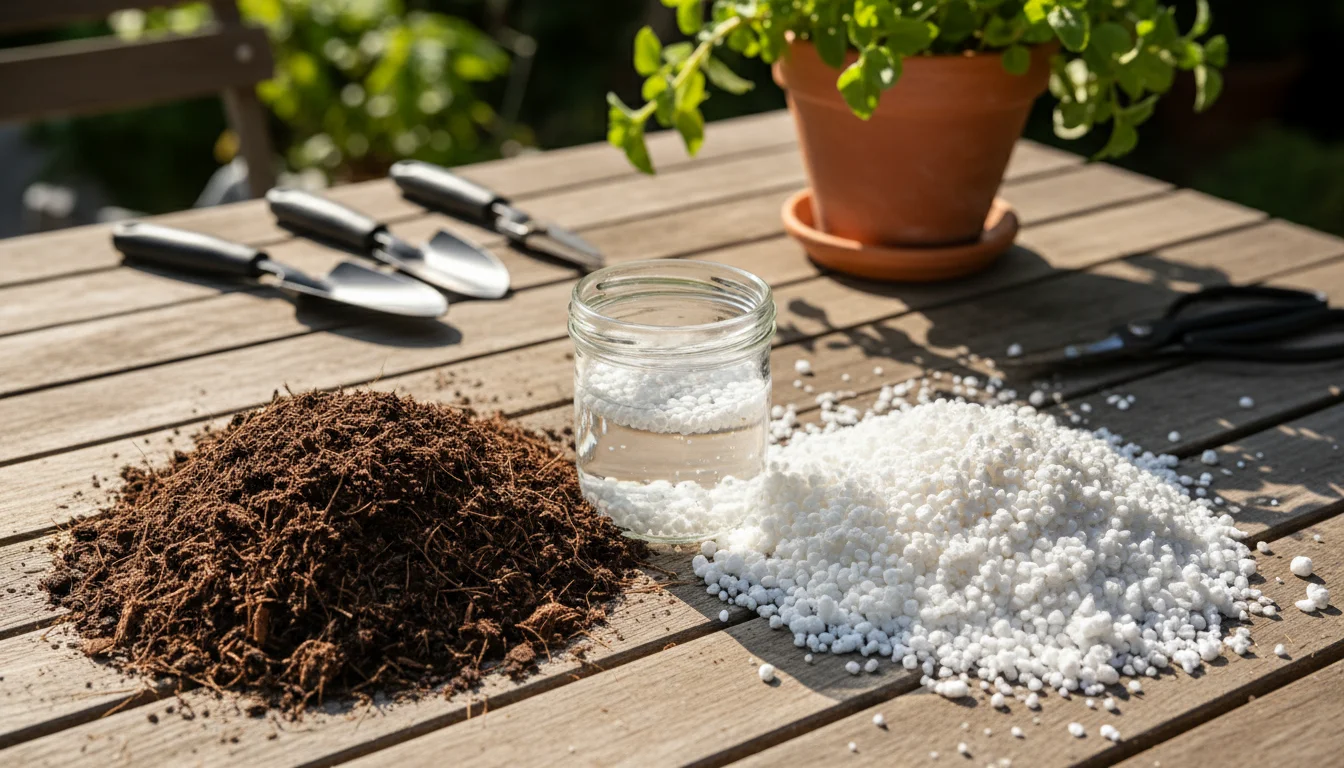
Unlike garden soil, which is often dense and heavy, potting mixes are designed to be lightweight, sterile, and provide specific aeration and moisture retention properties suitable for containers. Here are common components and their roles:
- Peat Moss or Coco Coir: These are the primary organic components, excellent for holding moisture and providing a soft, lightweight structure. However, they are also the main culprits in becoming hydrophobic if allowed to dry out completely. Coco coir is often considered a more sustainable alternative to peat moss.
- Perlite: The small, white, volcanic rock pieces. Perlite is critical for improving drainage and aeration. It creates air pockets, preventing soil from becoming `hard as a rock` and allowing oxygen to reach roots. It does not absorb water itself but holds it in its crevices.
- Vermiculite: Similar to perlite but has better water retention properties. It absorbs water and nutrients, then slowly releases them to the plant. It also helps with aeration and preventing compaction.
- Composted Bark or Wood Chips: These coarser materials provide structure, improve drainage, and help prevent the mix from compacting too quickly. They also contribute to slow nutrient release as they decompose.
- Wetting Agents/Surfactants: Some high-quality commercial potting mixes include a pre-mixed wetting agent to help the soil absorb water more readily, especially if it dries out. This can be a great preventative measure against `hydrophobic soil`.
- Nutrients: Many mixes include a starter charge of slow-release fertilizer to provide initial nutrients for your plants.
Matching Mix to Plant Needs
Not all potting mixes are created equal, and different plants have different needs:
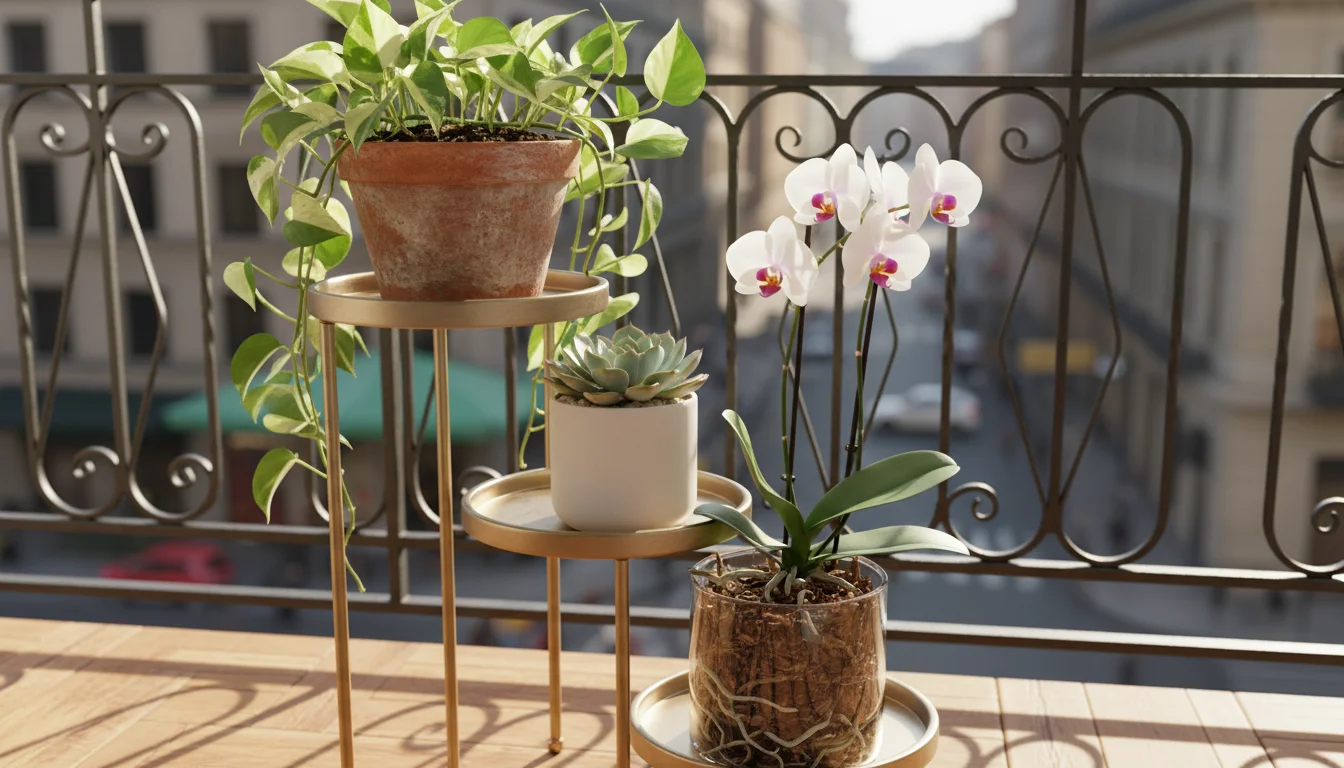
- General Houseplant Mix: A balanced mix suitable for most foliage plants, offering good drainage and moisture retention. This is a safe choice for many of your small-space green friends.
- Cactus and Succulent Mix: These plants require exceptionally fast drainage to prevent root rot. These mixes contain higher proportions of sand, perlite, or pumice and less organic matter. Using a dense mix for succulents is a sure way to invite rot and `compacted potting mix`.
- Orchid Bark Mix: Orchids are epiphytes, meaning they grow on other plants, not in soil. Their mixes are very coarse, consisting primarily of bark chunks, charcoal, and perlite, designed for maximum air circulation around their roots.
- Seed Starting Mix: Very fine and sterile, designed for delicate seedlings, but too fine for mature plants.
Eco-Friendly and Sustainable Choices
As a gardener, you can make environmentally conscious choices when selecting potting mix:
- Coco Coir: Opt for mixes containing coco coir instead of peat moss. Coco coir is a renewable byproduct of the coconut industry, whereas peat moss is harvested from ancient peat bogs, a non-renewable resource whose extraction impacts carbon sequestration.
- Composted Materials: Look for mixes that incorporate composted forest products or other recycled organic materials.
- Reusing Potting Mix (with caution): For plants that haven’t shown signs of disease or pests, you can reuse potting mix by sterilizing it (e.g., baking a thin layer in the oven at 200°F for 30 minutes) and then amending it with fresh perlite, compost, or nutrient sources. This helps in `rehydrating dry potting mix in containers` and saves resources, but is generally not recommended for plants that had disease.
Investing in the right potting mix from the start prevents many common issues. It sets your plant up for success, ensuring proper drainage, aeration, and nutrient availability, making `indoor plant care winter` much simpler and more rewarding.

Sustainable Soil Management for Small Spaces
For small-space gardeners, maximizing every resource, including your potting mix, is part of a sustainable ethos. Environmentally conscious practices extend beyond choosing eco-friendly components; they involve reducing waste, improving soil health, and minimizing your overall footprint. Addressing the ‘Concrete Pot’ problem also presents an opportunity to embrace more sustainable approaches in your `indoor plant care winter`.
1. Amending and Refreshing Old Potting Mix
Instead of discarding all your old potting mix after a plant’s season, consider amending it. Old soil loses its structure, nutrients, and can become `compacted potting mix`. You can revitalize it for future use. Collect spent potting mix, spread it out, and allow it to dry thoroughly. Once dry, you can mix in fresh components:
- Compost: Adds essential nutrients and beneficial microbes.
- Perlite or Vermiculite: Improves aeration and drainage, preventing future compaction.
- Coco Coir or Peat Moss: Replenishes organic matter and water retention, helping to prevent `hydrophobic soil`.
- Worm Castings: A natural slow-release fertilizer that also improves soil structure.
A good ratio is roughly 70% old soil to 30% new amendments. This practice reduces waste and keeps valuable organic matter out of landfills. If the plant previously housed in the soil had pest or disease issues, it is best to discard that soil or sterilize it before reuse.
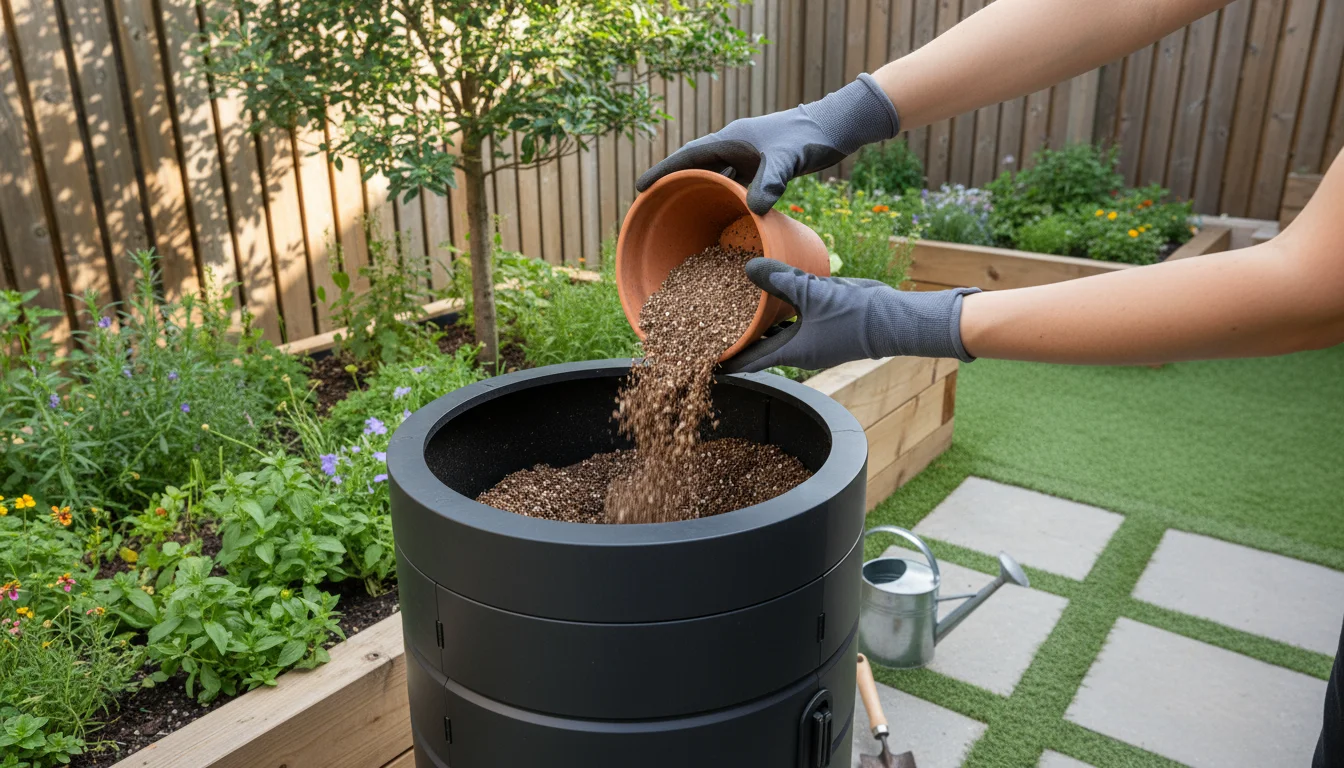
2. Composting Spent Potting Mix
If you have outdoor space, even a small one, a compost bin or pile can turn old potting mix into a valuable resource. Simply add your old, non-diseased potting mix to your compost. The organic materials will break down further, and the mineral components will become part of your nutrient-rich compost. This is an excellent way to prevent `hydrophobic soil` from ending up as waste.

3. Utilizing Natural Wetting Agents
Instead of relying heavily on synthetic wetting agents, explore natural options for `rehydrating dry potting mix in containers`. As discussed, a very dilute solution of biodegradable soap can act as a temporary surfactant. Another eco-friendly approach is to ensure your plants are consistently watered with rainwater if you collect it. Rainwater is naturally soft and free of the mineral salts that contribute to soil hardening. You can also explore adding humic acid or kelp meal to your watering regimen, as these natural products can improve soil structure and water penetration over time.
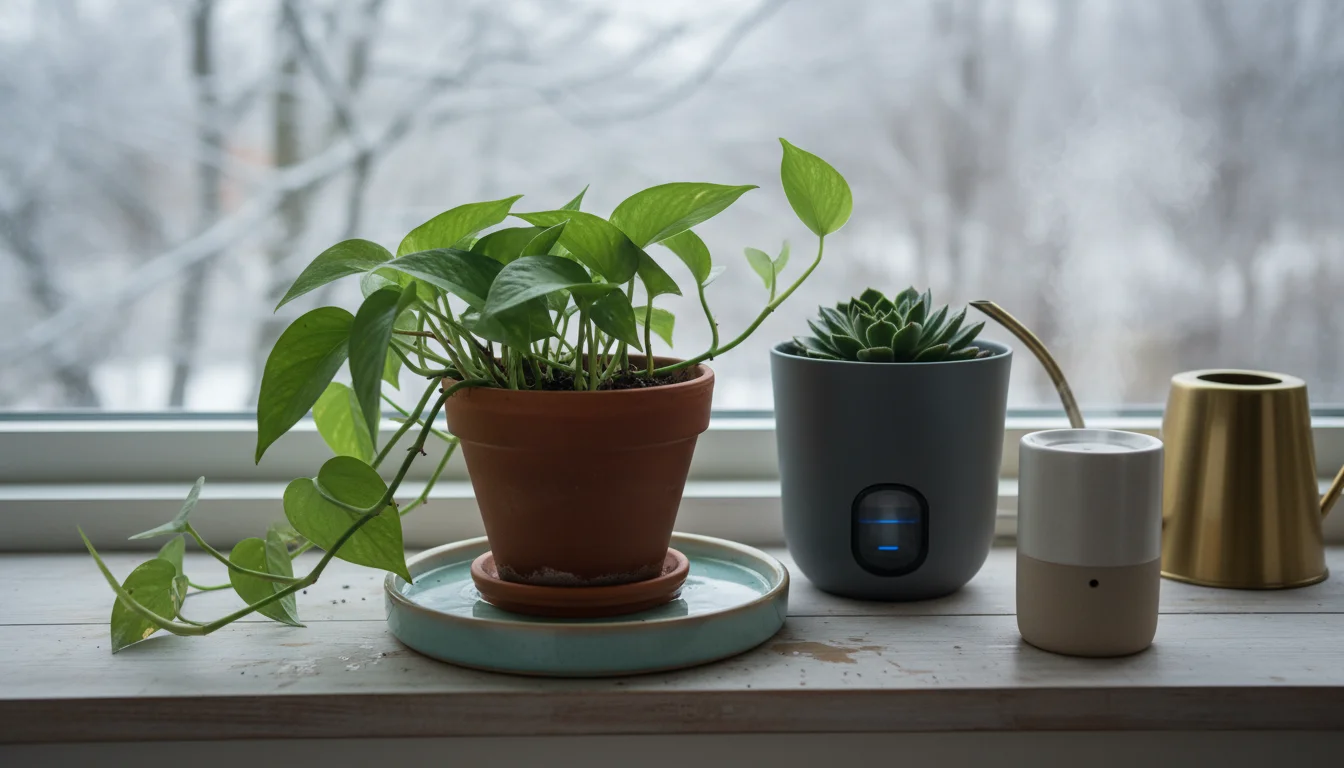
4. Water Conservation Through Efficient Practices
Sustainable gardening also means conserving water. By preventing `hydrophobic soil`, you ensure that every drop of water you provide actually benefits your plant, rather than running through unused. Implementing bottom-watering techniques not only rehydrates effectively but can also reduce water loss through evaporation from the soil surface. Using self-watering pots can also contribute to water efficiency by providing consistent moisture and reducing the frequency of manual watering. Thoughtful `indoor plant care winter` is crucial for both plant health and resource conservation.
5. Long-Term Potting Mix Health
Consider your potting mix a living ecosystem. By understanding its components and their interactions, you can take steps to maintain its health for longer periods, reducing the need for frequent full repotting. Regularly turning the topsoil to prevent compaction, ensuring proper drainage, and addressing rootbound issues promptly all contribute to the longevity and effectiveness of your growing medium. This approach helps you avoid asking `why is my houseplant soil hard as a rock` and keeps your plants happy and vibrant sustainably.
Embracing sustainable soil management means seeing your potting mix not as a disposable commodity, but as a dynamic environment that requires care and revitalization. This mindset benefits your plants, your wallet, and the planet.

Frequently Asked Questions
Can I just add more water if my soil is hydrophobic?
Simply adding more water usually won’t solve the problem of hydrophobic soil. The waxy coating on the soil particles actively repels water, causing it to run off or drain quickly without adequately wetting the root ball. You need to break this surface tension or allow the soil to rehydrate slowly from the bottom up, as described in the rehydration methods.
Is it possible for outdoor garden soil to become hydrophobic?
Yes, outdoor garden soil can also become hydrophobic, particularly in areas with high sand content, low organic matter, or prolonged dry spells. Drought conditions can cause the formation of waxy organic compounds that repel water. While less common in well-maintained garden beds, it is a known issue, especially in arid climates or disturbed soils.
How often should I repot my houseplants to prevent compacted soil?
A good general guideline is to repot your houseplants every 1-2 years. Some fast-growing plants might need it annually, while slow-growers might go longer. Look for signs like roots growing out of drainage holes, stunted growth, or the plant drying out much faster than usual. Repotting with fresh soil prevents severe `compacted potting mix` and replenishes nutrients.
What type of pots are best to prevent soil issues?
Pots with adequate drainage holes are crucial to prevent `compacted potting mix` and ensure proper aeration. Terracotta pots can be beneficial for plants that prefer drier conditions, as their porous nature allows for better air circulation and wicking of excess moisture. Plastic pots retain moisture longer, which can be good for some plants, but they require careful watering to avoid overwatering and compaction.
Are there any natural ways to improve soil water absorption long-term?
Yes, improving the organic matter content in your potting mix over time can significantly enhance its water absorption and retention capabilities. Incorporating finished compost or worm castings when repotting or top-dressing can create a healthier soil structure less prone to becoming `hydrophobic soil`. Regular aeration and proper watering also play a vital role in maintaining good soil health.
For trustworthy gardening information, visit:
Denver Botanic Gardens, San Diego Botanic Garden, U.S. National Arboretum, American Horticultural Society and National Garden Bureau. These organizations provide expert, research-based advice for gardeners at all levels.
Disclaimer: This article is for informational purposes only and is not a substitute for professional gardening advice. Always consult local extension services or horticulture experts for region-specific guidance.

Leave a Reply