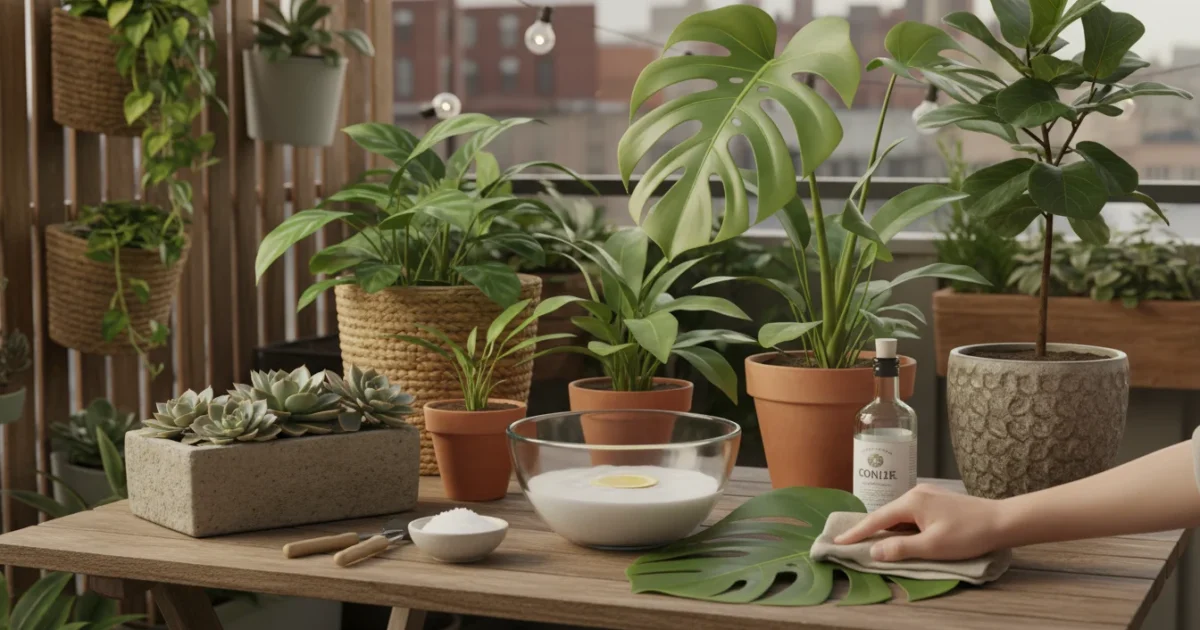
The DIY Houseplant Spa Day: A 3-Ingredient Recipe for a Natural Leaf Shine and Pest Deterrent
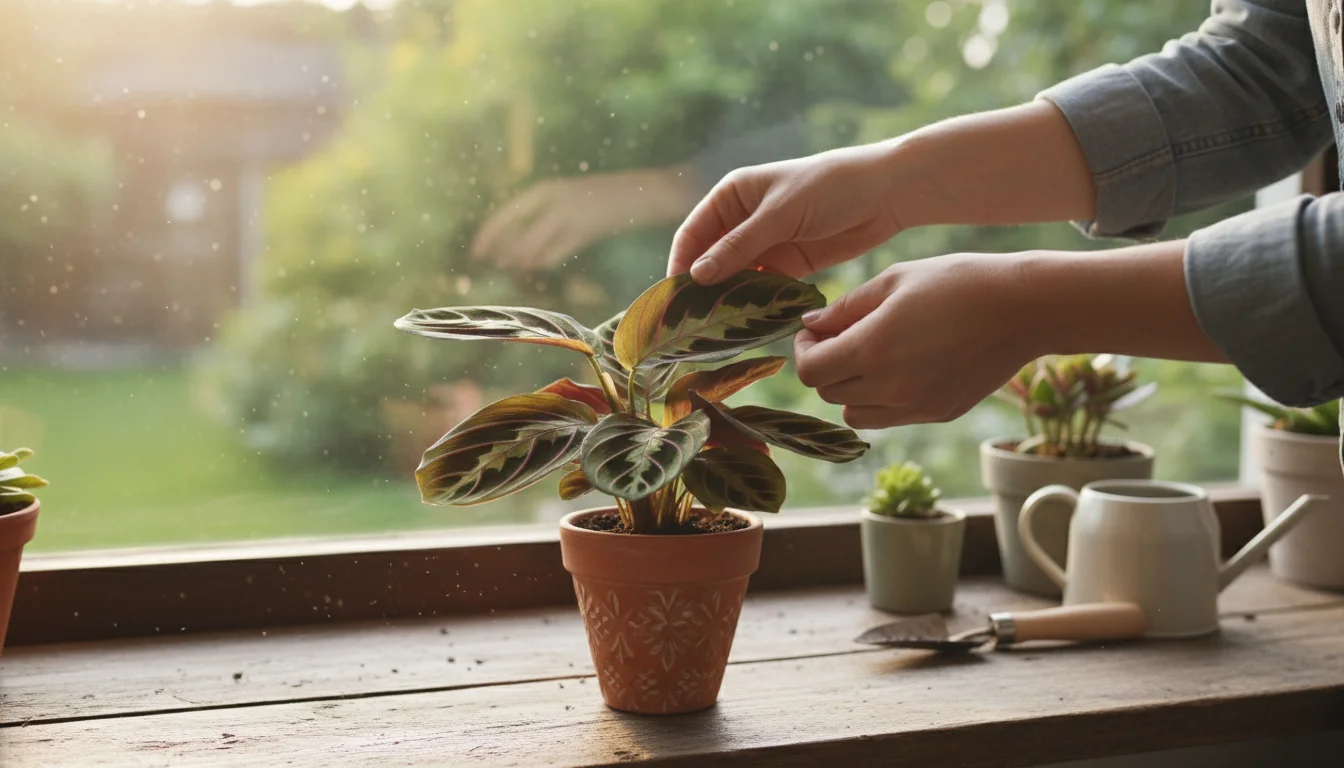
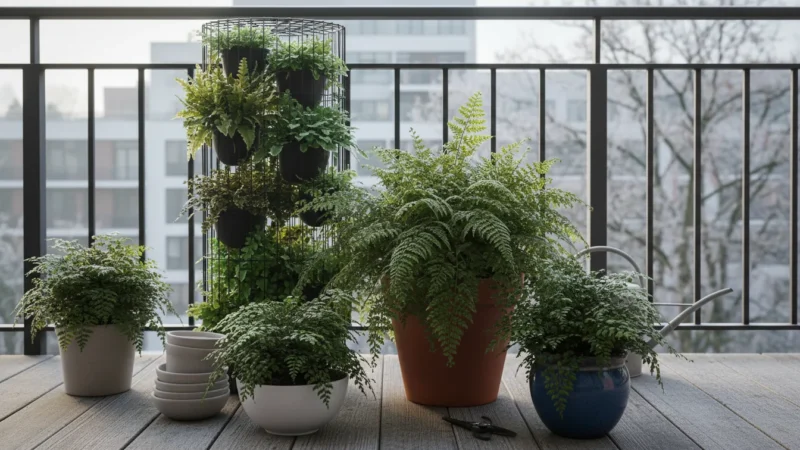
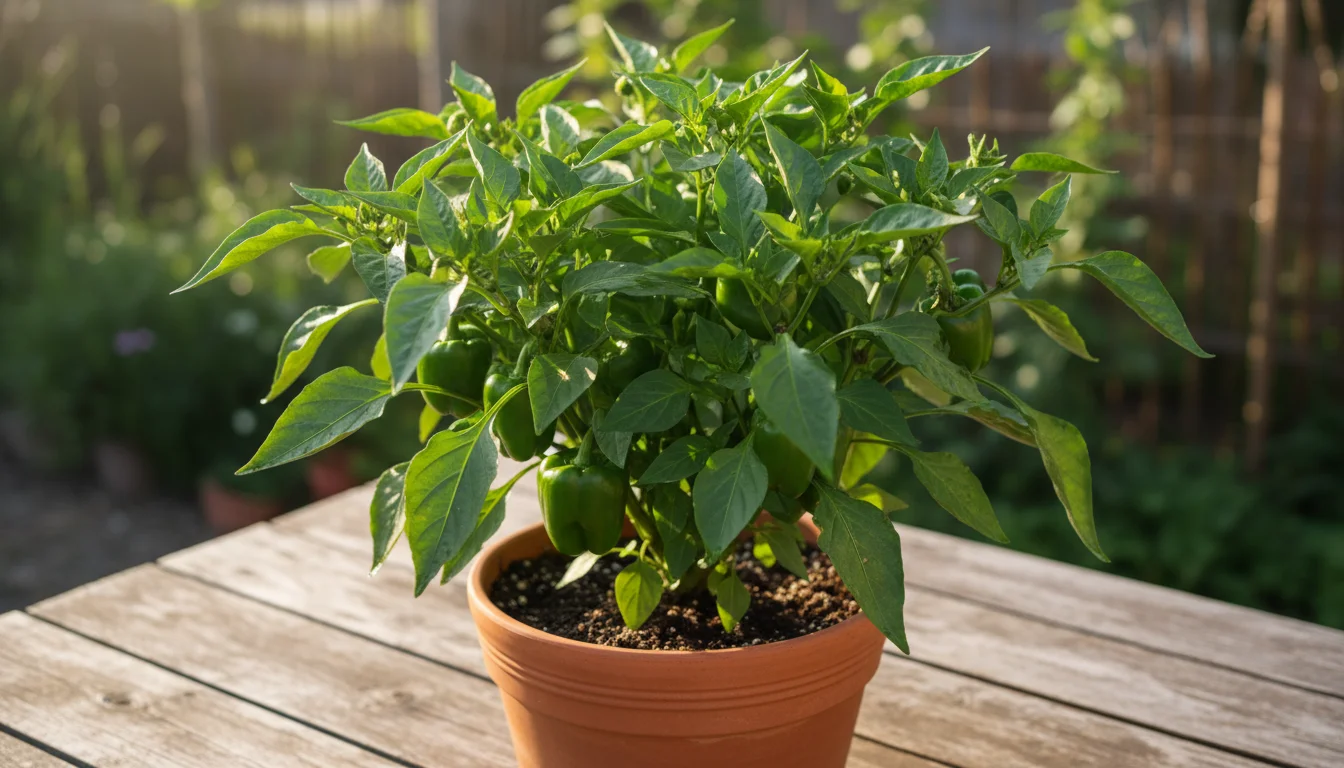
Your houseplants bring life, color, and tranquility to your small space, but they work hard, often enduring dusty environments and the occasional uninvited pest. Just like you, they benefit from a little pampering. Regular cleaning does more than just make their leaves sparkle, it actively supports their health and vitality. This simple, natural “spa day” for your plants tackles common winter problems, giving them a fresh start without harsh chemicals.
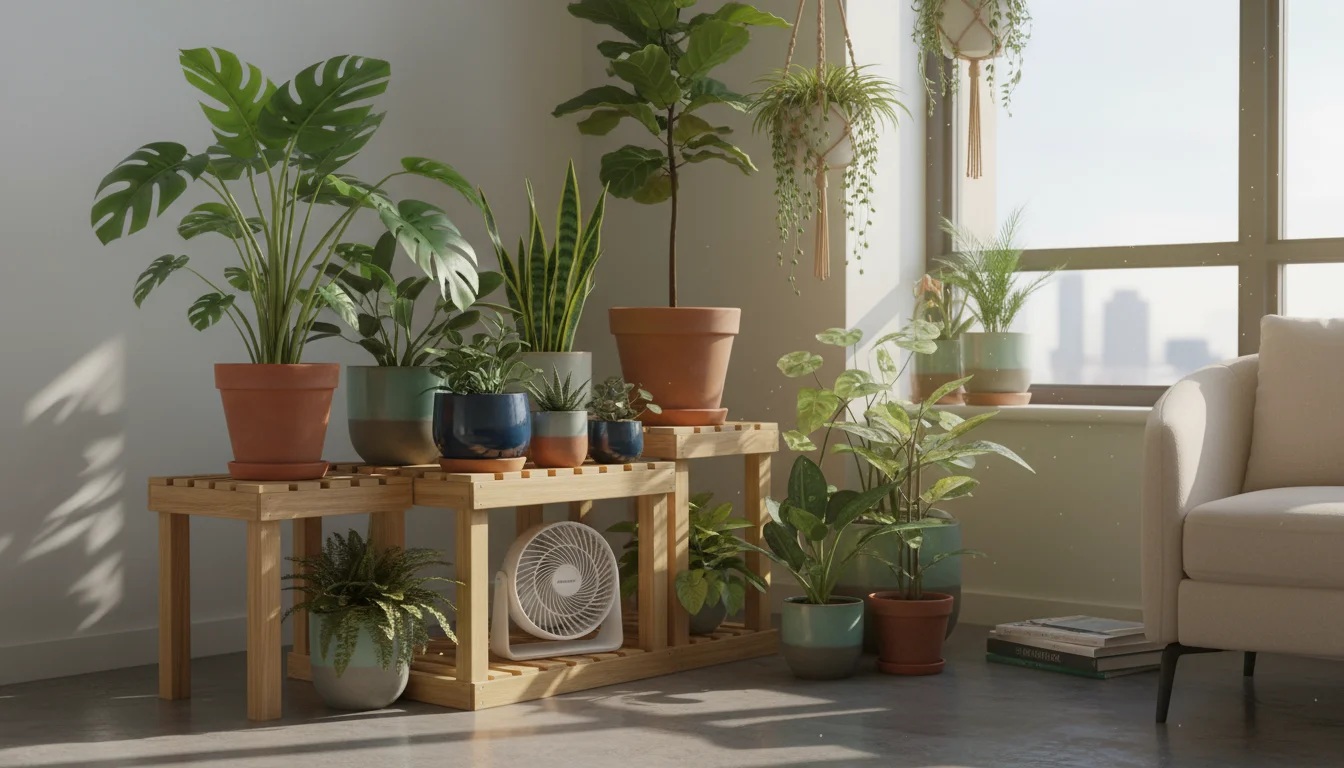
This routine is especially important for air-purifying houseplants that need clean surfaces to effectively filter indoor air.
Incorporating these mindful winter houseplant rituals into your schedule can turn routine maintenance into a relaxing experience for both you and your plants.
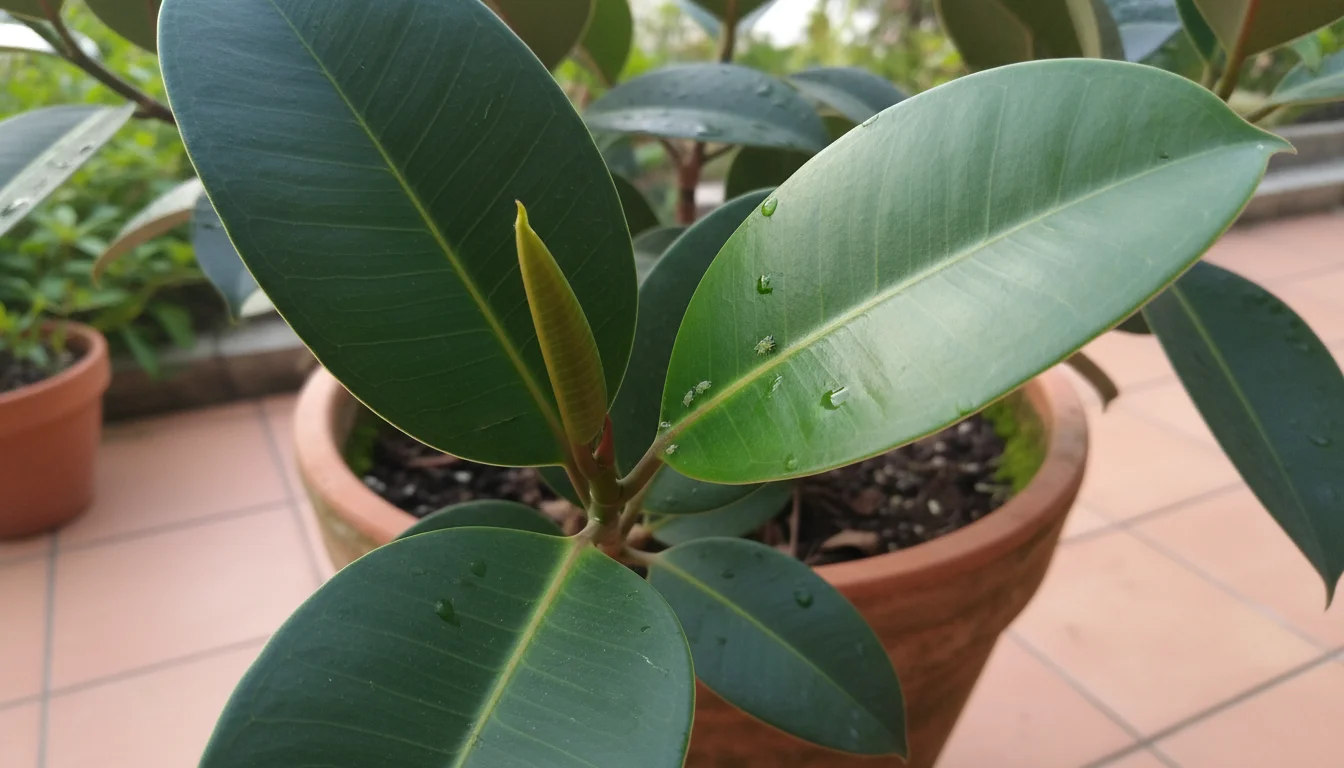
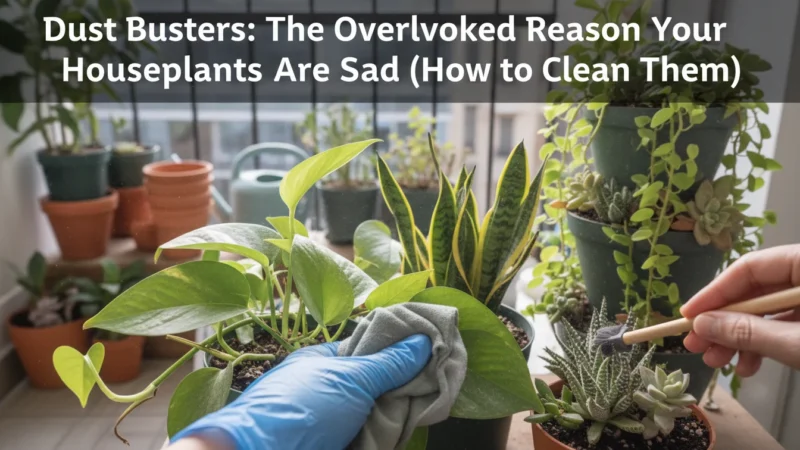
Dust accumulates on plant leaves, especially indoors, blocking the sunlight your plants need for photosynthesis. Photosynthesis, the process plants use to convert light into energy, is crucial for their growth. Dirty leaves reduce light absorption, slowing growth and making your plants look dull. Beyond aesthetics and inhibited growth, dusty leaves also provide an ideal hiding spot for common houseplant pests like spider mites and mealybugs. These tiny invaders thrive in undisturbed environments, and a layer of dust gives them extra cover from your watchful eye.
You can create a powerful, natural solution using just three common ingredients. This DIY leaf shine and pest deterrent not only restores your plants’ natural luster, it also creates an environment less appealing to pests. Ready to give your green companions the glow-up they deserve? Let’s dive into this easy, eco-friendly houseplant care routine.
Why Your Houseplants Deserve a Spa Day: The Science Behind Leaf Health
Your plants are more than just decorative accents; they are living organisms constantly working to convert sunlight into energy. This vital process, photosynthesis, happens primarily in the leaves. Plant leaves have tiny pores called stomata, mostly on their undersides, which open and close to regulate gas exchange. This exchange allows plants to take in carbon dioxide and release oxygen. Imagine these tiny pores as your plant’s “lungs.”
Mastering these small details is a vital part of any indoor plant survival guide aimed at keeping your green friends thriving year-round.
When a layer of dust settles on your plant’s leaves, it effectively acts like a blanket, blocking sunlight from reaching the chlorophyll-rich cells within the leaf. This reduction in light directly impacts the plant’s ability to photosynthesize, leading to slower growth, weakened health, and a dull appearance. Studies have shown that even a thin layer of dust can significantly reduce light penetration, sometimes by as much as 30 percent, depending on the dust’s composition and density. A plant struggling to capture enough light becomes more susceptible to stress and disease, mirroring how a lack of proper nutrition affects human health.
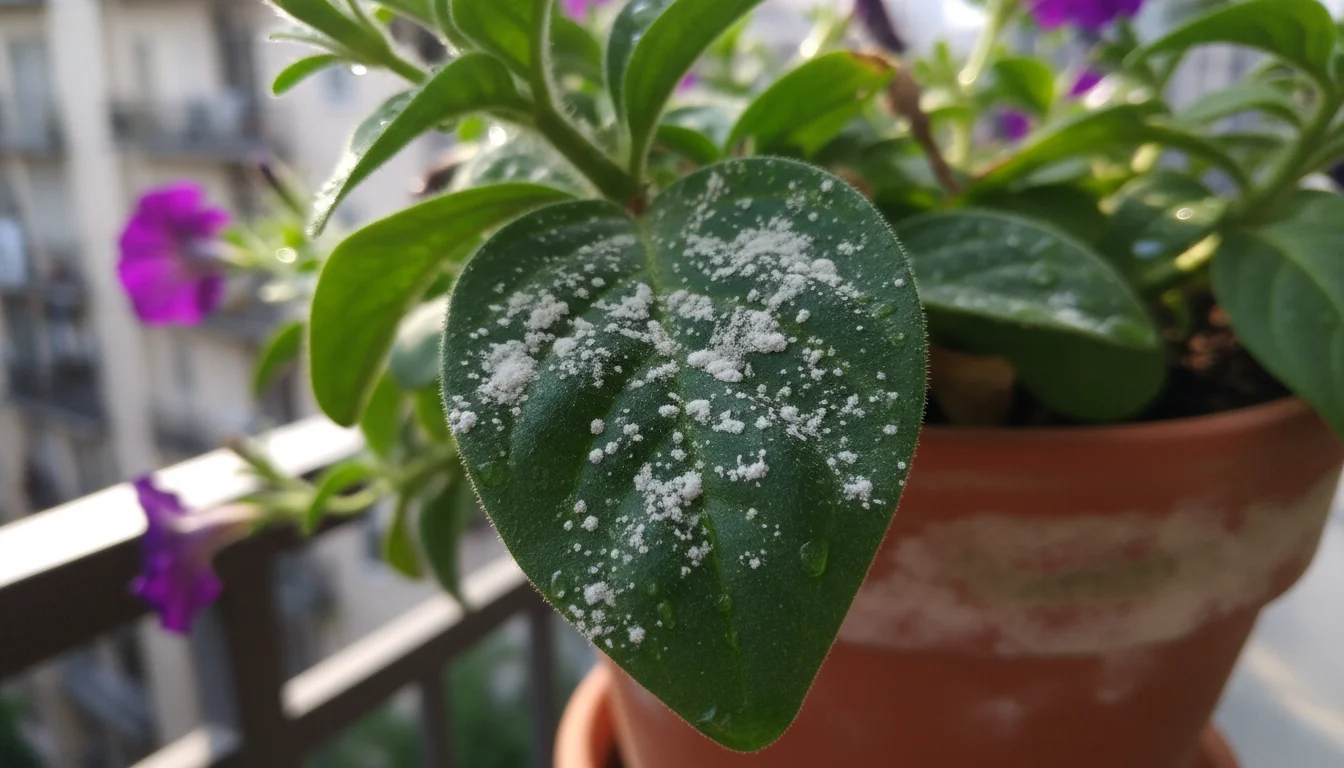
Furthermore, dust provides a perfect hiding place and breeding ground for common houseplant pests. Spider mites, for instance, love to spin their fine webs in dusty corners and along leaf veins. Mealybugs, with their cottony appearance, blend seamlessly into dusty surfaces, making early detection incredibly difficult. By keeping leaves clean, you remove these potential havens, making it harder for pests to establish a foothold and easier for you to spot any unwelcome visitors before they become a full-blown infestation.
Regular leaf cleaning, therefore, is not just about making your plants look good, it is a fundamental aspect of proactive plant care. It maximizes their photosynthetic efficiency, strengthens their natural defenses, and contributes to a healthier, more vibrant plant overall. Think of it as giving your plants a clear path to breathe and feed themselves effectively.
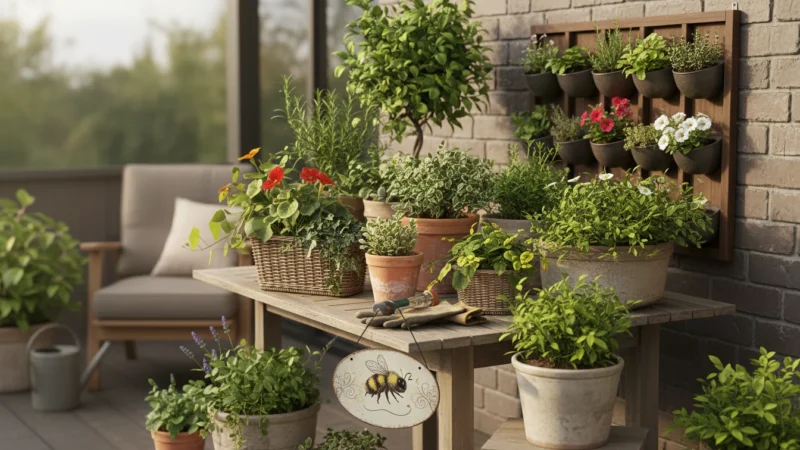
Meet Your 3 Natural Ingredients: The Power Trio
You do not need an arsenal of expensive, chemical-laden products to achieve shiny leaves and deter pests. This effective DIY solution relies on three simple, natural ingredients you likely already have in your home. Each plays a crucial role in improving your plant’s health and appearance.
This recipe is an excellent addition to your repertoire of natural pest control for container gardens, keeping your small-space greens thriving without chemicals.
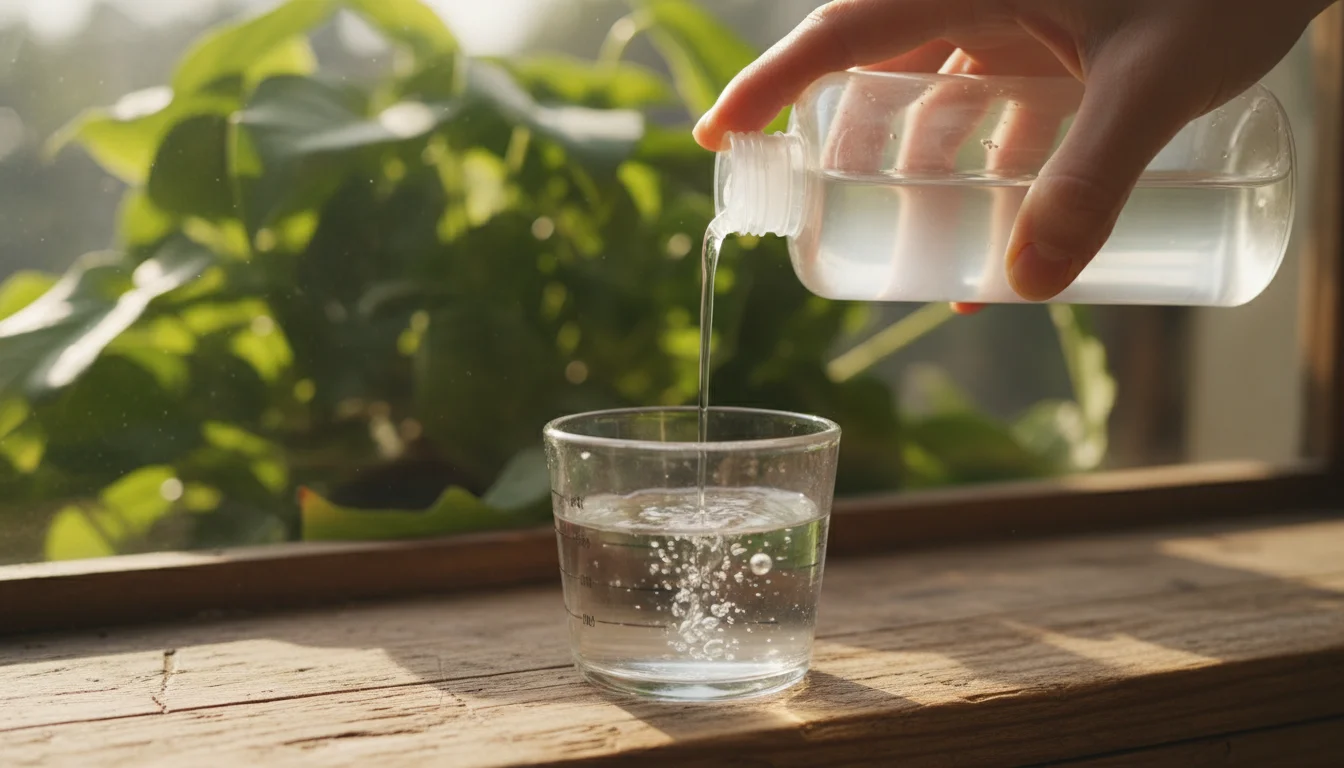
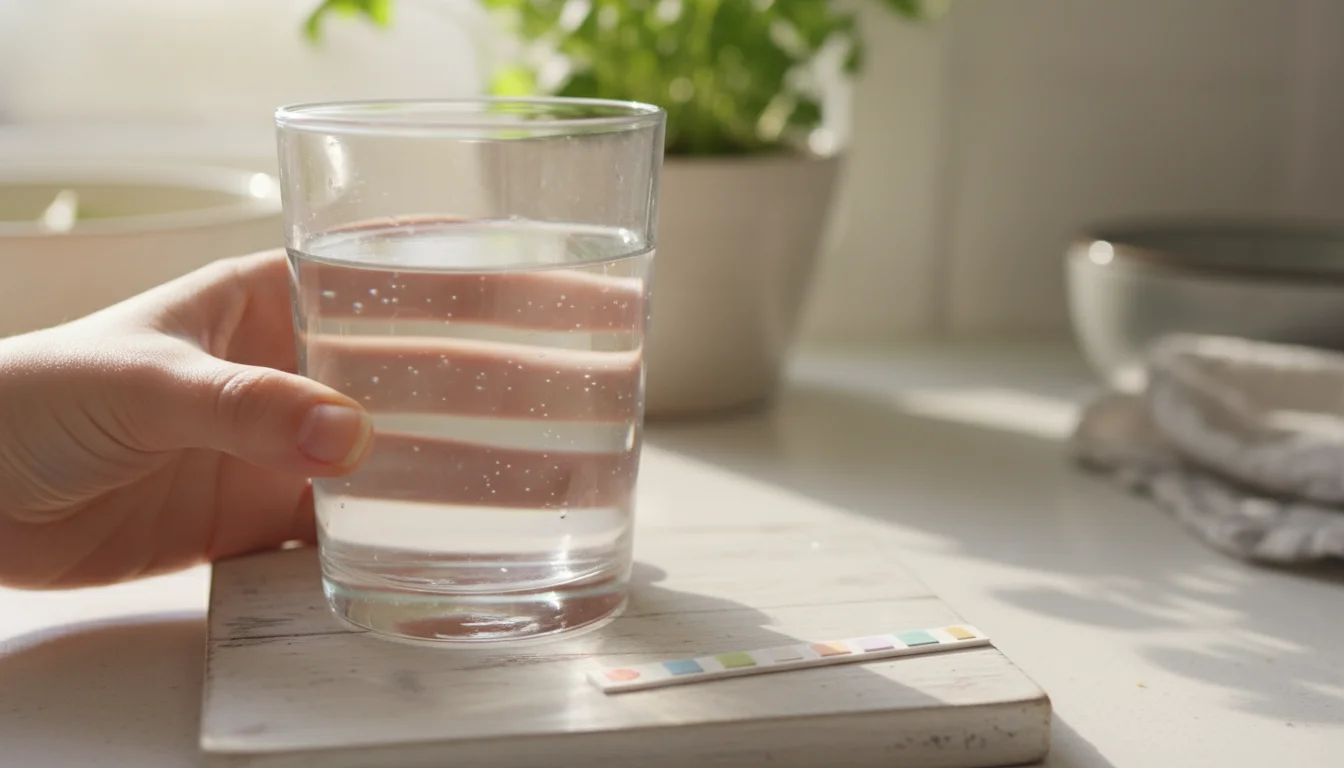
1. Filtered Water
Water forms the base of your leaf shine and pest deterrent. Using filtered or distilled water is important because tap water, especially in some areas, contains minerals like chlorine, fluoride, and calcium. These minerals can leave unsightly white spots on leaves as the water evaporates, negating your cleaning efforts. Over time, mineral buildup can even subtly impact leaf health. Filtered water ensures a clean slate, allowing your leaves to absorb light without mineral interference.
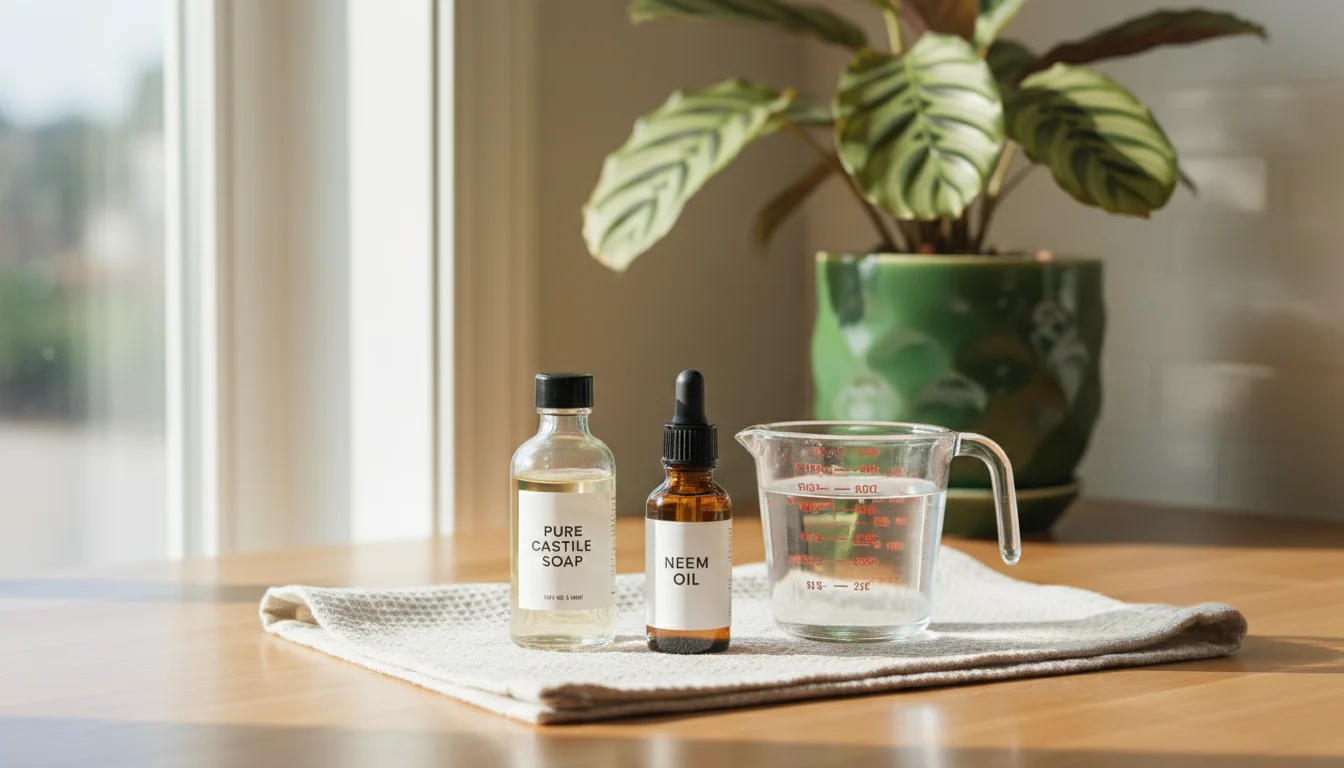
2. Mild Liquid Soap (Dish Soap)
A small amount of mild liquid soap acts as a gentle surfactant, helping to break down the surface tension of water and lift away dust, grime, and even sticky residues left by sap-sucking pests like aphids and scale. Choose a pure, unscented, and dye-free dish soap. Avoid harsh detergents or antibacterial soaps, which can contain chemicals that damage sensitive plant leaves. Look for options labeled “biodegradable” or “plant-based” for the most environmentally conscious approach. The soap’s primary role is cleaning, but its presence also helps the neem oil spread evenly across the leaf surface.
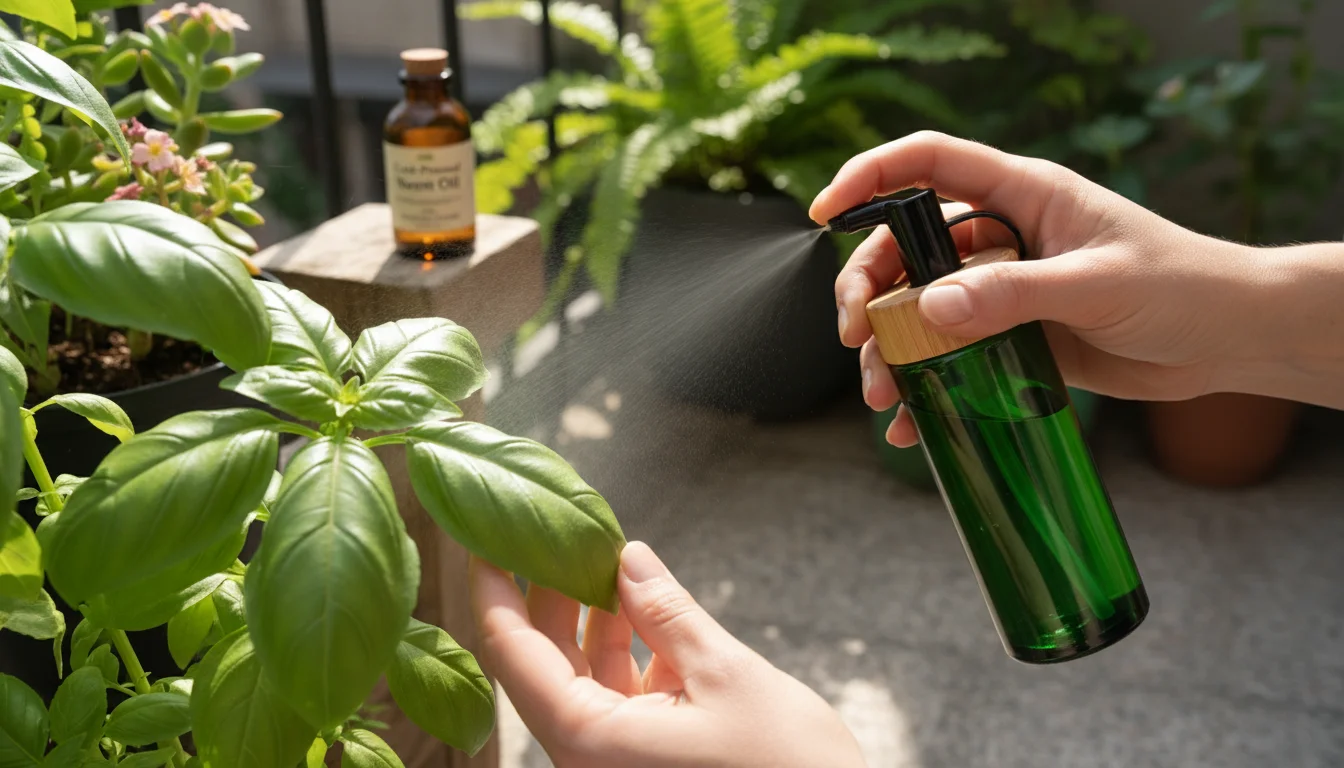
3. Cold-Pressed Neem Oil
Neem oil is the star of this pest-deterring show. Extracted from the seeds of the neem tree (Azadirachta indica), it is a potent, natural insecticide and fungicide that has been used for centuries in organic gardening. Neem oil works in several ways without harming beneficial insects or your household pets. Its active compound, azadirachtin, acts as an insect growth regulator, disrupting the life cycle of pests. It also acts as an antifeedant, discouraging pests from munching on your plant leaves. When applied correctly, it forms a microscopic film that suffocates soft-bodied insects. This makes it incredibly effective against spider mites, mealybugs, aphids, thrips, and whiteflies. Always ensure you purchase cold-pressed, 100% pure neem oil, as horticultural neem oil can sometimes be refined or mixed with other ingredients.
Combining these three ingredients creates a synergistic solution. The water provides the solvent, the soap helps clean and emulsify, and the neem oil offers its powerful pest-fighting and preventative properties. This simple trio offers a holistic approach to houseplant health.
Crafting Your DIY Leaf Shine and Pest Deterrent: A Step-by-Step Guide
Making your own houseplant spa solution is quick, easy, and requires no special equipment. You will be ready to pamper your plants in just a few minutes. Precision in measurements ensures effectiveness and plant safety, so use measuring spoons for accuracy.
While you are organizing your supplies, take a moment to disinfect your indoor gardening tools to ensure your houseplant spa day is as hygienic as possible.
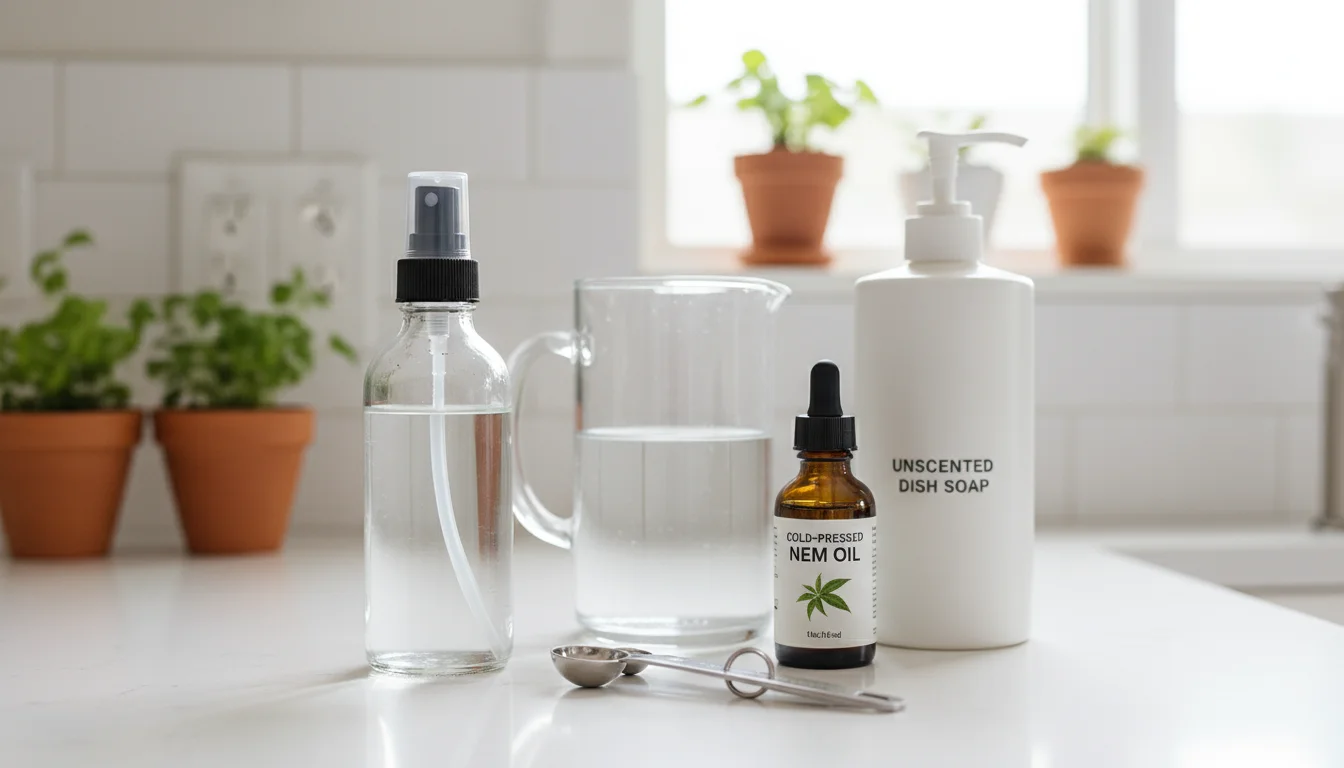
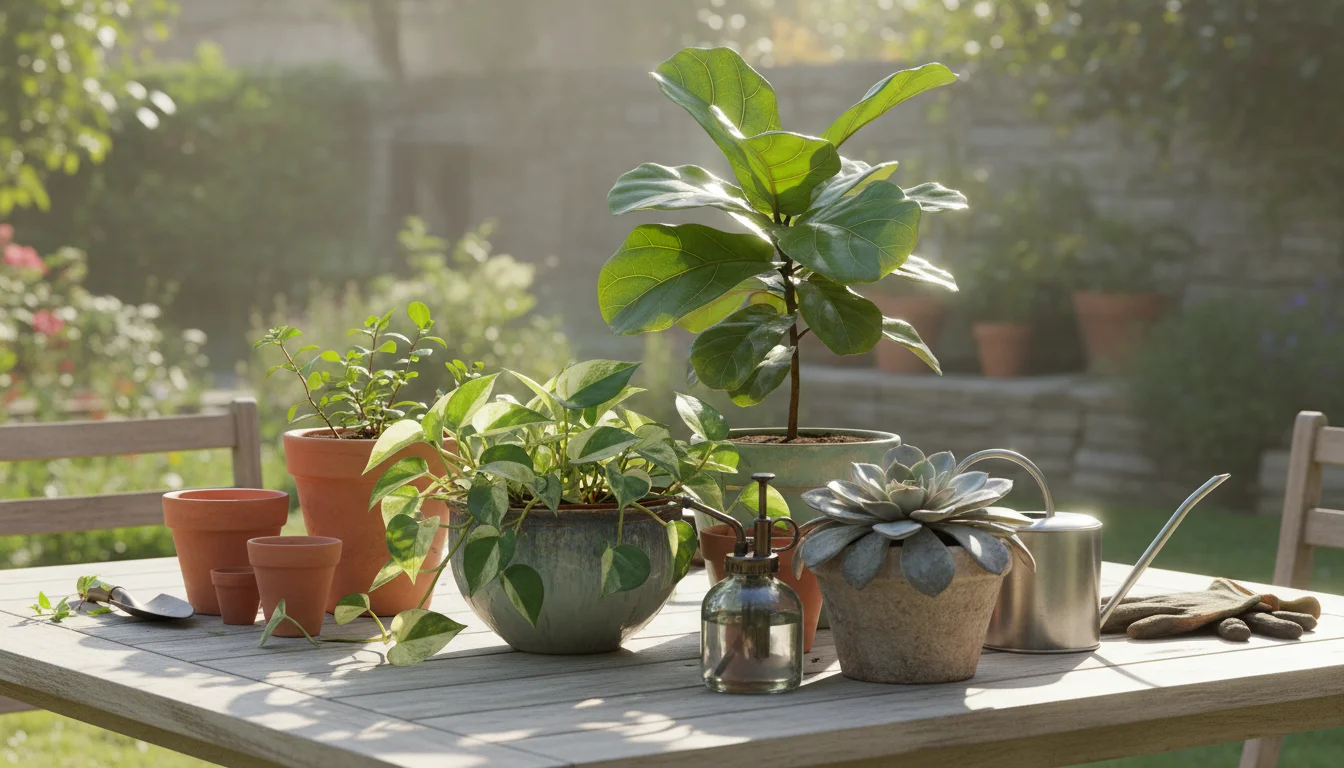
What You Will Need:
- A clean spray bottle (8 oz to 16 oz capacity is ideal for small batches)
- Filtered or distilled water
- Mild liquid dish soap (unscented, dye-free)
- Cold-pressed neem oil
- Measuring spoons (teaspoon and half-teaspoon)
- A soft cloth or sponge
Mixing Your Solution:
Always mix your solution fresh before each use. Neem oil begins to break down after a few hours when mixed with water, reducing its efficacy. Freshly mixed solution guarantees you get the full benefit of its pest-deterring properties.
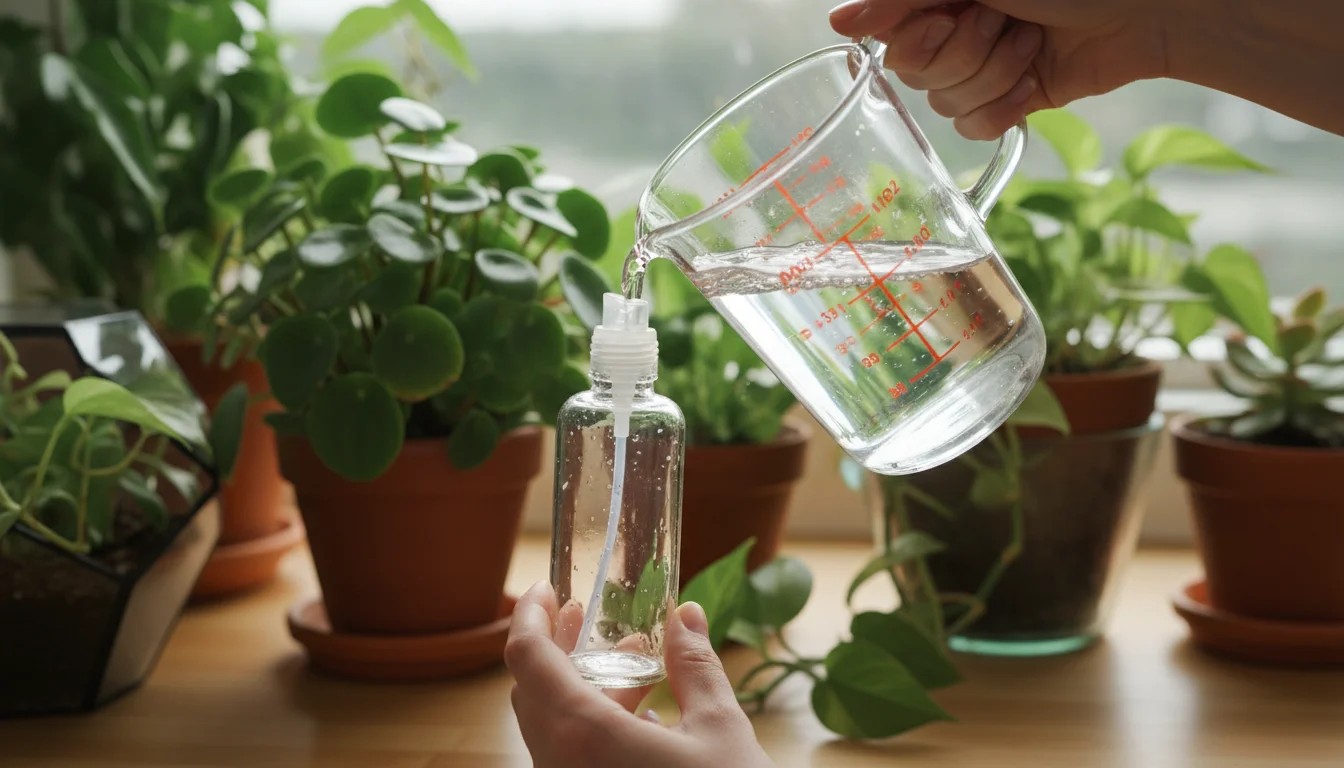
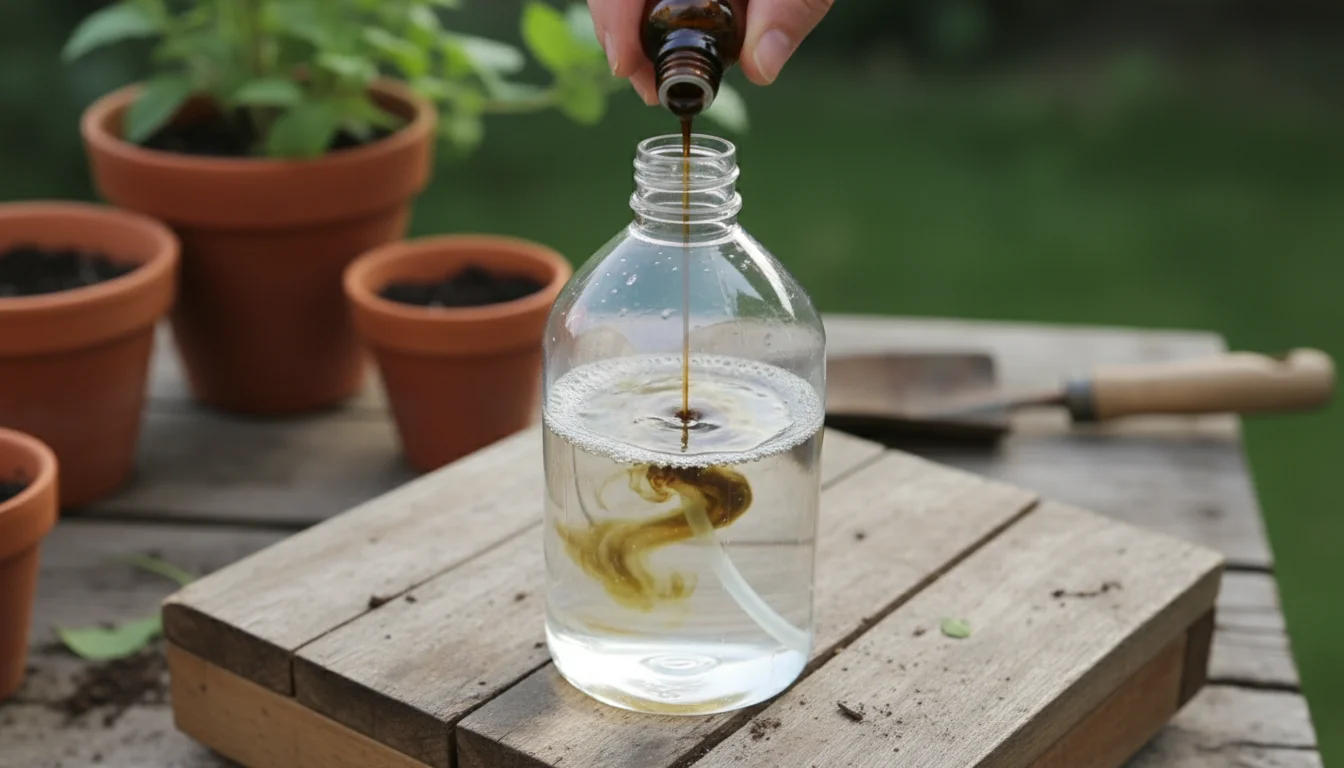
- Start with Warm Water: Fill your spray bottle with 1 cup (8 oz) of lukewarm filtered or distilled water. Warm water helps the neem oil emulsify more easily.
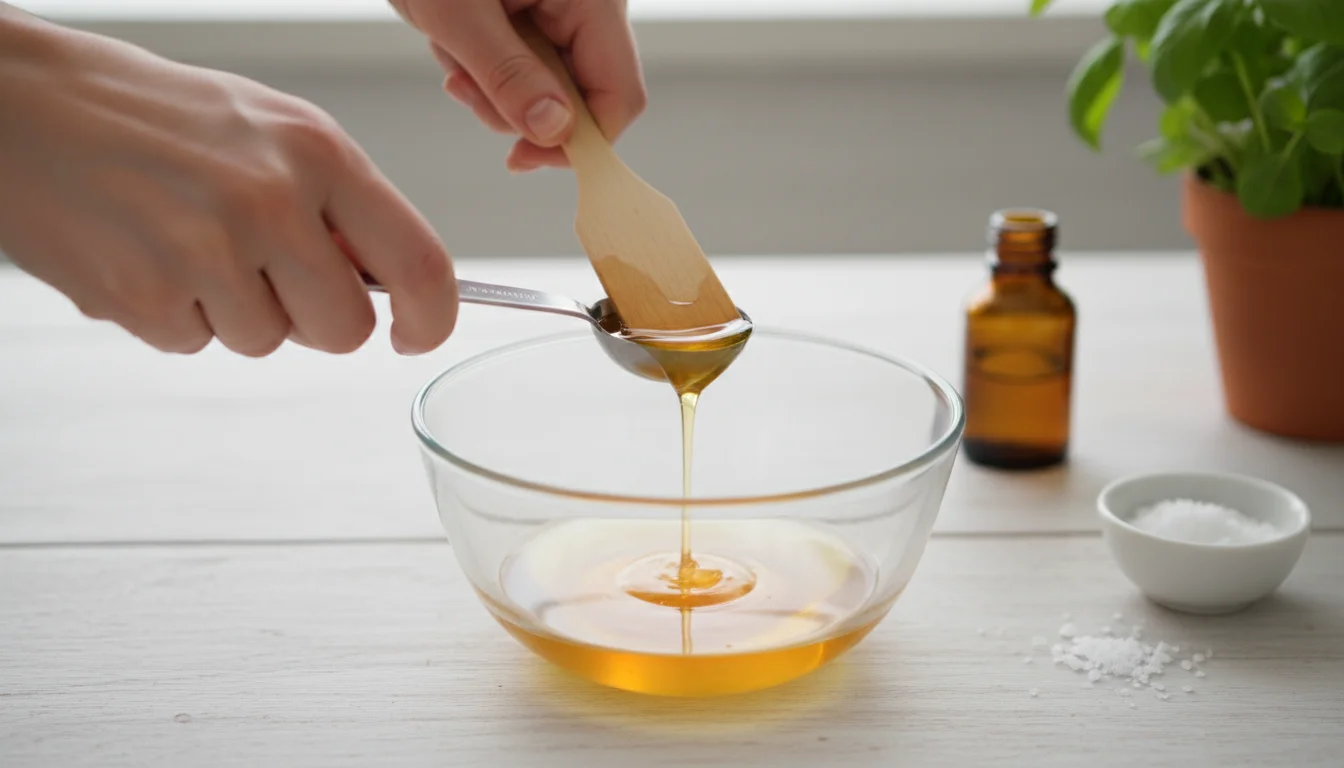
- Add Mild Soap: Add ½ teaspoon of mild liquid dish soap to the water. Gently swirl the bottle to mix the soap. You will notice a slight lather. The soap is crucial for helping the neem oil disperse evenly throughout the water, as oil and water naturally separate.
- Incorporate Neem Oil: Add 1 teaspoon of cold-pressed neem oil to the soapy water. The ratio of 1 teaspoon neem oil to 1 cup water provides an effective concentration for both leaf shine and pest deterrence without being too strong for most plants.
- Shake Vigorously: Secure the lid on your spray bottle and shake it vigorously for about 30 seconds. This ensures the neem oil is thoroughly emulsified with the soapy water, creating a consistent spray that will coat your plant leaves evenly. You might need to shake it again periodically during application if you notice the oil separating.
Your DIY houseplant spa solution is now ready for use. Remember to use it immediately after mixing for the best results.
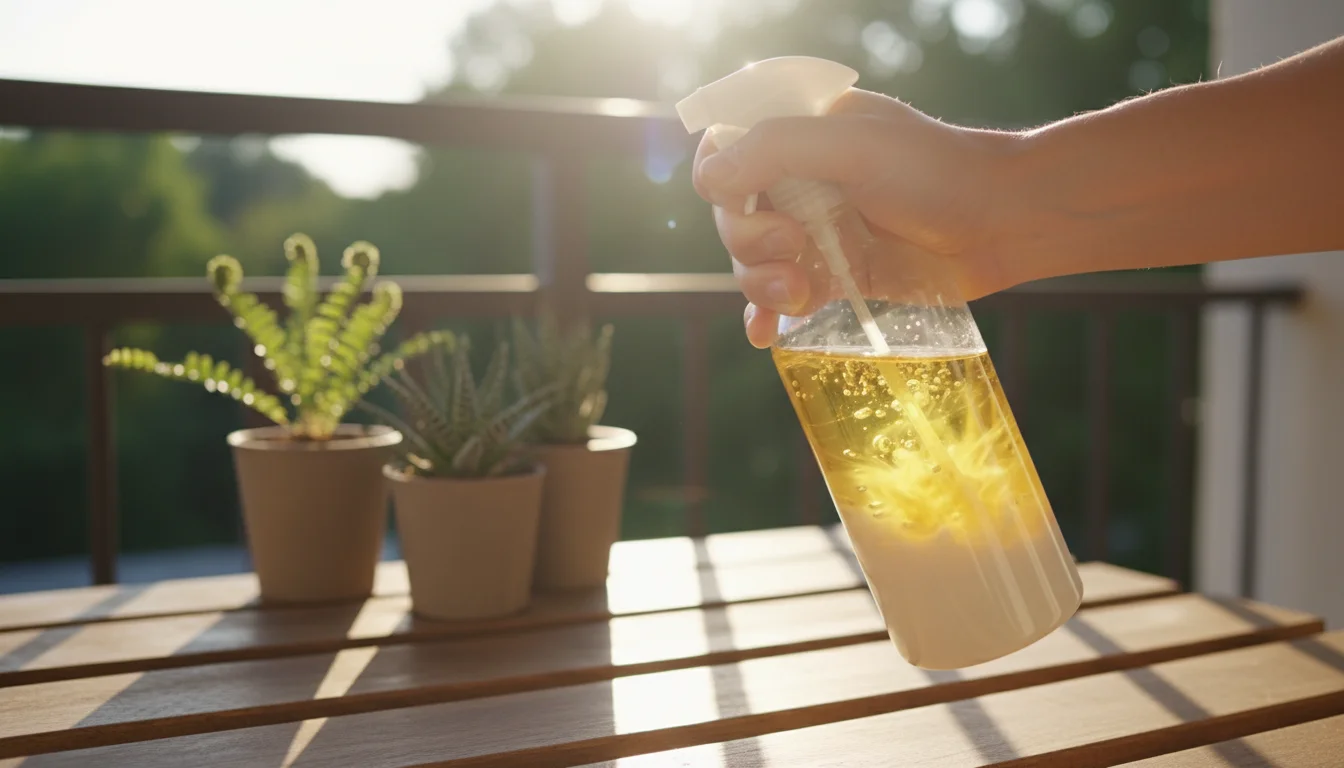
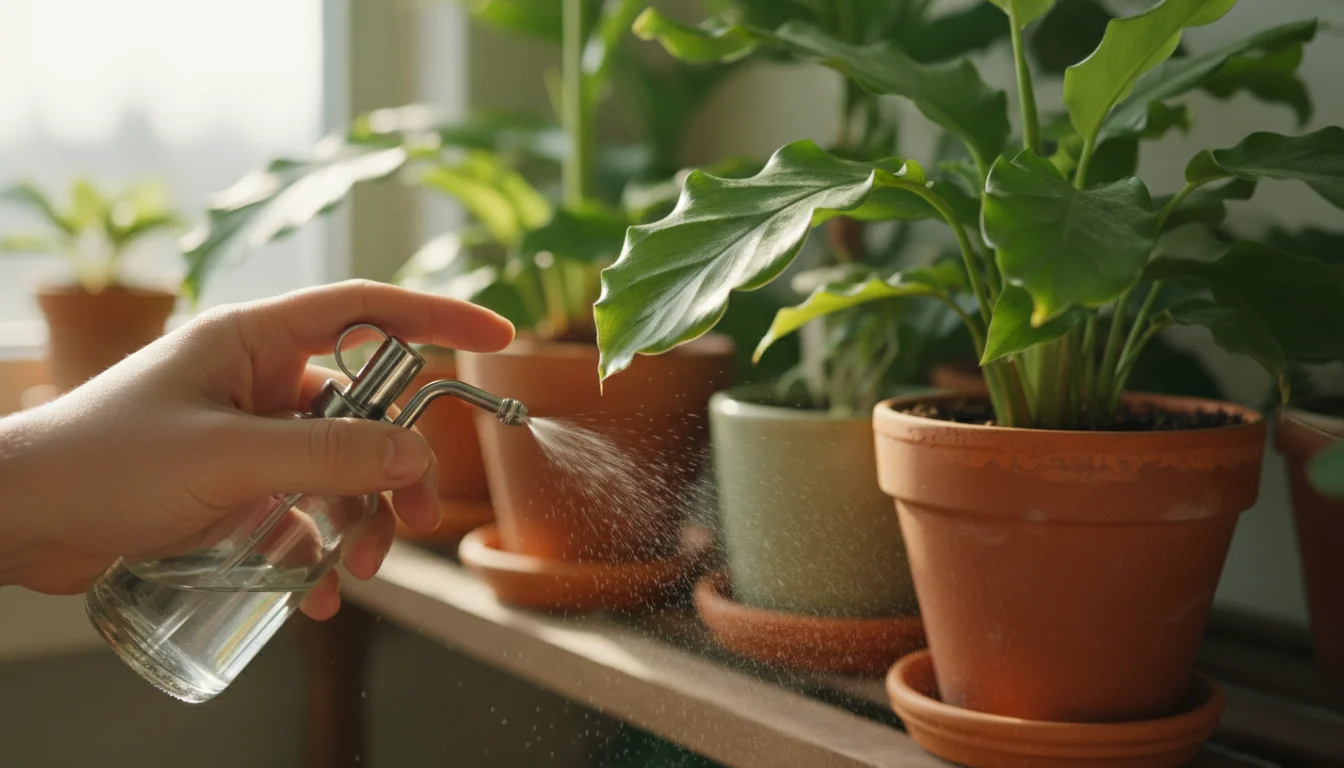
The Spa Day Ritual: Applying Your Natural Solution
Applying your homemade leaf shine and pest deterrent is a gentle process that benefits both your plants and your connection to them. Follow these steps for a successful and safe application.
Pre-Treatment Prep:
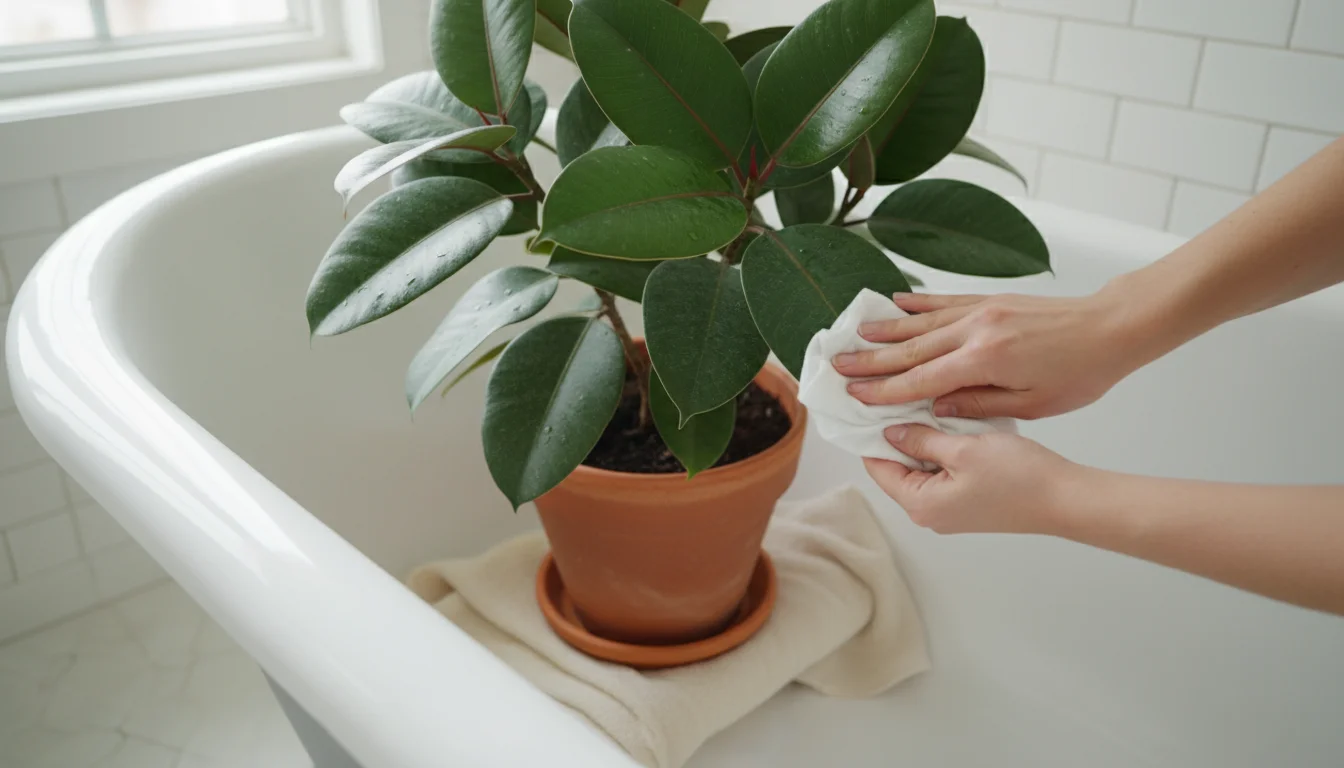
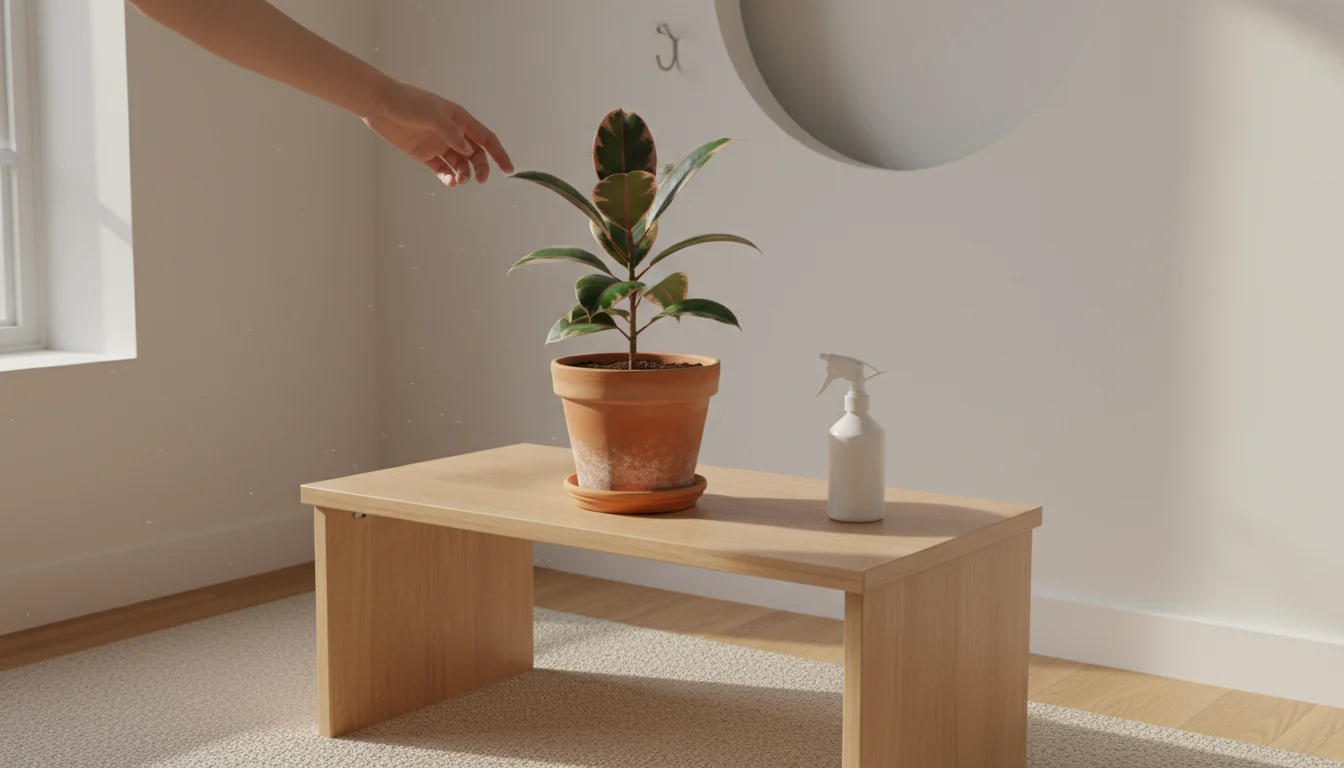
- Protect Your Area: Move your plant to a sink, bathtub, or an area where you do not mind a little overspray. Place a towel or newspaper underneath to catch any drips.
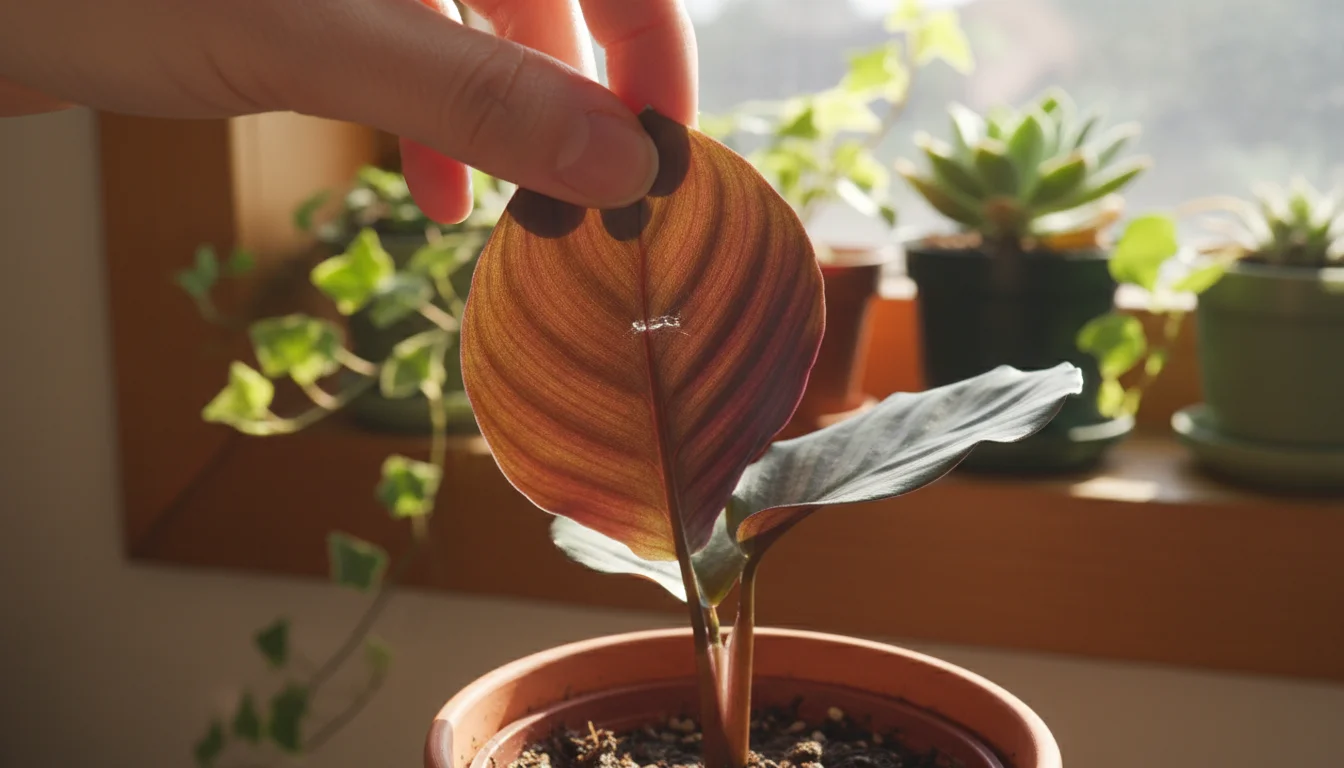
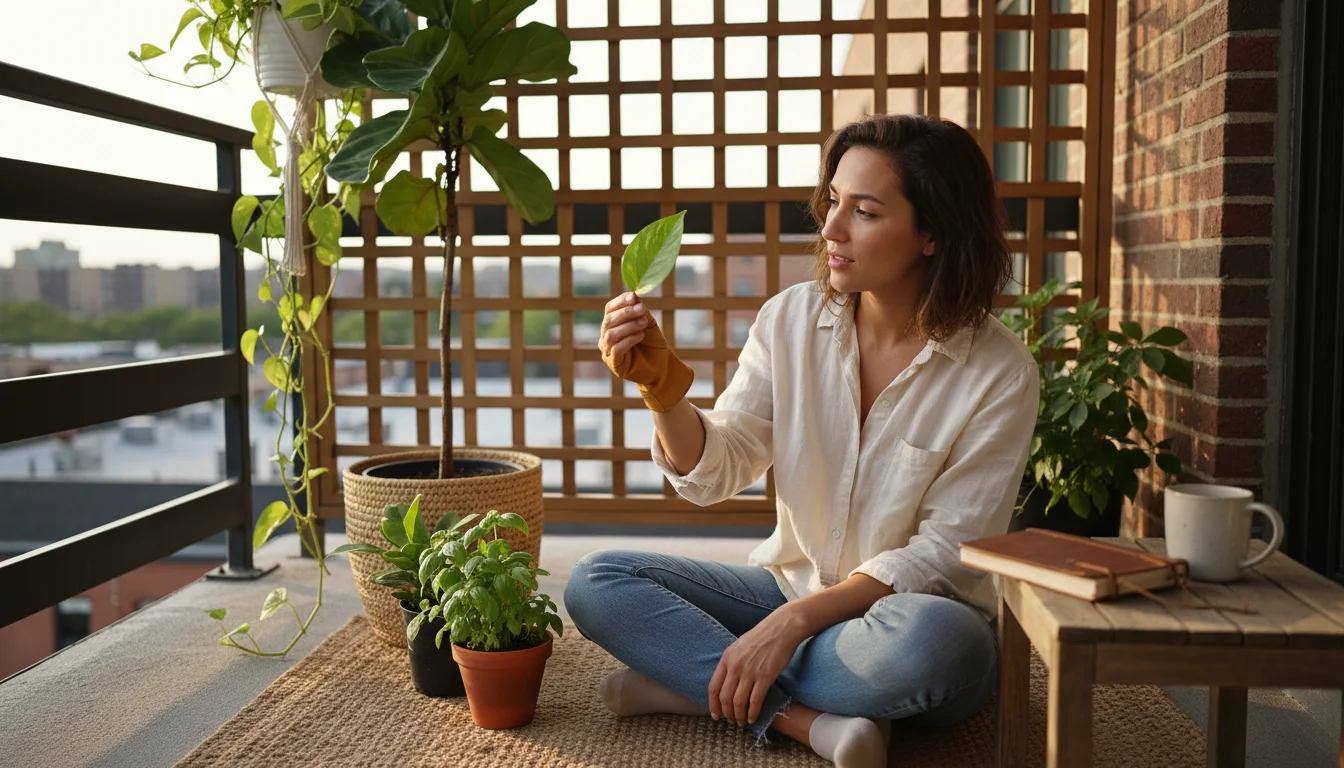
- Inspect Your Plant: Take a moment to examine your plant thoroughly. Look for any visible pests, yellowing leaves, or other signs of stress. This inspection helps you target problem areas and allows you to catch issues early.
- Dust First (Optional, but Recommended for Very Dusty Plants): For plants with a heavy layer of dust, gently wipe the leaves with a dry, soft cloth or a soft brush before applying the spray. This removes the thickest layer of grime, allowing your solution to work more effectively.
Applying the Solution:
- Test a Small Area: Before treating the entire plant, spray a small, inconspicuous leaf or a lower leaf with your solution. Wait 24 hours to observe any adverse reactions, such as leaf discoloration or spotting. While this natural solution is generally safe, individual plant sensitivities can occur.
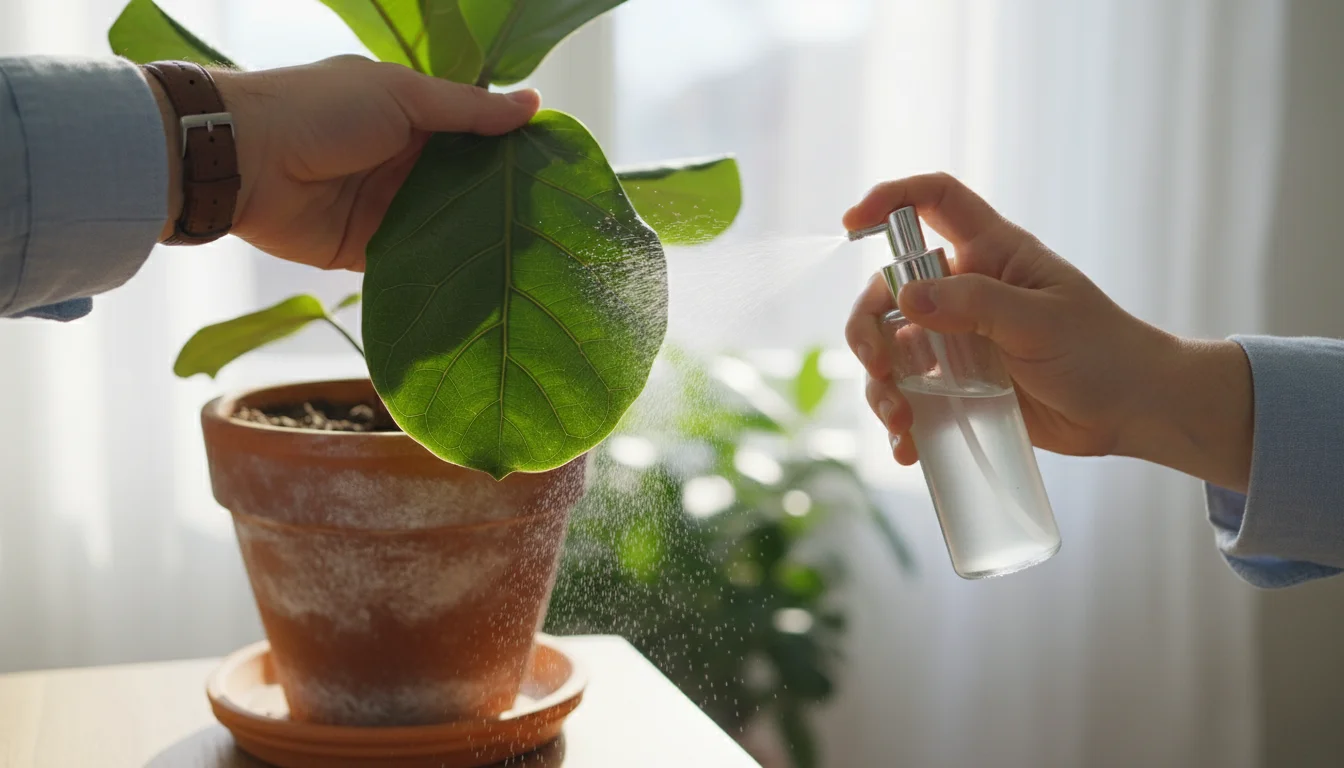
- Spray Thoroughly: Once you confirm no adverse reactions, spray the entire plant generously. Focus on both the top and, crucially, the underside of the leaves, where many pests like to hide and where stomata are primarily located. Ensure you cover stems and any crevices where pests might reside. Avoid saturating the soil; aim the spray specifically at the foliage.
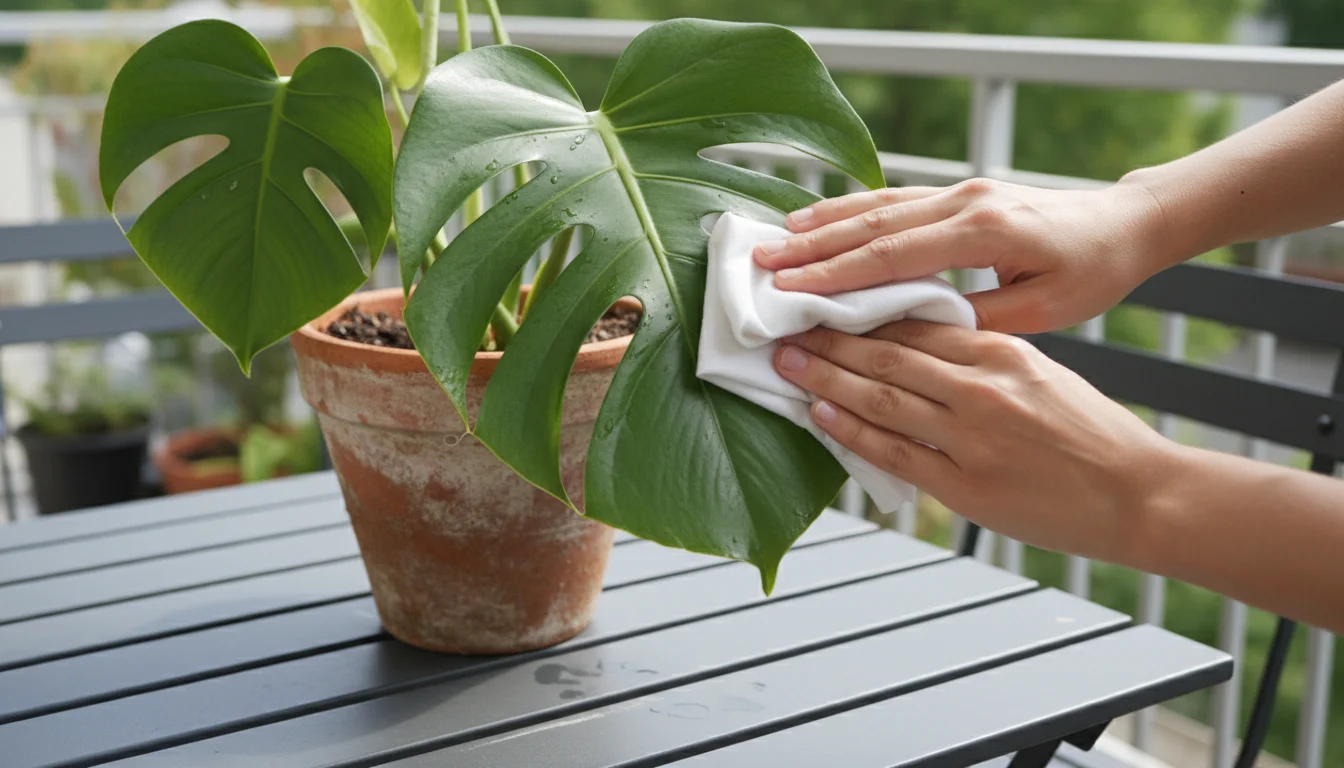
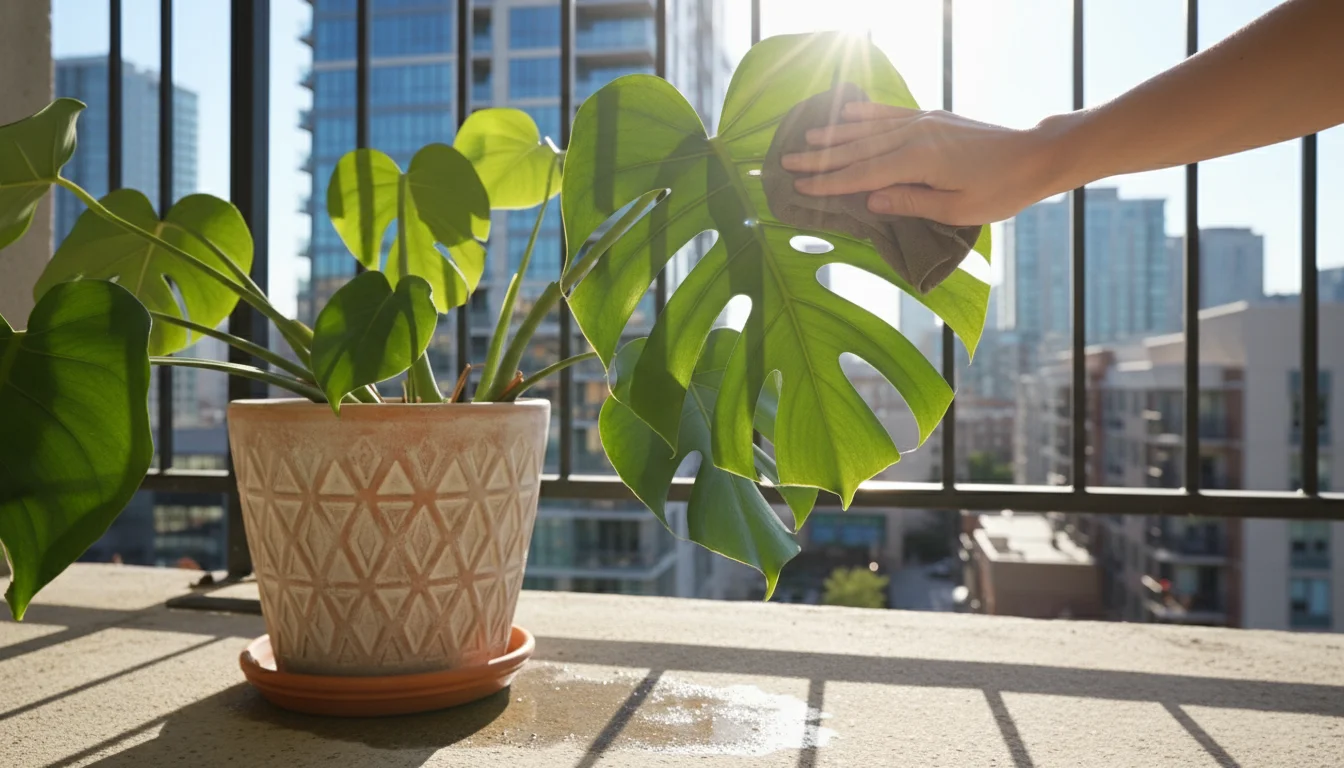
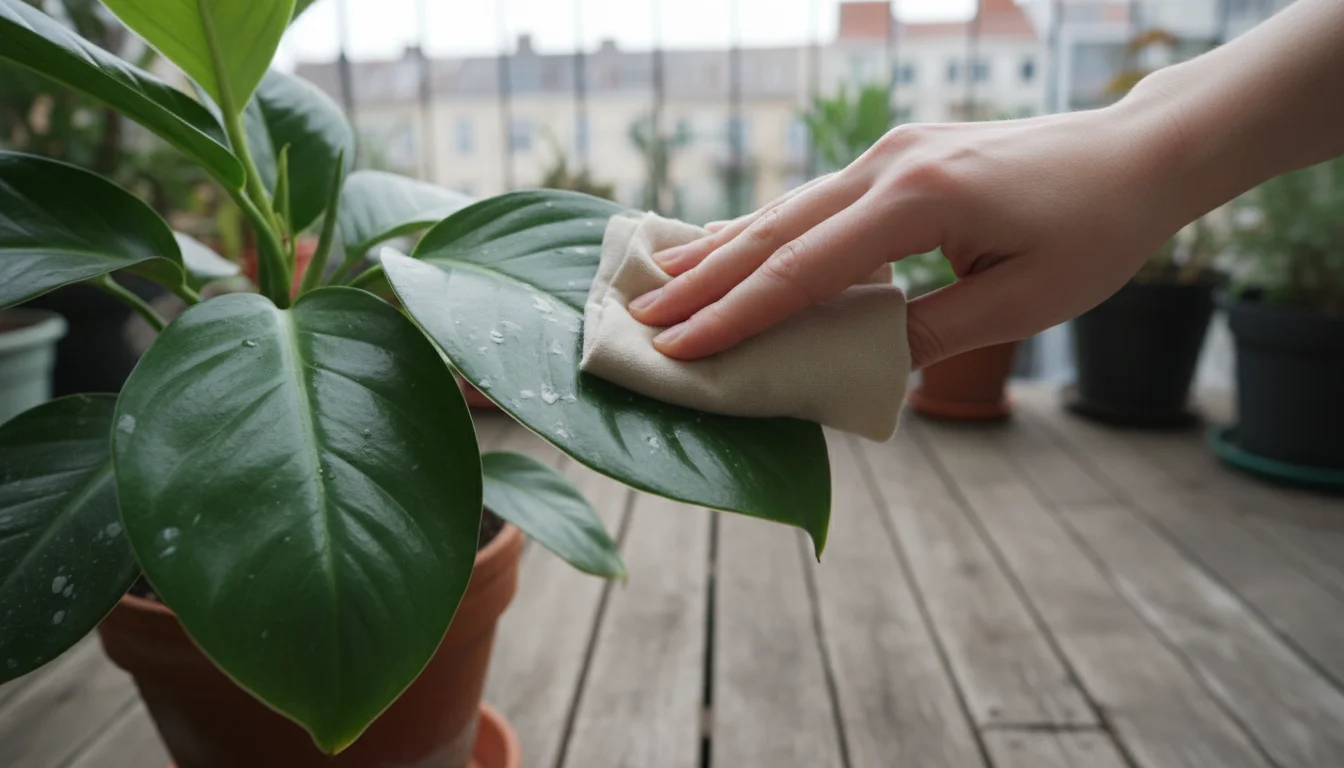
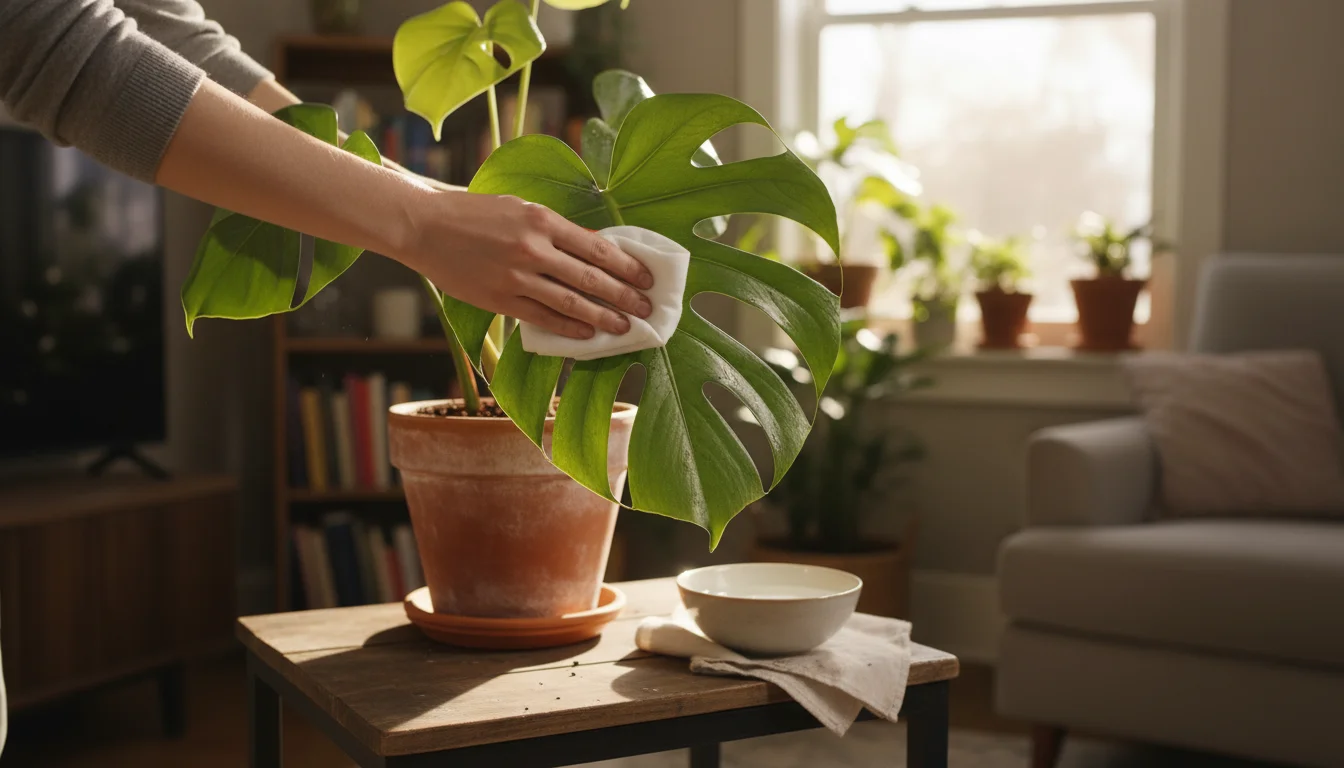
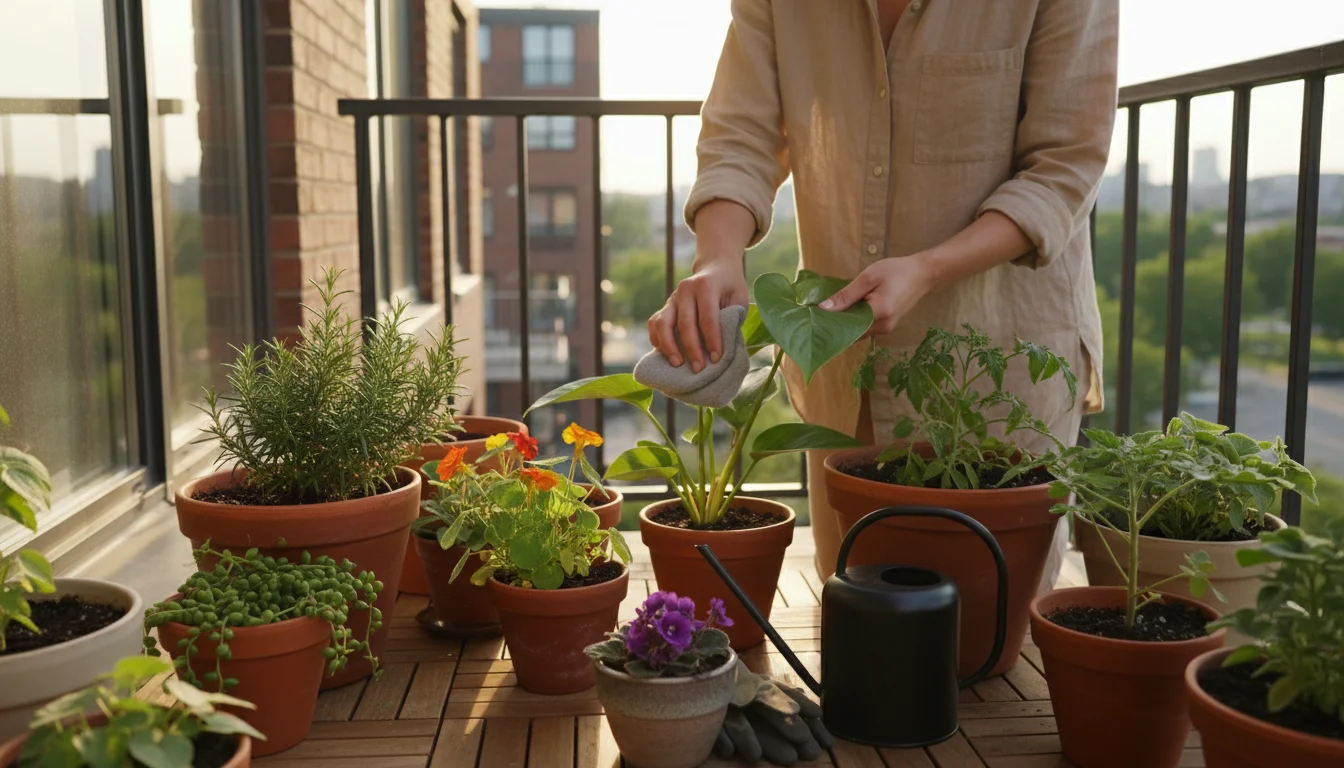
- Wipe Gently: After spraying, let the solution sit on the leaves for a few minutes. Then, using a clean, soft cloth or sponge, gently wipe each leaf clean. This physically removes dust, residual spray, and any dislodged pests. For large-leafed plants, support the leaf with one hand underneath while wiping with the other.
- Allow to Air Dry: Let your plants air dry in a well-ventilated area away from direct, harsh sunlight immediately after treatment. This prevents water spots and ensures the neem oil has time to work its magic.

Important Considerations:
- Time of Day: Apply your solution in the early morning or late evening. Applying in direct, strong sunlight can cause leaf scorching, as the solution can act as a lens, intensifying the sun’s rays.
- Ventilation: While neem oil is natural, it does have a distinct, somewhat pungent aroma. Ensure good ventilation during and after application, especially if you are sensitive to smells.
- Consistency is Key: For pest deterrence, regular application is more effective than a single heavy treatment. We will discuss frequency in a later section.
This spa day ritual provides a thorough cleaning and creates a protective barrier, fostering healthier, shinier plants that are less appealing to pests.
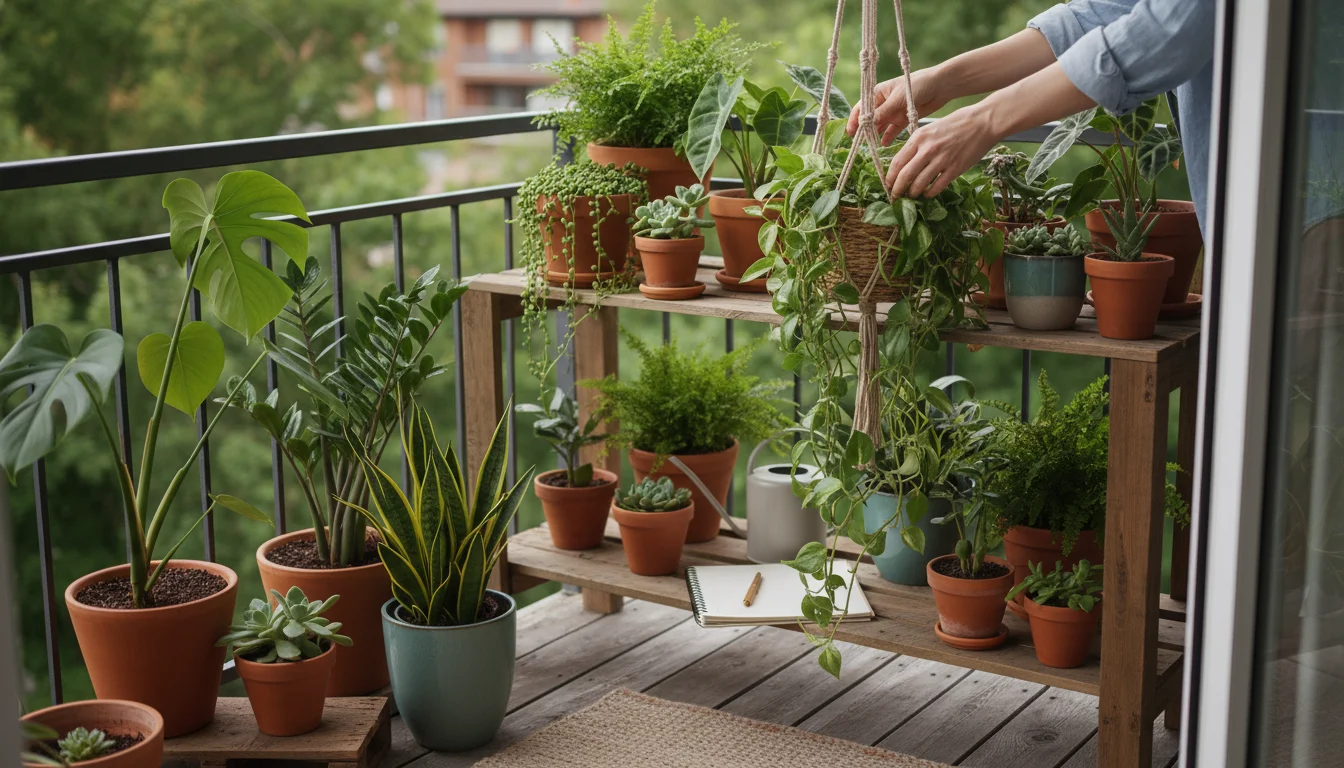
Beyond the Shine: Integrated Pest Management for Small Spaces
Your DIY leaf shine and pest deterrent is a powerful tool, but it is one part of a larger strategy for keeping your houseplants healthy and pest-free. For small-space gardeners, integrated pest management (IPM) means adopting a holistic approach that prioritizes prevention, early detection, and natural interventions. This minimizes the need for drastic measures and keeps your limited indoor ecosystem thriving.
1. Proactive Inspection: Your First Line of Defense
Make a habit of regularly inspecting your plants. A quick weekly check, perhaps during watering, can reveal early signs of pests. Look closely at leaf undersides, stem joints, and new growth. Early detection means you can address a small problem before it escalates into a major infestation. For example, catching a few spider mites early allows for targeted wiping, while a full colony requires more intensive treatment.
2. Quarantine New Arrivals
New plants, even from reputable nurseries, can carry hitchhiking pests. Always isolate new additions for at least two to four weeks. Keep them in a separate room or area, away from your existing collection. During this quarantine period, observe them closely and apply a preventative neem oil spray. This simple step prevents potential outbreaks from spreading to your entire plant family.
3. Optimize Environmental Conditions
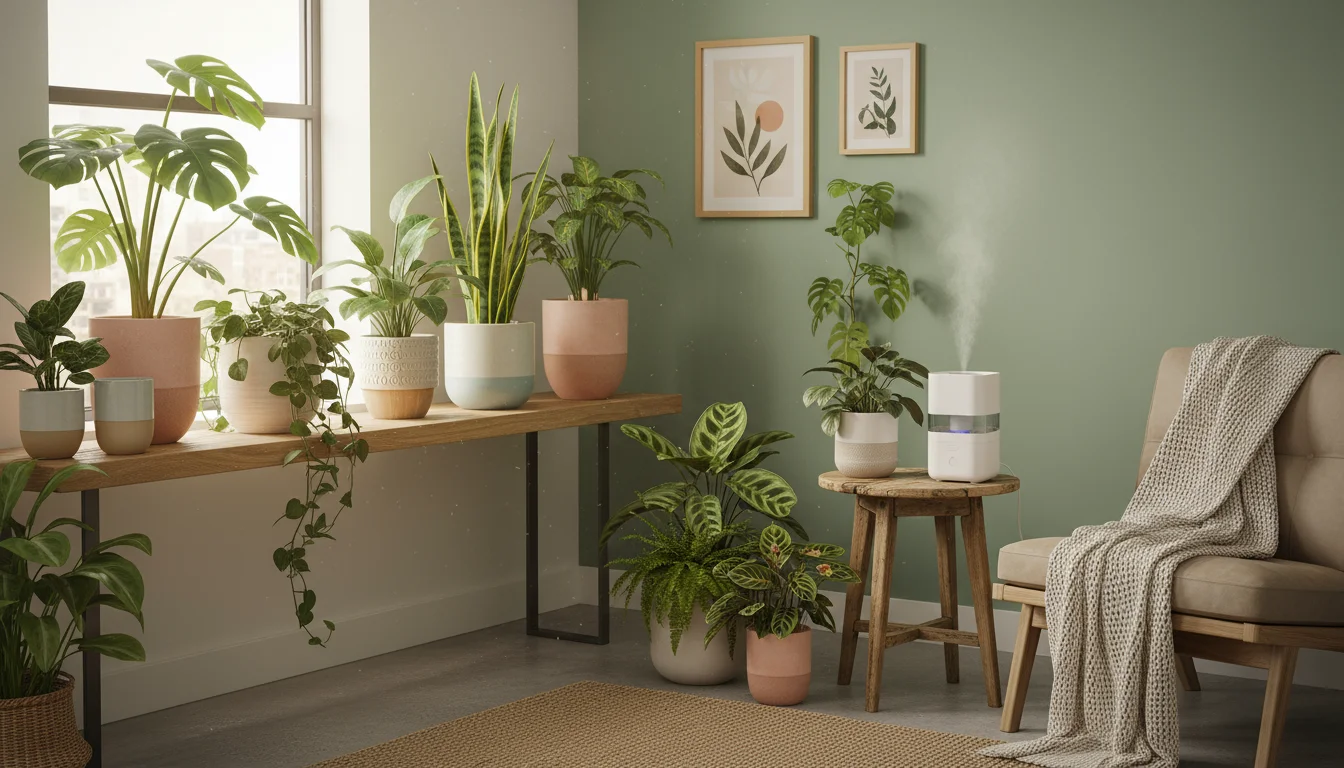
Healthy plants are naturally more resilient to pests. Ensure your plants receive adequate light, appropriate watering, and suitable humidity for their species. Stressed plants, such as those that are overwatered, underwatered, or in poor light, become magnets for pests. For instance, dry air often encourages spider mites, so a nearby humidifier or pebble tray can help deter them on susceptible plants.
4. Good Air Circulation
Stagnant air creates a warm, humid environment that many pests, particularly fungus gnats and spider mites, love. Ensure good air circulation around your plants, especially in crowded small spaces. Open a window occasionally, or use a small fan on a low setting for a few hours a day. This simple airflow discourages pest establishment.
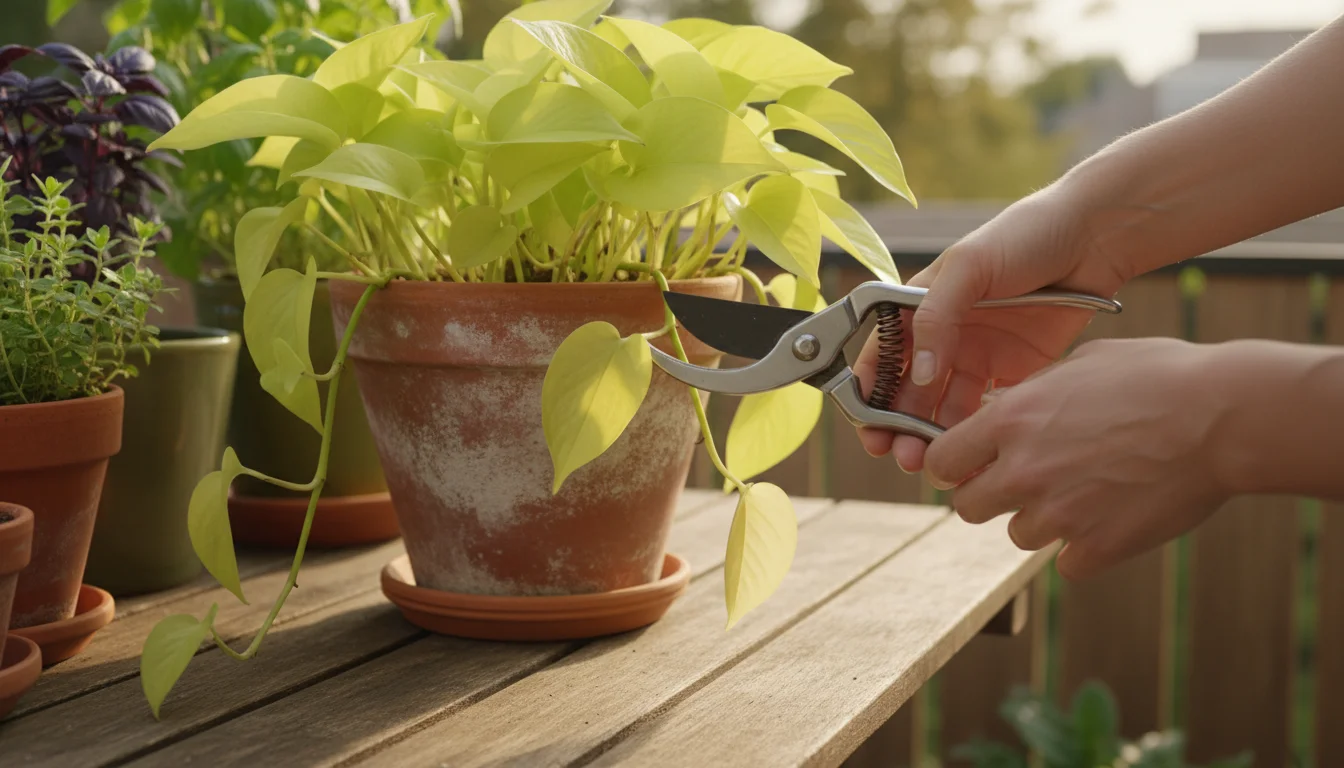
5. Pruning and Sanitation
Regularly remove any yellowing, dead, or diseased leaves. These weak tissues can attract pests and diseases. Promptly clean up any fallen leaves or debris from the soil surface, as this organic matter can harbor pests or fungal spores. Use clean, sharp pruners to make clean cuts, preventing unnecessary stress on the plant.
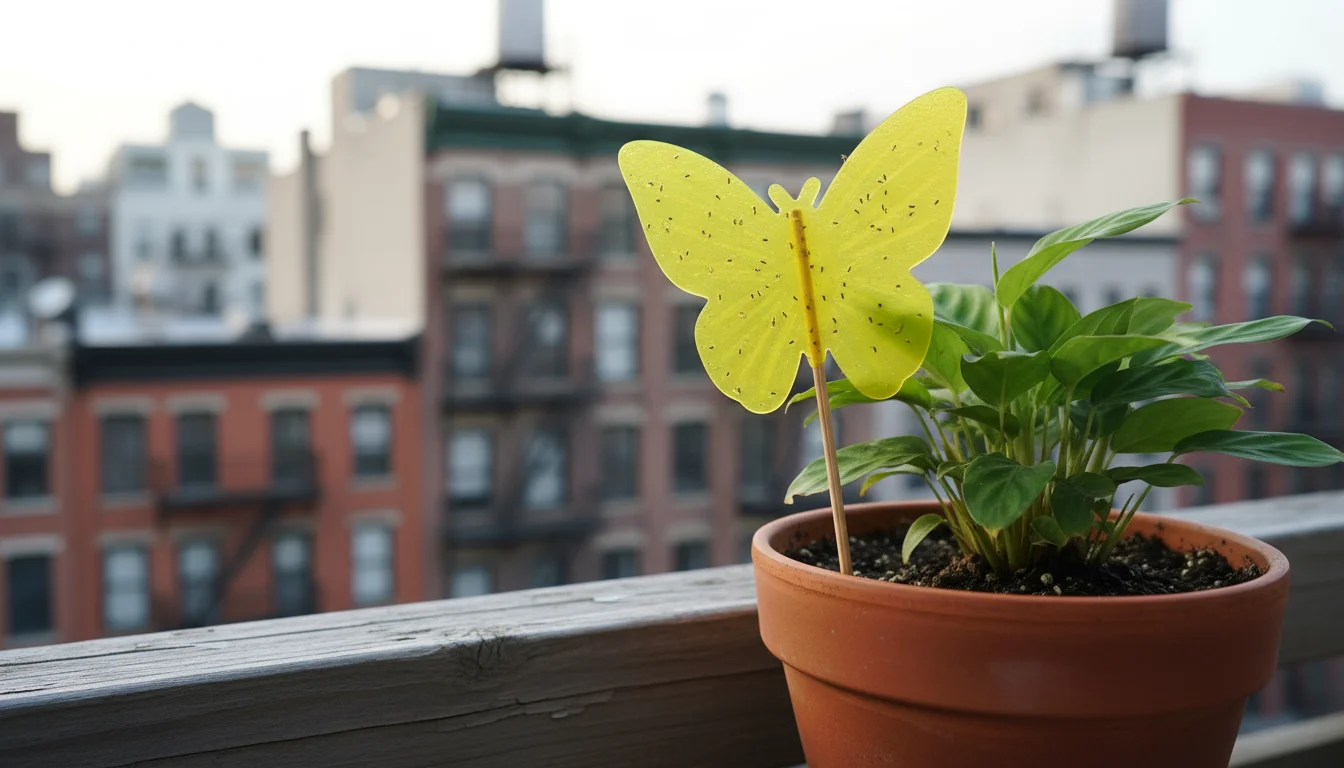
6. Sticky Traps for Monitoring
Yellow sticky traps are an excellent, non-toxic way to monitor for flying pests like fungus gnats, whiteflies, and thrips. Place a few traps near your plants. They help you gauge pest activity and can even reduce populations by catching adult insects. You might notice a significant increase in gnats after watering, signaling an opportunity to adjust your watering schedule.
By integrating your DIY leaf shine with these practical, low-maintenance strategies, you create a robust defense system for your houseplants. This approach not only manages existing issues but also proactively prevents future problems, leading to a healthier, more sustainable indoor garden.
Which Plants Will Love This Treatment? (And Which Might Not)
This natural leaf shine and pest deterrent works wonders for many popular houseplants, enhancing their appearance and protecting their health. However, some plants have specific leaf textures or characteristics that make them less suitable for this treatment. Knowing which plants benefit most ensures you provide the best care for your entire collection.
Plants That Thrive with a Leaf Shine Treatment:
Generally, plants with smooth, broad, and glossy leaves respond exceptionally well to this spa day treatment. The solution cleans effectively, leaves a beautiful sheen, and applies the pest-deterring neem oil uniformly.
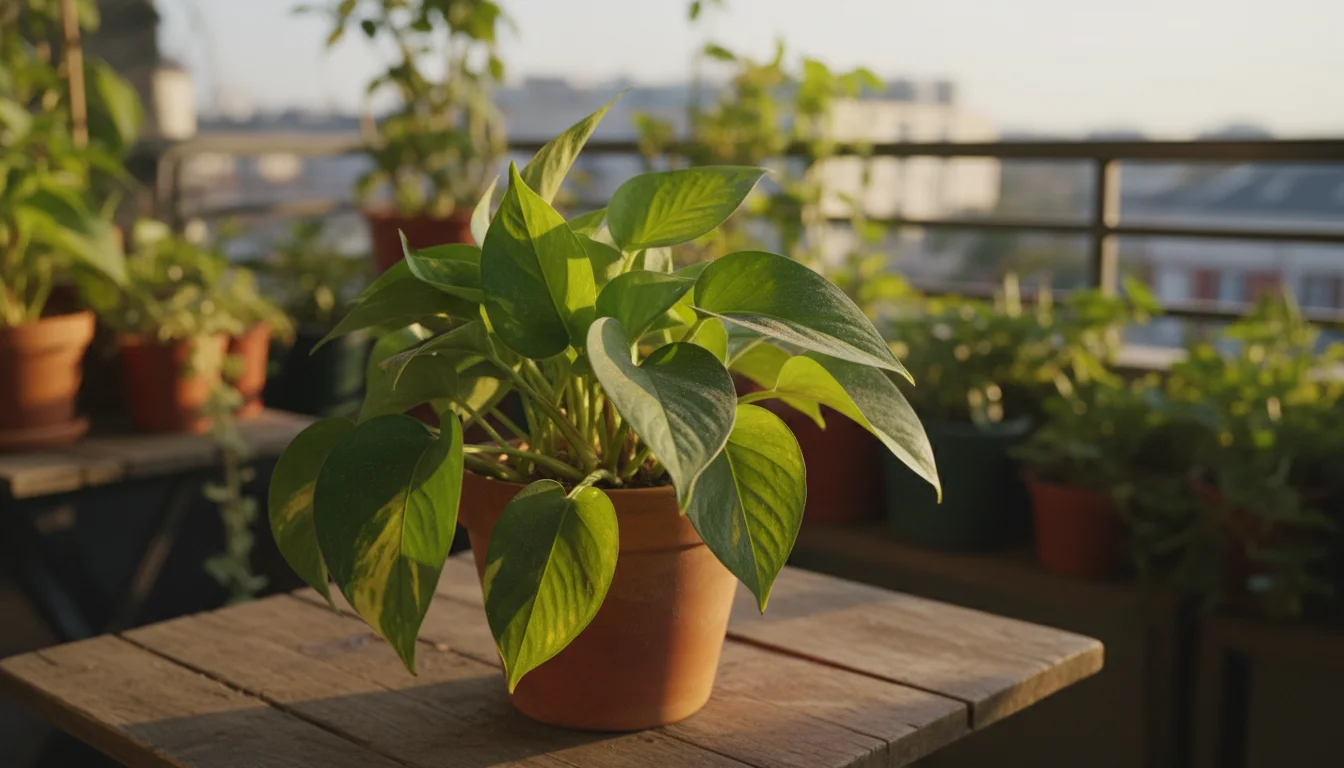
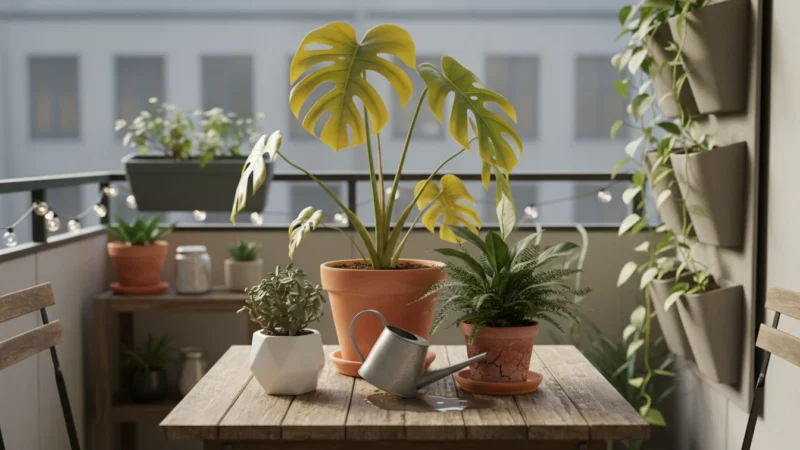
- Aroids (e.g., Monstera, Philodendron, Pothos, ZZ Plant, Peace Lily): These plants typically have large, smooth leaves that collect dust readily. Cleaning them reveals their natural luster and improves light absorption significantly. Monstera deliciosa, with its iconic fenestrations, particularly benefits from clear leaves for maximum light capture.
- Ficus Species (e.g., Fiddle Leaf Fig, Rubber Plant, Weeping Fig): Ficus plants are known for their beautiful, often shiny leaves. Dust buildup on these plants is very noticeable and hinders their growth. Regular wiping with the solution keeps them vibrant.
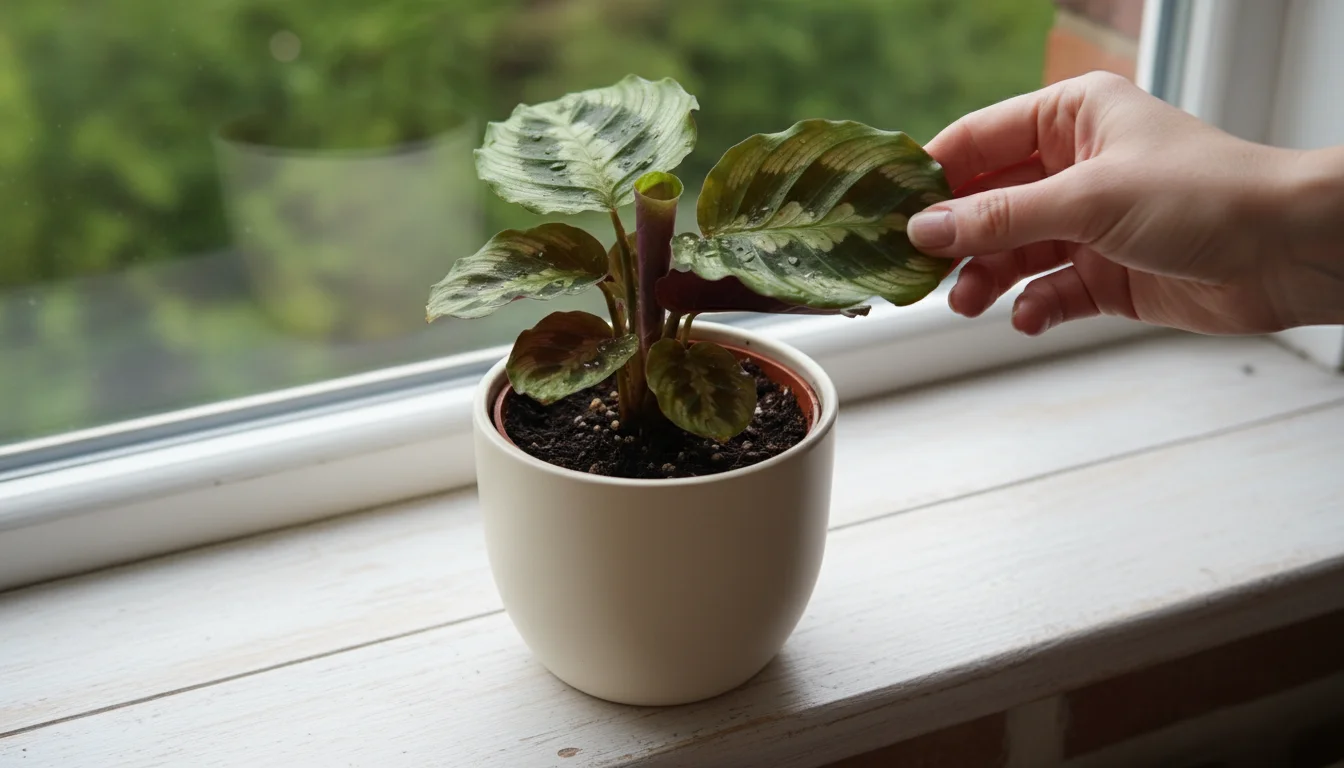
- Tropical Plants (e.g., Bird of Paradise, Alocasia, Calathea with smooth leaves): Many tropical plants appreciate high humidity and clean leaves. This treatment helps them mimic their natural environment more effectively.
- Dracaena and Yucca: Their long, often strappy leaves benefit from regular cleaning to maintain their upright, clean appearance.
- Prayer Plants (Maranta, Stromanthe) with smooth leaves: While they move their leaves, ensuring their surfaces are clean maximizes their light intake for photosynthesis.
Plants That May Not Benefit or Require Caution:
Some plants have features that make a direct spray and wipe less effective or potentially harmful. Always exercise caution and perform a patch test.
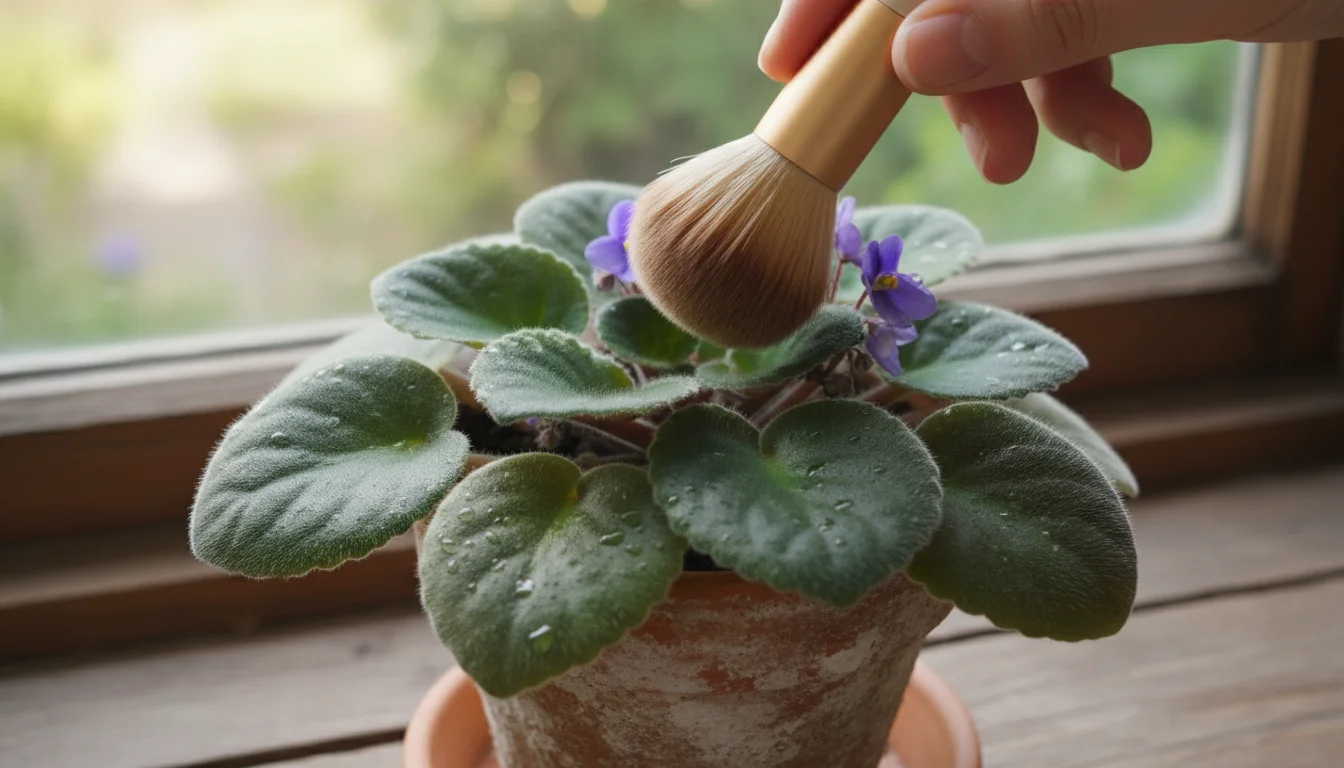
- Plants with Fuzzy or Hairy Leaves (e.g., African Violet, Gynura, some Begonias): The fine hairs on these leaves can trap moisture and the solution, leading to fungal issues or leaf spot. Wiping can also damage the delicate hairs. For these plants, a soft brush to gently dust the leaves is a better approach.
- Succulents and Cacti (e.g., Haworthia, Aloe, Echeveria): Most succulents store water in their leaves and prefer dry conditions on their foliage. The solution might sit in crevices, potentially causing rot. Additionally, many have a powdery protective coating (farina) which you should avoid wiping off.
- Plants with Very Delicate or Thin Leaves (e.g., Maidenhair Fern): These plants can be easily damaged by wiping. Instead, use a very fine mist of plain water to rinse away dust, or simply let the rain or a gentle shower do the work for outdoor varieties.
- Plants with Velvety or Textured Leaves (e.g., some Begonias, like Rex Begonias): Similar to fuzzy-leafed plants, these textures can trap moisture and be prone to damage from wiping.
When in doubt, always test the solution on a small area first. Your observation of your plant’s reaction provides the best guidance. Prioritize cleaning over shine for plant health, and choose the method that best suits each plant’s unique leaf structure.
Troubleshooting Common Houseplant Care Issues
Even with the best intentions, you might encounter minor hiccups when introducing a new care routine. Understanding common mistakes and how to avoid them ensures your houseplant spa day is a success every time.
1. Leaf Spotting or Discoloration
If you notice spots or discoloration on your plant leaves after treatment, several factors could be at play:
- Too Much Soap: Using too much soap can leave a residue that clogs stomata or reacts negatively with some plant surfaces. Always stick to the recommended ½ teaspoon of mild soap per cup of water. If spotting occurs, gently rinse the affected leaves with plain filtered water and wipe dry.
- Hard Water: If you used tap water, mineral deposits could be leaving white spots. Switch to filtered or distilled water for all future treatments.
- Sunburn After Treatment: Applying the solution and then immediately placing the plant in direct, intense sunlight can cause the water droplets to act as magnifiers, leading to scorched leaves. Always treat plants in the morning or evening and allow them to air dry in indirect light.
- Plant Sensitivity: Some plants, even those with smooth leaves, can be sensitive to neem oil or soap. This is why a patch test on a single leaf is crucial before full application. If a reaction occurs, cease use on that specific plant.
2. Ineffective Pest Deterrence
If pests persist after treatment, consider these points:
- Insufficient Coverage: Pests are masters of hiding. Ensure you spray and wipe both the top and, critically, the underside of every leaf, as well as stems and leaf axils (the junction where a leaf meets the stem). Missing even a small cluster of eggs can lead to a resurgence.
- Infrequent Application: For active infestations, a single treatment is rarely enough. You might need to apply the solution every 5-7 days for 2-3 weeks to break the pest life cycle. Pests have different life stages (egg, nymph, adult), and not all stages are equally susceptible to treatment. Consistent application catches them as they emerge.
- Incorrect Neem Oil: Ensure you are using cold-pressed, 100% pure neem oil. Refined or “horticultural” neem oils might have lower concentrations of the active ingredient, azadirachtin, or contain additives that reduce efficacy.
- Heavy Infestation: For severe infestations, physical removal might be necessary before or alongside the spray. Use a cotton swab dipped in rubbing alcohol for individual pests like mealybugs or scale, then follow with your neem oil spray.
3. Solution Separation
Neem oil naturally separates from water. If you notice a distinct layer of oil floating on top:
- Shake Before Each Spray: Vigorously shake your spray bottle for 15-30 seconds before each spray and periodically during application. The mild soap acts as an emulsifier, but constant agitation keeps the solution uniform.
- Water Temperature: Ensure you use lukewarm water when mixing. Cold water makes neem oil thicker and harder to emulsify.
Paying attention to these details and observing your plants will help you fine-tune your approach, leading to healthier, happier houseplants and a more confident gardening experience.
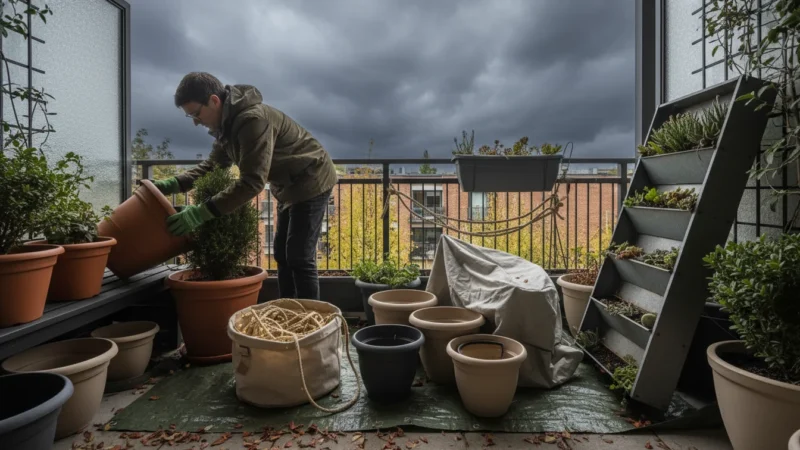
Making It a Routine: Seasonal Houseplant Maintenance
Incorporating your DIY houseplant spa day into a regular maintenance routine offers long-term benefits for your plants’ health and appearance. The frequency of treatment depends on several factors, including your environment, the type of plants you have, and the presence of pests.
To give your plants a complete seasonal boost, you can pair this cleaning ritual with a mid-winter soil refresh to replenish essential nutrients.
General Maintenance for Dust and Shine:
For most smooth-leafed houseplants, a “spa day” every 4-6 weeks is an excellent general guideline. This schedule effectively manages dust buildup, ensuring optimal light absorption and consistently beautiful foliage. Consider these factors:
- Dust Levels: If your home is particularly dusty (e.g., due to pets, construction nearby, or a busy street), you might opt for a monthly treatment.
- Plant Type: Large-leafed plants like Monsteras or Fiddle Leaf Figs accumulate dust faster and more visibly, benefiting from more frequent cleaning. Smaller, slower-growing plants might only need attention every two months.
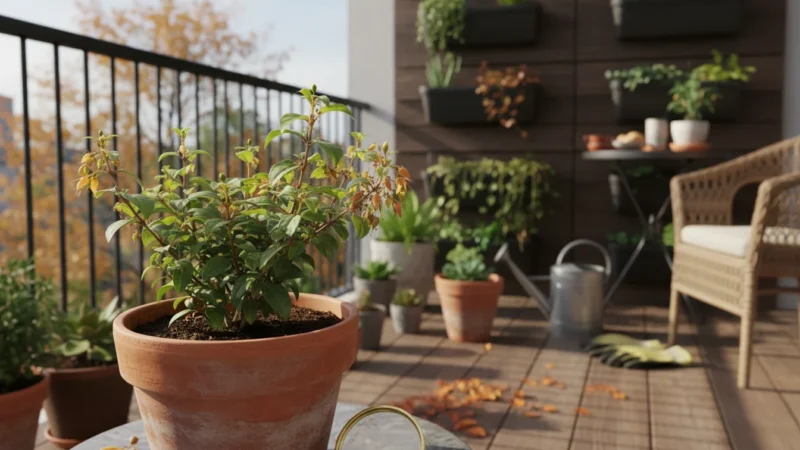
- Seasonality: During winter, when heating systems often dry the air and dust can circulate more, a monthly treatment is particularly beneficial. In spring and summer, when plants are actively growing, consistent cleaning supports their vigorous development.
Targeted Treatment for Pest Deterrence:
If you are using the solution primarily as a preventative pest deterrent or to manage a mild, existing pest issue, you will need a more frequent application schedule.
- Preventative: Apply the neem oil solution every 2-3 weeks to create a continuous protective barrier. This schedule helps disrupt potential pest life cycles before they can fully establish.
- Active Infestation: For an active pest problem, increase application to every 5-7 days for at least 2-3 weeks. This aggressive schedule helps to eliminate successive generations of pests. Continue weekly applications until you see no signs of pests for two consecutive weeks, then revert to a preventative schedule.
Integrating with Other Care Tasks:
Pairing your leaf cleaning with other routine tasks makes it easier to remember and implement:
- Watering Day: Choose a specific watering day each month to also clean a section of your plants. This ensures you are already handling the plants and inspecting them.
- Seasonal Check-ups: Schedule a thorough spa day at the beginning of each season. This allows you to assess plant health, clean leaves, and adjust care based on changing light and temperature conditions. For example, a thorough cleaning in early spring prepares plants for vigorous growth, while a fall cleaning helps them transition into lower light conditions.
Consistency is key. By making this DIY houseplant spa day a regular part of your small-space gardening routine, you empower your plants to thrive, look their best, and resist pests more effectively. You will enjoy a healthier, more vibrant indoor garden with minimal effort.
Frequently Asked Questions
Can I use essential oils instead of neem oil for pest control?
You should not substitute essential oils for neem oil in this recipe. While some essential oils, like peppermint or tea tree oil, have insect-repelling properties, their concentration and safety for direct plant application vary widely and often prove too potent or damaging to plant foliage. Neem oil contains specific compounds, like azadirachtin, that act as natural insect growth regulators and antifeedants, making it uniquely effective and well-researched for horticultural use.
Is this solution safe for pets?
When used as directed, cold-pressed neem oil is generally considered safe for pets once it dries on the plant leaves. However, always exercise caution. Apply the solution in a well-ventilated area, and keep pets away from the treated plants until the leaves are completely dry. If you have particularly curious pets who might chew on leaves, consider isolating treated plants for a few hours. The mild soap concentration is also minimal and generally harmless once dry.
How long does the leaf shine effect last?
The leaf shine effect typically lasts for several weeks, depending on your home’s dust levels and humidity. The neem oil and soap residue help repel dust, maintaining the shine longer than plain water. For continuous sparkle and optimal plant health, aim to reapply the solution every 4-6 weeks as part of your regular plant care routine.
Can I make a larger batch and store it?
It is best to mix your neem oil solution fresh before each use. The active compounds in neem oil begin to break down when exposed to water and light, significantly reducing their effectiveness within 8-12 hours. Storing pre-mixed solution diminishes its pest-deterring power. Mix only the amount you need for a single application to ensure maximum potency.
My plant has sticky residue on its leaves. Will this solution help?
Yes, this solution is very effective at cleaning sticky residue, often called “honeydew,” which is excreted by sap-sucking pests like aphids, scale, and mealybugs. The mild soap helps dissolve the honeydew, and the subsequent wiping removes it. The neem oil then works to deter the pests causing the sticky mess. Regular application helps prevent honeydew buildup and keeps pests under control.
For trustworthy gardening information, visit:
Penn State Extension — Trees, Lawns and Landscapes, Clemson University Extension — Home & Garden, Colorado State University Extension — Gardening, North Carolina State Extension — Gardening and Virginia Cooperative Extension — Lawn & Garden. These organizations provide expert, research-based advice for gardeners at all levels.
Disclaimer: This article is for informational purposes only and is not a substitute for professional gardening advice. Always consult local extension services or horticulture experts for region-specific guidance.
Leave a Reply