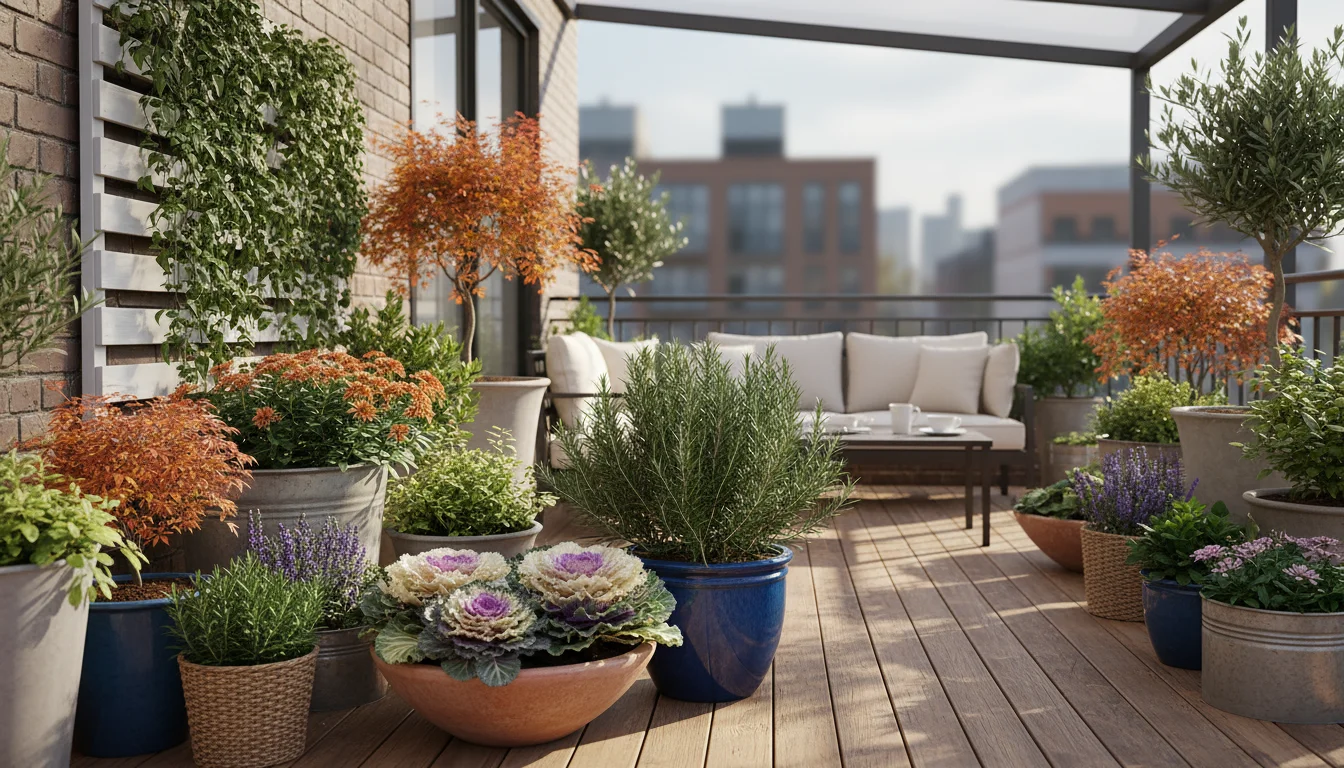
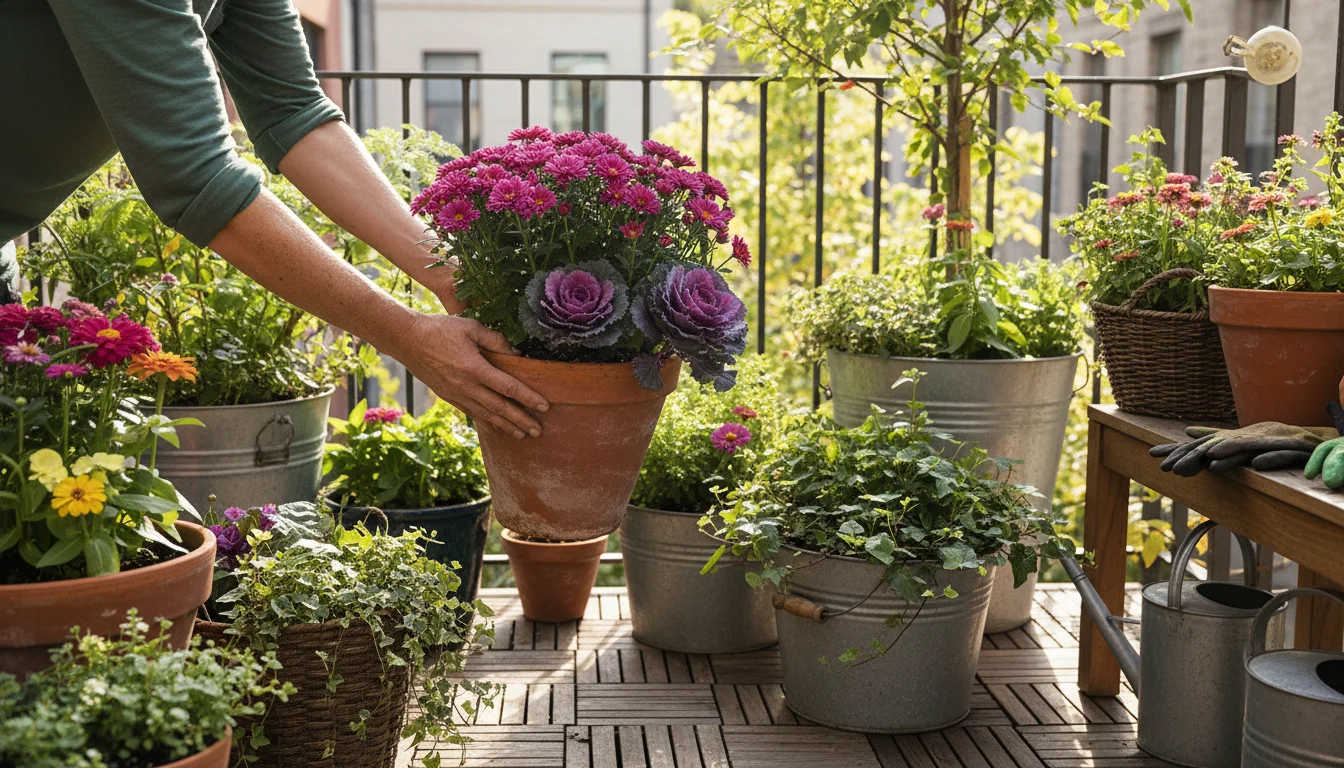
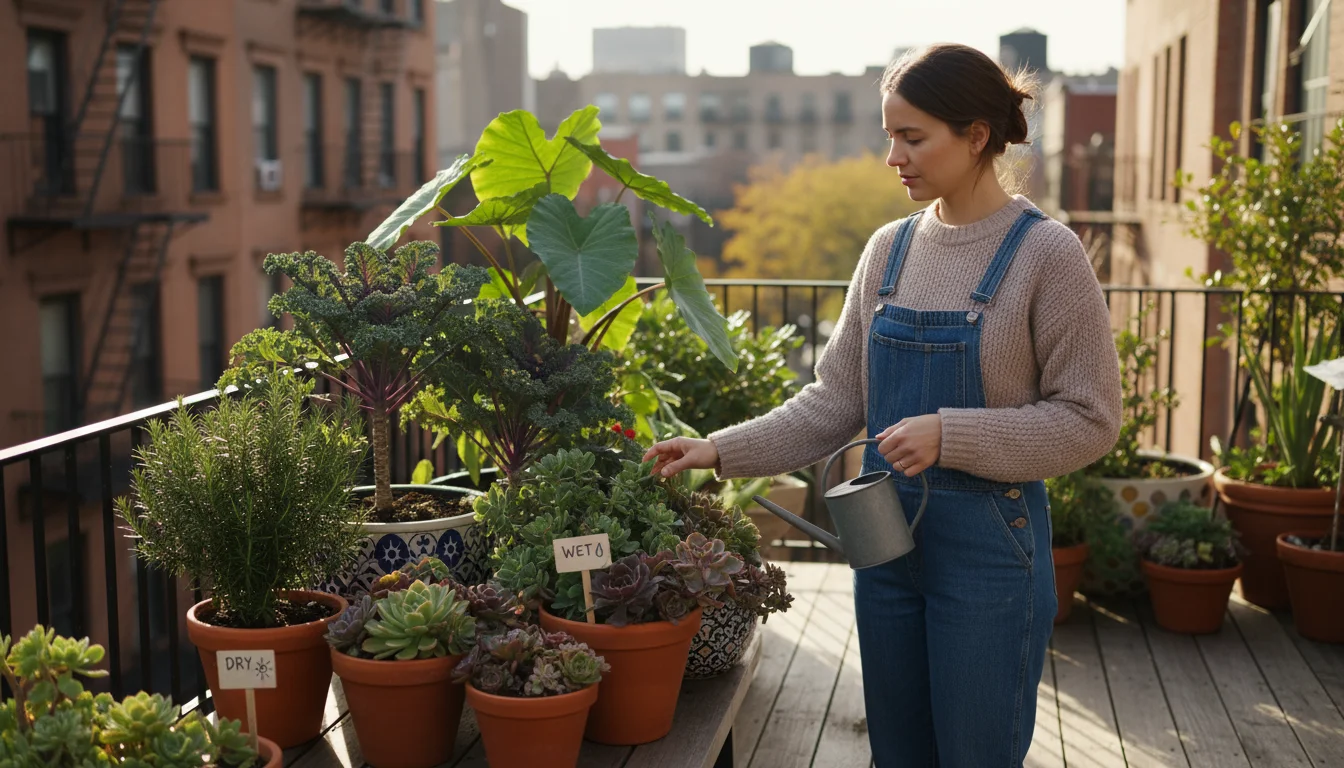
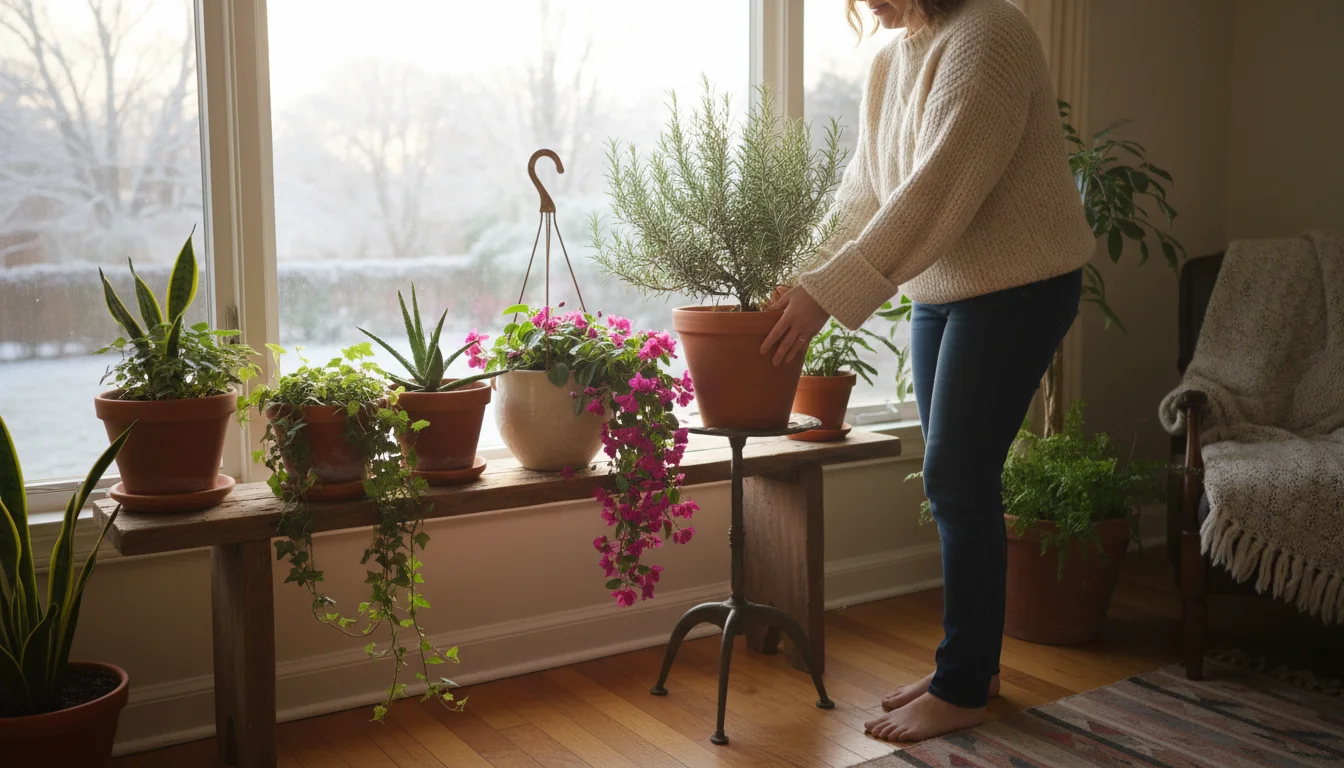
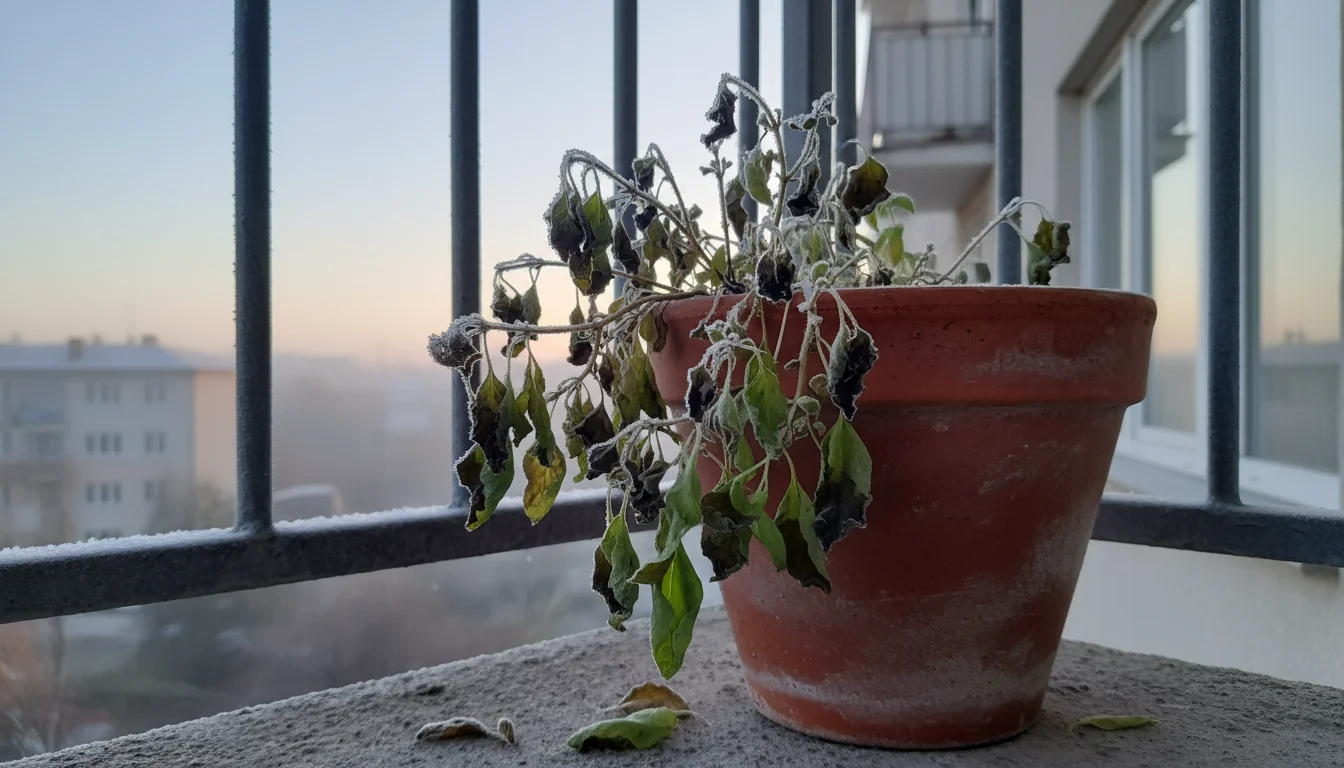
As the vibrant hues of summer fade into the crisp, golden days of autumn, your container plants signal a change in their needs. Many gardeners, relying on the familiar “finger test” to gauge soil moisture, find their beloved potted plants struggling, even dying, during this transition. You diligently stick your finger into the soil, feel a dry surface, and water, only to discover weeks later that your plant’s leaves are yellowing or wilting, a classic sign of overwatering. This common mistake stems from a fundamental misunderstanding of how cooler fall weather impacts your plants’ water requirements.
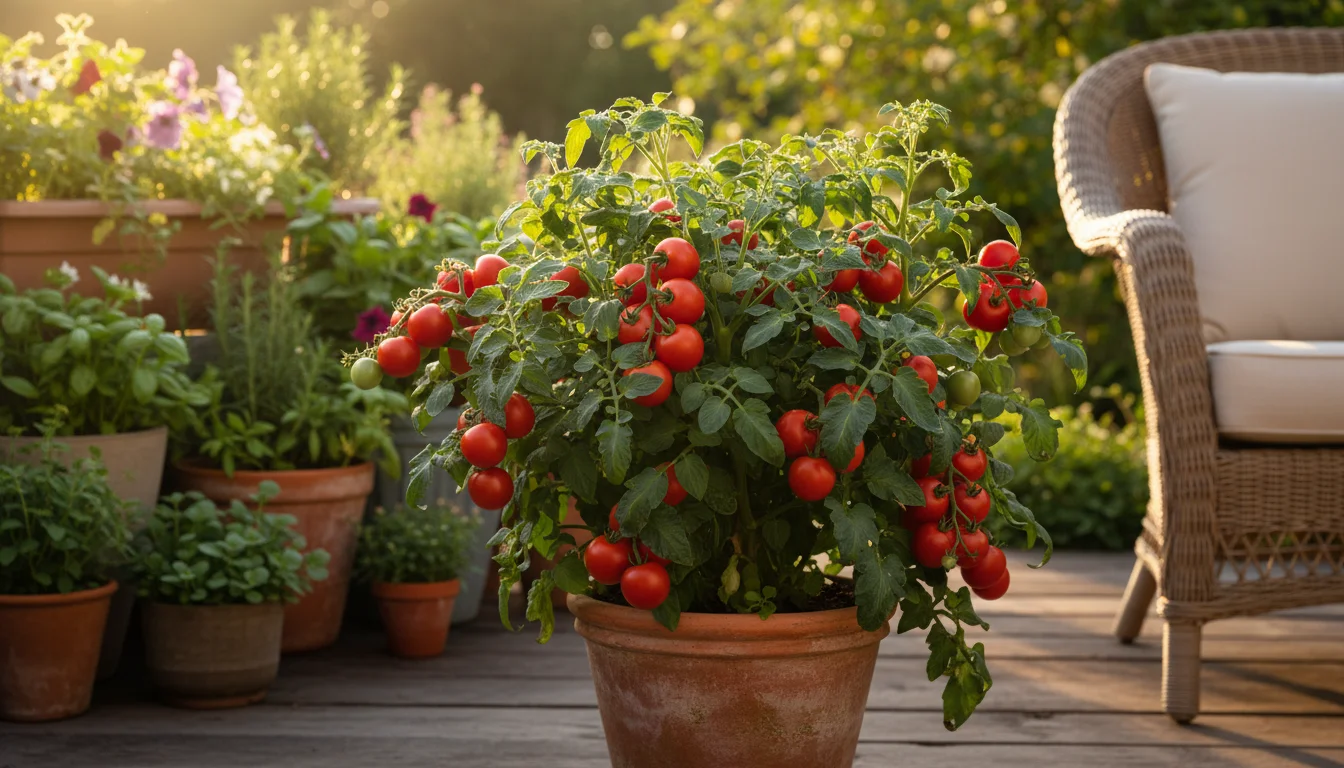
Selecting the best crops for fall harvest that thrive in these conditions is the first step toward a successful late-season garden.
Adjusting your moisture levels is one of the most critical fall gardening tasks for container enthusiasts looking to extend their season.
You are not alone if the finger test has misled you. In cooler autumn temperatures, what worked perfectly in summer becomes a recipe for disaster. This comprehensive guide will equip you with practical, actionable insights, helping you understand why your fall watering schedule must change and providing foolproof methods for watering container plants. We will bust common myths about watering in cool weather gardening, prevent overwatering in fall, and ensure your balcony plants thrive as the seasons shift.
Why Cooler Fall Weather Changes Everything for Container Plants
Your container plants experience a significant shift in their environment when fall arrives. Understanding these changes explains why your watering habits need a complete overhaul. During summer, high temperatures, intense sunlight, and active growth cycles mean plants rapidly use water. They absorb water through their roots, transport it up to their leaves, and release it as vapor into the air through a process called transpiration. The sun also quickly evaporates water directly from the soil surface.
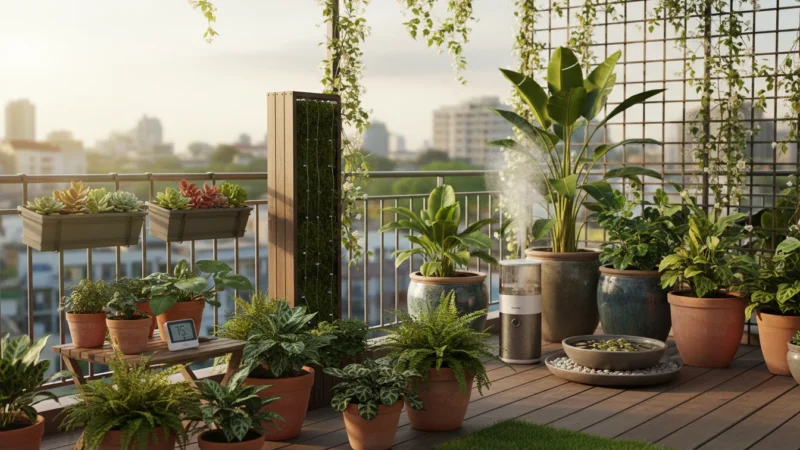
You might also consider mulching for containers to help maintain a stable environment as the outdoor temperatures fluctuate.
Before you change your habits, it can be helpful to perform a fall soil autopsy to see how your specific potting mix has compacted over the summer months.
As autumn descends, several factors reduce your plant’s water needs and the rate at which soil dries out:
- Lower Temperatures: Cooler air temperatures mean less heat reaches the soil and plant leaves. This directly translates to slower evaporation from the soil surface and reduced transpiration from the plant. A plant in 50-degree Fahrenheit weather will transpire far less than one in 80-degree weather.
- Reduced Sunlight Intensity and Duration: Days grow shorter, and the sun’s angle drops, reducing the intensity and total hours of direct sunlight your plants receive. Less sunlight means less energy for photosynthesis, slowing down plant metabolism and, consequently, water uptake. Your plants simply do not work as hard, so they do not get as “thirsty.”
- Slower Plant Growth: Many plants naturally slow their growth or prepare for dormancy in fall. This reduced metabolic activity means they need less water and fewer nutrients to sustain themselves. They are not putting out new leaves or flowers as vigorously, so their internal water demand drops considerably.
- Higher Humidity: Often, fall brings higher humidity levels than the dry heat of summer. Higher atmospheric humidity reduces the water vapor pressure difference between the plant’s leaves and the surrounding air, which slows down transpiration. The air is already holding more moisture, so the plant releases less.
Because of these combined factors, soil in containers takes significantly longer to dry out in fall. A pot that needed watering every day in July might only need it once a week, or even less frequently, in October. If you continue to water based on the surface dryness or a shallow “finger test,” you will invariably keep the deeper soil consistently wet, leading to serious problems.
The Dangers of Overwatering in Autumn: Root Rot and Beyond
Overwatering is the number one killer of container plants in fall. When you provide too much water, especially in cooler conditions, you create an anaerobic environment in the pot. This means the soil pores, which should contain both water and air, become completely saturated with water, pushing out all the oxygen.
Ensuring you manage container drainage effectively is your best defense against the saturated soil that fuels root rot.
- Root Rot: Plant roots need oxygen to respire, just like humans. When deprived of oxygen, they cannot function properly. Beneficial soil microbes die off, and anaerobic (oxygen-hating) bacteria and fungi flourish. These pathogens attack the roots, causing them to turn soft, mushy, and black or brown. This condition is known as root rot, and it is often irreversible. Once roots begin to rot, the plant cannot absorb water or nutrients effectively, even if water is present, leading to its decline.
- Nutrient Deficiency: Even before root rot sets in, waterlogged soil inhibits the roots’ ability to take up nutrients. Essential elements like nitrogen, phosphorus, and potassium are unavailable to the plant when roots are struggling, resulting in yellowing leaves, stunted growth, and a general lack of vigor.
- Weakened Immunity: Overwatered plants are stressed plants. Stress weakens a plant’s natural defenses, making it more susceptible to pests and other diseases. You might notice an increase in fungal gnats, which thrive in moist soil, or other opportunistic pests.
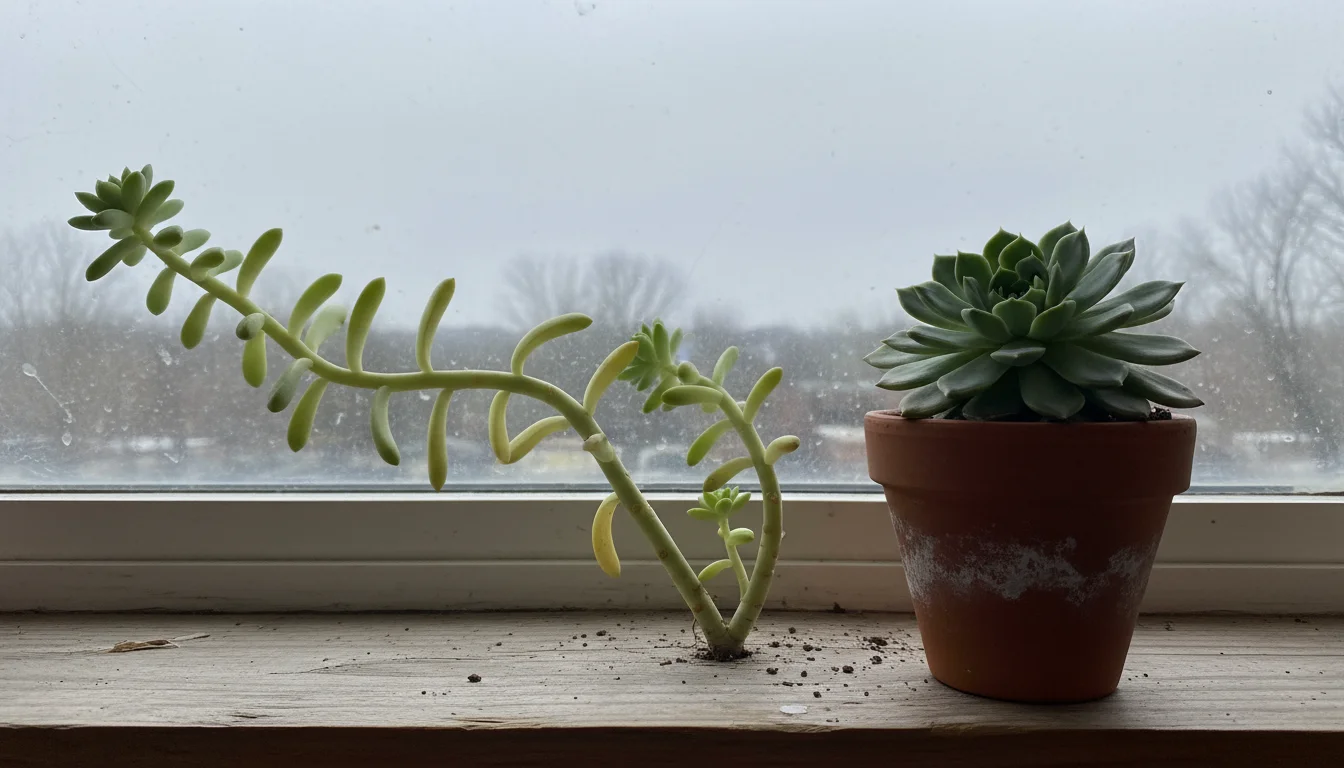
- Stunted Growth and Wilting: Ironically, plants experiencing root rot often show symptoms similar to underwatering: wilting. This occurs because the damaged roots cannot transport water to the foliage. The plant is drowning in water but paradoxically dying of “thirst” at the leaf level. You might see new growth struggling, or leaves turning yellow and dropping off prematurely.
Recognizing these signs early is crucial. Often, by the time significant yellowing or wilting appears, the damage to the roots is extensive. Preventing overwatering in fall is far easier and more effective than trying to cure its effects.
Unreliable Indicators: What Your Plants Are Not Telling You
You likely developed your watering habits based on visual cues and the classic finger test. In fall, these methods become deeply misleading. Let’s break down why you should stop relying on them:
- The “Finger Test” Deception: Sticking your finger an inch or two into the soil only tells you about the *surface* moisture. In cooler weather, the surface dries out relatively quickly due to exposure to air, even while the bulk of the potting mix deeper in the container remains saturated. You feel dry soil, you water, and you compound the problem of excess moisture around the roots. For small containers, your finger might not even reach the main root zone.
- Surface Appearance of Soil: A light, crusty surface might look like dry soil, prompting you to water. However, beneath that thin layer, the soil can be completely waterlogged. The color change you see on the surface does not accurately represent the entire container’s moisture level.
- Wilting Leaves: This is perhaps the most confusing symptom. Wilting leaves usually mean a plant is thirsty, right? In fall, wilting can be a sign of both underwatering and severe overwatering. When roots succumb to root rot from too much water, they cannot absorb moisture, causing the foliage to wilt. If you see wilting and then water more, you are pouring fuel on the fire, accelerating the plant’s demise. Distinguishing between thirst-induced wilting and root-rot-induced wilting requires knowing the soil moisture levels, which the finger test fails to provide.
- Yellowing Leaves: Similar to wilting, yellowing leaves can indicate a lack of nutrients (often due to struggling roots from overwatering) or, less commonly in fall, insufficient light. When overwatering occurs, roots cannot function, leading to nutrient deficiencies that manifest as yellow foliage.
To successfully care for your container plants in autumn, you must move beyond these unreliable indicators and adopt methods that give you a true picture of the moisture levels where it matters most: around the plant’s roots.
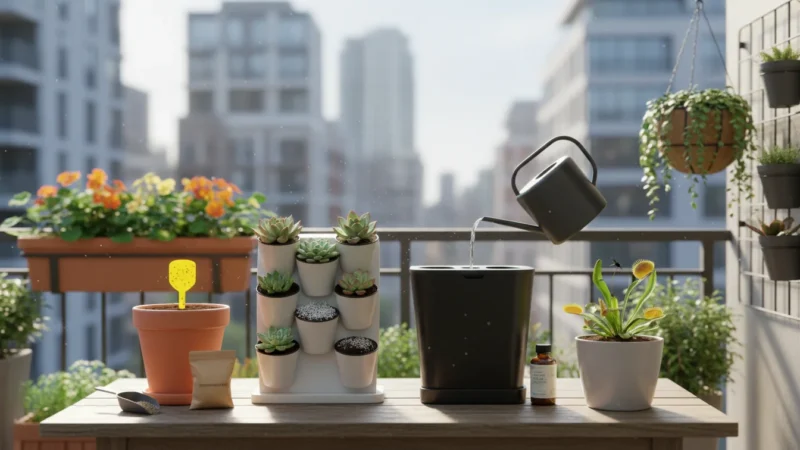
Your New Watering Toolkit: Foolproof Methods for Fall Container Care
Forget the finger test. You need tools and techniques that provide a deeper, more accurate understanding of soil moisture. These methods are simple, practical, and highly effective for watering container plants in cooler fall weather.
If you struggle with consistency, DIY self-watering containers can provide a more regulated moisture delivery system for your patio plants.
Your goal is to let the soil dry out significantly, but not completely, between waterings. This allows air to return to the root zone, preventing the anaerobic conditions that lead to root rot. Here are your foolproof methods:
1. The Weight Test: Your Most Reliable Tool
This is arguably the most accurate and readily available method. It works because water is heavy.
- Understand the Baseline: When you plant a new container, or after a thorough watering, lift the pot. Feel its weight. This is your “heavy” reference point.
- Check for Dryness: As the soil dries out, the pot becomes noticeably lighter. Lift the pot regularly. When it feels significantly lighter than its fully watered state, it is likely time to water.
- Practice Makes Perfect: With a bit of practice, you will develop an intuitive sense for when a pot needs water just by lifting it. This method is particularly effective for small to medium-sized containers.
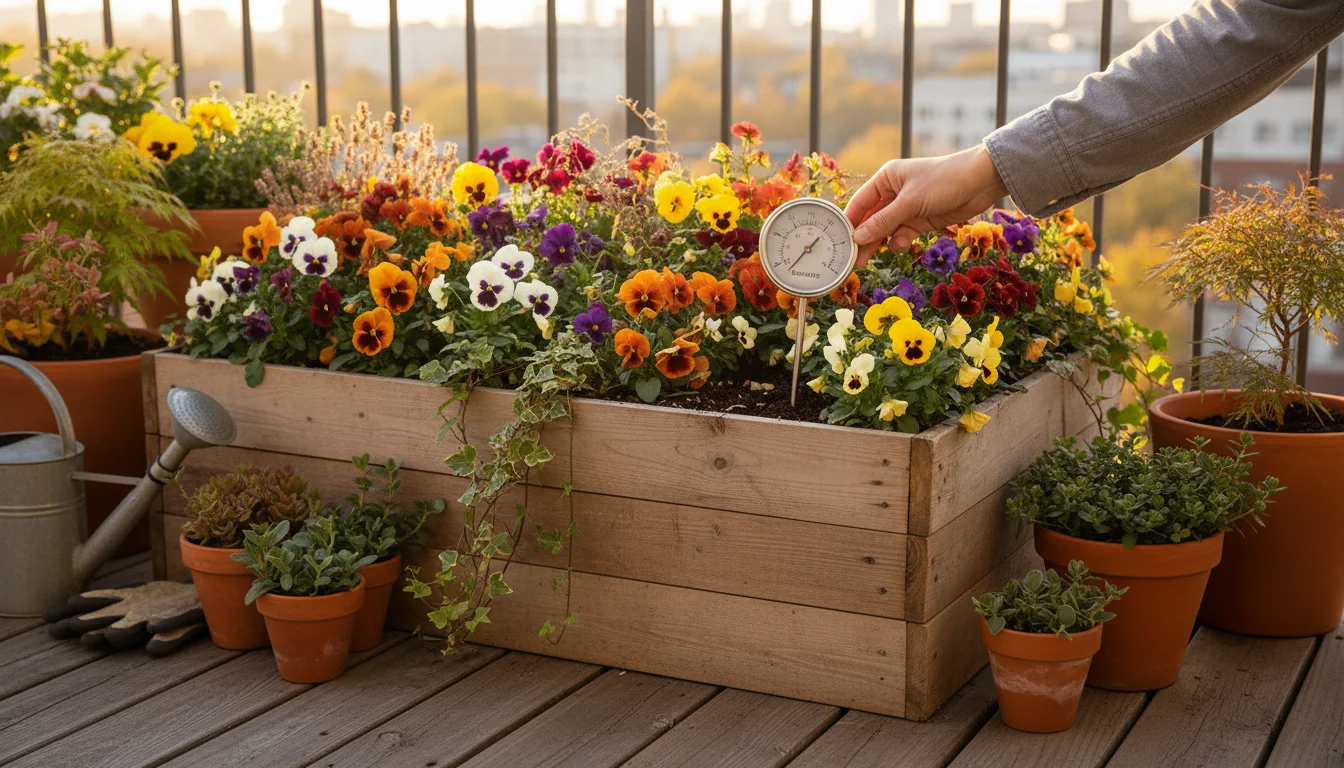
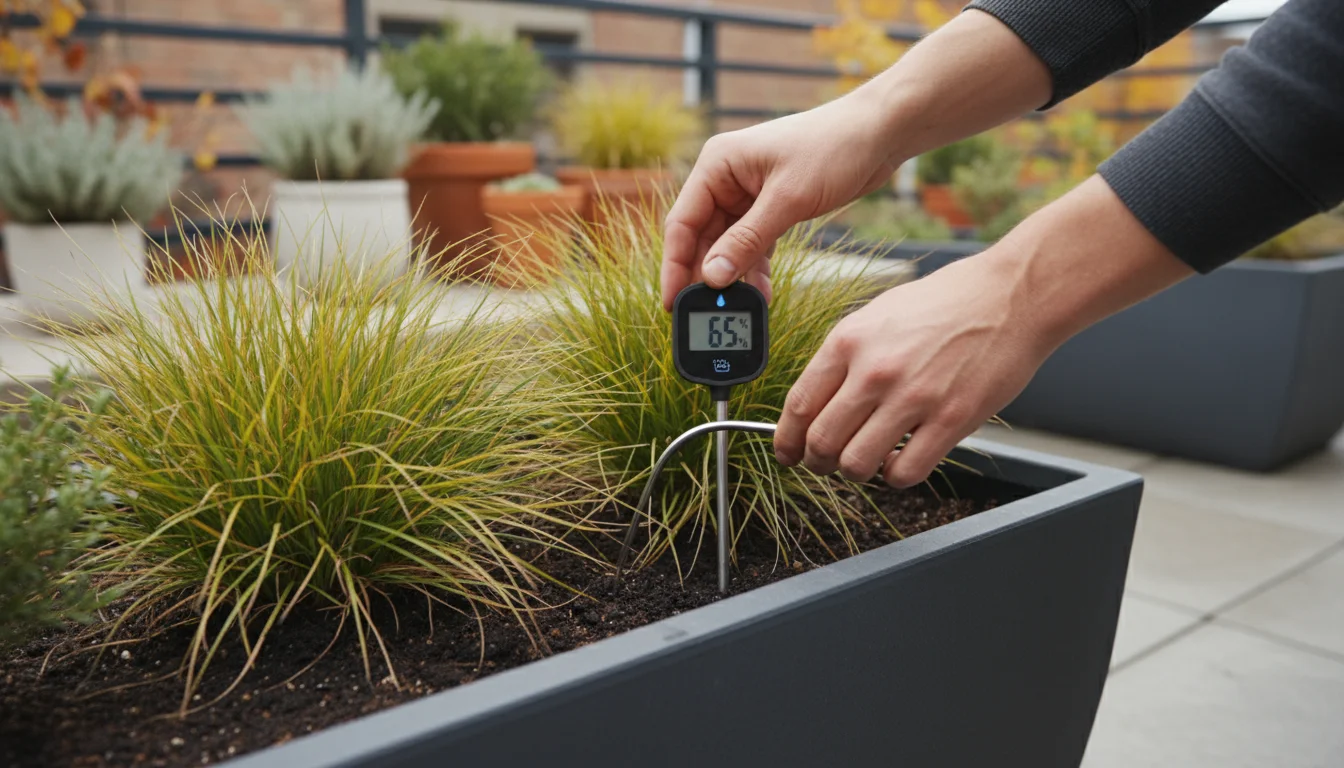
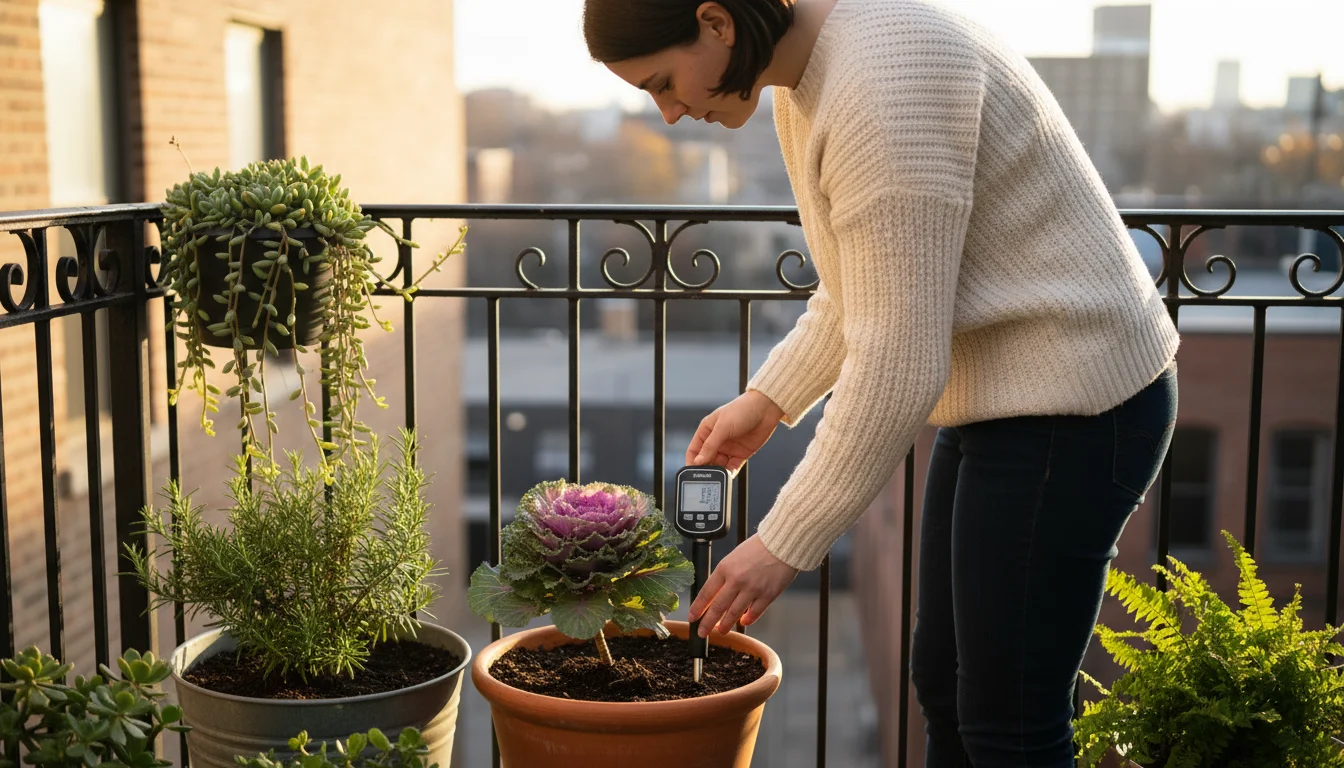
2. Moisture Meters: A Data-Driven Approach
A simple, inexpensive moisture meter provides a numerical reading of soil moisture deep within the pot. This tool is a game-changer for precise fall watering.
- Insert Deeply: Push the probe of the moisture meter two-thirds to three-quarters of the way down into the potting mix, away from the stem of the plant.
- Read the Gauge: Wait a minute for the reading to stabilize. Most meters have a scale from 1 (dry) to 10 (wet). Aim for the lower end of the “moist” scale, or even into the “dry” range, before watering, depending on the plant’s specific needs. For fall, allowing the meter to read “dry” (1-3) before watering is generally safe for most plants.
- Check Multiple Spots: For larger containers, check the moisture level in a few different areas to get an average reading.
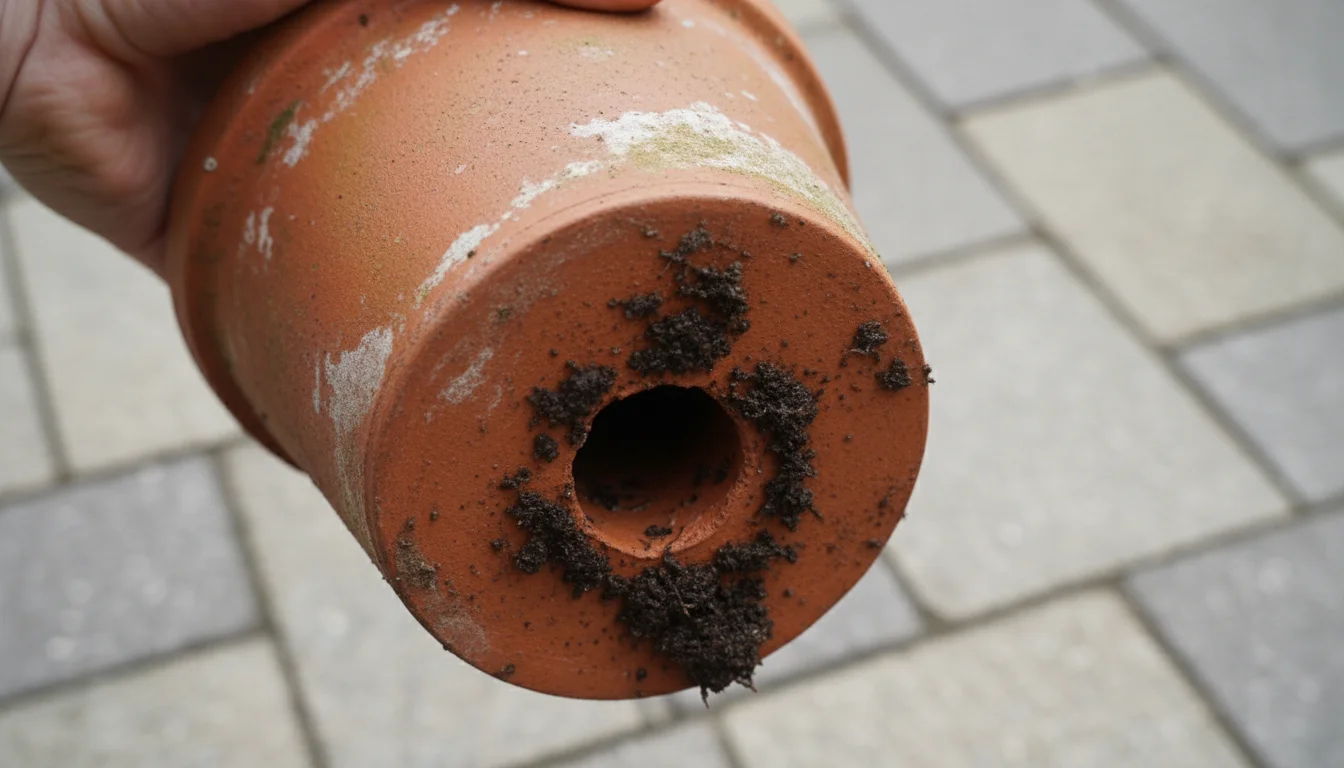
3. Visual Inspection of Drainage Holes: A Quick Check
Look at the drainage holes at the bottom of your container.
- If you see visible moisture, or if the soil around the holes appears dark and wet, do not water.
- If the soil around the drainage holes looks light in color and feels dry to the touch, this suggests the entire soil column is drying out.

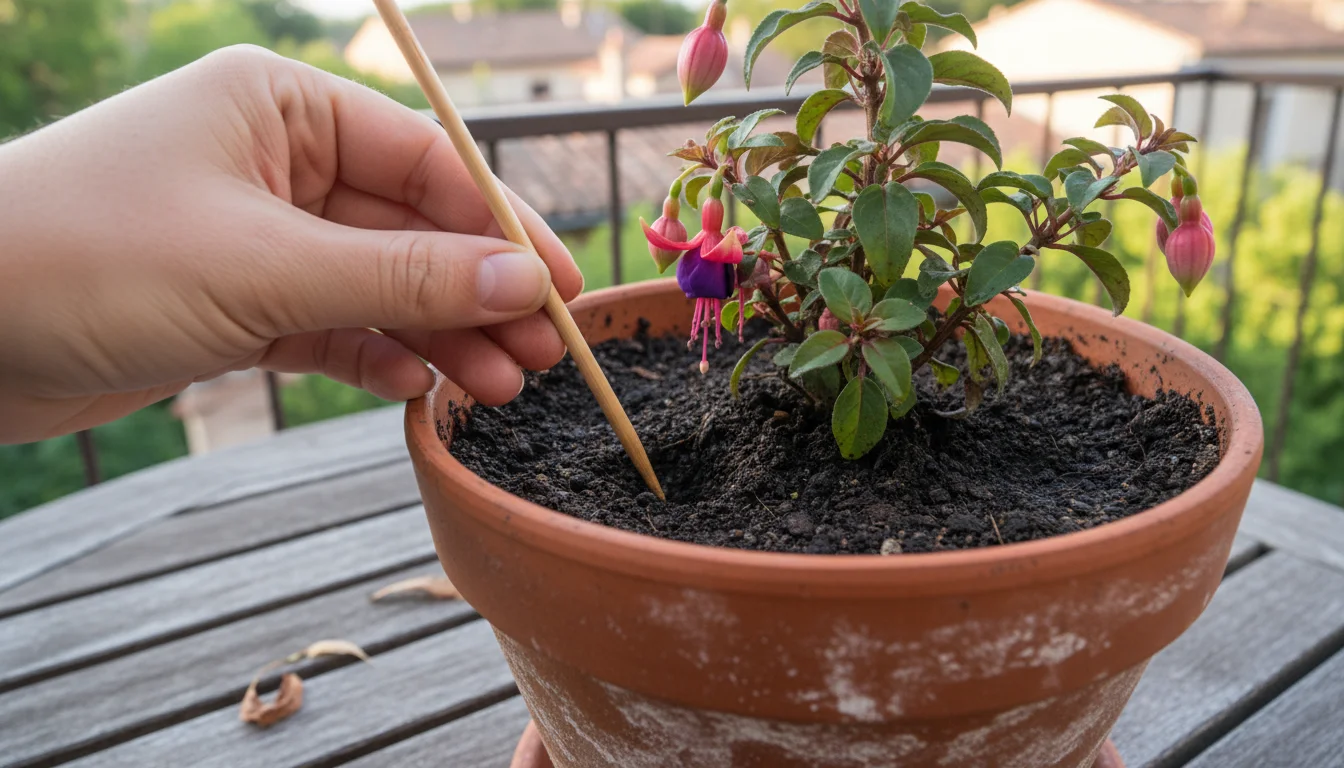
4. The Skewer or Wooden Chopstick Test: A Low-Tech Alternative
Similar to the finger test but more effective.
- Insert Deeply: Push a wooden skewer or chopstick all the way to the bottom of the pot.
- Wait and Observe: Leave it for 5-10 minutes.
- Withdraw and Inspect: Pull it out. If it comes out with moist soil clinging to it or feels damp, the plant does not need water. If it comes out clean and dry, it is time to water.
When you do water, water thoroughly until you see water draining from the bottom of the pot. This ensures the entire root ball receives moisture. Allow any excess water to drain away completely; never let your pots sit in standing water.
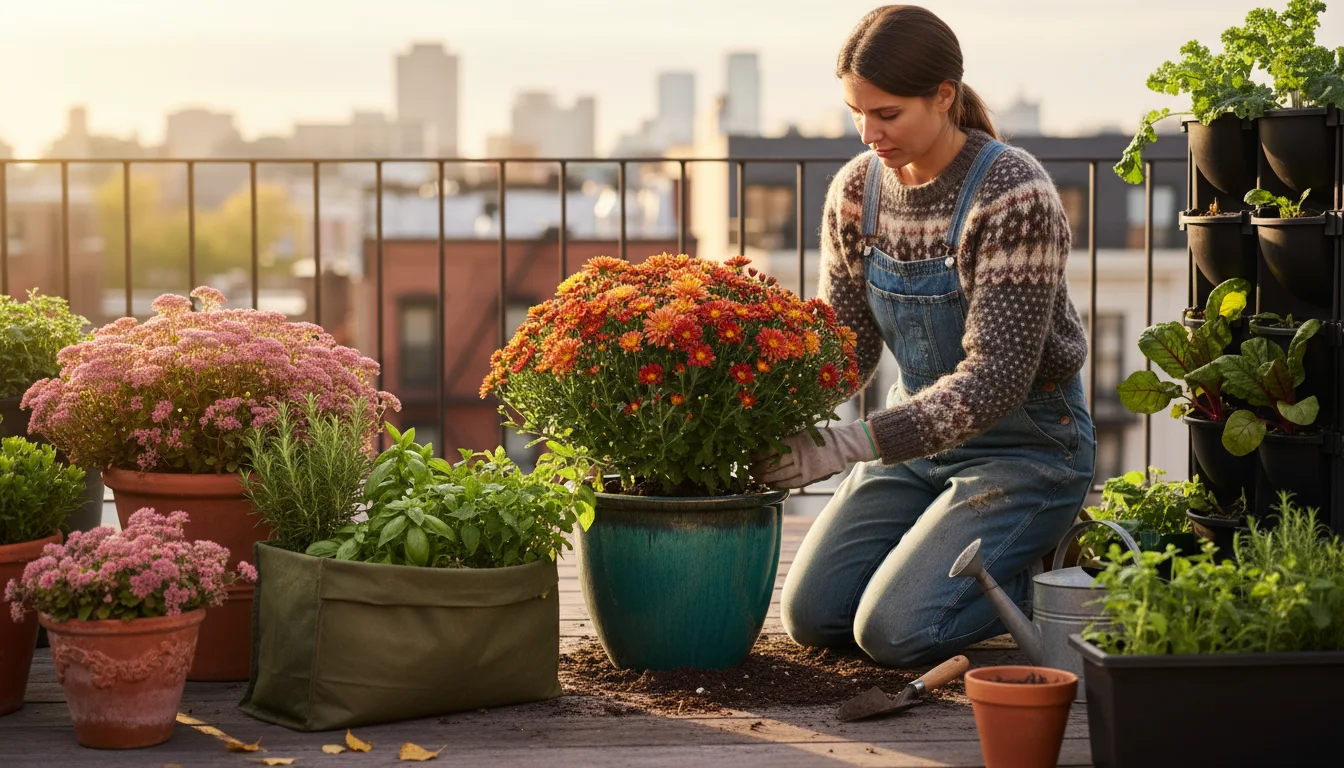
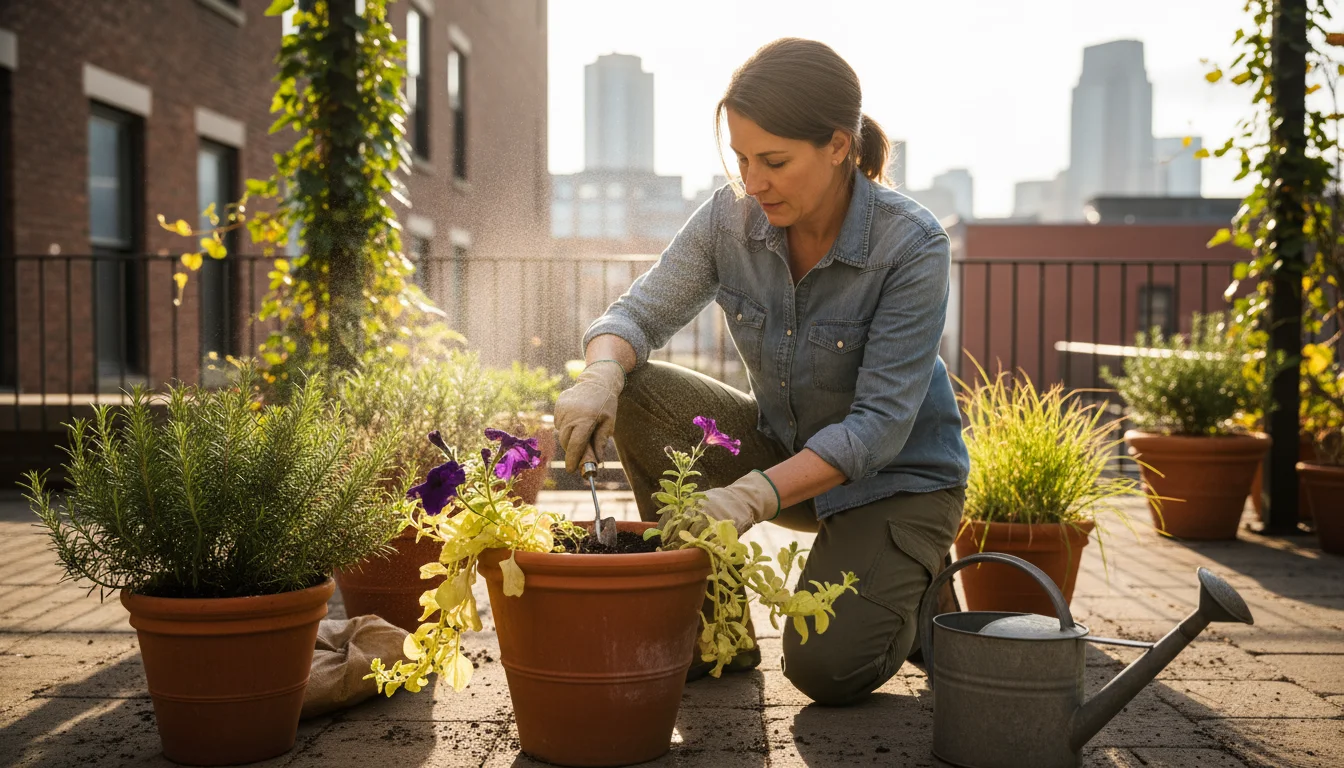
Crafting Your Fall Watering Schedule: A Plant-by-Plant Approach
Not all container plants are created equal, especially regarding their water needs in autumn. A universal fall watering schedule does not exist, but you can tailor your approach based on plant type, container characteristics, and local weather. This nuanced approach will significantly reduce instances of overwatering in fall.
Developing watering schedules that actually work requires moving away from the calendar and toward the specific needs of each container.
Understand Your Plant’s Thirst Level
Categorize your plants by their natural water preferences:
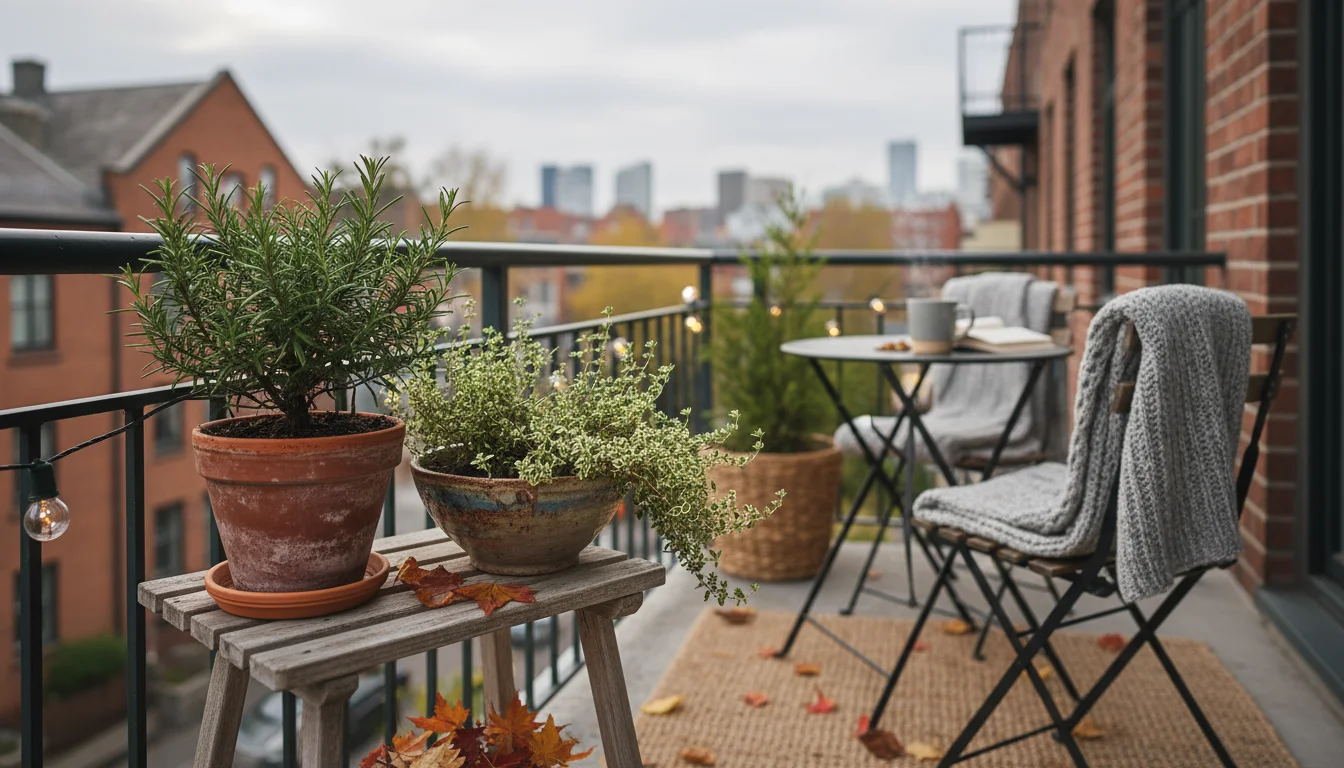
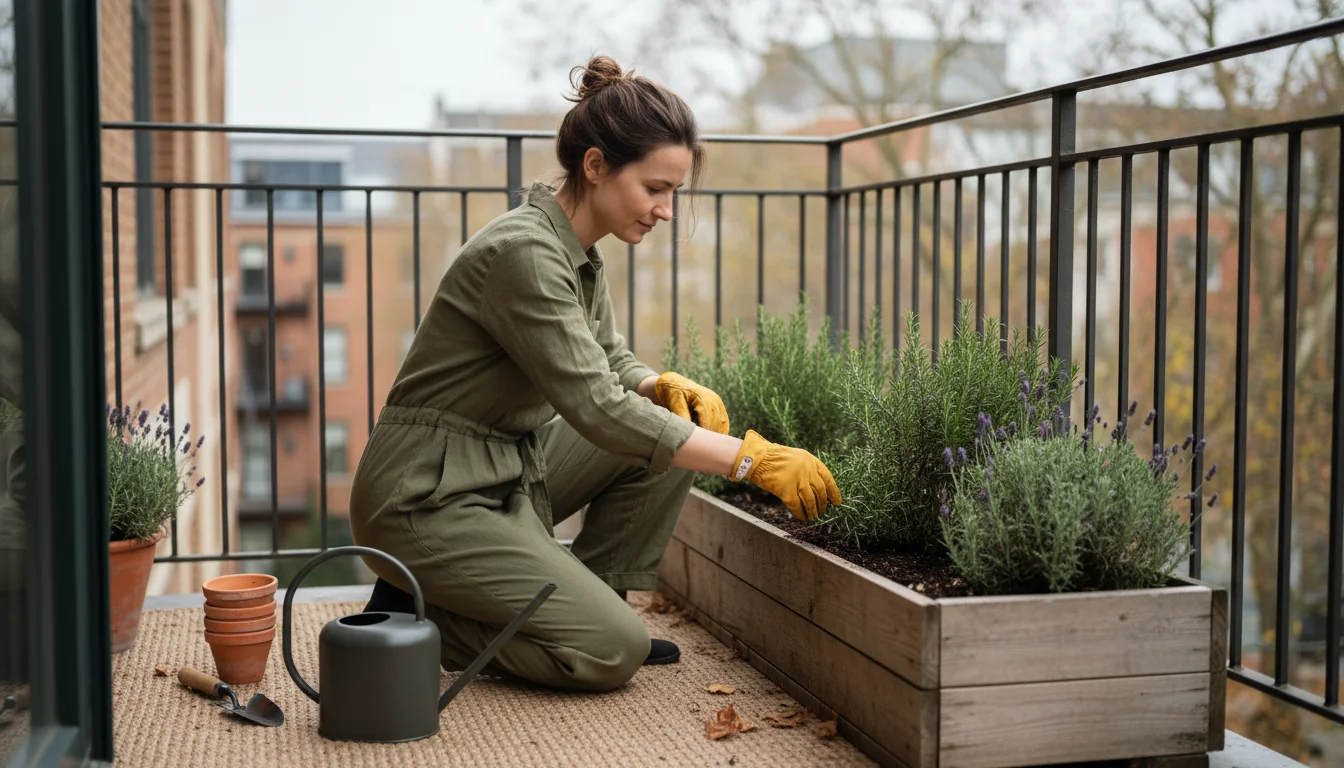
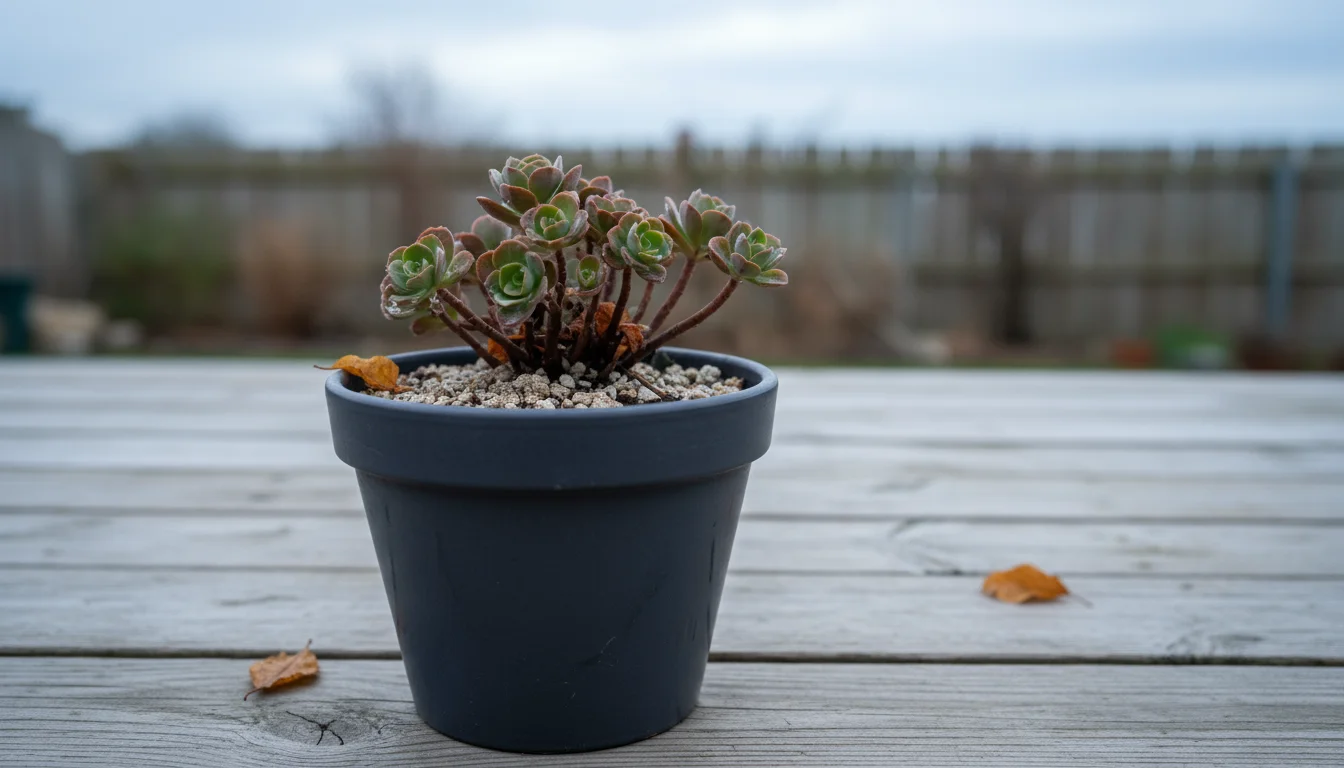
- Drought-Tolerant Plants: Many herbs (rosemary, thyme, lavender), succulents, cacti, and some ornamental grasses prefer to dry out thoroughly between waterings. In fall, they might only need water every 2-4 weeks, or even less, depending on temperatures. Overwatering these plants in cool weather is almost guaranteed to cause root rot.
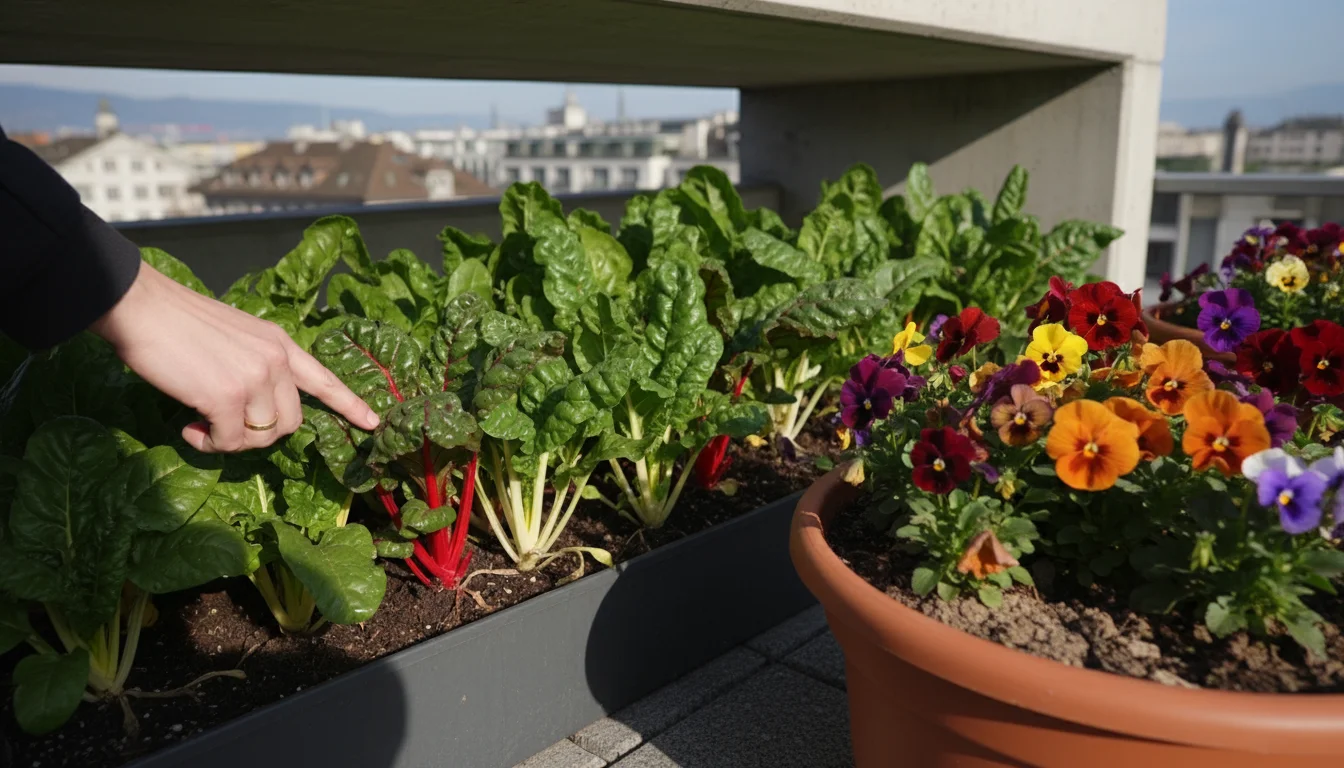
- Moderate Water Users: Most common annuals and perennials, vegetables (like late-season leafy greens), and tropical plants that you might bring indoors for winter fall into this category. They prefer consistently moist but not soggy soil. In fall, allow the top 2-3 inches of soil to dry out before watering again. This might mean watering once a week or every 10 days.
- Heavy Water Users: A few plants, like ferns or some moisture-loving annuals, prefer consistently moist soil. Even these will need less frequent watering in fall, but ensure they never dry out completely. Check them every few days, allowing only the very top layer of soil to become dry.
Consider Container Characteristics
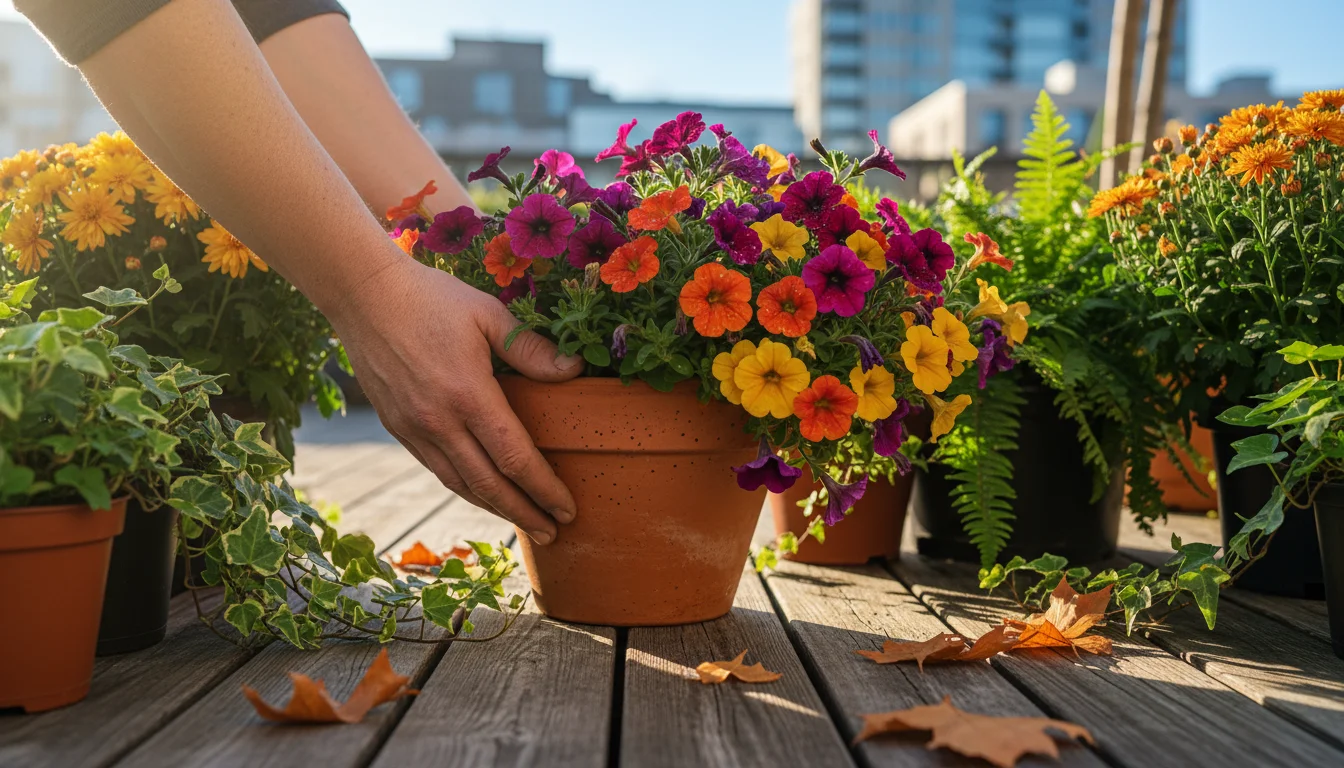
- Container Material: Terracotta pots are porous and allow water to evaporate through their sides, so their soil dries out faster than plastic, glazed ceramic, or metal containers. You might water plants in terracotta slightly more often.
- Container Size: Smaller pots hold less soil volume, so they dry out faster than larger pots. However, even small pots will dry out slower in fall than in summer. Large containers retain moisture for much longer, making them highly susceptible to overwatering if you are not careful with your fall watering schedule.
- Pot Color: Darker containers absorb more solar heat, which can speed up drying, but this effect is minimal in cooler fall weather.
Adjust for Microclimates and Weather Patterns
- Exposure: Plants on a south-facing balcony exposed to more sun and wind will dry out faster than those in a shadier, more sheltered spot.
- Rainfall: Do not assume rainfall automatically waters your container plants sufficiently. Heavy foliage can block rain from reaching the soil, especially in dense plantings. Always check soil moisture with a reliable method after rain. Conversely, if you have received consistent rain, you may not need to water your plants for a while.
- Temperature Swings: Fall often brings unpredictable temperature fluctuations. A sudden warm spell will cause plants to use more water, while a prolonged cold snap will reduce their needs further. Adjust your checks accordingly.
By combining your plant’s specific needs with an understanding of your containers and local conditions, you can develop a smart, adaptable how often to water pots in autumn plan.
Setting Up for Success: Potting Mix, Drainage, and Container Choice
While watering techniques are vital, proactive measures taken during planting significantly reduce the risk of overwatering, especially in cooler weather. Your choice of potting mix, container, and drainage strategy forms the foundation of a healthy container garden.
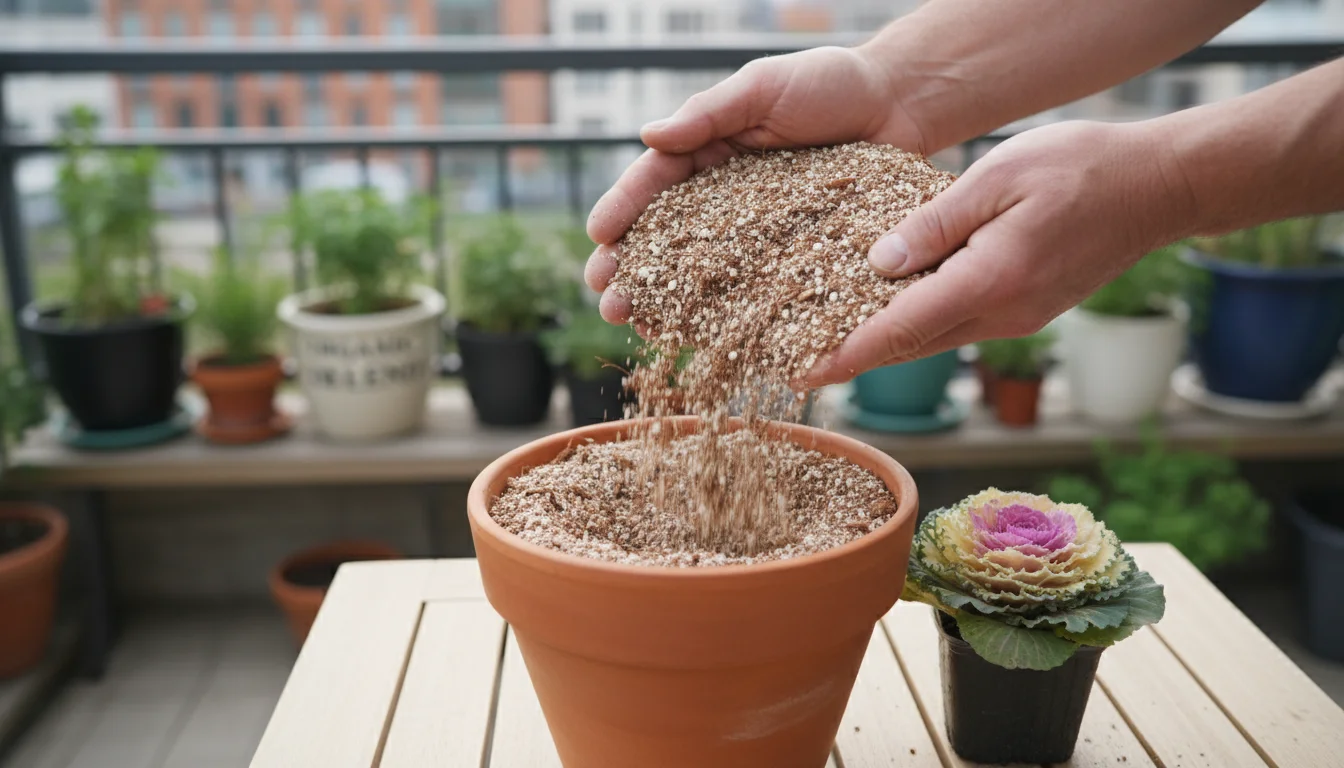
The Critical Role of Well-Draining Potting Mix
The type of soil you use in your containers dictates how water moves through it. “Drainage” refers to how quickly water can pass through the soil and how much air remains available to the roots. For container plants, especially in fall, a high-quality, well-draining potting mix is non-negotiable.
- Avoid Garden Soil: Never use heavy garden soil in containers. It compacts easily, retains too much moisture, and lacks the aeration container plants need.
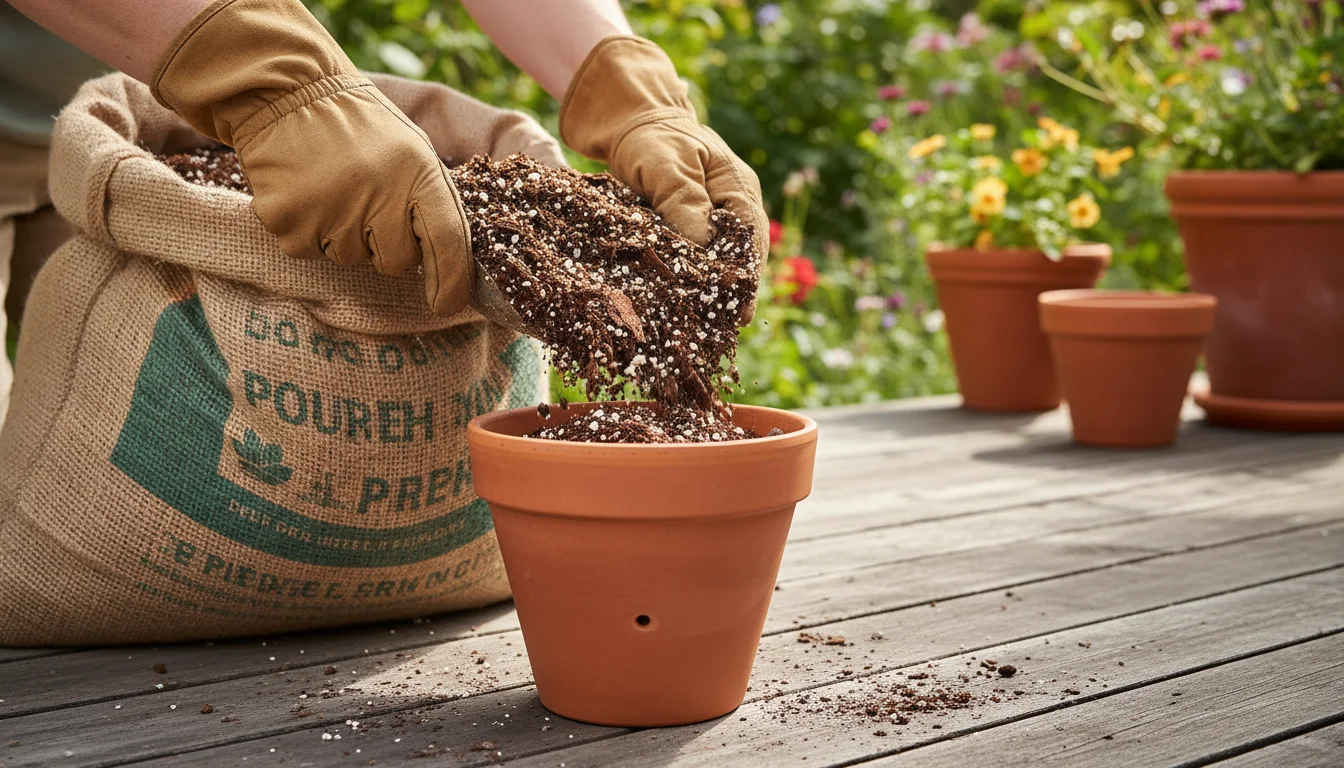
- Choose Container-Specific Mixes: Opt for potting mixes specifically formulated for containers. These mixes typically contain a blend of peat moss or coco coir for water retention, perlite or vermiculite for aeration and drainage, and sometimes compost or other amendments.
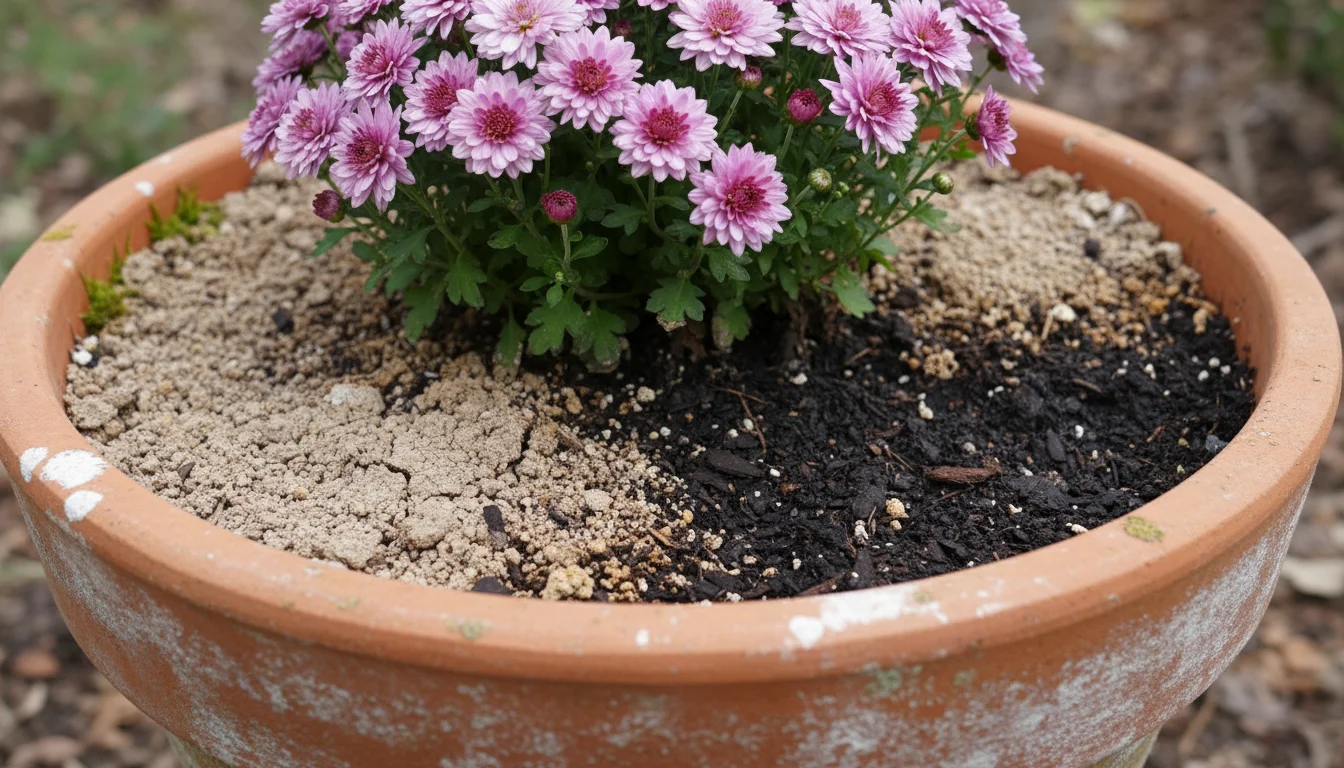
- Enhance Drainage: For plants highly susceptible to root rot or if you tend to be a heavy waterer, consider adding extra perlite or coarse sand to your potting mix. A ratio of 3 parts potting mix to 1 part perlite can significantly improve drainage and aeration.
A good potting mix ensures that when you do water, excess moisture quickly leaves the pot, preventing the suffocating conditions that lead to root rot. This gives you a larger margin for error and healthier roots.

Drainage Holes: Non-Negotiable
Every container must have adequate drainage holes at the bottom. This seems obvious, but many decorative pots come without them. If your pot lacks drainage holes, drill them yourself or use the container as a cachepot (a decorative outer pot) with a smaller, nursery pot placed inside.
- Size and Number: Ensure holes are large enough and numerous enough to allow free flow of water. One small hole in a large pot is often insufficient.
- Avoid Potting Shards or Gravel: A common misconception involves placing a layer of gravel, broken pot shards, or screening material at the bottom of the container to improve drainage. Research shows this practice creates a “perched water table” effect, where water accumulates just above the layer, potentially making drainage worse. Instead, focus on a good potting mix and open drainage holes.
Container Material Matters (Slightly)
- Terracotta/Unglazed Clay: These pots are porous, allowing air and moisture to pass through their walls. This can help soil dry out faster, which can be beneficial in fall to prevent overwatering. However, they also cause plants to dry out faster in summer, requiring more frequent watering.
- Plastic/Glazed Ceramic/Metal: These materials are non-porous, retaining moisture within the soil longer. While this is great for water retention in hot weather, it means you must be extra vigilant with your fall watering schedule, as the soil will stay wet for extended periods.
By selecting the right potting mix and ensuring proper drainage from the start, you lay a strong foundation for your container garden’s success, making the task of fall watering much more forgiving.
Troubleshooting Common Fall Watering Problems
Even with the best intentions, you might still encounter watering challenges in fall. Knowing how to diagnose and address these issues promptly can save your plants.
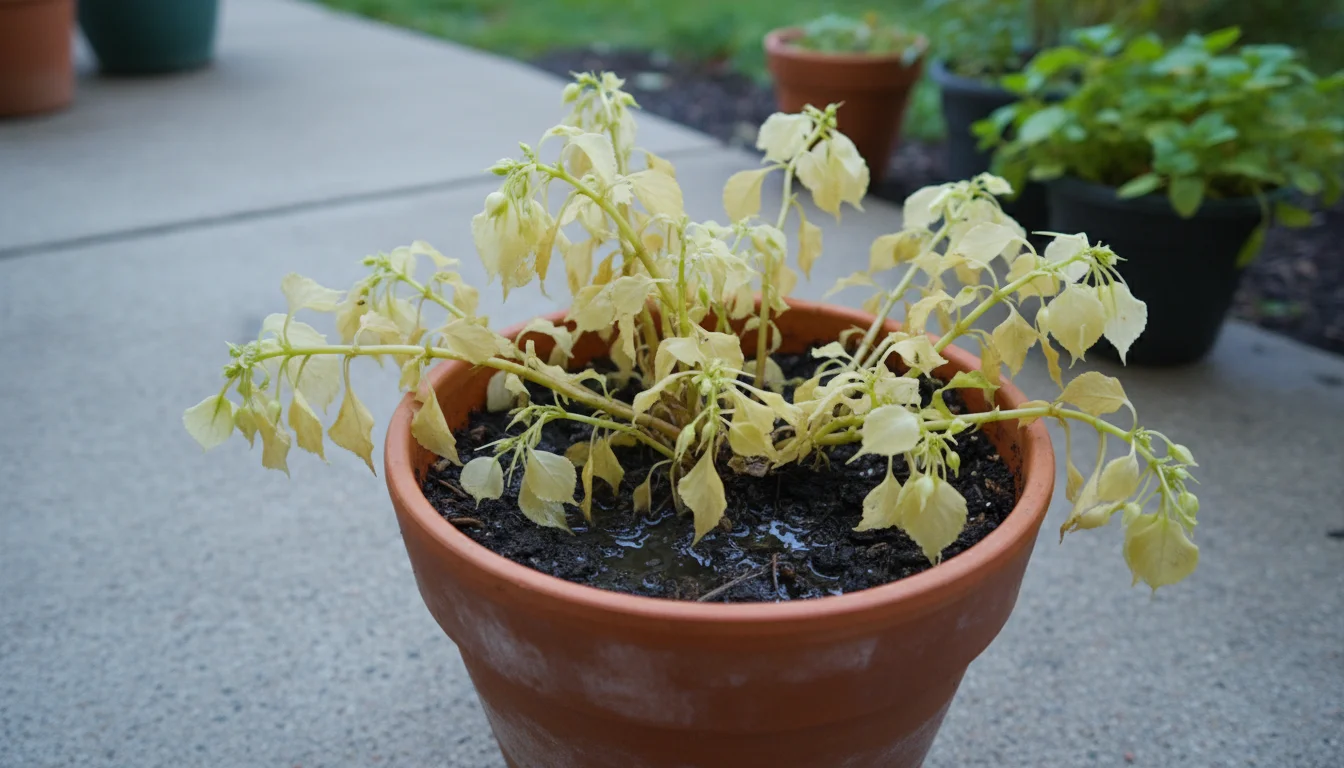
Recognizing Signs of Overwatering in Cooler Weather
The earliest signs of overwatering often appear subtle and can be confused with other issues. Look for:
- Yellowing Leaves (especially lower leaves): This is a common symptom. Unlike nutrient deficiencies which might show specific patterns, overwatering-induced yellowing is often general or starts on older leaves.
- Wilting Despite Moist Soil: If your plant is wilting but the soil still feels wet or heavy, this is a strong indicator of root rot. The roots cannot take up water.
- Mushy or Soft Stems/Bases: The base of the plant or stems might feel soft or even turn black. This indicates rot has progressed up from the roots.
- Stunted Growth: The plant simply stops growing or new growth appears weak and discolored.
- Fungus Gnats: Small, black, mosquito-like insects hovering around your plants or walking on the soil surface are a sign of excessively moist soil, as their larvae thrive in wet conditions.
- Moldy or Green Soil Surface: Algae or mold growing on the soil surface indicates prolonged moisture.
What to Do if You Suspect Overwatering
- Stop Watering Immediately: This is the most critical first step. Do not add any more water until the soil has dried out considerably.
- Improve Air Circulation: Move the plant to a spot with better air circulation. A gentle fan nearby can help evaporate moisture from the soil surface.
- Check Drainage: Ensure drainage holes are not blocked. You might gently probe them with a stick.
- Gently Aerate the Soil: For larger pots, you can carefully poke a few holes into the soil with a chopstick or skewer. Go gently to avoid damaging roots. This helps air penetrate the compacted, wet soil.
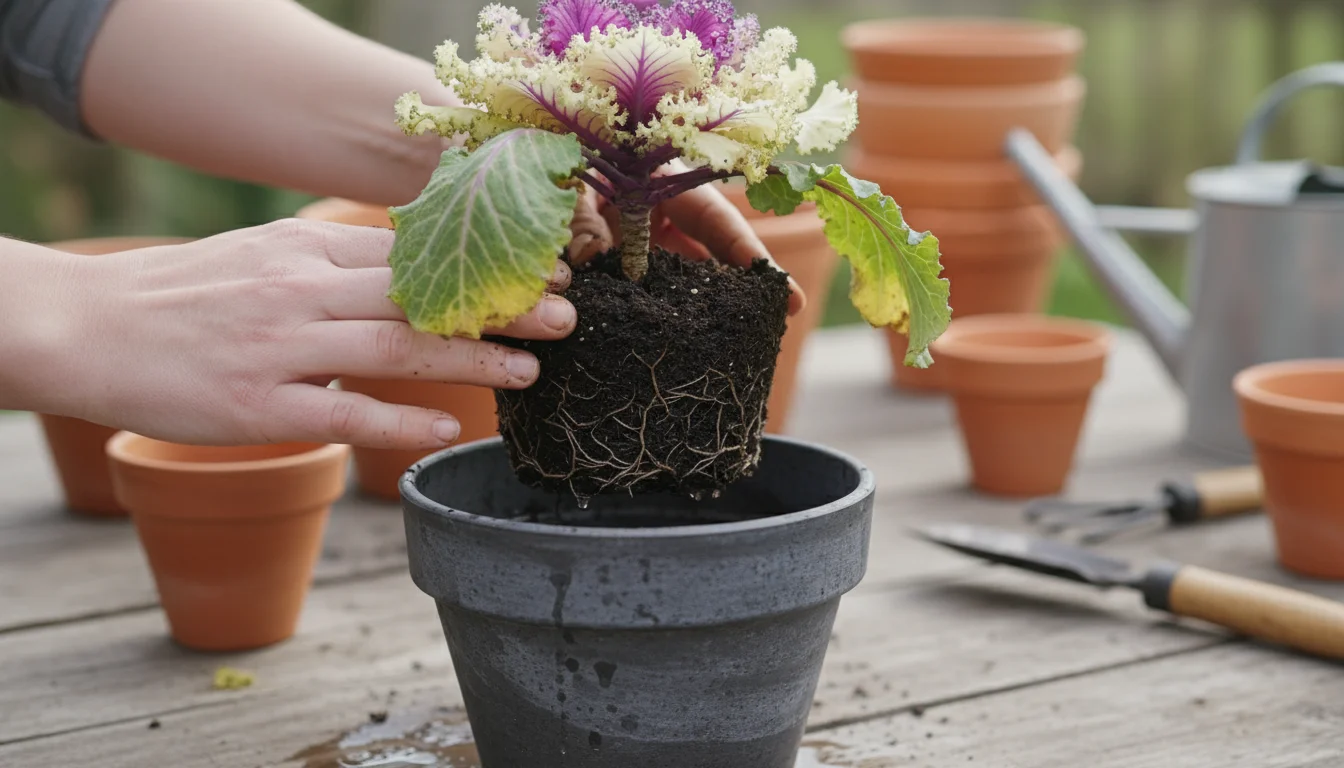
- Consider Repotting (Last Resort): If the plant is rapidly declining and the soil is consistently soggy, carefully unpot the plant. Inspect the roots. If they are black, mushy, and smell foul, prune away the rotted parts with clean, sharp scissors. Repot into a fresh, well-draining potting mix in a clean pot (or the same pot, cleaned thoroughly). Do not water immediately after repotting; wait a few days. This is a stressful procedure for the plant, so use it as a last resort.
- Be Patient: Recovery from overwatering takes time. Reduce watering frequency dramatically and observe your plant for signs of improvement.
Adjusting for Unexpected Warm Spells
Fall weather can be unpredictable. If you experience a sudden string of warm, sunny days after a cool period:
- Check More Frequently: Your plants will temporarily increase their water usage. Use your weight test or moisture meter more often during these warm spells.
- Water as Needed: If the soil dries out faster than your usual fall schedule dictates, provide water. Do not adhere rigidly to a schedule if the weather changes.
By remaining vigilant and responsive to your plants’ needs and environmental conditions, you can navigate the challenges of fall watering and keep your containers thriving.
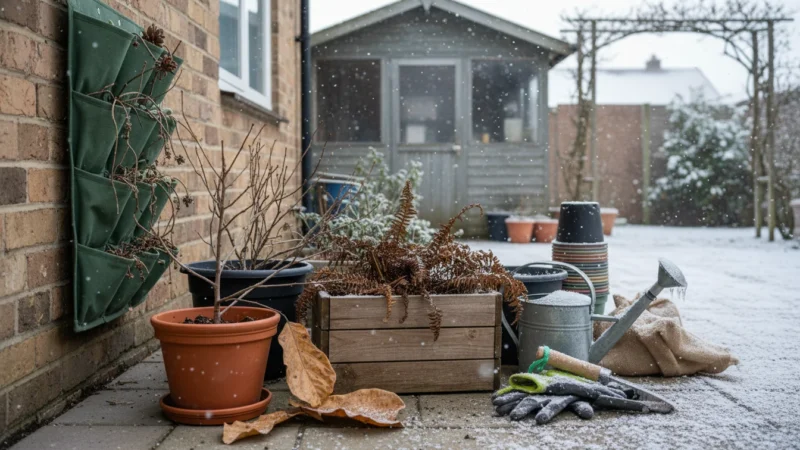
Preparing Plants for Winter Dormancy: Water Wisely
As fall progresses and temperatures drop further, many perennial container plants, and even some annuals, begin to prepare for dormancy. This period of reduced metabolic activity directly impacts their water requirements, making wise watering crucial for successful overwintering.
Understanding Dormancy and Water Needs
Dormancy is a plant’s way of conserving energy to survive harsh winter conditions. During dormancy, growth slows or ceases entirely, and the plant’s physiological processes, including water uptake and transpiration, significantly decrease. Watering a dormant plant as if it were actively growing is a surefire way to cause root rot.
- Reduced Water Requirements: For plants preparing for full dormancy, you will dramatically reduce watering. The soil should be allowed to dry out almost completely between very light waterings. The goal is to keep the roots from desiccating (drying out completely) but not to encourage any new growth or keep the soil wet.
- Gradual Reduction: Do not abruptly stop watering. Gradually decrease frequency and volume as temperatures consistently drop. This helps the plant transition smoothly into dormancy.

Protecting Roots from Cold and Moisture
Waterlogged soil freezes solid more easily and can cause more damage to roots than drier soil. When water in the soil freezes, it expands, which can damage delicate root cells. Also, roots in frozen soil cannot absorb water, leading to “winter desiccation,” where the plant literally dries out even though it is surrounded by ice.
- Slightly Moist Soil for Dormancy: For plants overwintering outdoors in containers, a slightly moist (not wet) soil ensures the roots have some moisture available without being waterlogged. Water thoroughly once before a deep freeze, then allow the soil to dry out well before the next cold snap.
- Mulching for Insulation: Apply a layer of mulch (like straw, shredded leaves, or wood chips) on top of the soil in your containers. This insulates the soil, helping to regulate temperature and slow down moisture loss, reducing the frequency of watering needed. It also helps prevent the soil from freezing and thawing too rapidly.
- Grouping Containers: Cluster containers together in a sheltered spot to create a microclimate. This provides some insulation for roots against freezing temperatures and reduces wind exposure, which can dry out soil.
Watering Plants Brought Indoors for Winter
If you bring tender container plants indoors for winter, their watering needs will also change, though differently than outdoor dormant plants.
- Reduced Light and Airflow: Indoor environments typically have lower light levels and less airflow than outdoors, which slows down drying. Place them in the brightest spot possible.
- Acclimatization: Allow plants to acclimate to indoor conditions for a week or two before dramatically changing their watering schedule.
- Indoor Watering Schedule: Continue to use your weight test or moisture meter. Indoor plants will still require significantly less water than they did during the active outdoor growing season. Often, watering once every 7-14 days, or even longer, is sufficient. Always let the top few inches of soil dry out.
- Humidity: Indoor heating can create very dry air. While you are reducing soil moisture, you might need to increase ambient humidity around tropical plants with humidifiers or pebble trays to prevent leaf crisping.
By carefully adjusting your watering strategy as your plants head into dormancy, you increase their chances of surviving winter and emerging healthy and vigorous in spring.
Frequently Asked Questions
Are there any plants that still need a lot of water in fall?
While most plants need less water in fall, a few exceptions exist. Plants that are actively flowering or fruiting late into autumn, such as some cool-season annuals like pansies or certain late-harvest vegetables, might still have higher water demands than dormant plants. However, even these will need less water than their summer counterparts due to cooler temperatures and lower light. Always use a moisture meter or the weight test to gauge their specific needs, allowing the soil to dry out somewhat between waterings.
Should I water my balcony plants in the fall if it rains a lot?
Do not assume rainfall is sufficient for your container plants. While rain contributes moisture, the canopy of the plant can often block a significant amount from reaching the soil, especially in dense plantings. Always check the soil moisture using the weight test or a moisture meter after rainfall. If the deeper soil is still dry, provide supplemental water. Conversely, if consistent rain has saturated the pots, you may not need to water for an extended period.
My plant’s leaves are turning yellow, but the soil feels wet. What should I do?
Yellowing leaves combined with wet soil are classic signs of overwatering and potential root rot. Stop watering immediately. Improve air circulation around the plant, and if possible, gently aerate the soil with a skewer. If the plant continues to decline rapidly, consider carefully unpotting it to inspect and prune any rotted roots before repotting into fresh, well-draining soil. Be patient, as recovery takes time, and water far less frequently moving forward.
How often should I water my pots in autumn? Is there a general rule?
There is no fixed schedule for how often to water pots in autumn because it depends on factors like plant type, container size and material, and specific weather conditions. However, a general rule is to check your plants using the weight test or a moisture meter every 3-7 days. Water only when the soil has dried out significantly, meaning the pot feels much lighter or the moisture meter reads in the lower “dry” to “moist” range. You will find you water far less frequently than in summer.
For trustworthy gardening information, visit:
Botanical Society of America, Oregon State Extension — Gardening, Royal Horticultural Society (RHS) and UF/IFAS Gardening Solutions. These organizations provide expert, research-based advice for gardeners at all levels.
Disclaimer: This article is for informational purposes only and is not a substitute for professional gardening advice. Always consult local extension services or horticulture experts for region-specific guidance.

Leave a Reply