As a devoted small-space gardener, you have likely heard the golden rule: avoid repotting your houseplants in the winter. This advice, deeply ingrained in gardening wisdom, suggests that cooler temperatures and shorter daylight hours put plants into a dormant or semi-dormant state, making repotting a stressful, potentially harmful undertaking. While this general guideline holds merit, the reality of indoor gardening, especially in compact living spaces, often presents unique challenges.
You face situations where a plant’s health simply cannot wait for spring. Perhaps you discovered your beloved monstera is severely root bound, its roots circling desperately, or your peace lily suddenly developed root rot from an overzealous watering. For the practical gardener, understanding when to bend the rules and how to do it safely is crucial. This article cuts through the conventional wisdom to provide you with actionable insights, helping you decide if, and how, you can successfully undertake repotting houseplants even when the weather outside is bleak.
Understanding Winter Dormancy: Why Conventional Wisdom Says No
Most houseplants originate from tropical and subtropical regions, where seasons often translate to wet and dry periods rather than distinct hot and cold. However, when these plants move into your home, they adapt to the environmental cues of your temperate climate. Shorter daylight hours and often cooler indoor temperatures signal to your plants that it is time to slow down. This slowdown is what gardeners refer to as dormancy or a period of reduced growth.
In many cases, you can avoid the stress of a full transplant by performing a mid-winter soil refresh to replenish nutrients without disturbing the roots.
During dormancy, your plant’s metabolic processes decrease significantly. It uses less water and nutrients, and its energy is conserved rather than directed towards producing new leaves or extensive root systems. Think of it as a long nap for your plant. Repotting a plant in this state is akin to waking someone from a deep sleep and immediately asking them to run a marathon. The plant’s systems are not geared for active recovery, making it more vulnerable to stress, shock, and potential decline.
The primary concerns with winter repotting revolve around several factors:
- Reduced light: Winter days offer less intense and fewer hours of sunlight, which is crucial for photosynthesis. After repotting, plants need ample energy to establish new roots and recover. Limited light hinders this vital process.
- Temperature fluctuations: While your indoor temperature might be stable, the ambient temperature near windows or during drafts can fluctuate. Consistent warmth supports plant recovery, which can be harder to maintain in winter.
- Slower root growth: Dormant plants do not actively push out new roots. When you repot, you inevitably disturb the existing root ball. Without vigorous new root growth to anchor the plant in its new soil, it struggles to absorb water and nutrients efficiently. This can lead to transplant shock, manifesting as wilting, leaf drop, or a general failure to thrive.
- Increased risk of overwatering: A repotted plant with damaged roots and reduced metabolic activity uses far less water than an established, actively growing one. Placing it in a larger pot with fresh, moist soil significantly increases the risk of waterlogging, leading to root rot, a common houseplant mistake.
These are valid reasons to generally avoid repotting in winter. However, life and plants are not always so straightforward. There are specific, urgent situations where waiting for spring is not an option, and acting decisively, even in winter, becomes the lesser of two evils for your plant’s survival.
When Is Repotting in Winter Truly Necessary? Spotting Urgent Needs
While the general advice stands to repot during spring or summer when plants are actively growing, certain critical scenarios necessitate immediate action, regardless of the season. Identifying these situations is key to preventing long-term damage or even plant death. You need to be a vigilant observer of your plants, understanding their signals for distress.
Here are the compelling reasons when to repot a root bound plant in winter or address other emergencies:
- Severe Root Rot: This is perhaps the most urgent reason. Root rot occurs when roots sit in overly wet, poorly aerated soil, leading to fungal or bacterial infections. Affected roots turn soft, mushy, and dark brown or black, often emitting a foul odor. If you notice yellowing leaves, wilting despite moist soil, or stunted growth combined with a musty smell from the soil, inspect the roots immediately. If root rot is present, you must repot to save the plant. Delaying action guarantees the rot will spread, killing the plant.
- Pest Infestation in the Soil: While common pests like spider mites and mealybugs typically appear on foliage, some, like fungus gnats, thrive in moist soil, and severe infestations can irritate plants. More critically, root mealies or other soil-borne pests can directly attack the root system. If you identify a persistent and damaging soil pest problem that cannot be controlled by topical treatments or beneficial nematodes, a full soil change and root inspection through repotting become essential.
- Extreme Root Bounding Causing Decline: While moderate root bounding can wait, severe cases suffocate the plant. If you see roots circling so tightly that they form a dense, impenetrable mat, or if they are growing out of the drainage holes in large quantities, the plant struggles to absorb water and nutrients. Its growth will be severely stunted, and you may notice chronic wilting or nutrient deficiencies despite regular care. In such extreme scenarios, the plant is already under immense stress, and carefully repotting it in winter might be its best chance at survival.
- Contaminated or Degraded Soil: Sometimes, the soil itself becomes the problem. This can happen if you used poor quality potting mix, if the soil has become compacted over time, or if it has developed a toxic buildup of fertilizers. If your plant is showing signs of distress that are not related to watering or pests, and you suspect the soil is the culprit, a fresh start is necessary. Repotting provides new, healthy growing medium, allowing the plant to recover.
- Damaged Pot: An accidental drop or crack in the pot that compromises its integrity or drainage system requires immediate attention. A broken pot cannot properly support the plant or facilitate drainage, making a swift transfer necessary to a new, intact container.
These situations represent emergencies where the risk of doing nothing outweighs the risk of repotting in winter. Your goal here is not to encourage vigorous growth, but to stabilize the plant and address the immediate threat to its survival.
Clear Signs Your Houseplant Demands Immediate Repotting, Even in Winter
You need to be a keen observer to catch the subtle (and sometimes not so subtle) cues your houseplant sends. These signs a houseplant needs repotting immediately are not always about size, but about distress or critical growth limitations.
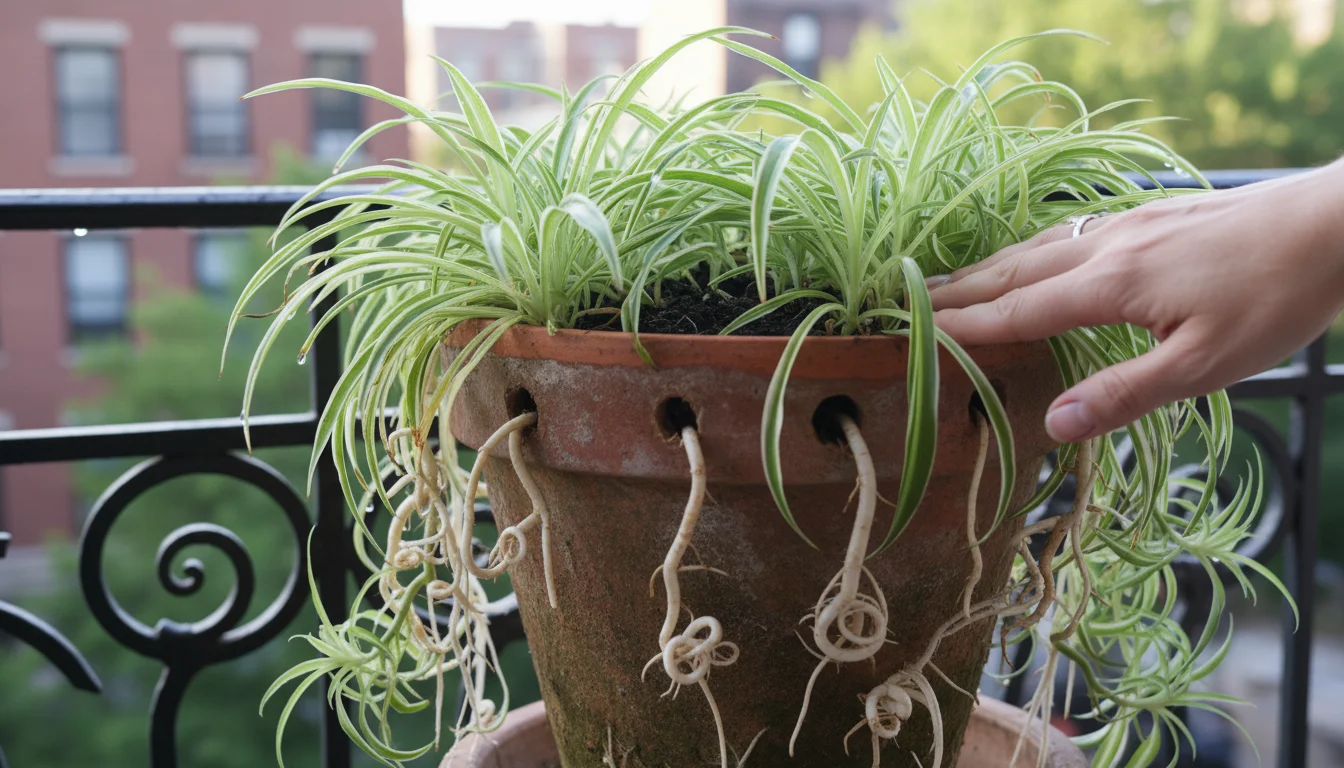
- Roots Emerging from Drainage Holes or Top of Soil: This is the most common and visible sign of root bounding. If you see thick mats of roots escaping through the bottom of the pot, or even pushing up above the soil surface, your plant has outgrown its current home. While some plants tolerate this for a while, extreme cases hinder water and nutrient uptake.
- Water Running Straight Through the Pot: When you water, does the water immediately drain out the bottom without seeming to soak into the soil? This indicates that the pot is so packed with roots that there is little to no soil left to retain moisture. The roots form a dense barrier, preventing proper hydration, leading to chronic dehydration despite frequent watering.
- Rapid Soil Drying: Does your plant’s soil dry out significantly faster than it used to, requiring daily watering? This is another indicator that roots have taken over, leaving minimal soil to hold moisture.
- Stunted Growth or No New Growth: If your plant, which normally grows steadily, has suddenly stopped producing new leaves, or if new leaves are significantly smaller than older ones, it could be a sign it is root bound and starving for space and nutrients.
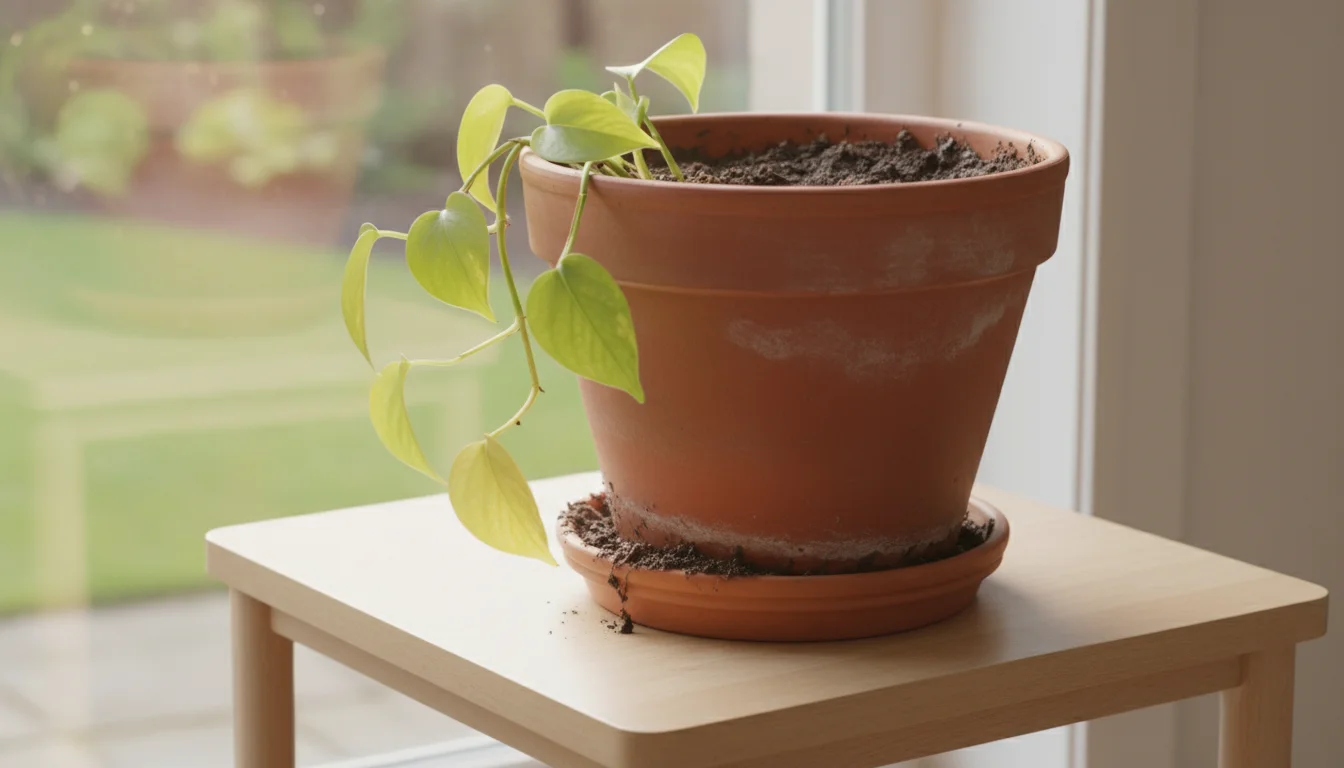
- Yellowing Leaves and Dropping Foliage (not pest related): Persistent yellowing of lower leaves or general leaf drop, especially if not attributable to pests, disease, or watering issues, can signal nutrient deficiency due to a lack of available soil or inefficient uptake by compacted roots.
- Plant Topples Easily: A top-heavy plant that frequently tips over might have a root system that is disproportionately small for its upper growth, or it simply lacks the stable base provided by a healthy amount of soil.
- Salt Buildup on Pot and Soil: A white, crusty residue on the rim of the pot or on the soil surface indicates a buildup of mineral salts from tap water and fertilizers. While a minor buildup can be flushed, excessive accumulation can burn roots and impair water absorption, requiring a fresh start with new soil.
If you observe one or more of these signs, especially in conjunction with the emergency situations discussed earlier, you must consider winter repotting as a necessary intervention. Addressing these issues swiftly can prevent a temporary slowdown from becoming a permanent decline for your cherished houseplant.
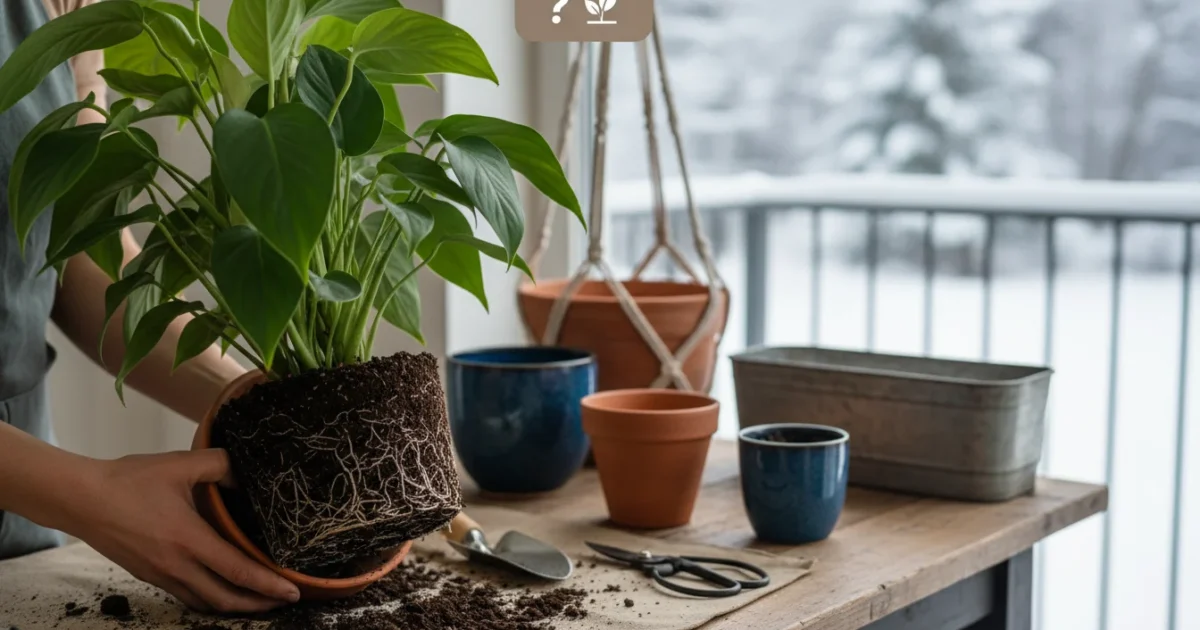
A Focused Approach to Winter Repotting: Minimizing Stress and Maximizing Success
If you determine that repotting in winter is unavoidable, your approach must be measured and strategic. The goal is to minimize stress on your plant. You are not aiming for explosive growth, but for stabilization and survival until spring. Follow these steps carefully:
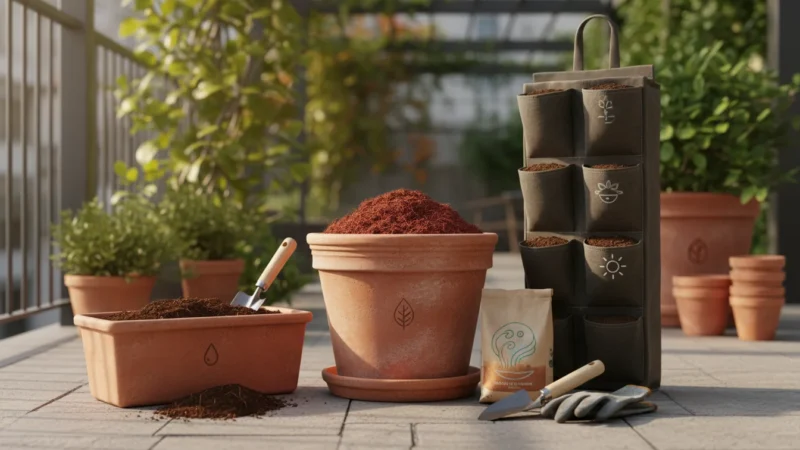
Before you begin, ensure you have your mini tool kit for winter houseplant care ready with all the essentials.
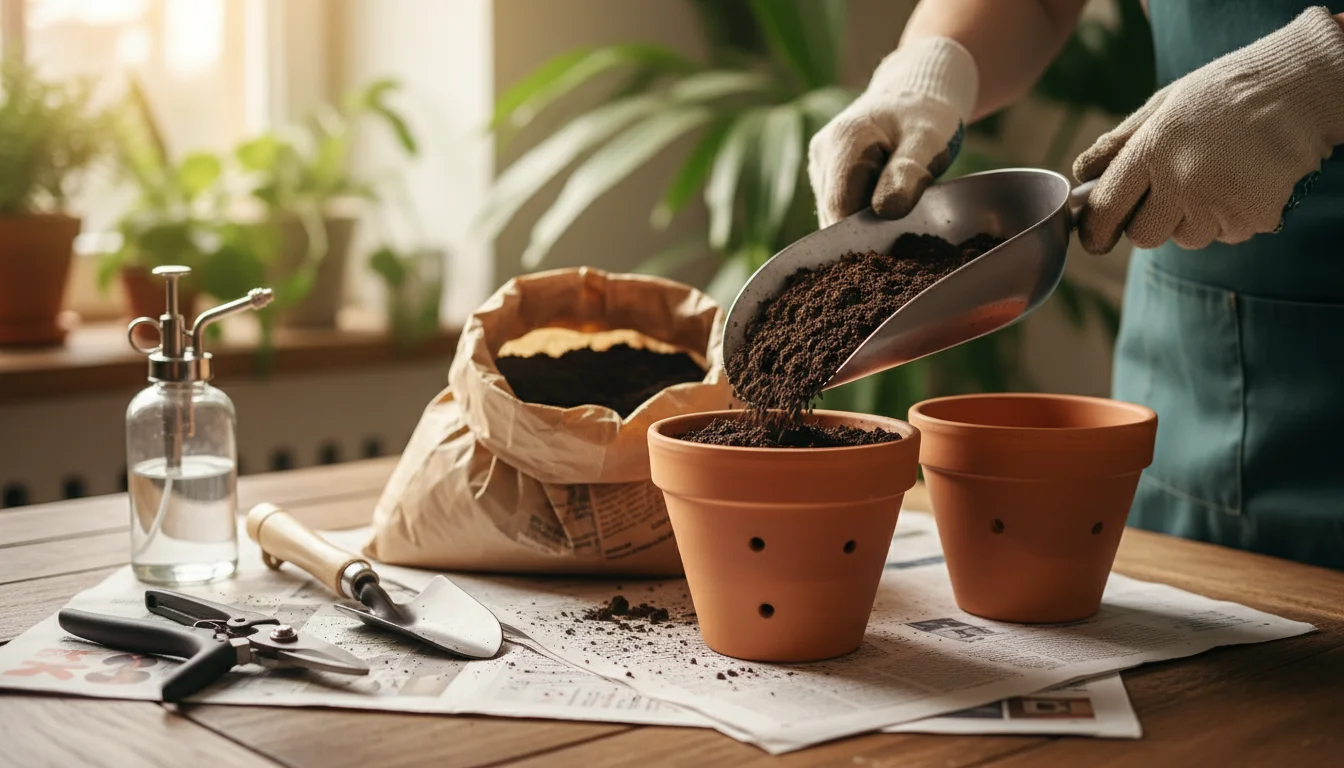
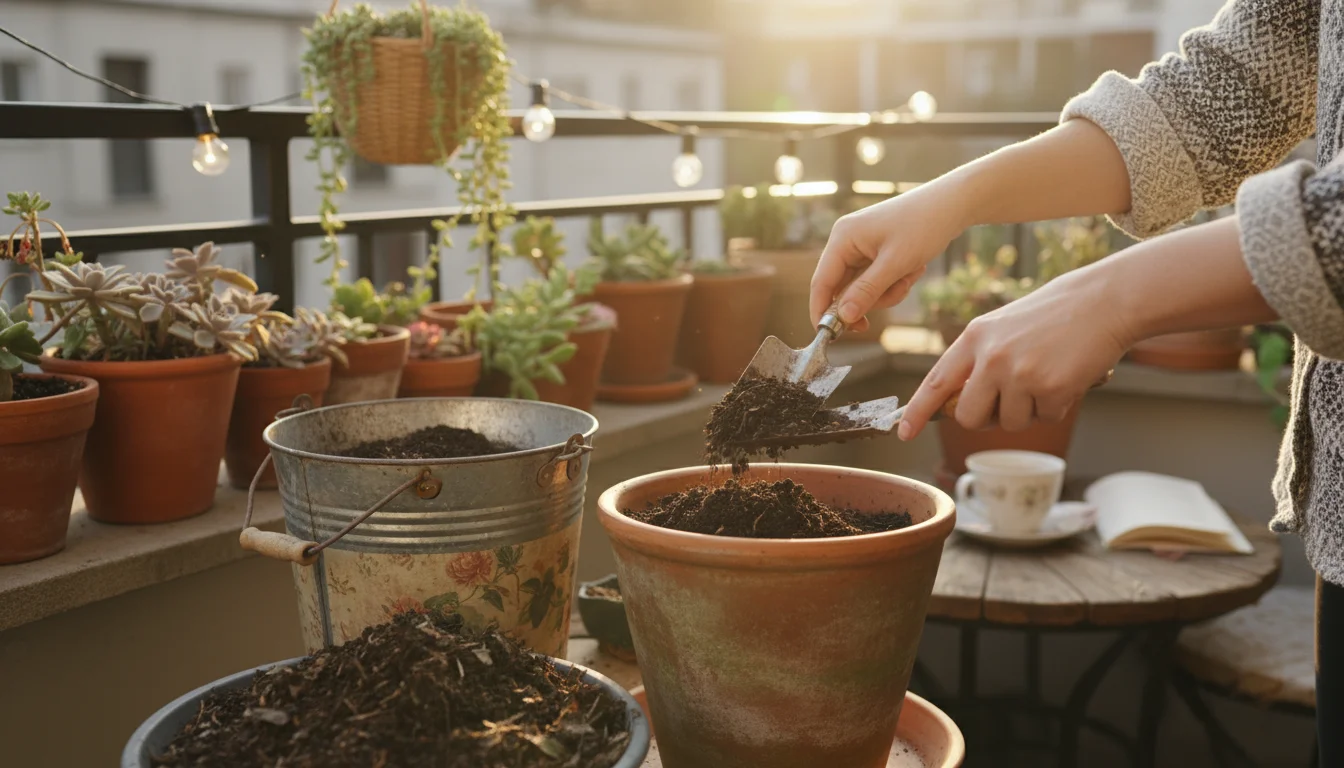
- Prepare Your Workspace and Supplies:
- Choose a warm, well-lit area indoors, away from drafts.
- Gather all necessary supplies: new pot (only slightly larger if increasing size), fresh, appropriate potting mix, sharp sterilized pruners or scissors, gloves, a trowel, and a tarp or newspaper to protect your surface.
- Allow your new potting mix to come to room temperature if stored in a cold area.
- Water Your Plant (Lightly) Before Repotting:
- Water the plant lightly a day or two before repotting. This makes the soil easier to remove and helps keep the root ball intact. Avoid soaking the soil, as excessively wet roots are fragile and prone to breaking.
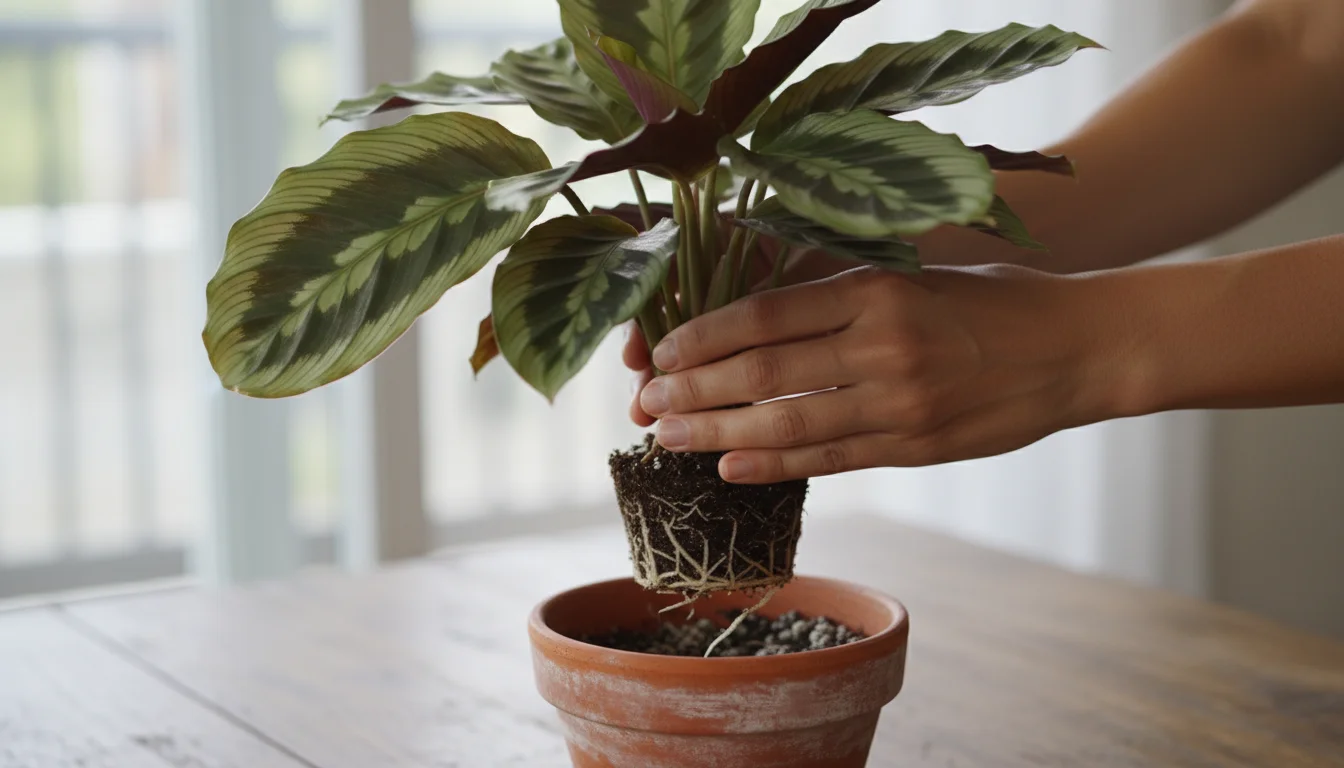
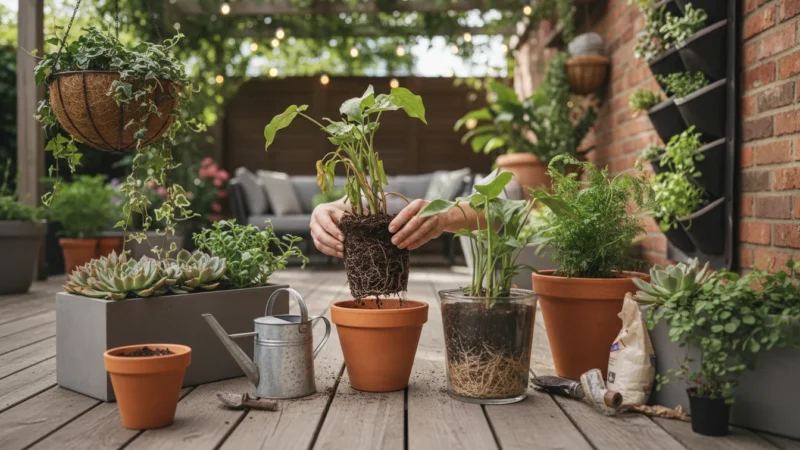
- Gently Remove the Plant:
- Turn the pot on its side, or if the plant is small, place your hand over the soil, supporting the base of the plant between your fingers.
- Gently tap the rim of the pot on a hard surface, or squeeze flexible plastic pots, to loosen the root ball.
- Slowly slide the plant out of its old container. Avoid pulling the plant by its stem, which can cause severe damage.
- Inspect and Prune Roots (Only When Necessary):
- Carefully examine the root ball. If you are addressing root rot, use your sterilized pruners to cut away all affected, mushy, or discolored roots. Cut back to healthy, firm, white root tissue.
- For extremely root-bound plants, gently tease apart some of the outer circling roots with your fingers. Do not aggressively untangle or prune healthy roots during winter repotting, as this causes significant stress. The goal is minimal disturbance.
- If you are not addressing rot or severe root bounding, disturb the root ball as little as possible.
- Choose the Right Pot Size (Crucial for Winter Repotting):
- If your plant is root bound and you are upsizing, choose a new pot only one size larger (e.g., from a 6-inch to an 8-inch pot). A pot that is too large holds excess moisture, increasing the risk of root rot during a plant’s dormant period.
- If you are repotting due to root rot or soil issues and not upsizing, use a clean pot of the same size, or even slightly smaller if you removed a significant portion of the root system. Ensure the pot has adequate drainage holes.
- Add Fresh Potting Mix:
- Place a layer of fresh, appropriate potting mix at the bottom of the new pot. The amount depends on the size of your plant and the new pot. You want the plant’s base to sit at the same level in the new pot as it did in the old one.
- Position the Plant and Fill with Soil:
- Center the plant in the new pot.
- Fill around the root ball with fresh potting mix, gently tamping it down to remove large air pockets. Leave about an inch of space from the rim of the pot to the soil line for watering.
- Do not press the soil down too firmly, as this can compact it and reduce aeration.
- Water Sparingly:
- Give the plant a light watering immediately after repotting to help settle the soil and reduce transplant shock.
- Avoid drenching the soil, especially in winter. The goal is just enough moisture to help the roots connect with the new soil.
Remember, the less disturbance, the better. Your primary objective is to address the urgent problem, not to stimulate aggressive new growth. Handle your plant with extreme care and gentleness throughout the process.
Choosing the Right Pot and Soil for Winter Repotting Success
Selecting the correct pot and an appropriate potting mix is always important, but it becomes absolutely critical when undertaking repotting houseplants in the winter. Your choices directly influence the plant’s ability to recover and thrive during a challenging period.
For plants that require excellent aeration, following a beginner’s guide to amending potting mix can help prevent future drainage issues.

Pot Selection: Size and Material Matter
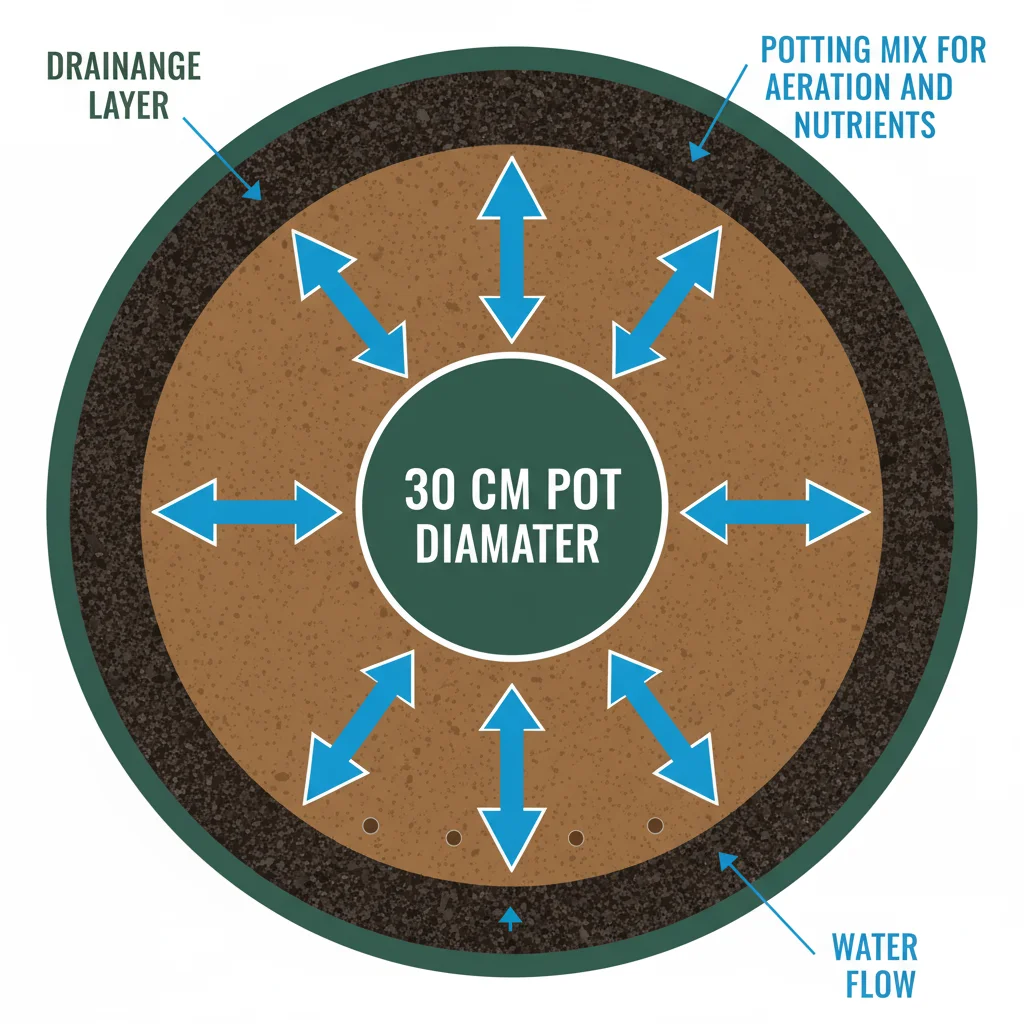
- Size: As mentioned, during winter, opt for a pot only one size larger (typically 1-2 inches in diameter) if you are upsizing a root-bound plant. If you are addressing root rot or simply refreshing soil without significant root pruning, consider using a pot of the same size. An oversized pot holds too much moisture, making the plant susceptible to root rot, especially when its water uptake is naturally reduced.
- Drainage: Non-negotiable. Ensure the pot has ample drainage holes at the bottom. Poor drainage is a leading cause of root rot, a risk amplified in winter. Avoid pots without holes, or be prepared to drill them yourself.
- Material:
- Terracotta/Unglazed Clay: These pots are porous, meaning they allow water to evaporate through their walls. This can be beneficial in winter as it helps prevent overwatering, making them a good choice for plants sensitive to moisture. However, they also dry out faster, so monitor your plant closely.
- Plastic/Glazed Ceramic: These materials are non-porous, retaining moisture longer. They are suitable for plants that prefer consistently moist soil, or if you are diligent with your watering routine. Because they hold water, the risk of overwatering is higher during dormancy, so exercise caution.
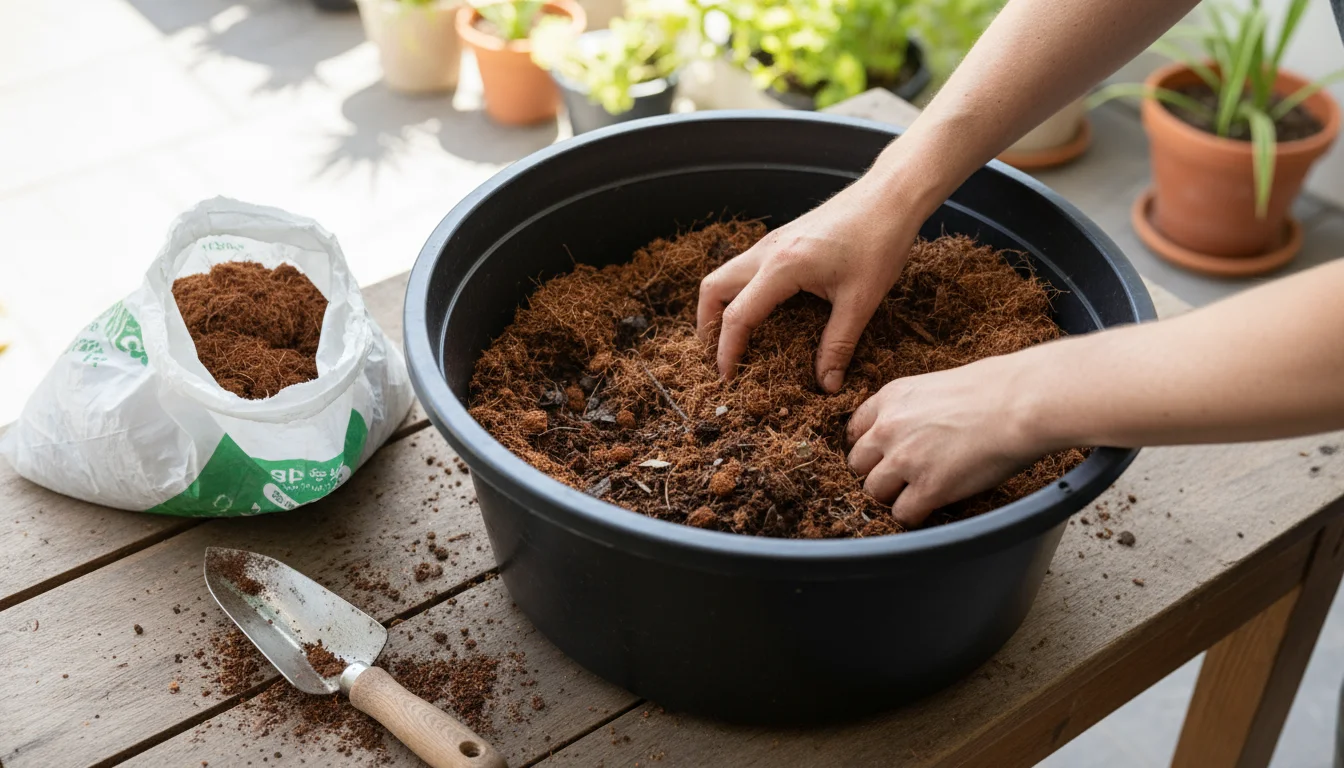
Potting Mix: The Foundation of Health
The right potting mix provides aeration, drainage, and nutrients. It is not just “dirt” from your garden. Garden soil is too dense for container plants and can introduce pests and diseases. For winter repotting, focus on a mix that offers excellent drainage and aeration.
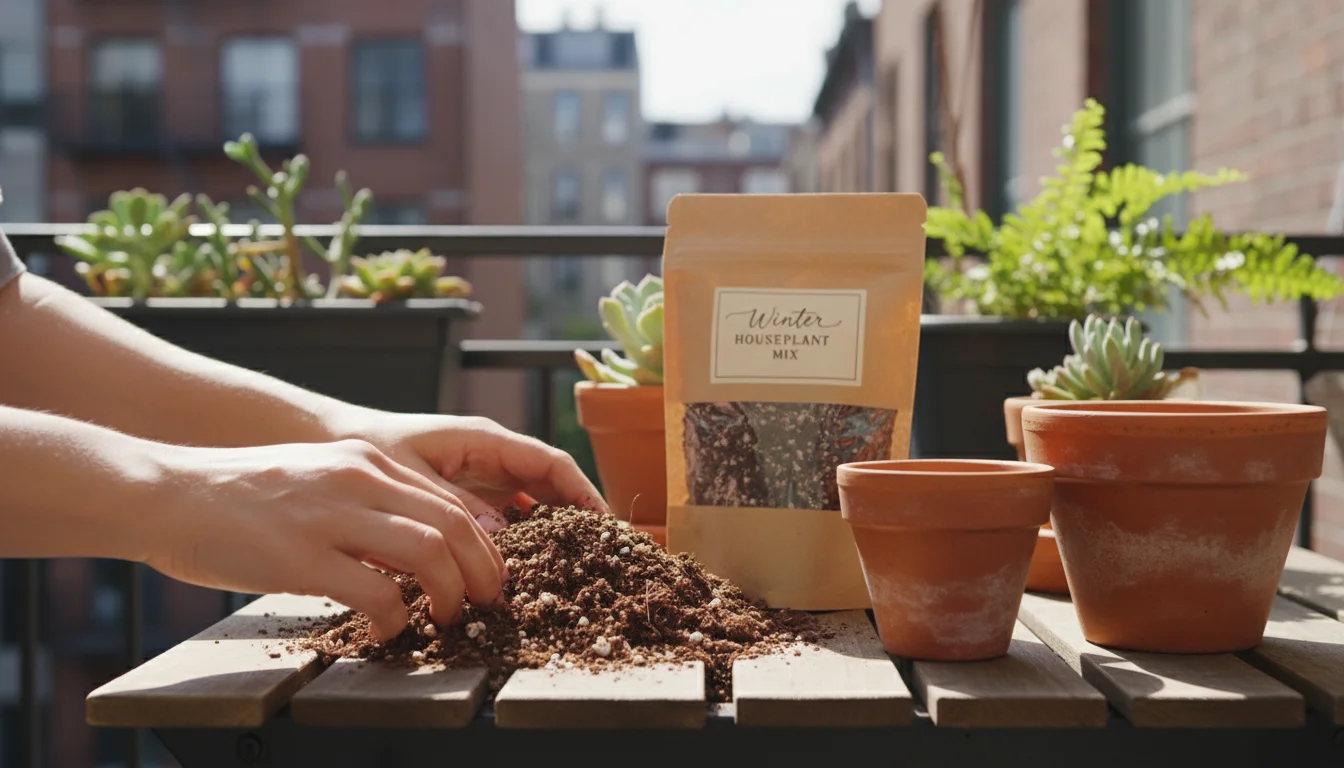
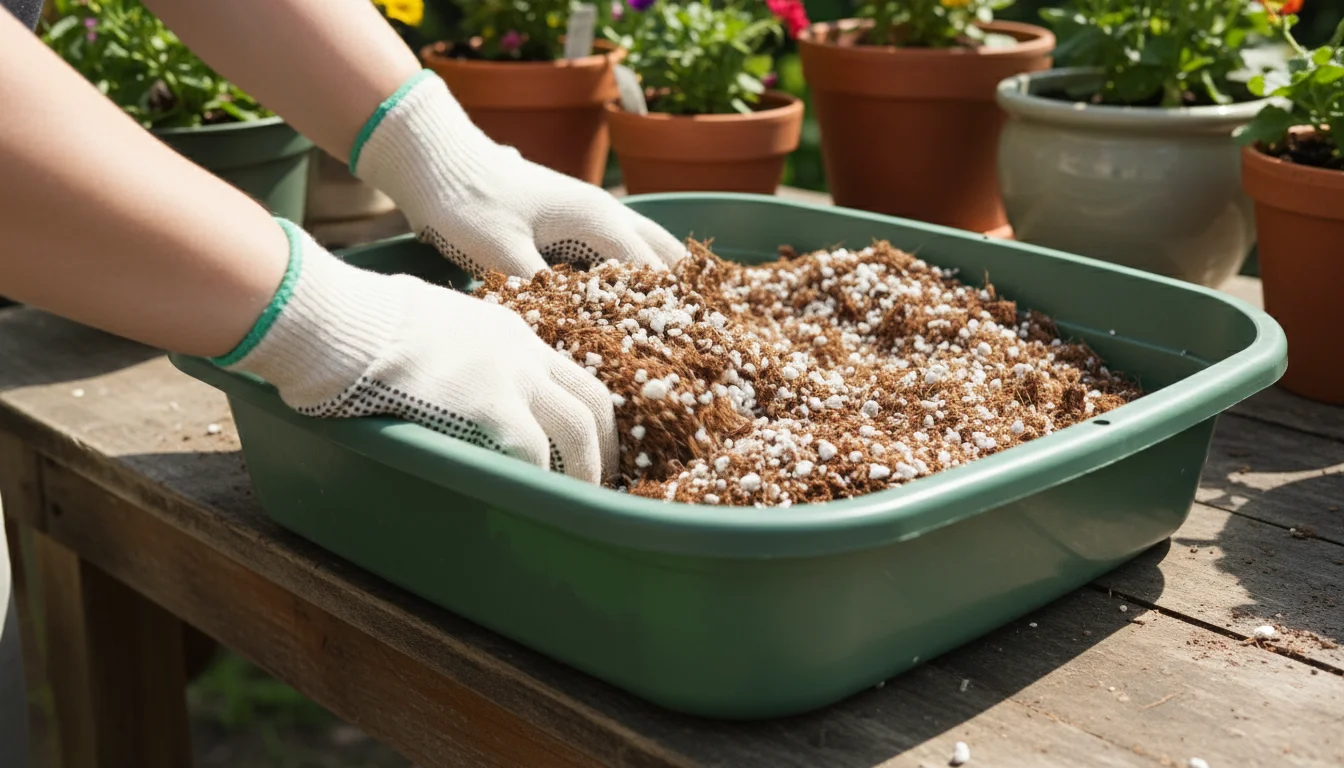
- General Houseplant Mix: A good quality, general-purpose potting mix formulated for houseplants is a solid starting point. These mixes typically contain peat moss (or coco coir for sustainability), perlite, and vermiculite.
- Enhanced Drainage: If your plant is prone to root rot or prefers drier conditions (like succulents, cacti, or snake plants), consider amending your general mix. You can add extra perlite or coarse sand (horticultural grade) to increase drainage. A ratio of 2 parts potting mix to 1 part perlite often works well for extra aeration.
- Avoiding Heavy, Water-Retentive Mixes: Steer clear of mixes designed for outdoor containers or those heavily reliant on dense, water-retaining components unless your specific plant demands it. In winter, less moisture retention is generally safer.
- Freshness: Always use fresh potting mix. Old, opened bags can harbor pests, diseases, or degrade in quality.
Remember, the goal in winter is survival and stabilization, not aggressive growth. Your choice of pot and soil should reflect this by minimizing moisture retention and providing optimal aeration to prevent root issues during a period of reduced plant activity.
Winter Repotting for Specific Plants: The Case of Snake Plants and Other Resilient Varieties
While most plants prefer warm-weather repotting, some resilient varieties handle a winter transition better than others. Understanding which plants are more forgiving can help alleviate your anxiety if an emergency repotting becomes necessary. This section addresses a common question: can I repot my snake plant in winter?
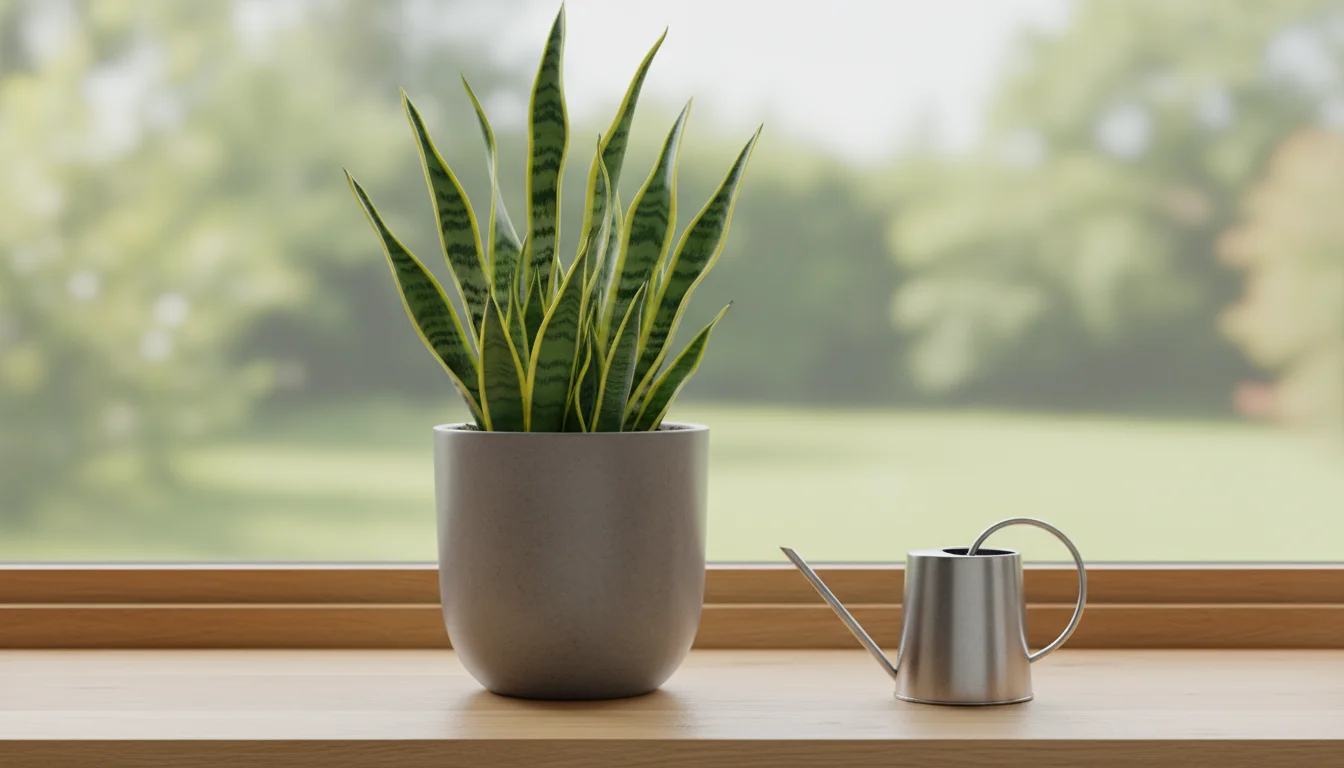
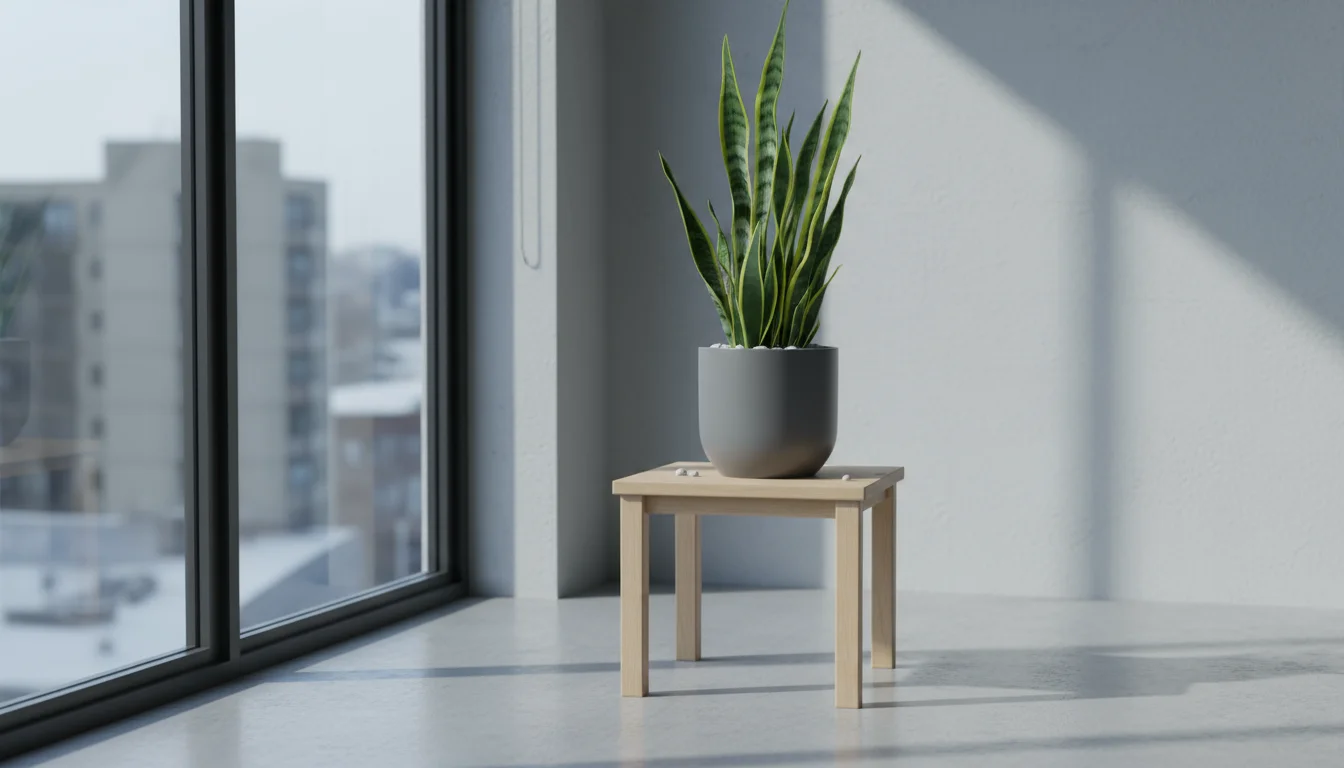
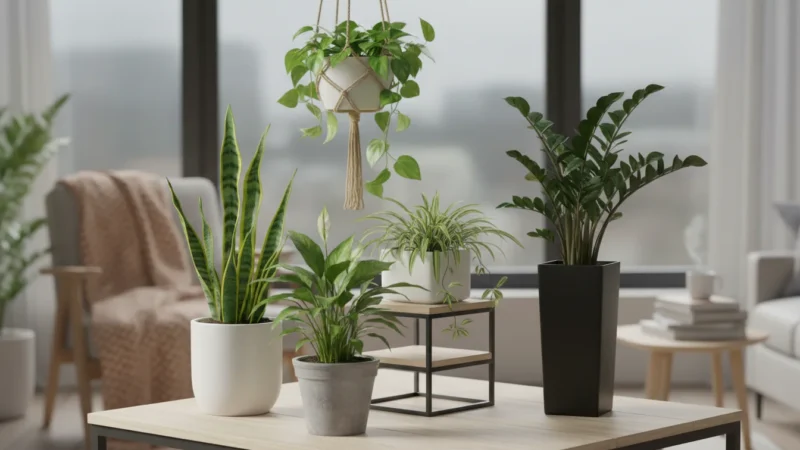
Snake Plants (Sansevieria trifasciata)
Snake plants are renowned for their hardiness and tolerance. They are excellent candidates for small-space, low-maintenance gardening. They are also among the most forgiving houseplants when it comes to winter repotting, under specific conditions. Why?
- Slow Growth Rate: Snake plants are slow growers, meaning they do not expend a lot of energy rapidly expanding their root system or foliage. This inherent slowness makes them less sensitive to minor disturbances.
- Drought Tolerance: They are succulent-like and store water in their leaves, making them very tolerant of dry conditions. This trait means they are less likely to suffer from overwatering in a fresh, larger pot during winter dormancy, provided you adjust your watering significantly.
- Resilience: Snake plants are tough. They can withstand a fair amount of stress and neglect, making them more forgiving of the temporary shock of winter repotting compared to more delicate species.
If your snake plant is severely root bound, with roots cracking its pot, or if you detect root rot, you can proceed with a winter repotting. Remember to use a well-draining succulent or cactus mix, and only go up one pot size. Afterward, provide minimal water and keep it in a warm, bright spot.
Other Resilient Varieties for Emergency Winter Repotting:
Beyond snake plants, other robust houseplants can tolerate emergency winter repotting:
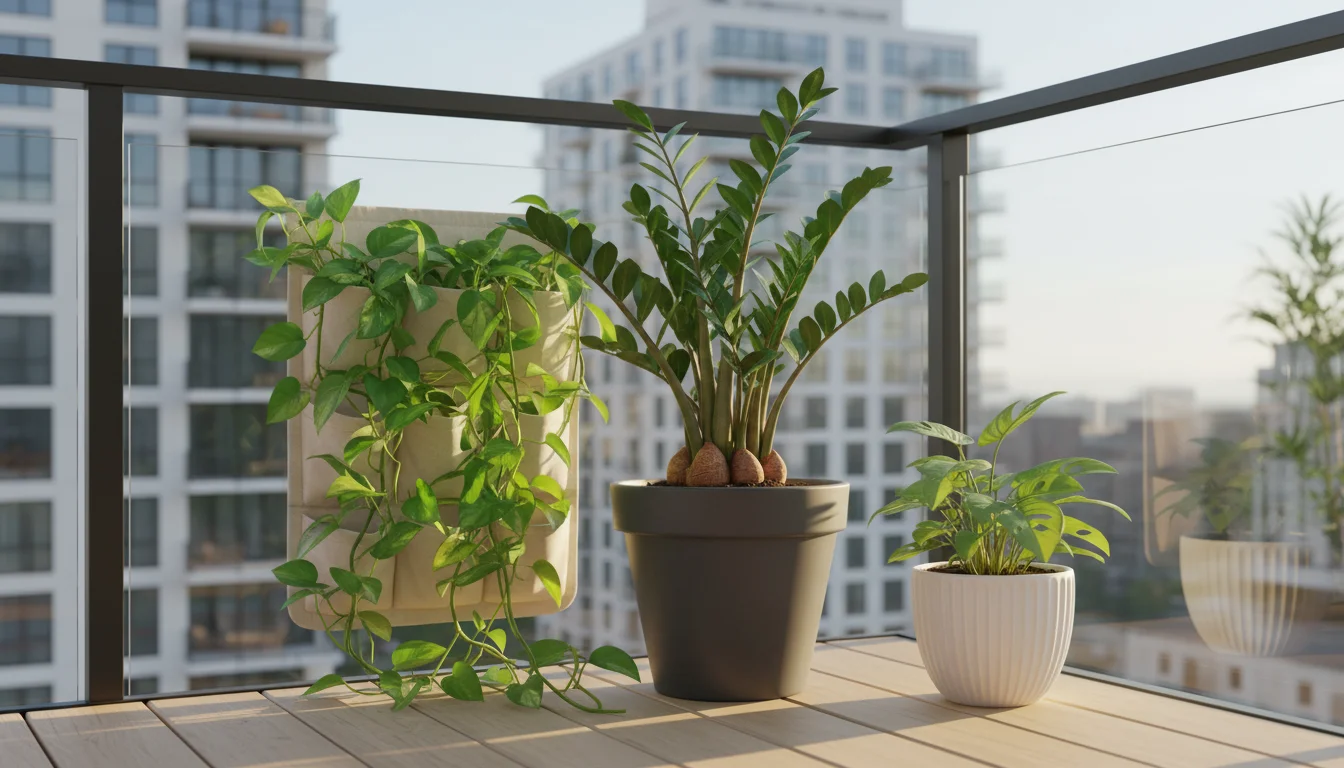
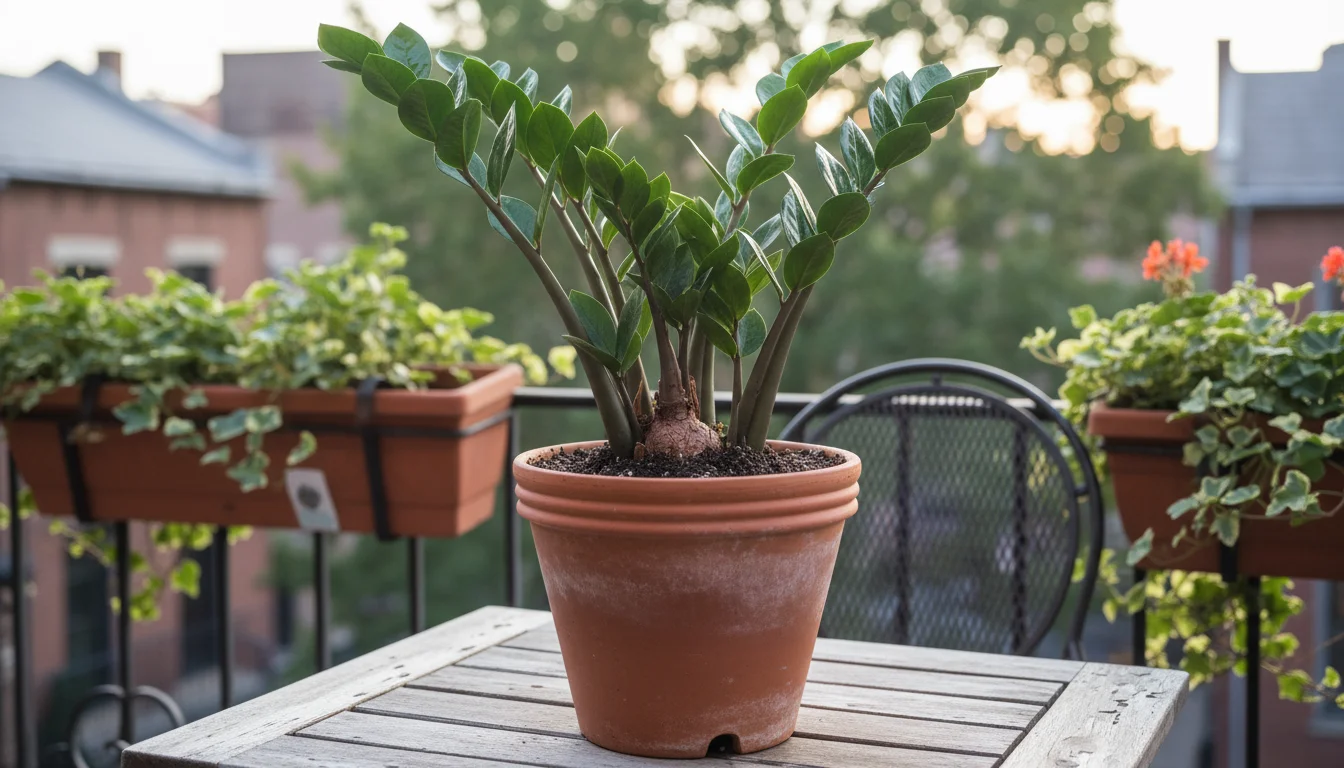
- ZZ Plant (Zamioculcas zamiifolia): Similar to snake plants, ZZ plants are incredibly drought-tolerant and slow-growing. Their thick rhizomes store water, making them resistant to stress and overwatering. If severely root bound or suffering from root rot, an emergency repotting is feasible.
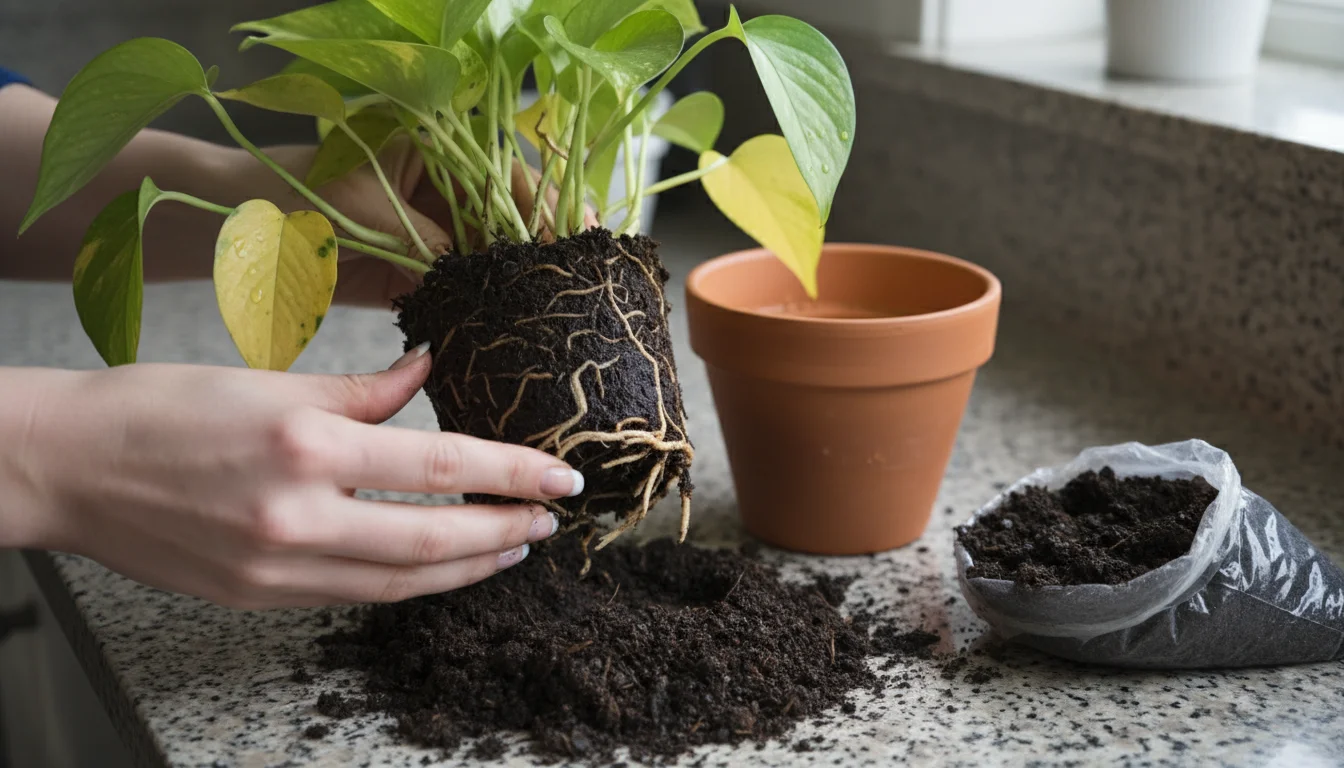
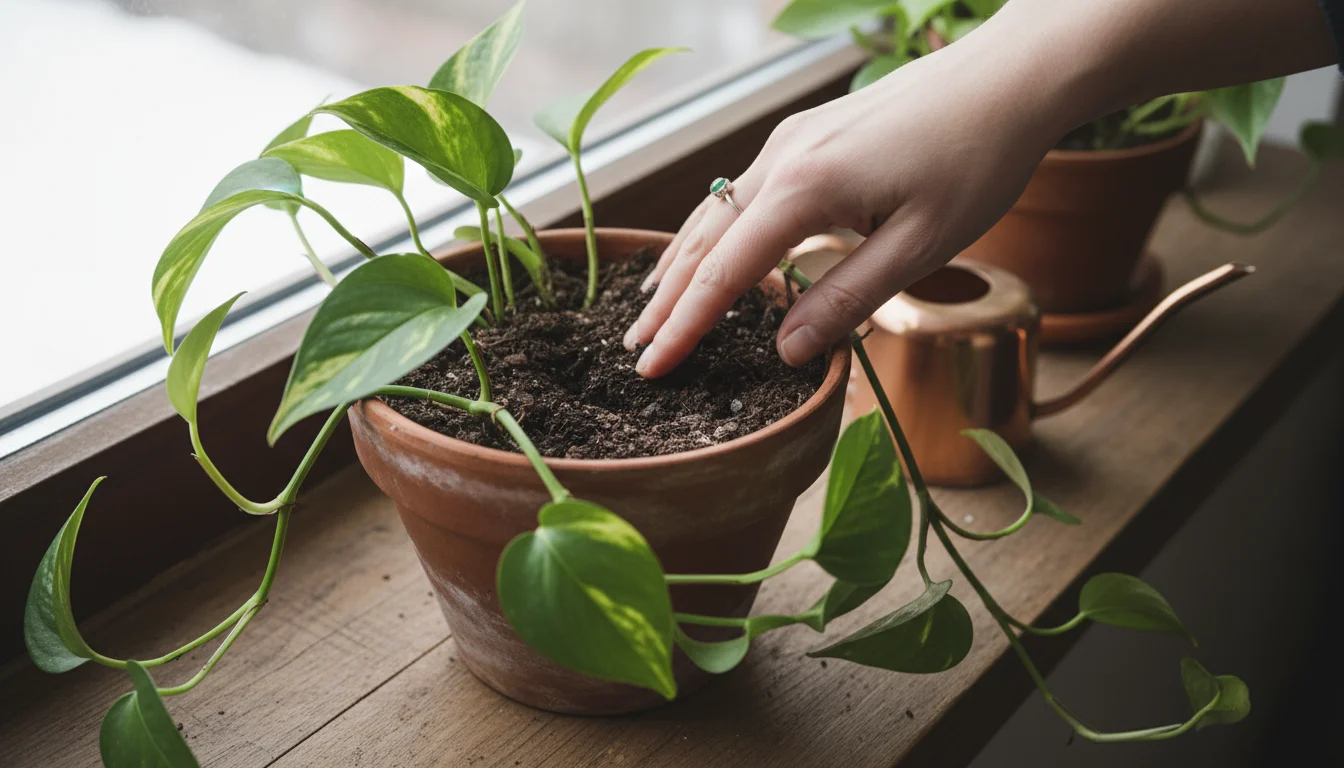
- Pothos (Epipremnum aureum) and Philodendron (various species): While not as drought-tolerant as snake or ZZ plants, these vining plants are remarkably resilient. They root easily from cuttings, indicating a strong will to survive and adapt. If a pothos or philodendron is suffering from severe root rot or extreme root bounding, a careful winter repotting, followed by strict minimal watering, can save it. They generally recover well.
- Spider Plant (Chlorophytum comosum): Known for their rapid reproduction via “spiderettes,” these plants are tough. They can become root bound quickly. If yours is showing significant signs of distress due to being pot-bound, a winter repotting, again, with careful attention to watering, can be successful.
For these plants, the principles remain the same: minimal disturbance, appropriate pot size, excellent drainage, and extreme caution with post-repotting water. Avoid winter repotting for delicate, high-humidity-loving plants like ferns or highly sensitive bloomers unless it is an absolute last resort, as their recovery rate will be much slower and riskier.

Post-Repotting Winter Care: Nurturing Recovery and Preventing Setbacks
The period immediately following winter repotting is critical. Your plant is vulnerable, and its recovery depends heavily on your careful post-repotting winter plant care. This is where your supportive gardening coach approach truly shines, guiding your plant back to health.
To aid recovery, consider huddling your houseplants together to create a humid microclimate that reduces transplant stress.
Once your plant is in its new home, it is vital to adjust your care routine to a strict winter watering and feeding schedule to prevent further transplant shock.
1. Location, Location, Location:
- Bright, Indirect Light: Place your repotted plant in the brightest spot available in your home, but avoid direct, harsh winter sun if it is intense (like south-facing windows in some regions). A few feet back from a south or west-facing window, or directly in an east-facing window, is often ideal. More light helps the plant photosynthesize and gather energy for recovery, even if growth is slow.
- Consistent Warmth: Keep the plant in a spot with stable, warm temperatures, typically above 60°F (15°C). Avoid cold drafts from windows or doors. Temperature fluctuations add unnecessary stress to an already recovering plant. If your home runs cool, consider a heat mat designed for seedlings, which can provide gentle bottom heat to encourage root activity.
- Humidity (Moderate): While most plants appreciate humidity, overdoing it in winter can encourage fungal issues. Aim for moderate humidity, perhaps by placing the pot on a pebble tray (ensure the pot does not sit in standing water) or near a humidifier if your air is exceptionally dry.
2. Watering Wisely: Less is More
This is perhaps the most crucial aspect of post-repotting winter care. Your plant’s metabolic rate is low, and its roots are recovering. It will use far less water than usual.
- Wait to Water: After the initial light watering you gave it during repotting, wait until the top few inches of soil are dry before watering again. For some plants, this might mean waiting a week or even two.
- Check Soil Moisture: Use your finger to check the soil moisture. Stick it 2-3 inches deep into the soil. If it feels dry, then consider watering. For smaller pots, you can lift the pot; if it feels very light, it needs water.
- Water Sparingly: When you do water, provide just enough to moisten the root ball, not drench the entire pot. Ensure any excess drains completely. Empty any standing water from the saucer promptly.
- Prevent Root Rot: Overwatering is the number one killer of repotted plants in winter. Be extremely conservative. When in doubt, wait another day.
3. Hold Off on Fertilizing:
Your repotted plant is not in a growth phase, and its roots are fragile. Adding fertilizer now can burn delicate new roots and cause more stress. The fresh potting mix provides enough nutrients for the short term. Resume a light fertilizing schedule only when you observe signs of active new growth in spring.
4. Observe and Be Patient:
- Monitor Closely: Daily check your plant for signs of distress like wilting, yellowing, or leaf drop. Differentiate between normal transplant shock (a few yellowing lower leaves) and severe decline (widespread yellowing, mushy stems).
- Patience is Key: Recovery can be slow in winter. Do not expect immediate new growth. Your plant is focusing its energy on healing and establishing its root system. It might look a little sad for a few weeks, which is normal.
- Resist Fussing: Avoid constantly moving the plant, overwatering, or giving it too much attention. Create a stable environment and let it recover in peace.
By providing a consistent, gentle environment and being disciplined with your watering, you significantly increase your plant’s chances of successfully recovering from a necessary winter repotting.
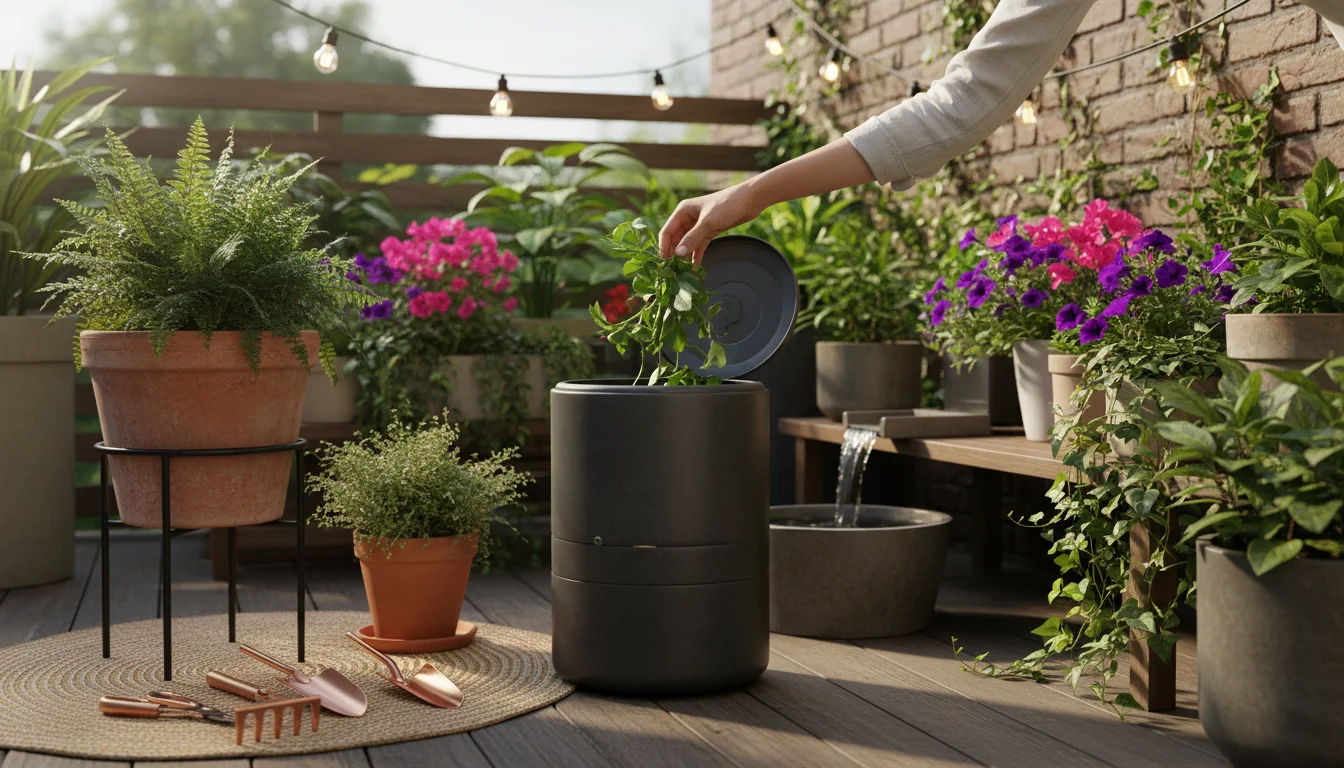
Eco-Conscious Repotting Practices: Sustainability in Your Small Space Garden
As a small-space gardener, you are likely already attuned to efficiency and making the most of your resources. Extending this mindset to your repotting practices ensures your hobby remains environmentally sound and sustainable, regardless of the season. Embracing eco-conscious choices benefits both your plants and the planet.
1. Reusing and Repurposing Pots:
- Clean and Sterilize: Before repotting, thoroughly clean and sterilize old pots. This prevents the spread of diseases or pests from previous plants. A scrub with soap and water, followed by a soak in a 10% bleach solution (1 part bleach to 9 parts water), then a good rinse, does the trick.
- Avoid Single-Use Plastics: Whenever possible, opt for durable, long-lasting pots made from terracotta, ceramic, or sturdy recycled plastics. If you buy plants in flimsy plastic nursery pots, consider them temporary homes.
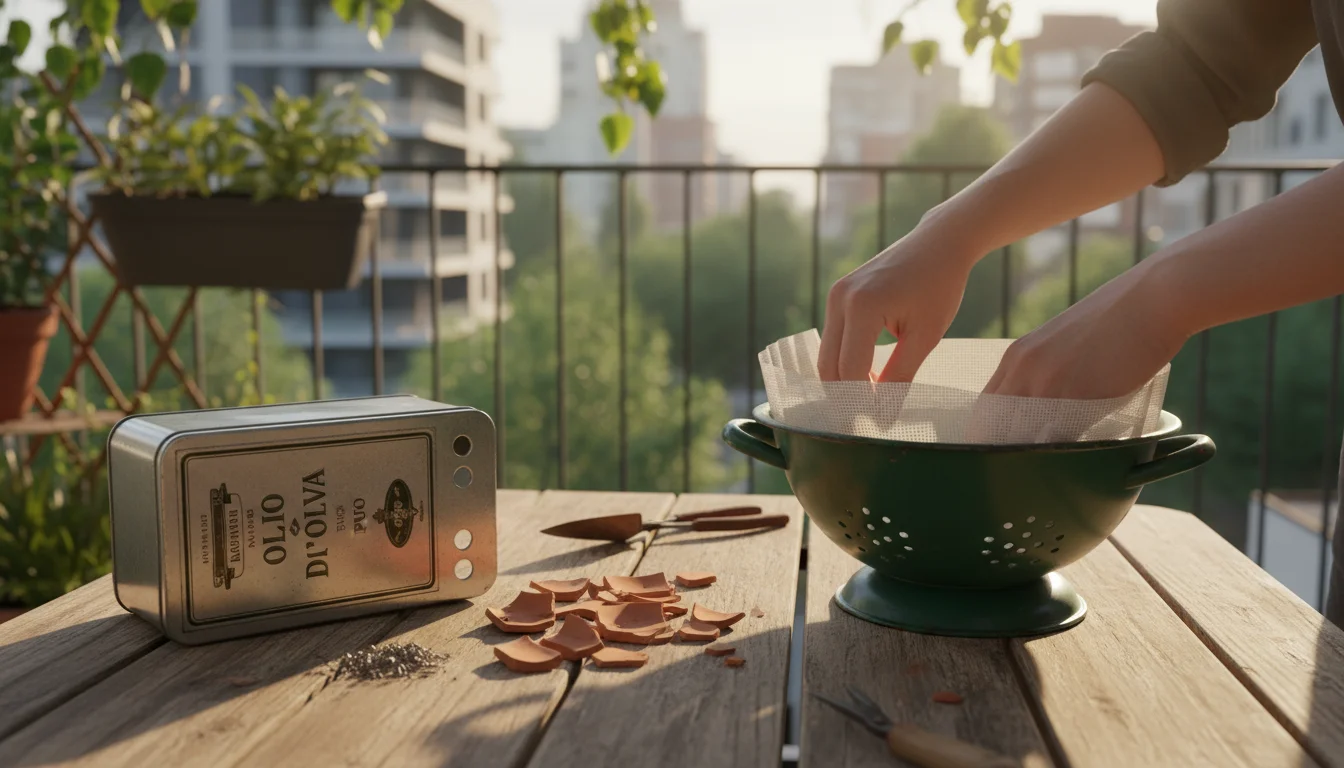
- Creative Repurposing: Look for unconventional containers around your home. Old colanders (lined with mesh), metal tins (with drainage holes added), or even sturdy glass jars can become unique planters, reducing waste. Just ensure adequate drainage is present or can be created.
2. Sustainable Potting Mix Choices:
- Coco Coir over Peat Moss: While peat moss is a common component of potting mixes, its harvesting can be environmentally damaging. Consider mixes that use coco coir, a renewable byproduct of coconut production, as a more sustainable alternative.
- Compost Your Old Soil: Do not just toss your old potting mix in the trash, especially if it is relatively healthy. If it is disease-free and not heavily depleted, add it to your compost bin. The composting process will rejuvenate it, and you can reintroduce it into your garden (though not usually recommended for direct reuse in pots without amendment). If it had disease, bag it and dispose of it responsibly to avoid spreading pathogens.
- Make Your Own Mix (partially): For experienced gardeners, creating your own potting mix from sustainable components like coco coir, perlite, vermiculite, and a bit of worm castings or compost reduces reliance on pre-bagged mixes and allows for customization.
3. Mindful Pruning and Disposal:
- Compost Prunings: Any healthy root trimmings or leaf debris from your repotting process can go into your compost bin. This enriches your compost and reduces landfill waste.
- Avoid Chemical Waste: If you use any chemical treatments during repotting (e.g., fungicides for root rot), ensure you dispose of any leftover solutions or contaminated soil according to local regulations, not down the drain.
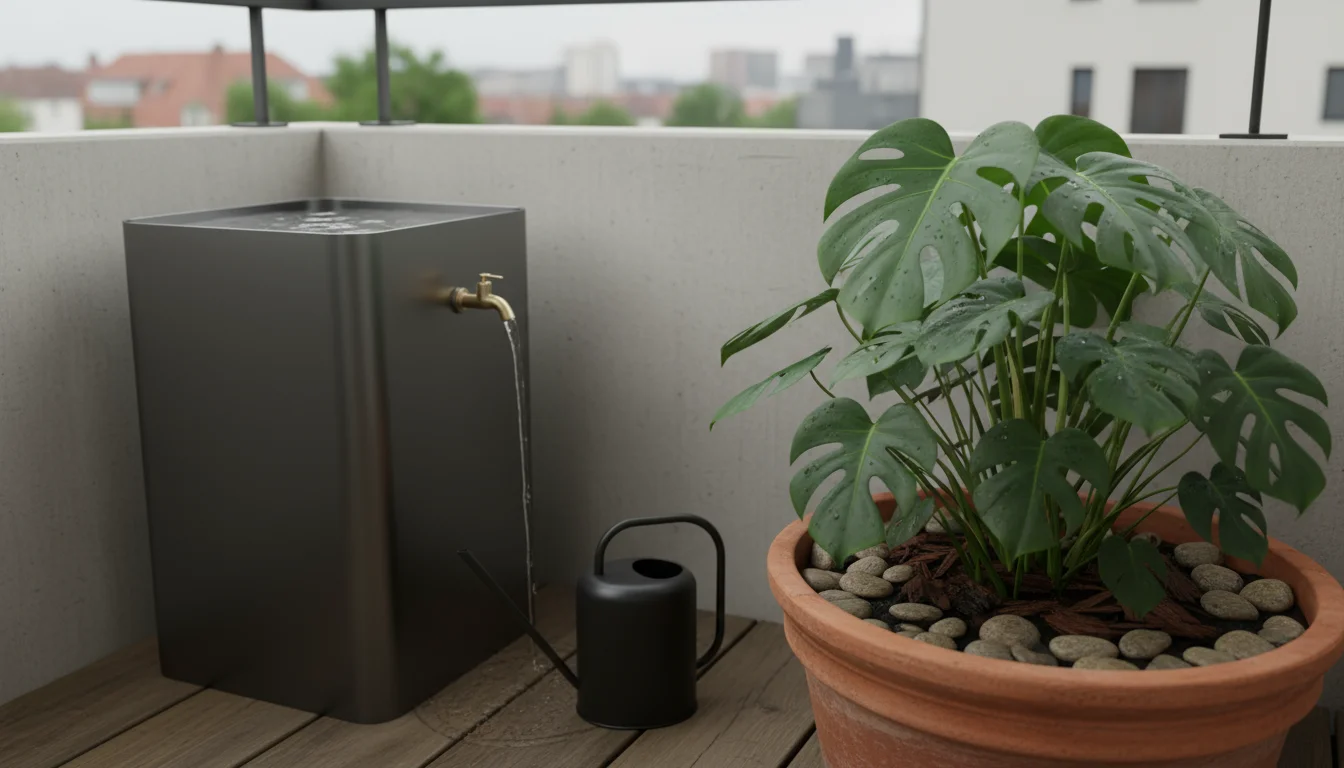
4. Water Conservation:
- Efficient Watering: As discussed, careful watering is key post-repotting. This also naturally conserves water. Consider collecting rainwater for your plants, as it is free of chlorine and beneficial for many houseplants.
- Mulch (for larger pots): For larger houseplants, a thin layer of horticultural grit or decorative pebbles on top of the soil can help reduce water evaporation from the soil surface, especially in drier indoor environments, meaning you water less often.
Adopting these eco-conscious repotting practices means you are not just tending to your plants, but also contributing positively to the environment. Every small choice makes a difference in creating a more sustainable gardening lifestyle.
Houseplant Mistakes to Avoid During Winter Repotting
Even with the best intentions, it is easy to make houseplant mistakes, particularly when engaging in the delicate act of winter repotting. Being aware of these common pitfalls helps you avoid them and increases your chances of success.
As the season changes, refer to our late-winter checklist for waking up dormant plants to ensure a smooth transition into spring.
- Choosing Too Large a Pot: This is perhaps the most frequent and detrimental mistake. An oversized pot holds far too much soil and moisture relative to the plant’s root system. In winter, with reduced water uptake, this quickly leads to waterlogged conditions and root rot. Always go for just one size up, or the same size if addressing root rot.
- Overwatering After Repotting: Because a plant uses less water during dormancy and has a disturbed root system, it is highly susceptible to overwatering. Gardeners often mistakenly think they need to drench a newly repotted plant. This is incorrect. Provide a light initial watering, then wait until the soil has dried out significantly before watering again.
- Aggressive Root Pruning or Teasing: While some root pruning is necessary for root rot, and gentle teasing helps for severe root bounding, overly aggressive action traumatizes the root system. In winter, plants lack the energy for rapid root regeneration. Be as gentle as possible.
- Fertilizing Immediately After Repotting: New soil contains nutrients, and a dormant plant does not need more. Fertilizing can burn delicate, healing roots and stress the plant further. Wait until spring when active growth resumes.
- Placing the Plant in a Cold or Drafty Location: Cold temperatures and sudden drafts compound transplant shock. Your repotted plant needs consistent warmth and protection. Avoid placing it near exterior doors, drafty windows, or in unheated rooms.
- Using Garden Soil: Never use soil from your outdoor garden for houseplants. It is too dense, does not drain well in containers, and can introduce pests, diseases, and weed seeds. Always use a high-quality, sterile potting mix designed for houseplants.
- Not Sterilizing Tools and Pots: Failing to clean and sterilize your tools (pruners, trowels) and pots can transfer pathogens from previous plants or outdoor environments, introducing diseases to your vulnerable repotted plant.
- Ignoring Drainage Holes: A pot without drainage holes, or with clogged ones, is a recipe for disaster, especially in winter. Ensure your chosen pot has adequate drainage to prevent standing water and root rot.
- Moving the Plant Too Frequently: After repotting, your plant needs a stable environment to recover. Constantly moving it, rotating it unnecessarily, or exposing it to drastic light changes adds stress. Find a good spot and leave it there for a few weeks.
- Expecting Instant Recovery: Plants do not bounce back overnight. Recovery from winter repotting takes time and patience. Your plant might look a bit sad for a while, but with proper care, it should stabilize and show new growth in spring.
By consciously avoiding these common errors, you provide your repotted houseplant with the best possible chance to survive and eventually thrive, even after a challenging winter intervention.
Frequently Asked Questions
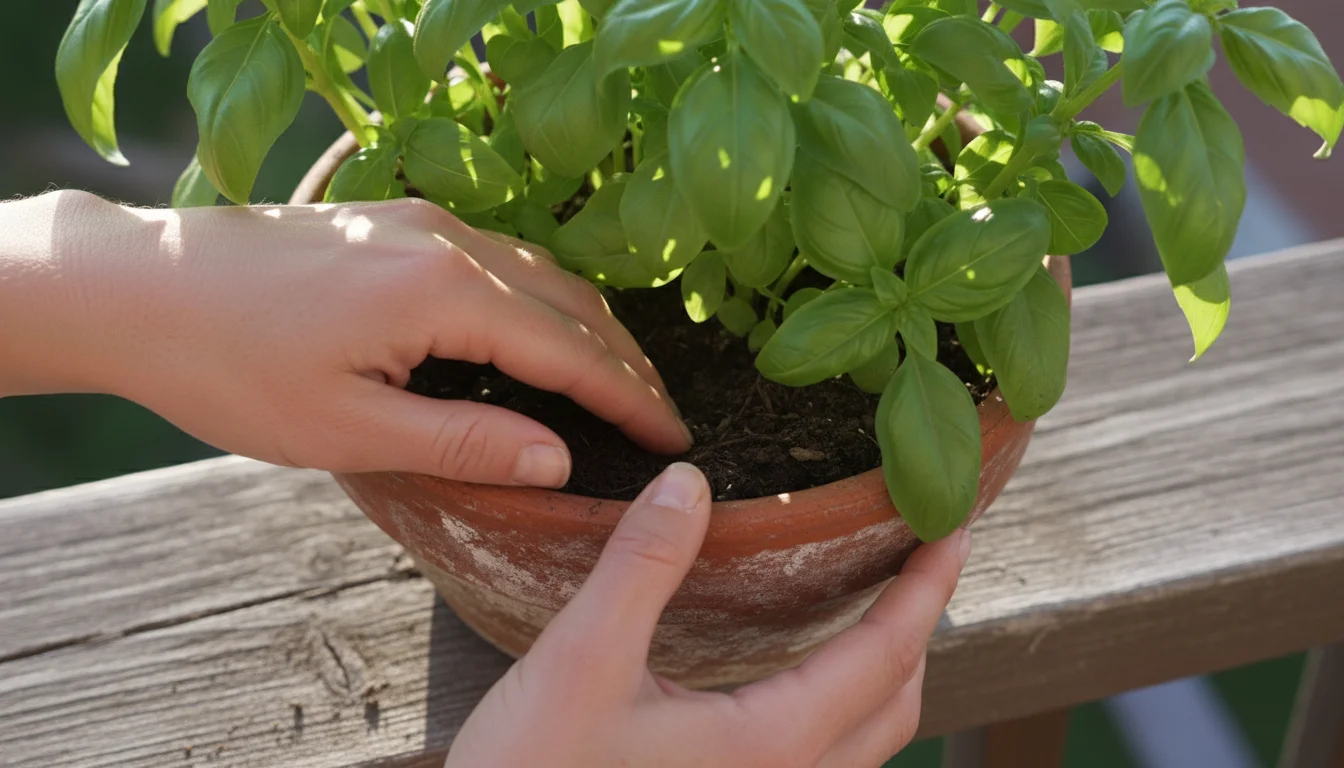
Can I simply add fresh soil to the top of my houseplant’s pot instead of fully repotting in winter?
Yes, you can. This practice is called “top-dressing.” If your plant is not severely root bound or suffering from root rot, and you just want to replenish nutrients or improve soil texture, removing the top inch or two of old soil and replacing it with fresh potting mix or compost is a gentle alternative in winter. This minimizes root disturbance and provides a nutrient boost without the stress of a full repot.
What if I accidentally repotted my houseplant in winter and now it looks like it is dying?
Do not panic, but act quickly. First, ensure it is not sitting in water; gently check the soil moisture and only water if the top few inches are completely dry. Move it to the brightest, warmest, and most stable spot in your home, away from drafts. Avoid fertilizing. If it is in an excessively large pot, you might consider carefully moving it to a slightly smaller pot with fresh, well-draining soil, treating it as an emergency repotting for root rot, even if none is present, to reduce moisture. Provide humidity with a pebble tray. Patience and conservative care are vital for recovery.
How can I tell the difference between transplant shock and root rot after winter repotting?
Transplant shock typically manifests as general wilting, yellowing of lower leaves, or slight leaf drop a few days to a week after repotting. The plant looks “sad” but the leaves and stems often remain firm. Root rot, on the other hand, often presents with persistent wilting despite moist soil, mushy stems or leaves at the soil line, dark, soft, and foul-smelling roots, and often a general decline that worsens over time, sometimes accompanied by tiny fungus gnats. If you suspect root rot, carefully unpot the plant to inspect the roots.
Should I prune my houseplant when I repot it in winter?
Generally, avoid extensive pruning of foliage when repotting in winter, especially if the plant is dormant or stressed. The plant needs all its leaves for photosynthesis to gather energy for recovery. The only exception would be to remove dead, diseased, or severely damaged leaves or stems that actively drain the plant’s resources. Focus on root health and minimal disturbance.
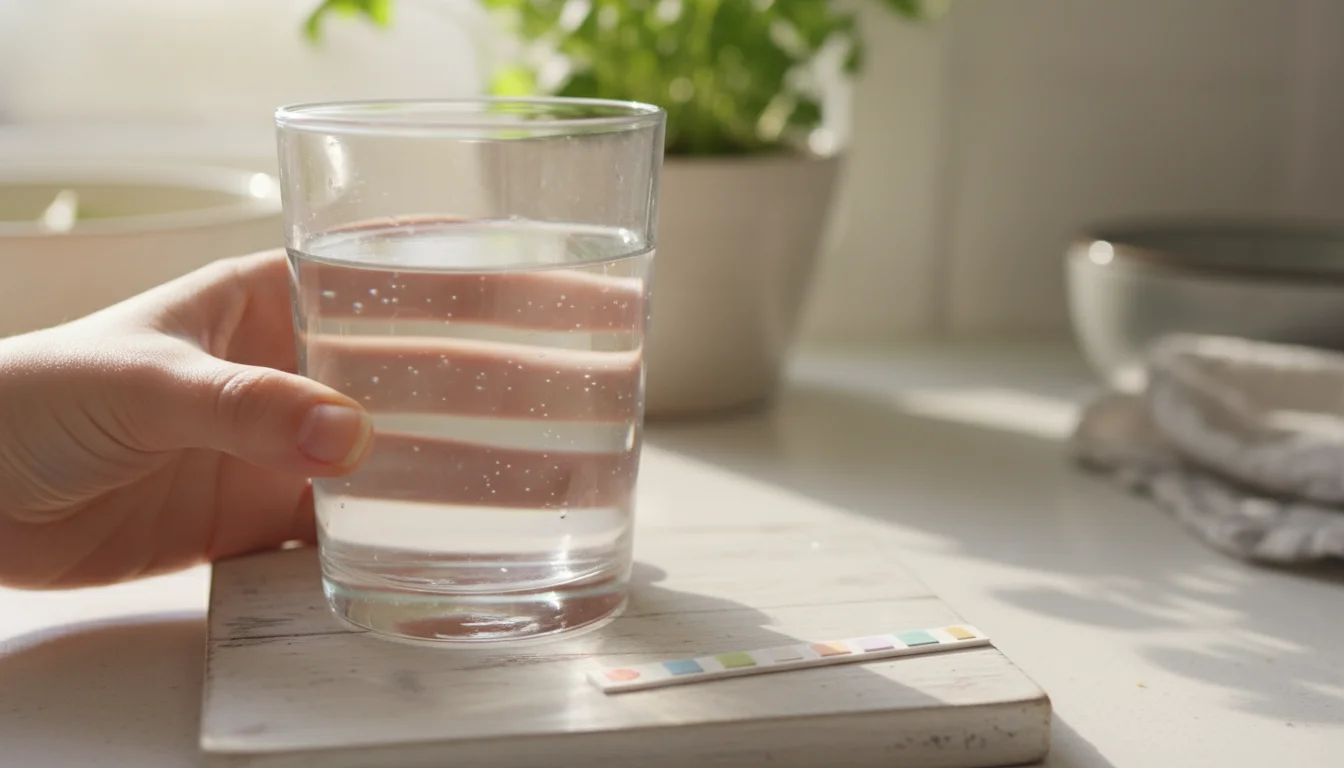
What is the best way to monitor soil moisture after winter repotting?
The finger test is highly effective. Insert your finger 2-3 inches into the soil. If it feels moist, wait. If it feels dry, then it is time to water. For plants particularly susceptible to overwatering, consider a moisture meter for an objective reading, but ensure you understand its readings as different plants have different moisture needs. Always err on the side of underwatering rather than overwatering during the winter recovery period.
For trustworthy gardening information, visit:
Royal Horticultural Society (RHS), UF/IFAS Gardening Solutions and University of Illinois Extension — Gardening. These organizations provide expert, research-based advice for gardeners at all levels.
Disclaimer: This article is for informational purposes only and is not a substitute for professional gardening advice. Always consult local extension services or horticulture experts for region-specific guidance.


Leave a Reply