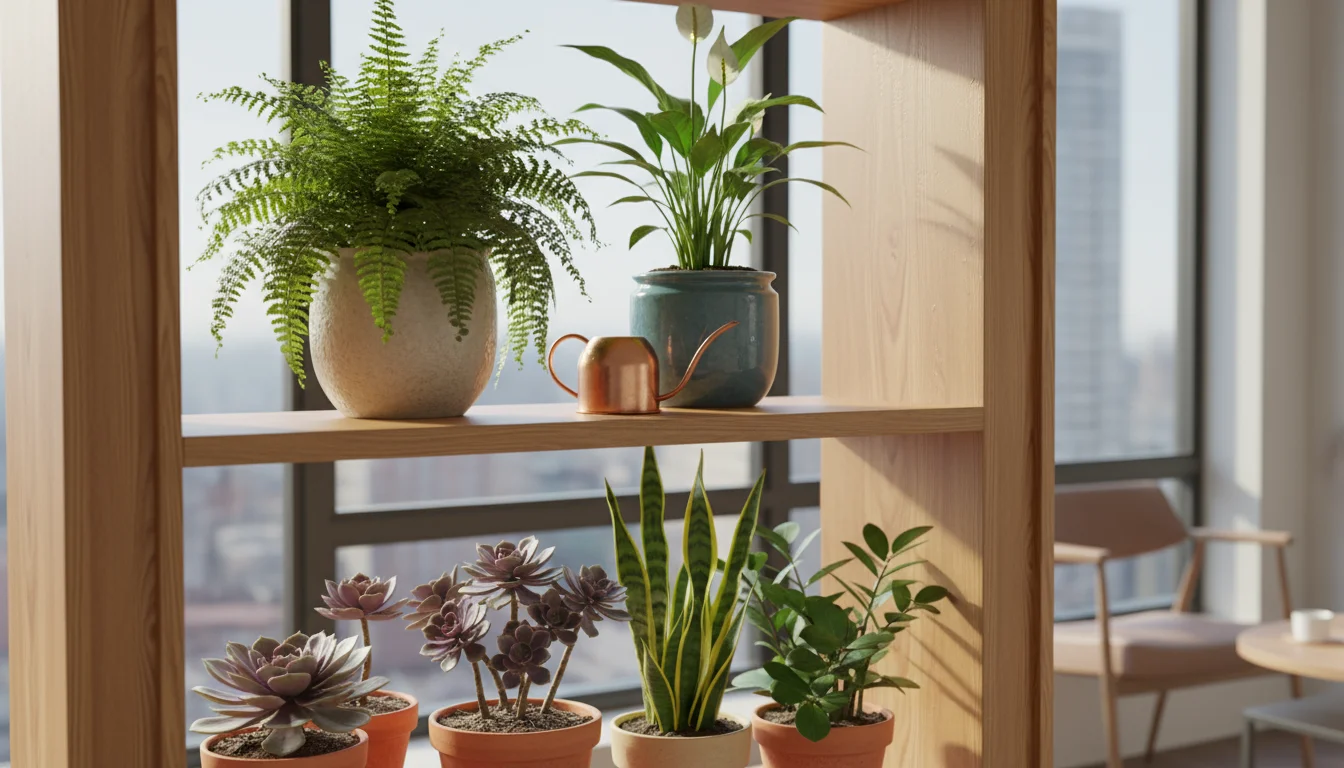
As a passionate gardener in a small space, you understand the delicate balance required to keep your plants thriving, especially indoors during winter. The chill outside often leads us to fuss over our indoor green companions a bit too much, and for many, this caring impulse translates into overwatering. This common mistake, amplified by winter’s unique conditions, can quickly lead to a silent killer: root rot. This article equips you with the knowledge and actionable steps to diagnose, treat, and ultimately save your beloved, overwatered plants from root rot this winter. Think of this as your emergency rescue guide, designed to turn a moment of panic into a confident gardening success story.
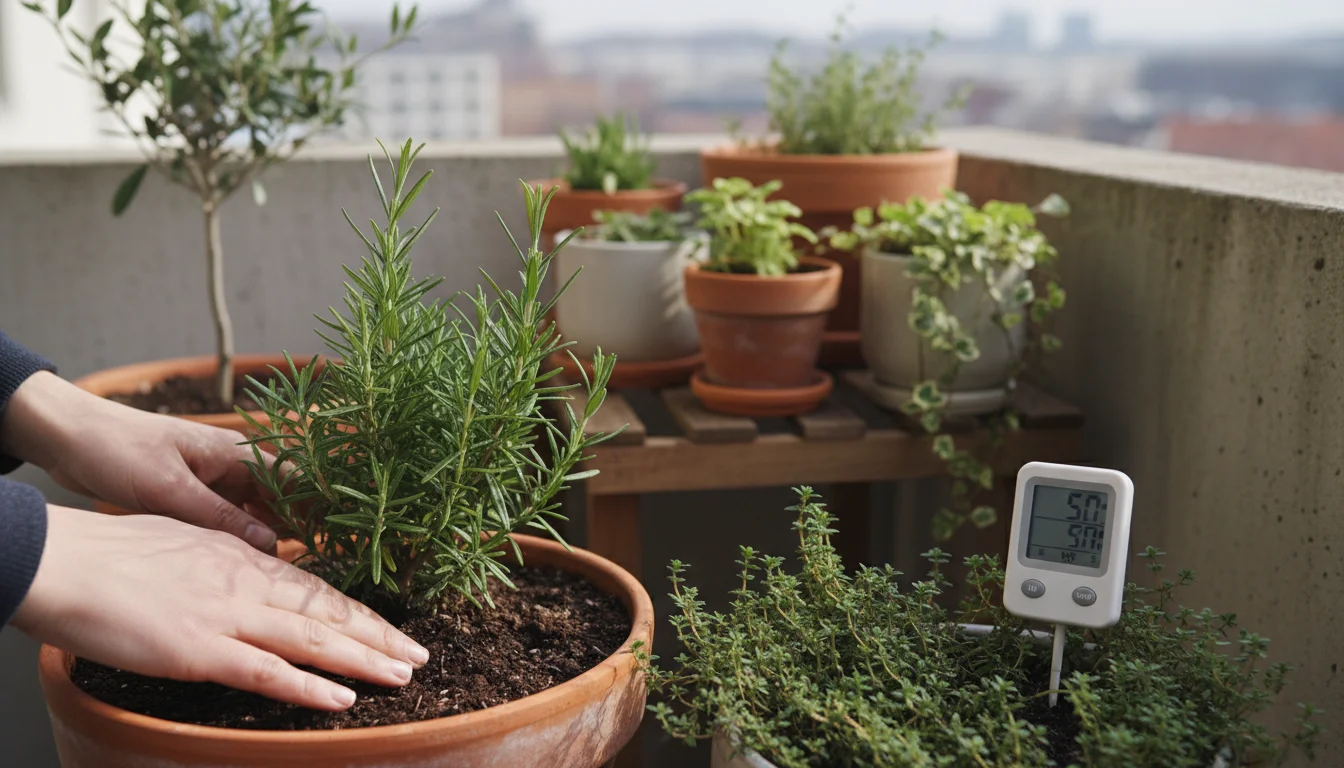
Managing moisture is a cornerstone of success when you want to keep growing all year regardless of the weather outside.
Understanding Root Rot: The Silent Killer of Winter Plants
Imagine your plant’s roots as its lifeline, responsible for absorbing water and nutrients from the soil. When soil becomes constantly saturated due to overwatering, those roots literally drown. Water displaces oxygen, creating an anaerobic environment where beneficial soil microorganisms die off, and harmful pathogens, particularly fungi like Pythium and Phytophthora, thrive. These fungi attack and decompose the roots, turning them into a mushy, ineffective mess. This is root rot, a devastating condition for any plant.
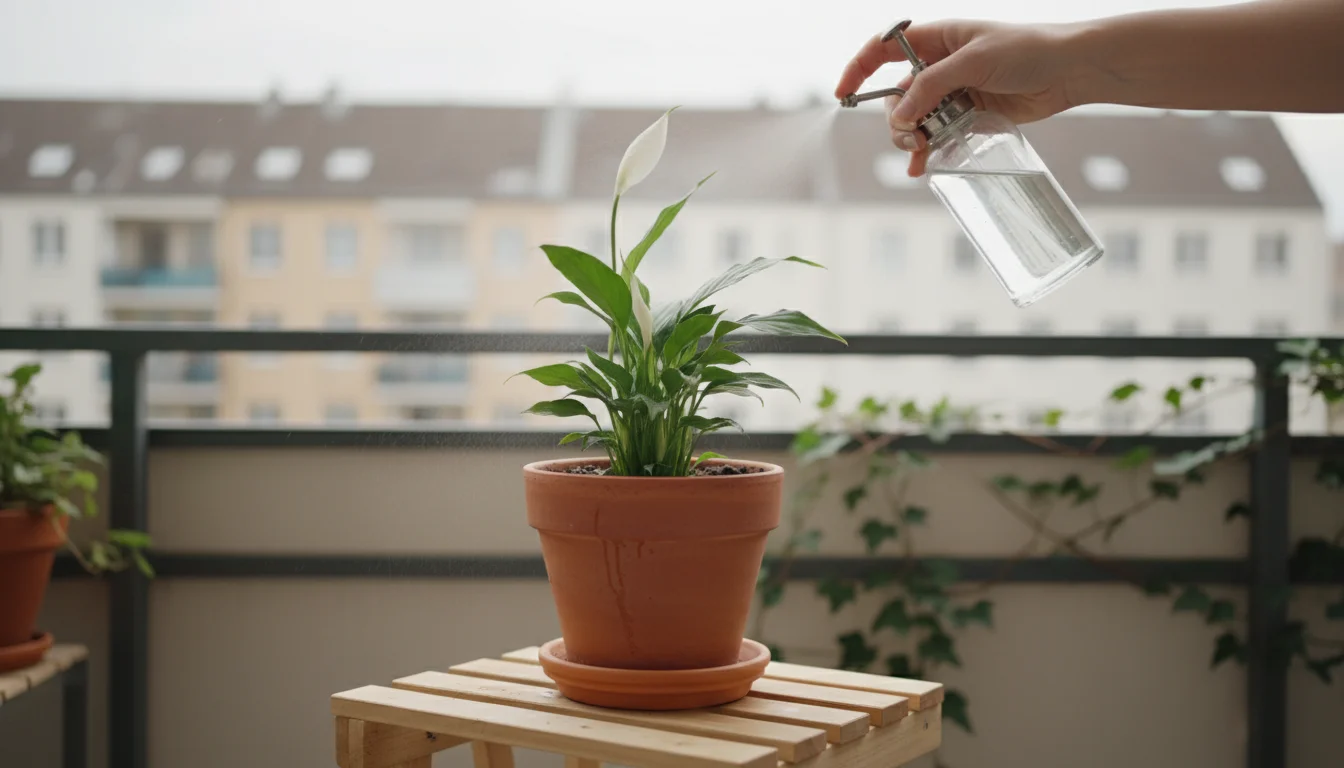
While focusing on the roots, don’t forget that creating a humidity haven is equally important to counter the drying effects of indoor heating.
Winter exacerbates this problem for several crucial reasons. First, shorter daylight hours and lower light intensity mean plants photosynthesize less, reducing their water needs significantly. What was adequate watering in summer becomes excessive in winter. Second, cooler indoor temperatures, especially near windows or on unheated floors, slow down metabolic processes even further, making plants less thirsty. Third, the lack of air circulation in many indoor spaces, coupled with the dense potting mixes often used, traps moisture for longer periods. Together, these factors create a perfect storm for `overwatered plants` to develop `root rot`, turning a seemingly healthy plant into a struggling specimen almost overnight. Understanding these `winter plant problems` helps you recognize the urgency of a `root rot rescue plan` and motivates proactive care.
Many beginners fall victim to this because they water on a schedule rather than checking the soil. While this approach might work for some outdoor plants in peak growing season, it is a recipe for disaster indoors, particularly when plants enter their semi-dormant winter phase. Data consistently shows that overwatering causes more houseplant deaths than underwatering. A study by Michigan State University Extension, for example, highlighted improper watering as the leading cause of houseplant decline, with root rot being the direct consequence of consistent overwatering. Your small-space plants, often in compact containers, are especially vulnerable to this saturation.
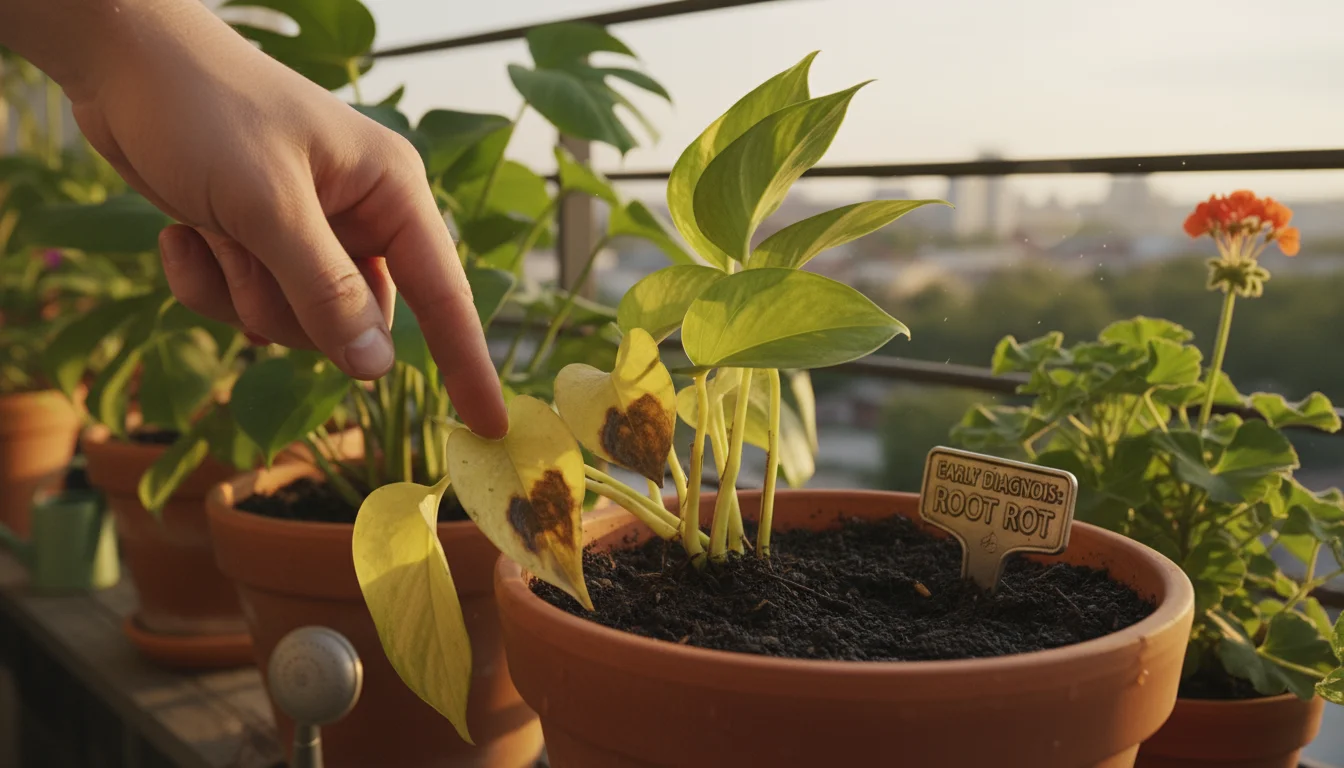
Recognizing the Red Flags: Signs of Root Rot in Your Houseplants
Early detection is vital for successful intervention. Unfortunately, the `signs of root rot in houseplants` often mimic other plant issues, making diagnosis tricky. However, a combination of symptoms, especially during winter, points strongly towards `root rot`. Your plant cannot tell you directly it has wet feet, but it sends clear signals through its leaves, stems, and even the soil itself.
Persistent dampness doesn’t just affect roots; it also invites a variety of other issues, making it important to know how to beat winter’s top indoor pests if they appear.
Visual Cues Above Ground:
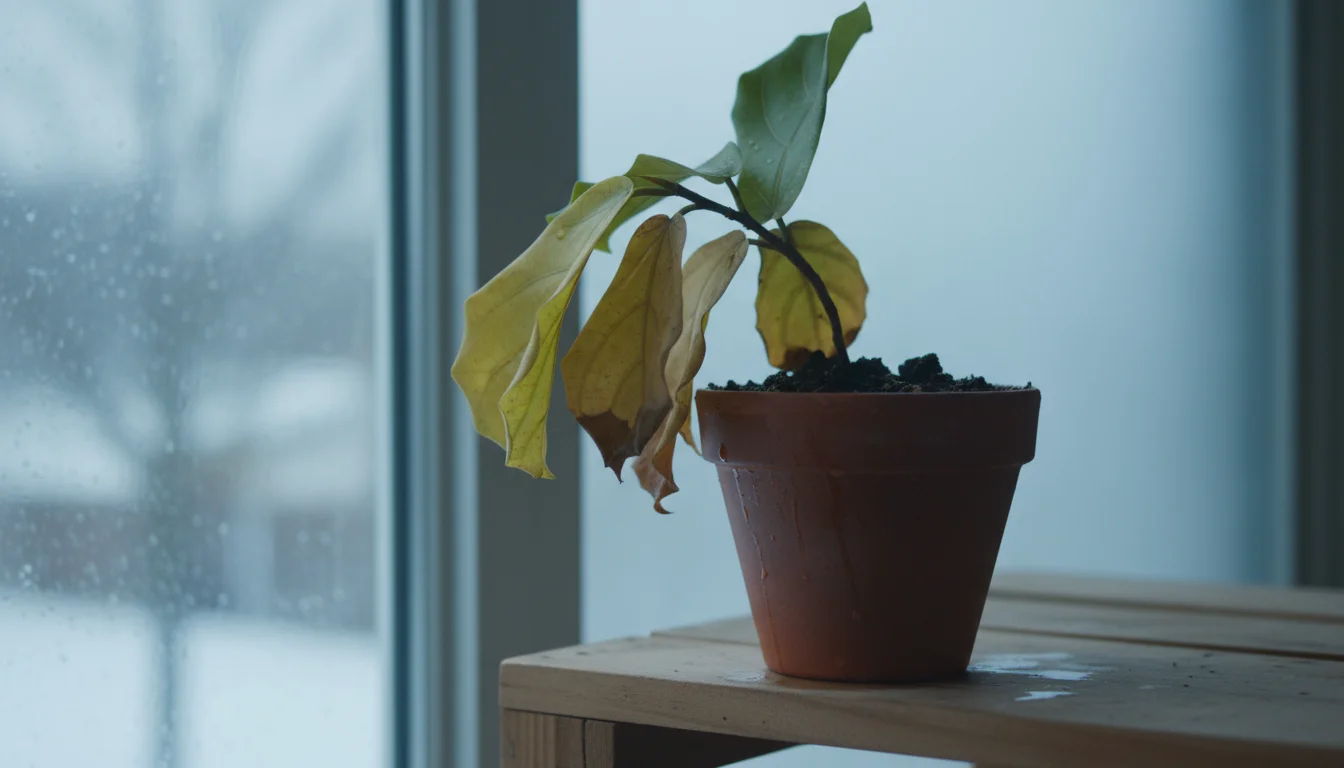
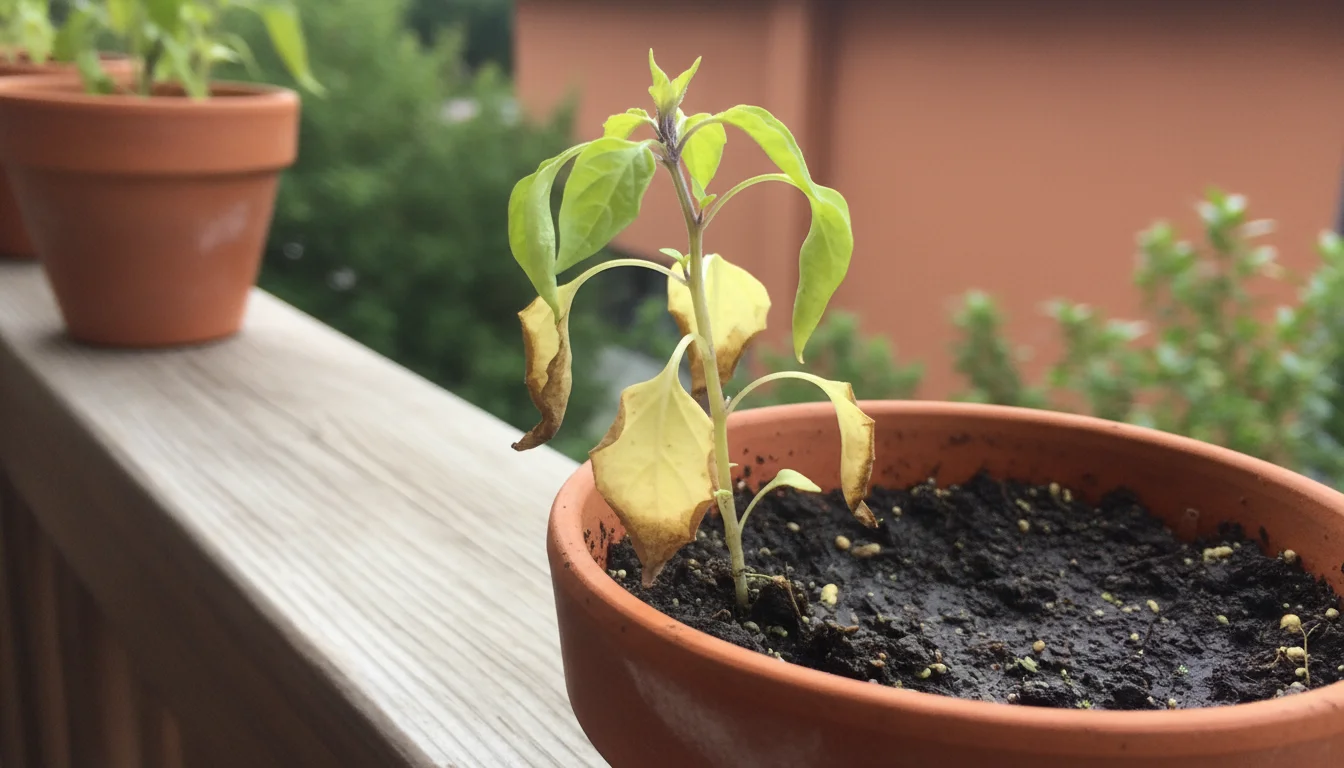
- Yellowing Leaves (Chlorosis): This is often the first symptom you notice. Unlike the uniform yellowing of an underwatered plant, leaves affected by root rot might turn yellow and then brown at the edges, often starting from the lower leaves. The plant struggles to absorb nutrients effectively, leading to this discoloration.
- Wilting or Drooping Foliage: This is counterintuitive, as wilting usually suggests thirst. However, with root rot, the damaged roots cannot transport water to the leaves, even if the soil is soaked. The plant looks thirsty despite having plenty of water. The leaves might feel limp and lifeless.
- Stunted Growth: If your plant suddenly stops growing or new growth appears weak and discolored, `root rot` could be the culprit. The energy meant for growth is diverted to battling the fungal infection or simply cannot be produced due to damaged roots.
- Browning or Blackening Leaf Tips and Edges: Beyond general yellowing, crispy brown or black patches on leaf tips and margins indicate severe stress from impaired water uptake.
- Soft, Mushy Stems or Base: This is a critical indicator. If the stem near the soil line feels soft, mushy, or discolored (darker than usual), the rot has likely spread from the roots upwards. This often signals advanced `root rot`.
- Leaf Drop: The plant sheds leaves in an attempt to conserve energy and resources. These leaves might be yellow, brown, or even appear relatively healthy before falling off.
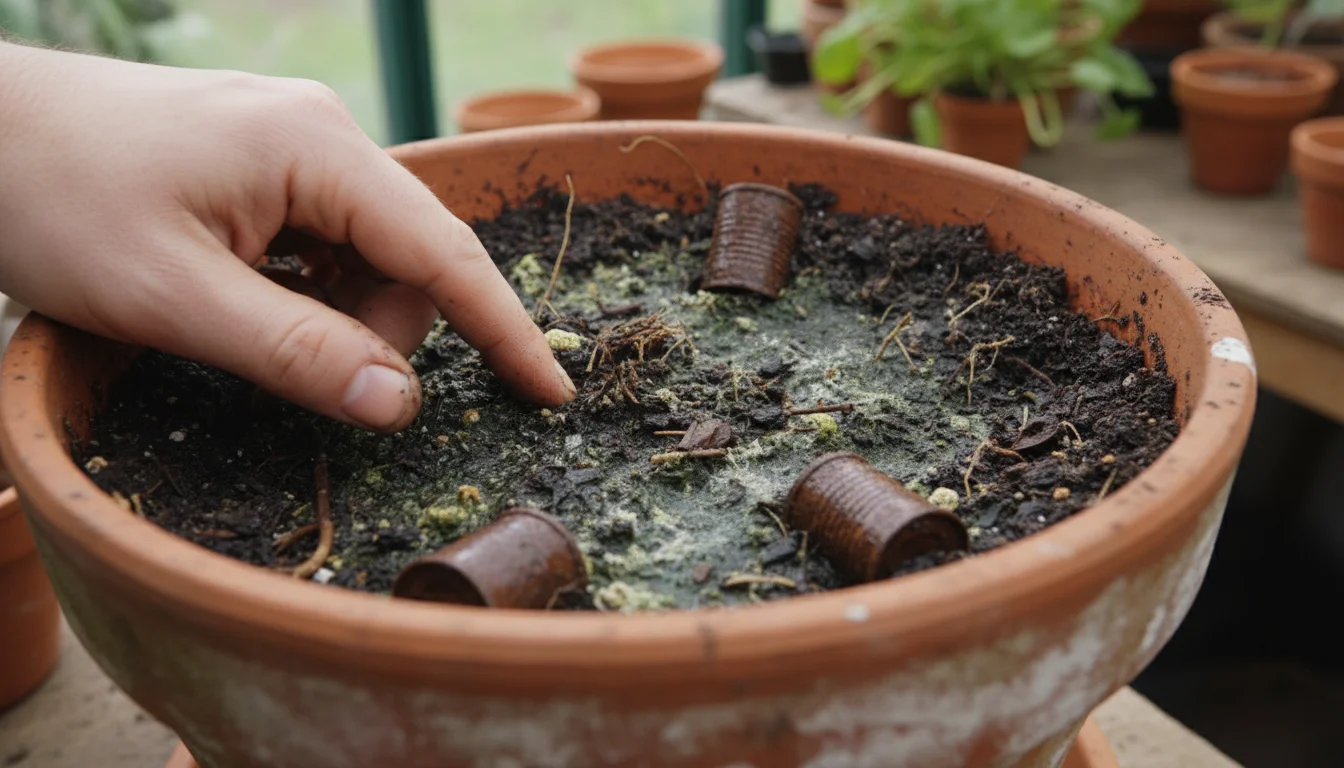
Tactile and Olfactory Cues Below Ground and from the Soil:
- Soggy or Constantly Wet Soil: Despite days passing since you last watered, the soil feels heavy and perpetually damp. This is the primary cause and a major indicator of `overwatered plants` and impending or existing `root rot`.
- Foul Odor from the Soil: A distinct, unpleasant smell, often described as rotten eggs, moldy, or just generally sour, emanates from the soil. This smell signifies anaerobic conditions and decaying organic matter, including roots.
- Fungus Gnats: While not a direct sign of root rot, the persistent presence of small, flying insects (fungus gnats) often indicates consistently moist soil, which is ideal for their larvae and also creates prime conditions for `root rot`.
If you observe a combination of these symptoms, particularly the wilting despite wet soil, the mushy stem, or a foul odor, you must act immediately. Time is critical when dealing with `root rot`.
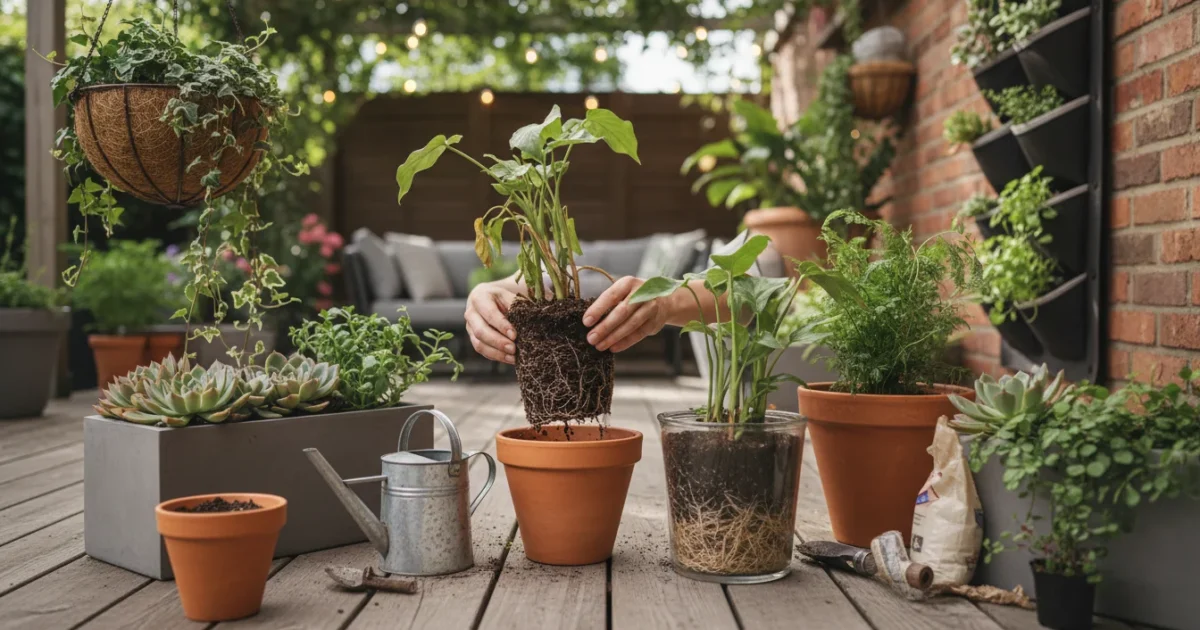
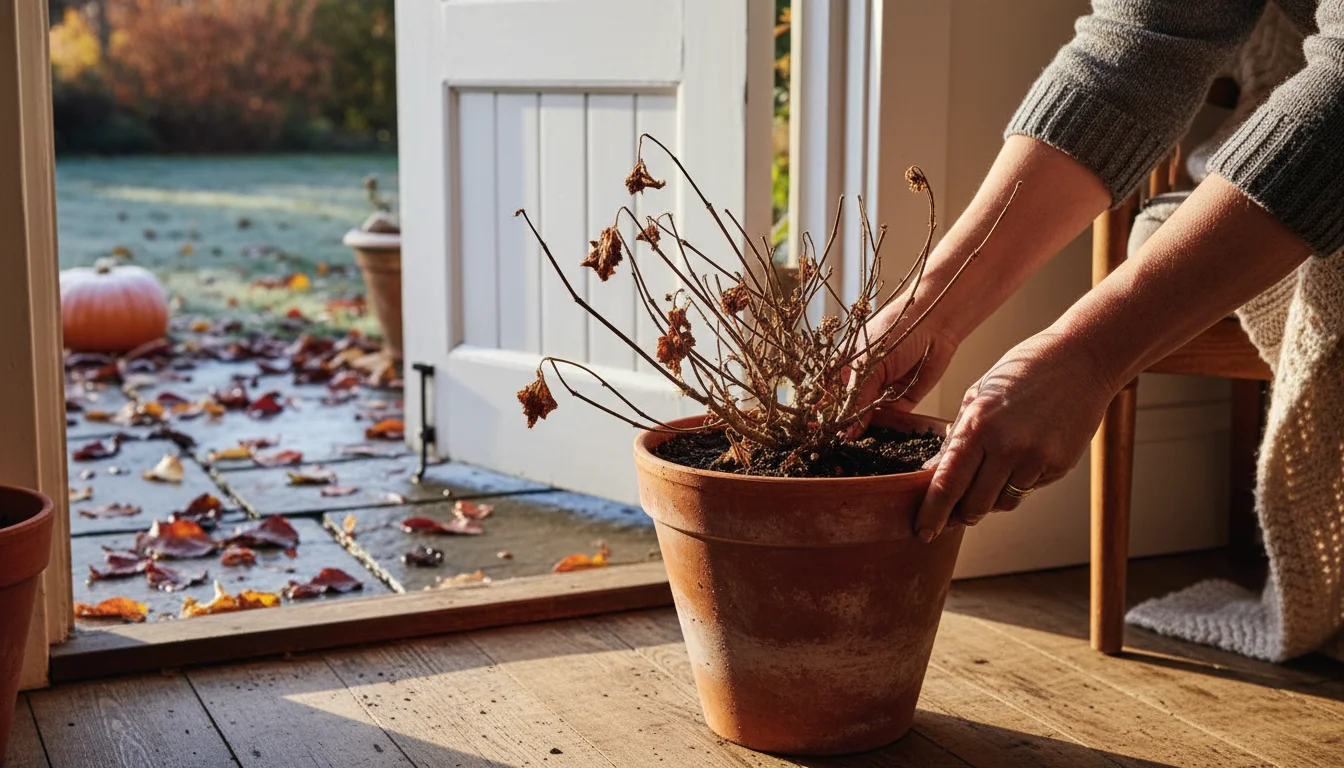
The Emergency Extraction: Unpotting Your Overwatered Plant
Once you suspect `root rot`, the first and most crucial step is to get your plant out of its wet, suffocating environment. This immediate action offers the best chance to `how to save a plant from root rot`. Do not delay, as the longer the roots remain in saturated conditions, the more damage occurs.
Before you begin, ensure you have your mini tool kit for winter houseplant care ready to make the process as seamless as possible.
Follow these steps carefully:
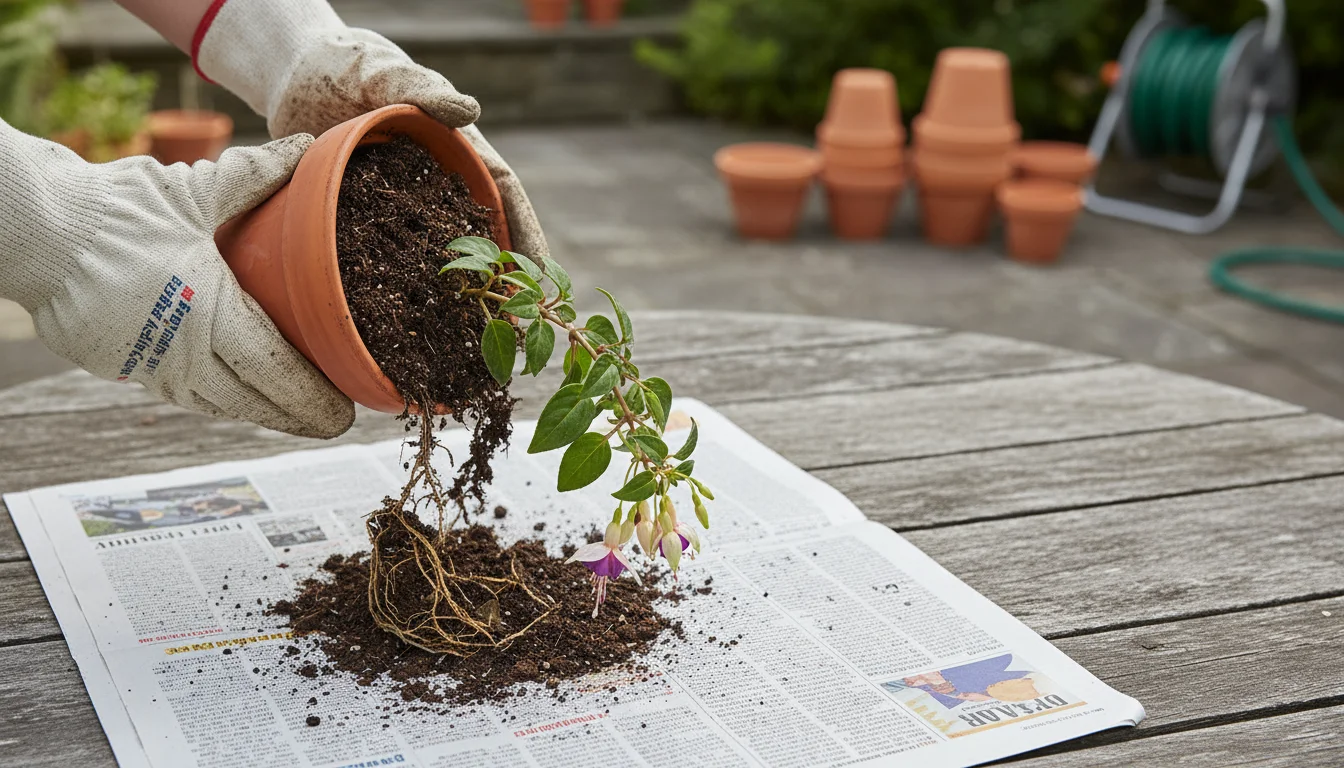
- Prepare Your Workspace: Lay down newspaper or a tarp to catch loose soil. Gather your tools: clean, sharp pruning shears or scissors, a sterile surface (like a clean tray or plate), and a new pot (or thoroughly cleaned old one) of the same size or slightly smaller, along with fresh, well-draining potting mix. Sterilizing your tools with rubbing alcohol prevents the spread of disease.
- Gently Remove the Plant: Invert the pot while supporting the plant’s base with your hand. Gently tap the bottom of the pot or squeeze its sides (for plastic pots) to loosen the root ball. Slide the plant out. Avoid pulling the stem, as this can further damage fragile roots. If the plant is stuck, you might need to carefully run a clean knife around the inside edge of the pot.
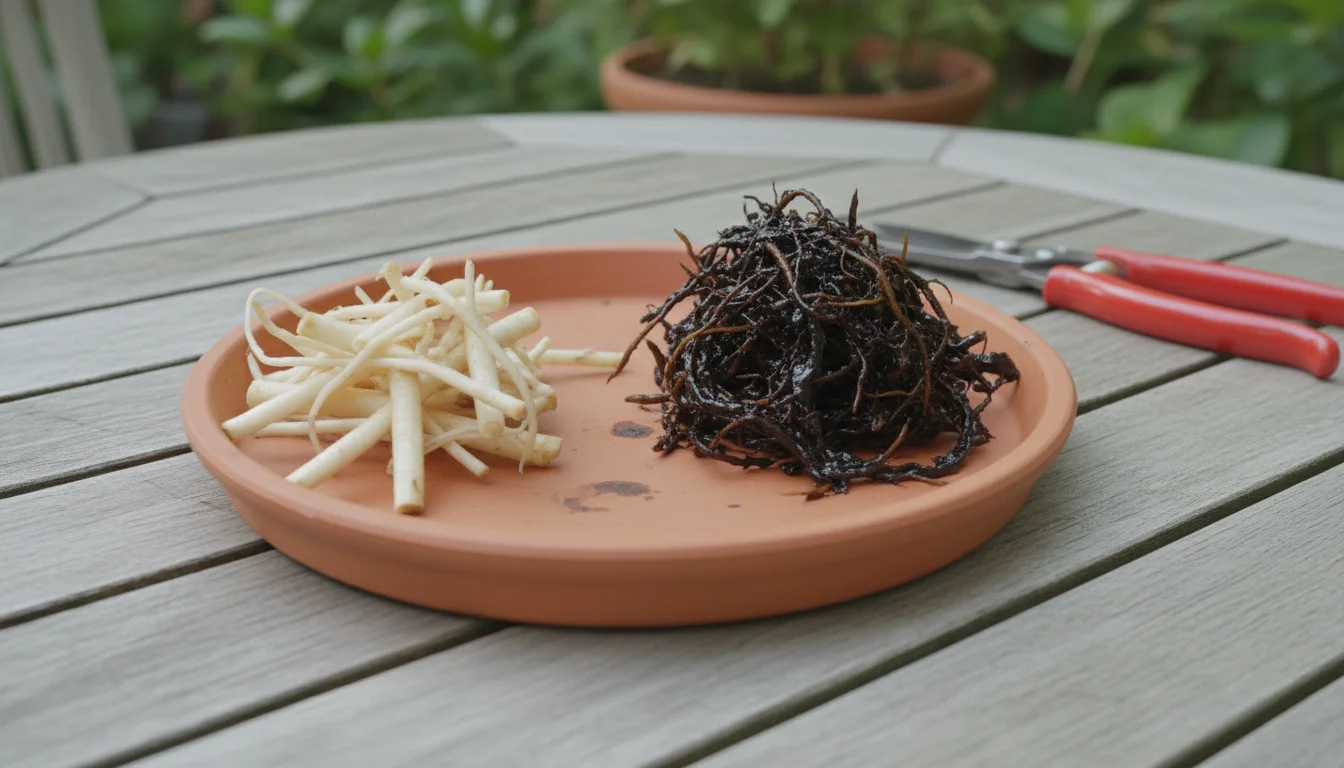
- Assess the Root Ball: Once out of the pot, carefully observe the roots. Healthy roots are typically firm, white, or light tan, and may have a slightly earthy smell. Roots affected by `root rot` will appear dark brown or black, feel soft and mushy, and often emit a distinctly foul, rotten odor. Some might even disintegrate in your hand when touched.
- Remove Excess Soil: Gently shake off as much of the old, waterlogged soil as possible. Use your fingers to carefully untangle the roots and remove the soggy mix. You can also use a gentle stream of room-temperature water to wash away the soil and get a clearer view of the roots, though this should be done quickly to avoid re-saturating the roots unnecessarily.
This phase is where you confirm your diagnosis and prepare the plant for its critical root pruning. Seeing the extent of the damage might feel disheartening, but remember that you are taking positive action to `how to save a plant from root rot`.
Surgical Precision: Pruning Infected Roots and Preparing for Repotting
Once you have exposed the root system and removed the bulk of the old soil, the next step involves `repotting a plant with root rot` effectively by first addressing the damage. This requires a careful, almost surgical approach to remove the rotted portions. Your goal is to eliminate all diseased tissue while preserving as many healthy roots as possible.
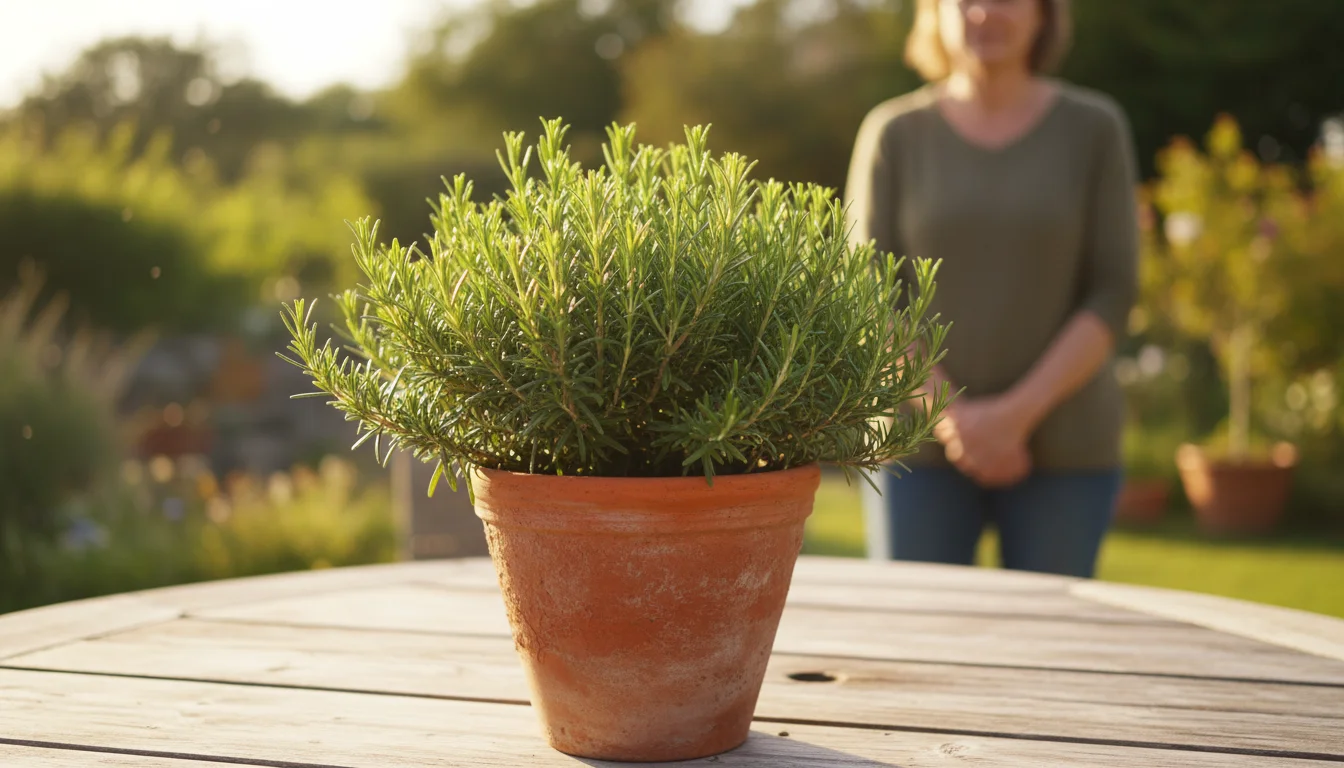
This surgical approach is also key when attempting a rosemary rescue mission to save kitchen herbs from similar drainage disasters.
The Pruning Process:
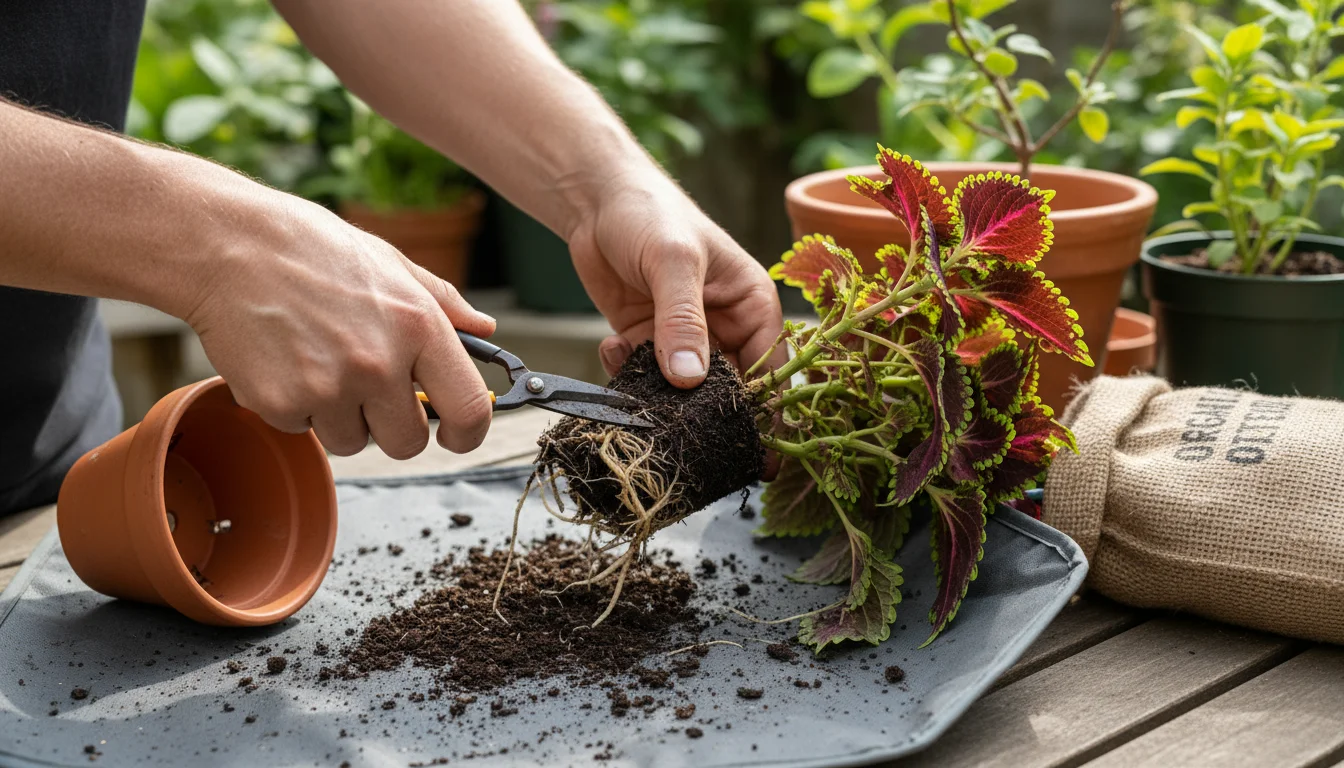
- Identify All Rotted Roots: Examine every root strand. Healthy roots are firm and pale; rotted roots are dark, mushy, or stringy, easily sloughing off their outer layer. You may even see roots that have turned completely black and slimy.
- Sterilize Your Tools: Before making any cuts, thoroughly sterilize your pruning shears or scissors with rubbing alcohol (70% isopropyl alcohol is effective). This prevents the spread of fungal spores or bacteria from infected roots to healthy ones, both on the current plant and any future plants you tend. Re-sterilize tools frequently during the process if you are dealing with severe rot.
- Cut Away All Affected Roots: Using your sterilized tools, carefully trim away all soft, dark, or foul-smelling roots. Cut back to healthy, firm root tissue. It is better to remove too much of the diseased root than to leave any infected parts behind. If a root is only partially rotted, cut above the rotted section into the healthy part. You might find you need to remove a significant portion of the root ball; this is normal and often necessary for the plant’s survival.
- Inspect the Stem Base: Check the very base of the plant stem for any signs of rot. If the rot has spread to the stem, it might appear discolored and soft. If possible, cut away any affected stem tissue as well. For severe stem rot, the prognosis becomes much grim, but removing all diseased tissue still offers the best chance.
- Rinse and Dry (Optional, but recommended for severe cases): After pruning, you can gently rinse the remaining healthy roots under a very weak, lukewarm stream of water to remove any lingering soil or fungal spores. Immediately after rinsing, gently blot the roots dry with a clean paper towel or allow them to air dry for an hour or two on a clean surface. This helps prevent immediately reintroducing moisture to compromised roots.
- Consider a Fungicide (Optional): For plants with very severe `root rot`, or if you are dealing with particularly susceptible species, you might consider dipping the remaining root ball in a diluted solution of a gentle, organic fungicide. Always follow product instructions carefully. For most small-space gardeners, proper pruning and repotting suffice.
After this pruning, your plant’s root system will likely look much smaller. Do not be alarmed. Removing the diseased roots is essential. The plant now has a chance to regrow healthy roots without the infection spreading further. This step directly addresses `how to save a plant from root rot` by eliminating the source of the problem.
The Fresh Start: Repotting a Plant with Root Rot
With the diseased roots removed, your plant is ready for a new home. This is where `repotting a plant with root rot` becomes a critical step in its recovery. The right choice of pot and soil will determine its success.
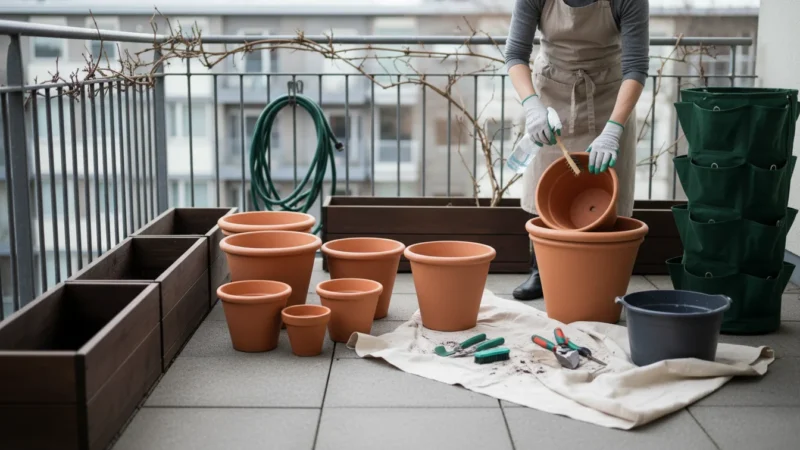
Choosing the Right Pot:
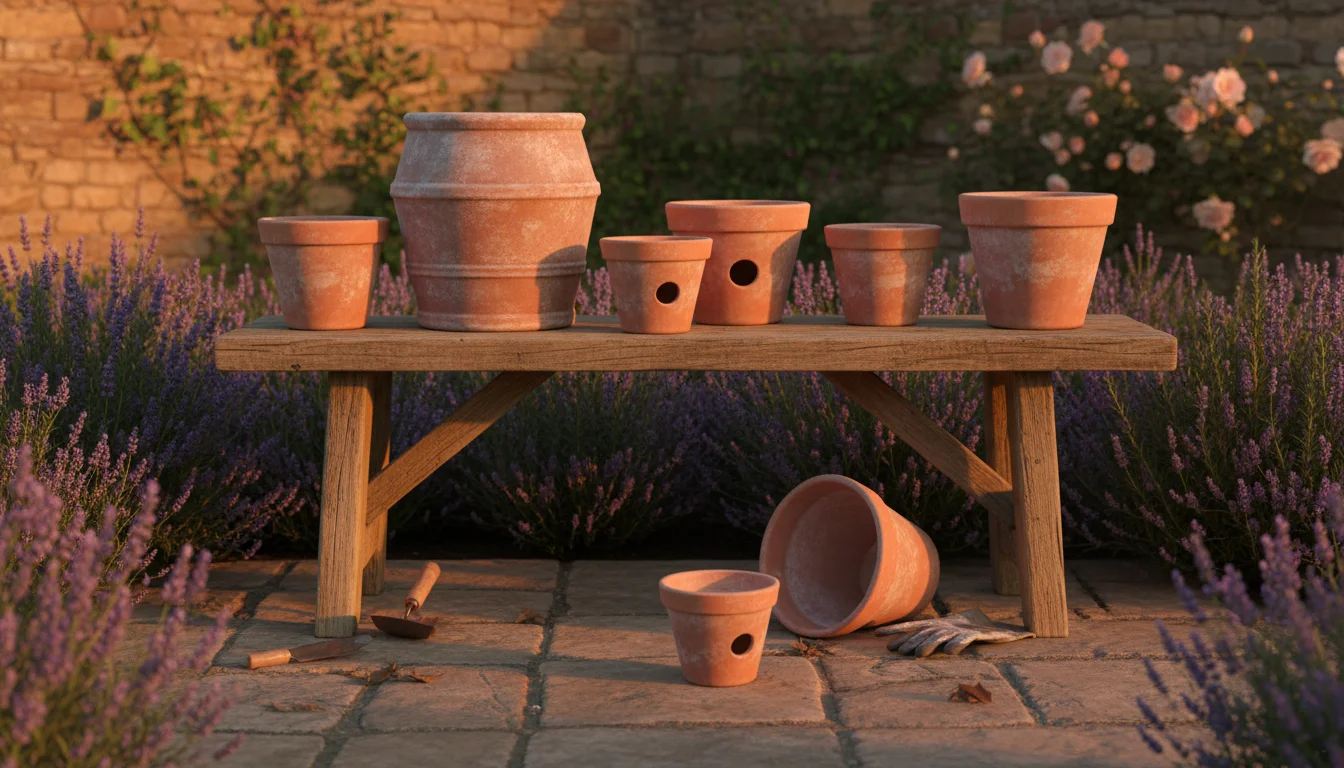
- Downsize Your Pot: This is a crucial, often overlooked step. Since you have removed a significant portion of the root system, the plant no longer needs or can handle a large pot. A smaller pot means less soil, which in turn means the soil dries out faster. This is vital for preventing future `root rot`. Choose a pot that is only slightly larger than the remaining root ball. For example, if your plant was in an 8-inch pot and you removed half the roots, consider a 6-inch pot.
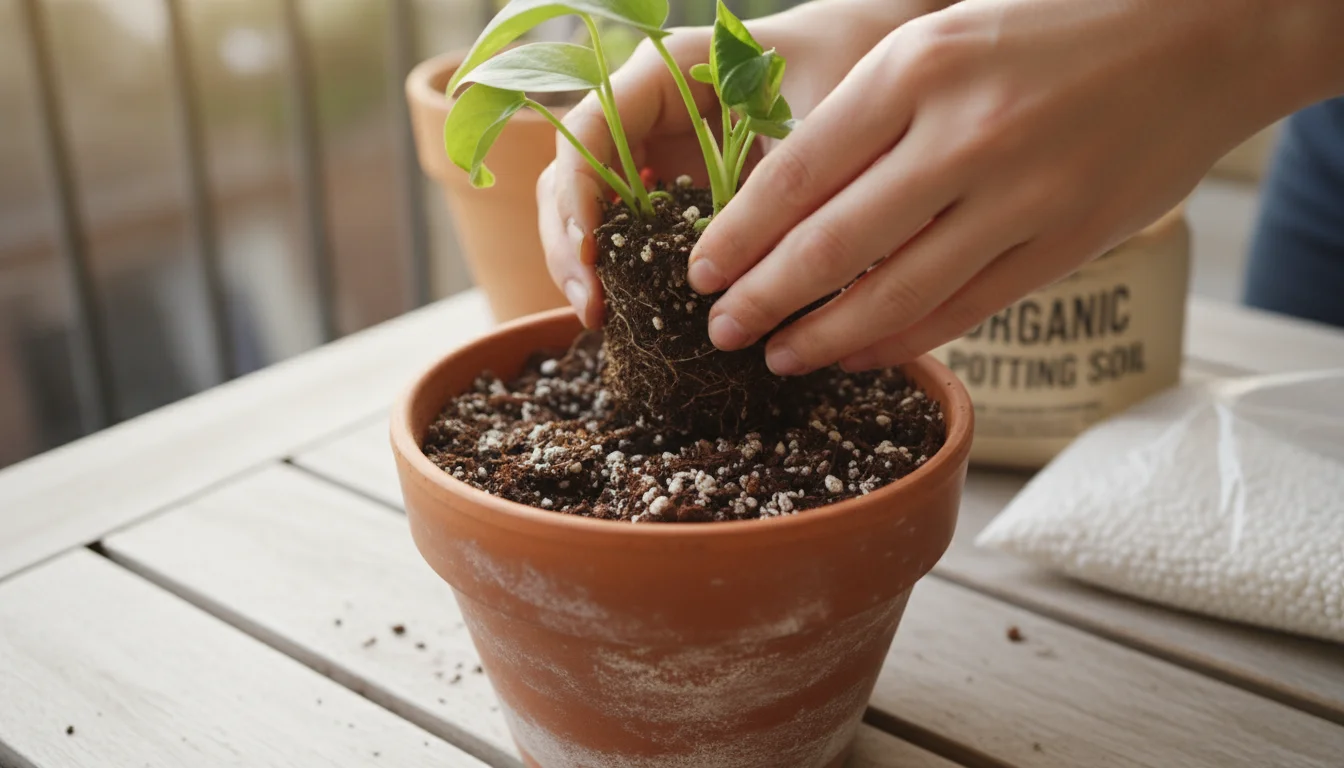
- Ensure Excellent Drainage: The new pot absolutely must have drainage holes. If your current pot lacks holes, it contributed to the problem. Do not use decorative cachepots without drainage for actively growing plants. Terracotta pots are often an excellent choice because their porous nature allows excess moisture to evaporate from the sides, promoting faster drying and better aeration than plastic or glazed ceramic pots.
- Cleanliness is Key: If you reuse the old pot, thoroughly clean and sanitize it first. Scrub away all old soil residue and then soak it in a diluted bleach solution (1 part bleach to 9 parts water) for 30 minutes, or wash with hot soapy water. Rinse thoroughly. This kills any lingering fungal spores that could re-infect your plant.
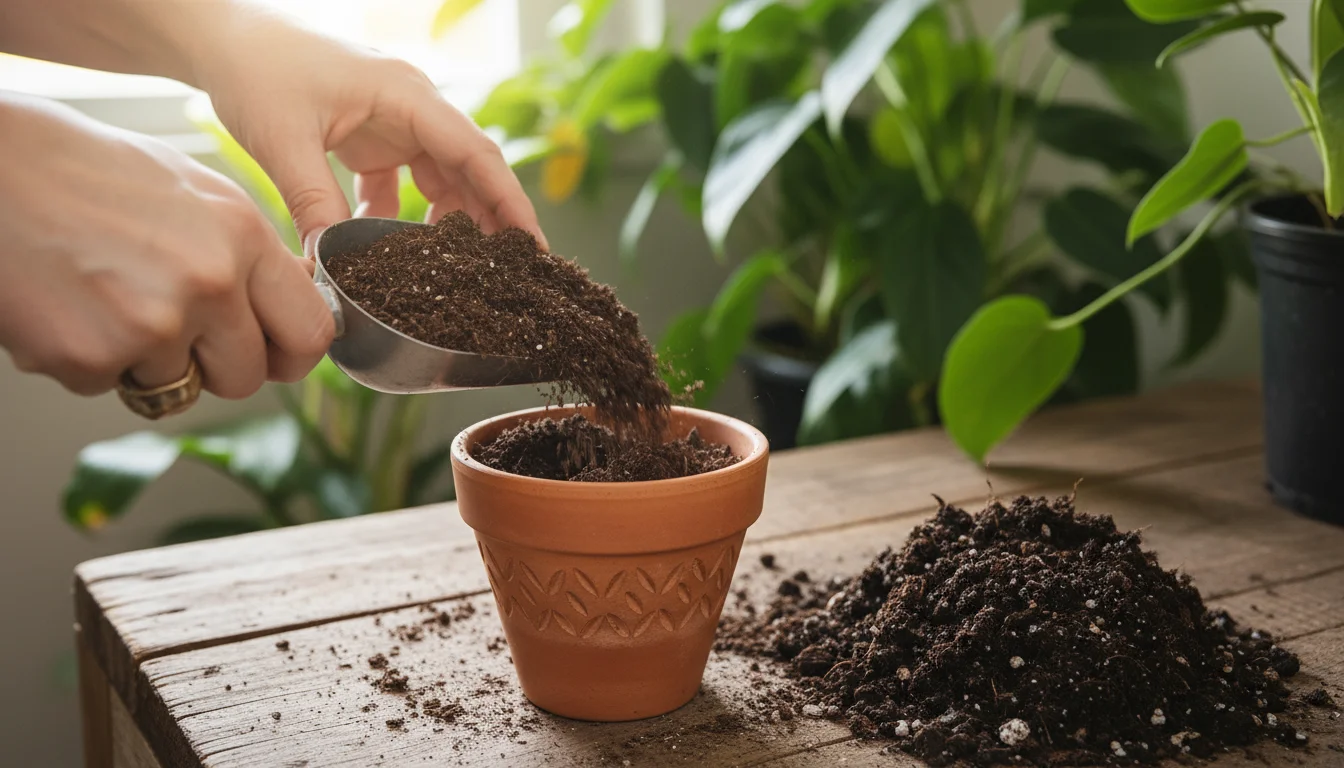
Selecting the Ideal Potting Mix:
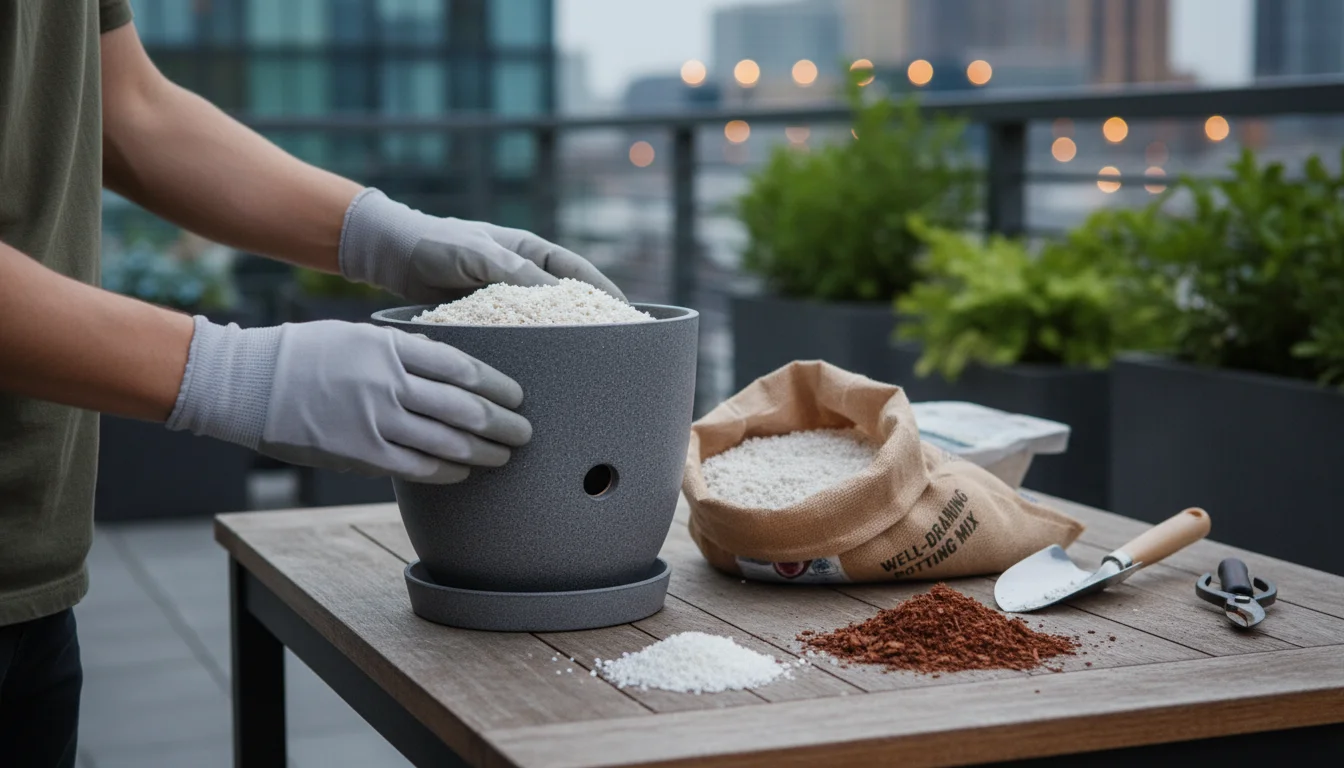
- Use Fresh, Well-Draining Potting Mix: Never reuse the old, contaminated soil. Invest in a high-quality, sterile potting mix specifically formulated for houseplants or the type of plant you are rescuing. This mix should be light, airy, and drain freely.
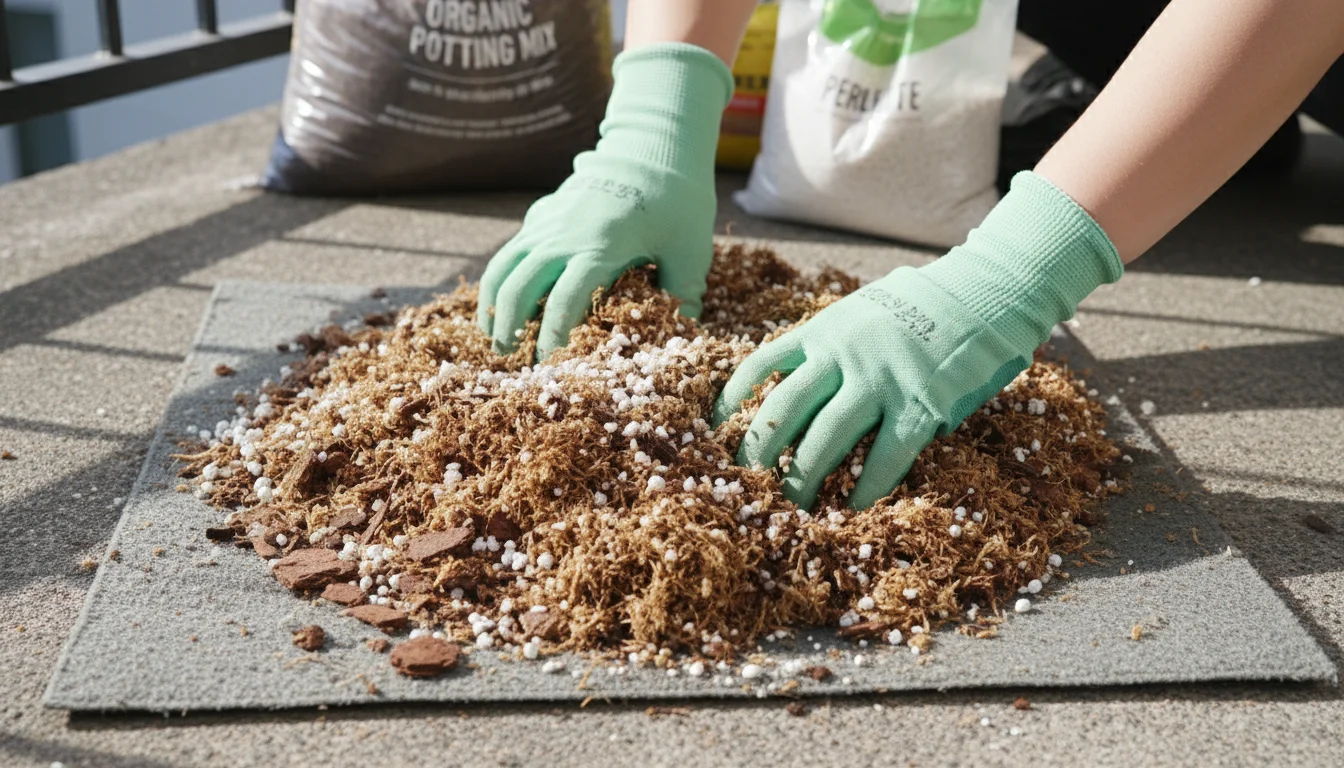
- Amend for Better Drainage: Even good potting mixes can benefit from amendments for plants prone to `root rot`, especially in small containers. Consider adding perlite, coarse sand (horticultural grade, not play sand), or bark chips (like orchid bark) to your potting mix. A common ratio is 2 parts potting mix to 1 part perlite or coarse sand. This dramatically improves drainage and aeration, which is essential for healthy root development and for preventing `overwatered plants`.
- Avoid Heavy, Peat-Based Mixes: While peat can retain moisture, too much peat in a dense mix contributes to compaction and poor drainage, a direct cause of `root rot`. Your goal is a fluffy, well-aerated soil structure.
The Repotting Process:
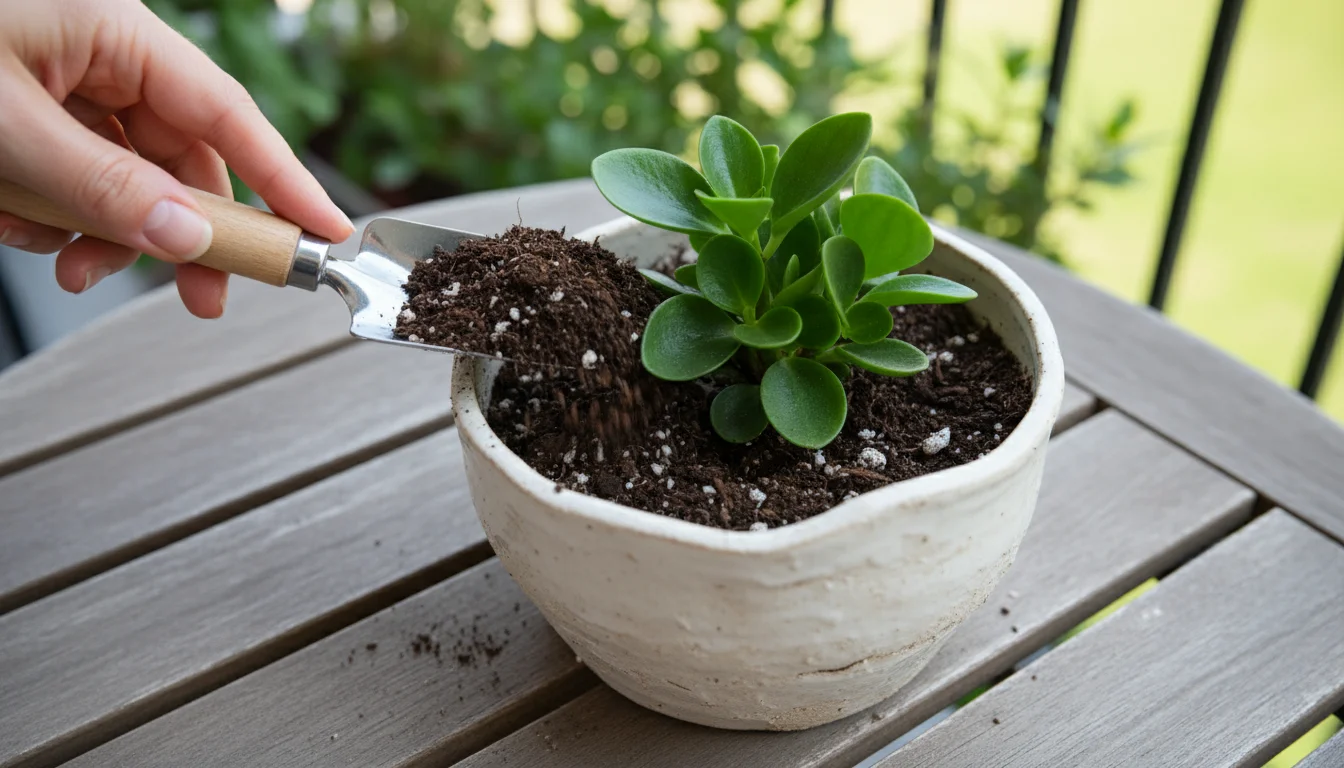
- Add a Layer of Fresh Soil: Place a small layer of your new, well-draining potting mix at the bottom of the cleaned or new pot.
- Position the Plant: Center your plant in the pot, ensuring the crown (where the stem meets the roots) sits at the same level it was in the old pot, or slightly higher. You do not want to bury the stem too deeply, as this can also lead to rot.
- Fill with Soil: Gently fill the pot around the roots with the fresh potting mix, lightly tamping it down to remove large air pockets. Do not pack the soil tightly; this inhibits aeration and drainage. Leave about an inch of space from the rim of the pot to allow for watering without overflow.
- No Immediate Watering: This is crucial. Do not water immediately after repotting. The freshly pruned roots are vulnerable, and allowing them a day or two to callus over before introducing moisture significantly reduces the risk of re-infection. This also helps the plant acclimate.
Post-Rescue Care: Nursing Your Plant Back to Health
Successfully `repotting a plant with root rot` is just the beginning. The period immediately following the rescue operation is critical for your plant’s recovery. Think of it as intensive care for your green patient. Consistent, careful attention during this phase will determine its long-term survival and vigor.
Watering Wisdom: Your Most Important Tool
This is where you permanently change your watering habits to prevent future `overwatered plants` and `root rot`.
- Delay First Watering: As mentioned, wait 24-48 hours after repotting before watering. This gives any pruned roots time to heal and form calluses, reducing the chance of new fungal infections.
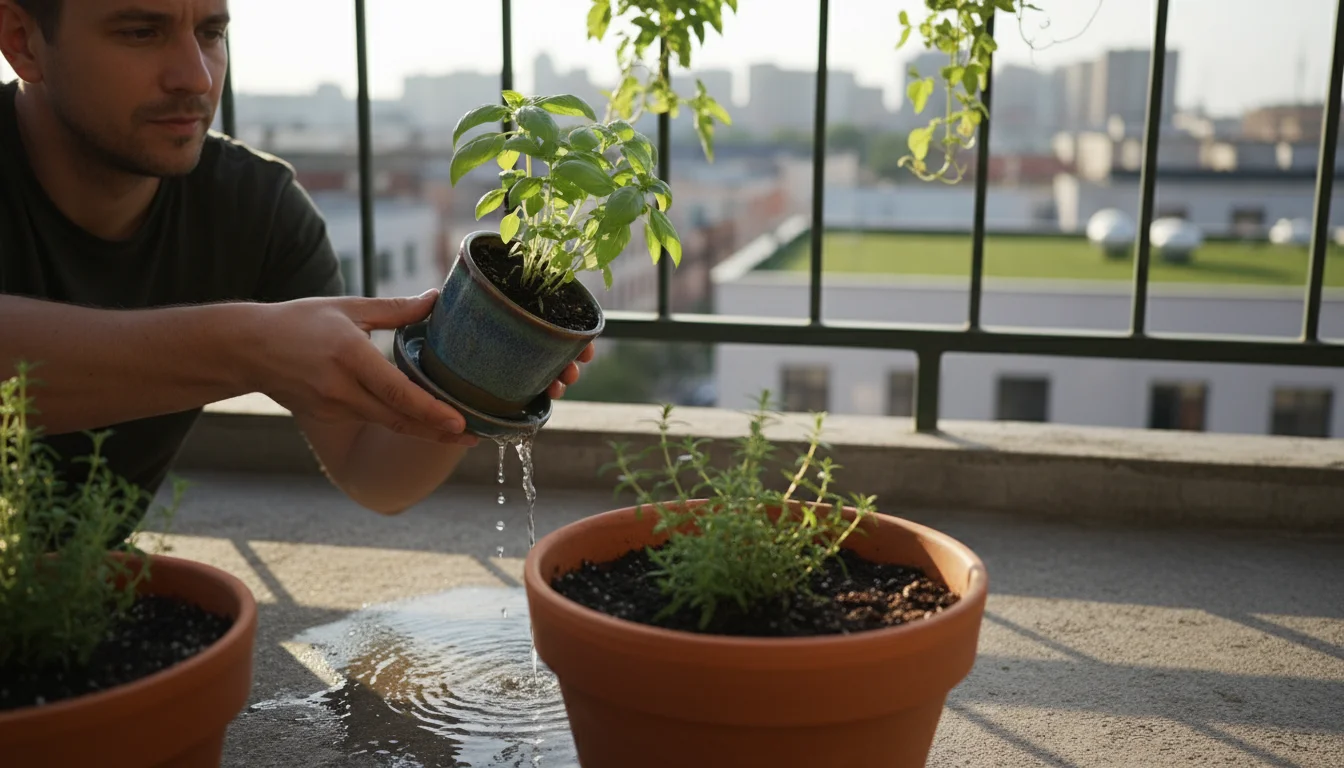
- Water Sparingly and Deeply: When you do water, do so thoroughly until water drains from the bottom, then stop. Empty any excess water from the saucer immediately. Do not let the pot sit in standing water. This encourages roots to grow downwards in search of moisture.
- Feel the Soil, Do Not Schedule: Forget rigid watering schedules, especially during winter. Instead, manually check the soil moisture. Stick your finger about two inches deep into the soil. For most plants recovering from `root rot`, you want the top 1-2 inches of soil to be completely dry before watering again. For succulents or plants highly susceptible to `root rot`, let the soil dry out even more, possibly half the pot depth. A moisture meter can also assist, but your finger remains the most reliable tool.
- Adjust for Winter: Plants require significantly less water in winter due to lower light and cooler temperatures. Expect to water much less frequently than in warmer months. This is a primary factor in preventing `winter plant problems` like `root rot`.
Optimizing the Environment:
- Light: Place your recovering plant in a location with bright, indirect light. Avoid direct, intense sunlight which can stress a weakened plant, and also avoid very low light, which further reduces its ability to recover and use water. A north or east-facing window is often ideal, or a few feet away from a south or west-facing window.
- Temperature: Maintain consistent, moderate temperatures. Avoid sudden temperature fluctuations or cold drafts. Most houseplants prefer temperatures between 65-75°F (18-24°C).
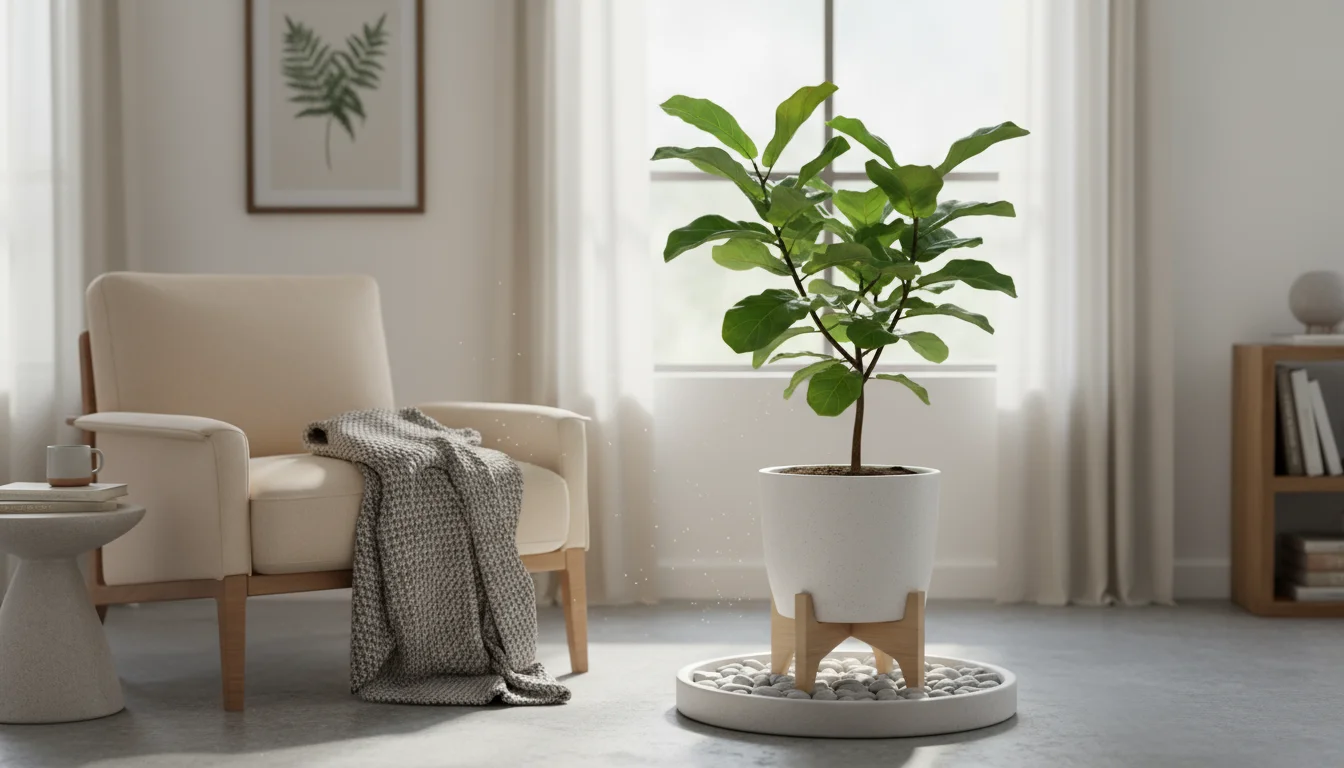
- Humidity: While `root rot` is a problem of excessive soil moisture, some plants appreciate ambient humidity, especially those from tropical environments. Consider placing the plant on a pebble tray filled with water, ensuring the pot does not sit in the water. This provides localized humidity without wetting the soil.
- Air Circulation: Good air circulation around your plants helps the soil dry out more evenly and prevents fungal growth on foliage. Do not crowd your plants.
Patience and Observation:
- No Fertilizing: Do not fertilize a plant recovering from `root rot`. Its root system is compromised and cannot effectively absorb nutrients, and fertilizer salts can further burn damaged roots. Wait until you see clear signs of new growth (new leaves or shoots) before considering a very diluted dose of balanced liquid fertilizer, typically in spring.
- Monitor Closely: Continuously observe your plant for new symptoms or signs of improvement. New, healthy growth is your best indicator of recovery. It might take several weeks or even months for the plant to fully bounce back. Do not be discouraged if it drops a few more leaves initially; this is part of its adjustment process.
Your consistent, mindful approach to watering and environmental control during this recovery phase greatly increases your plant’s chances of a full comeback. You are actively teaching yourself `how to save a plant from root rot` through practical application.
Preventing Future Disasters: Mastering Winter Watering and Plant Health
The best rescue is prevention. Understanding the mechanics of `overwatered plants` and `winter plant problems` empowers you to cultivate a proactive approach, ensuring your small-space garden thrives without succumbing to `root rot` again. Establishing good habits is far easier than performing emergency surgery.

The Art of Mindful Watering:
- Adopt the “Finger Test”: This is your golden rule. Before watering any plant, stick your finger 1-2 inches (2.5-5 cm) into the soil. If it feels moist, wait. If it feels dry, it is likely time to water. For succulents or plants prone to `root rot`, let the soil dry out even deeper.
- Lift the Pot: A simple yet effective trick. A dry pot feels significantly lighter than a wet one. Get used to the weight of your pots when dry and when freshly watered.
- Water Thoroughly, Then Drain: When you do water, provide enough water so it drains freely from the bottom of the pot. This flushes out accumulated salts and ensures the entire root ball gets moisture. Immediately empty any standing water from the saucer. A plant should never sit in water for more than 30 minutes.
- Adjust Seasonally: Plants enter a period of reduced growth or dormancy in winter. Their water requirements drop dramatically. Reduce both the frequency and sometimes the volume of your watering during the colder, darker months. This is particularly crucial for avoiding `overwatered plants` during `winter plant problems`.
- Understand Your Plant’s Needs: Different plants have different moisture preferences. Cacti and succulents thrive on infrequent watering, while ferns and some tropicals prefer consistently moist (but never soggy) soil. Research your specific plant’s needs.
Beyond Watering: Ensuring Optimal Conditions:
- Choose Pots with Drainage: This cannot be overstated. Every plant pot must have drainage holes. If you use decorative pots, either ensure they have holes or use them as cachepots, placing a potted plant (with drainage) inside and removing it for watering.
- Select the Right Potting Mix: Invest in a high-quality, well-draining potting mix. For plants highly susceptible to `root rot`, amend the soil with perlite, coarse sand, or bark to improve aeration and drainage. This ensures water moves through the soil effectively, preventing saturation.
- Provide Adequate Light: Low light conditions significantly reduce a plant’s ability to use water, making it more susceptible to `root rot` if watering habits remain unchanged. Ensure your plants receive sufficient light for their species, especially during winter. Consider supplemental grow lights for naturally darker rooms or plants with higher light requirements.
- Ensure Good Air Circulation: Stagnant air contributes to fungal growth and keeps soil moist for longer. Ensure good airflow around your plants. Avoid crowding, and consider a small fan in larger plant collections.
- Avoid Over-Fertilizing in Winter: Plants need fewer nutrients when not actively growing. Over-fertilizing can lead to salt buildup in the soil, which damages roots and makes them more vulnerable to `root rot`. Hold off on fertilizing during winter dormancy.
- Repot When Necessary, but Not Too Often: Repotting into a pot that is too large for the root system is a common cause of `root rot` because the excess soil holds too much moisture. Only repot when your plant is visibly root-bound, and choose a pot only one size larger than the previous one.
By integrating these practices into your regular plant care routine, you move beyond just `how to save a plant from root rot` and into creating an environment where your plants naturally thrive. This preventative approach is the most sustainable and rewarding way to maintain a healthy small-space garden, minimizing `winter plant problems` and the distress of `overwatered plants`.
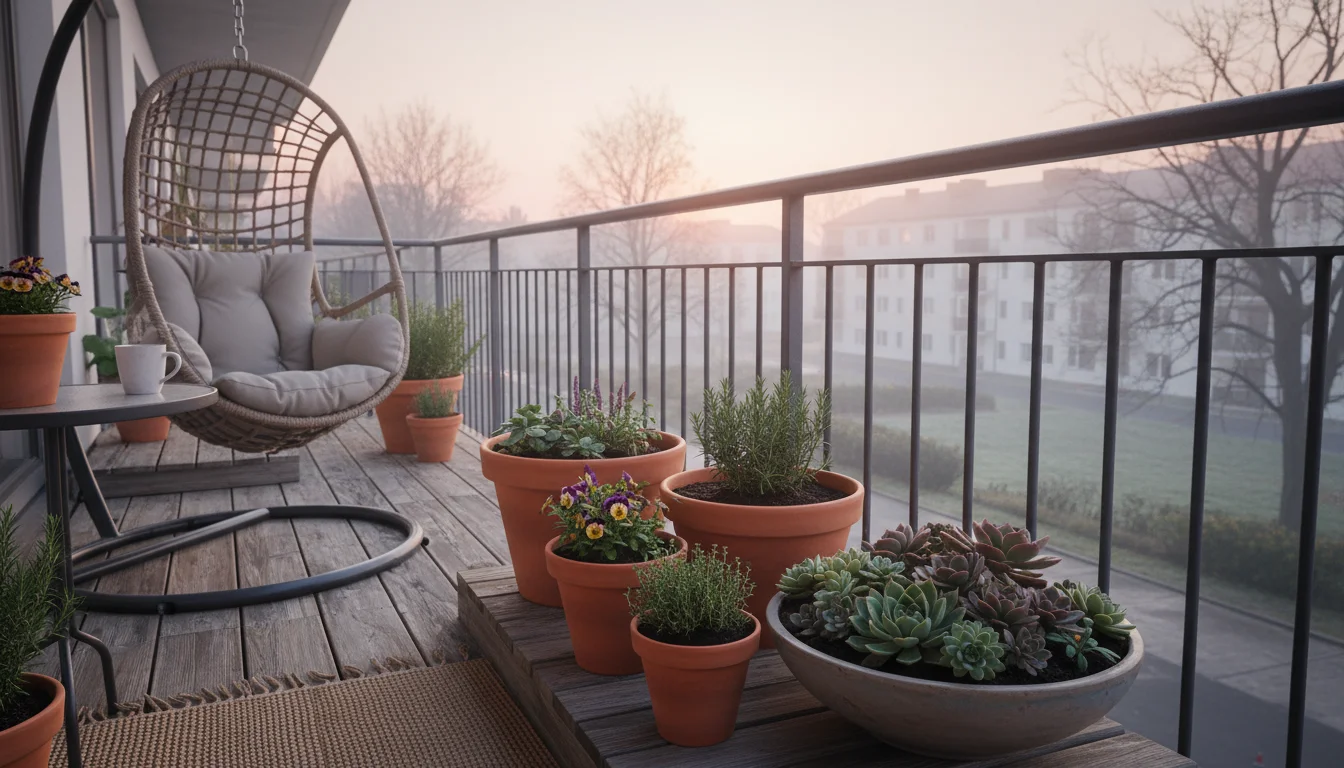
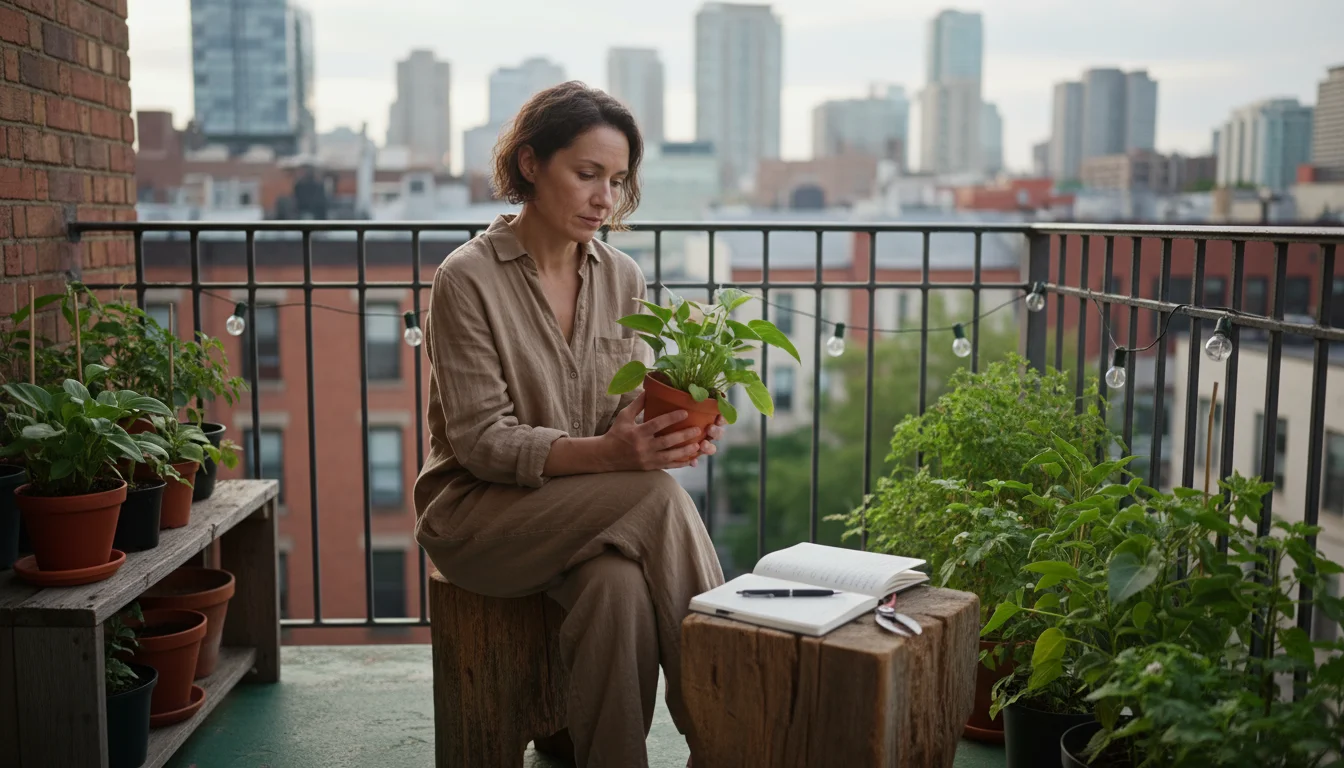
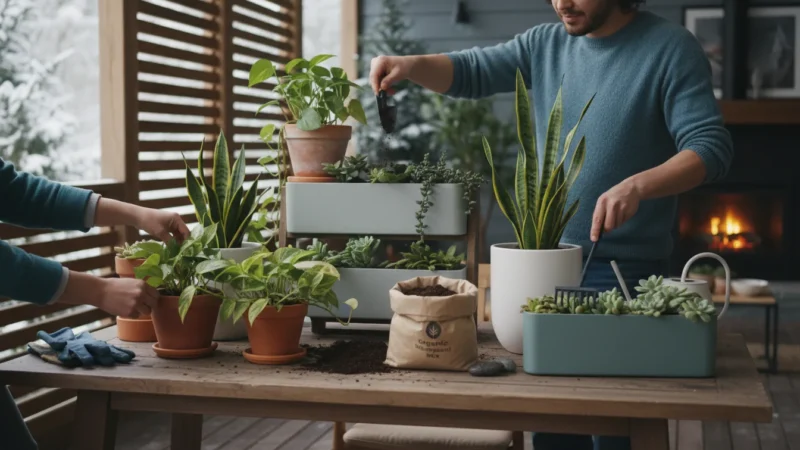
Choosing the Right Plants for Your Space and Skill Level
Prevention also includes selecting plants that suit your lifestyle, environment, and watering habits. As a small-space gardener, you have unique considerations: light availability, temperature consistency, and the sheer volume of plants you can realistically manage. Making informed plant choices significantly reduces the likelihood of `root rot` and other `winter plant problems`.
Consider Your Environment First:
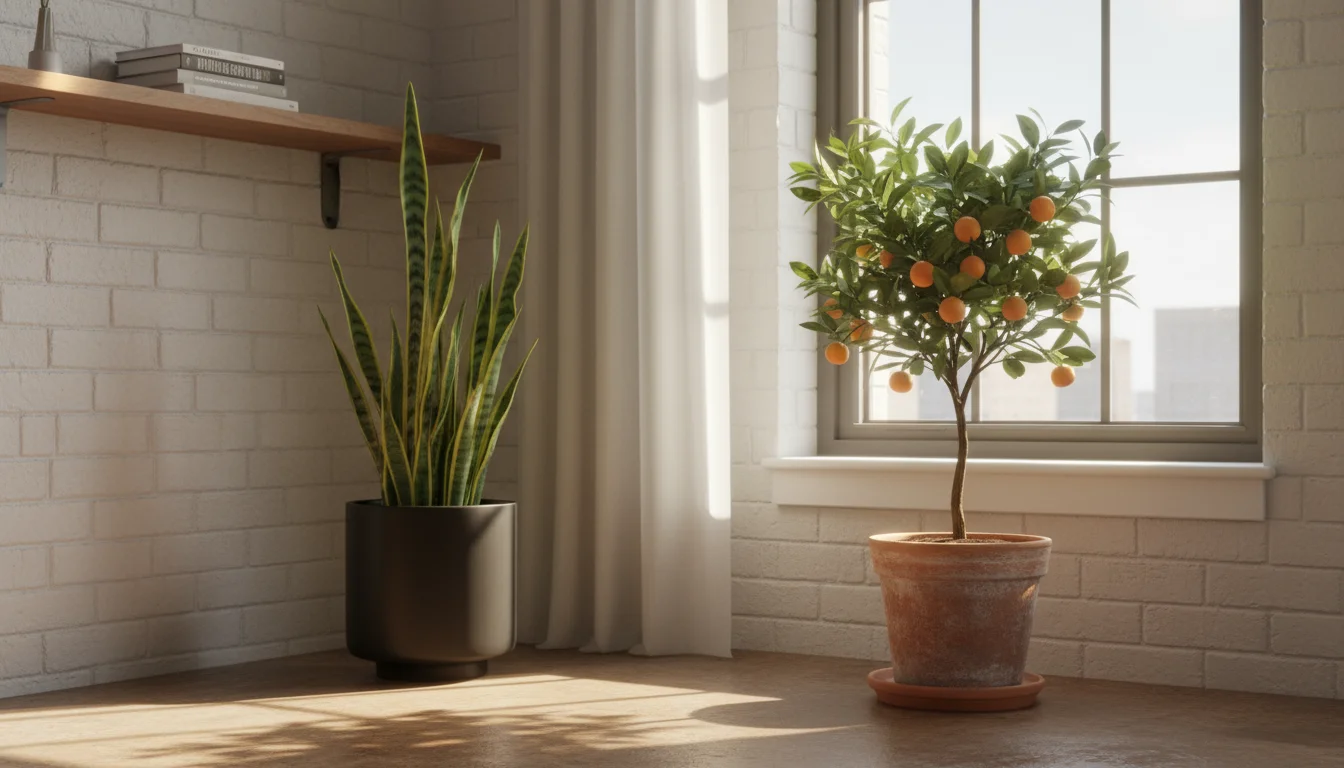
- Light Levels: Honestly assess the natural light in your home. Do you have bright, sunny windows? Or mostly indirect and low light? Choose plants that naturally thrive in those conditions. For instance, a fiddle leaf fig demands bright light, while a ZZ plant or snake plant tolerates much lower light. Matching the plant to the light prevents stress, which makes them more resilient against diseases.
- Temperature and Humidity: Most homes maintain average room temperatures, suitable for many common houseplants. However, if you have a cooler spot or a very dry home, consider plants that tolerate those conditions. Ferns, for example, often struggle in very dry air, making them more prone to issues.
- Air Circulation: Compact spaces can sometimes lack good airflow. Plants like orchids and some tropicals appreciate good air movement.
Match Plants to Your Watering Style:
- For the Enthusiastic Waterer: If you find yourself frequently wanting to water, choose plants that prefer consistently moist soil, like peace lilies, some ferns (e.g., Boston fern), or pothos. However, even these need drainage and proper winter adjustment. Ensure their pots drain exceptionally well.
- For the Forgetful or Hands-Off Gardener: If you prefer to water infrequently, or if you travel often, opt for drought-tolerant plants. Succulents (e.g., Echeveria, Haworthia), cacti, snake plants (Sansevieria), ZZ plants (Zamioculcas zamiifolia), and cast iron plants (Aspidistra elatior) are excellent choices. These are very forgiving of missed waterings and are highly resistant to `root rot` because they prefer their soil to dry out completely between waterings. These are ideal for preventing `overwatered plants` scenarios.
- For the Learner: Start with resilient, easy-care plants that offer clear `signs of root rot in houseplants` or other distress signals. Pothos, spider plants, and even philodendrons are often good beginner choices as they communicate their needs effectively and often bounce back from minor issues.
Practical Tips for Small Spaces:
- Do Not Overcrowd: While tempting to fill every corner, overcrowding plants reduces air circulation and makes individual plant care more difficult. Give each plant room to breathe.
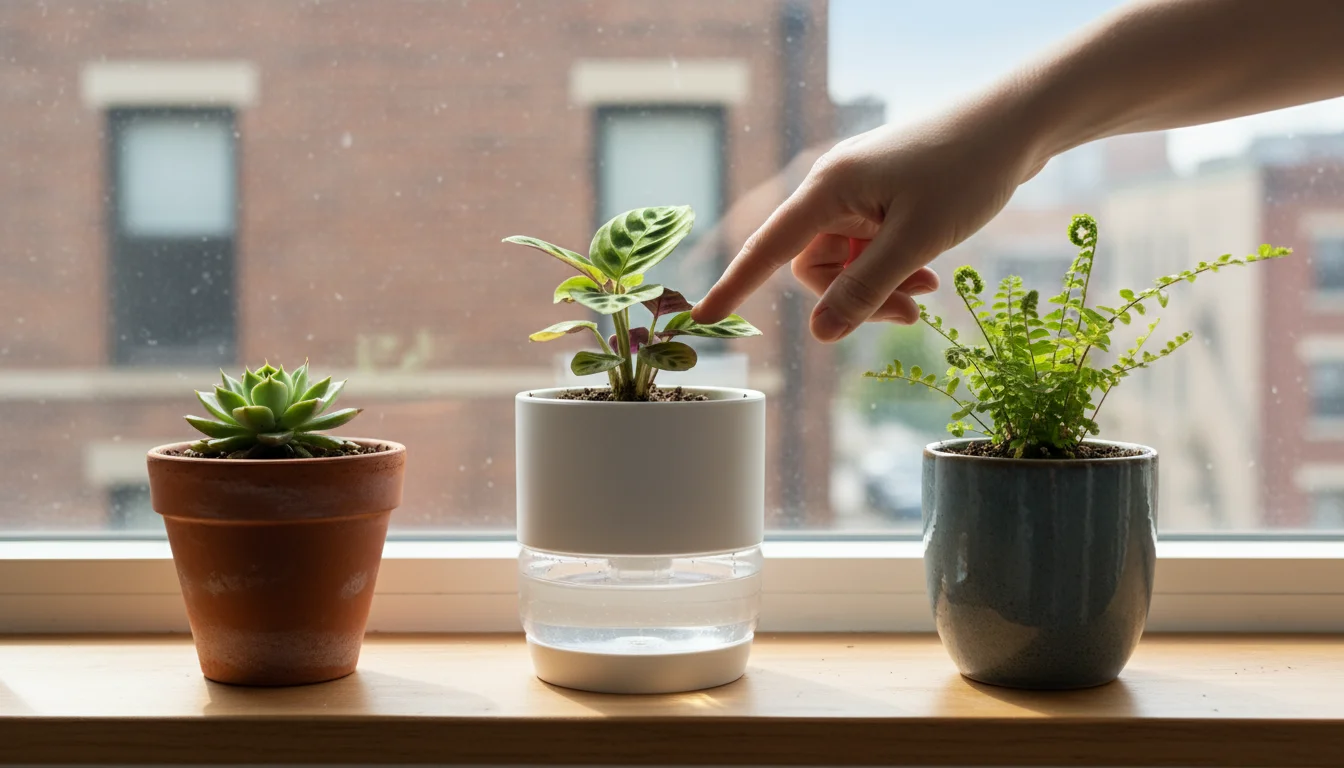
- Consider Self-Watering Pots (with Caution): While self-watering pots can be useful for some plants and busy gardeners, they are not a foolproof solution for `root rot` prevention, especially in winter. They can keep the soil consistently moist, which can be problematic if your plant prefers to dry out, or if the system is not managed correctly. Use them with great awareness of your plant’s specific needs and monitor closely.
- Embrace Smaller Varieties: Many popular houseplants come in dwarf or compact varieties perfect for small shelves, windowsills, or desks. This allows you to enjoy more diversity without overwhelming your space or creating an environment prone to `winter plant problems`.
By thoughtfully selecting plants that align with your environmental conditions and care habits, you set yourself up for gardening success. This proactive approach significantly reduces the stress of dealing with `root rot` and ensures a more enjoyable gardening journey, transforming your space into a thriving indoor oasis rather than a battleground against `overwatered plants`.
Frequently Asked Questions
Can a plant fully recover from root rot?
Yes, many plants can make a full recovery from `root rot` if you intervene early and correctly. The key is to remove all affected roots, repot into fresh, well-draining soil, and adjust your watering habits permanently. The plant will need time to regrow its root system, and new healthy growth indicates successful recovery.
How long does it take for a plant to recover after root rot treatment?
Recovery time varies greatly depending on the severity of the `root rot`, the plant species, and environmental conditions. Some resilient plants may show signs of new growth within a few weeks, while others might take several months to fully bounce back. Be patient and consistent with your post-rescue care, especially mindful watering.
What if I find a plant with very severe root rot, with almost no healthy roots left?
If you find that almost all of your plant’s roots are mushy and black, your chances of saving it are significantly reduced. However, you can still try. After removing all rotted tissue, if there is a healthy stem segment, you might try propagating it. Cut a clean stem section above the rot, allow it to callus for a day or two, and then attempt to root it in water or a very light, sterile rooting medium. This is often the last resort for `how to save a plant from root rot` in severe cases.
Can I use a moisture meter to prevent overwatering?
Moisture meters can be helpful tools, but they are not foolproof. Some cheaper models can be unreliable, and they only measure moisture at the point of insertion, not throughout the entire root ball. Always cross-reference a moisture meter reading with the “finger test” until you gain confidence in its accuracy and how it relates to your plant’s specific needs. The goal is to learn to read your plant and its soil directly.
Is it better to underwater or overwater?
When in doubt, it is generally safer to underwater slightly than to overwater. Plants can often recover from underwatering with a thorough drink, but `root rot` from overwatering is much more difficult to reverse and often fatal. Most houseplants prefer their soil to dry out between waterings. This is a fundamental concept in preventing `overwatered plants` and `winter plant problems`.
For trustworthy gardening information, visit: University of Delaware Extension — Gardening, University of Vermont Extension — Gardening, University of New Hampshire Extension — Yard & Garden, University of Maine Cooperative Extension — Gardening and University of Rhode Island Cooperative Extension — Gardening. These organizations provide expert, research-based advice for gardeners at all levels.
Disclaimer: This article is for informational purposes only and is not a substitute for professional gardening advice. Always consult local extension services or horticulture experts for region-specific guidance.

Leave a Reply