The Rosemary Rescue Mission: Your Step-by-Step Guide to Keeping Potted Rosemary Alive Indoors All Winter
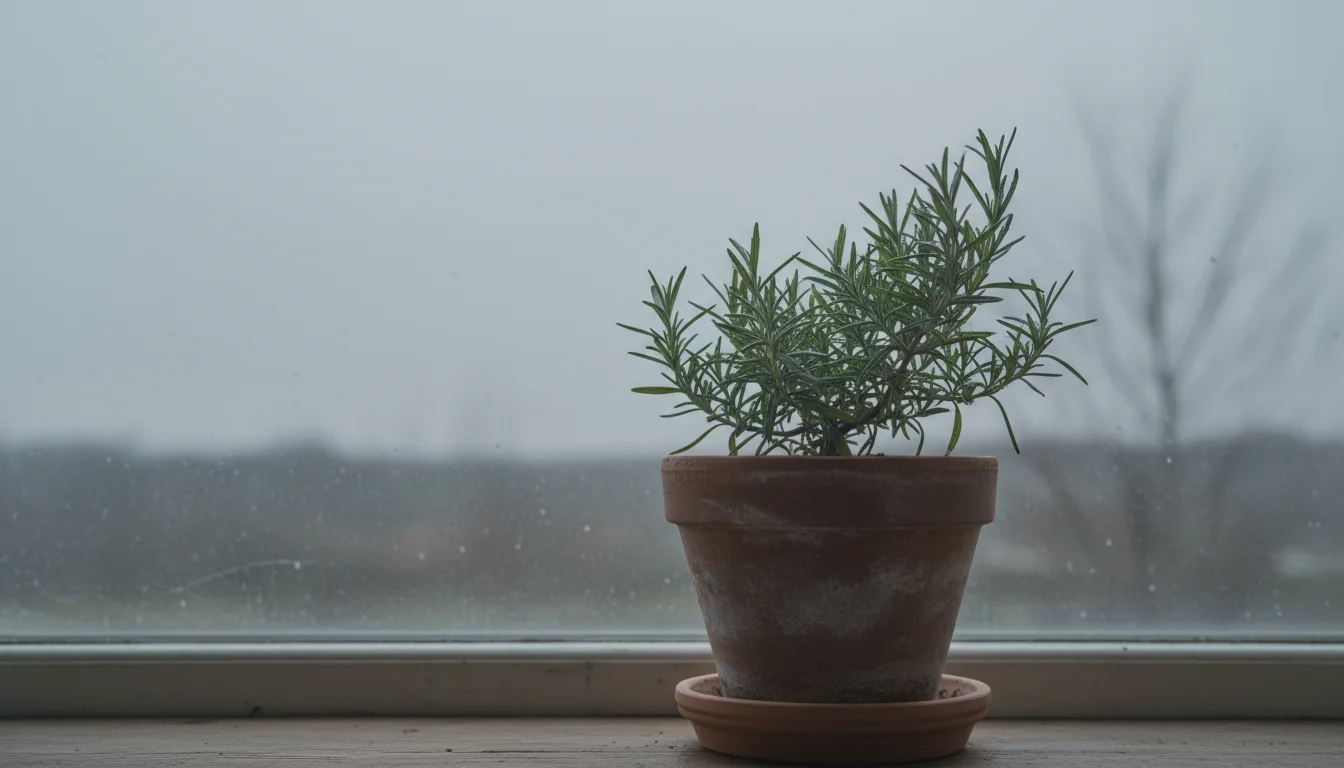
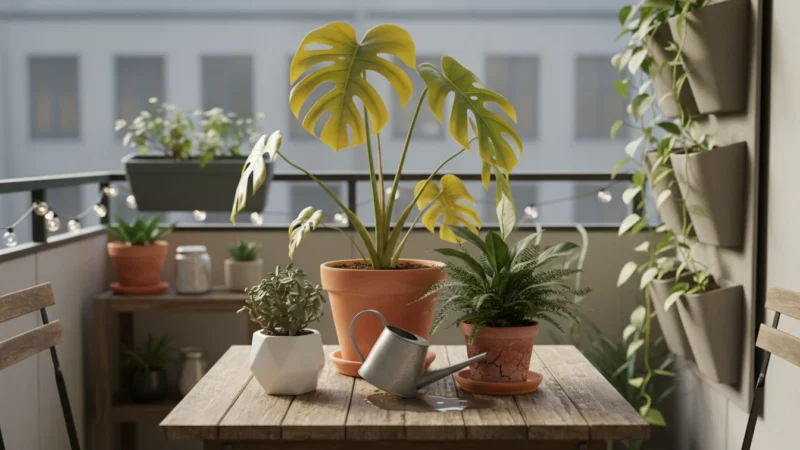
Rosemary, with its fragrant needles and culinary versatility, is a favorite herb for many gardeners. Its distinct aroma transports you to sun-drenched Mediterranean landscapes. For those of us in colder climates, however, the arrival of winter brings a common dilemma: how do you keep that beloved potted rosemary thriving when temperatures drop? You watch your plant struggle, its vibrant green slowly fading, needles turning brown, and eventually, it succumbs to the indoor environment. This frustrating cycle of potted rosemary dying in winter is incredibly common, but it does not have to be your story.
Mastering this plant is a great first step toward cultivating a complete indoor holiday herb garden for year-round harvesting.
This guide provides a comprehensive approach to successfully overwintering rosemary indoors. You will learn the critical steps and practical solutions to prevent your plant from merely surviving to truly flourishing throughout the colder months. We will transform your understanding of potted rosemary care by focusing on the specific needs this herb has when you are bringing herbs indoors. Prepare to enjoy fresh rosemary in your kitchen all year long.
Understanding Rosemary’s Winter Woes: Why Indoor Life is Tough
Rosemary, Rosmarinus officinalis, originates from the Mediterranean region. This means it thrives in full sun, well-draining soil, and consistent, moderate temperatures. These conditions are drastically different from what most of our homes offer in winter. Understanding these environmental disparities is the first step in successful how to keep rosemary alive inside.
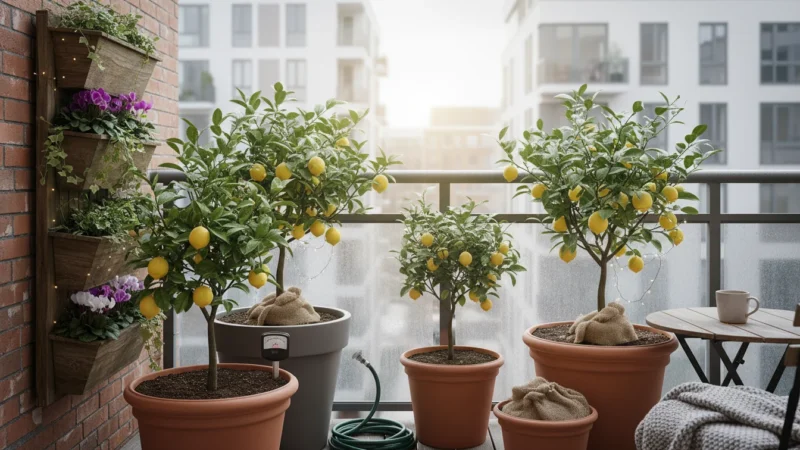
Many of these environmental challenges are the same ones faced when overwintering potted citrus trees in small apartments.
Avoiding common winter care mistakes is essential to keep your indoor garden thriving until spring.
- Low Light: Our homes, even near windows, receive significantly less intense light than outdoor sunshine. Daylight hours shorten, and the quality of light diminishes. Rosemary needs at least 6-8 hours of direct sunlight daily to perform well. Indoor conditions rarely meet this requirement without supplemental lighting.
- Low Humidity: Heated indoor air is notoriously dry. Rosemary prefers a humidity level closer to its native 60-70%. Your home heating system often drops humidity levels to 30% or even lower. This dry air causes the plant to lose moisture rapidly through its leaves, leading to browning and eventual death.
- Improper Watering: This is a major killer of indoor rosemary. Outdoor potted plants dry out quickly. Indoors, factors like lower light, less air circulation, and cooler temperatures mean the soil retains moisture much longer. Overwatering leads to root rot, suffocating the plant. Underwatering, on the other hand, causes dehydration. Finding the right balance is crucial.
- Temperature Fluctuations: While rosemary tolerates a slight dip in outdoor temperatures, it prefers consistent coolness indoors, around 55-65°F (13-18°C). Areas near drafty windows or heating vents can experience extreme temperature swings, stressing the plant.
- Lack of Air Circulation: Outdoors, breezes keep air moving around the plant, helping foliage dry and deterring fungal issues. Indoors, stagnant air creates a perfect environment for fungal diseases and pests.
Your goal for overwintering rosemary indoors is to mimic its preferred outdoor conditions as closely as possible, mitigating these common challenges.

Prepping Your Rosemary for Its Indoor Move
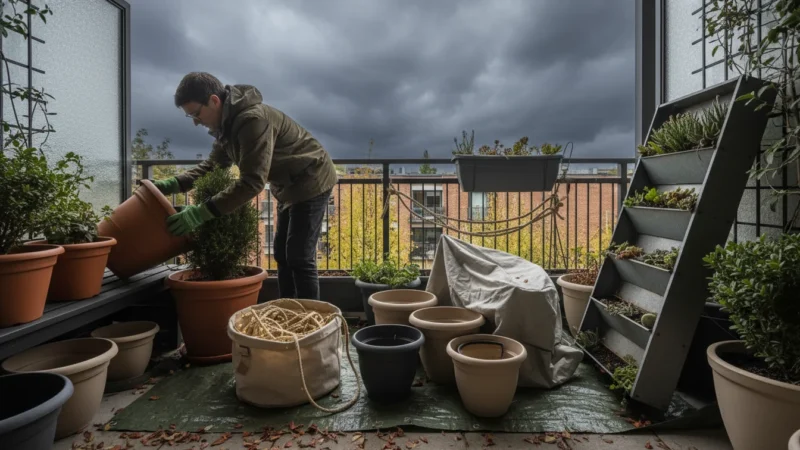
Do not simply yank your rosemary plant indoors the moment the first frost threatens. A gradual transition significantly increases its chances of survival. This careful preparation is vital for successful bringing herbs indoors.
To streamline these tasks, you can assemble a simple indoor gardening tool kit with everything you need for pruning and cleaning.
If you are planning to save other balcony favorites, follow this similar rescue mission for peppers and geraniums to keep them alive all winter.
- Inspect for Pests (4-6 Weeks Before): Begin a thorough inspection. Look closely at the undersides of leaves, along stems, and in the soil. Common hitchhikers include aphids, spider mites, and whiteflies. Treat any infestations outdoors to avoid bringing pests into your home, where they can quickly spread to other houseplants. Use insecticidal soap or neem oil, following product instructions. Repeat treatments as needed.
- Gradual Acclimatization (2-3 Weeks Before): Rosemary needs to adjust to lower light levels and different temperatures. Start by moving your potted rosemary to a more sheltered spot on your patio or porch for a week. Then, move it to a brighter, cooler spot indoors for a few hours each day, gradually increasing the time it spends inside over two weeks. This “hardening off” process reduces transplant shock.
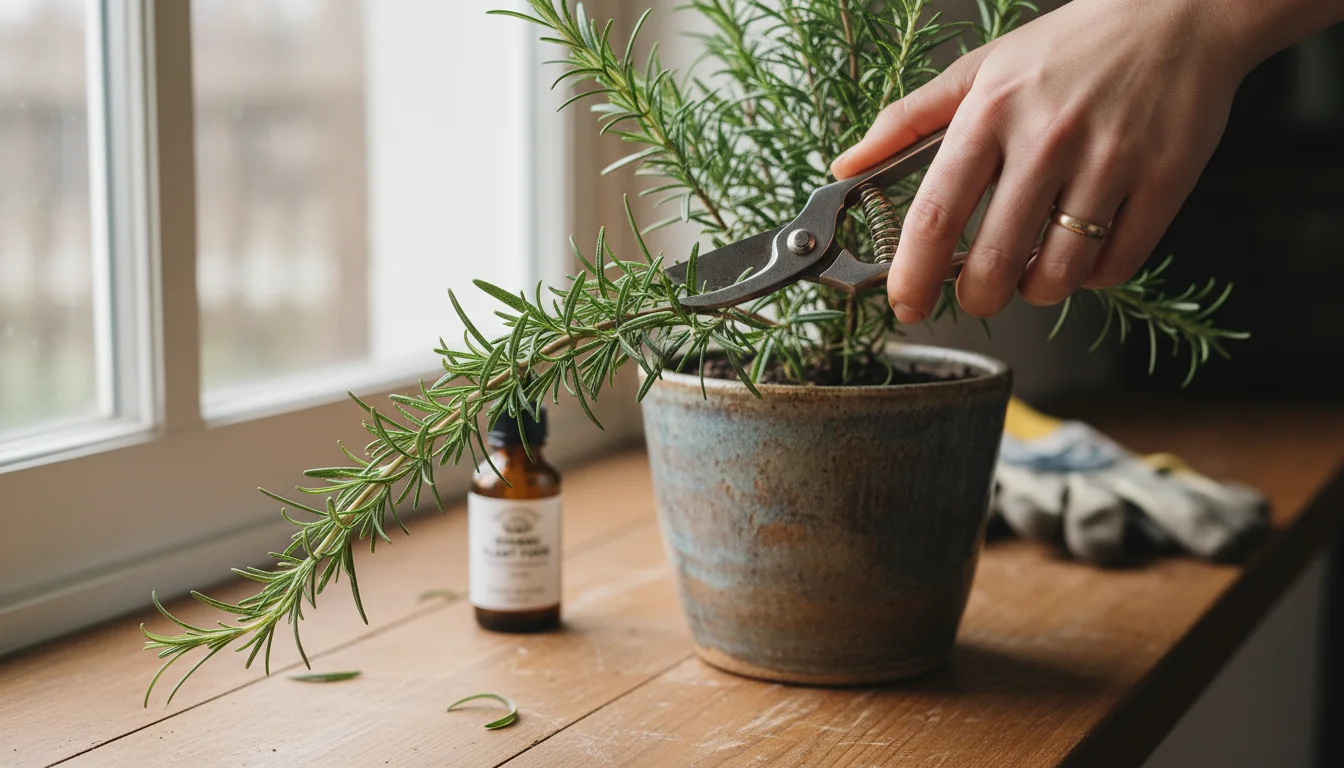
- Pruning for Health (1-2 Weeks Before): Before bringing the plant inside, give your rosemary a light prune. Remove any dead, diseased, or leggy growth. This improves air circulation and helps the plant redirect energy to existing healthy foliage. Aim to remove no more than one-third of the plant’s total mass. This is an important step in comprehensive potted rosemary care.
- Thorough Cleaning: Wipe down the pot to remove any dirt or debris. You might even consider gently scraping off the top inch of soil and replacing it with fresh, sterile potting mix to eliminate any lingering pest eggs or fungal spores. This minimizes the risk of introducing unwanted elements into your indoor environment.
- Final Watering and Drainage Check: Water your rosemary thoroughly a day or two before bringing it inside. Ensure the pot drains completely. You do not want to bring a waterlogged plant indoors, as this immediately sets it up for root rot in a lower-light environment.
The Golden Trio: Light, Water, and Humidity for Indoor Rosemary
These three factors are the cornerstones of successful how to keep rosemary alive inside. Master them, and your rosemary will thank you.
Your rosemary can also serve as the foundation for a windowsill apothecary garden, providing therapeutic aromas all winter long.
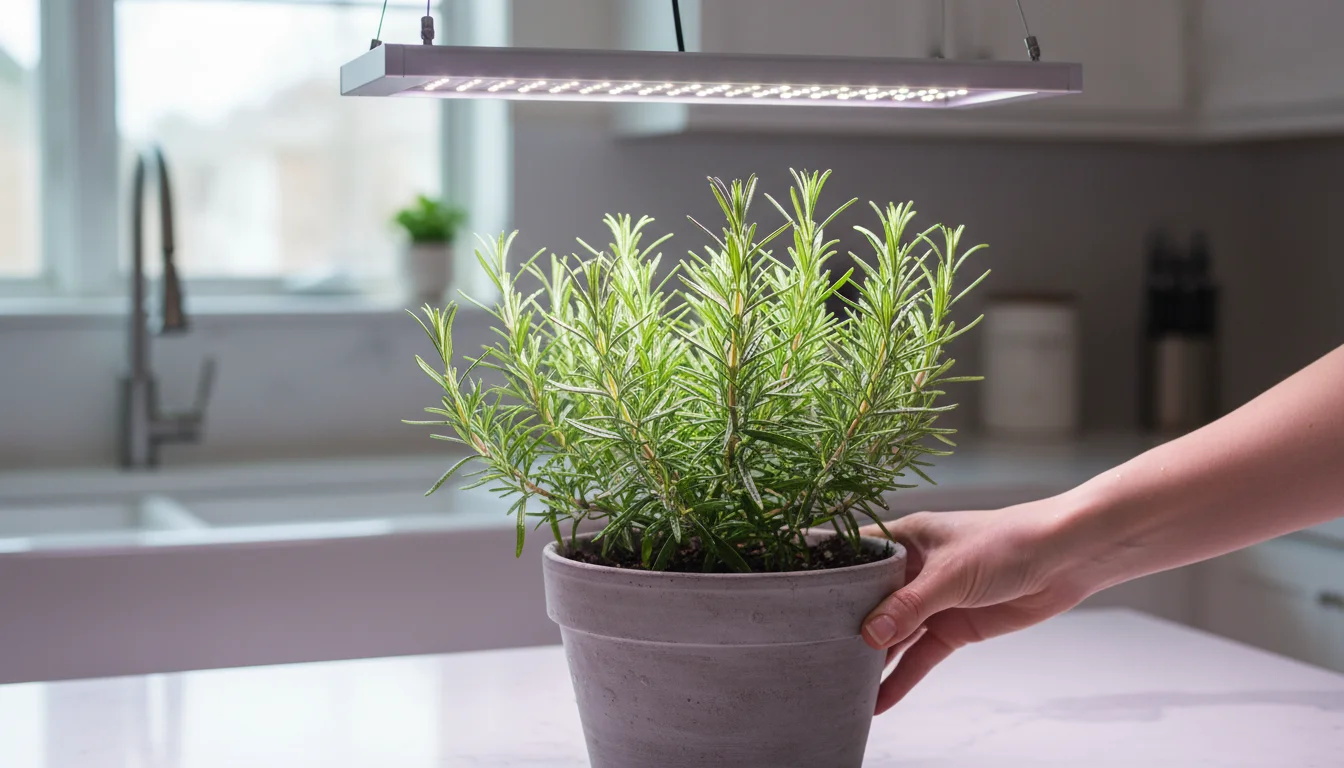
Light: The Sunshine Mimic
Rosemary craves light. It is a full-sun plant, meaning it needs at least 6-8 hours of direct sunlight daily. Indoors, achieving this level of illumination is challenging but critical for preventing your potted rosemary dying in winter.
- South-Facing Window: Place your rosemary in the brightest possible location. A south-facing window is usually your best bet, as it receives the most consistent direct light throughout the day. Rotate the pot every few days to ensure all sides of the plant receive adequate light.
- Supplemental Grow Lights: For most homes, a south-facing window alone will not be enough. Investing in a full-spectrum LED grow light is a game-changer. Position the light 6-12 inches above the plant and run it for 12-16 hours a day. This replicates the intensity and duration of natural sunlight, dramatically increasing your success rate. Modern LED grow lights are energy-efficient and produce very little heat, making them ideal for small spaces.
- Reflective Surfaces: To maximize the light reaching your plant, consider placing reflective surfaces, such as aluminum foil or white cardboard, around the plant. This helps bounce light back onto the plant’s less-exposed sides.
Water: The Delicate Balance
Overwatering is the number one killer of indoor rosemary. It is accustomed to excellent drainage and periods of dryness in its natural habitat. Your goal for light and water for indoor rosemary is to prevent both drowning and severe dehydration.
- Feel the Soil: Do not water on a schedule. Instead, feel the soil. Stick your finger about two inches deep into the potting mix. If it feels dry, it is time to water. If it feels moist, wait. This method is far more reliable than a fixed schedule because indoor conditions vary.
- Thorough Watering: When you do water, water deeply until you see water draining from the bottom of the pot. This ensures the entire root ball gets hydrated. Immediately empty any excess water from the saucer. Allowing the pot to sit in standing water invites root rot.
- Reduce Frequency in Winter: As light levels are lower and plant growth slows, rosemary needs less water. You might find yourself watering every 2-4 weeks, or even less frequently, depending on your home’s conditions. Always check the soil first.
- Consider a Moisture Meter: For beginners, a simple moisture meter can provide a helpful objective reading of soil moisture levels, taking some guesswork out of the equation.
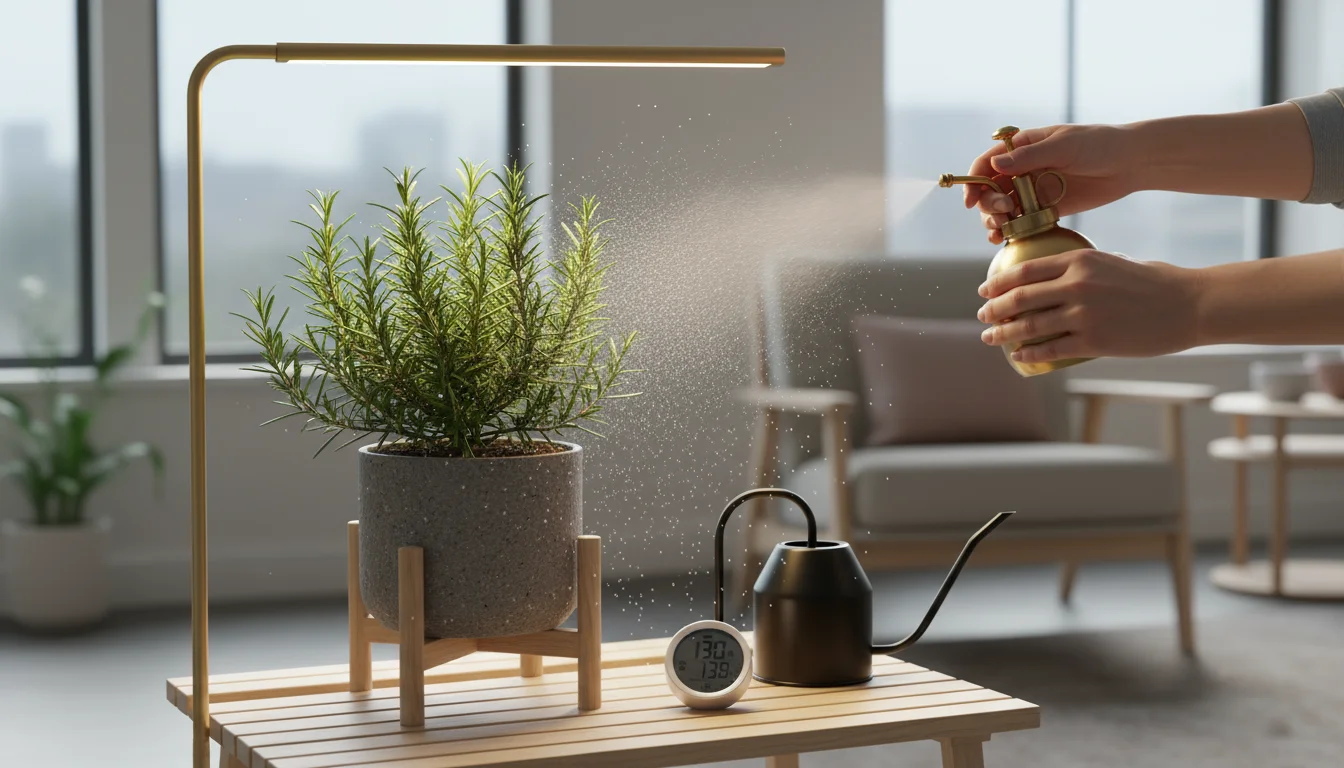
Humidity: Battling Dry Indoor Air
Rosemary thrives in higher humidity than typical heated homes provide. The dry air causes the needles to brown and leads to increased susceptibility to spider mites, a common indoor pest. Addressing humidity is a crucial aspect of potted rosemary care.
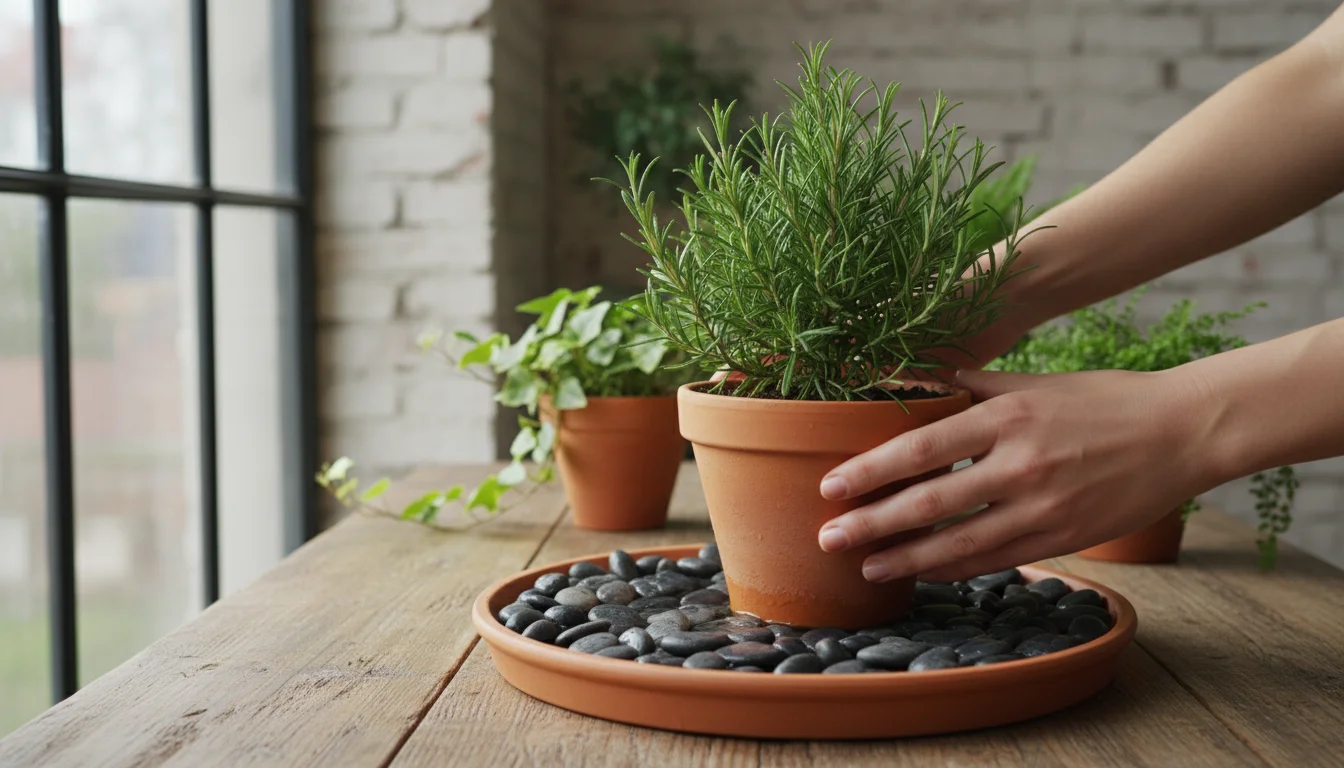
- Pebble Trays: Place your potted rosemary on a tray filled with pebbles and water. Ensure the bottom of the pot does not sit directly in the water, as this negates good drainage. As the water evaporates, it creates a microclimate of increased humidity around the plant.
- Humidifier: If you have multiple humidity-loving plants or very dry indoor air, a small room humidifier is an excellent investment. Place it near your rosemary plant to provide consistent moisture to the air.
- Misting (with caution): While misting can provide a temporary boost of humidity, it is generally not recommended for rosemary. The stagnant indoor air combined with moisture on the leaves can encourage fungal diseases. If you choose to mist, do it sparingly and ensure good air circulation.
- Group Plants: Grouping several plants together can slightly increase local humidity as they transpire, releasing moisture into the air.
Container and Soil Secrets for Healthy Roots
The right container and soil mix provide the foundation for a healthy rosemary plant. These choices directly impact drainage and aeration, which are paramount for overwintering rosemary successfully.
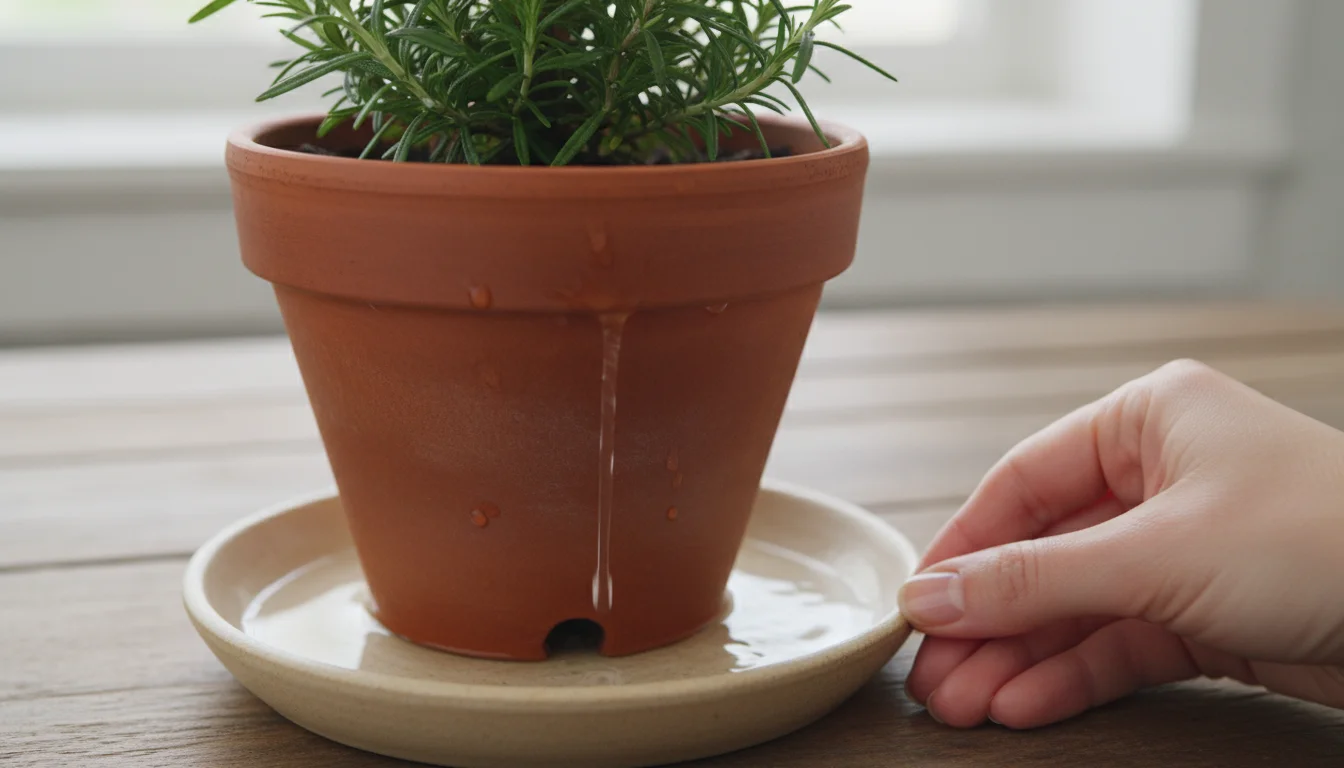
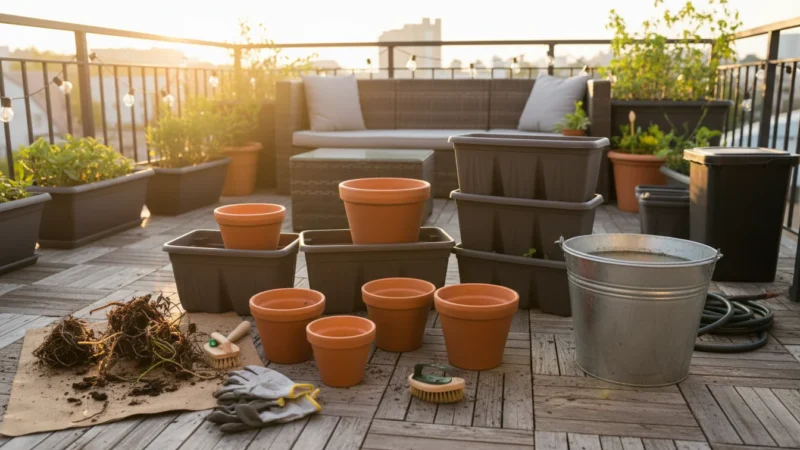
The Perfect Pot: Drainage is Key
Rosemary absolutely despises “wet feet,” meaning its roots sitting in soggy soil. Selecting the correct pot prevents this common issue.
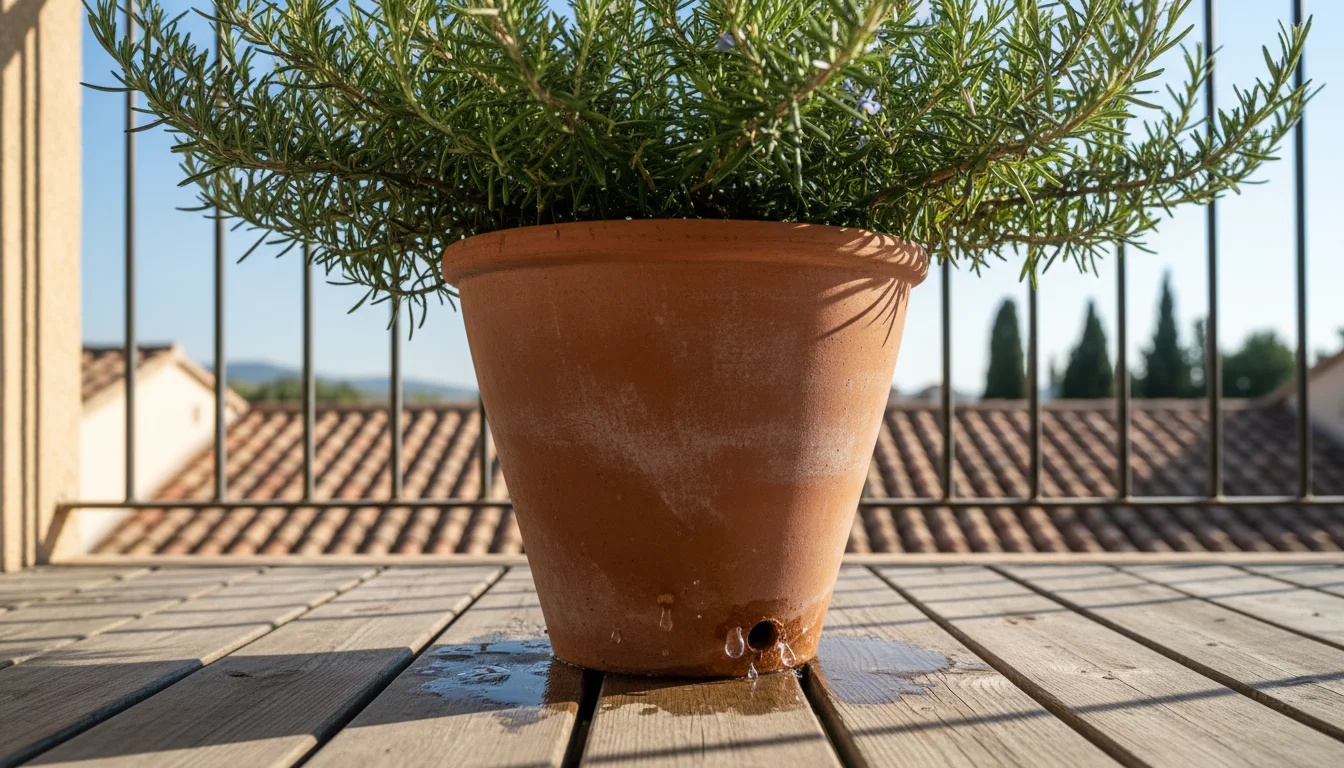
- Drainage Holes: This is non-negotiable. Your pot must have drainage holes at the bottom. If it does not, you risk root rot, which is often fatal for rosemary.
- Material Matters: Terracotta (clay) pots are excellent choices for rosemary. They are porous, meaning they allow air and moisture to pass through their walls, promoting better evaporation and preventing waterlogging. Plastic pots retain moisture for longer, so if you use plastic, be extra diligent with your watering.
- Size: Choose a pot that is only slightly larger than your rosemary’s root ball. Rosemary prefers to be a little root-bound. A pot that is too large holds too much soil, which can stay wet for too long, leading to the problems mentioned earlier. Typically, a 6-inch to 10-inch pot is sufficient for a mature rosemary plant.
Soil Wisdom: Fast Draining is Best
Your potting mix directly influences how water moves through the pot, known as drainage, and how much air reaches the roots, called aeration.
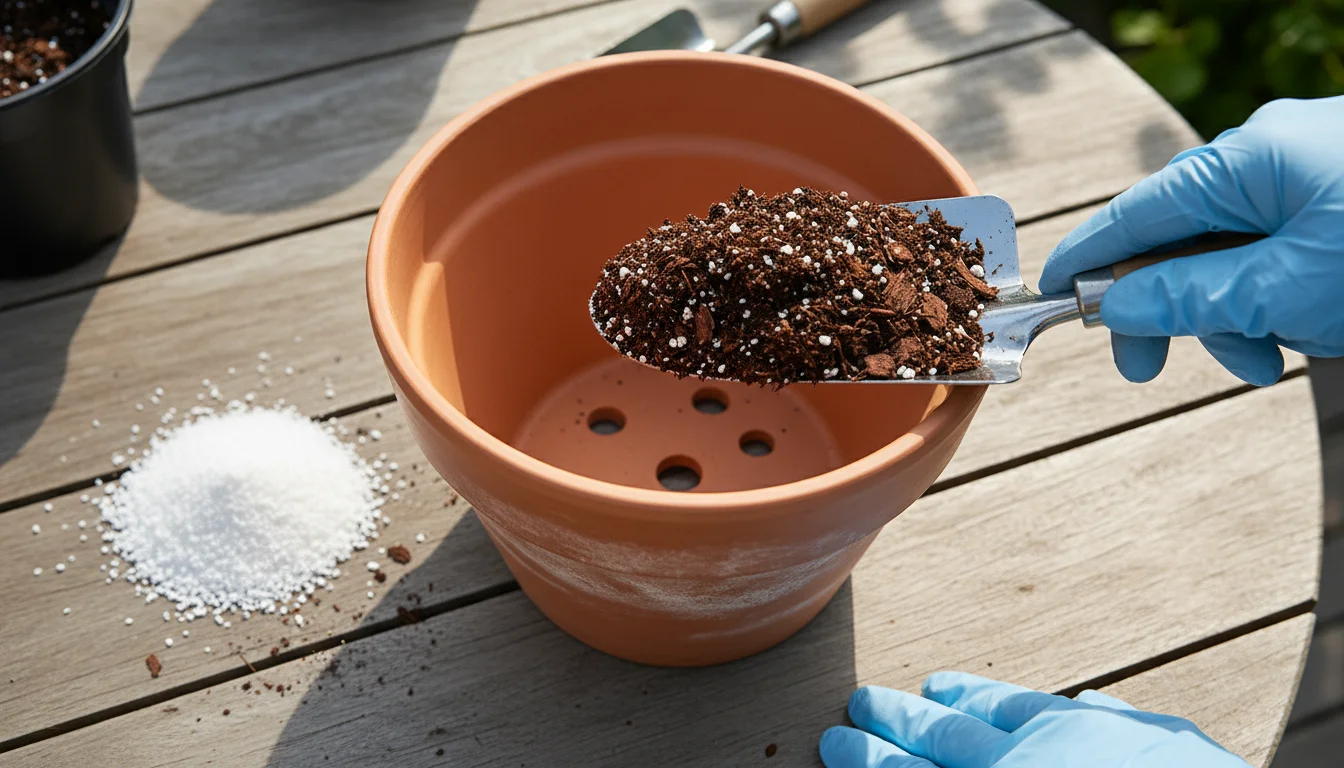
- Specialized Mix: Standard potting soil often retains too much moisture for rosemary. Instead, opt for a potting mix designed for cacti, succulents, or herbs. These mixes contain coarser materials that ensure excellent drainage.
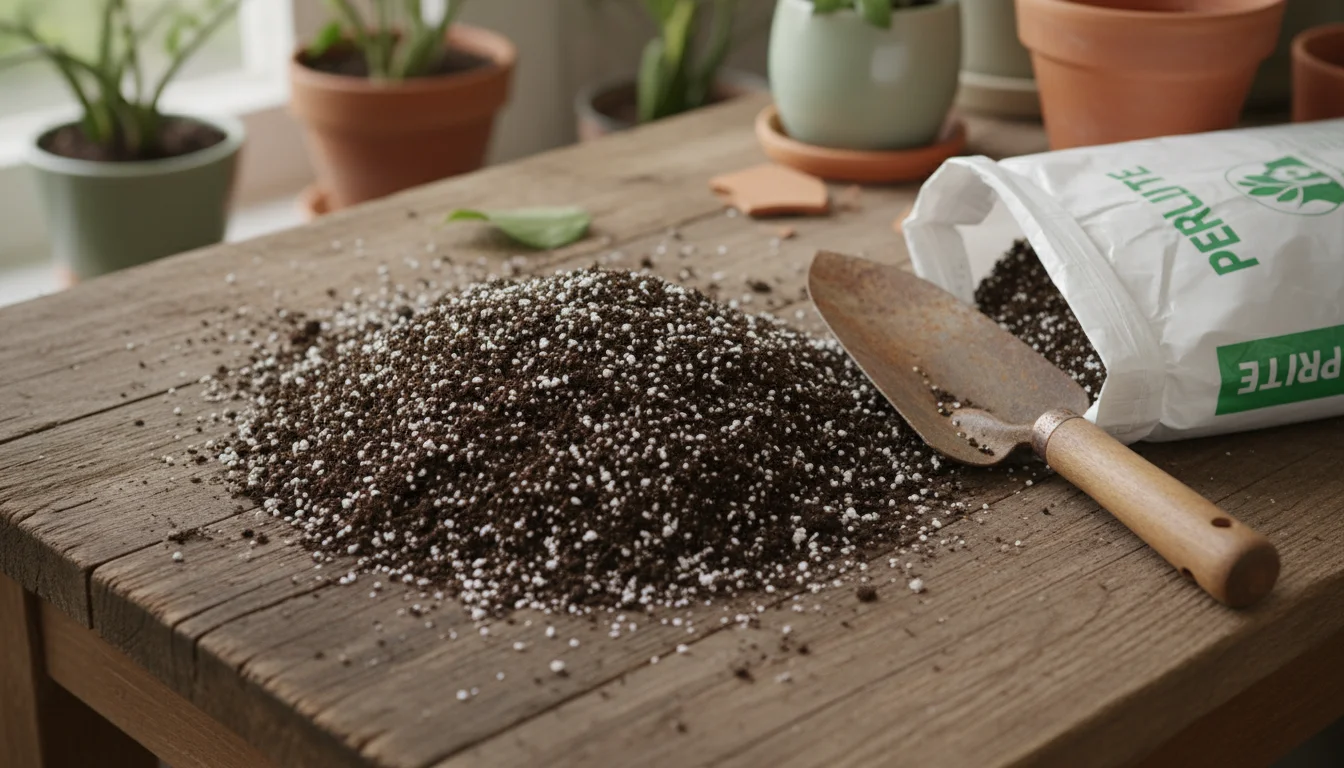
- DIY Drainage Boost: You can create your own ideal rosemary mix by amending a good quality standard potting mix. Combine two parts potting soil with one part perlite or coarse sand (builder’s sand, not play sand). Perlite lightens the soil, improves drainage, and increases aeration.
- Avoid Garden Soil: Never use soil from your garden in pots. Garden soil compacts easily in containers, impedes drainage, and often harbors pests and diseases.
By focusing on proper container and soil choices, you prevent one of the most common reasons for potted rosemary dying in winter and set your plant up for success.
Feeding and Pruning Your Indoor Rosemary
Even indoors, your rosemary benefits from minimal feeding and strategic pruning. These practices contribute to its overall health and vigor throughout the winter months, forming key components of effective potted rosemary care.
Feeding Your Indoor Rosemary: Less is More
When rosemary is indoors during winter, its growth slows significantly due to reduced light. This means its nutritional needs are much lower than during its active growing season outdoors.
- Minimal Fertilization: Do not fertilize your rosemary heavily during winter. Over-fertilizing can lead to salt buildup in the soil, which burns the roots.
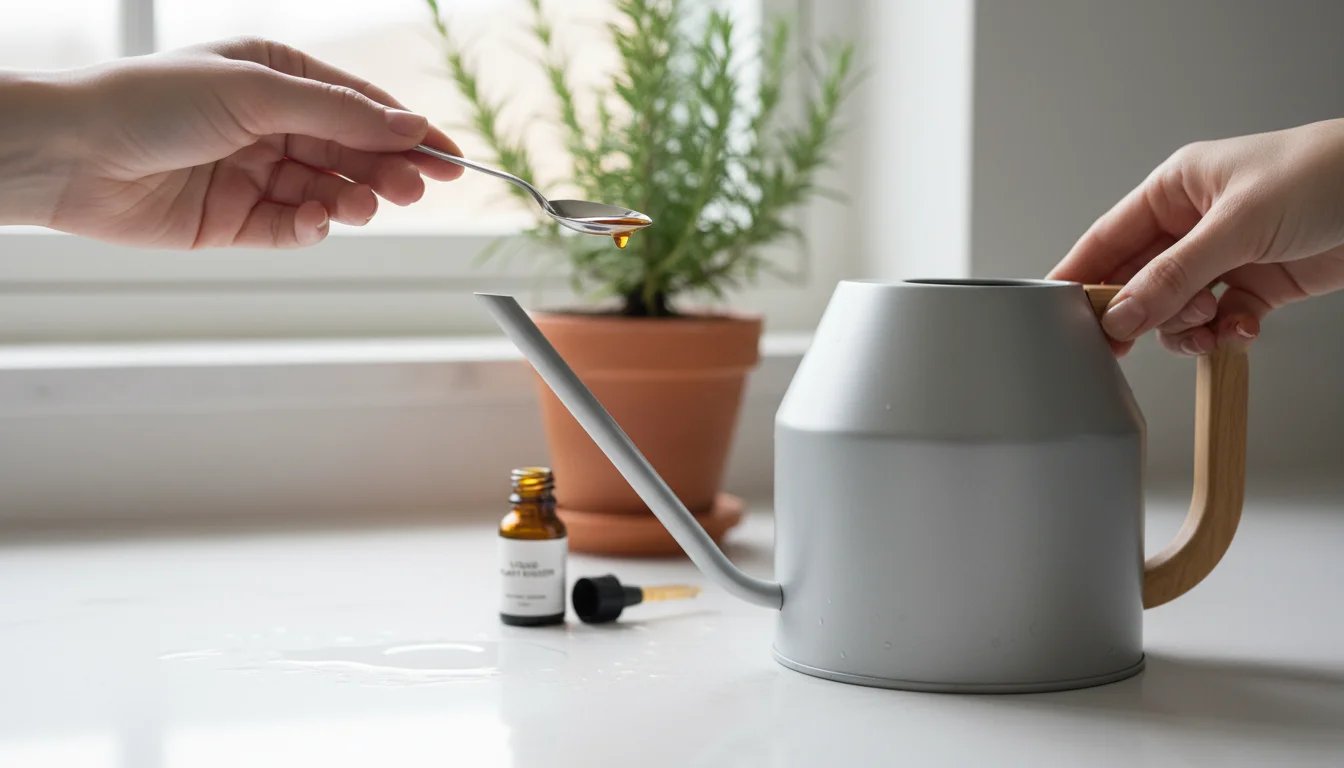
- Diluted Liquid Fertilizer: If your plant looks healthy and is showing some new growth, you can apply a very diluted, balanced liquid fertilizer (such as 5-10-5 or 10-10-10) at about one-quarter to one-half strength, once every 4-6 weeks. A balanced fertilizer provides essential nutrients without overdoing any specific element.
- Observe Your Plant: Pay attention to your plant’s cues. If it looks stressed or is not actively growing, it is best to withhold fertilizer until spring. Generally, rosemary is not a heavy feeder, especially indoors.
- Organic Options: For an eco-friendly approach, consider a weak compost tea or a slow-release organic granular fertilizer mixed into the topsoil. This provides nutrients gently over time.

Pruning for Health and Shape
Regular pruning not only keeps your rosemary looking tidy but also encourages bushier growth and improves air circulation, which is crucial for preventing fungal issues indoors.
- Light Pruning During Winter: You can lightly prune your rosemary throughout the winter to harvest sprigs for cooking. This acts as a continuous light prune. When you harvest, snip off the top few inches of new growth, just above a leaf node. This encourages branching.
- Shape and Airflow: Remove any branches that are crossing or growing inwards, which can impede air circulation. Also, trim away any dead or yellowing needles. Good airflow helps prevent diseases, especially in a stagnant indoor environment.
- Avoid Heavy Pruning: Do not perform a major pruning session during winter. Heavy pruning stimulates vigorous growth, which is hard for the plant to sustain with limited indoor light. Save substantial pruning for late spring or early summer when the plant is actively growing outdoors.
- Sterilize Tools: Always use clean, sharp pruning shears. Sterilize them with rubbing alcohol before and after use to prevent the spread of diseases.
By maintaining a gentle feeding and pruning regimen, you support your plant without overwhelming its winter physiology, helping you solve the problem of potted rosemary dying in winter.
Proactive Pest Patrol: Keeping Bugs at Bay
Bringing plants indoors can unfortunately mean bringing unwanted guests. Indoor rosemary is particularly susceptible to certain pests, especially in dry, warm conditions. Regular inspection and proactive measures are key to successful overwintering rosemary without a bug invasion.
Common Indoor Rosemary Pests
- Spider Mites: These tiny arachnids thrive in dry, warm environments. You might notice fine webbing on your plant, especially where stems meet leaves, and tiny yellow or brown speckles on the needles. Their feeding causes needles to look stippled and lose vigor.
- Aphids: Small, pear-shaped insects that cluster on new growth and the undersides of leaves. They suck plant sap, causing distorted growth and yellowing leaves. They often leave behind a sticky residue called honeydew.
- Whiteflies: Tiny, white, moth-like insects that fly up in a cloud when you disturb the plant. They also suck sap and excrete honeydew.
- Mealybugs: These look like small, white, cottony masses in leaf axils and along stems. They, too, are sap-suckers and can cause stunted growth.
Your Pest Prevention and Treatment Plan
Prevention is always easier than eradication, especially for bringing herbs indoors.
- Quarantine New Plants: Always isolate any new plant you bring into your home for 2-4 weeks. This gives you time to observe and treat any hidden pests before they can spread.
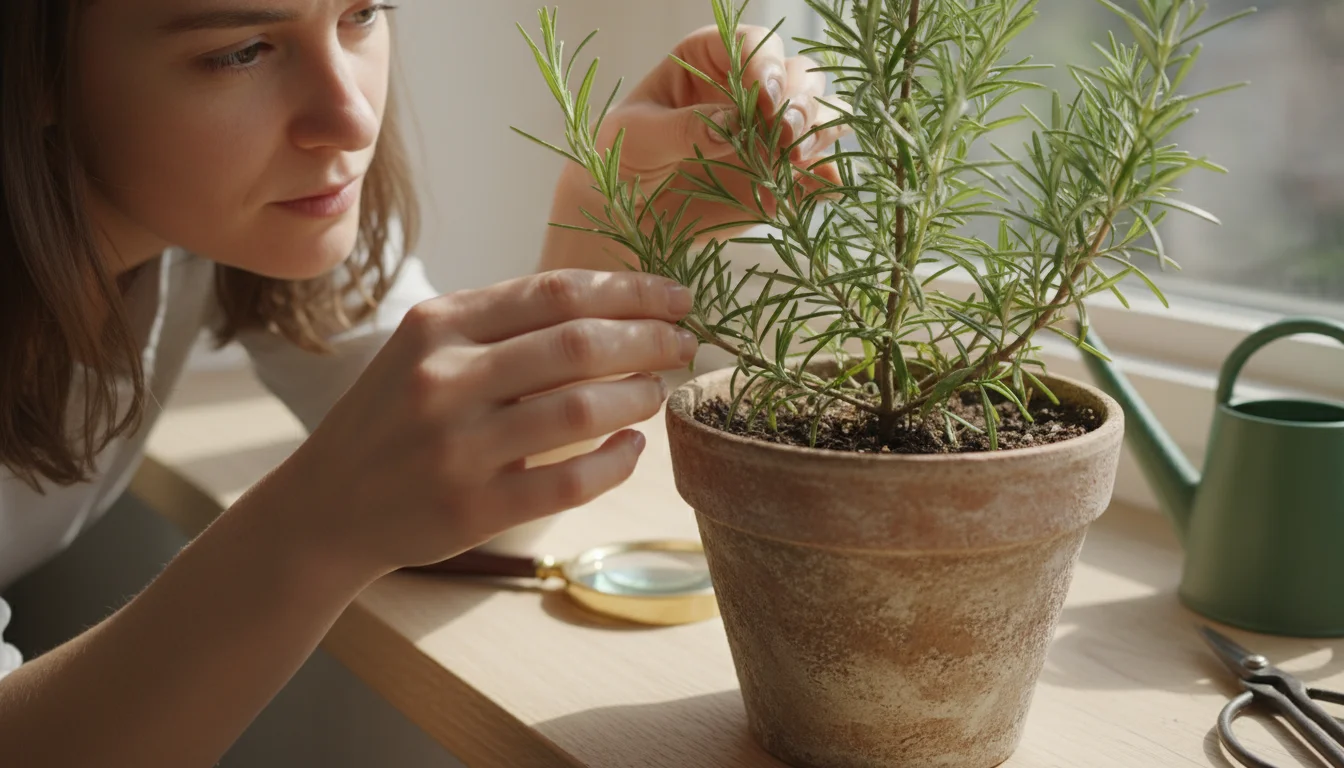
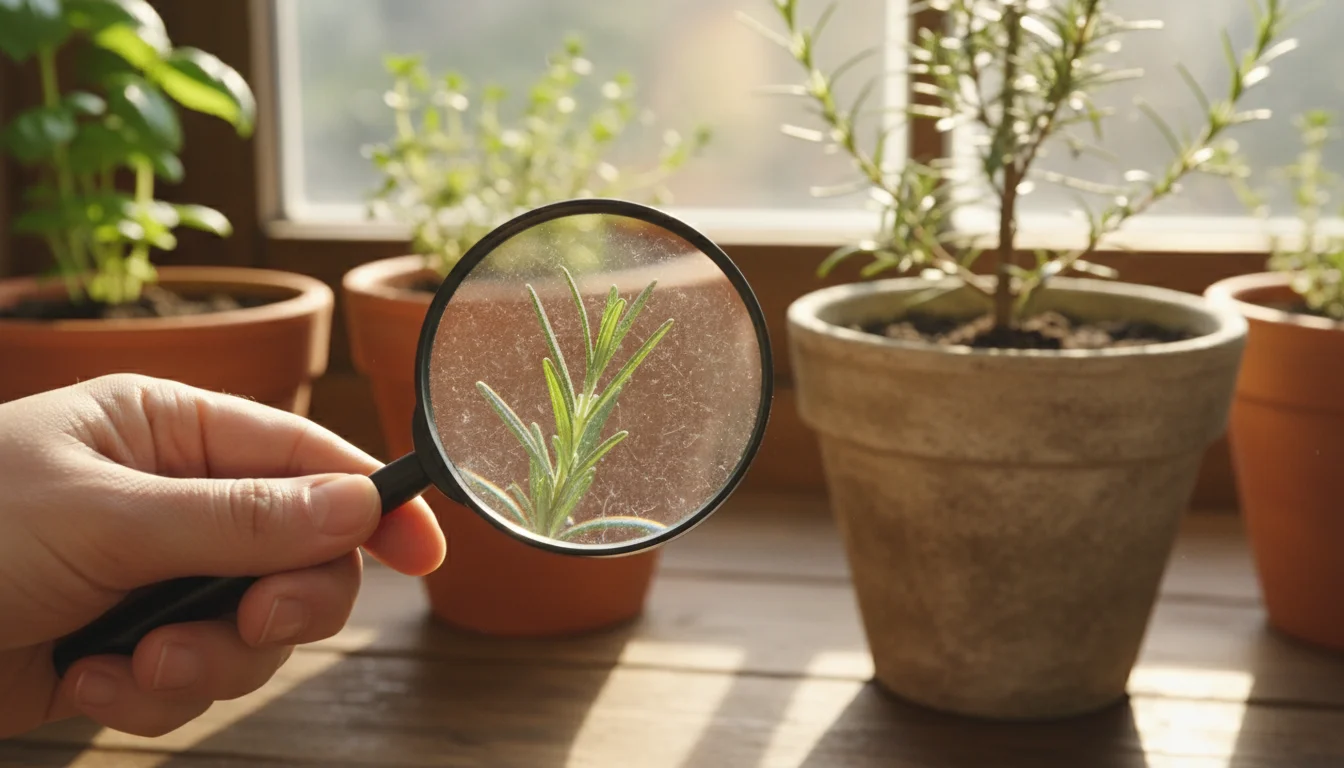
- Regular Inspection: Make inspecting your rosemary part of your weekly potted rosemary care routine. Use a magnifying glass to check leaf undersides, stem joints, and new growth. Early detection makes treatment far simpler.
- Increase Humidity: Since spider mites love dry air, increasing humidity around your rosemary (using pebble trays or a humidifier) acts as a natural deterrent.
- Wipe Down Leaves: Gently wipe down the needles with a damp cloth every few weeks. This removes dust and can dislodge early pest populations.
- Insecticidal Soap: For minor infestations, a solution of insecticidal soap (follow package directions) is effective. Spray thoroughly, coating all parts of the plant, especially leaf undersides. Repeat every 5-7 days for several weeks to break the pest life cycle. Insecticidal soap works by smothering the insects.
- Neem Oil: Neem oil is another organic option that acts as an anti-feedant and growth disruptor for many pests. Mix according to instructions and spray thoroughly. It can take longer to show results but provides longer-lasting protection.
- Strong Water Spray: For more resilient pests like aphids, a strong jet of water can physically dislodge them from the plant. Do this in a shower or sink to avoid making a mess.
- Sticky Traps: Yellow sticky traps can help monitor and capture flying pests like whiteflies and fungus gnats (which are attracted to overly moist soil).
Stay vigilant. Consistent observation and prompt, appropriate treatment will keep your rosemary healthy and pest-free throughout the winter, avoiding the heartbreak of a potted rosemary dying in winter due to pests.
Troubleshooting Common Indoor Rosemary Problems
Even with the best intentions, your indoor rosemary might show signs of distress. Recognizing these symptoms and understanding their causes helps you take corrective action swiftly, preventing your potted rosemary dying in winter.
-
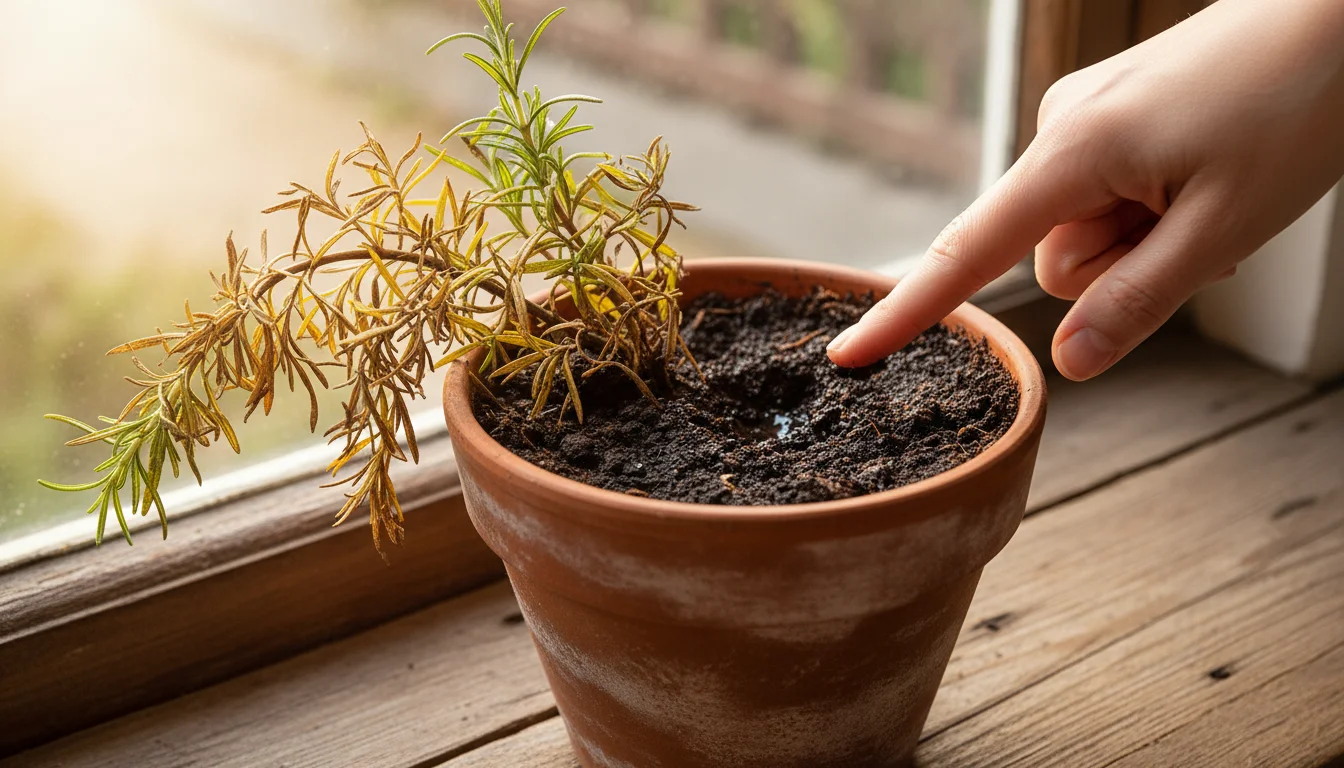
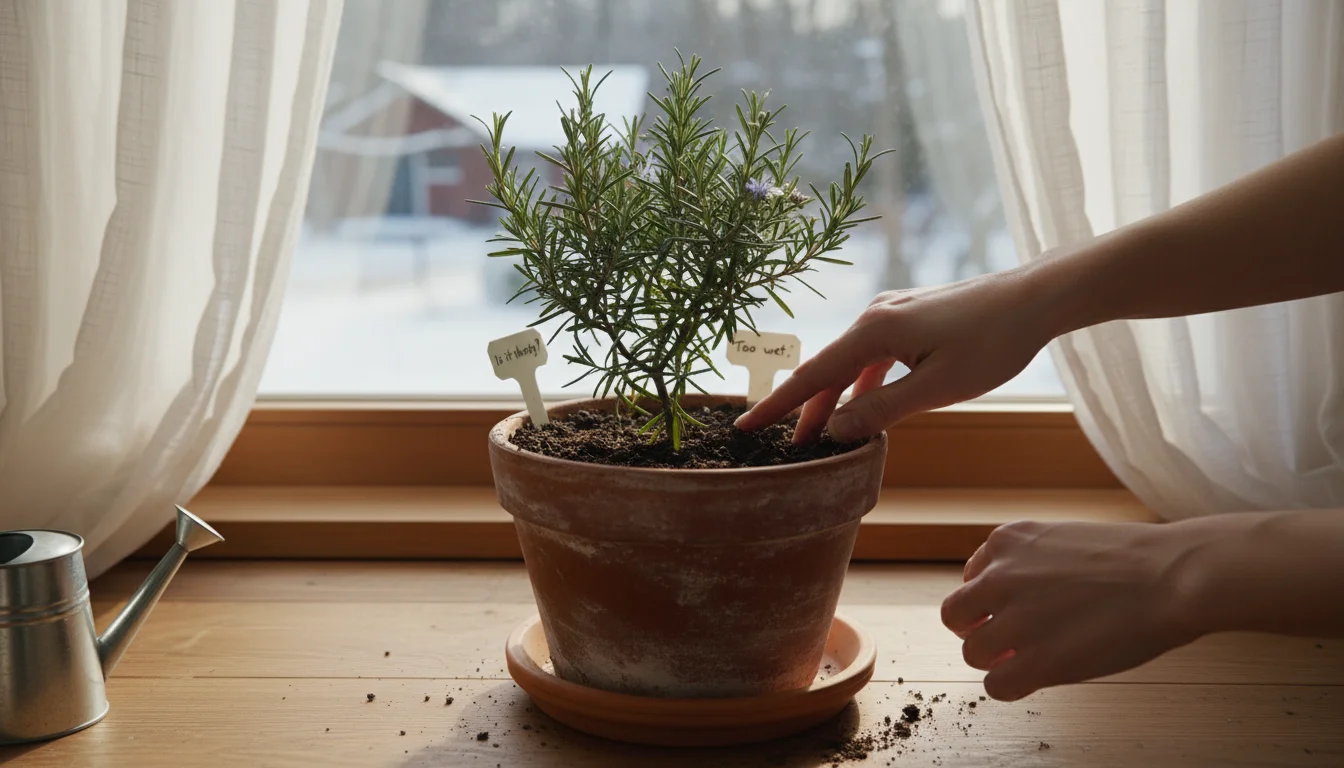
Gently unpotting to inspect rosemary roots for signs of trouble. Needles Turning Yellow or Brown and Dropping
This is perhaps the most common sign of trouble with potted rosemary care indoors. It points to either too much or too little water, or insufficient light.
- Too Much Water (Root Rot): If the soil is consistently damp, or if needles turn yellow and then brown starting from the bottom of the plant, you are likely overwatering. The roots are suffocating.
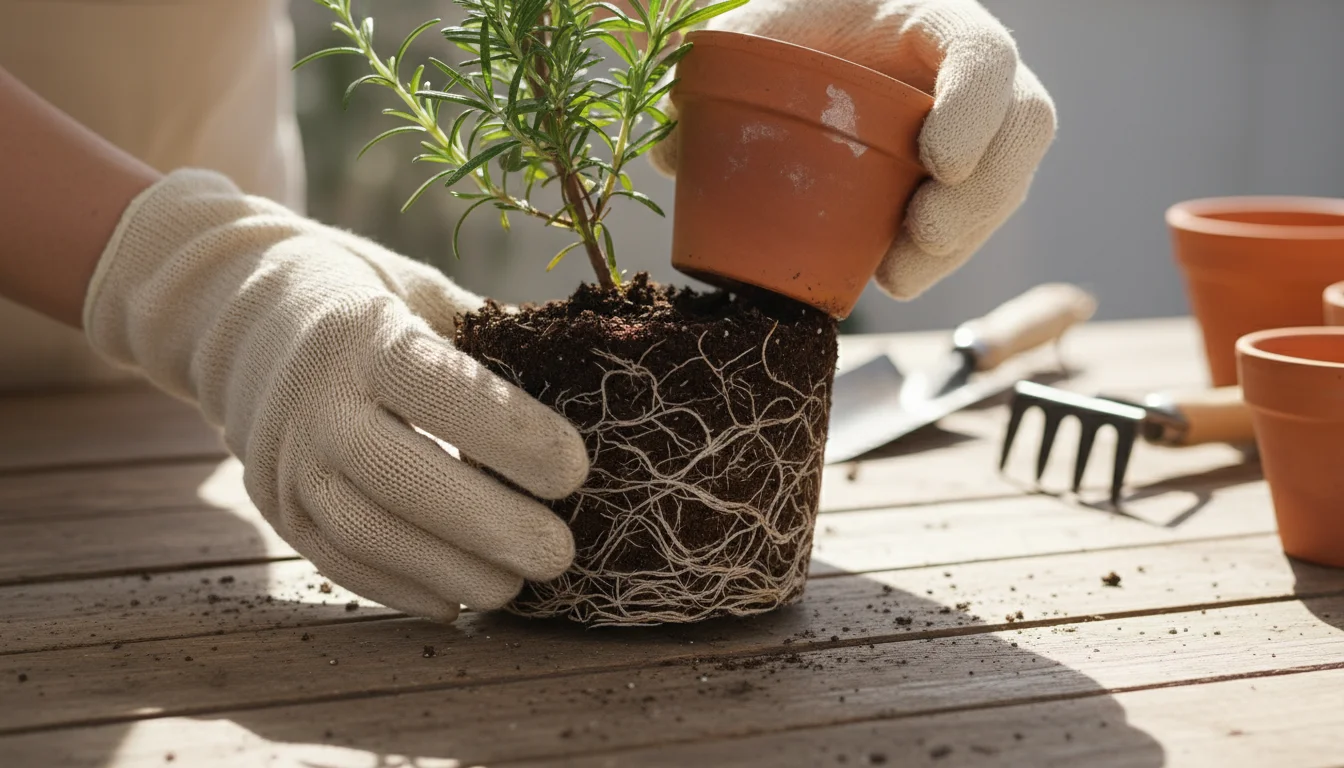
- Action: Immediately stop watering. Allow the soil to dry out completely. Check drainage holes. If the plant is severely affected, gently unpot it, inspect roots (they will be dark, soft, and mushy if rotted), remove any diseased roots with sterile shears, and repot into fresh, dry, well-draining soil. Adjust your watering frequency to only when the top 2 inches of soil are dry.
- Too Little Water (Dehydration): If the soil is bone dry and the needles are uniformly browning and brittle, your plant is thirsty.
- Action: Water thoroughly until water drains from the bottom. Ensure the pot is not root-bound to the point where water runs straight through without hydrating the soil. Soak the entire pot in a basin of water for 30 minutes to rehydrate if the soil has become hydrophobic. Adjust your watering frequency.
- Insufficient Light: If the needles are yellowing and dropping, but watering seems appropriate, lack of light is a strong possibility, especially if stems also look leggy or stretched.
- Action: Move your plant to a brighter location, ideally a south-facing window. Supplement with a full-spectrum grow light for 12-16 hours daily. Ensure the plant is not too far from the light source.
- Too Much Water (Root Rot): If the soil is consistently damp, or if needles turn yellow and then brown starting from the bottom of the plant, you are likely overwatering. The roots are suffocating.
-
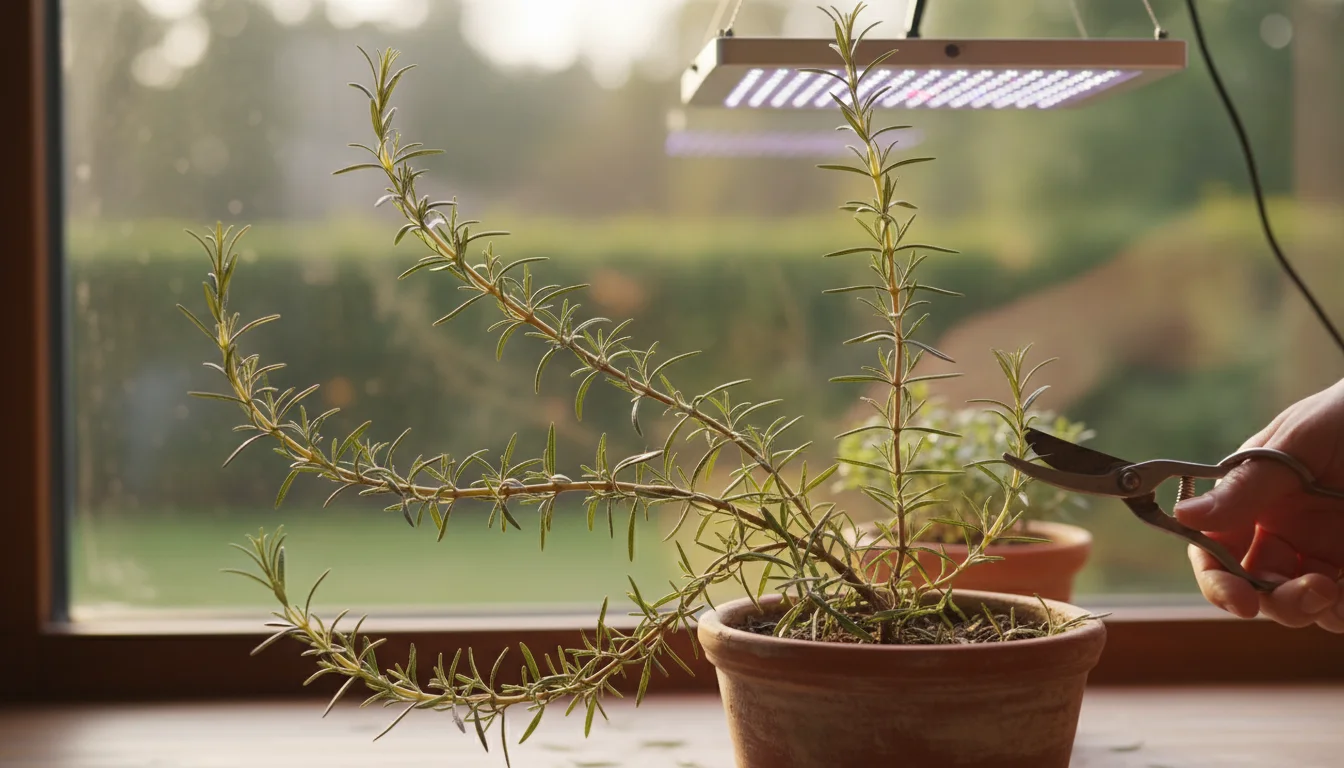
Giving this stretching rosemary a fresh trim and a new spot in the sun. Leggy or Sparse Growth
When your rosemary stretches with long, thin stems and fewer leaves, it is reaching for light. This indicates insufficient light and water for indoor rosemary.
- Action: Increase light exposure. This might mean moving it closer to a window, adding a grow light, or increasing the duration the grow light is on. Lightly prune back the leggy growth to encourage bushier, more compact growth.
-
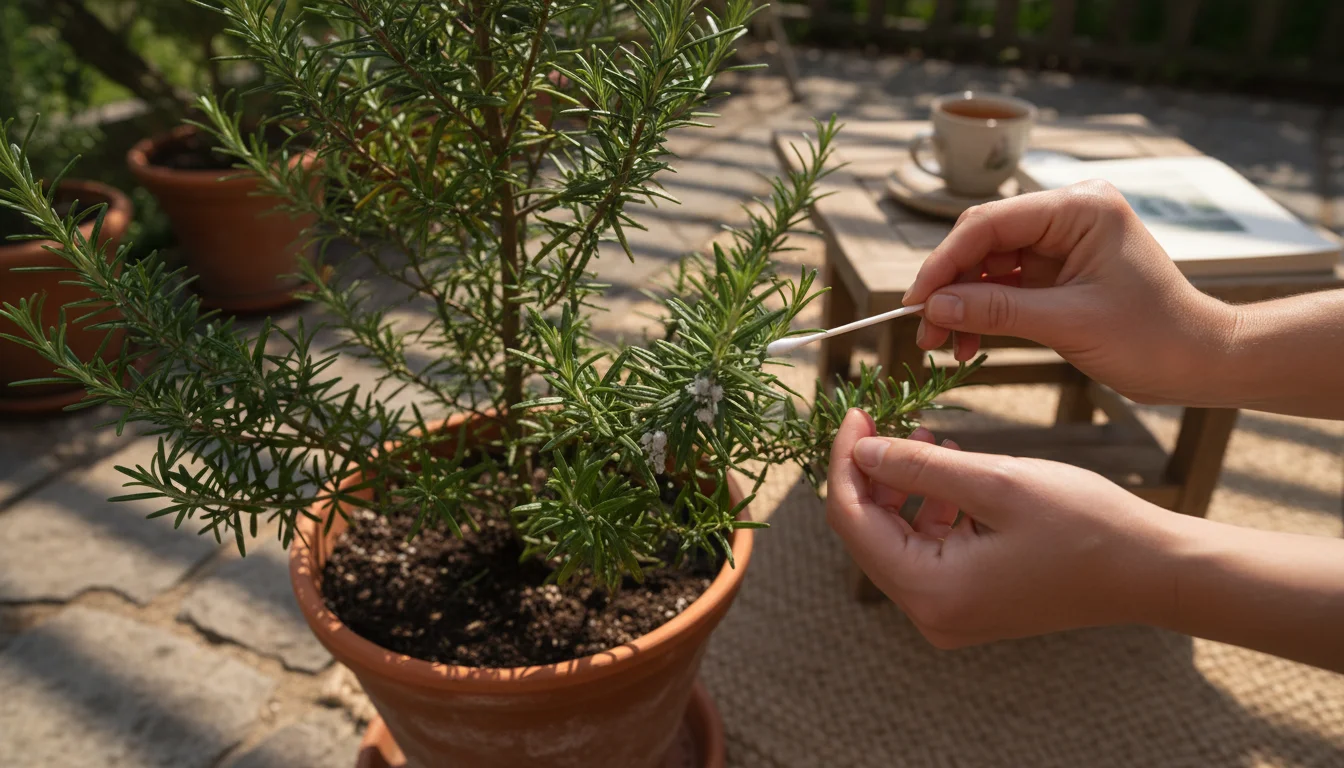
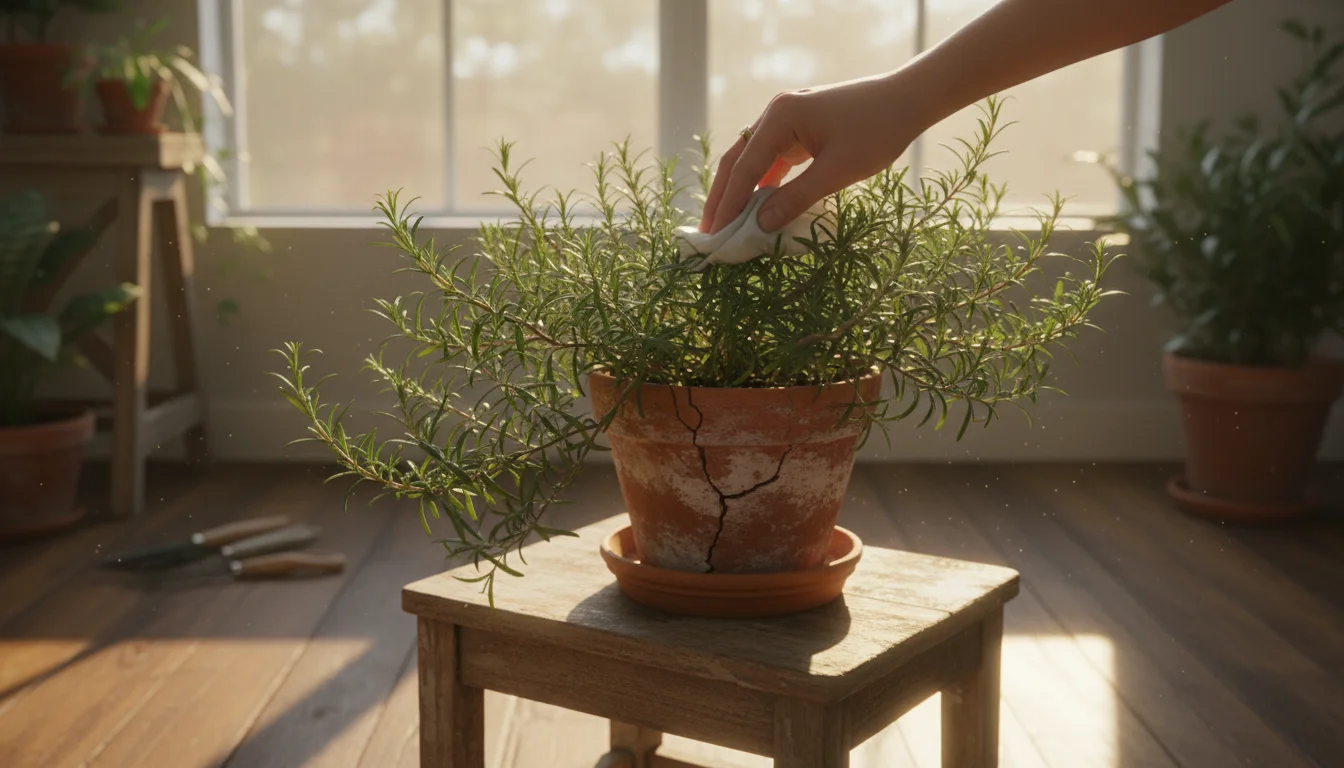
Tackling those tricky white spots on your potted rosemary with a gentle touch. White or Fuzzy Spots on Needles/Stems
This usually signals a fungal issue or a pest infestation.
- Powdery Mildew (Fungal): Appears as a white, powdery coating, especially in conditions of high humidity and poor air circulation.
- Action: Improve air circulation around the plant (e.g., a small fan on a low setting). Reduce humidity if it is excessively high and consider a mild fungicide or a solution of baking soda and water (1 tsp baking soda per quart of water with a few drops of insecticidal soap as a spreader).
- Mealybugs: White, cottony masses that are actually pests.
- Action: See “Pest Patrol” section. Dab directly with a cotton swab dipped in rubbing alcohol, or use insecticidal soap/neem oil.
- Powdery Mildew (Fungal): Appears as a white, powdery coating, especially in conditions of high humidity and poor air circulation.
-
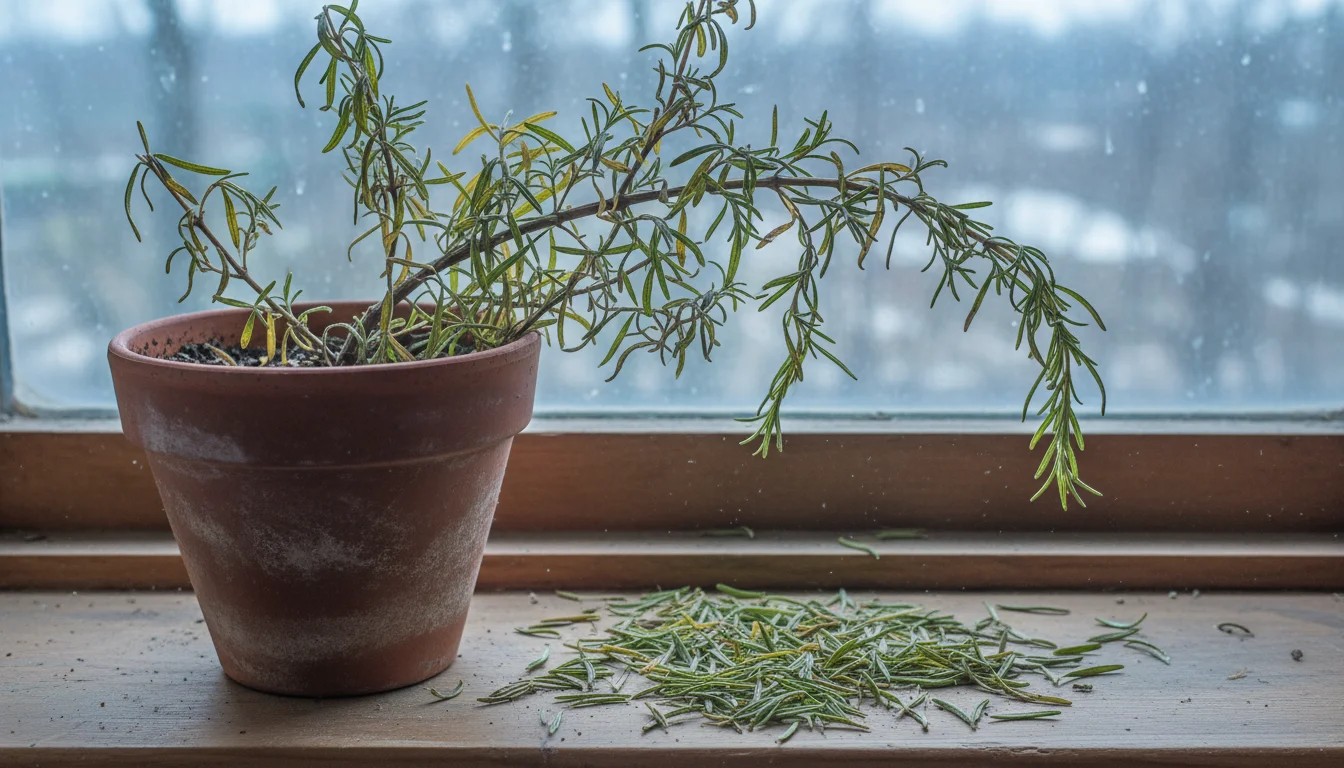
Potted rosemary showing signs of distress with needles on the sill. Sudden Drop of Healthy Green Needles
A sudden, inexplicable drop of apparently healthy needles often points to a shock from environmental changes.
- Temperature Shock: Sudden changes in temperature, such as a cold draft from a window or being too close to a heat vent, can cause stress.
- Action: Relocate your plant to a spot with more consistent temperatures, away from drafts and direct heat sources.
- Relocation Shock: Moving the plant too quickly from outdoors to indoors without acclimatization can also cause needle drop.
- Action: There is not much to do but ensure optimal light, water, and humidity conditions and allow the plant time to recover. Future transitions should be gradual.
- Temperature Shock: Sudden changes in temperature, such as a cold draft from a window or being too close to a heat vent, can cause stress.
Your ability to observe and respond to these signs will significantly improve your success rate for overwintering rosemary. Remember, prevention through consistent potted rosemary care is easier than cure.
Frequently Asked Questions
When should I bring my rosemary plant indoors for winter?
You should start the transition process for bringing herbs indoors when nighttime temperatures consistently drop below 40-45°F (4-7°C). Begin by moving it to a sheltered spot for a week or two, then gradually introduce it to your indoor environment over another week or two, increasing its time indoors daily. This slow acclimatization helps prevent shock.
Can I grow rosemary from seed indoors?
Growing rosemary from seed is possible, but it can be challenging and slow. Rosemary seeds have a low germination rate and take a long time to sprout, often several weeks to months. Most gardeners find it easier and more successful to start with a small plant from a nursery or root rosemary cuttings for indoor cultivation. If you decide to try seeds, plant them shallowly in well-draining seed-starting mix, keep the soil consistently moist (but not soggy), and provide warmth and light. This is an advanced technique for potted rosemary care.
What’s the ideal temperature for indoor rosemary during winter?
Rosemary prefers cooler indoor temperatures, ideally between 55-65°F (13-18°C). Avoid placing it near heat vents or in excessively warm rooms, which can contribute to dry air and stress the plant. Cooler temperatures also help mimic its outdoor dormancy period, reducing its metabolic rate and water needs, which is crucial for how to keep rosemary alive inside.
How can I tell if my rosemary is overwatered versus underwatered?
This is a critical distinction for light and water for indoor rosemary. If overwatered, the soil will feel consistently damp, and the needles may turn yellow, then brown, and feel soft or mushy before dropping. The roots might smell foul. If underwatered, the soil will be bone dry, and the needles will likely turn uniformly brown, feel brittle, and drop off. Always check the soil moisture with your finger or a moisture meter before watering to avoid either extreme.
Can I put my indoor rosemary back outside in the spring?
Absolutely, and your rosemary will love you for it! Once all danger of frost has passed in spring and outdoor nighttime temperatures are consistently above 45-50°F (7-10°C), you can transition your plant back outside. Just like bringing it in, make this transition gradual. Start by placing it in a shaded outdoor spot for a few days, then gradually move it to partial sun, and finally to full sun over a period of 1-2 weeks. This prevents sunburn and shock, ensuring a smooth return to its outdoor growing season.
For trustworthy gardening information, visit: Clemson University Extension — Home & Garden, Colorado State University Extension — Gardening, North Carolina State Extension — Gardening, Virginia Cooperative Extension — Lawn & Garden and University of Maryland Extension — Home & Garden. These organizations provide expert, research-based advice for gardeners at all levels.
Disclaimer: This article is for informational purposes only and is not a substitute for professional gardening advice. Always consult local extension services or horticulture experts for region-specific guidance.


Leave a Reply