The Spider Mite Invasion: Your Complete Winter Battle Plan for a Pest-Free Indoor Garden
The crisp air of winter often signals a time of cozy indoor living for us and our beloved houseplants. Unfortunately, it also creates the perfect breeding ground for one of the most persistent and frustrating winter houseplant pests: spider mites. These minuscule arachnids can turn a thriving indoor garden into a sickly, struggling collection almost overnight. Do not despair. You possess the power to combat these unwelcome guests effectively. This comprehensive guide equips you with a robust battle plan, covering everything from early detection to natural, actionable treatment strategies, ensuring your indoor plants remain vibrant and healthy all winter long.
Success with winter indoor gardening requires more than just water; it’s about managing the unique environmental challenges of your home during the colder months.
Understanding Your Enemy: What Are Spider Mites?
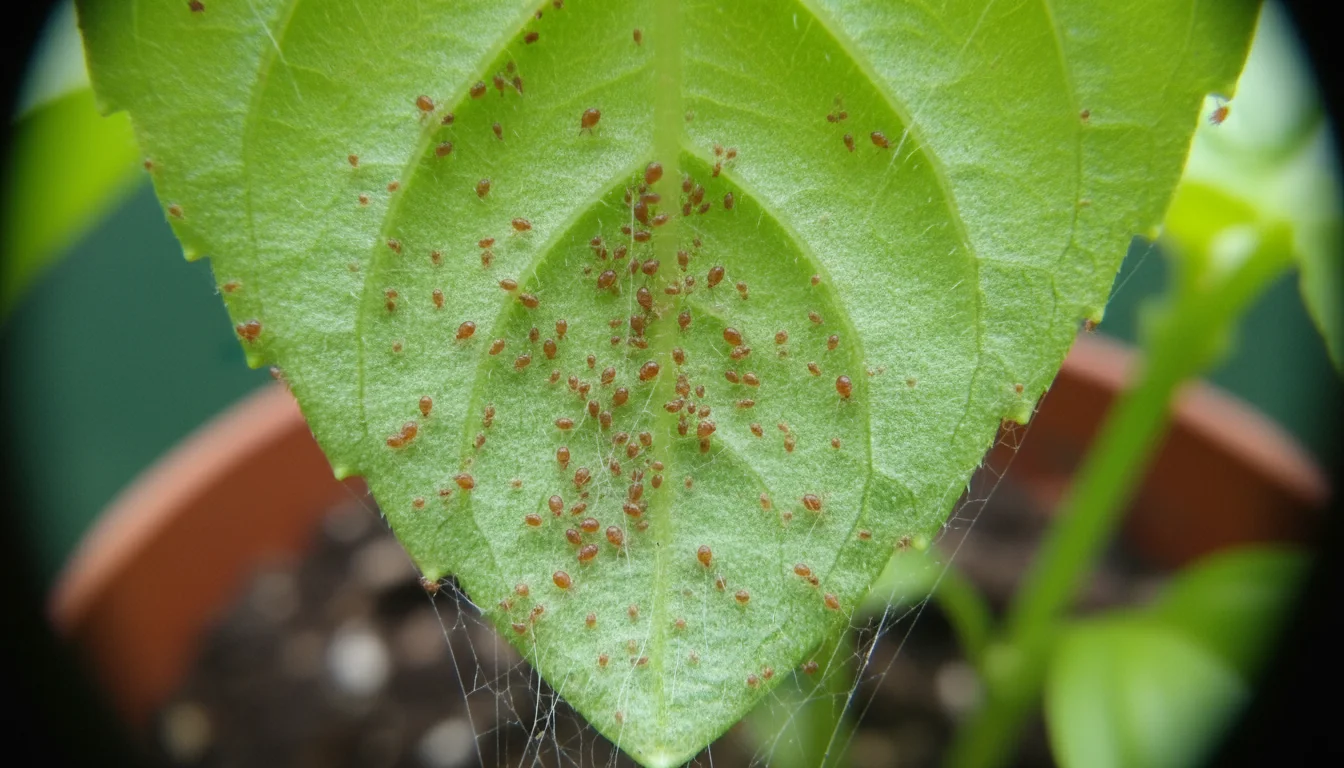
Spider mites are not insects, but rather tiny arachnids, distant relatives of spiders and ticks. Their scientific classification as “Tetranychus urticae,” also known as the two-spotted spider mite, indicates their most common form. They are incredibly small, often appearing as tiny moving dots on your plants, making them difficult to spot without close inspection. Mature mites measure less than 0.5 millimeters, about the size of a grain of salt. You might first notice the damage they cause, rather than the pests themselves.
While mites are a major threat, stay alert for other cool-weather pests like aphids that can compromise your plant’s health during the winter months.
These pests feed by piercing plant cells and sucking out the chlorophyll. This feeding habit leaves tell-tale signs: small, discolored spots on the leaves. Their rapid reproductive cycle makes them a significant threat. A single female mite can lay hundreds of eggs in her lifetime, and these eggs hatch within days under warm, dry conditions, leading to exponential population growth. Understanding their nature is the first step in formulating an effective counter-attack. You must recognize their rapid life cycle and their preference for certain environmental conditions to truly gain an advantage.
Spotting the Signs: Early Detection is Key
Catching a spider mite infestation early significantly improves your chances of eradication. Regular inspection of your houseplants, especially in winter, becomes your most valuable tool. Learn what to look for:
You can also use sticky traps as a low-tech monitoring tool to catch other pests that might be lurking in your indoor garden.
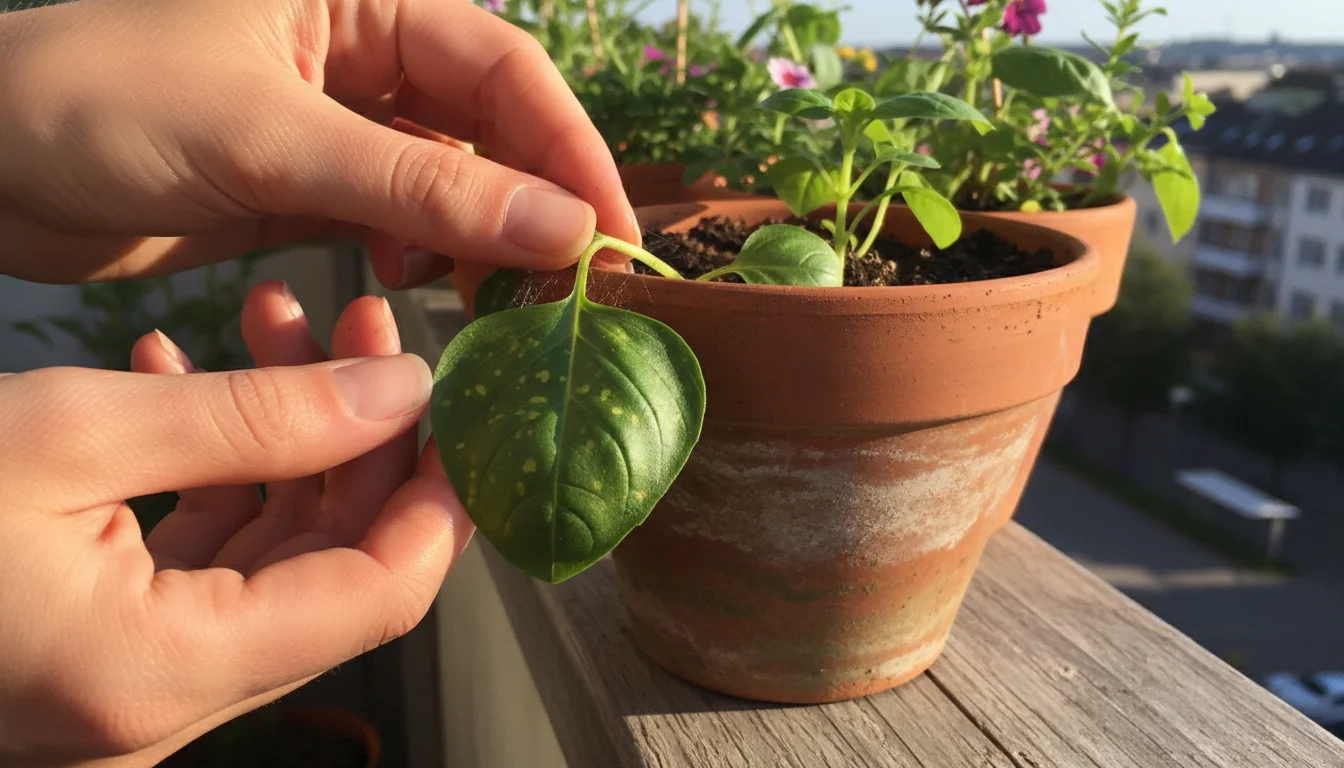
- Stippling on Leaves: This is often the first visible symptom. Look for tiny, light-colored dots or flecks on the upper surface of leaves. This “stippling” occurs where mites have punctured plant cells to feed. It might appear as a general paling or bleaching of the foliage.
- Tiny Webs on My Houseplants: As an infestation progresses, spider mites produce fine, silken webbing, particularly in the leaf axils, along stems, or on the undersides of leaves. These tiny webs on my houseplants are a definitive sign of spider mite activity. This webbing protects the mites and their eggs from predators and environmental factors.
- Discoloration and Leaf Drop: Leaves might turn yellow, bronze, or brown, and eventually drop off. This severe damage indicates a heavy infestation that has progressed unchecked.
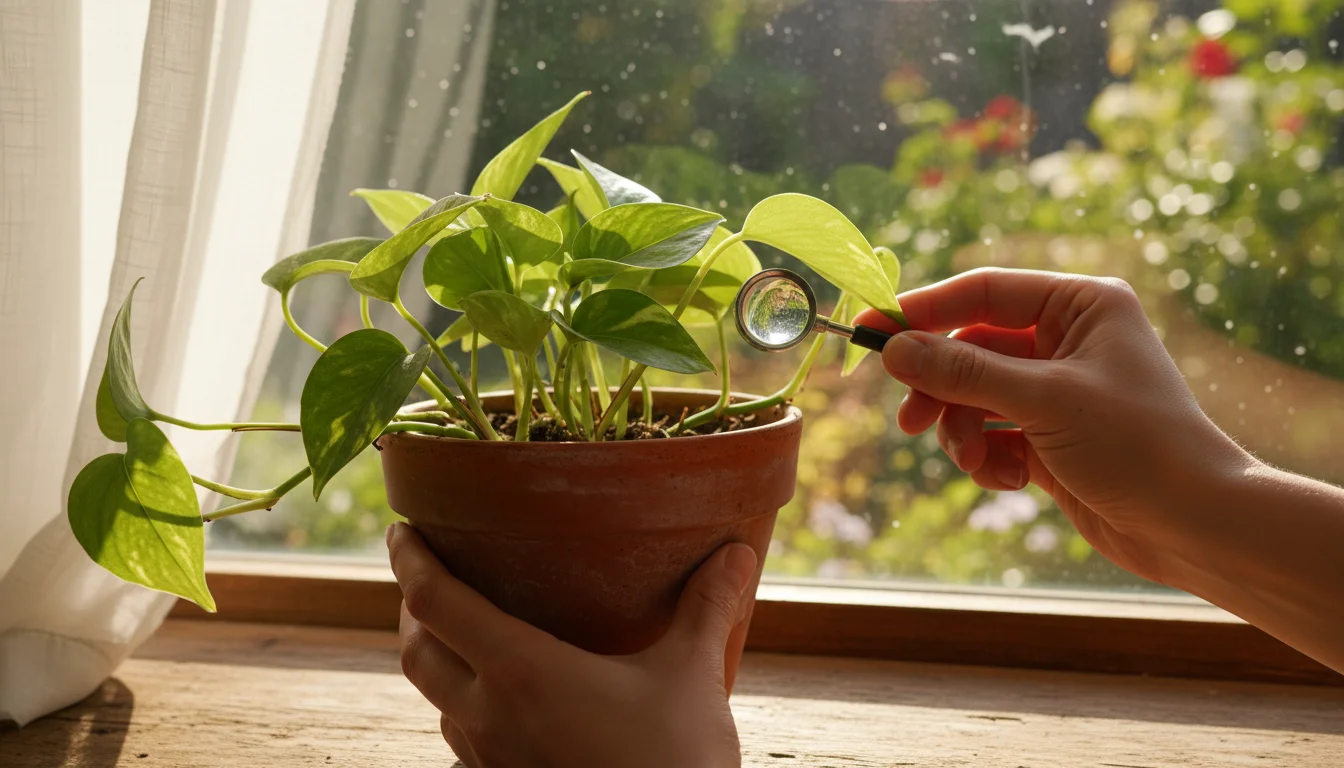
- Visible Mites: While challenging to see with the naked eye, you can sometimes spot them. Use a magnifying glass or simply hold a white piece of paper under a leaf and gently tap the leaf. Tiny specks, some red or brown, will fall onto the paper and begin to move.
- Focus on Susceptible Plants: Certain plants, like alocasia, often show signs of spider mites earlier or suffer more severely. Signs of spider mites on alocasia include rapid yellowing, browning edges, and an accelerated appearance of webbing. Always pay extra attention to these vulnerable varieties.
- Dusty Appearance: Some people initially mistake the mites themselves or their shed exoskeletons for dust. Wipe a leaf with a damp cloth; if the “dust” smears or is difficult to remove, or if you notice movement, you are likely dealing with mites.
Inspect both the tops and undersides of leaves, paying close attention to new growth and where leaves attach to stems. Early identification allows you to act before the infestation becomes overwhelming.
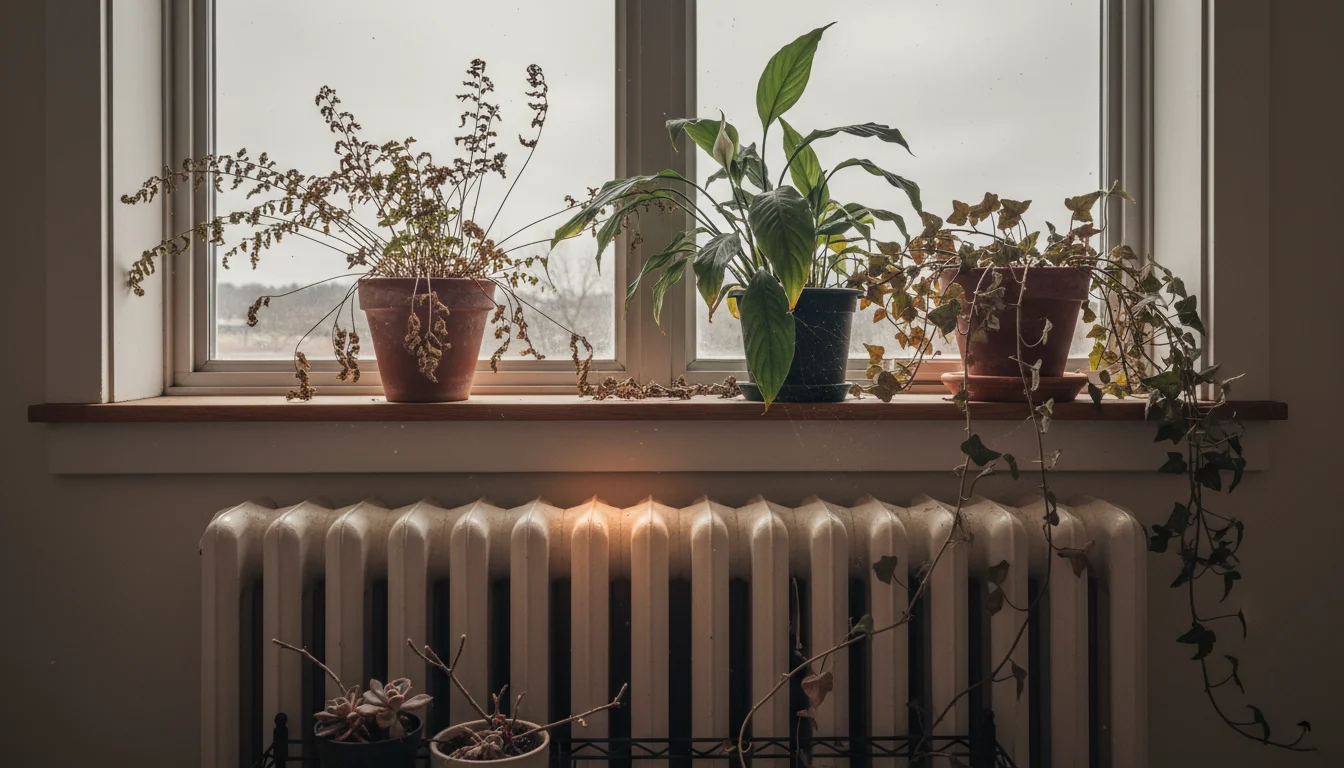
Why Winter Invites Spider Mites: Understanding the Conditions
Spider mites often become a significant problem for indoor plants during the colder months. Several environmental factors commonly found indoors in winter contribute to their proliferation:
If you are transitioning outdoor containers inside for the season, following a pest-free transition checklist can help mitigate these risks early on.
- Low Humidity: This is perhaps the most critical factor. Spider mites thrive in dry air. During winter, heating systems run constantly, drastically reducing indoor humidity levels. Your plants, especially those that prefer higher humidity, suffer stress in these conditions, making them more susceptible to pests. Mites, however, reproduce more rapidly and thrive in this dry environment.
- Reduced Air Circulation: Many indoor spaces have less airflow in winter as windows remain closed. Stagnant air allows pests to settle and spread without the natural deterrents of outdoor breezes.
- Plant Stress: Shorter daylight hours, cooler indoor temperatures (if plants are near drafts), and fluctuations in watering schedules can stress your houseplants. Stressed plants are less resilient and become more attractive targets for pests. A plant struggling to adapt to winter conditions simply cannot defend itself as effectively against an invasion.
- Lack of Natural Predators: Outdoors, beneficial insects like ladybugs, predatory mites, and lacewings keep spider mite populations in check. Indoors, these natural predators are absent, removing a vital component of pest control. This creates an imbalance, allowing spider mites to multiply unchecked.
- Dormancy and Weakened Defenses: Some houseplants enter a period of reduced growth or semi-dormancy in winter. Their metabolic processes slow down, and their natural defenses may be weaker, making them easier targets for pests seeking a consistent food source.
Understanding these winter houseplant pests’ preferences helps you create an environment less welcoming to them. Your goal is to increase humidity and maintain plant health, directly counteracting the conditions mites favor.
Your First Line of Defense: Prevention Strategies
Preventing spider mites is always easier than treating an established infestation. Implement these proactive measures to protect your indoor garden.
Assembling a mini tool kit for winter care ensures you have everything you need for these regular inspections in one place.
Maintaining a clean set of gardening tools is also essential to ensure you don’t accidentally spread microscopic eggs from one pot to another.
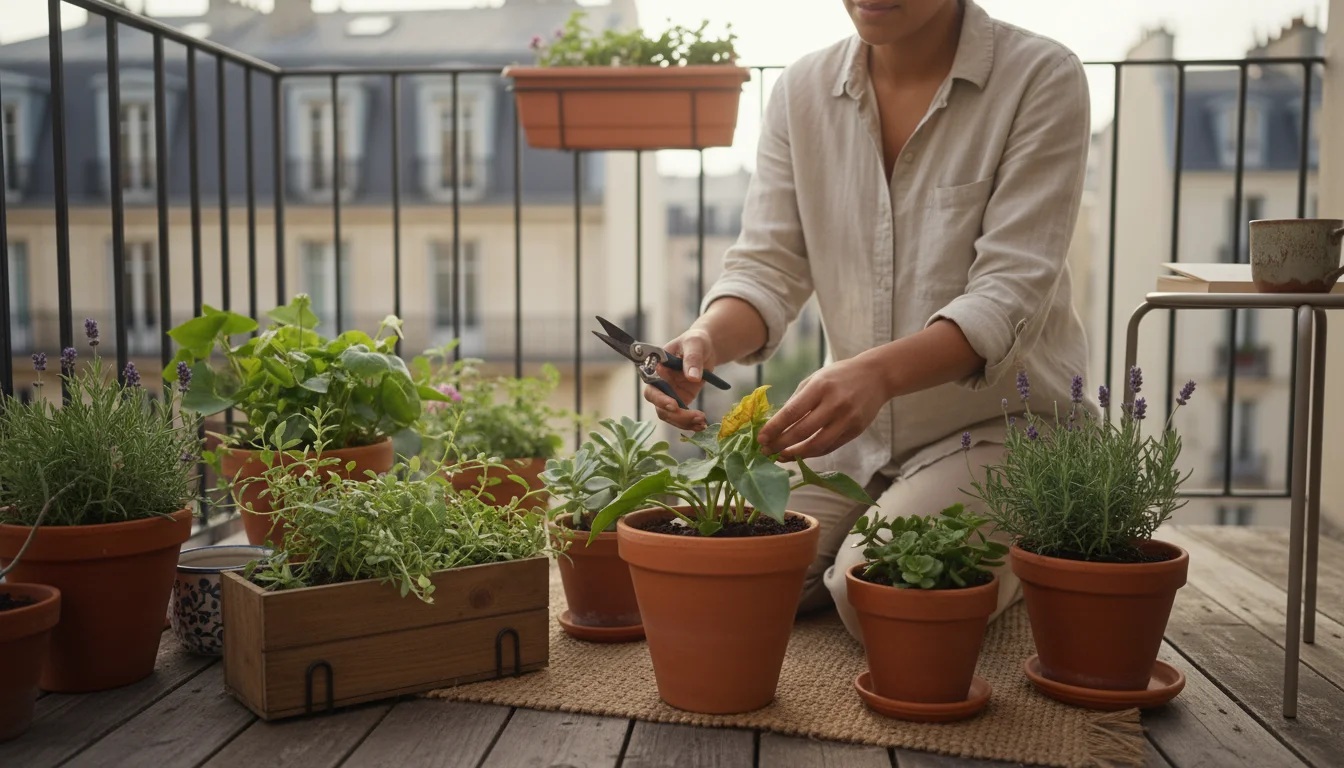
- Regular Plant Inspection: Make it a habit to inspect your plants at least once a week. Examine the tops and undersides of leaves. This allows you to catch any signs of spider mites on houseplants before they escalate. Consistent vigilance is your best prevention.
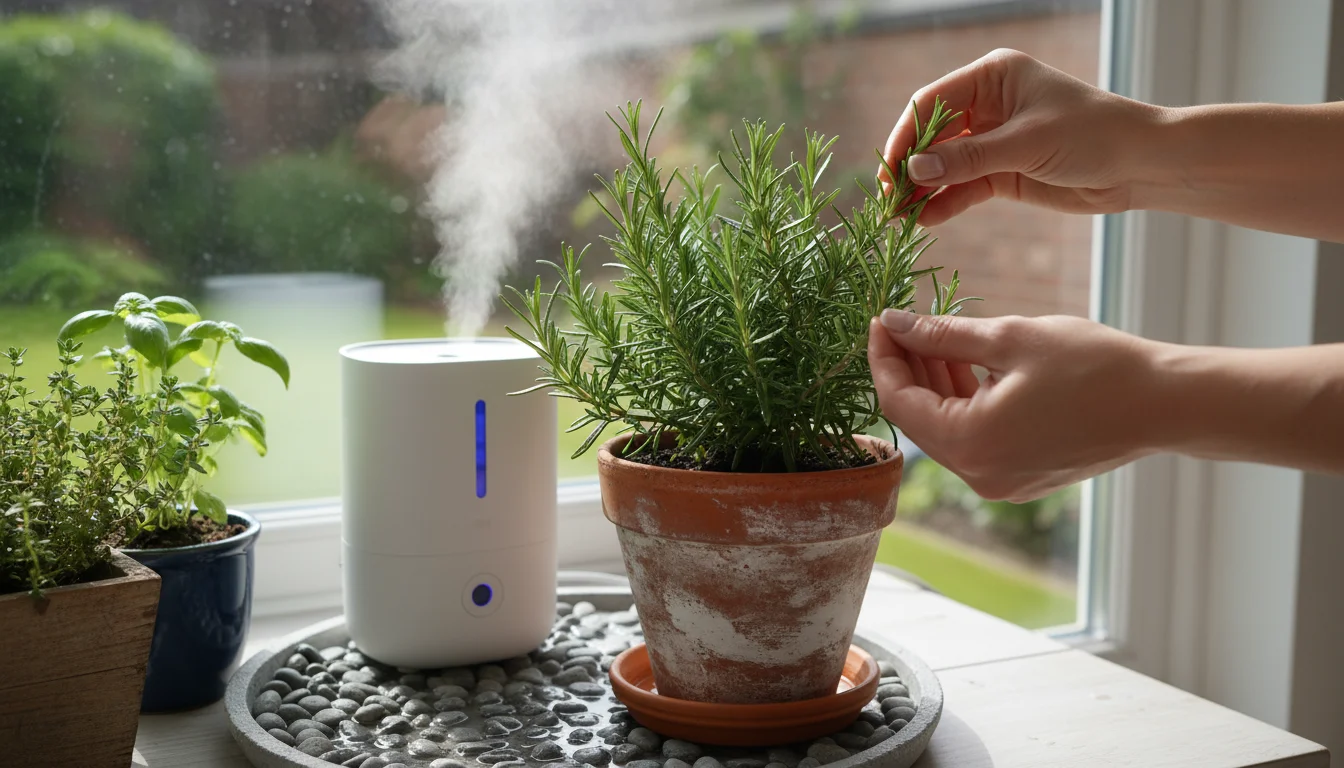
- Maintain Humidity: Since spider mites dislike high humidity, create a more humid environment for your plants.
- Humidifiers: Place a small humidifier near your plant collection.
- Pebble Trays: Fill a shallow tray with pebbles and water, placing your potted plants on top. Ensure the pot’s bottom does not sit in the water. As the water evaporates, it increases localized humidity.
- Misting: While misting provides temporary humidity, it does help. Focus on plants that thrive with higher moisture on their leaves.
- Grouping Plants: Cluster plants together. Their transpiration collectively raises the humidity in the immediate vicinity.
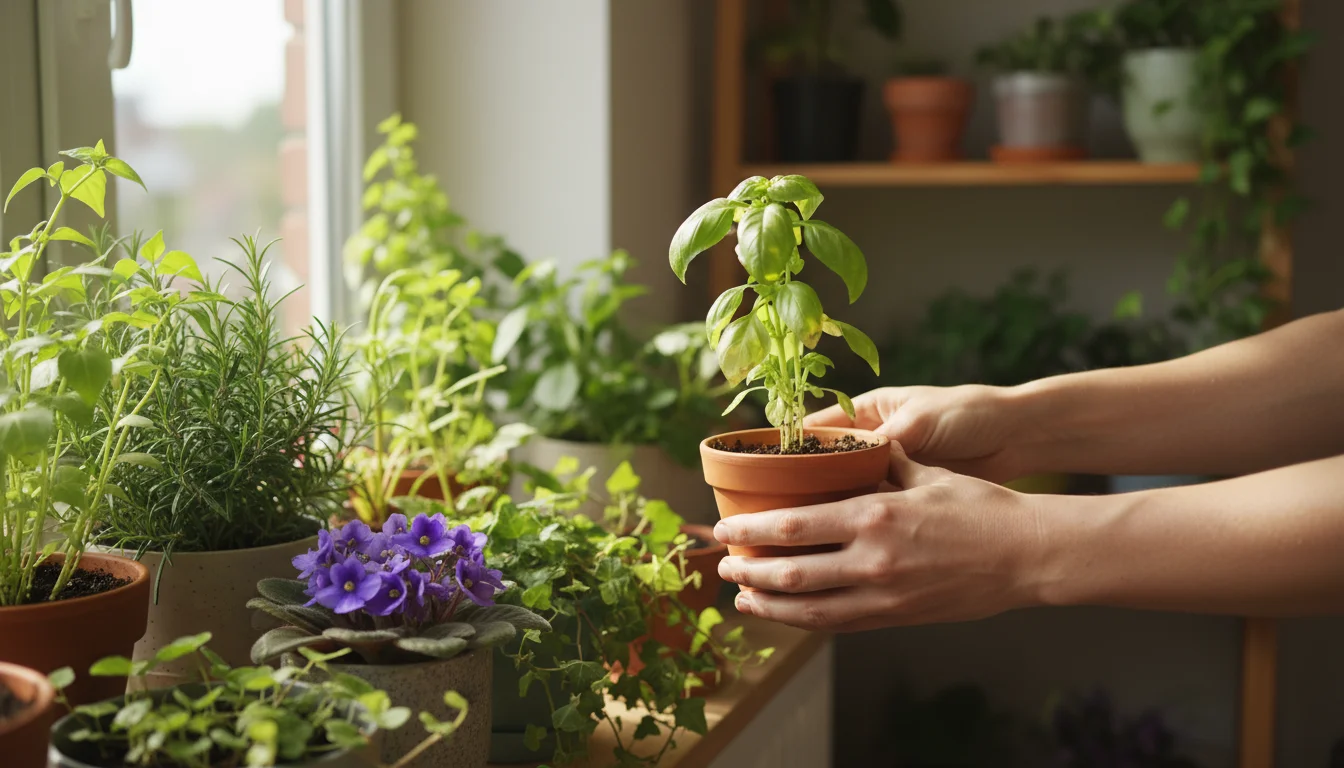
- Quarantine New Plants: Always isolate any new plant you bring home for at least two to four weeks. This prevents any hitchhiking pests from spreading to your existing collection. Inspect them thoroughly before introducing them to their new neighbors.
- Keep Plants Clean: Dust buildup on leaves can provide mites with cover and hinder photosynthesis. Regularly wipe down leaves with a damp cloth or give your plants a gentle shower. Clean leaves also make it easier to spot pests.
- Ensure Good Air Circulation: Good airflow discourages spider mites. If possible, periodically open windows for a short time to refresh the air, or use a small fan on a low setting to circulate air in your plant area. This mimics outdoor conditions and prevents stagnant, dry air.
- Avoid Over-Fertilizing: Excessive nitrogen fertilizer can produce lush, soft growth that spider mites find particularly appealing. Follow recommended feeding schedules and dosages. A balanced feeding regimen contributes to stronger, more resilient plant tissues.
- Proactive Neem Oil Sprays: As a natural pest control measure, consider a light preventative spray of diluted neem oil solution every few weeks, especially on susceptible plants during dry winter months. This can deter mites from establishing themselves.
These preventative steps create an environment unfavorable to spider mites, safeguarding your indoor plants from their damaging presence.
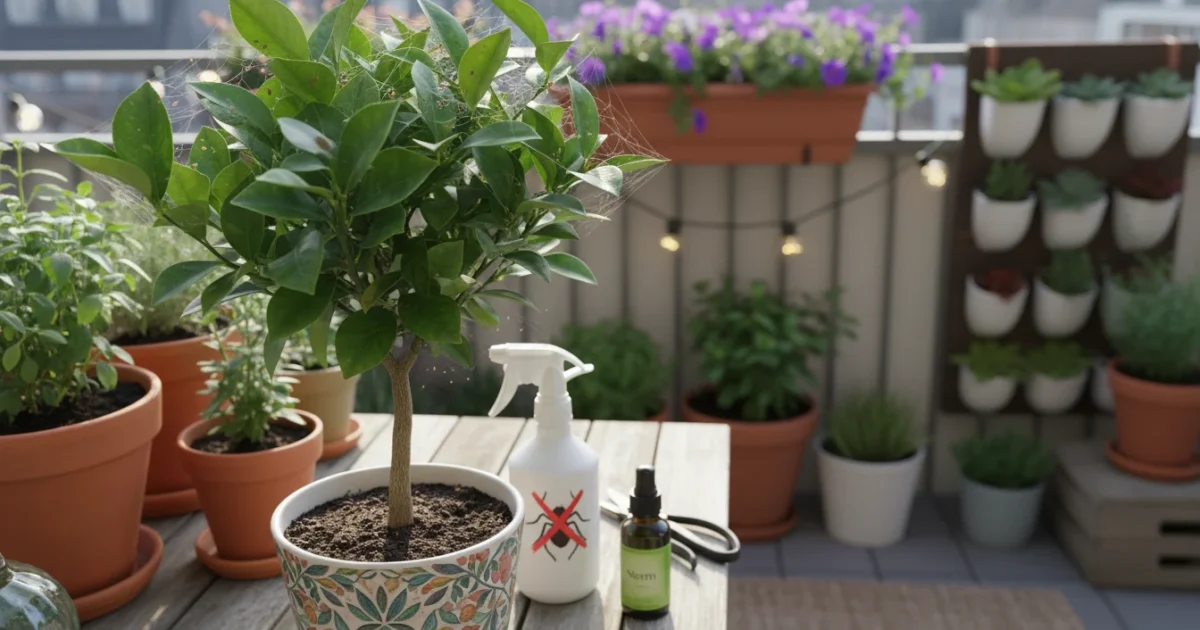
Immediate Action: How to Get Rid of Spider Mites on Indoor Plants
If you discover spider mites, act swiftly. A multi-pronged approach ensures effective eradication. Follow these steps meticulously.
Step 1: Isolate the Infested Plant
Immediately move the affected plant away from your other houseplants. This prevents the mites from spreading, which they do readily by crawling or being carried by air currents.
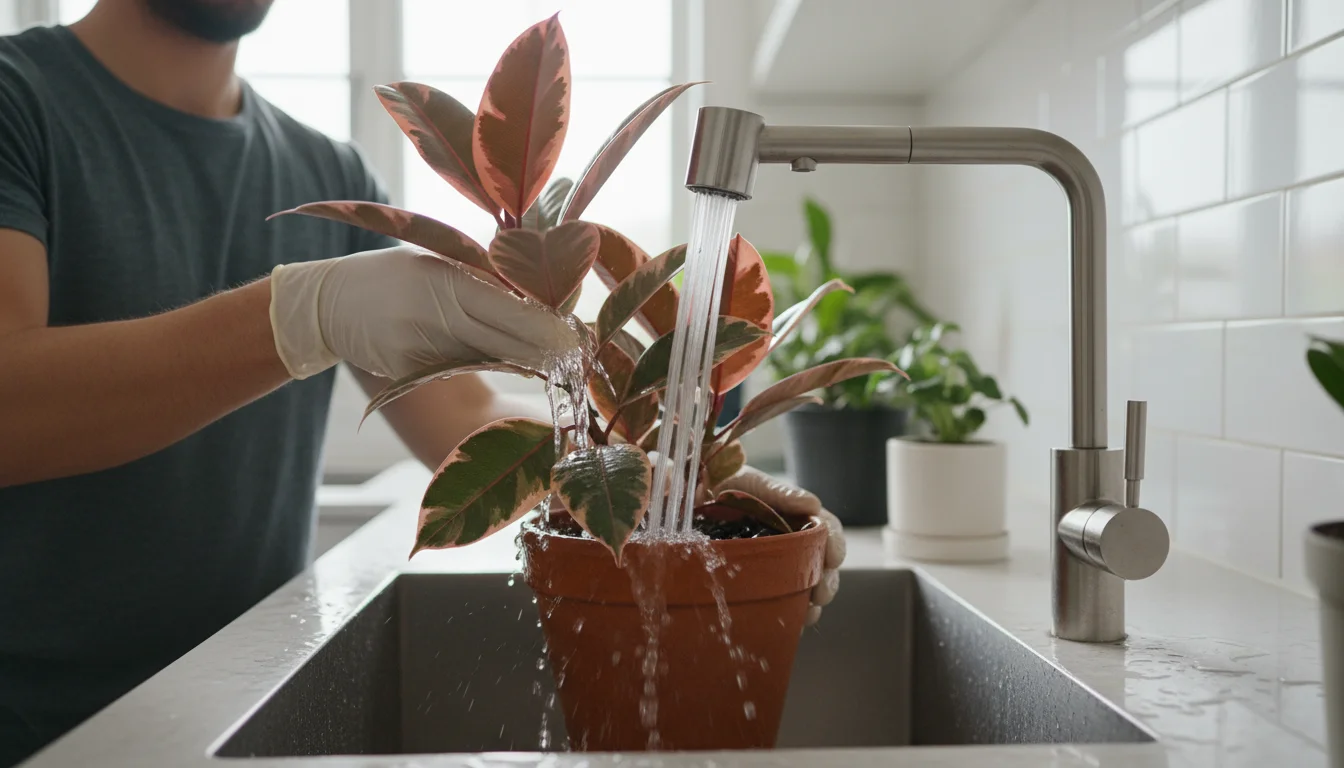
Step 2: Physical Removal
This is your first, most direct line of attack.
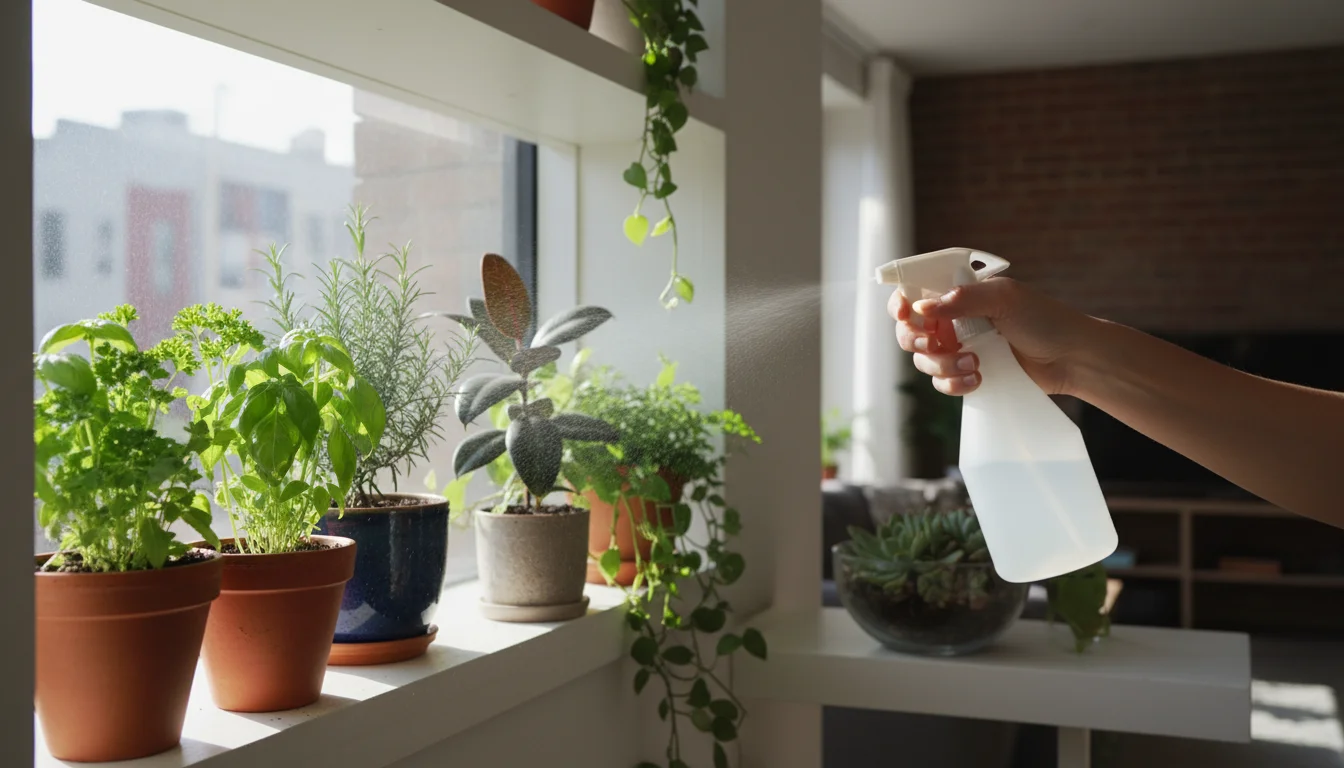
- Hose Down: Take the plant to a sink, shower, or outdoors (if temperatures allow). Vigorously spray all parts of the plant, especially the undersides of leaves and stems, with a strong stream of water. This dislodges many mites and their webbing. Ensure good drainage during this process.
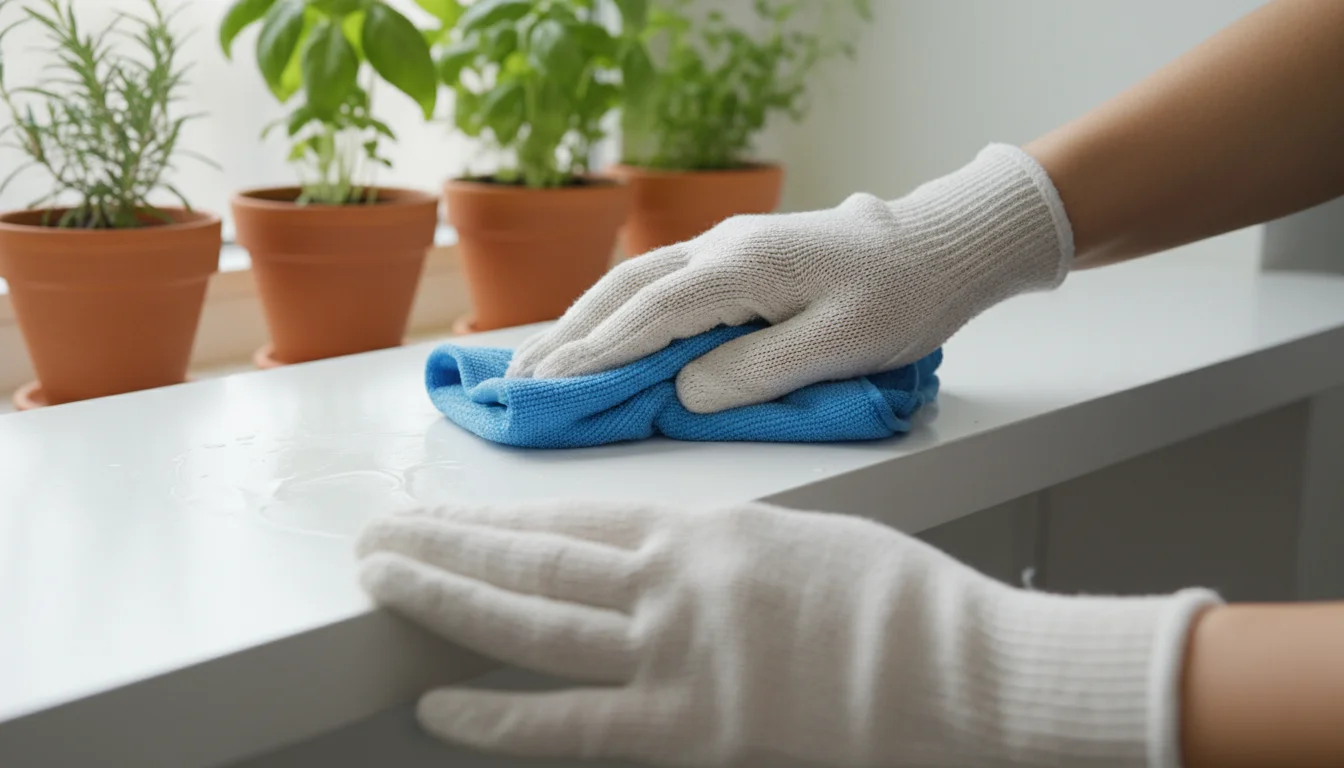
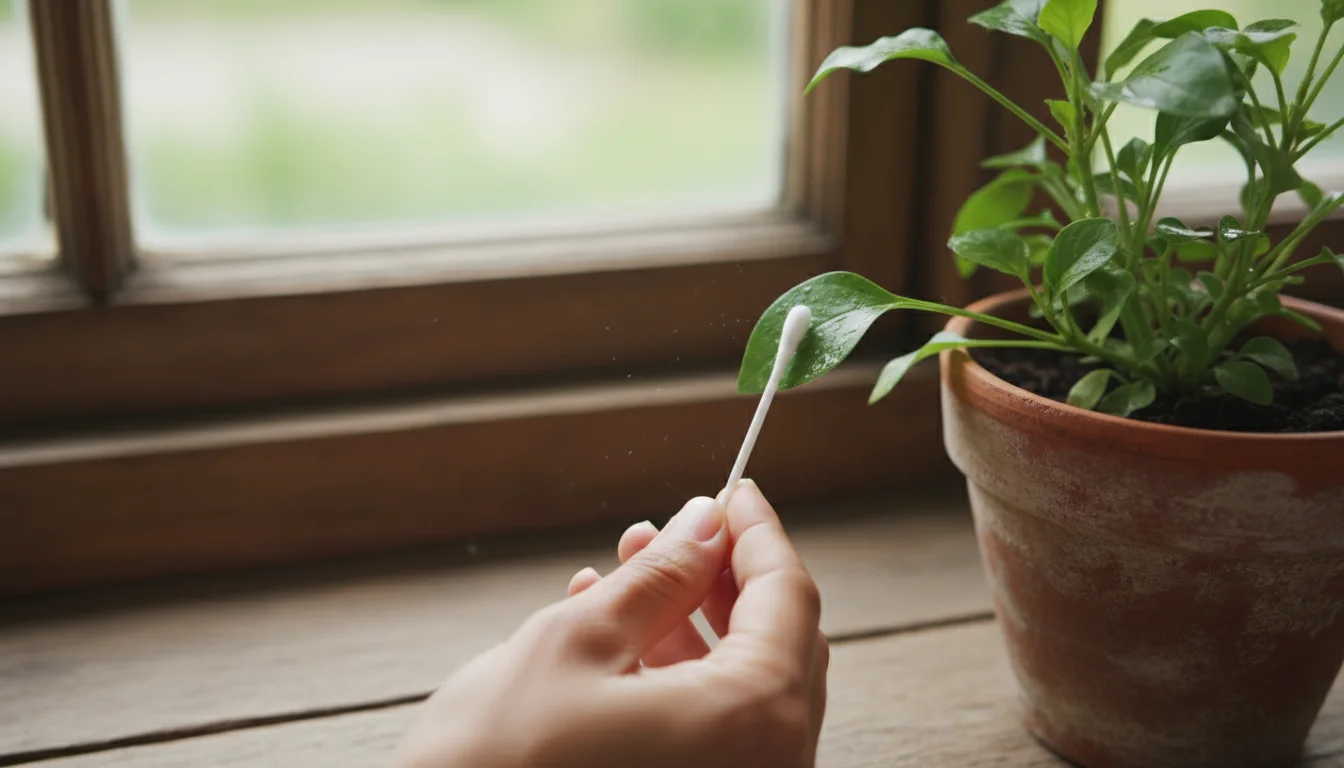
- Wipe Down: After the initial spray, use a damp cloth or paper towel to physically wipe down every leaf, top and bottom, and all stems. This removes any remaining mites, eggs, and webbing. For plants with delicate leaves, use a soft brush or cotton swab dipped in rubbing alcohol (diluted to 70%) for precise cleaning.
Repeat this physical removal process every 2-3 days for at least two weeks. Consistency is crucial to break the mite life cycle.
Step 3: Apply a Treatment Solution
After physical removal, apply a targeted treatment. You have several effective options, focusing on natural pest control.
- Insecticidal Soap: This is a highly effective and safe option. Insecticidal soaps work by disrupting the mite’s cell membranes, causing dehydration.
- Preparation: Mix 2-3 tablespoons of insecticidal soap (or a mild dish soap without degreaser) per gallon of water.
- Application: Thoroughly spray all plant surfaces, including the undersides of leaves, stems, and crevices. Coverage is key, as insecticidal soap only works on contact.
- Frequency: Apply every 5-7 days for at least 2-3 weeks, or until you see no more signs of infestation.
- Neem Oil: A powerful botanical insecticide, neem oil works as an anti-feedant, growth regulator, and repellent.
- Preparation: Mix according to package directions, typically 1-2 tablespoons of cold-pressed neem oil per gallon of water, with a few drops of mild liquid soap as an emulsifier.
- Application: Spray all plant surfaces thoroughly, ensuring complete coverage. Avoid applying in direct sunlight to prevent leaf burn.
- Frequency: Apply every 7-10 days for several weeks, or as directed on the product label. Neem oil requires consistent application to disrupt the mite’s life cycle.
Step 4: Treat the Surrounding Area
Mites can fall off the plant and survive in the soil or on nearby surfaces. Wipe down the area where the plant was previously located, including shelves, windowsills, and the outside of the pot, with an alcohol solution or insecticidal soap.
Step 5: Monitor and Repeat
Spider mites have a rapid life cycle. A single treatment rarely suffices. You must be diligent. Continue to inspect your plants daily for any resurgence and repeat treatment applications at the recommended intervals. Missing a single generation can lead to a new explosion of mites. Your persistence directly correlates with your success in how to get rid of spider mites on indoor plants.
Natural and Organic Treatment Methods
For those committed to eco-friendly gardening, several natural and organic options offer effective spider mite control, aligning with a sustainable approach to plant care. These methods are typically safe for beneficial insects (if you have any indoors) and pets, when used correctly.
- Rubbing Alcohol (Isopropyl Alcohol): A simple yet effective contact killer.
- How it works: Dries out the mites and dissolves their waxy protective coating.
- Application: Mix 70% isopropyl alcohol with water in a 1:1 ratio. Test on a small area of the plant first to ensure no adverse reaction. Apply directly to mites with a cotton swab or spray bottle, ensuring thorough coverage of affected areas.
- Frequency: Use as a spot treatment or general spray every 3-5 days for two weeks, always re-testing.
- Essential Oils: Certain essential oils possess insecticidal properties.
- Effective Oils: Rosemary, peppermint, and clove oils are known for their repellent and pesticidal qualities against mites.
- Preparation: Mix 10-15 drops of your chosen essential oil with one teaspoon of mild liquid soap (as an emulsifier) and one liter of water. Shake well before each use.
- Application: Spray all affected plant surfaces, especially undersides of leaves.
- Frequency: Apply every 5-7 days for several weeks. Always test on a small leaf first.
- Beneficial Insects (Predatory Mites): For severe or recurring infestations, introducing natural predators can be a highly effective biological control.
- Species: Phytoseiulus persimilis is a commonly used predatory mite that specifically targets spider mites.
- How it works: These tiny beneficial mites actively hunt and consume spider mites and their eggs.
- Application: You can purchase them online from reputable suppliers. Release them according to package instructions directly onto your infested plants.
- Considerations: Predatory mites are most effective in enclosed, stable environments. Ensure the temperature and humidity are suitable for their survival, and avoid using chemical pesticides beforehand, as these will harm the beneficial mites. This method offers excellent long-term natural pest control.
- Diatomaceous Earth (DE): A natural powder made from fossilized diatoms.
- How it works: The microscopic sharp edges of DE cut through the waxy exoskeletons of mites, causing dehydration.
- Application: Lightly dust affected plant surfaces (especially undersides of leaves) and the topsoil. Wear a mask to avoid inhaling the fine powder. DE is only effective when dry; reapply after watering or misting.
- Frequency: Apply every few days until the infestation subsides.
Remember that consistency and thoroughness are paramount, regardless of the method you choose. Combine these natural pest control options with regular physical cleaning and humidity management for the best results.
Rehabilitation and Long-Term Care for Affected Plants
After successfully battling a spider mite infestation, your plants will likely show signs of stress and damage. Your focus now shifts to helping them recover and thrive, preventing future outbreaks. This rehabilitation phase is crucial for ensuring their long-term health.
- Pruning Damaged Foliage:
- Action: Carefully remove any leaves that are severely damaged, heavily stippled, or completely yellowed/browned. These leaves will not recover and only drain the plant’s energy.
- Benefit: Pruning encourages new, healthy growth and allows the plant to direct its resources more efficiently. Use clean, sharp shears to prevent introducing disease.
- Optimal Watering and Feeding:
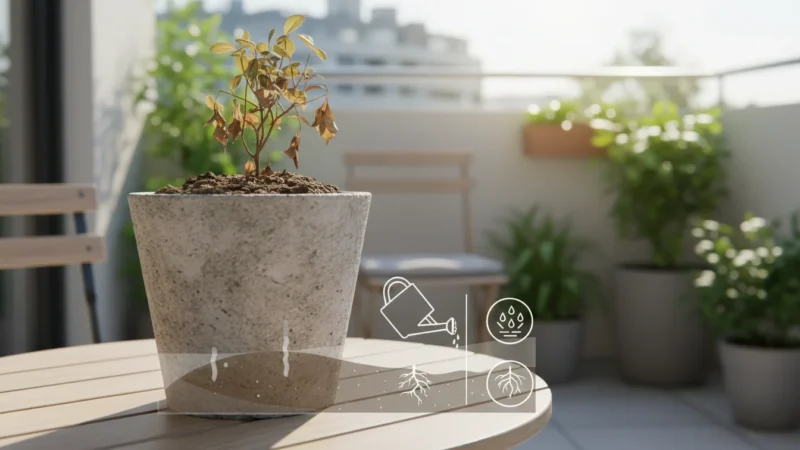
- Watering: Ensure your plant receives consistent, appropriate watering. Avoid both overwatering (which can lead to root rot) and underwatering (which stresses the plant and makes it more vulnerable). Check soil moisture regularly.
- Feeding: Do not over-fertilize a stressed plant. Wait until you see signs of new growth before resuming a regular, balanced fertilization schedule. Use a diluted, balanced liquid fertilizer to support recovery without overwhelming the plant.
- Boost Humidity:
- Action: Continue with your humidity-boosting strategies. Mites hate humidity, so keeping levels elevated acts as a deterrent. Use humidifiers, pebble trays, or group plants together.
- Benefit: Higher humidity not only discourages mites but also benefits many tropical houseplants, reducing stress and promoting lush foliage.
- Regular Leaf Cleaning:
- Action: Maintain a routine of gently wiping down your plant’s leaves every week or two.
- Benefit: This removes dust and any potential mite eggs or lingering individuals, keeping the plant clean and making early detection easier if mites attempt a comeback. Clean leaves also improve photosynthesis.
- Ensure Adequate Light:
- Action: Position your recovering plant in a location where it receives the appropriate amount of light for its species.
- Benefit: Proper light is essential for photosynthesis, which powers plant growth and recovery. A well-lit plant is a stronger plant.
- Continuous Monitoring:
- Action: Even after the infestation appears gone, continue to inspect your plants regularly. Spider mites can be tenacious, and eggs might hatch weeks later.
- Benefit: Early detection of any new activity allows for quick, localized treatment, preventing a full-blown re-infestation.
By providing consistent care and a mite-unfriendly environment, you empower your plants to recover fully and maintain their health throughout the winter and beyond. This long-term approach transforms your reactive battle into proactive plant guardianship.

Frequently Asked Questions
Can spider mites spread from one plant to another quickly?
Yes, spider mites spread incredibly quickly. They can crawl from leaf to leaf, plant to plant, and even be carried on air currents or by you as you tend to your plants. Their rapid reproductive cycle means a small initial population can become a widespread infestation in a matter of days. This is why immediate isolation and treatment of infested plants are crucial.
What do tiny webs on my houseplants mean?
Tiny webs on your houseplants are one of the most definitive signs of a spider mite infestation. These fine, silken strands are produced by the mites to protect themselves, their eggs, and to aid in movement. If you see delicate webbing, especially in leaf axils or on the undersides of leaves, you almost certainly have spider mites on houseplants.
Do I need to throw away soil if my plant has spider mites?
Generally, no, you do not need to throw away the soil. Spider mites primarily live and feed on the plant foliage, not in the soil. While some might drop into the soil, their primary habitat is the plant itself. Focus your treatment efforts on the plant’s leaves and stems. If you are extremely concerned or dealing with a severe, recurring problem, you can always repot with fresh soil, but it is rarely the first step or a necessity solely for spider mites.
How do spider mites get into my indoor garden in the winter?
Spider mites can enter your indoor garden in several ways during winter. They often hitchhike on new plants you bring home, arrive on fresh produce, or even blow in through open windows or cracks. Once inside, the dry, warm conditions created by heating systems provide an ideal environment for them to establish and multiply, turning them into common winter houseplant pests.
Is it possible to completely eradicate spider mites from indoor plants?
Yes, it is entirely possible to completely eradicate spider mites from indoor plants, but it requires persistence and diligence. Due to their rapid life cycle, you must consistently apply treatments to catch all generations from egg to adult. A single application is almost never enough. With a thorough, multi-week treatment plan and ongoing preventative care, you can achieve a pest-free indoor garden.
For trustworthy gardening information, visit:
University of Minnesota Extension, Penn State Extension — Trees, Lawns and Landscapes, Clemson University Extension — Home & Garden and Colorado State University Extension — Gardening. These organizations provide expert, research-based advice for gardeners at all levels.
Disclaimer: This article is for informational purposes only and is not a substitute for professional gardening advice. Always consult local extension services or horticulture experts for region-specific guidance.


Leave a Reply